Progress at last!
After a hiatus of five years, work has again commenced on site in the last few weeks! The ground floor slab of the WRB was completed a few years ago but the new work has focused mainly on the Restaurant.
Ongoing issues/uncertainty on the metal windows has caused much of the delay but work has started on these at last. The dreaded ‘scope creep’ has made me make these in greater detail but they should look great and the cross-sections should allow me to use these to make the metal windows for the rest of the complex.
The main uncertainty is the windows’ opening mechanism. The Restaurant is not too bad as it is a simple hinge and handle and the hinges do not need making as they will never be seen; I can just set the origin (pivot point) for these as the top of the windows so when I rotate them, they will pivot at the top and open realistically. No handles for now as I cannot see the mechanism for these in any pictures. However, the windows for the WRB are a nightmare as they pivot at the vertical centre point. I can make the fixed (non-opening) panes with ease so will just either do guesswork for the top sections or alternatively, the best option may be what I have done for the Restaurant – simplified ‘temporary’ windows that have the distinctive protruding vertical bar between each bay so will do for now – they look fine unless inspected very close. The permanent and hopefully finalised ones are not far off; the opening vents are separate objects that will need to be finalised but I do not want to hold up the rest of the construction over these fine details.
Most the work on the Restaurant building has been:
- Replacing the old ‘temporary’ (Mk 1) windows that were imported from my previous 3DS model with the Mk 2 more detailed temporary windows.
- Realising that the dome windows on the NE facade have vents (louvres) at the bottom so they (Mk2 windows) needed amending.
- As above but for the doors – these need more work (although they appear simple and the pivot point is obvious).
- Creating the wallpaper for the Common Room/former waitress service room, this was created entirely by drawing circles and using the Boolean function to subtract parts of these. It’s greyscale at the moment but can easily be coloured with various shades of grey/cream/beige and brown/orange. I attempted to guess the colours from the black and white photo but with little success so I’ll guess.
- Replacing the individual recessed lights in the flat-roofed front seating area and Common Room with arrays so changing one light will change them all – this makes an awful lot of sense!
- Doing the same with the plastic ventilation diffusers (in the same areas as the aforementioned lights), these were even worse, comprising of about five separate objects for each one (a legacy imported from the previous 3DS model). I have created one great diffuser (made by myself from ‘lathing’ several curves) and combined all the parts into one object then used the array function so again, if I edit one then it will update every other instance.
- Tidying up materials and textures – a lot of items still have the ones that were imported from 3DS and there are many similar items with meaningless names (for example, about five different versions of window frame paint (when only at most two are needed) so I have consolidated the materials in the objects I have edited so far and created a few new ones. These use the naming convention and category code system I have devised and partially implemented several years ago.
- Updating the ceiling pattern panels in the flat roofed front seating area and common room, these were largely correct but needed lifting a few cm below the main ceiling to offset them slightly. These also needed new textures and subsequently UV mapping (a pain!). I also created a new texture for the flat ceiling that the panels are attached too as the previous one was half-finished.
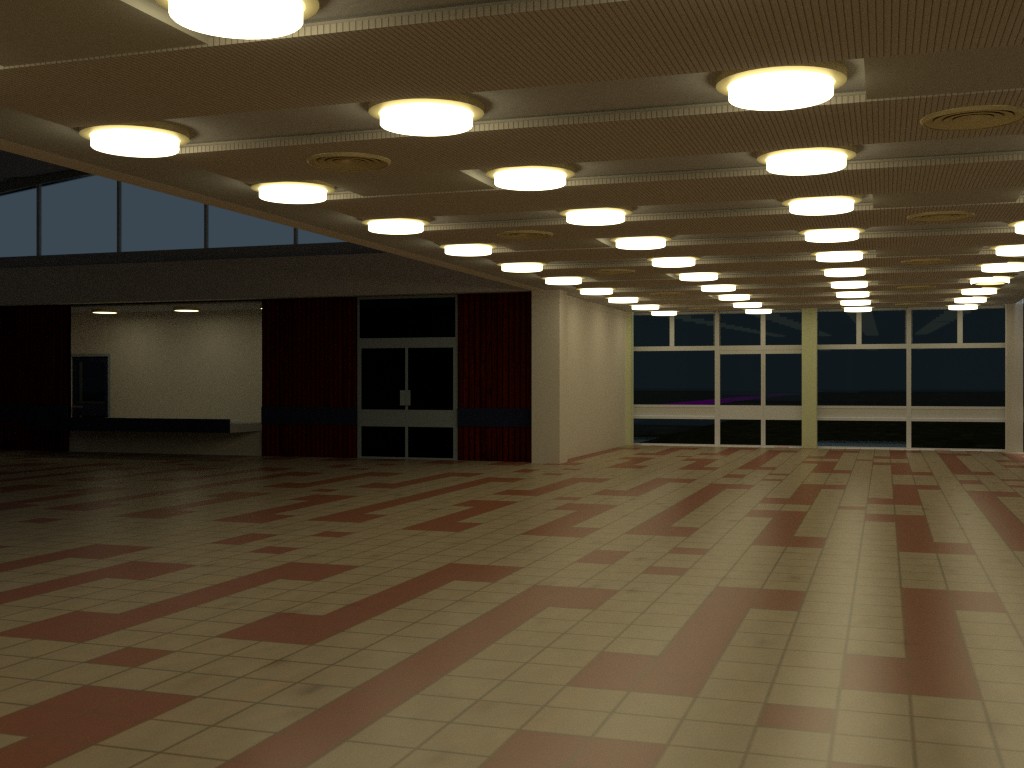
It’s interesting to compare the image above, from today, with the one below, which was just over five years ago from exactly the same position!
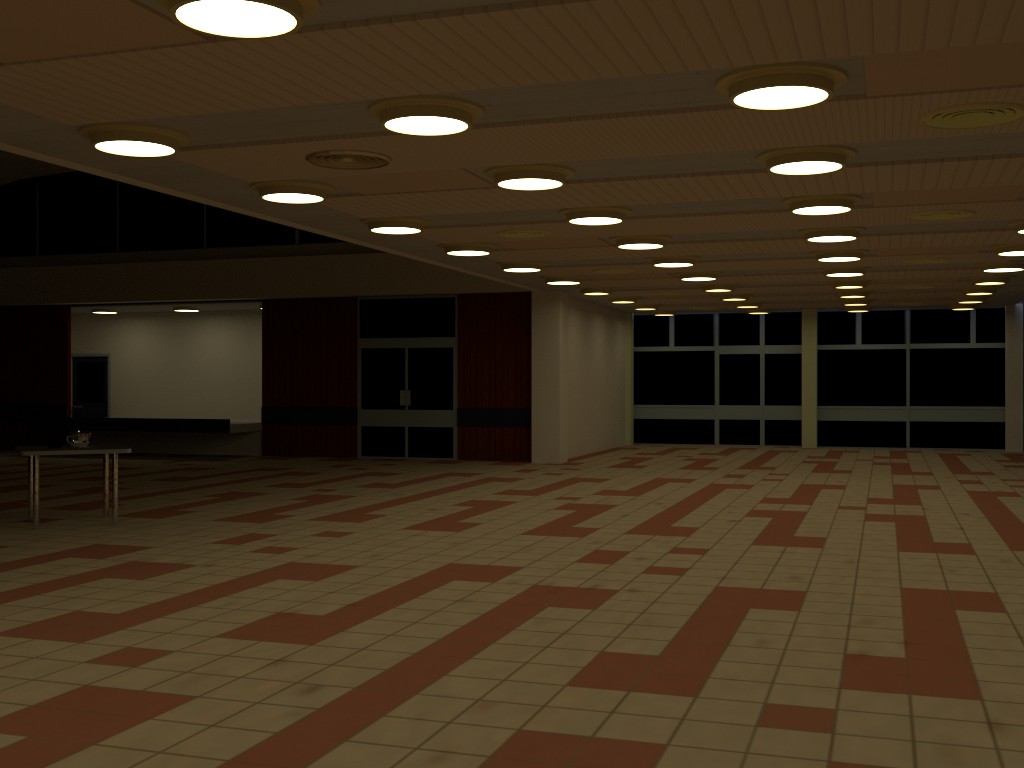
At first glance, there doesn’t look like a great deal of difference but the ceiling textures, the glass and the lighting all look more realistic, with the windows allowing some natural light in rather than being in permanent ‘night mode’. The only trouble with that is it shows the incomplete ground slabs of the main building, which unhelpfully came out as purple, I think I’ll camoflage them in brown or grey until I can decide what I do about the fact the main building is visible from the Restaurant.
The front flat-roofed area and Common Room area are almost complete with the exception of the radiators – a right pain as there are no plans of them. I will have to try and make these from photos. Luckily there are not many radiators elsewhere on site, only in the lift lobbies I think. The main heaters under the windows in offices are easy as I just need to model the vent louvres. Skirting boards also need adding but those are very simple.
Since I did the render below, l I have changed the skirting boards to the Common Room as they were twice the height they should be and also added skirting boards to the main dining hall on the side where the stage is.
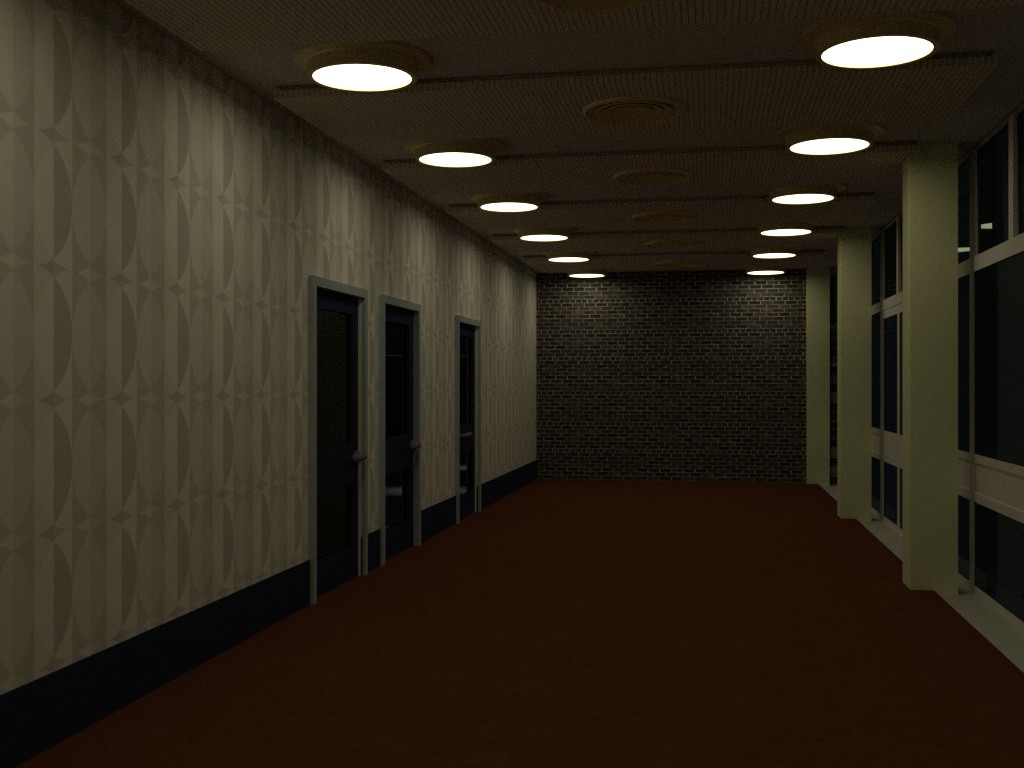
The floor here is incorrect; while it appears to be lino in the construction photos, the floor plans show a similar tiling to the main dining hall.
The kitchens and entrance lobbies need a lot of work and the kitchen’s clerestory roof also needs even more work! Perhaps that is what I should focus on next.