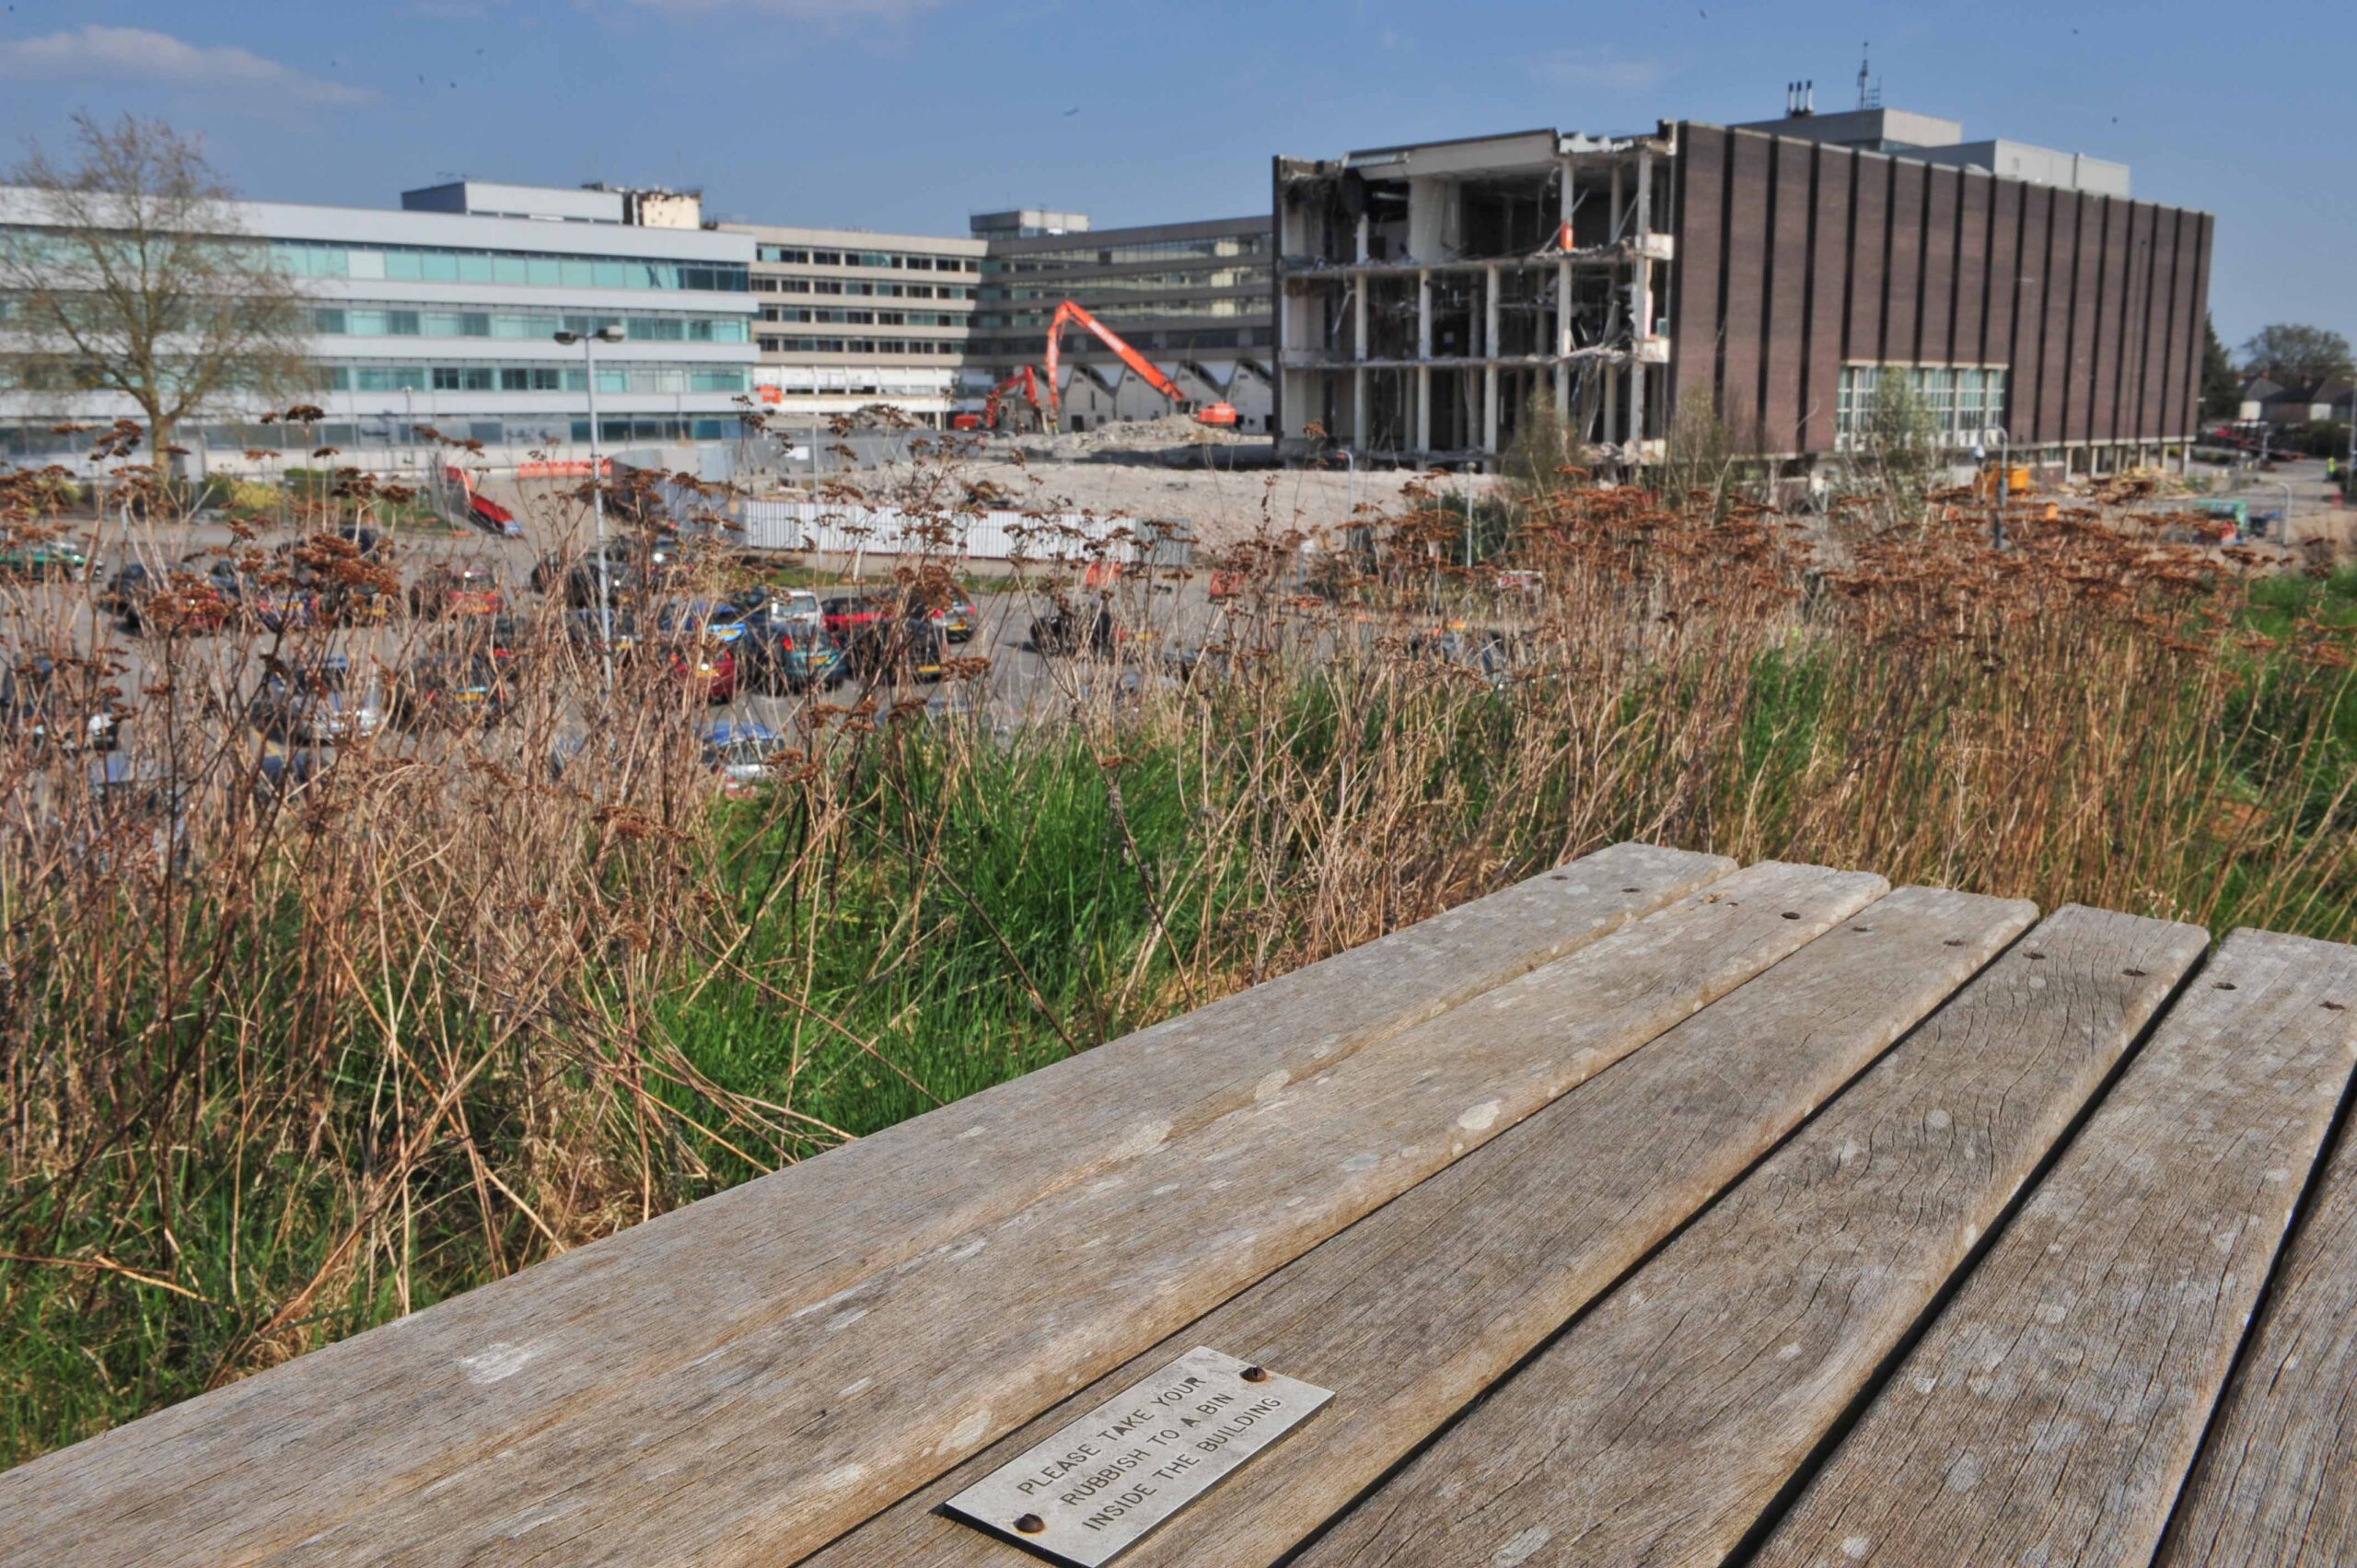
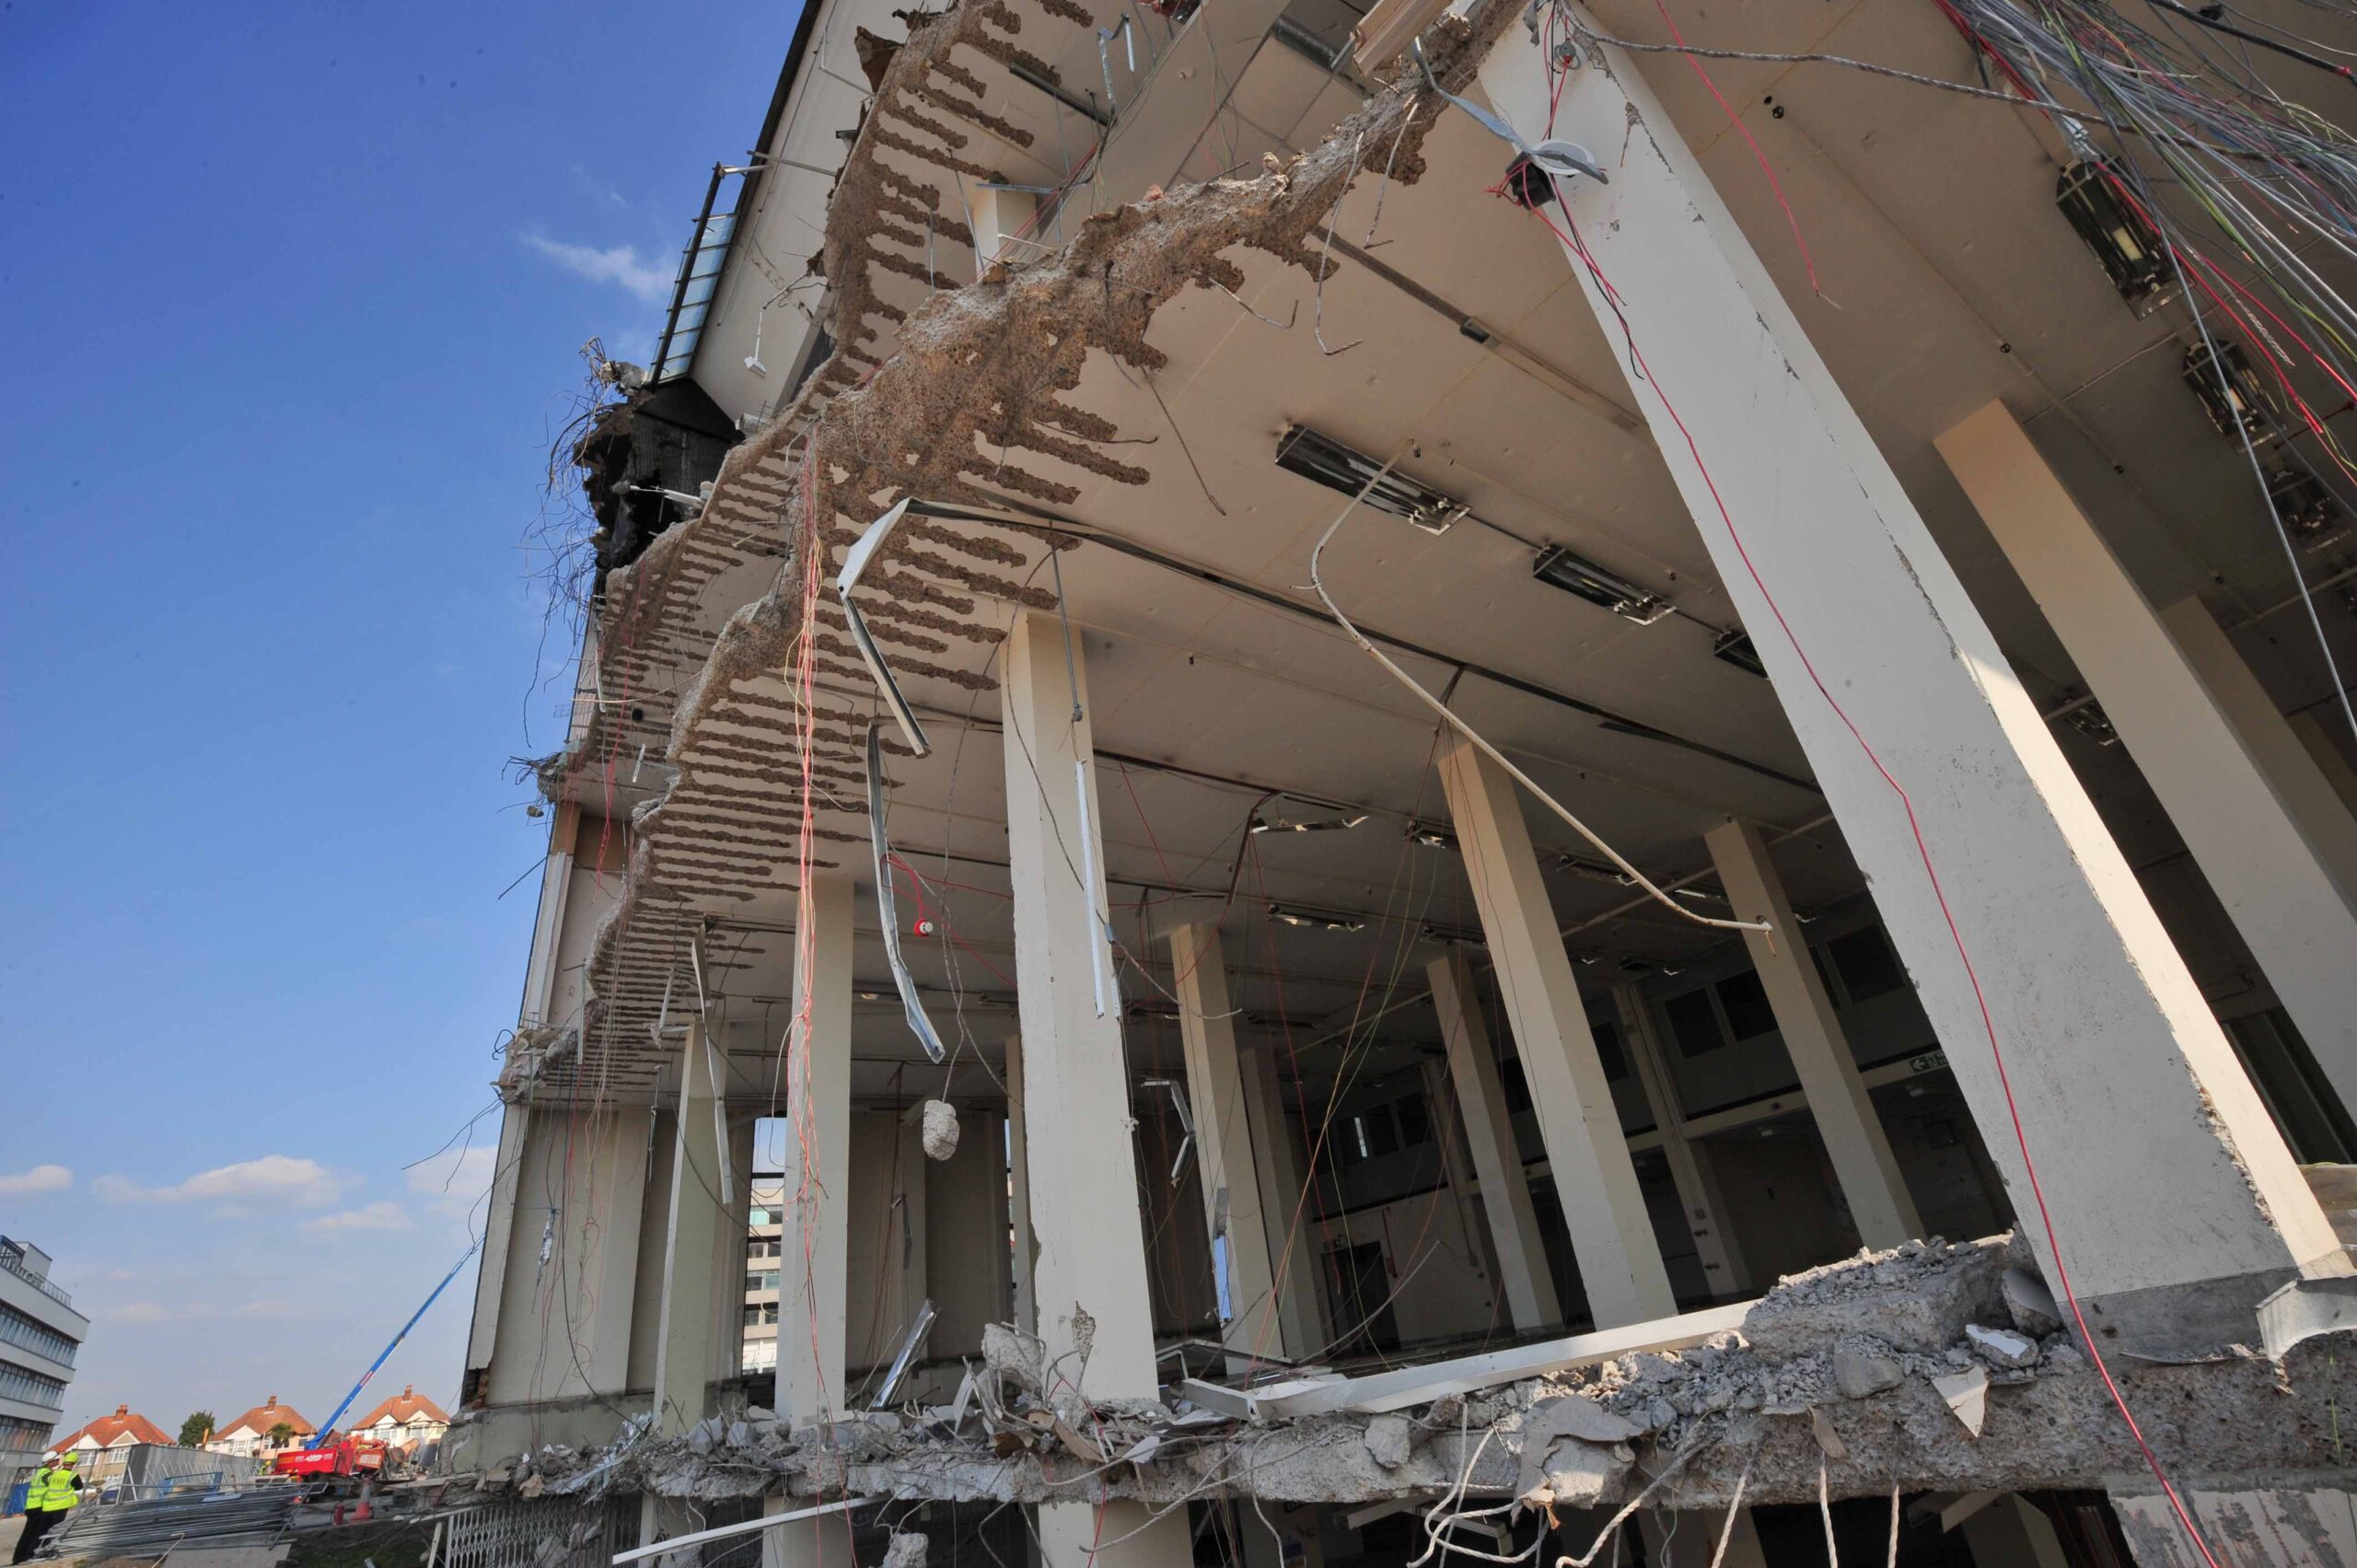
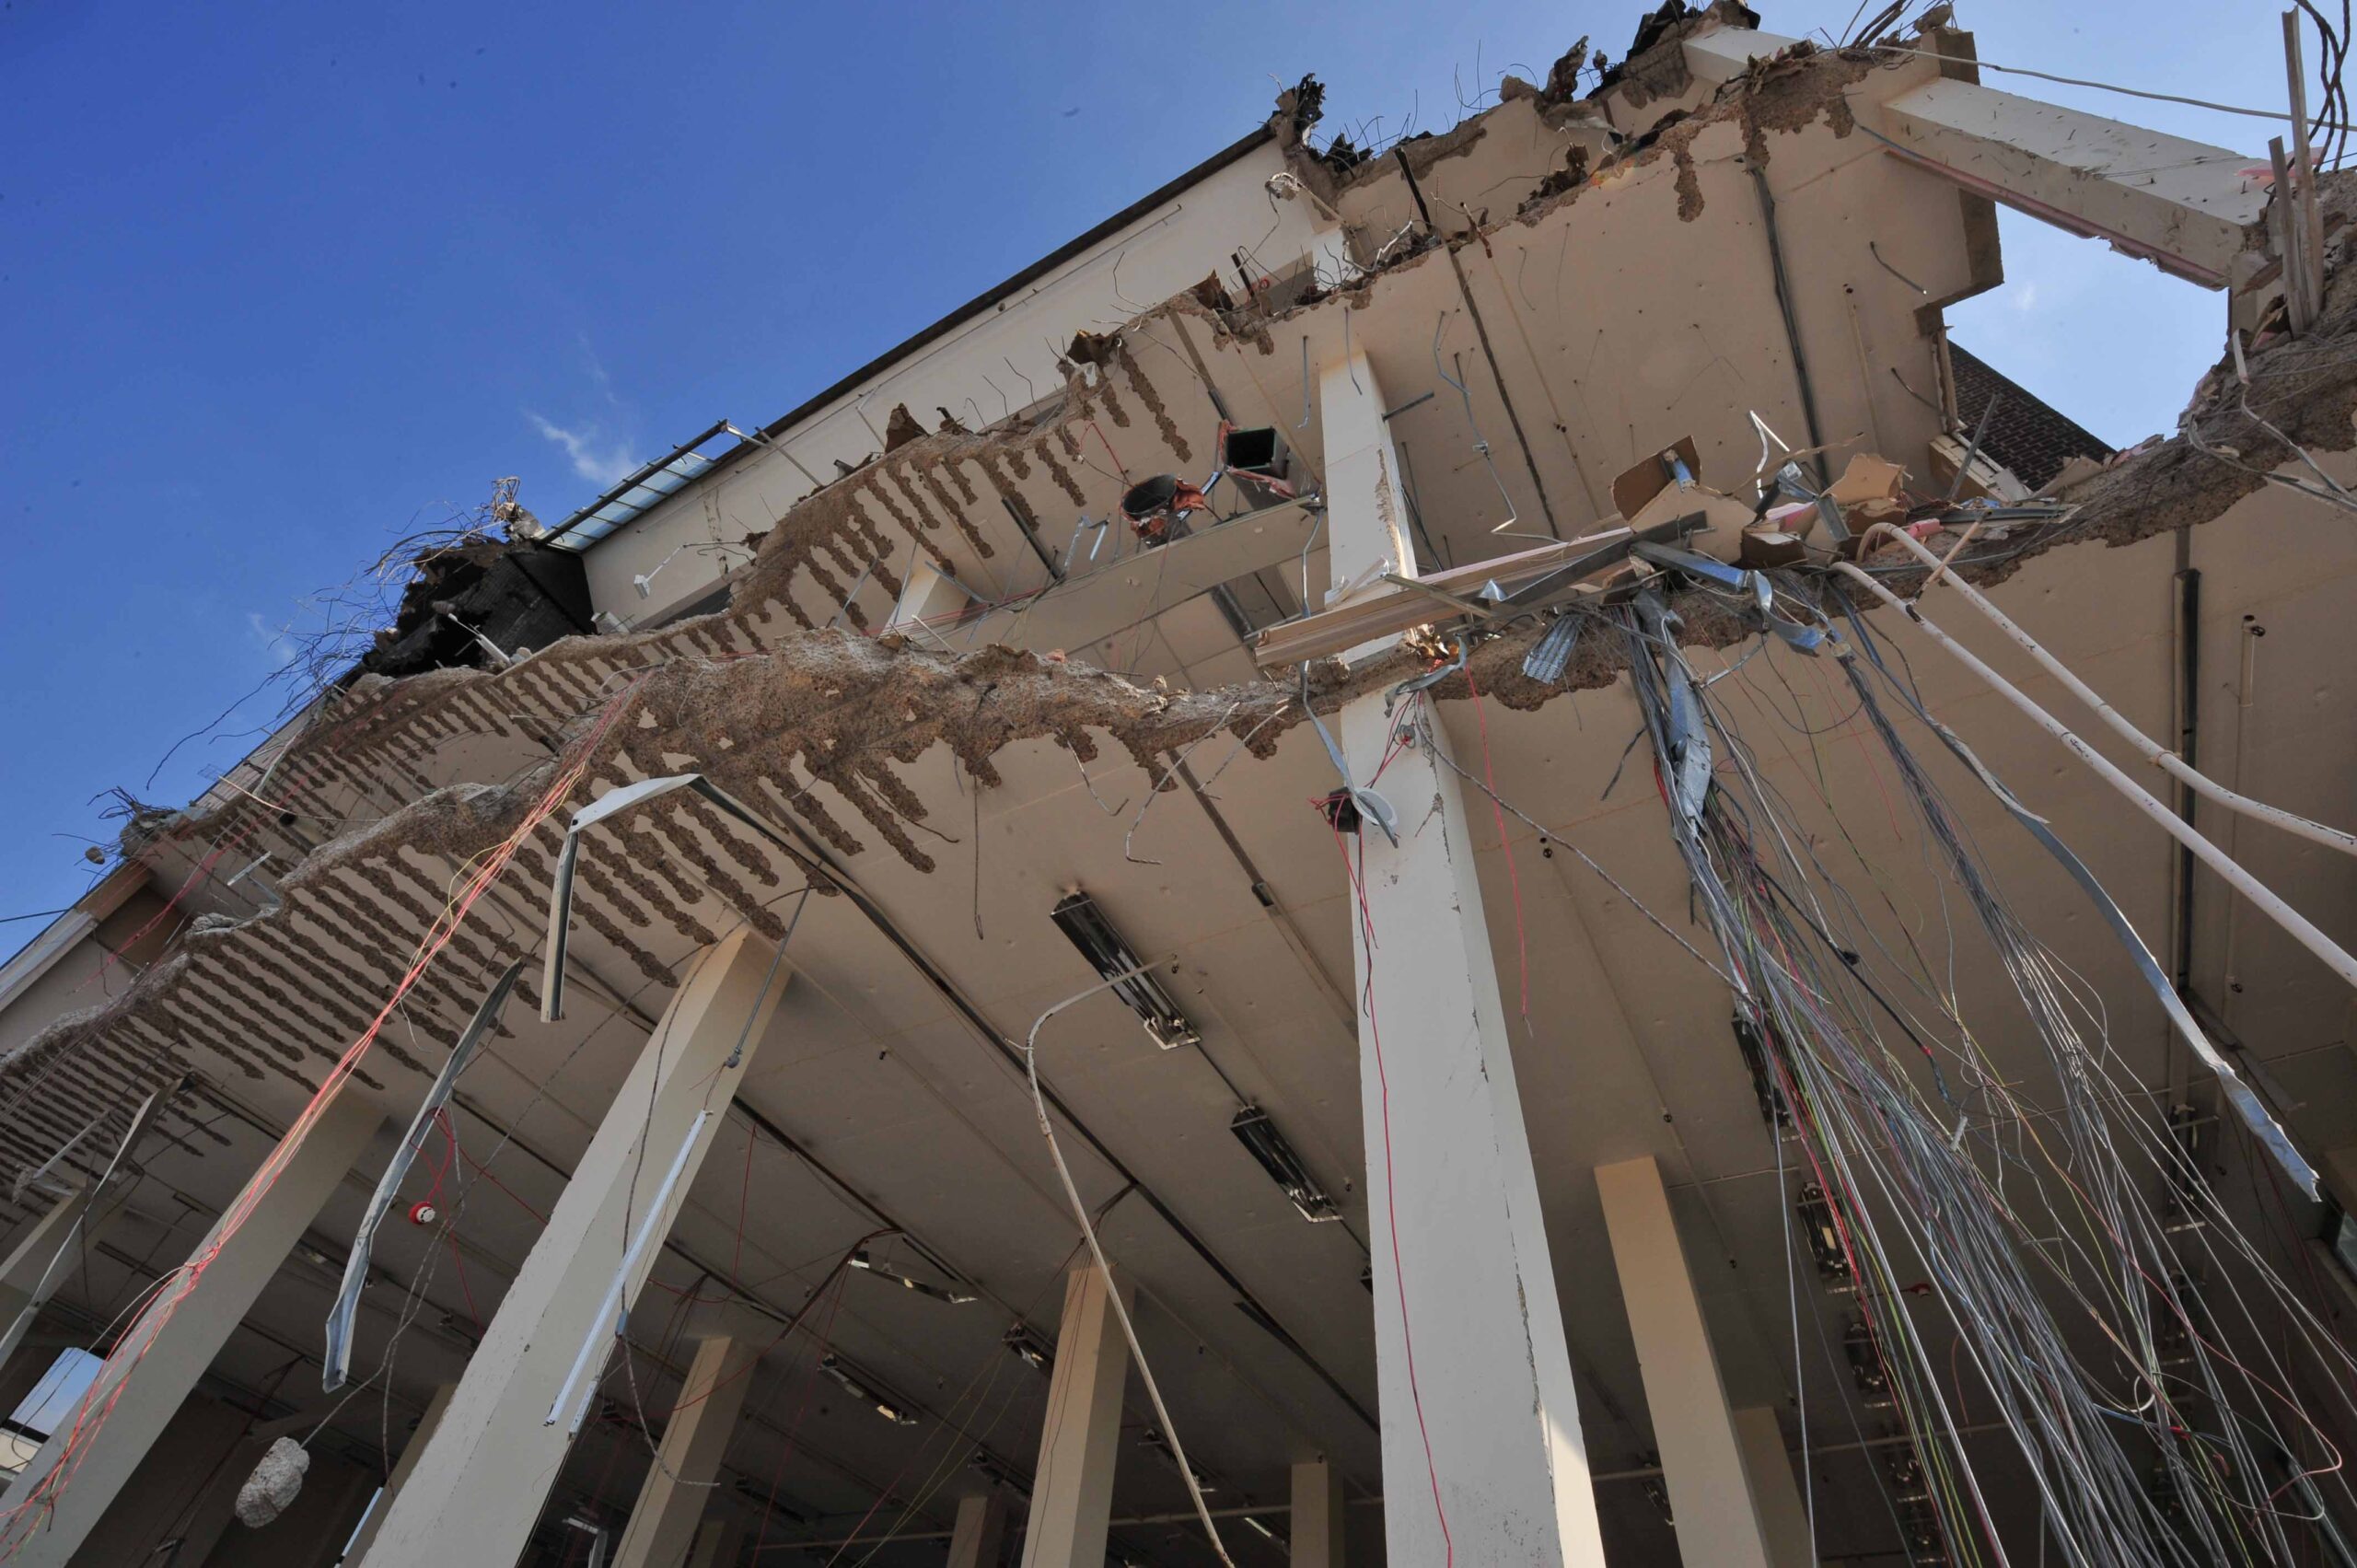
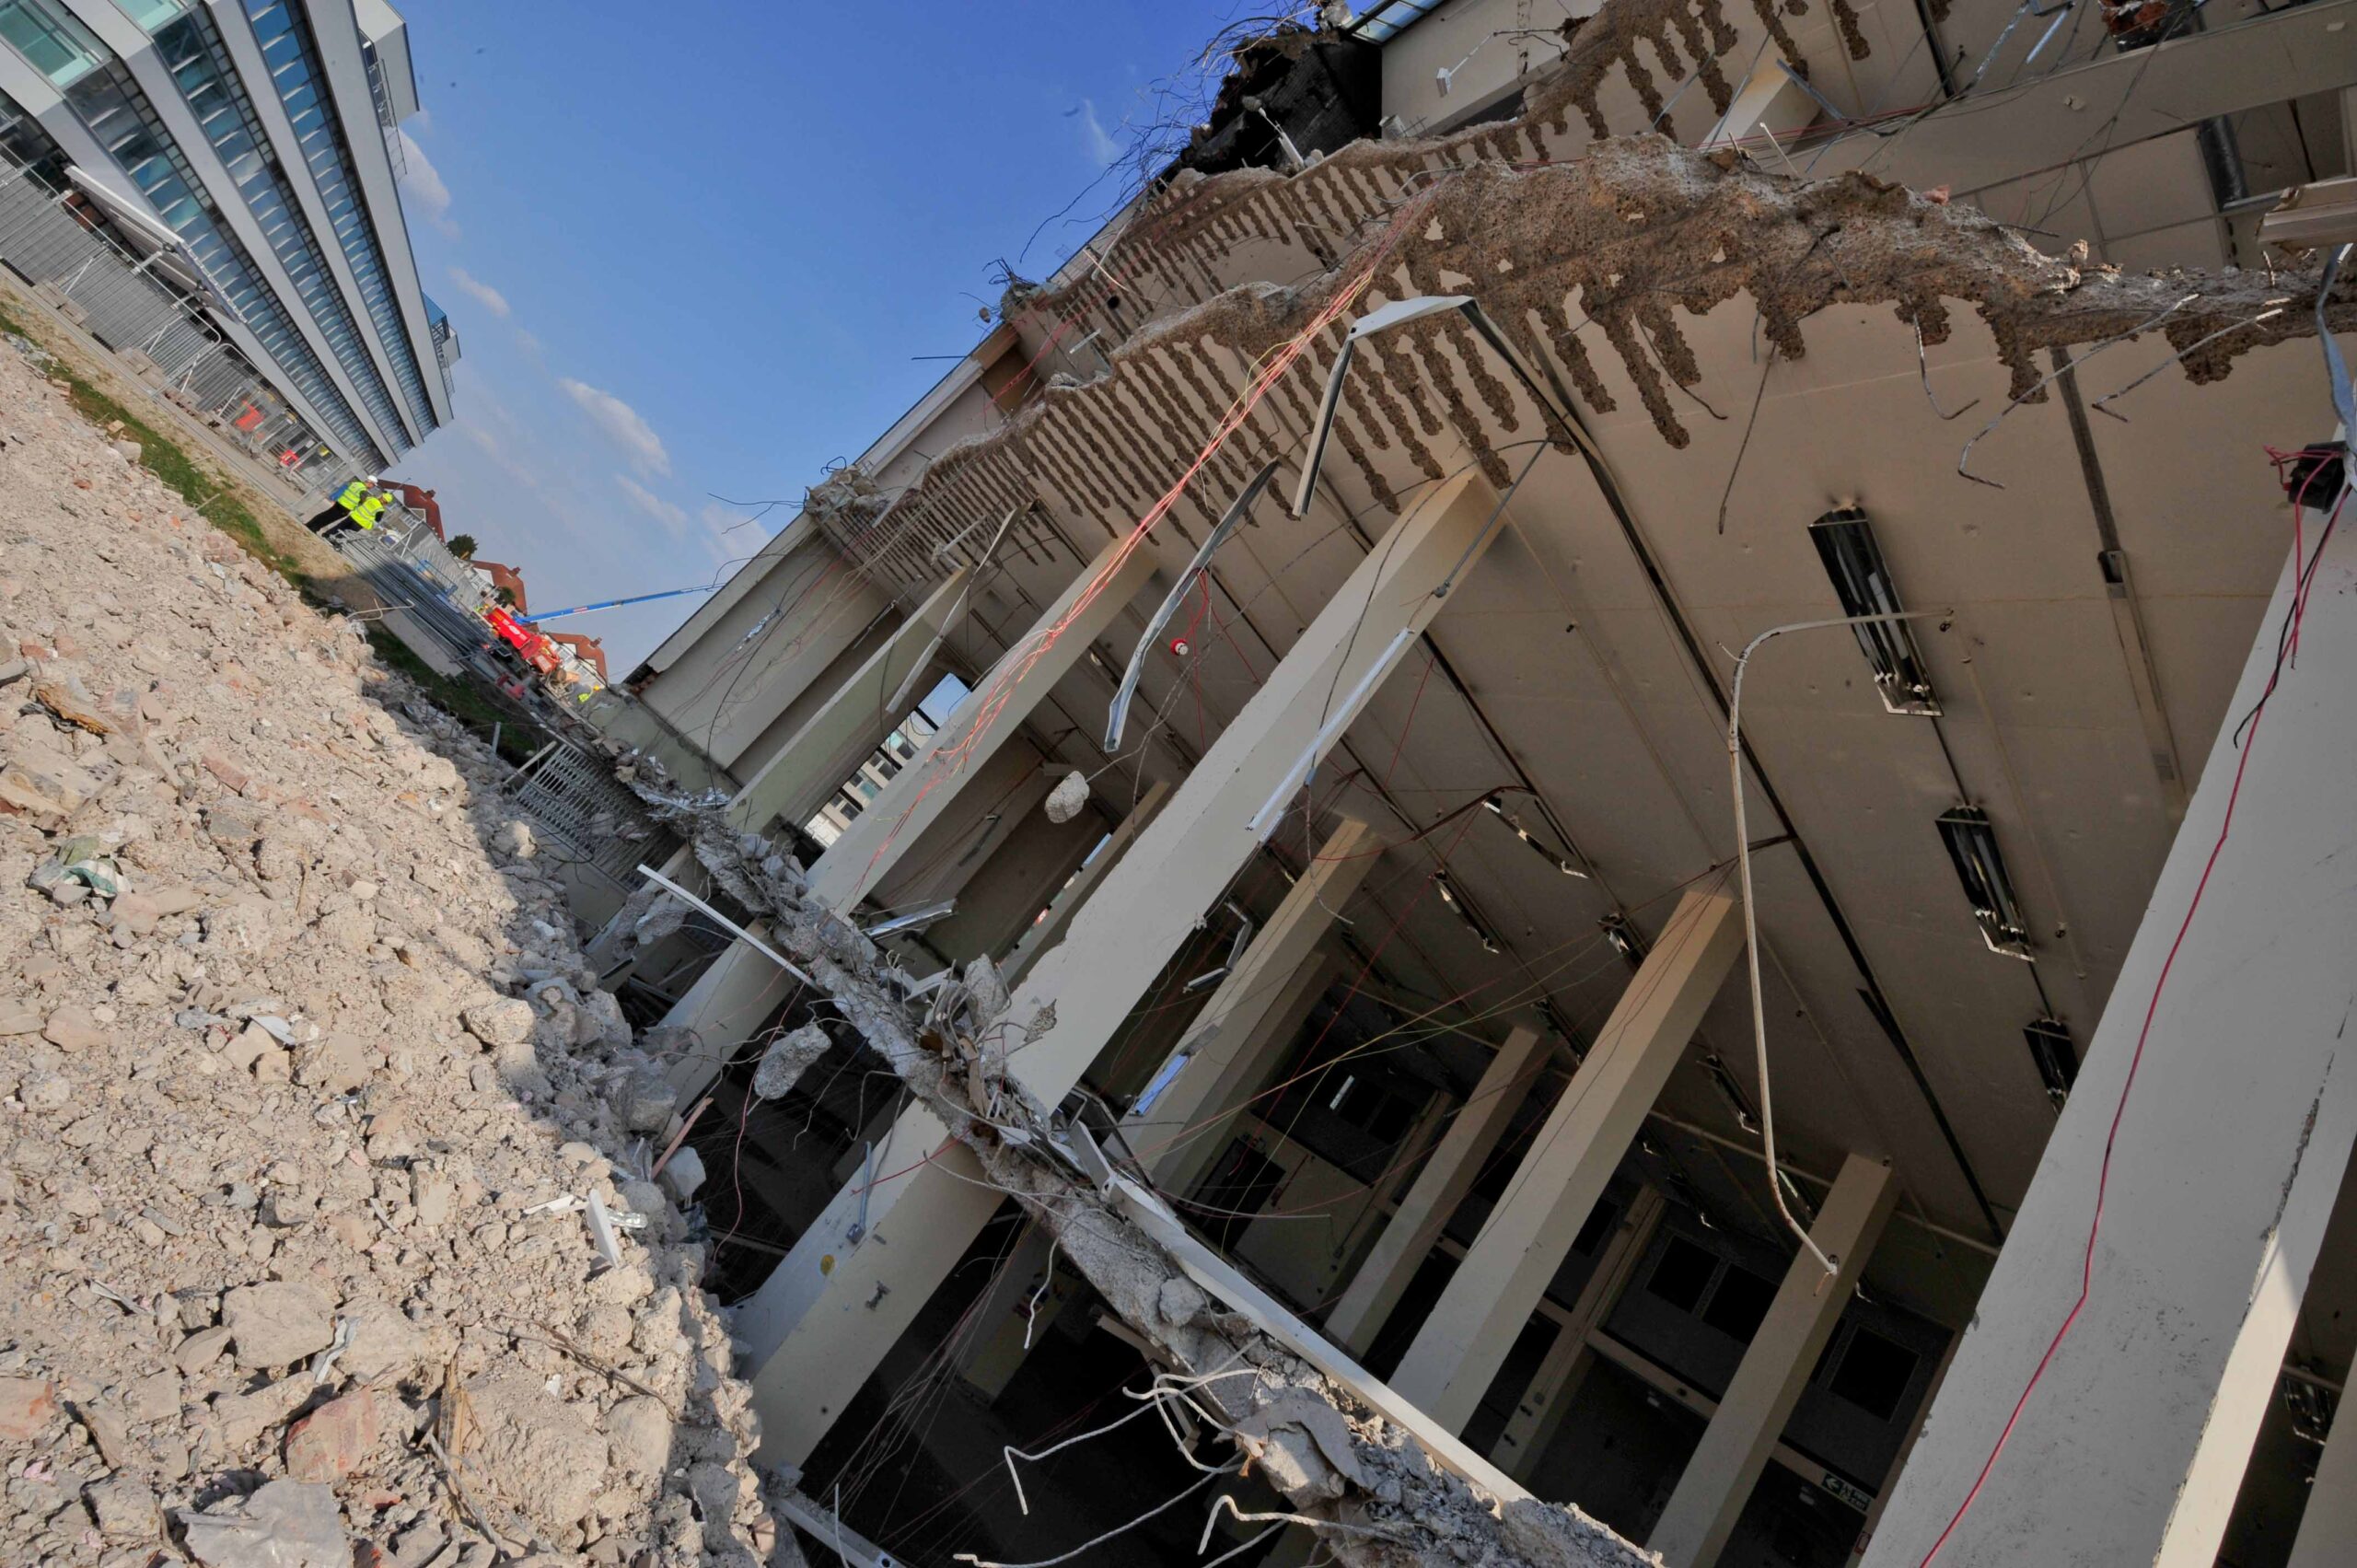
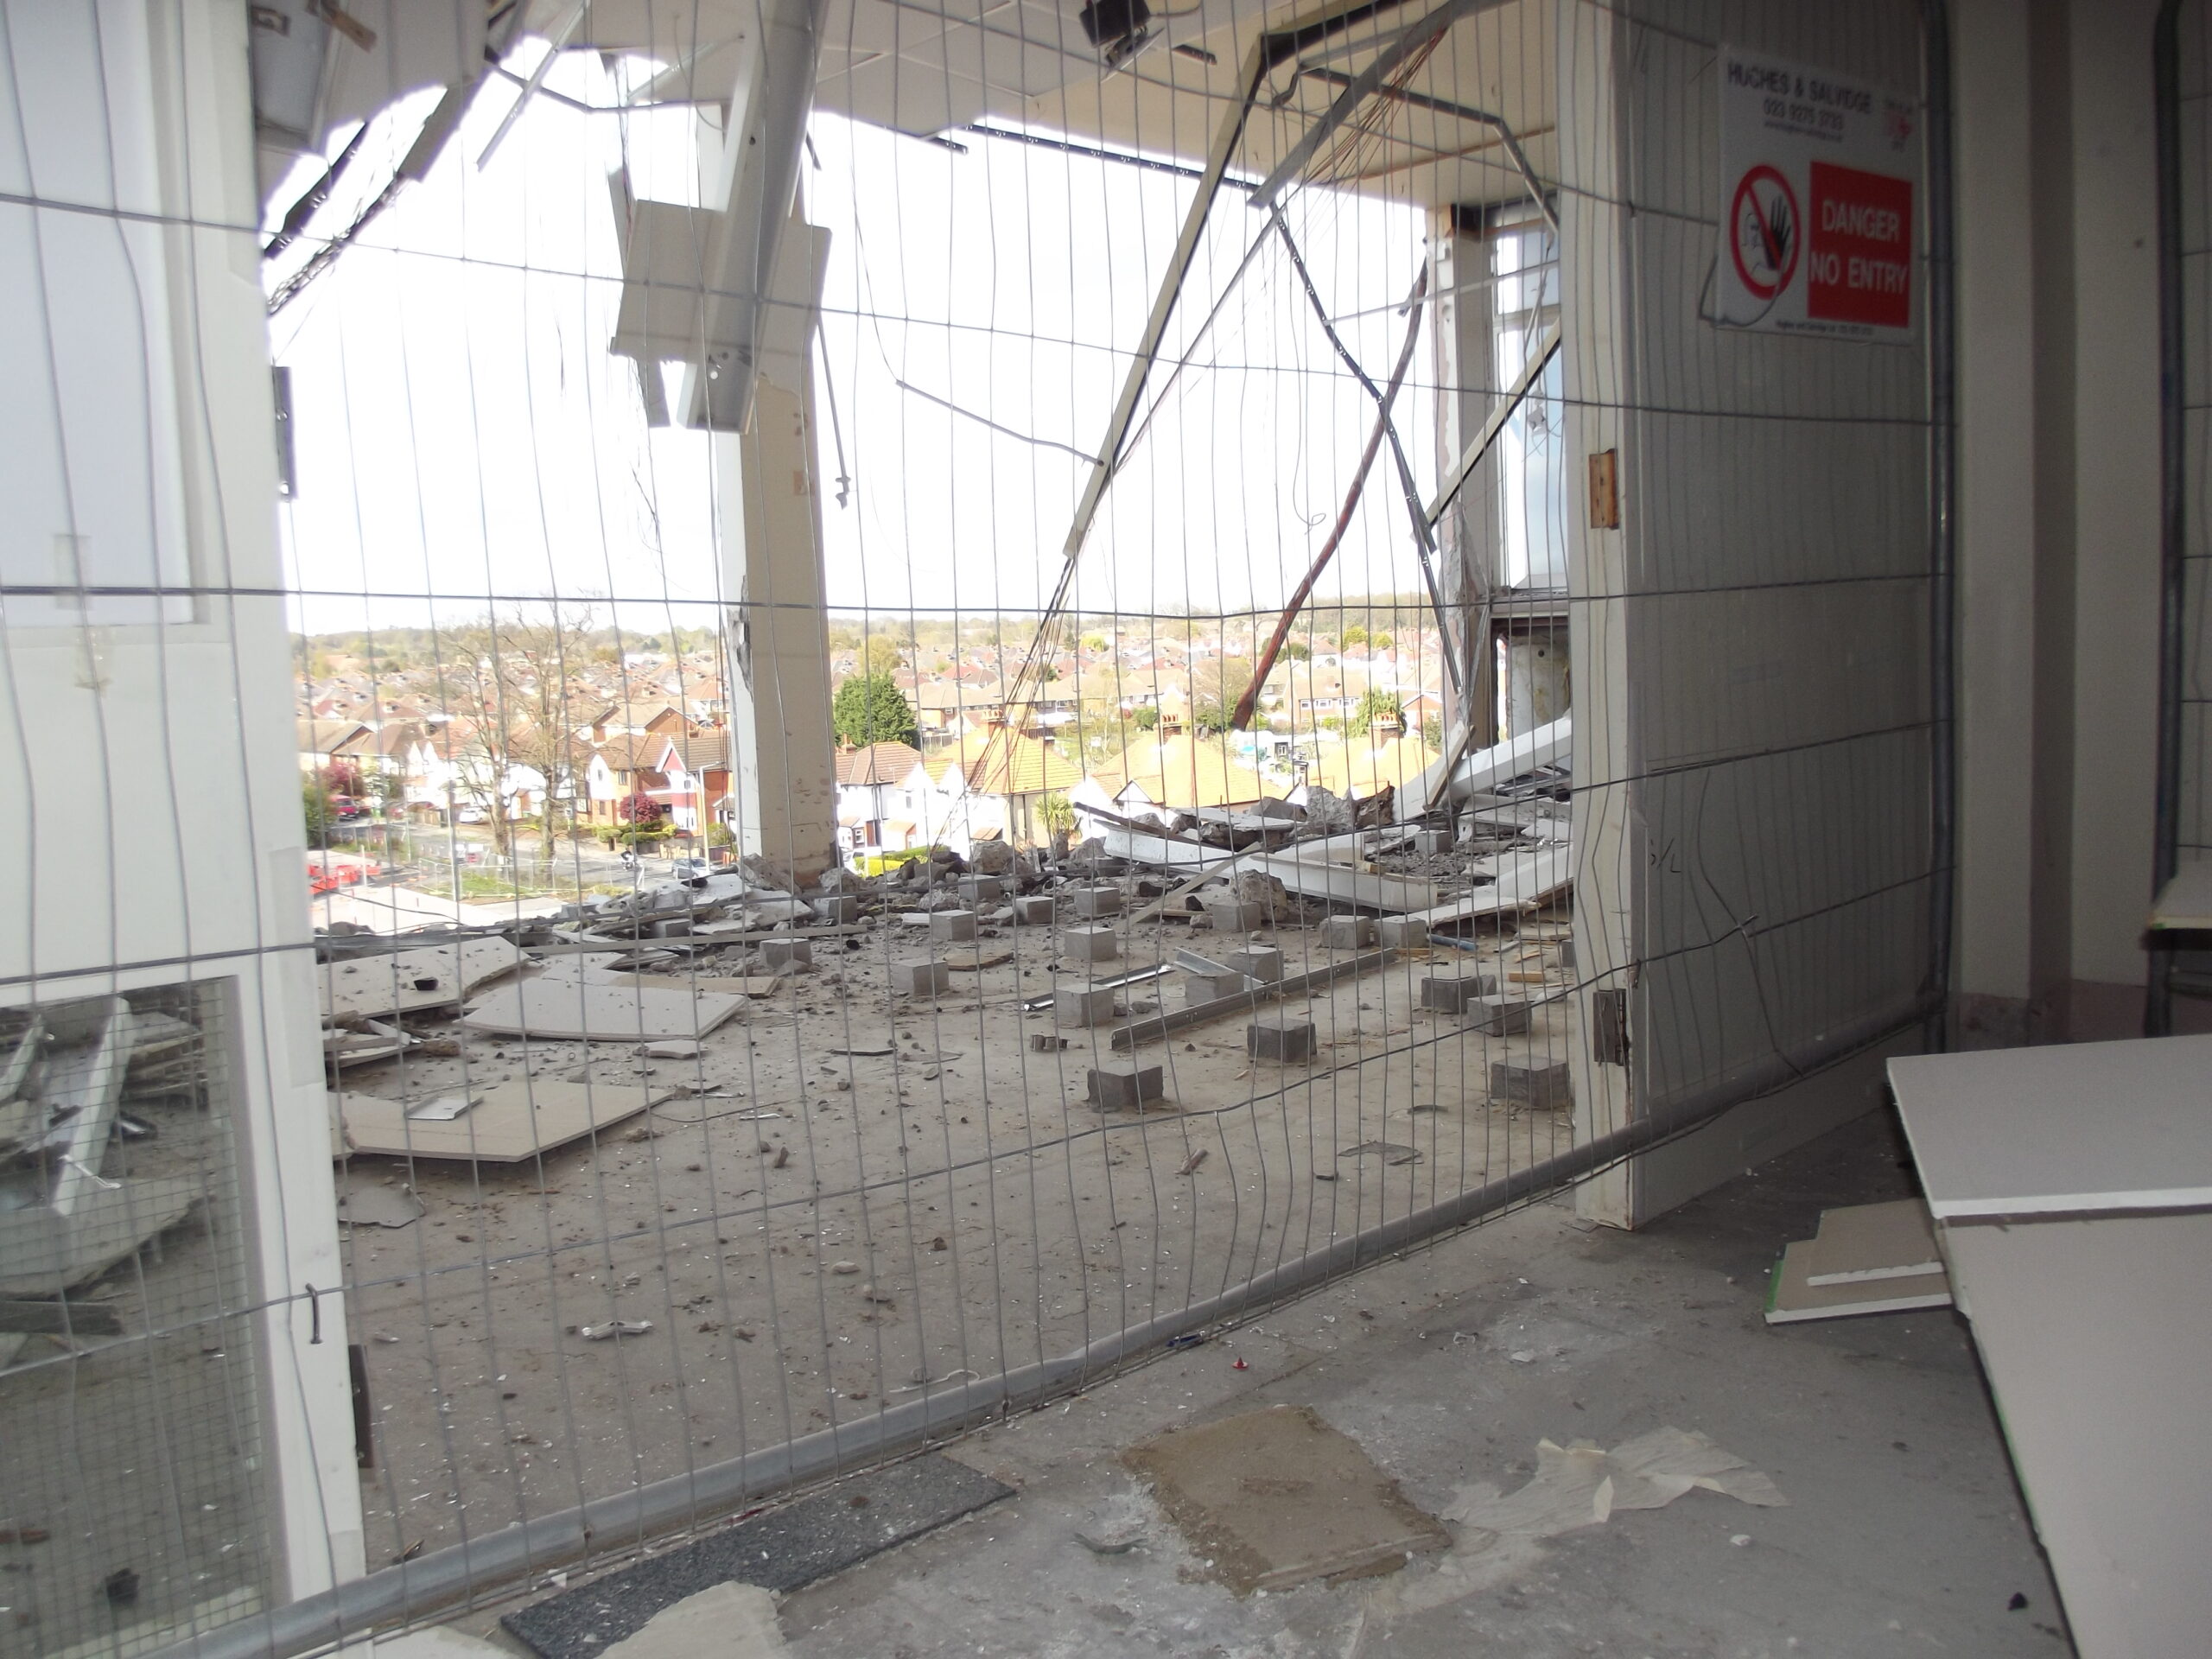
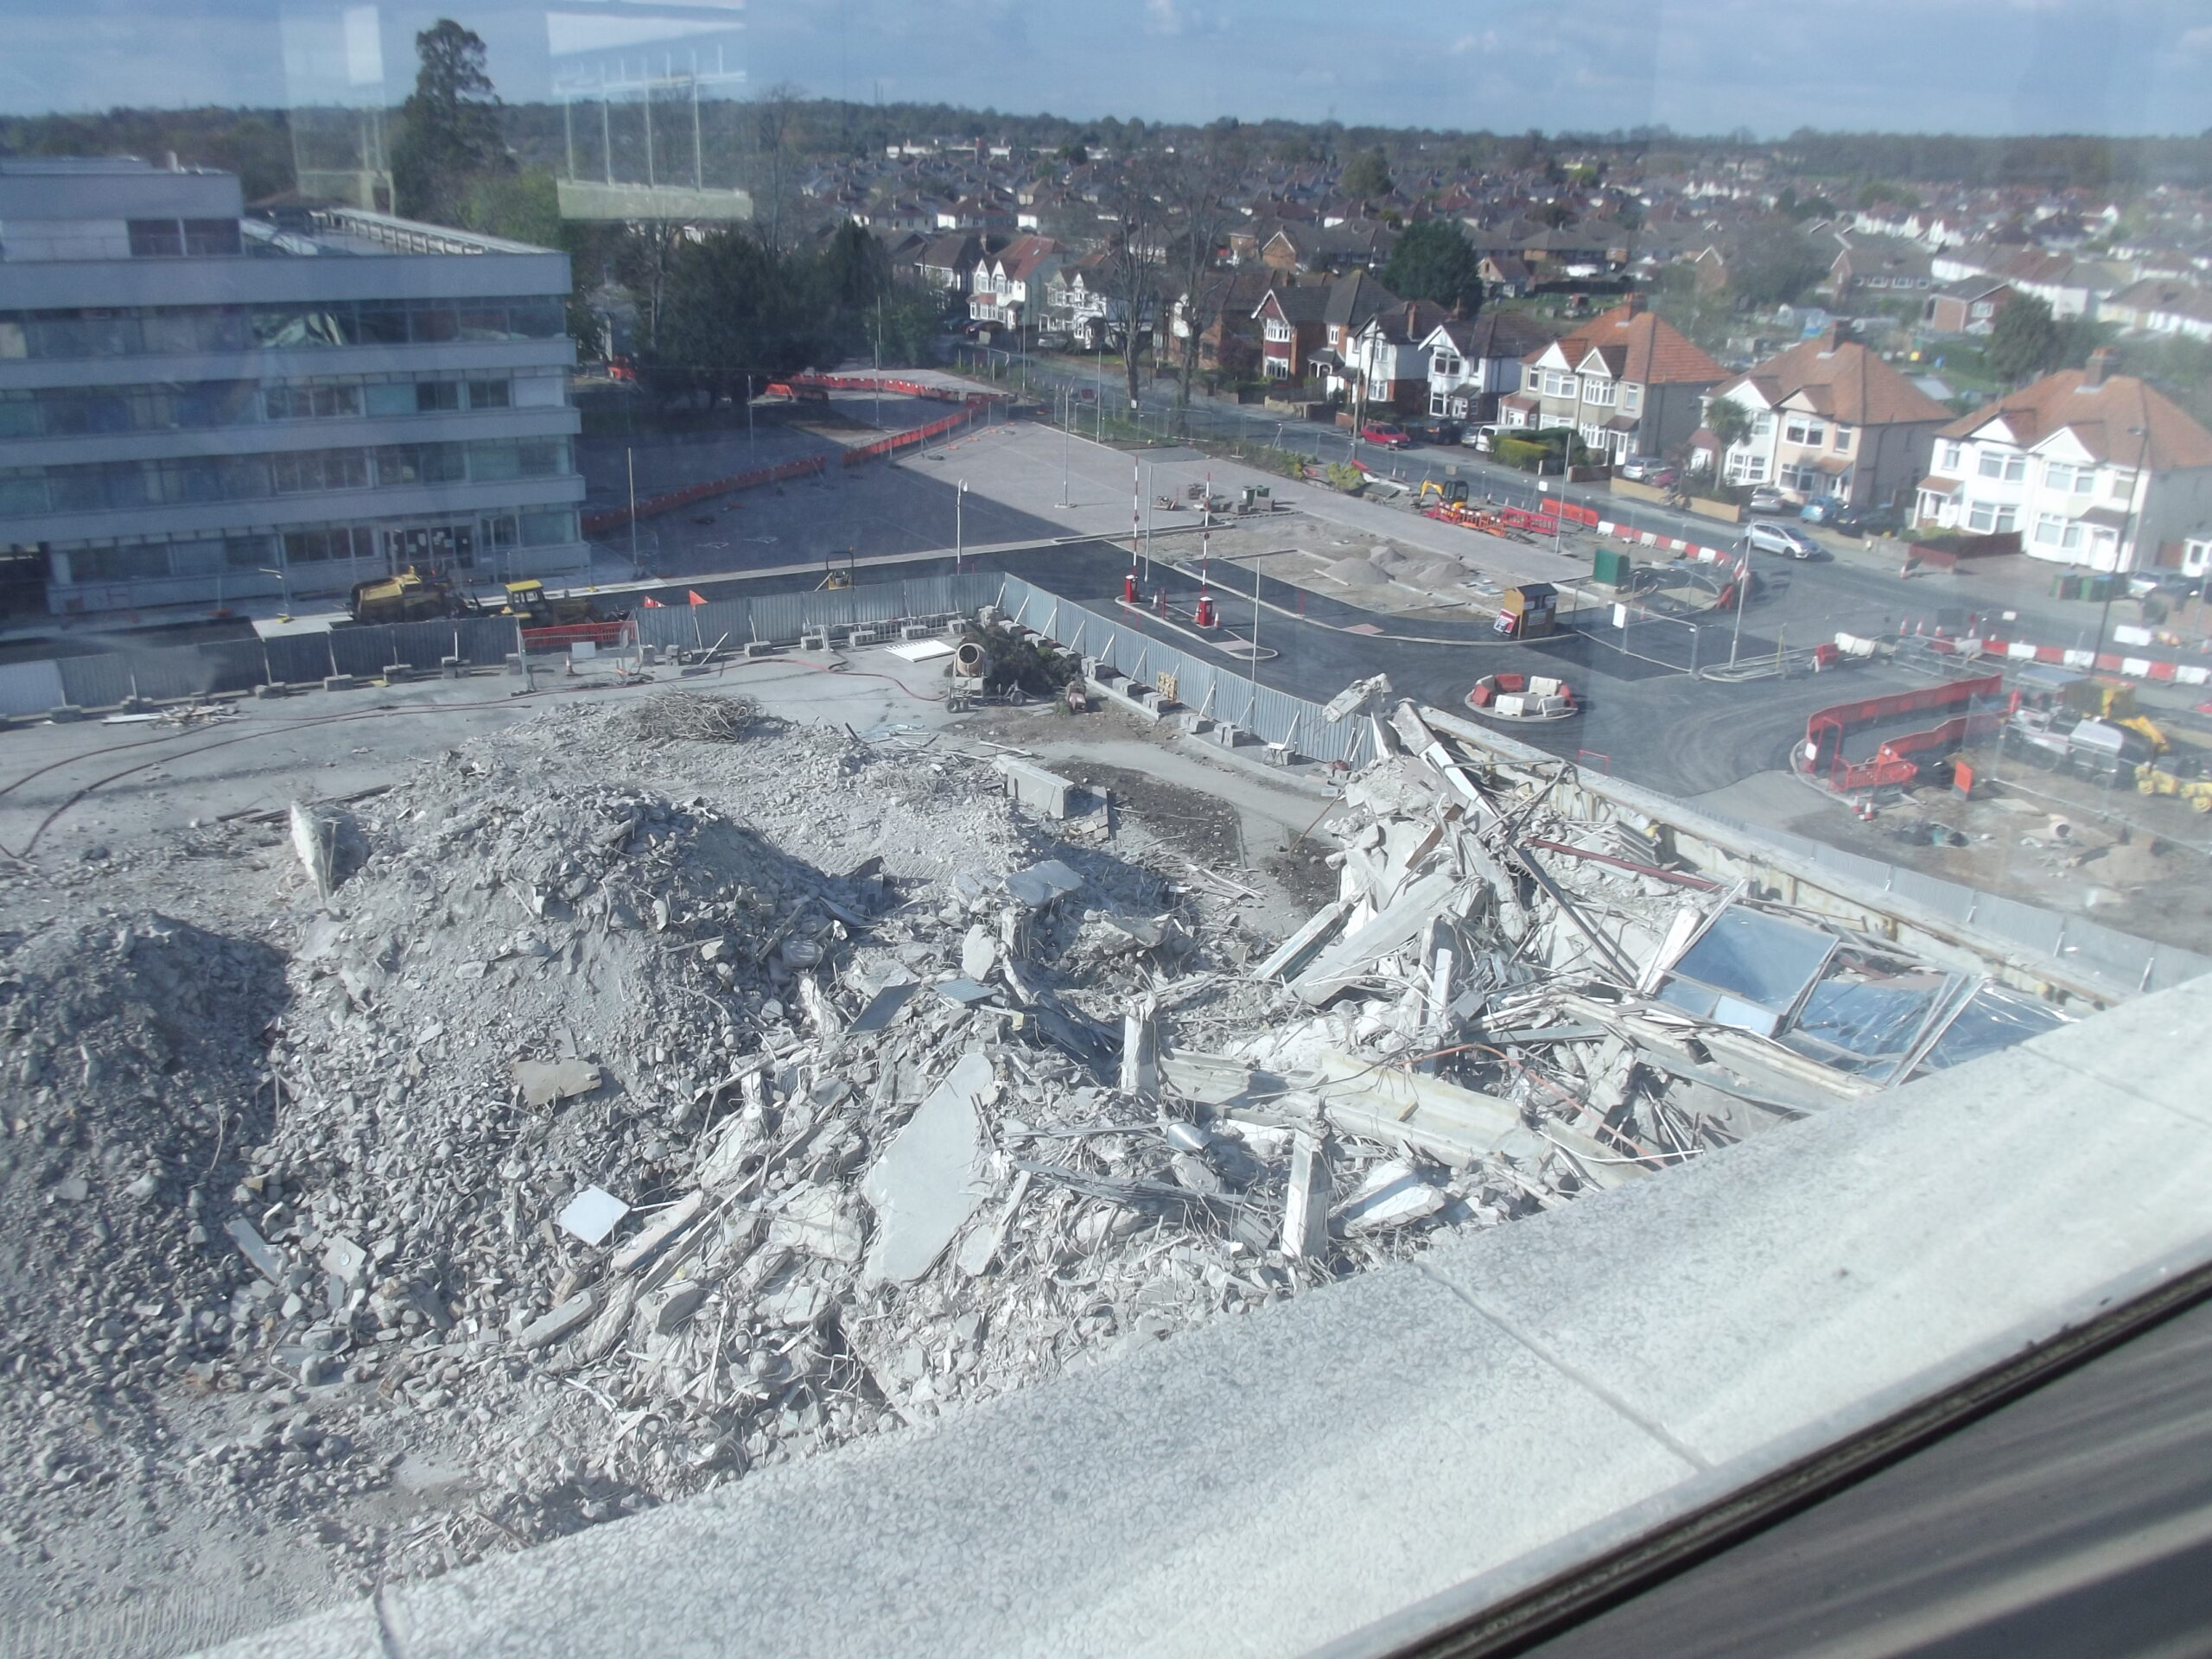
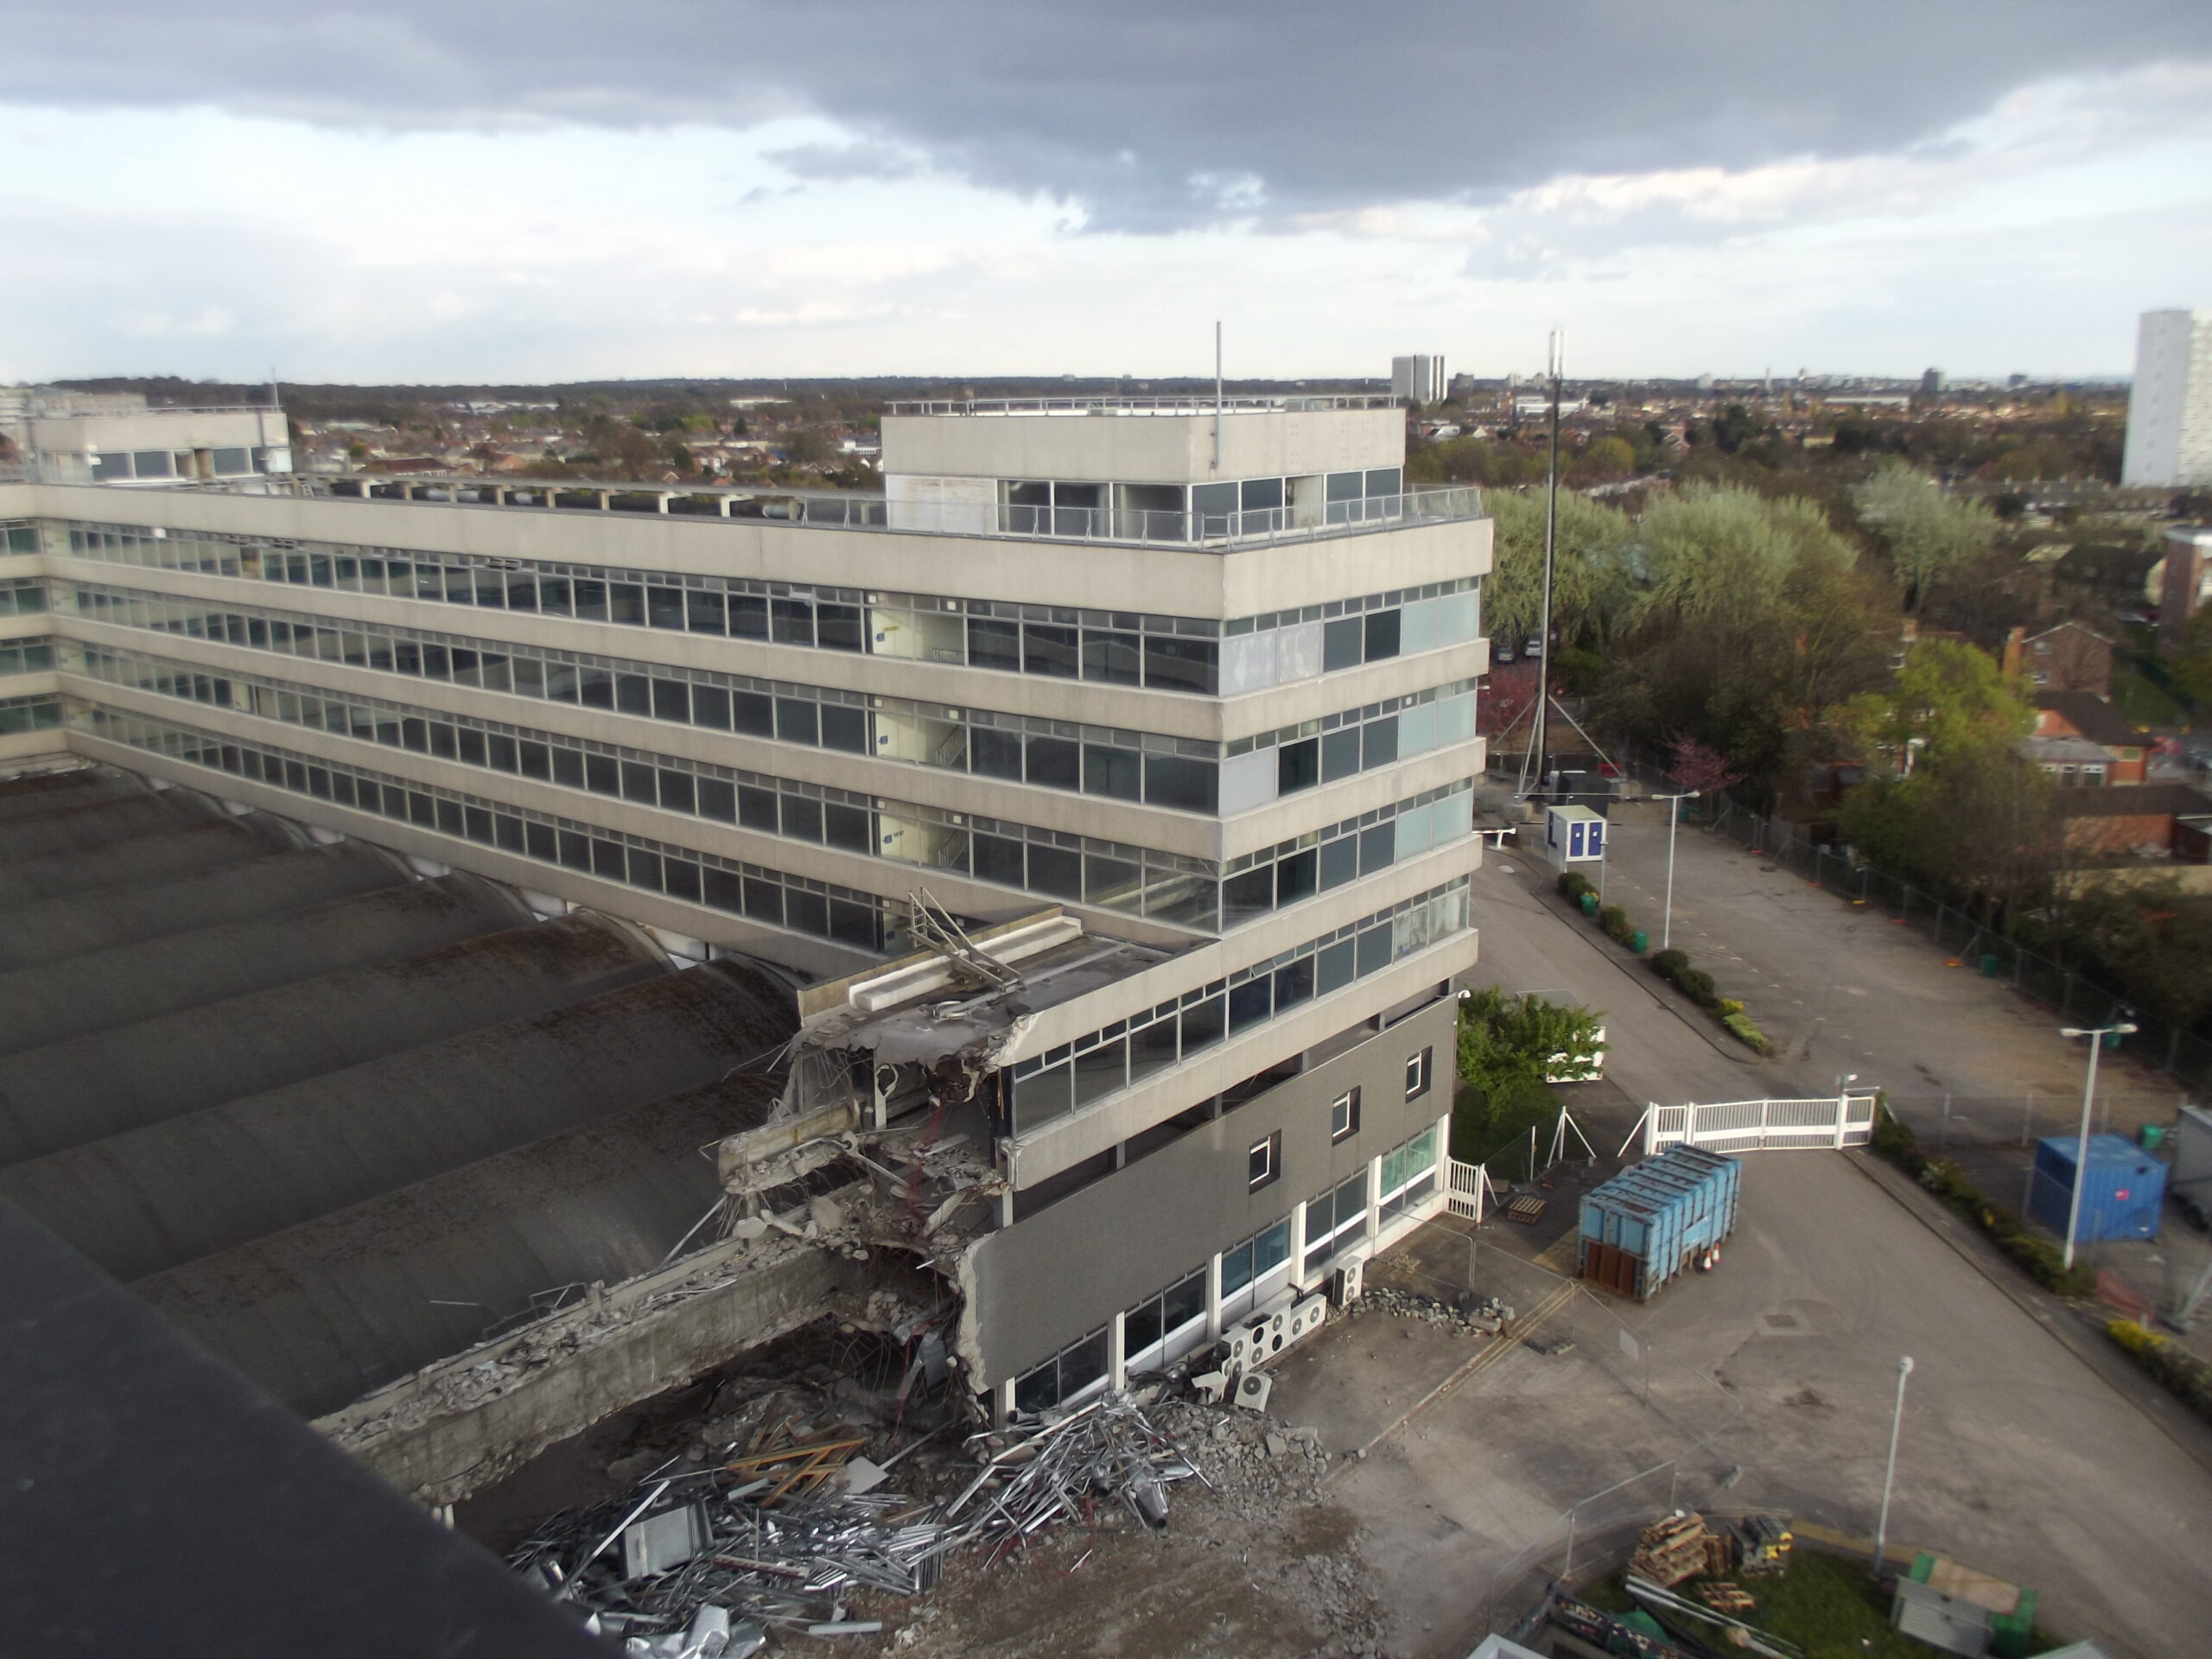
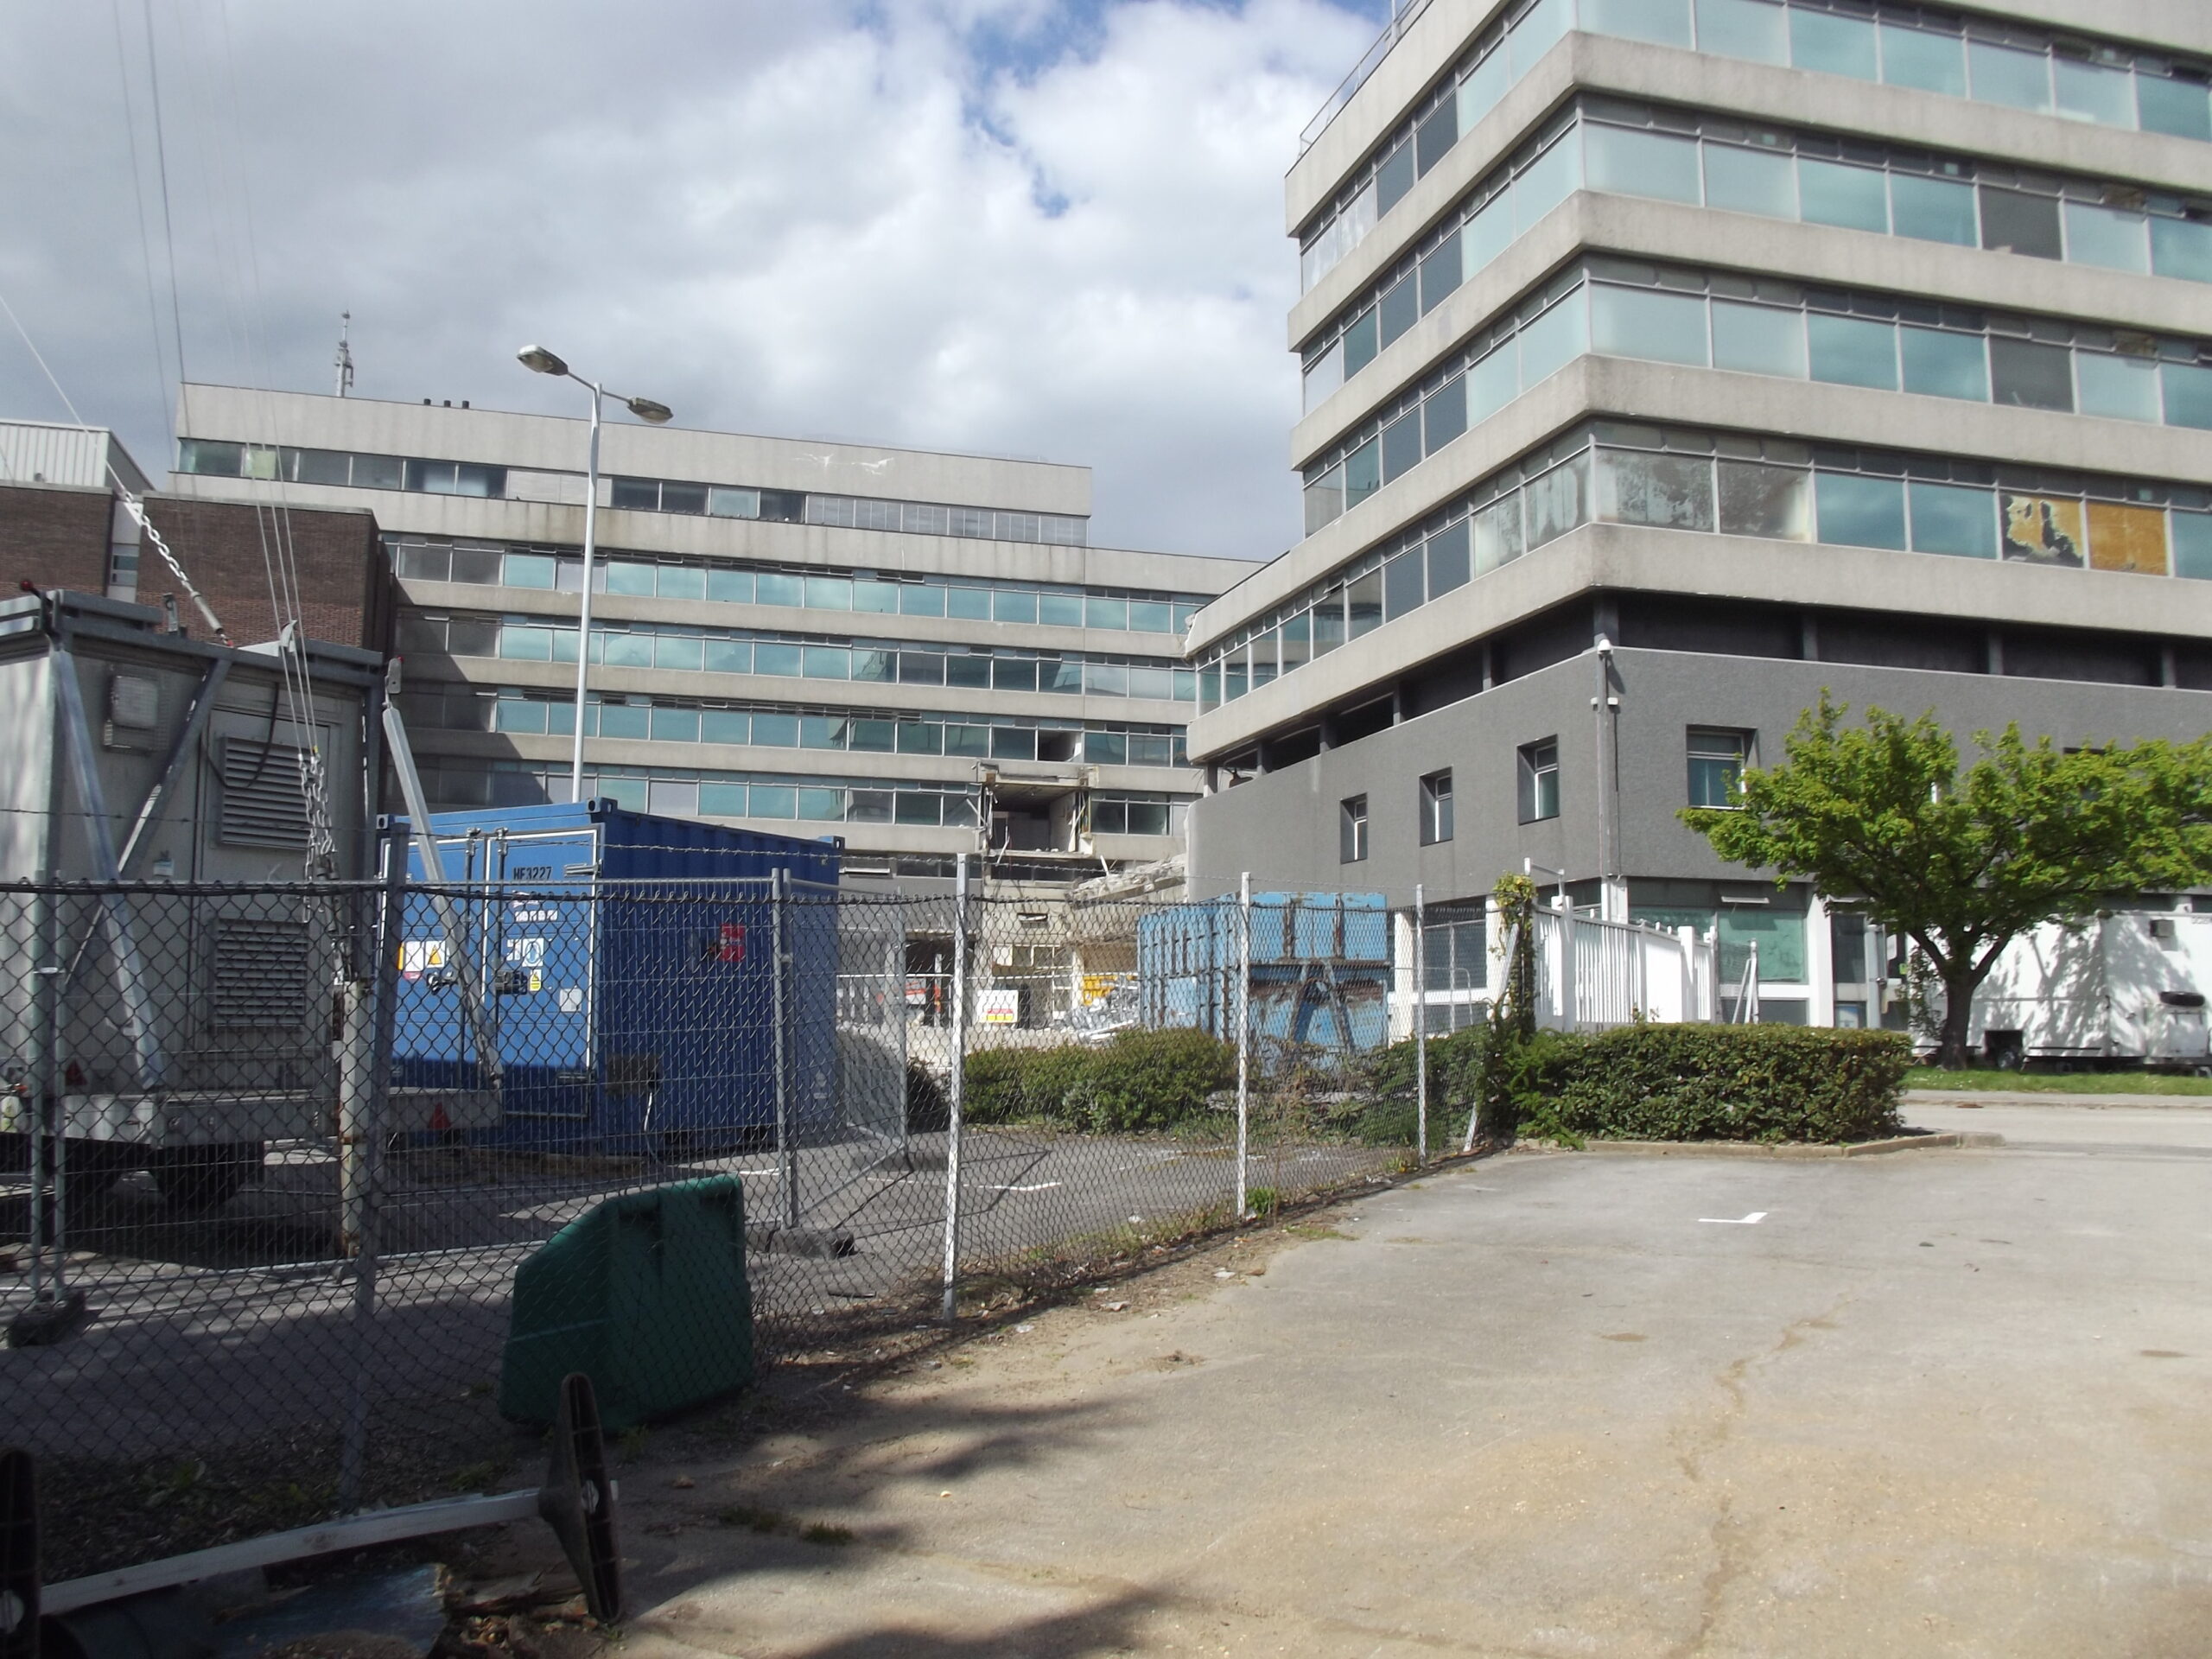
In April 2012, demolition of West Block started and B-C spur of the William Roy Building (WRB) was demolished. There are several sets of photos on this page, from various sources. They are listed in chronological order.
You can click on any photo on this page for a detailed description and full-size images. Please let me know if you have any comments or suggestions as I will be more than happy to update this page. There is a contact form underneath each photo. This page is nearly complete but just one small last set of photos from 21 April will be added shortly.
Ordnance Survey official photos
An Ordnance Survey photographer visited the Maybush site about once a month to take photos, which were published on the OS Intranet site for the interest of staff.
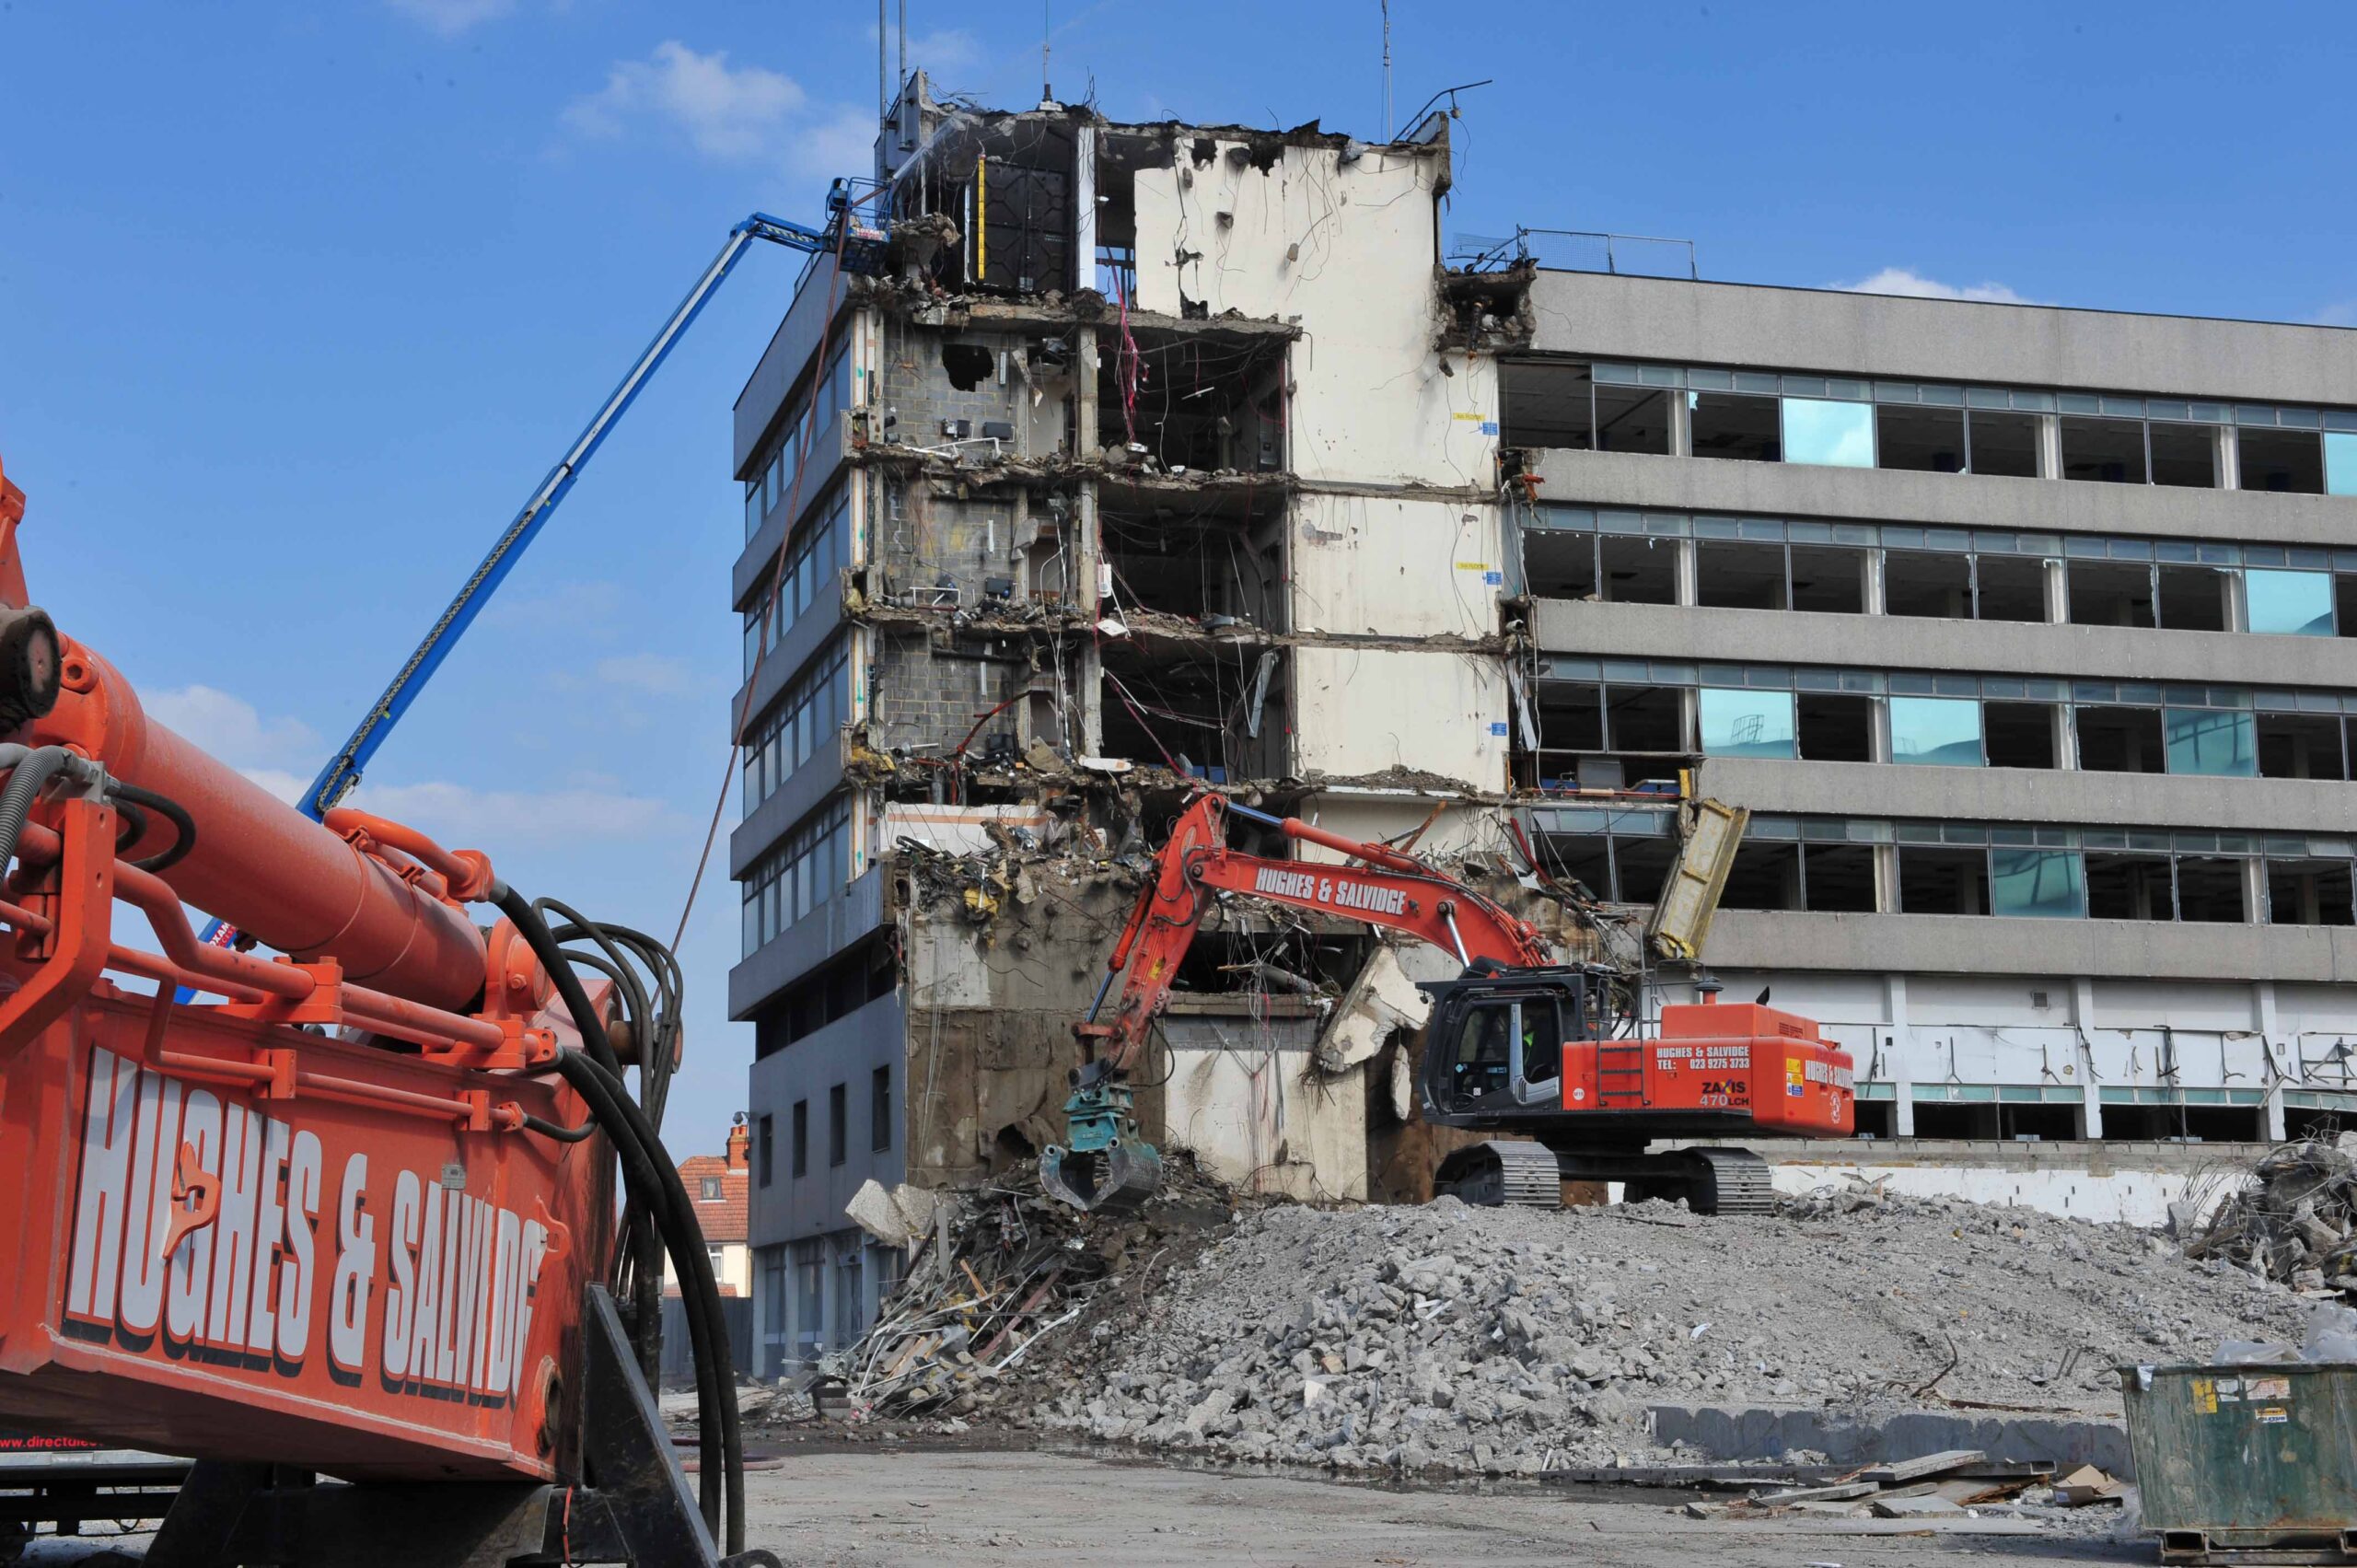
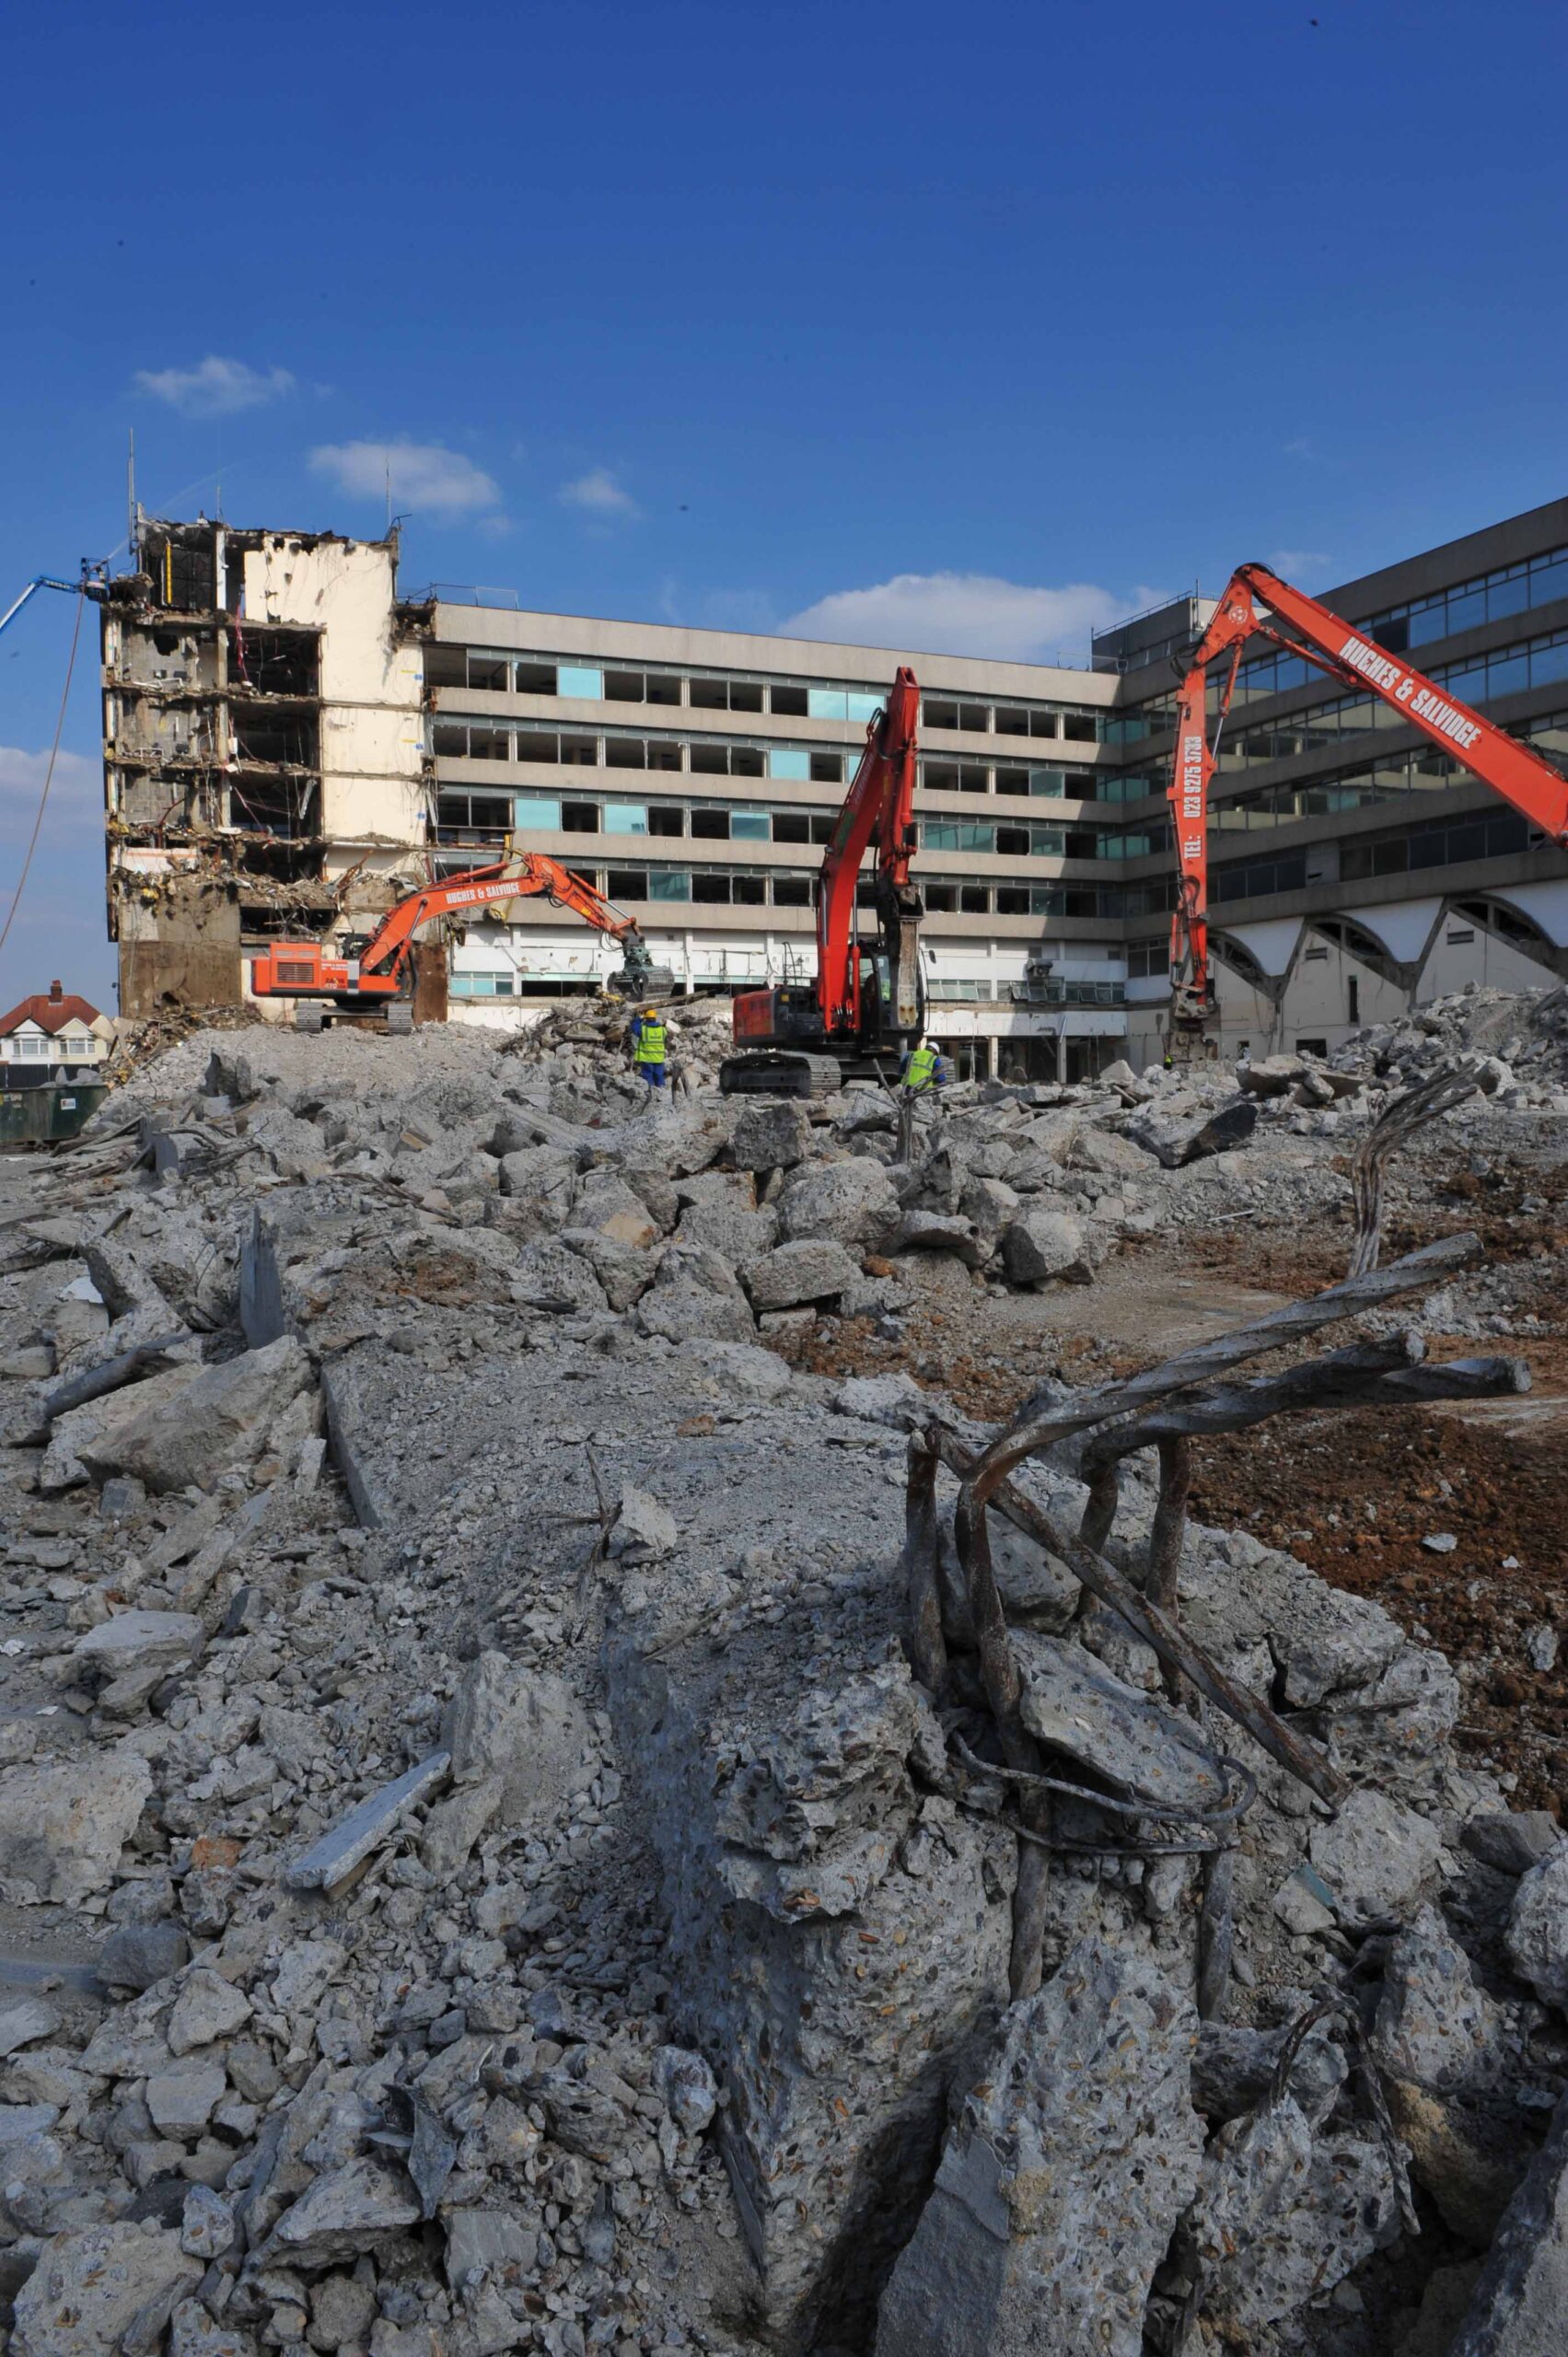
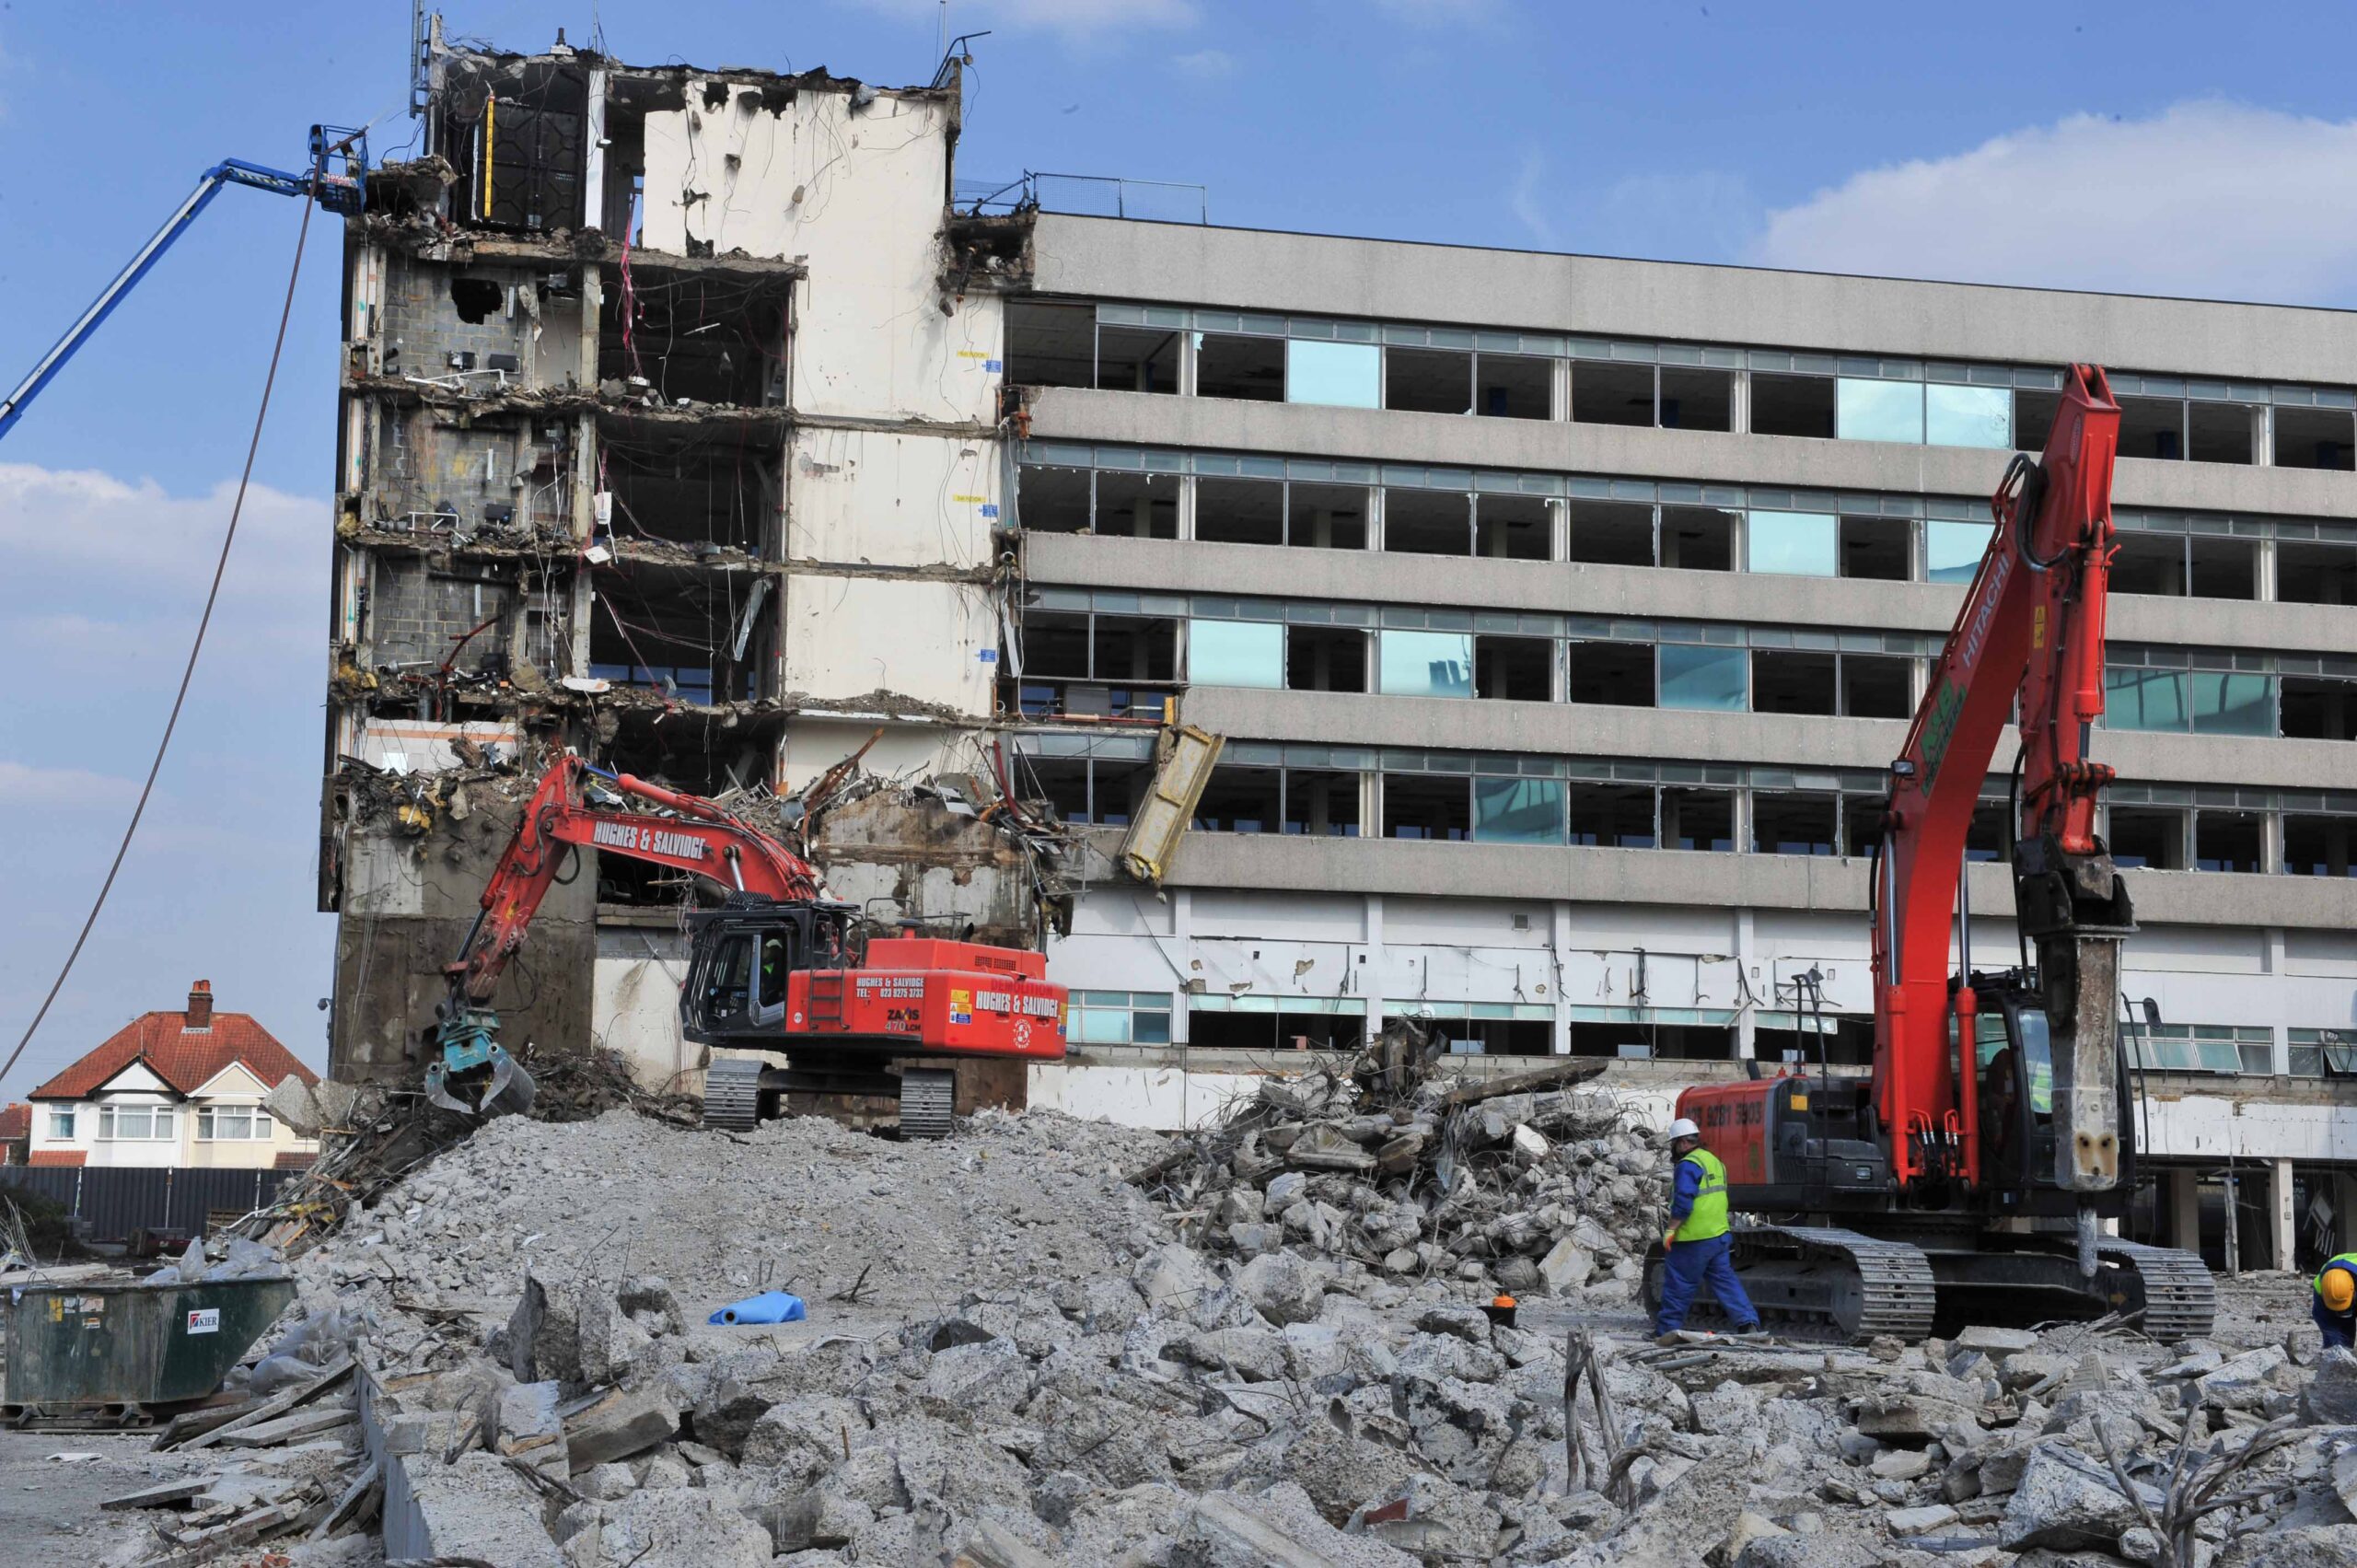
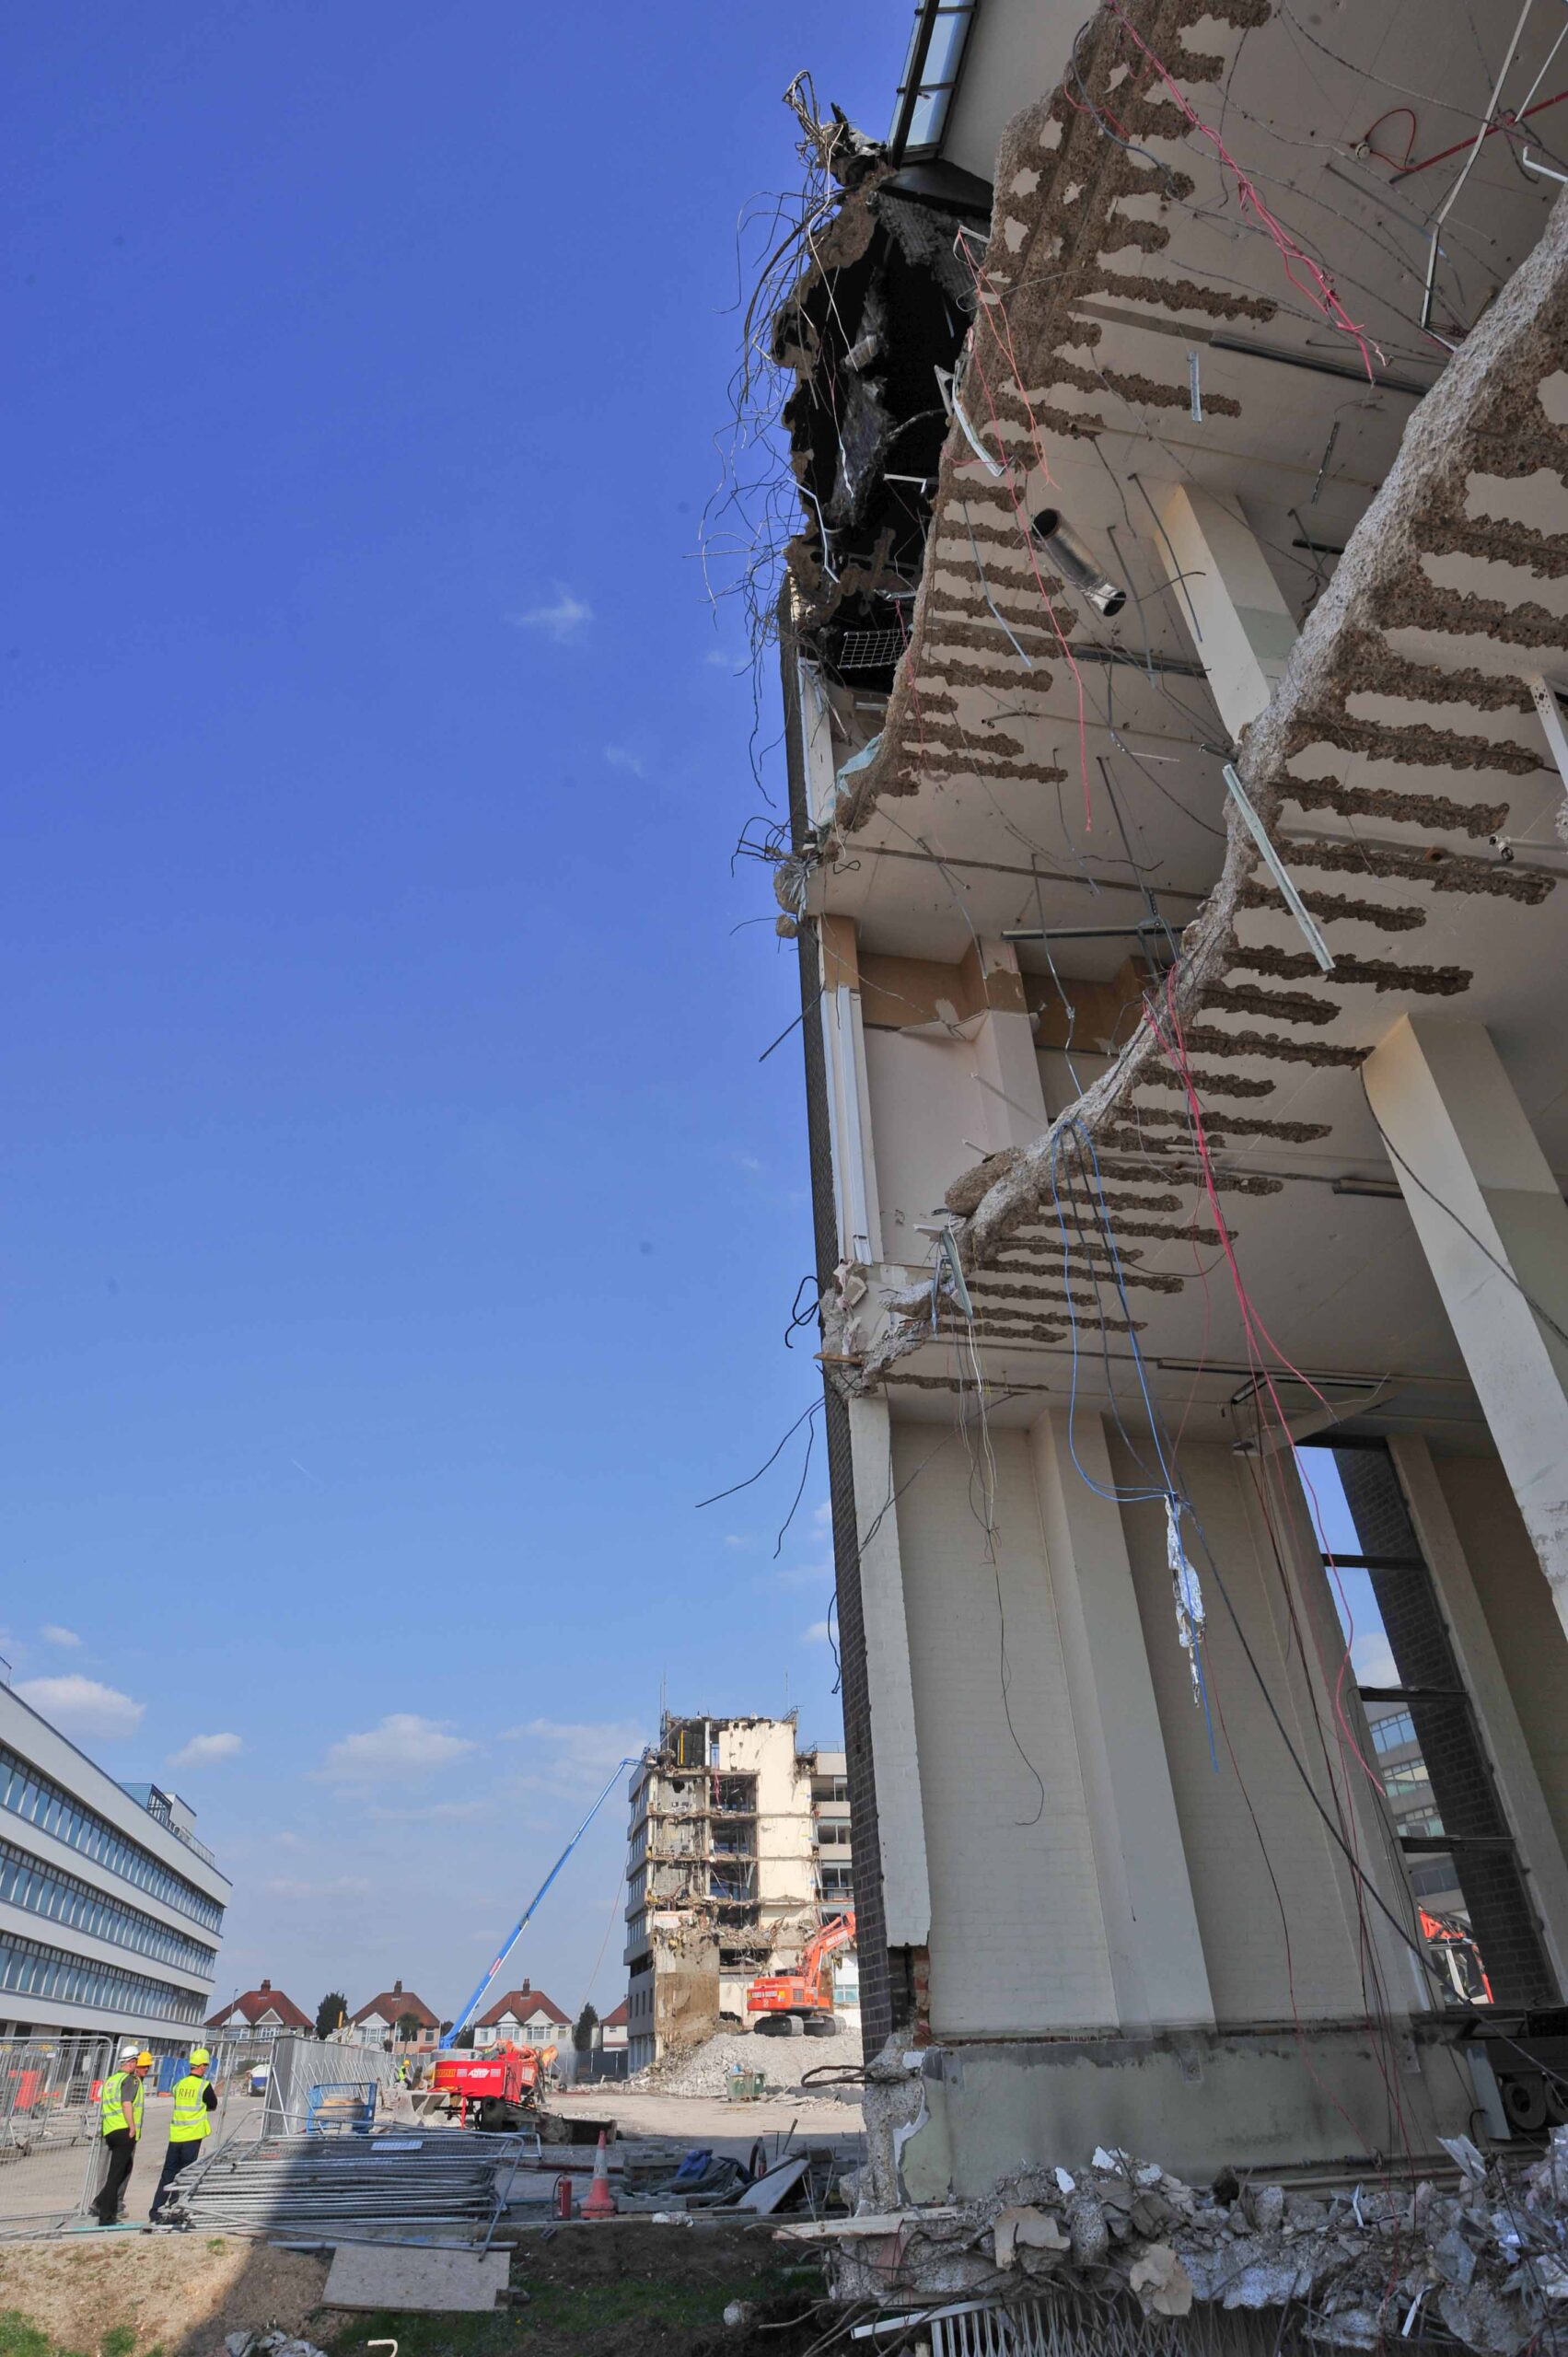
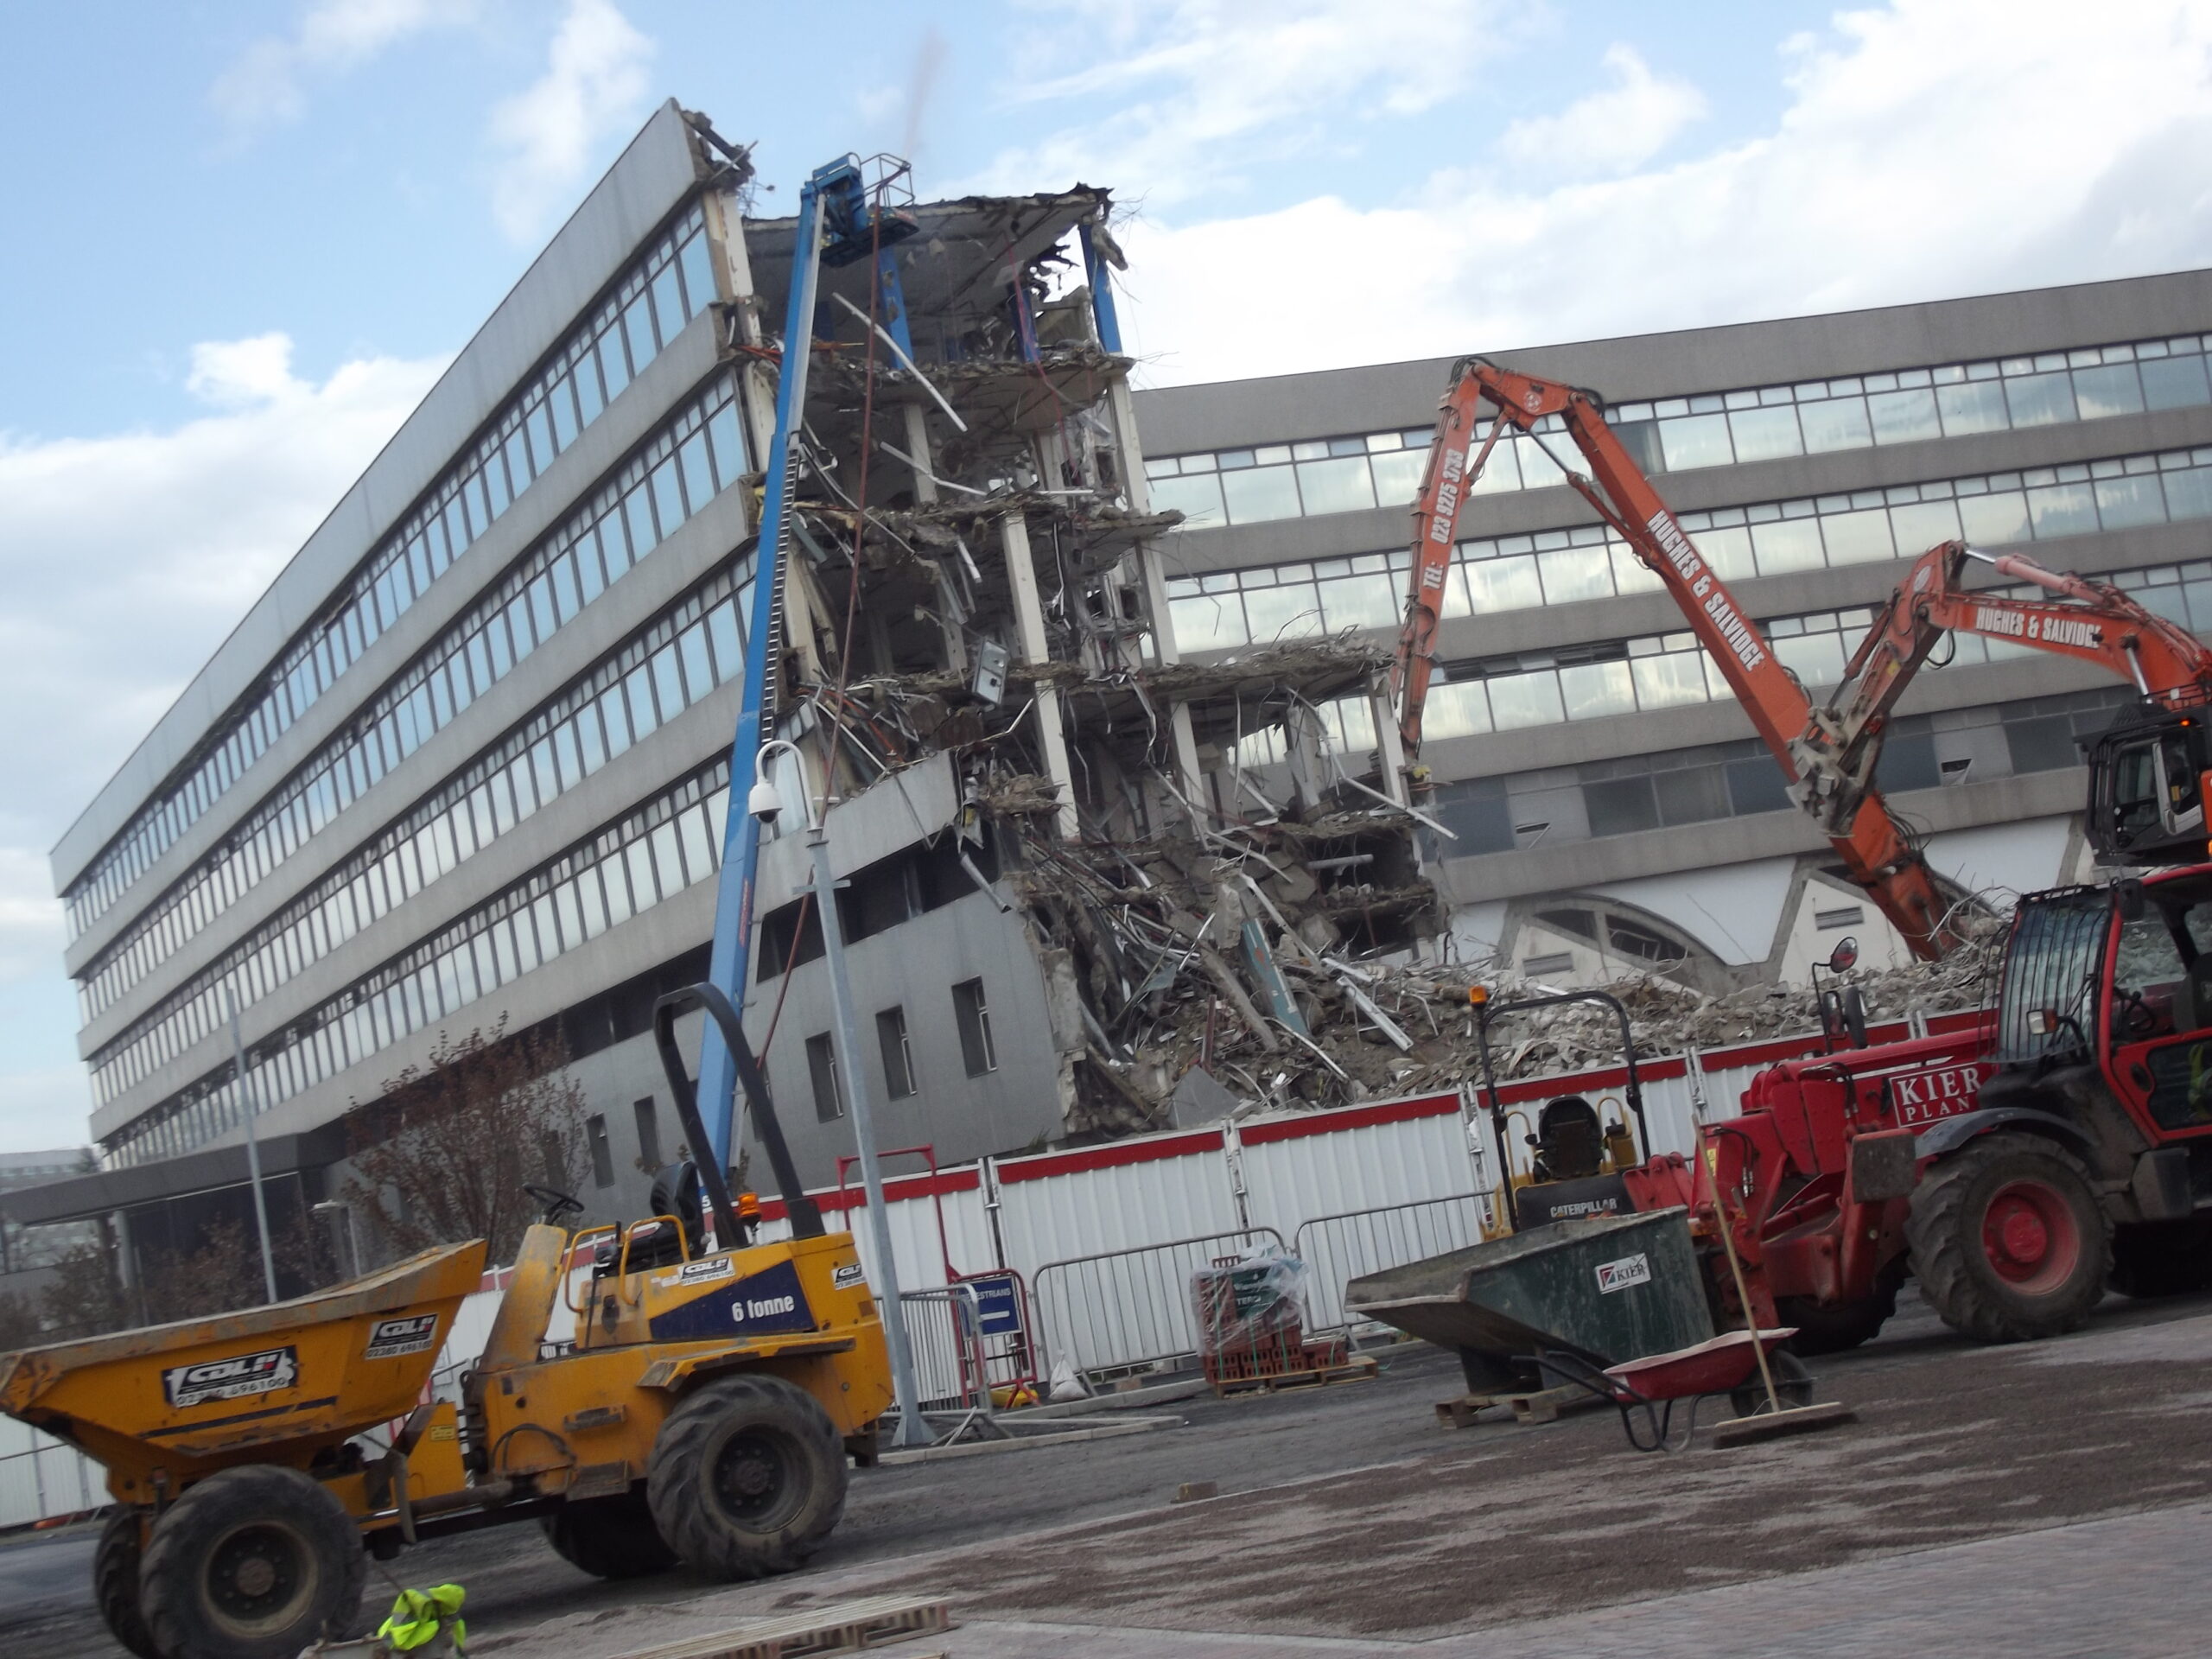
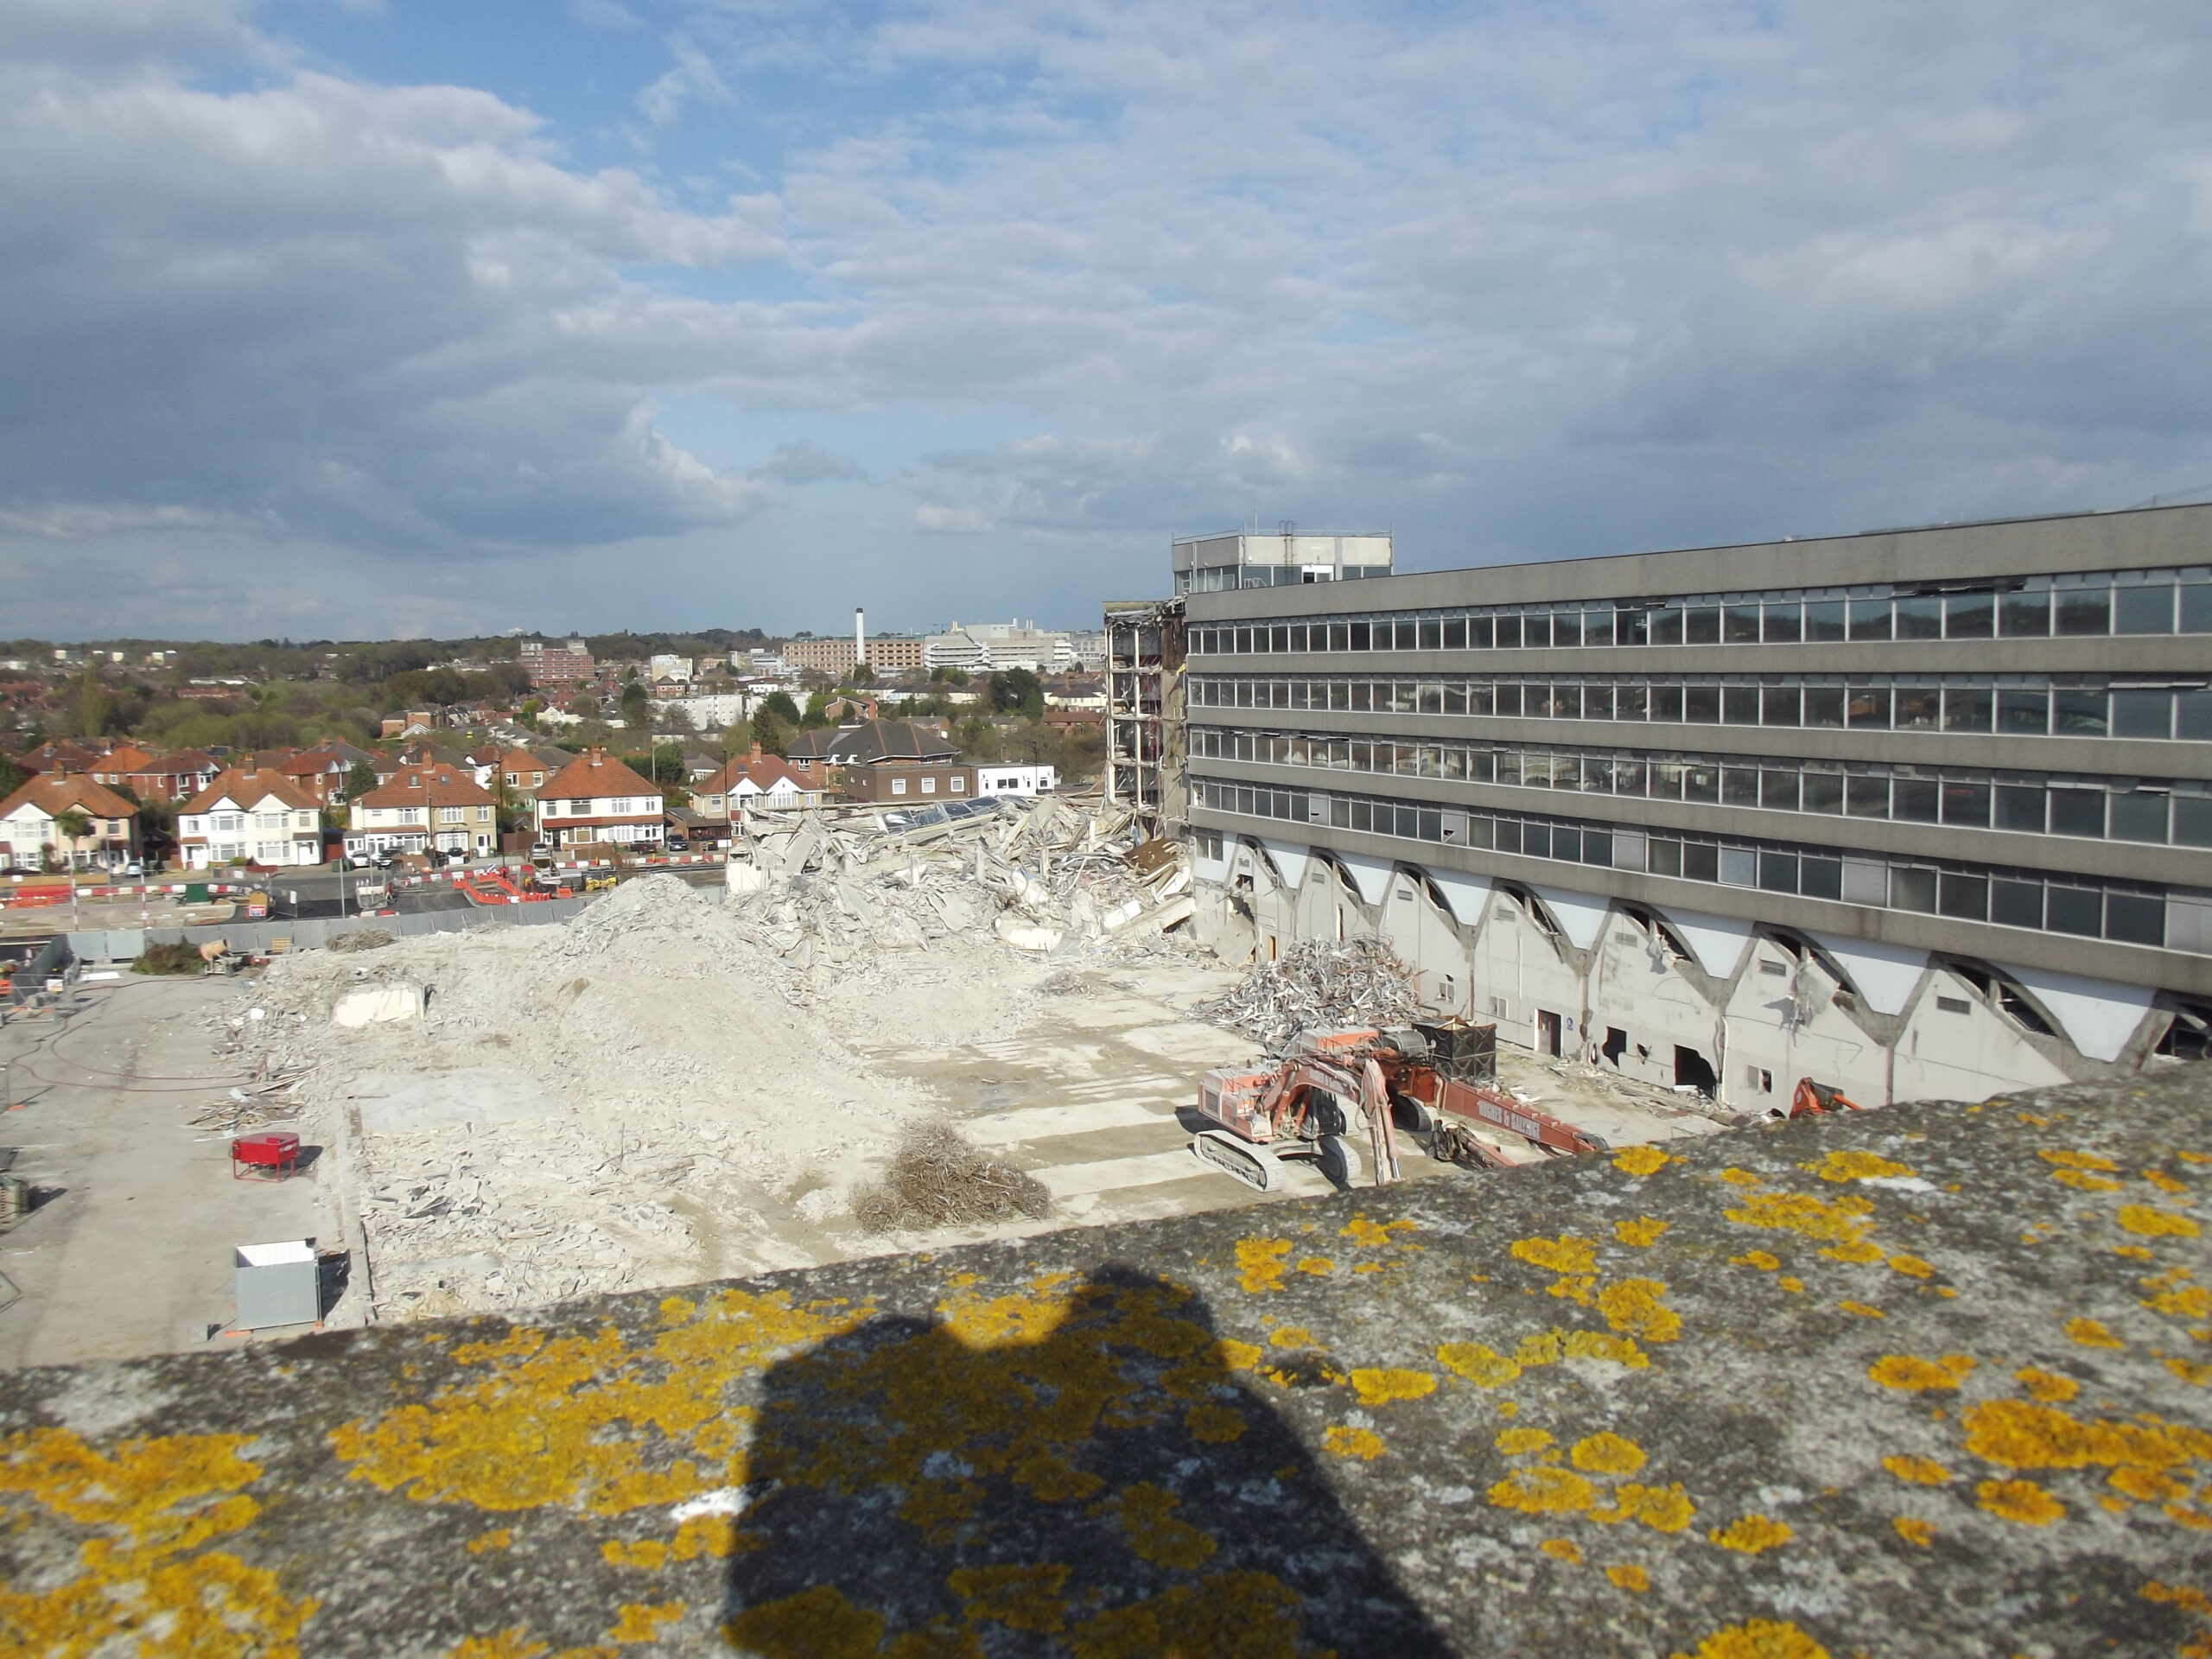
2 April 2012
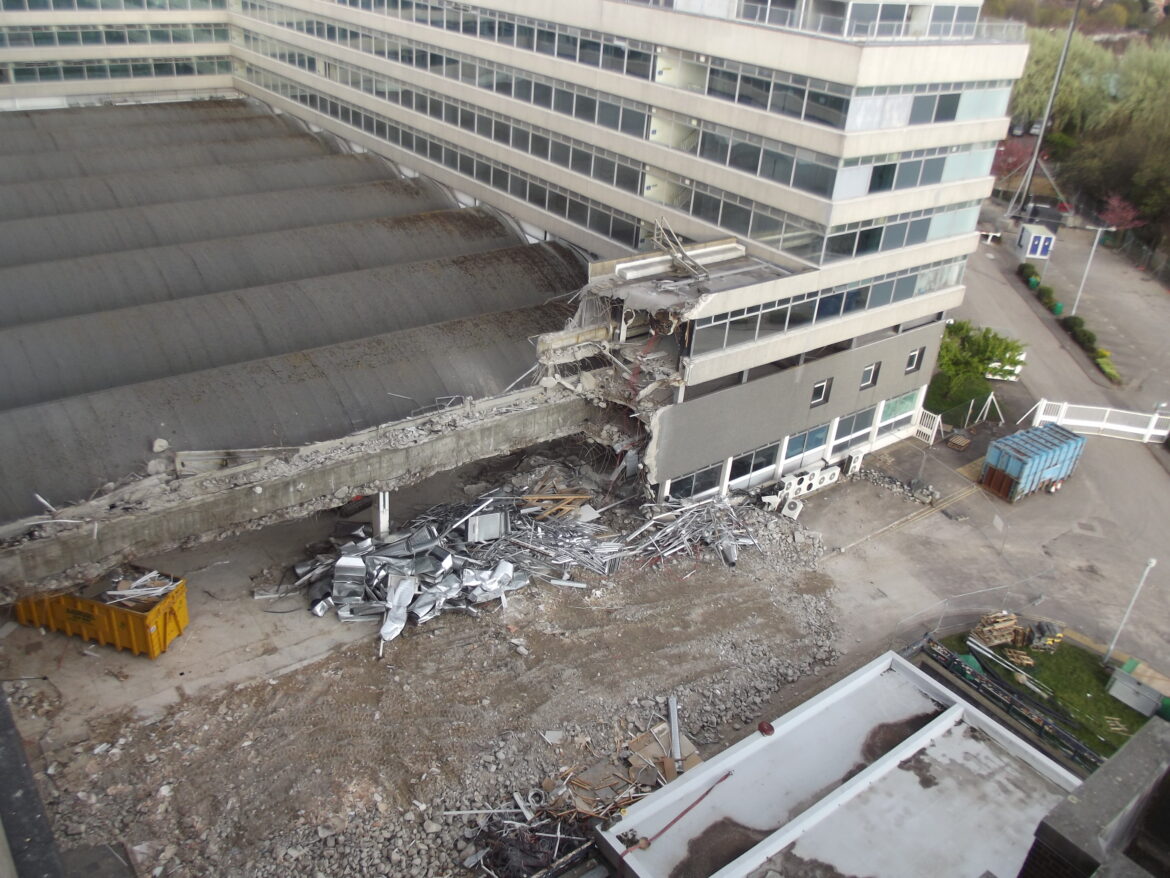
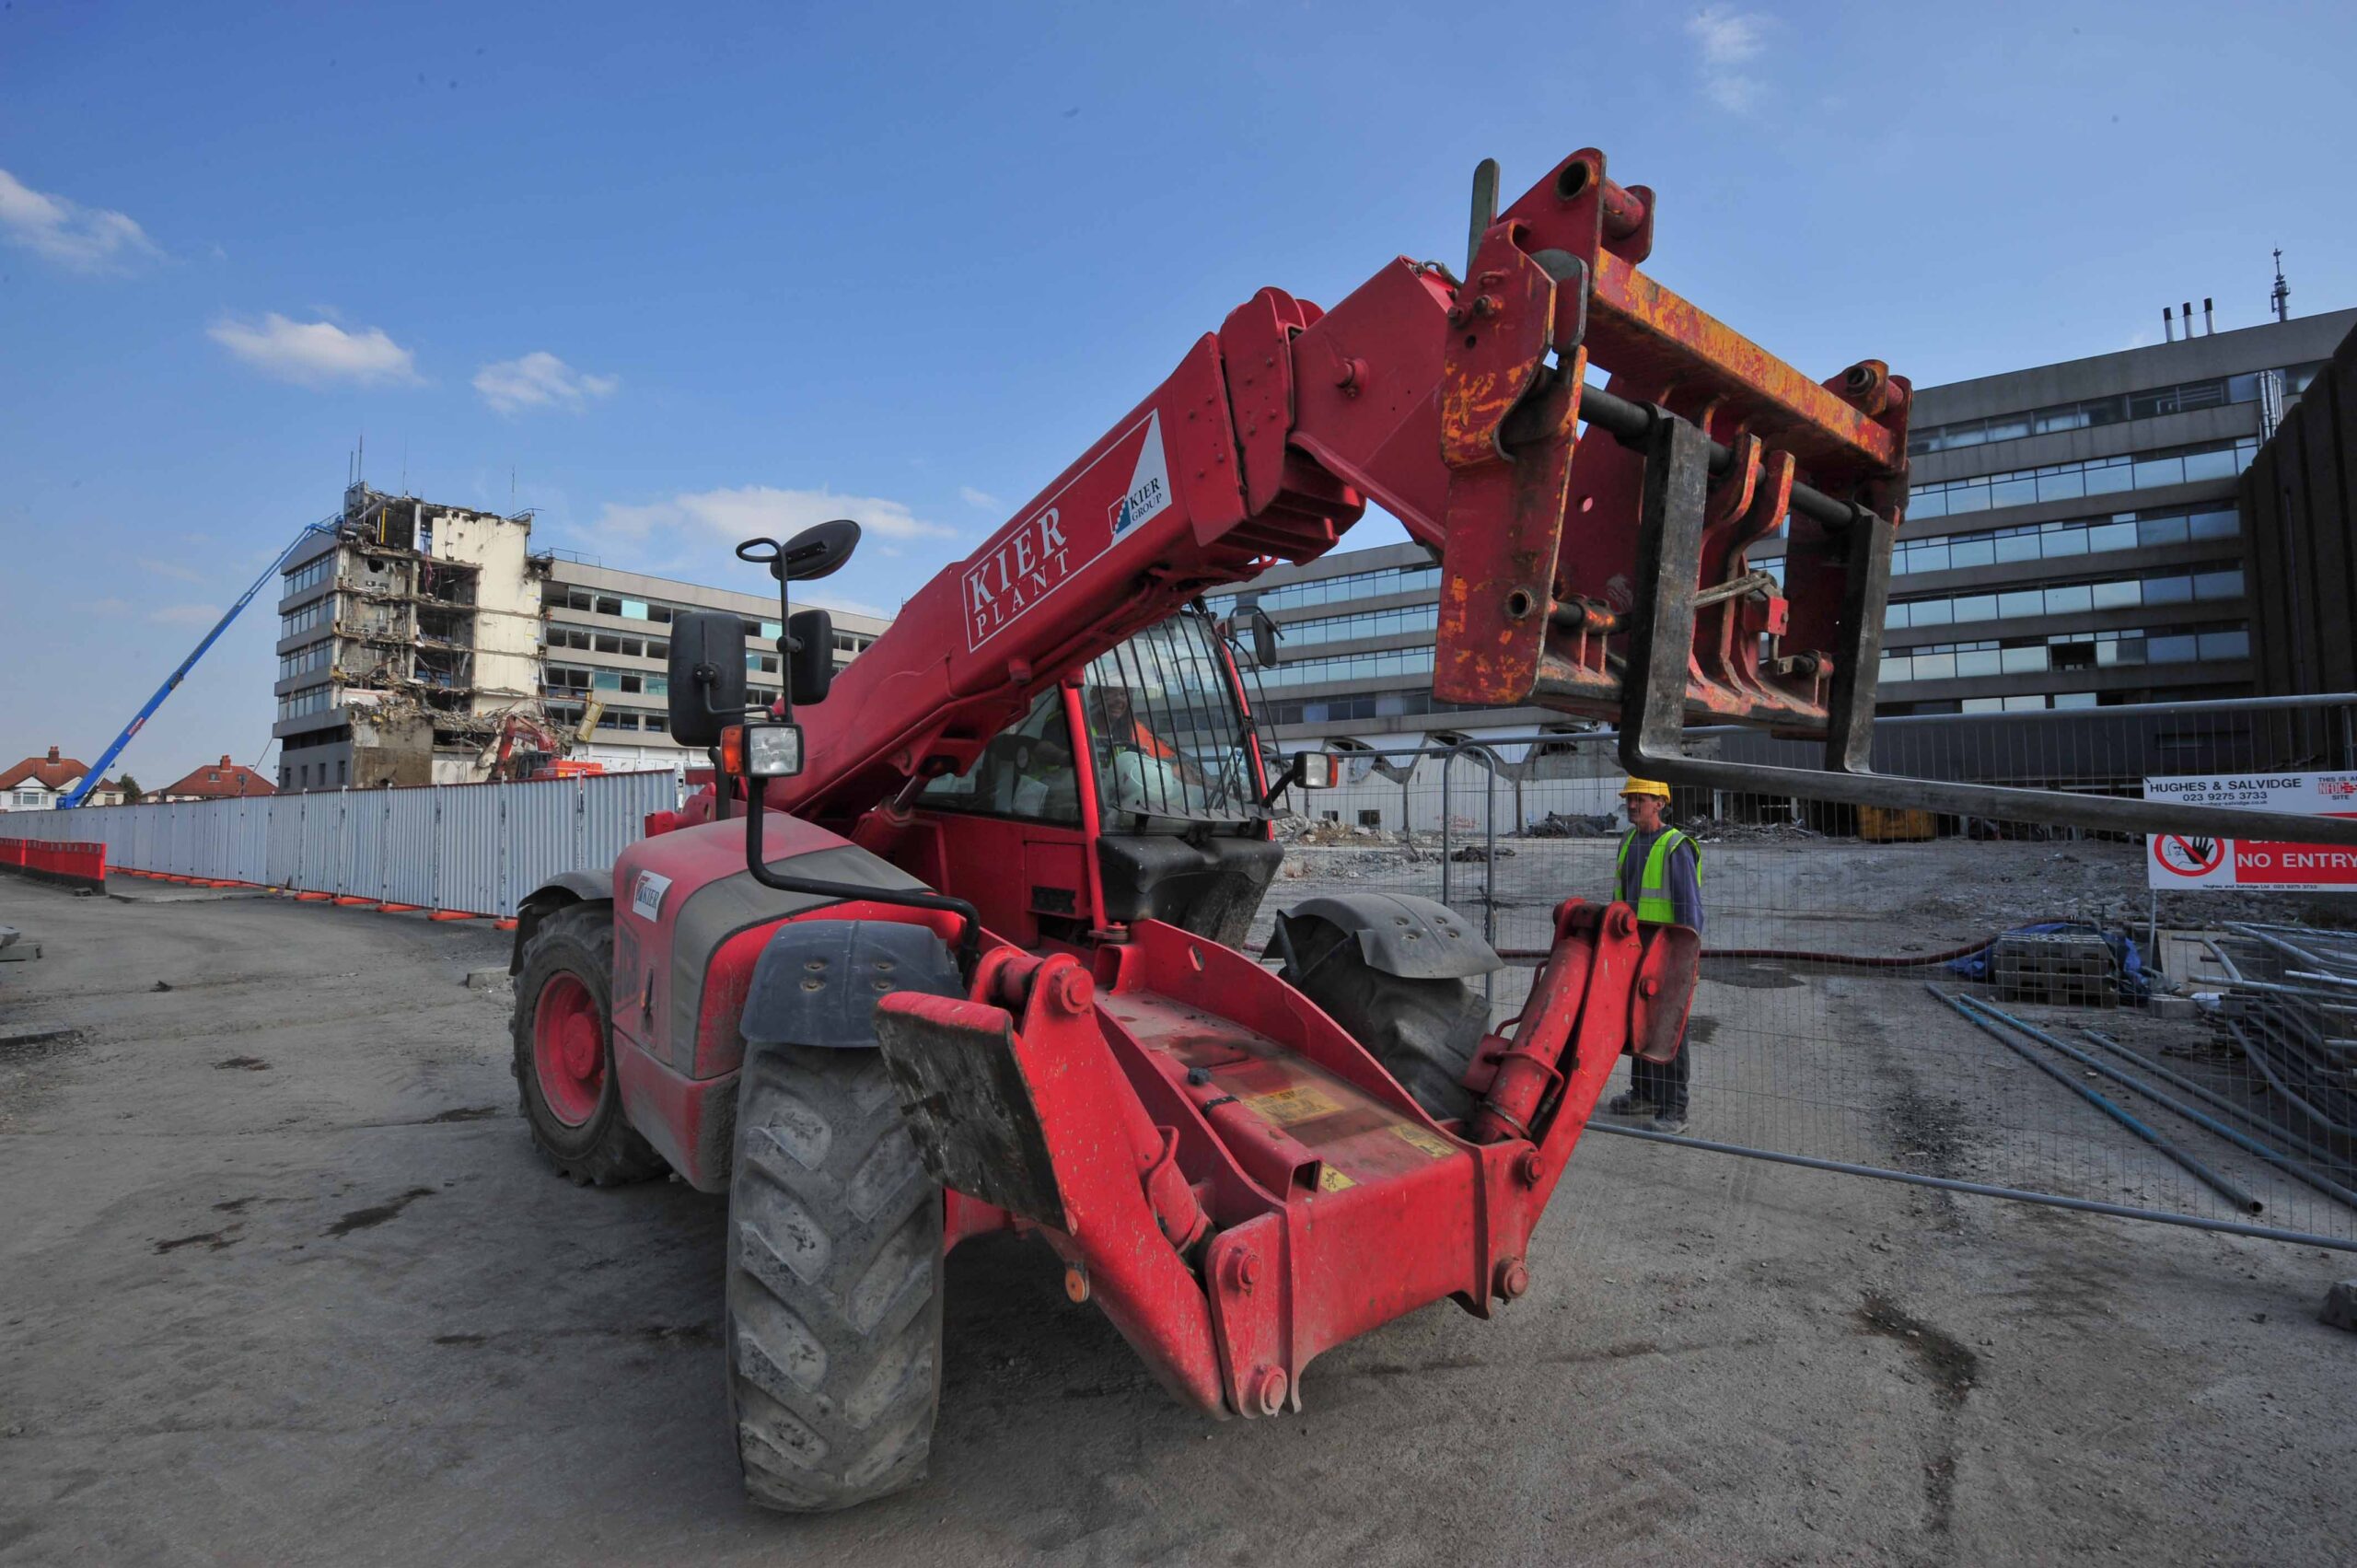
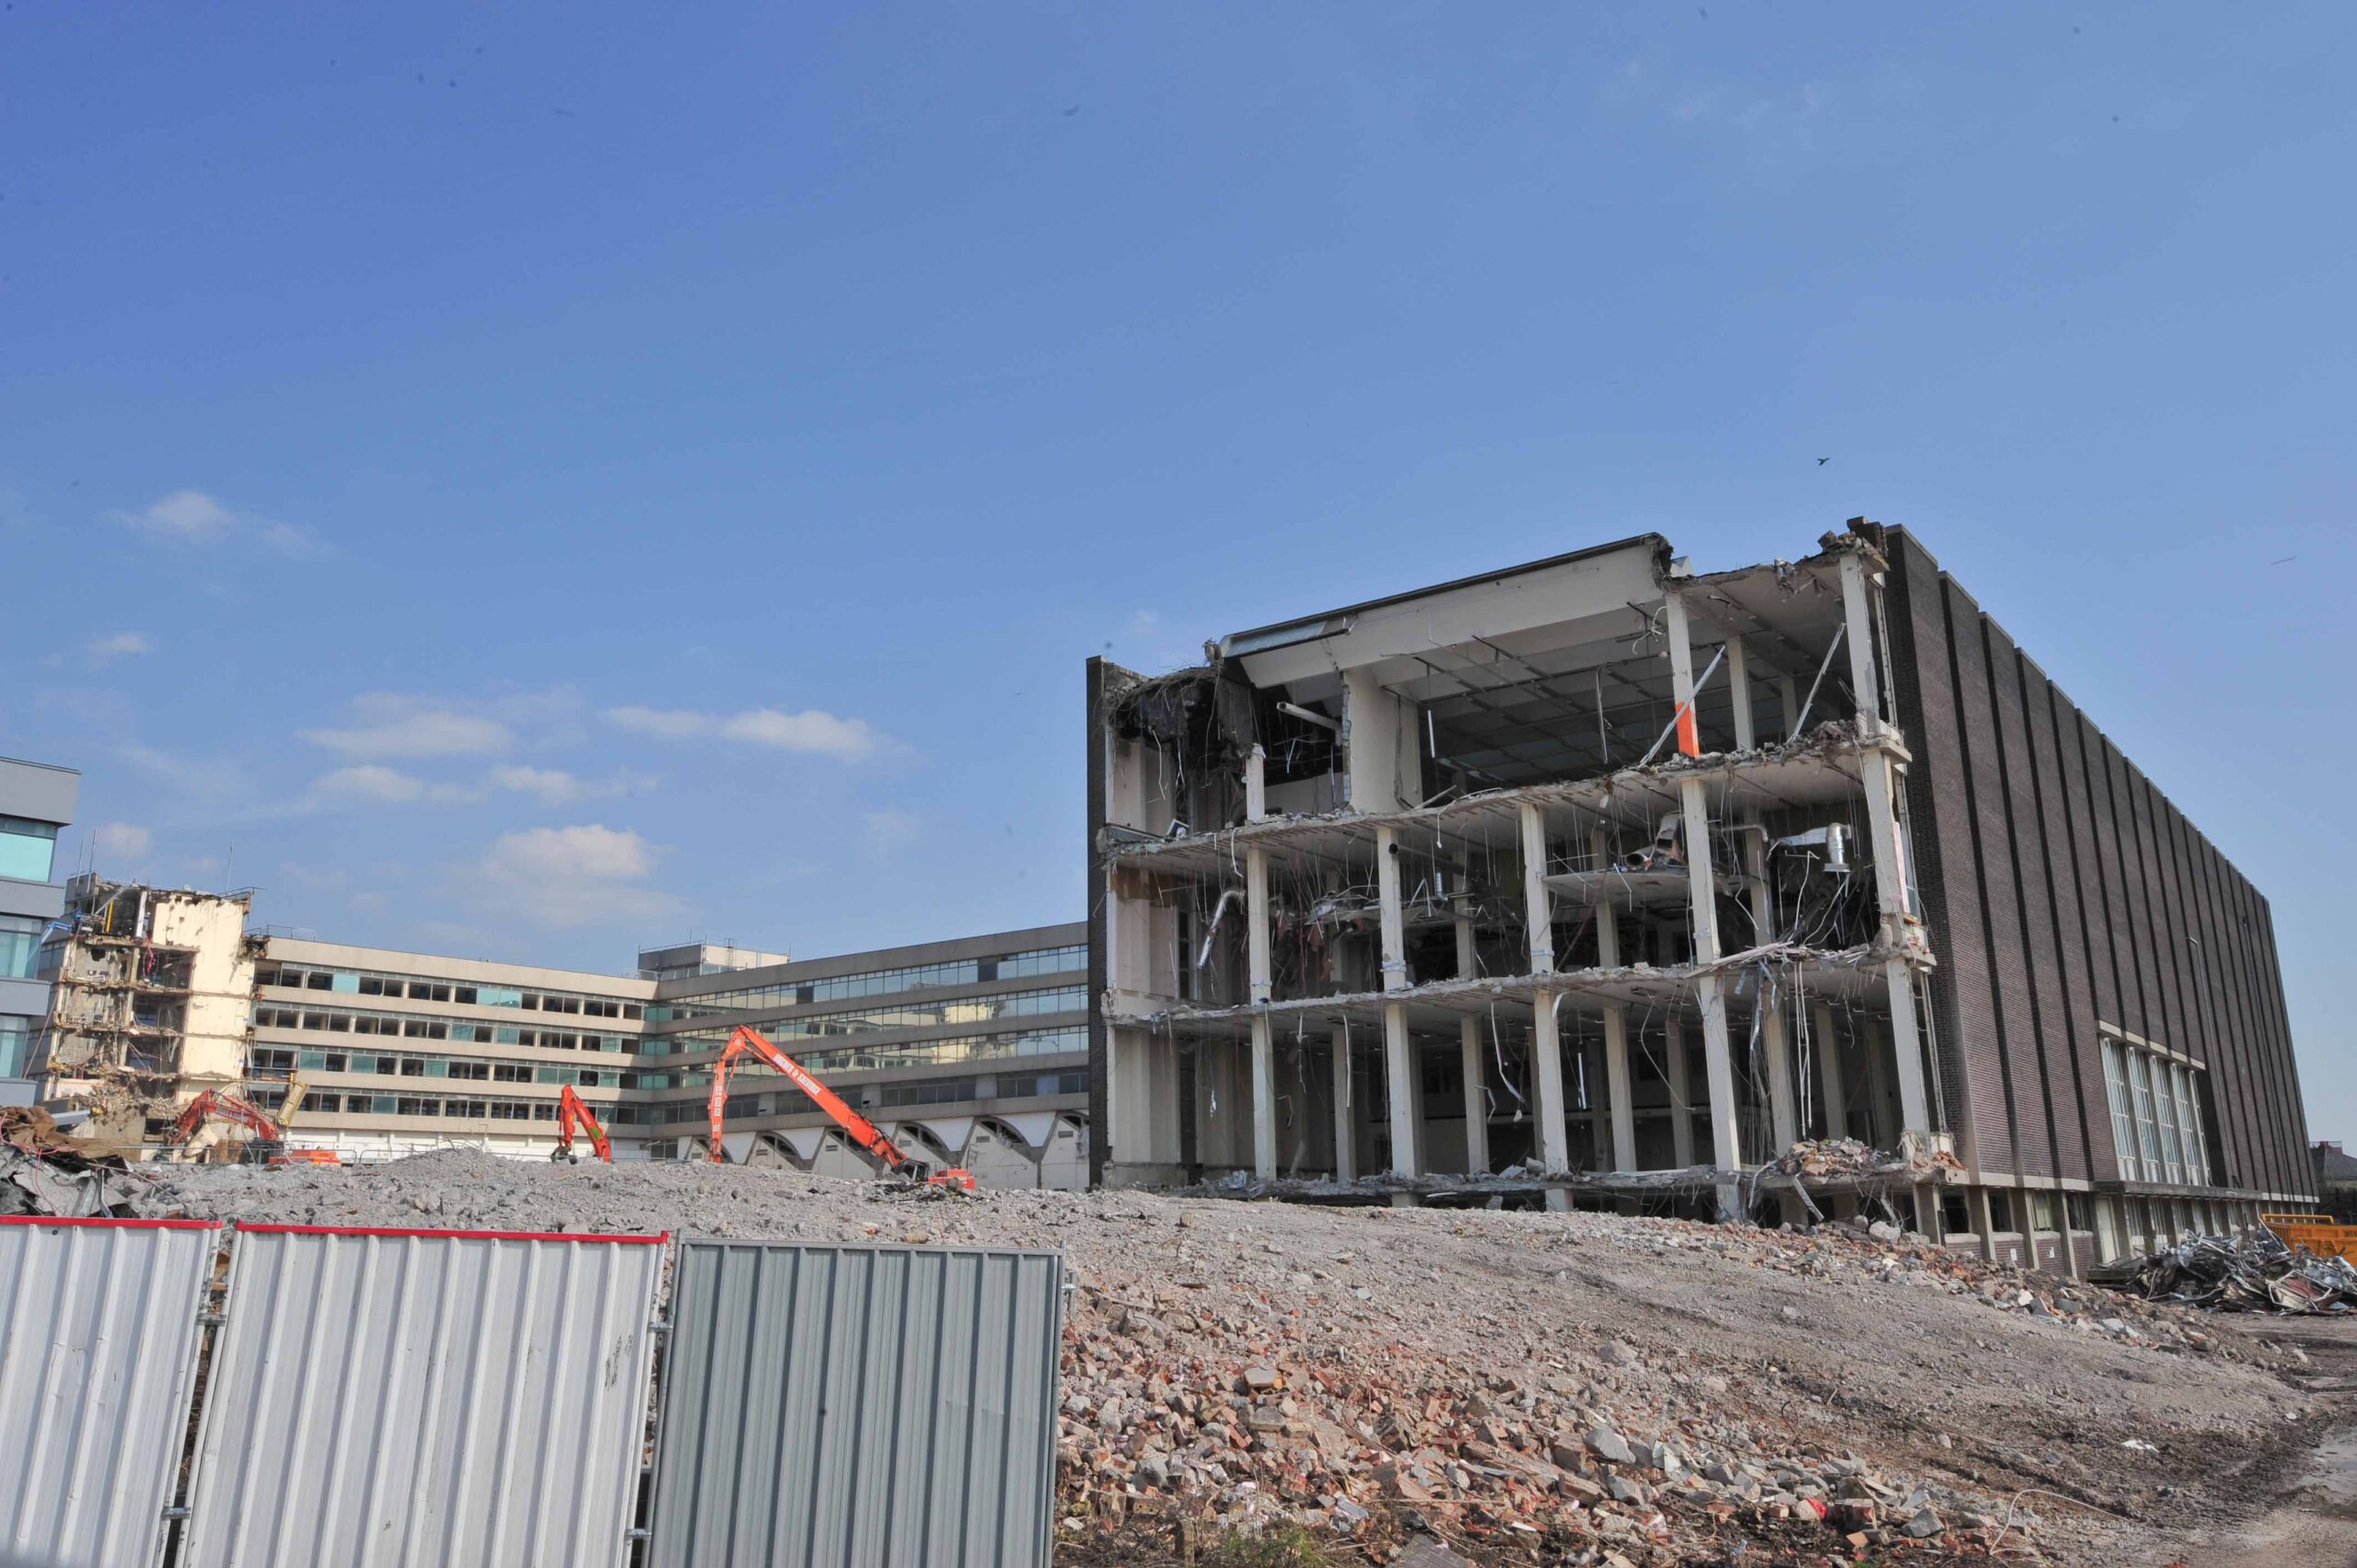
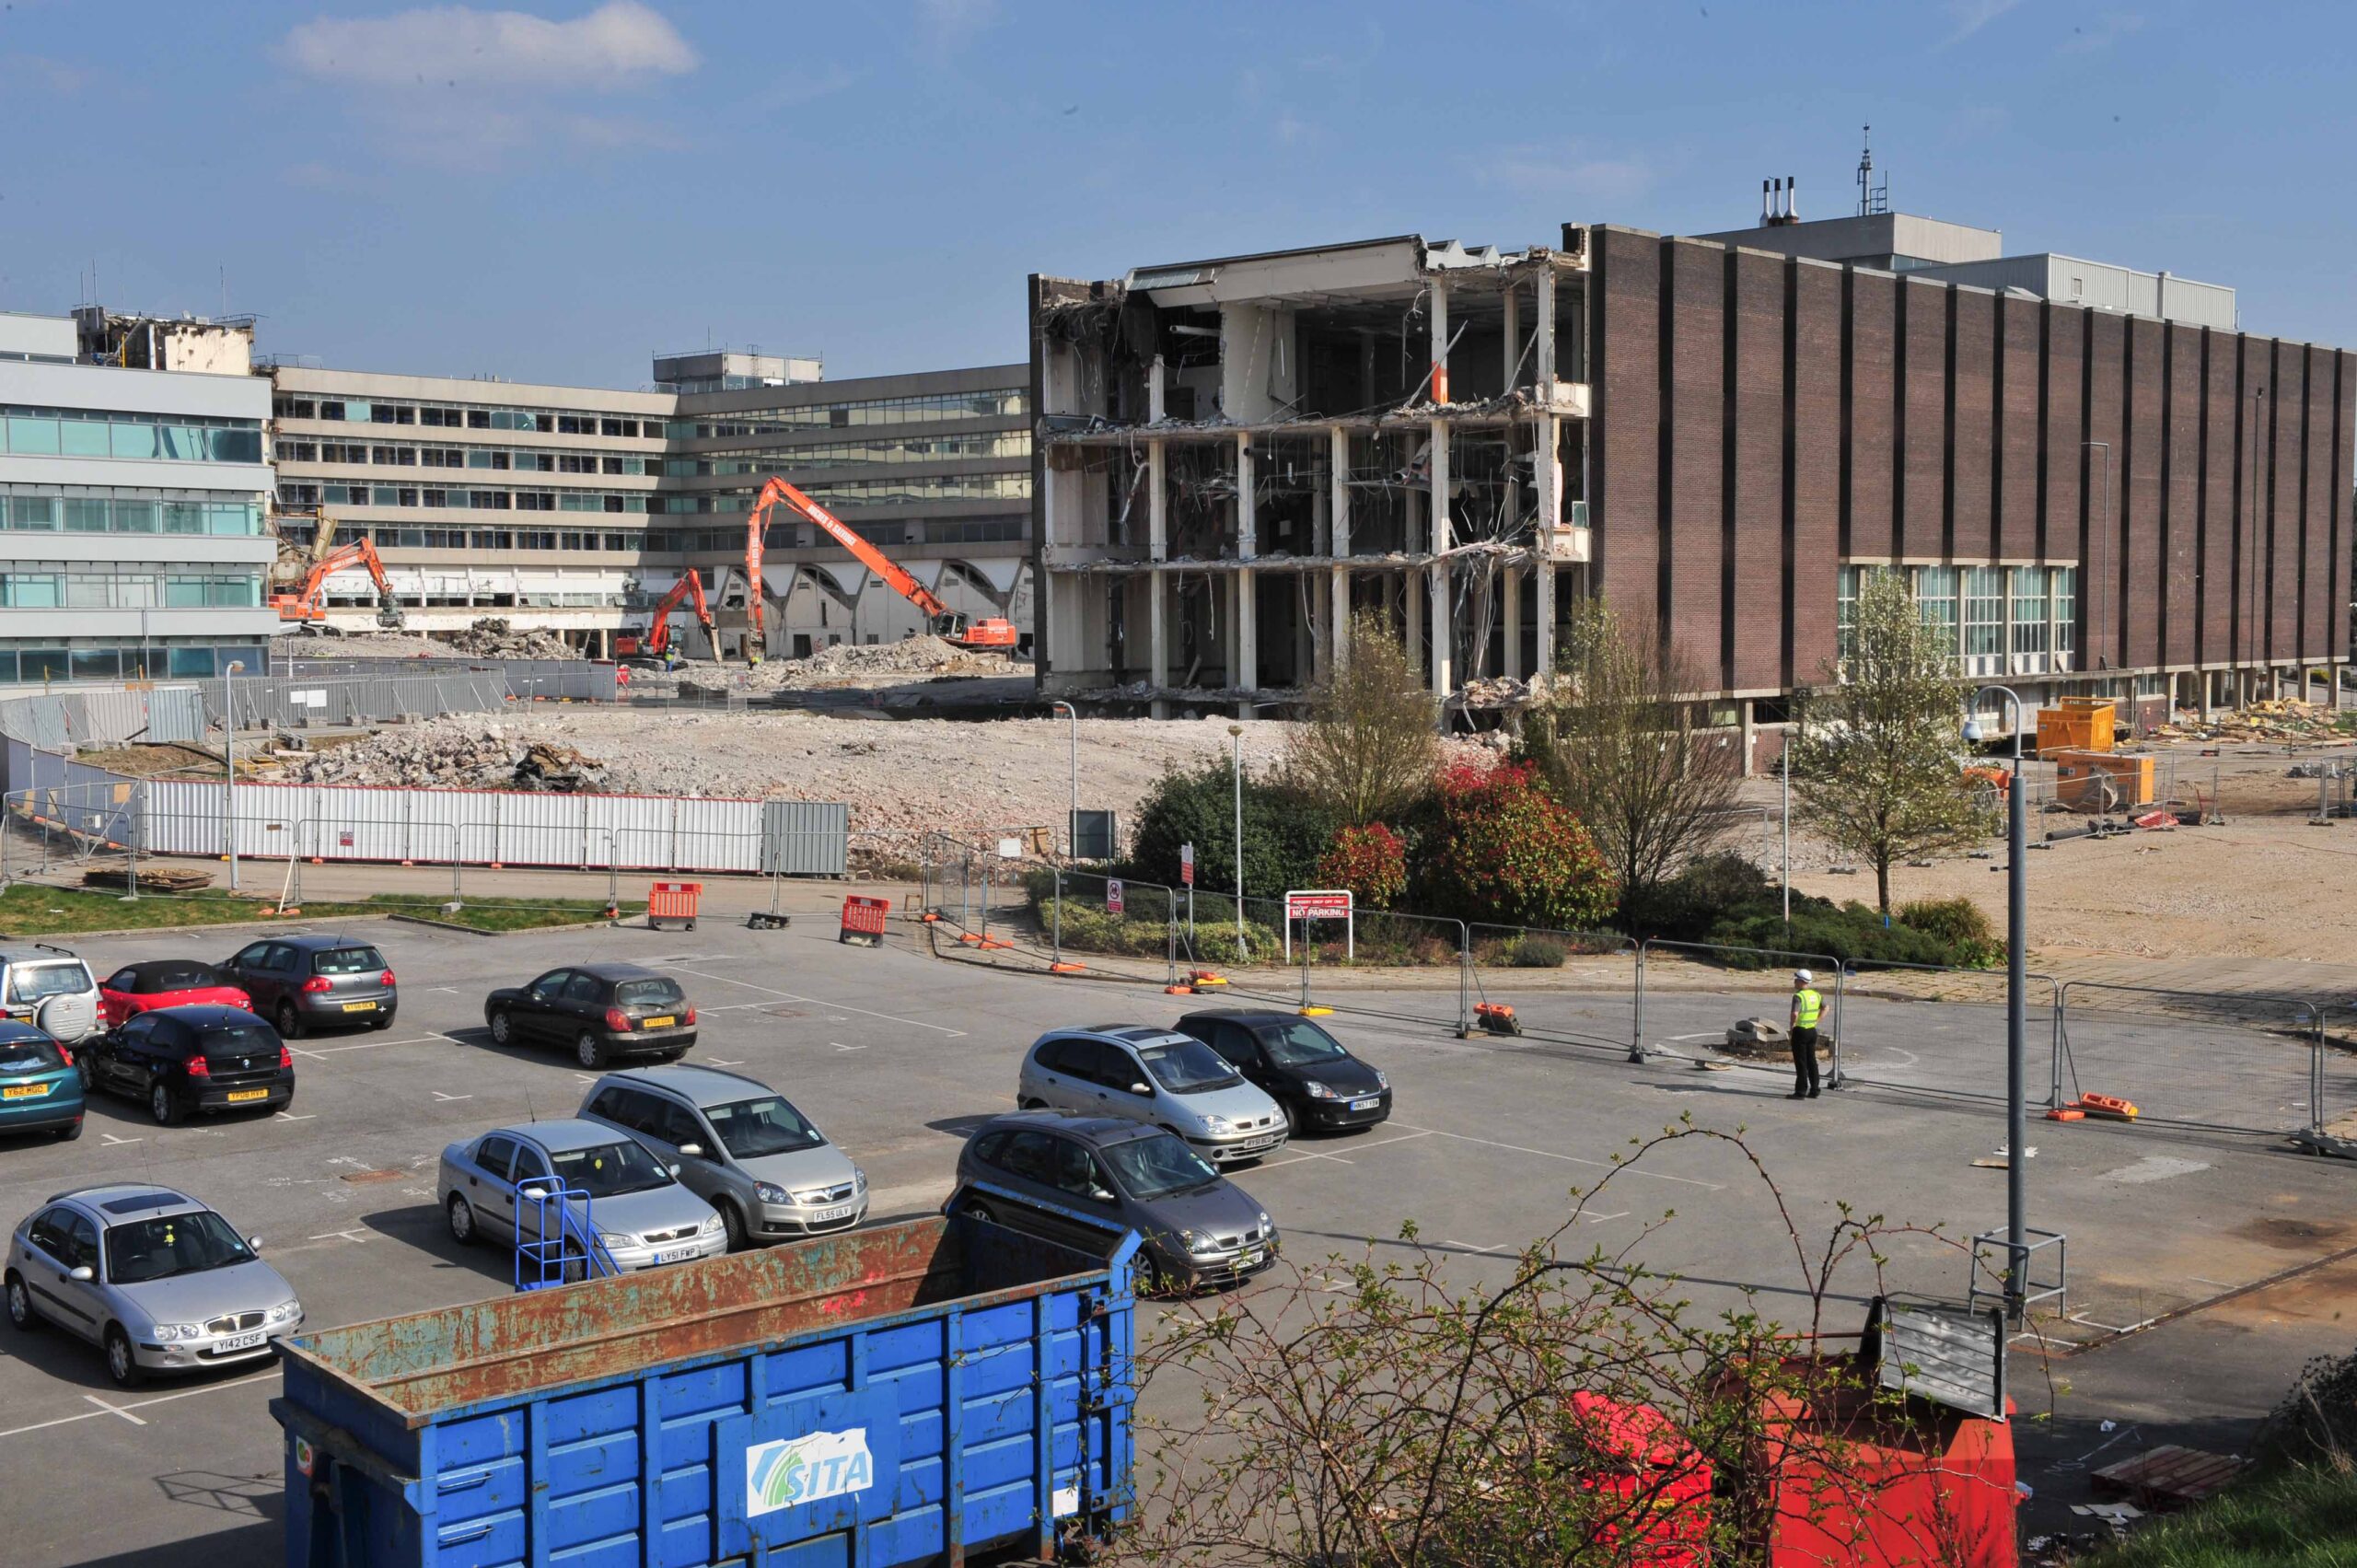
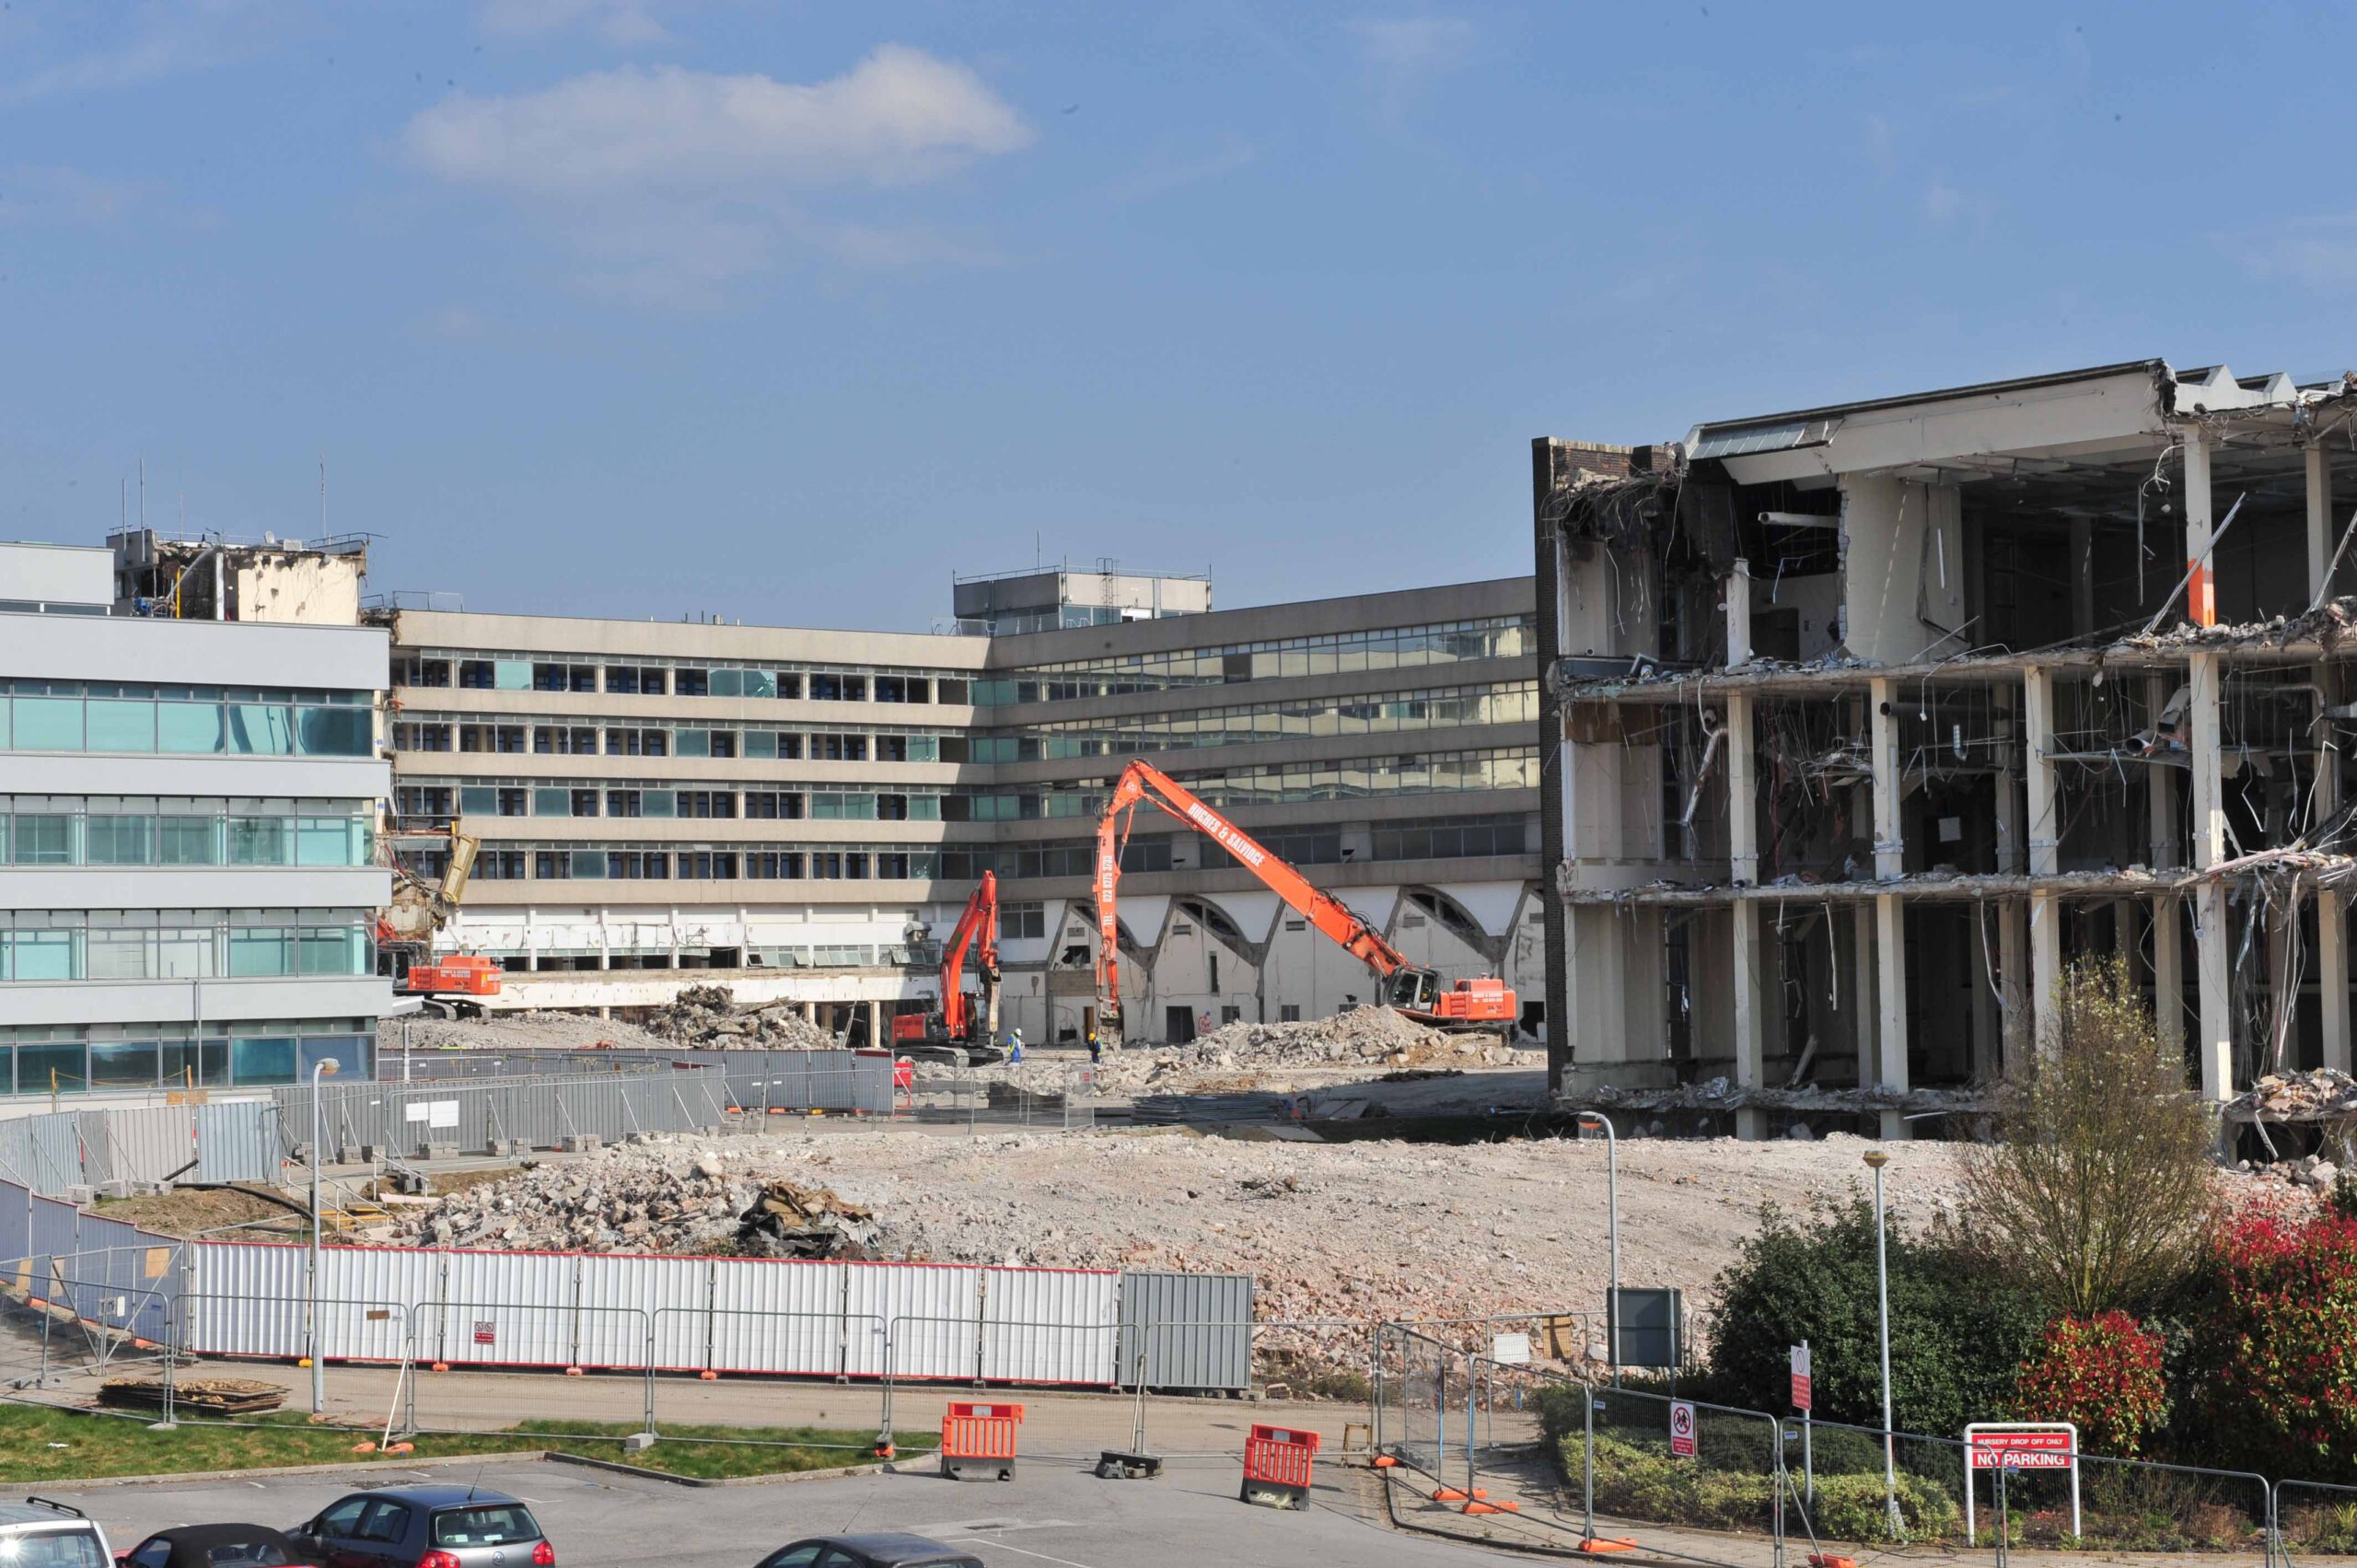
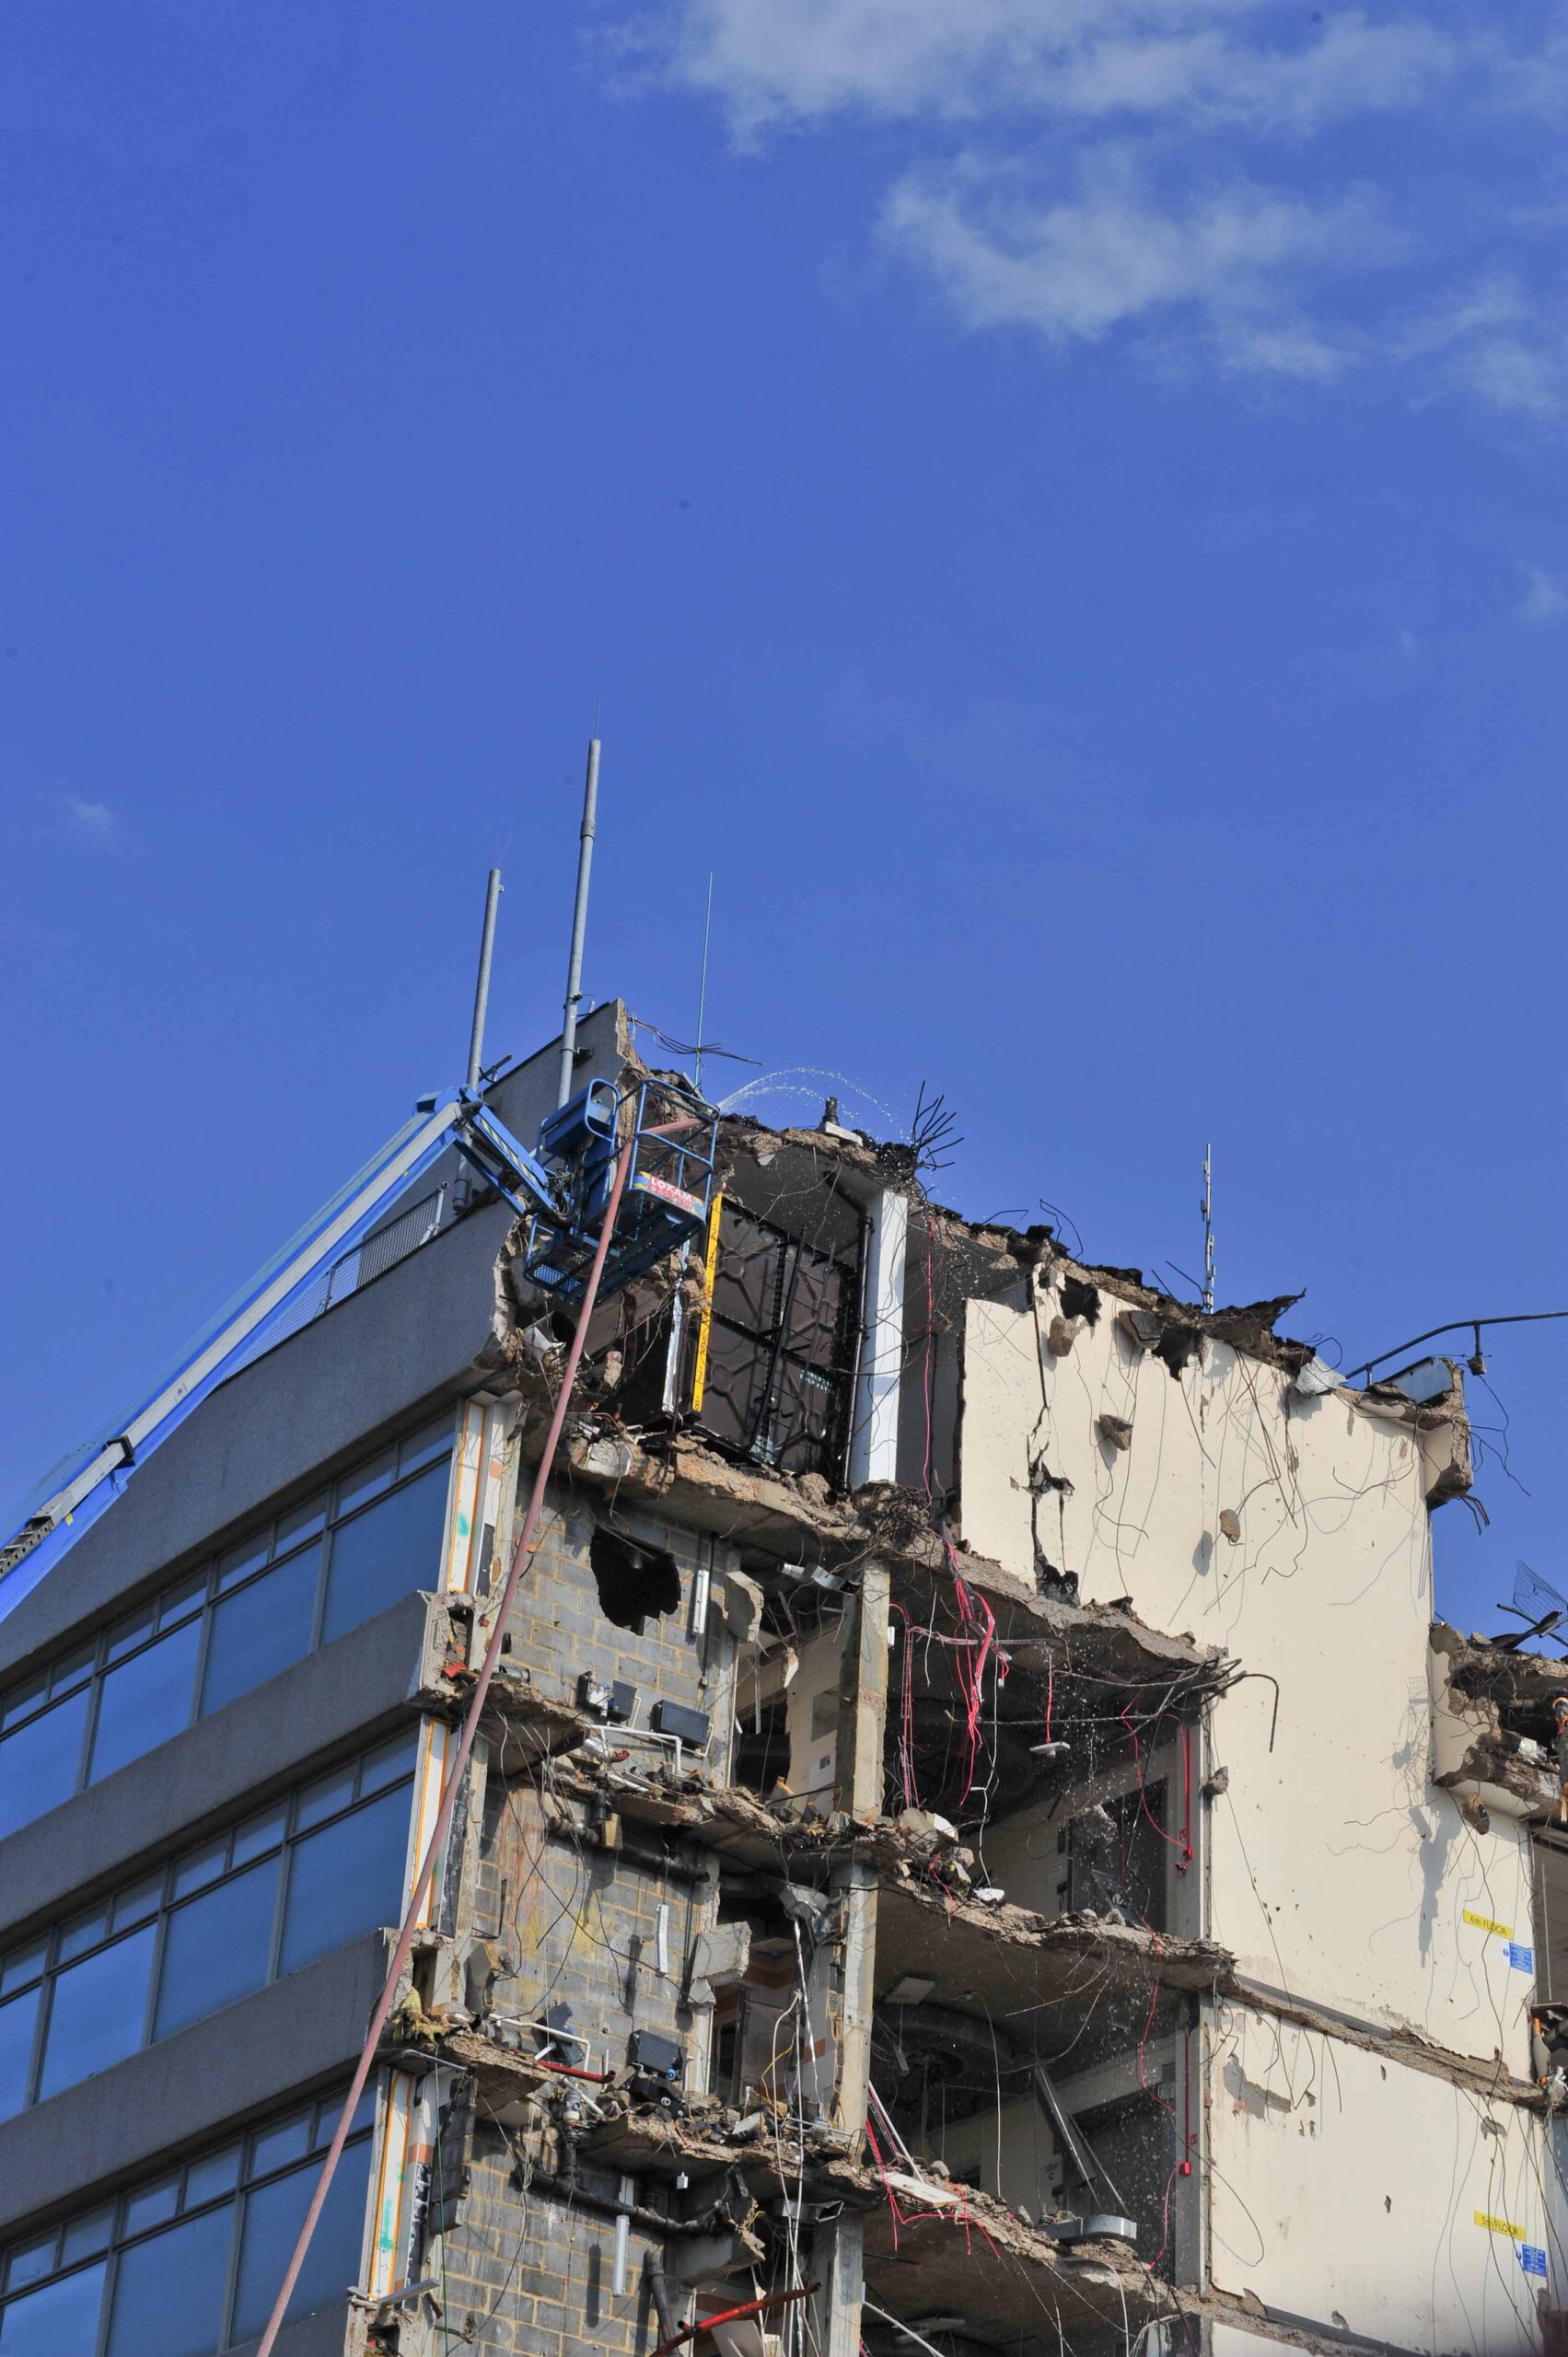
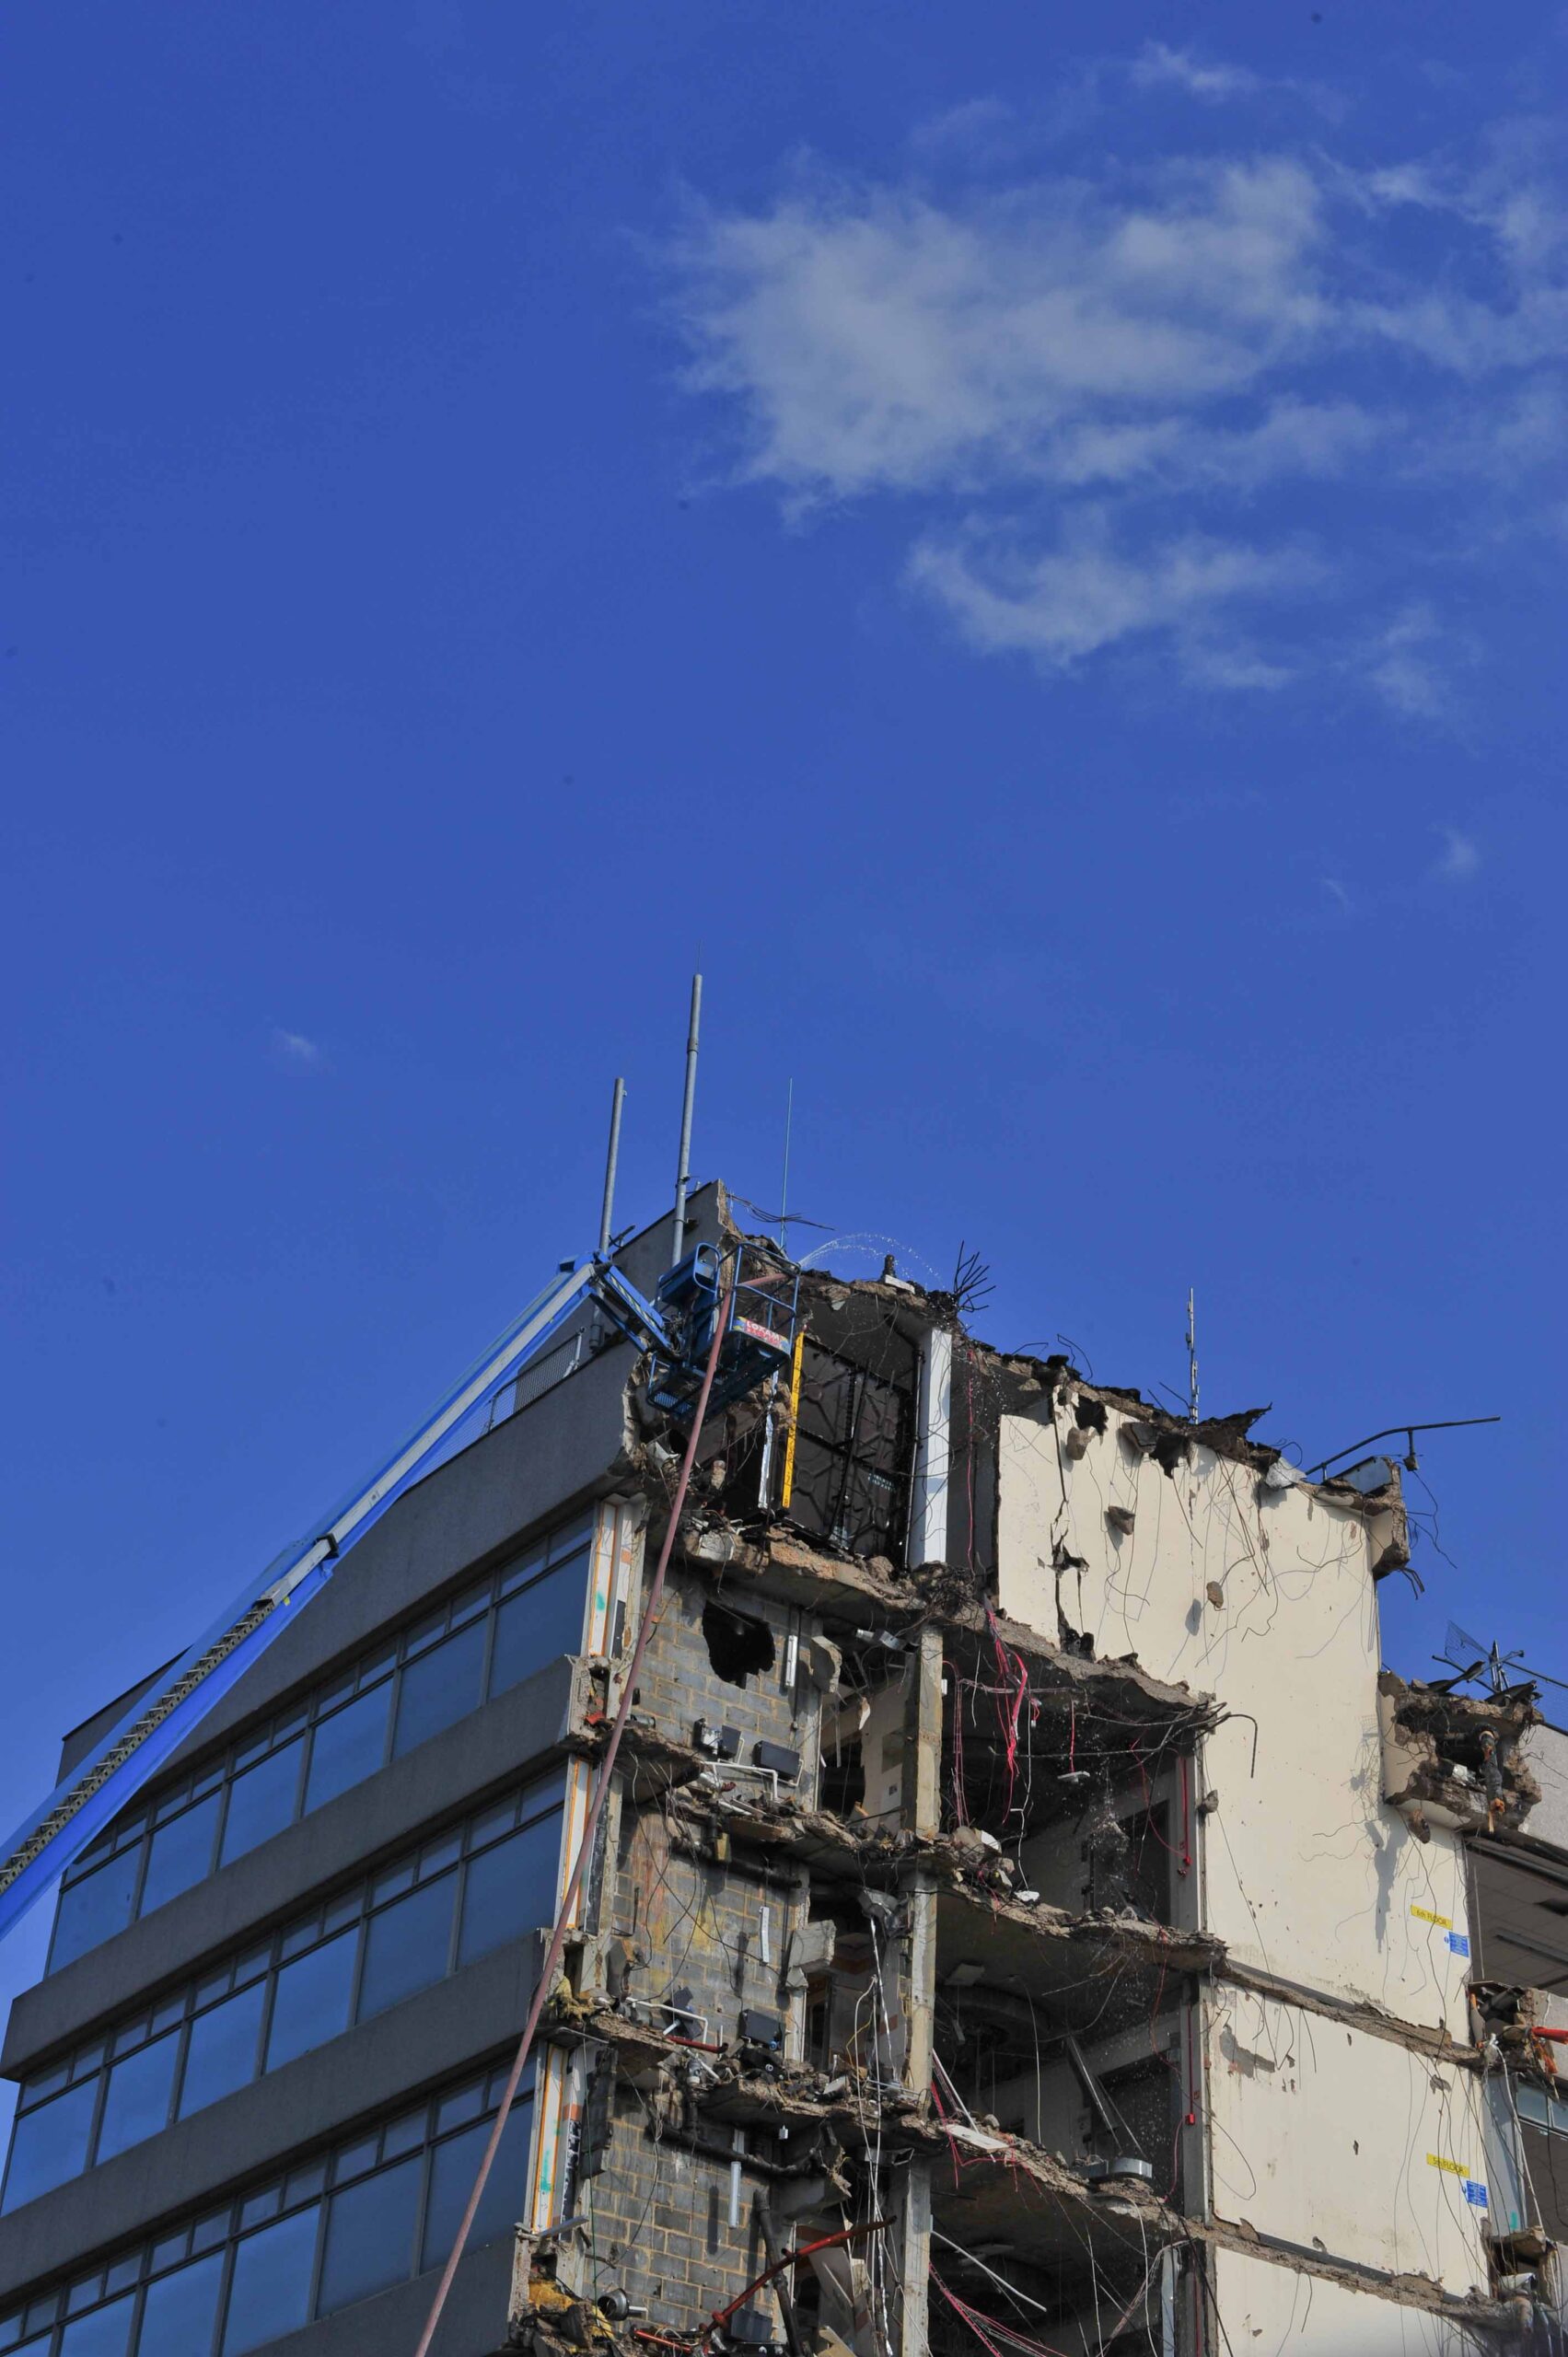
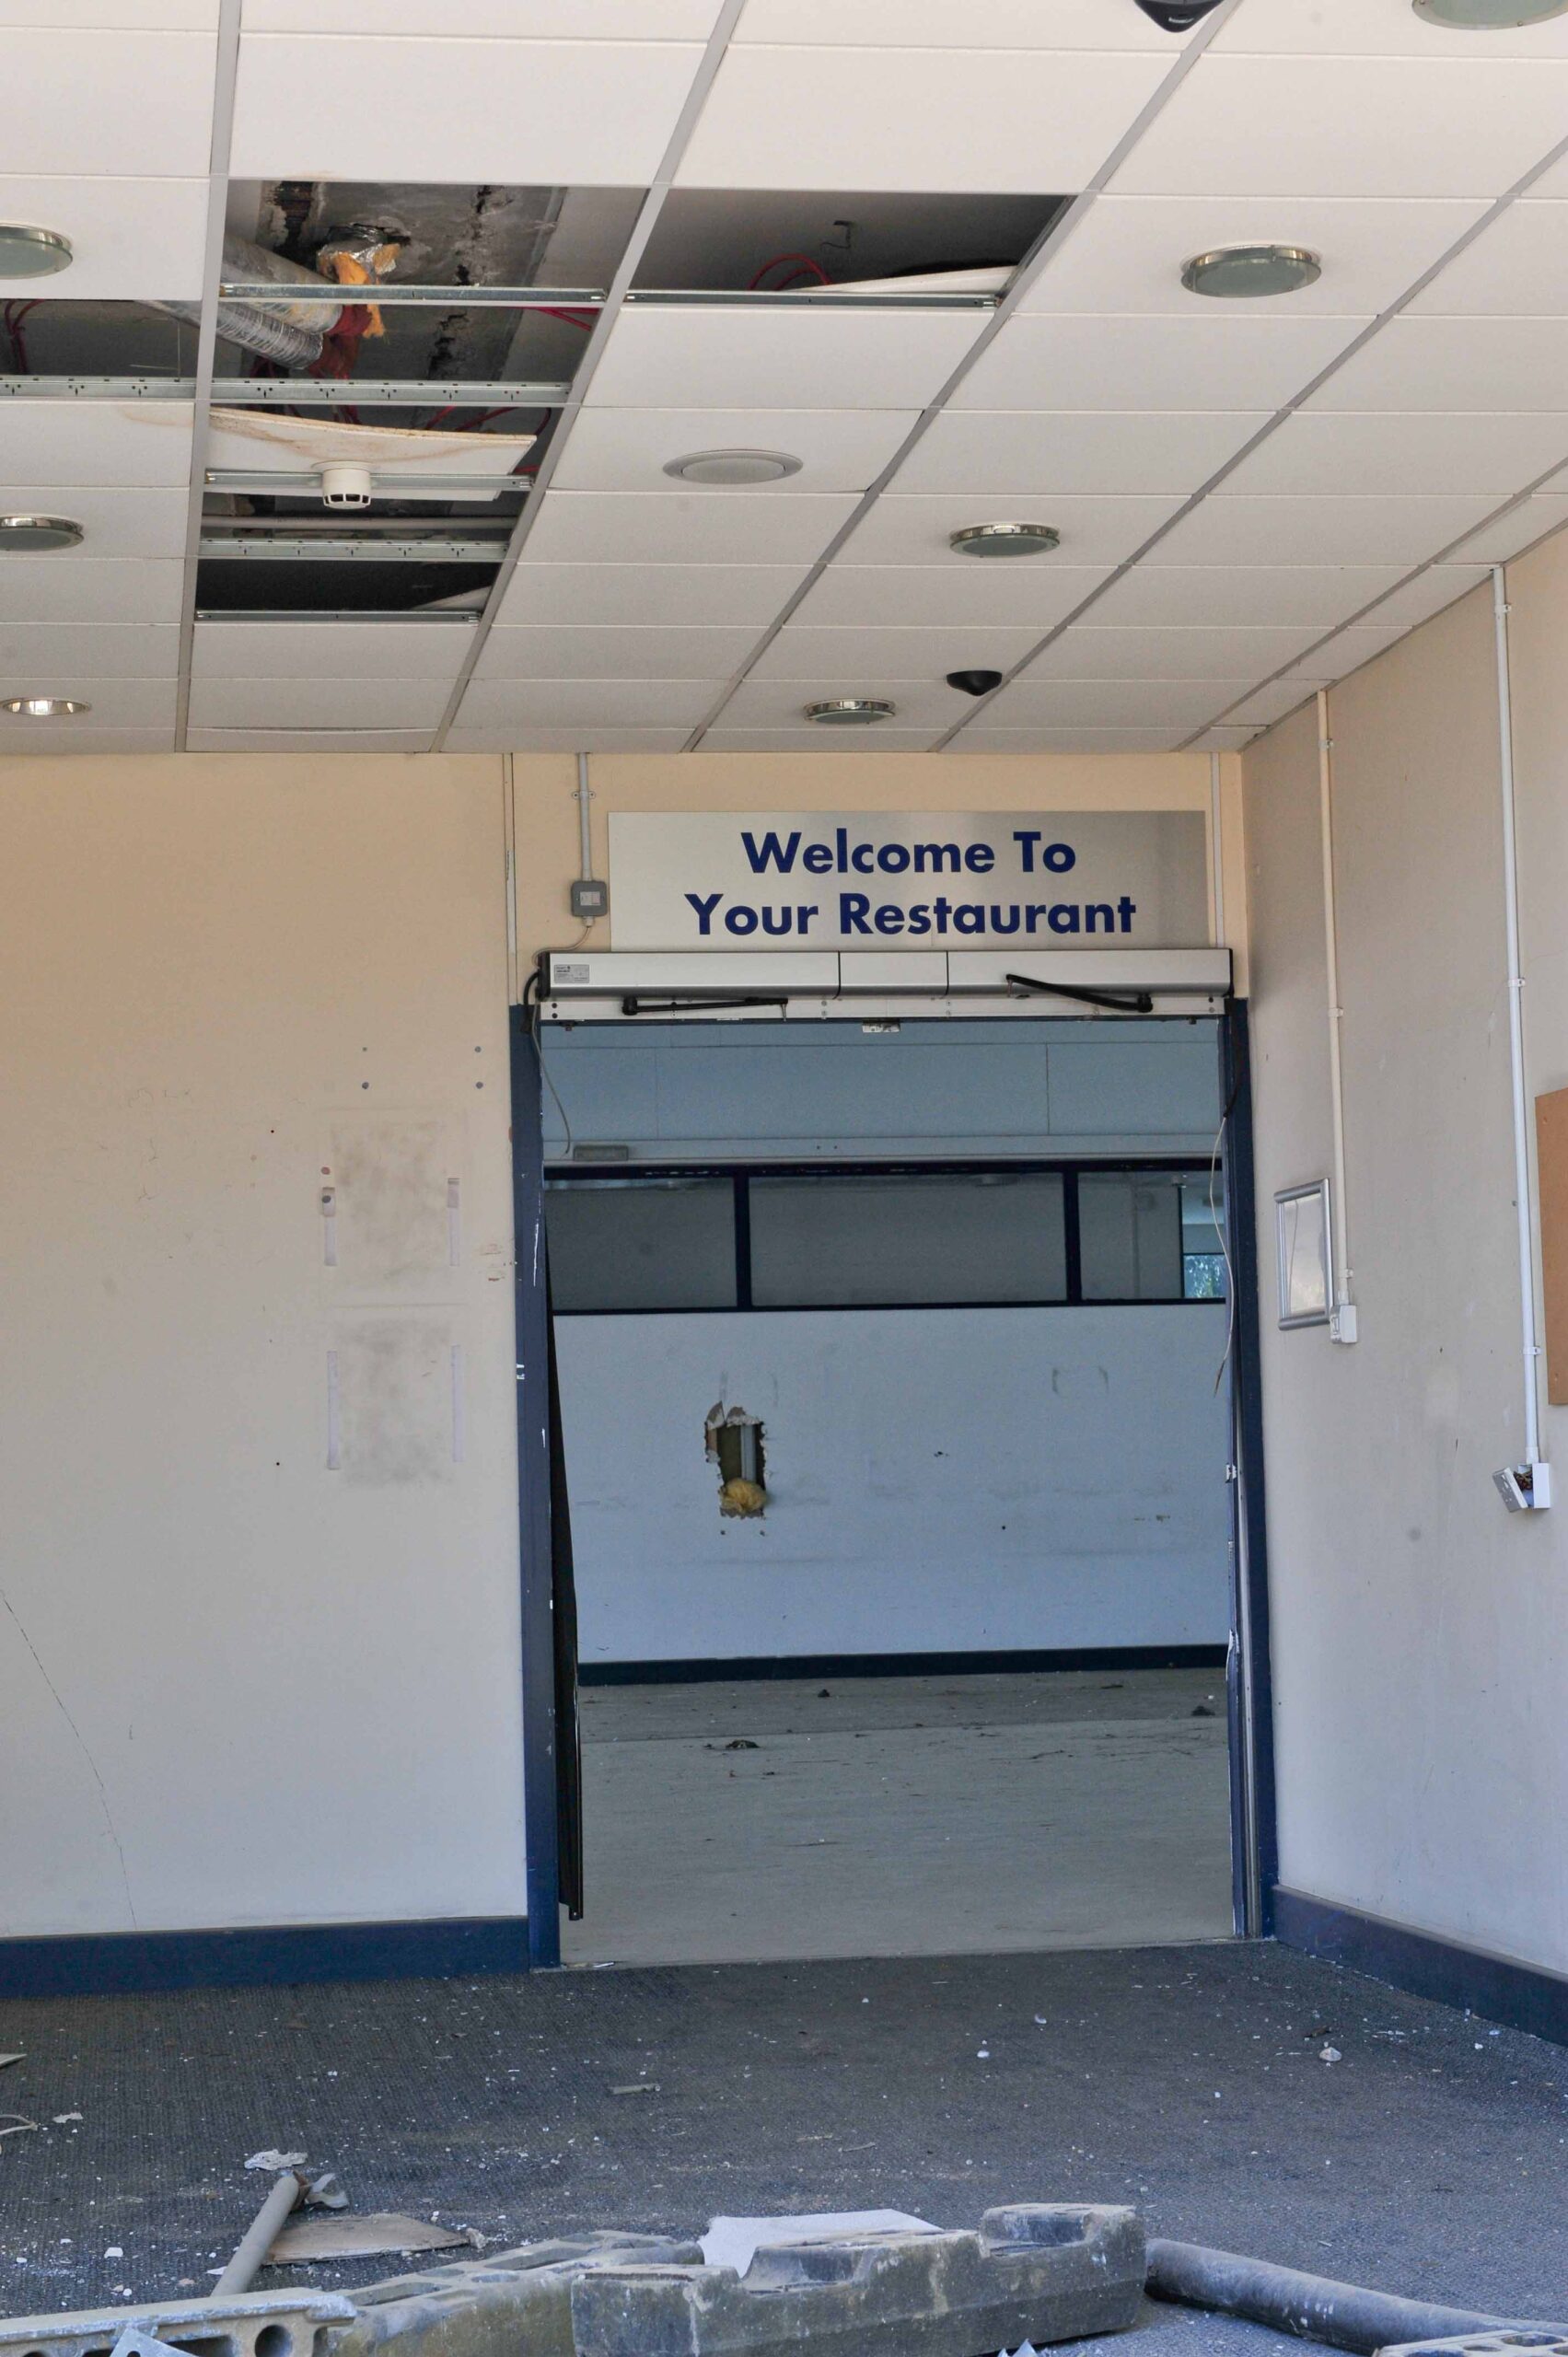
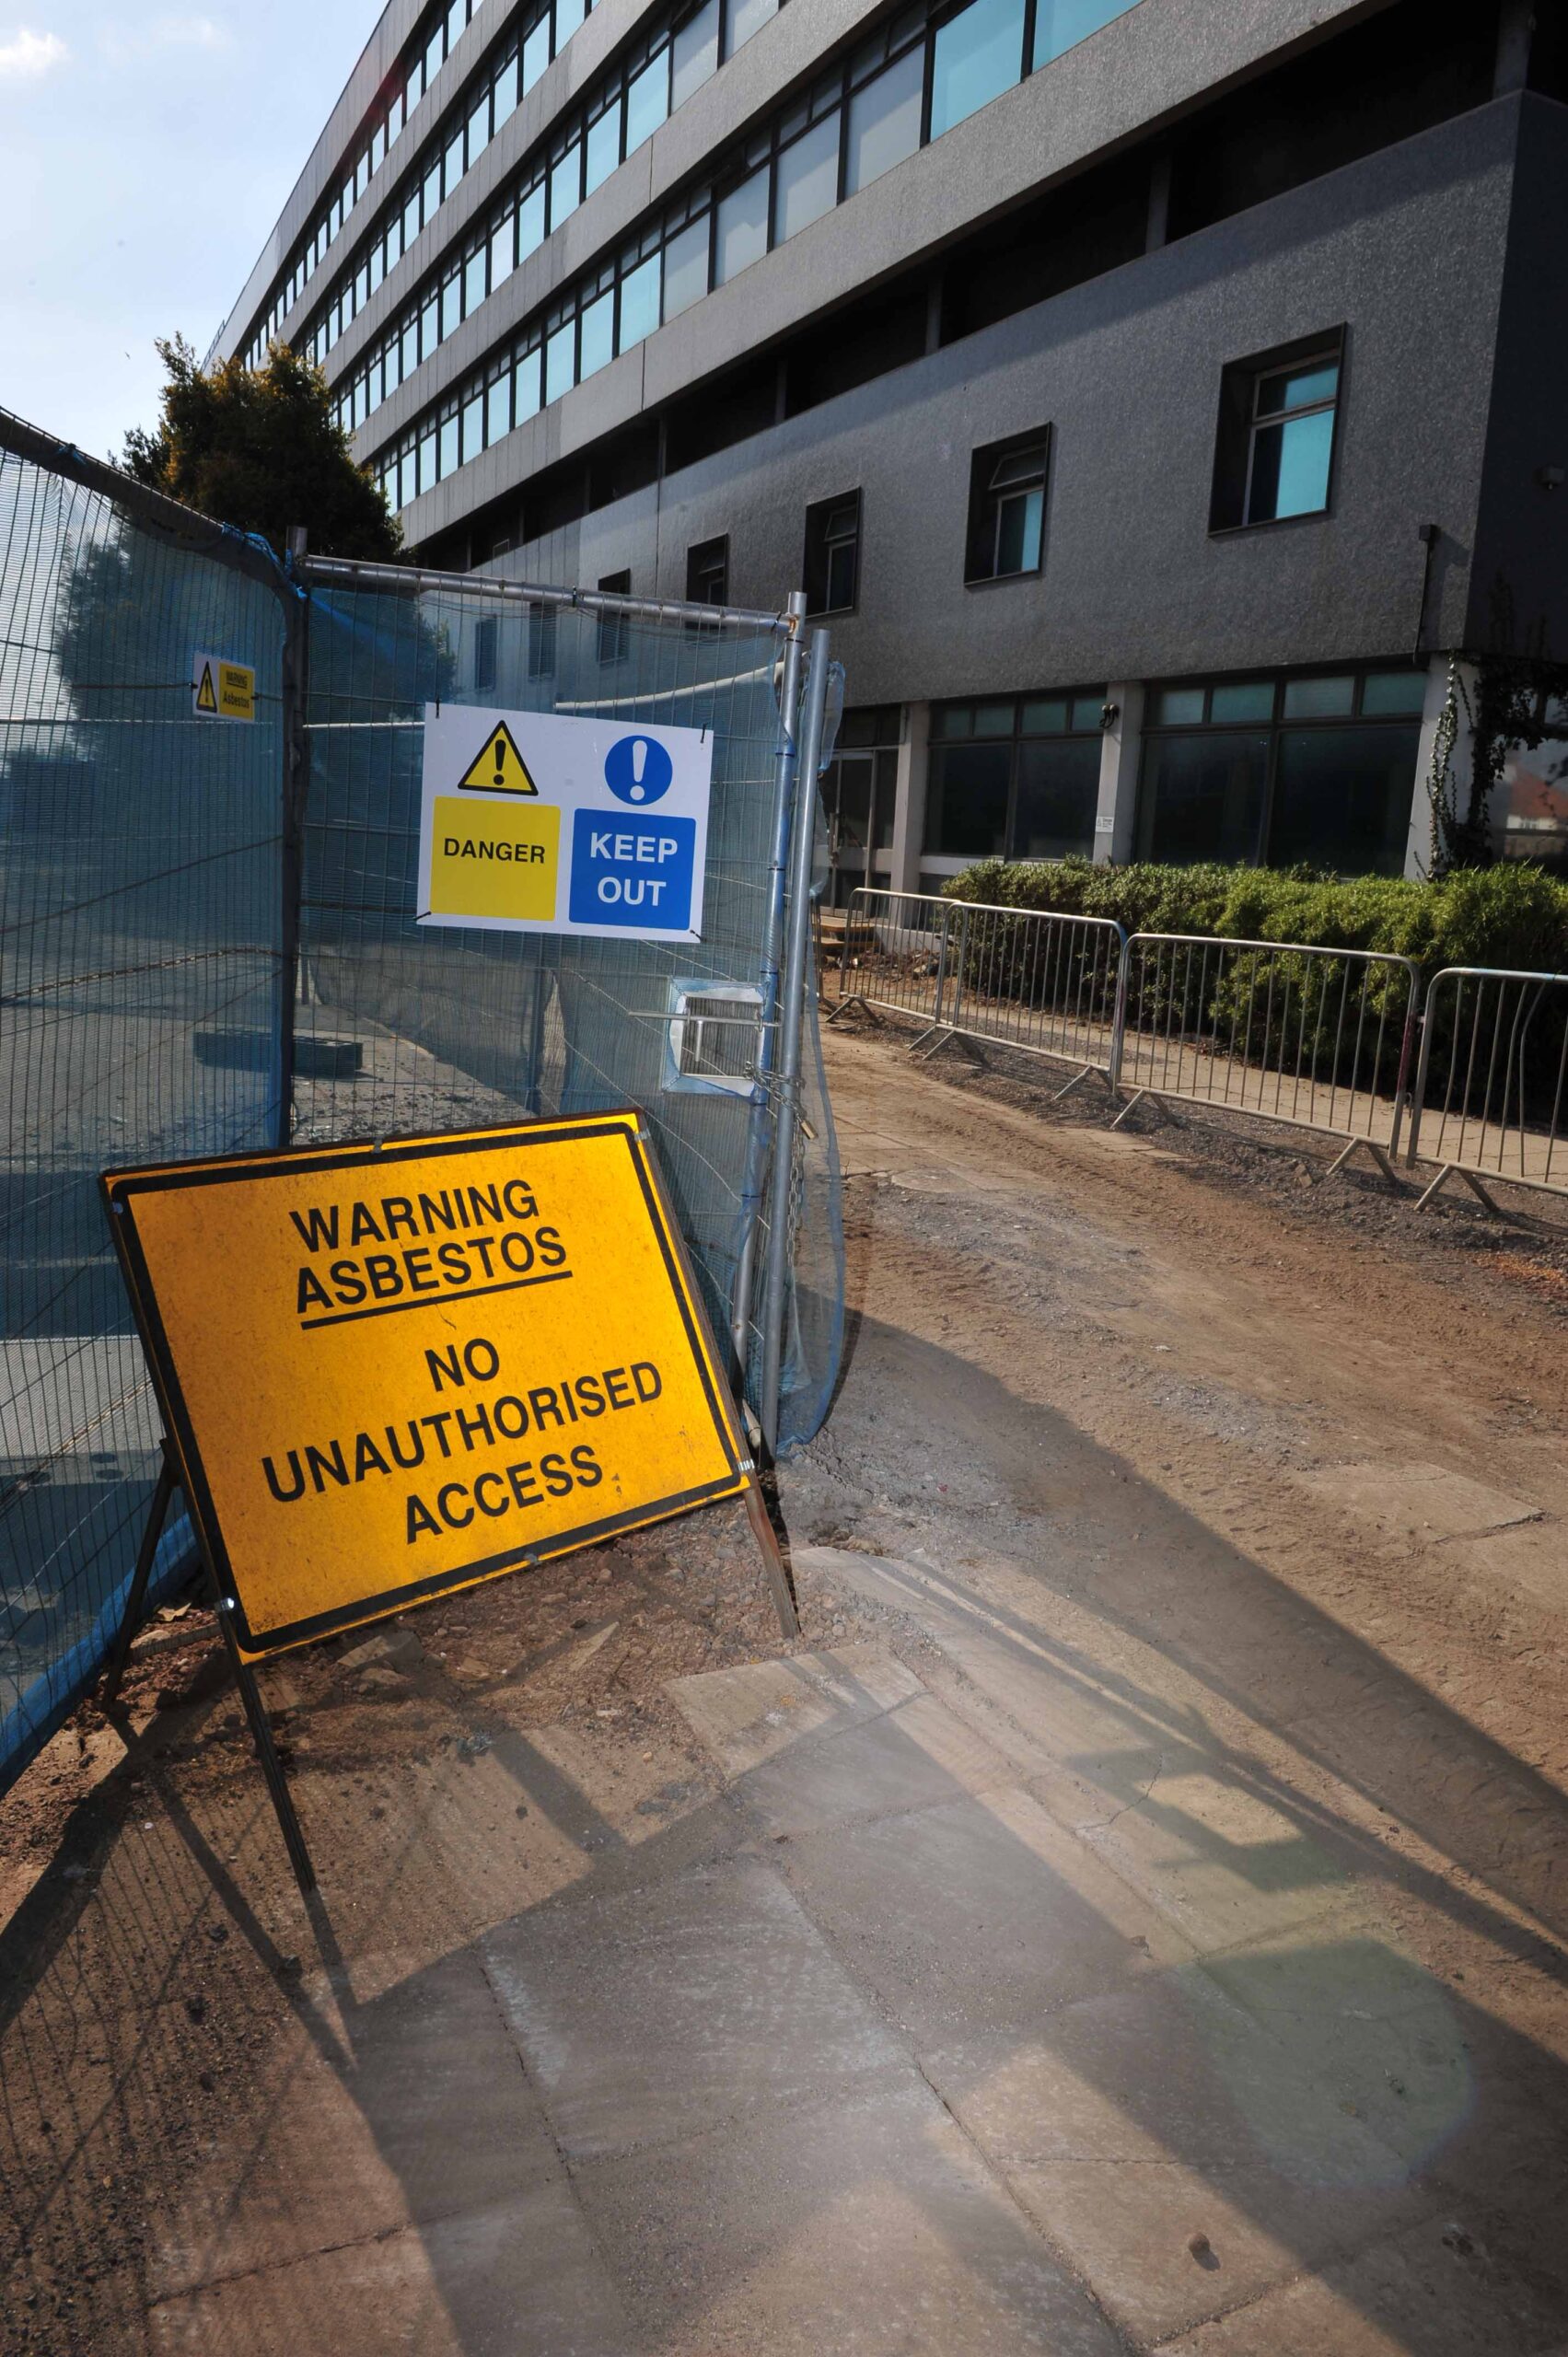
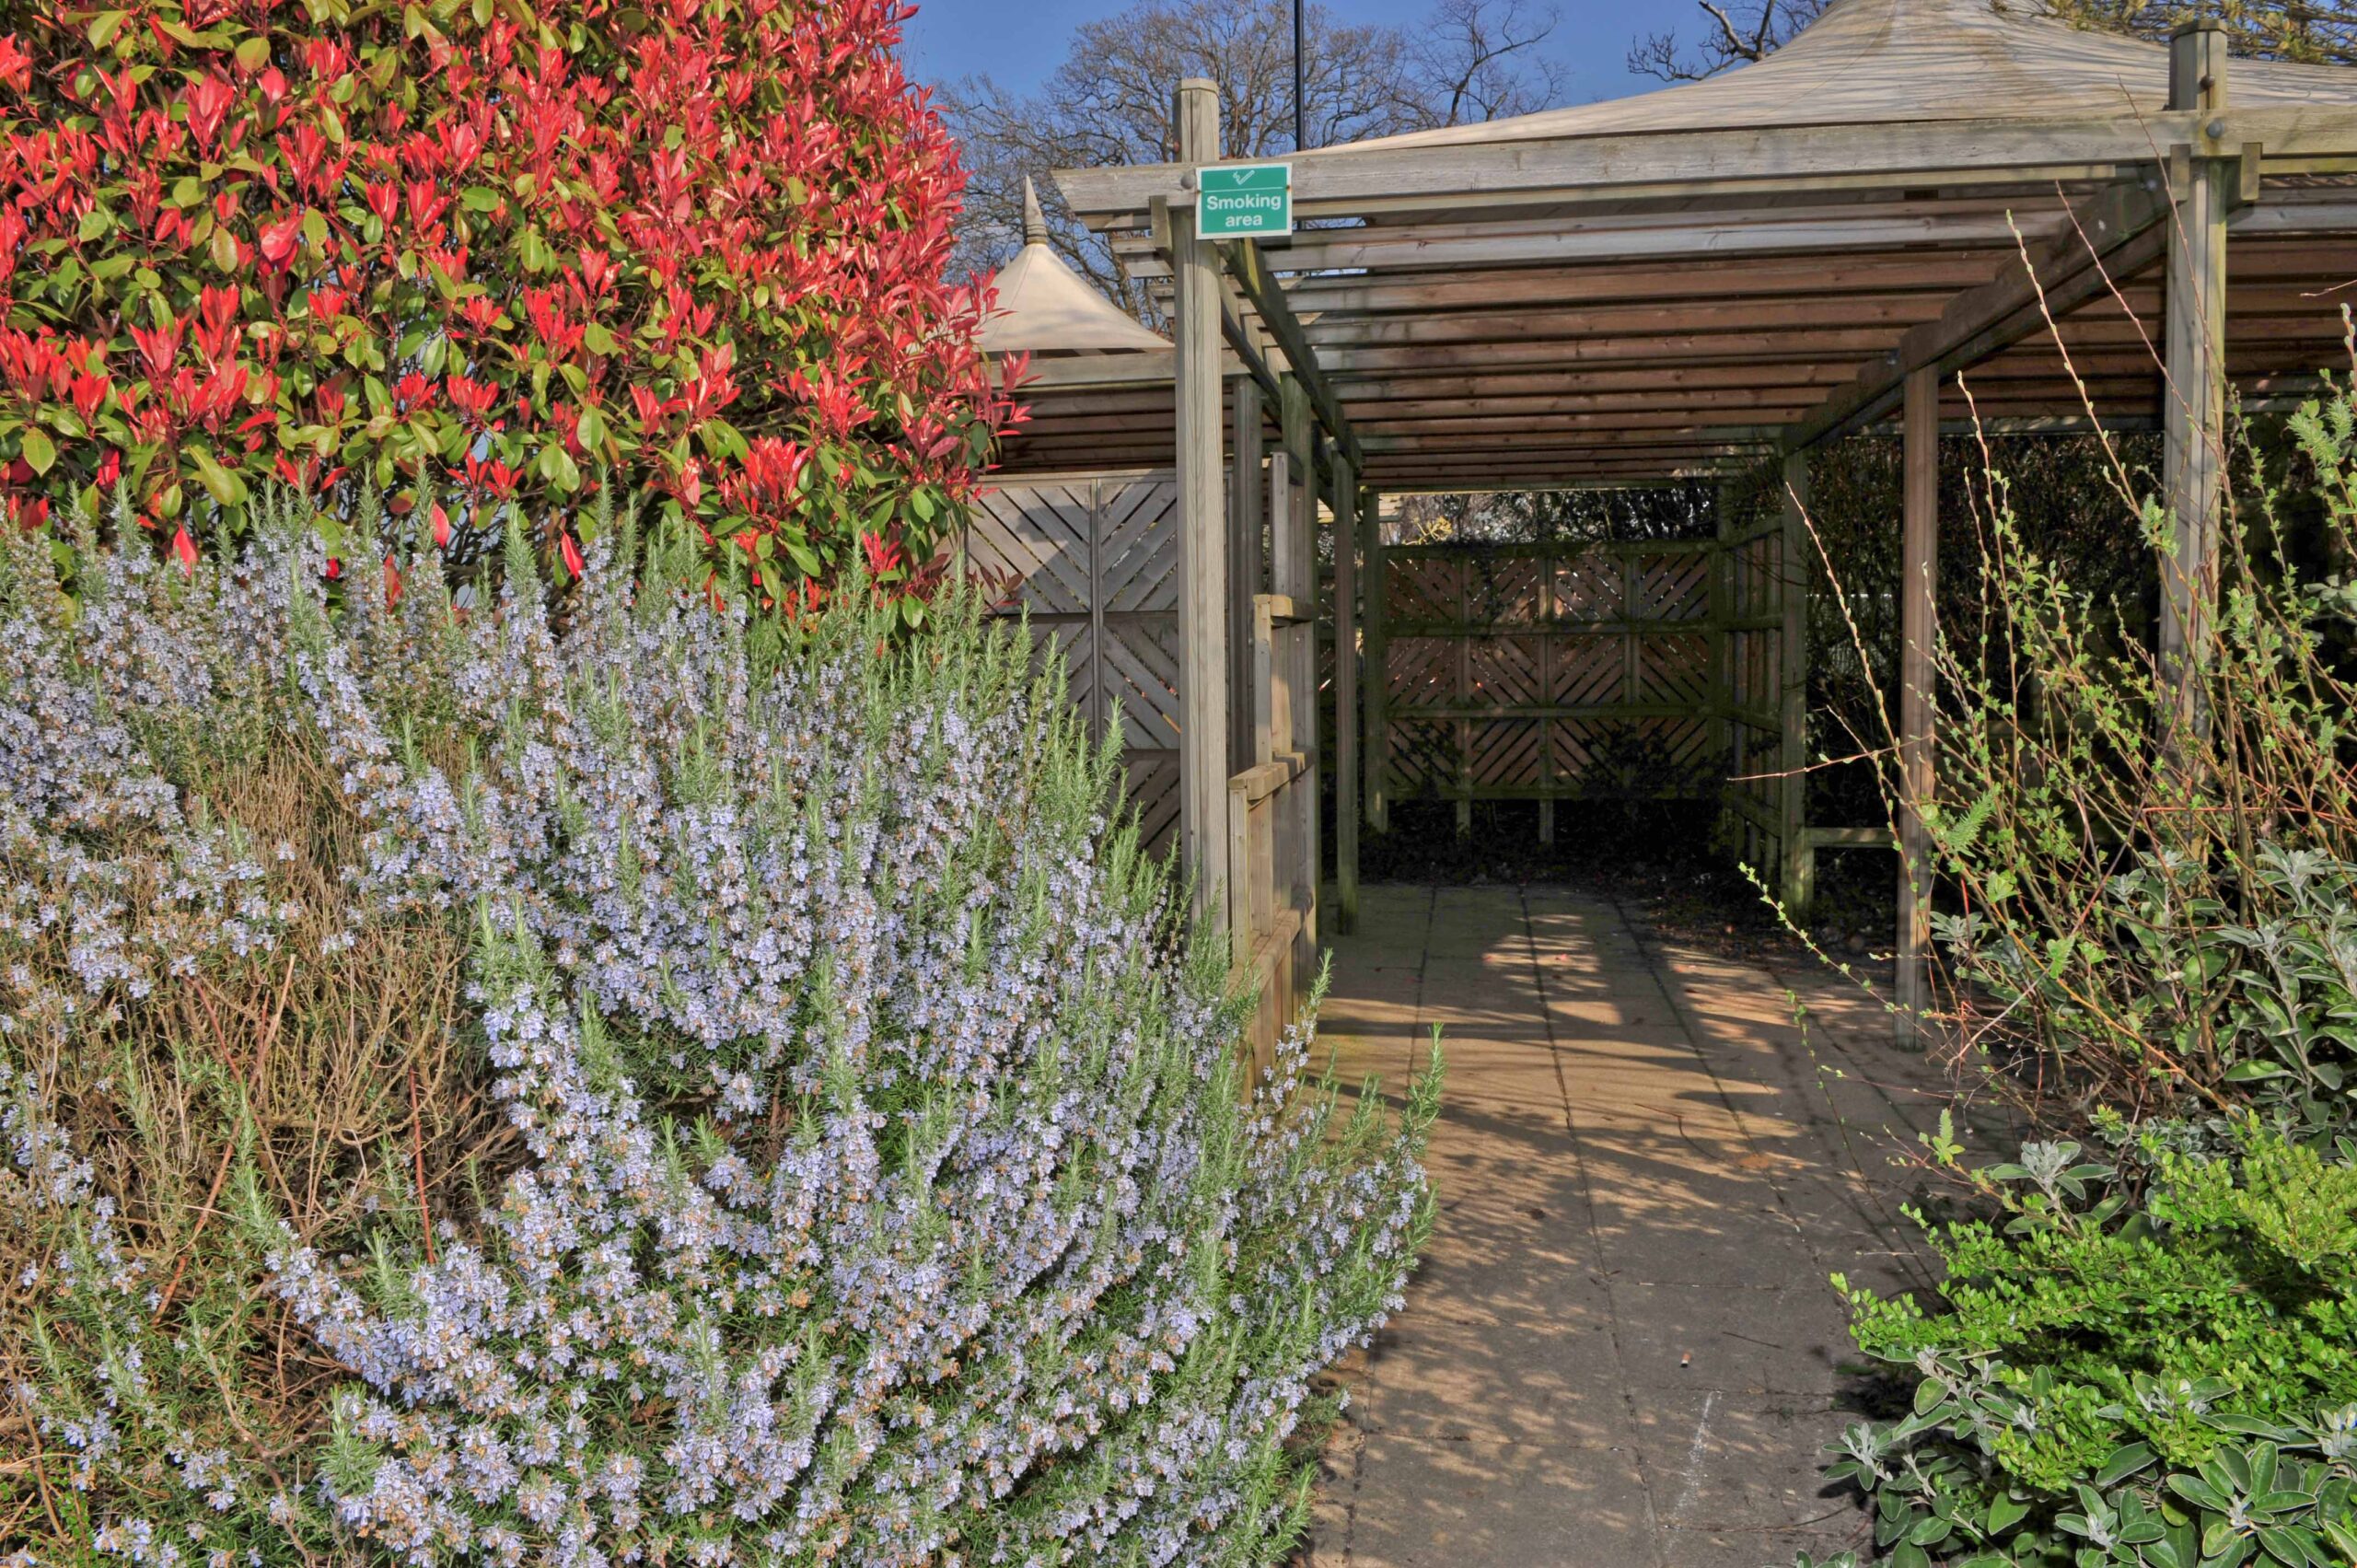
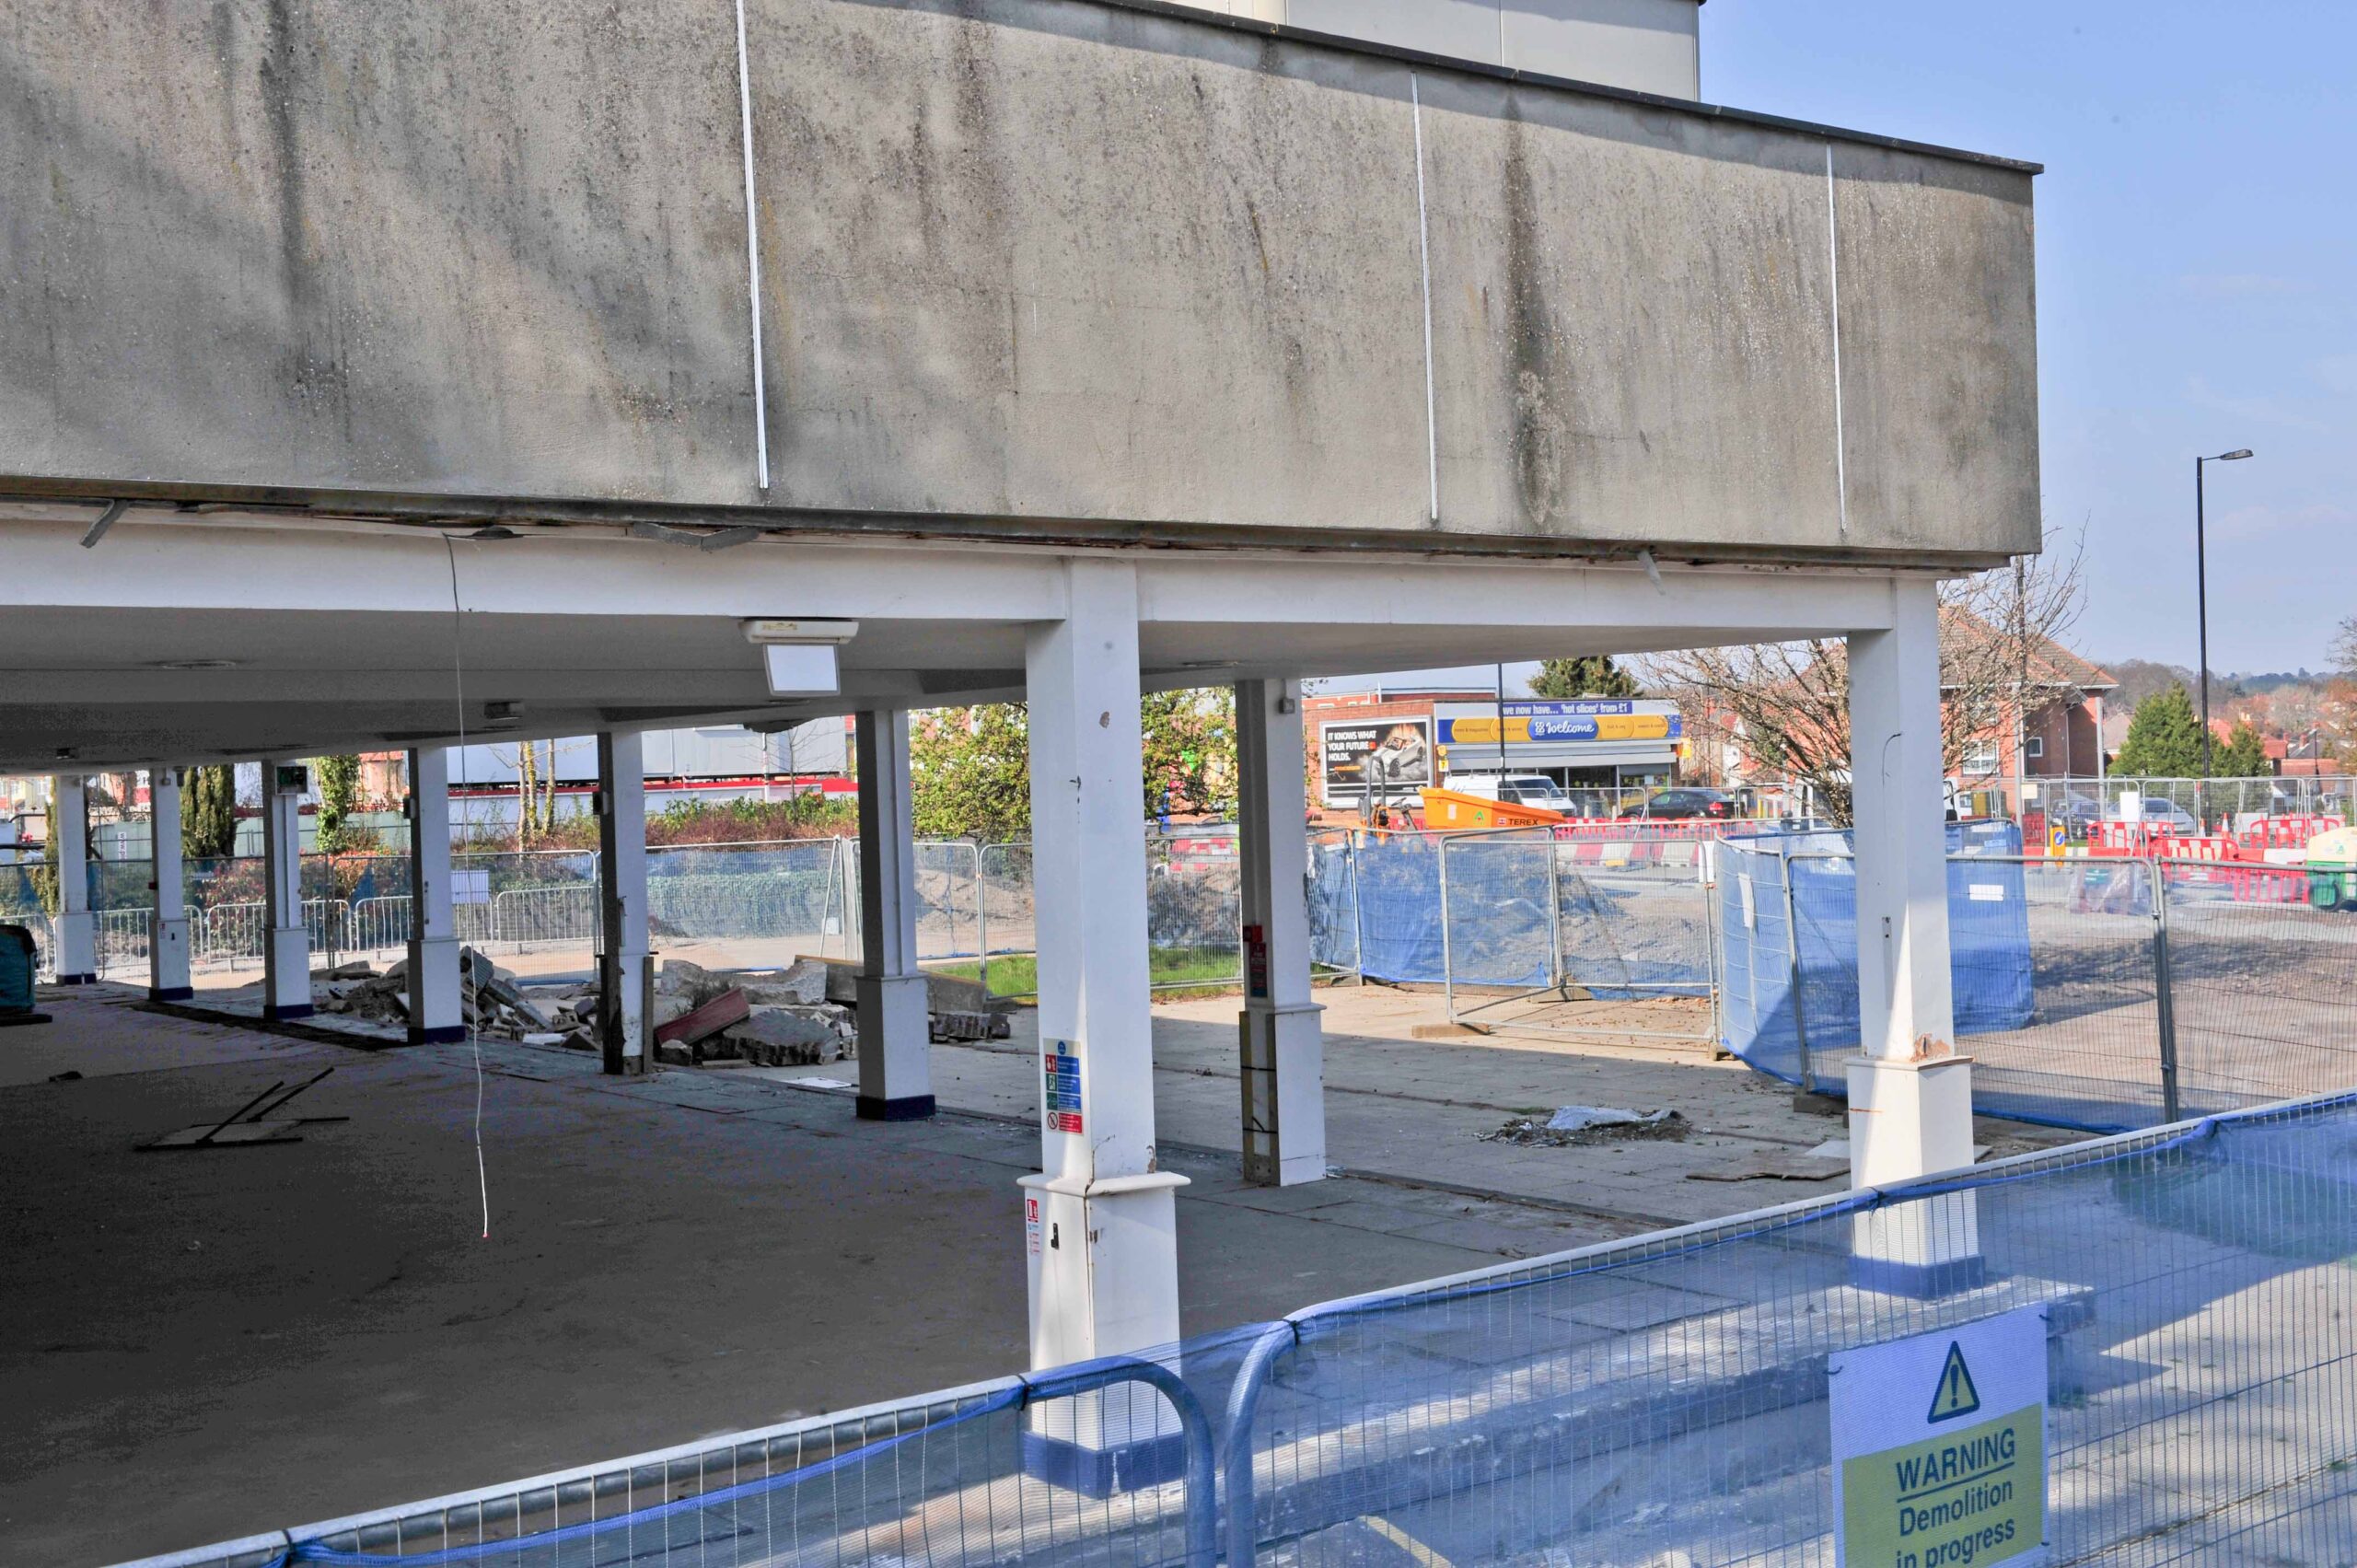
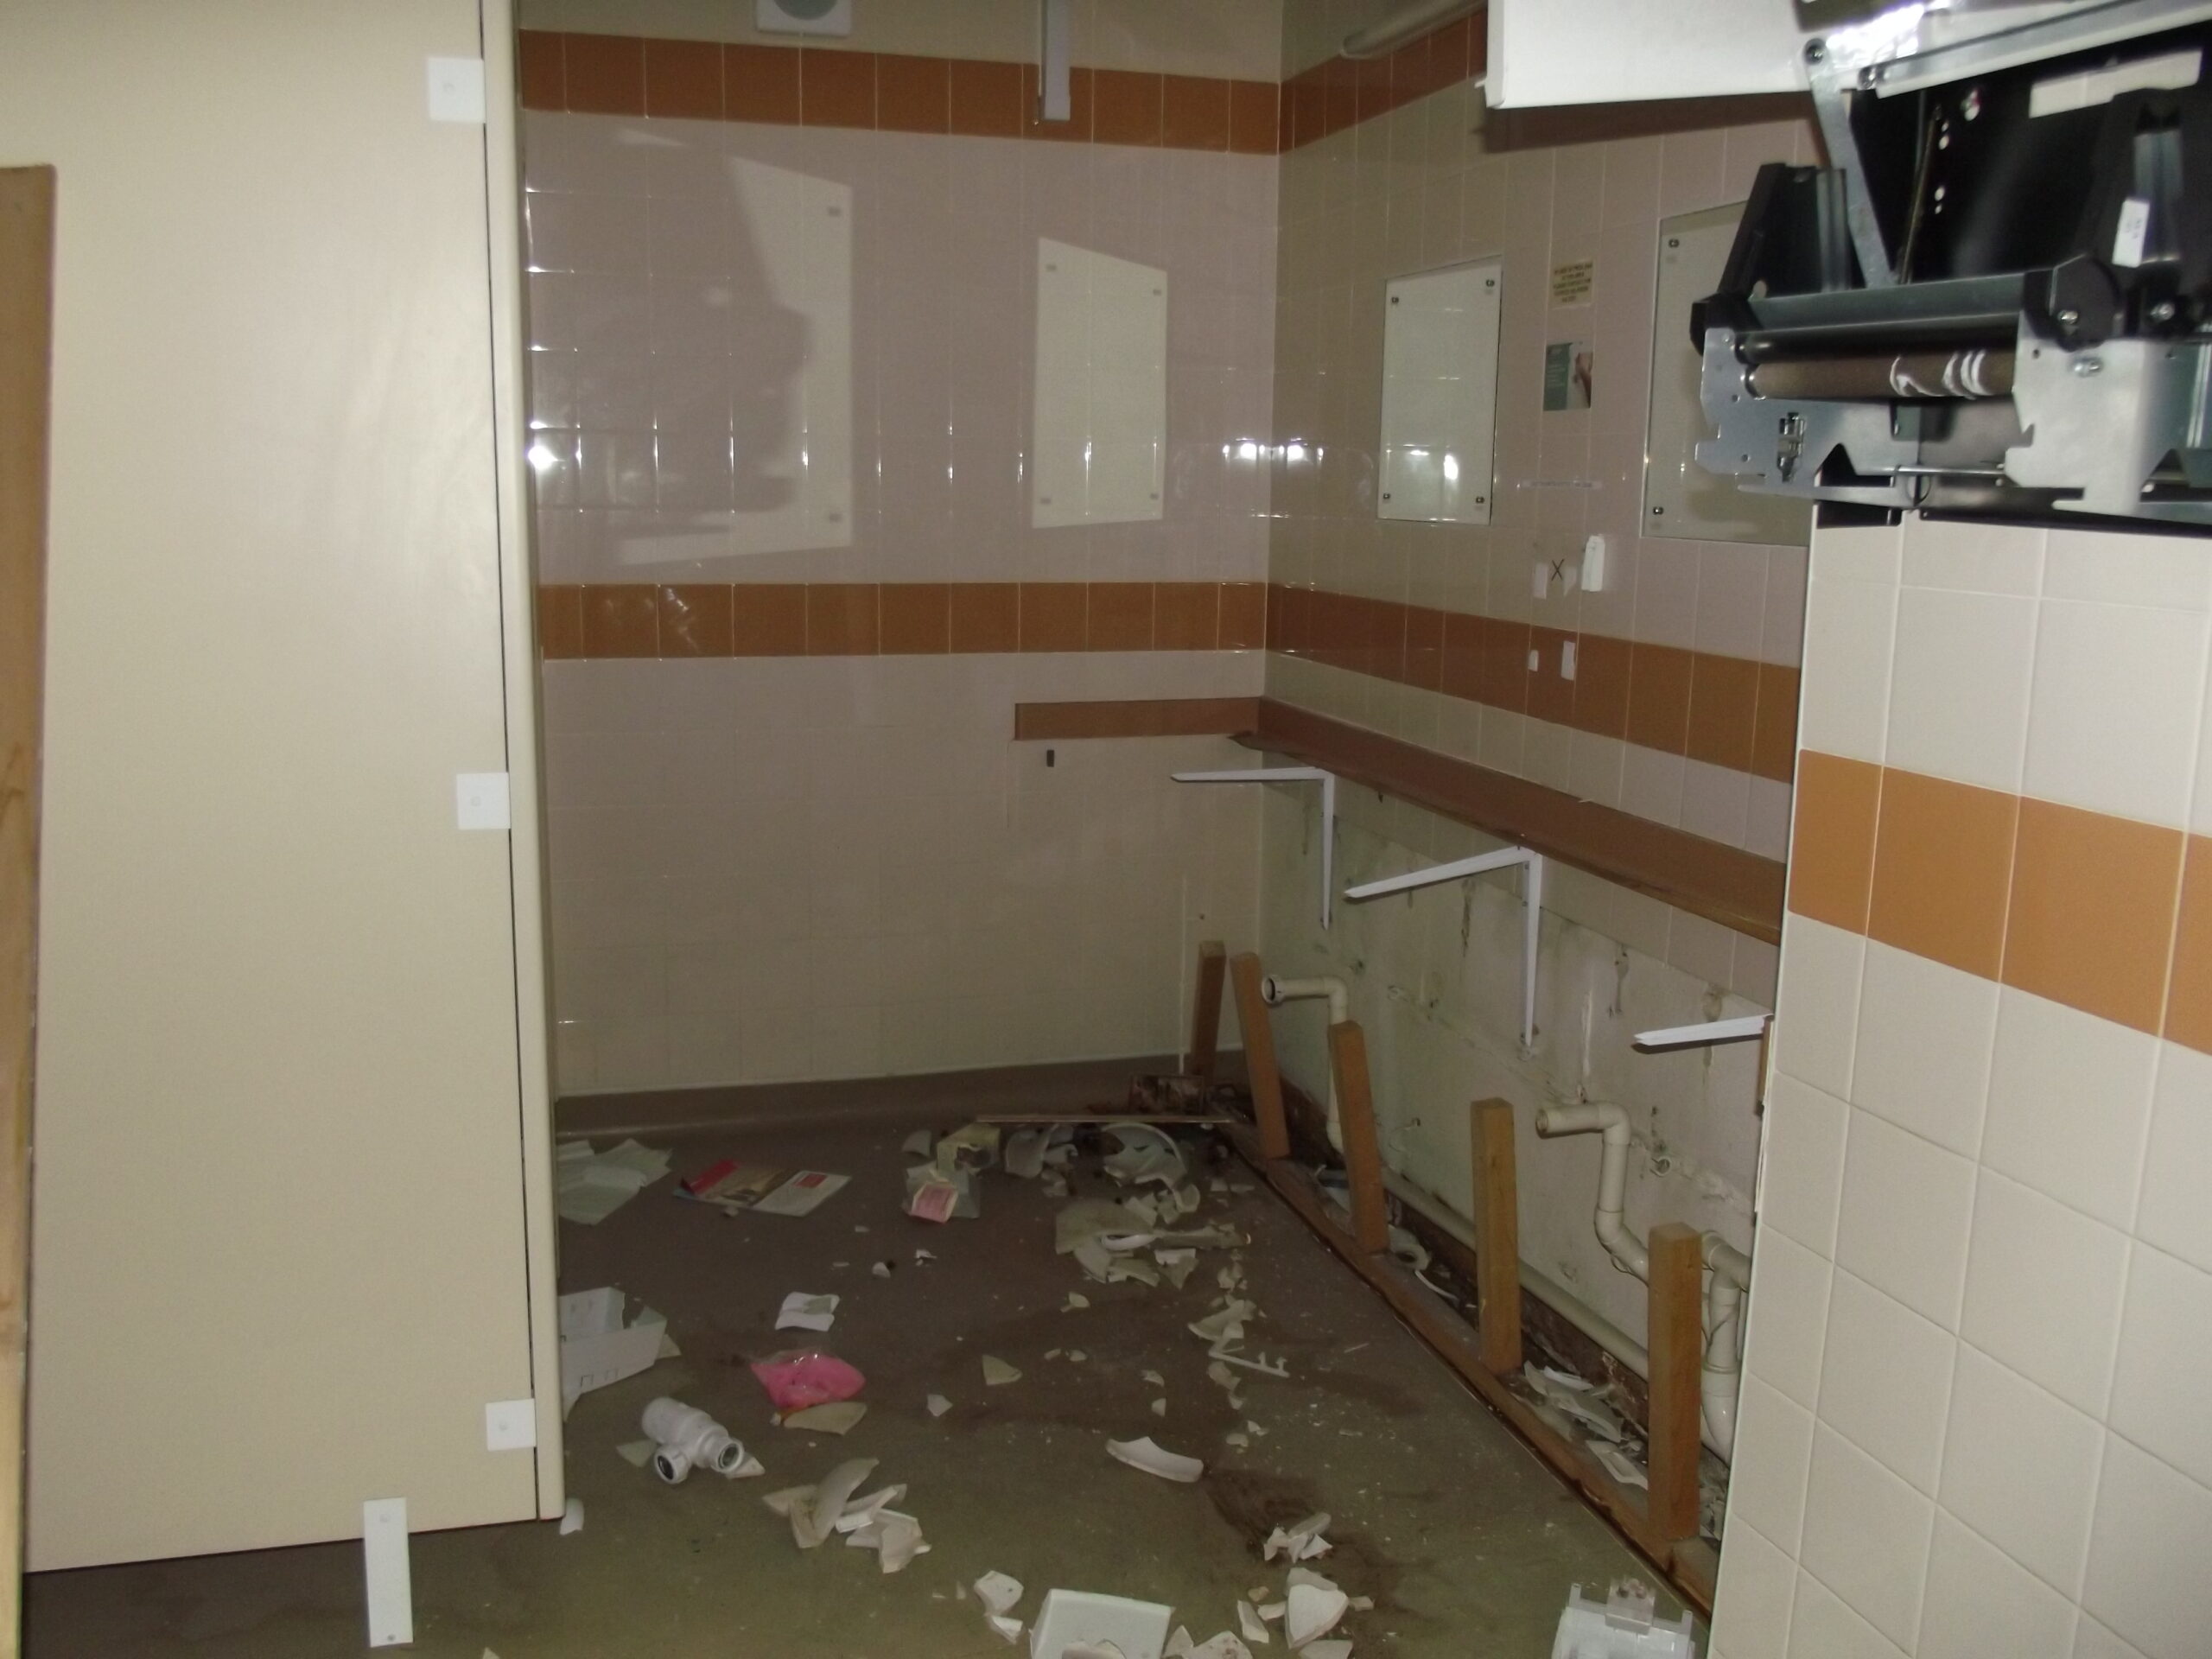
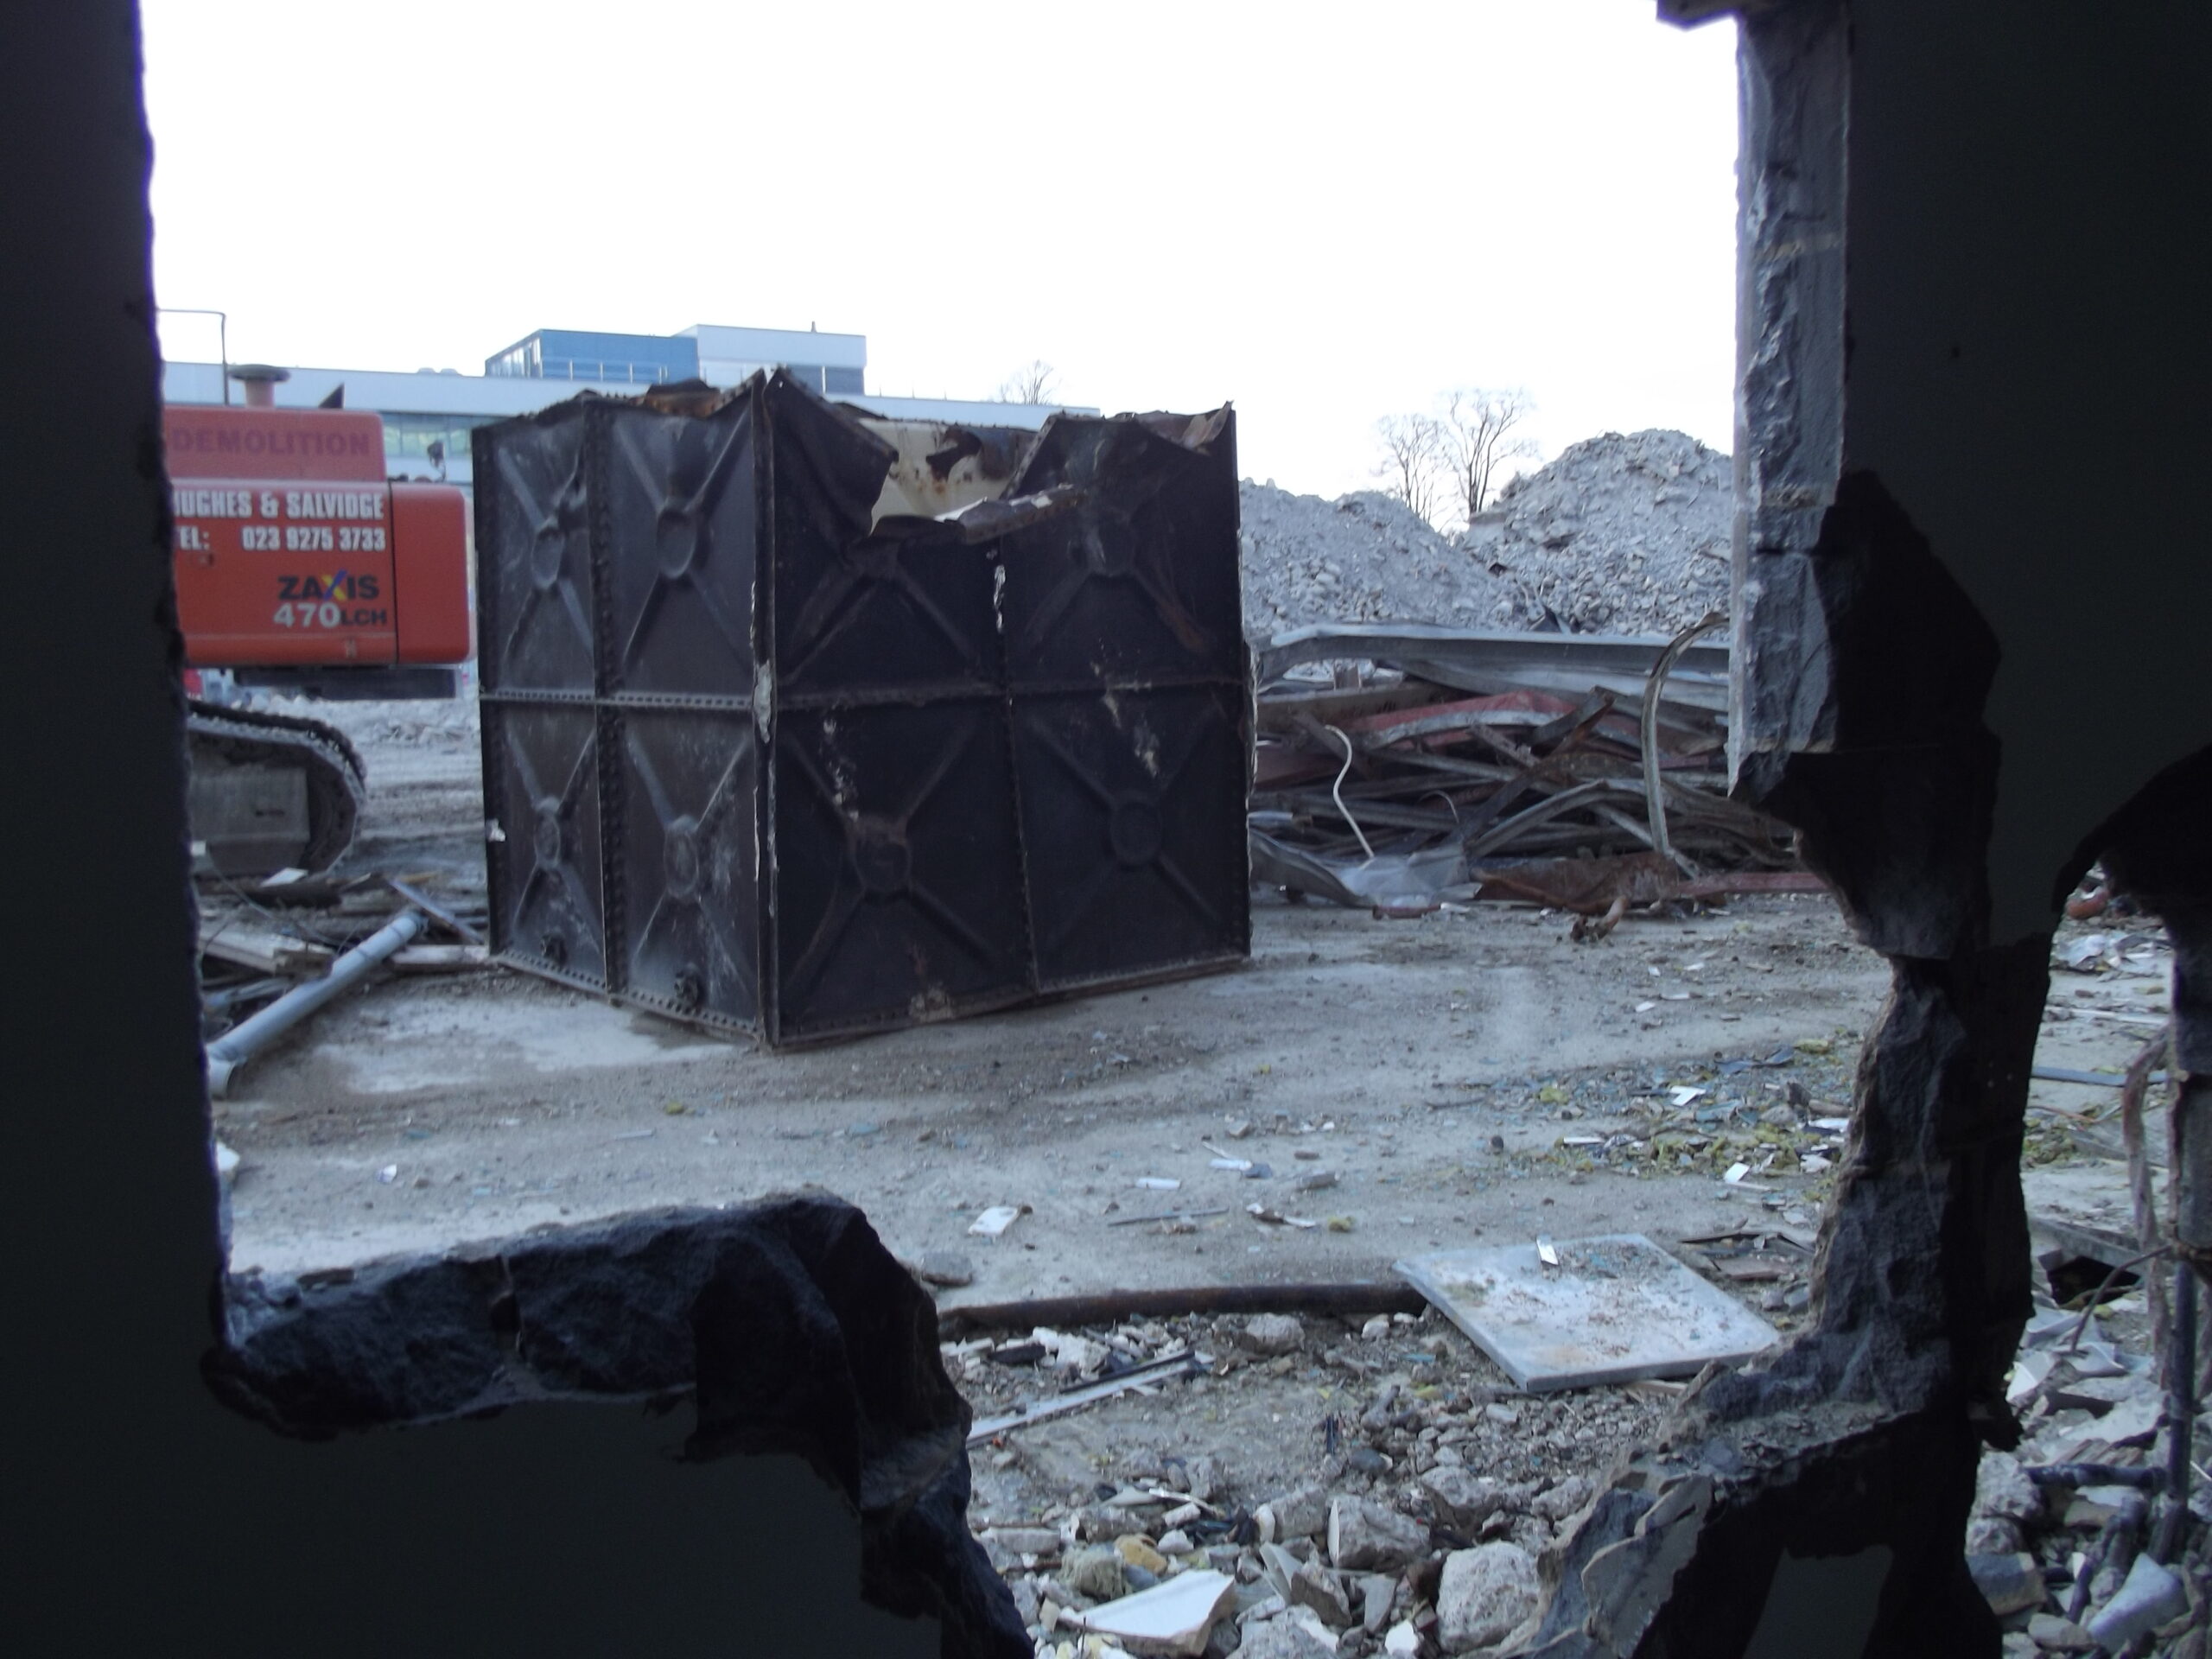
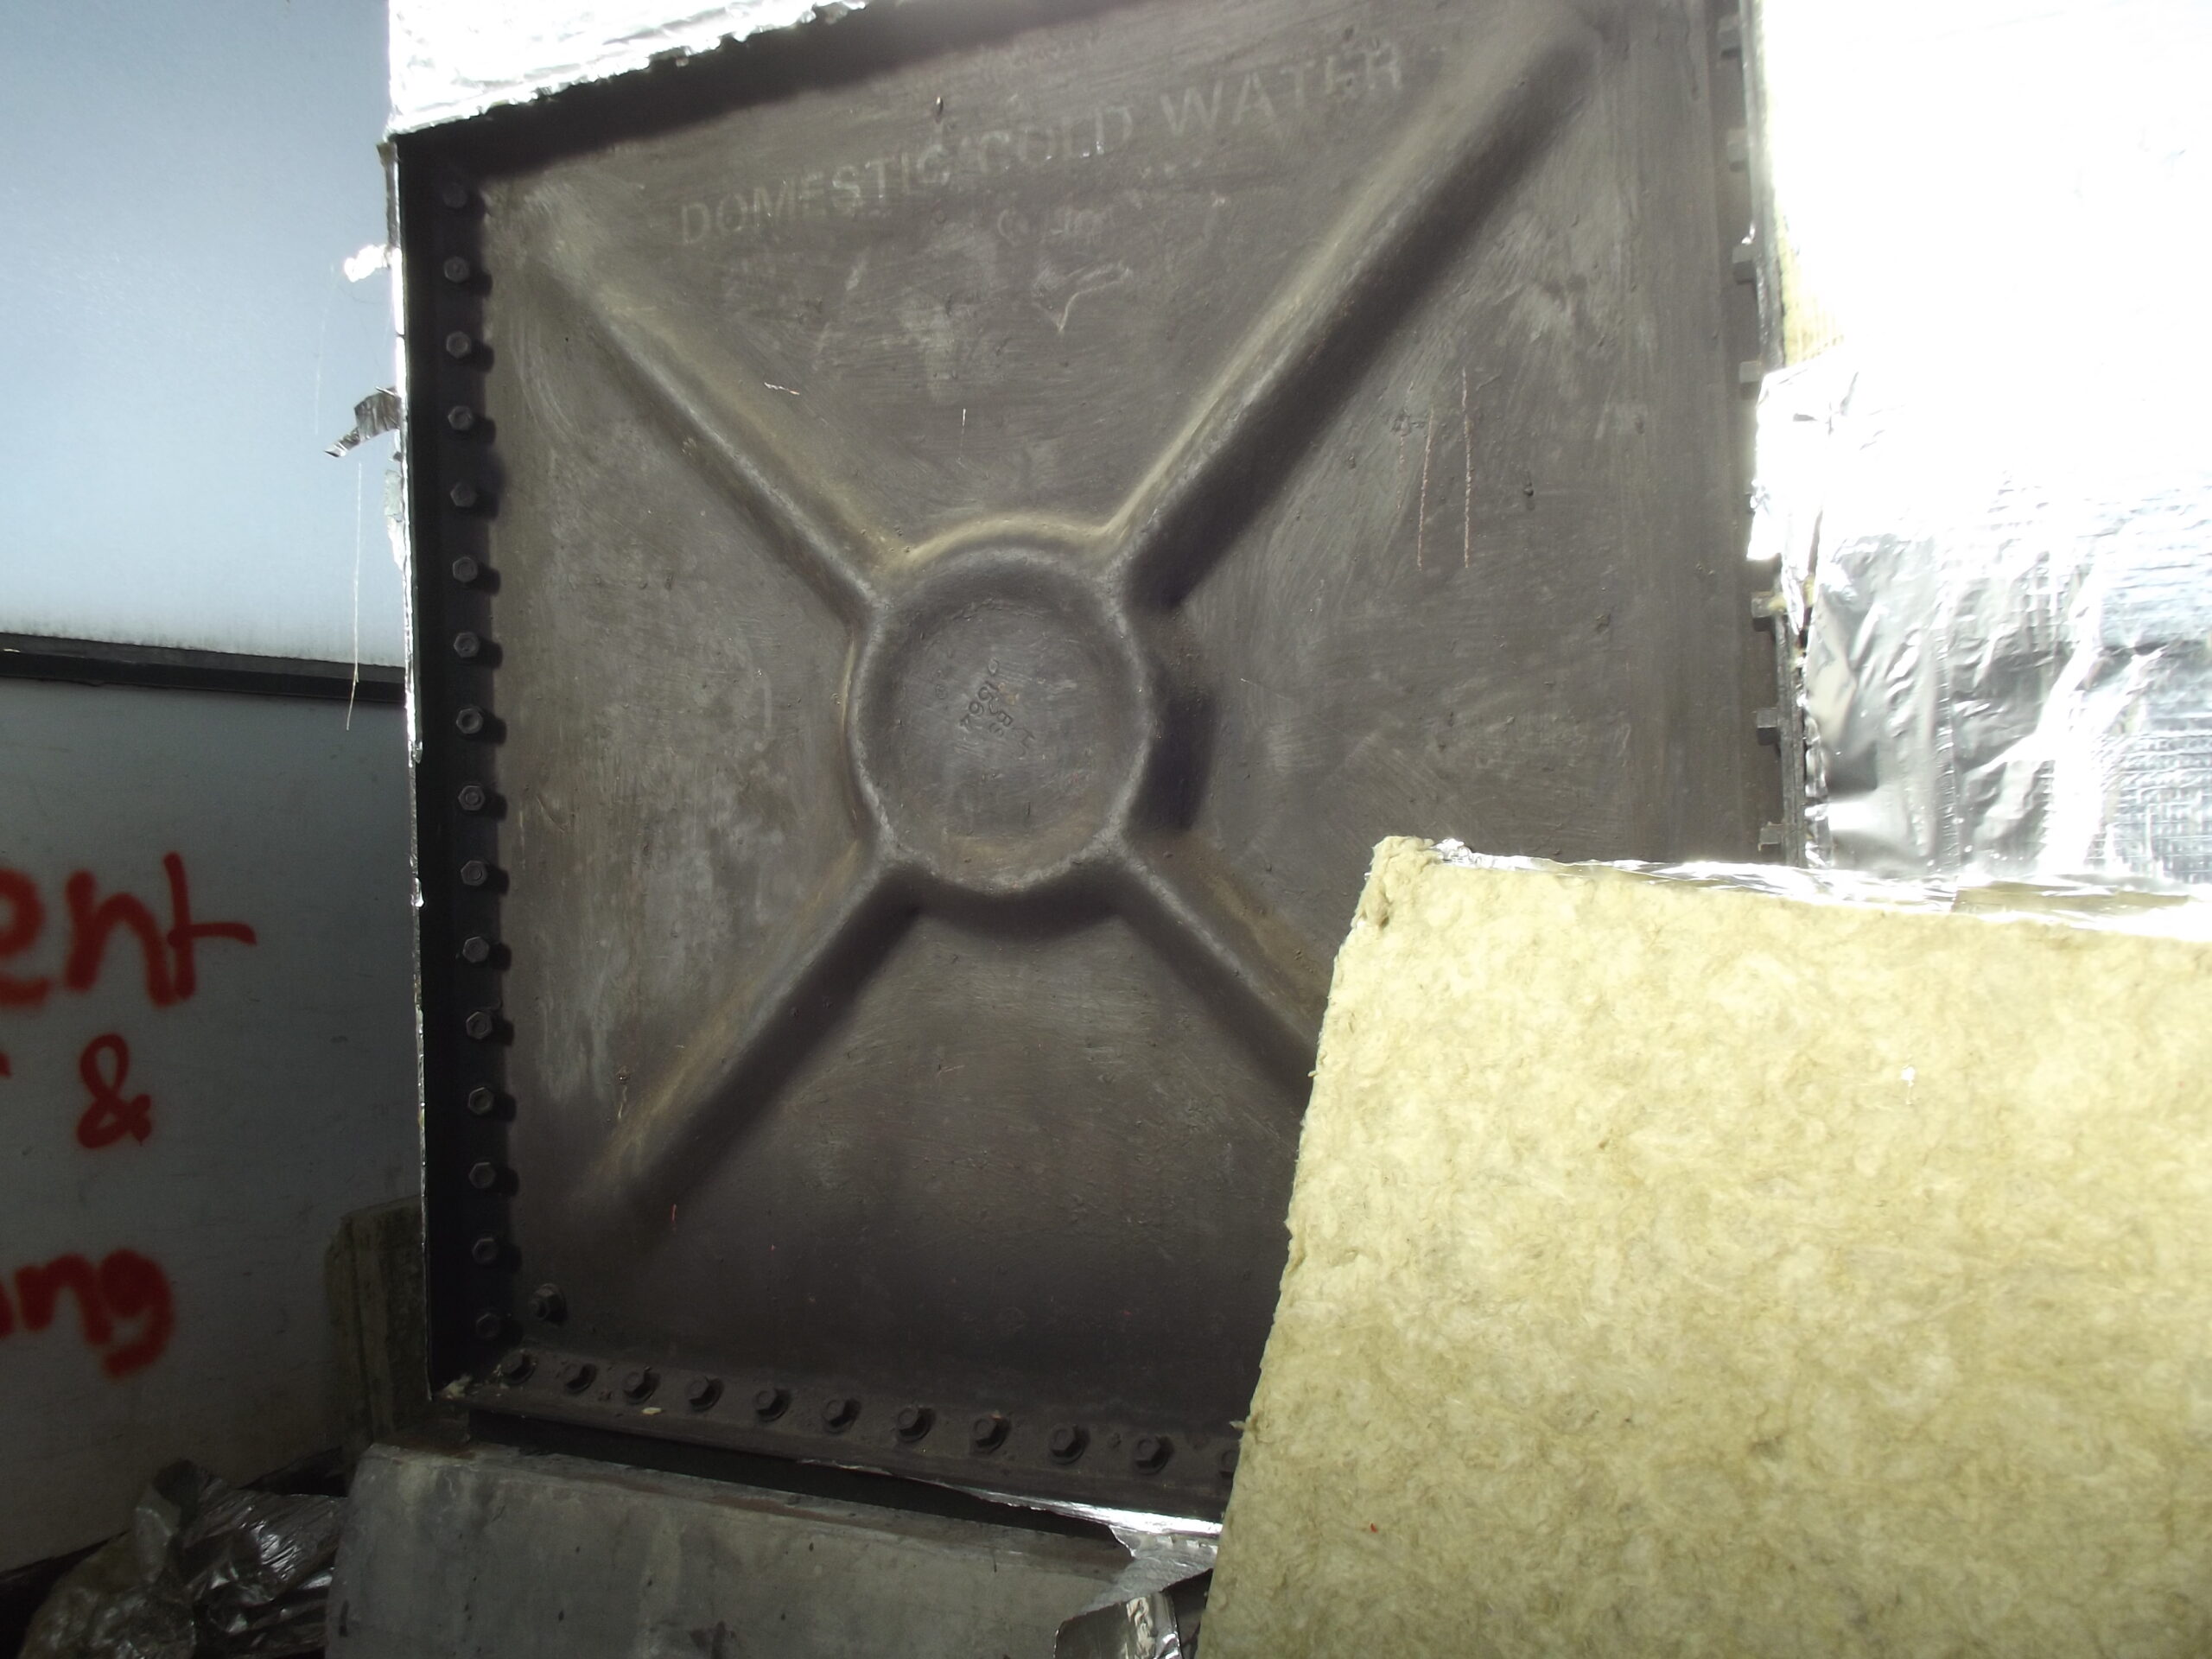
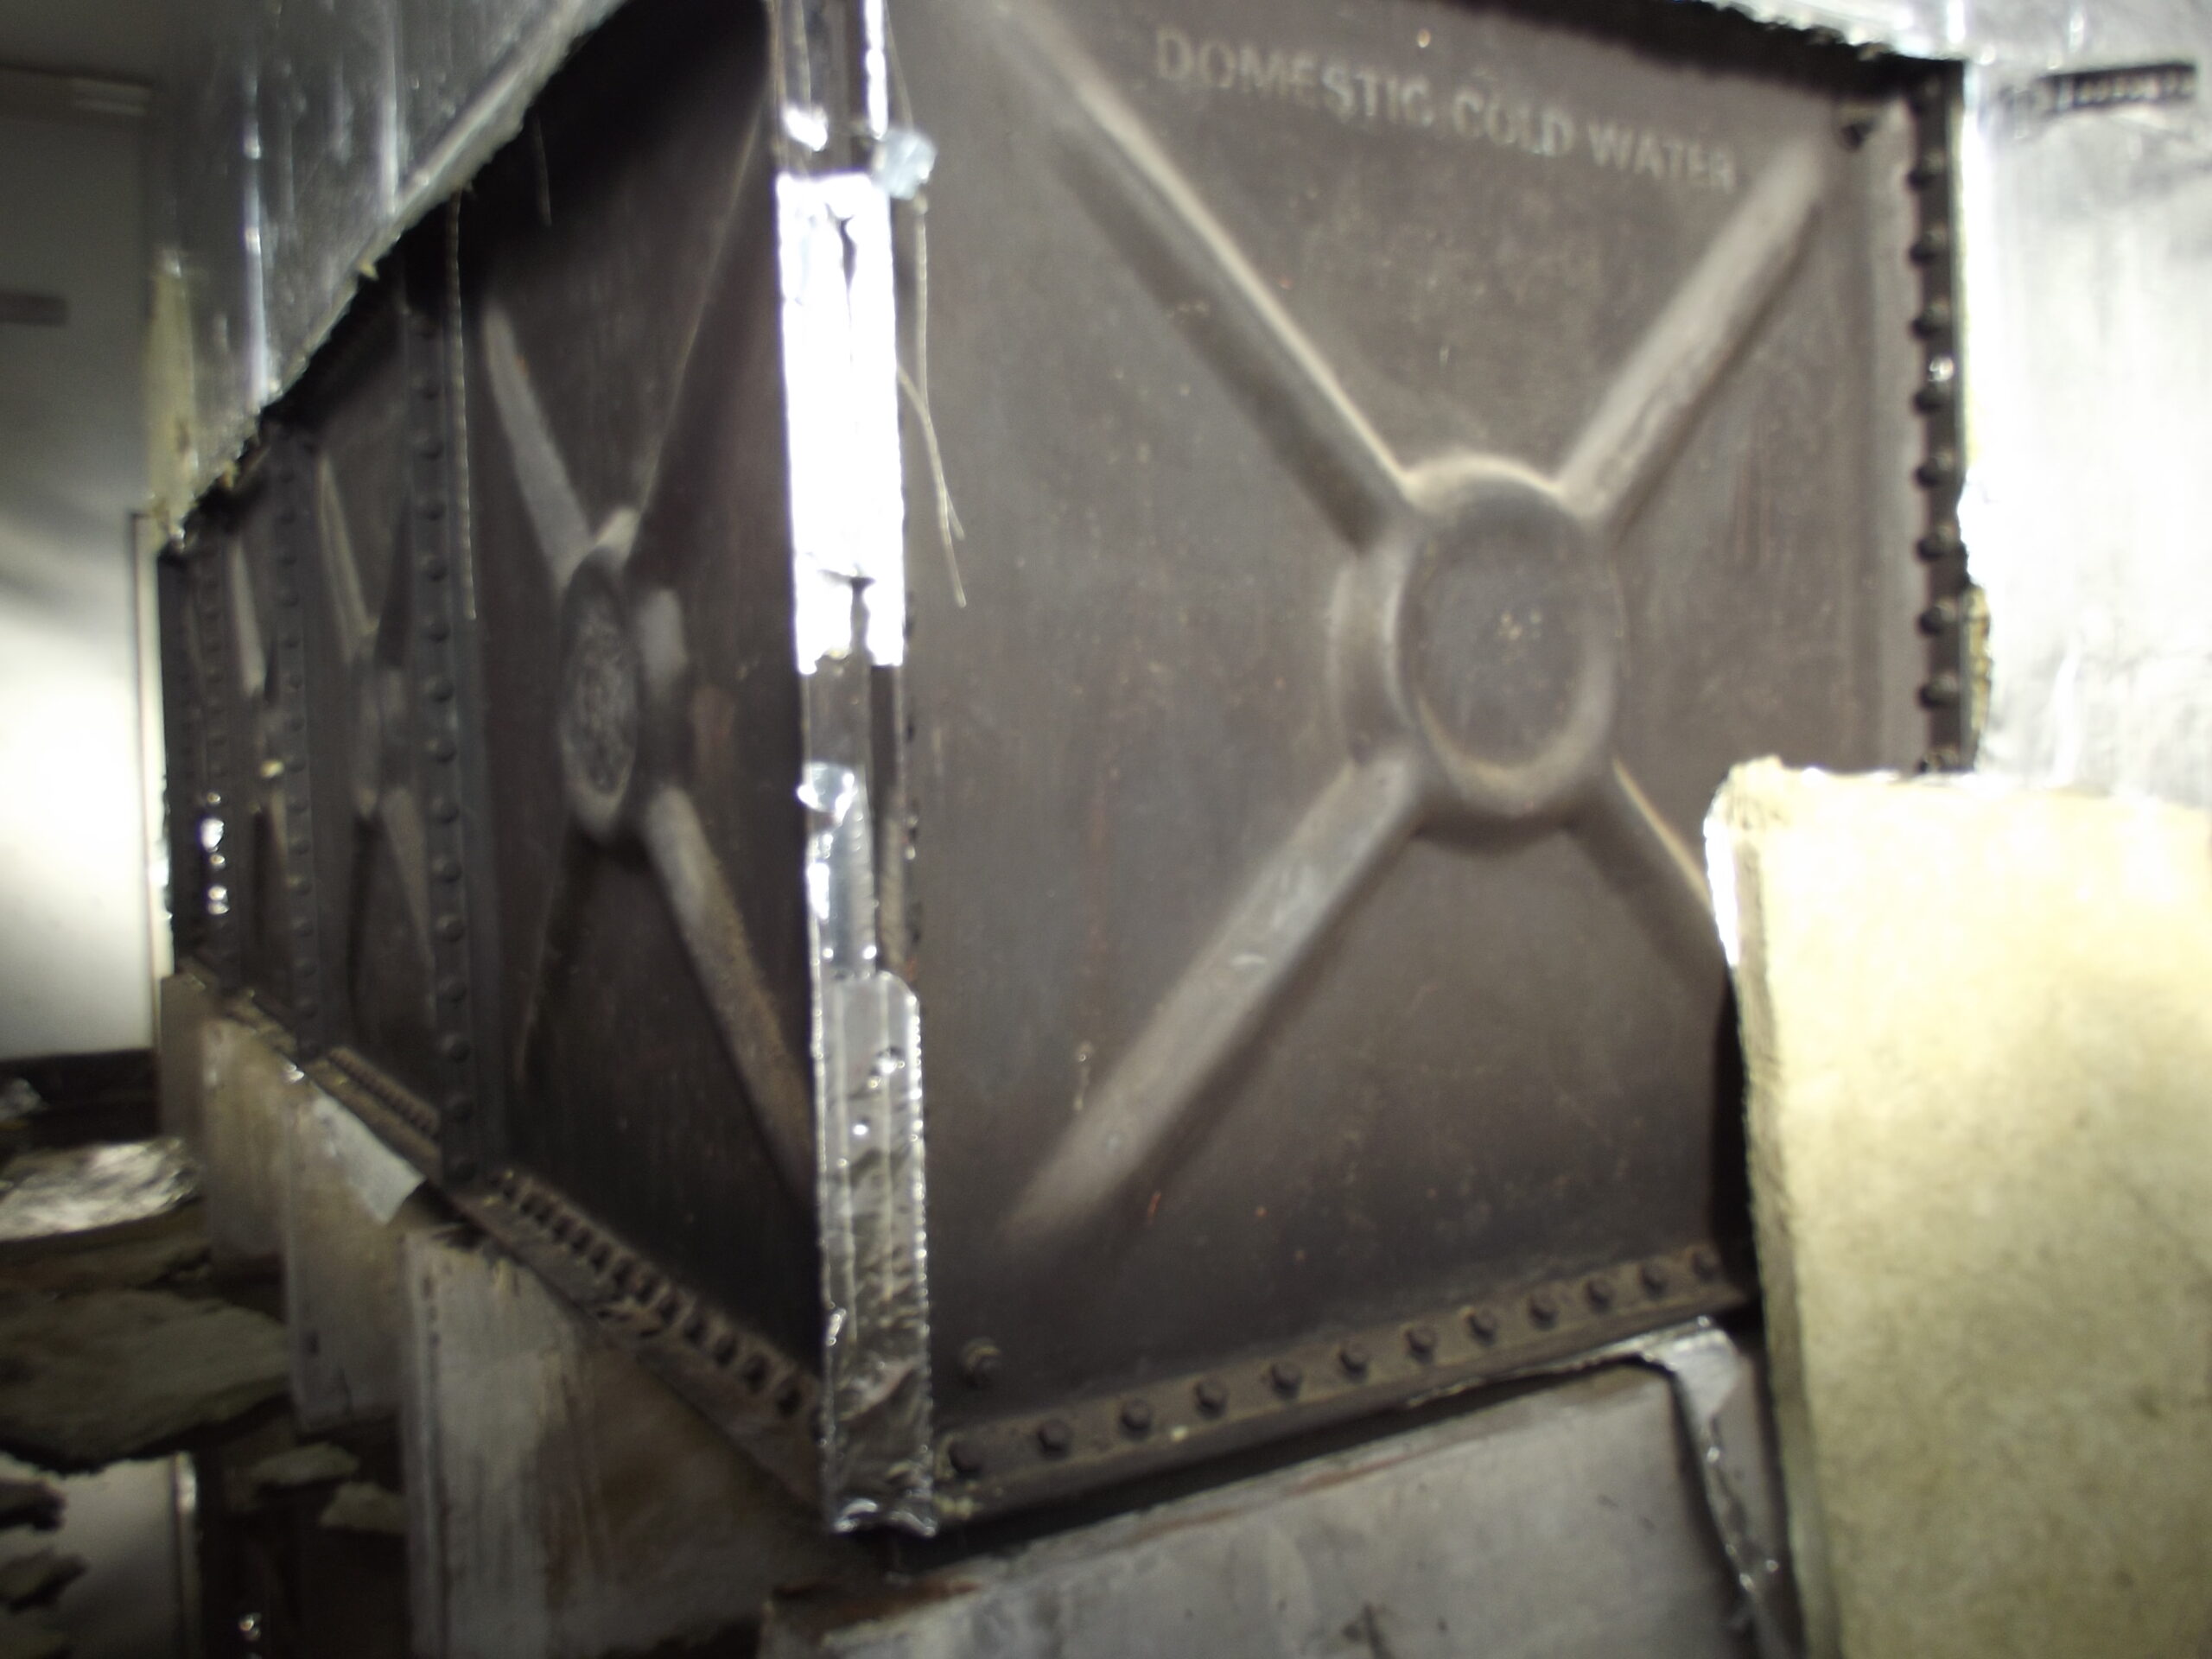
C Core demolition 2 Apr 2012. You can see the sectional cast iron water tank in the penthouse and on the left you can see toilet cisterns attached to the wall. I don’t know if it is an original feature or something that was added when the toilets were refurbished in the 1990s but there were no cisterns in the cubicles themselves, the cisterns were all wall-mounted in the room behind, making maintenance easierDemolition of C Core/breaking up foundation slabsDemolition of C Core/breaking up foundation slabsC Core demolition 2 Apr 2012Demolition of C Core/breaking up foundation slabsDemolition of C Core/breaking up foundation slabsPanoramic view of the WRB demolition site – 2 Apr 2012A forklift at the demolition siteDemolition of WRB and West Block – 2 Apr 2012Demolition of WRB and West Block – 2 Apr 2012Demolition of WRB and West Block – 2 Apr 2012Panorama of Maybush site from The Mound – 2 Apr 2012Panorama of site from the Mound’s Trig pillar – 2 Apr 2012West Block demolition 2 Apr 2012West Block demolition 2 Apr 2012. Top floor W416 where ceiling was painted black about the suspended ceiling, W212 is below, which had a full suspended ceiling that reduced the height of the former double-height stores area and air conditioning was also installed. Below is the Bulk Map, store, W09 and on the LG floor W007, Map Issue & Despatch.West Block demolition 2 Apr 2012West Block demolition 2 Apr 2012 Note the area at first floor level, I assumed it was a mezzanine floor but it looks like part of the concrete structure.Demolition of West Block, LG floor is Map Issue & Despatch, which had windows fitted with security bars. I think that was after burglaries of computer equipment via the LG floor. Above is the ground-floor double-height space of W09, Bulk Map Store.West Block demolition 2 Apr 2012West Block demolition 2 Apr 2012West Block demolition 2 Apr 2012West Block demolition 2 Apr 2012West Block demolition 2 Apr 2012West Block demolition 2 Apr 2012 – W007West Block demolition 2 Apr 2012 – W007Breaking up RC foundation slabs of the Print FloorBreaking up RC foundation slabs of the Print Floor Demolition of C Core Penthouse and the very heavy sectional water tank. The back wall of the penthouse had fake windows outside but it had a sheer wall at each side, which you can see on the right here.Demolition of C Core Penthouse – 2 Apr 2012Staff Restaurant entrance, 2 Apr 2012Asbestos removal work in progressCigarette shelter outside Staff Restaurant – 2 Apr 2012East corner of the Staff Restaurant. All the metal doors and windows have been removed. Note the Co-op behind, which is now a mobility showroom as of Apr 2022.Back of the Staff Restaurant – 2 Apr 2012
Unofficial photos
I took the photos below myself
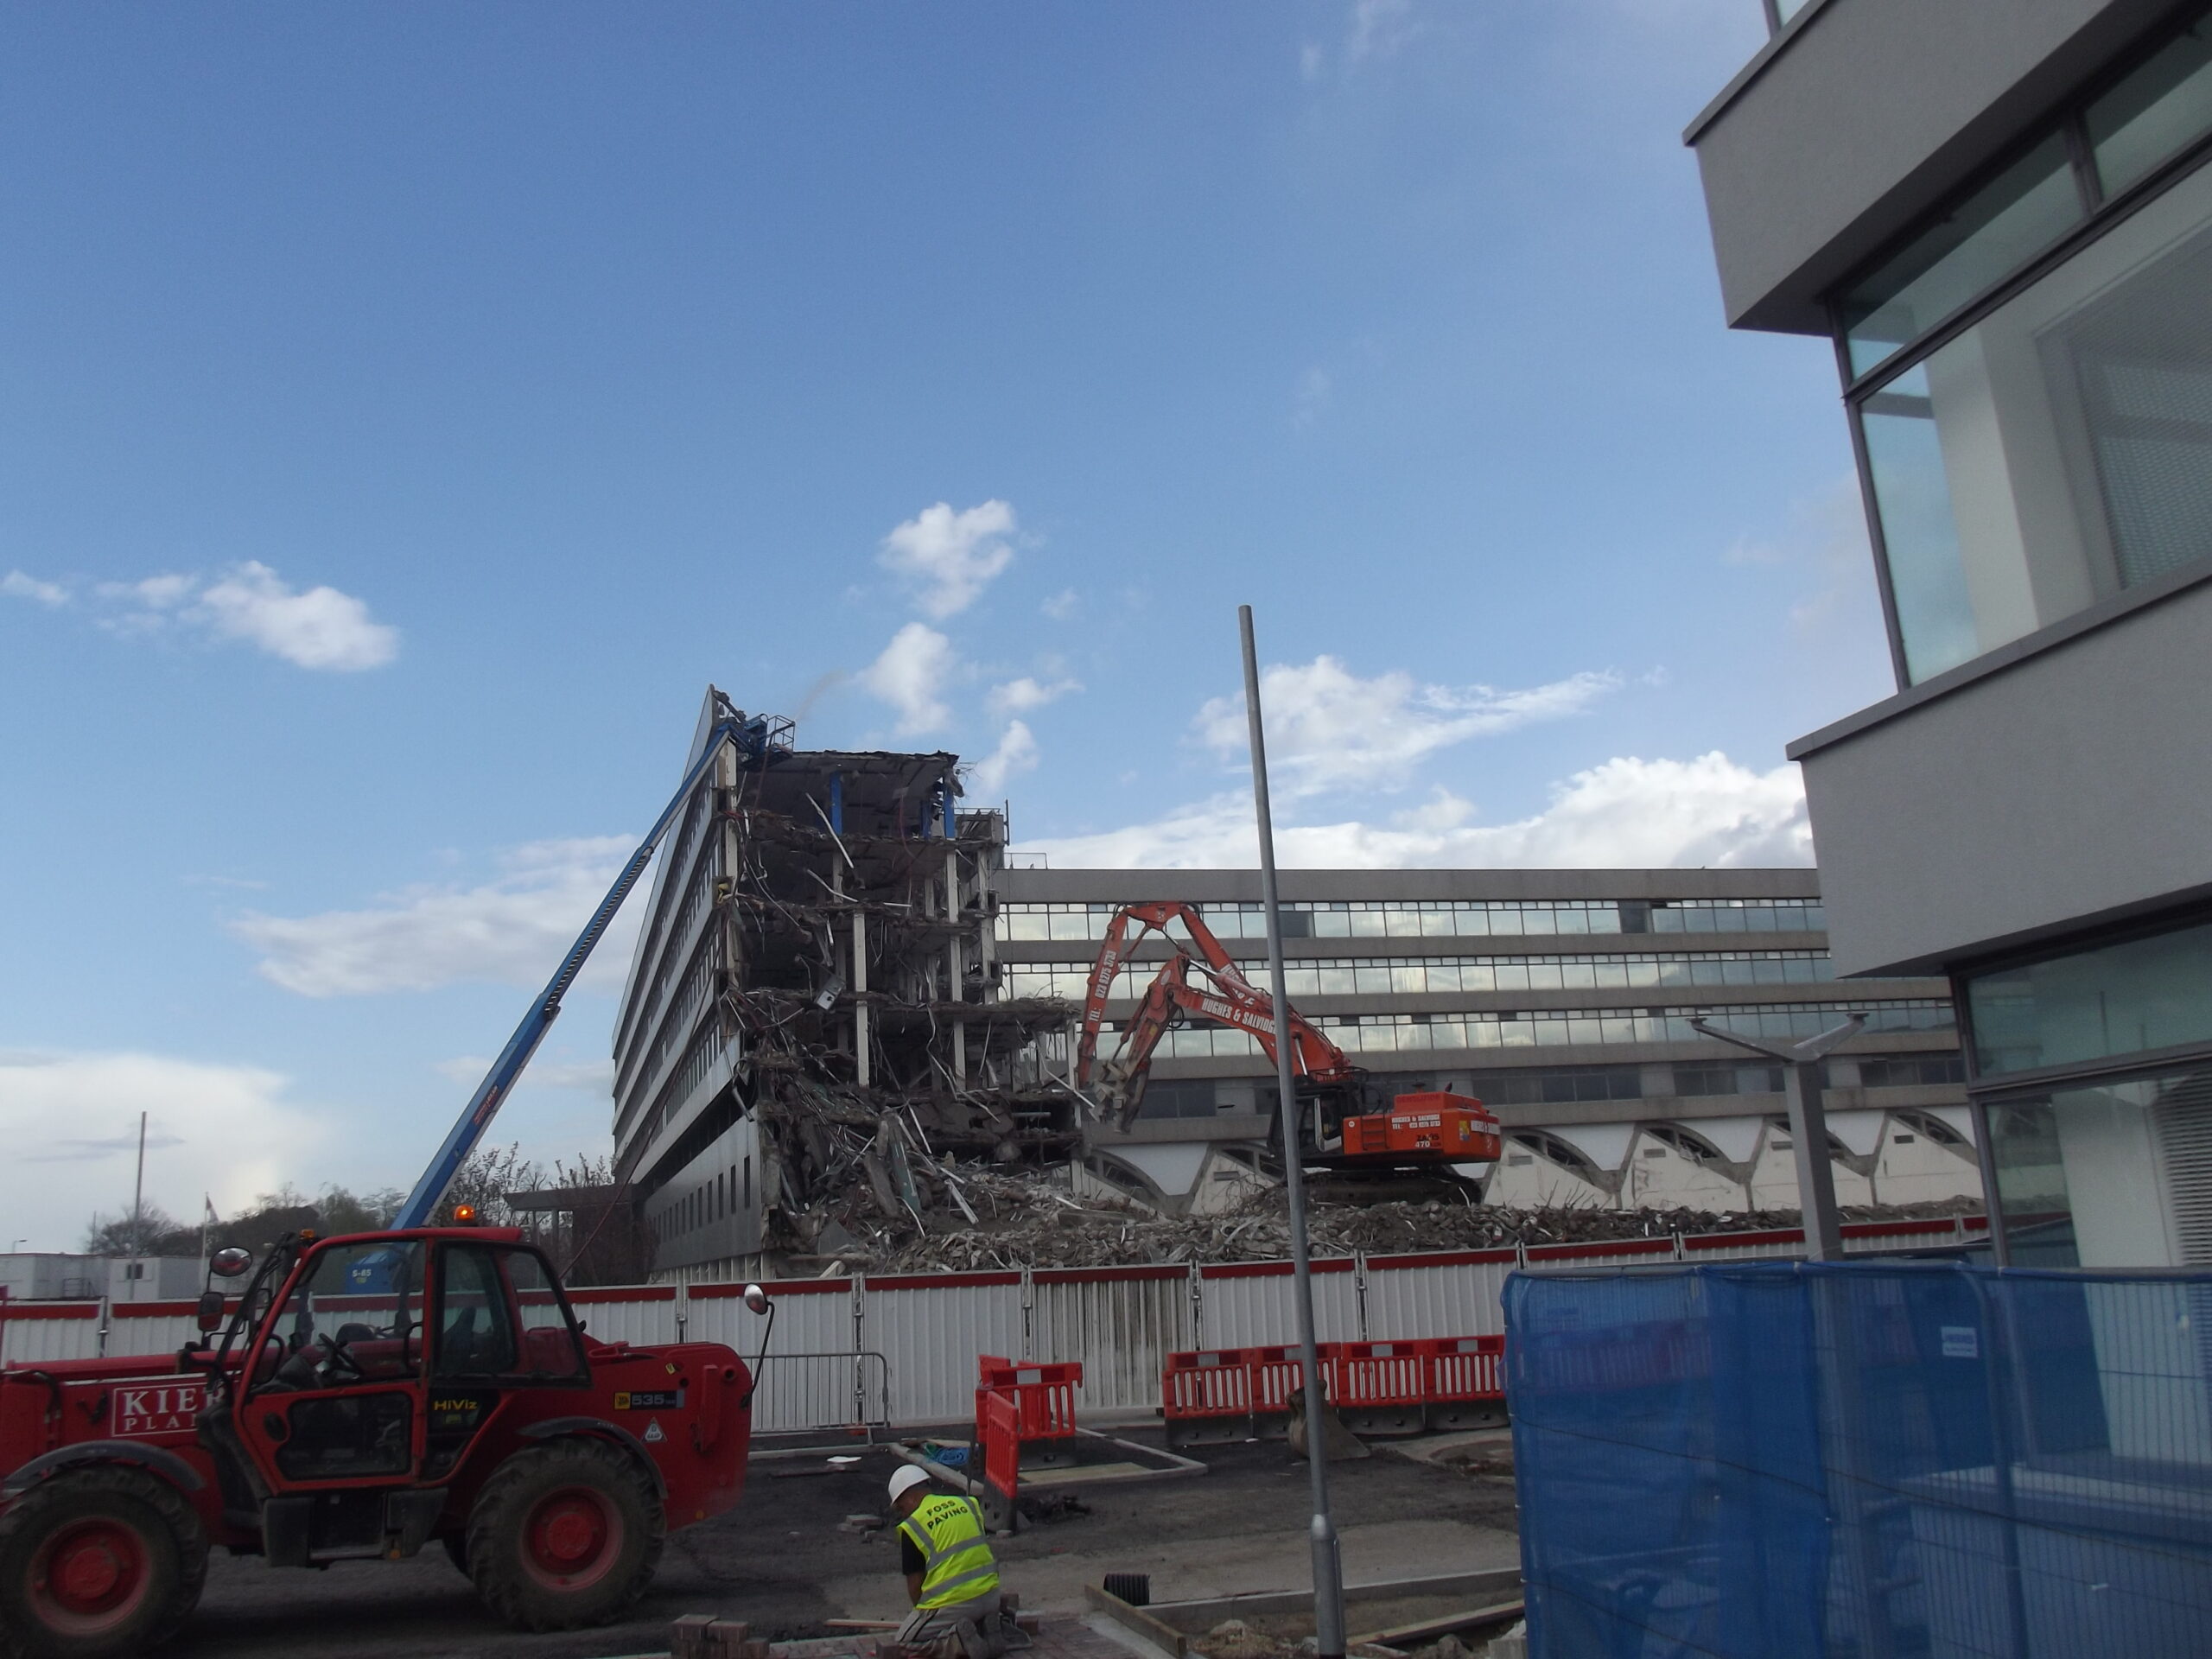
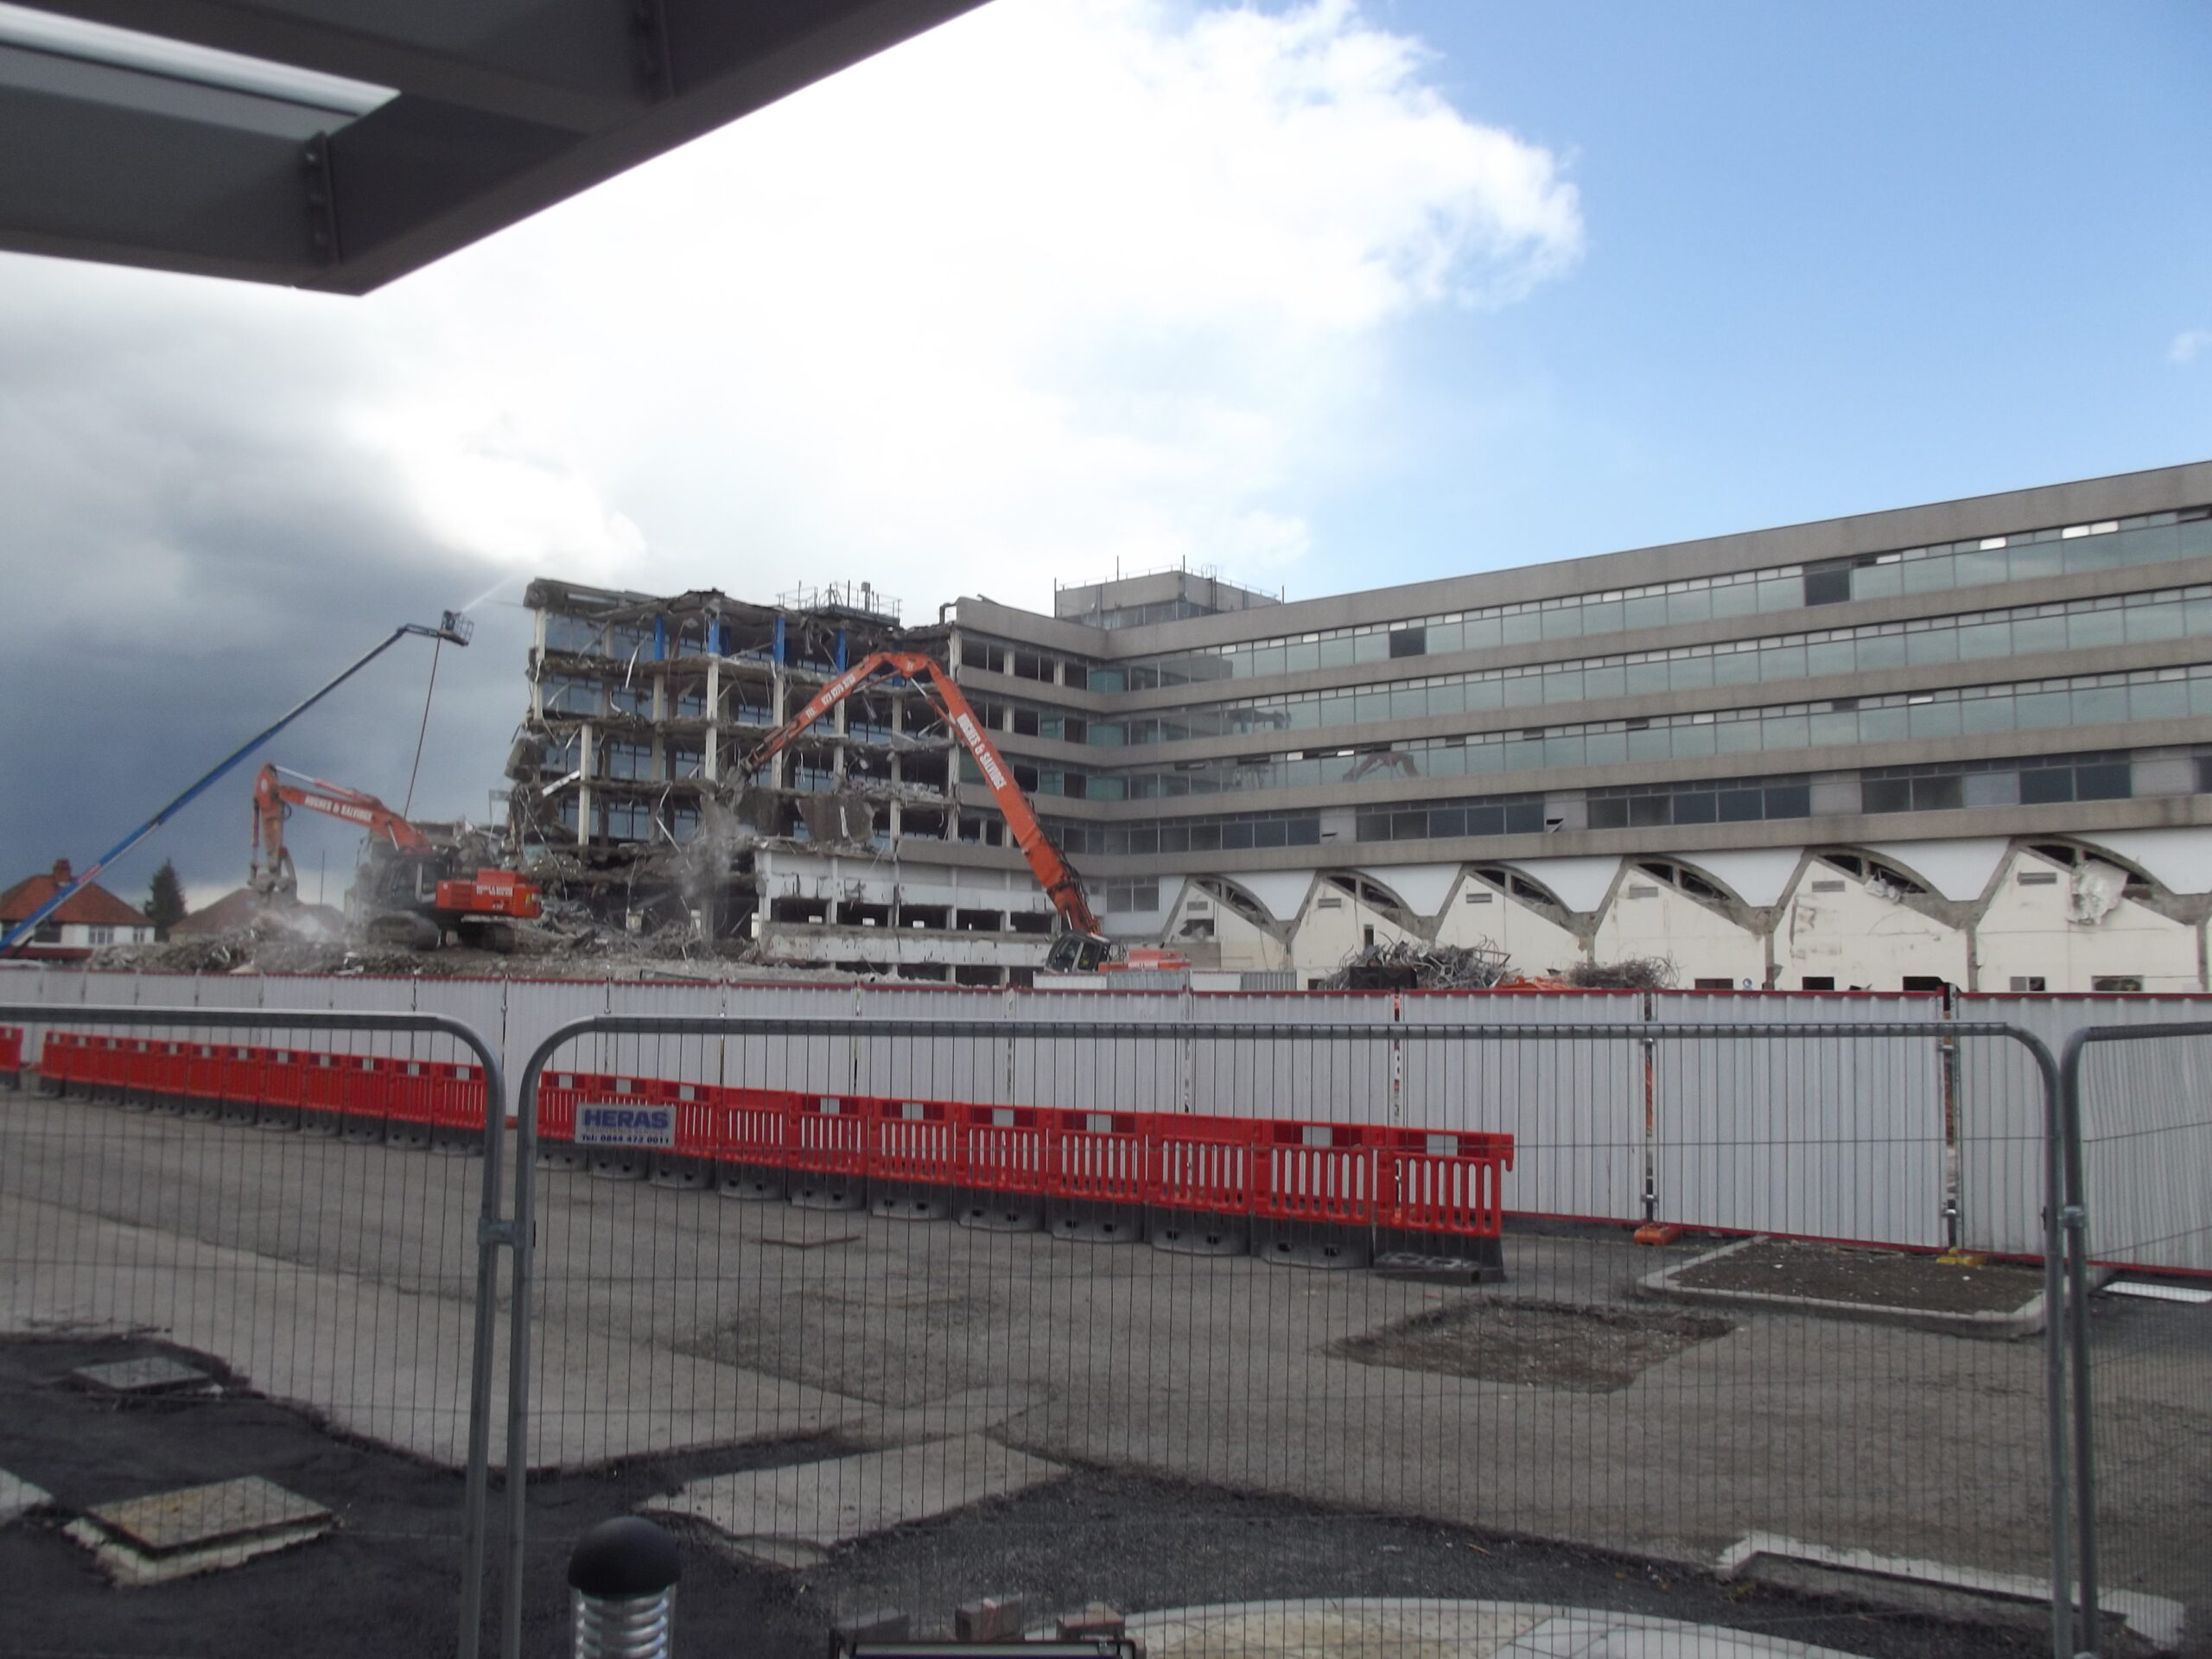
11 April 2012
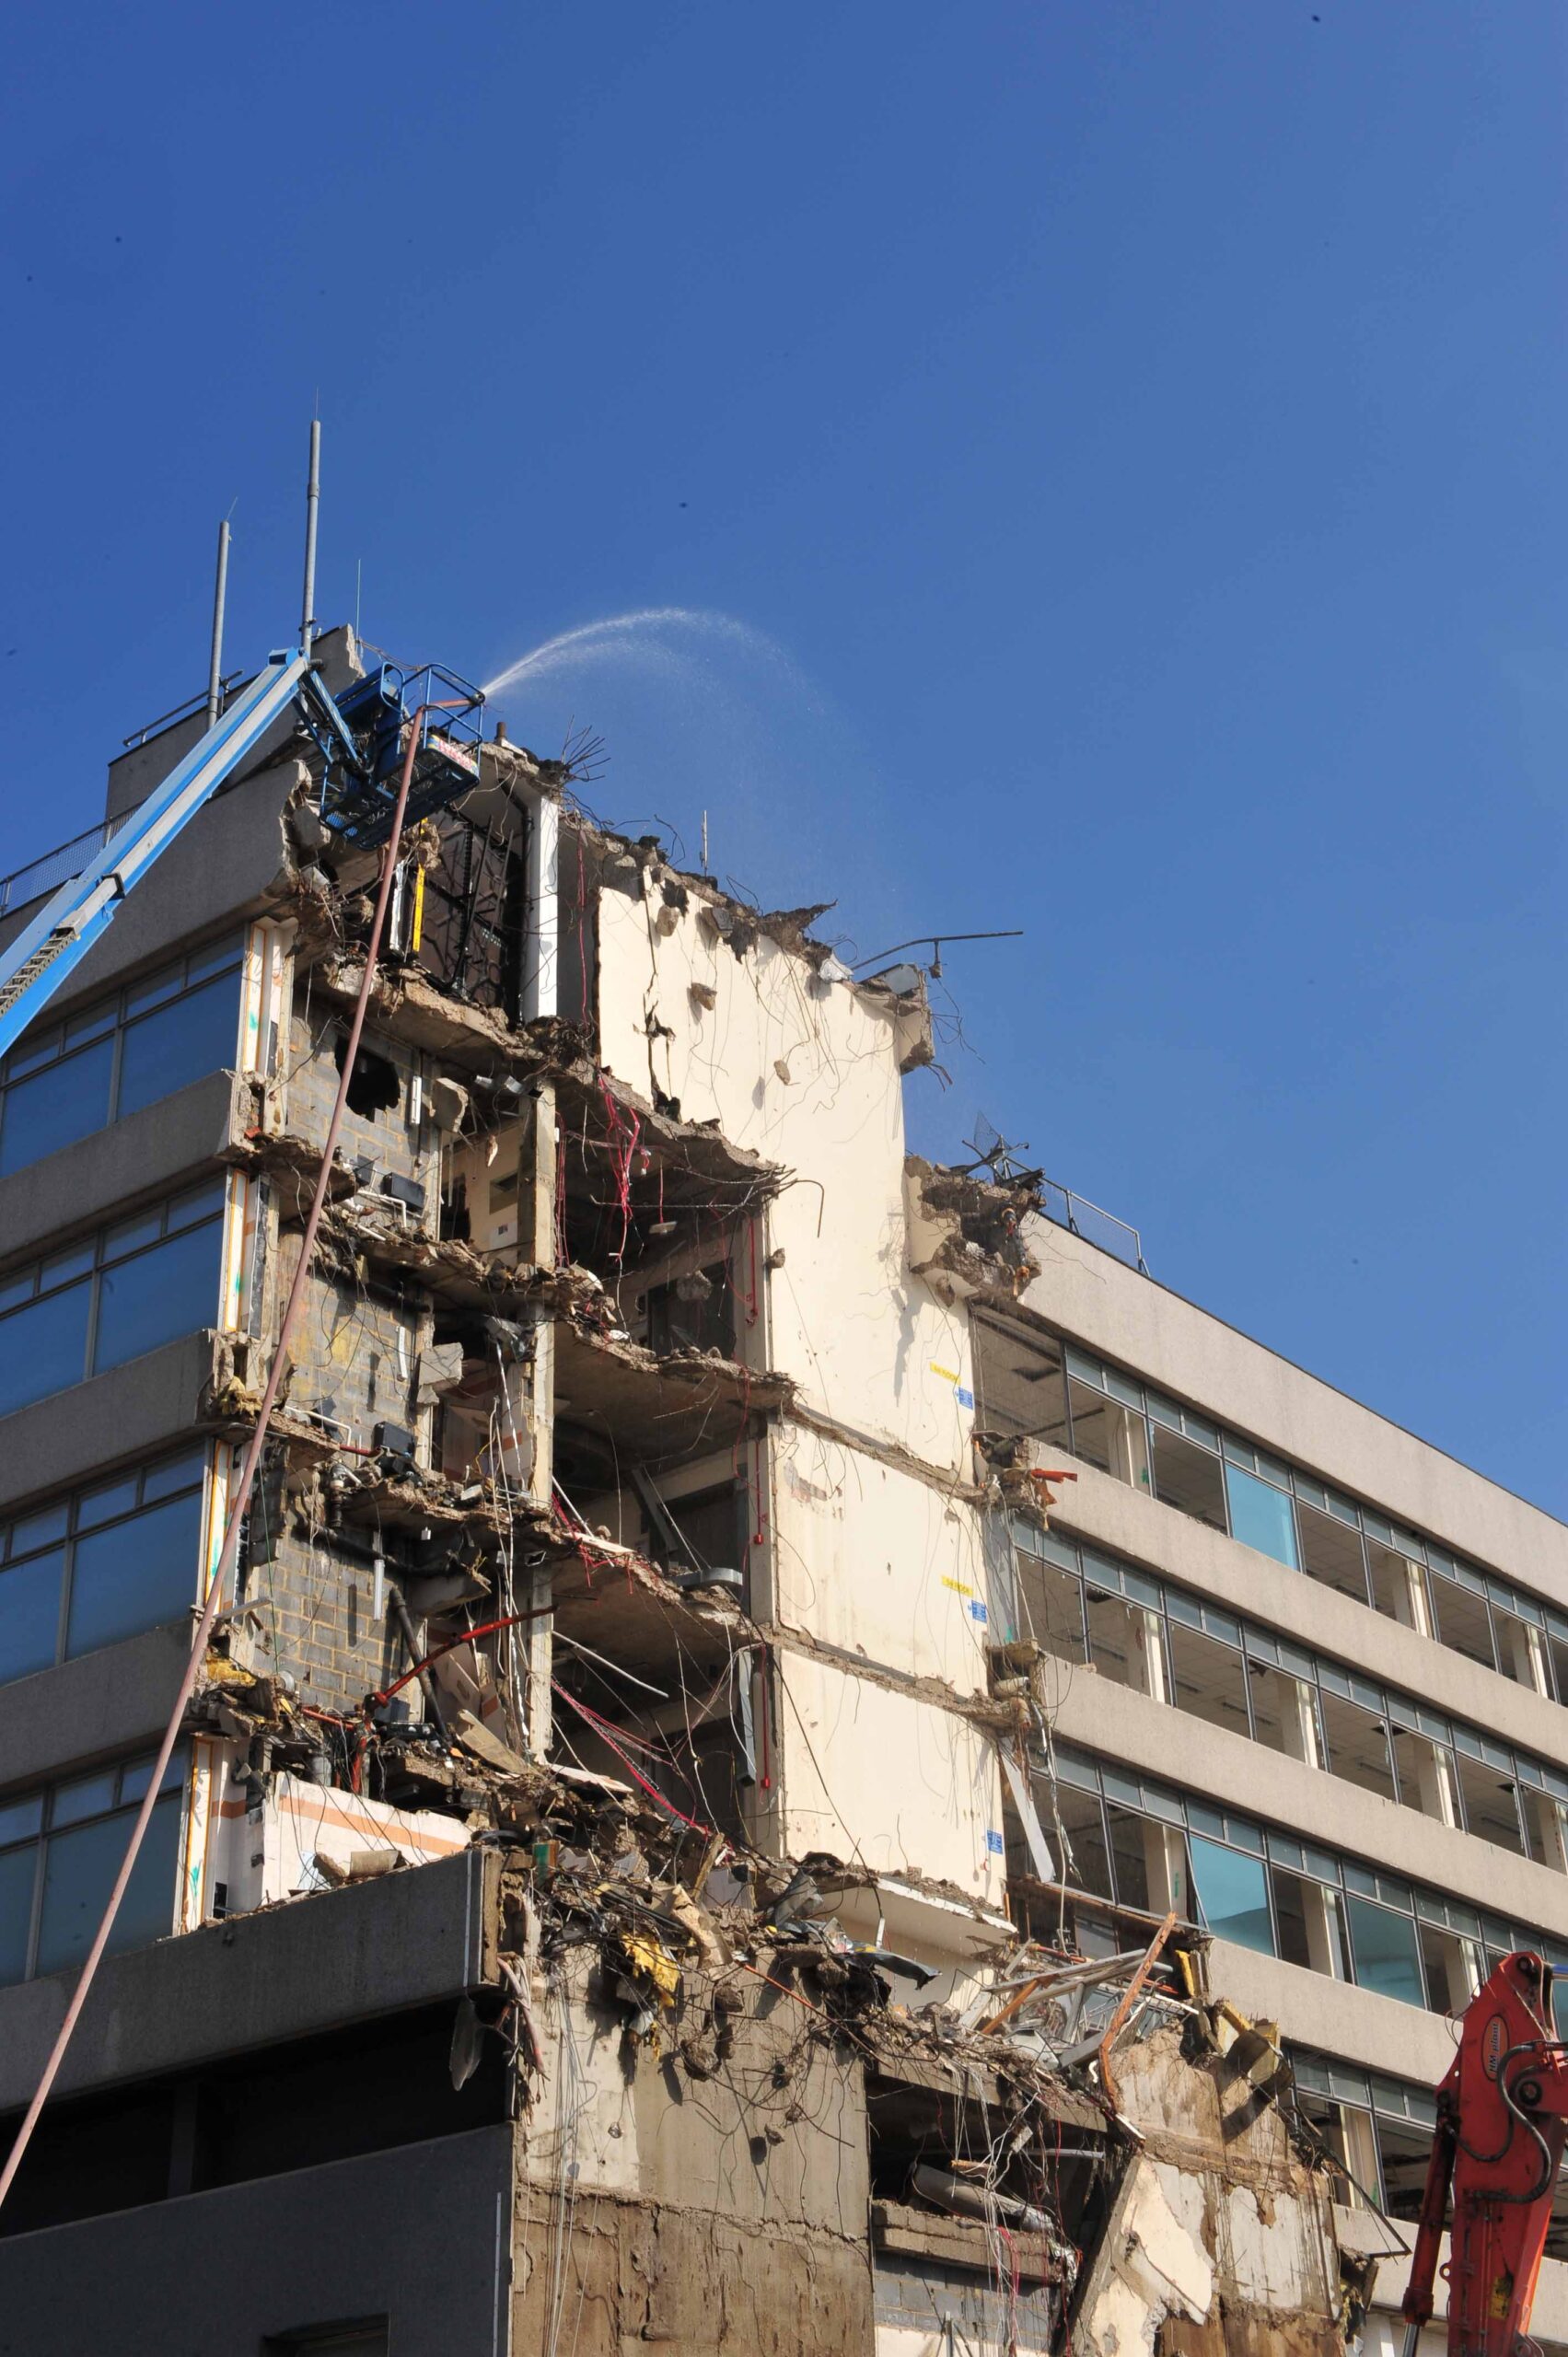
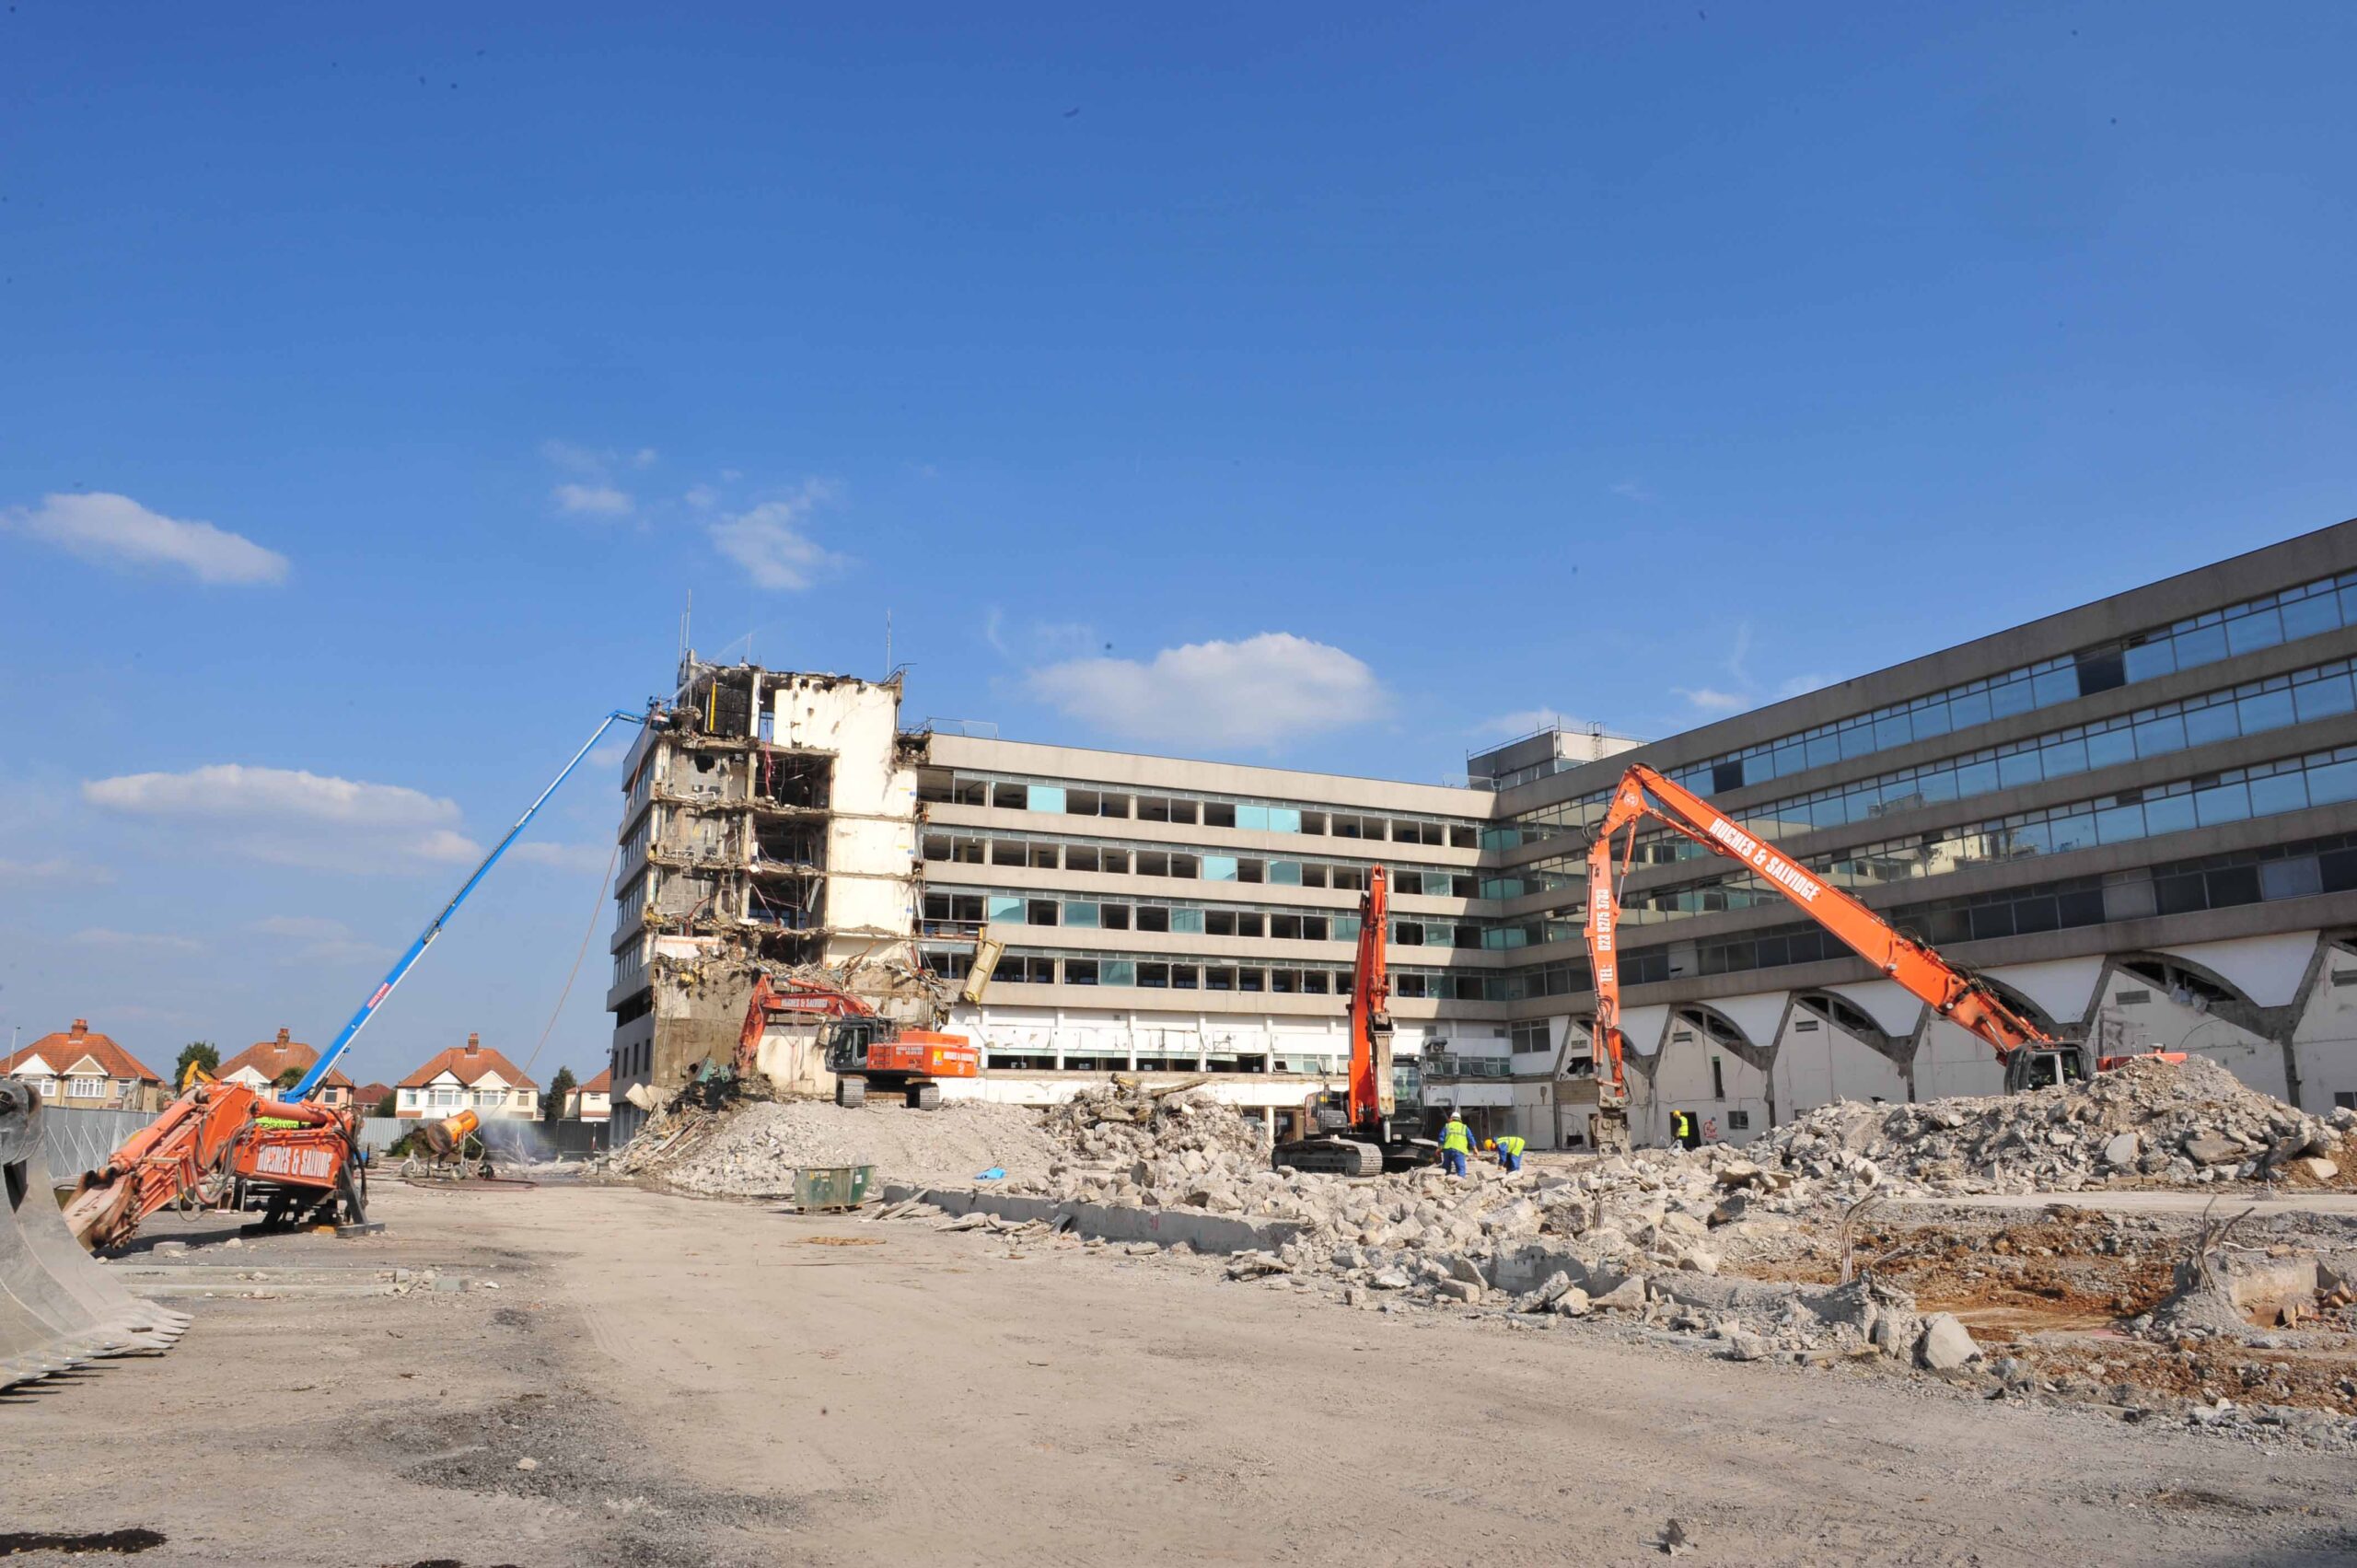
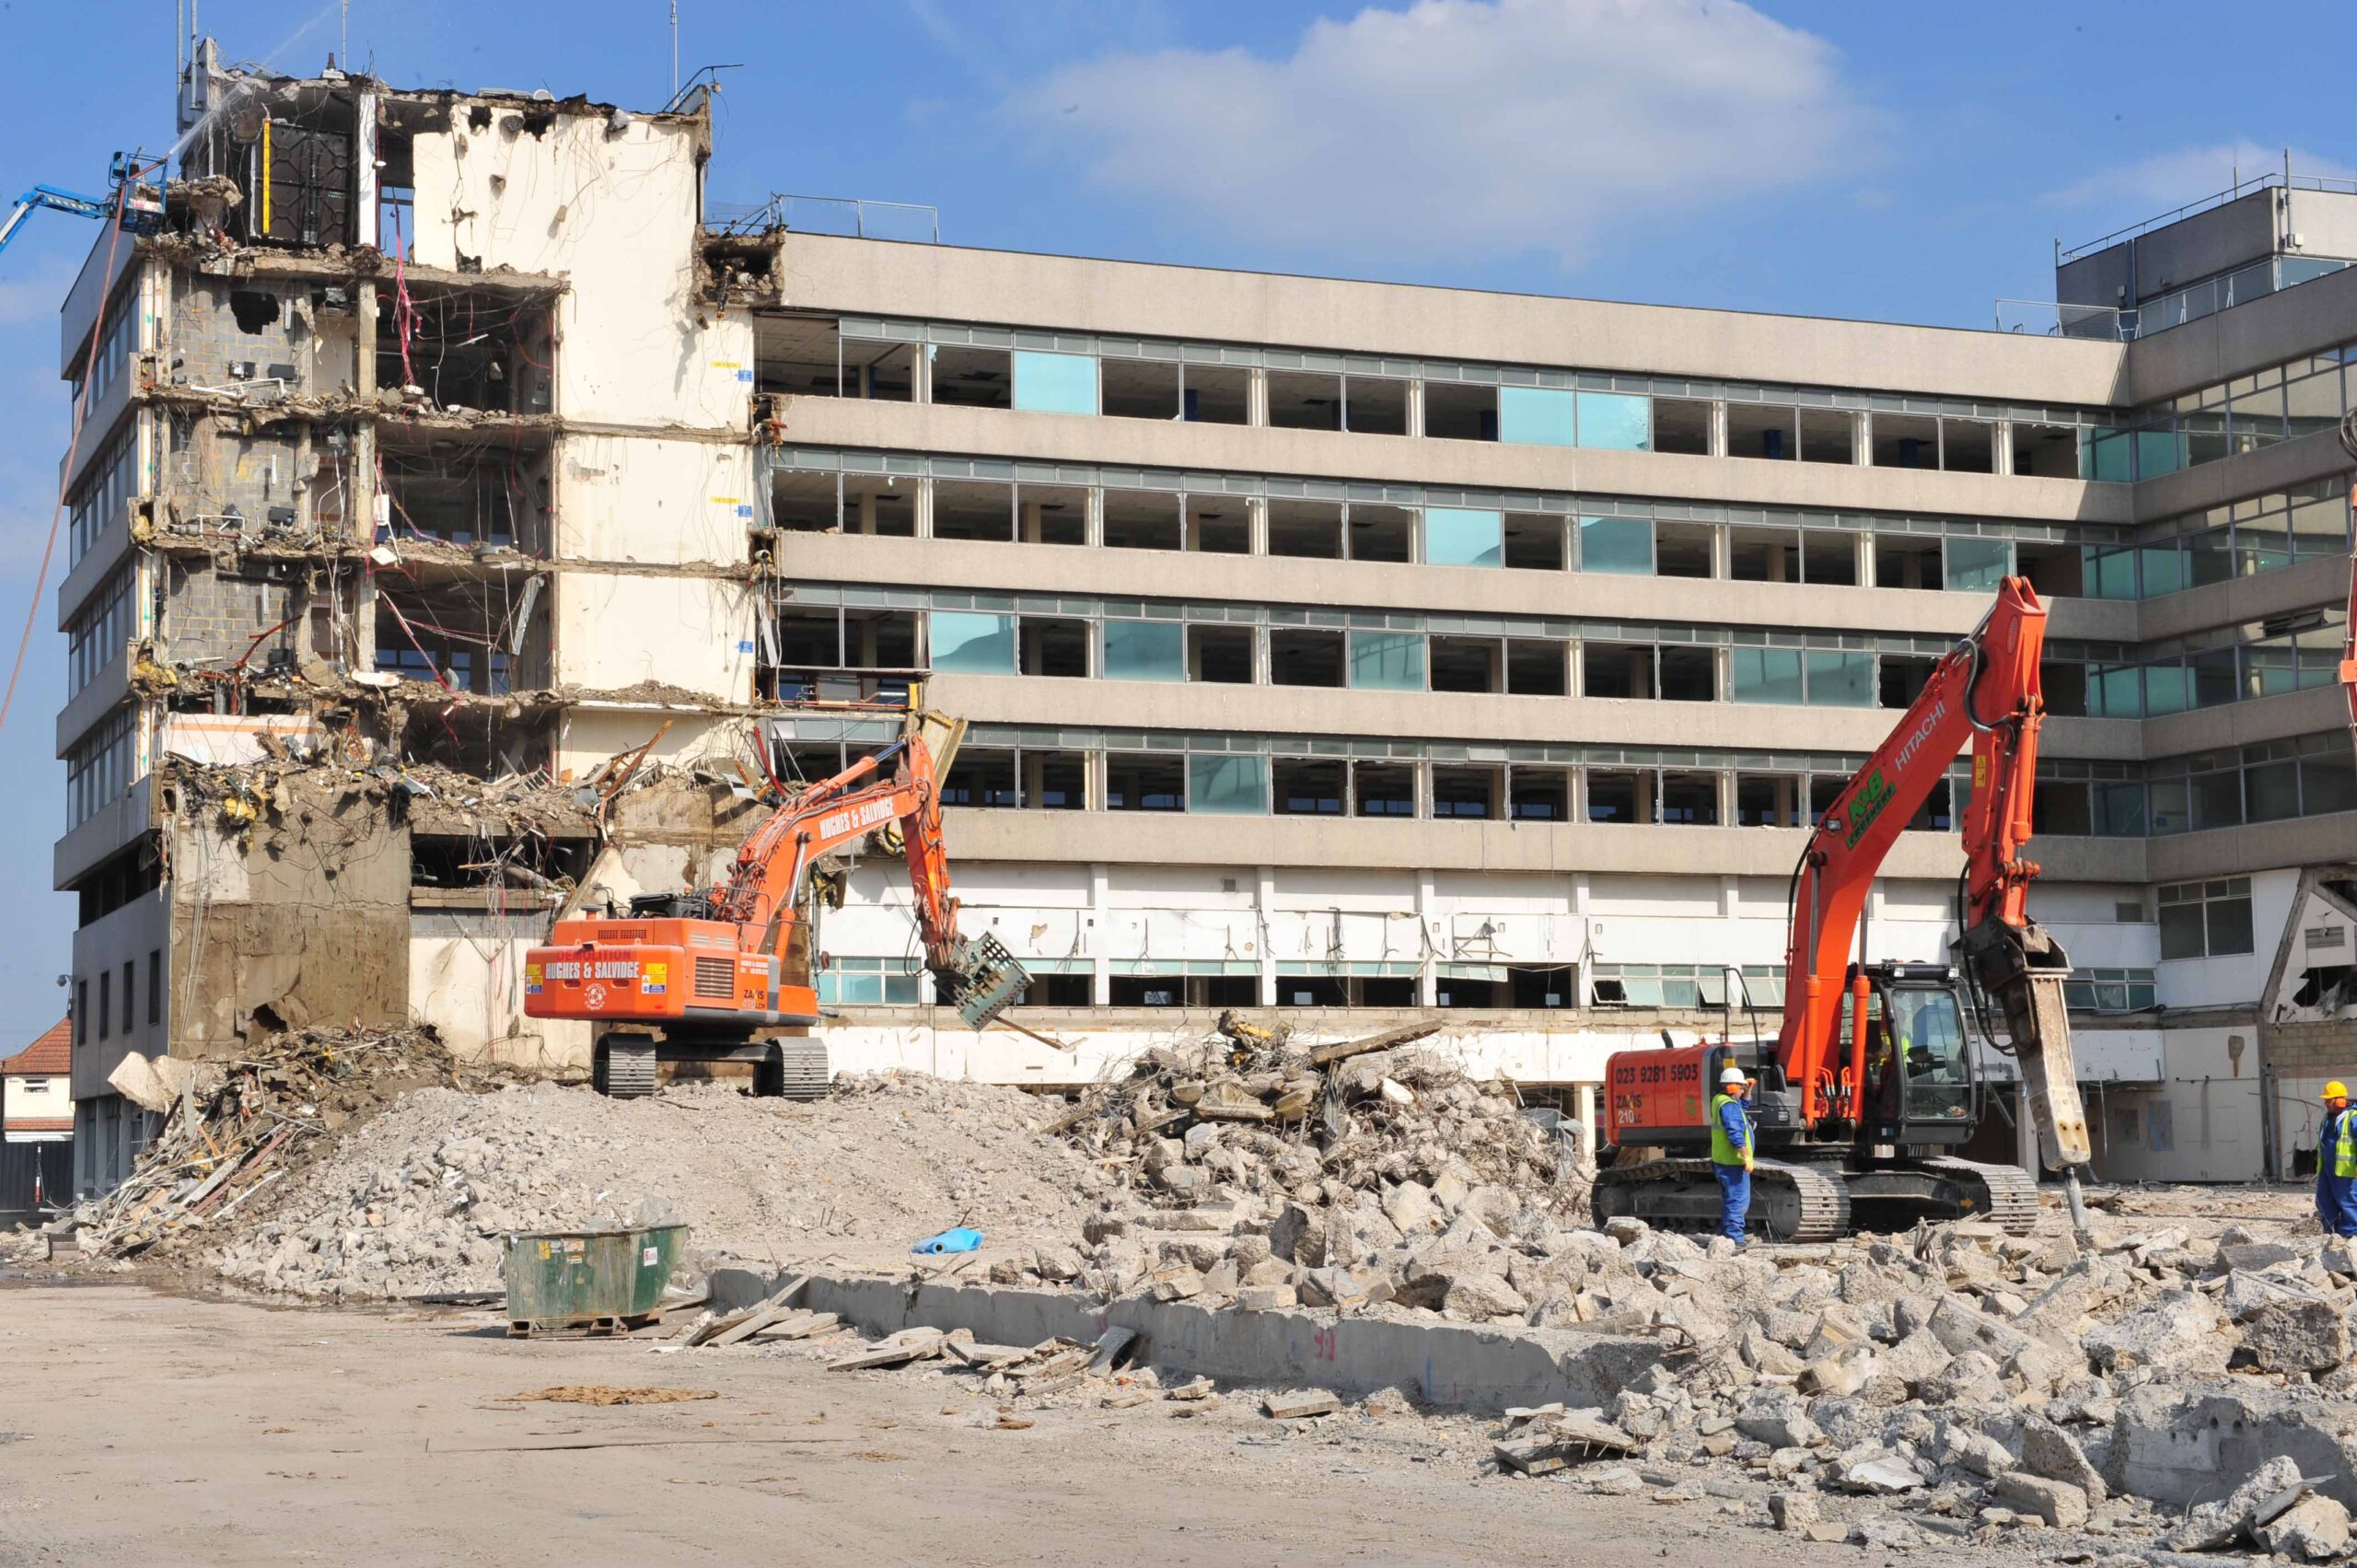
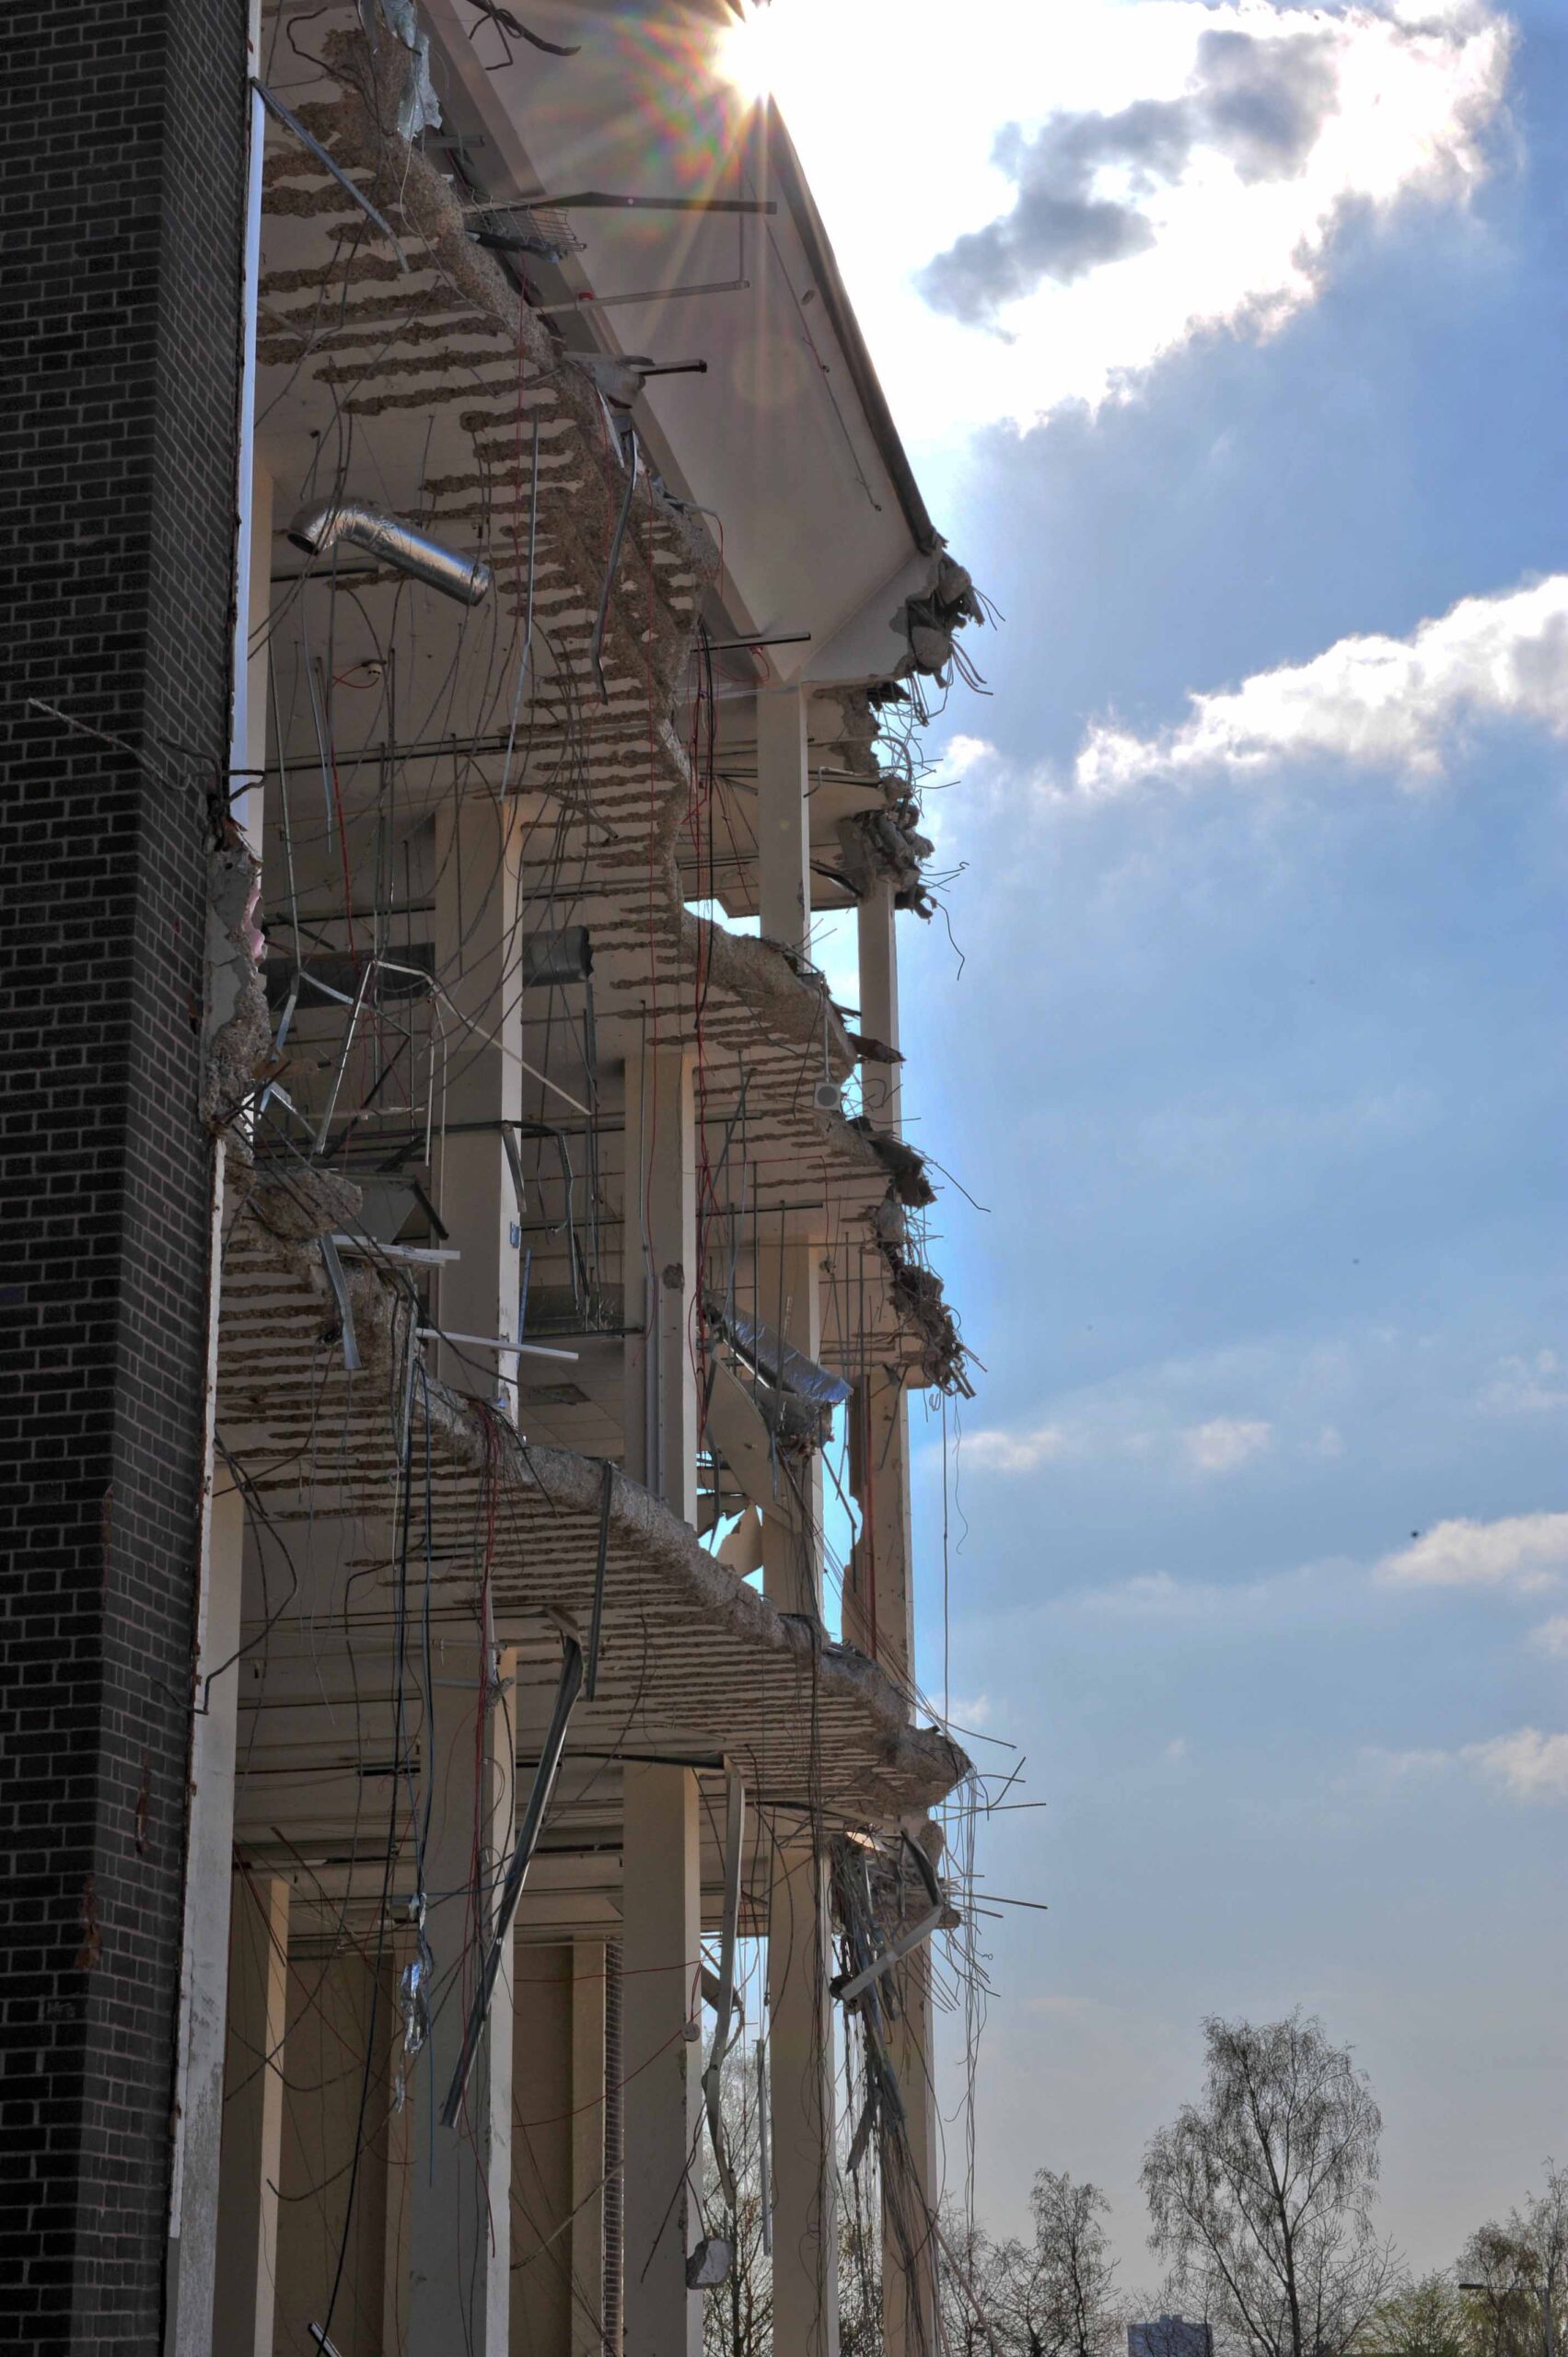
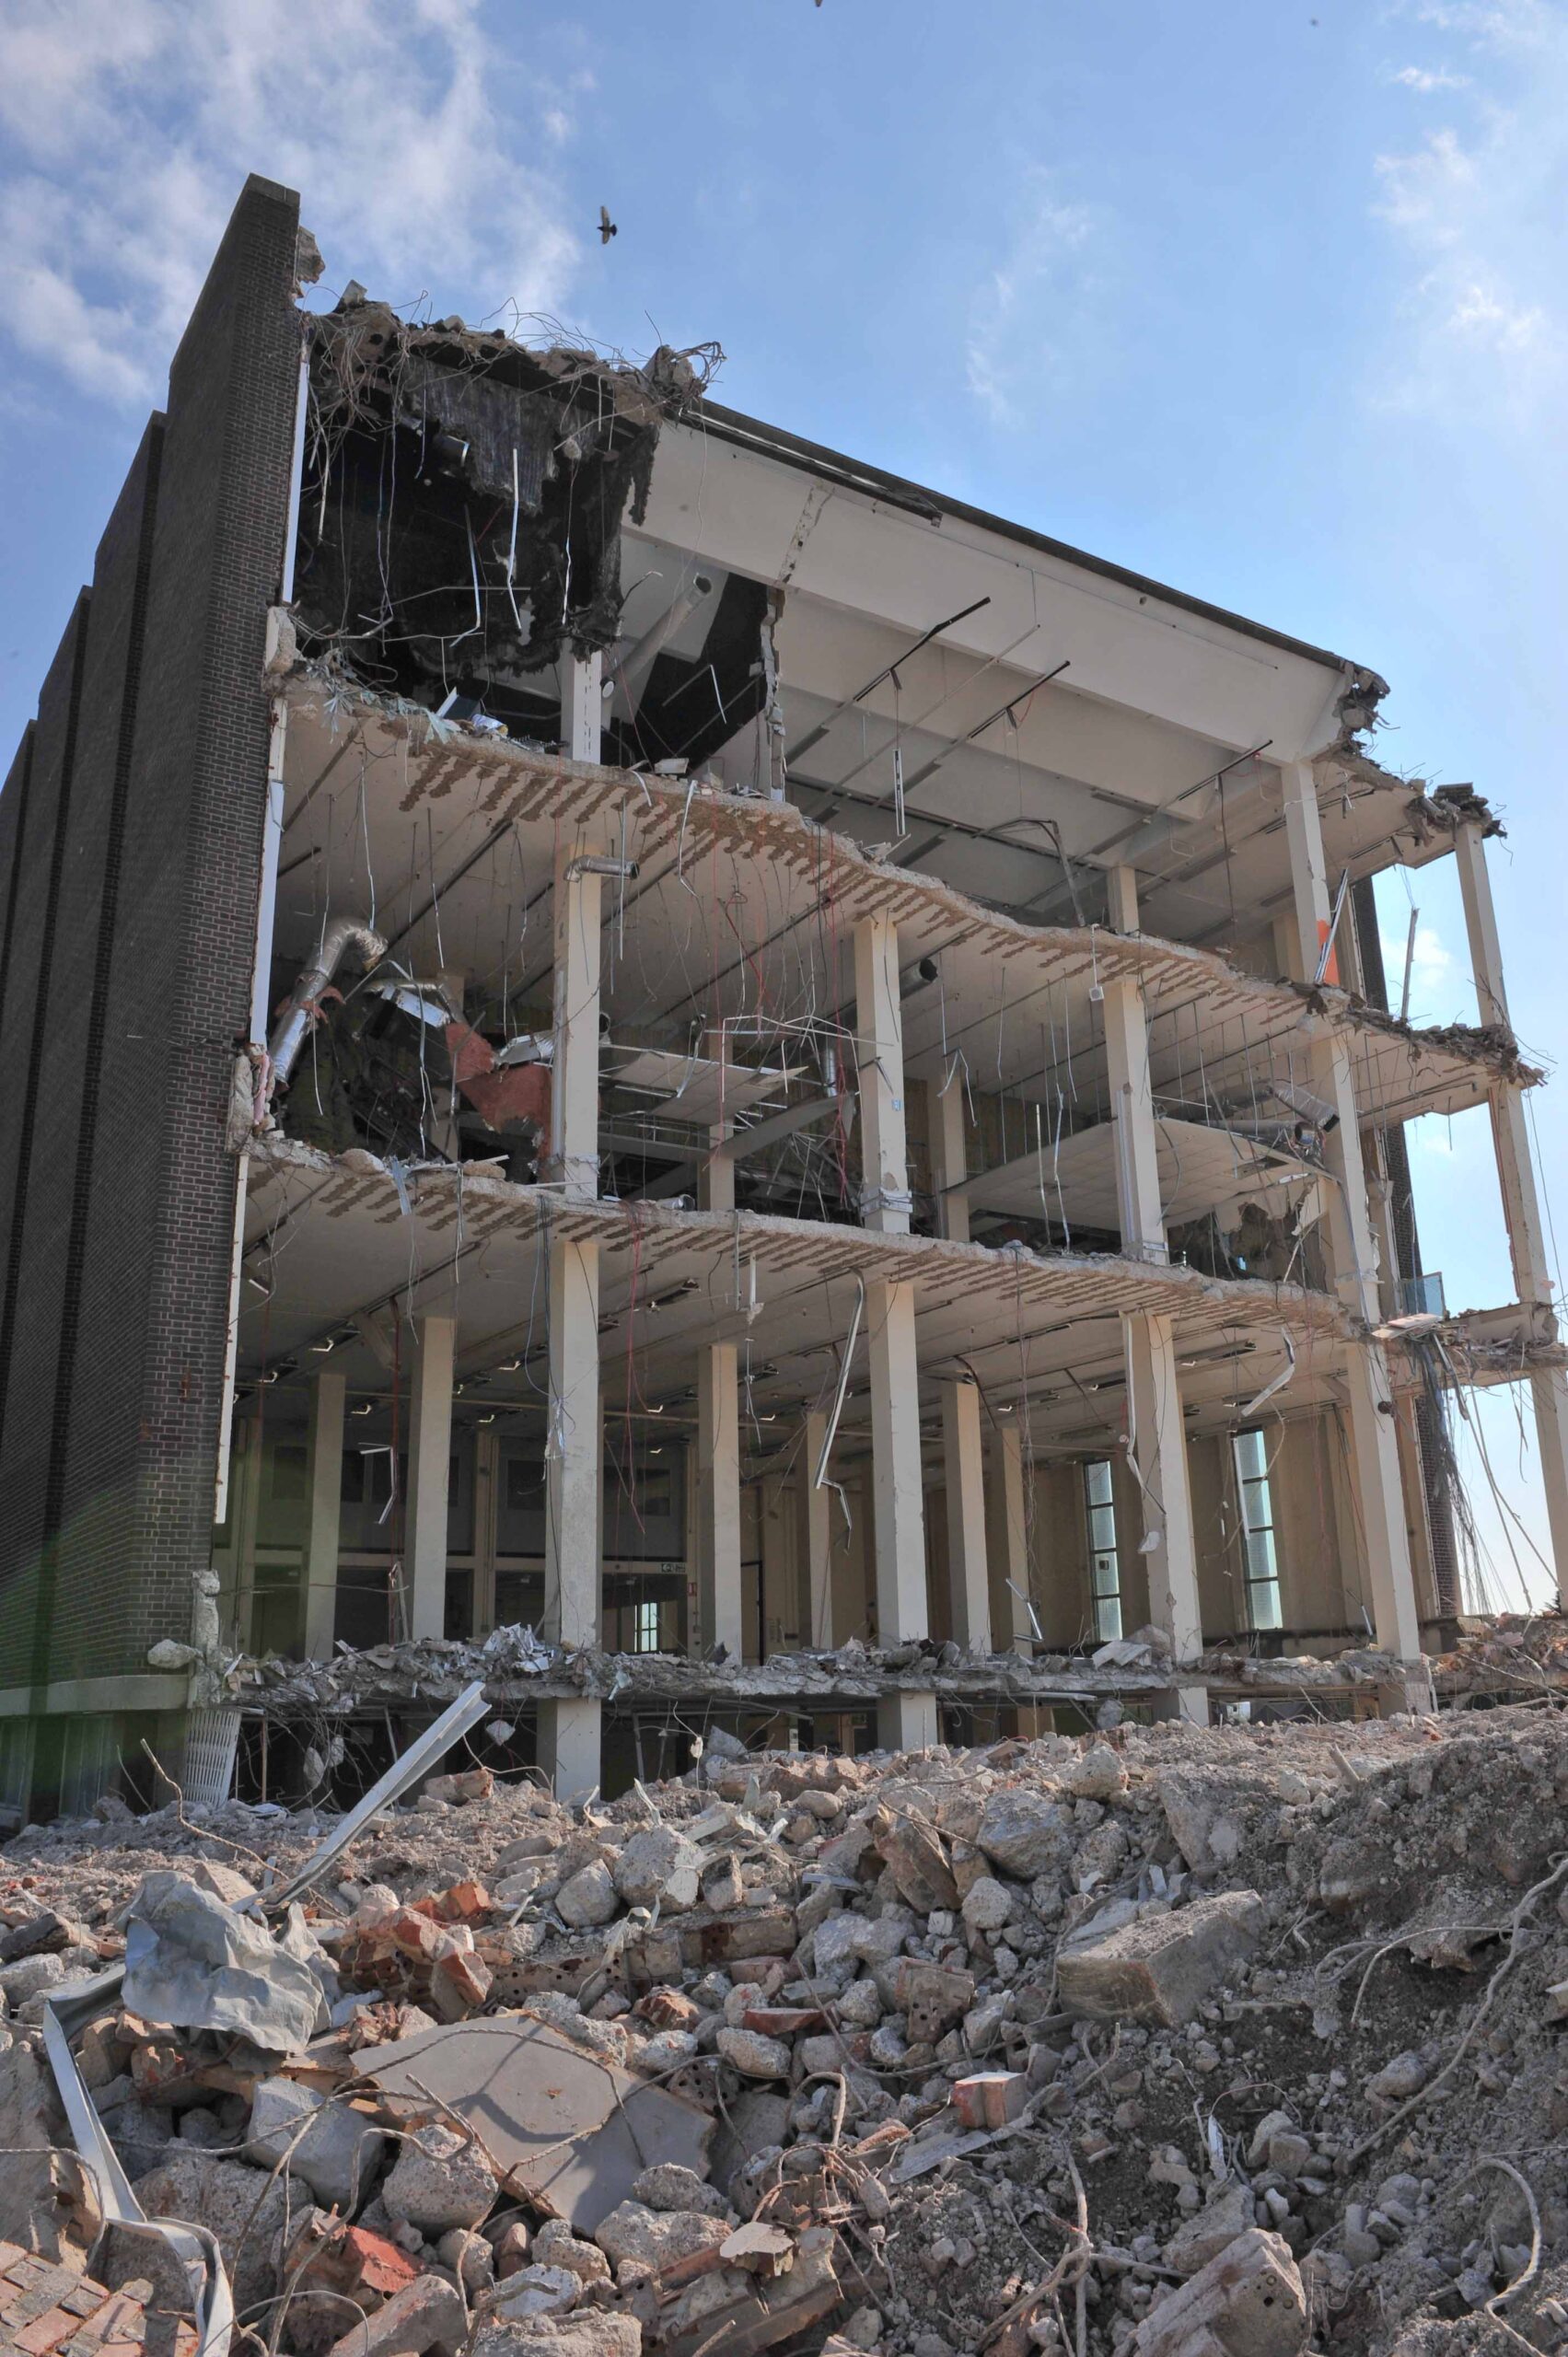
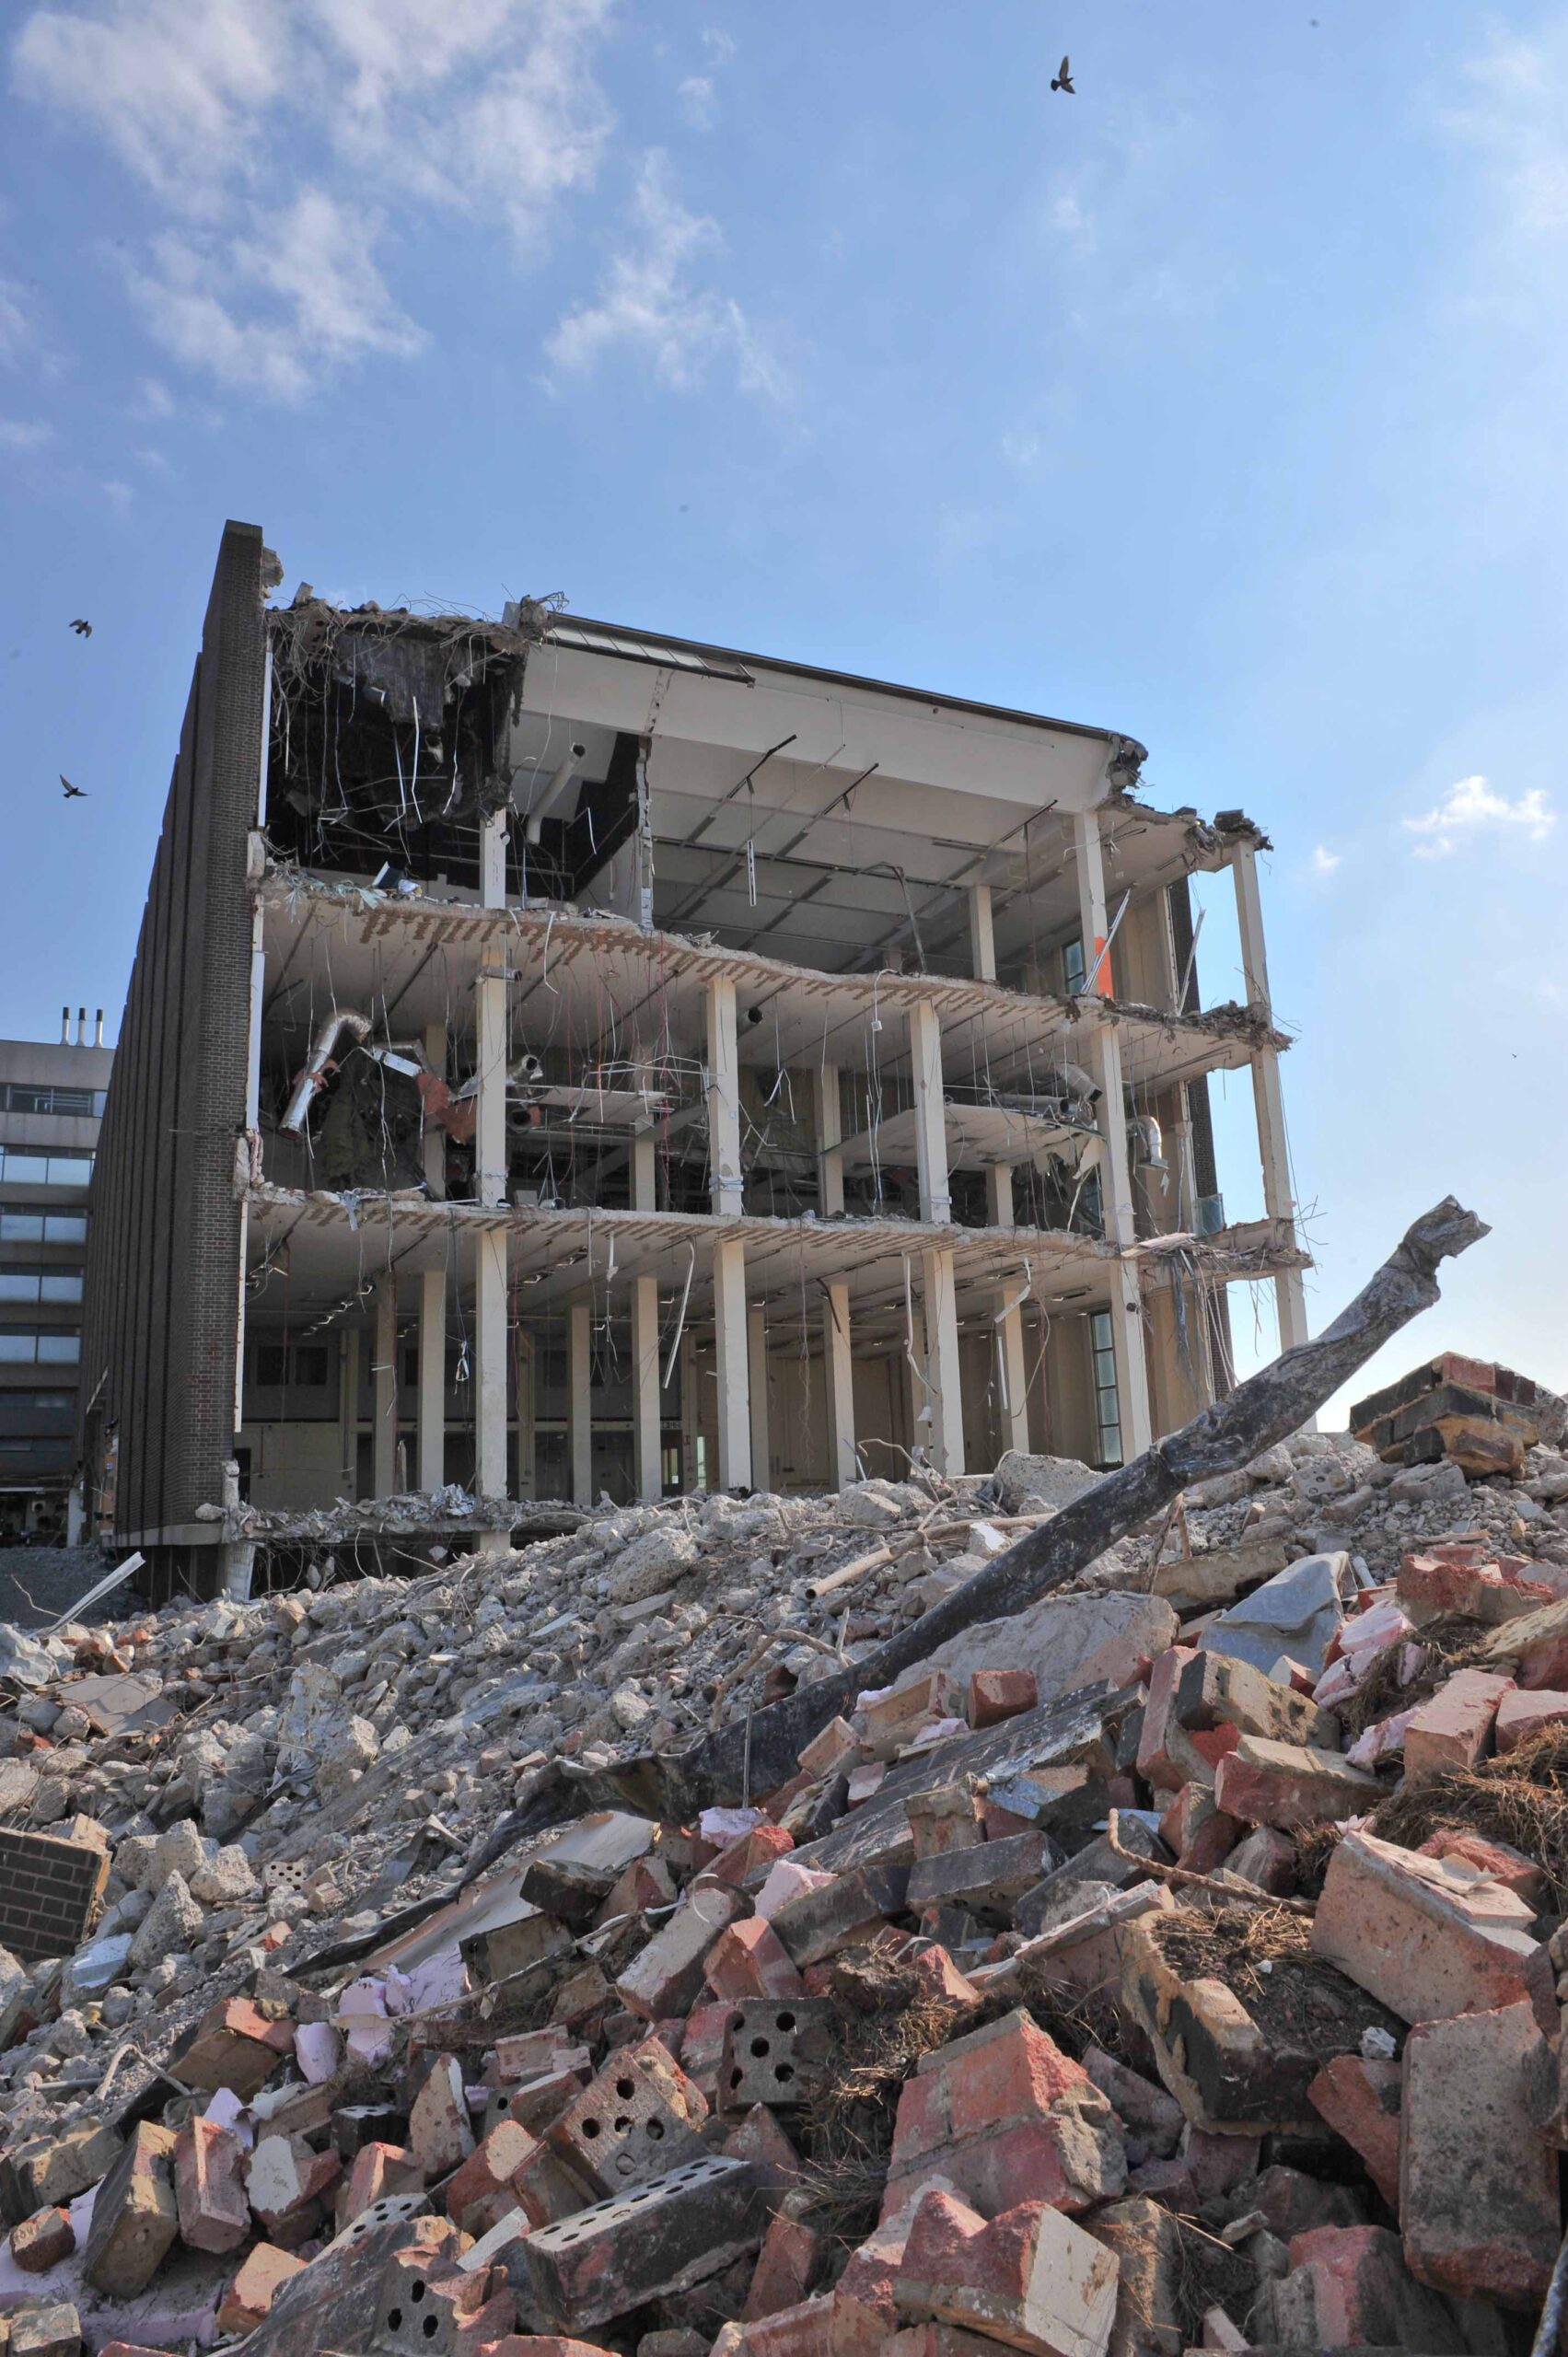
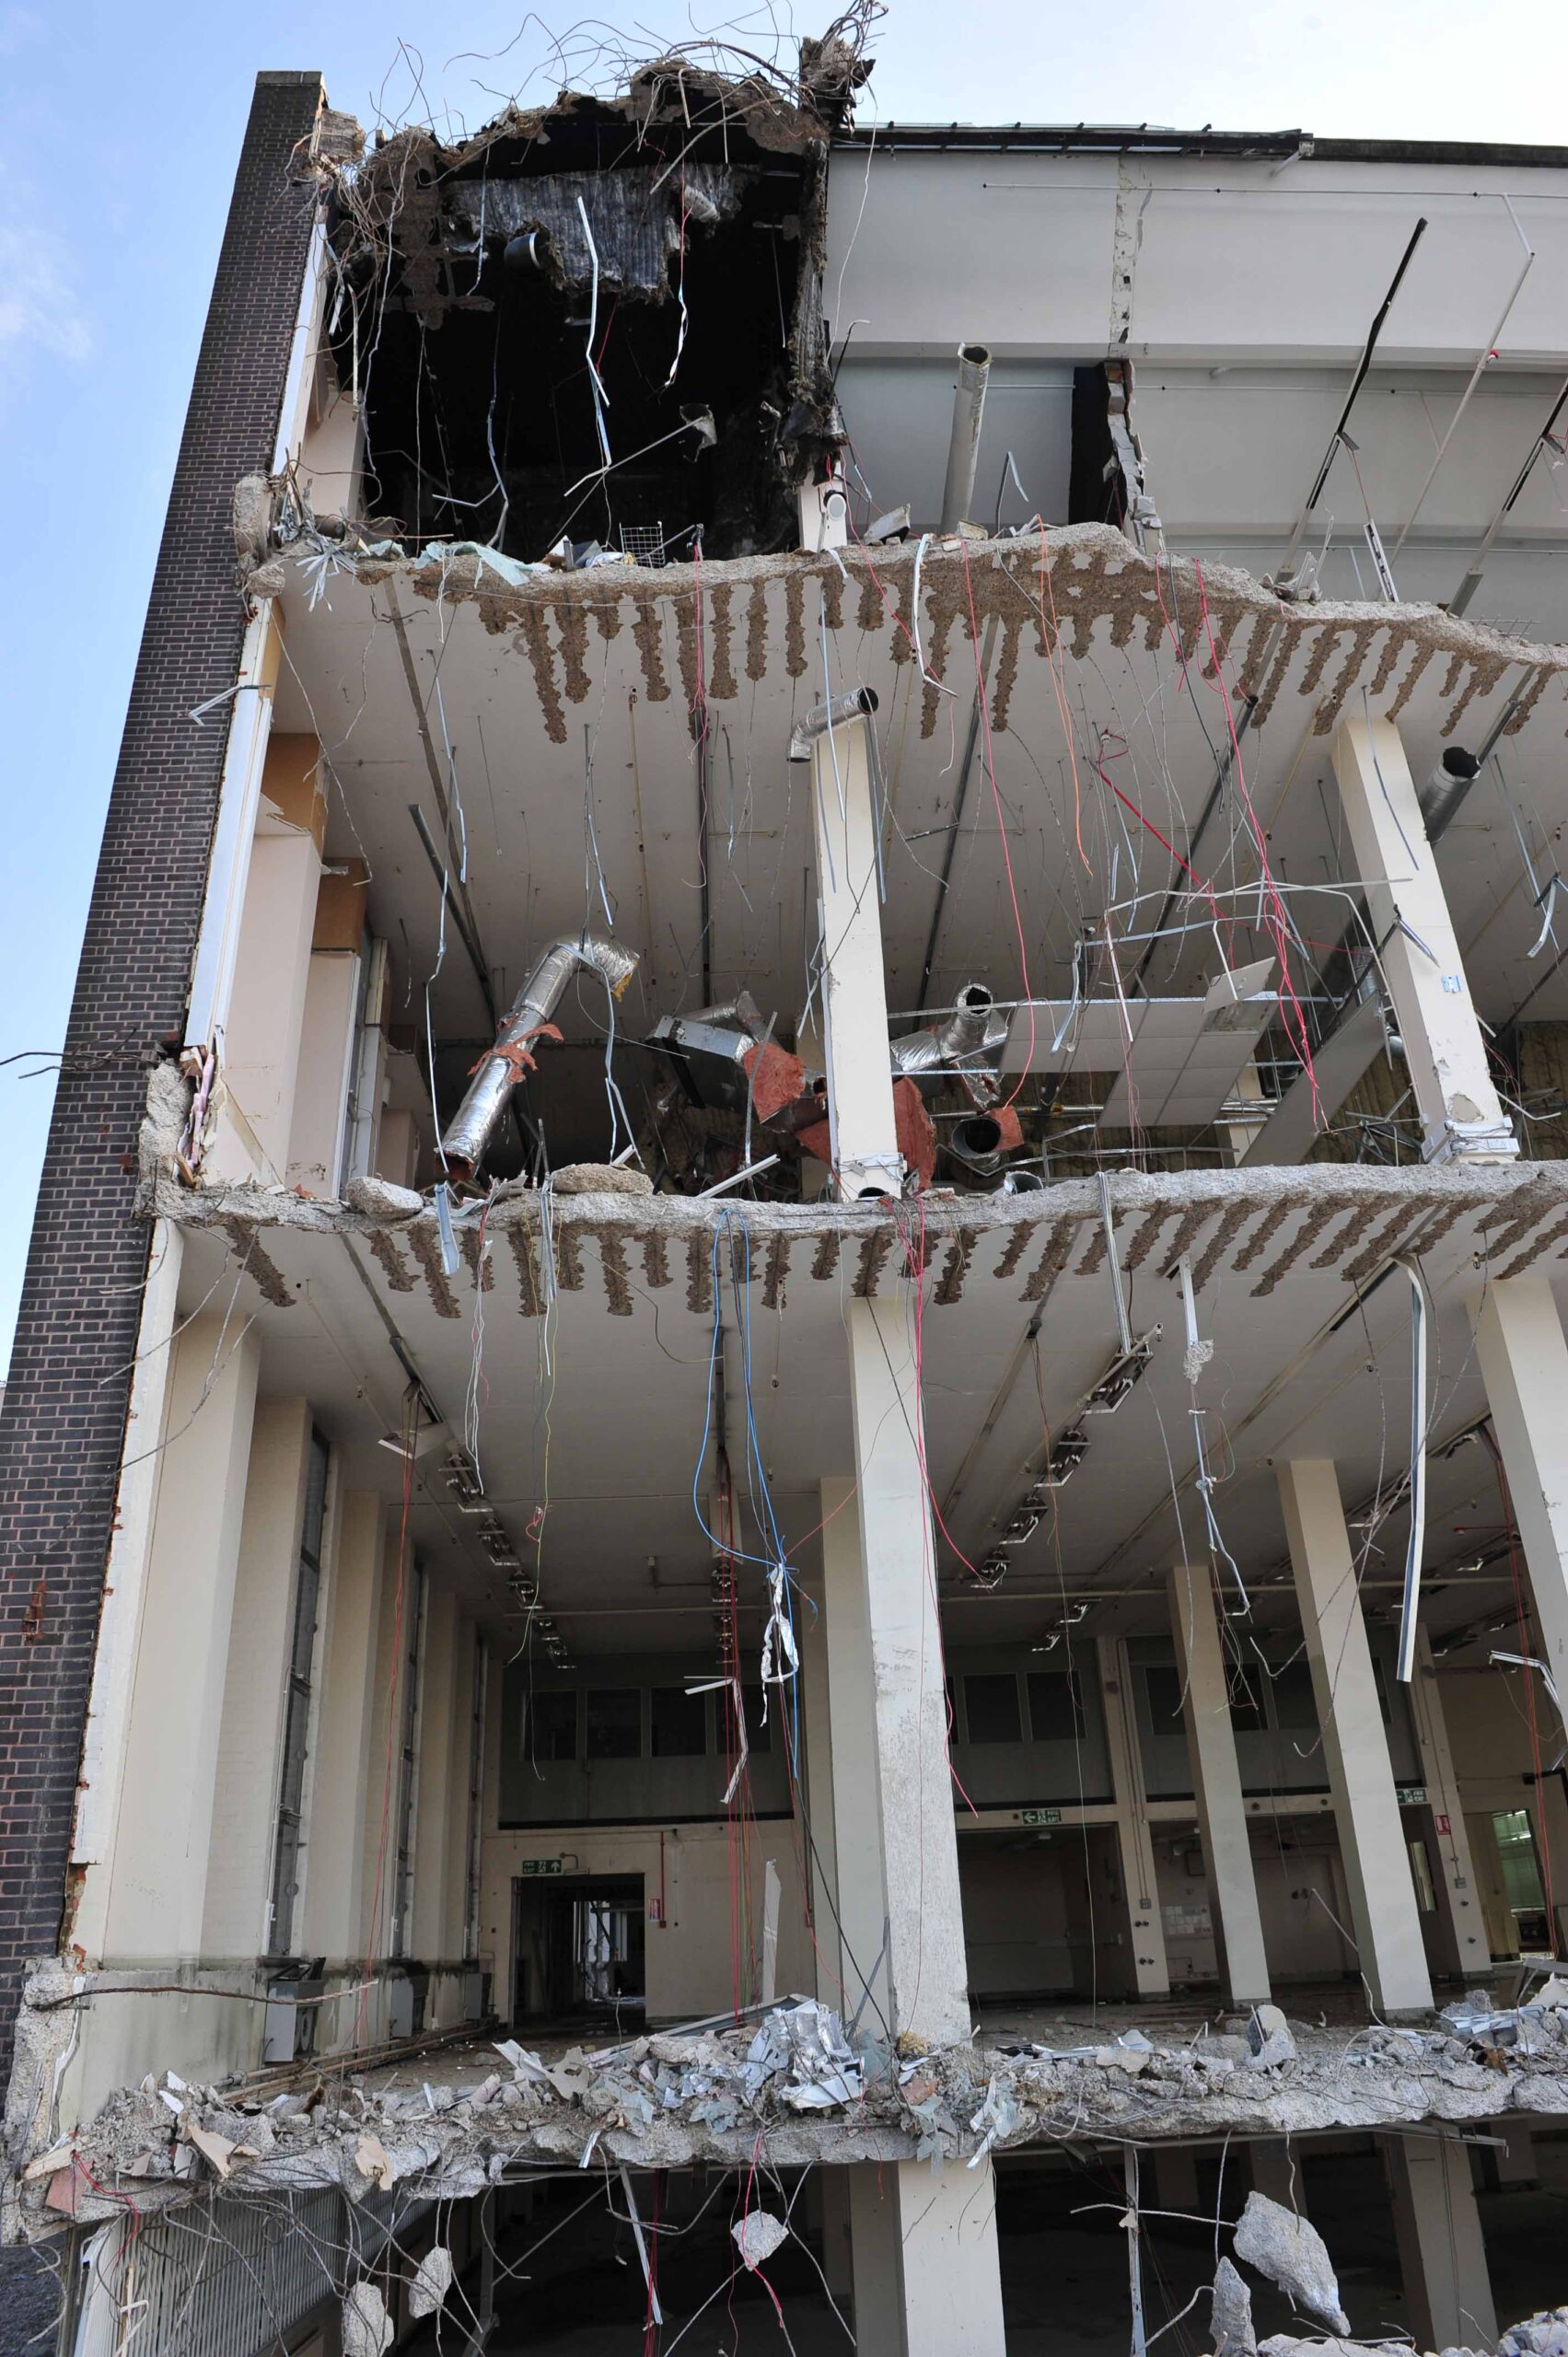
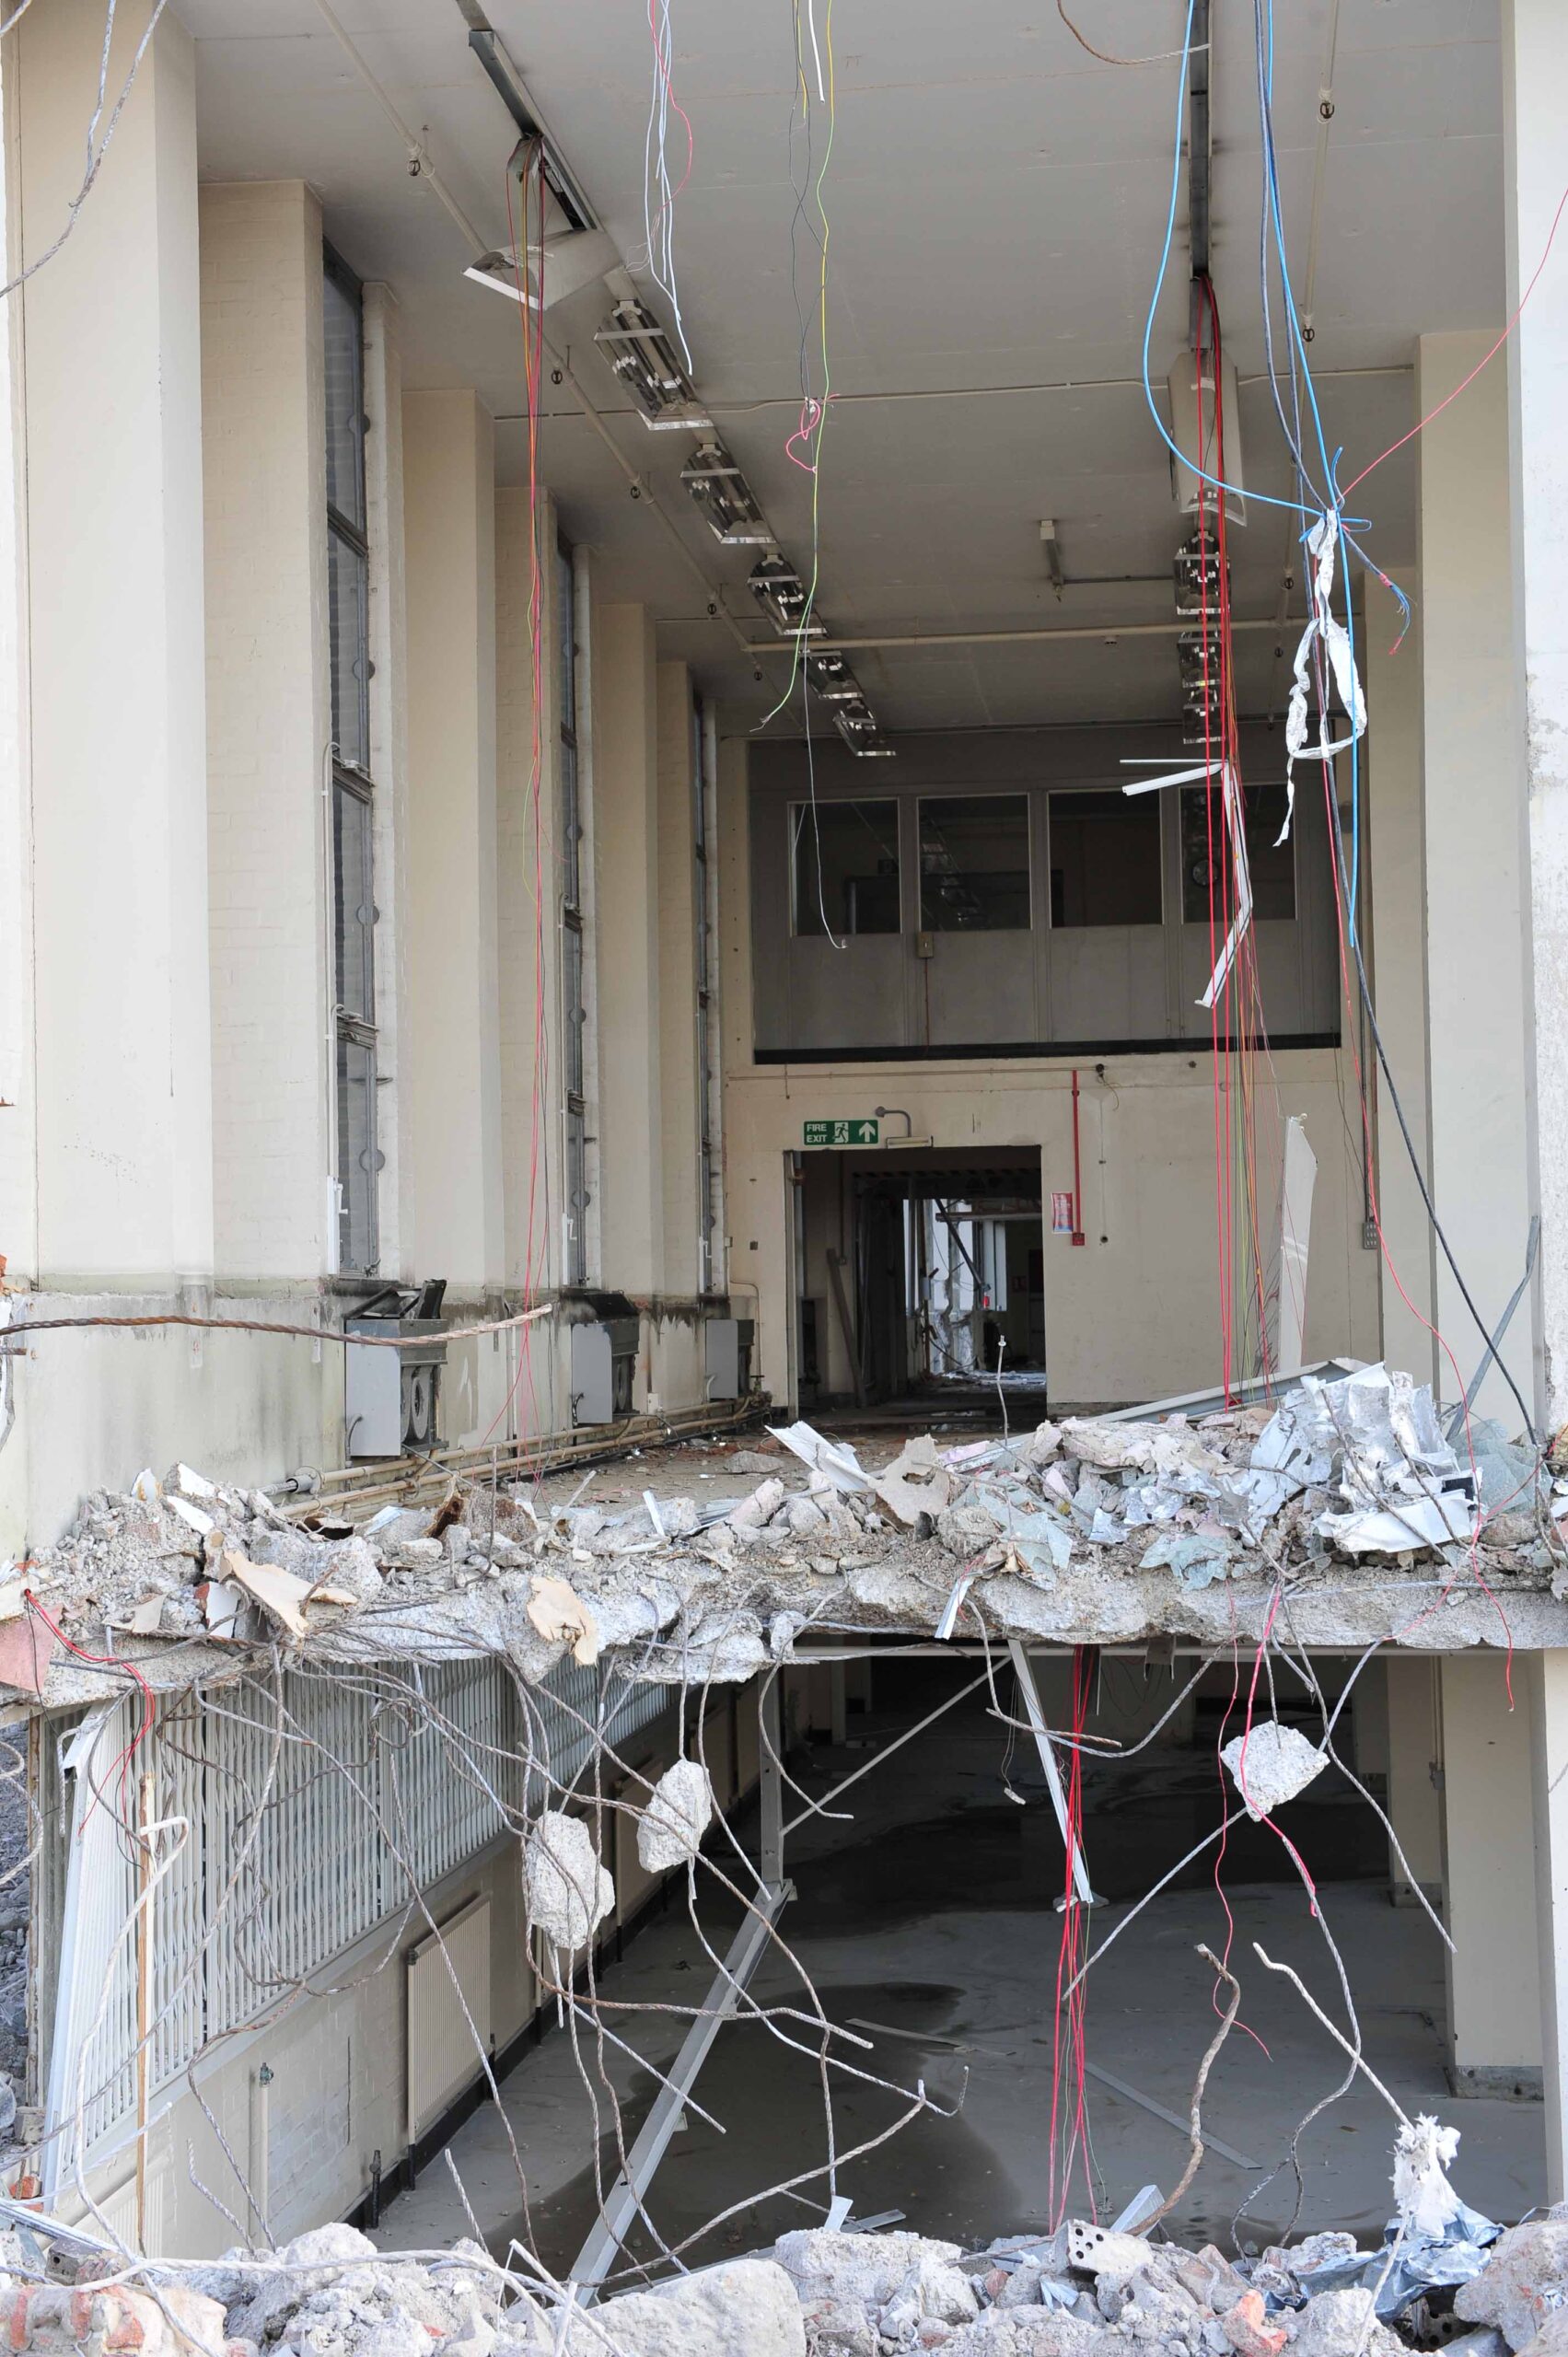
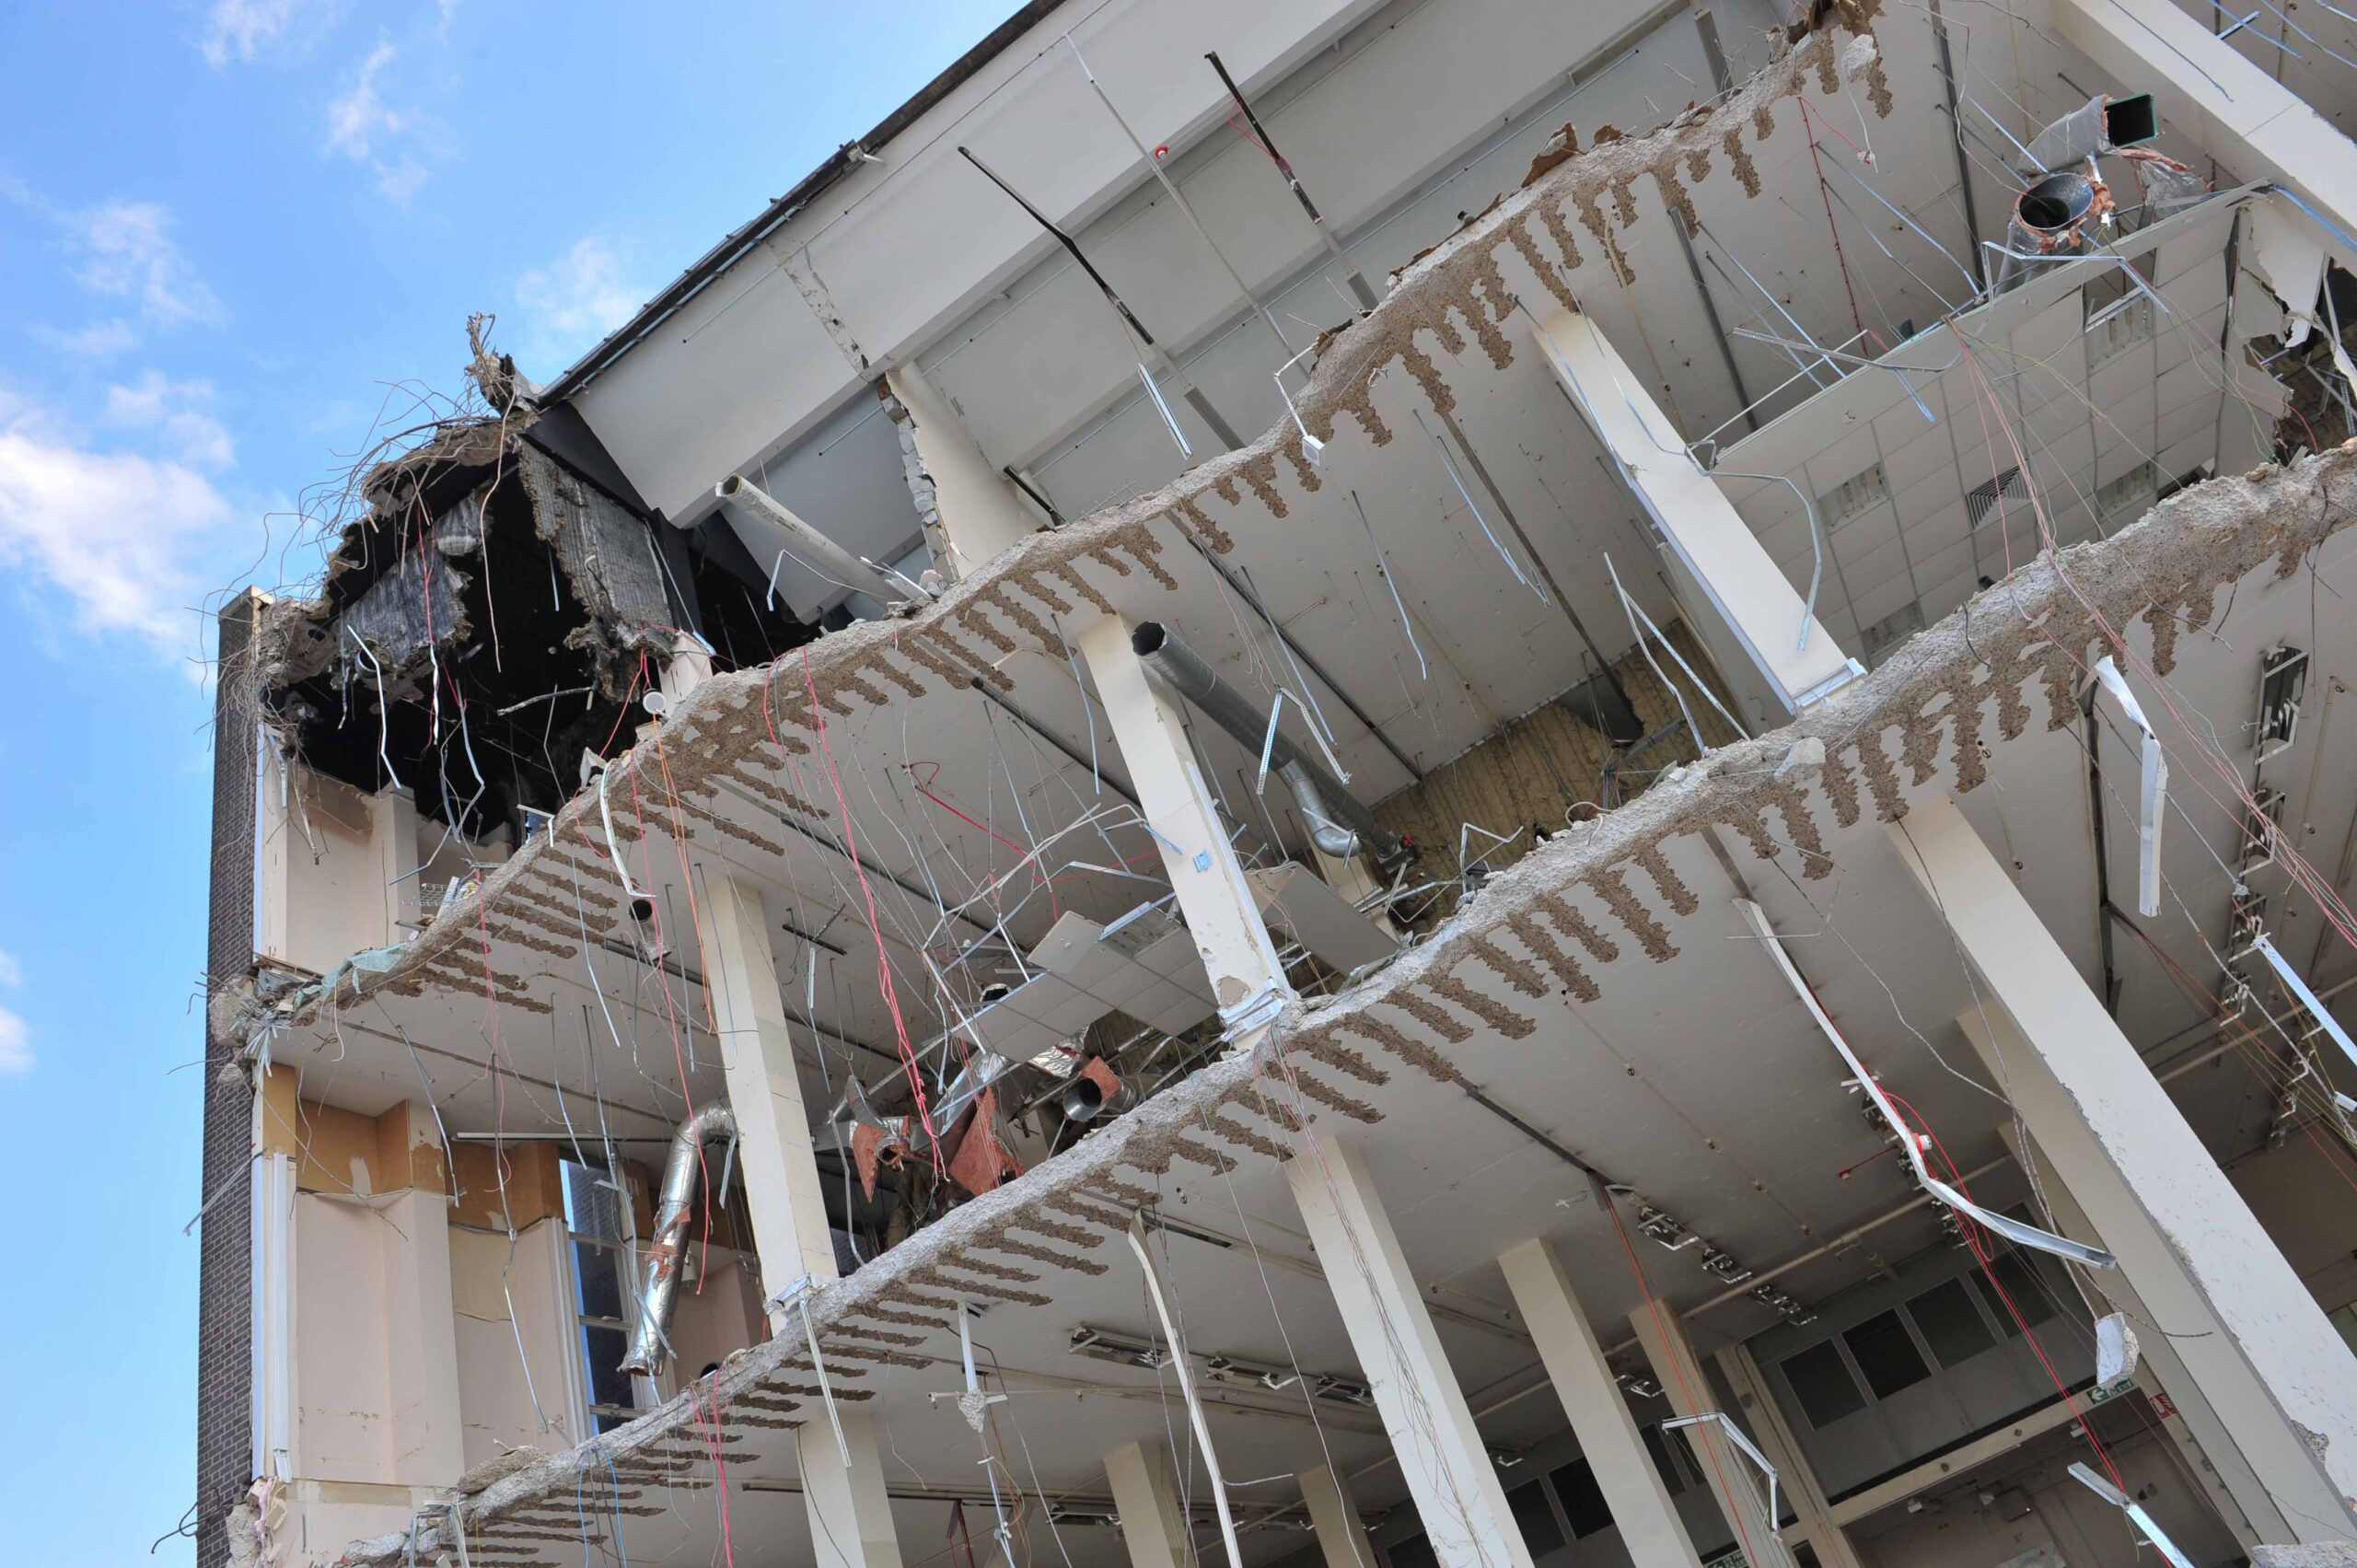
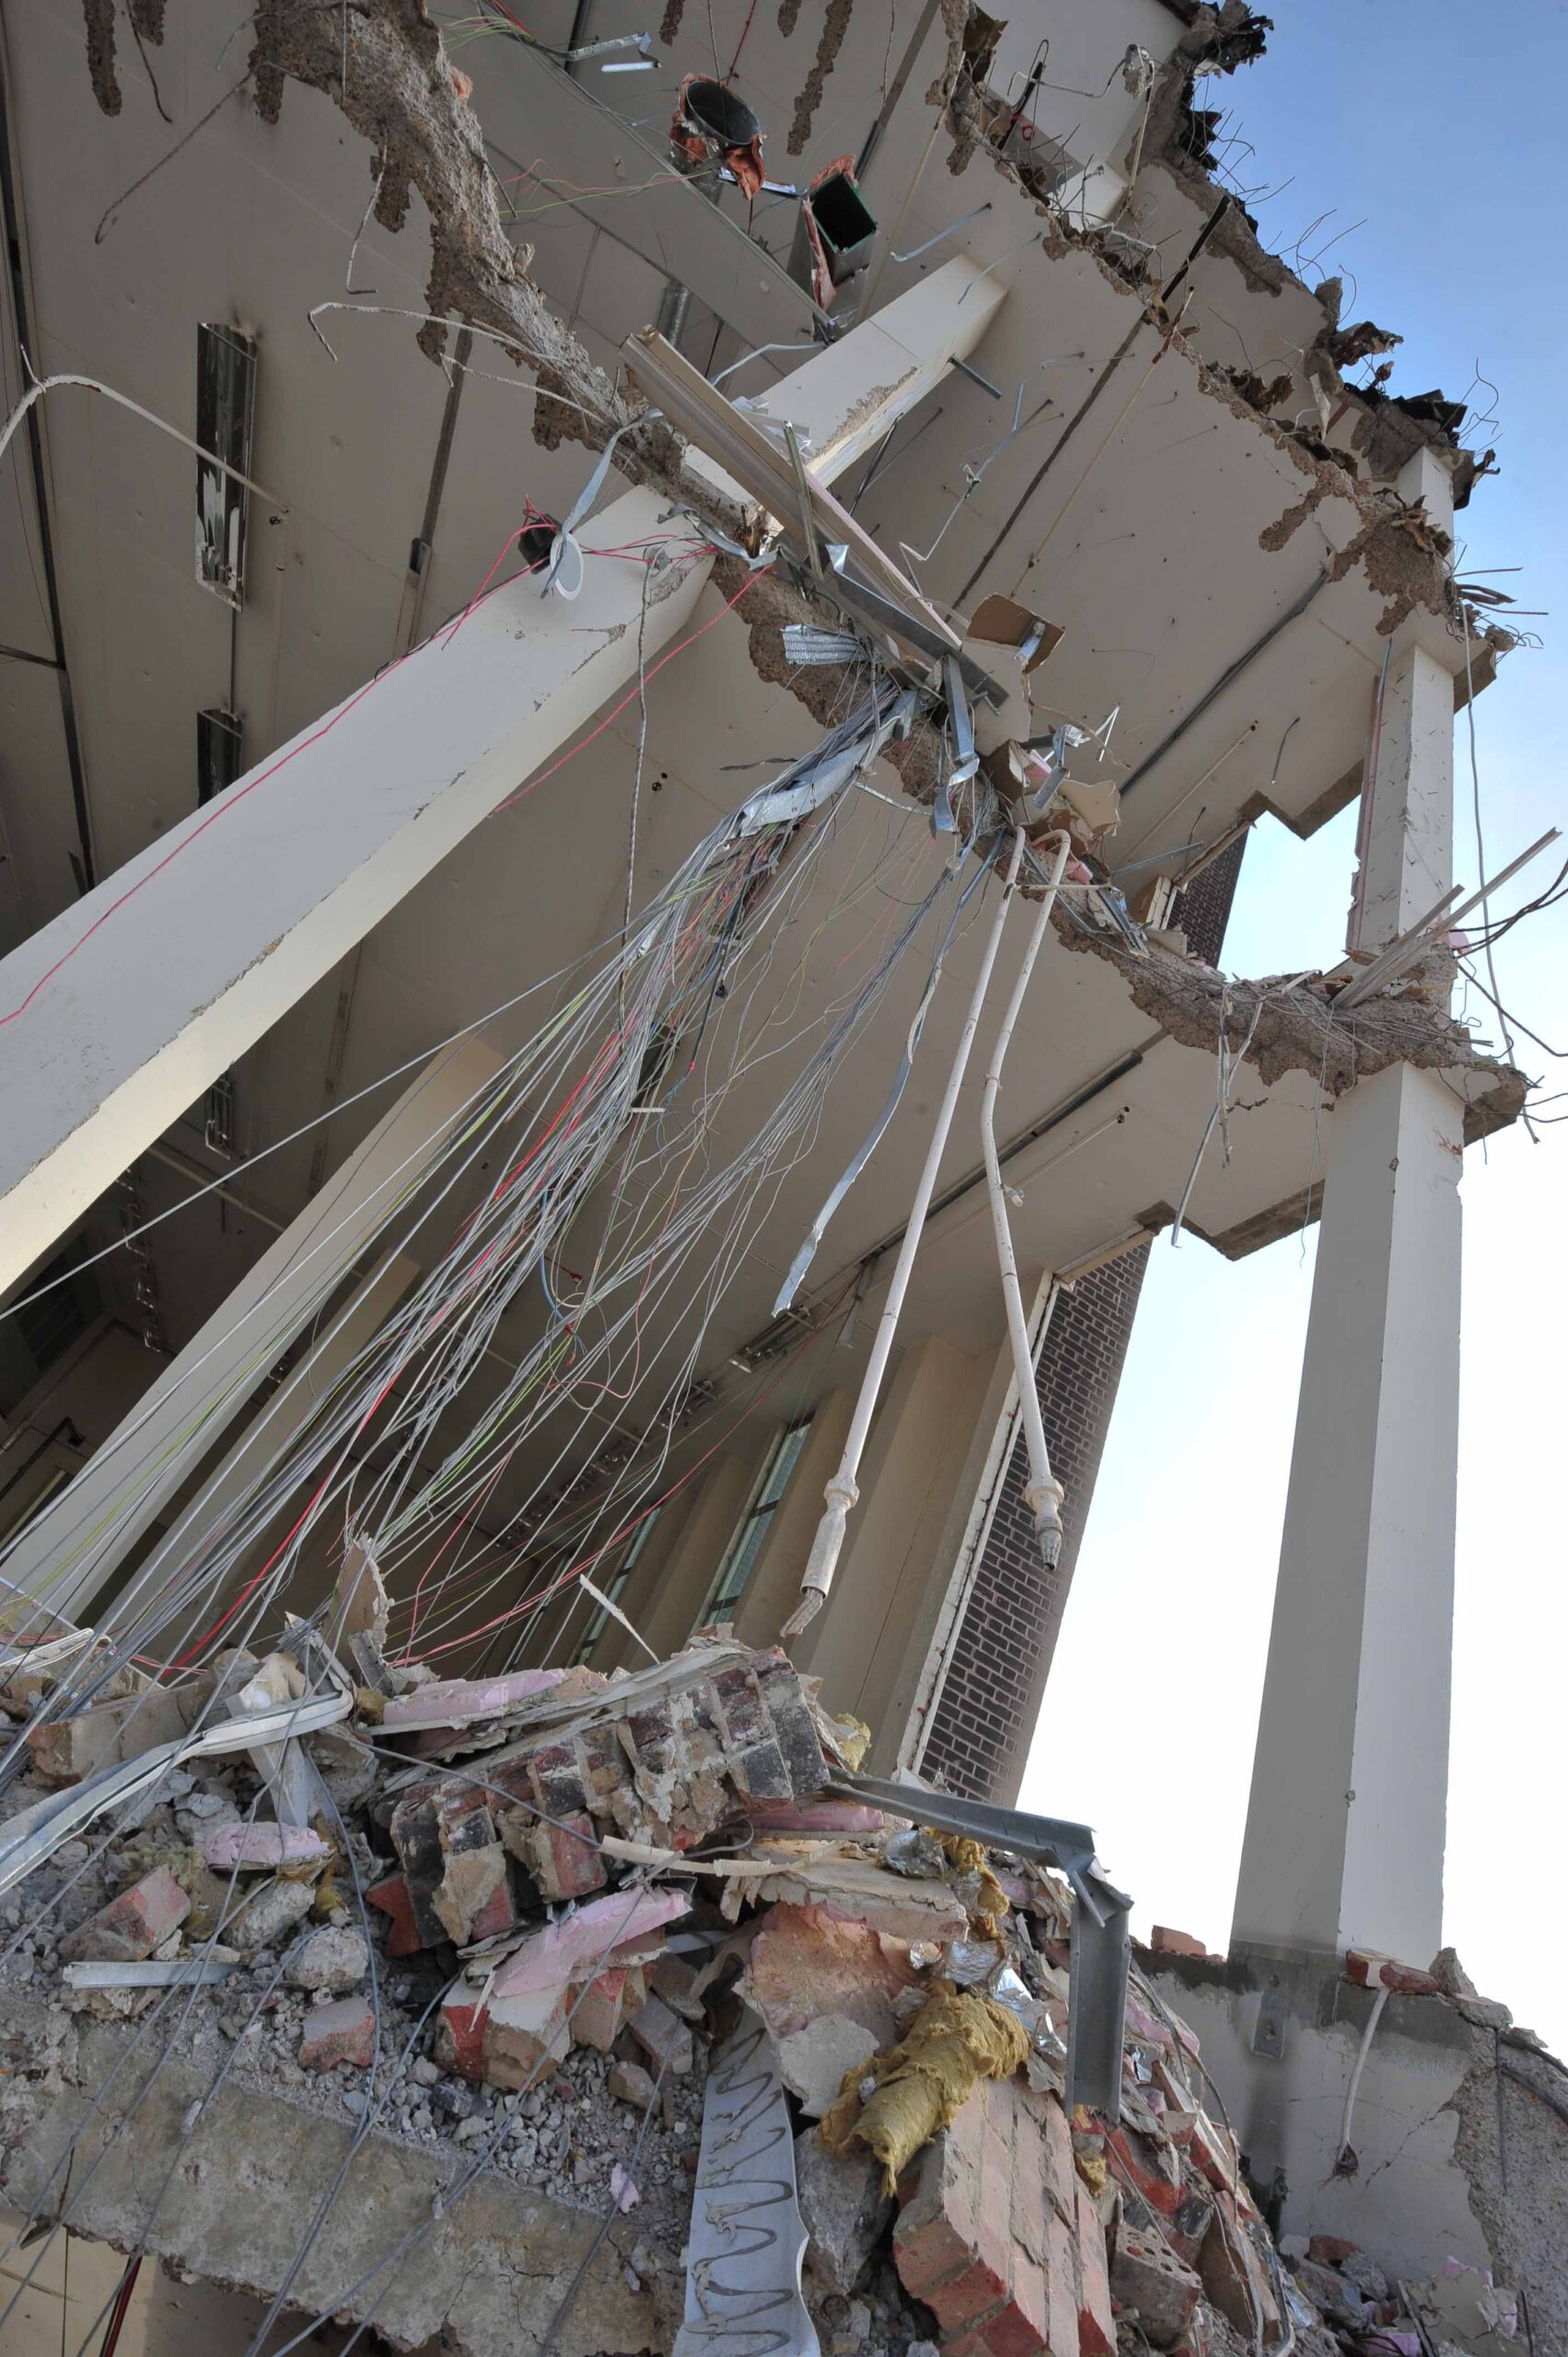
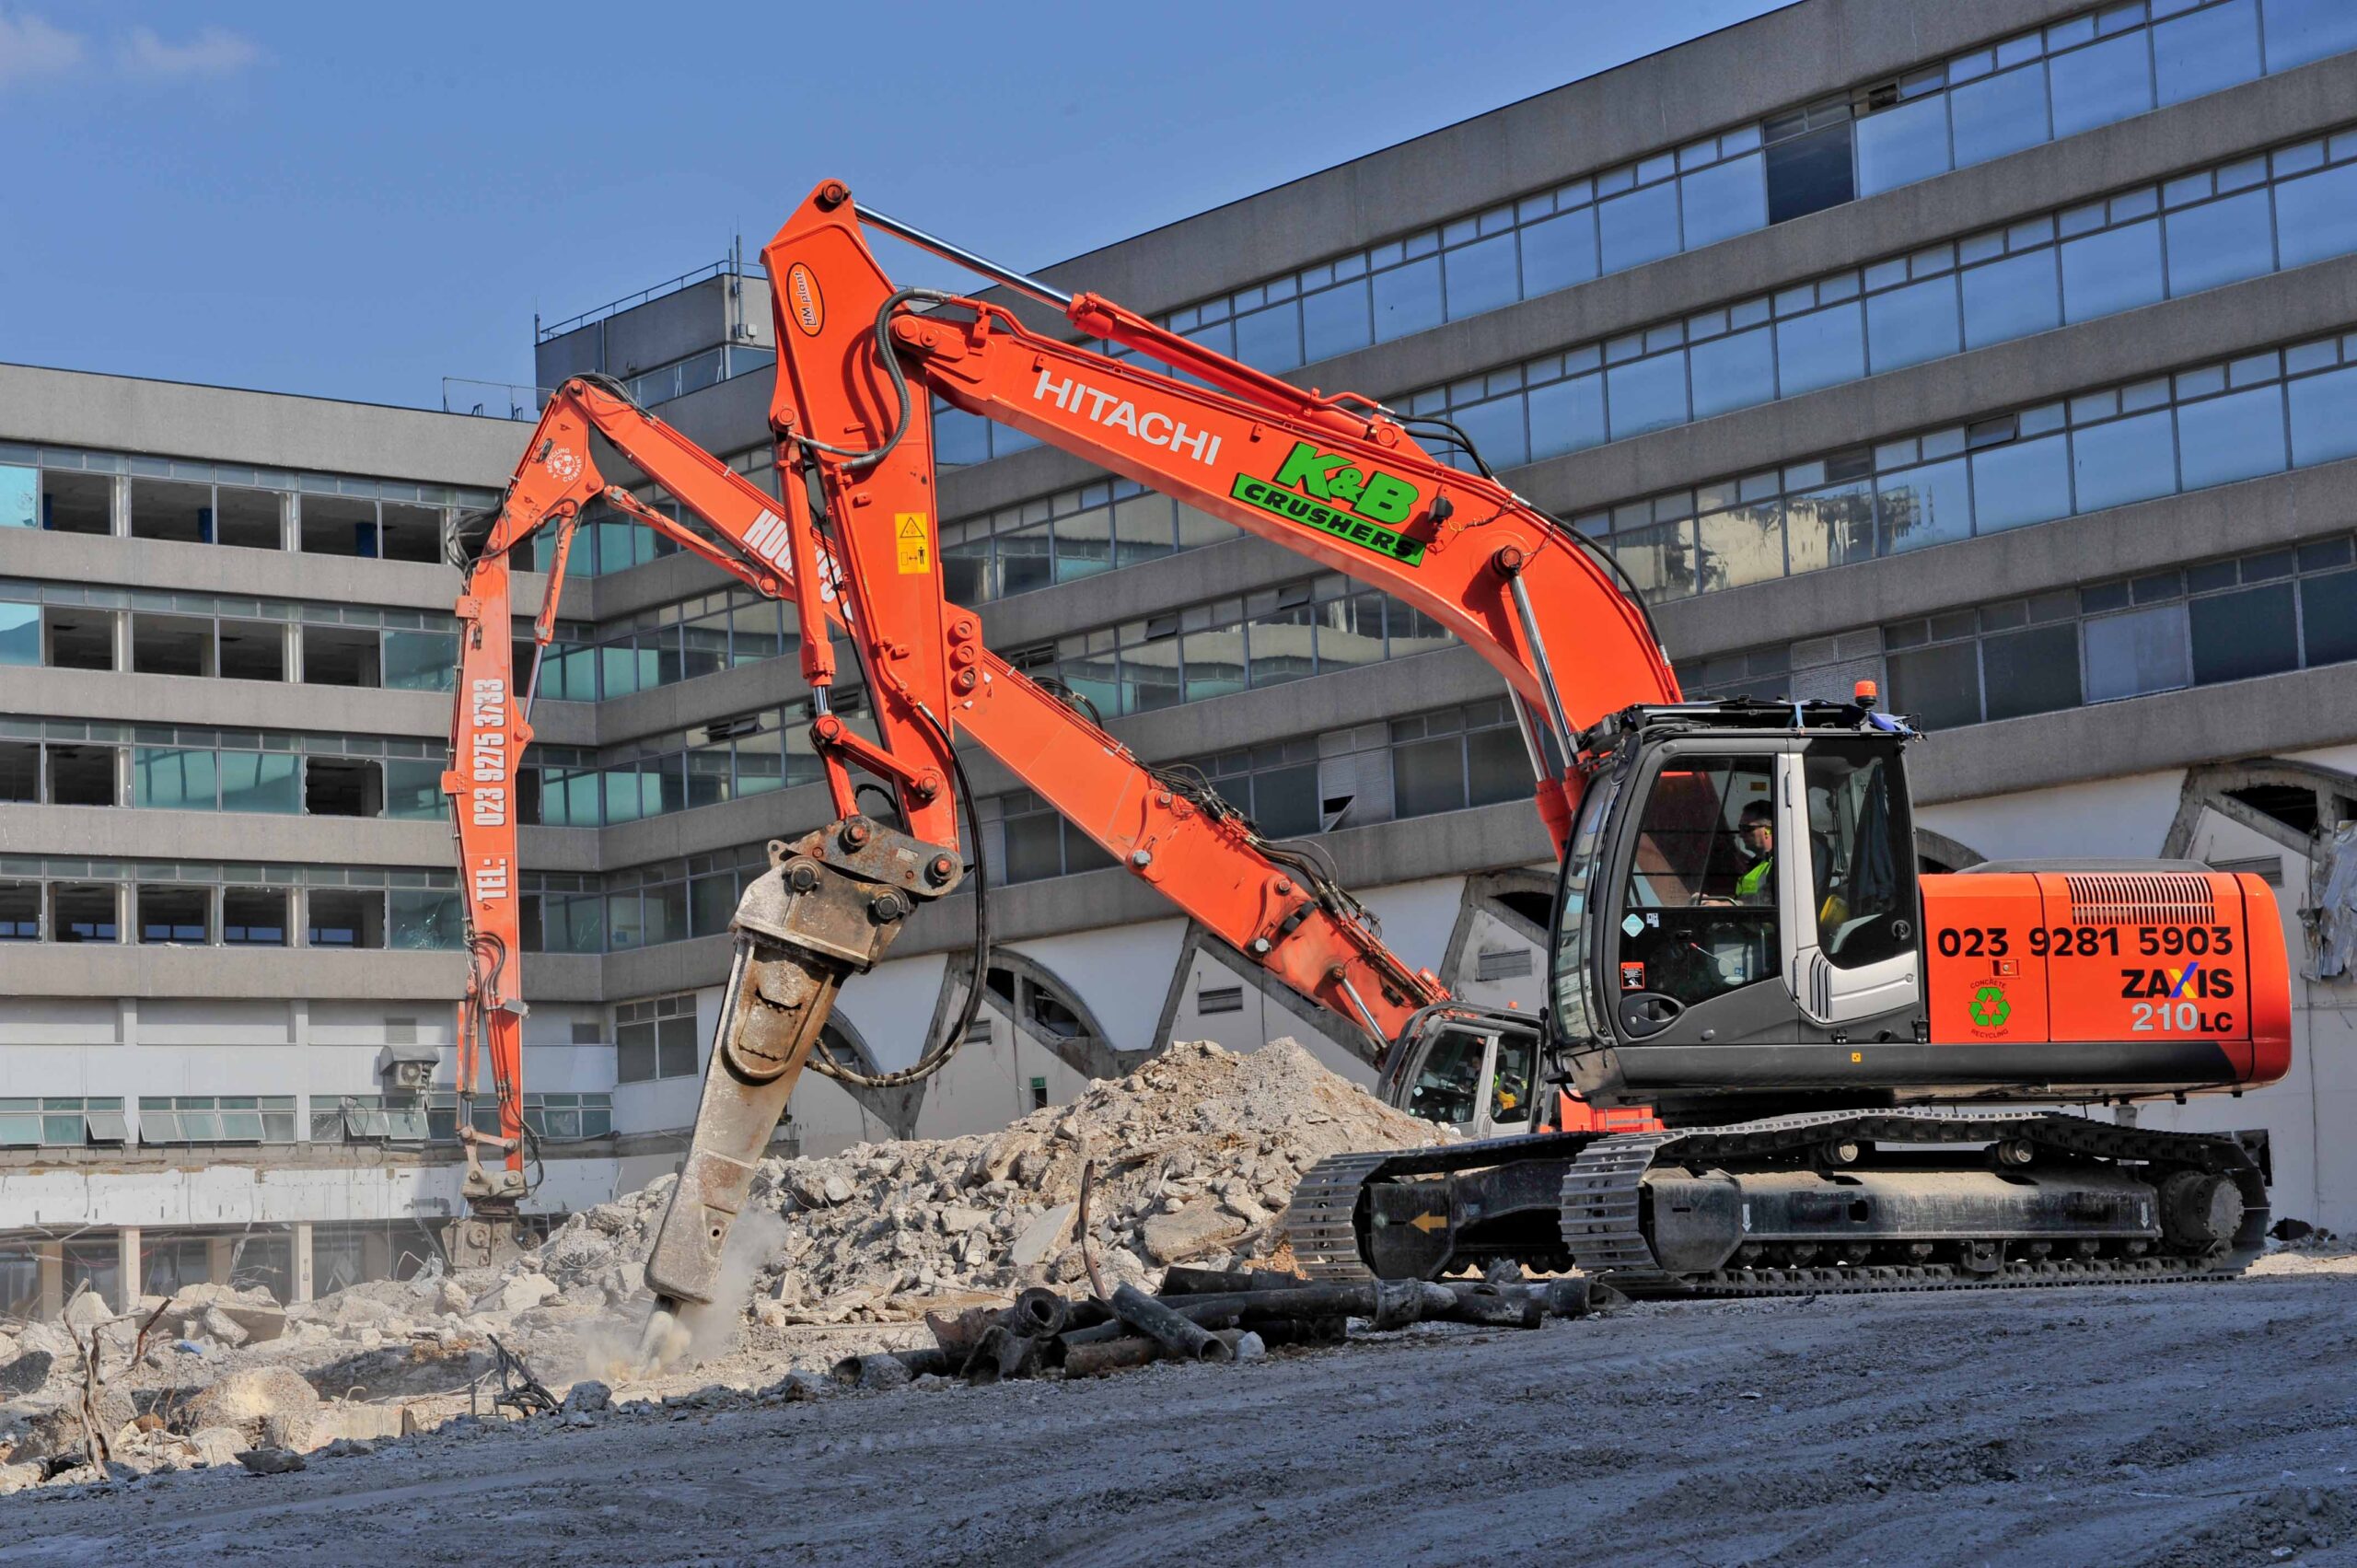
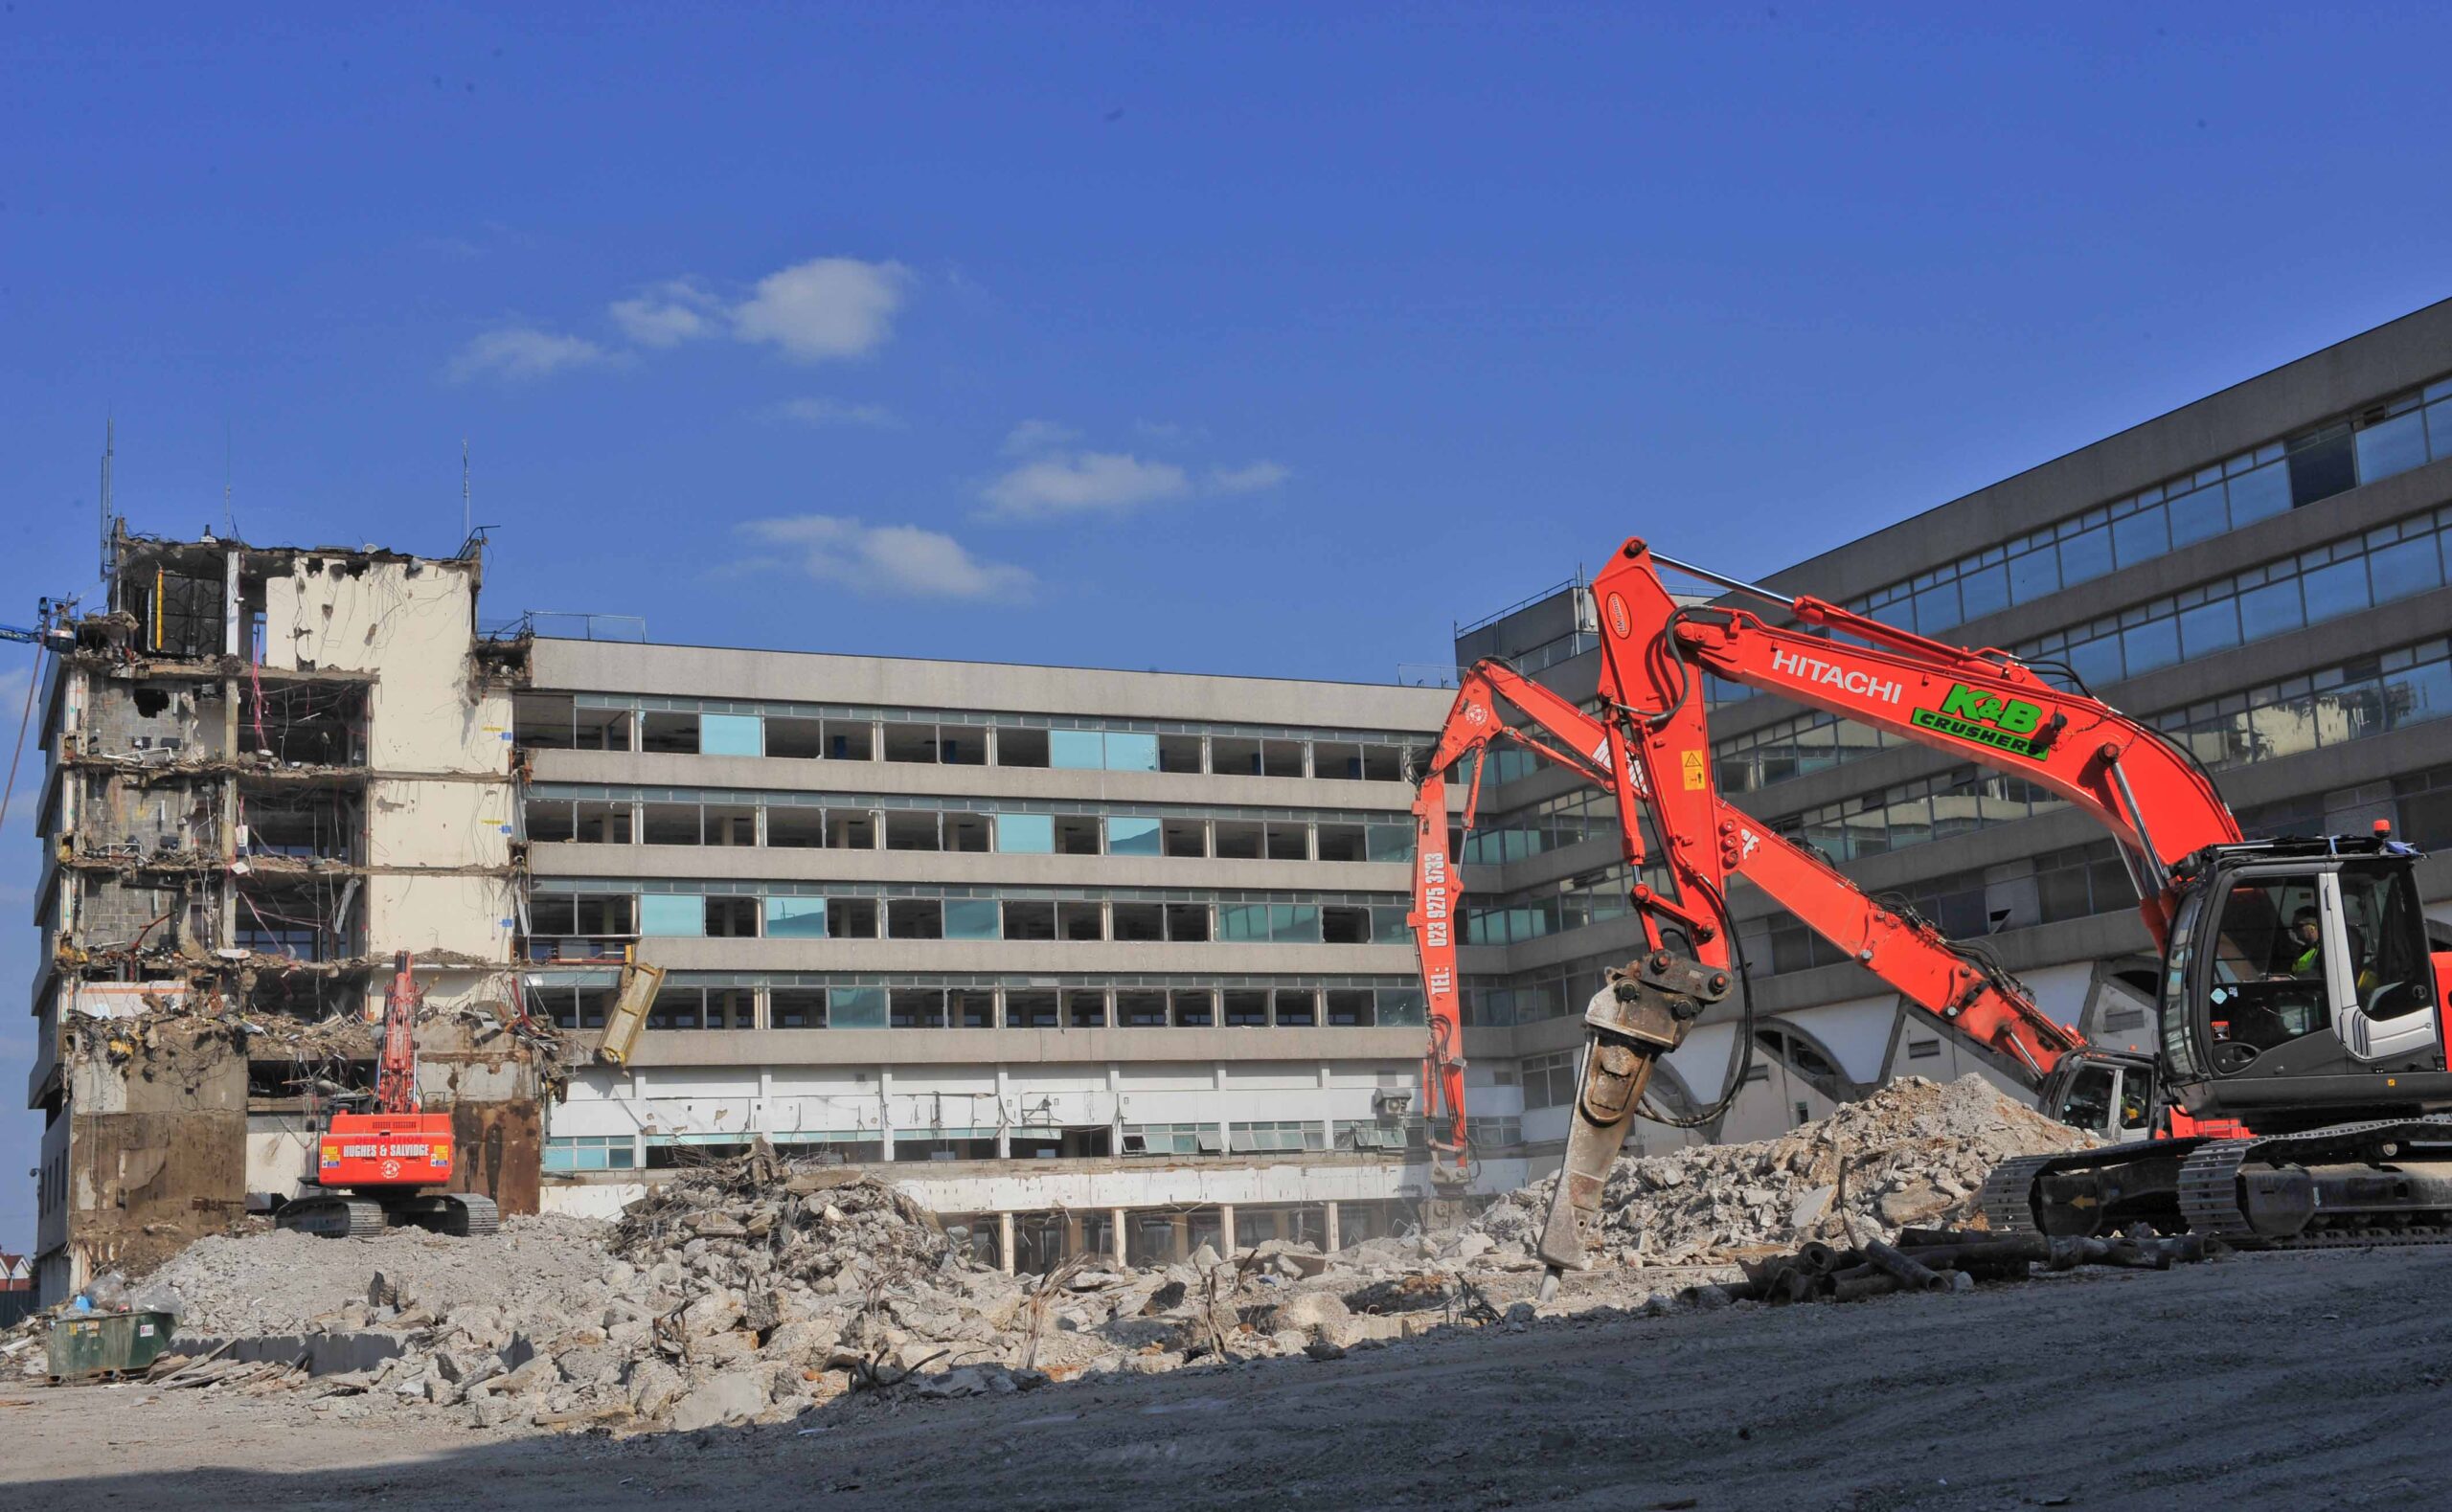
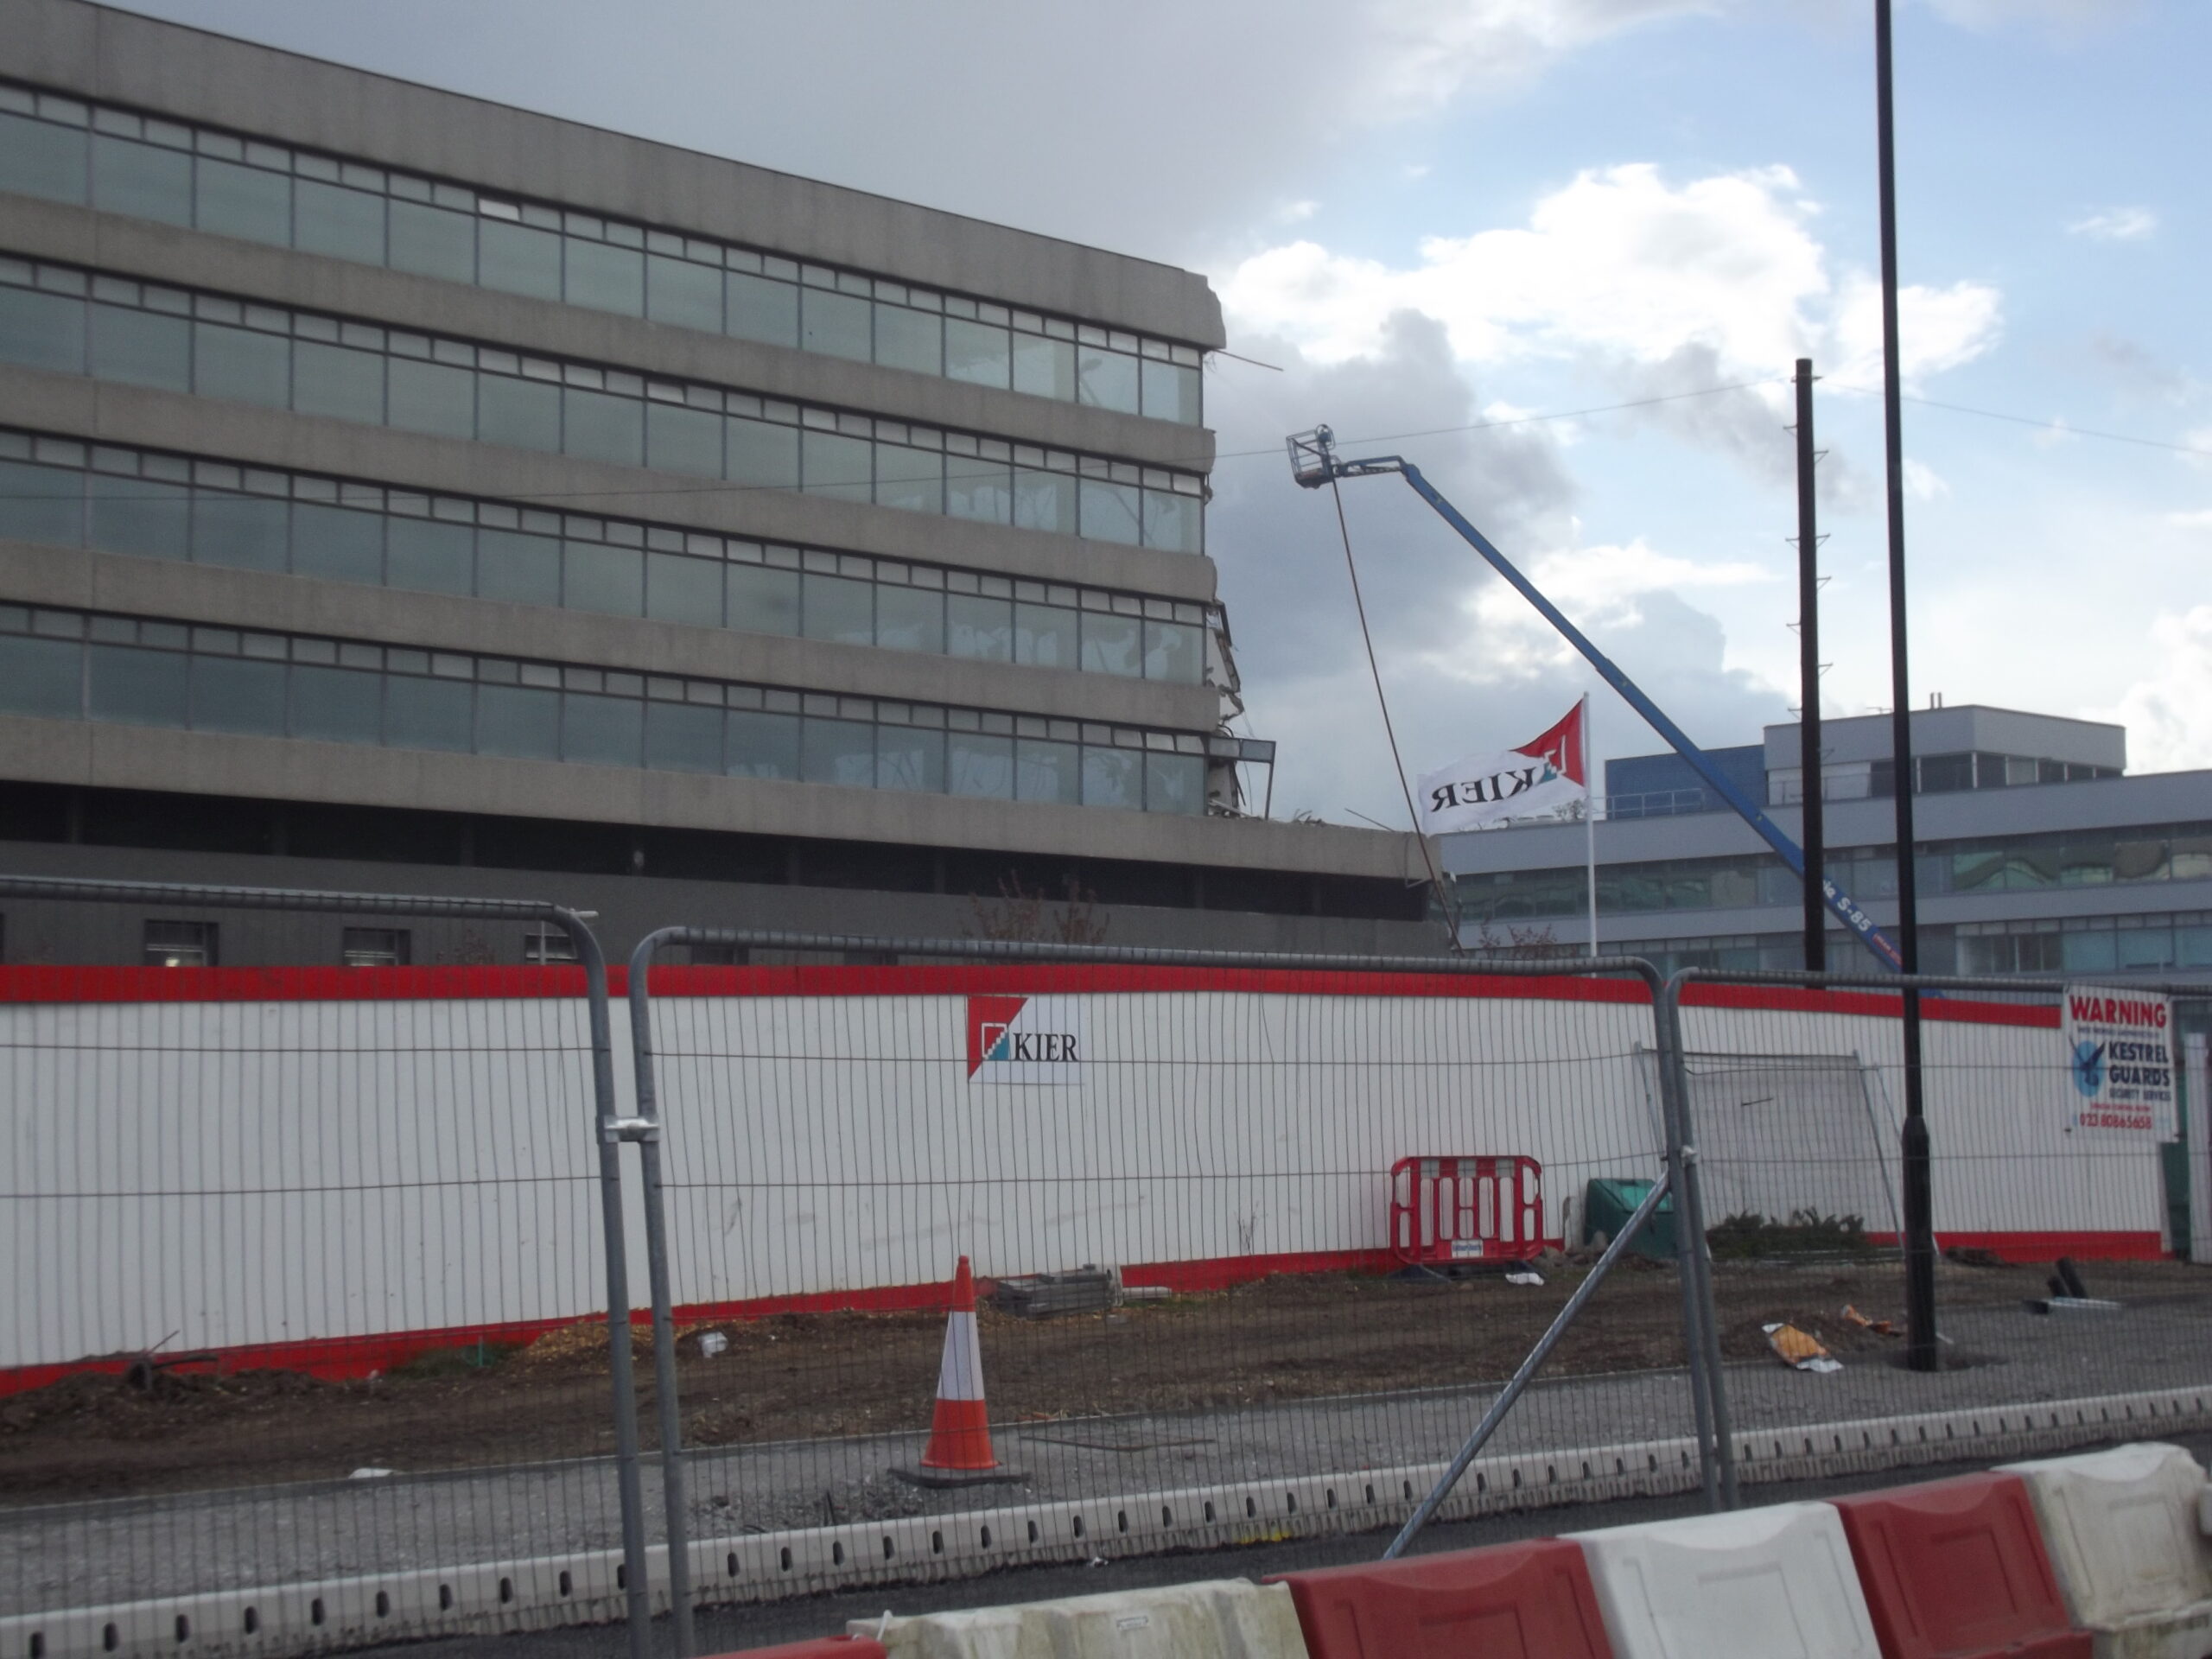
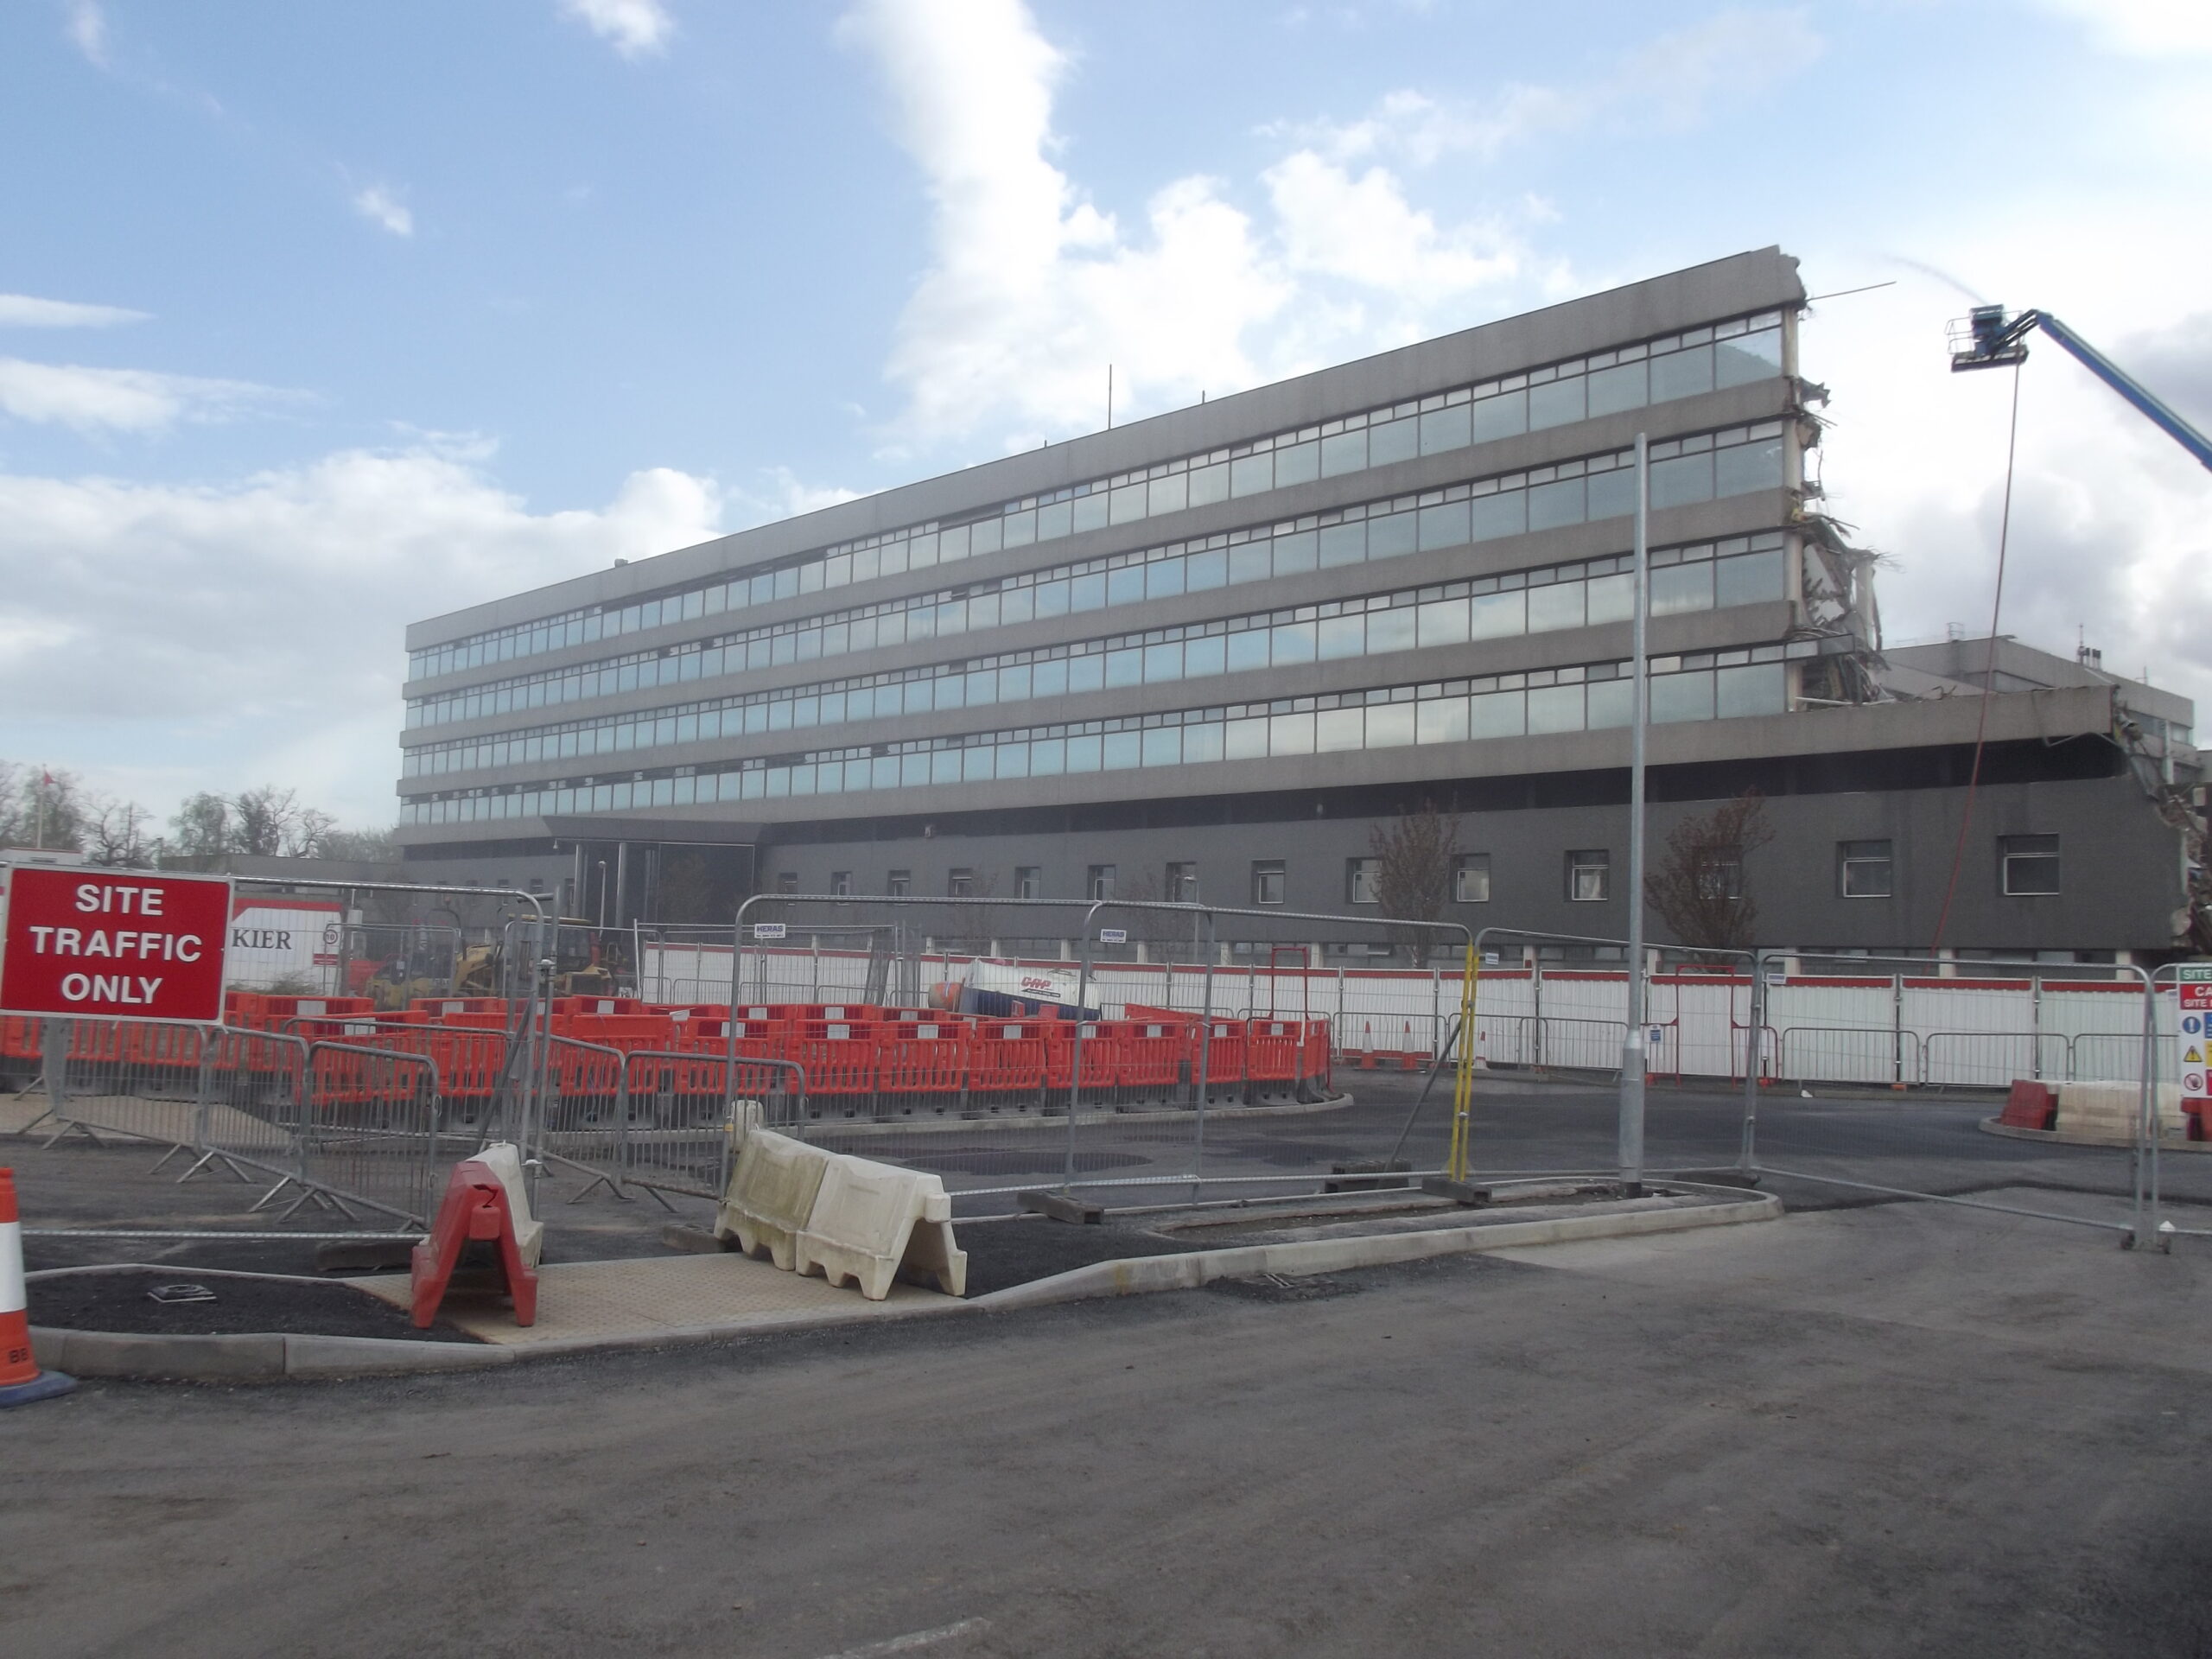
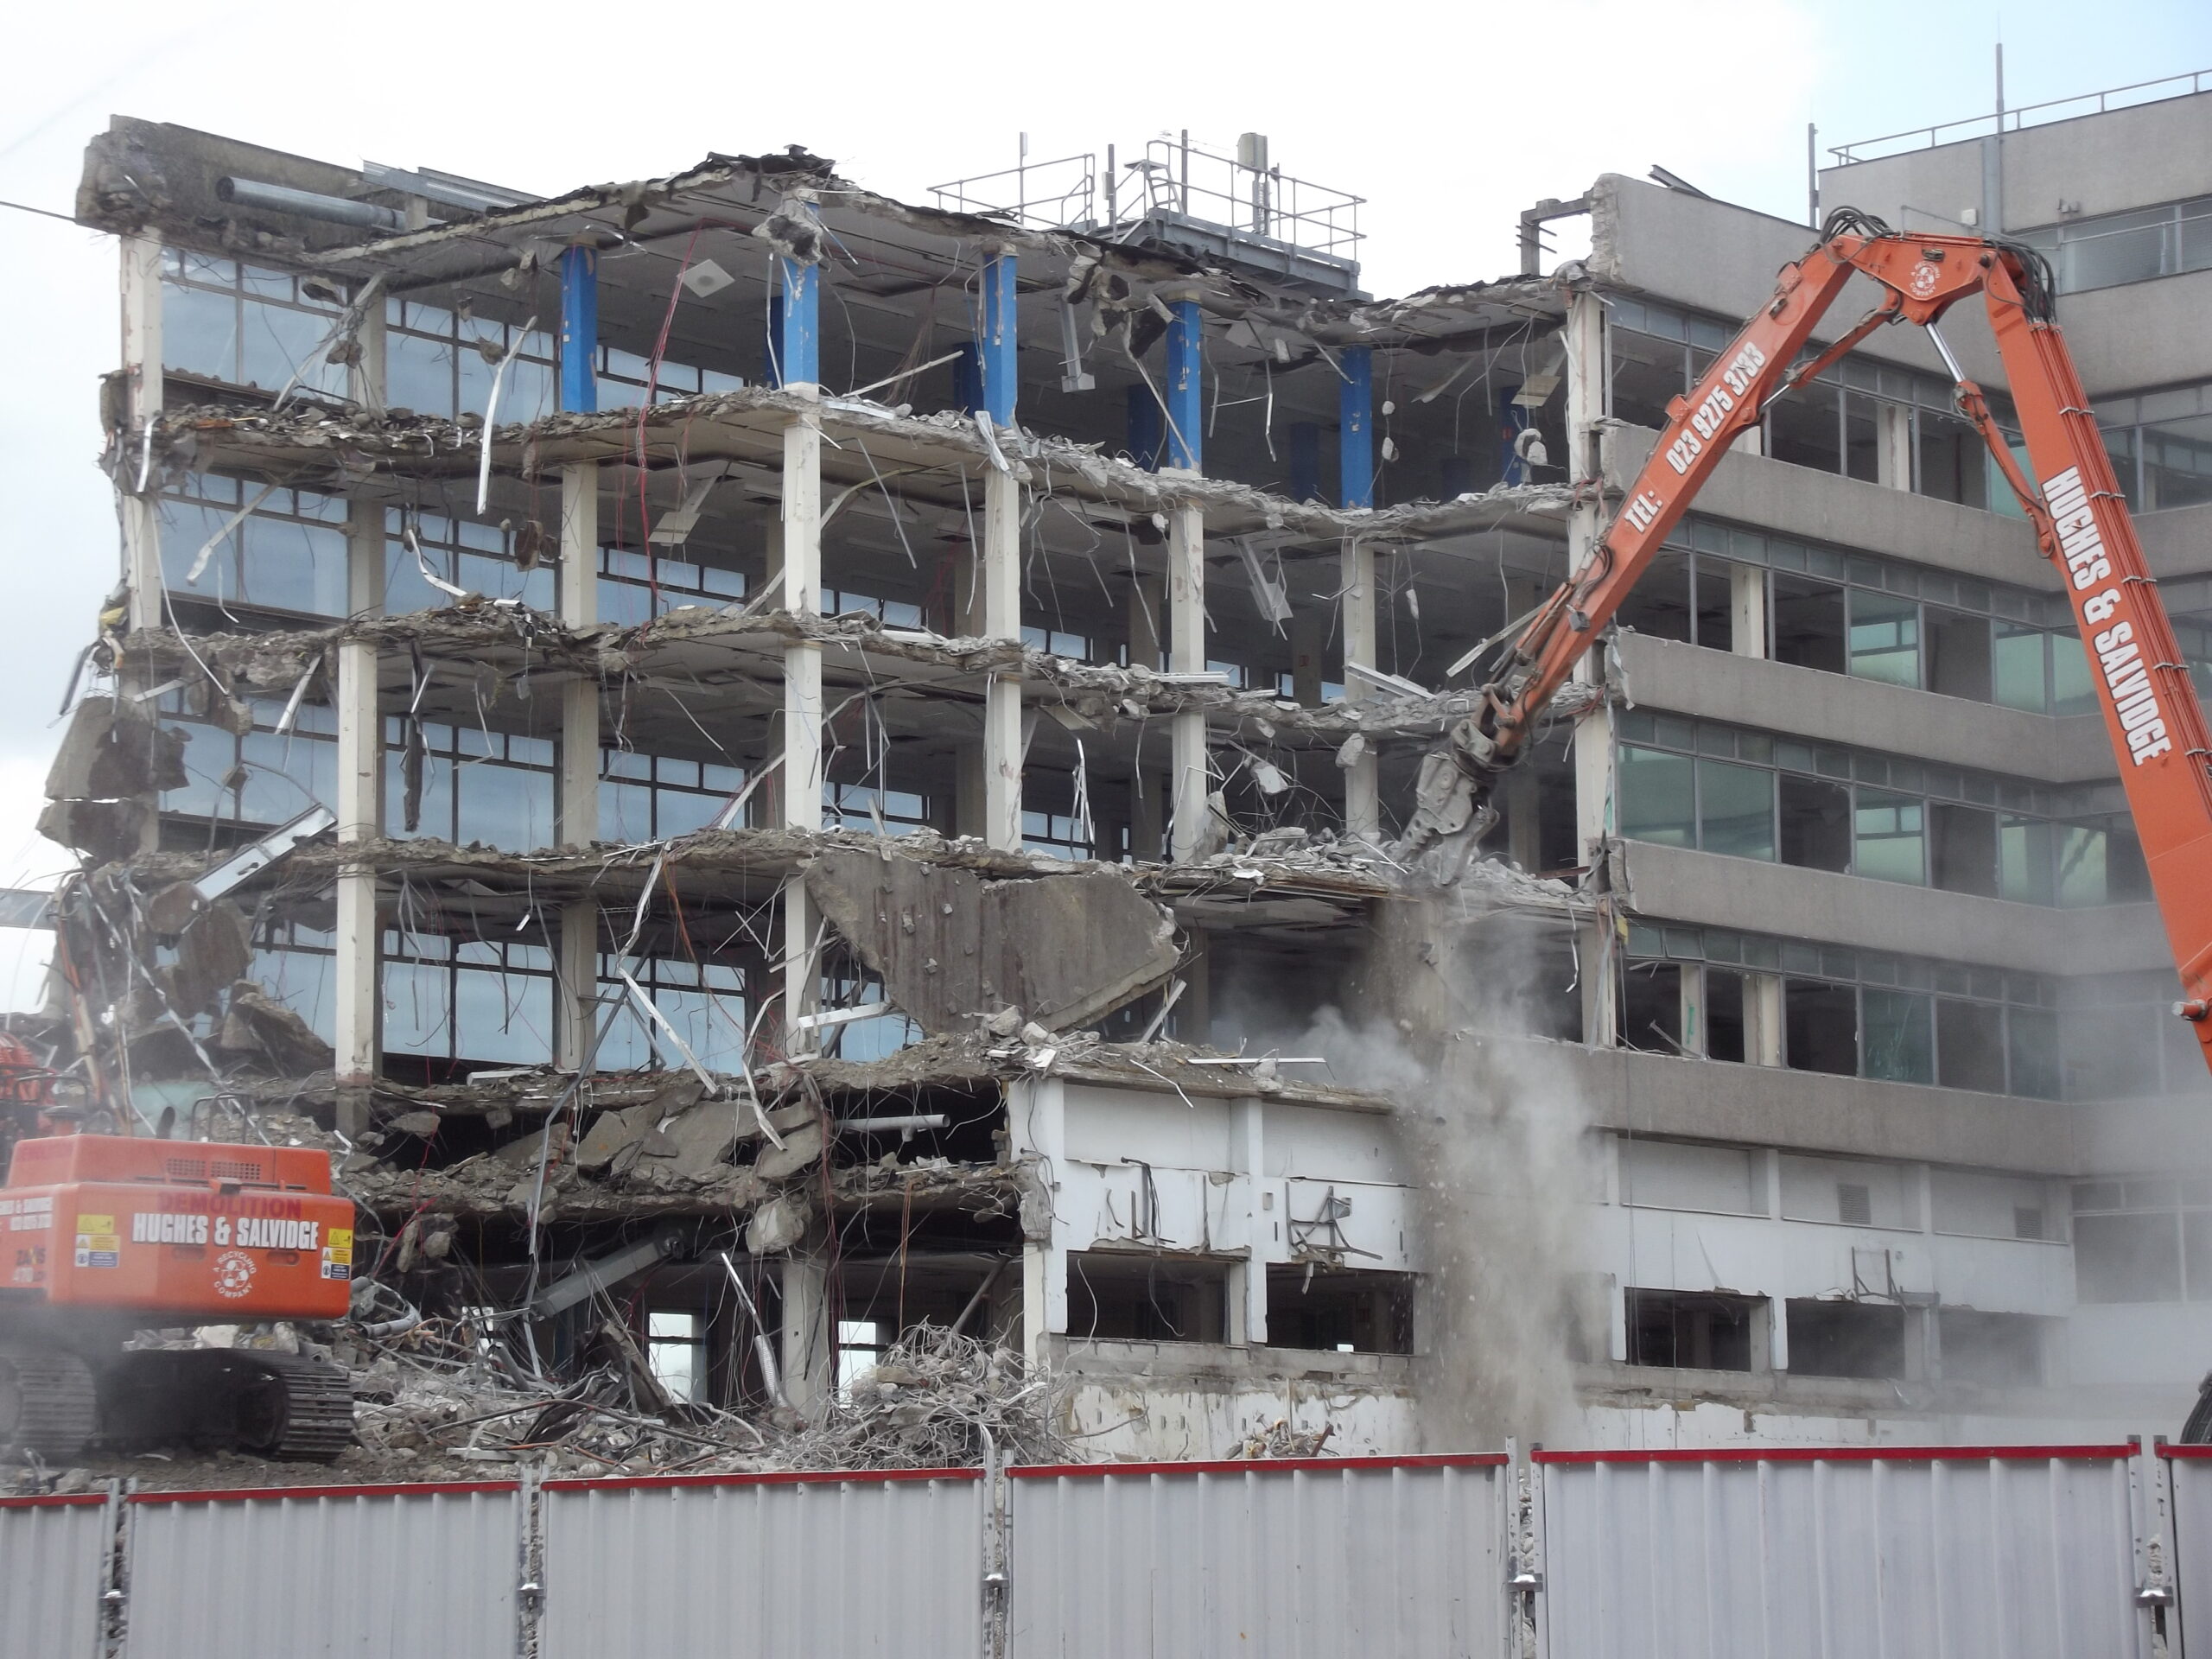
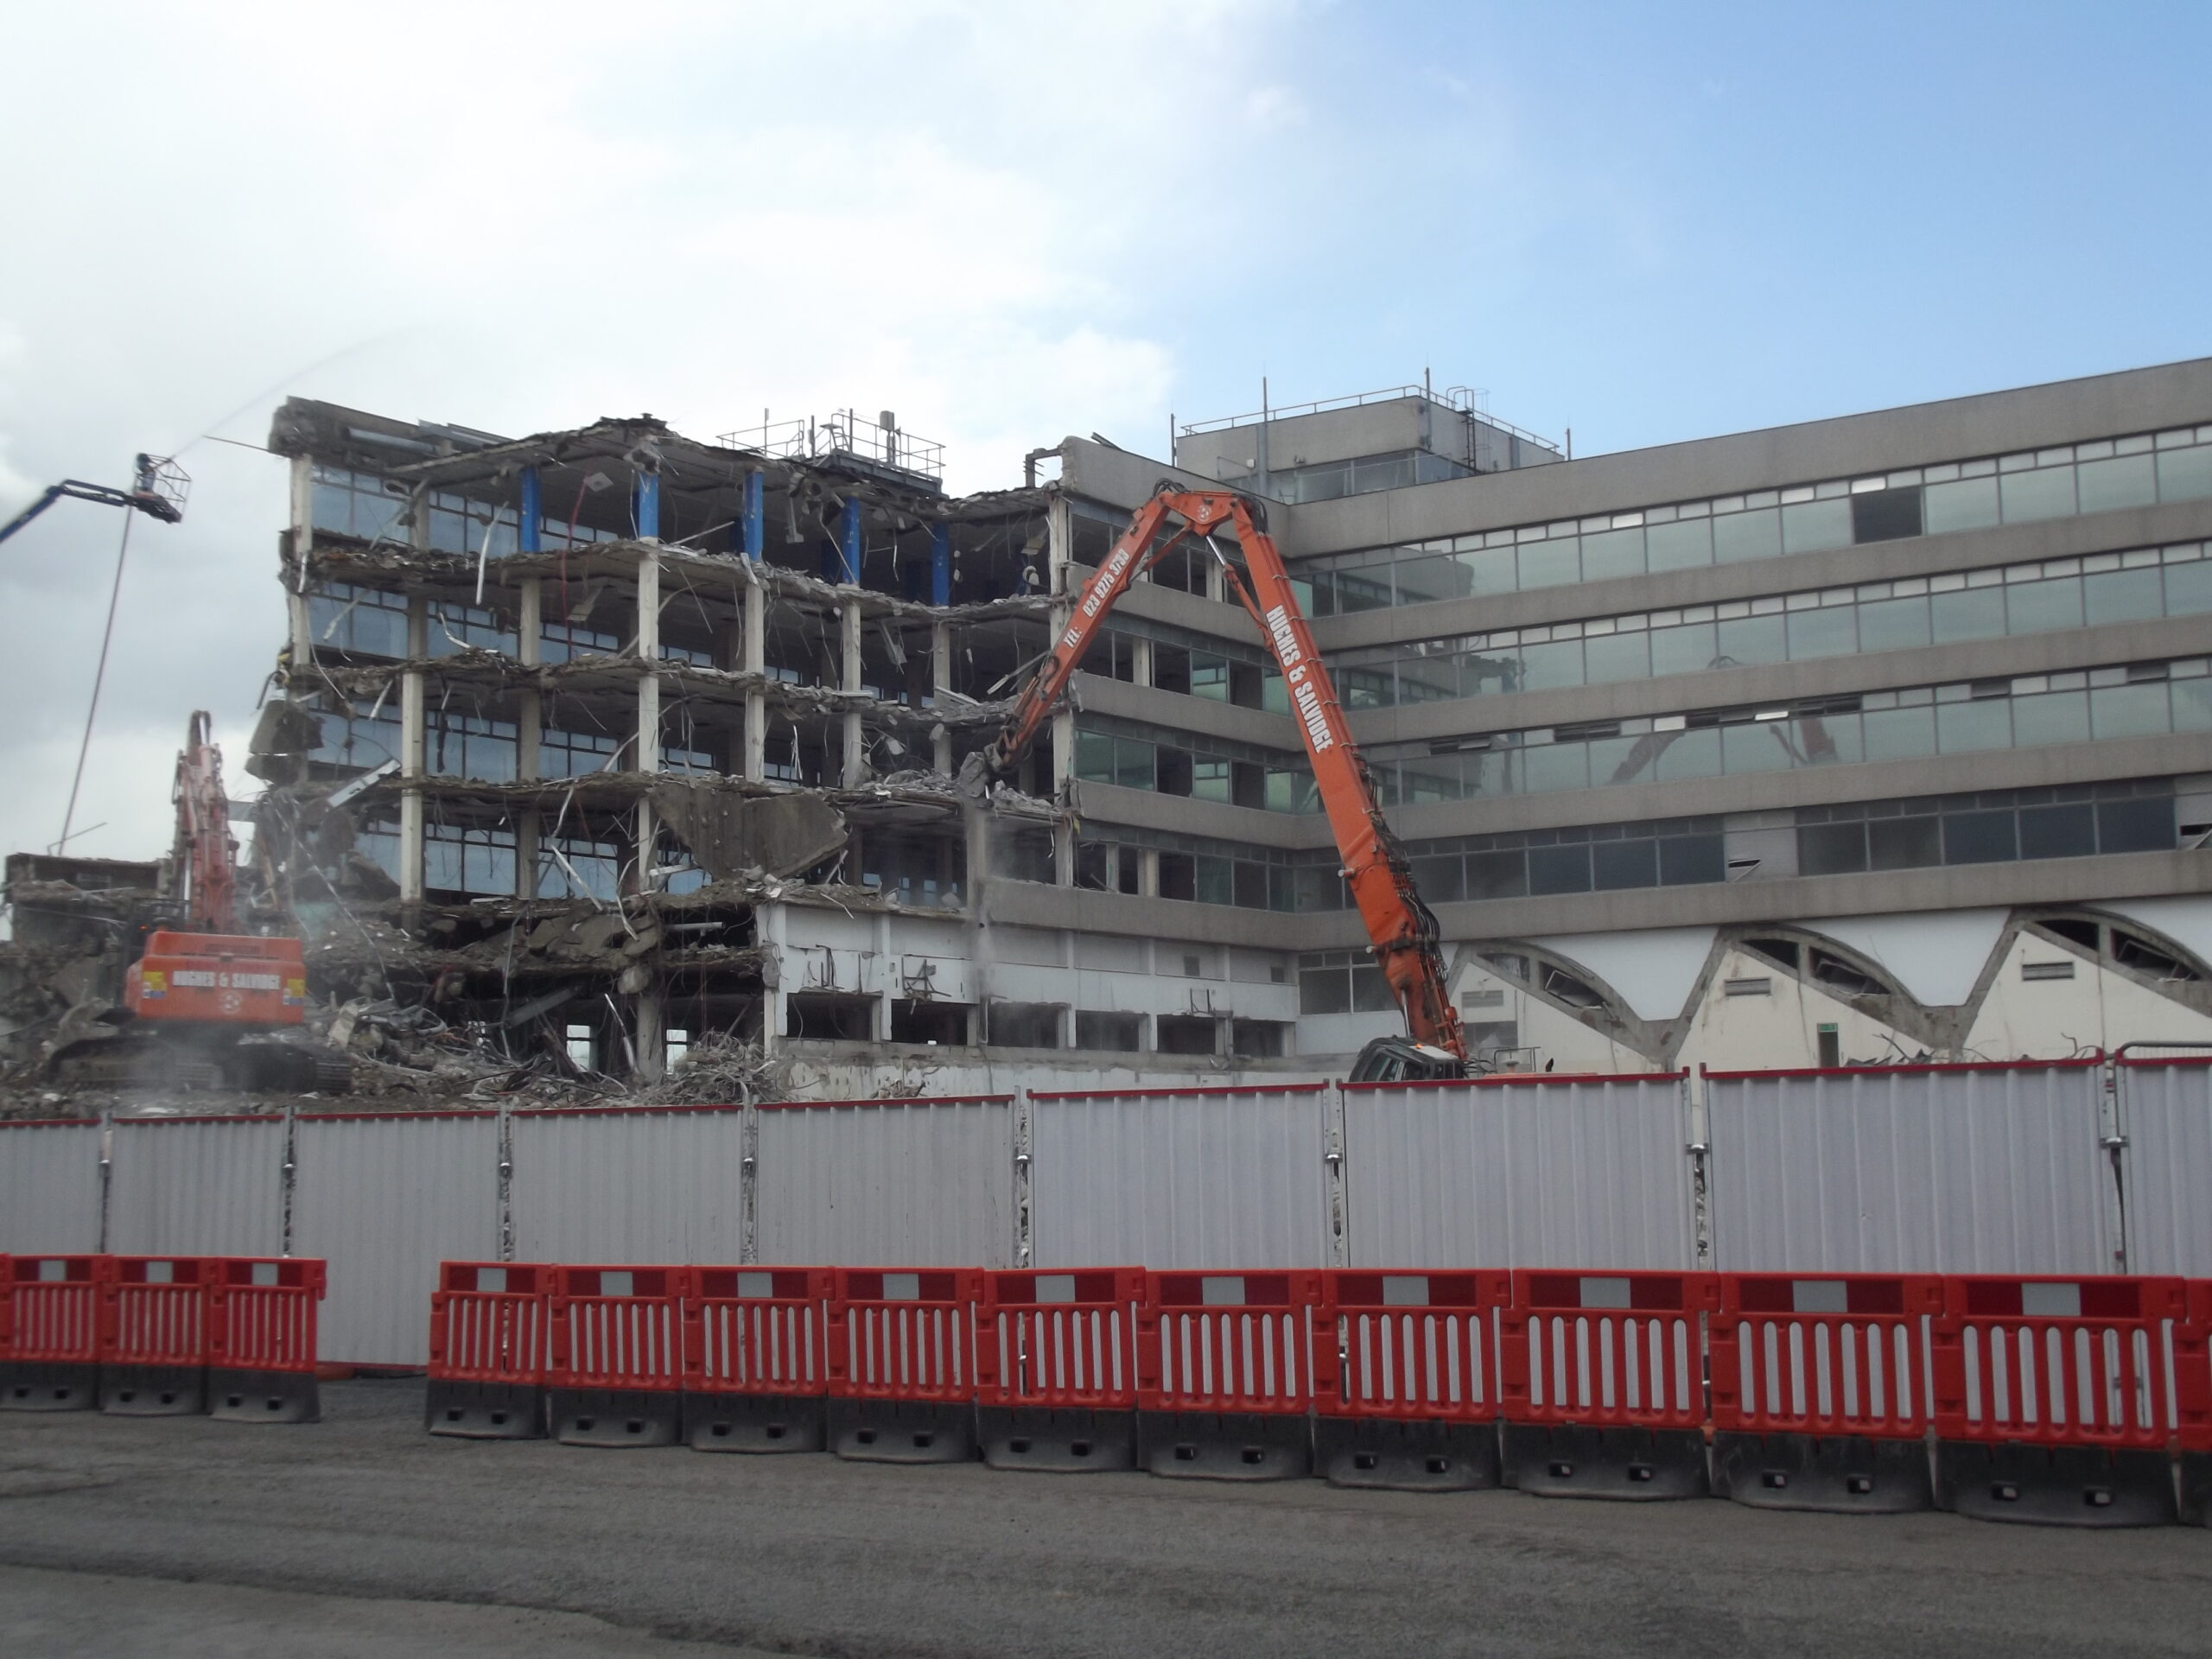
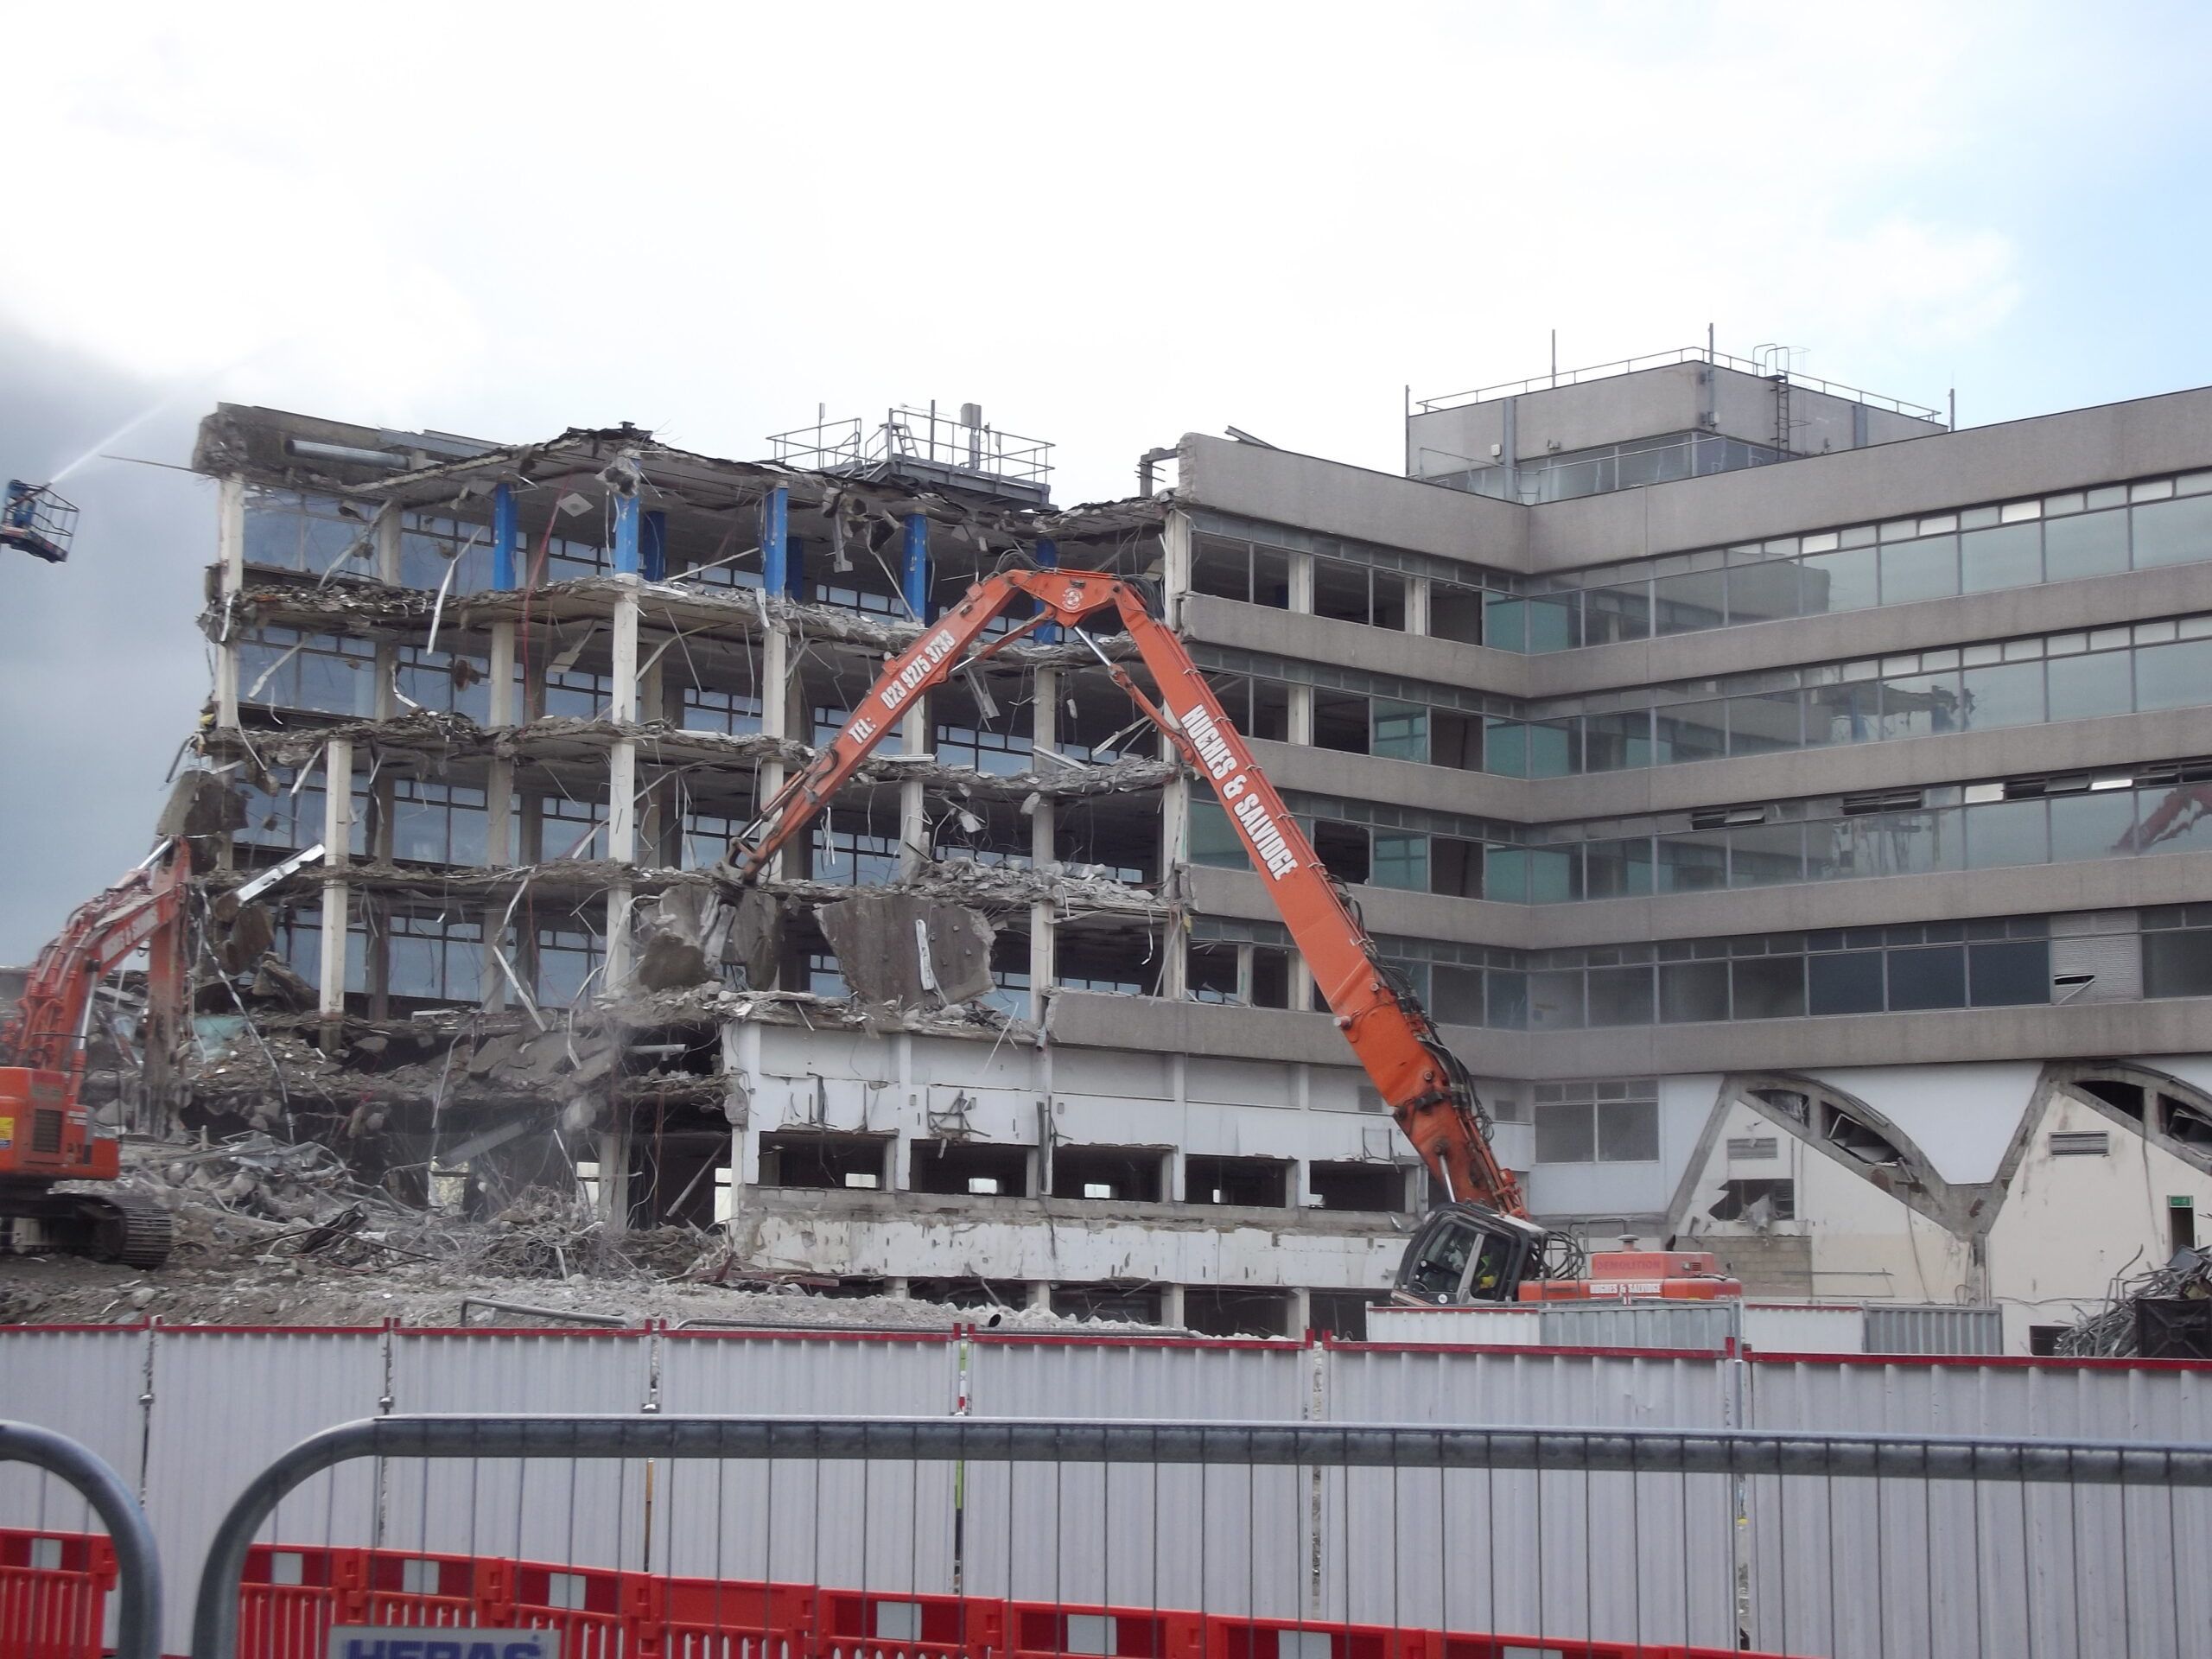
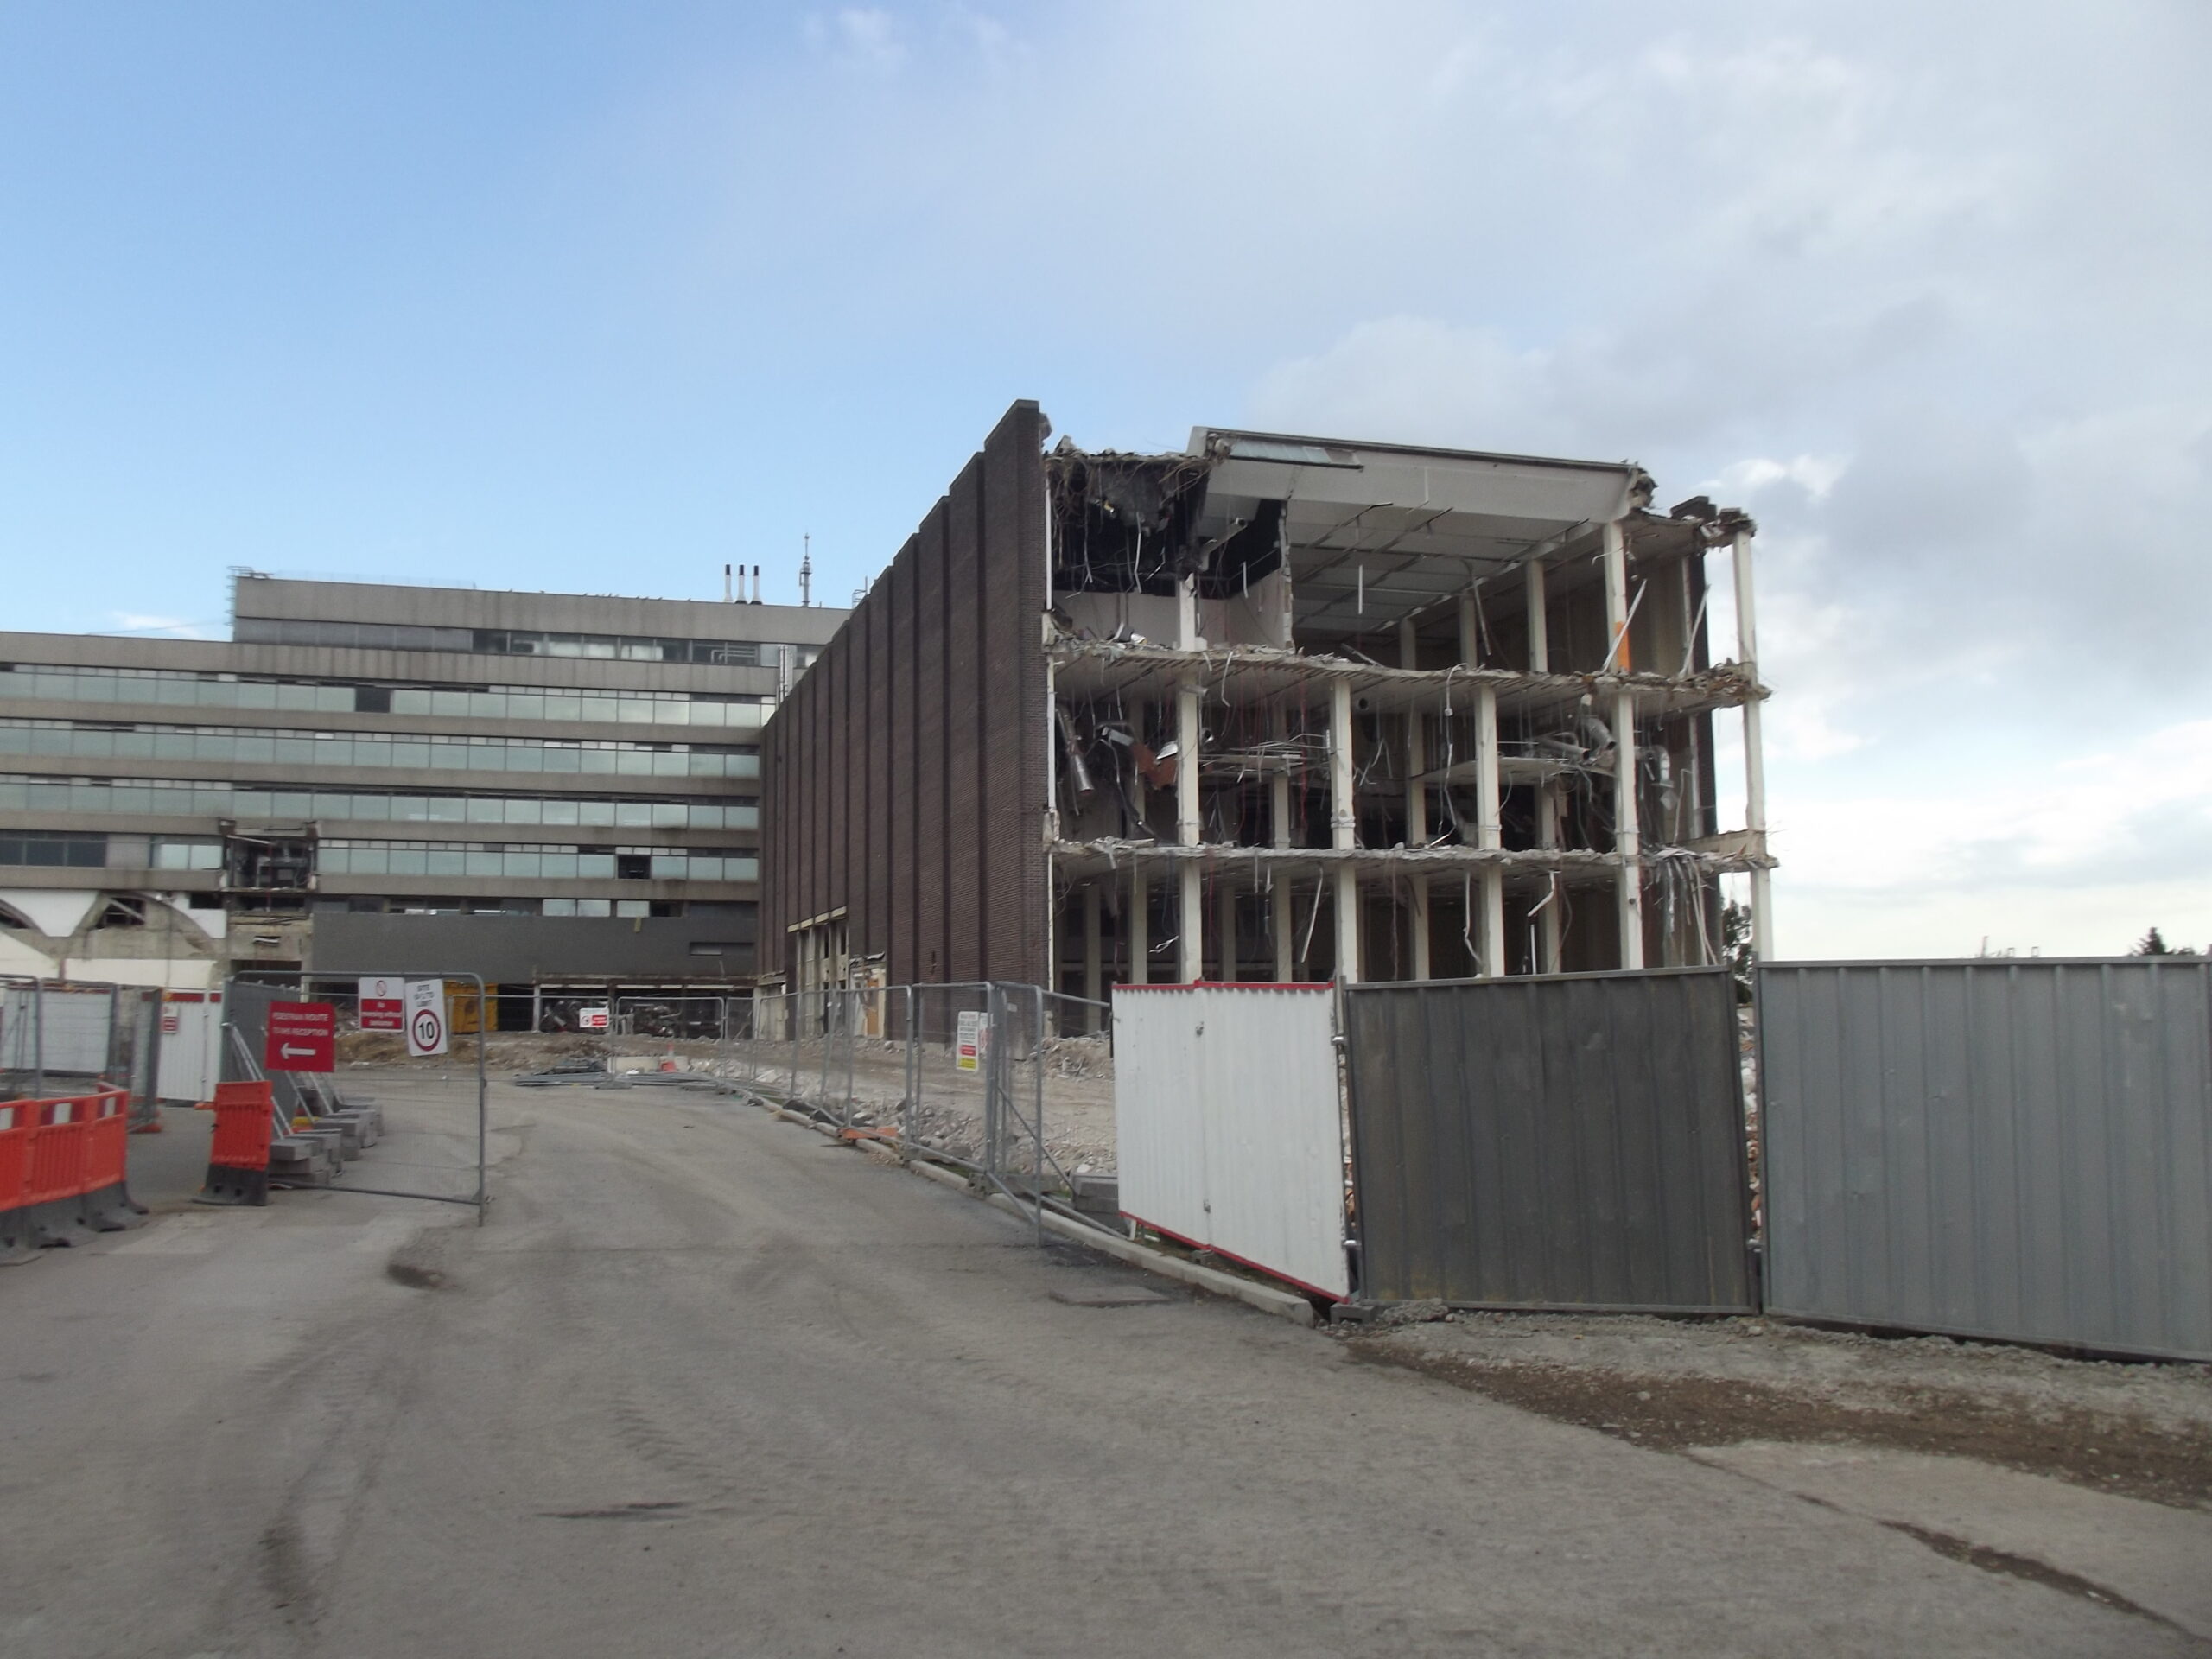
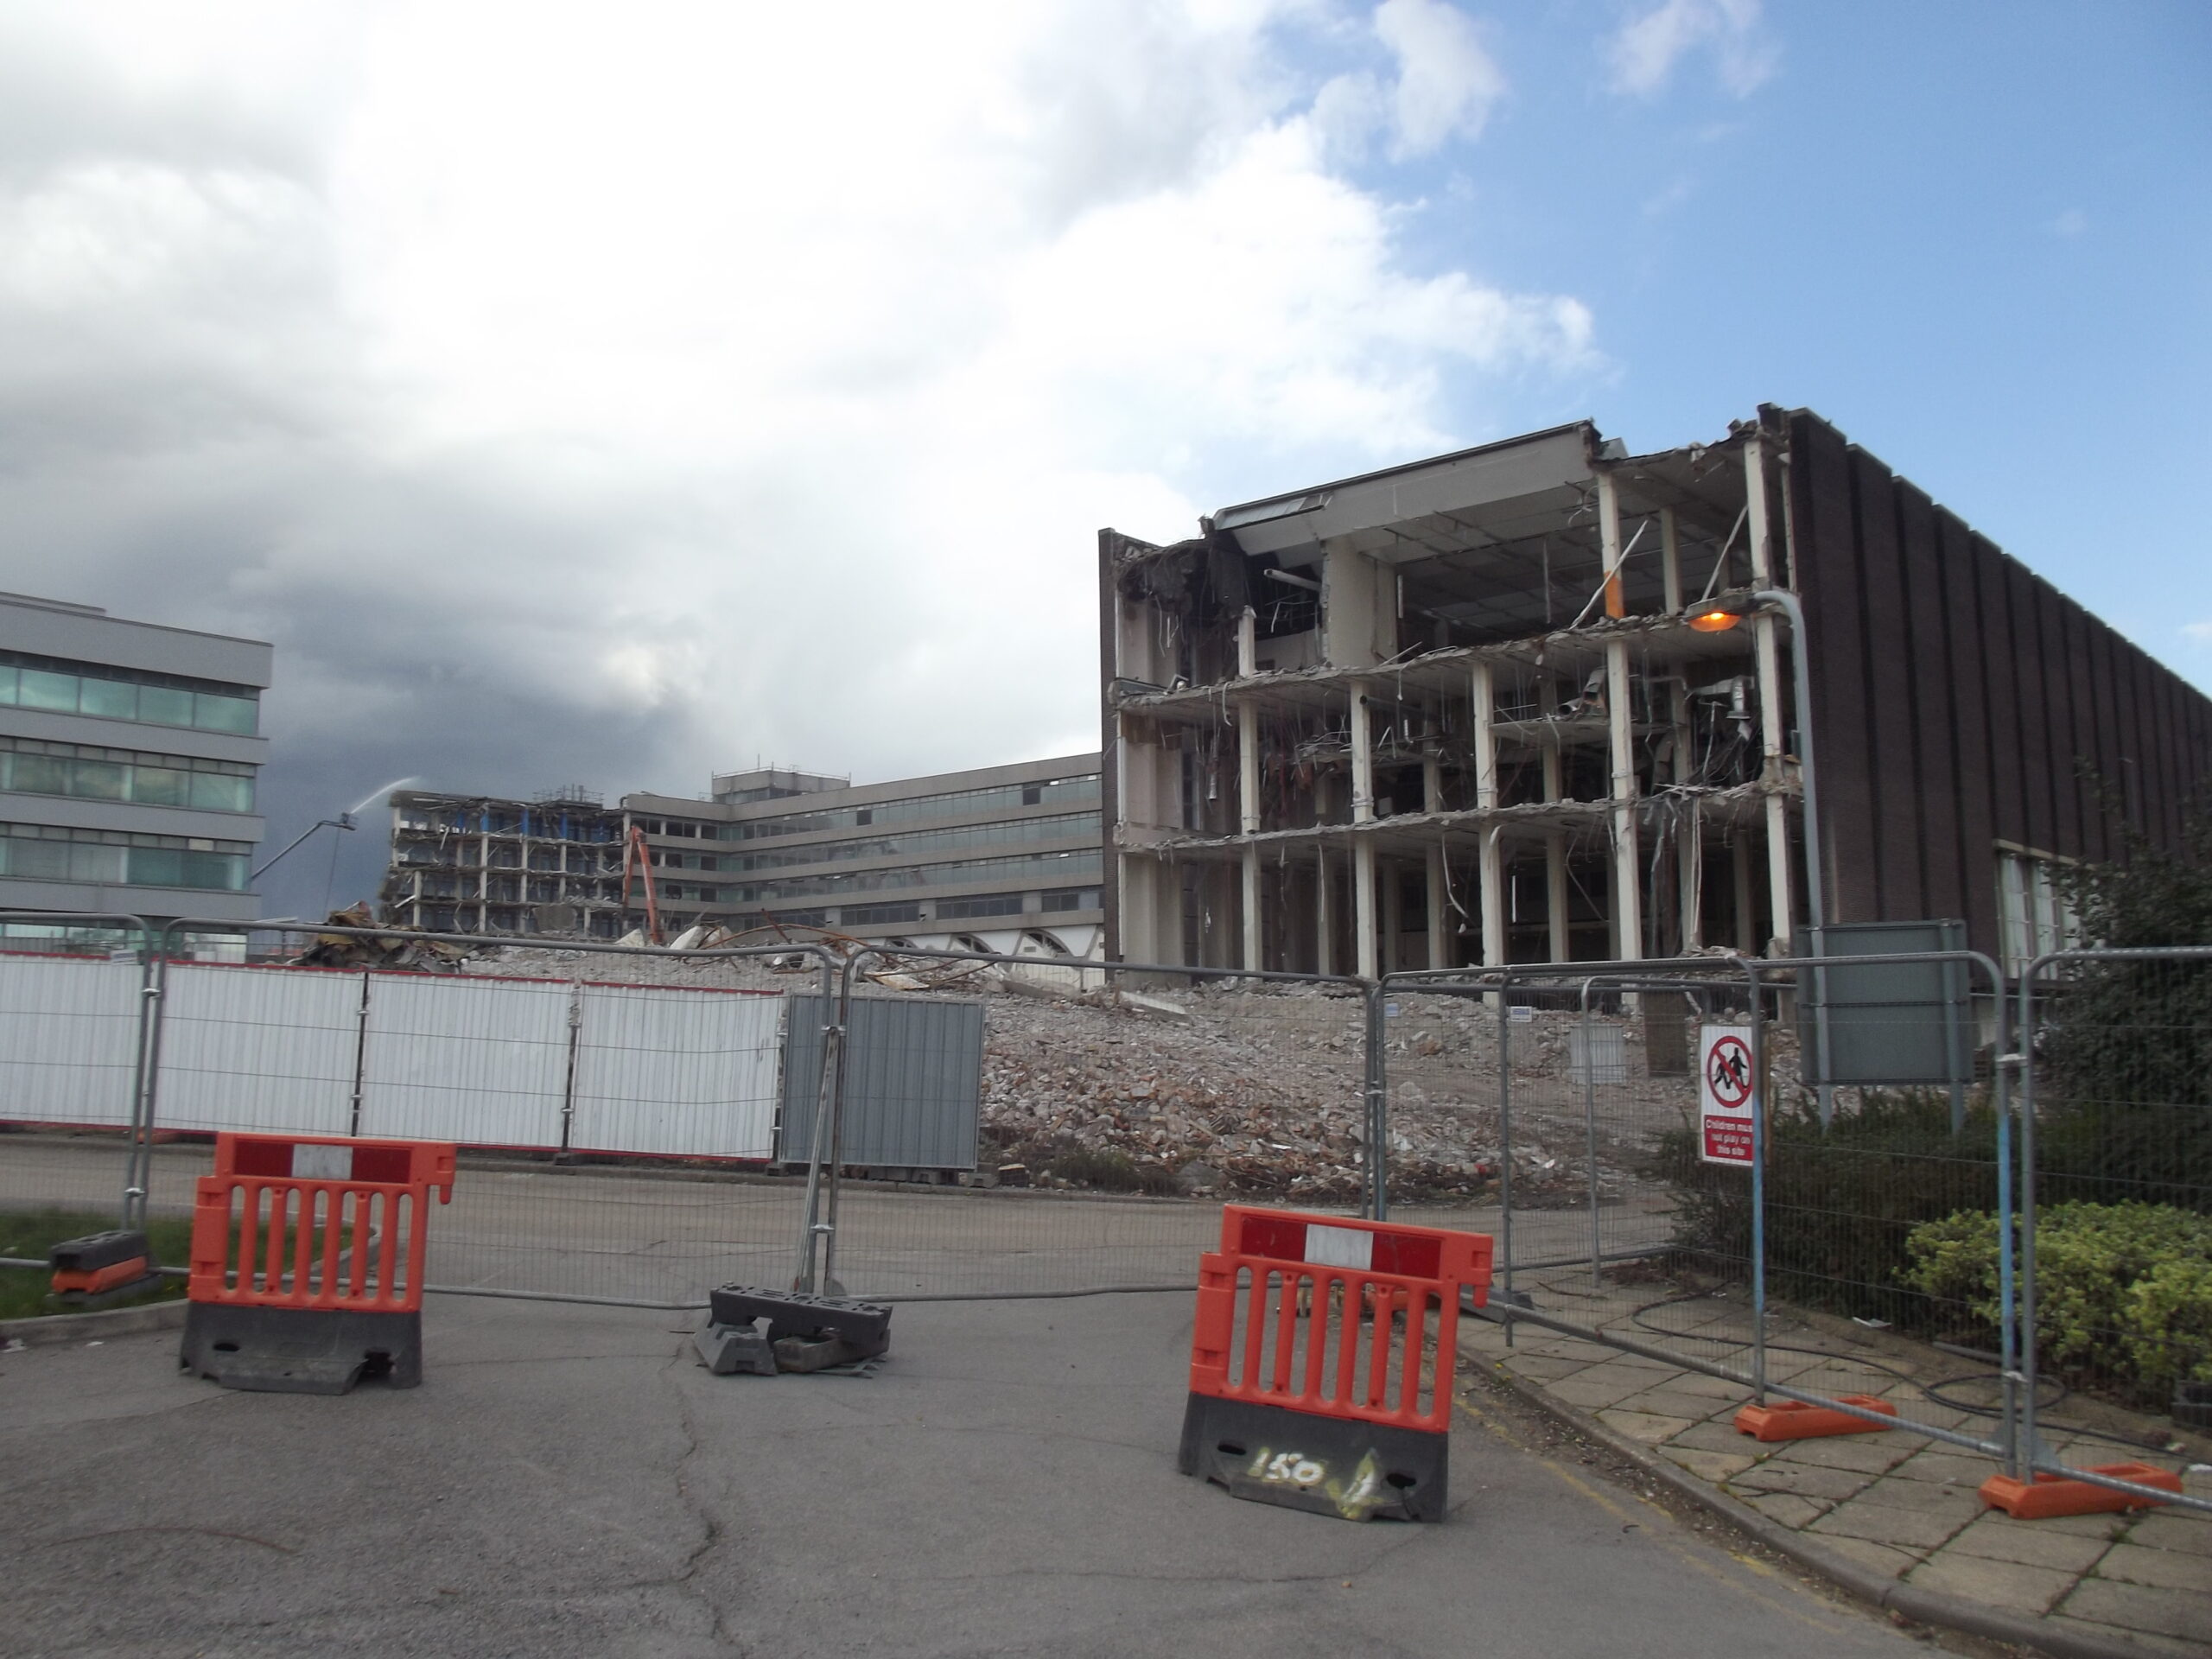
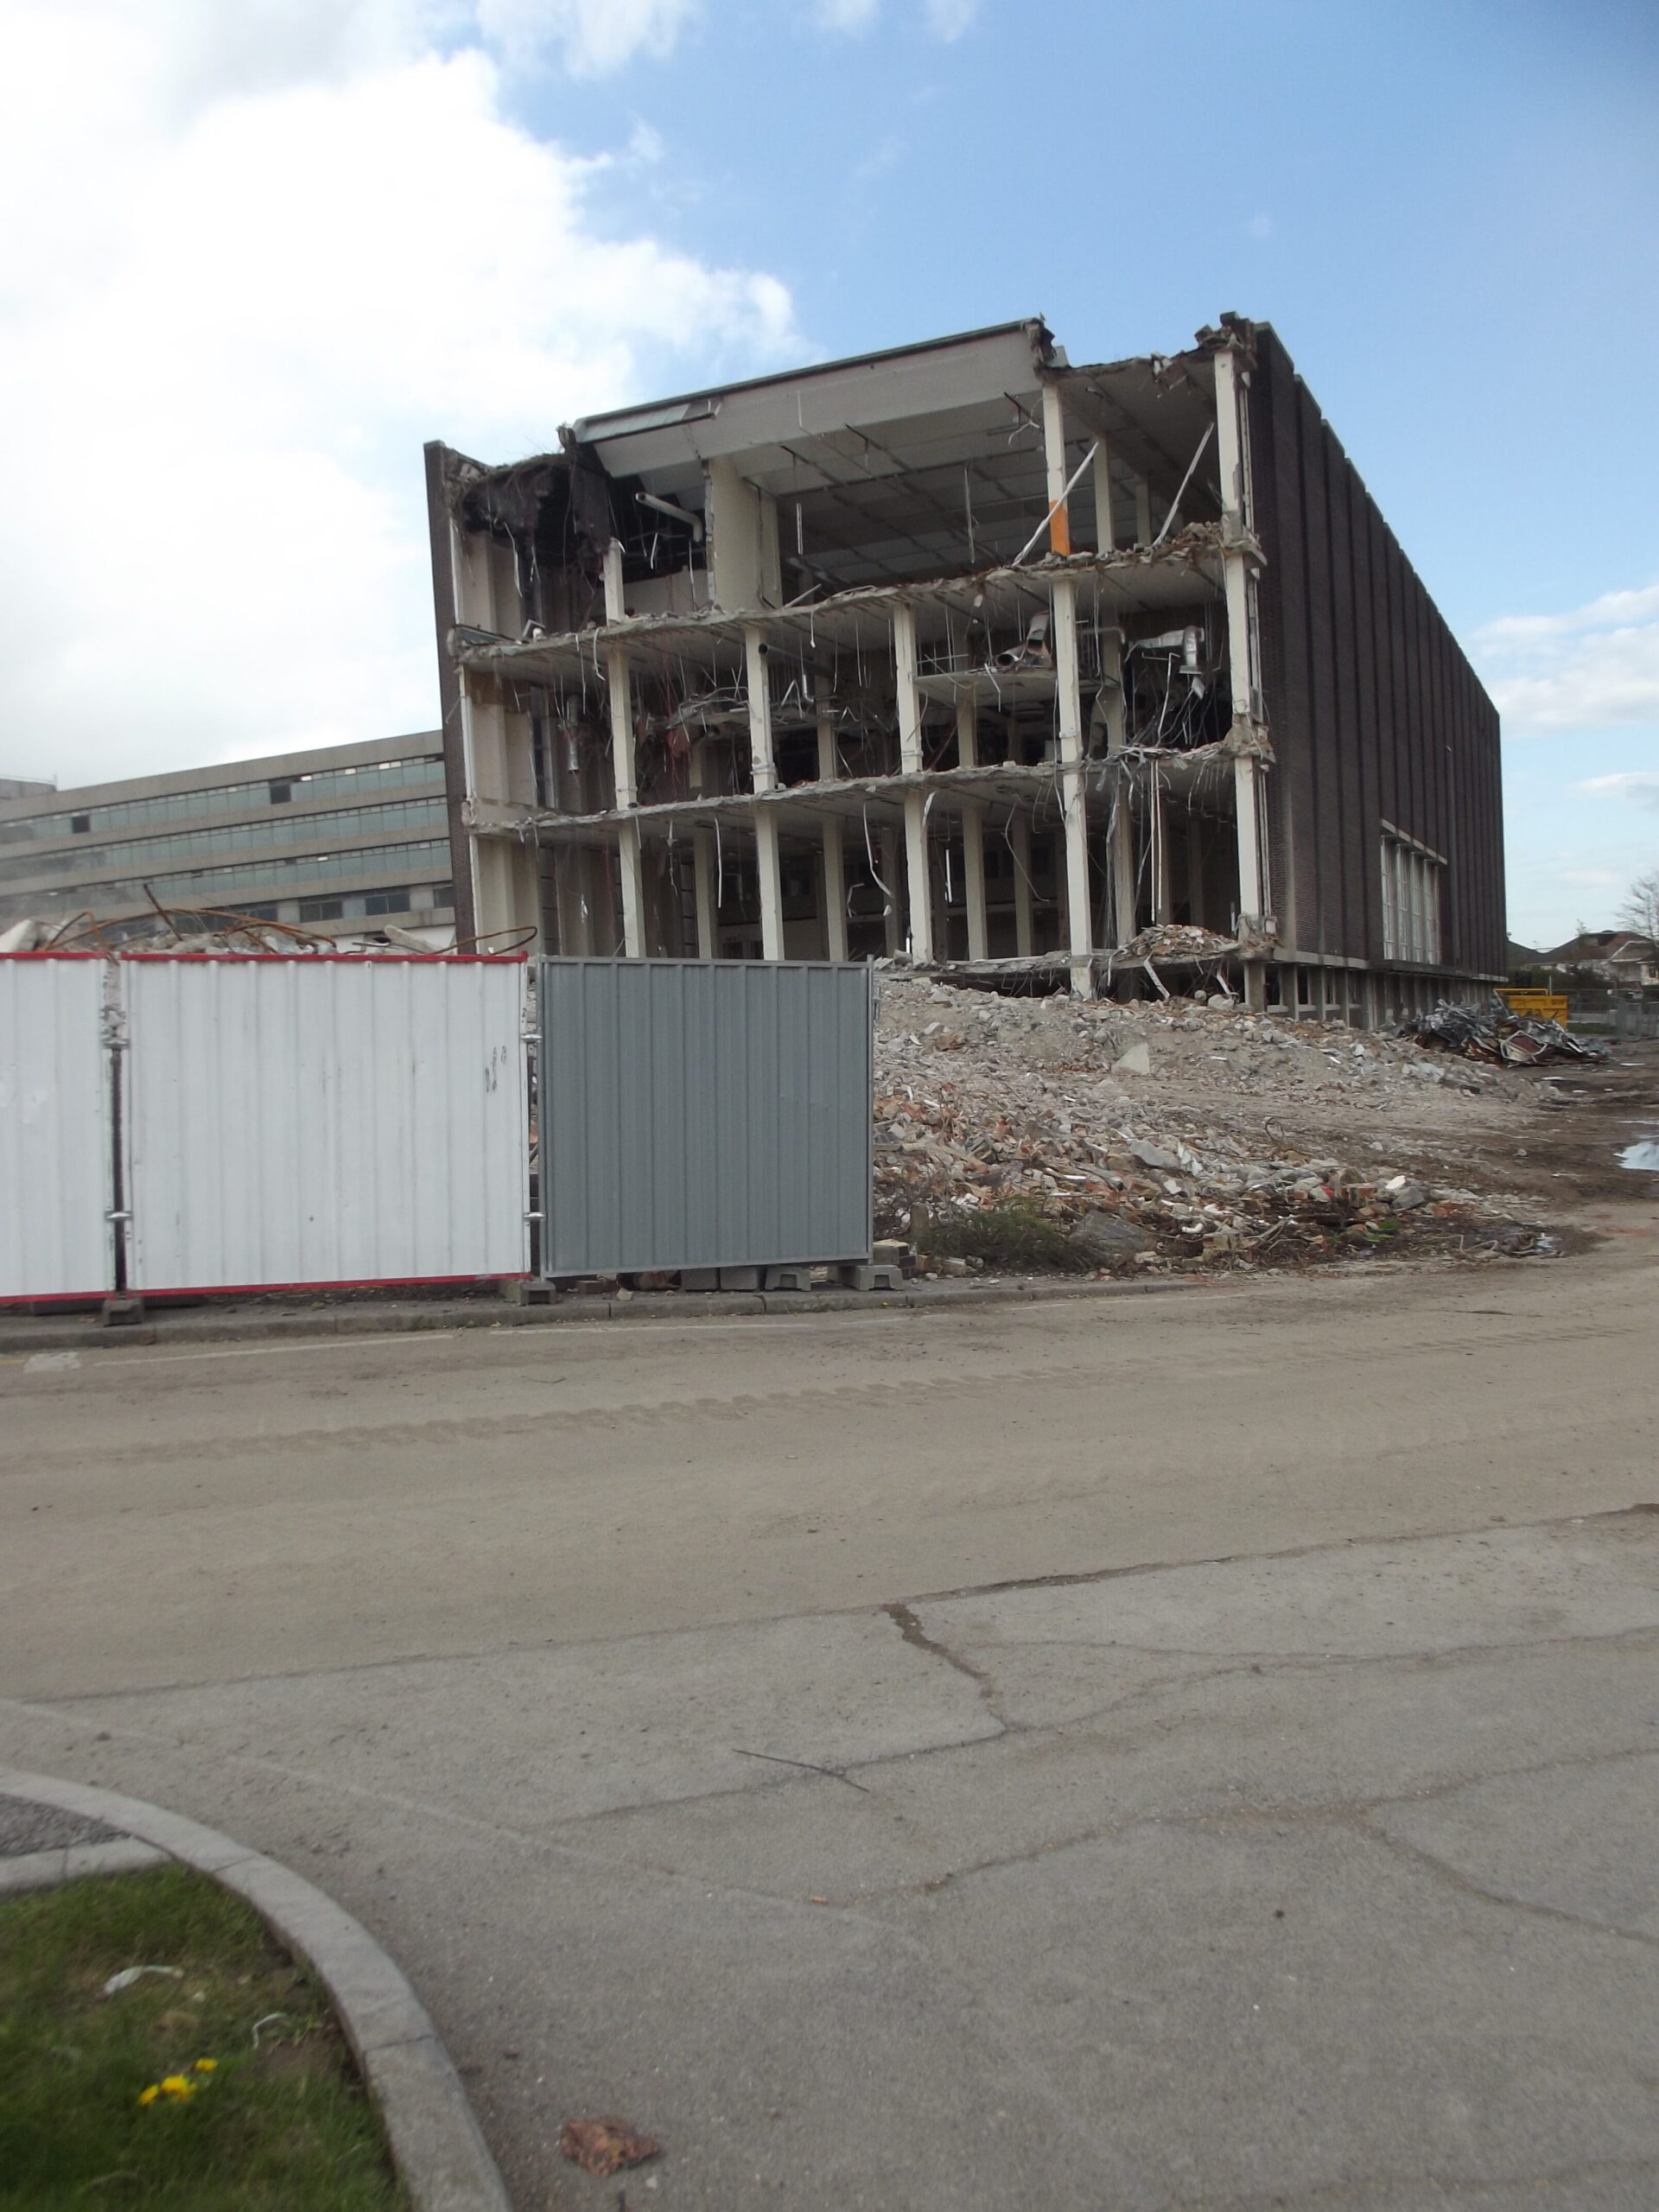
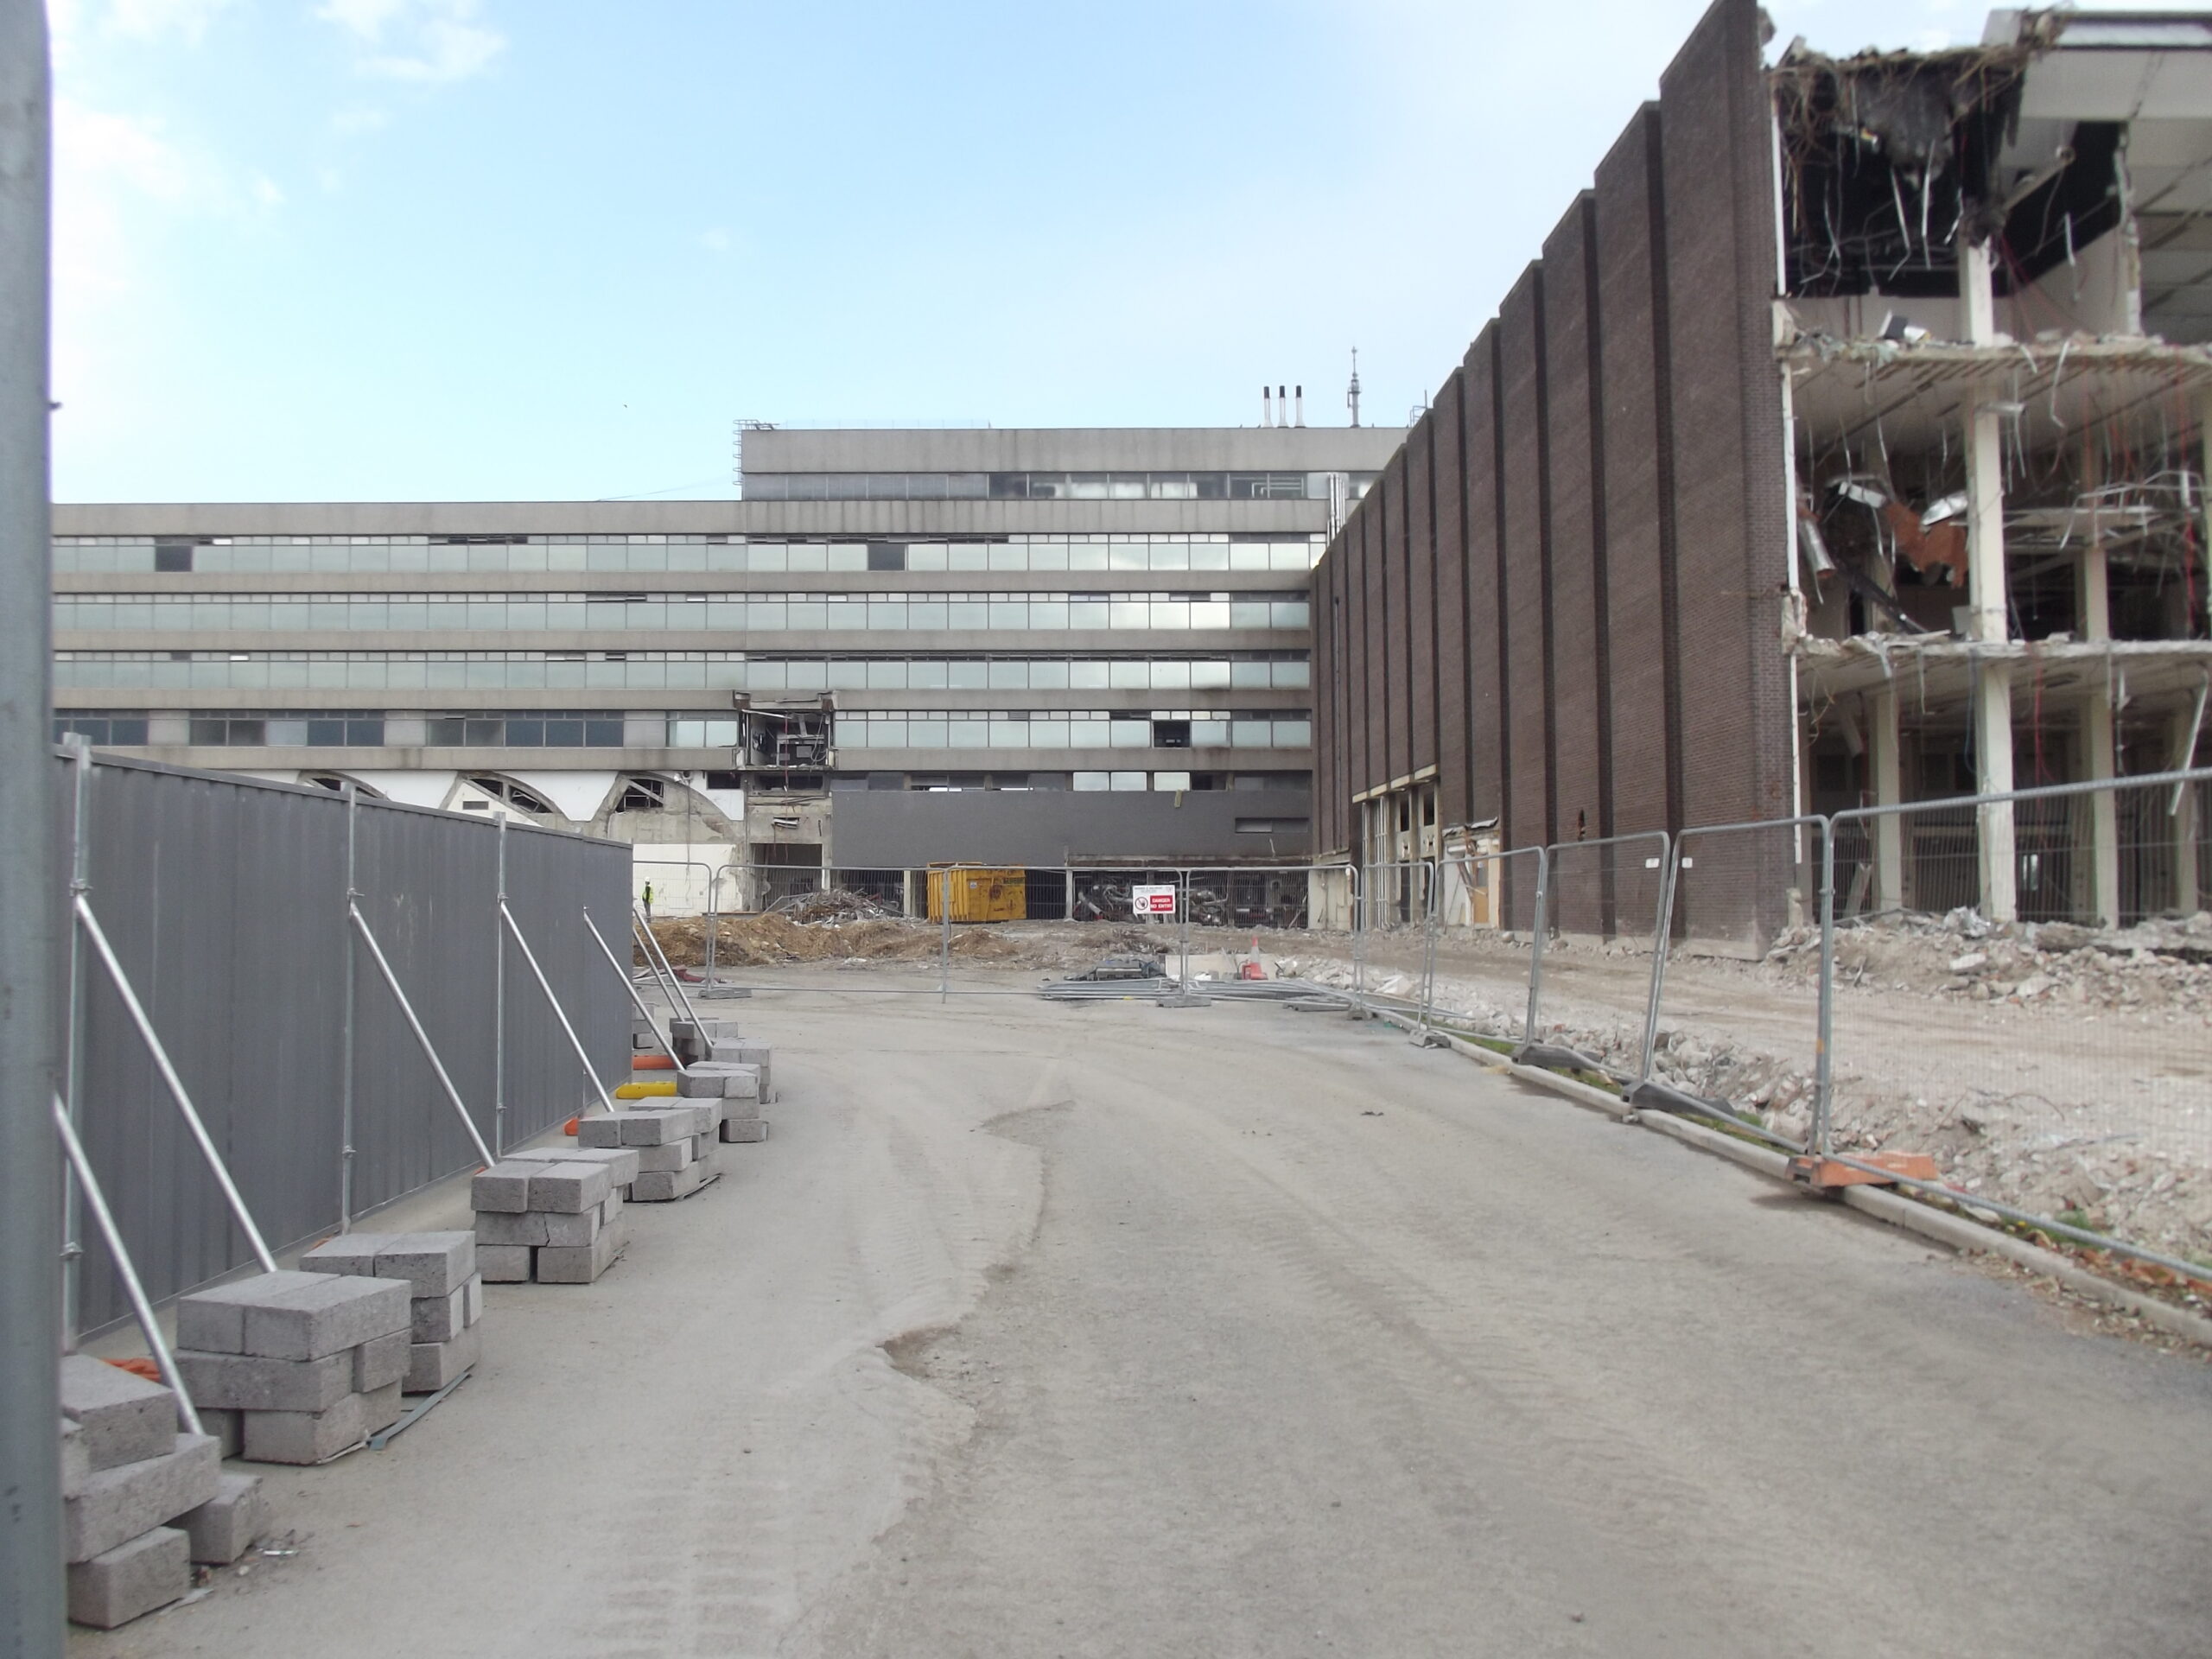
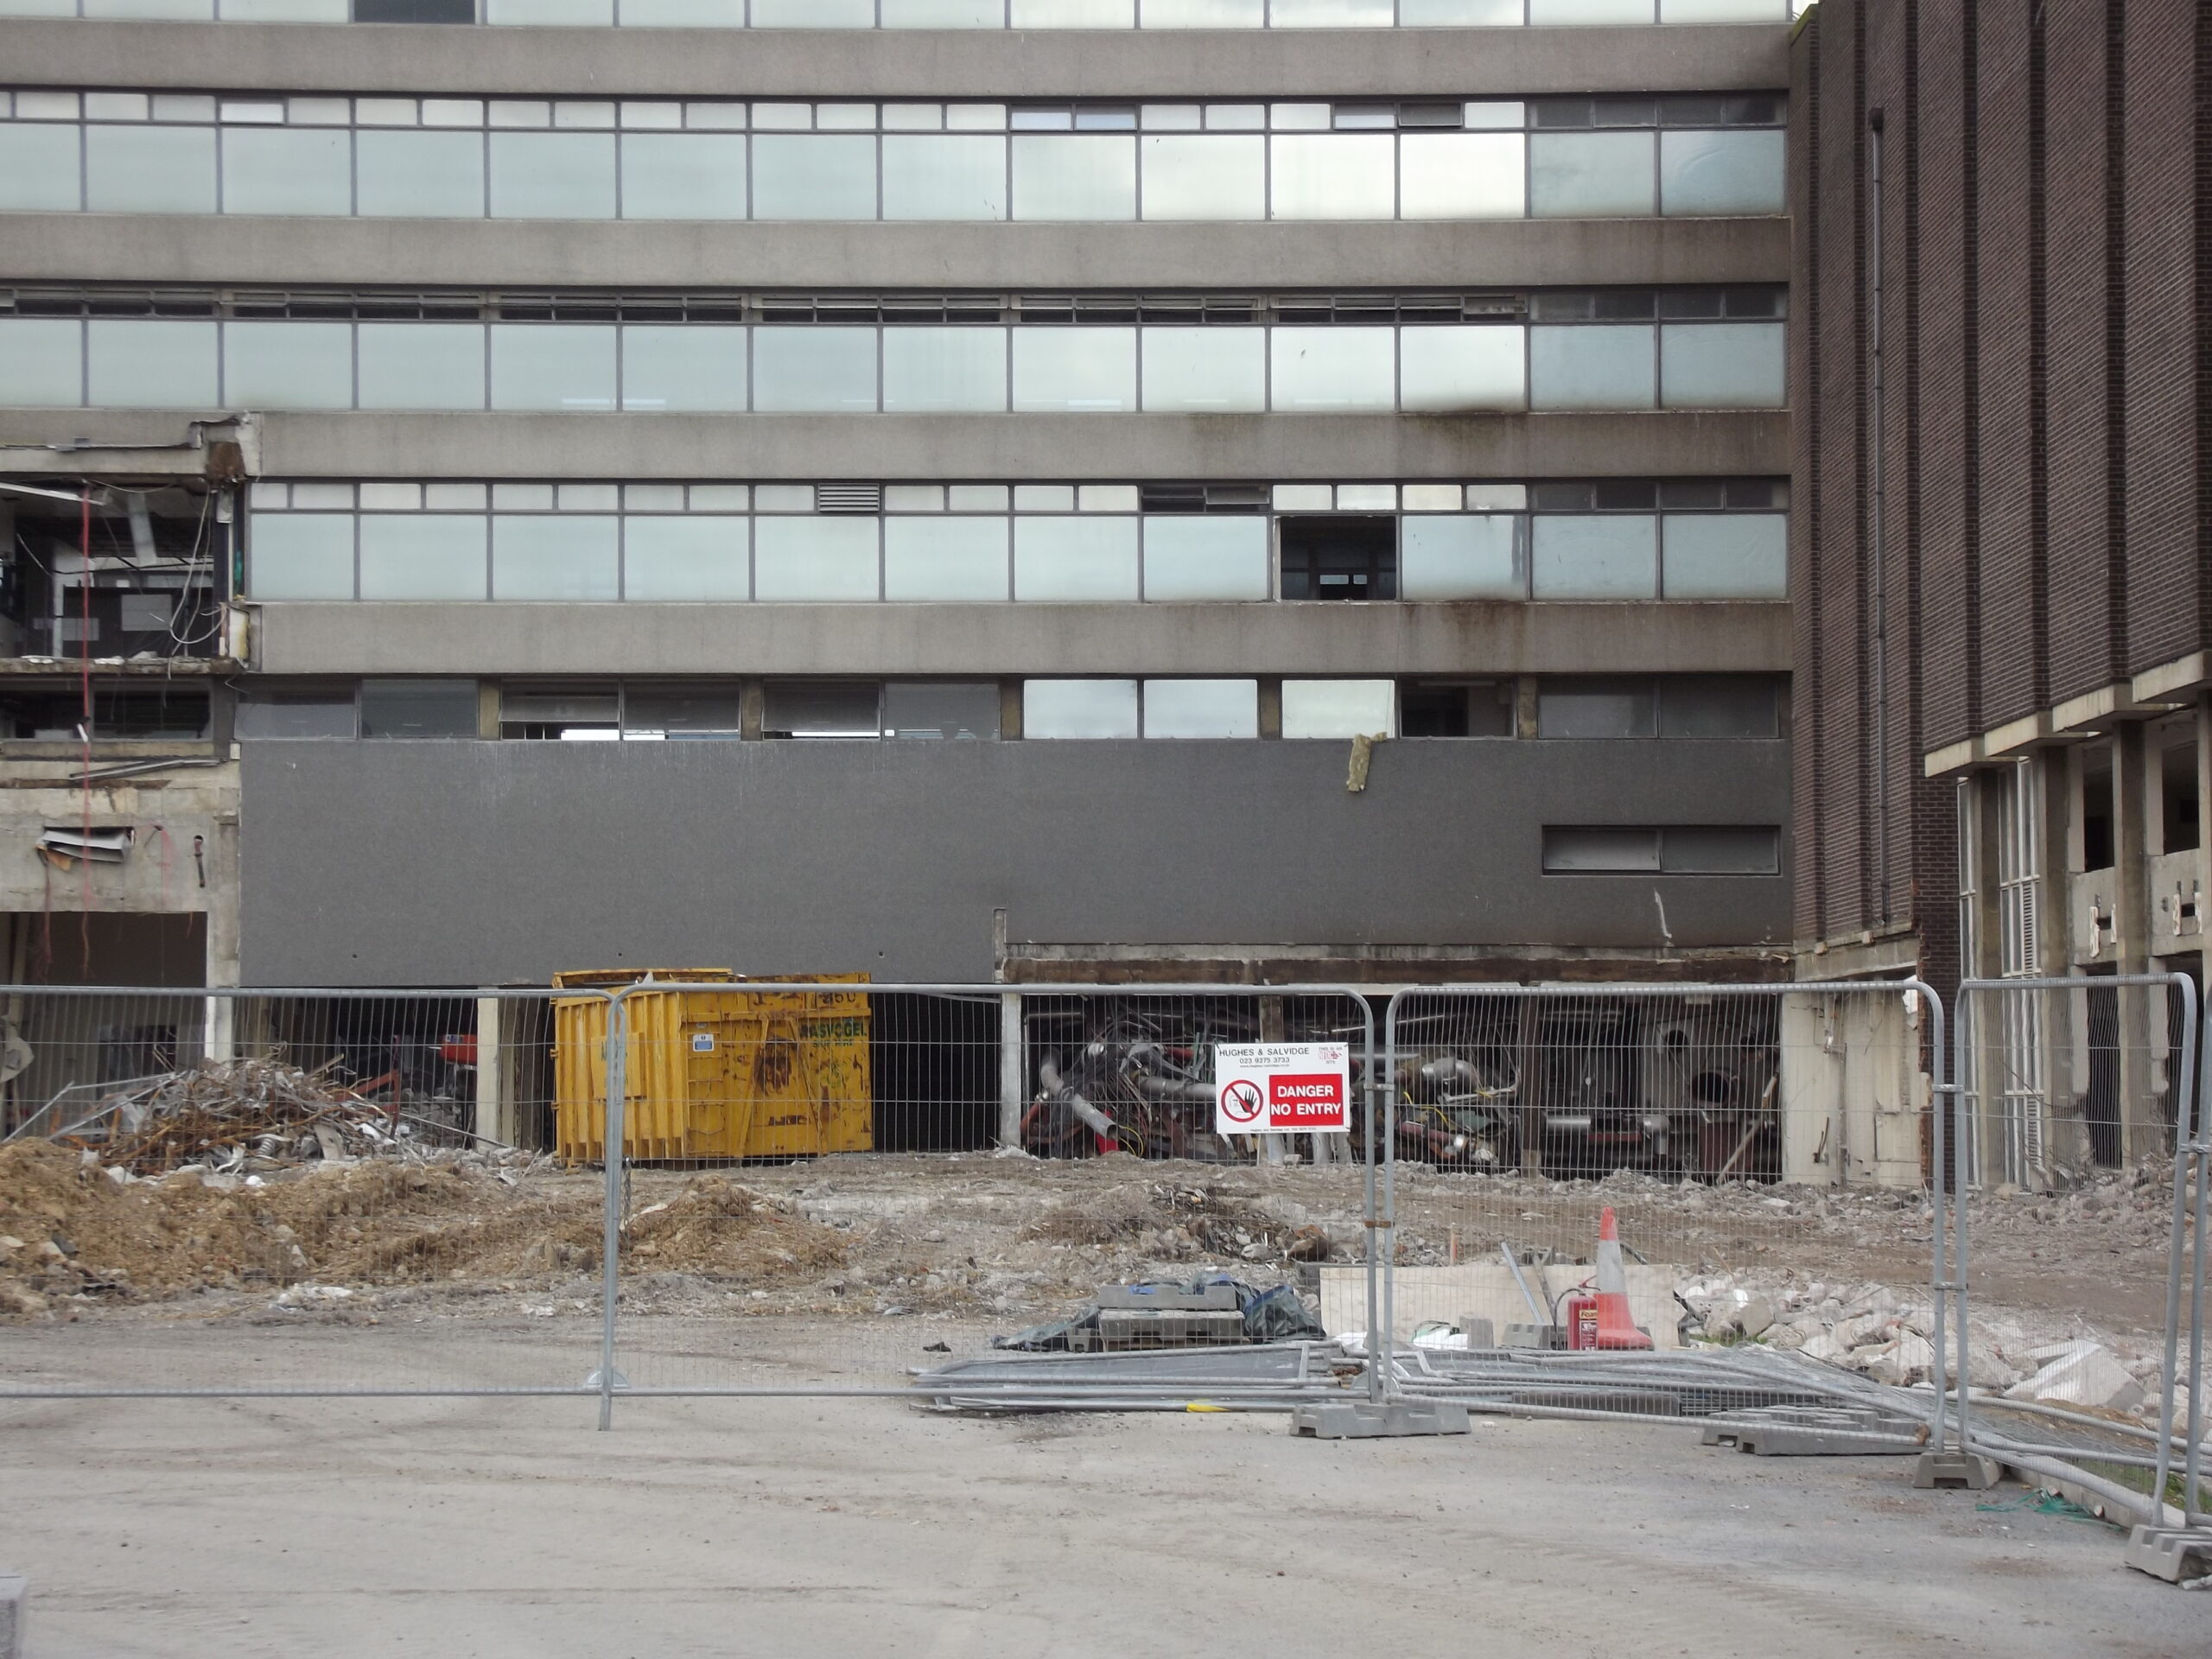
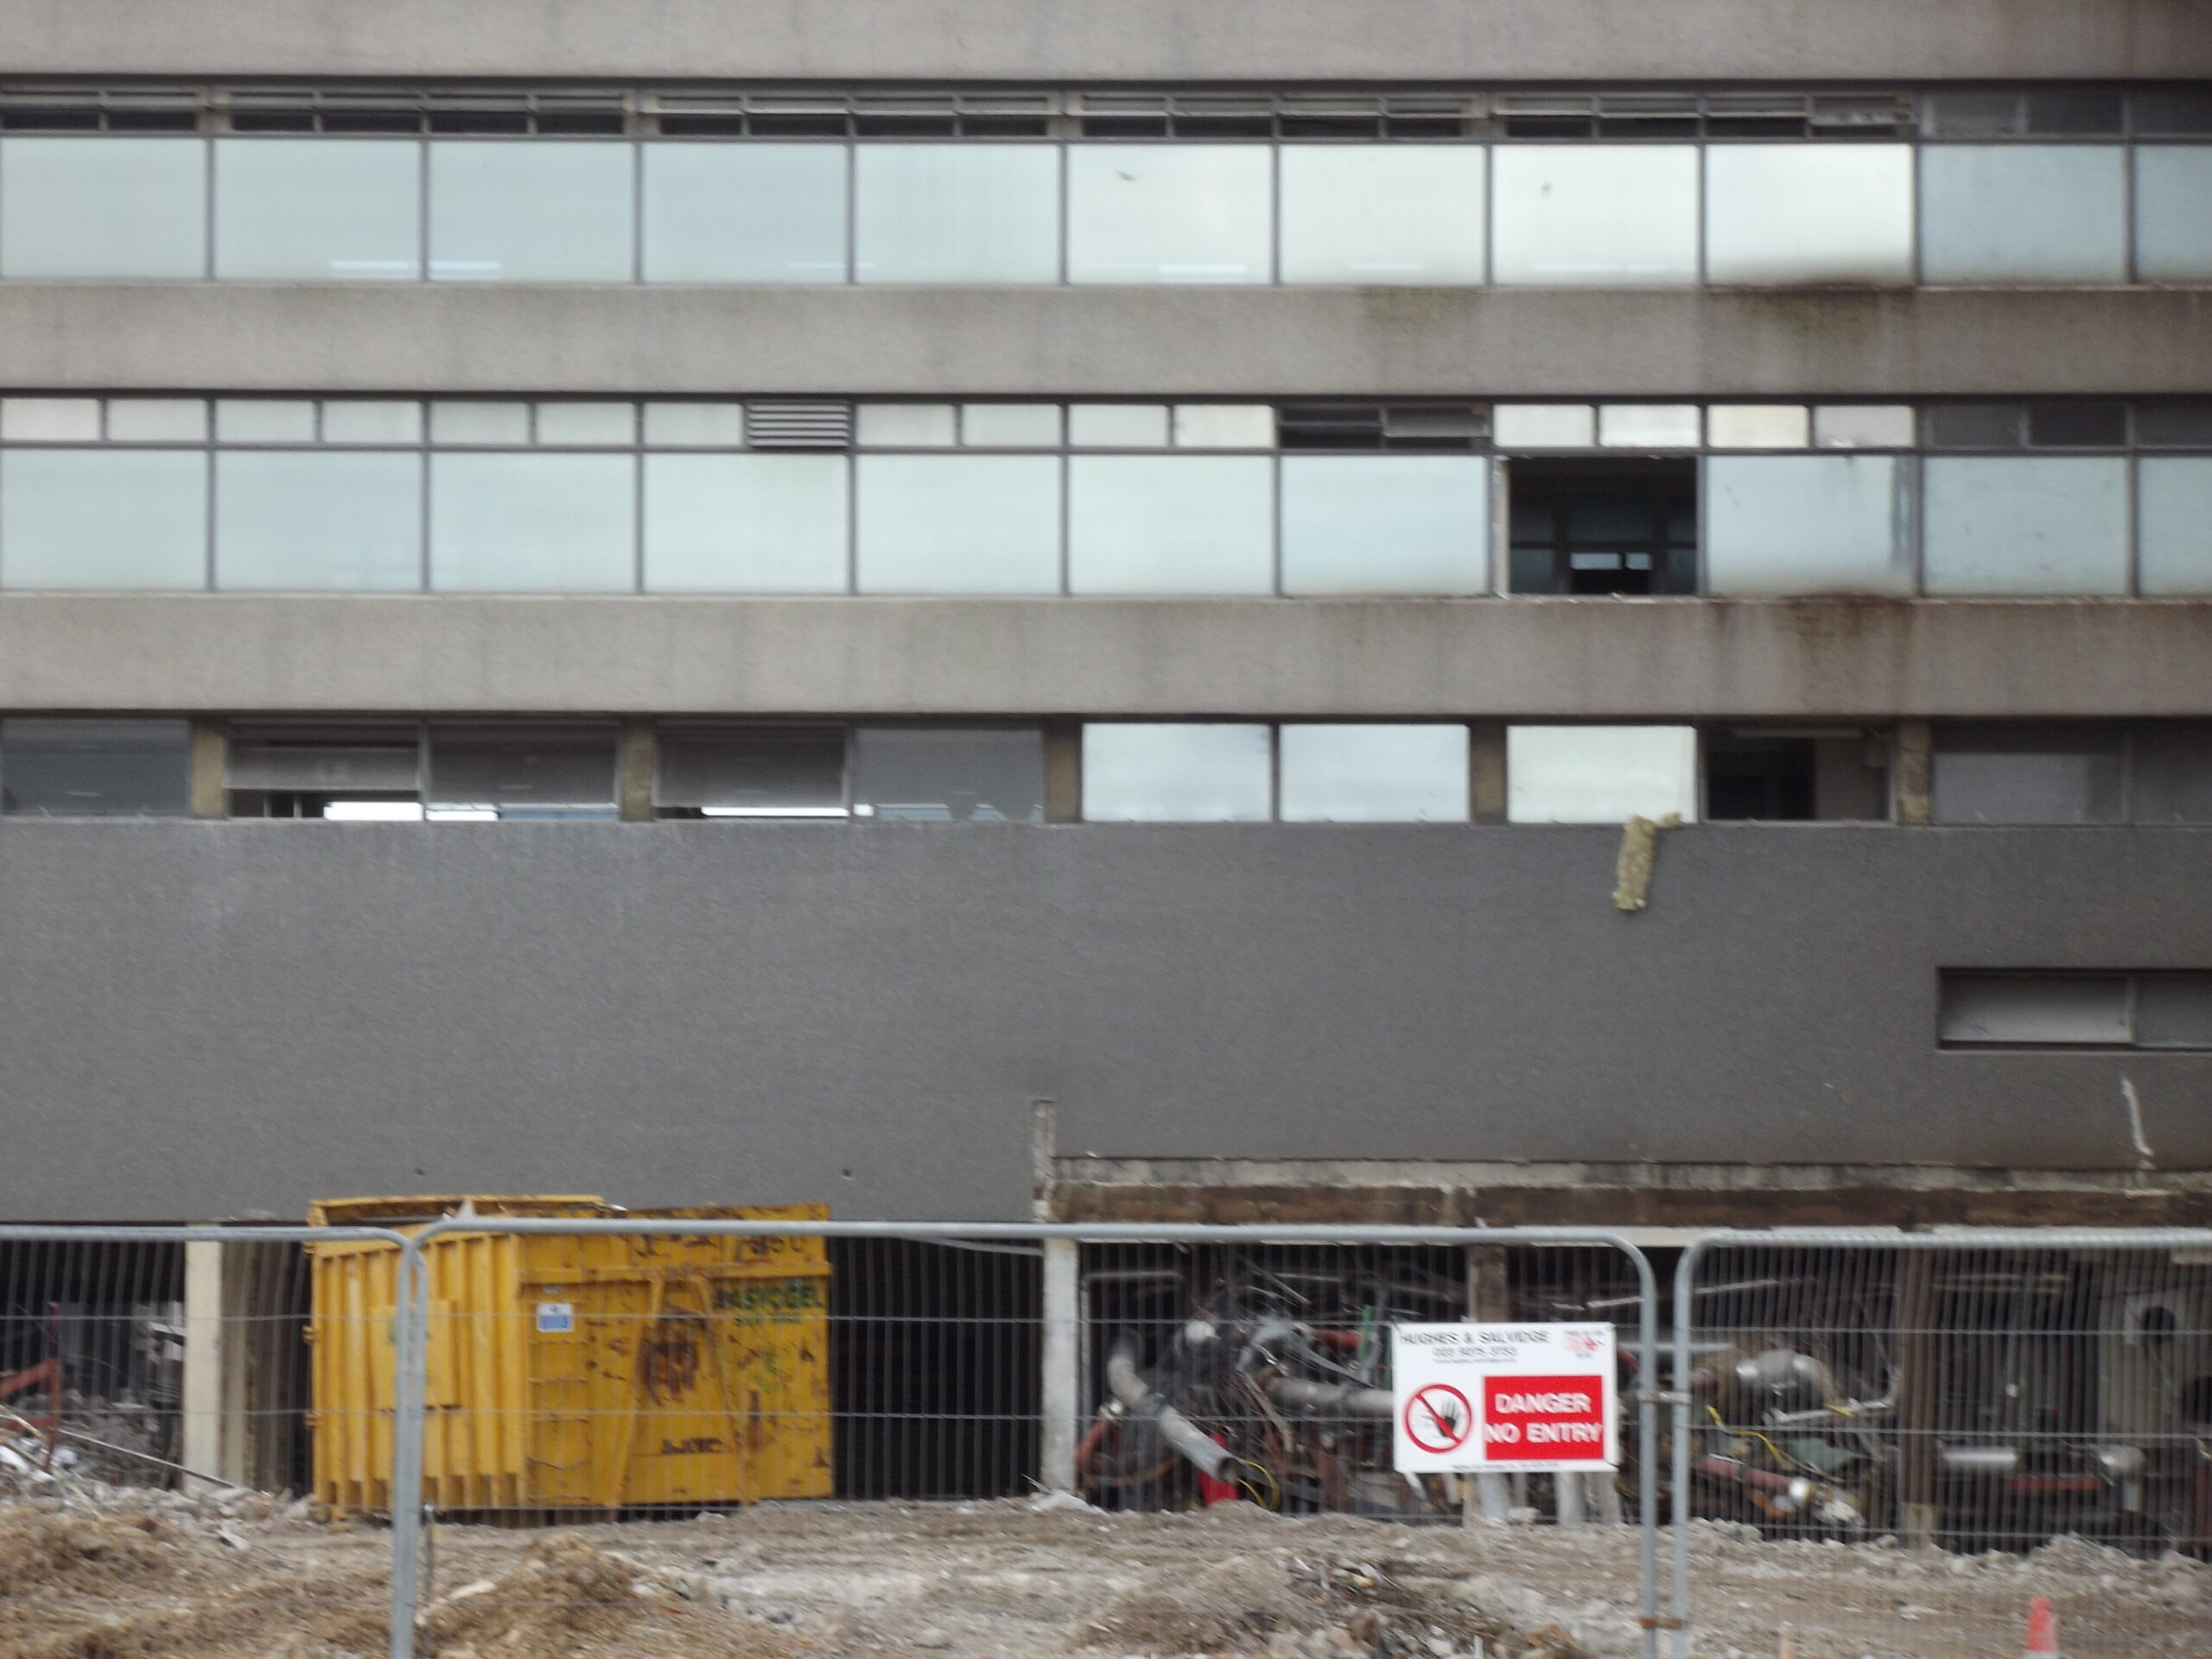
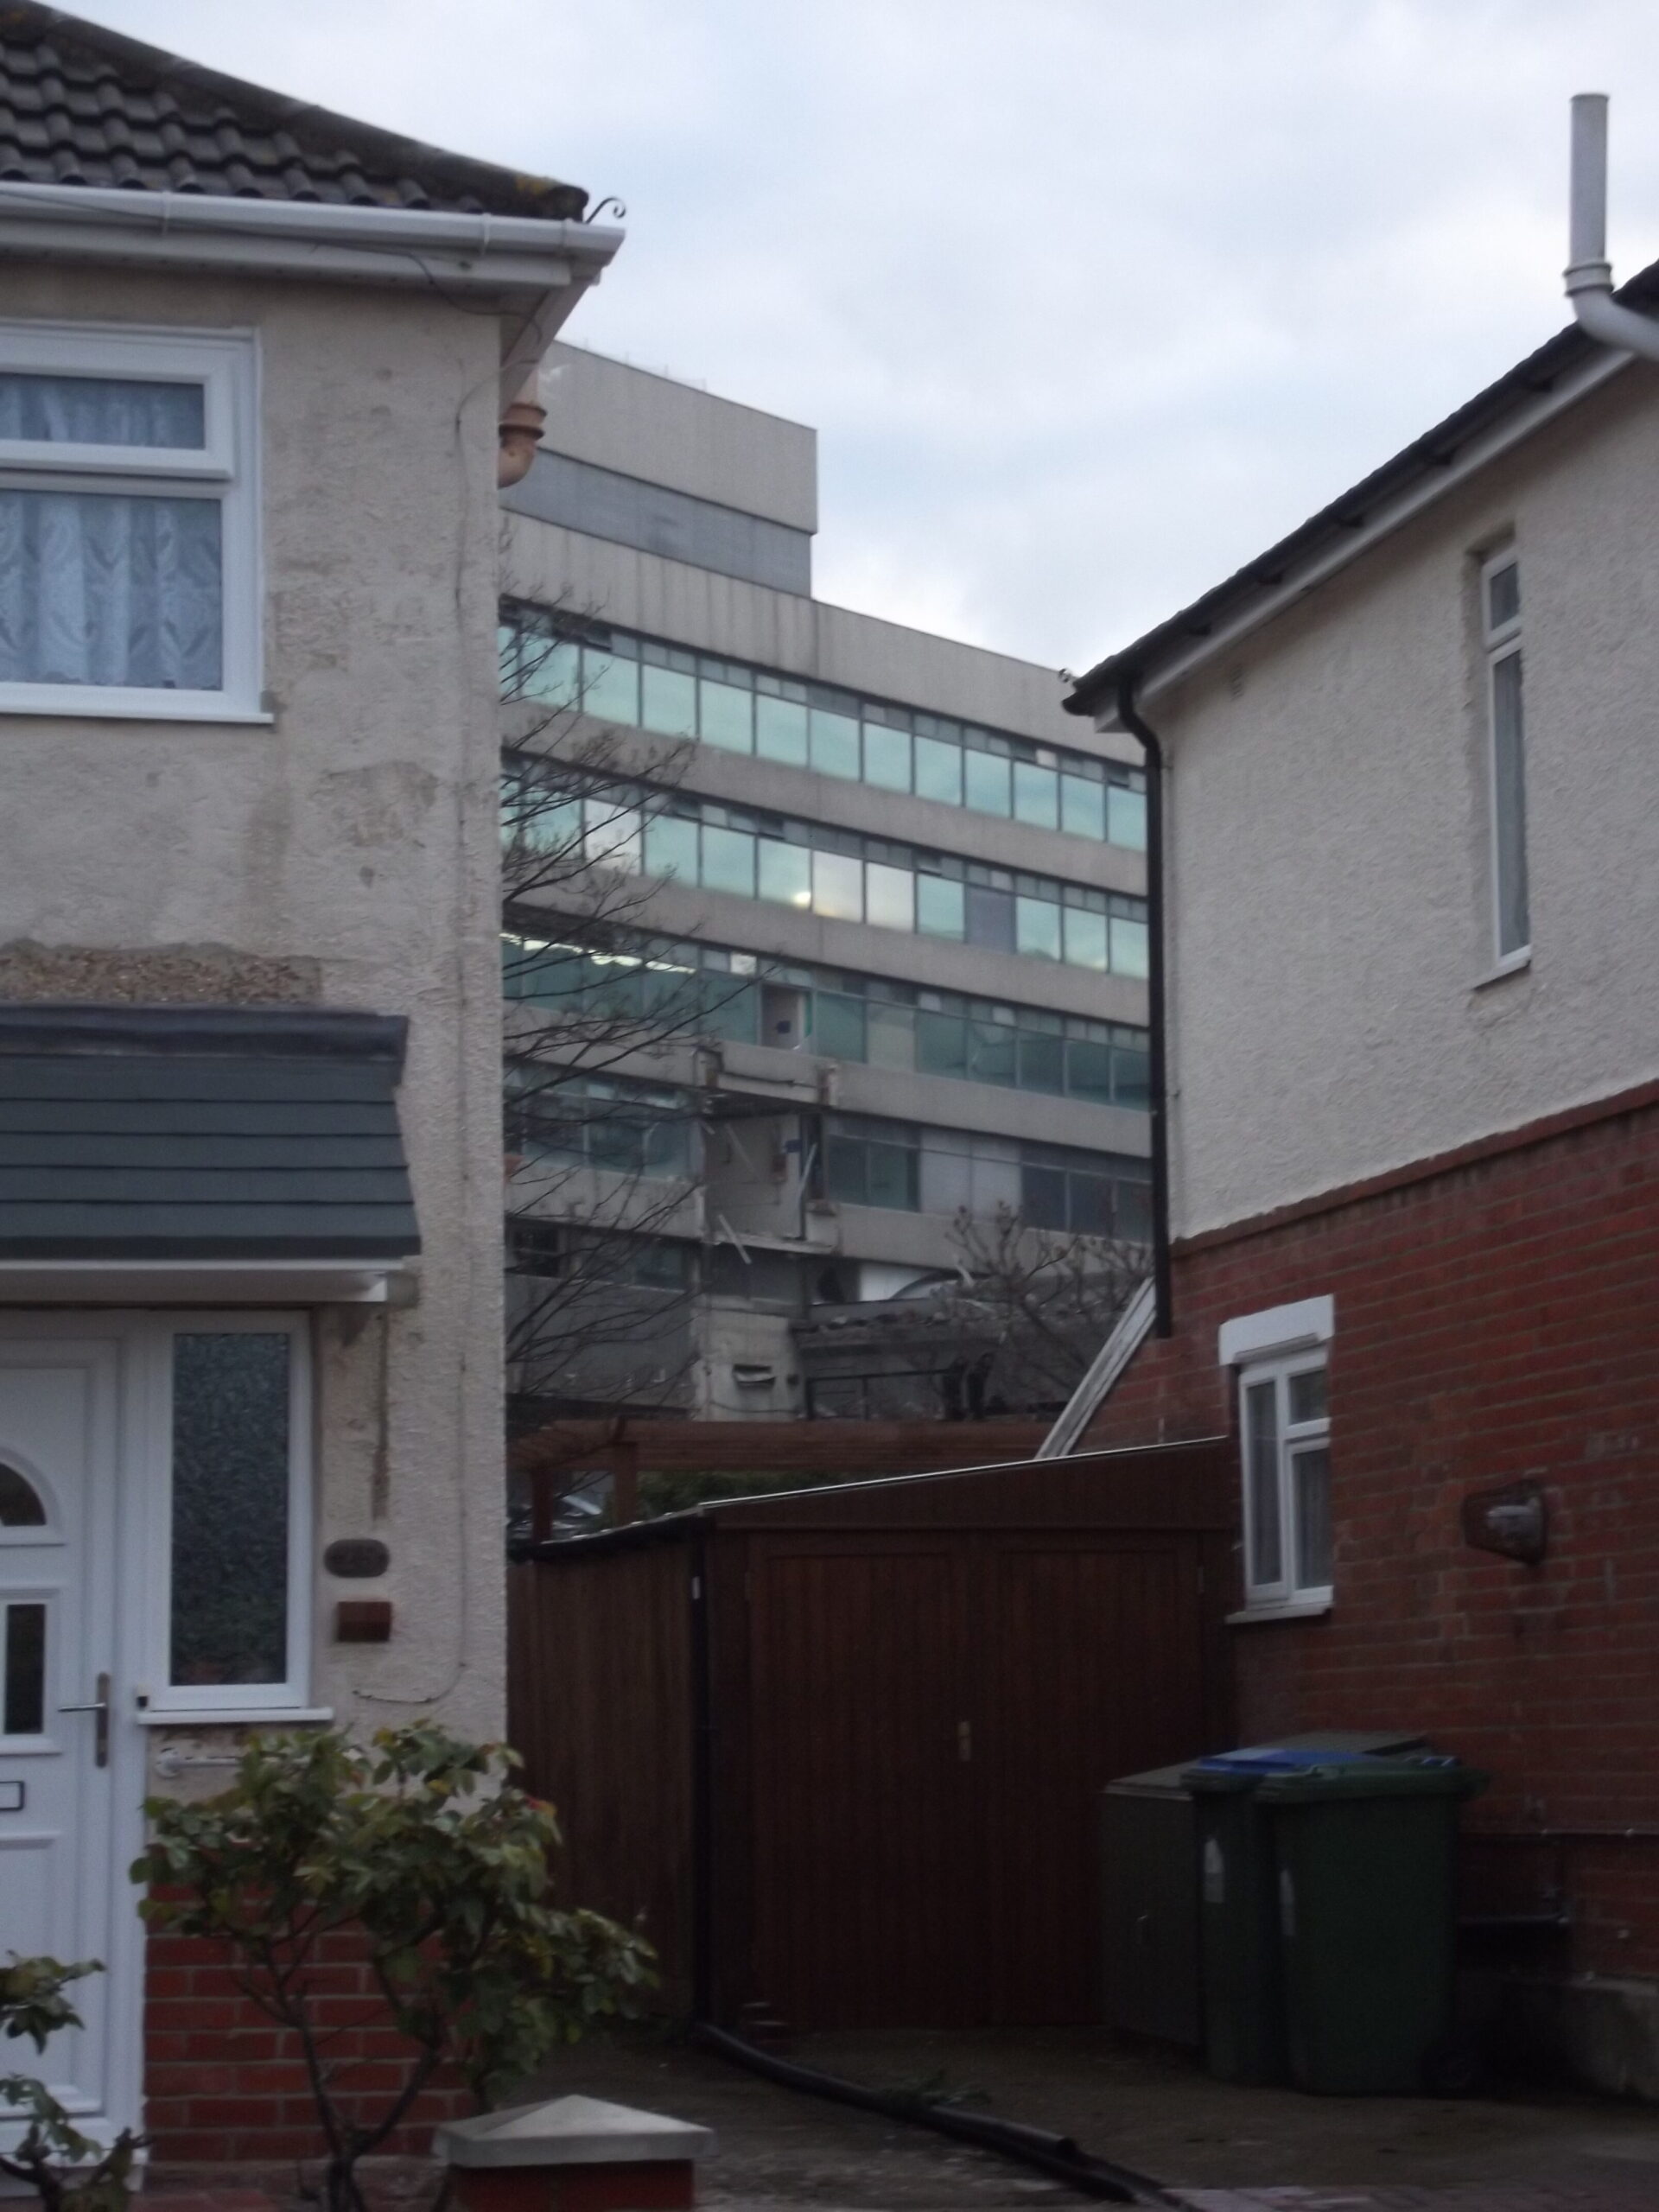
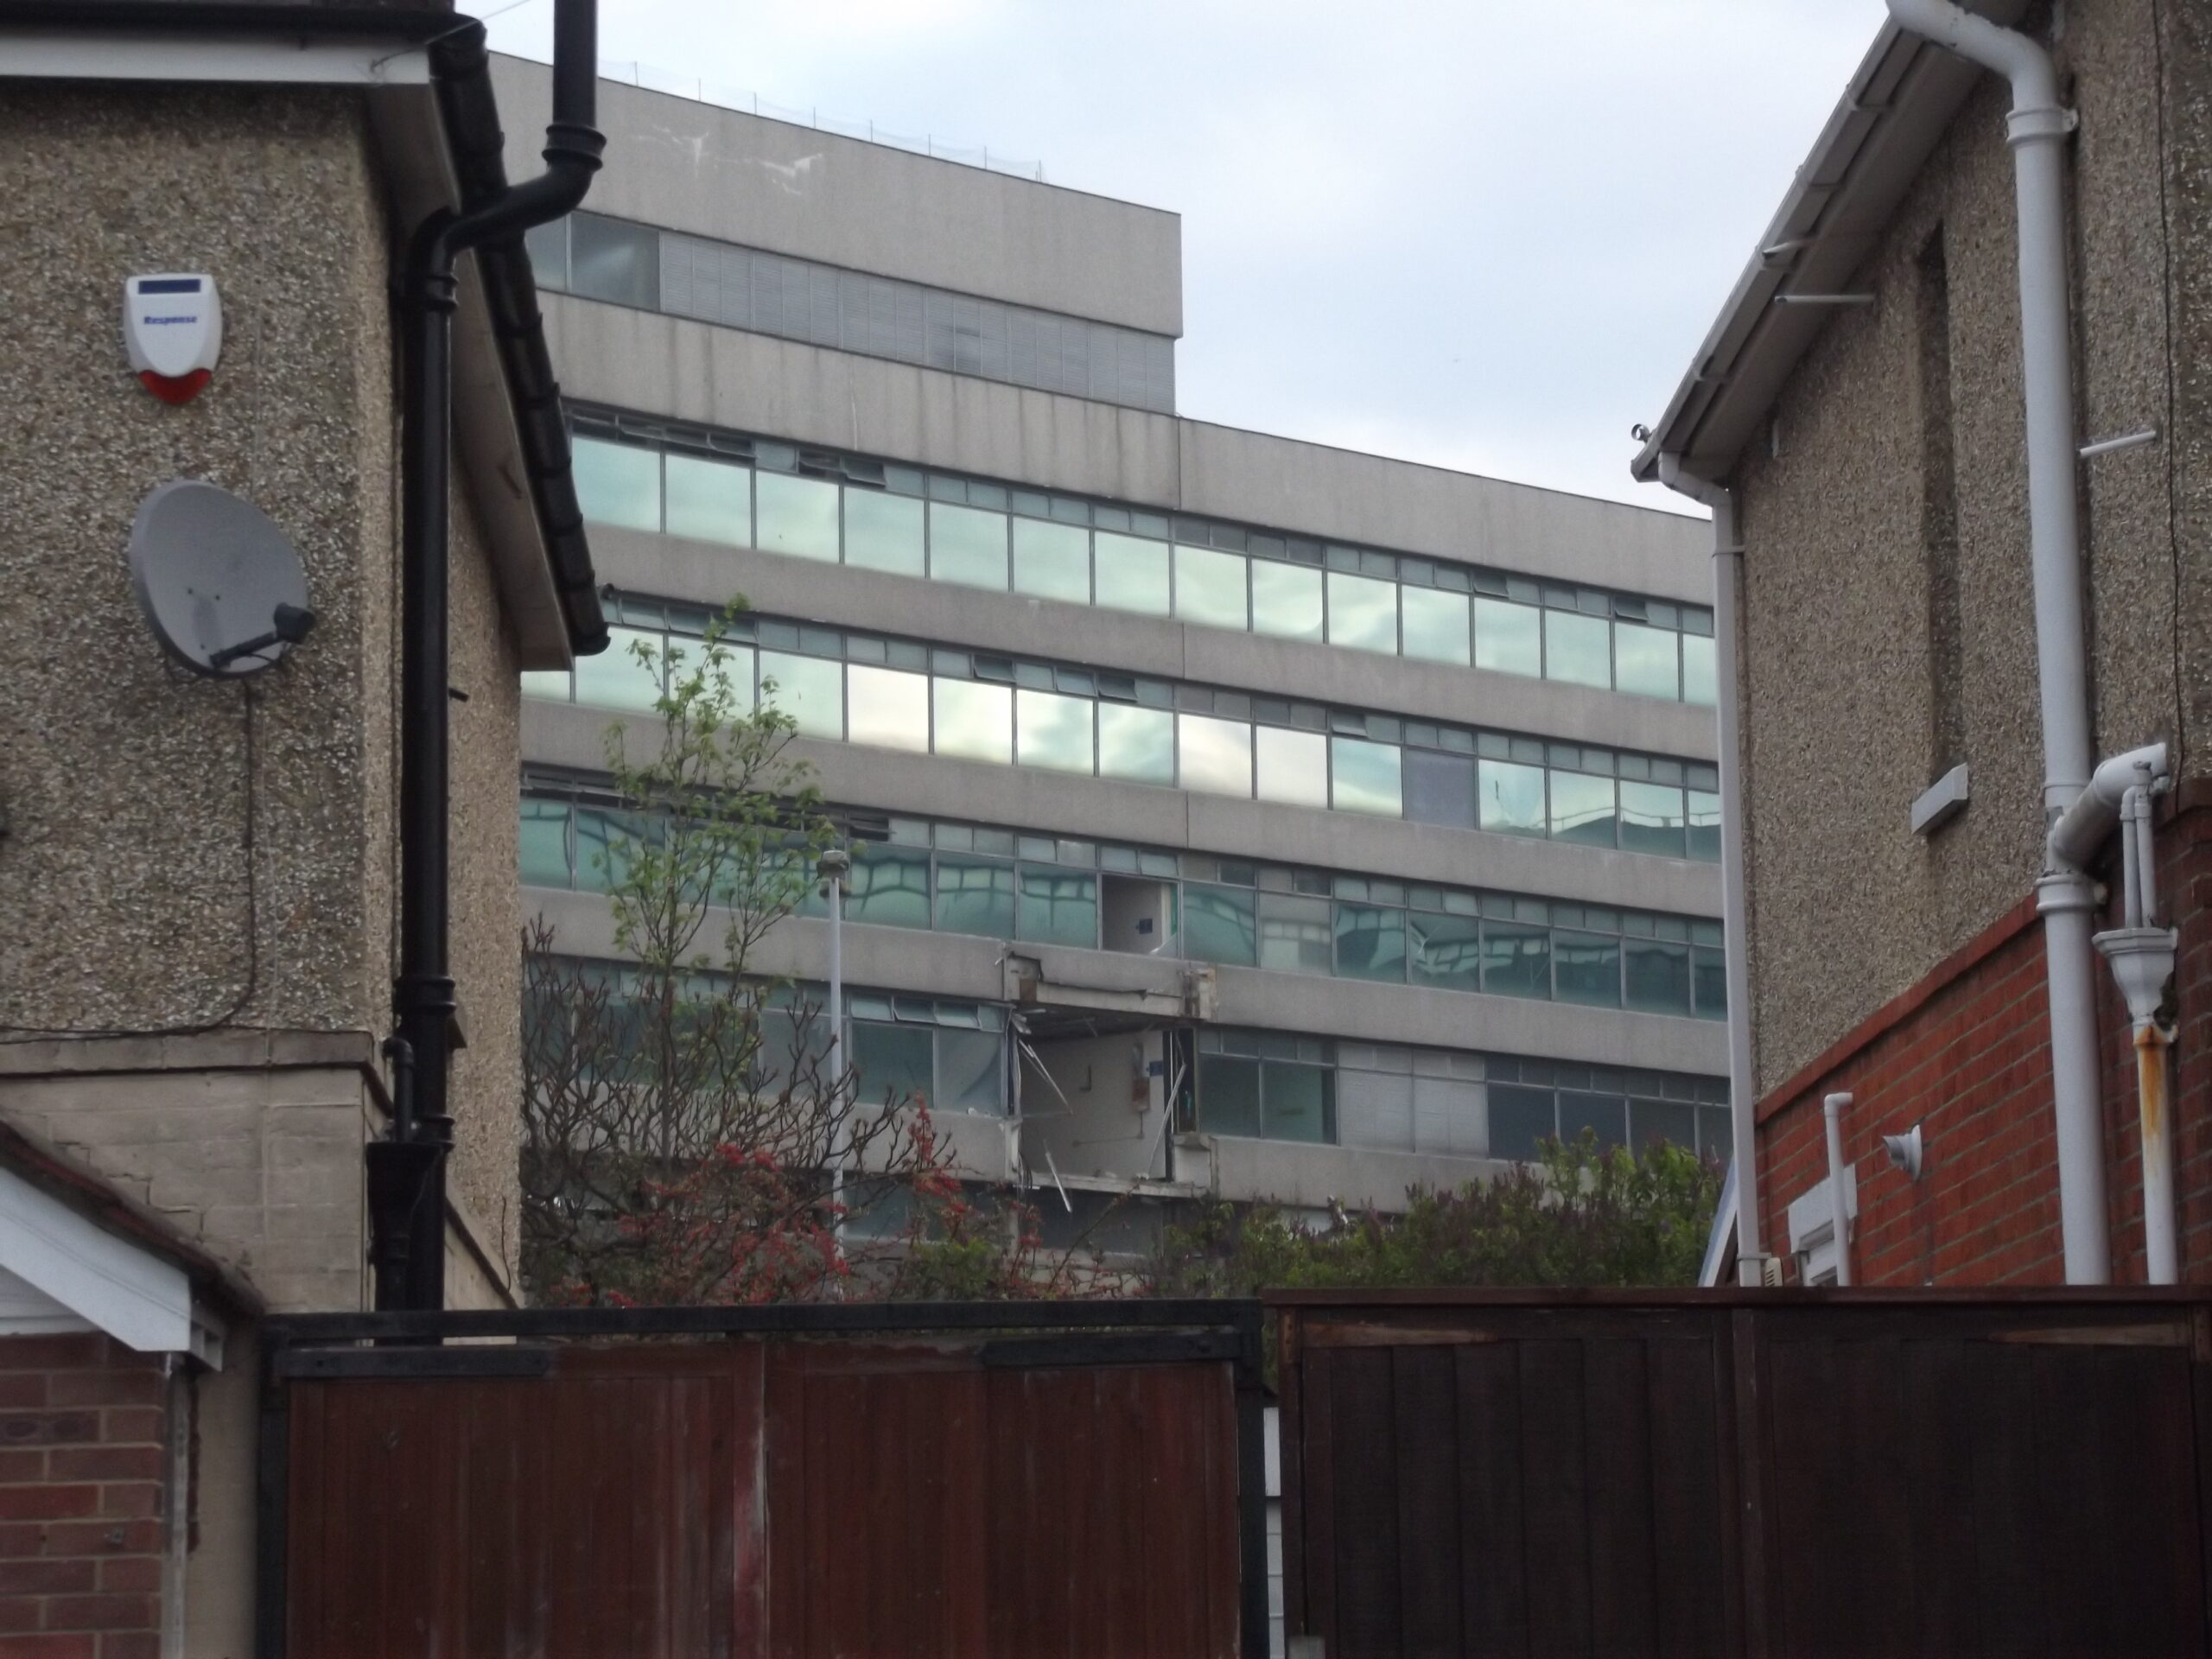
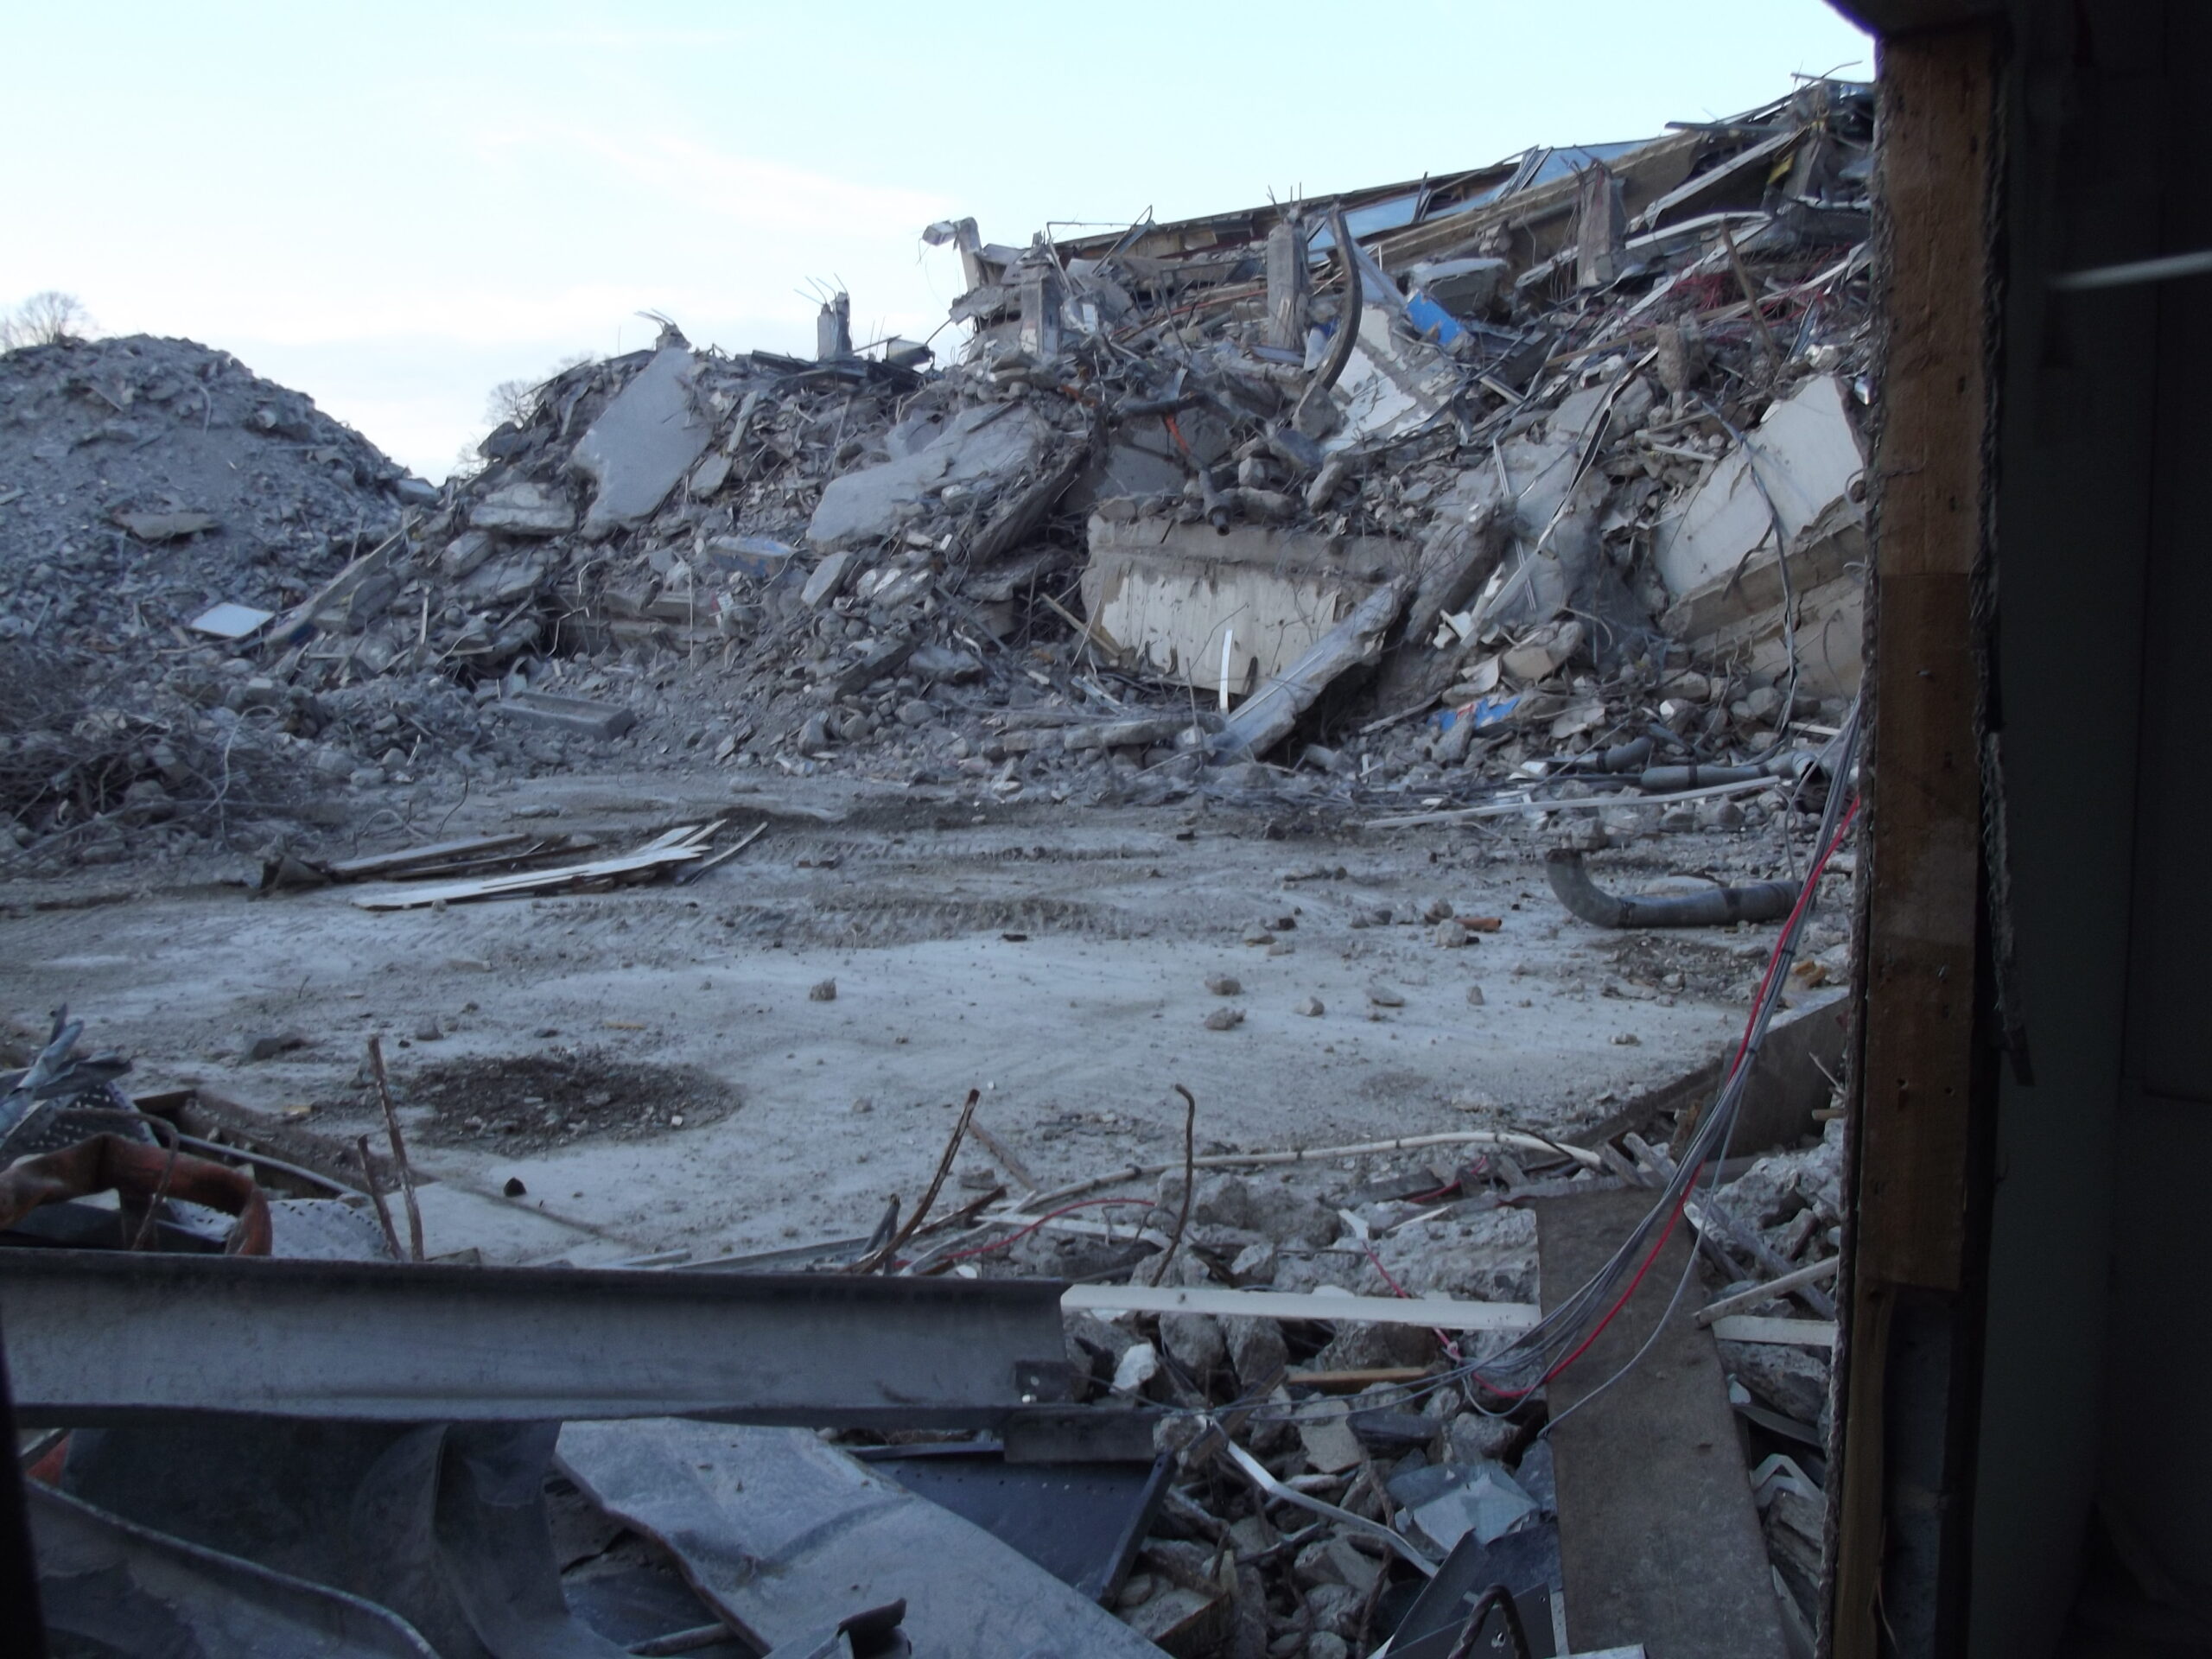
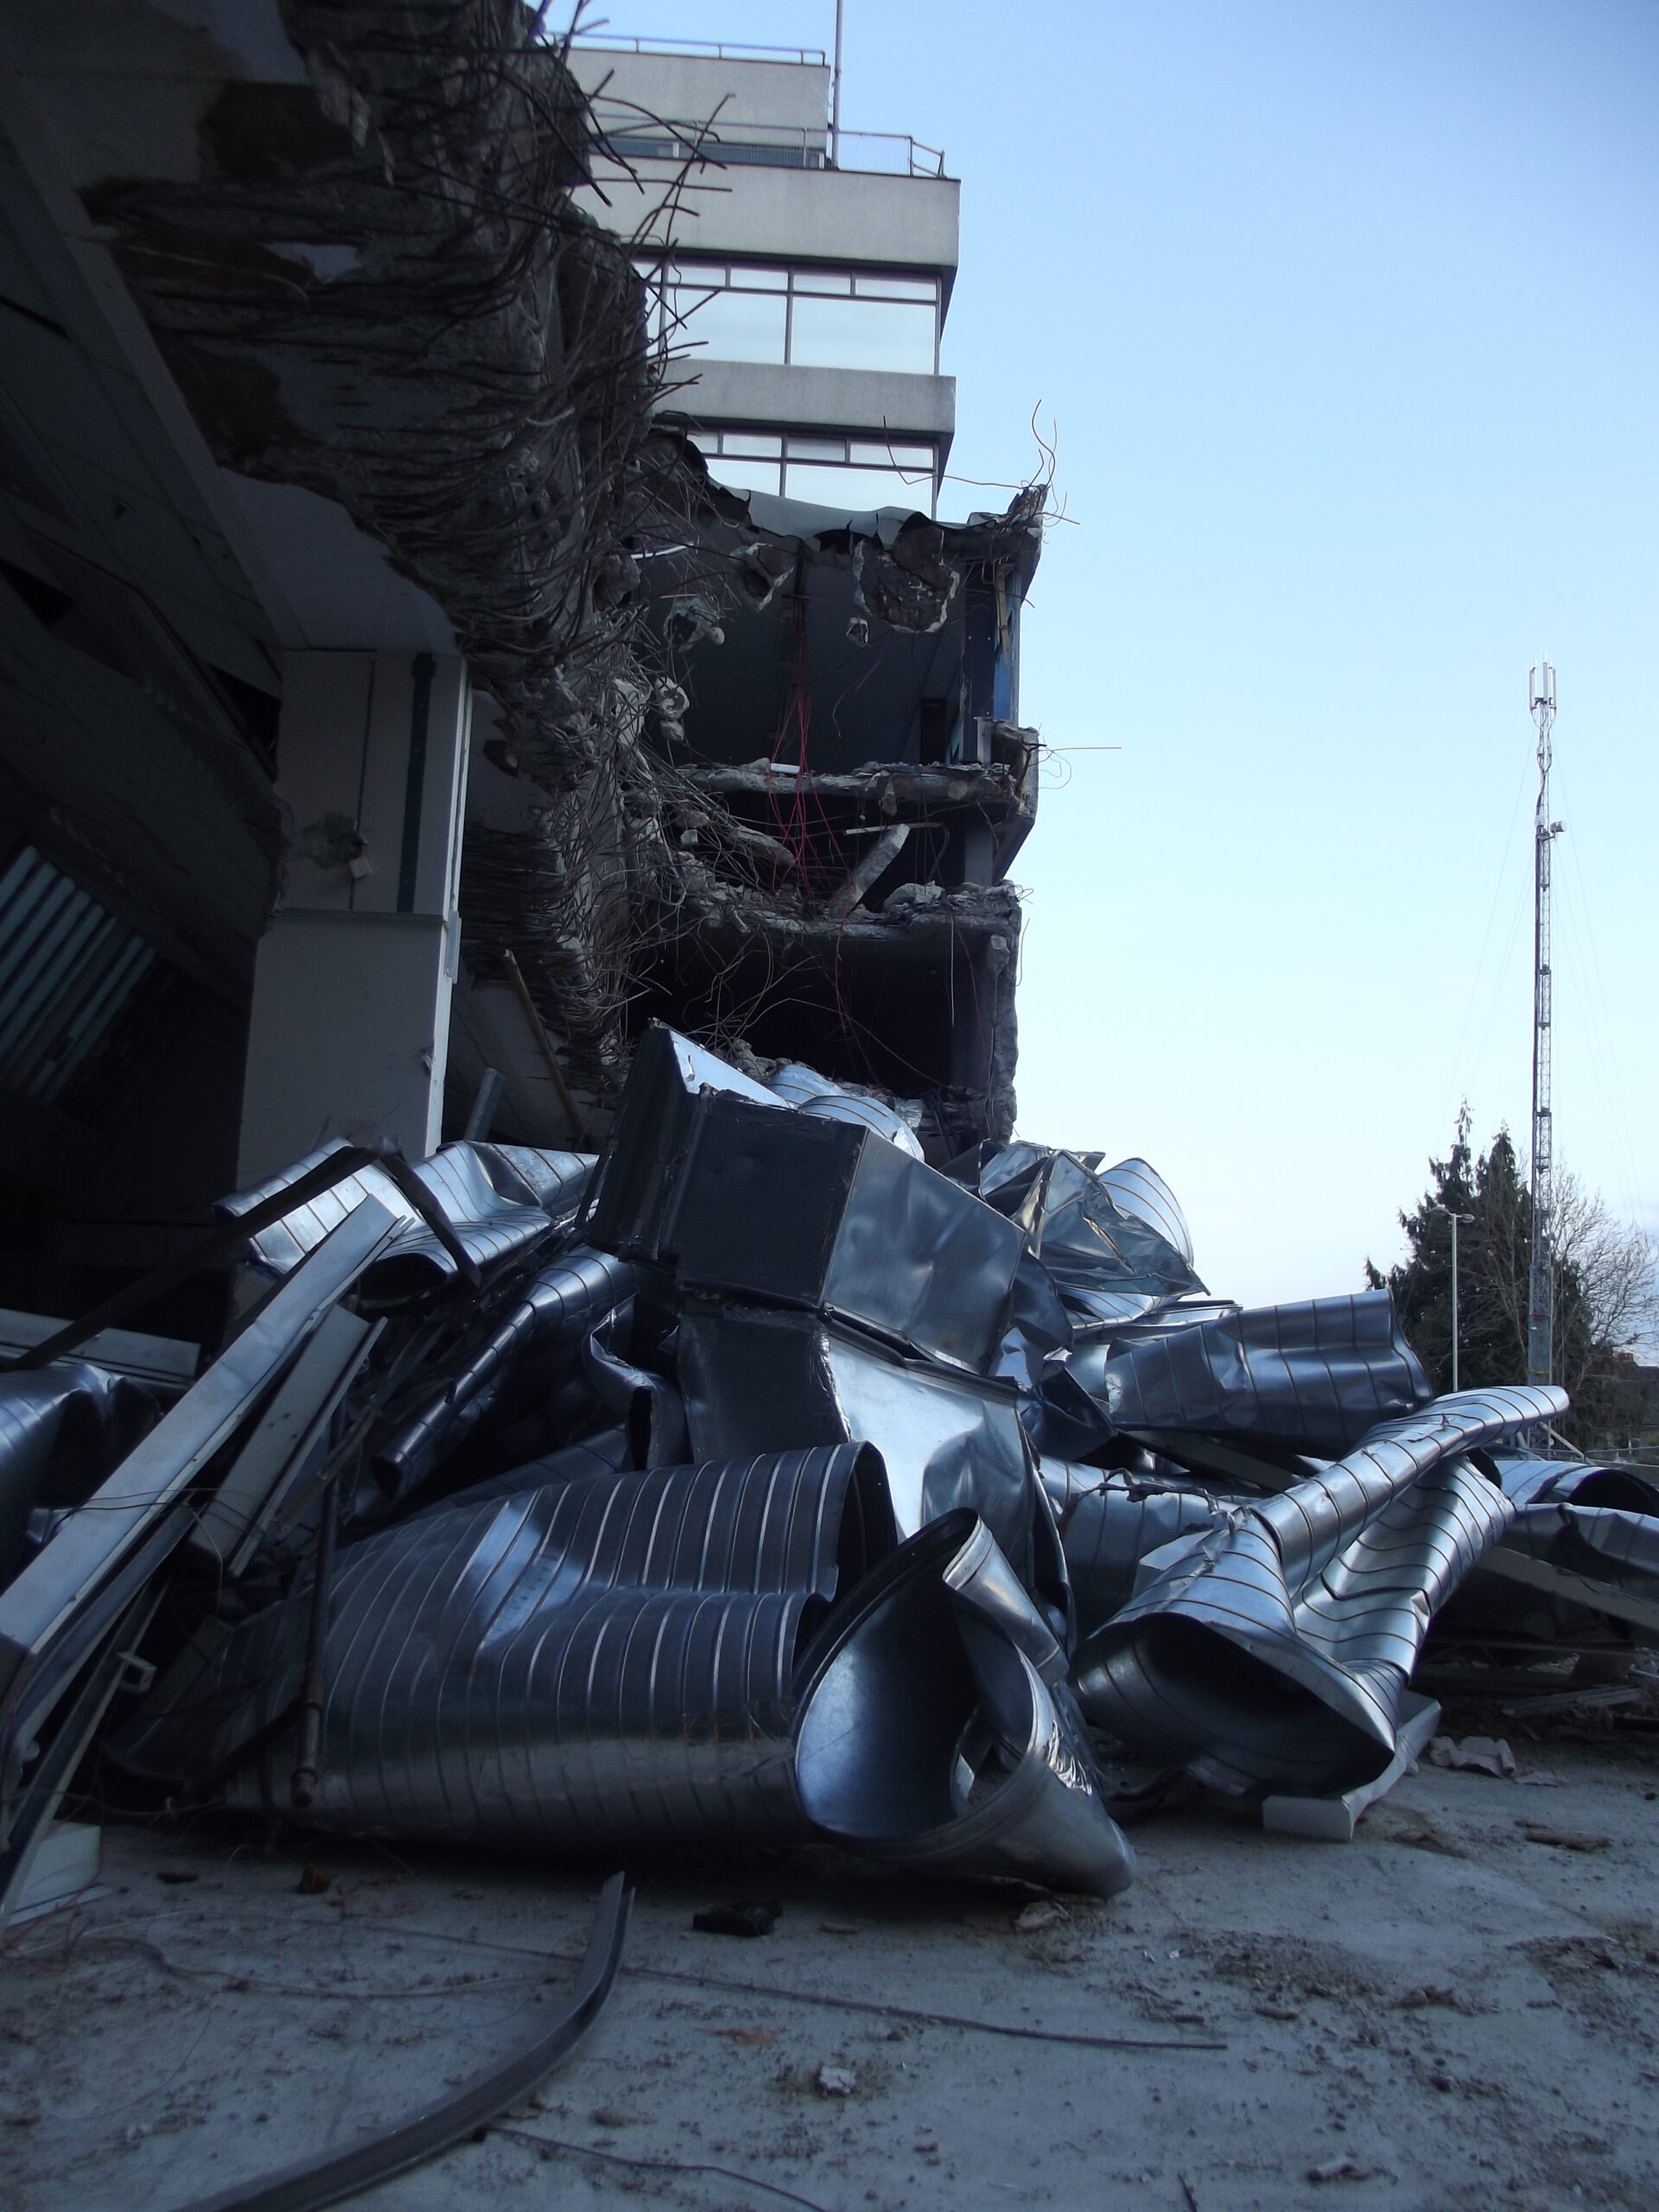
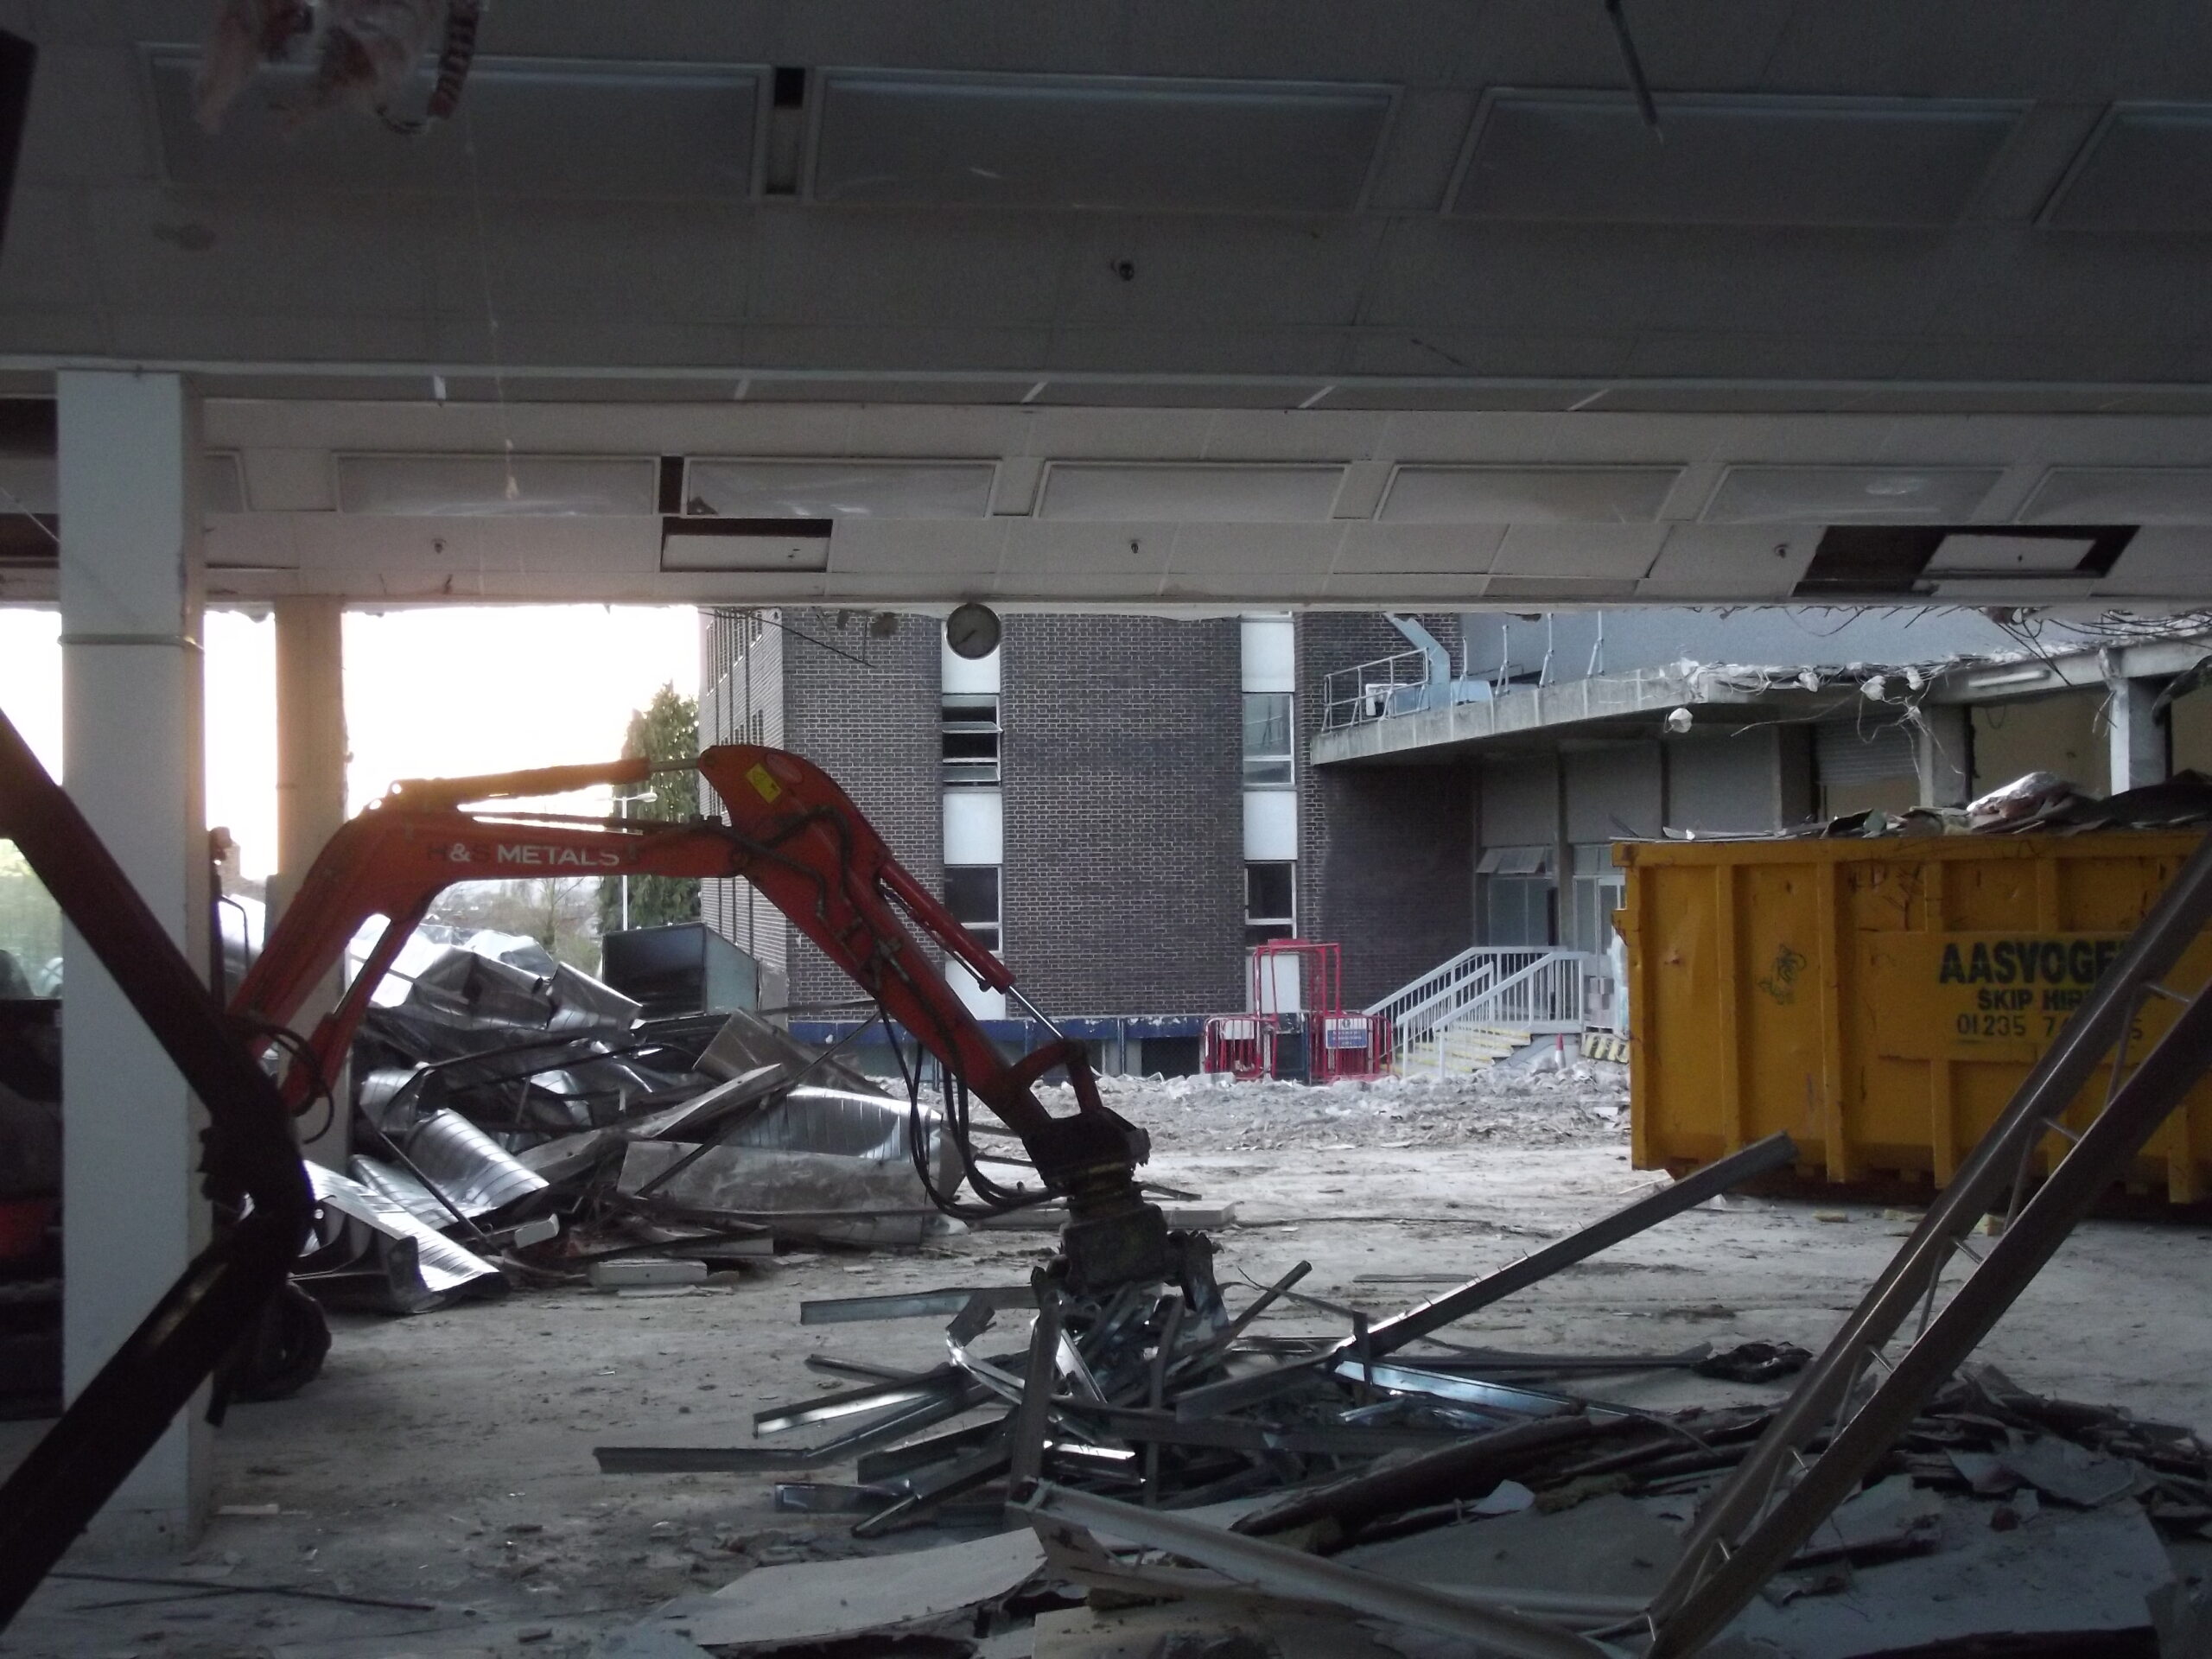
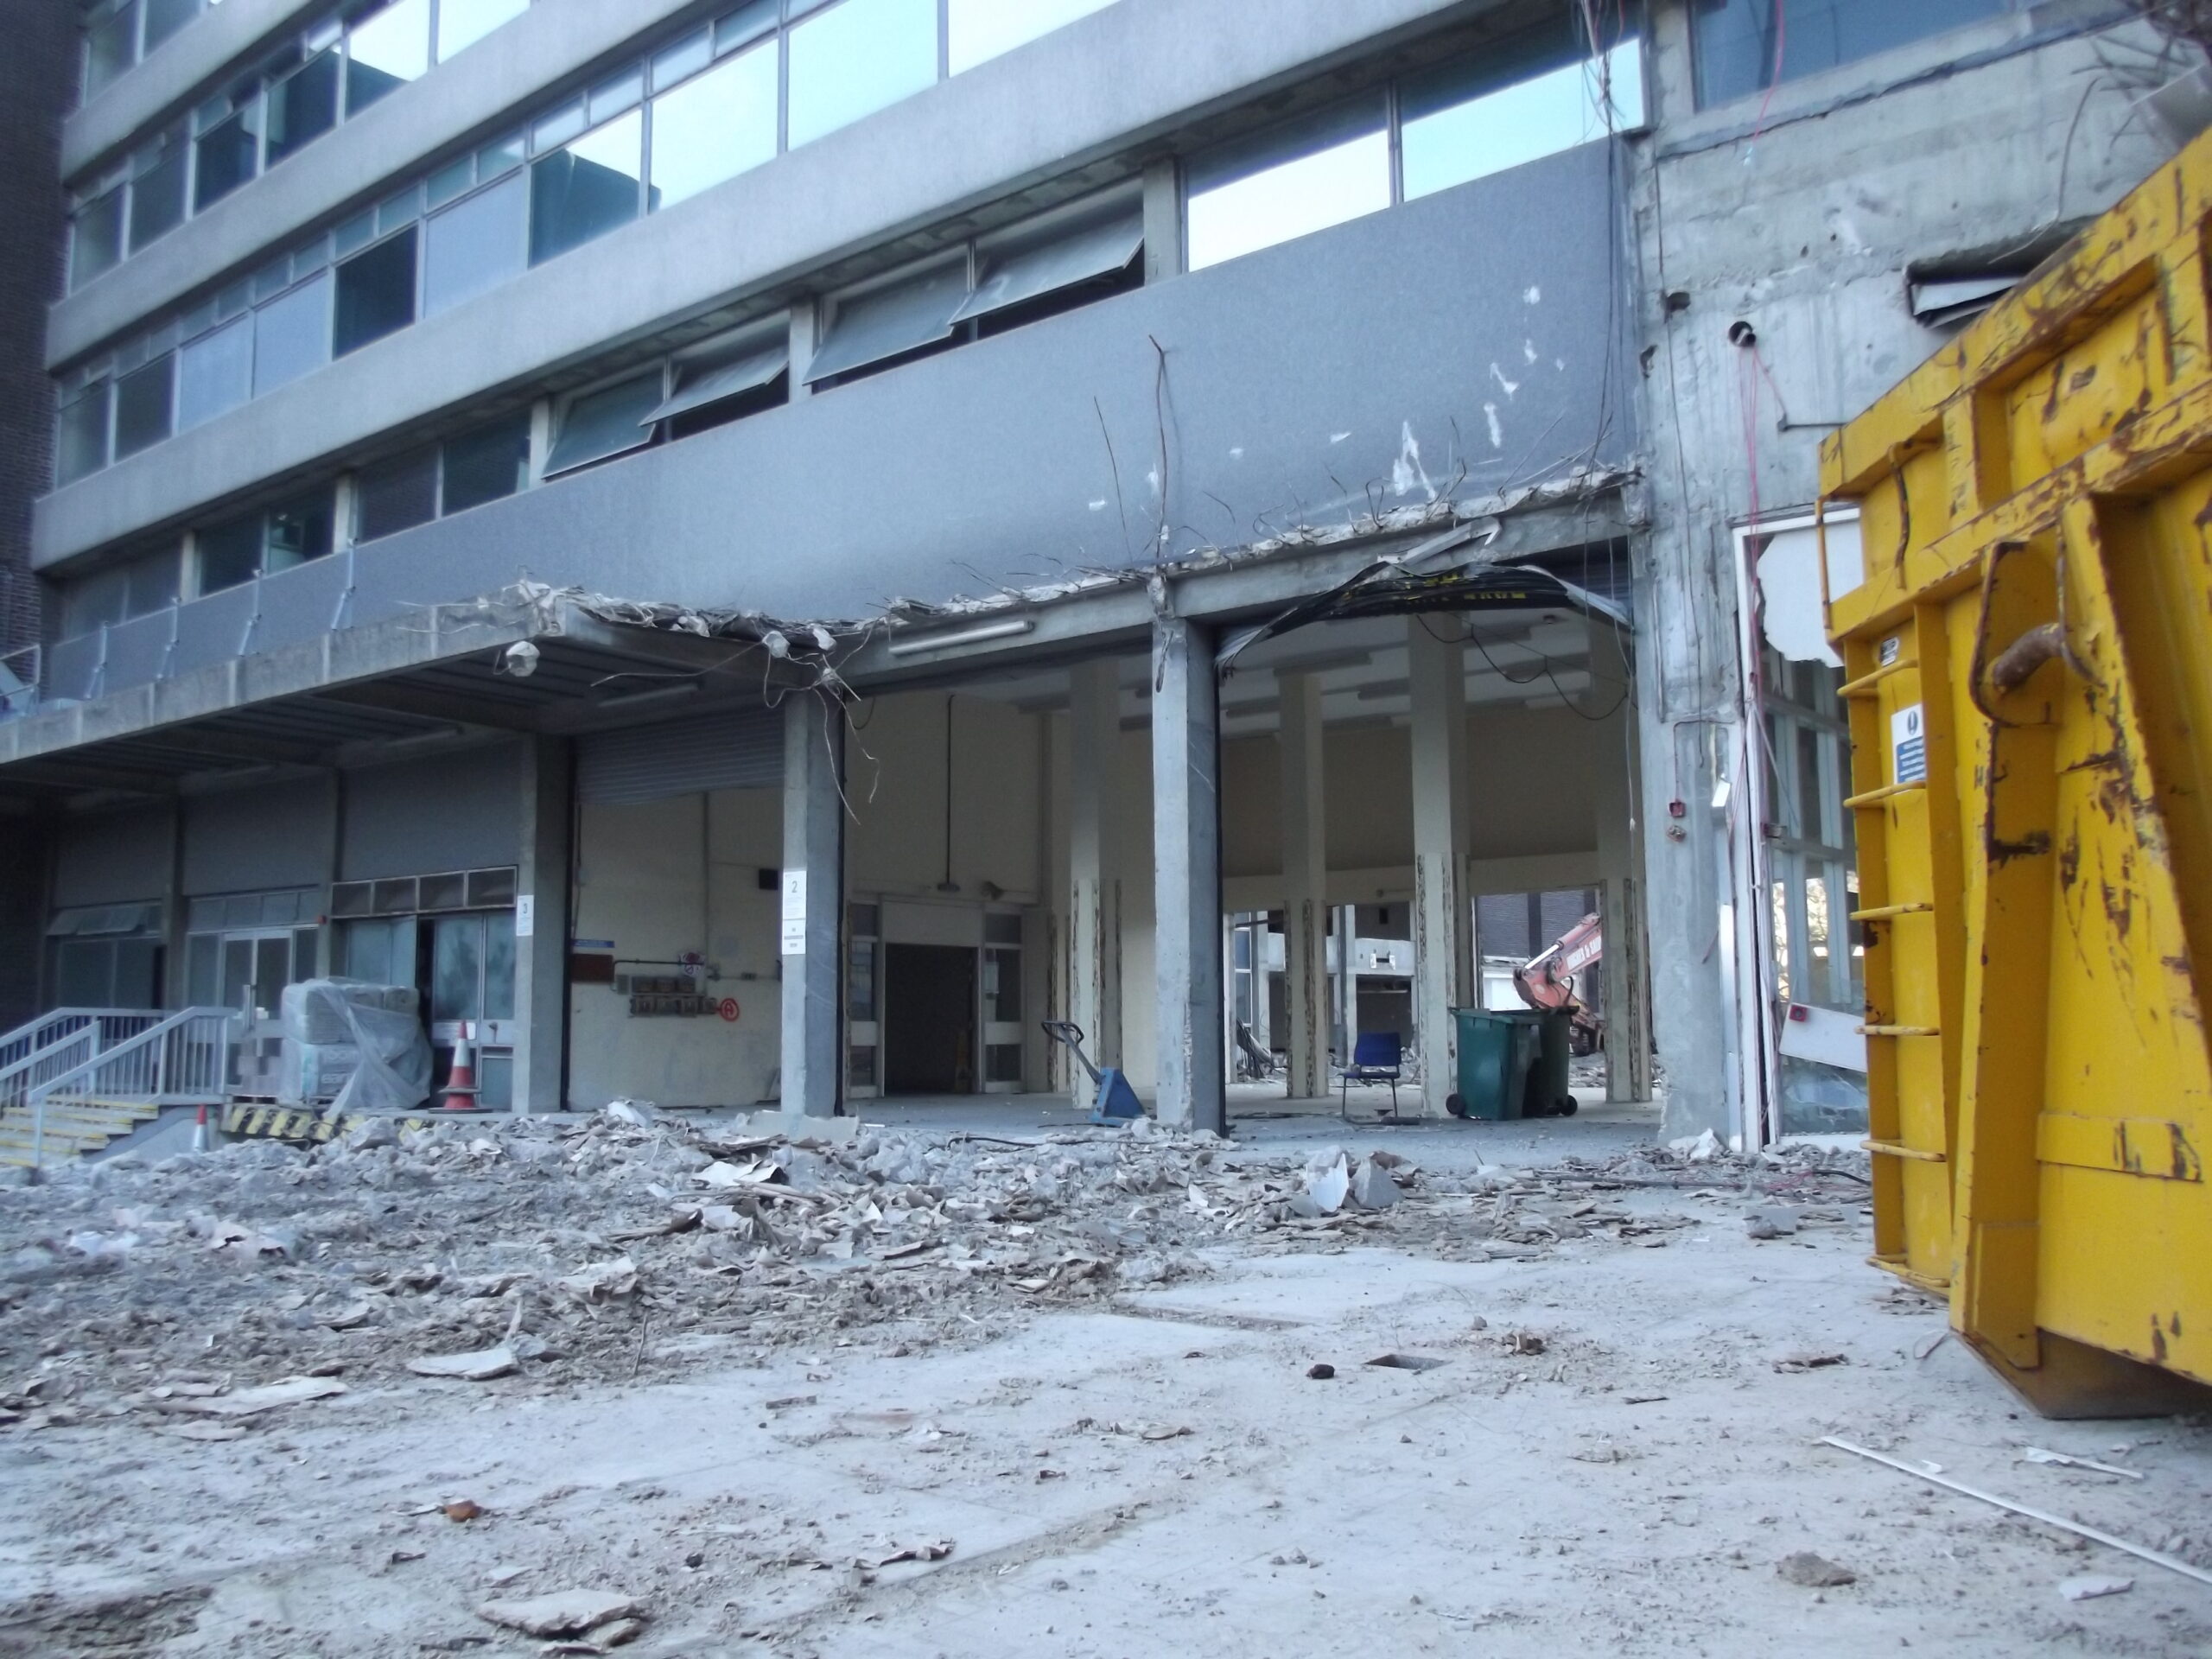
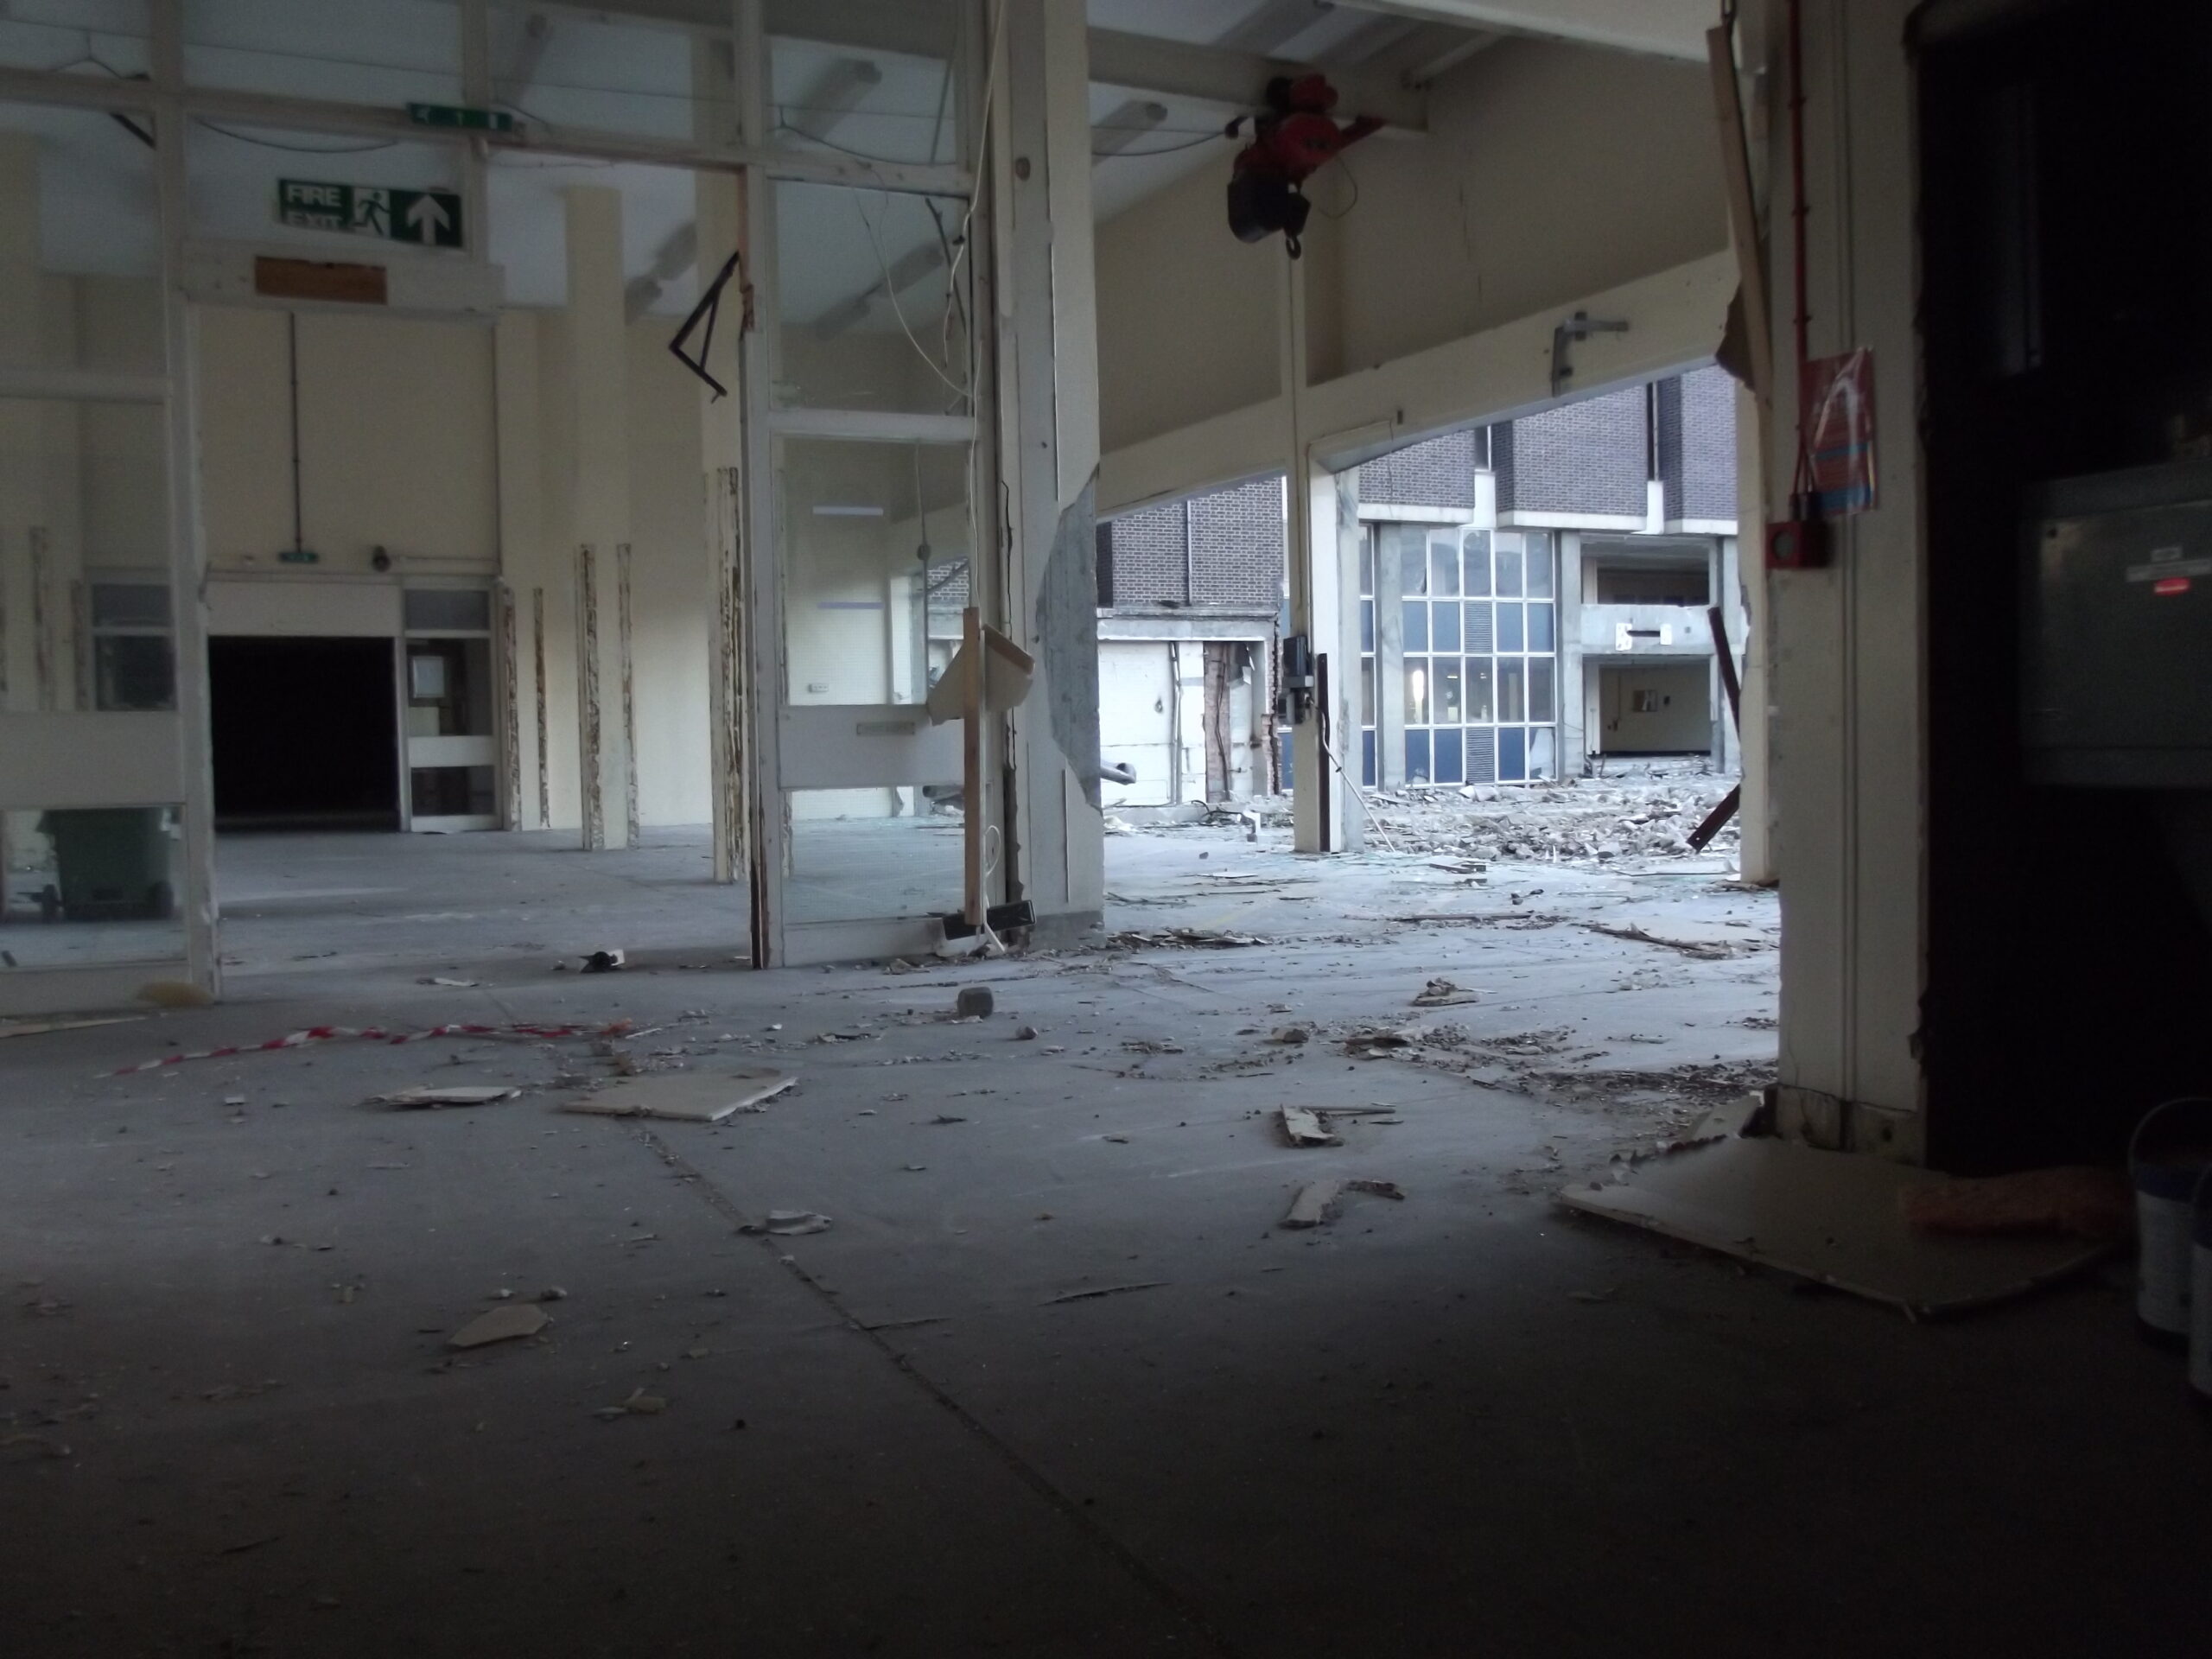
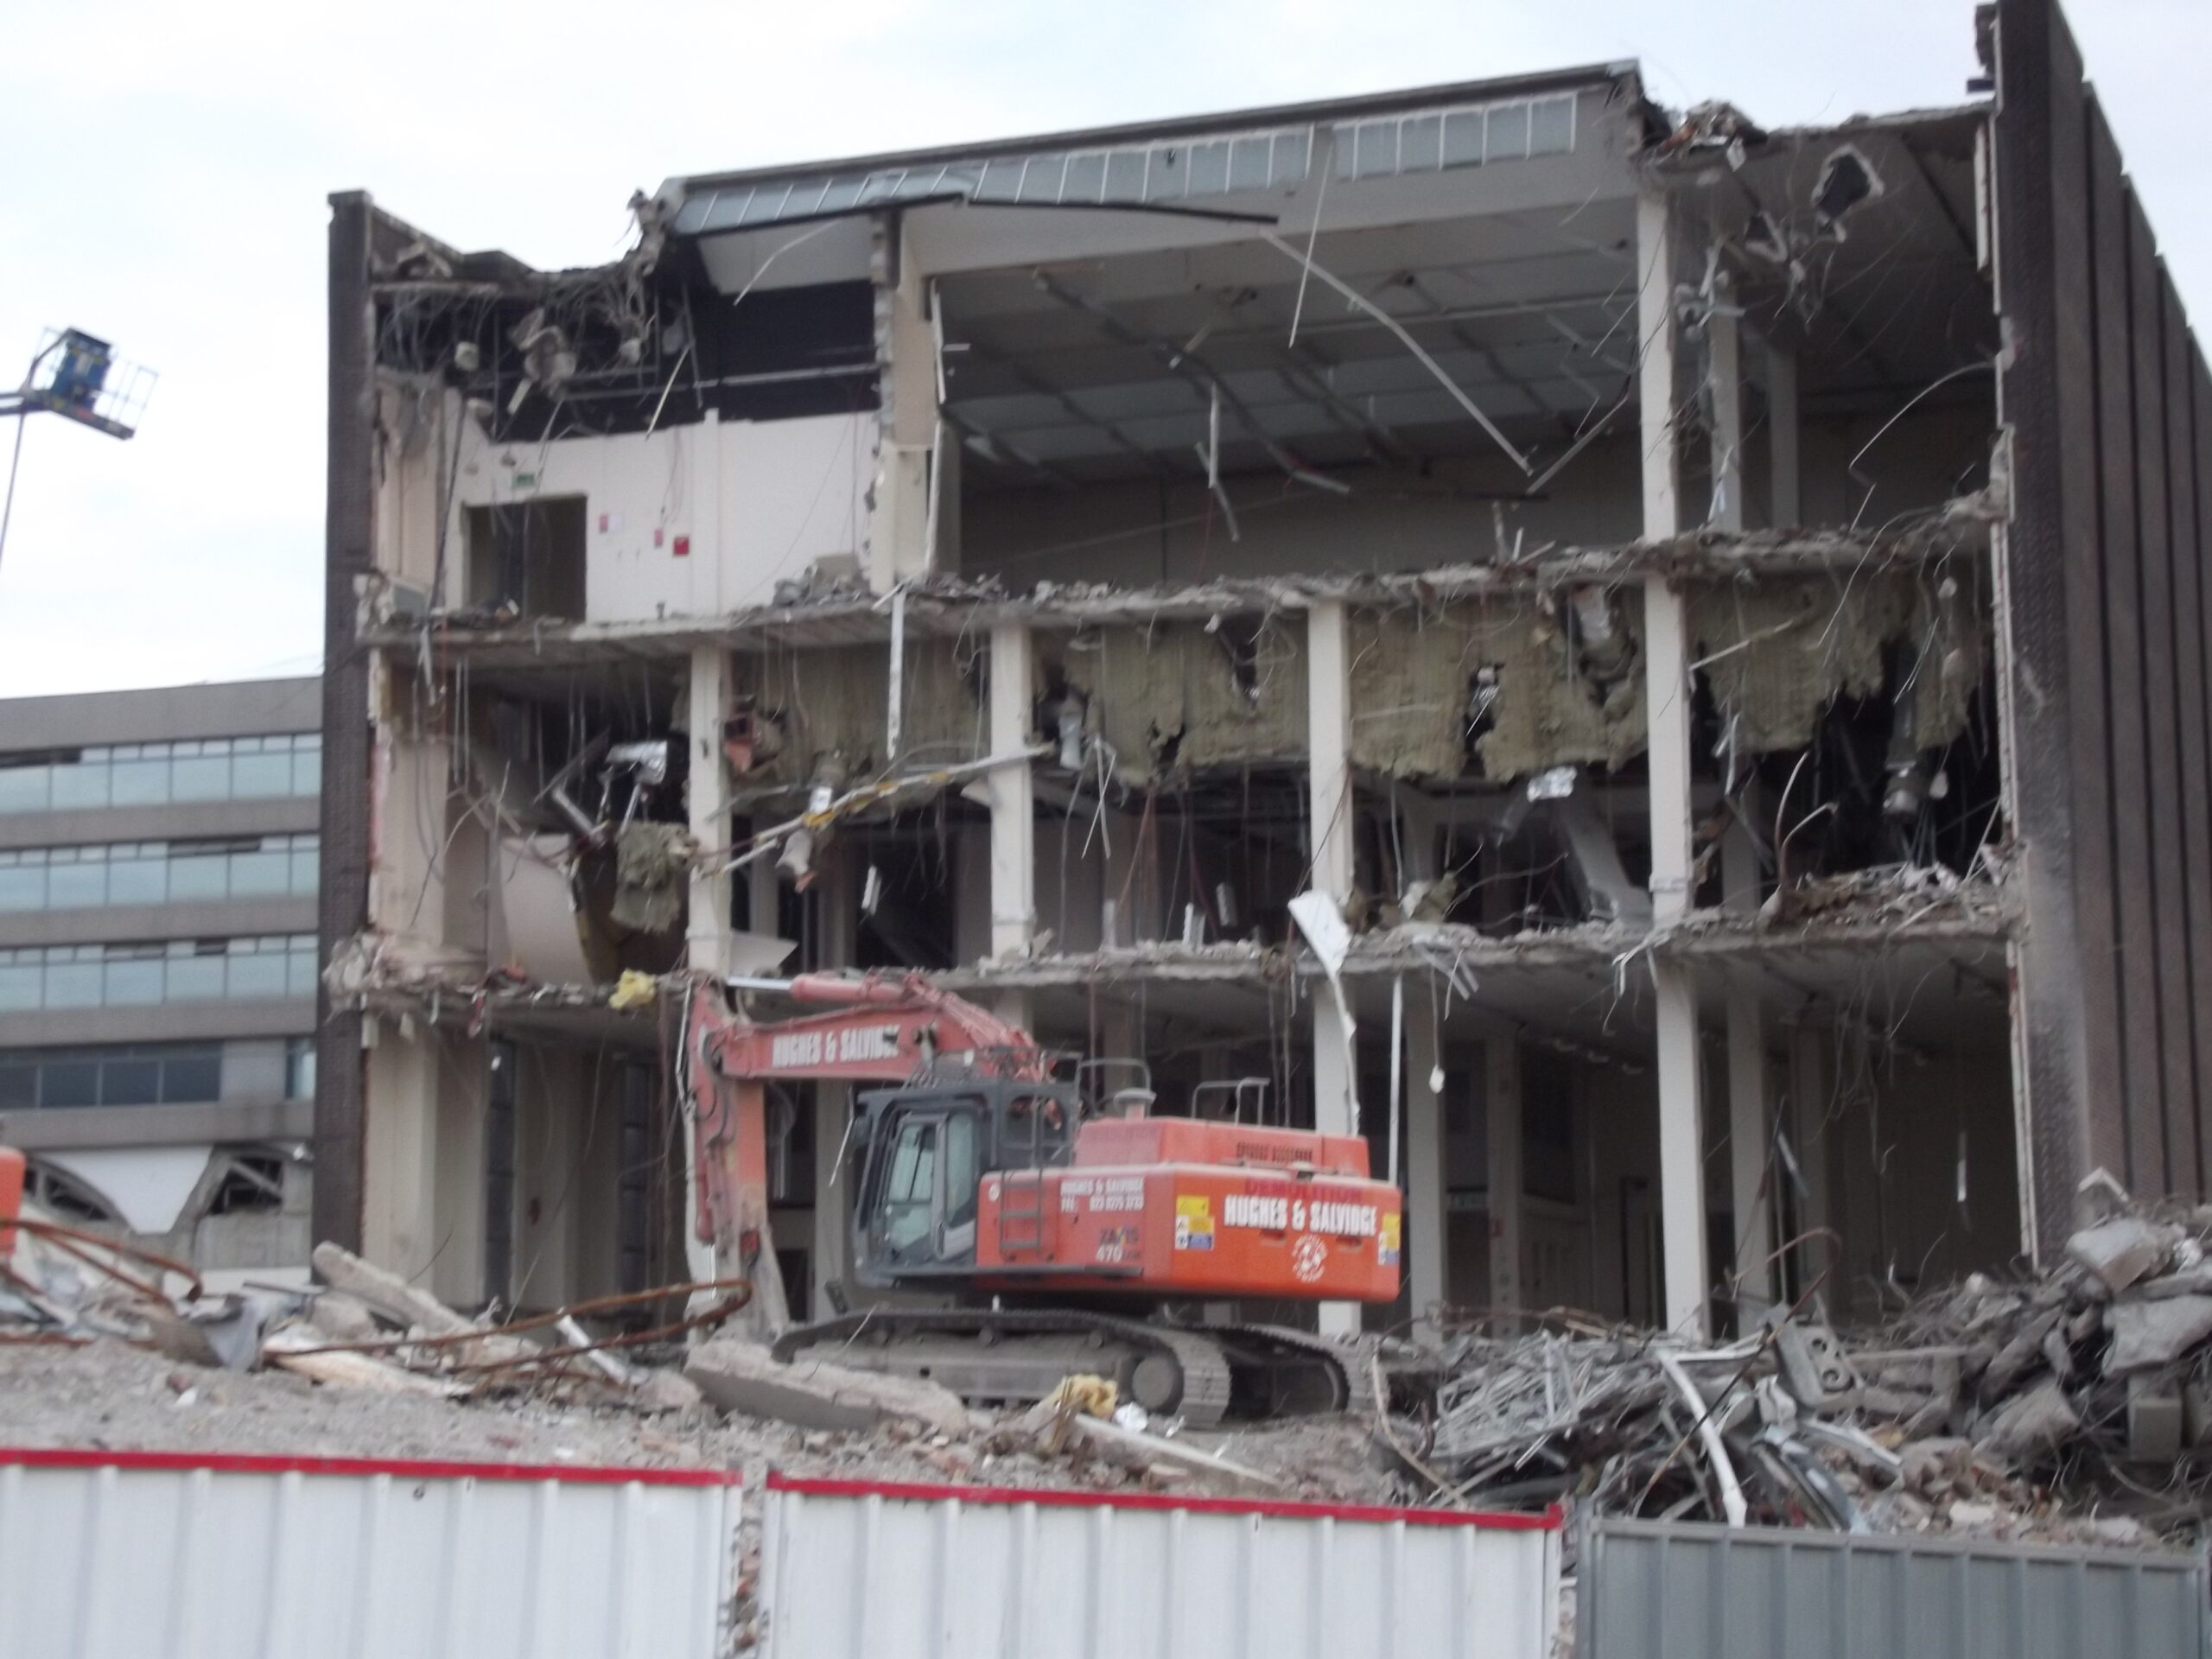
Demolition of B-C spur seen from Romsey Rd – 11 Apr 2012Demolition of B-C spur seen from Romsey Rd – 11 Apr 2012Demolition of B-C spur seen from Romsey Rd – 11 Apr 2012Demolition of B-C spur seen from Romsey Rd – 11 Apr 2012Demolition of B-C spur seen from Romsey Rd – 11 Apr 2012Demolition of B-C spur seen from Romsey Rd – 11 Apr 2012Demolition of B-C spur – 11 Apr 2012Demolition of B-C spur – 11 Apr 2012. I recognise the OS Platinum coloured columns where I worked in C150. The side of the 1st floor adjacent to the Print Floor had several training rooms and meeting rooms for fs³ as well. On the ground floor was the last place I worked, C064.Very sad to lose it all.Demolition of B-C spur – 11 Apr 2012Demolition of C-H spur, upper floors. The top floor (IS Service Desk I think) C633 had blue columns. Below was Research in C530, on the 4th floor was C433, PDU I think, and Corporate Office was on the 3rd floor in C335 and C343. The DG’s office was in the N corner and there was the Boardroom and several interview rooms.Demolition of B-C spur – 11 Apr 2012Note the platform on the roof that was part of one of the the mobile phone antennas. OS had several ‘roof tenants’ who were charged rent and electricity. This was the highest building in the immediate vicinity, which made it an ideal site for these.West Block seen from Compass House – 11 Apr 2012Demolition of B-C spur seen from Compass HouseDemolition of B-C spur seen from Compass HouseDemolition of B-C spur seen from Compass HouseDemolition of West Block, 11 Apr 2012Central spur of the WRB – 11 Apr 2012West Block and WRB B-C spur demolition – 11 Apr 2012Demolition of West Block – temporary pause – 11 Apr 2012Demolition of West Block – temporary pause – 11 Apr 2012Central spur of WRB showing Boiler House – 11 Apr 2012Central spur of WRB showing Boiler House – 11 Apr 2012
12 April 2012
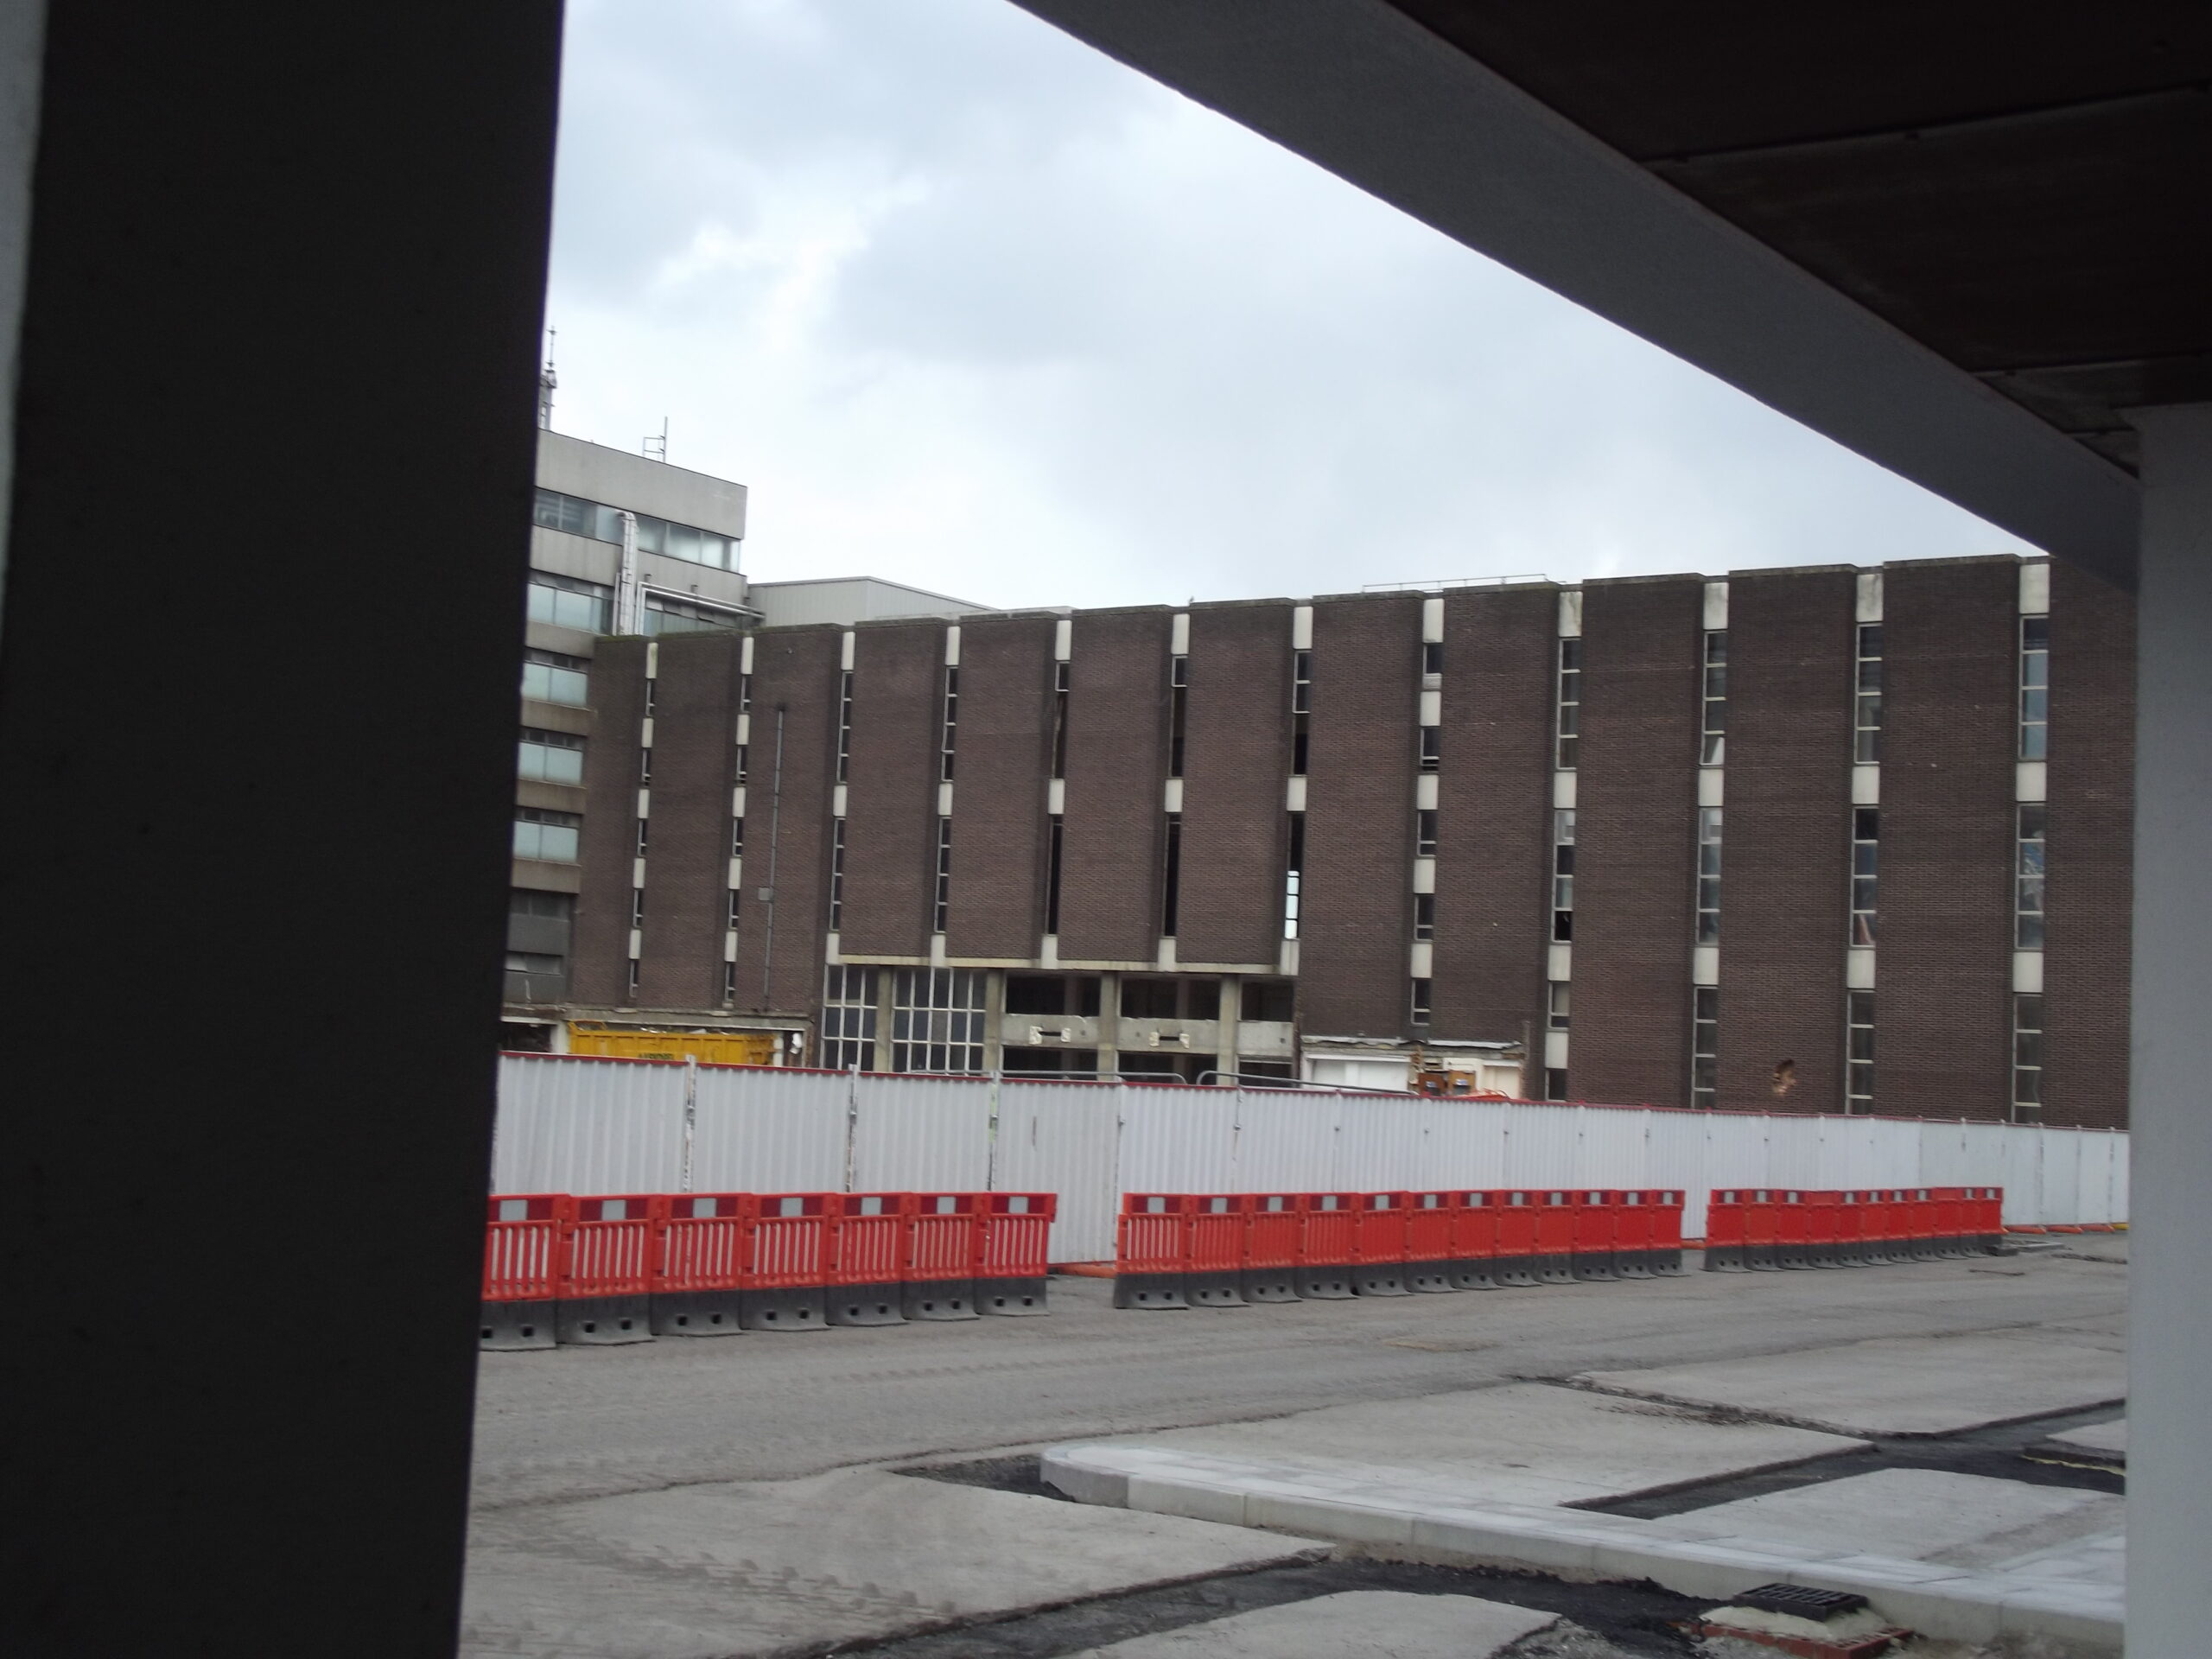
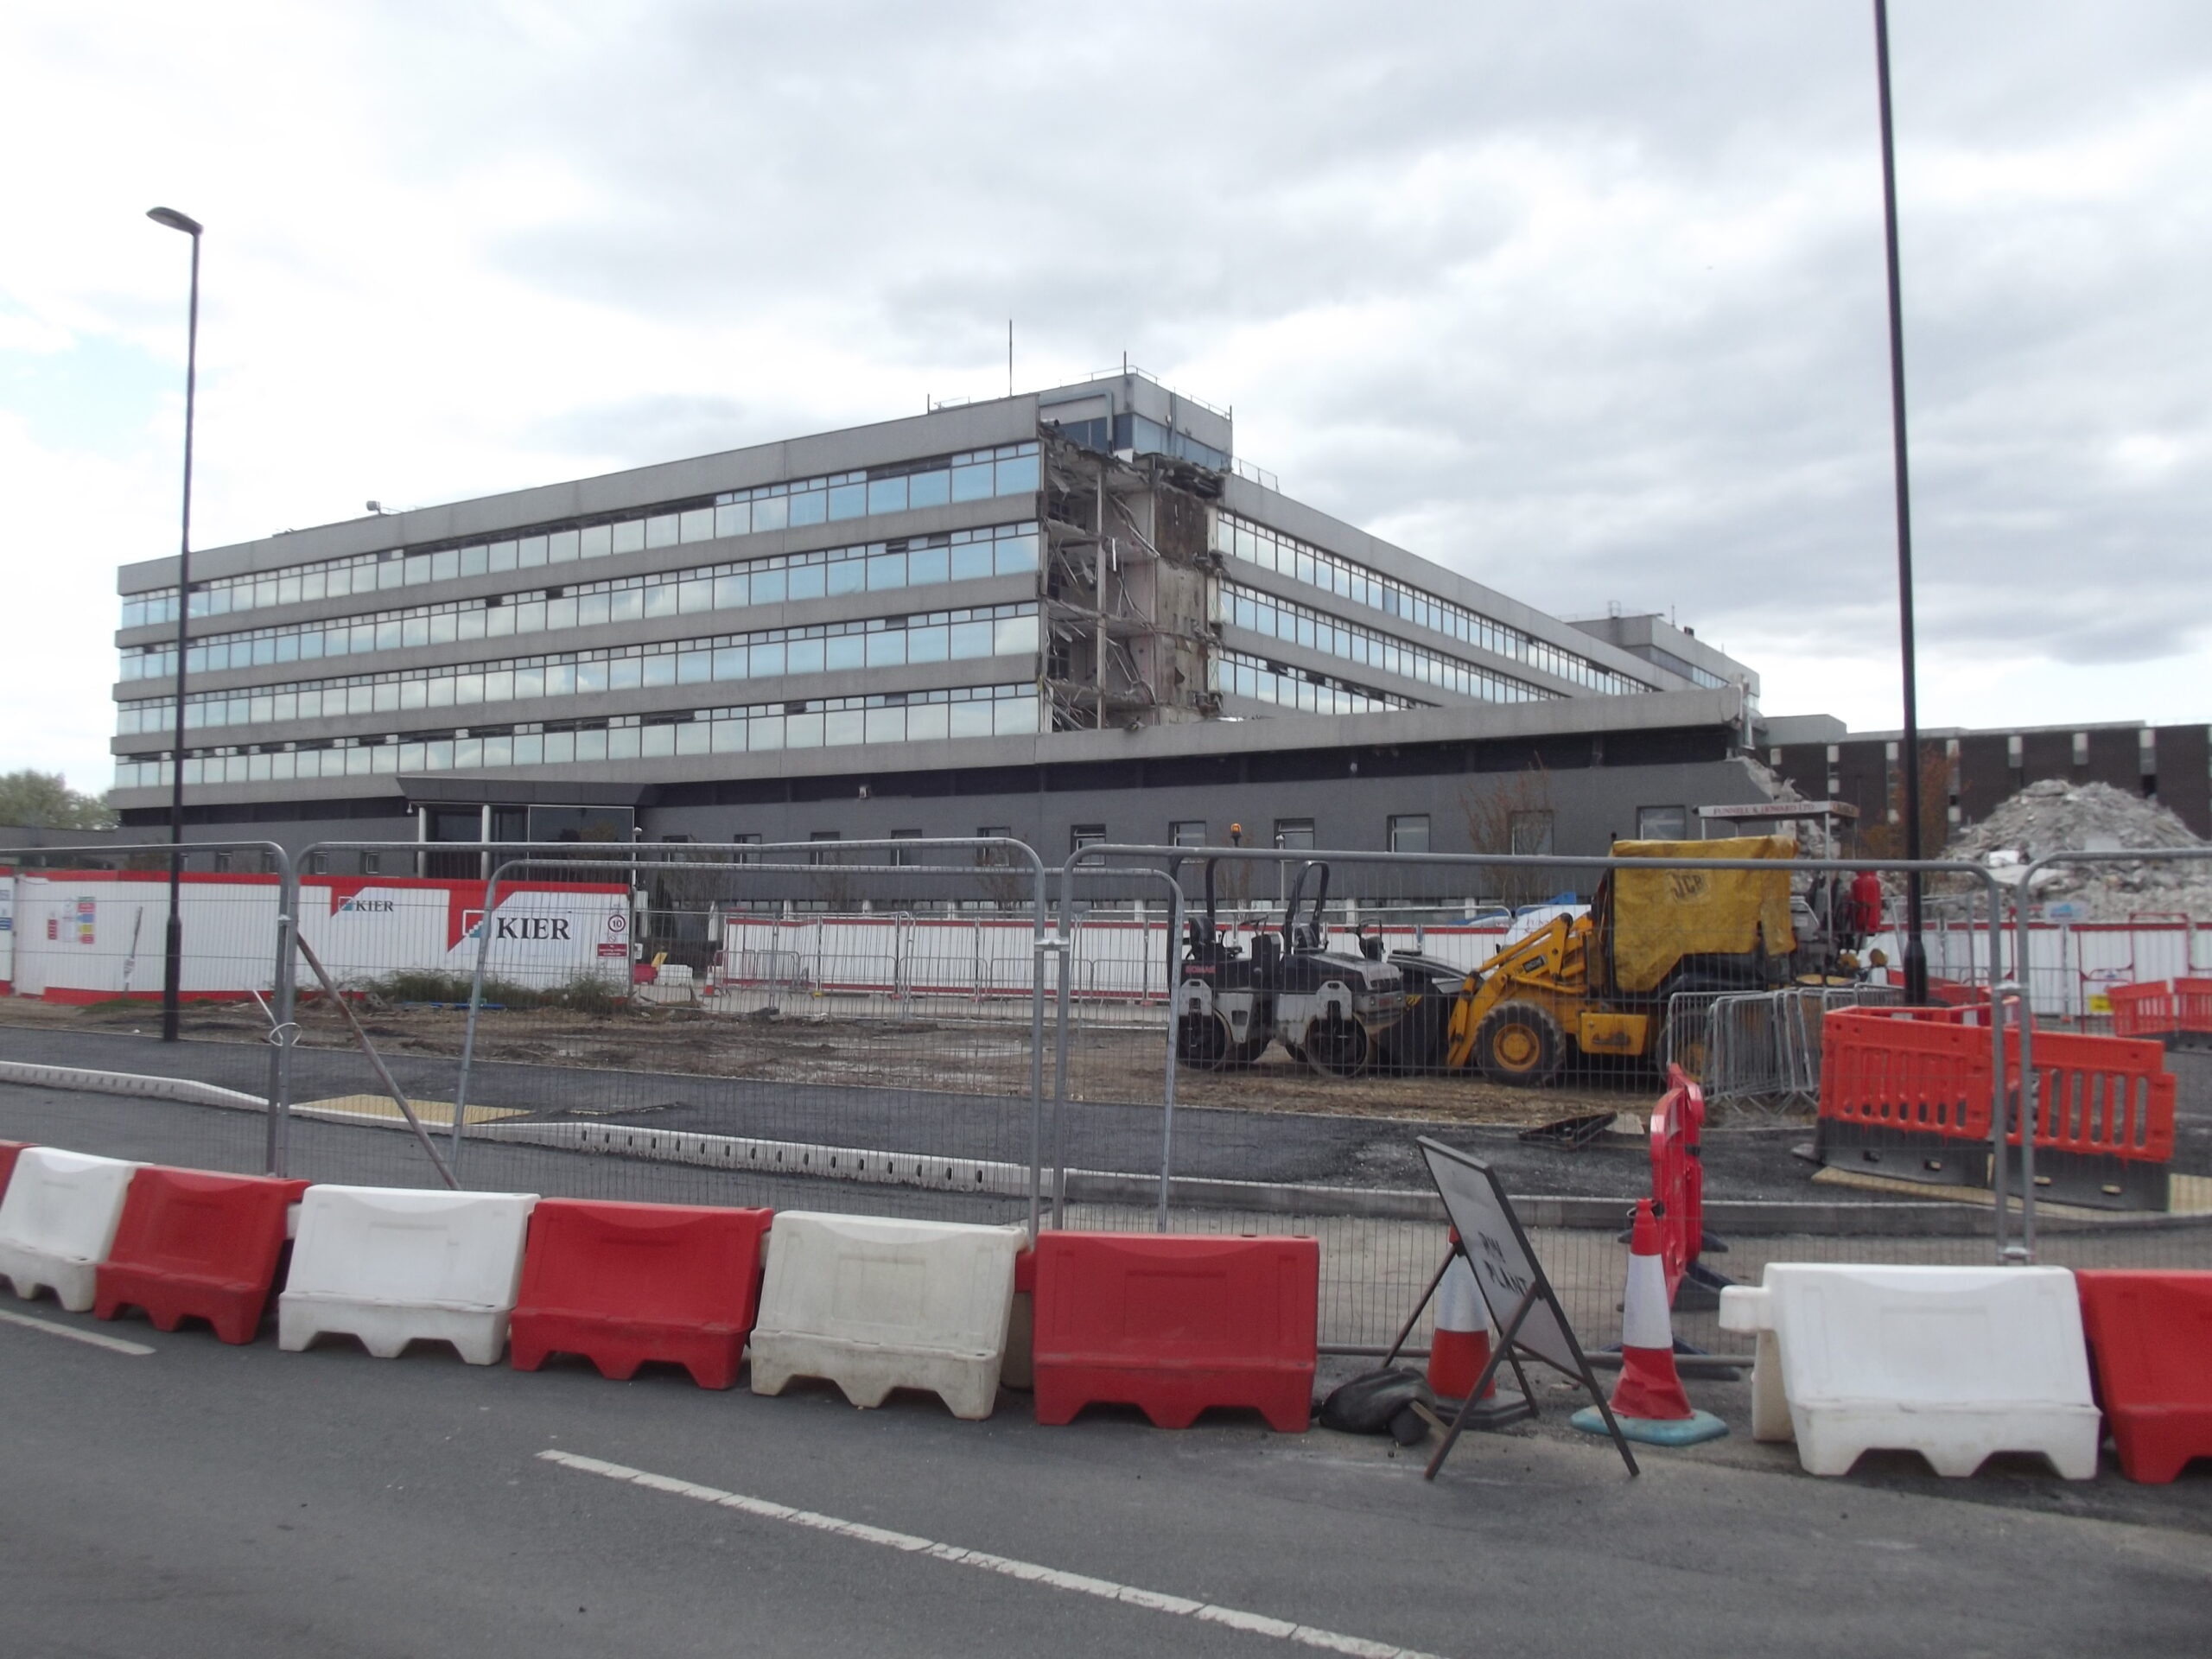
South side of the WRB from Maybush Road on 12 Apr 2012South side of the WRB from Maybush Road on 12 Apr 2012
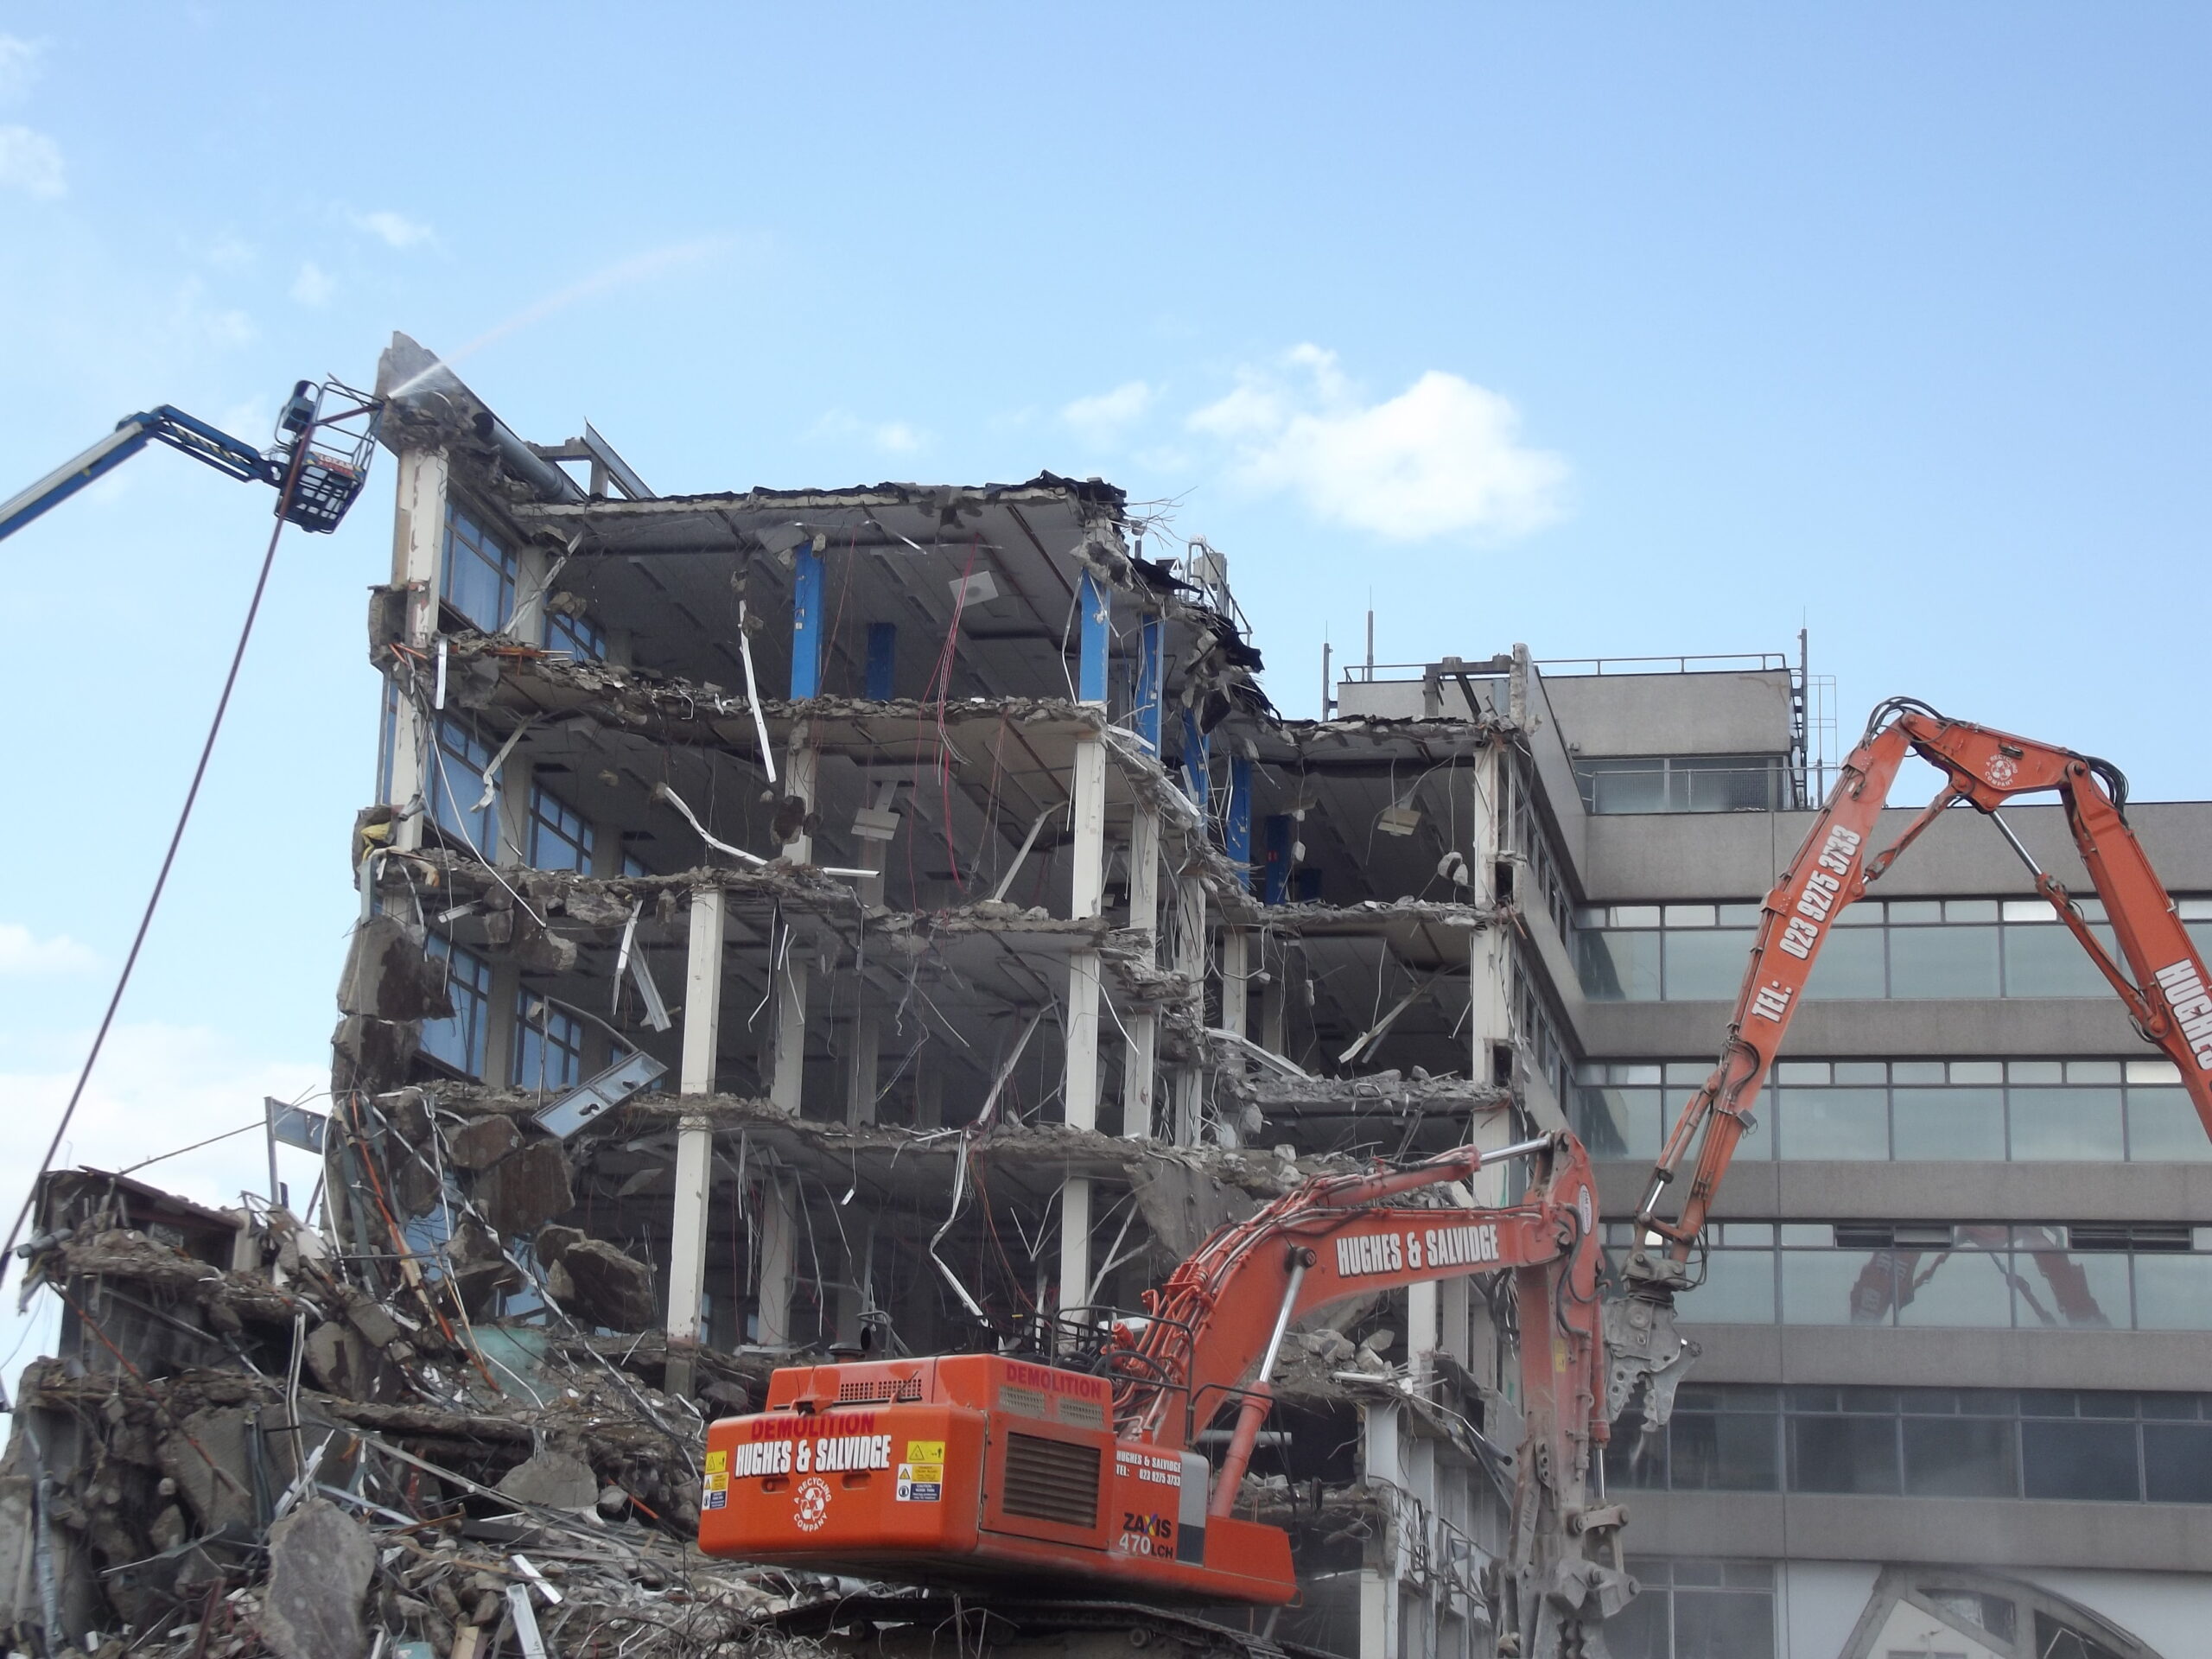
15 April 2012
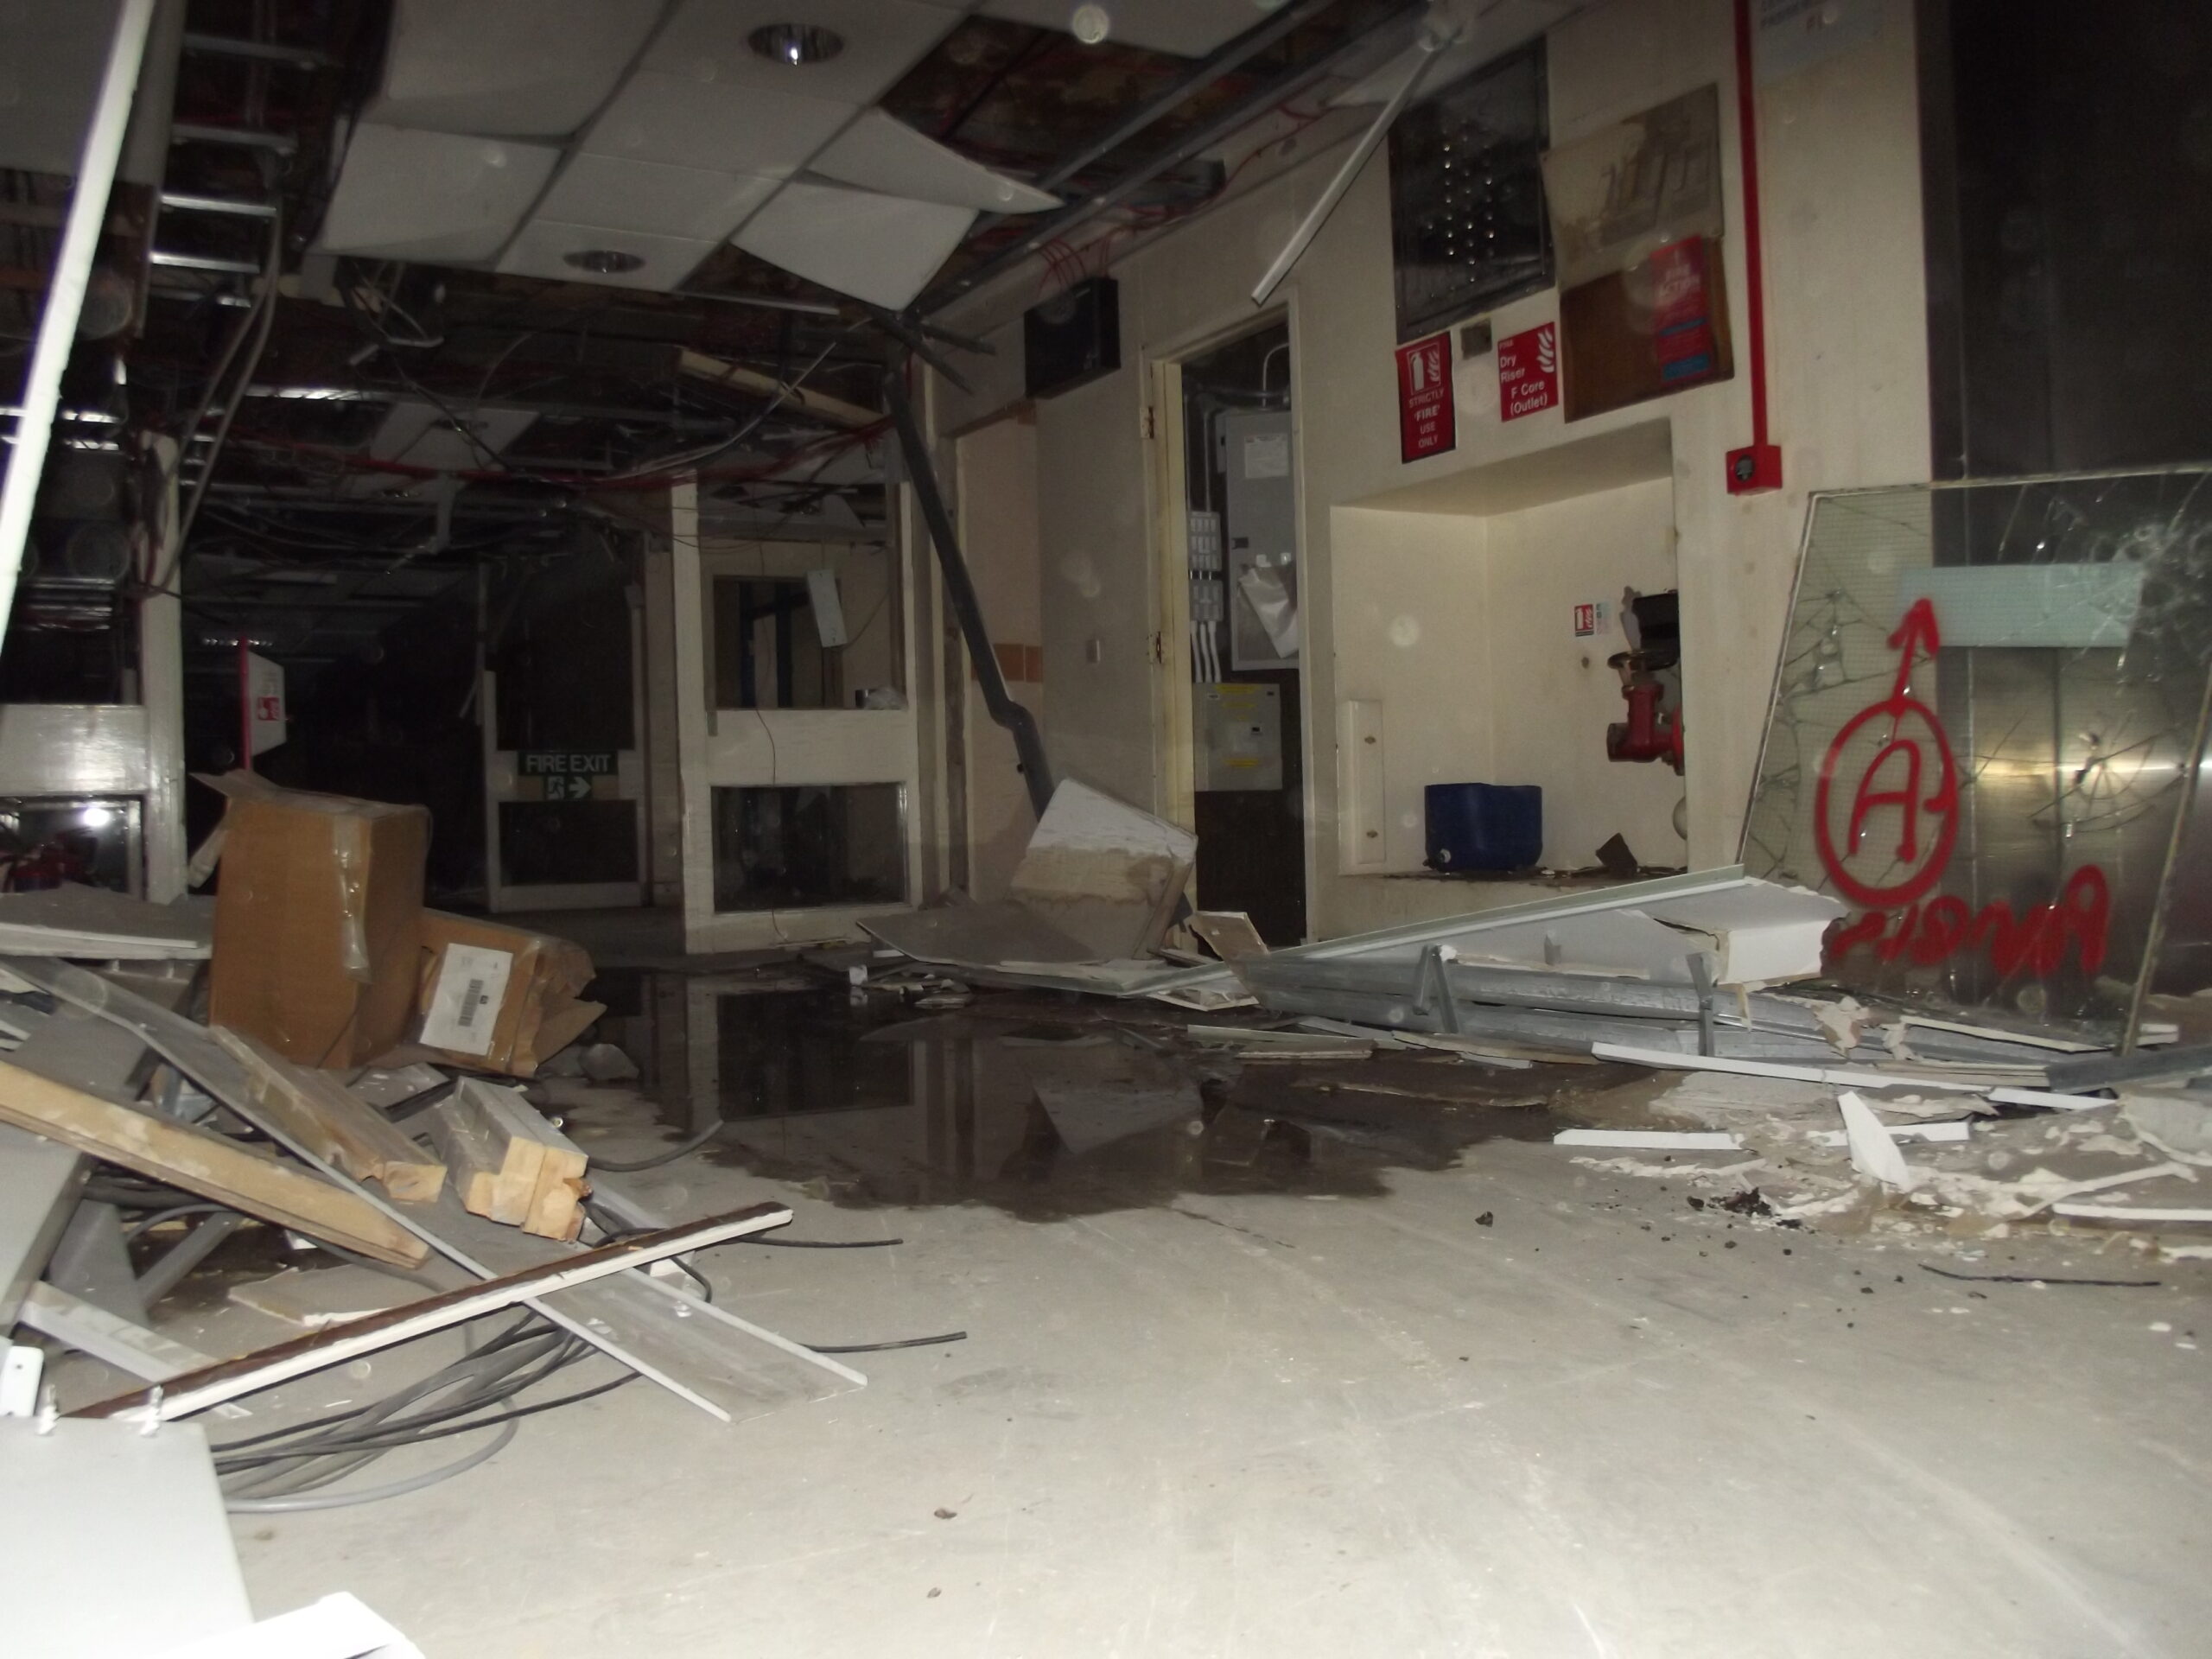
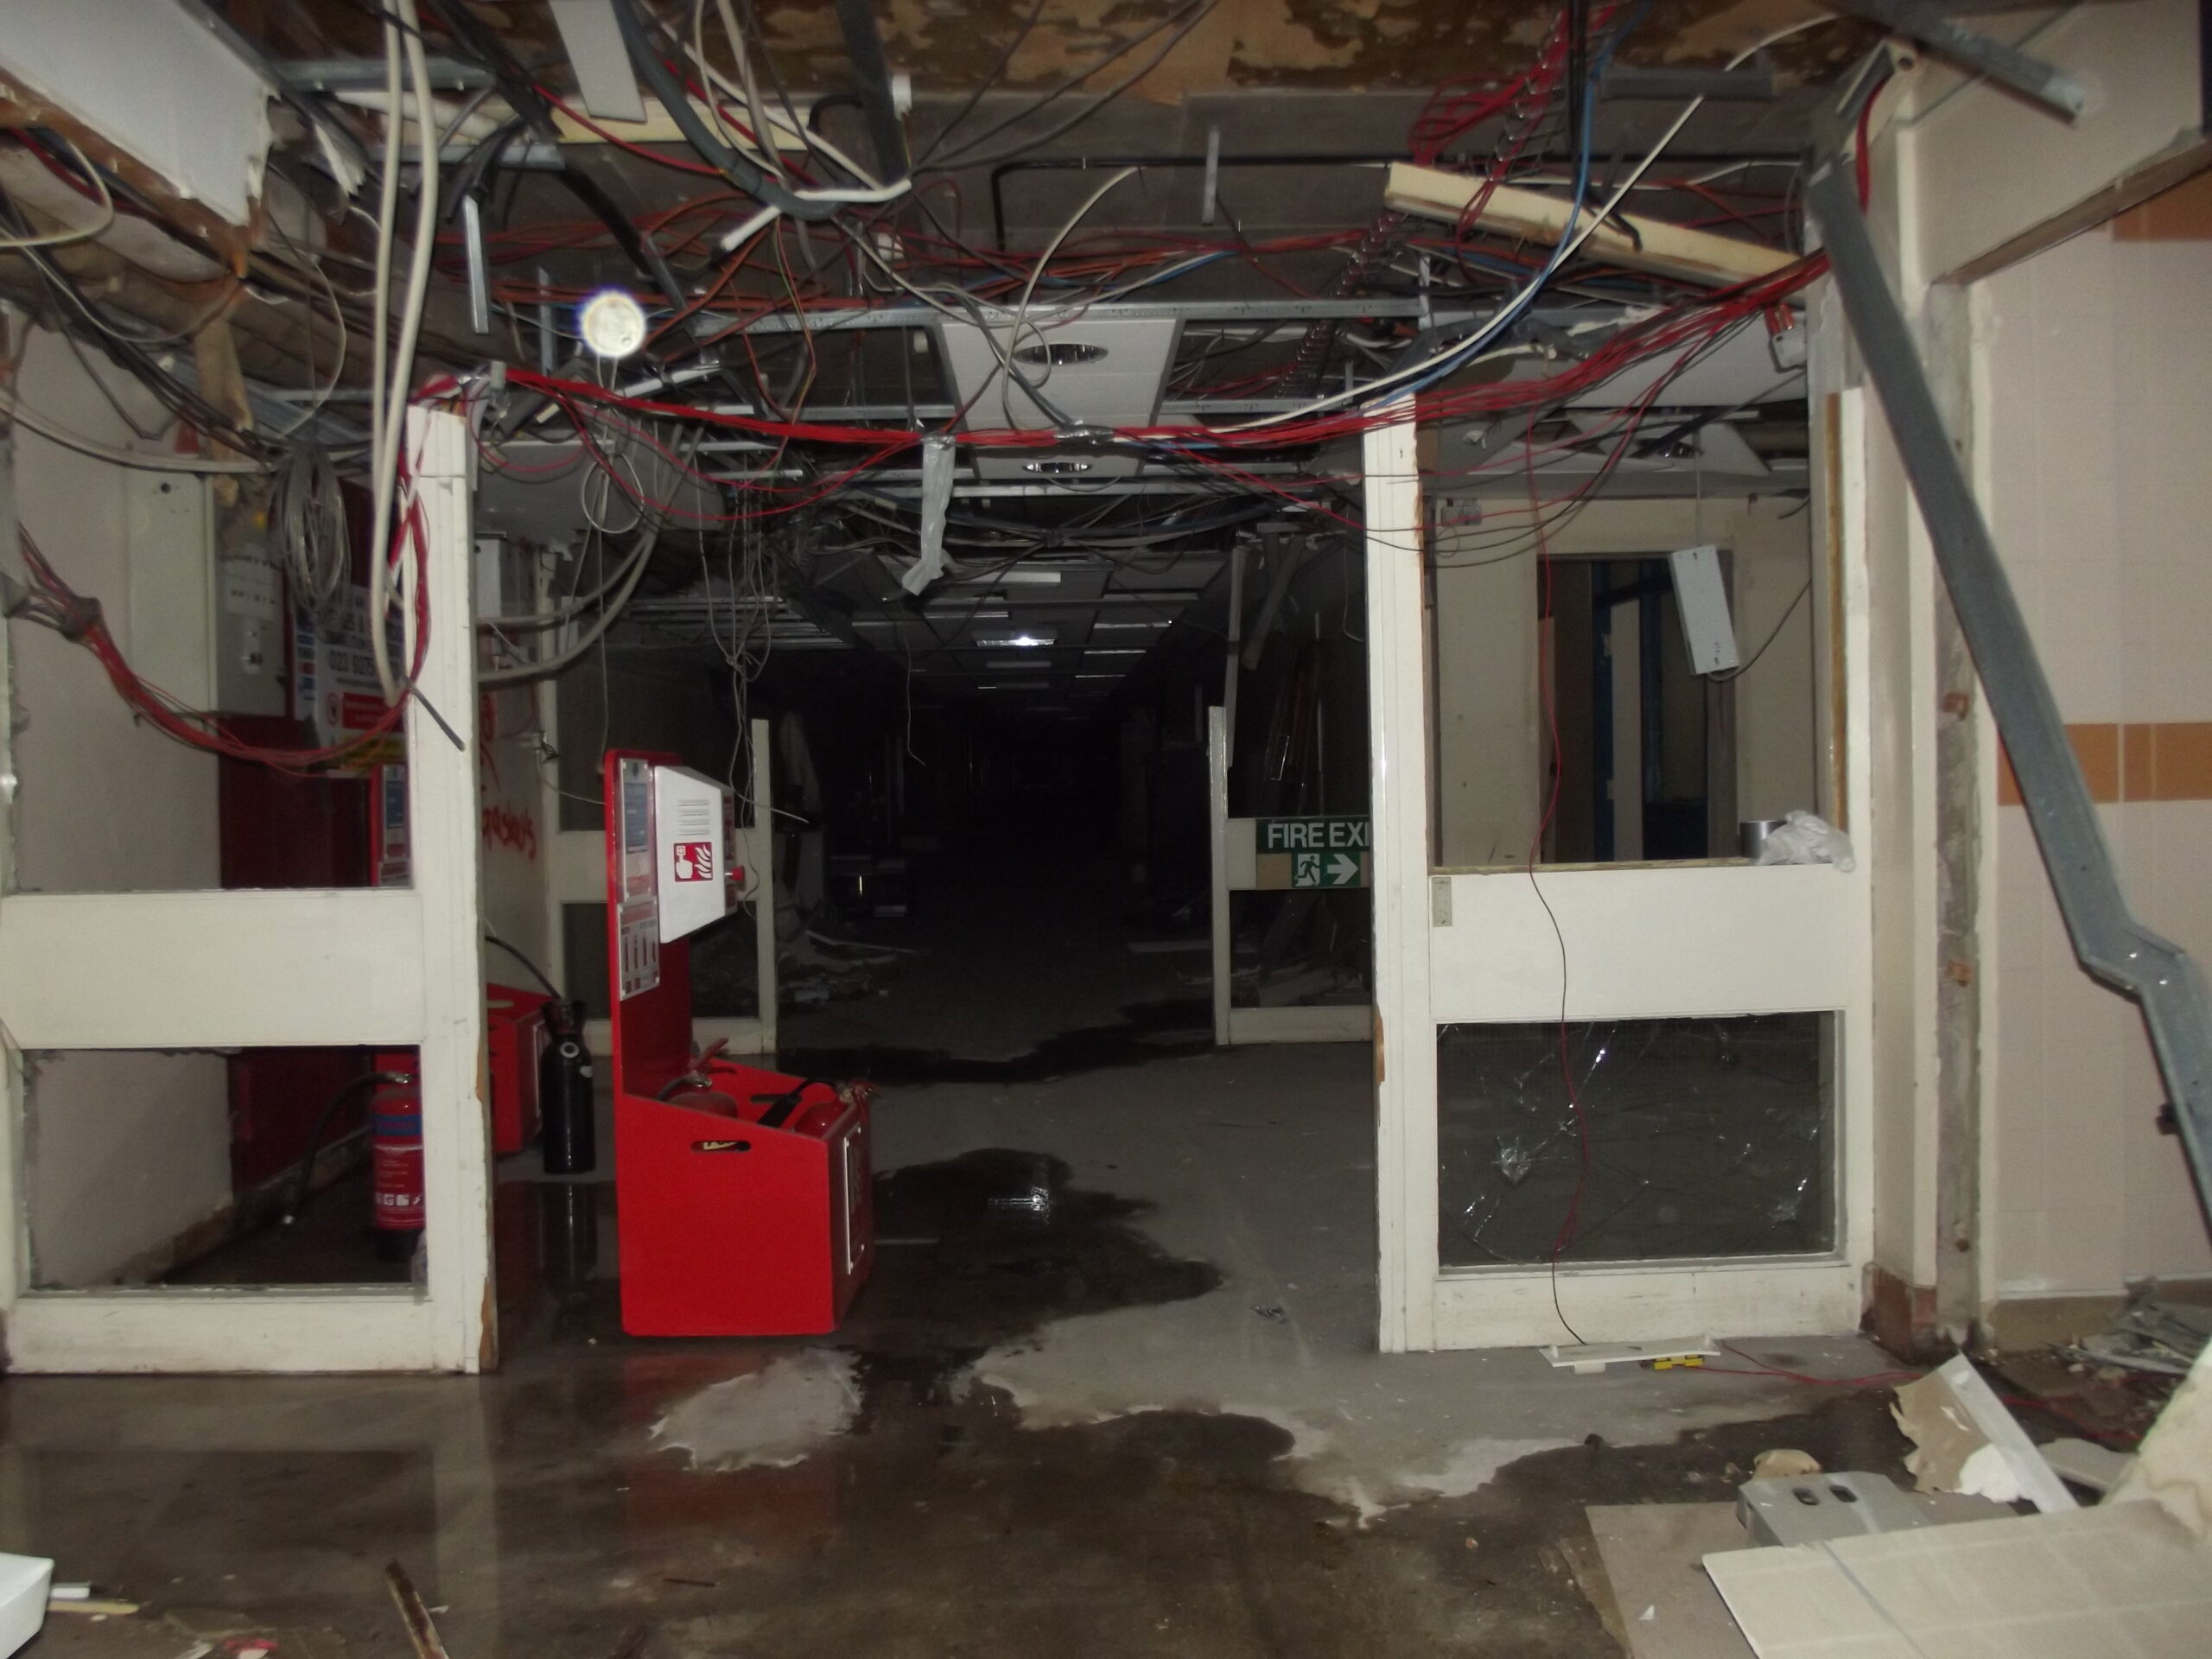
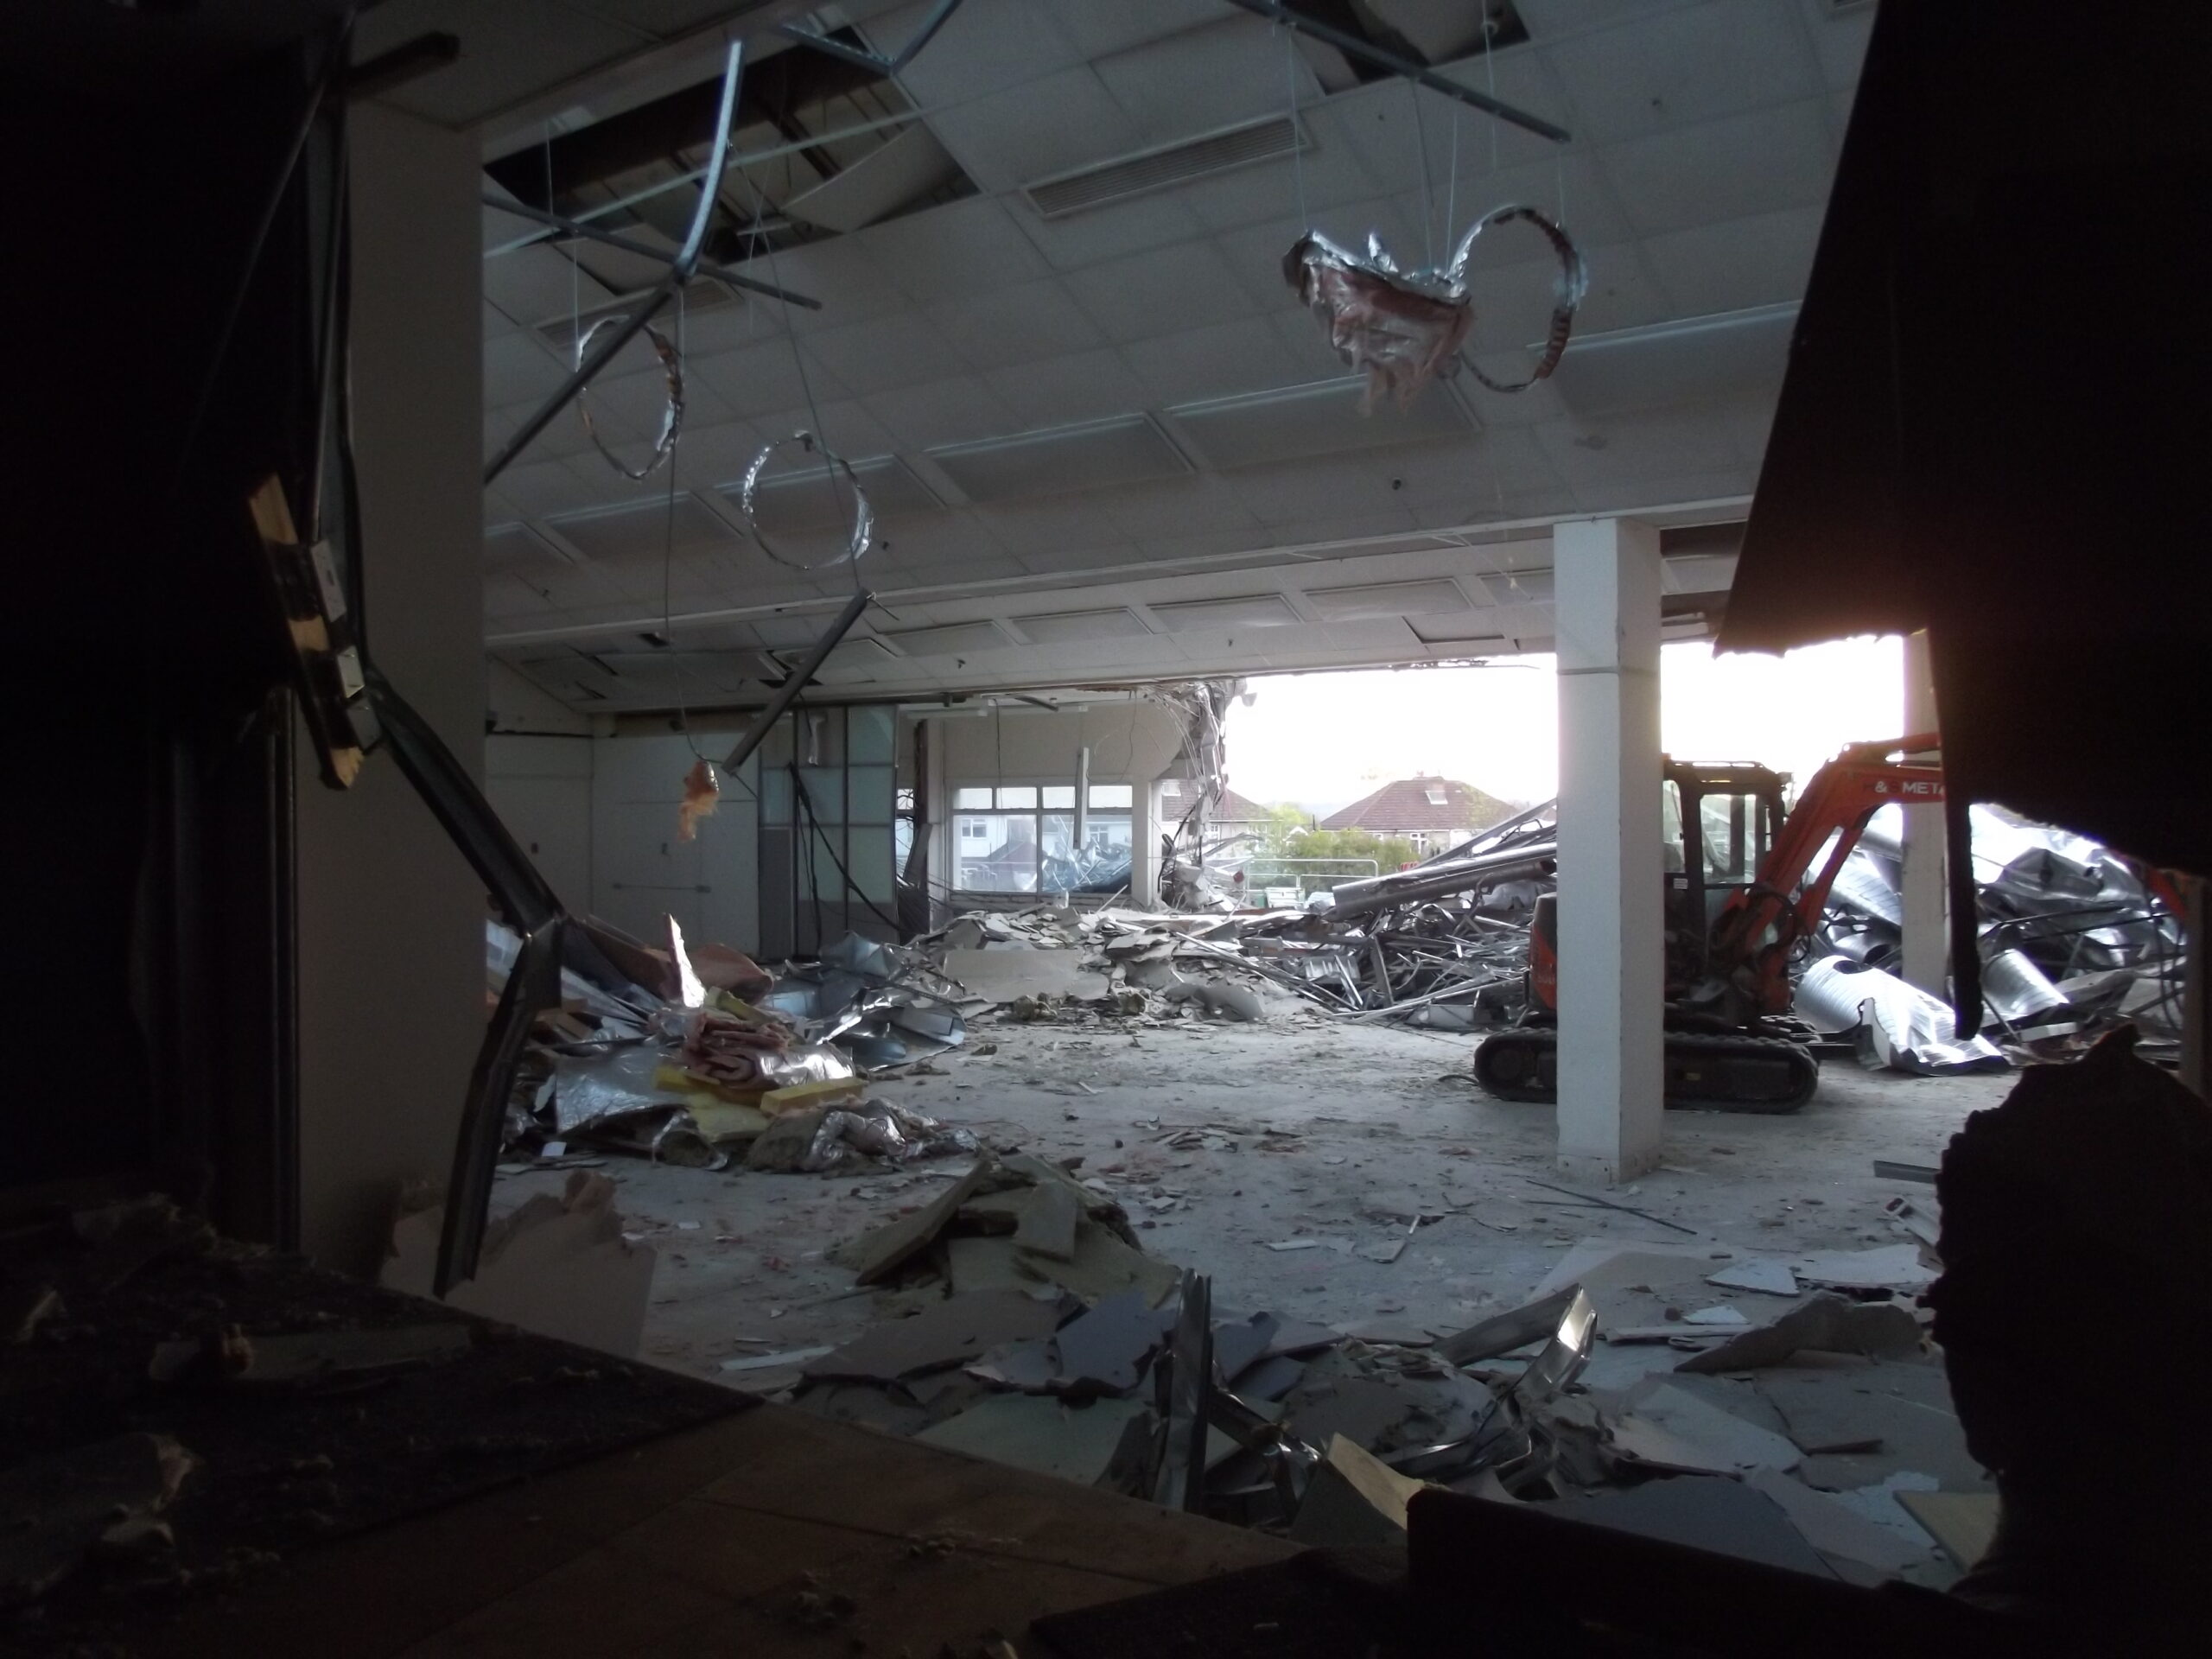
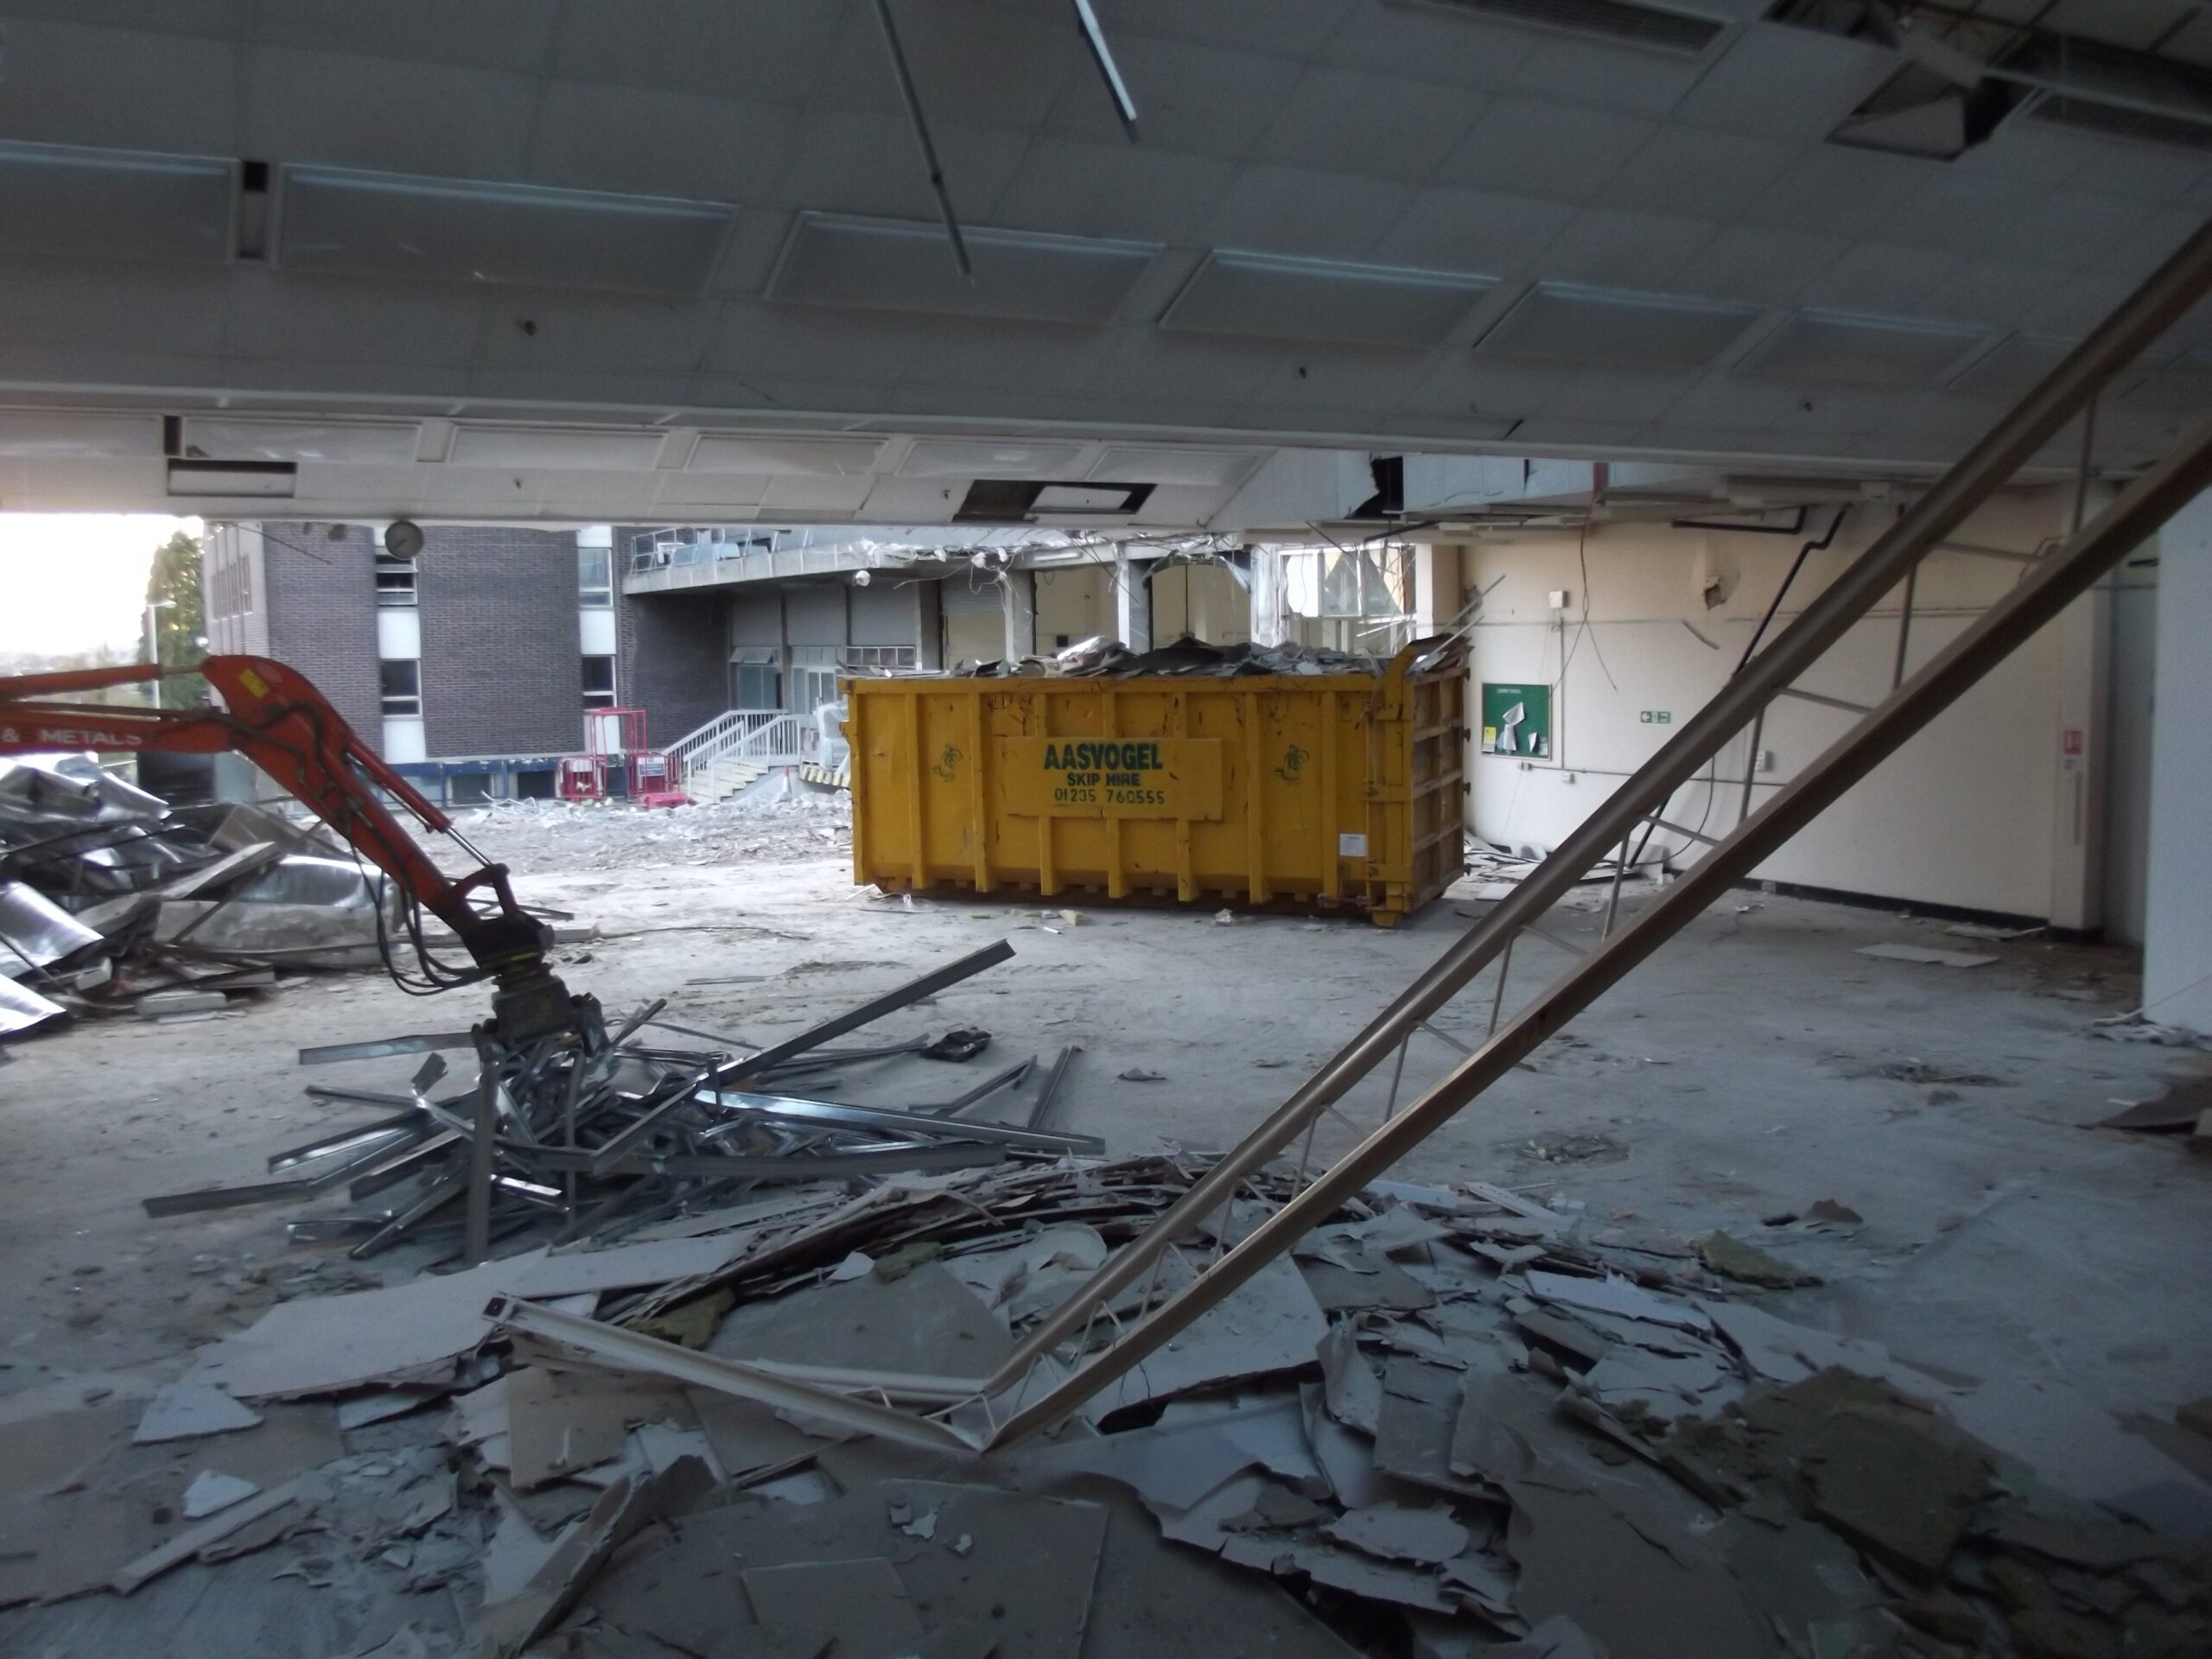
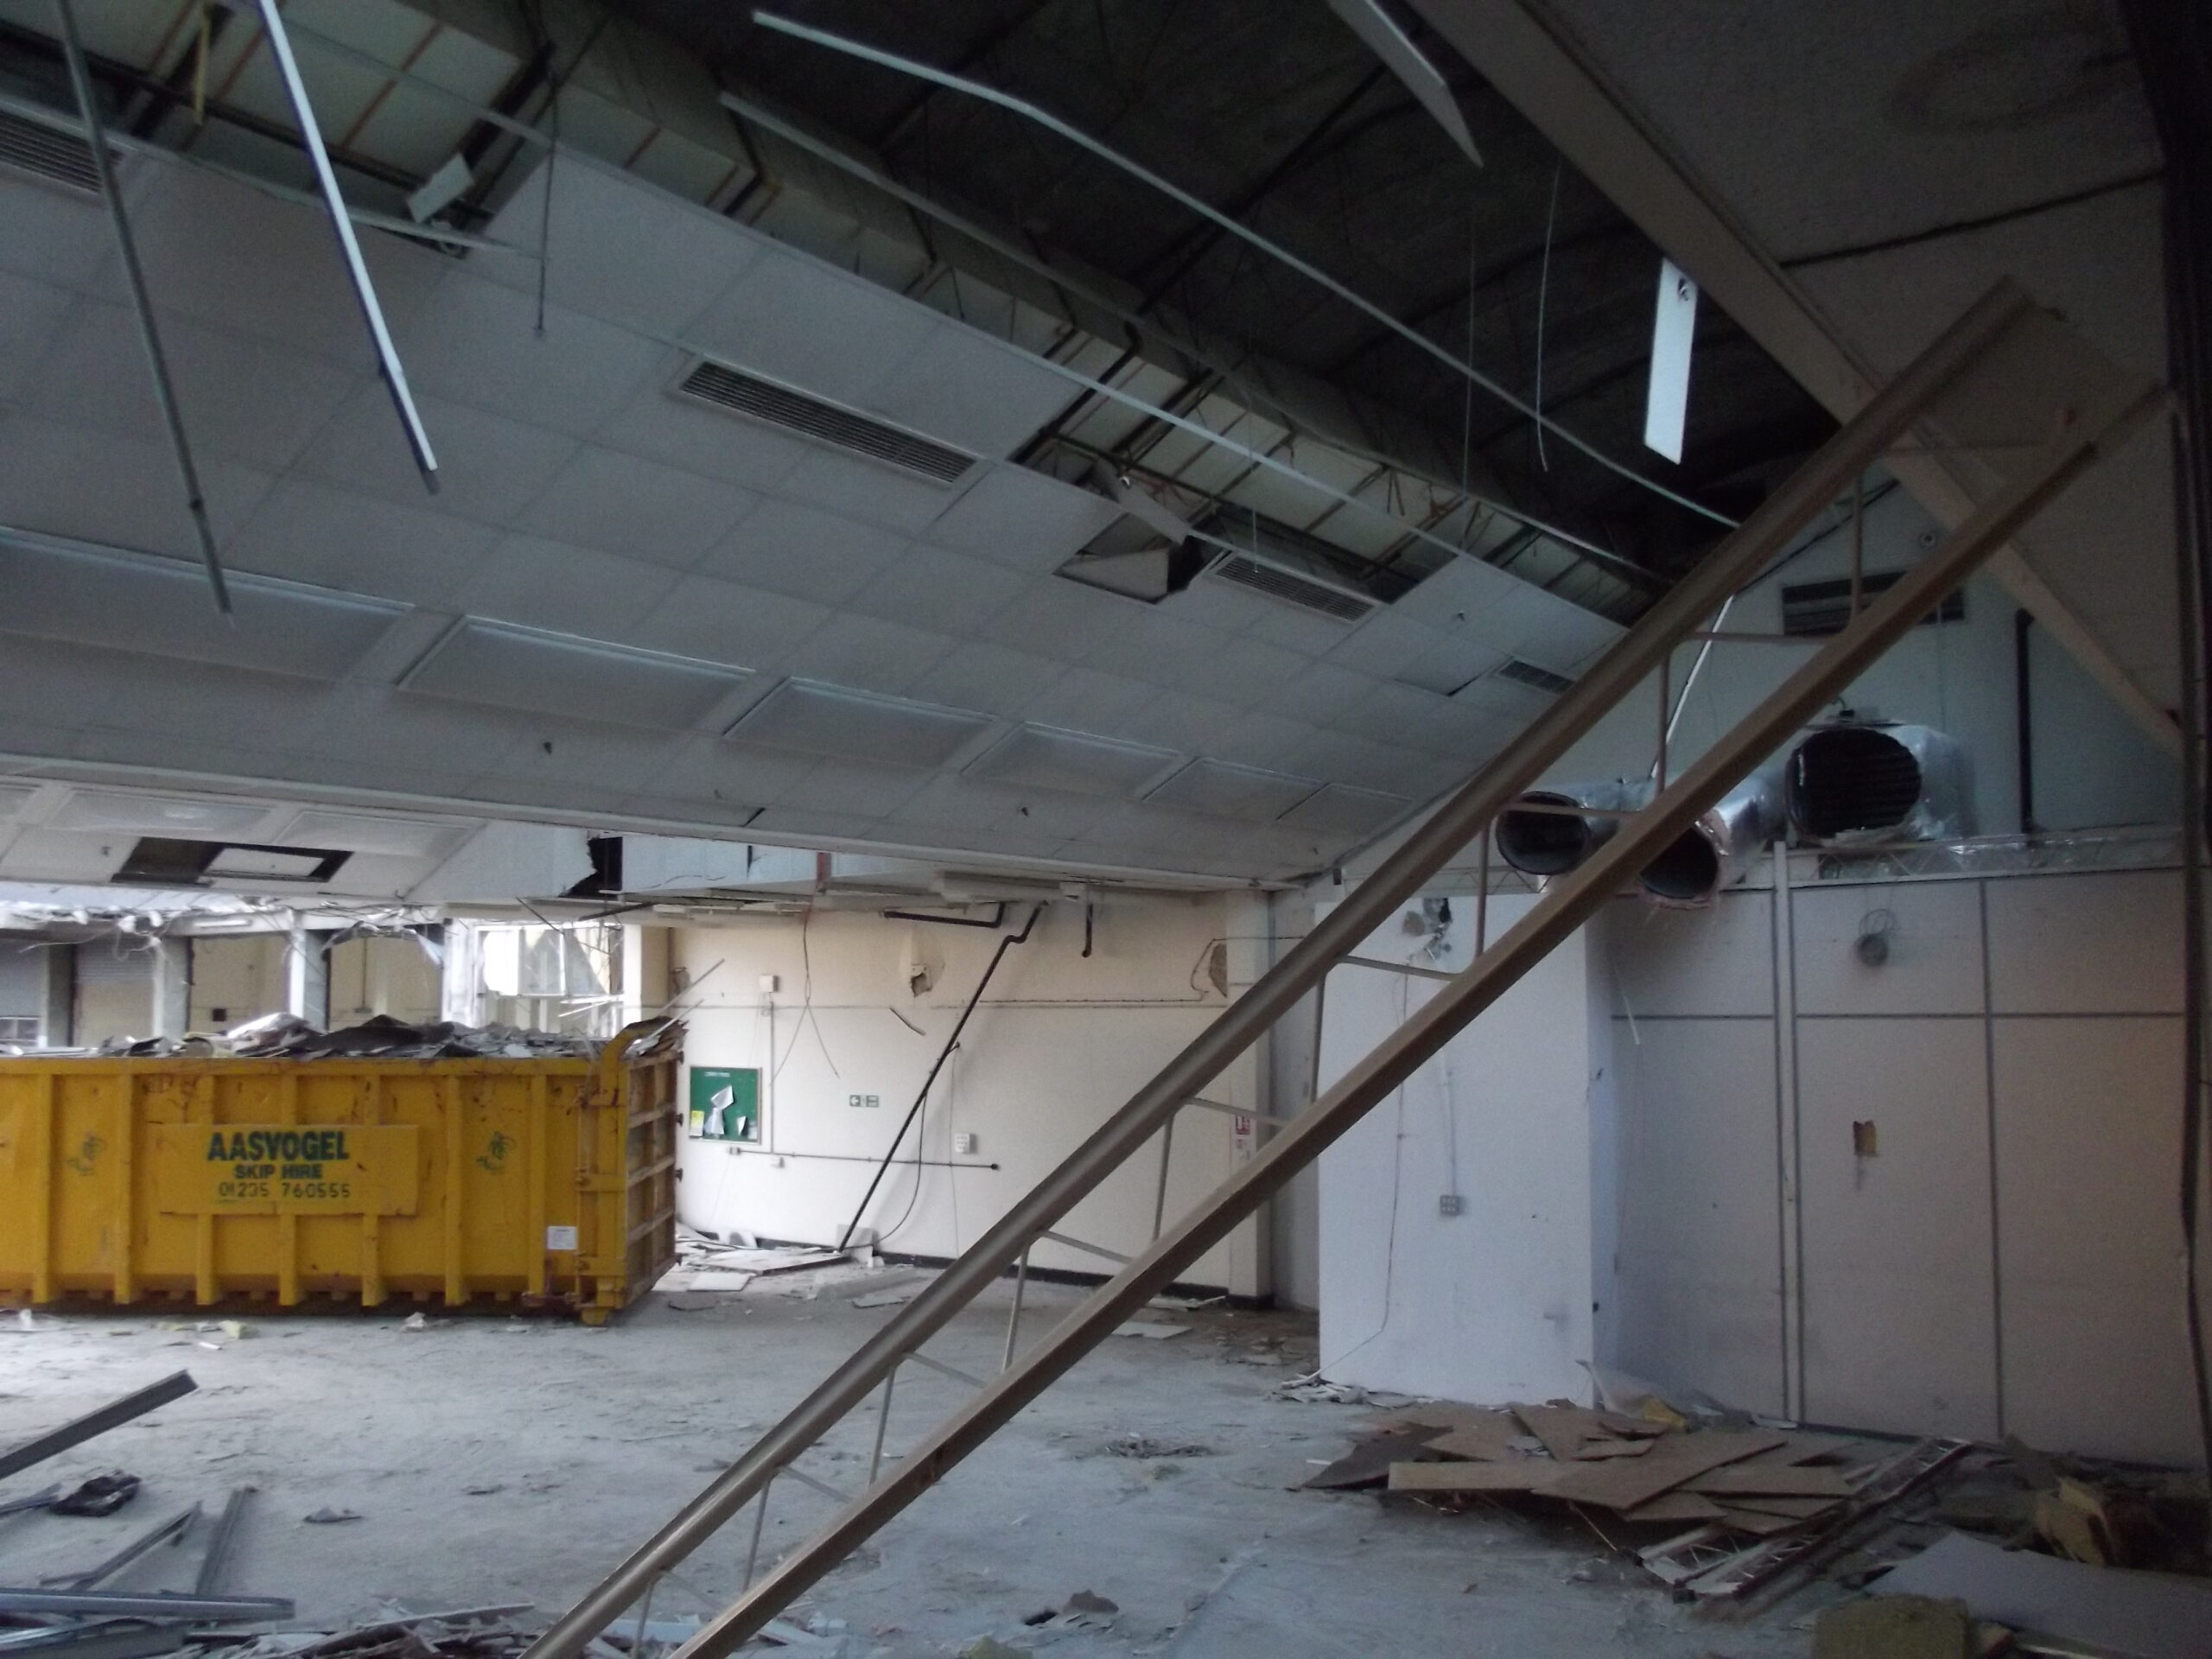
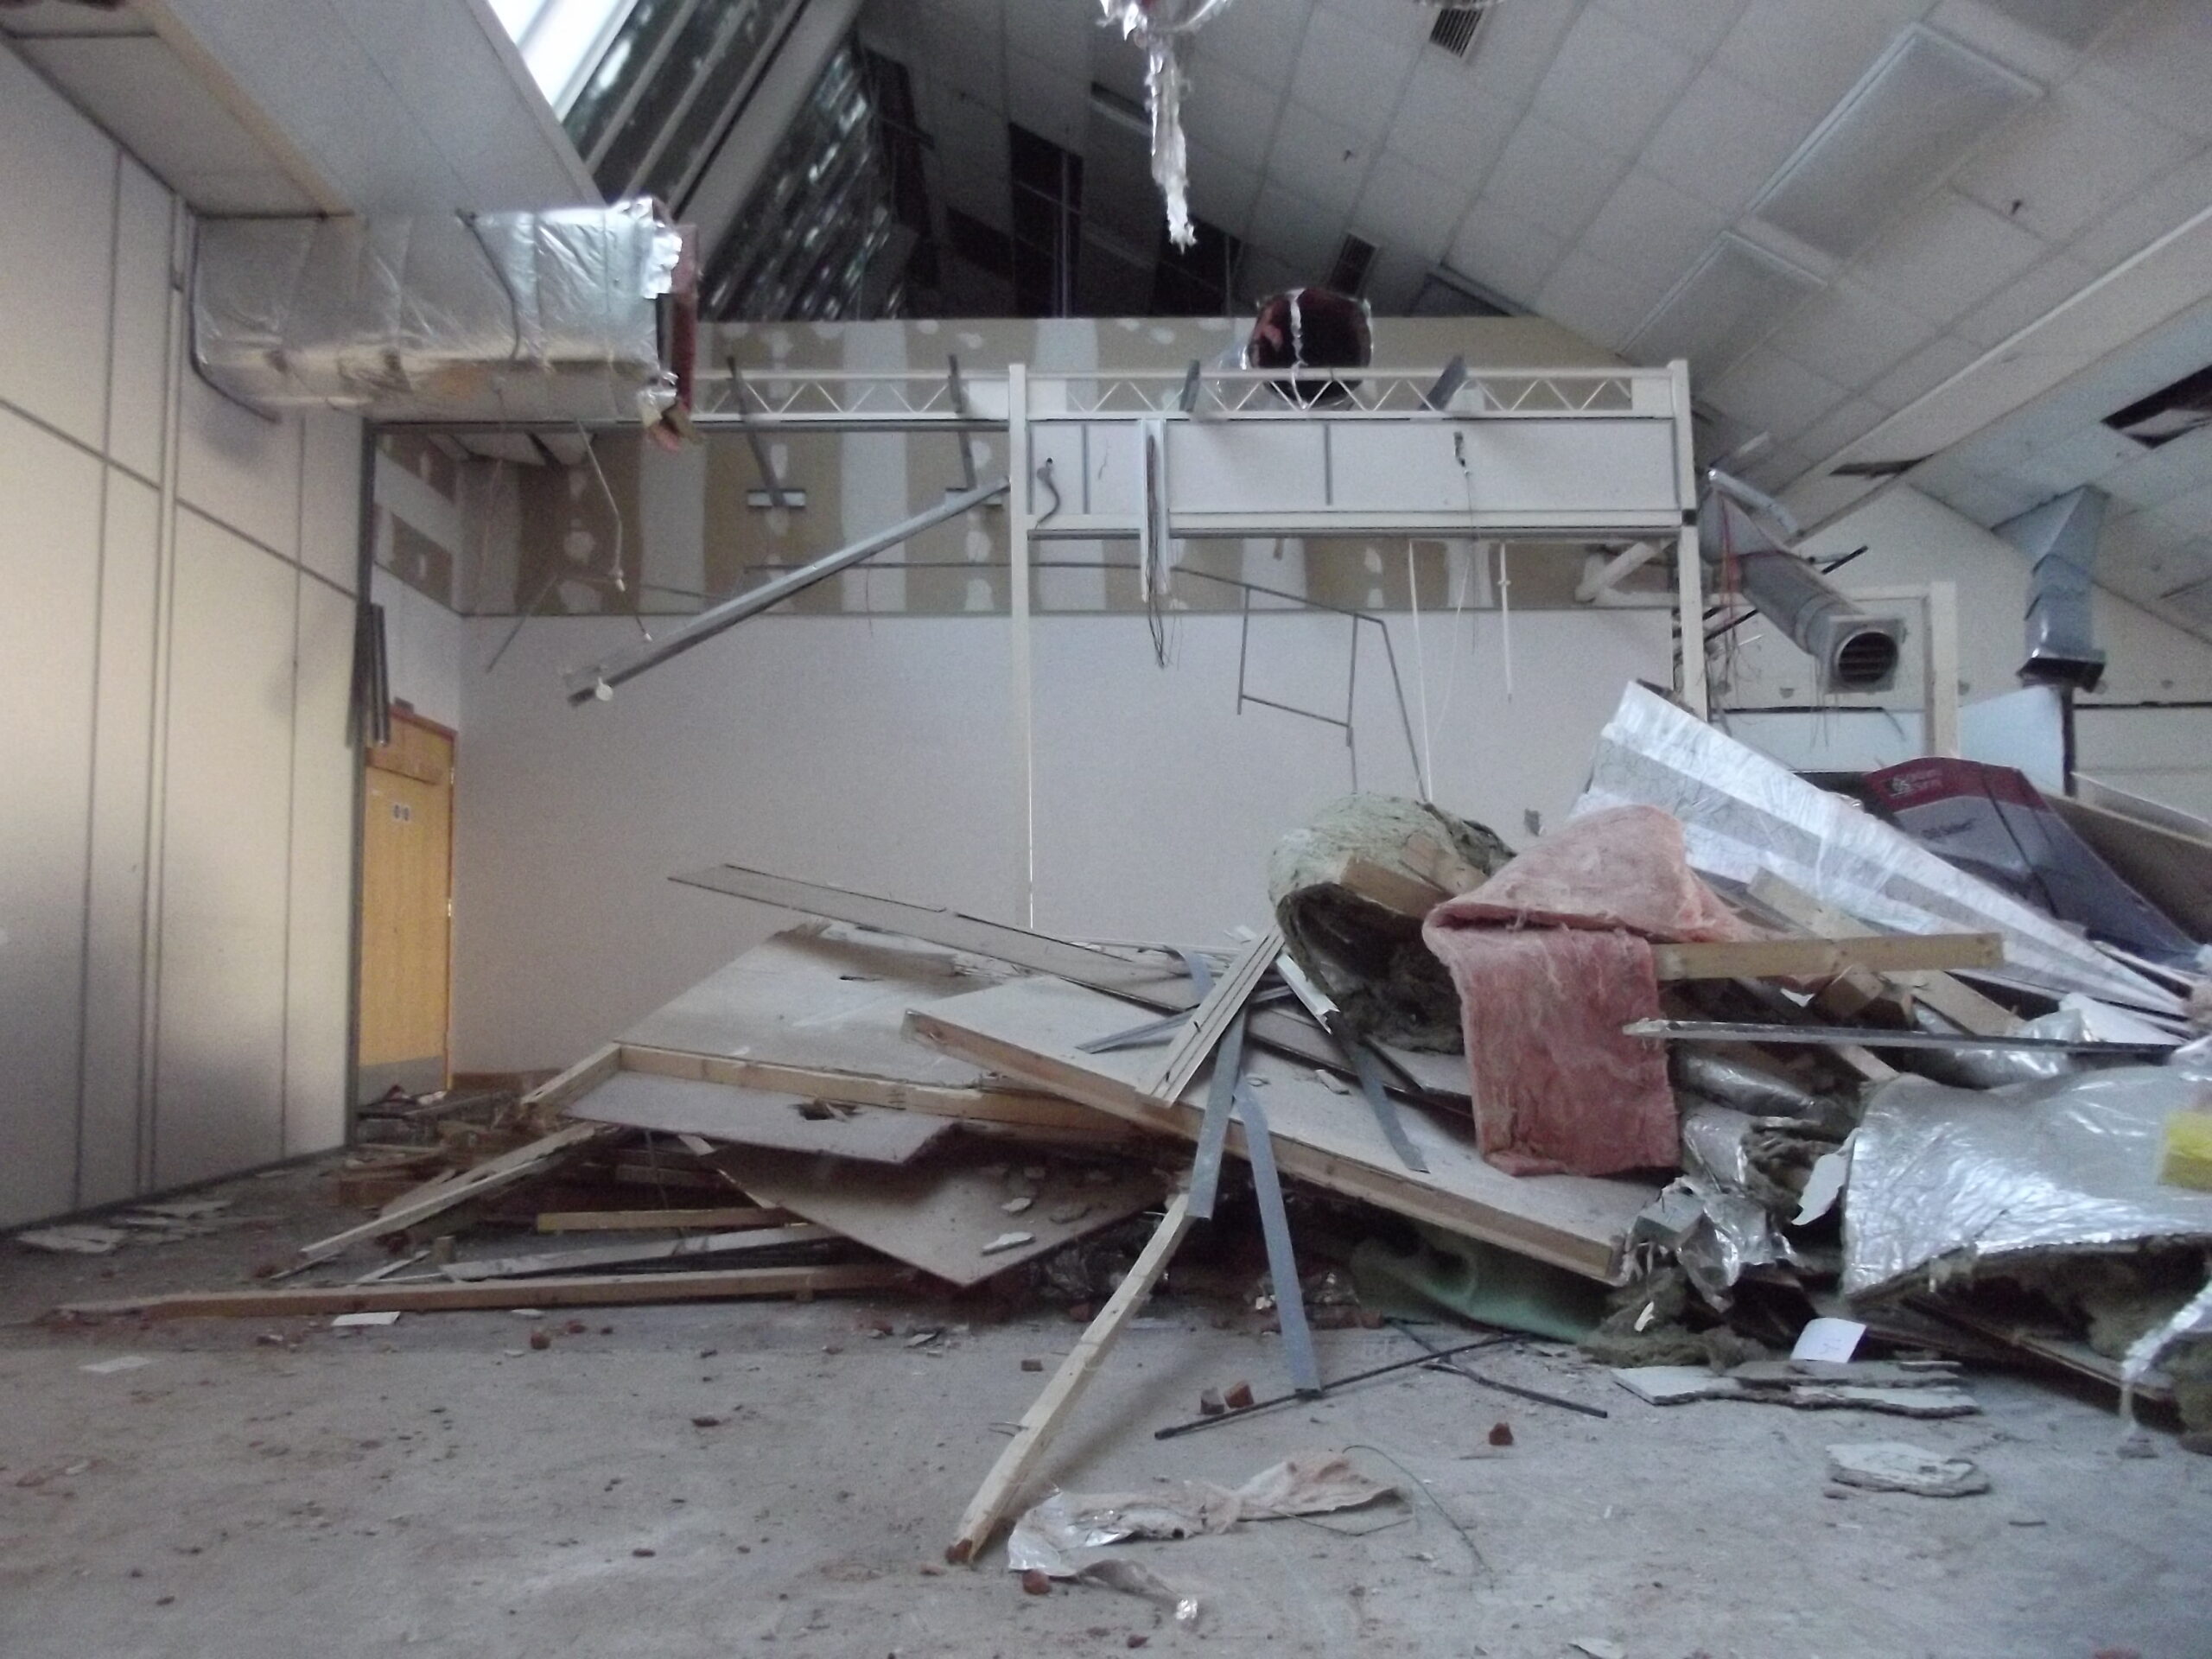
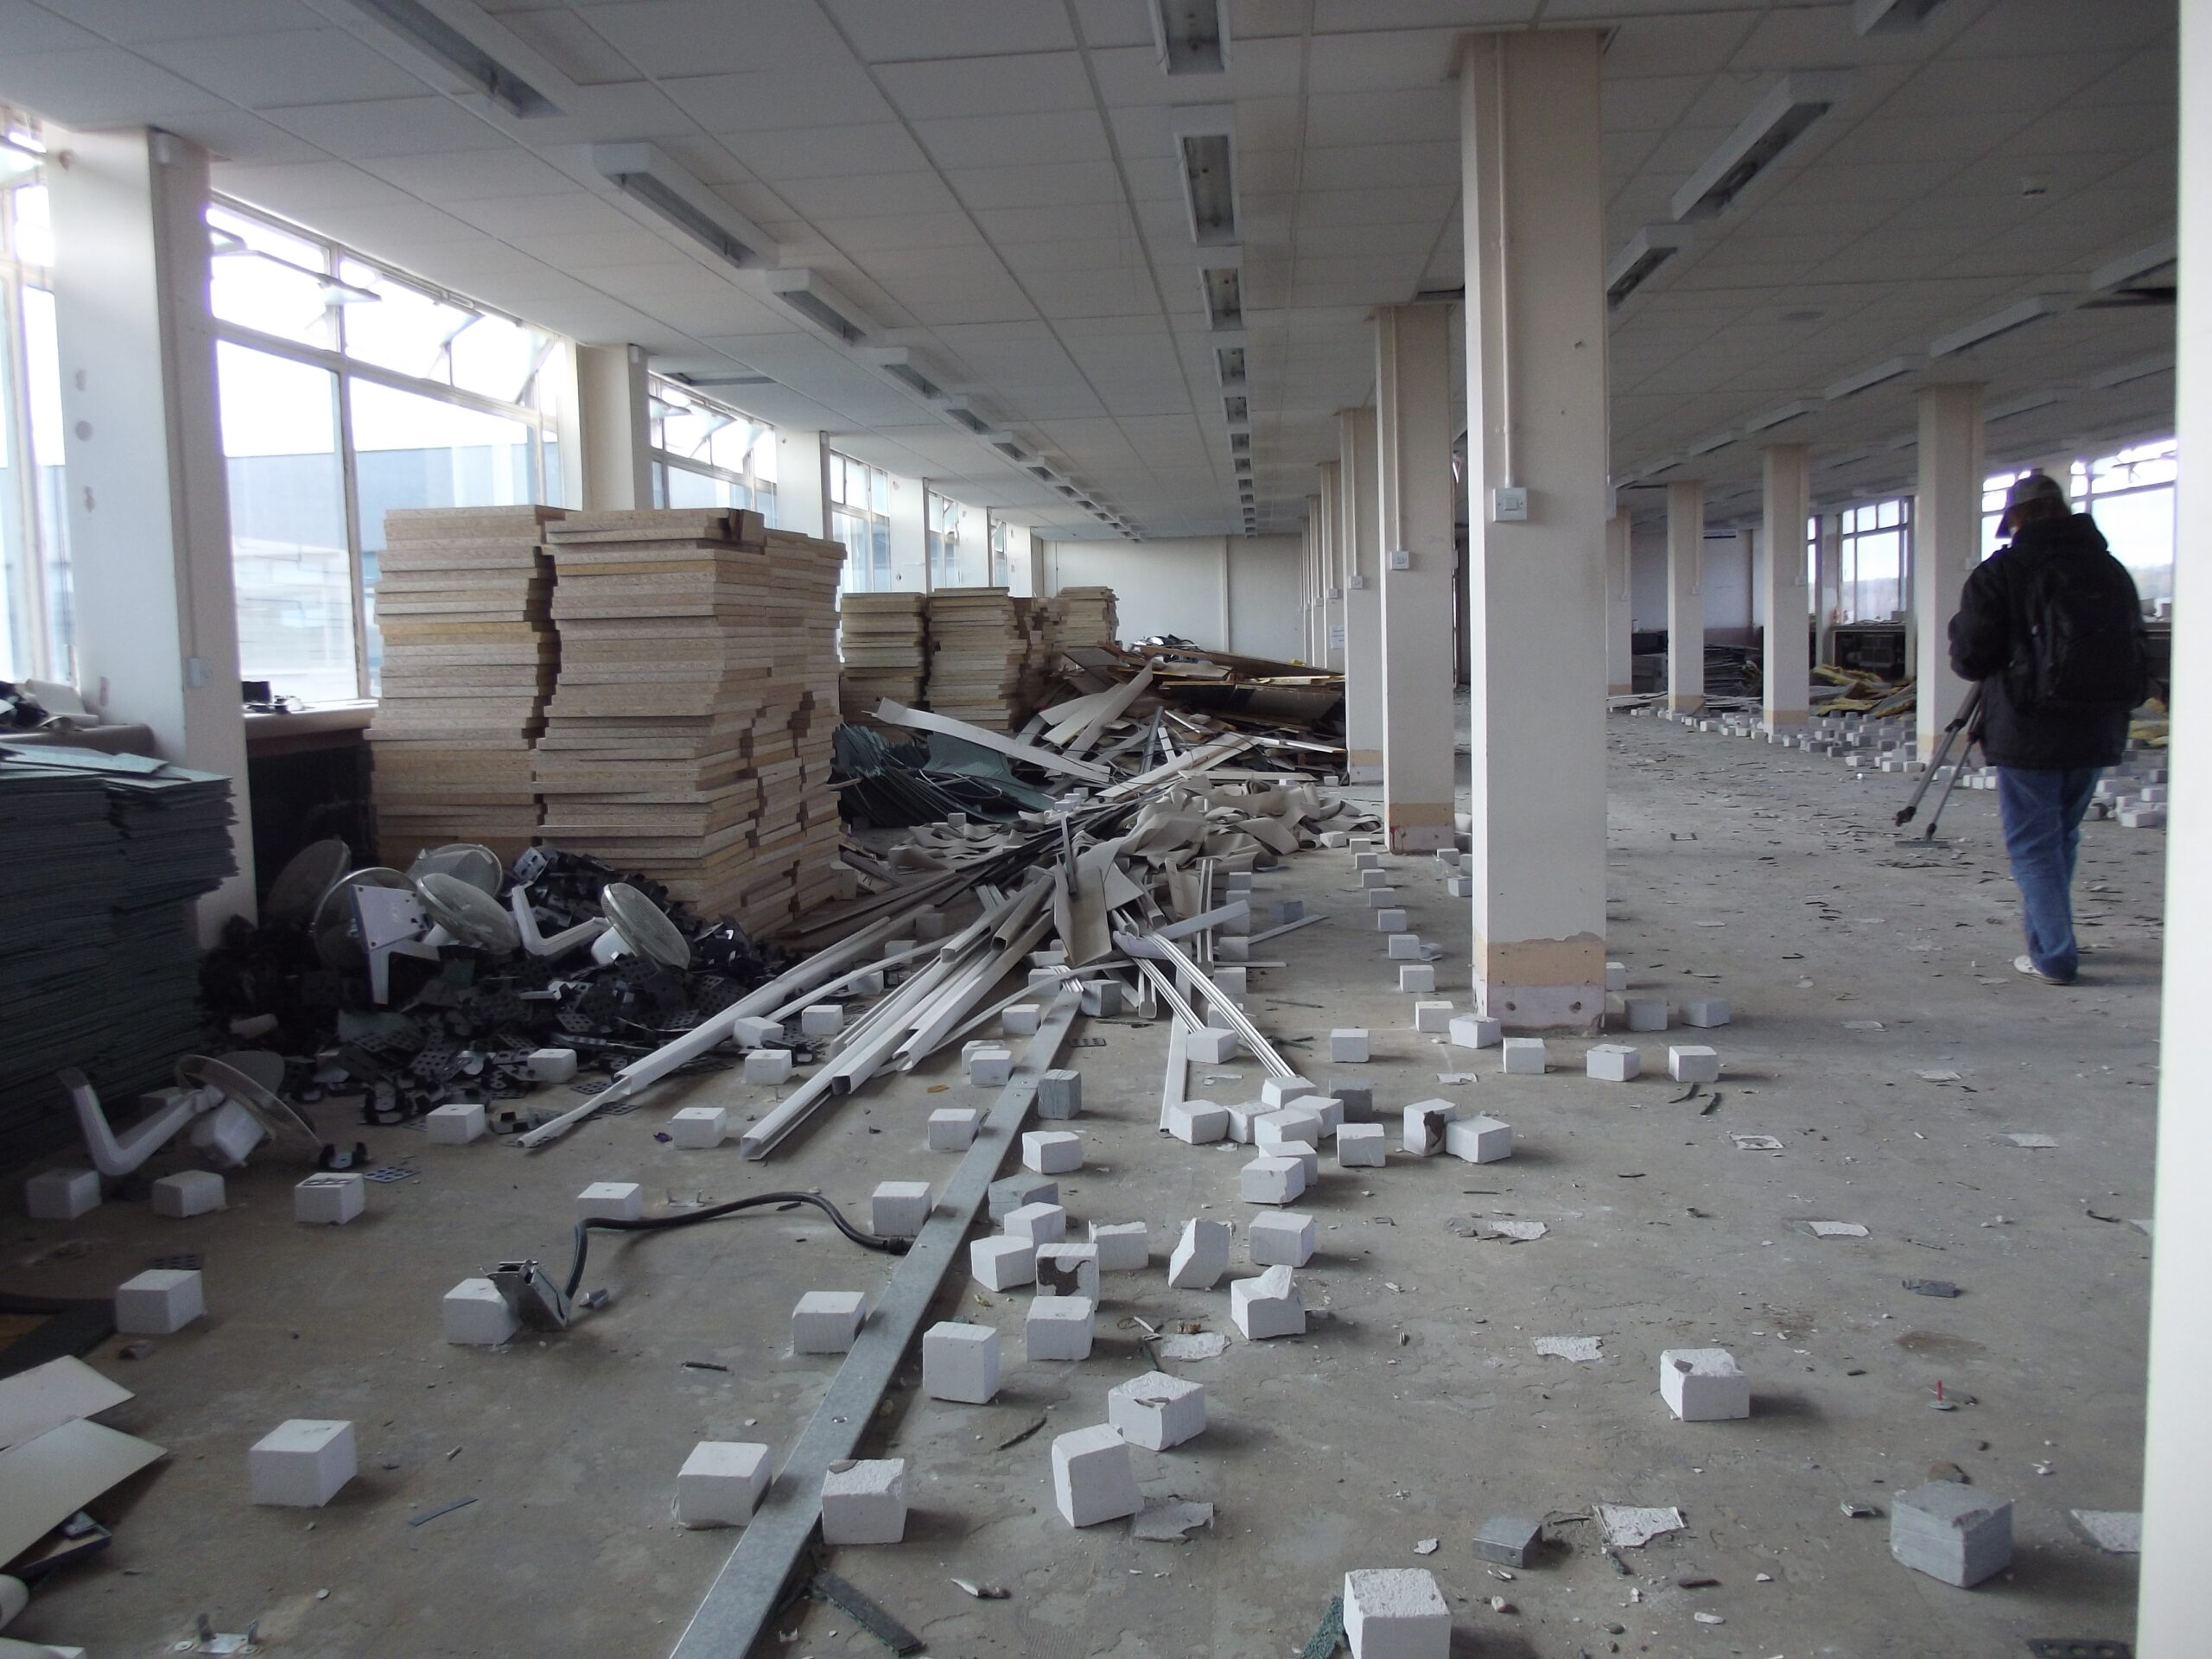
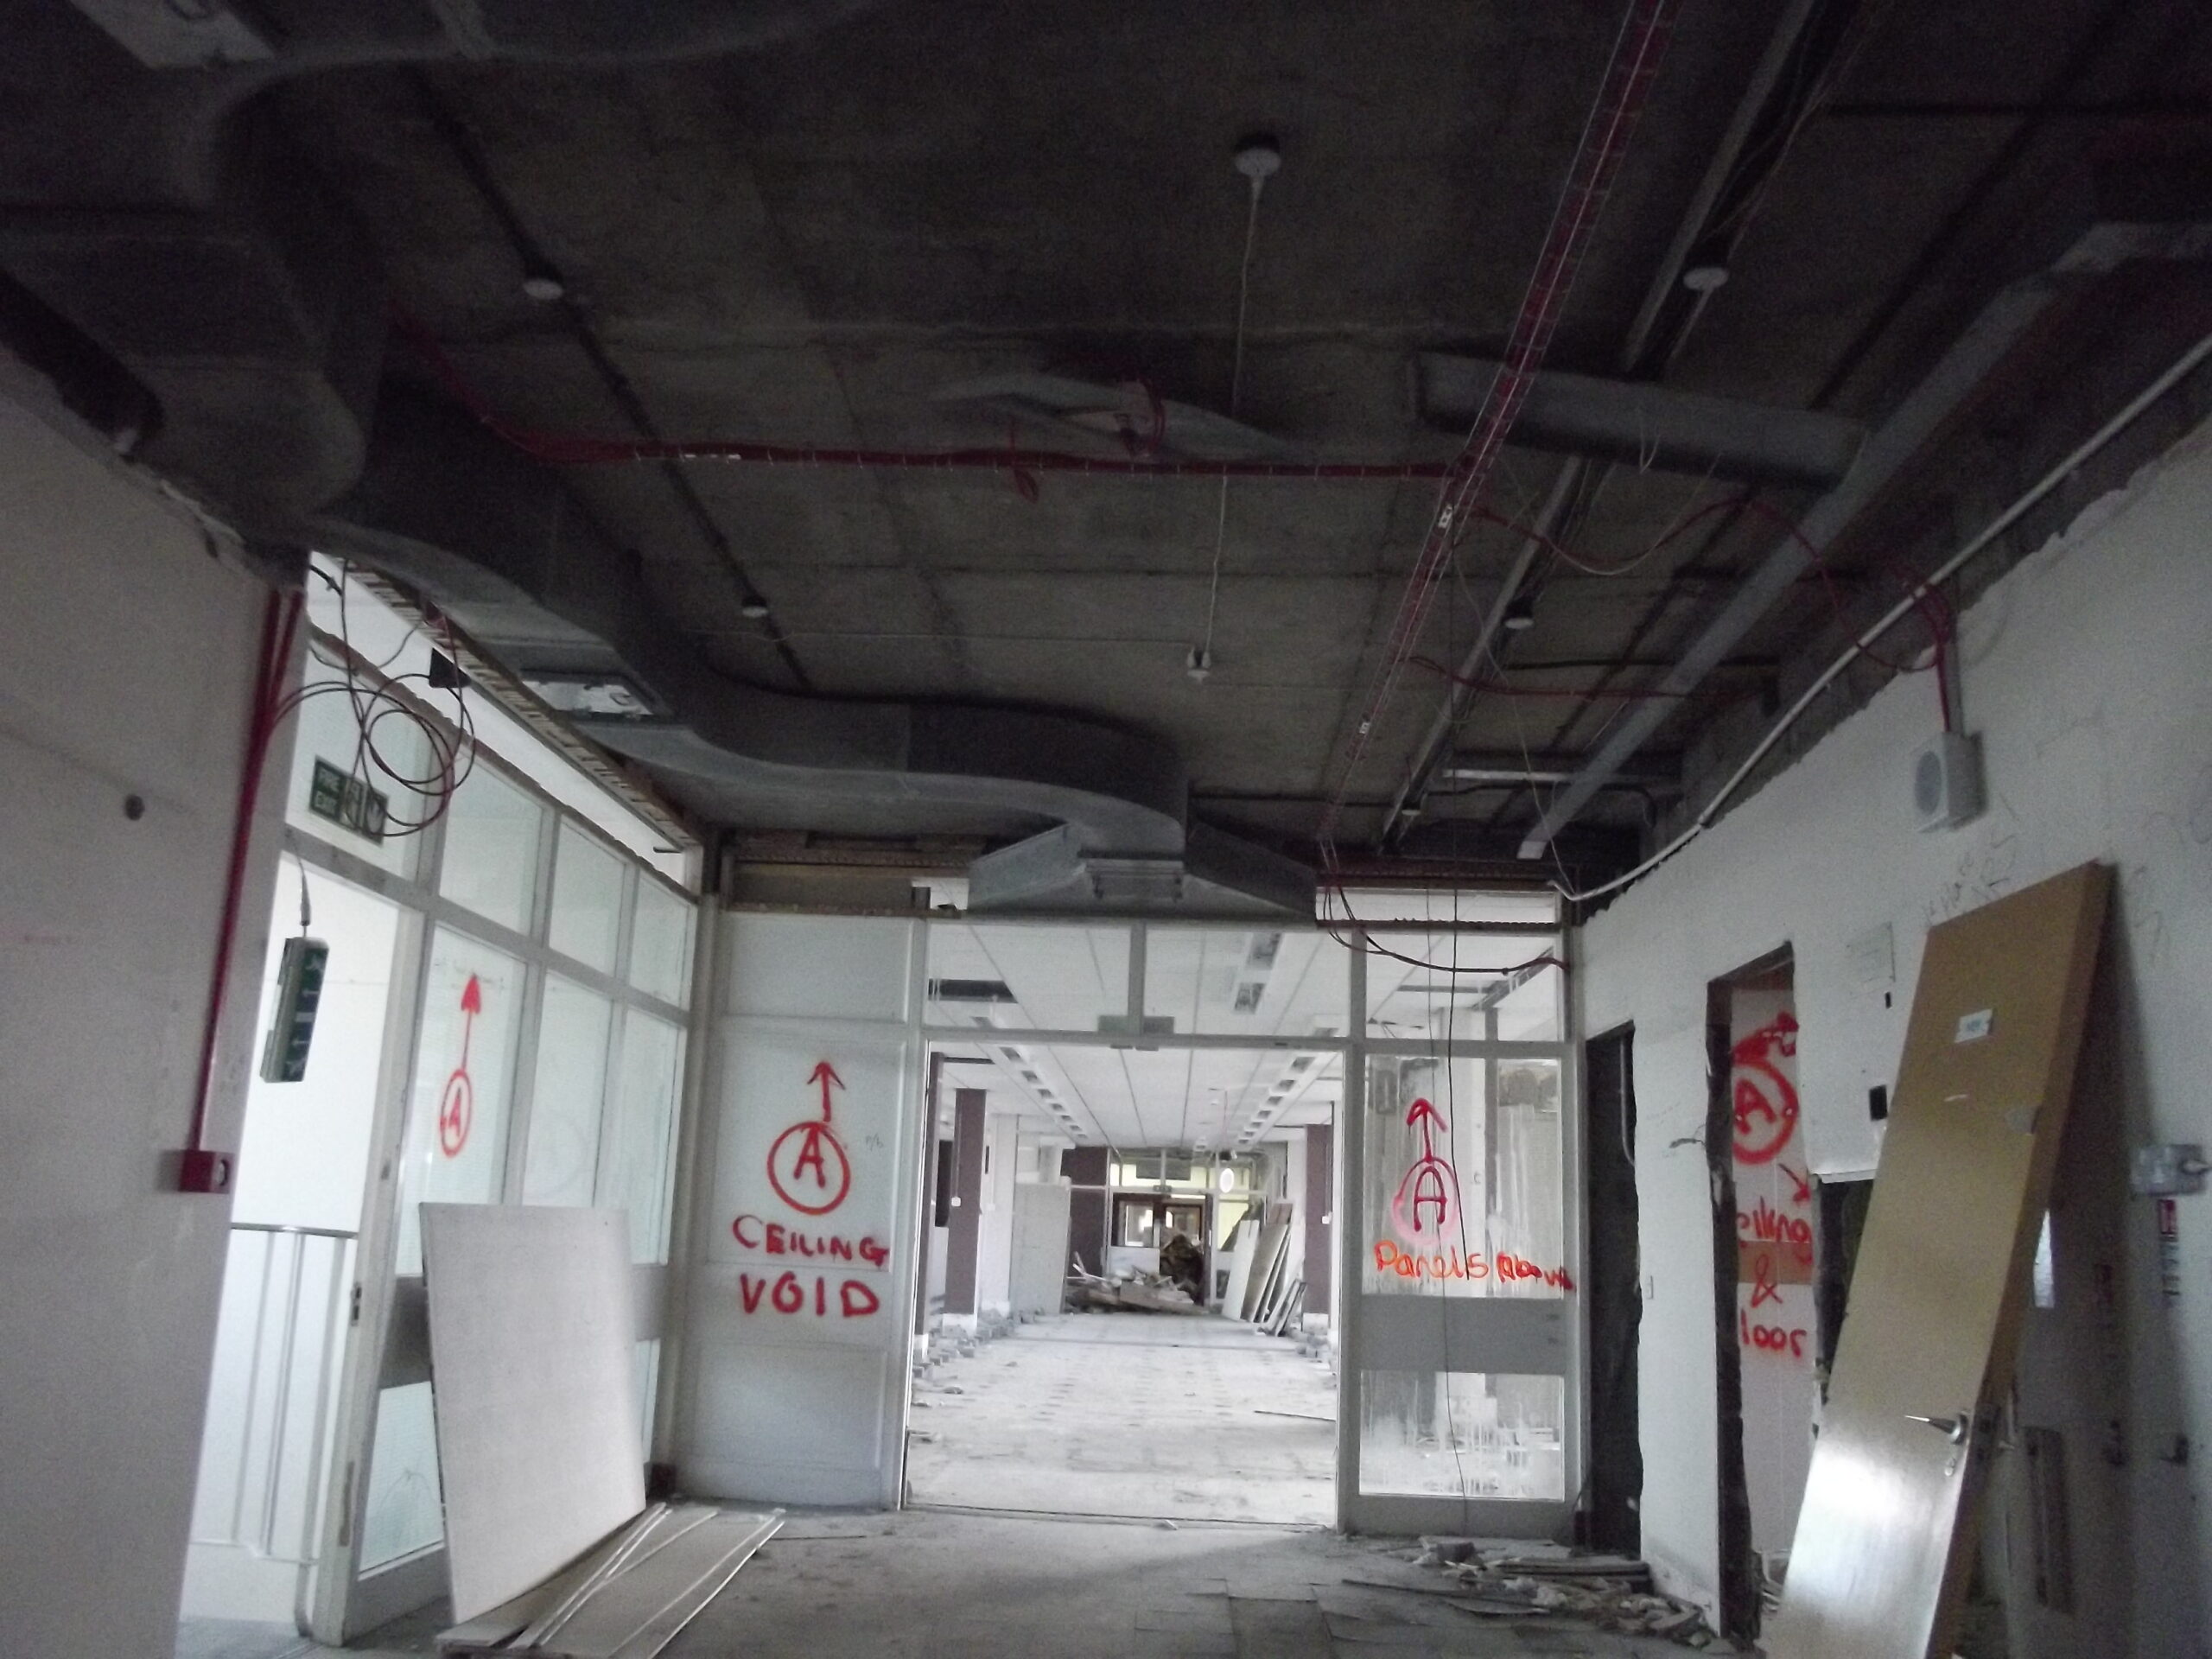
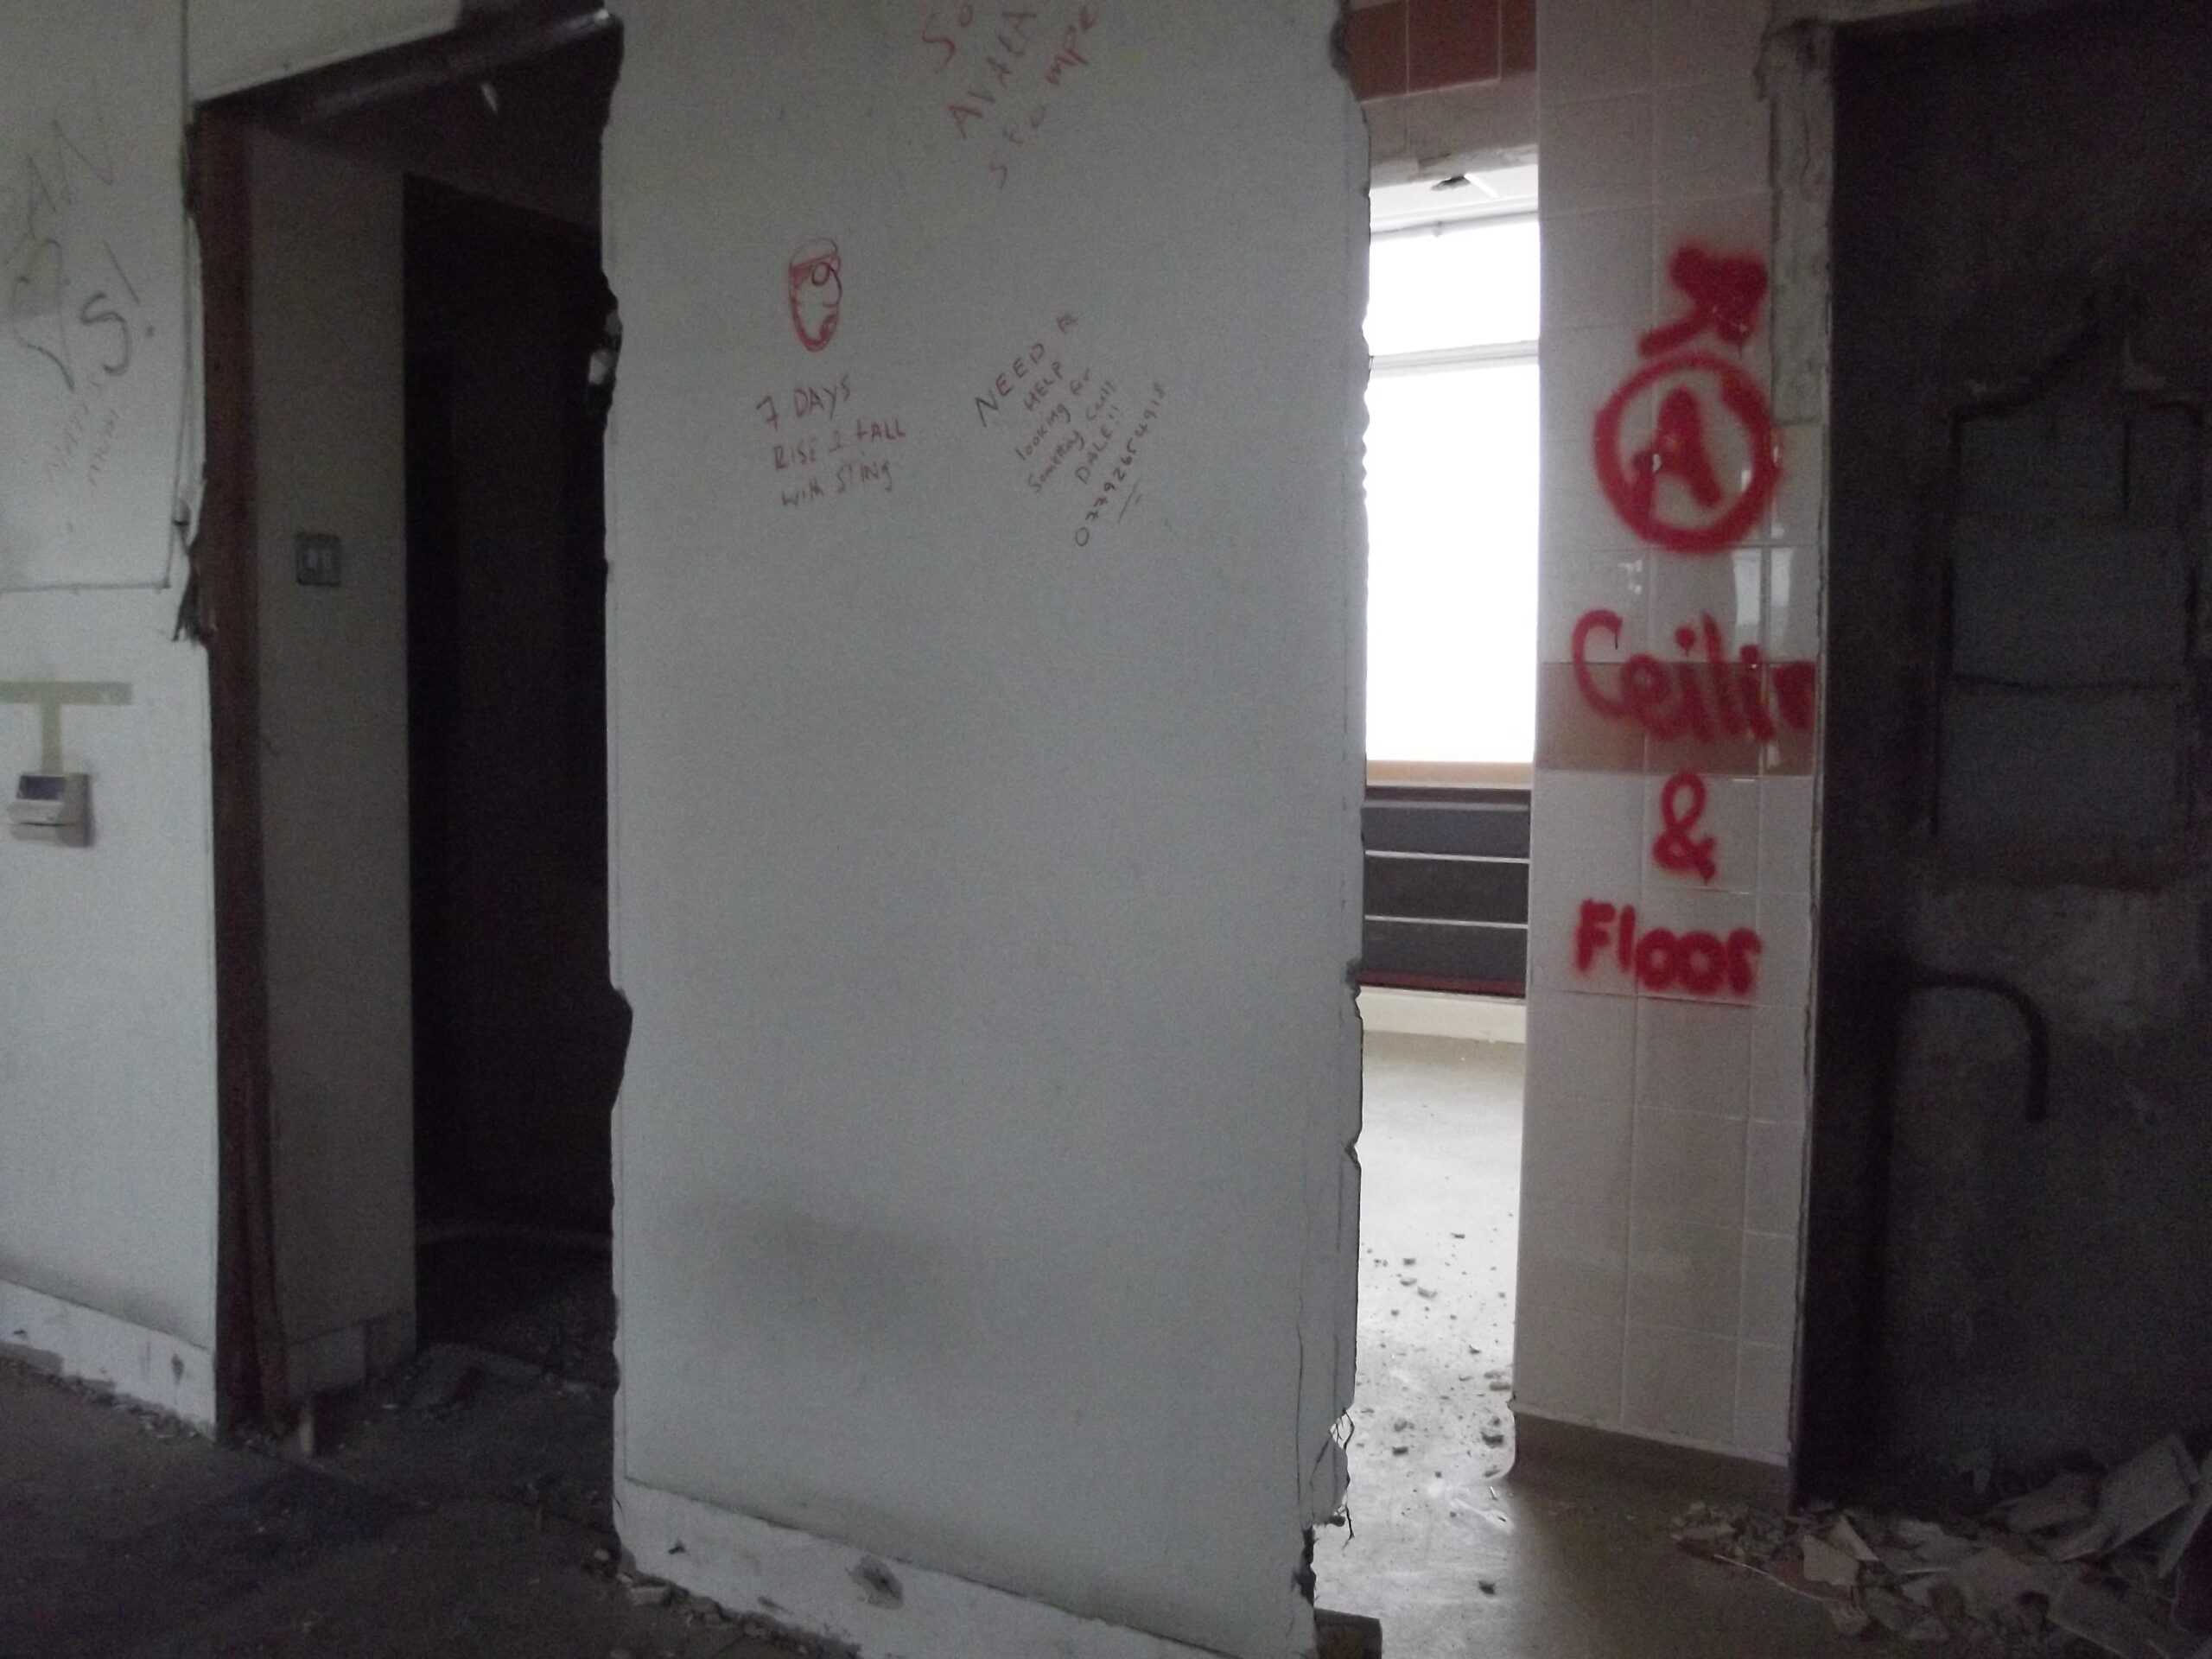
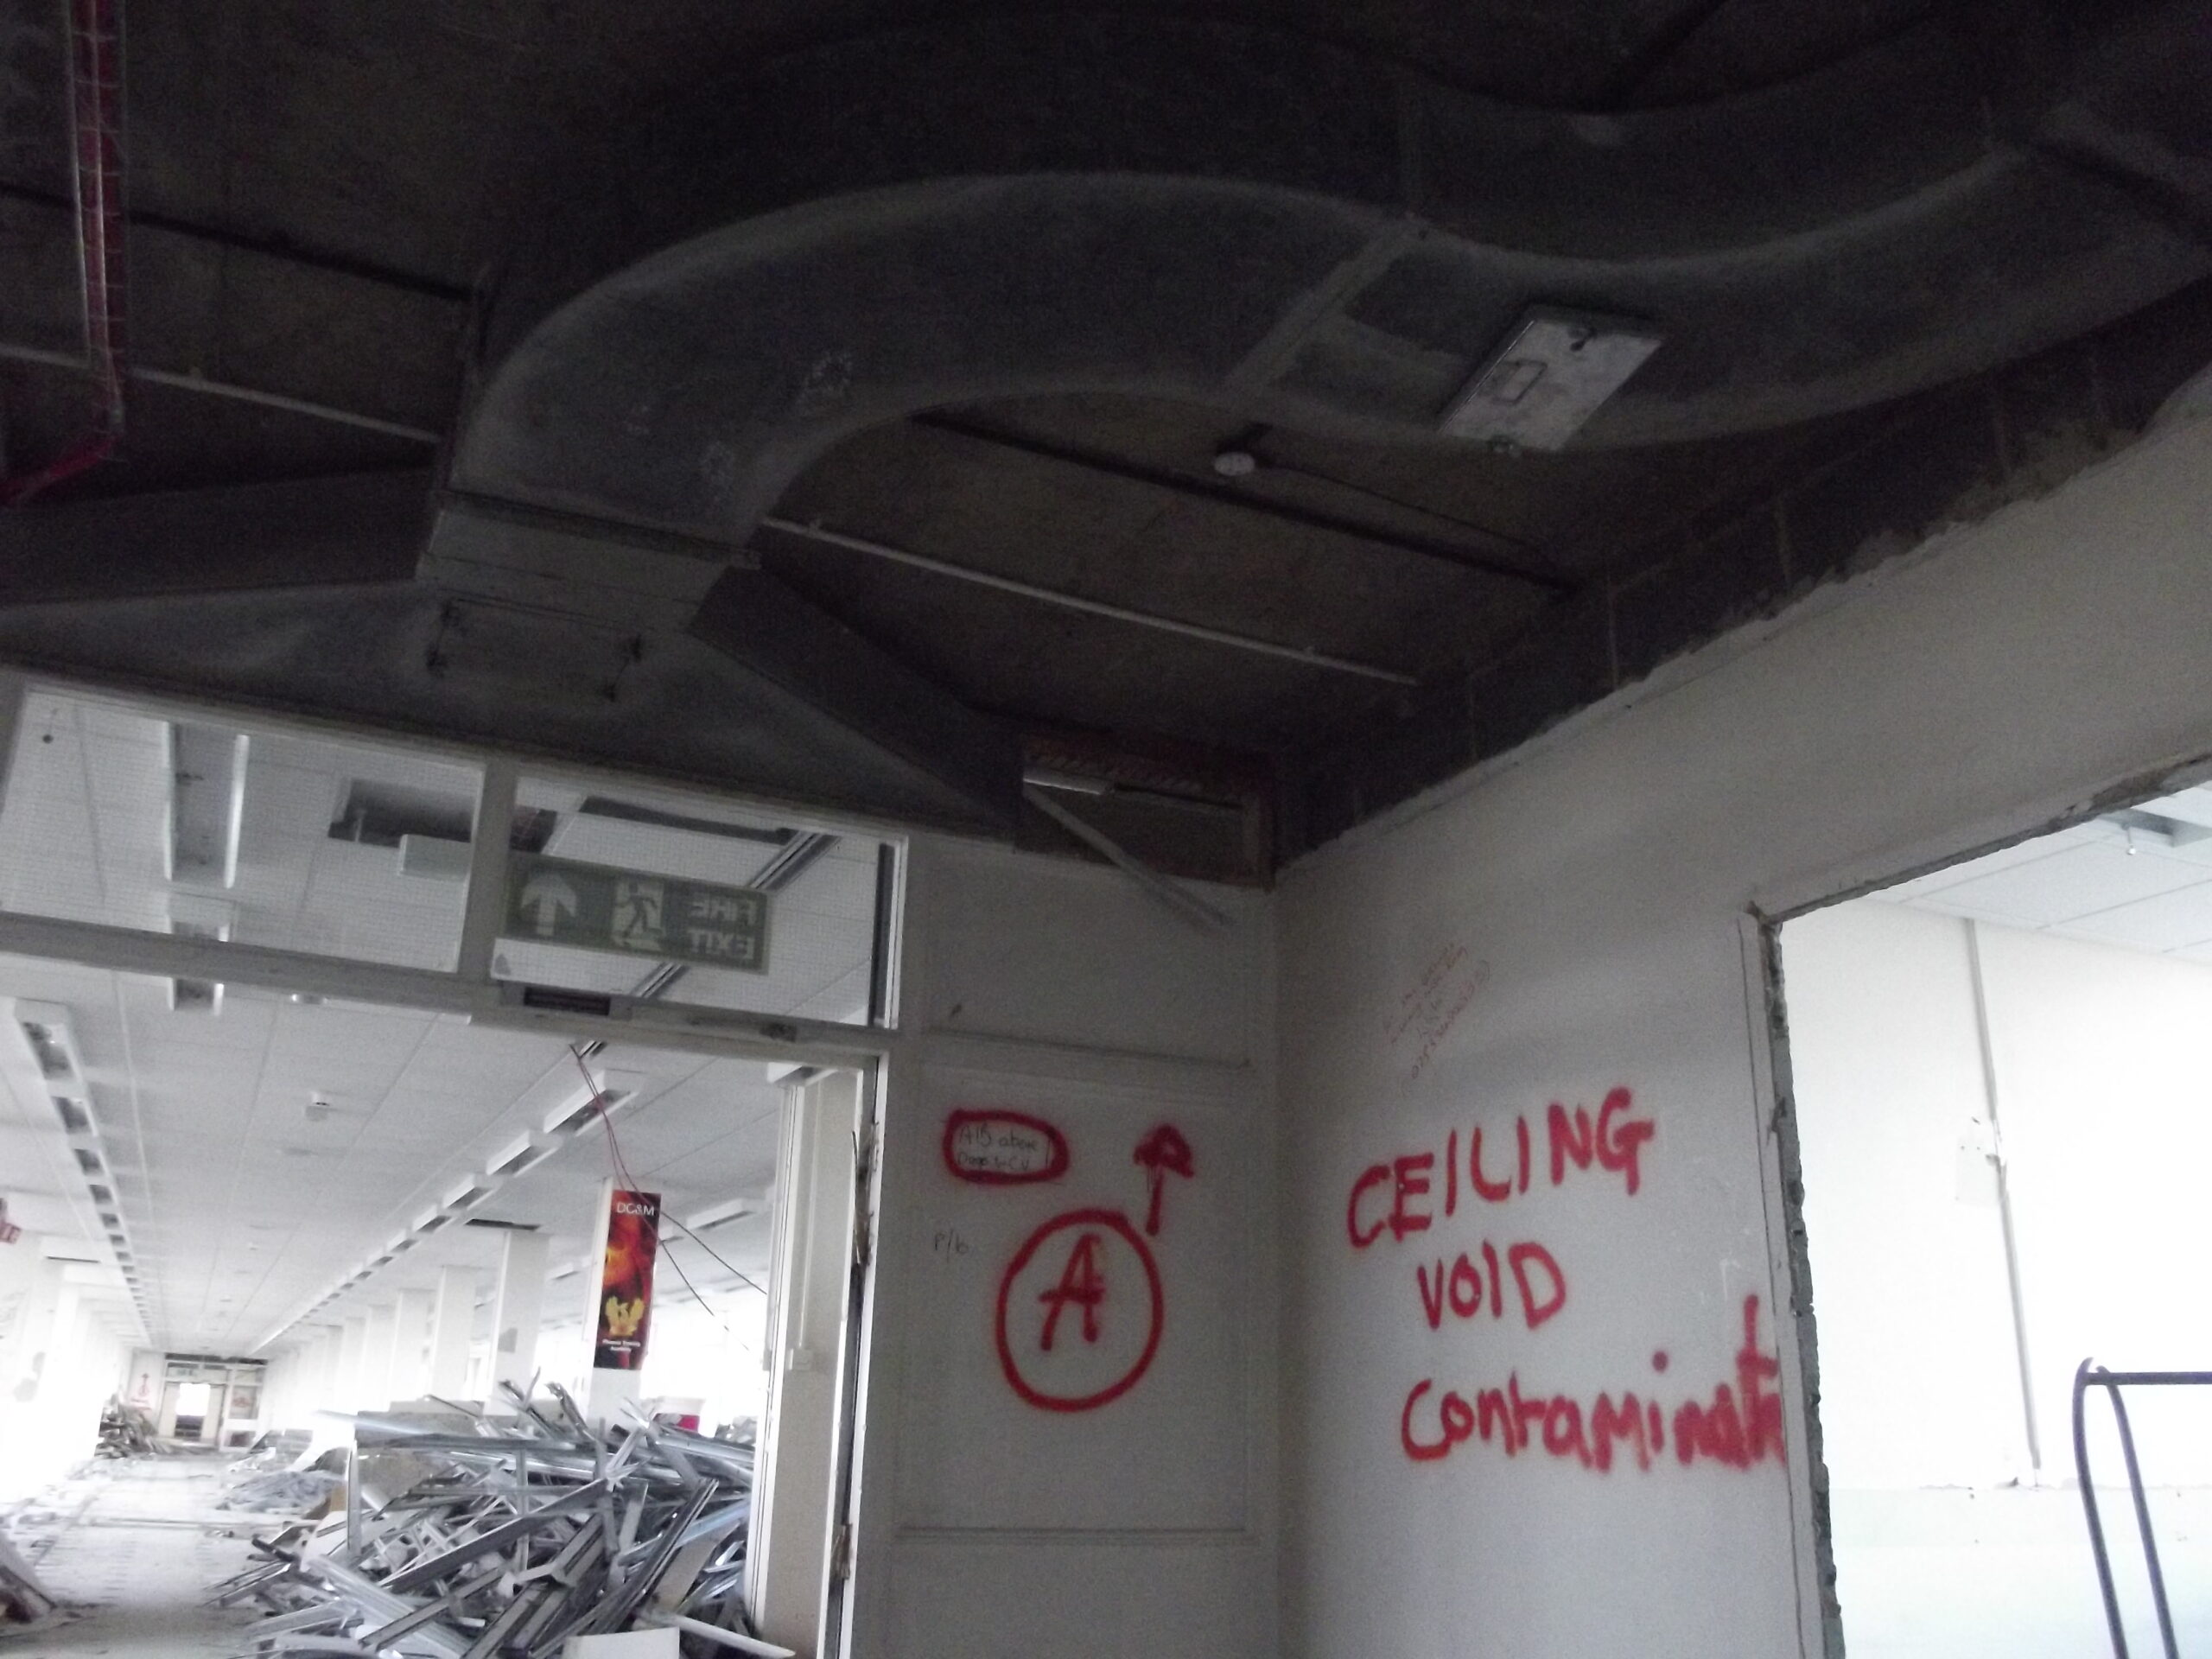
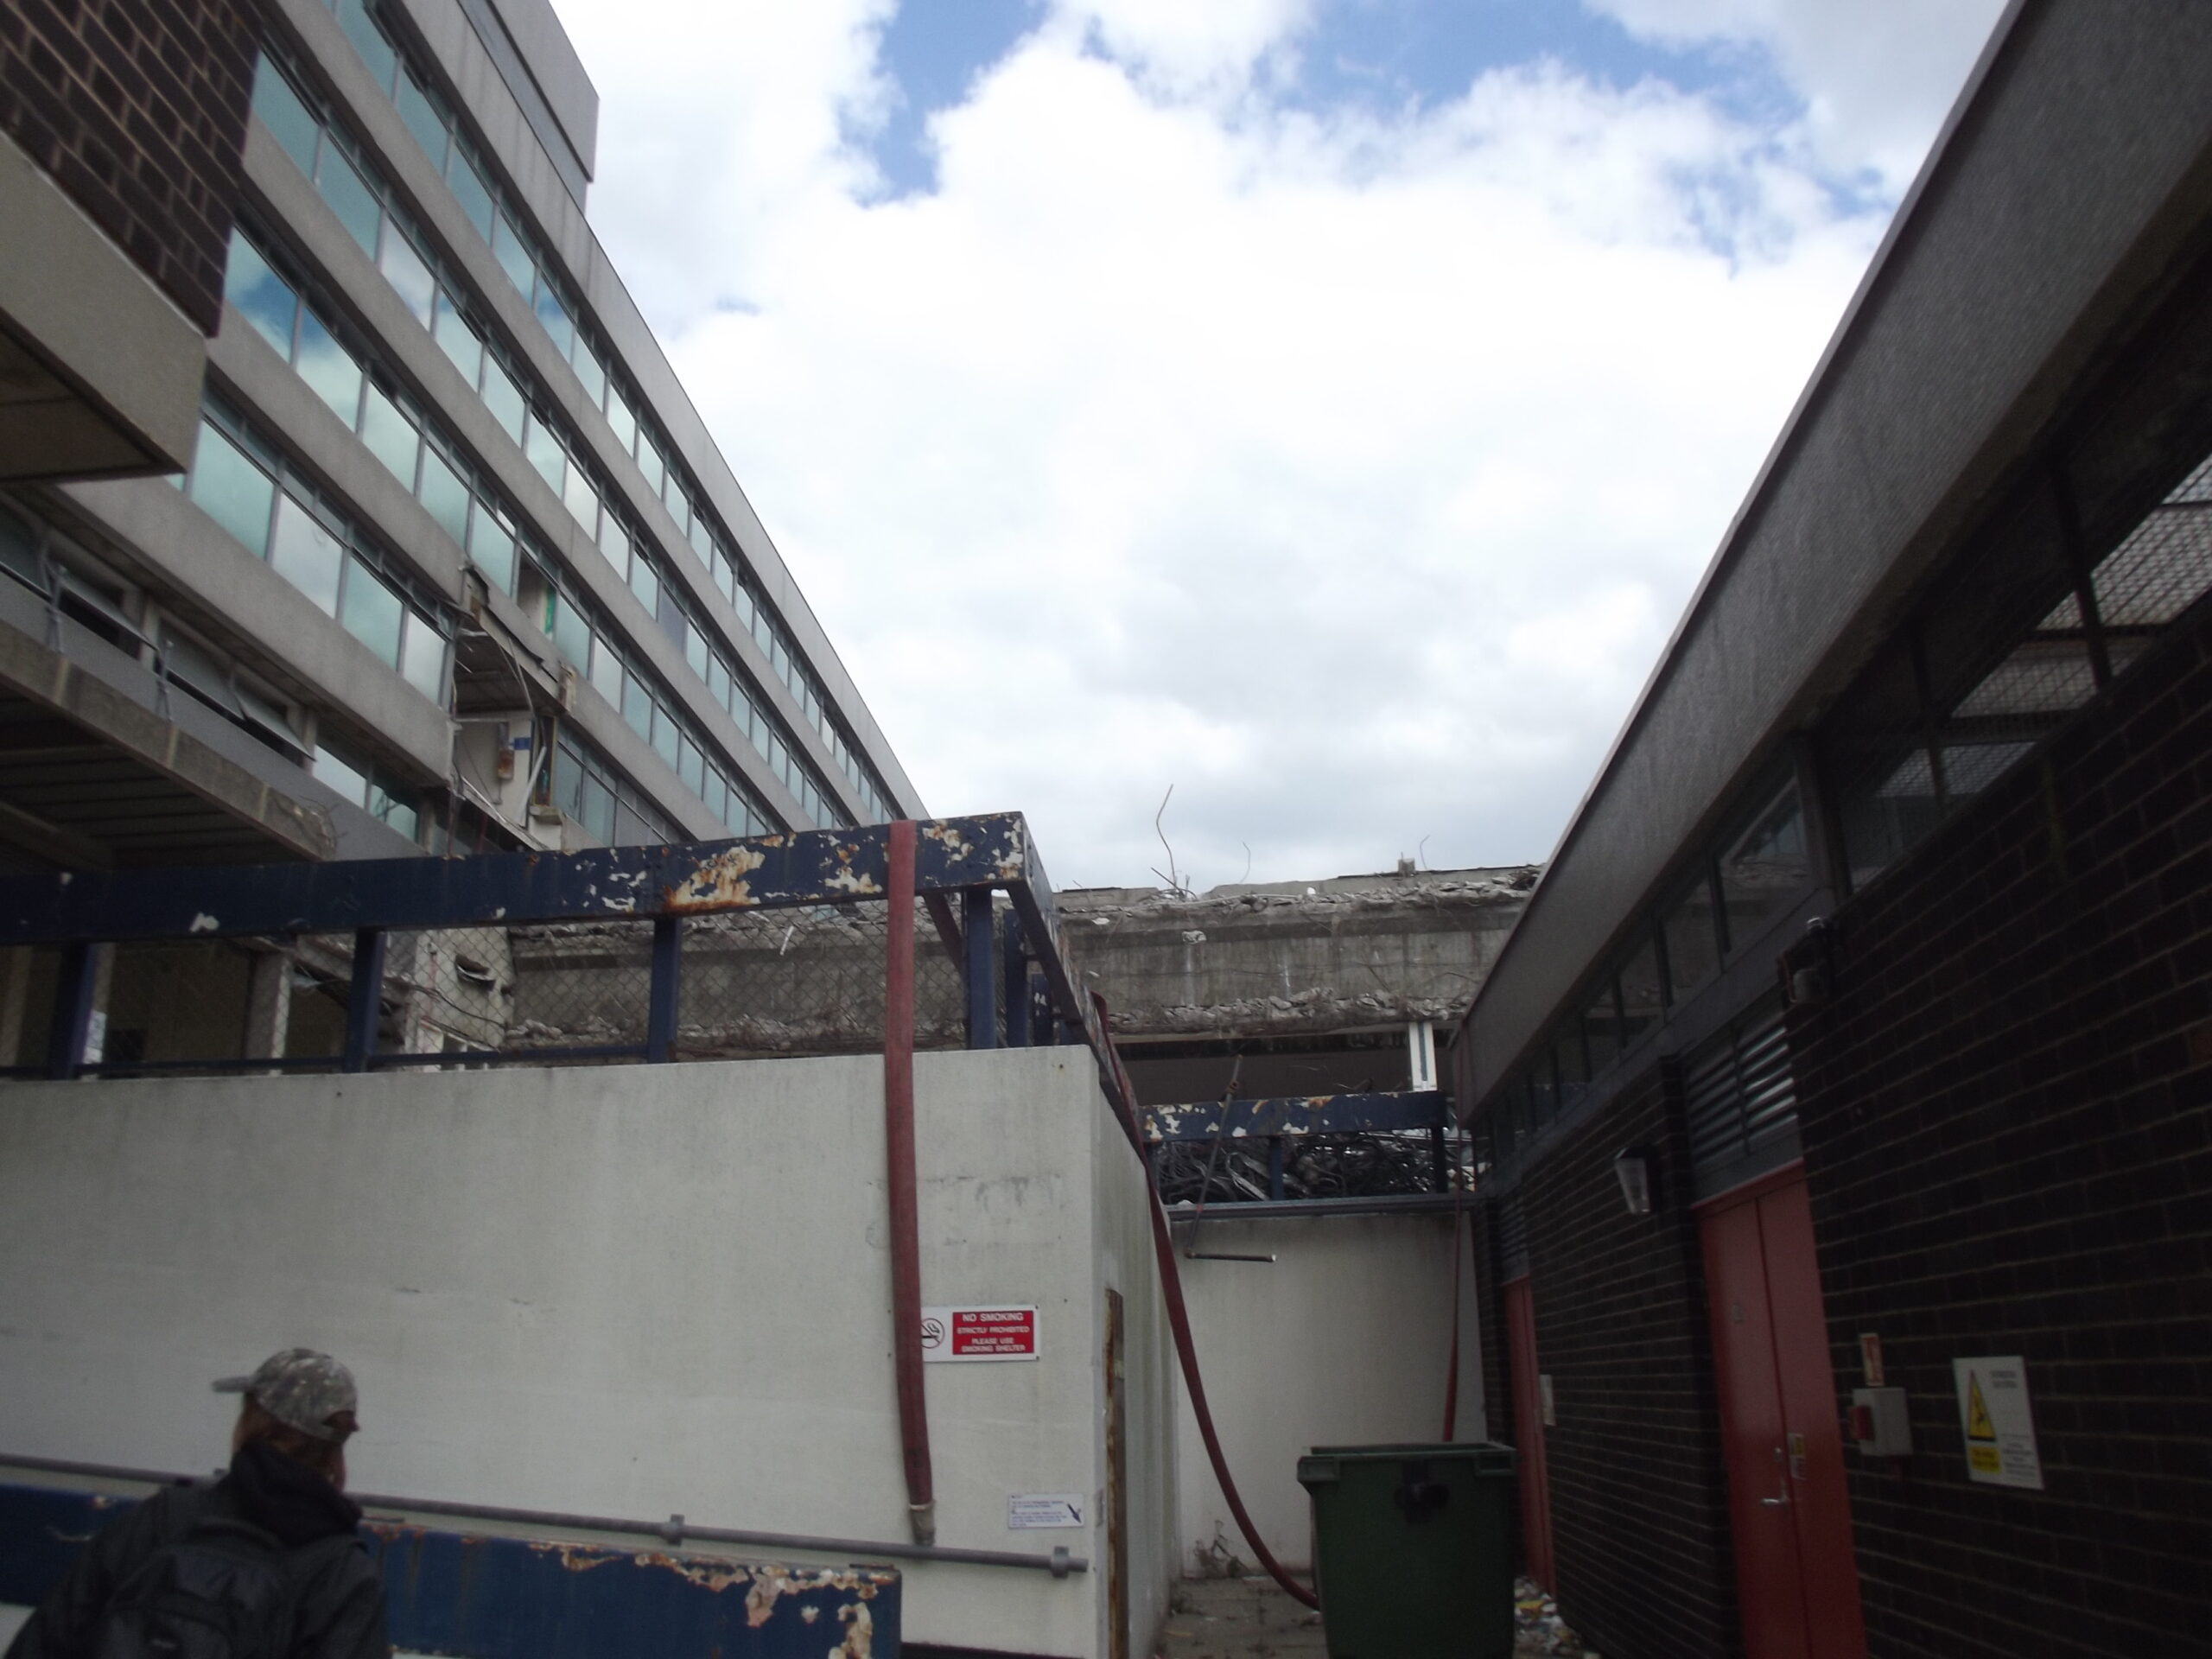
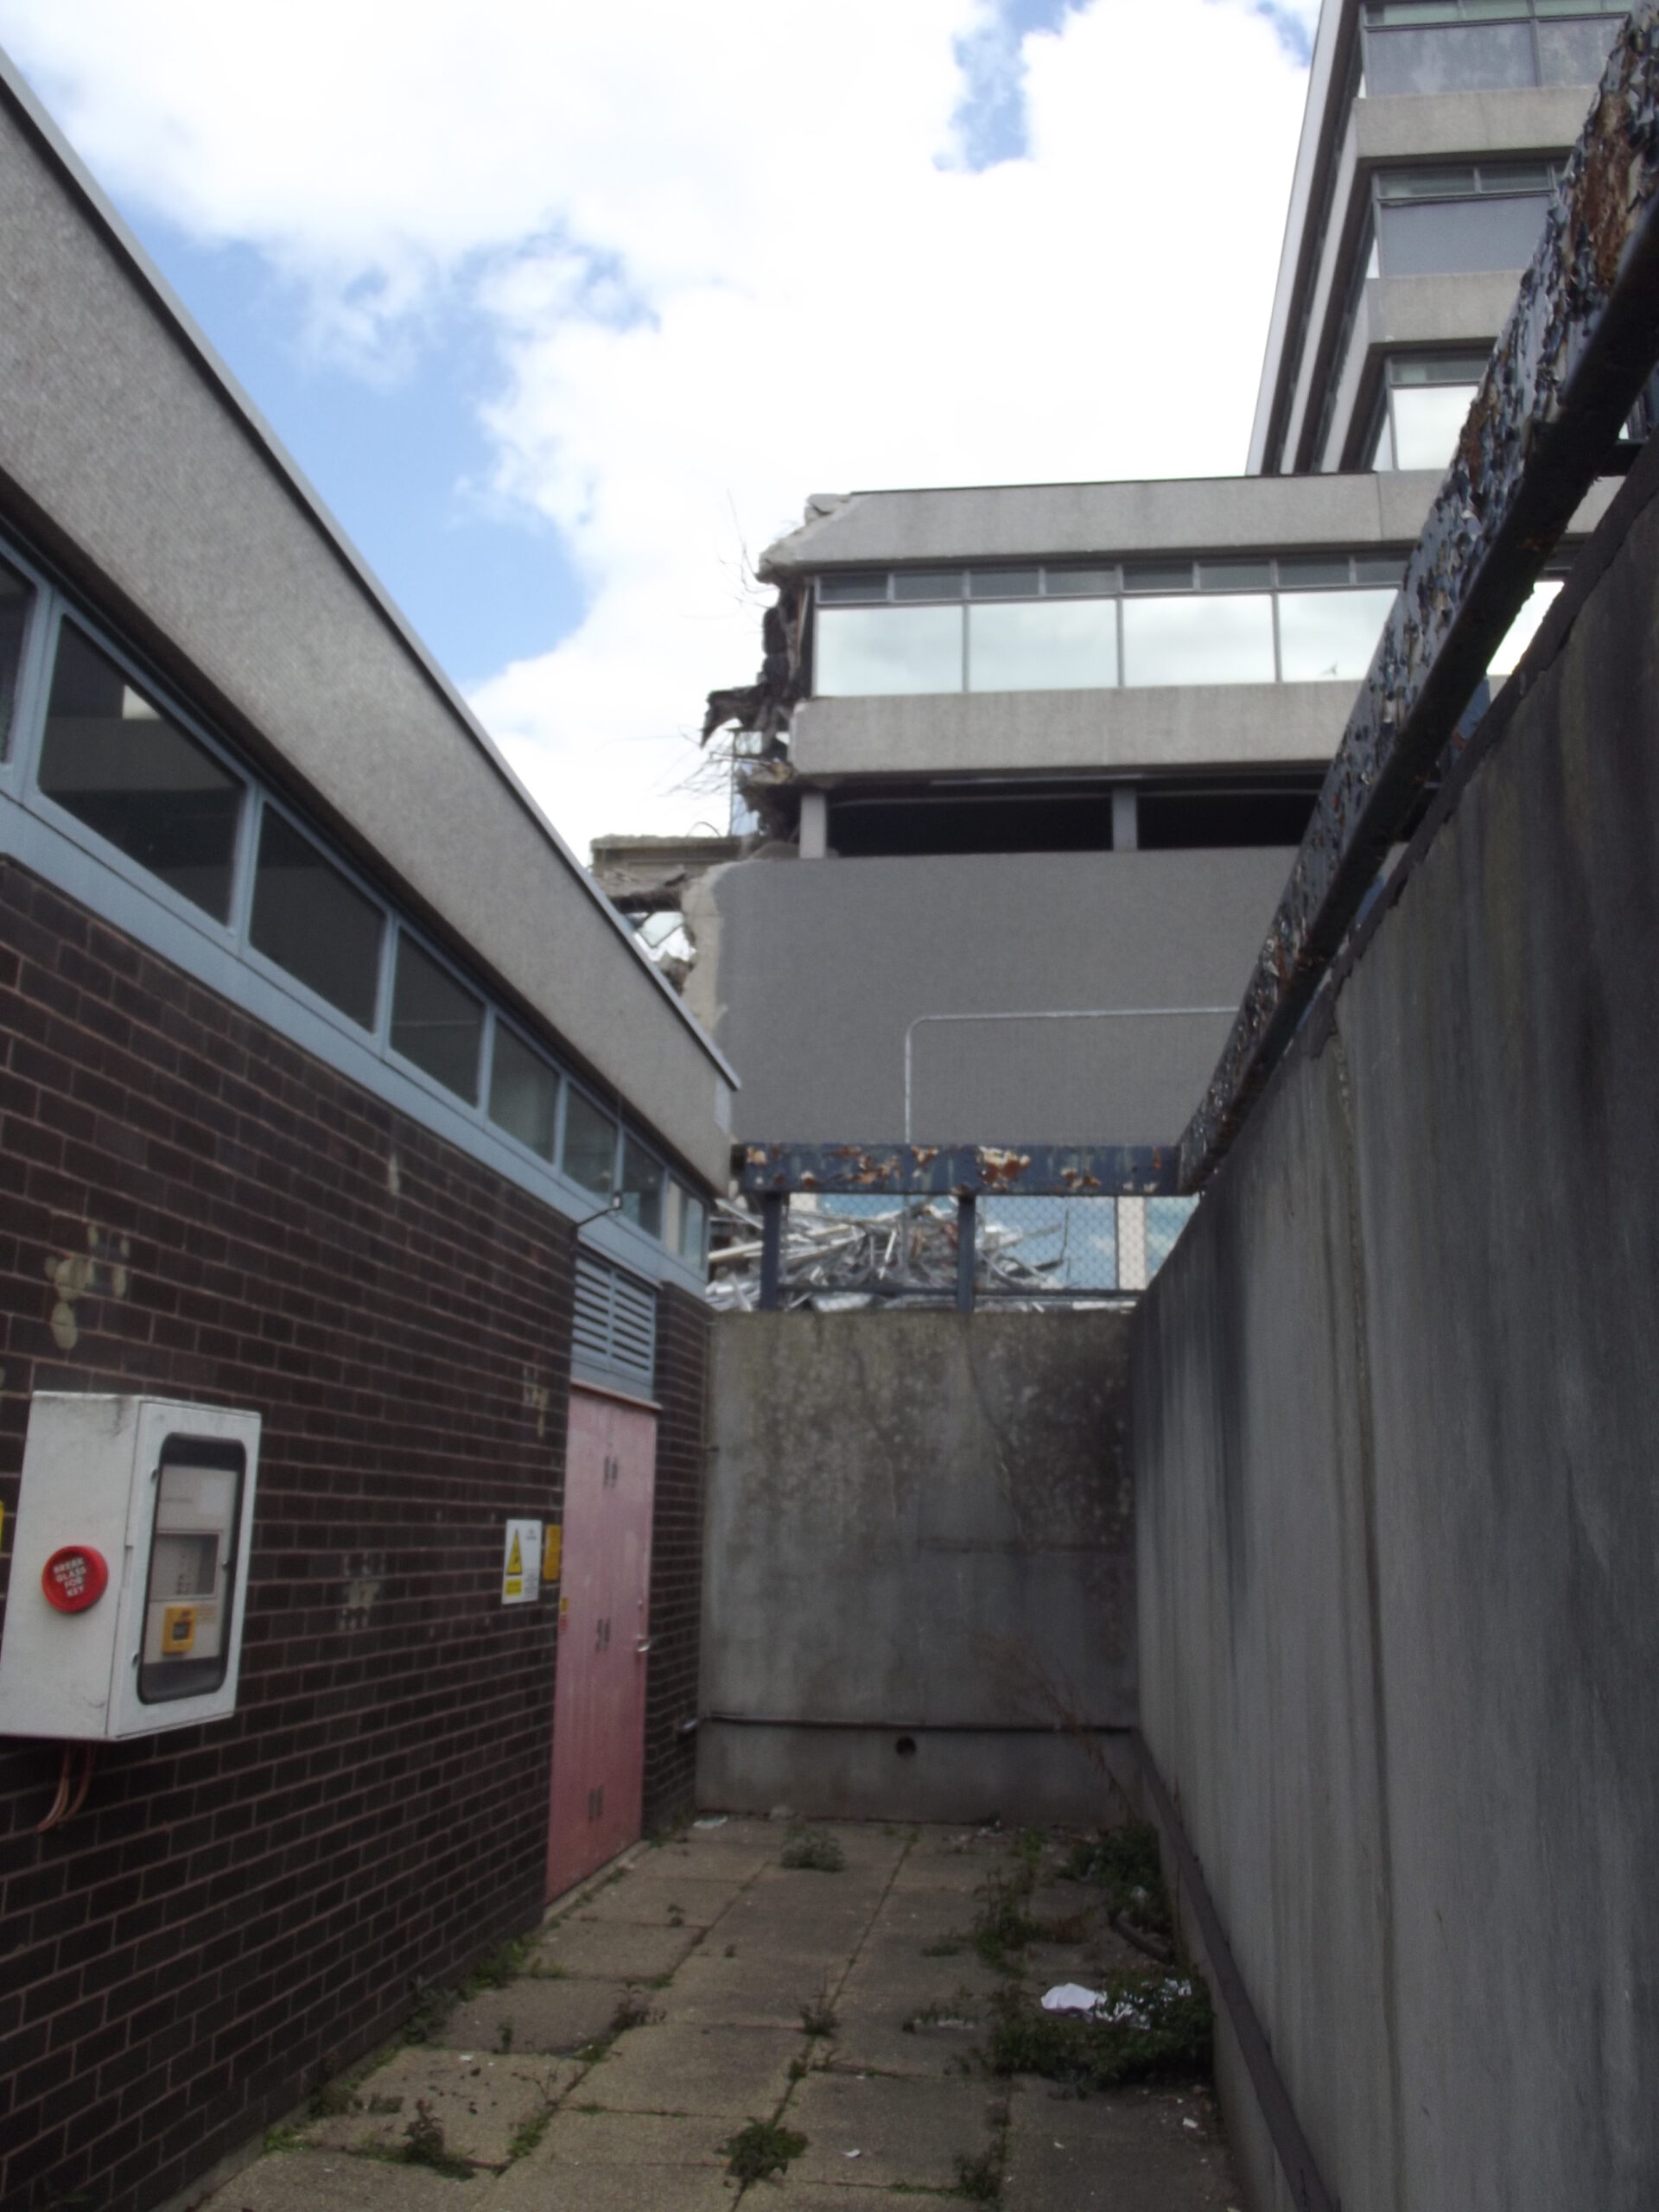
On 15 April 2012, the site was visited by two members of Team Urbex, Urban Explorers who enjoy exploring derelict buildings and photographing what they see. The ethos is to take nothing but photos and leave nothing but footprints so using force to enter a site is not acceptable. In this case, the walls had been removed so access to the site was no problem.
Team Urbex visited the OS site at least three times in 2011 and there were several other previous groups of urban explorers but as far as I know, this was the last visit they made. A lot of these photos are similar/not of general interest but I will publish them here in the interest of making a historic photographic record. I have broken them down by floor. NOTE: you can click on each photo for further information, I have tried to include useful descriptions where possible.
LG floor, William Roy Building/Staff Restaurant
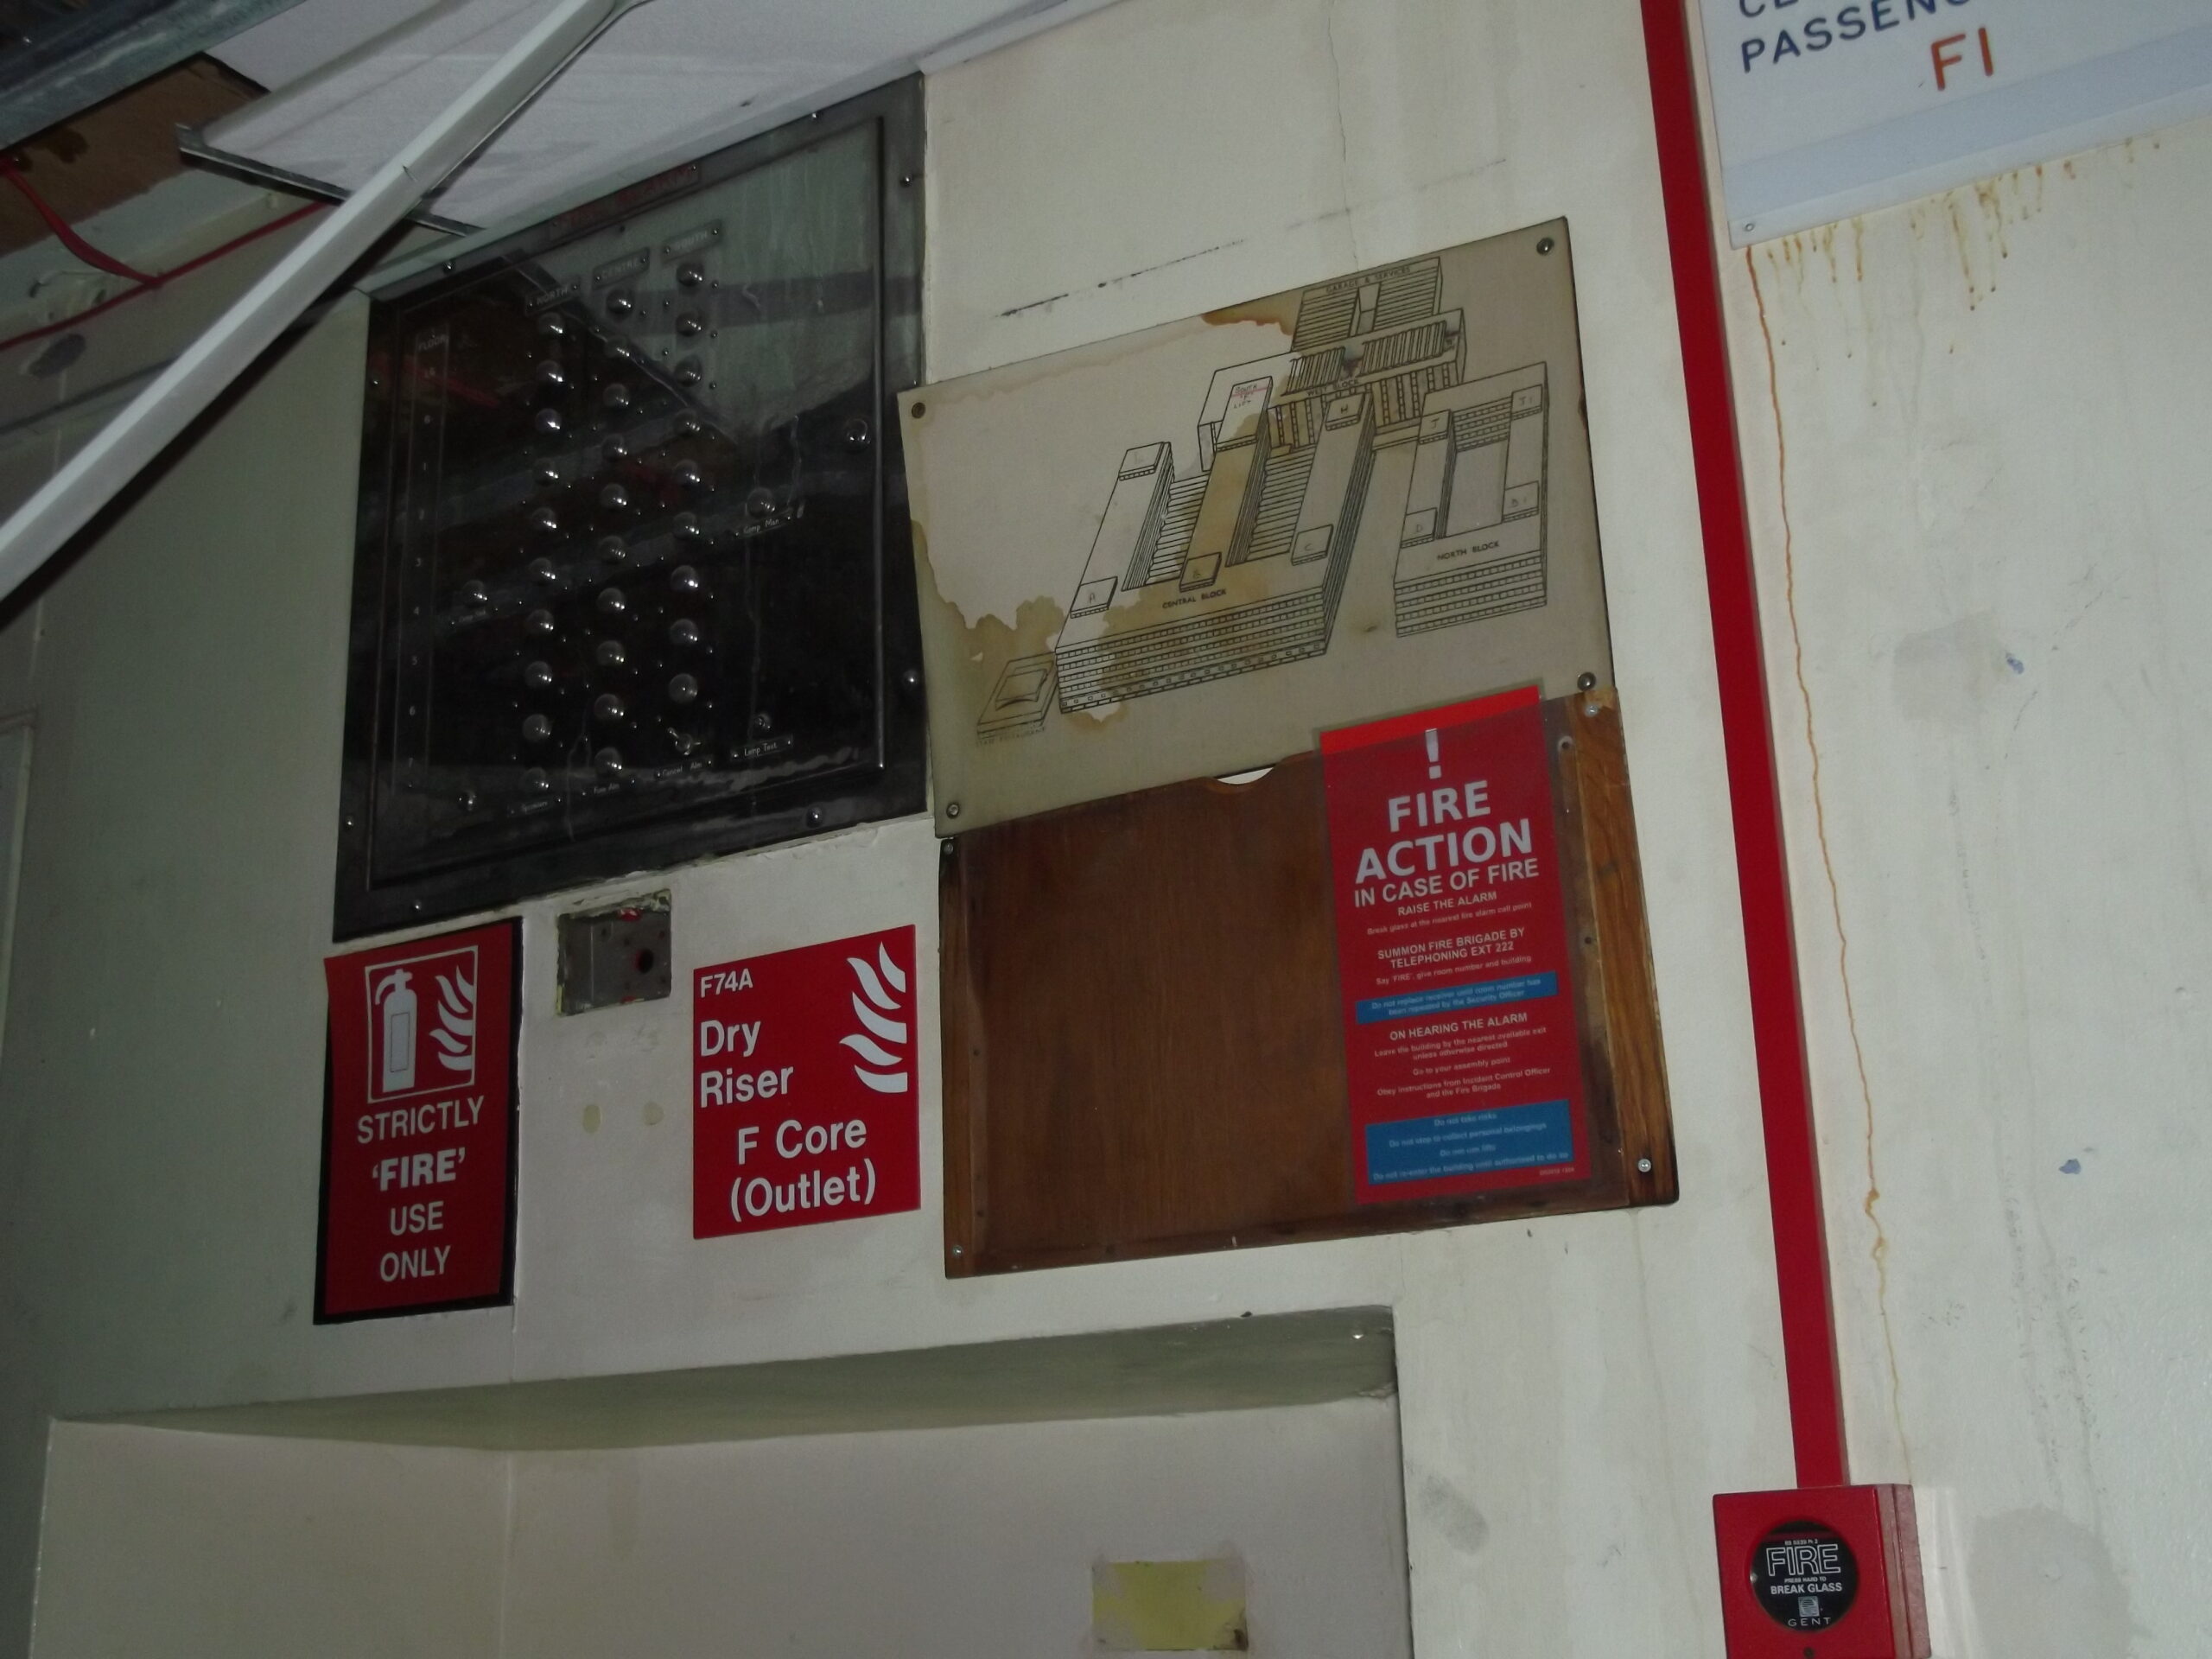
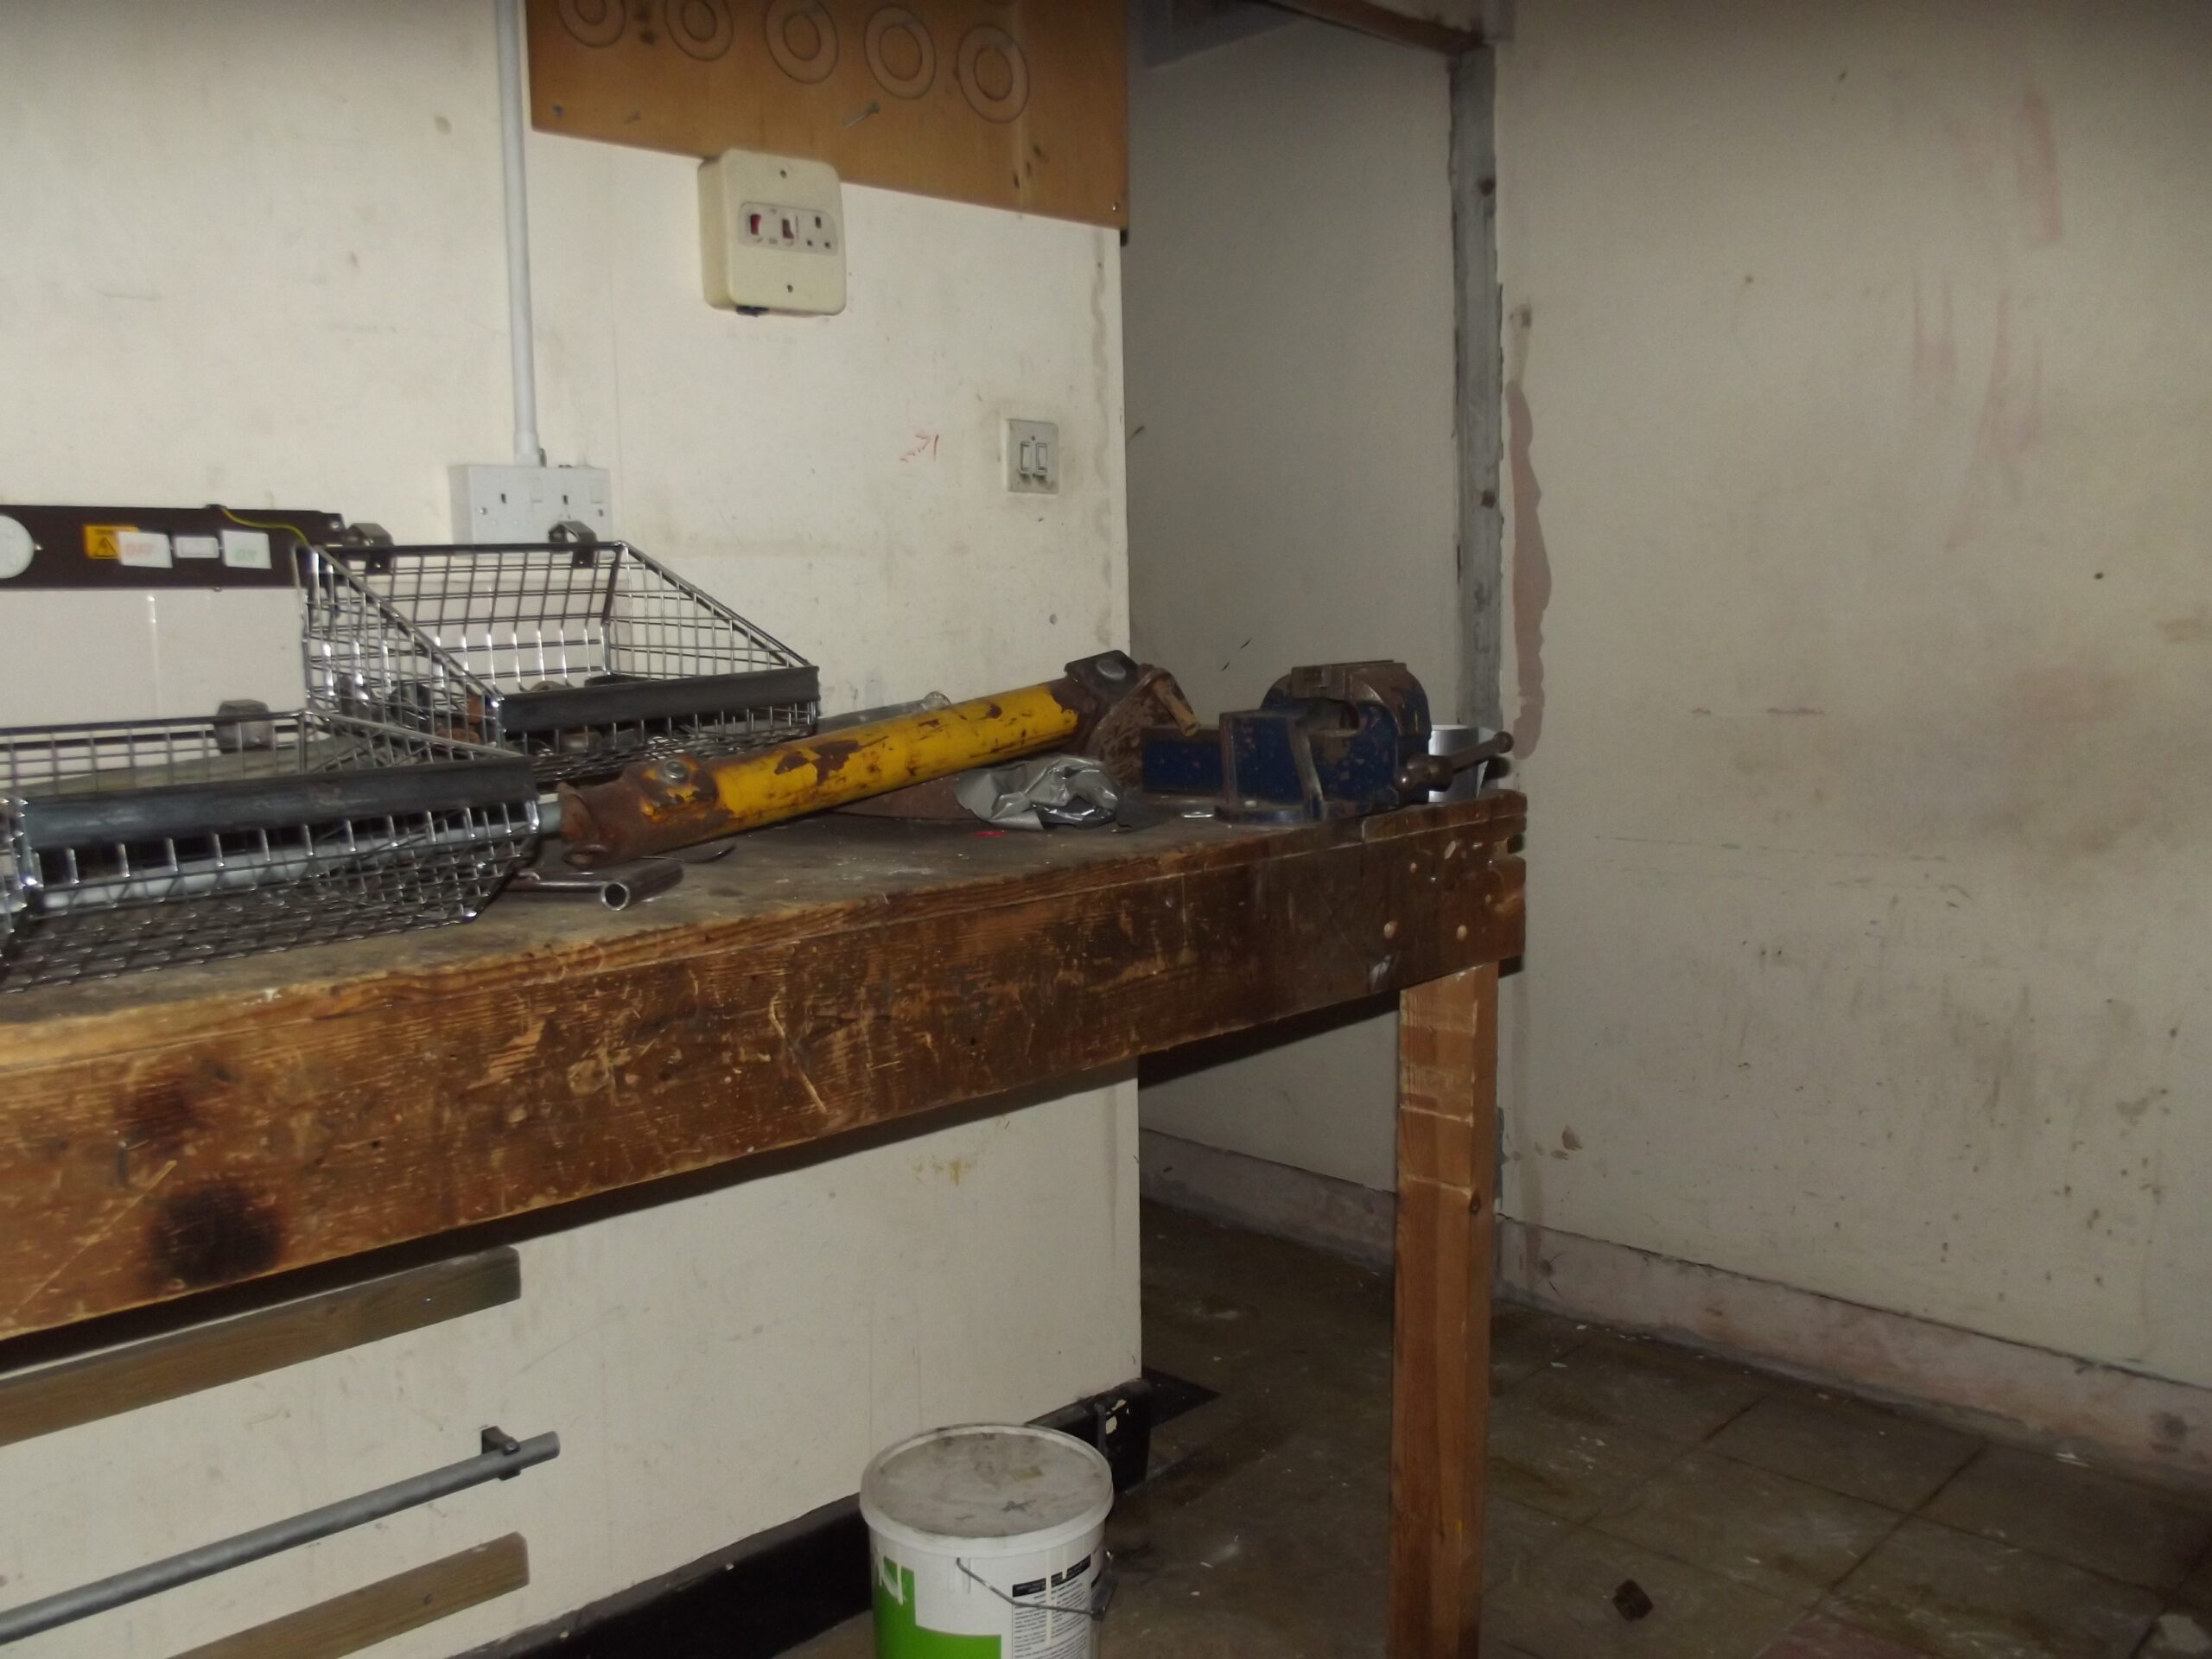
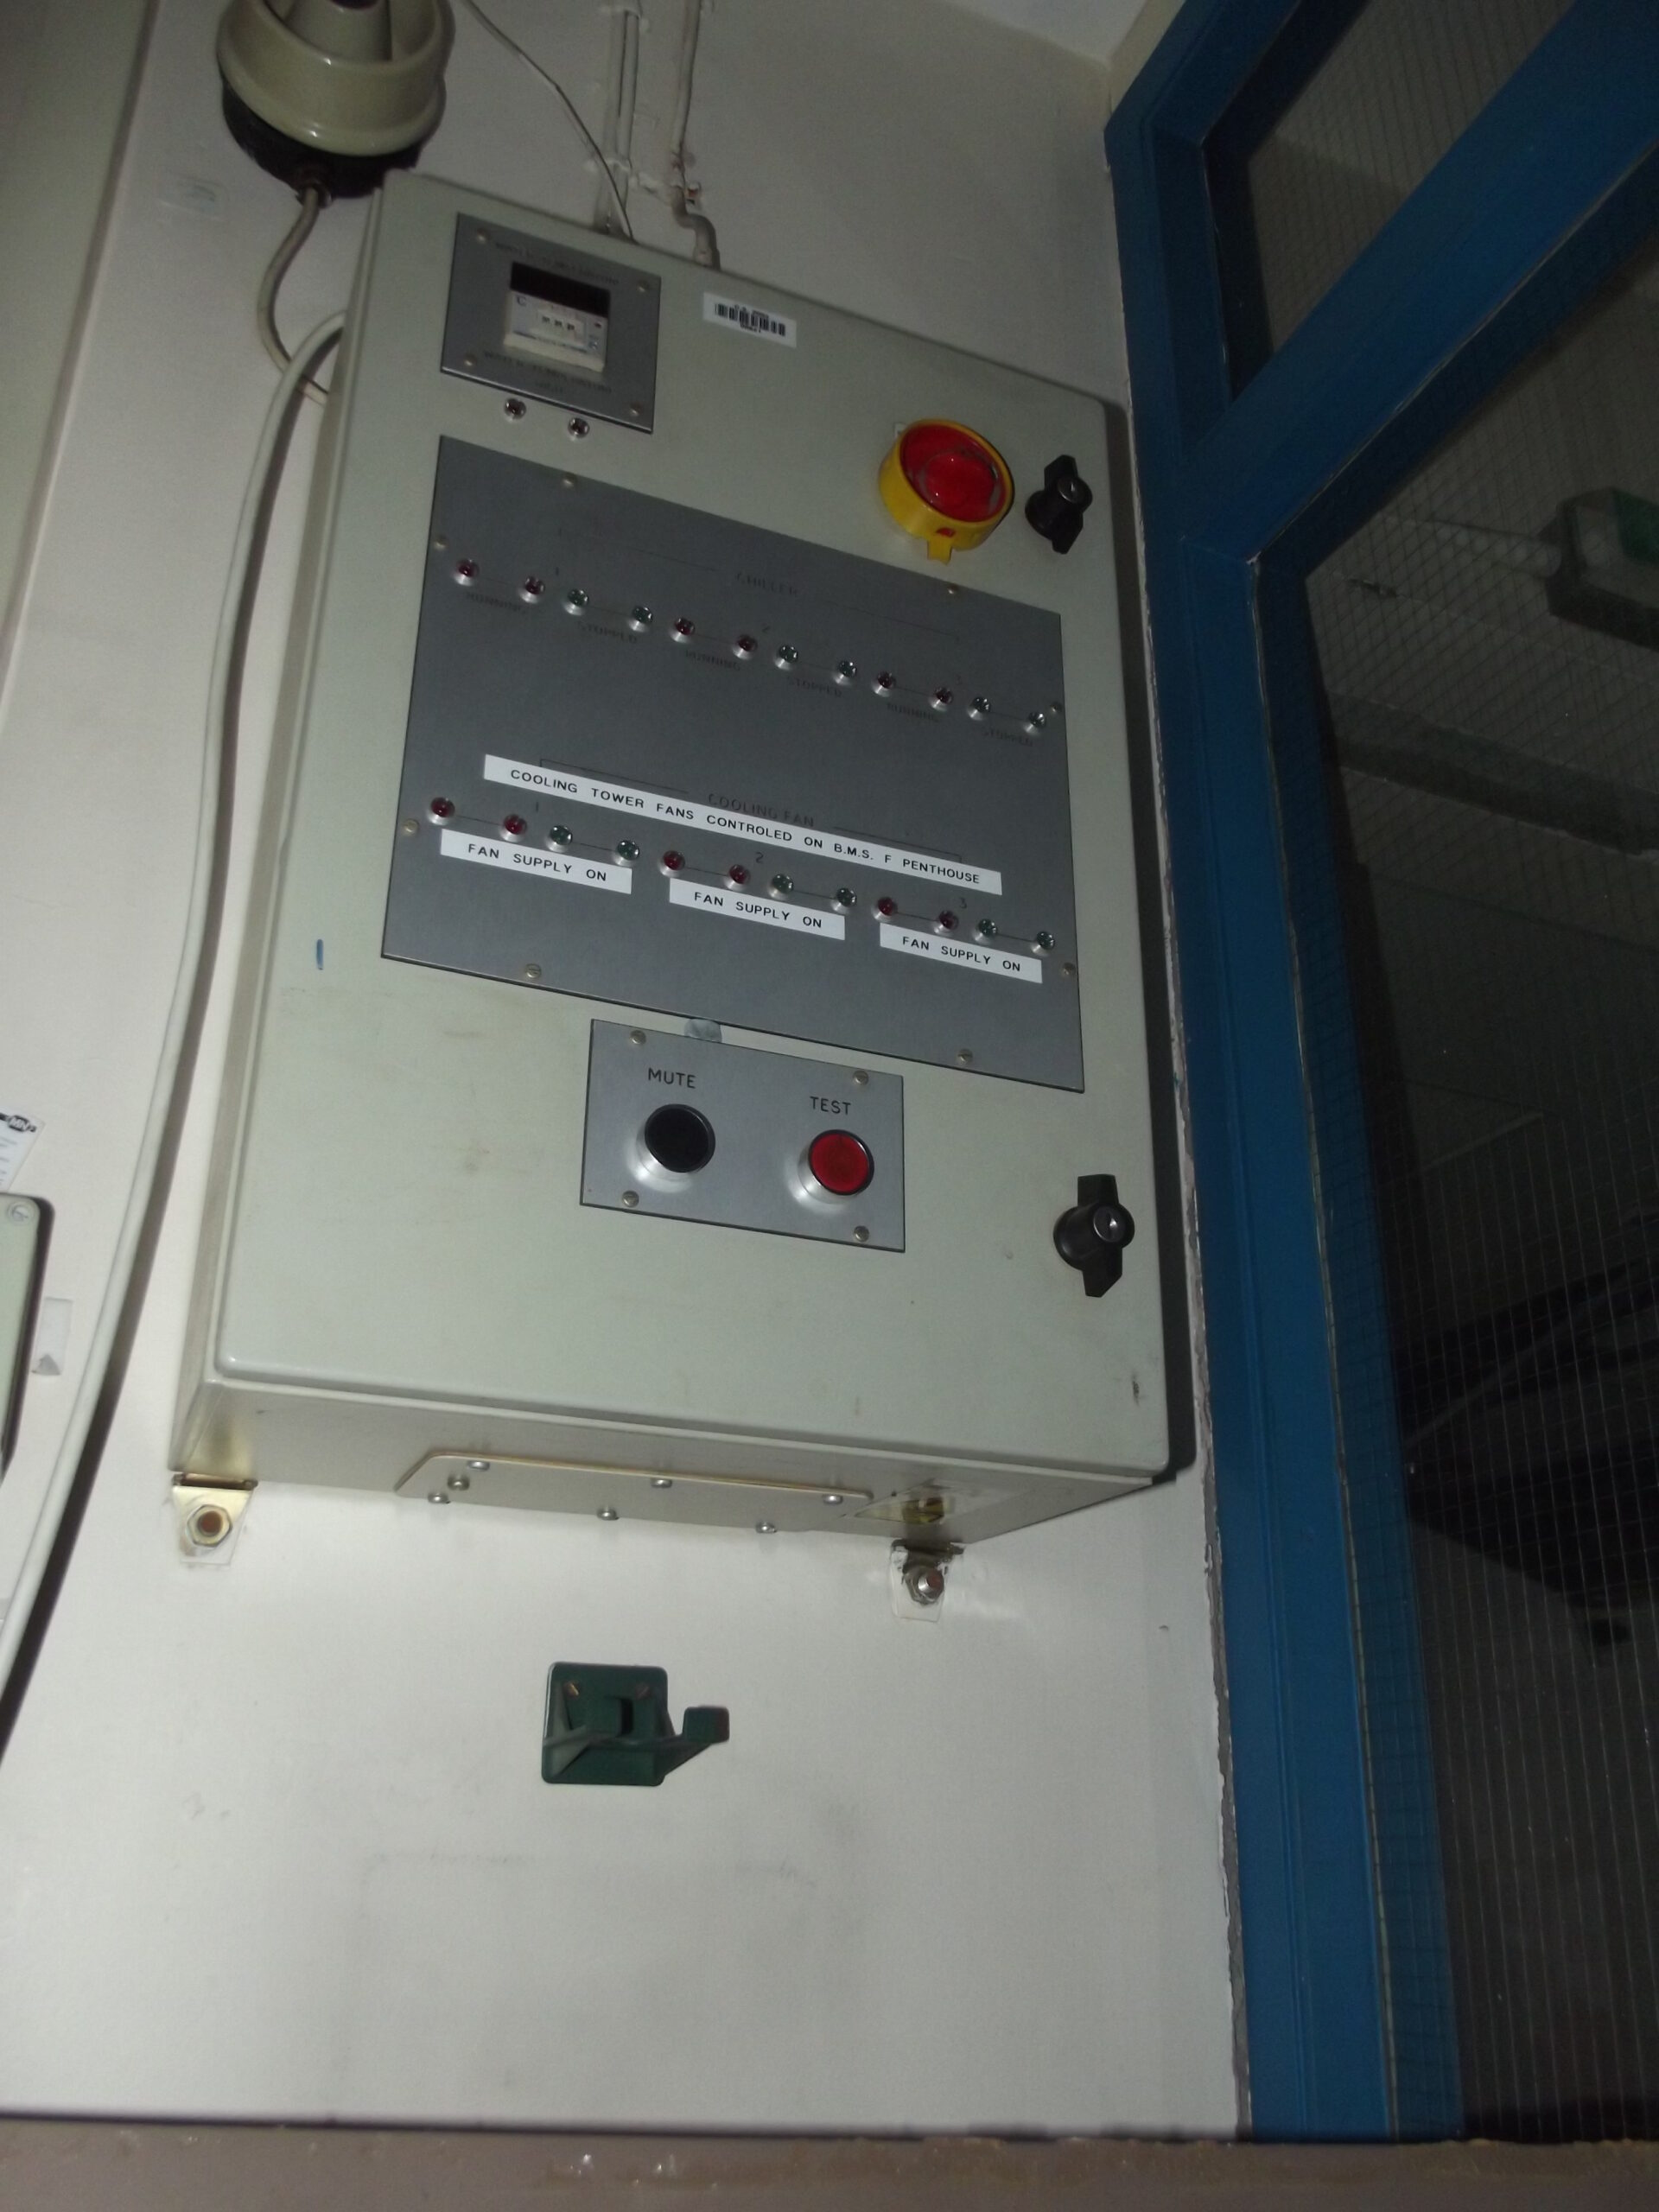
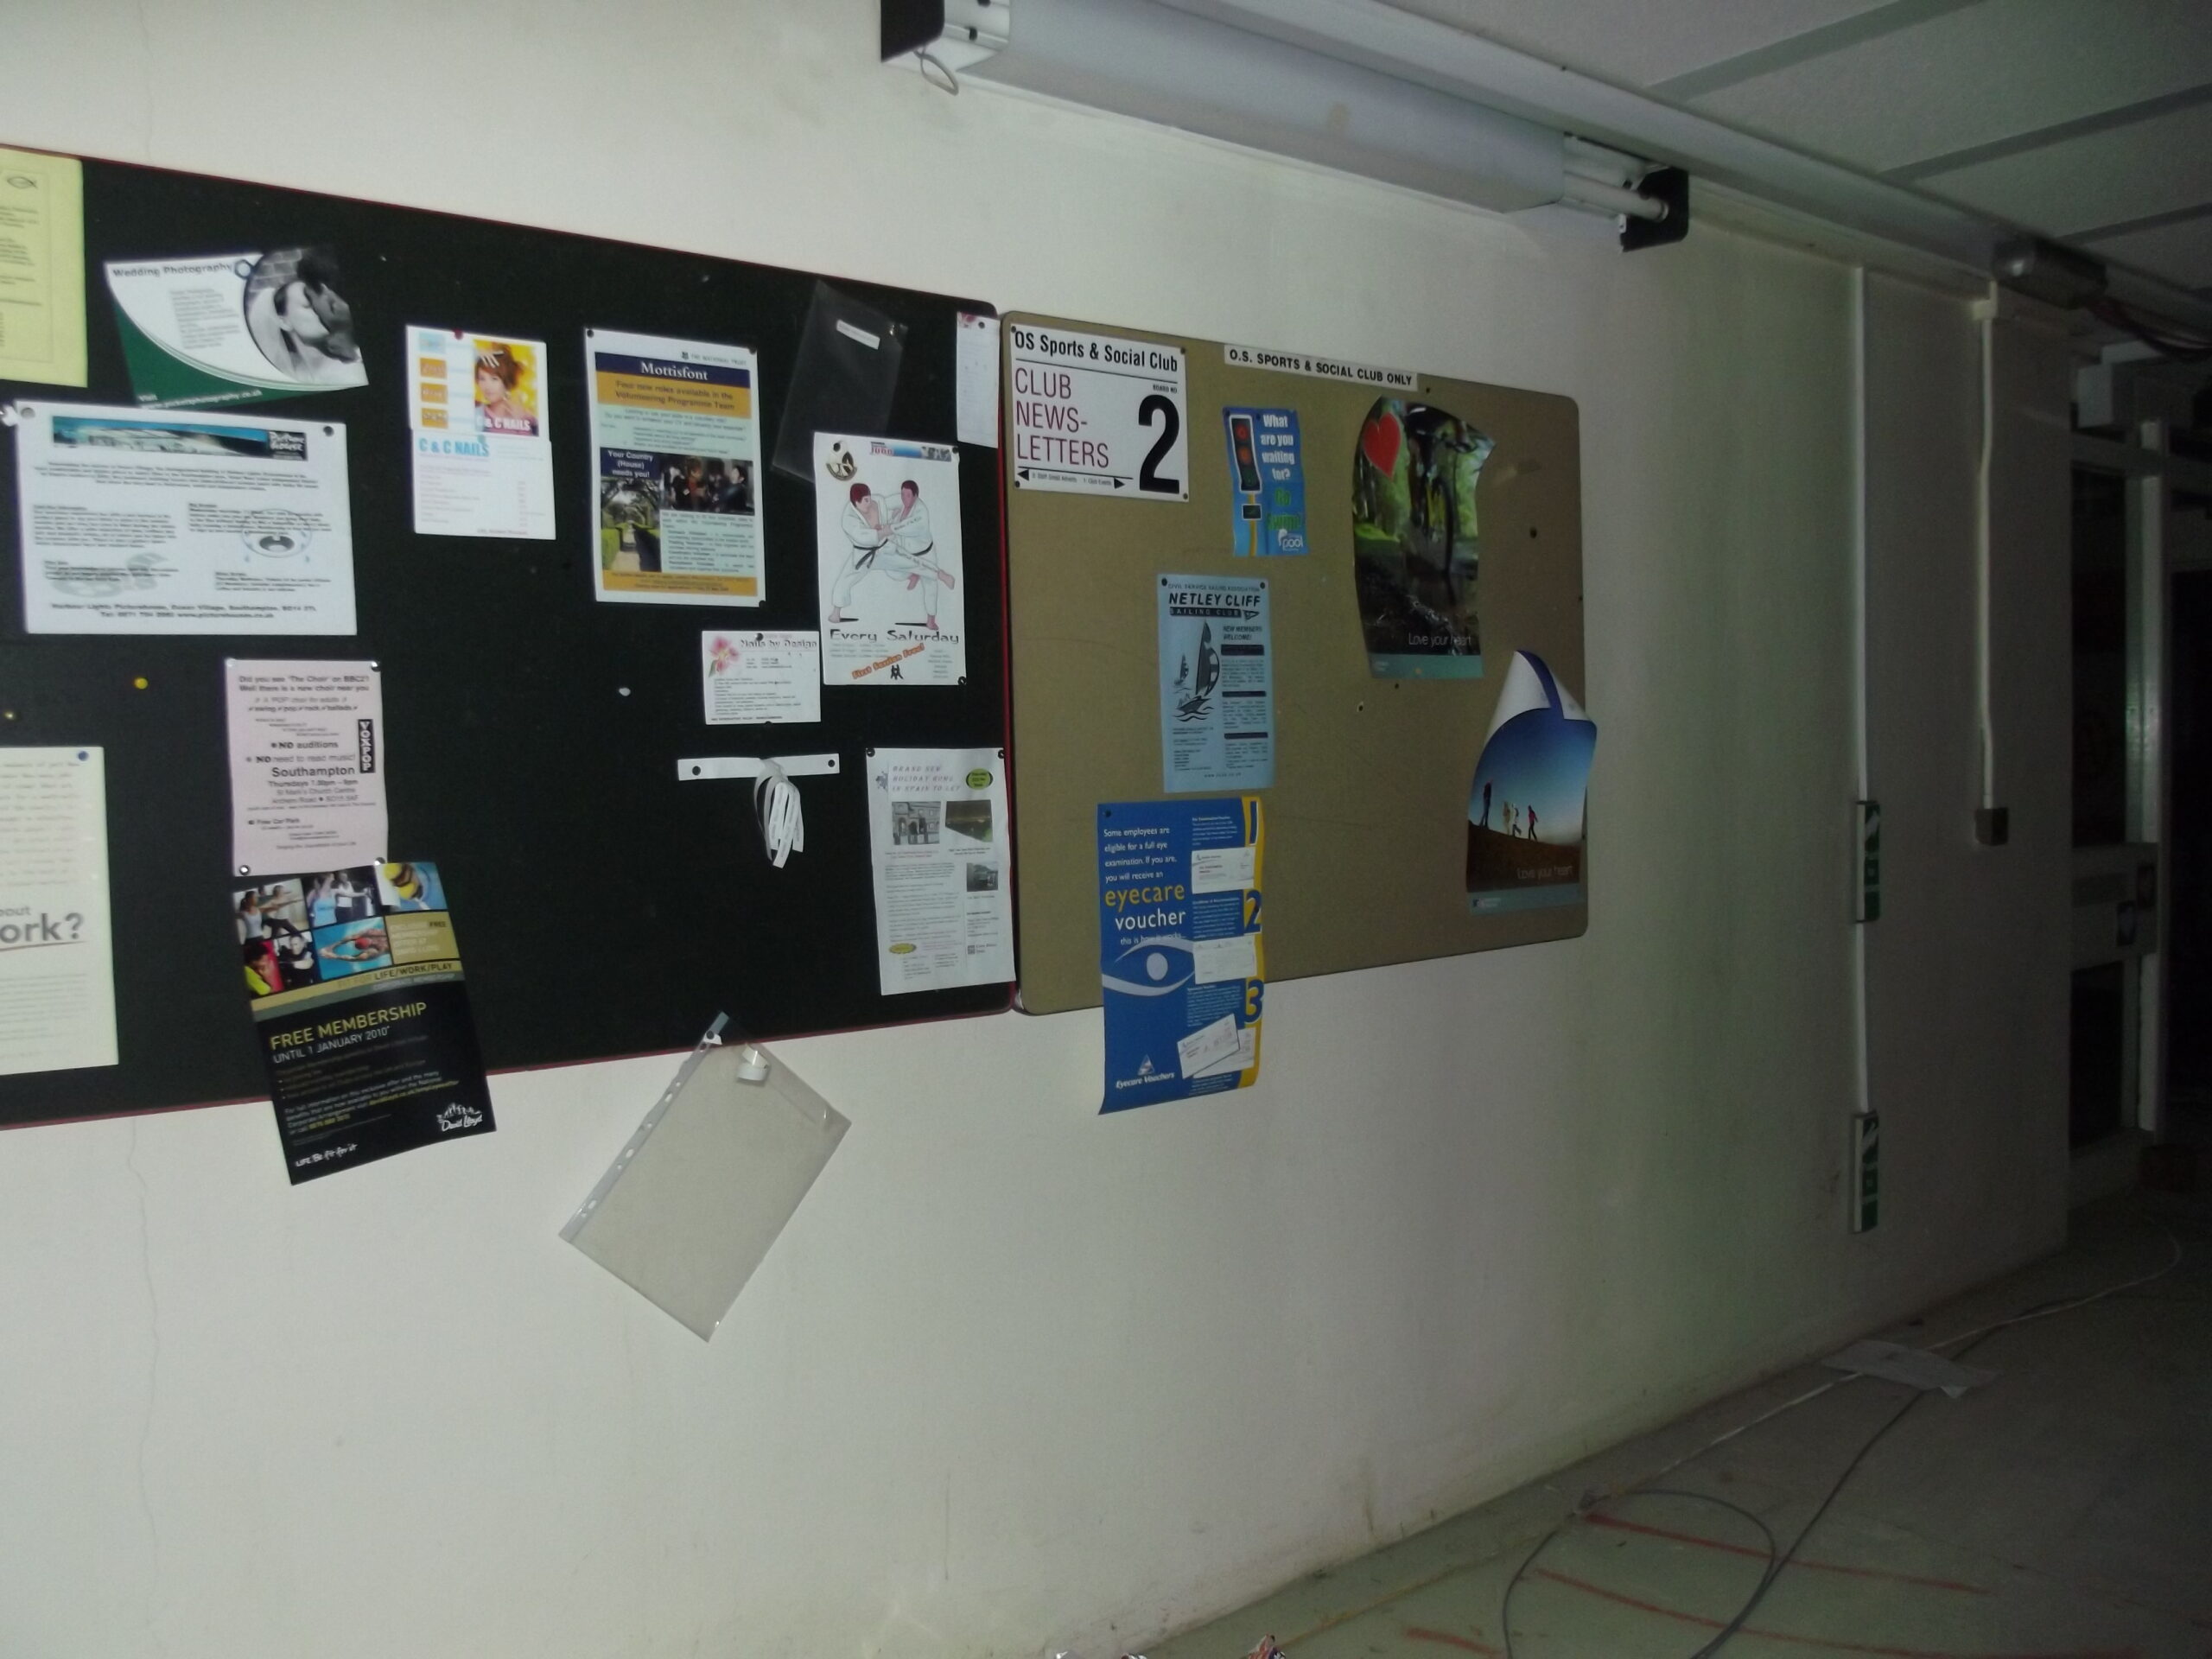
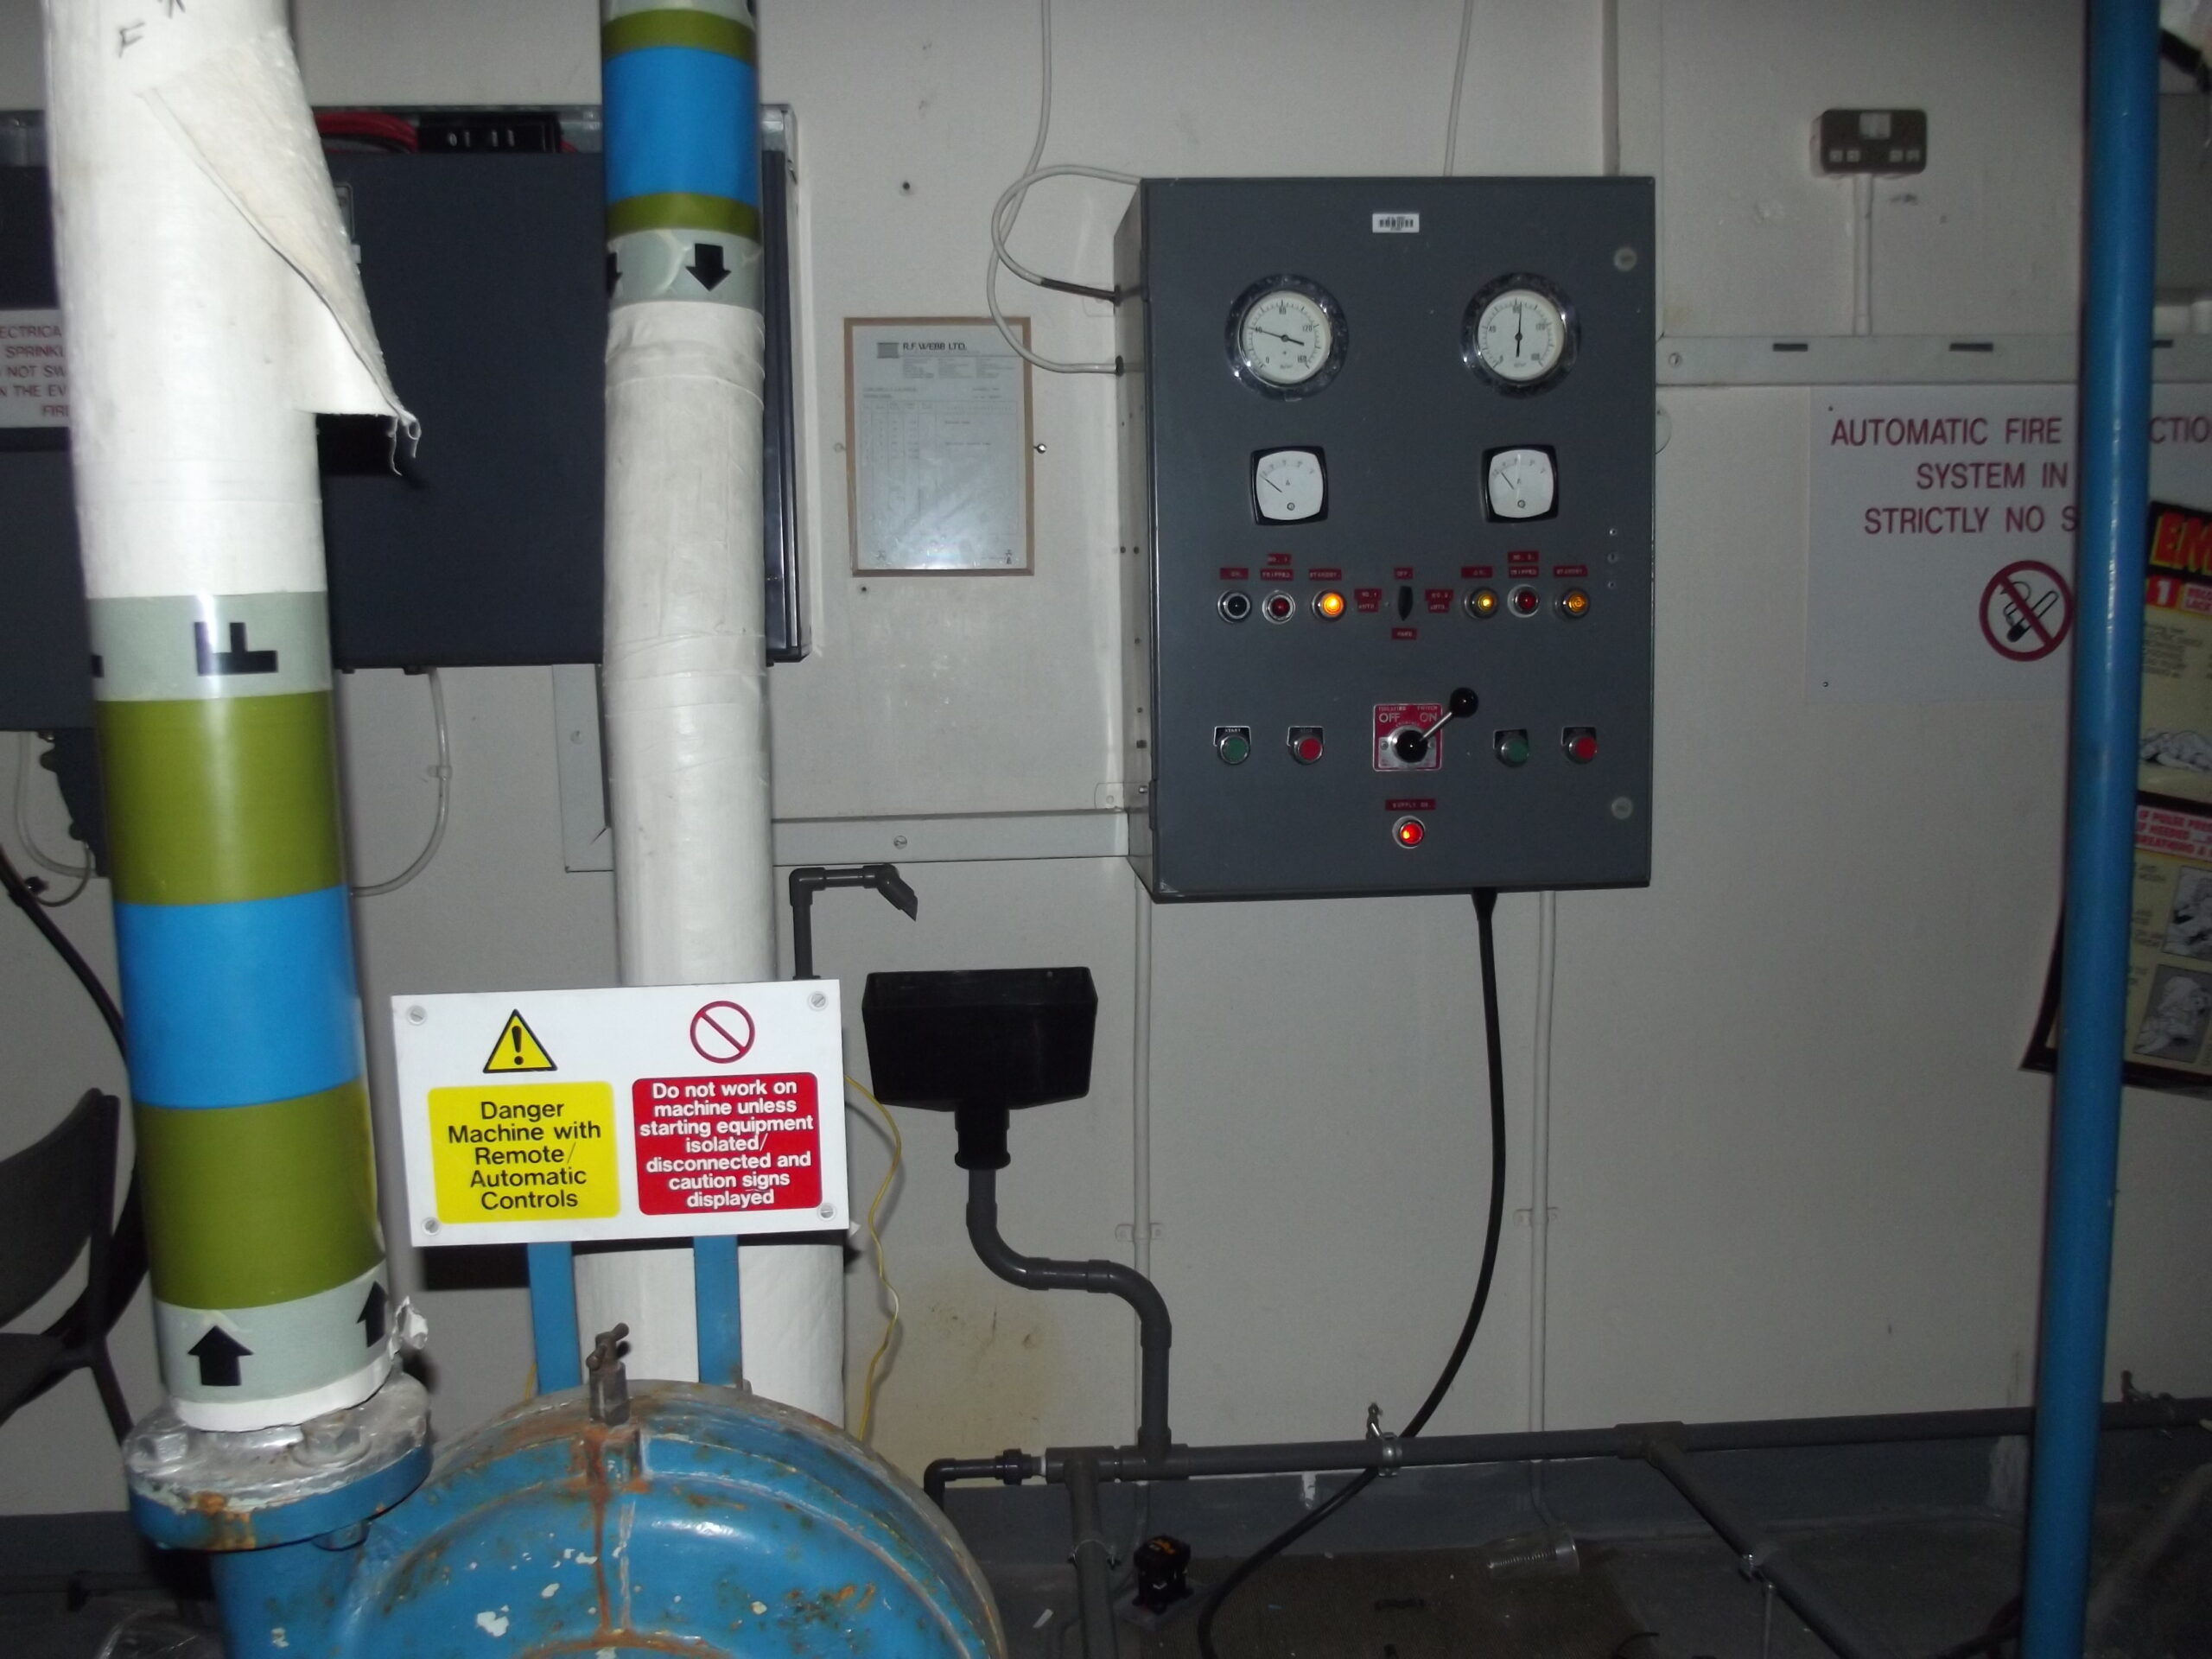
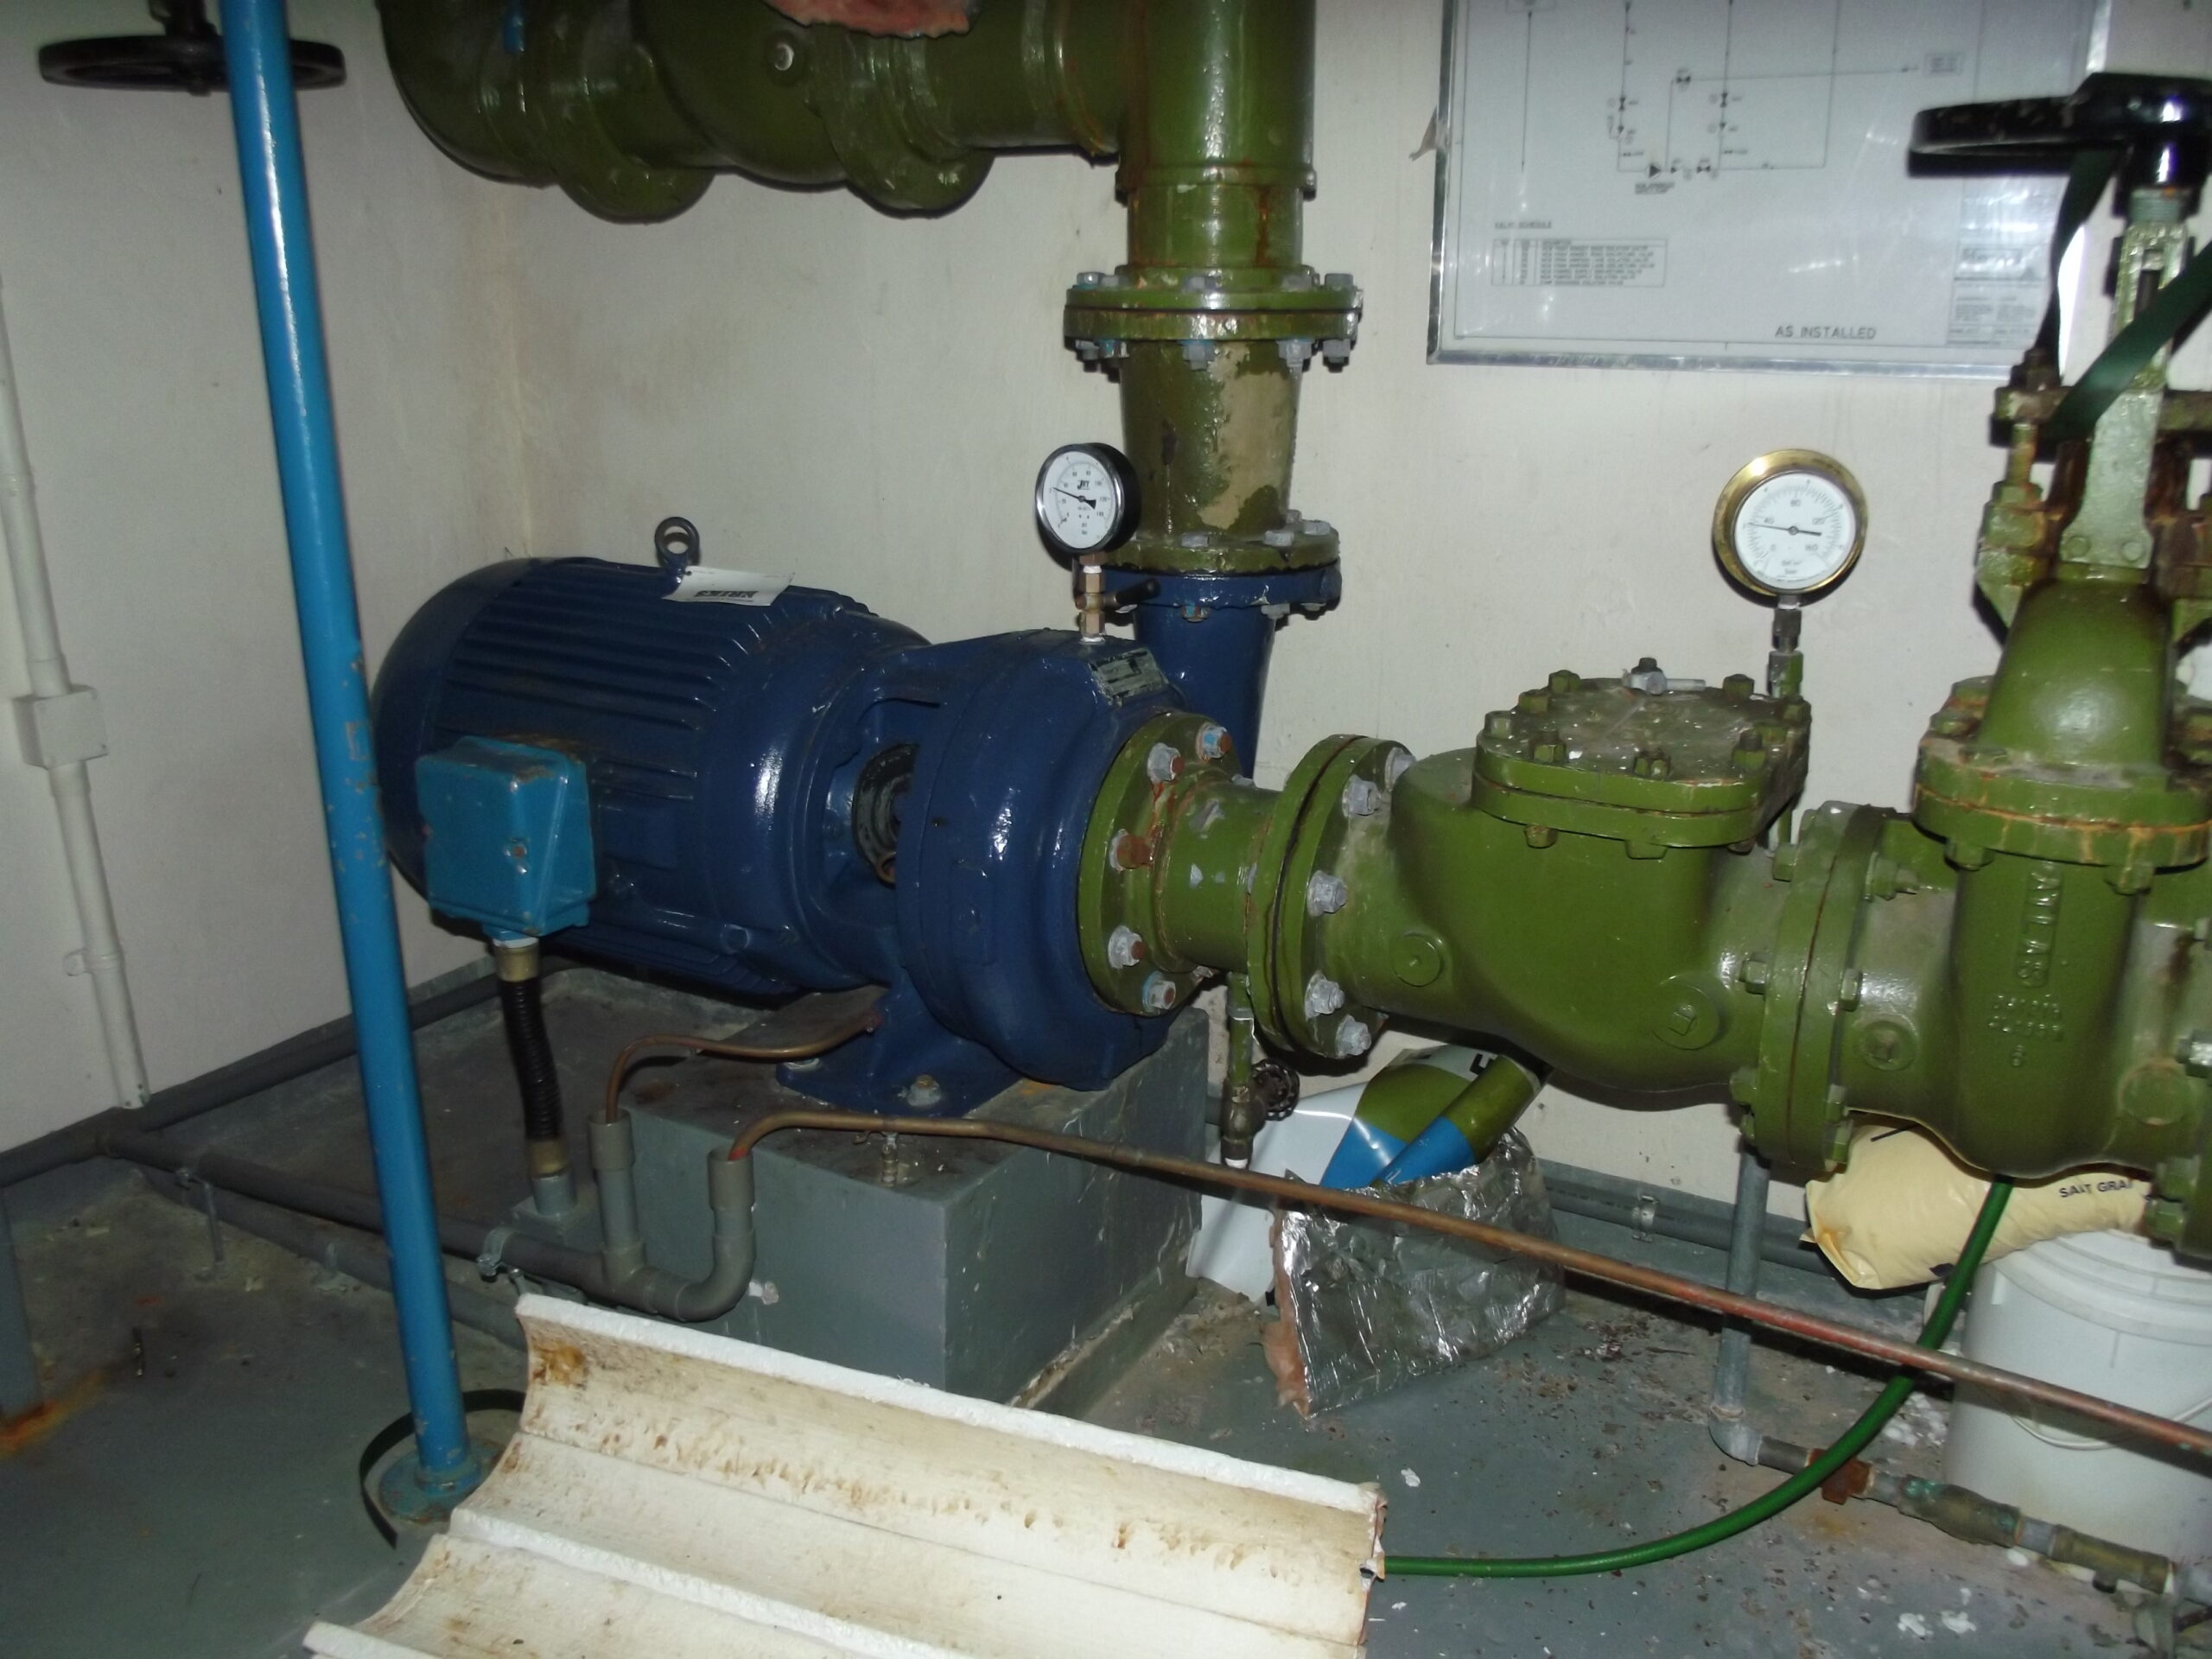
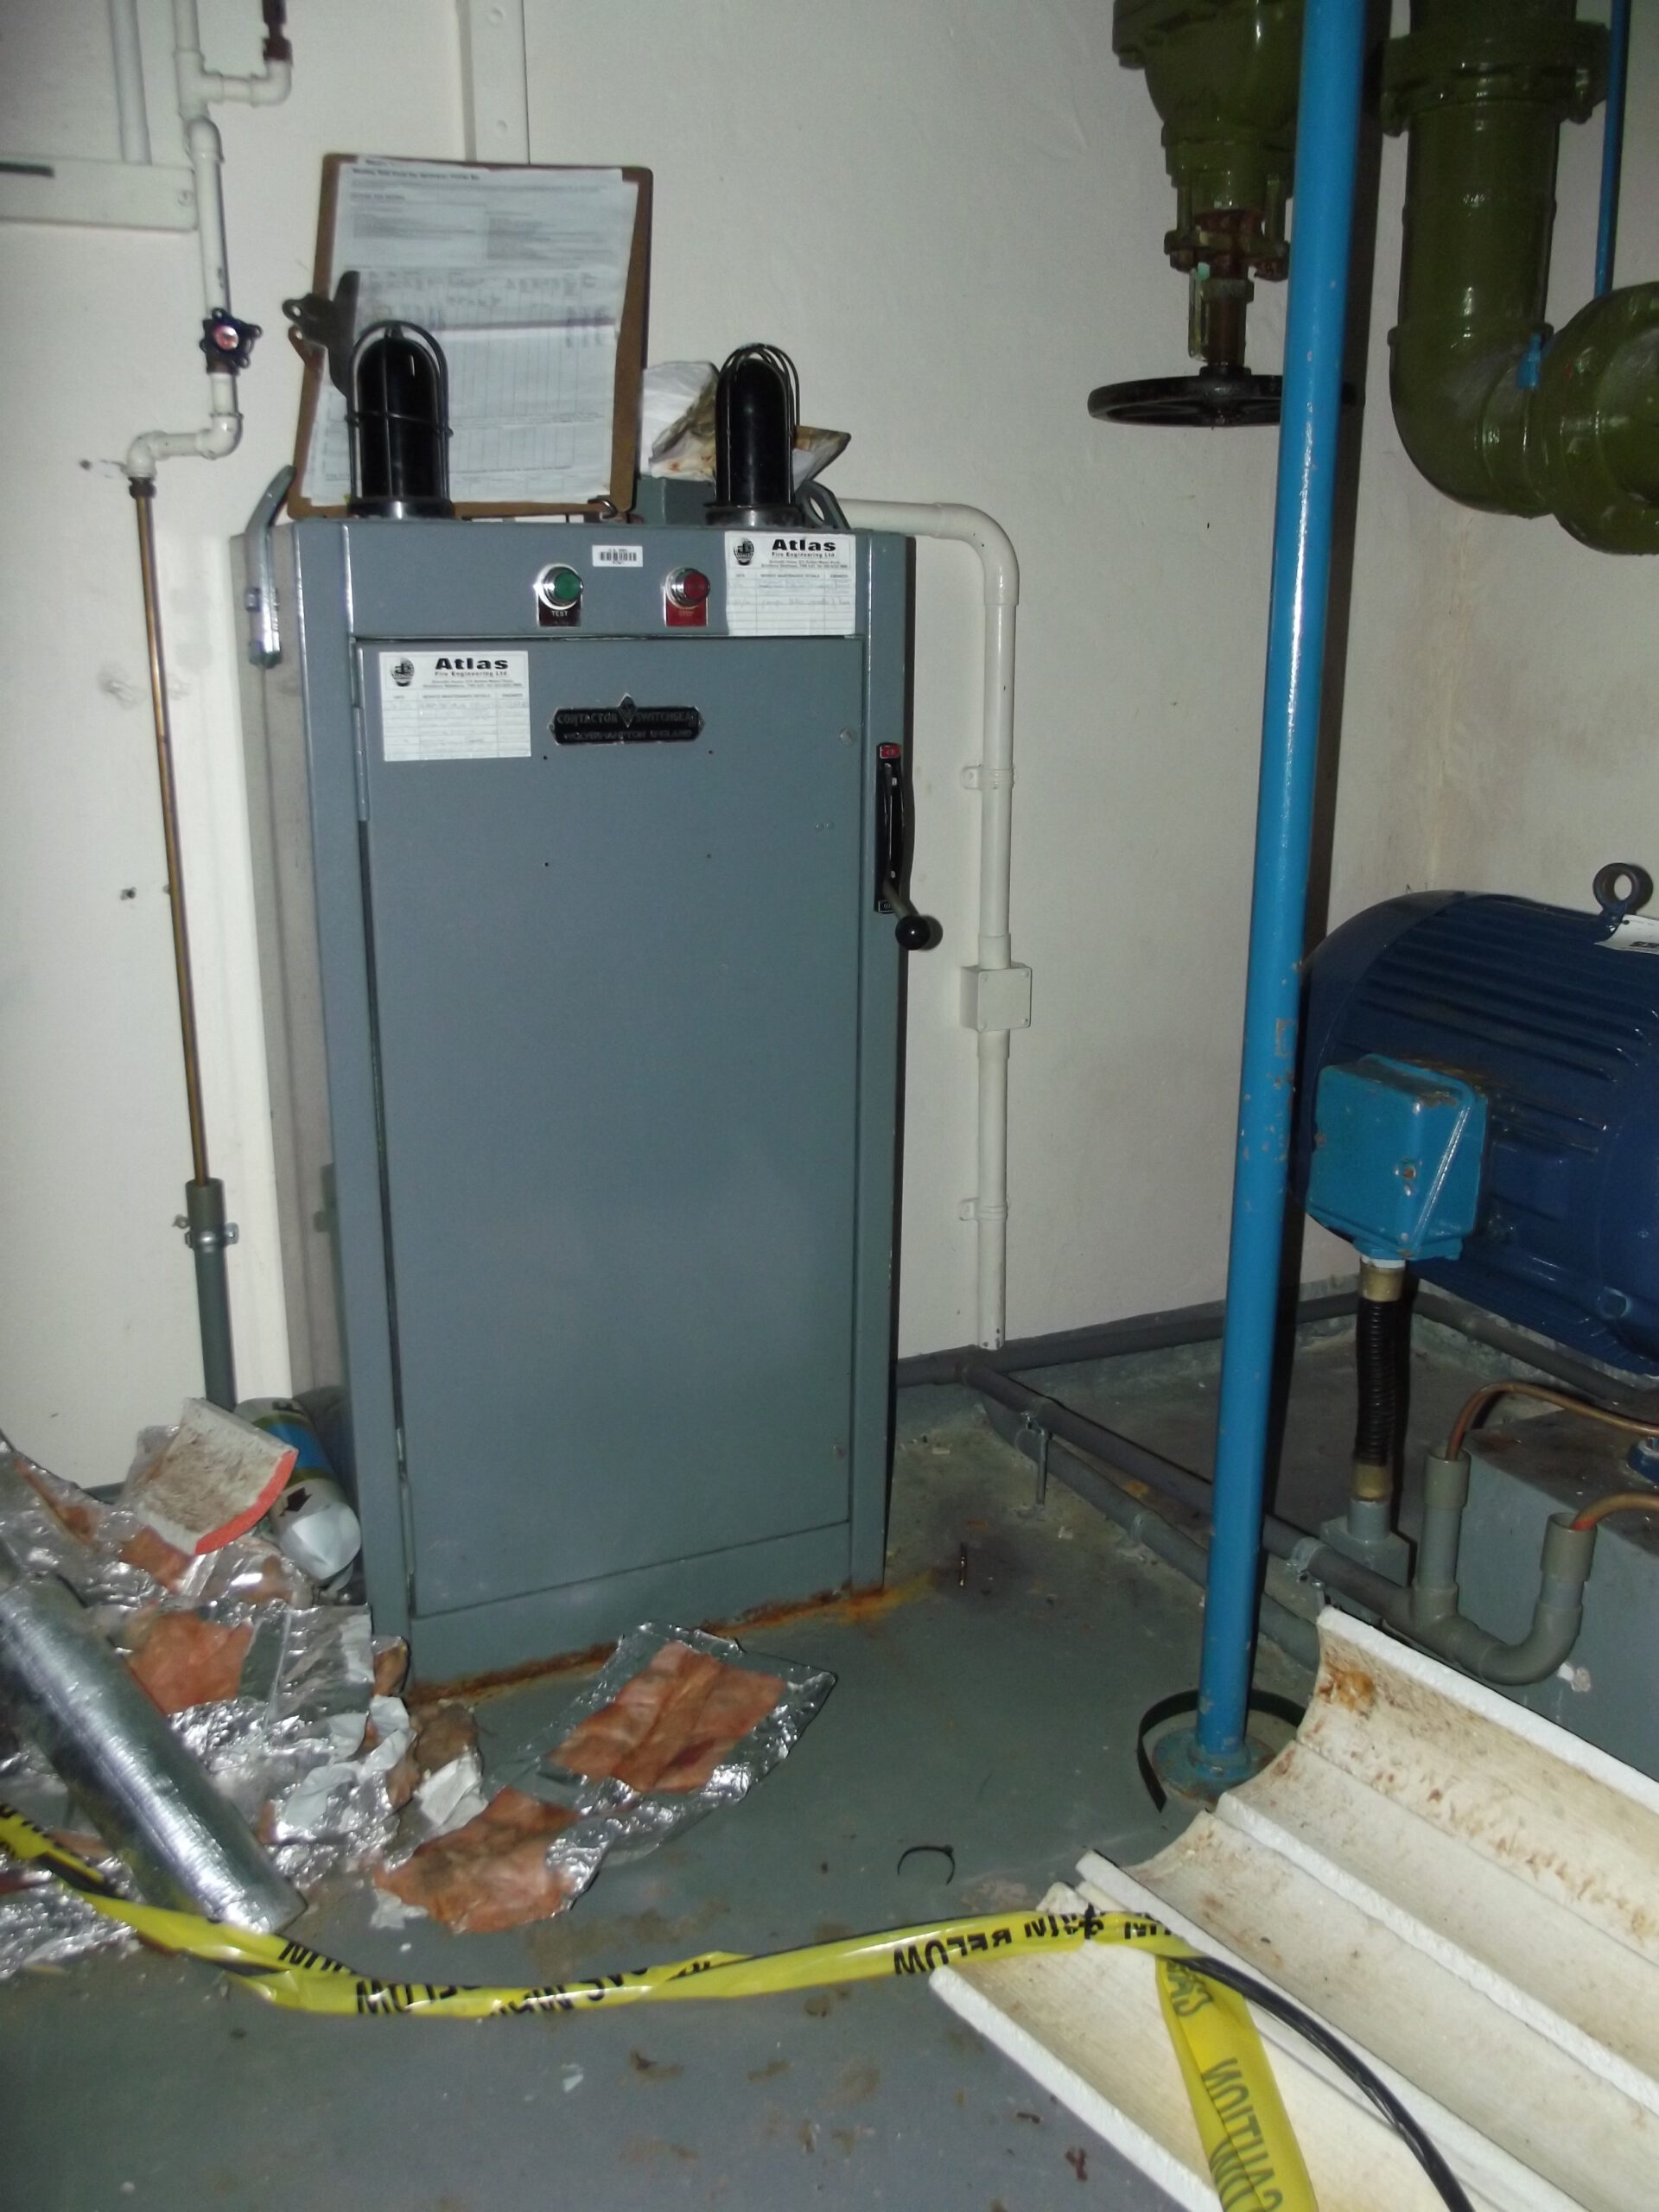
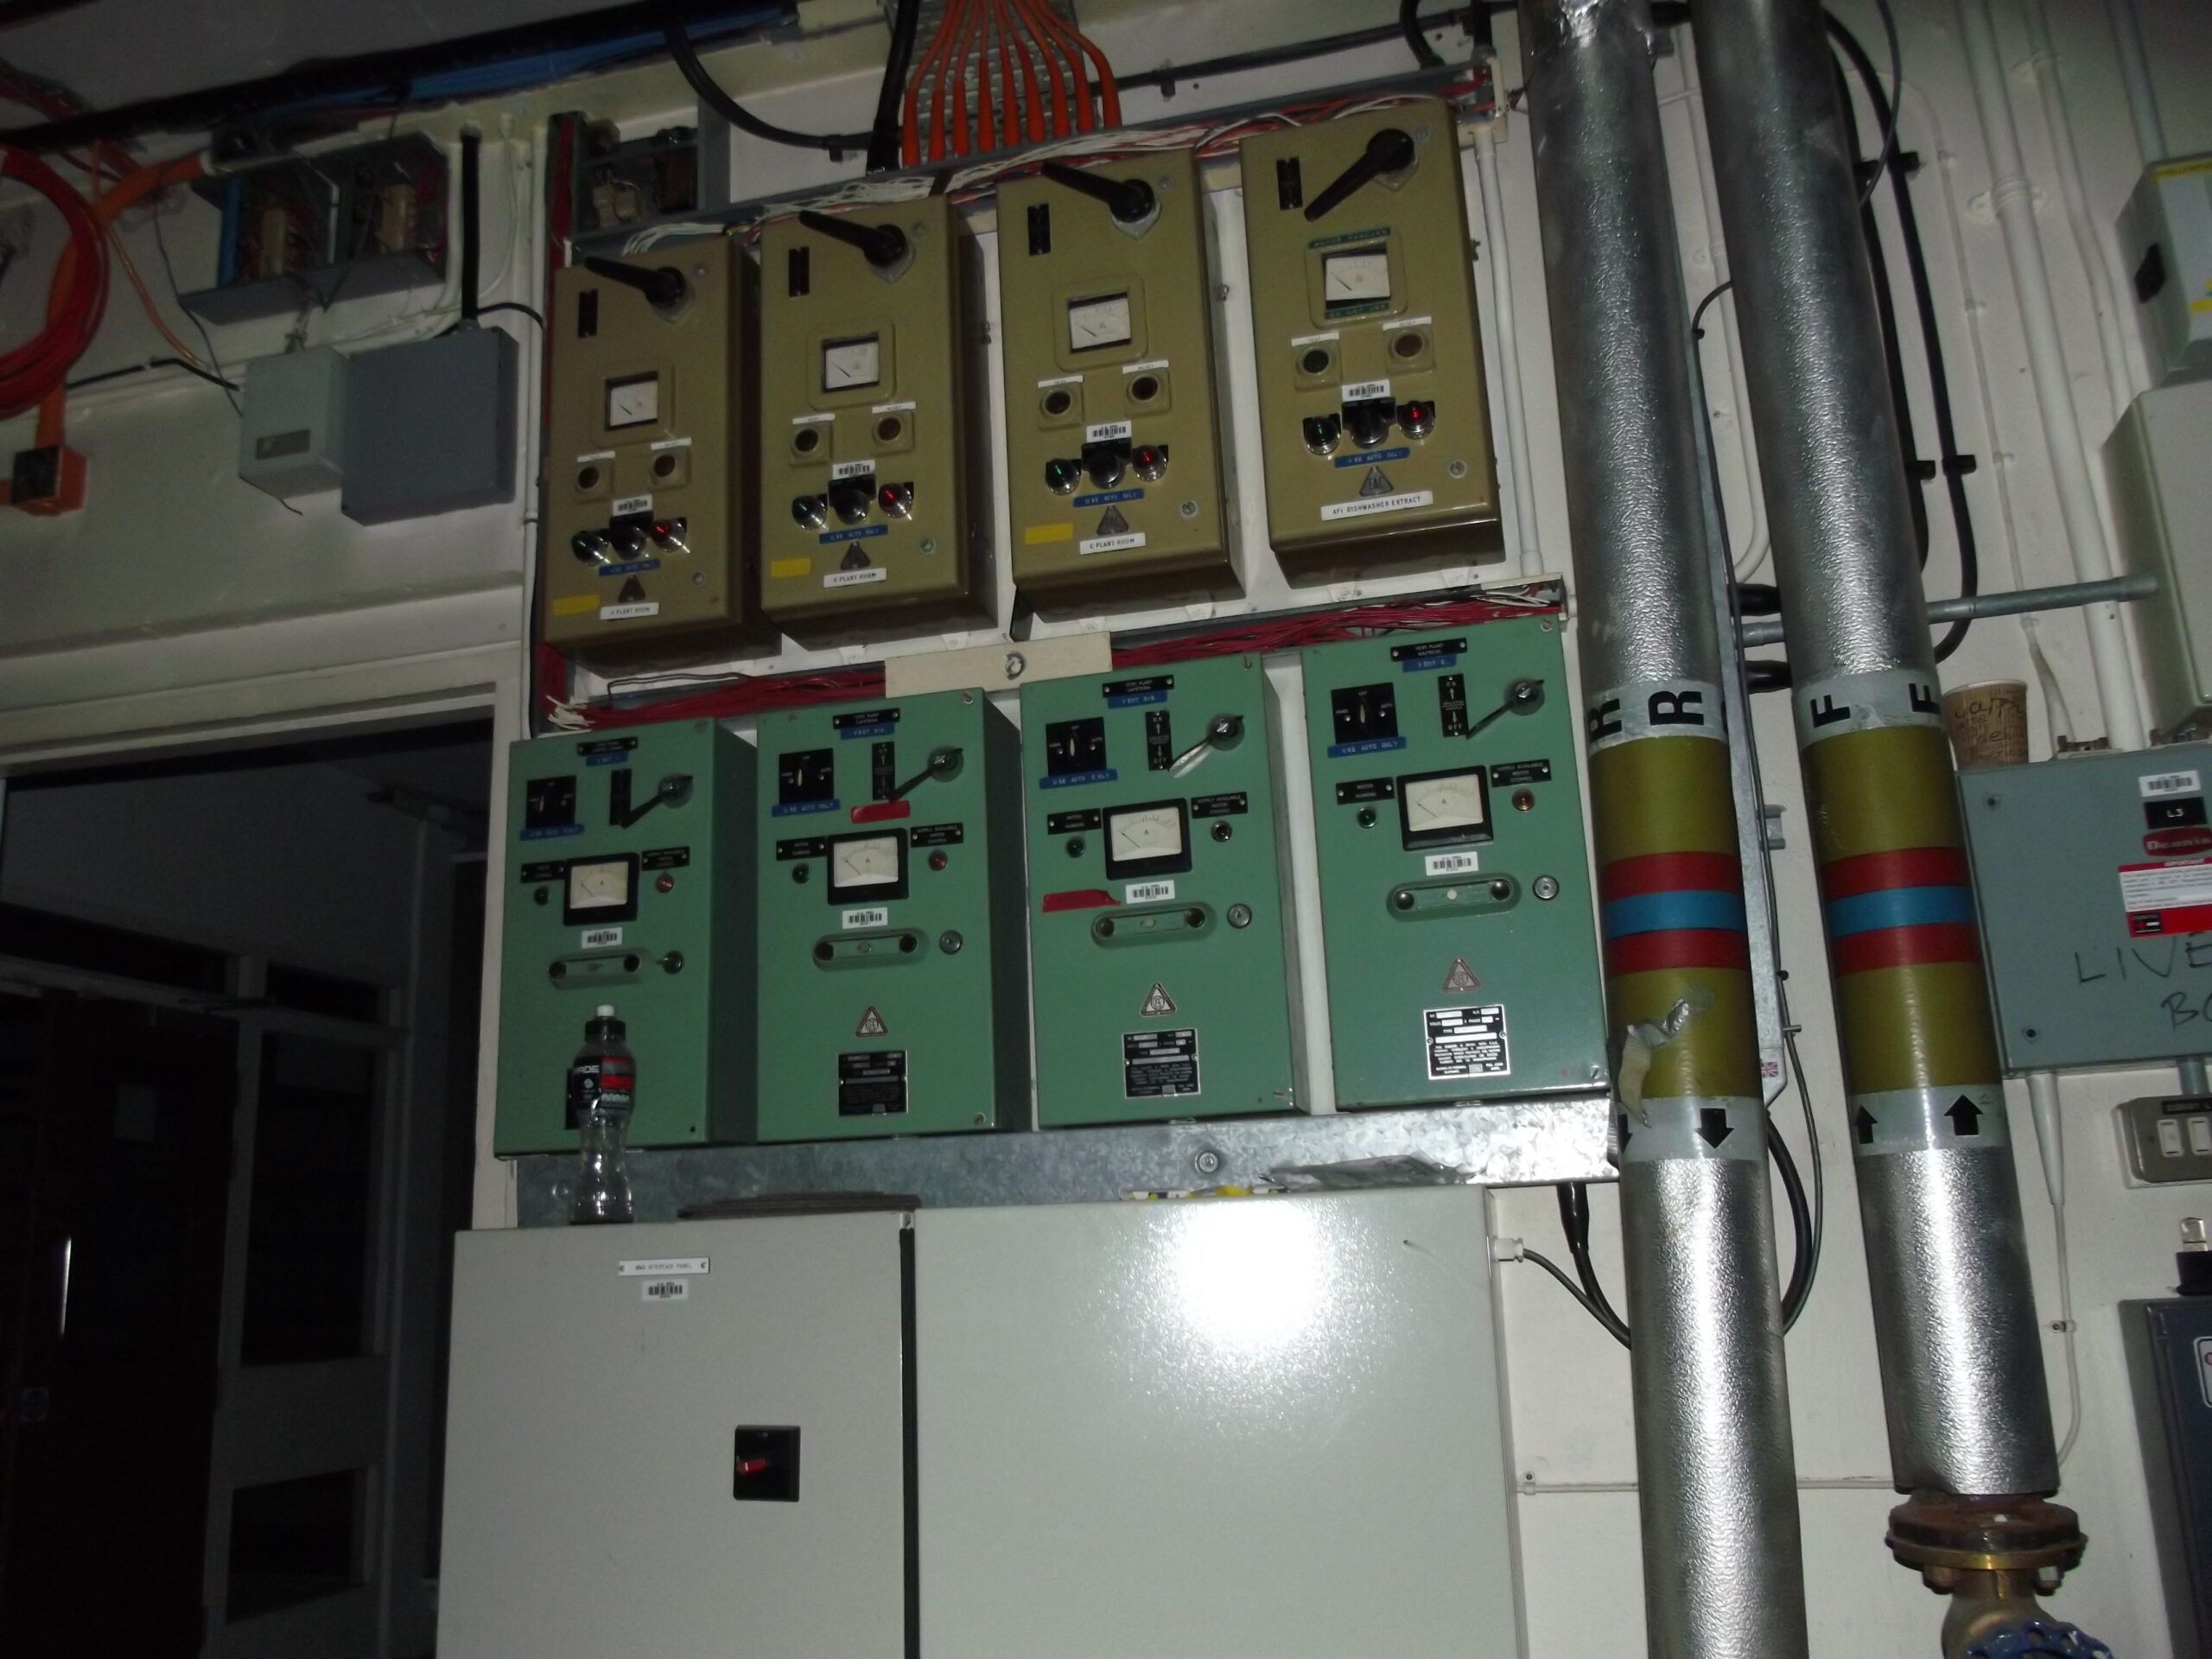
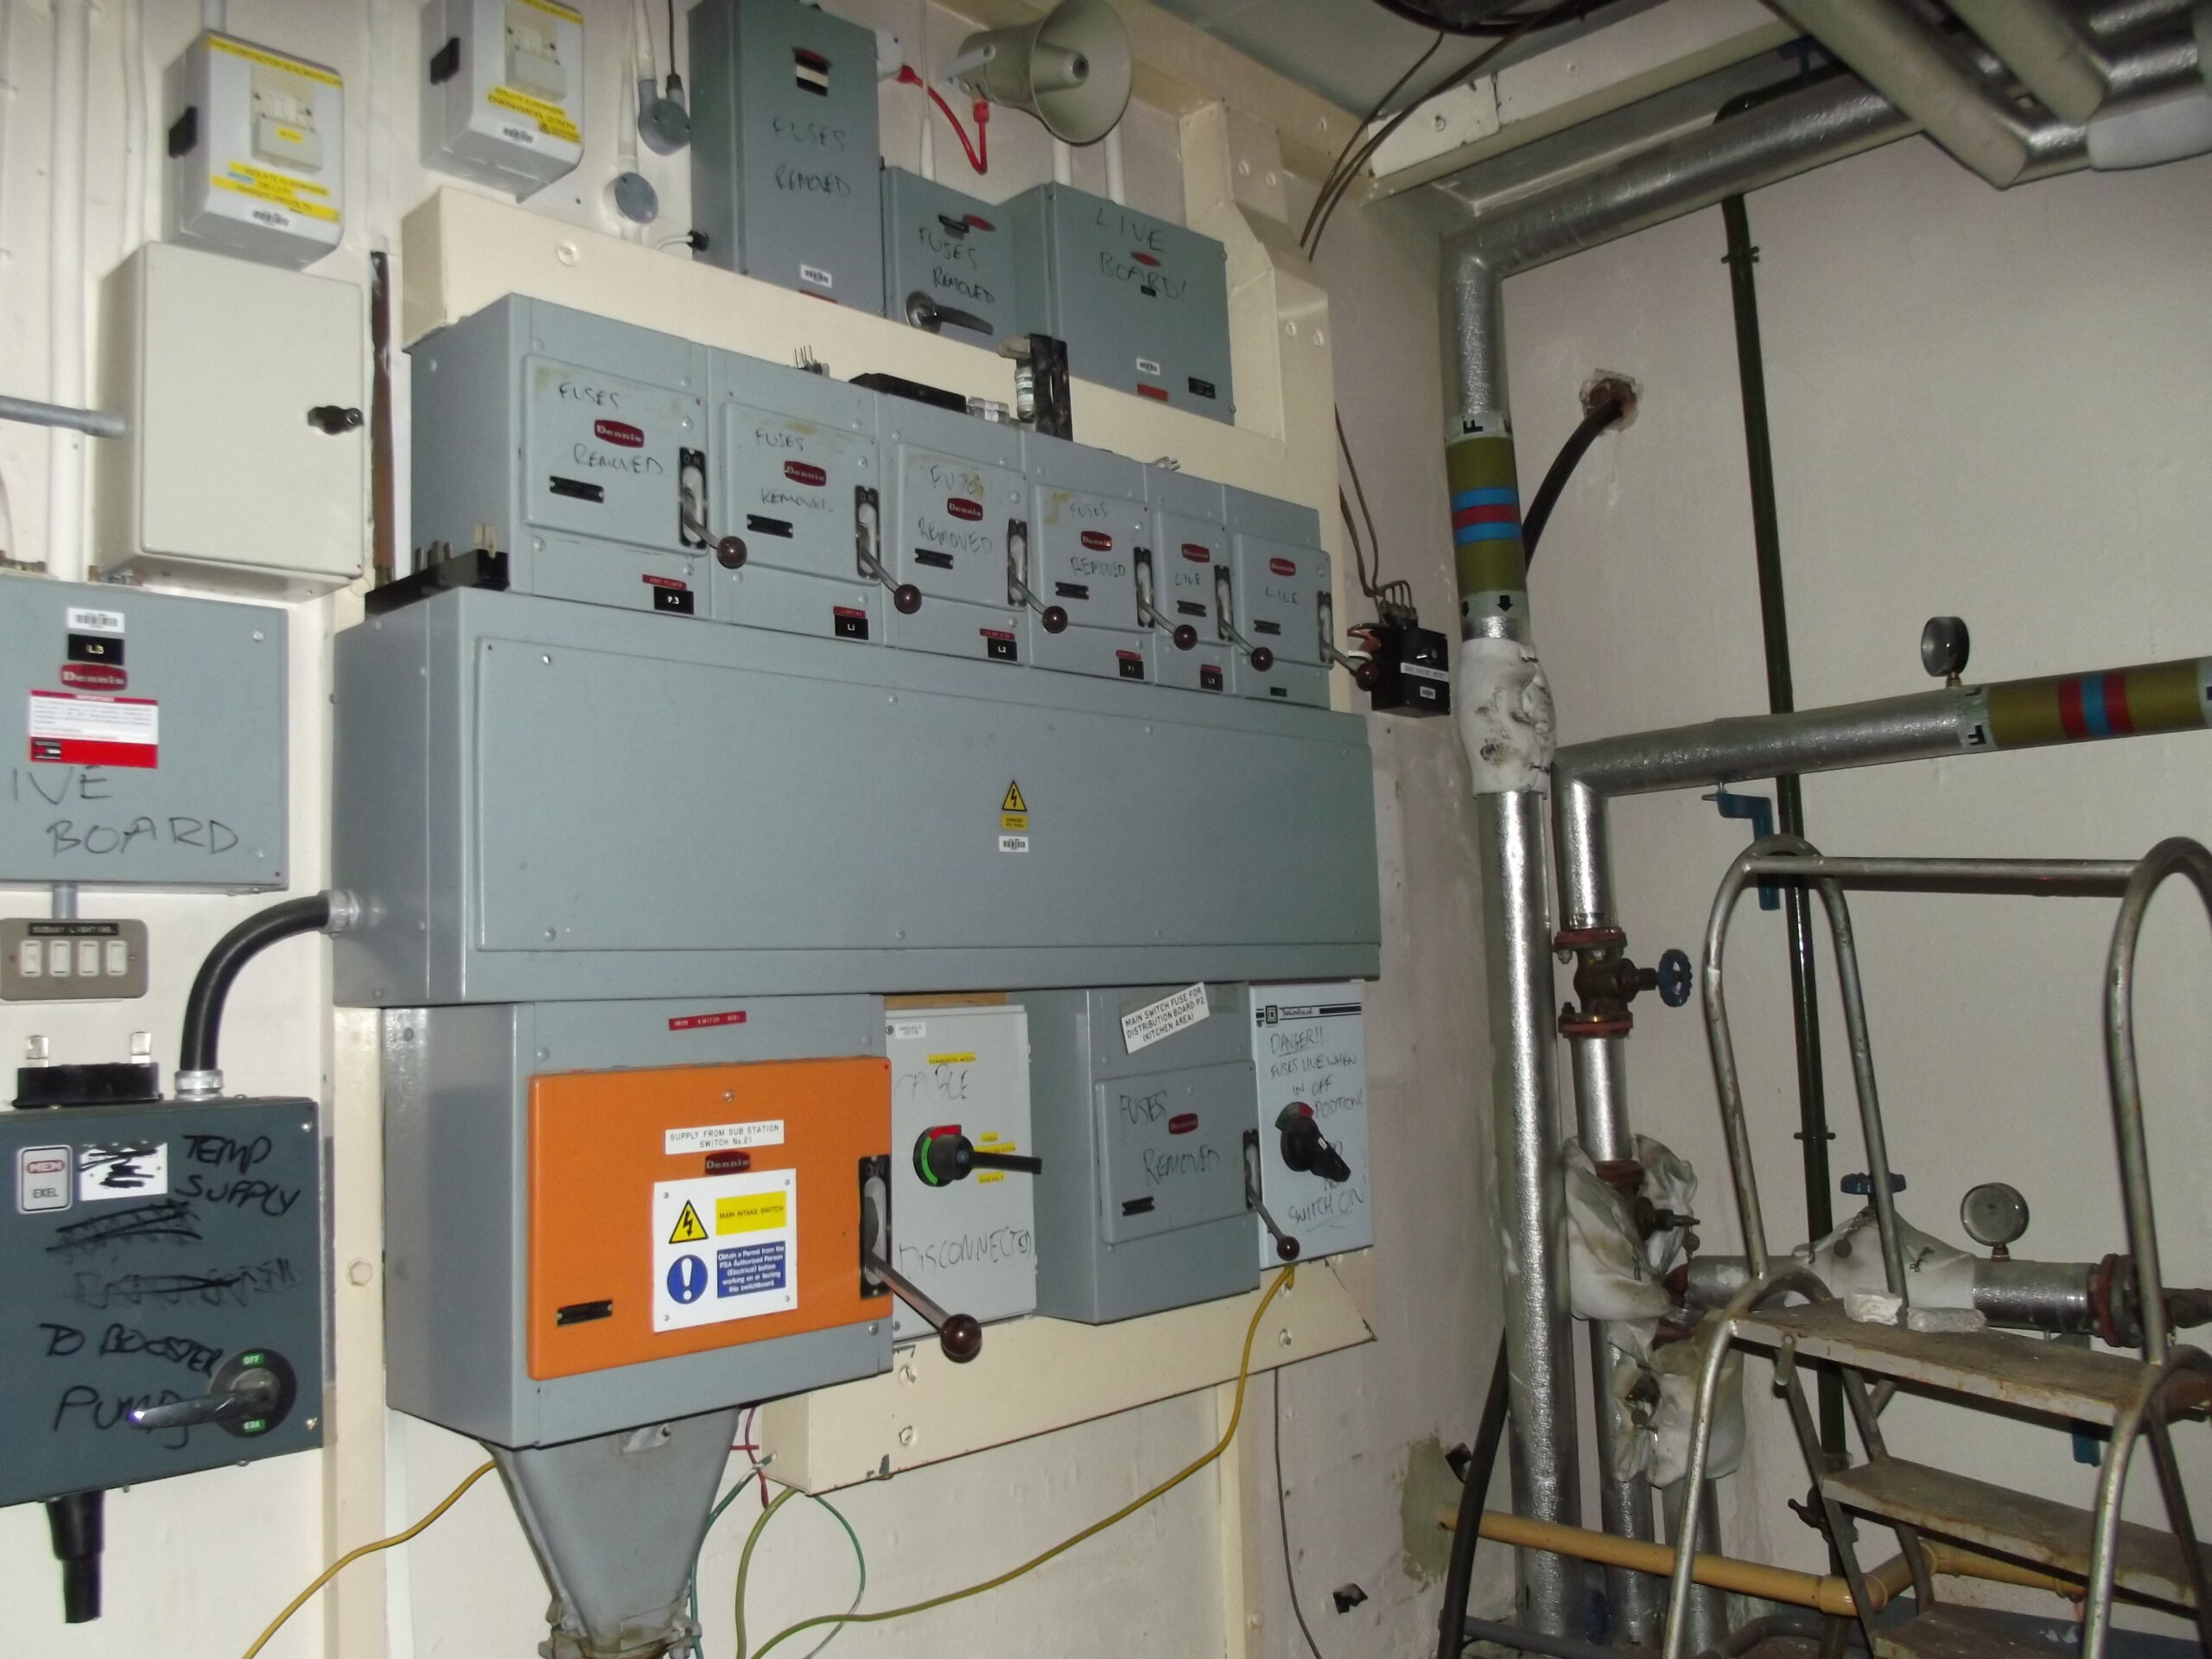
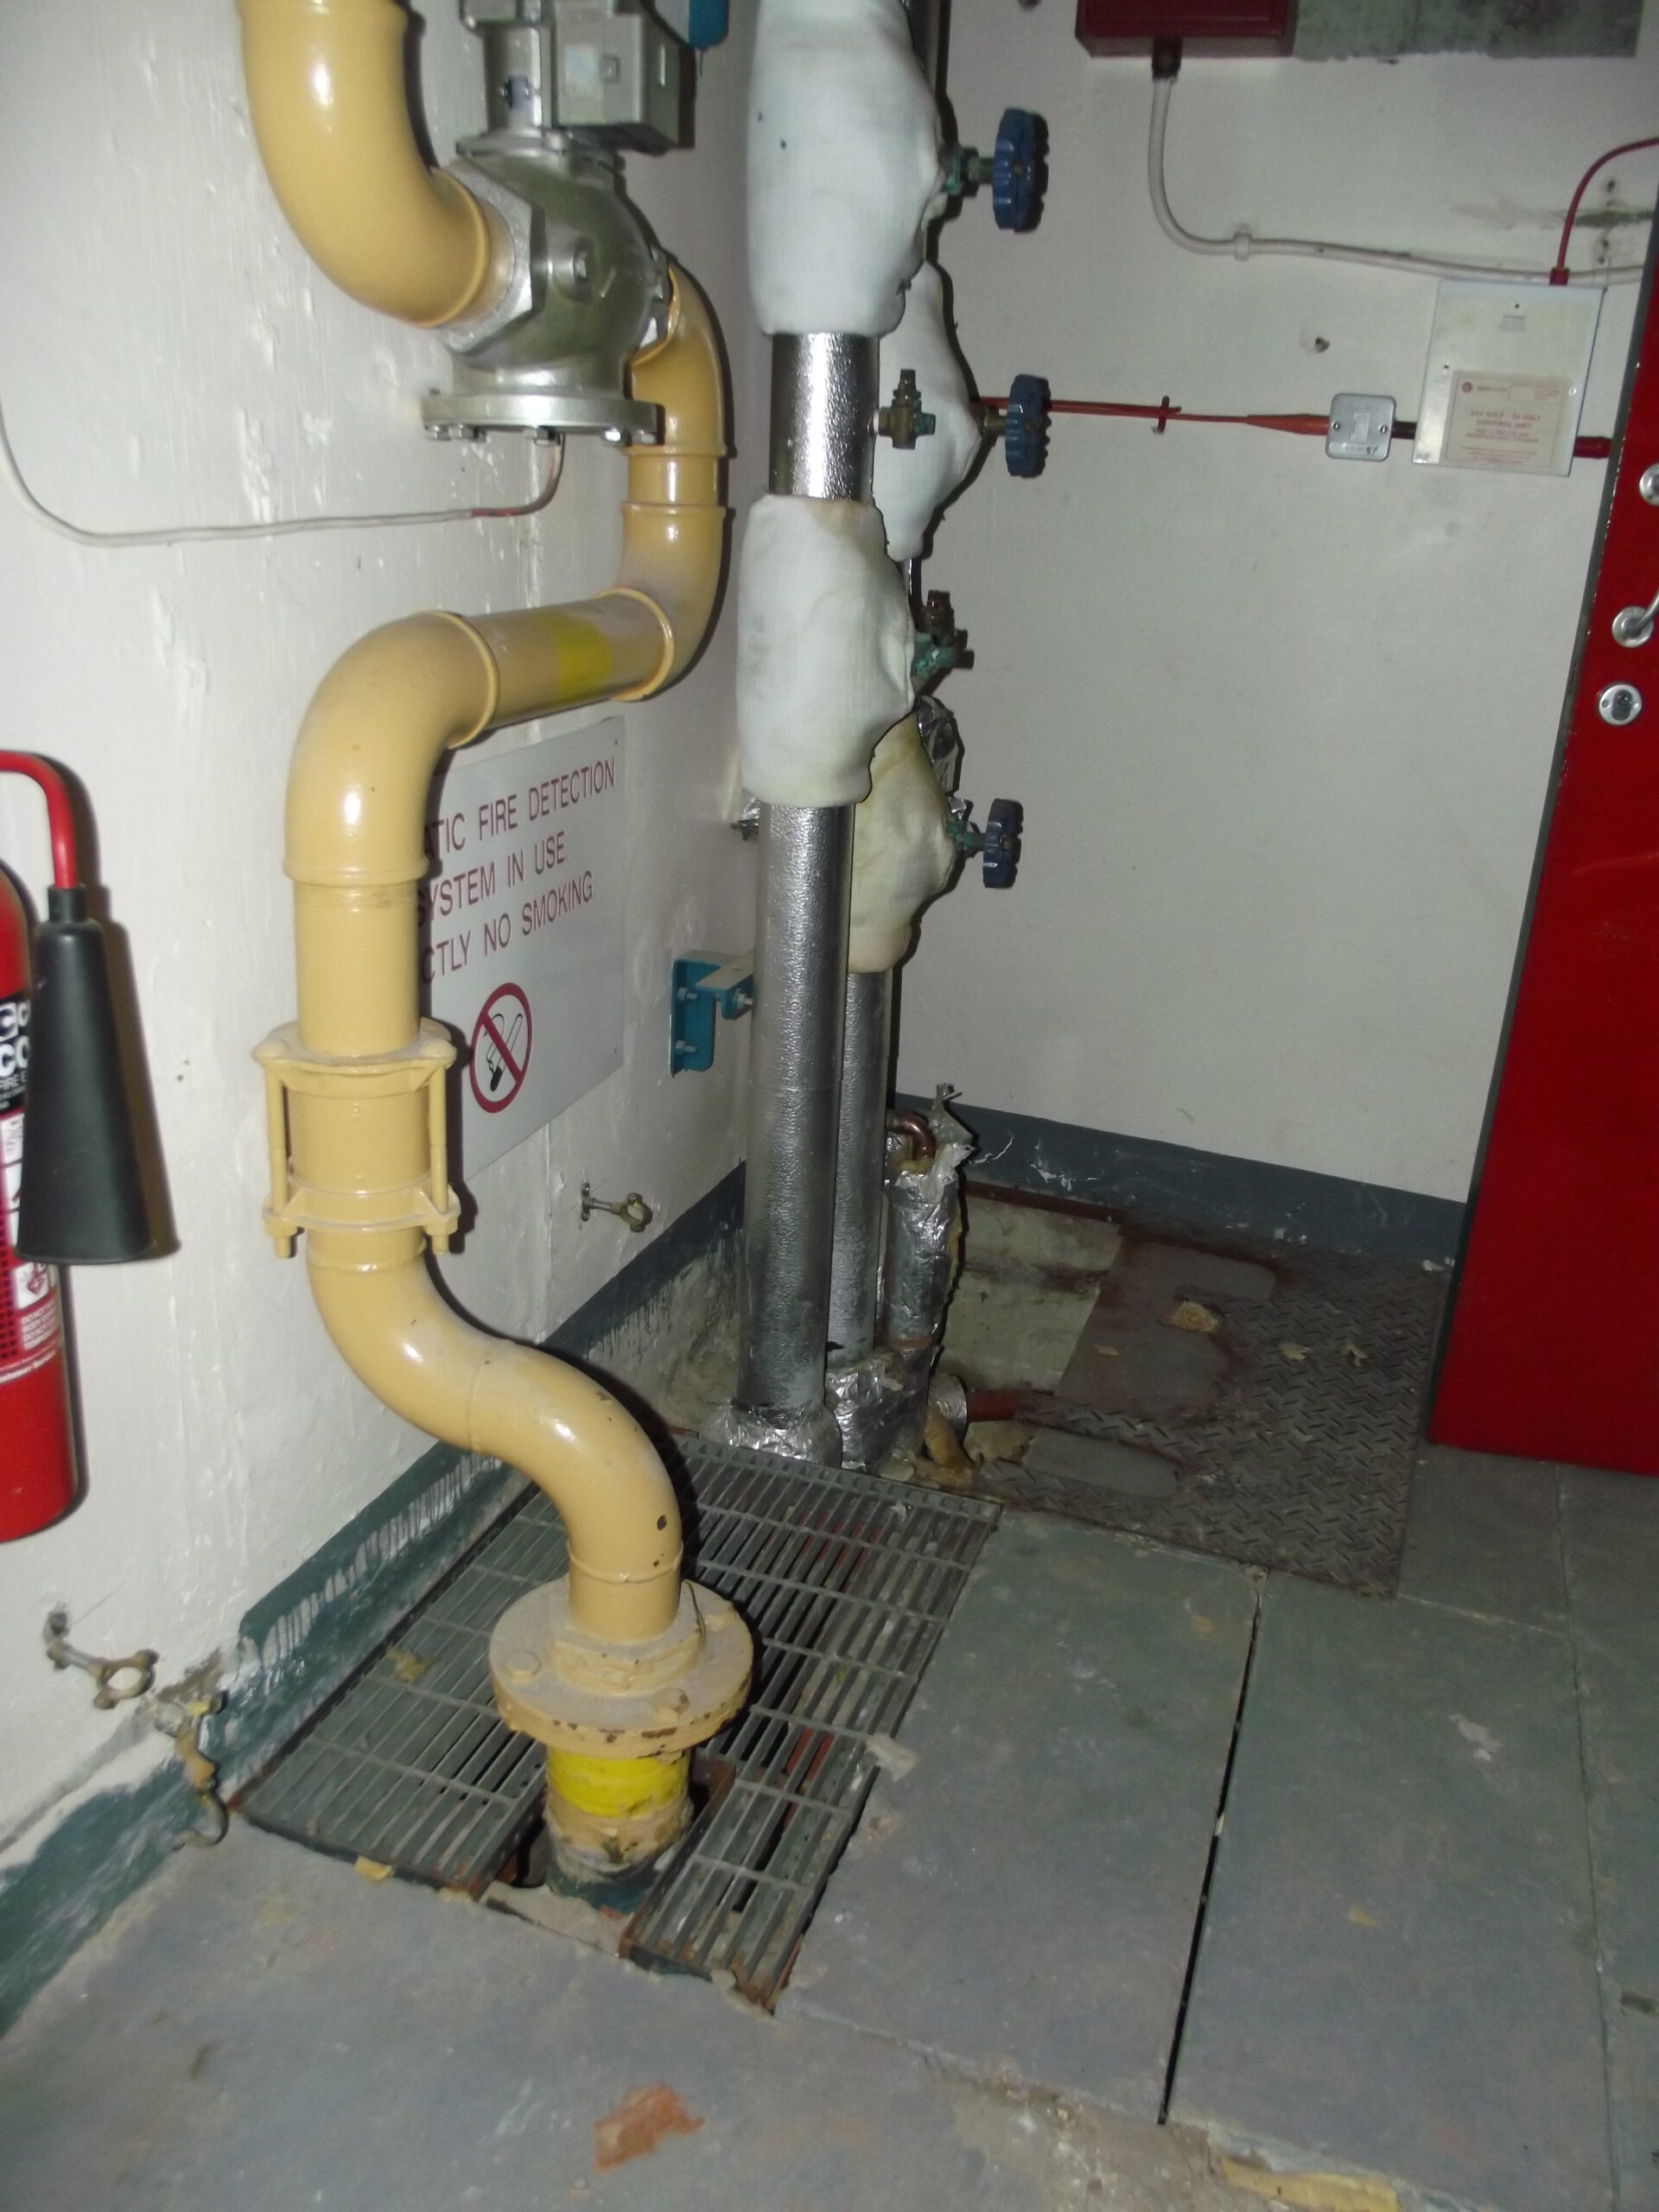
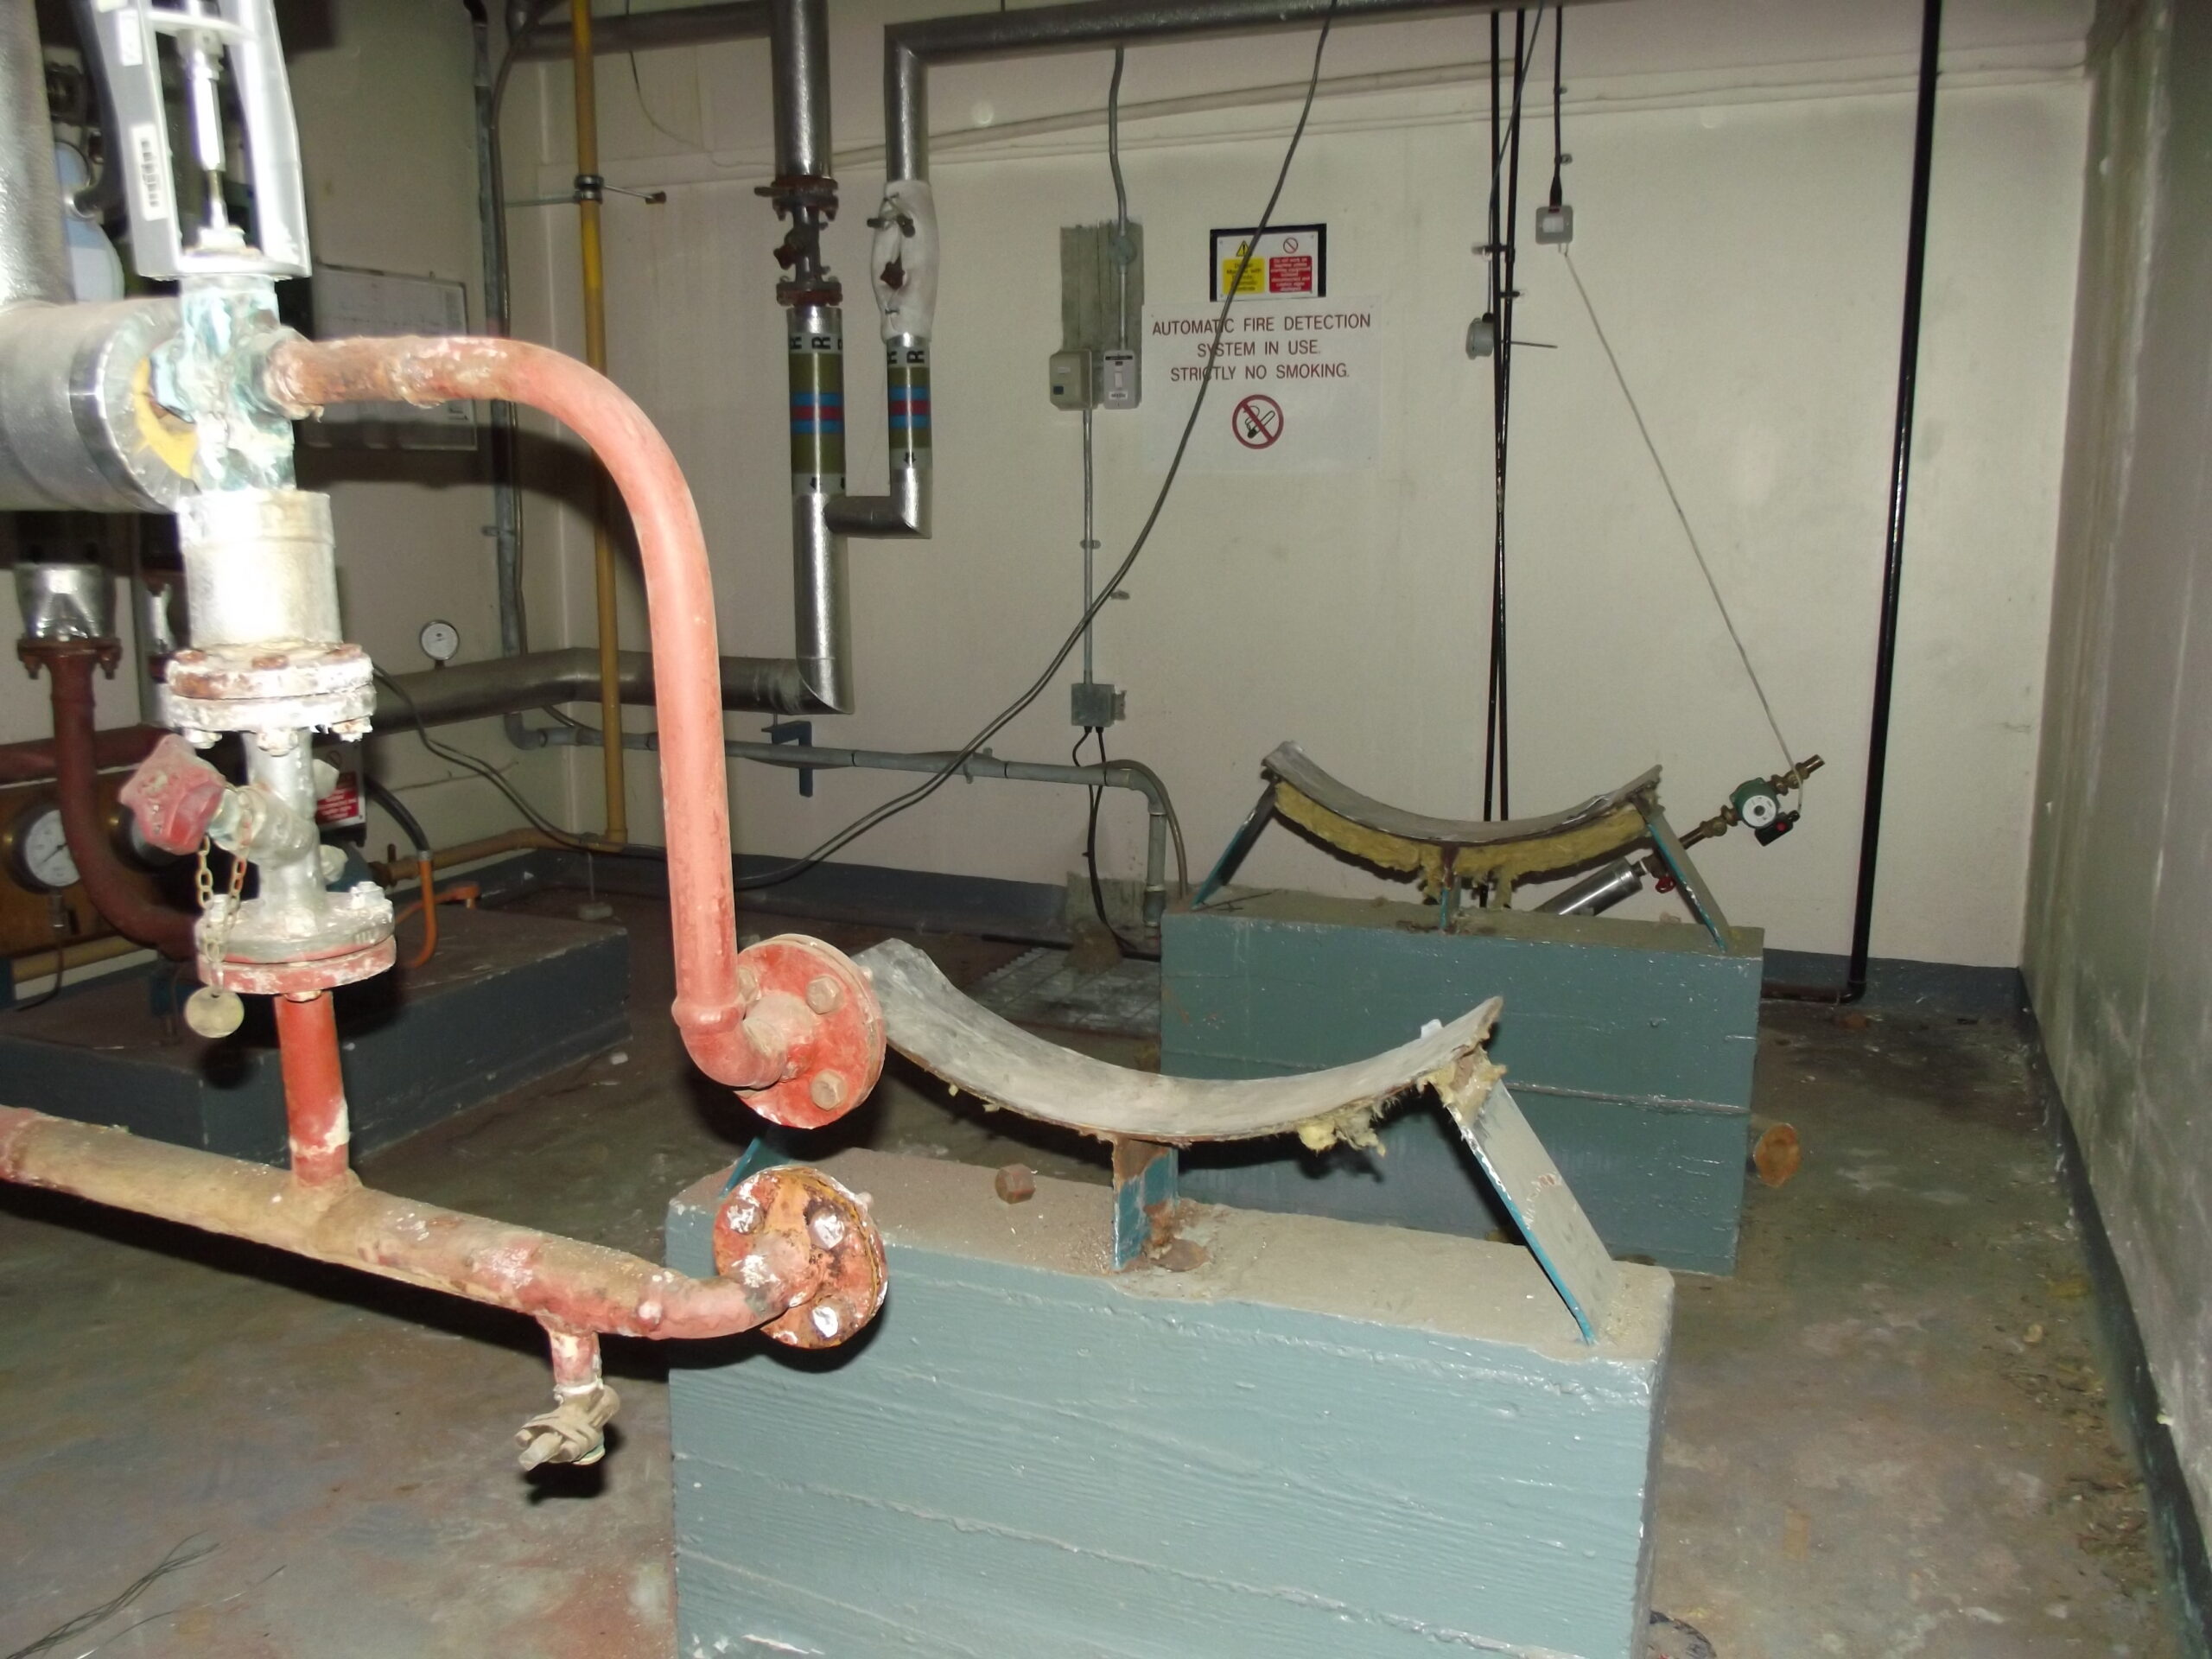
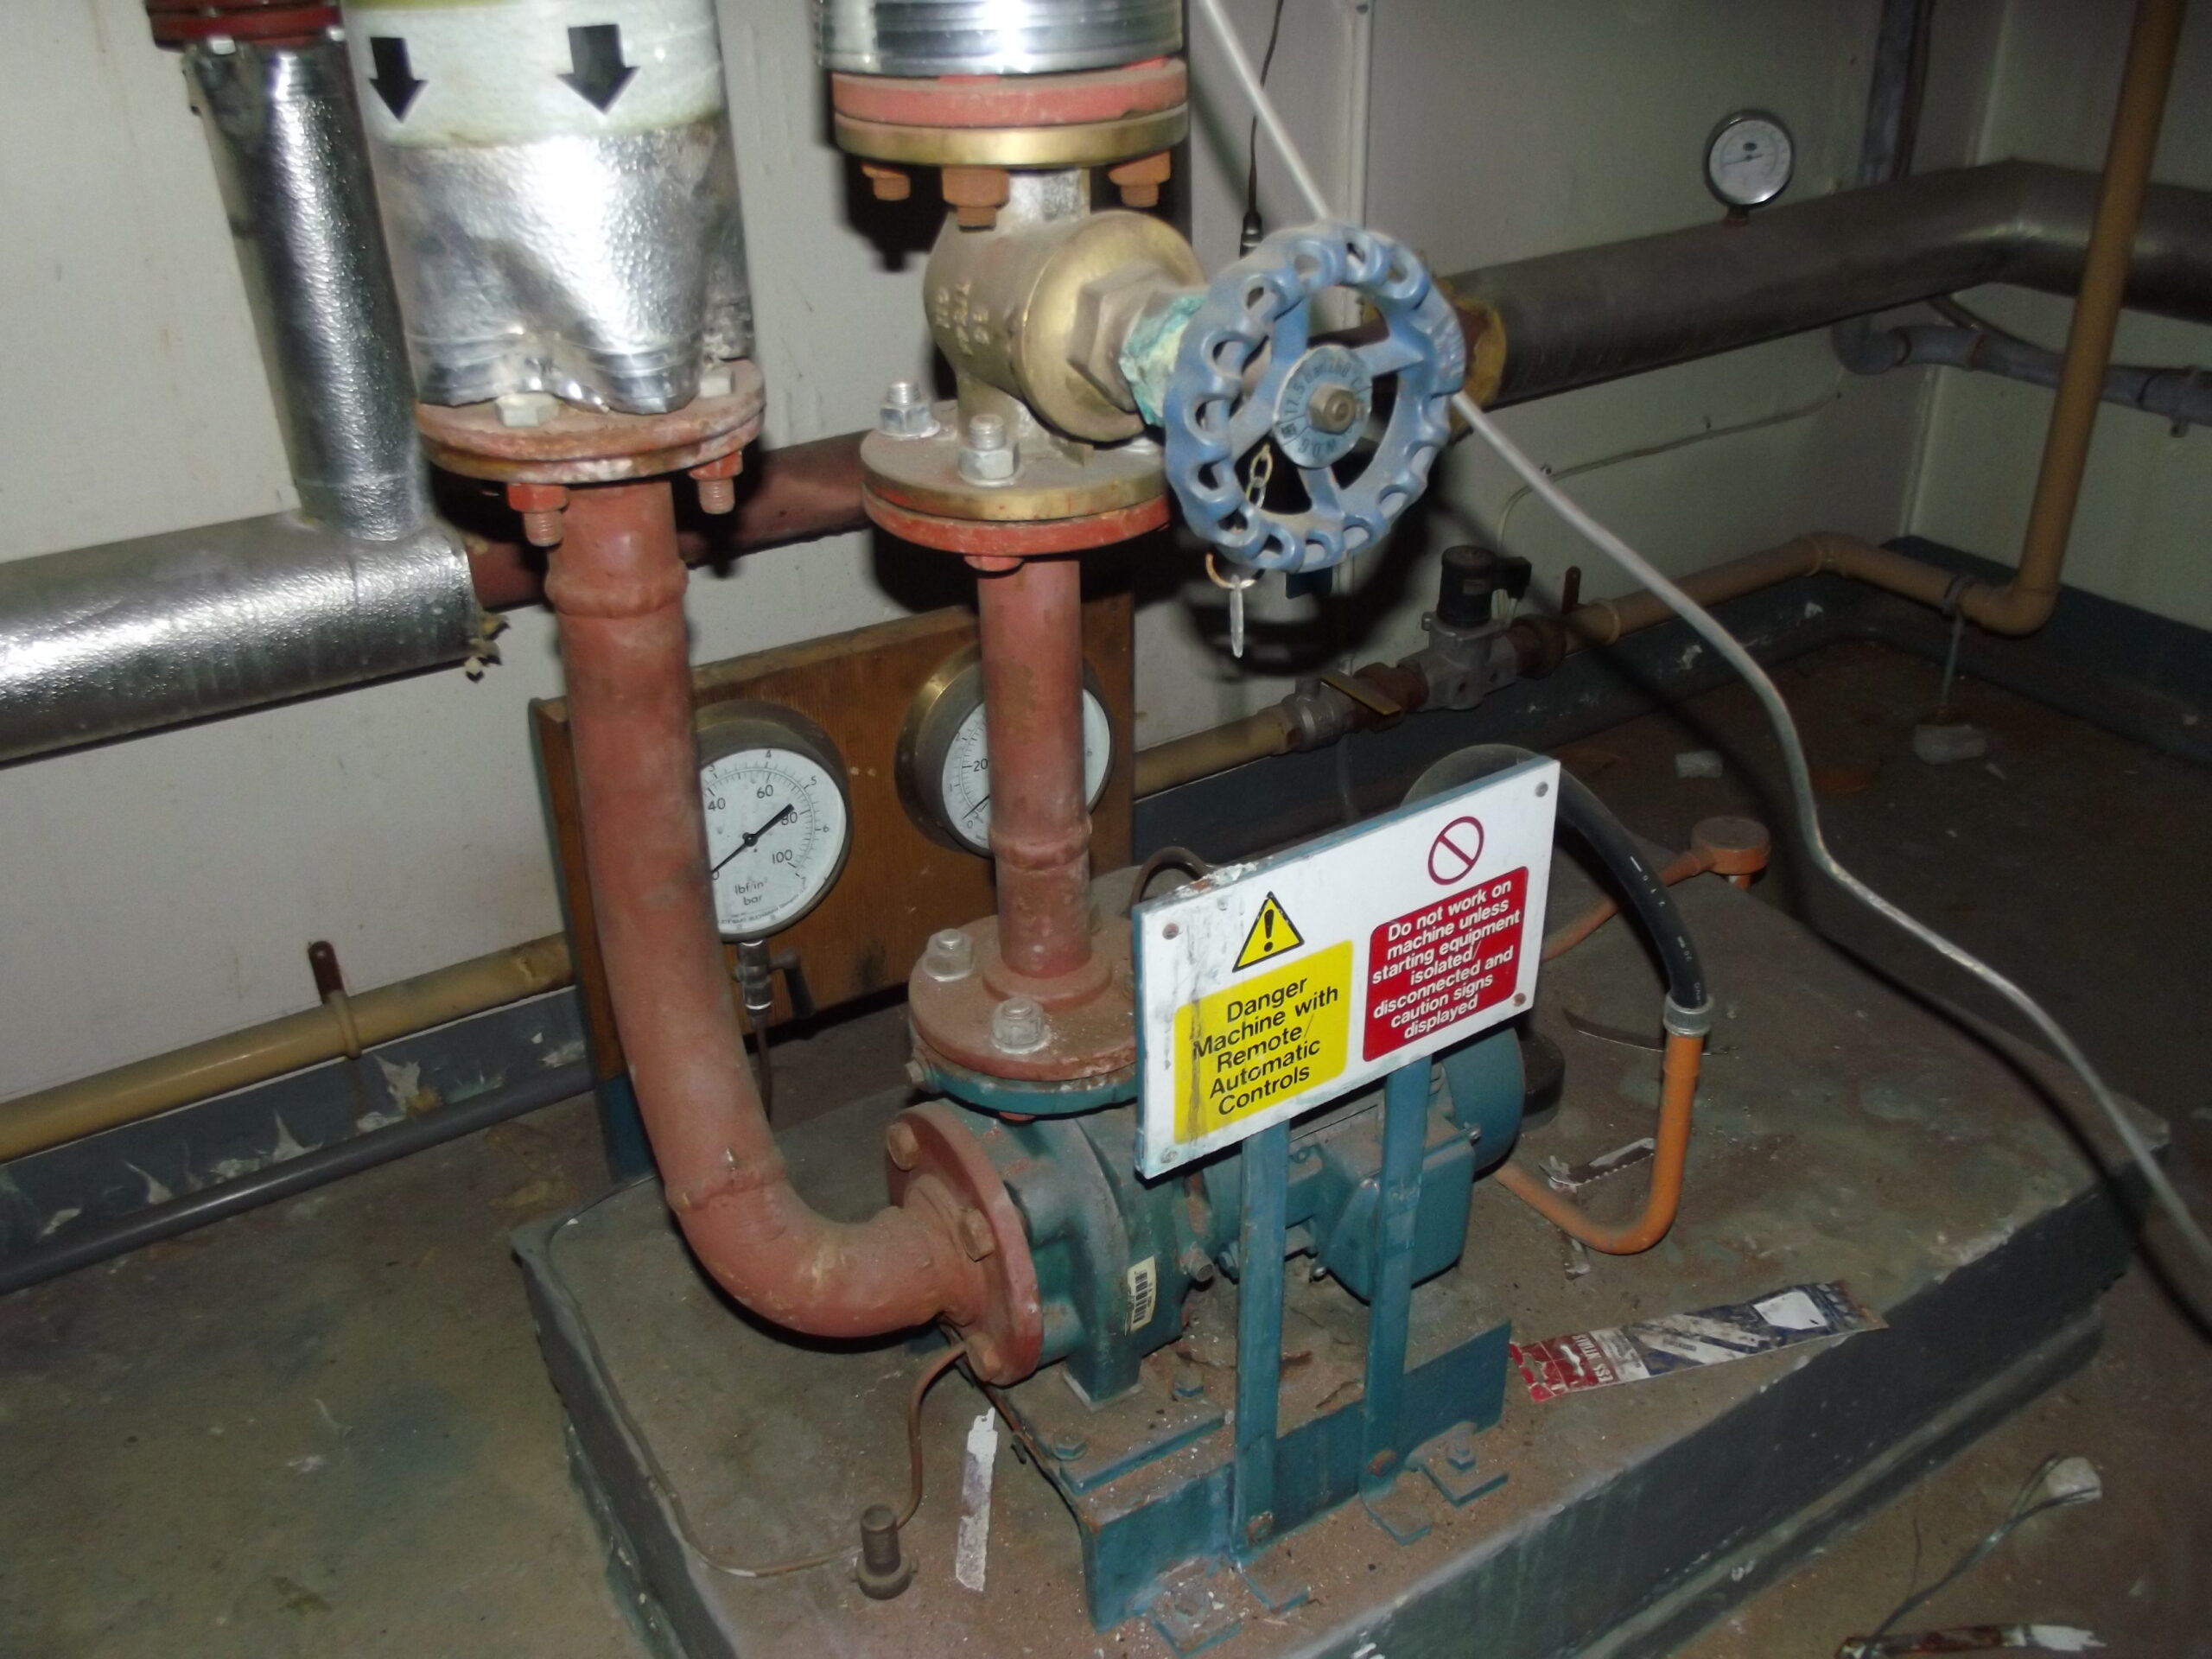
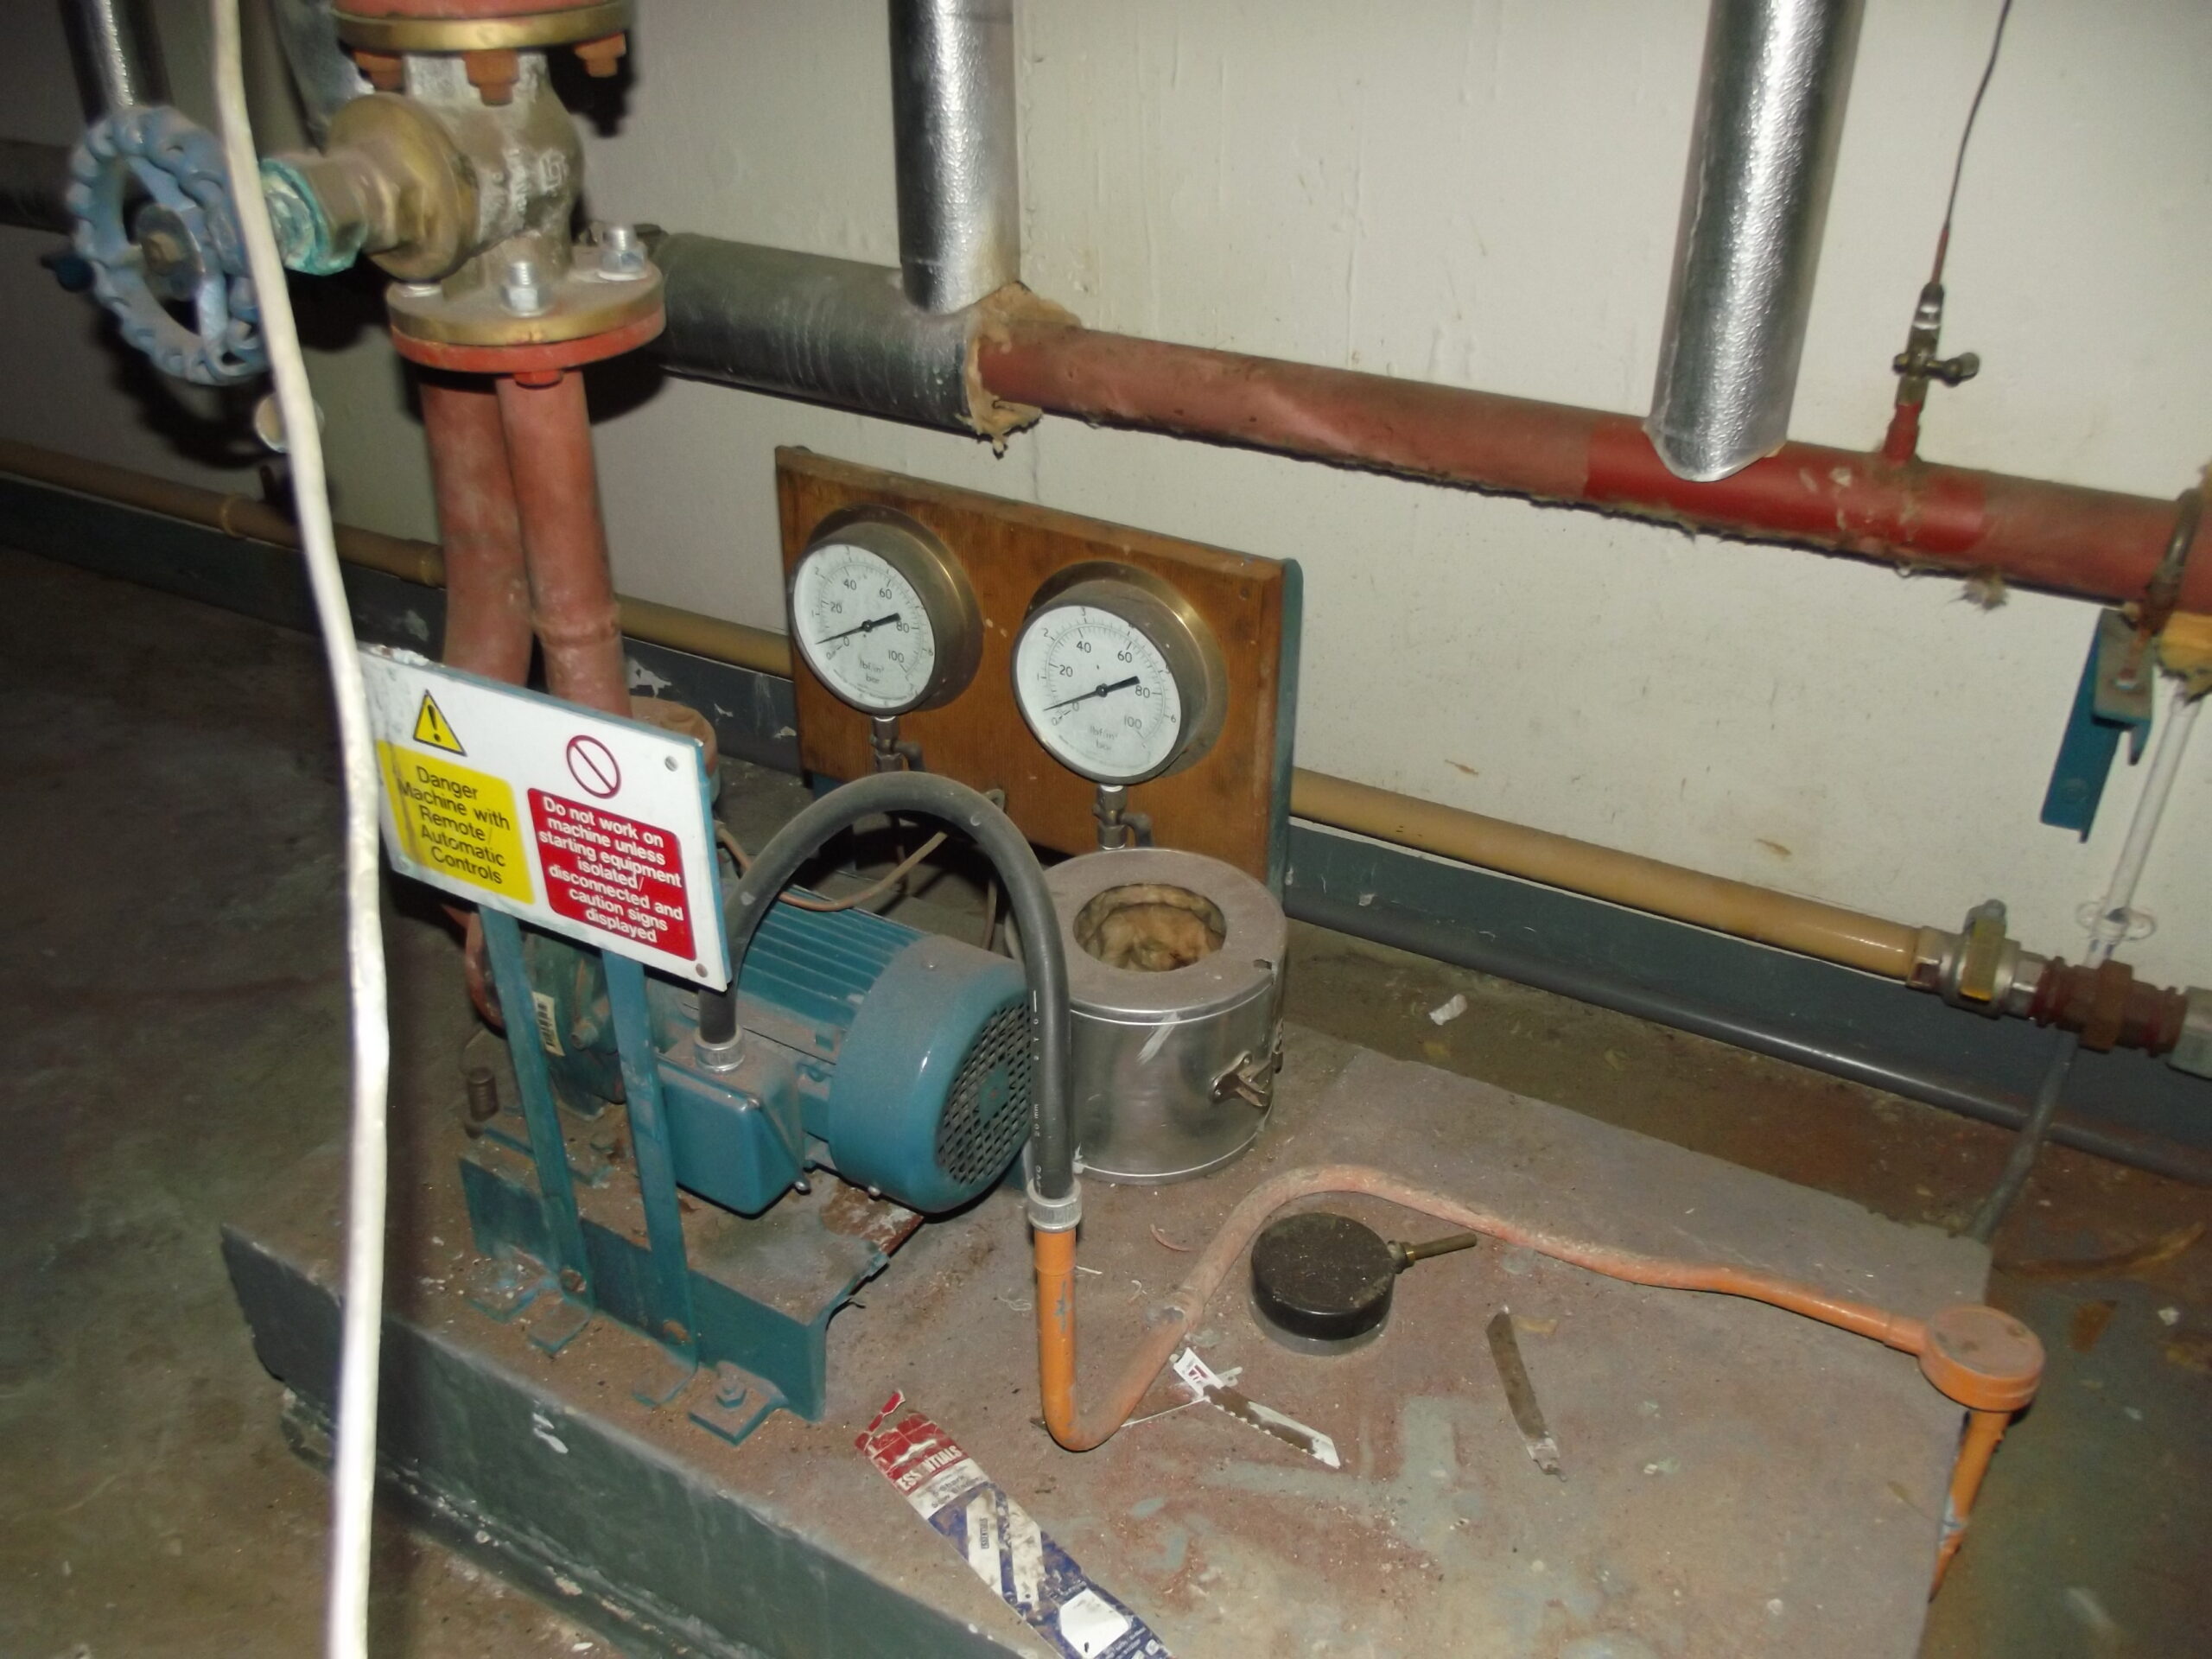
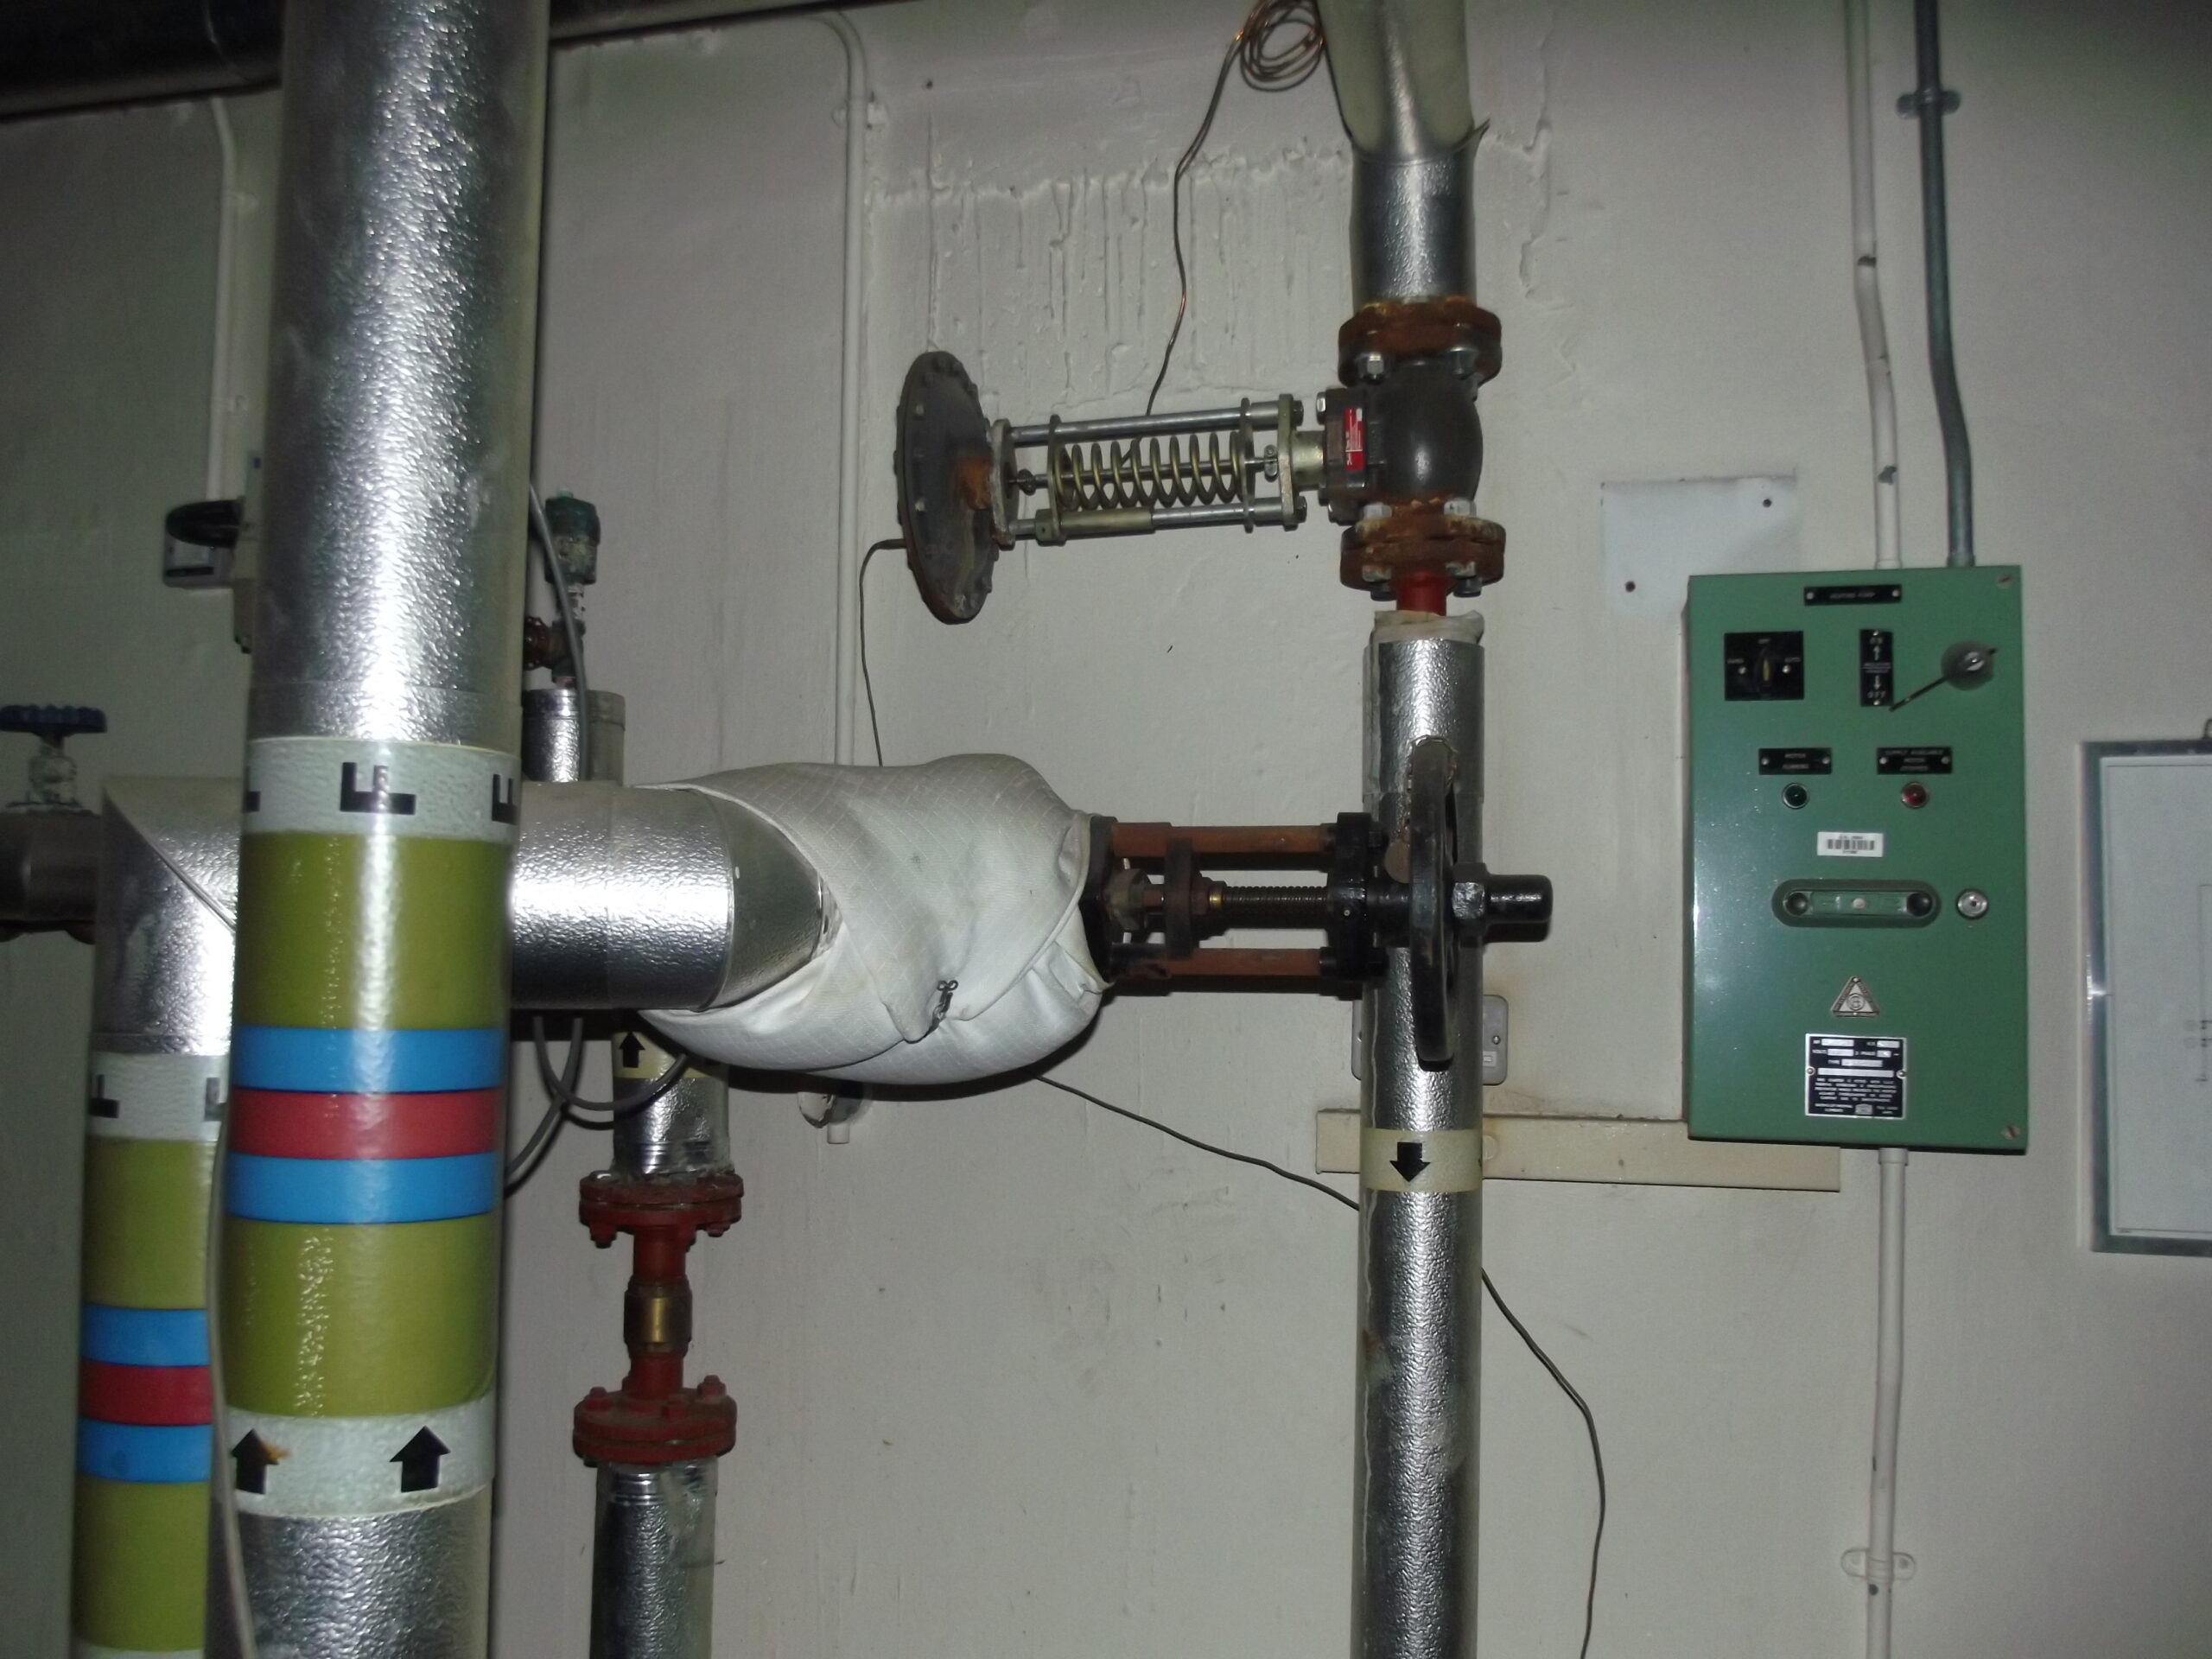
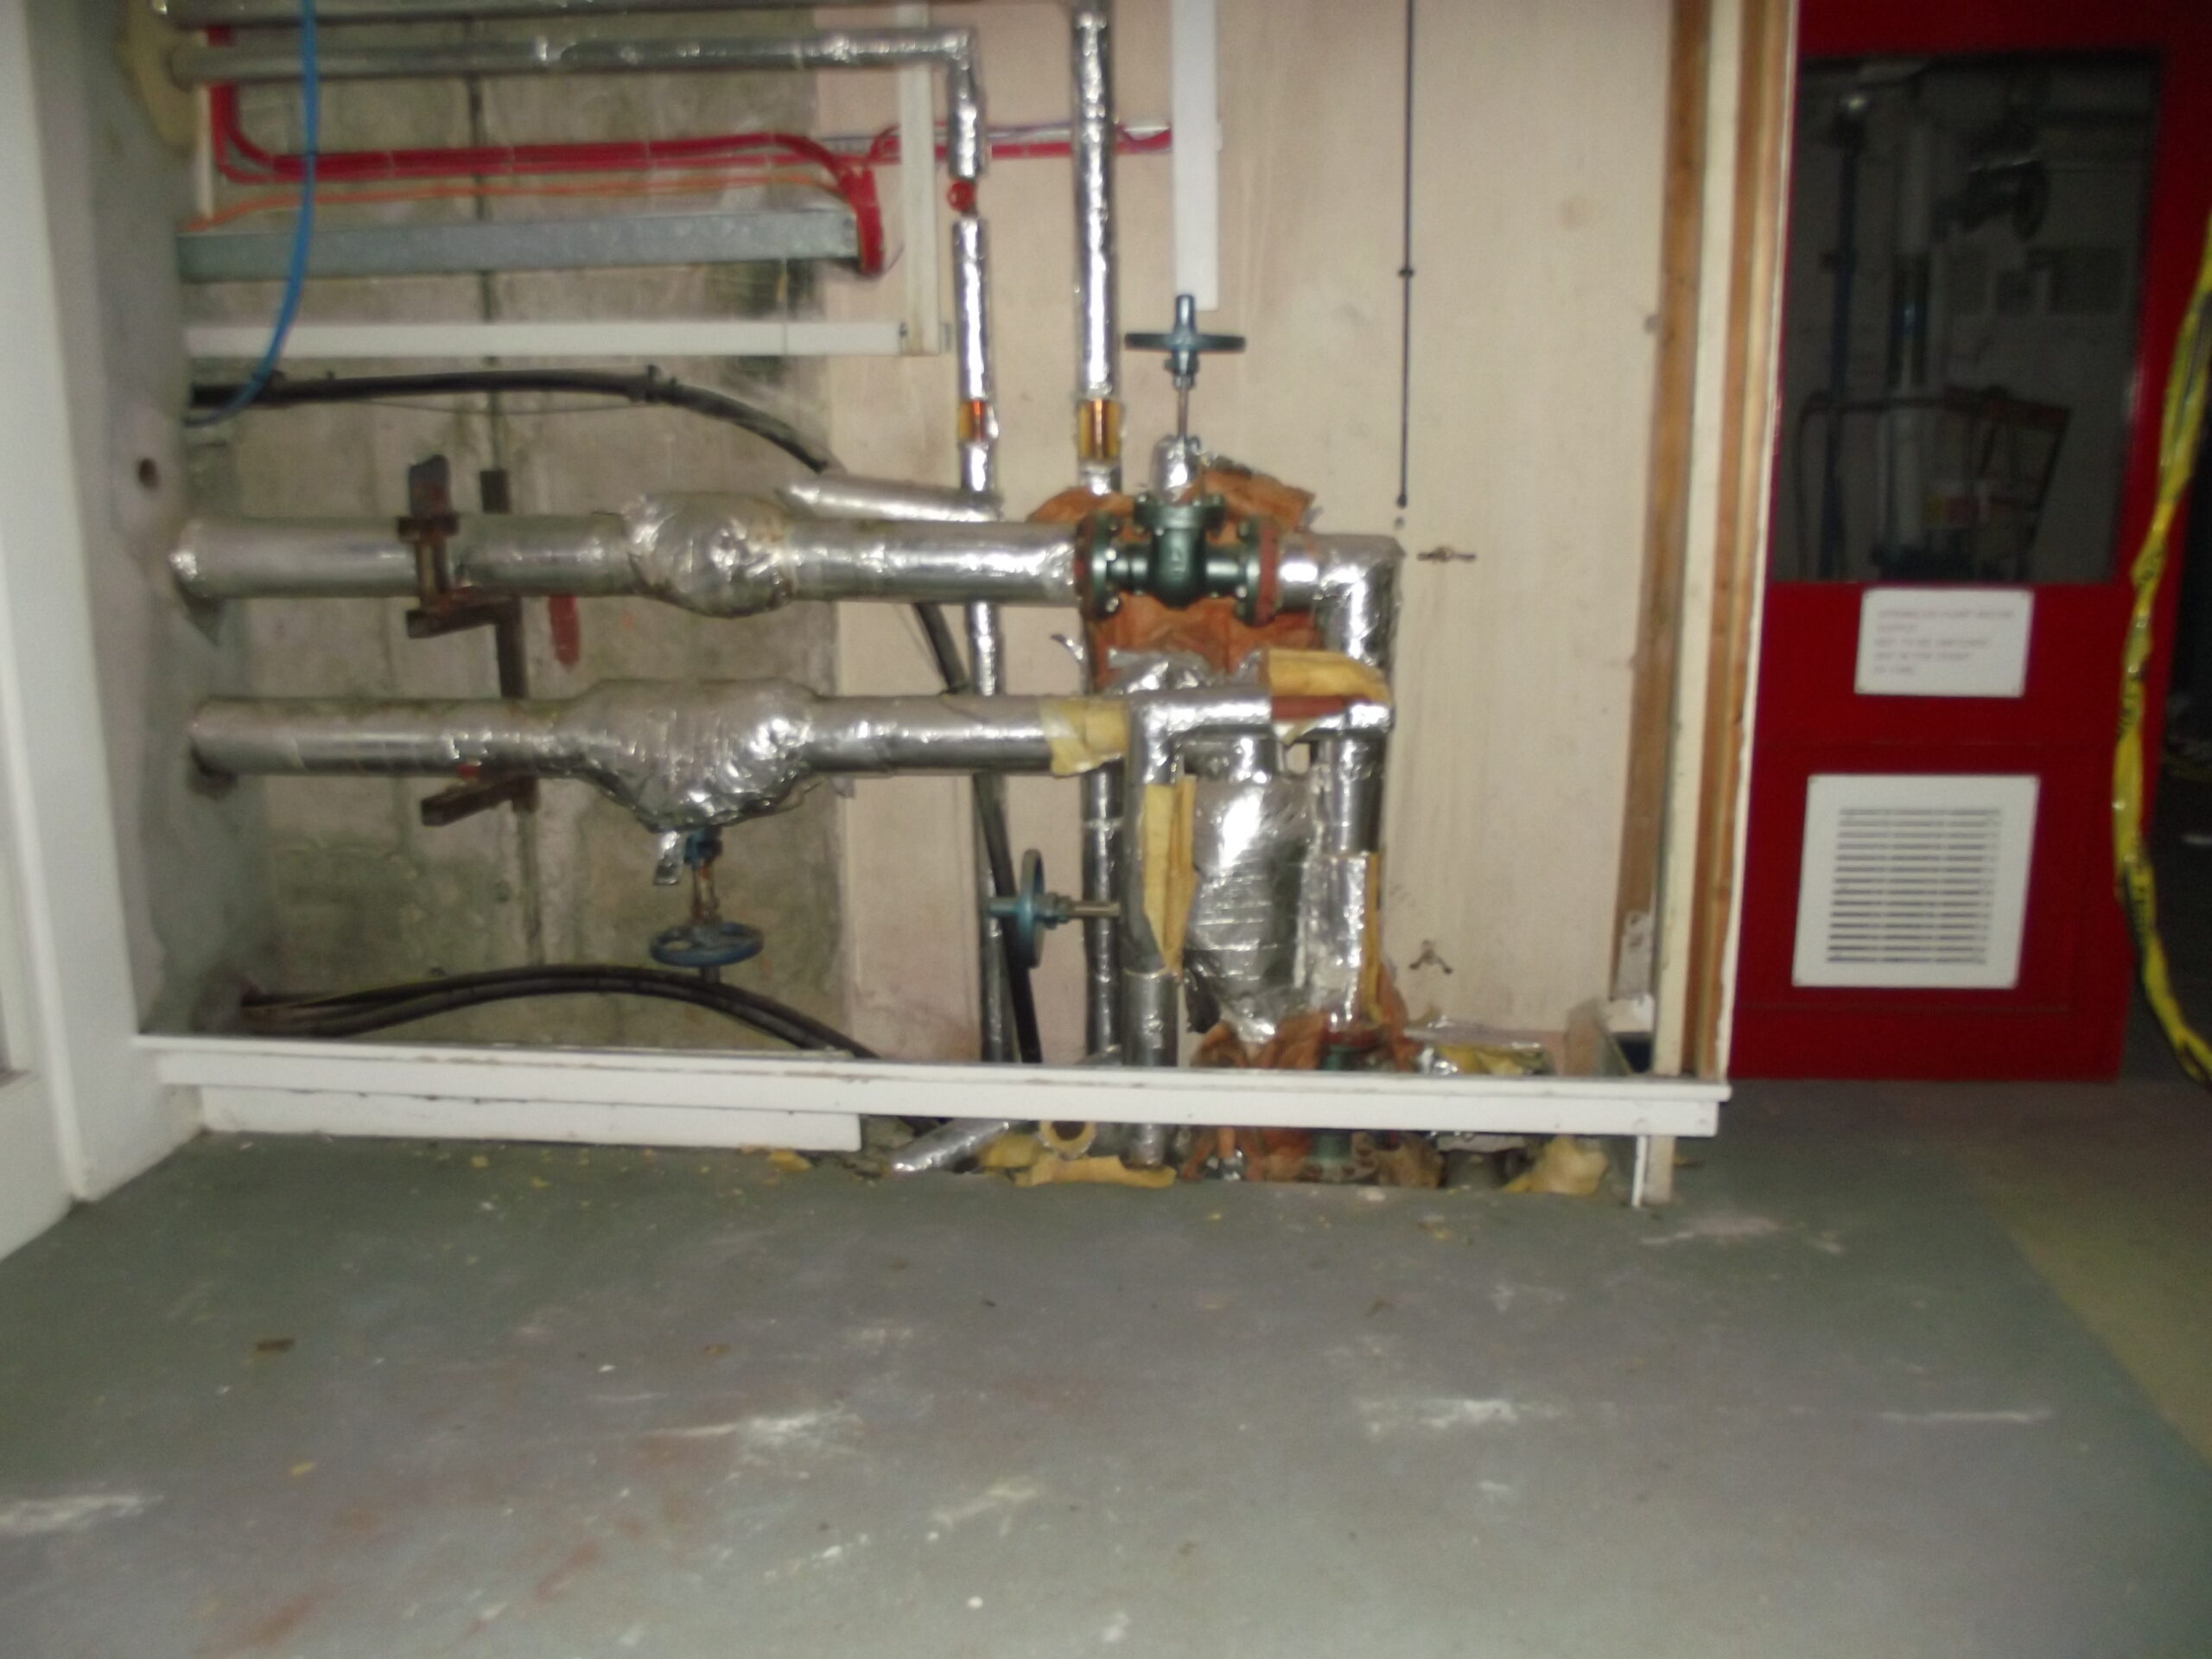
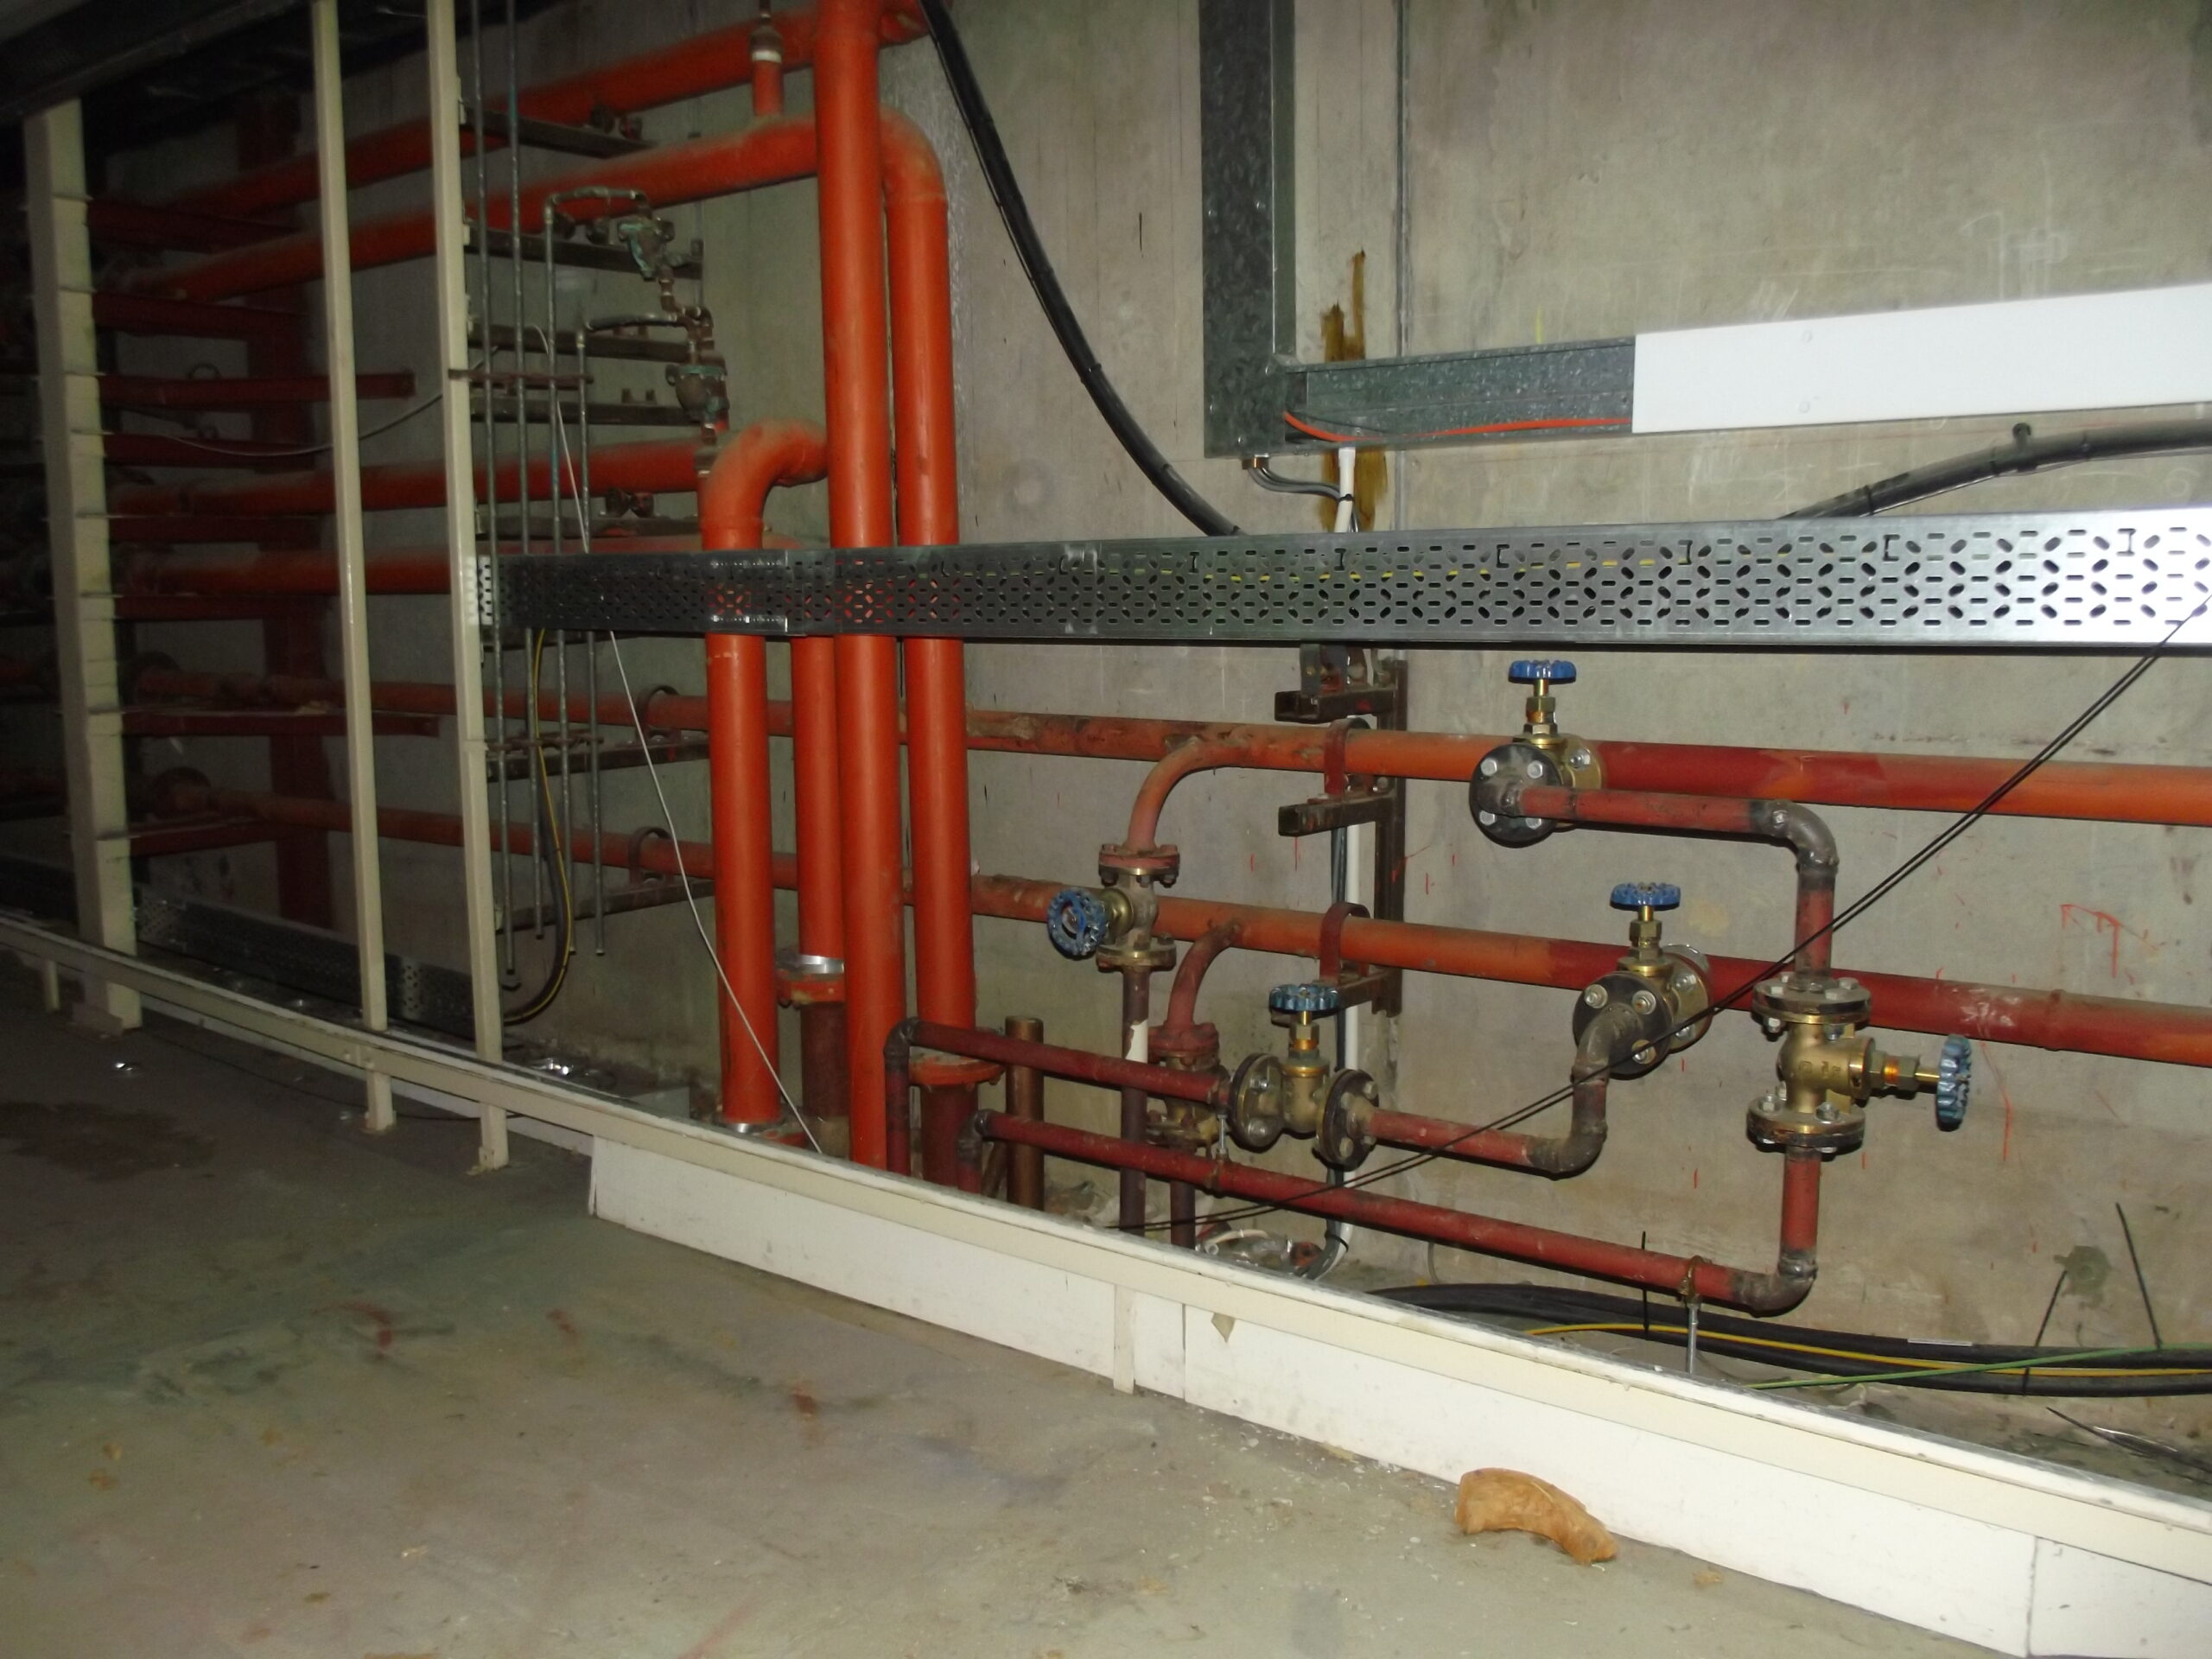
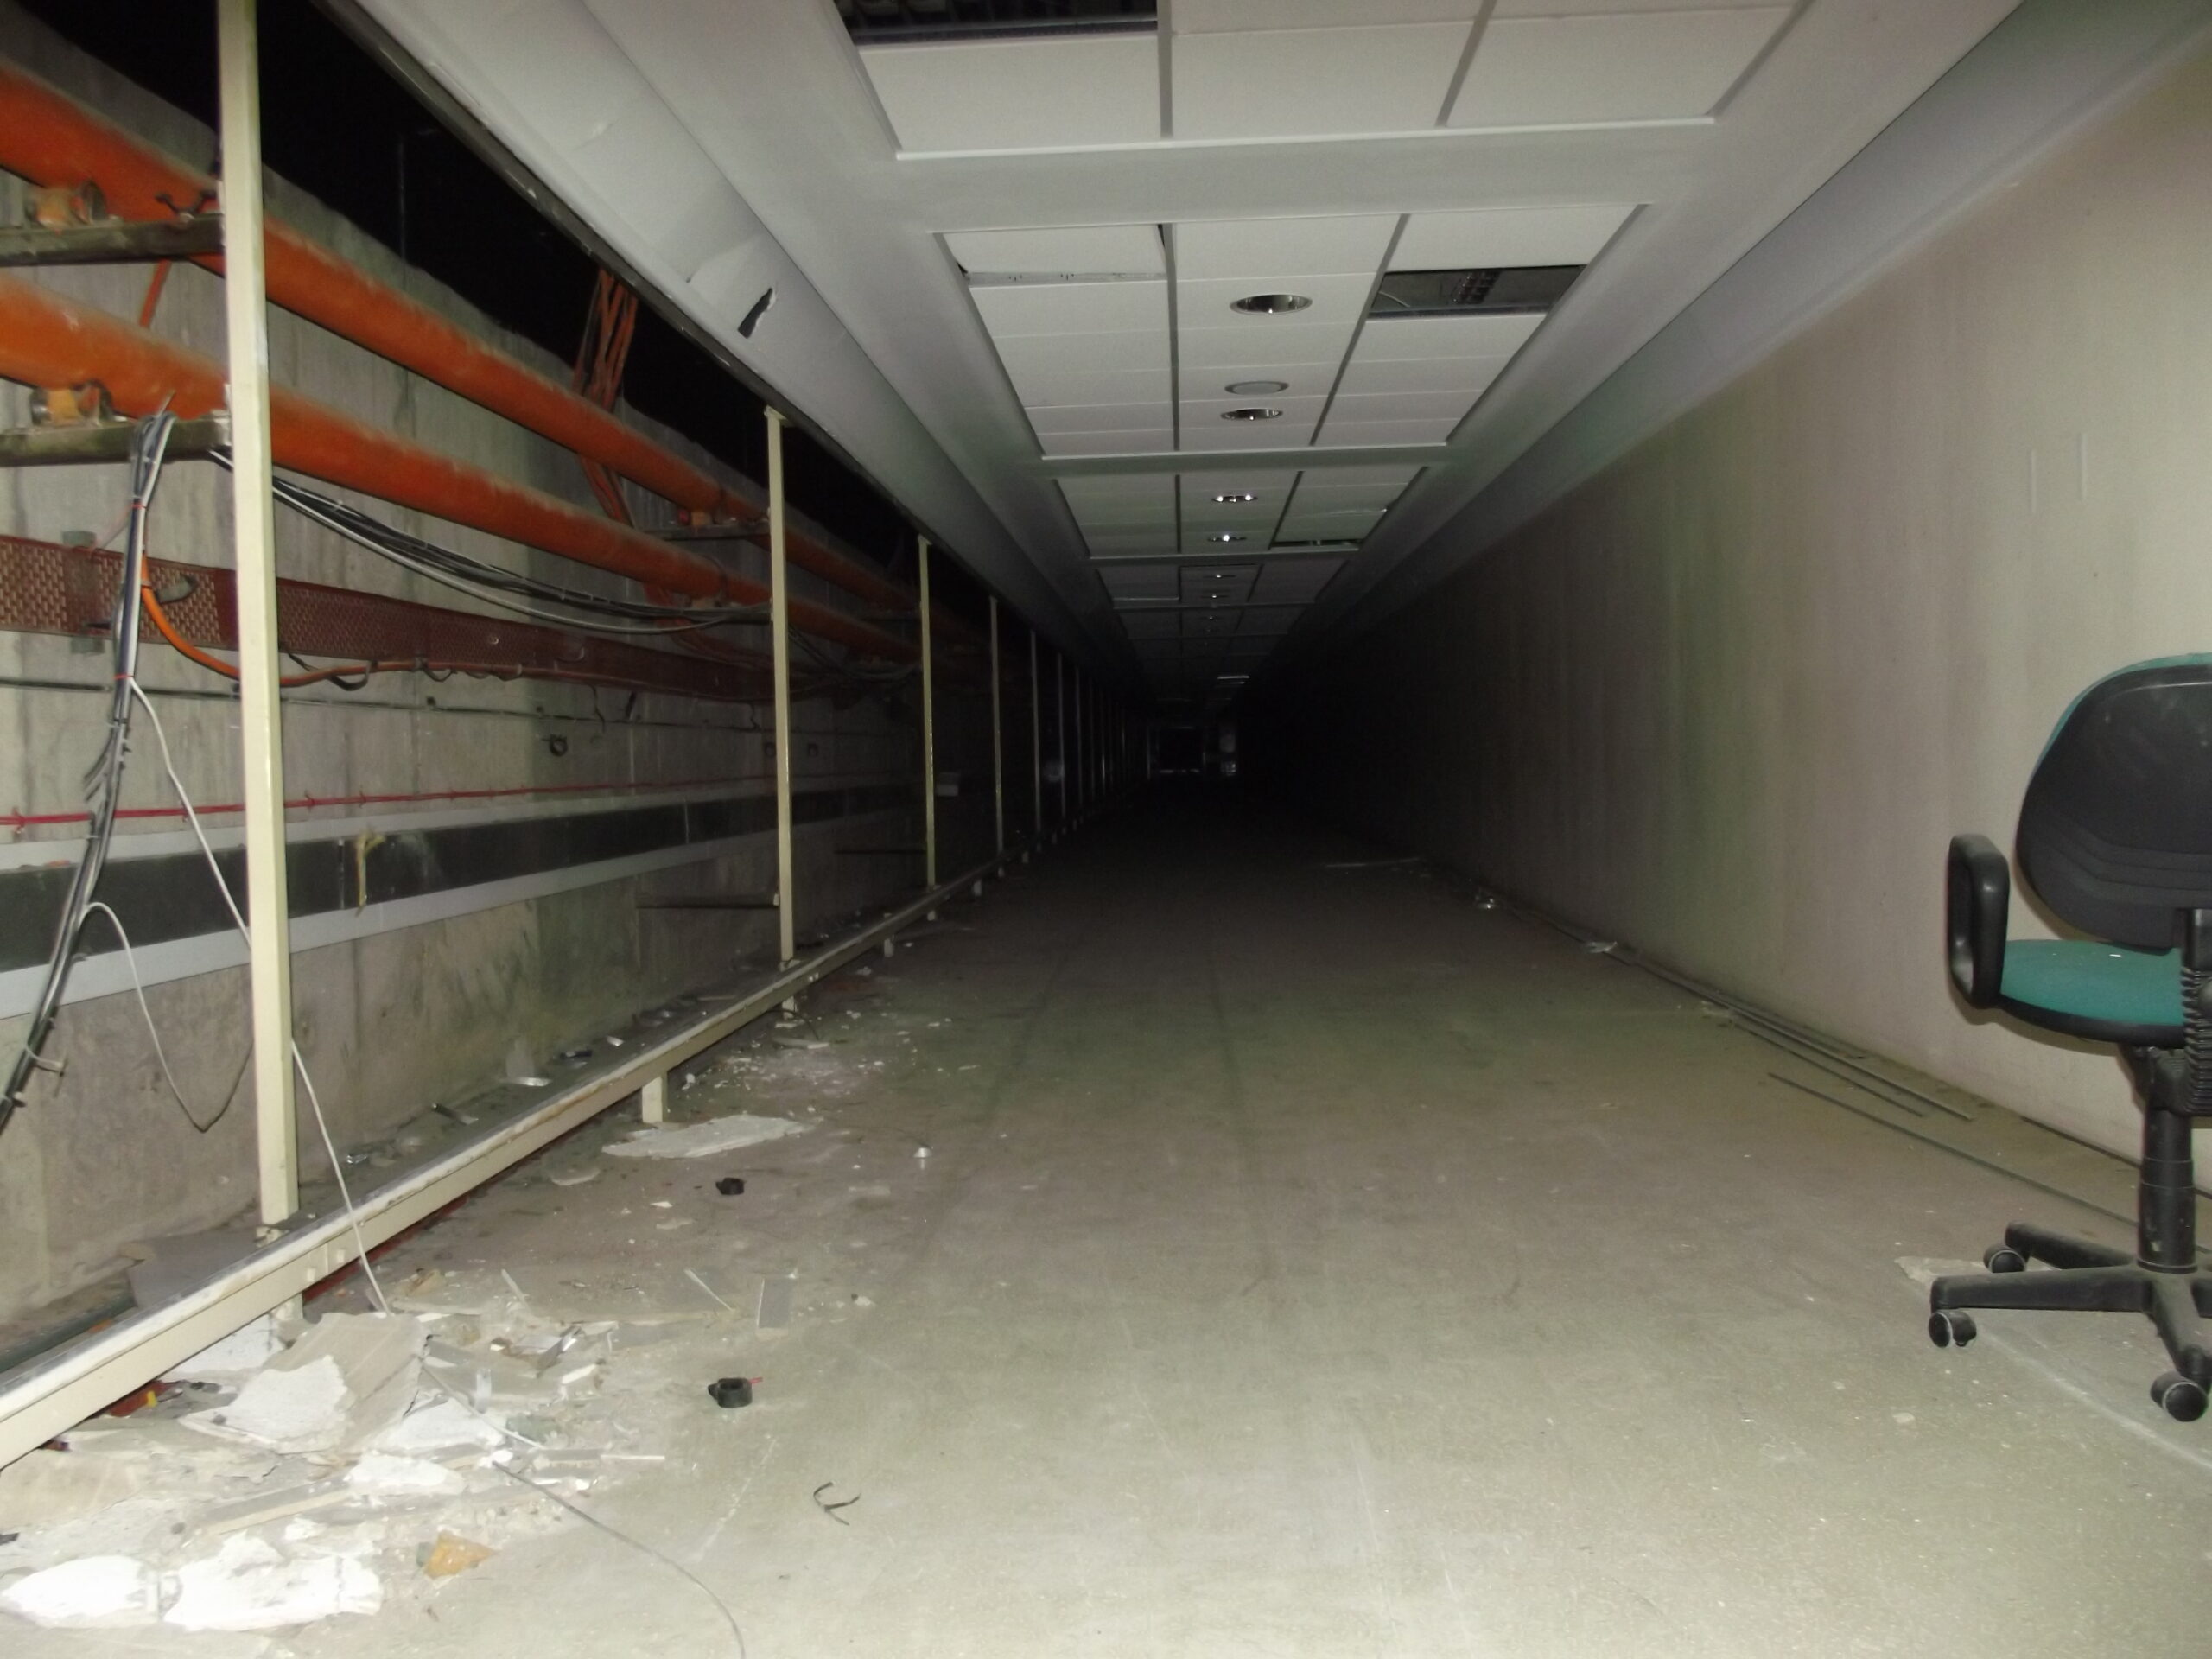
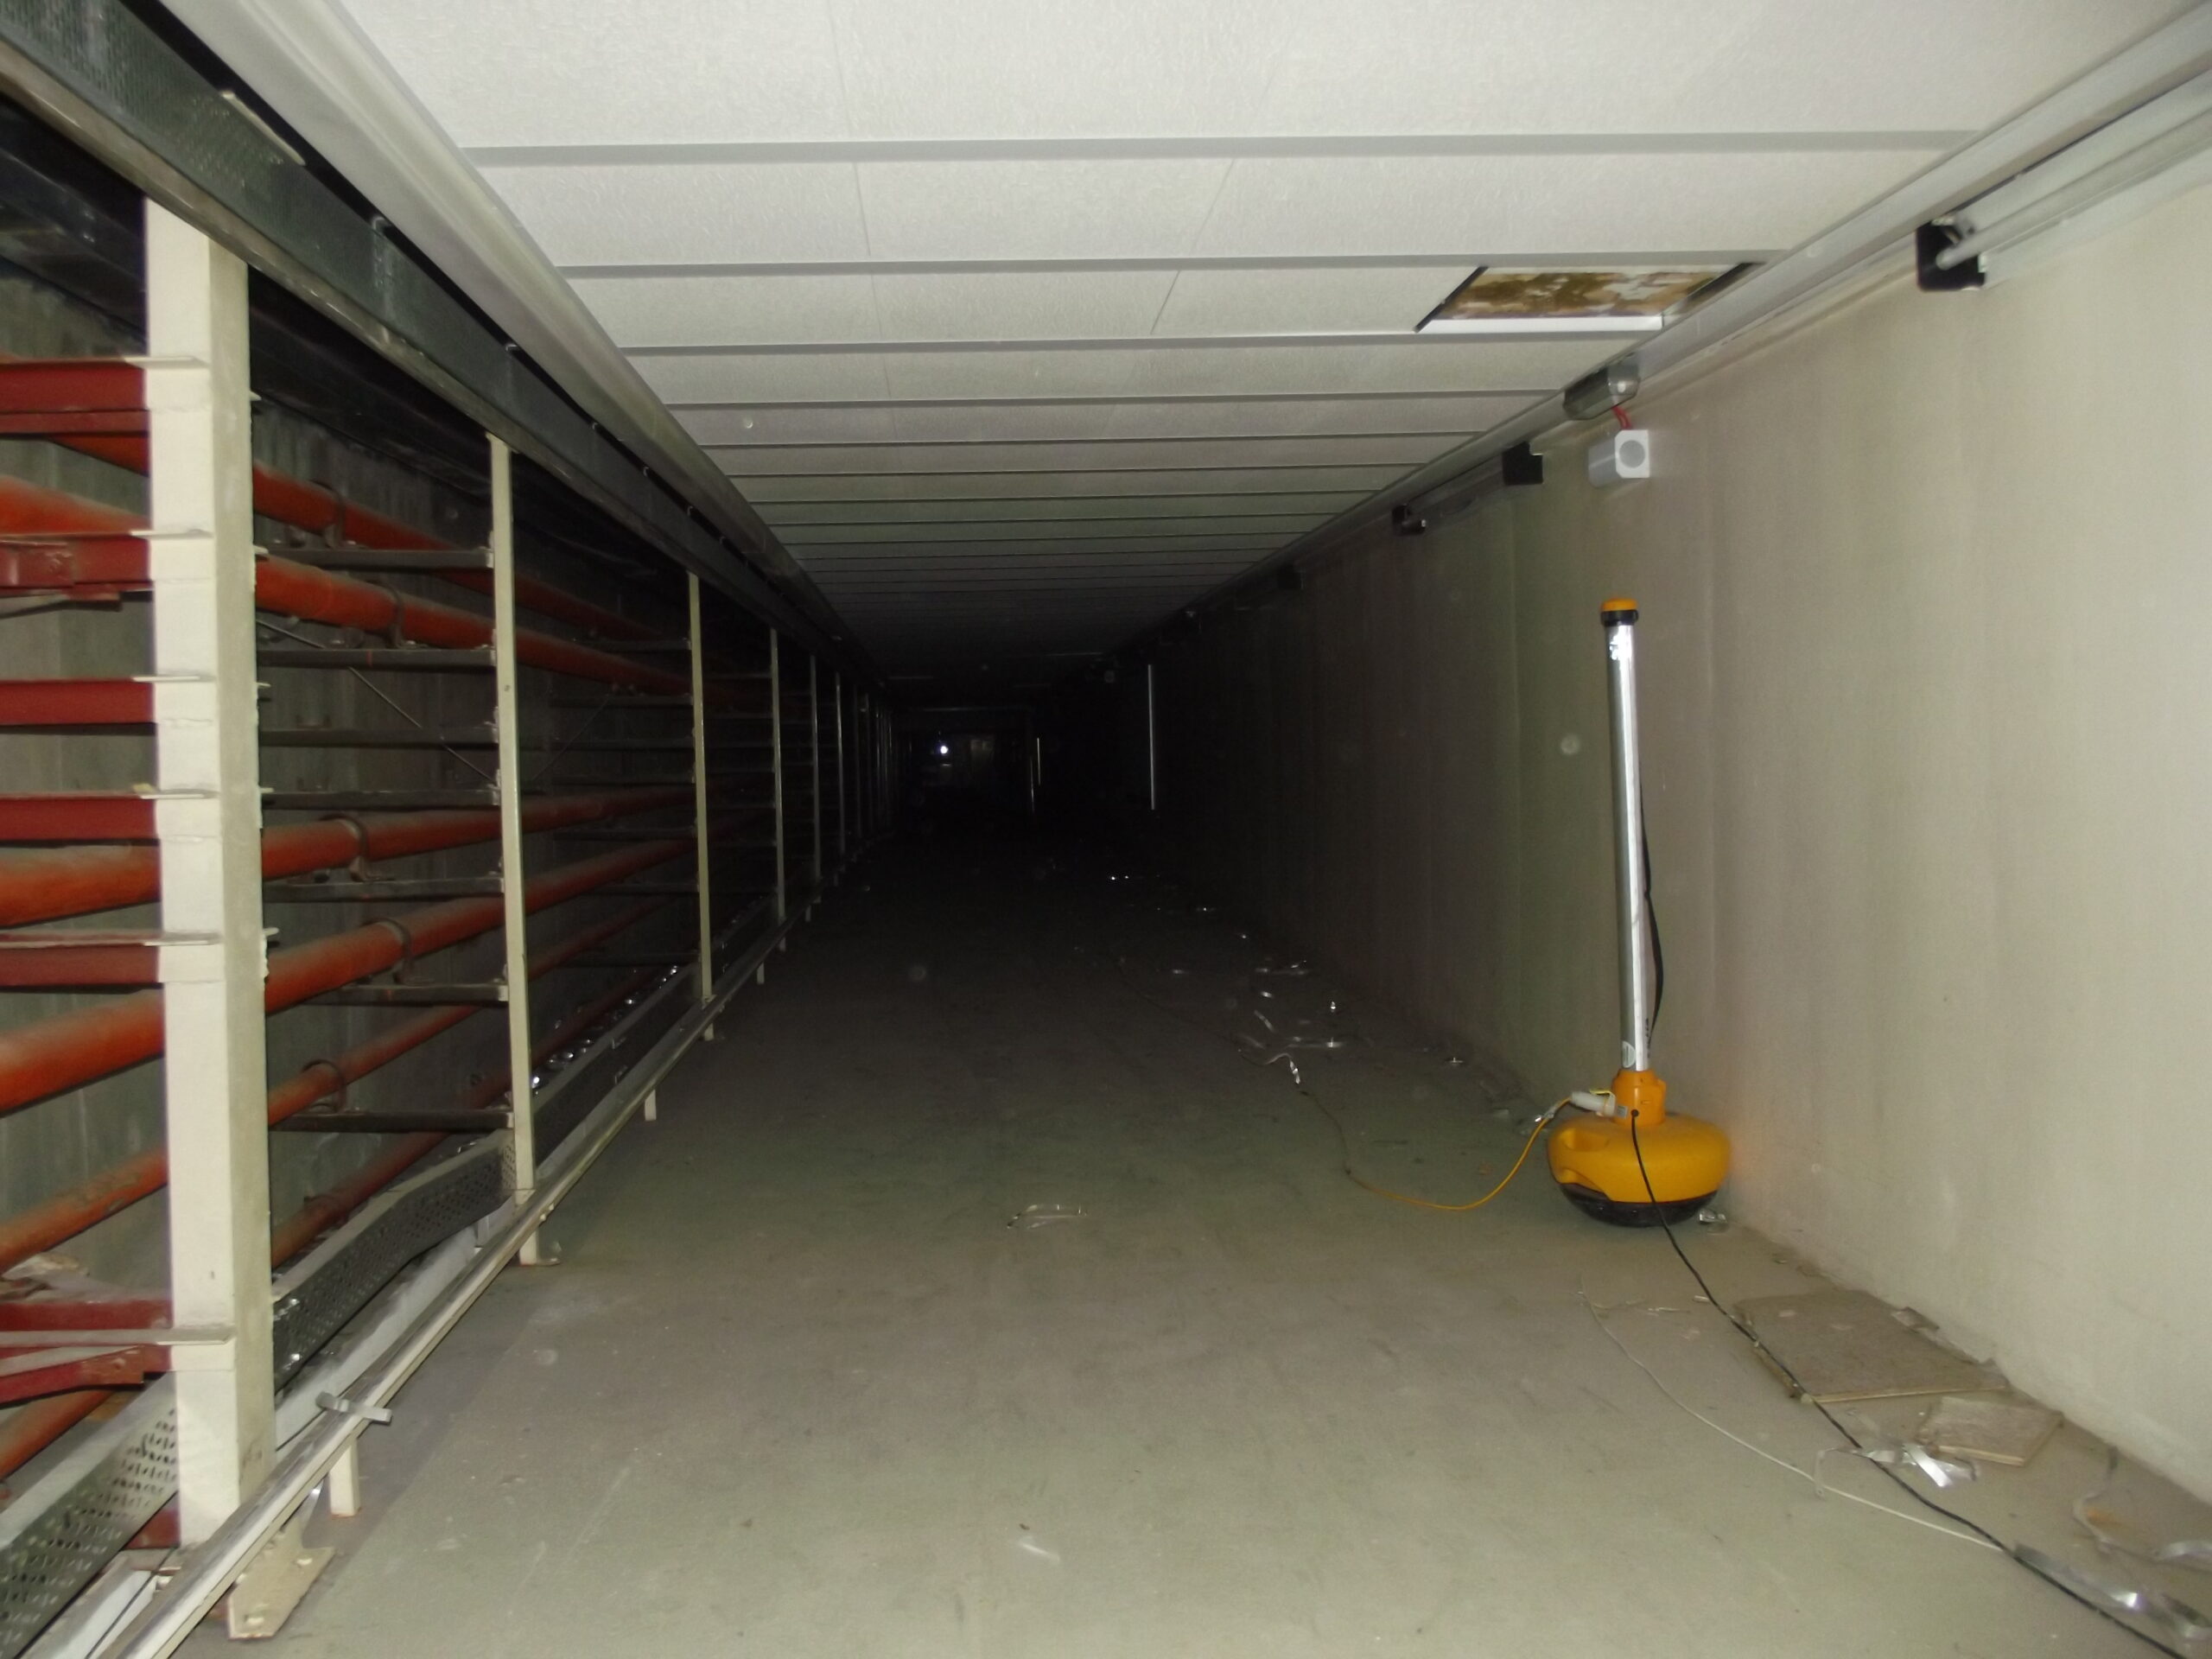
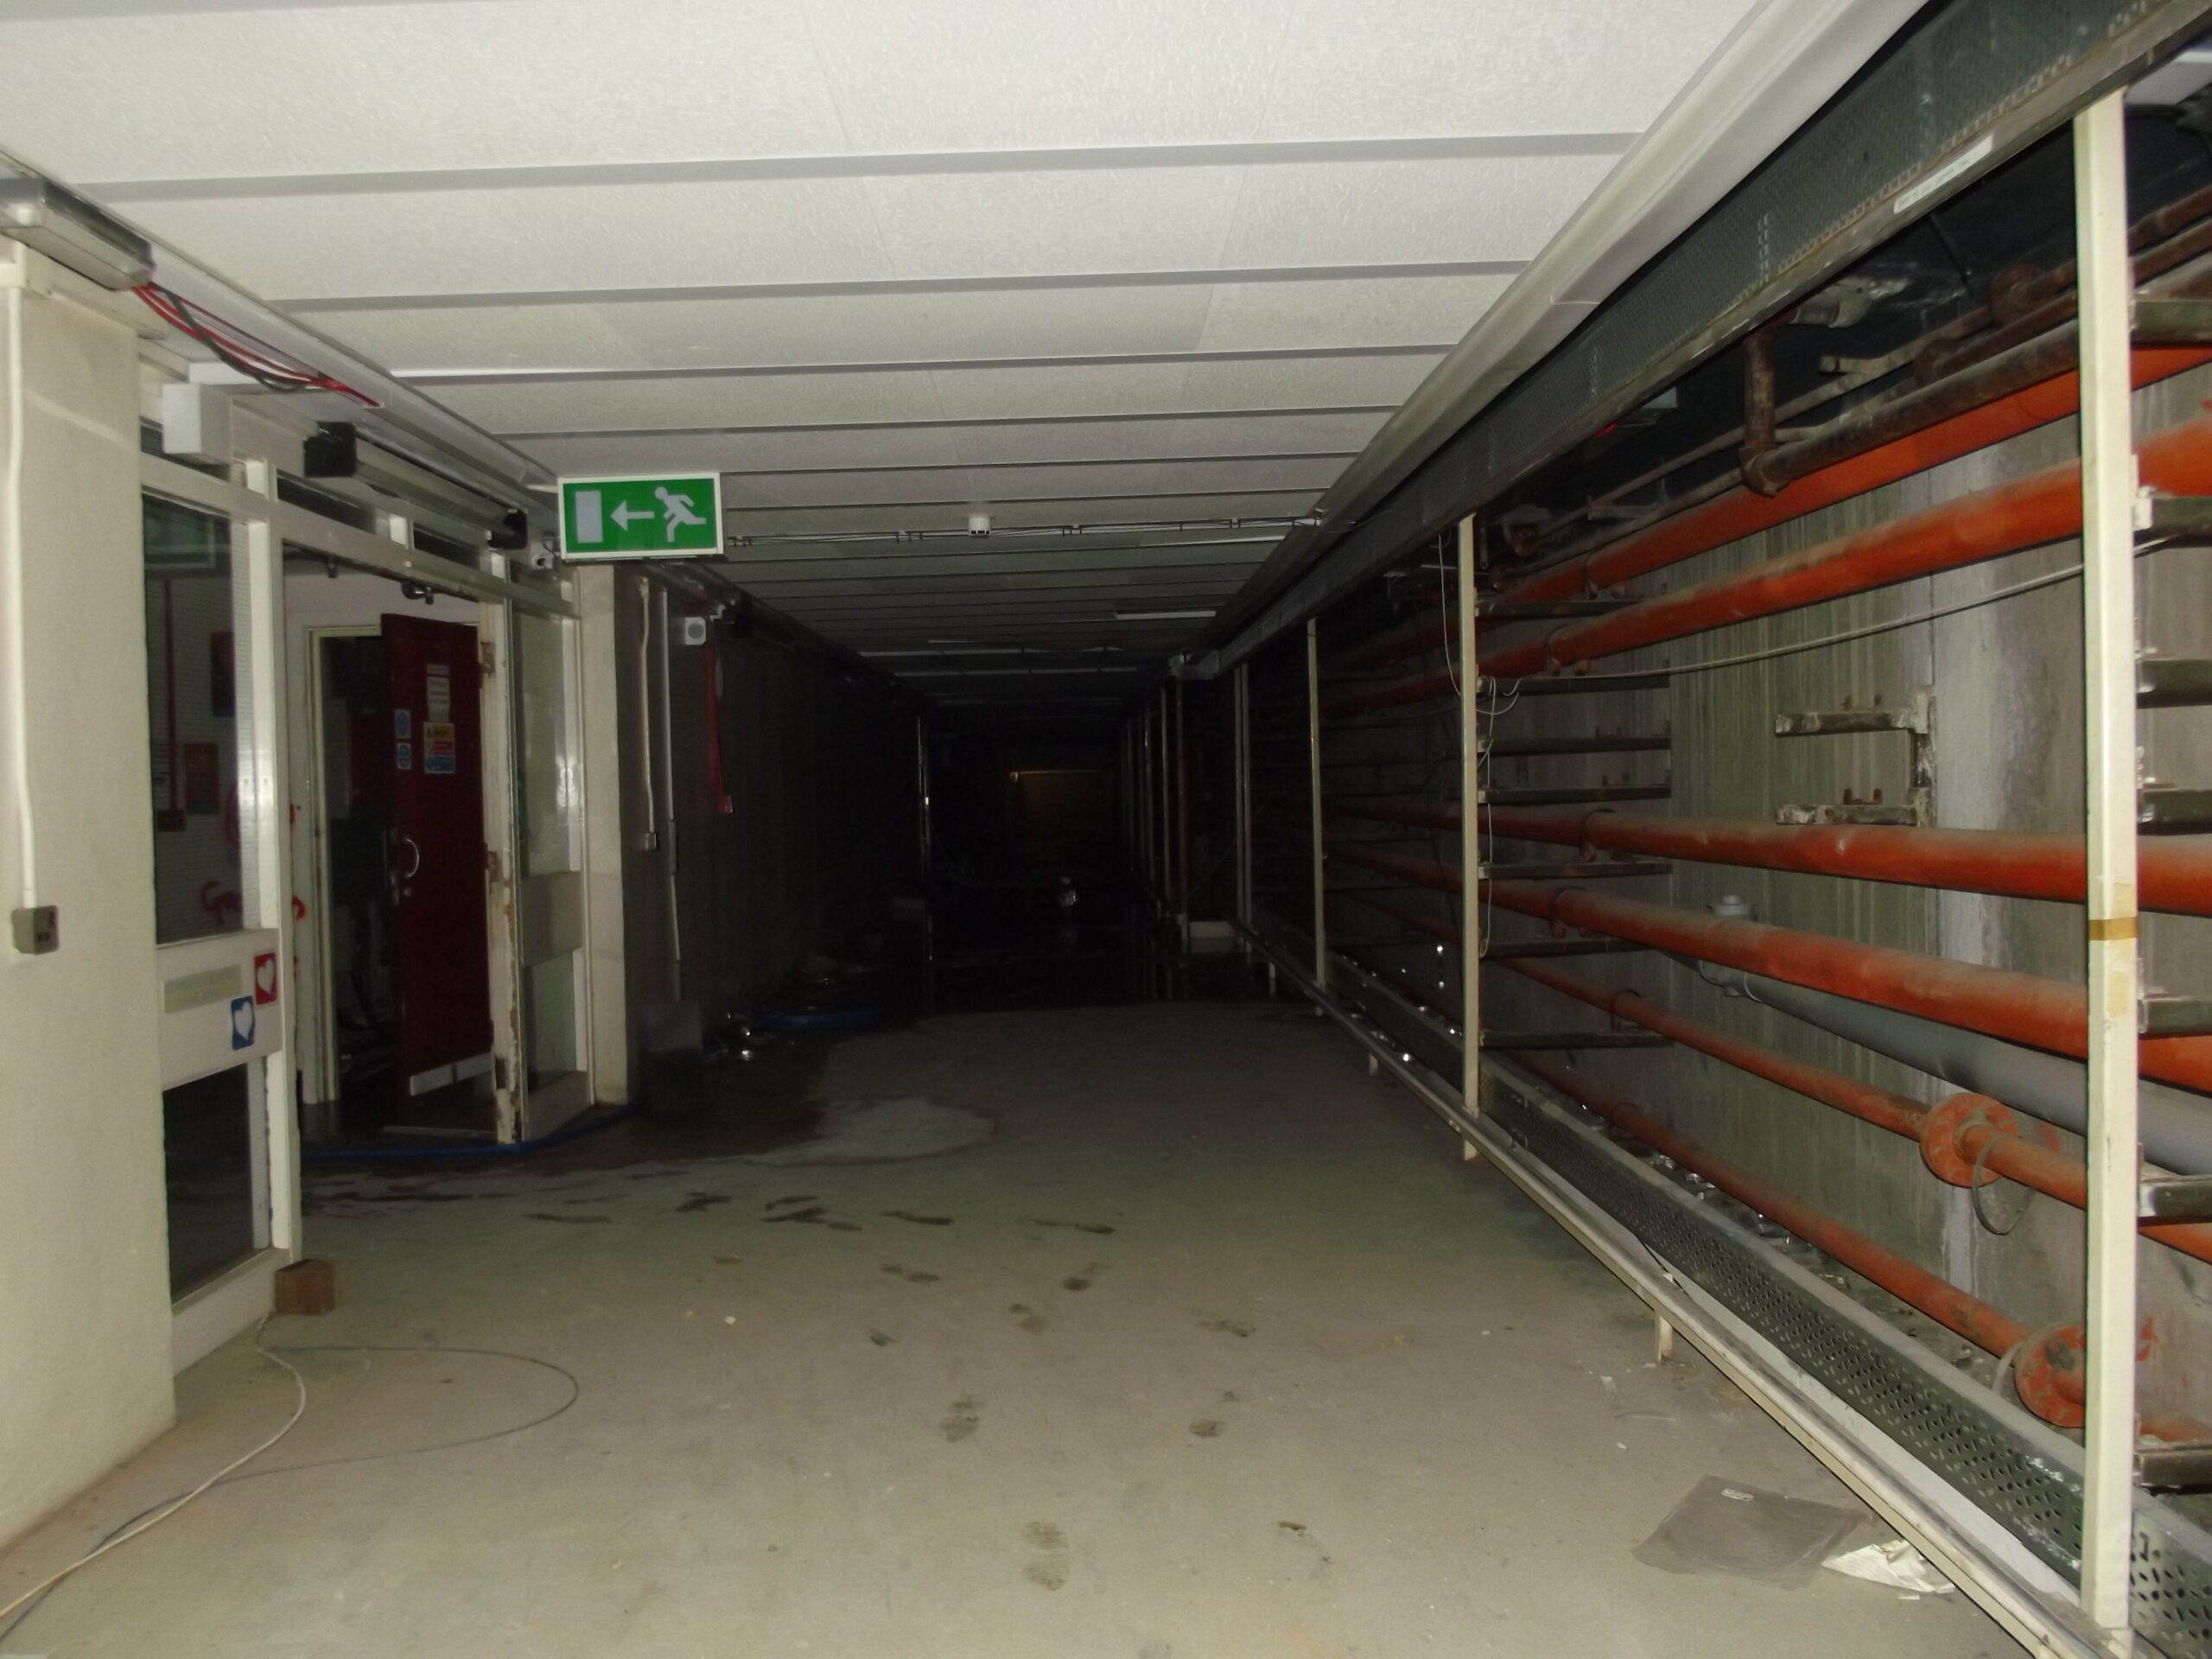
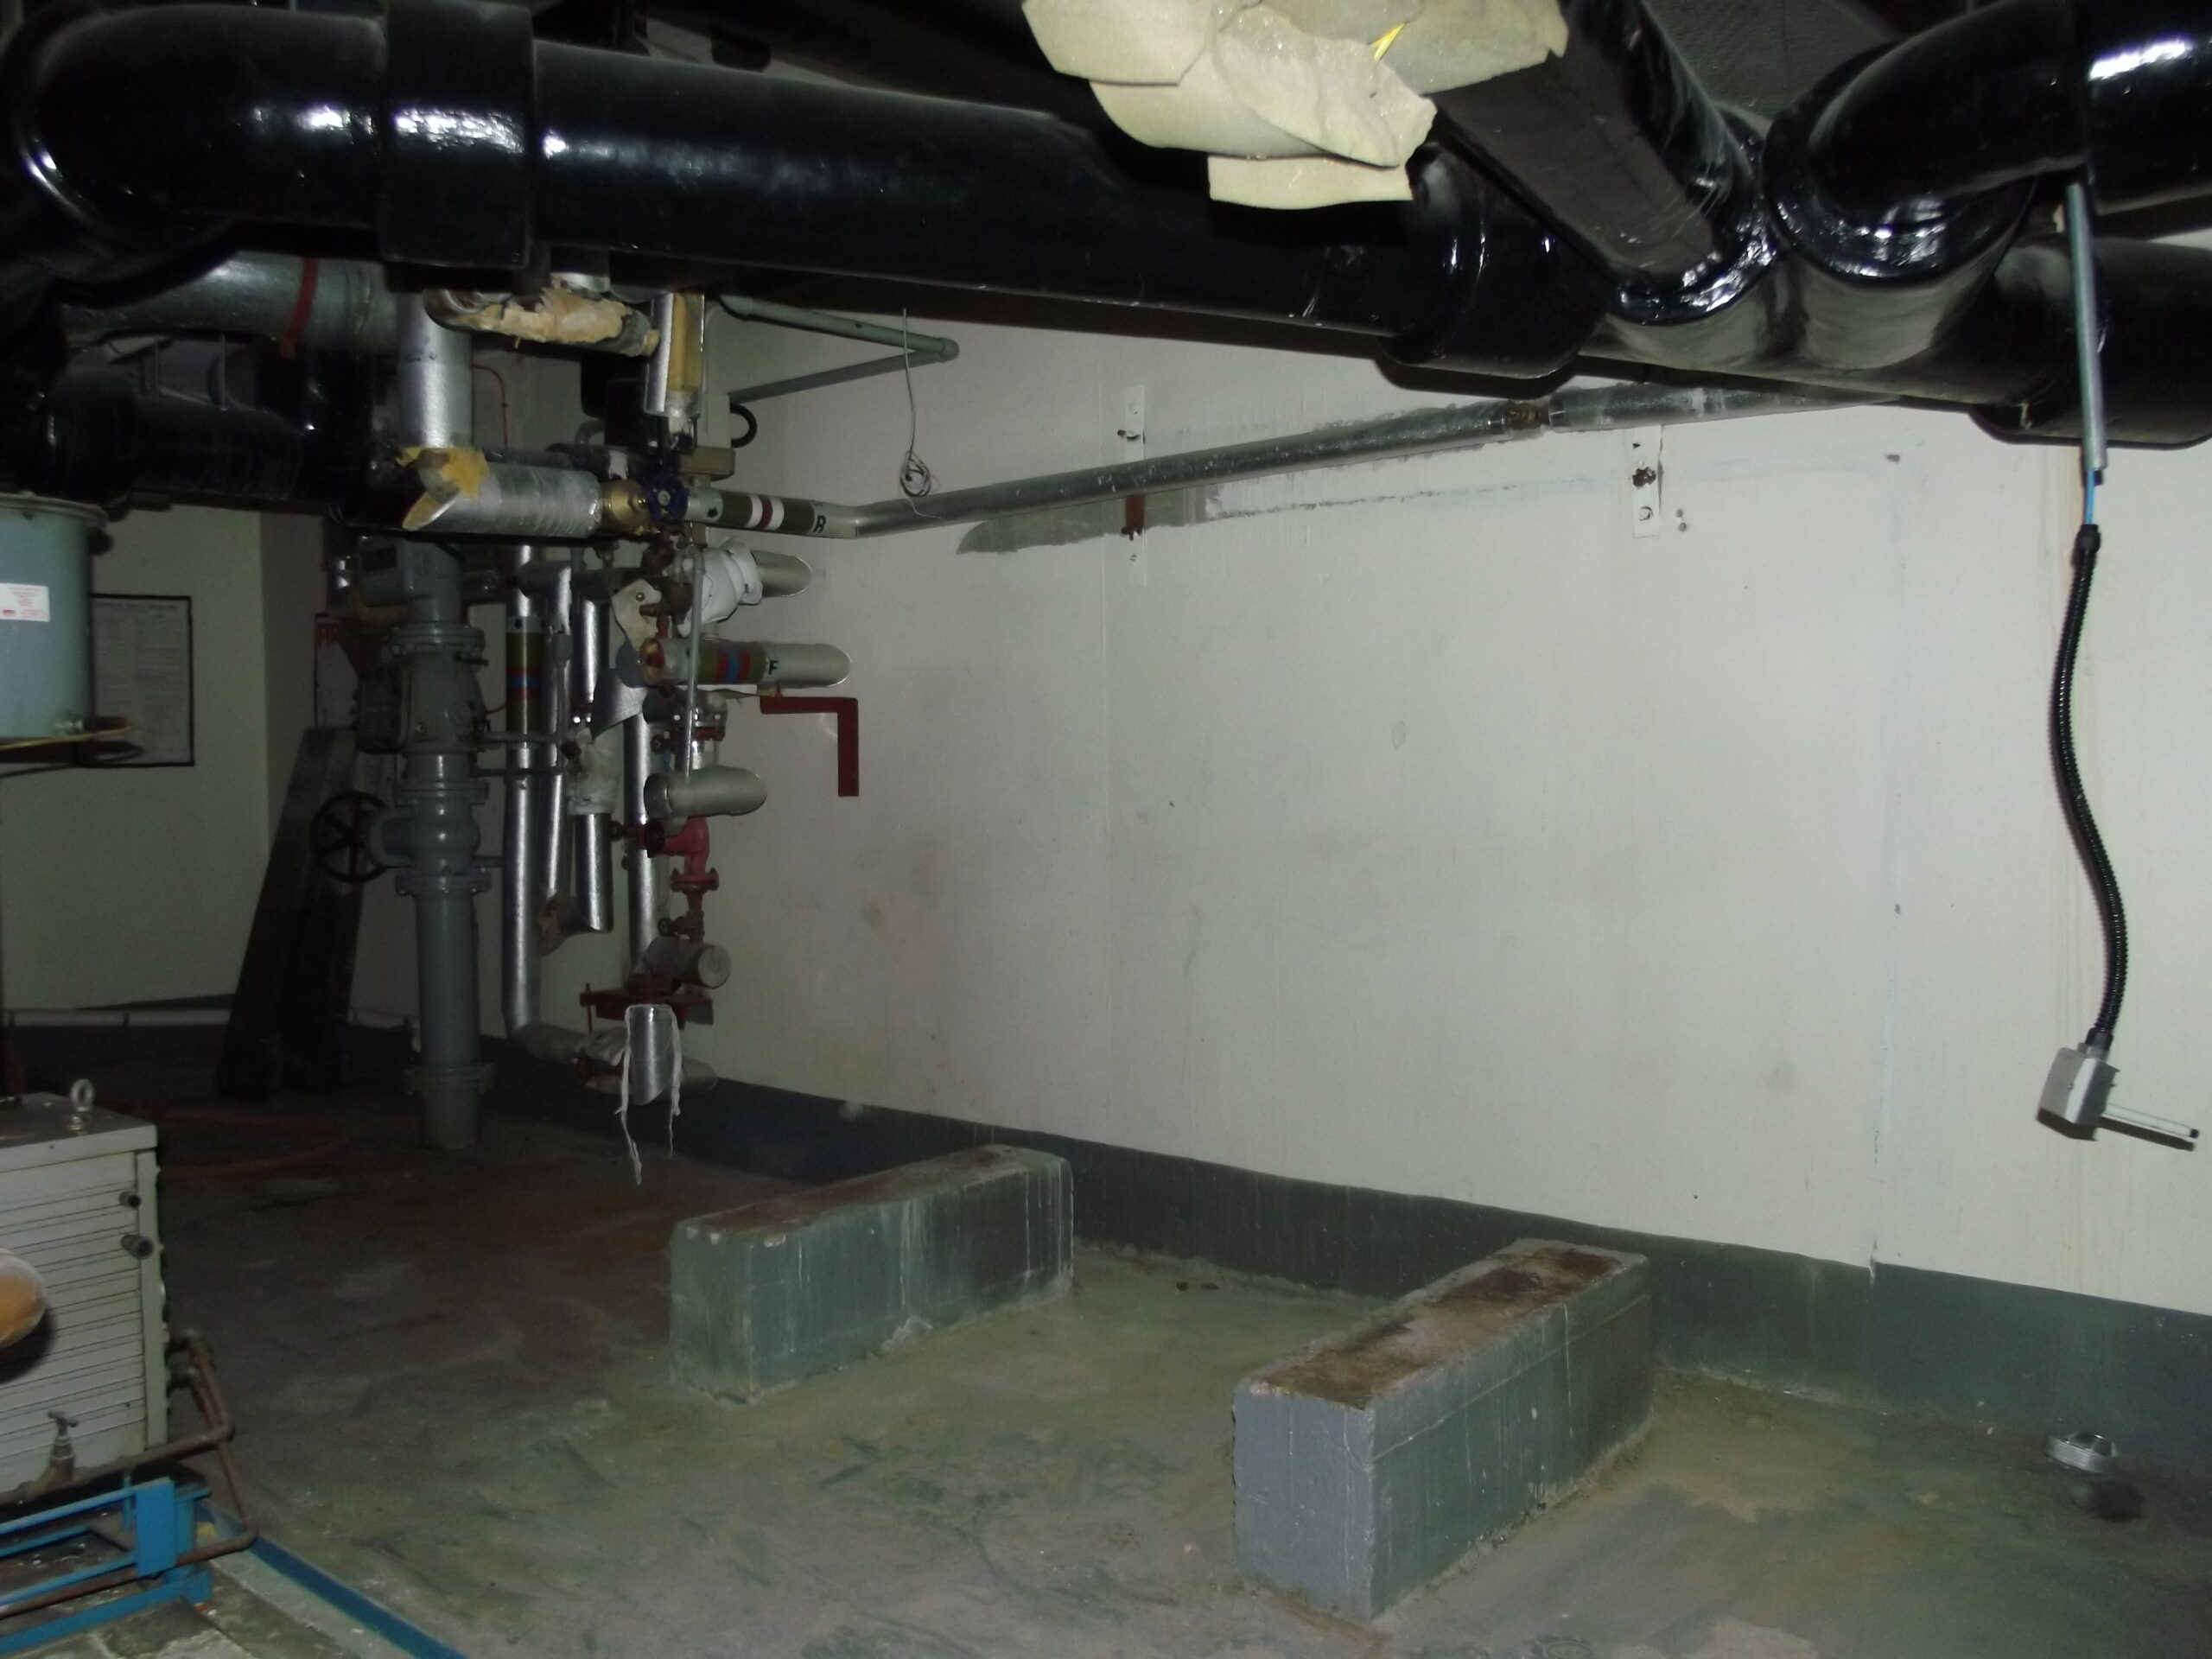
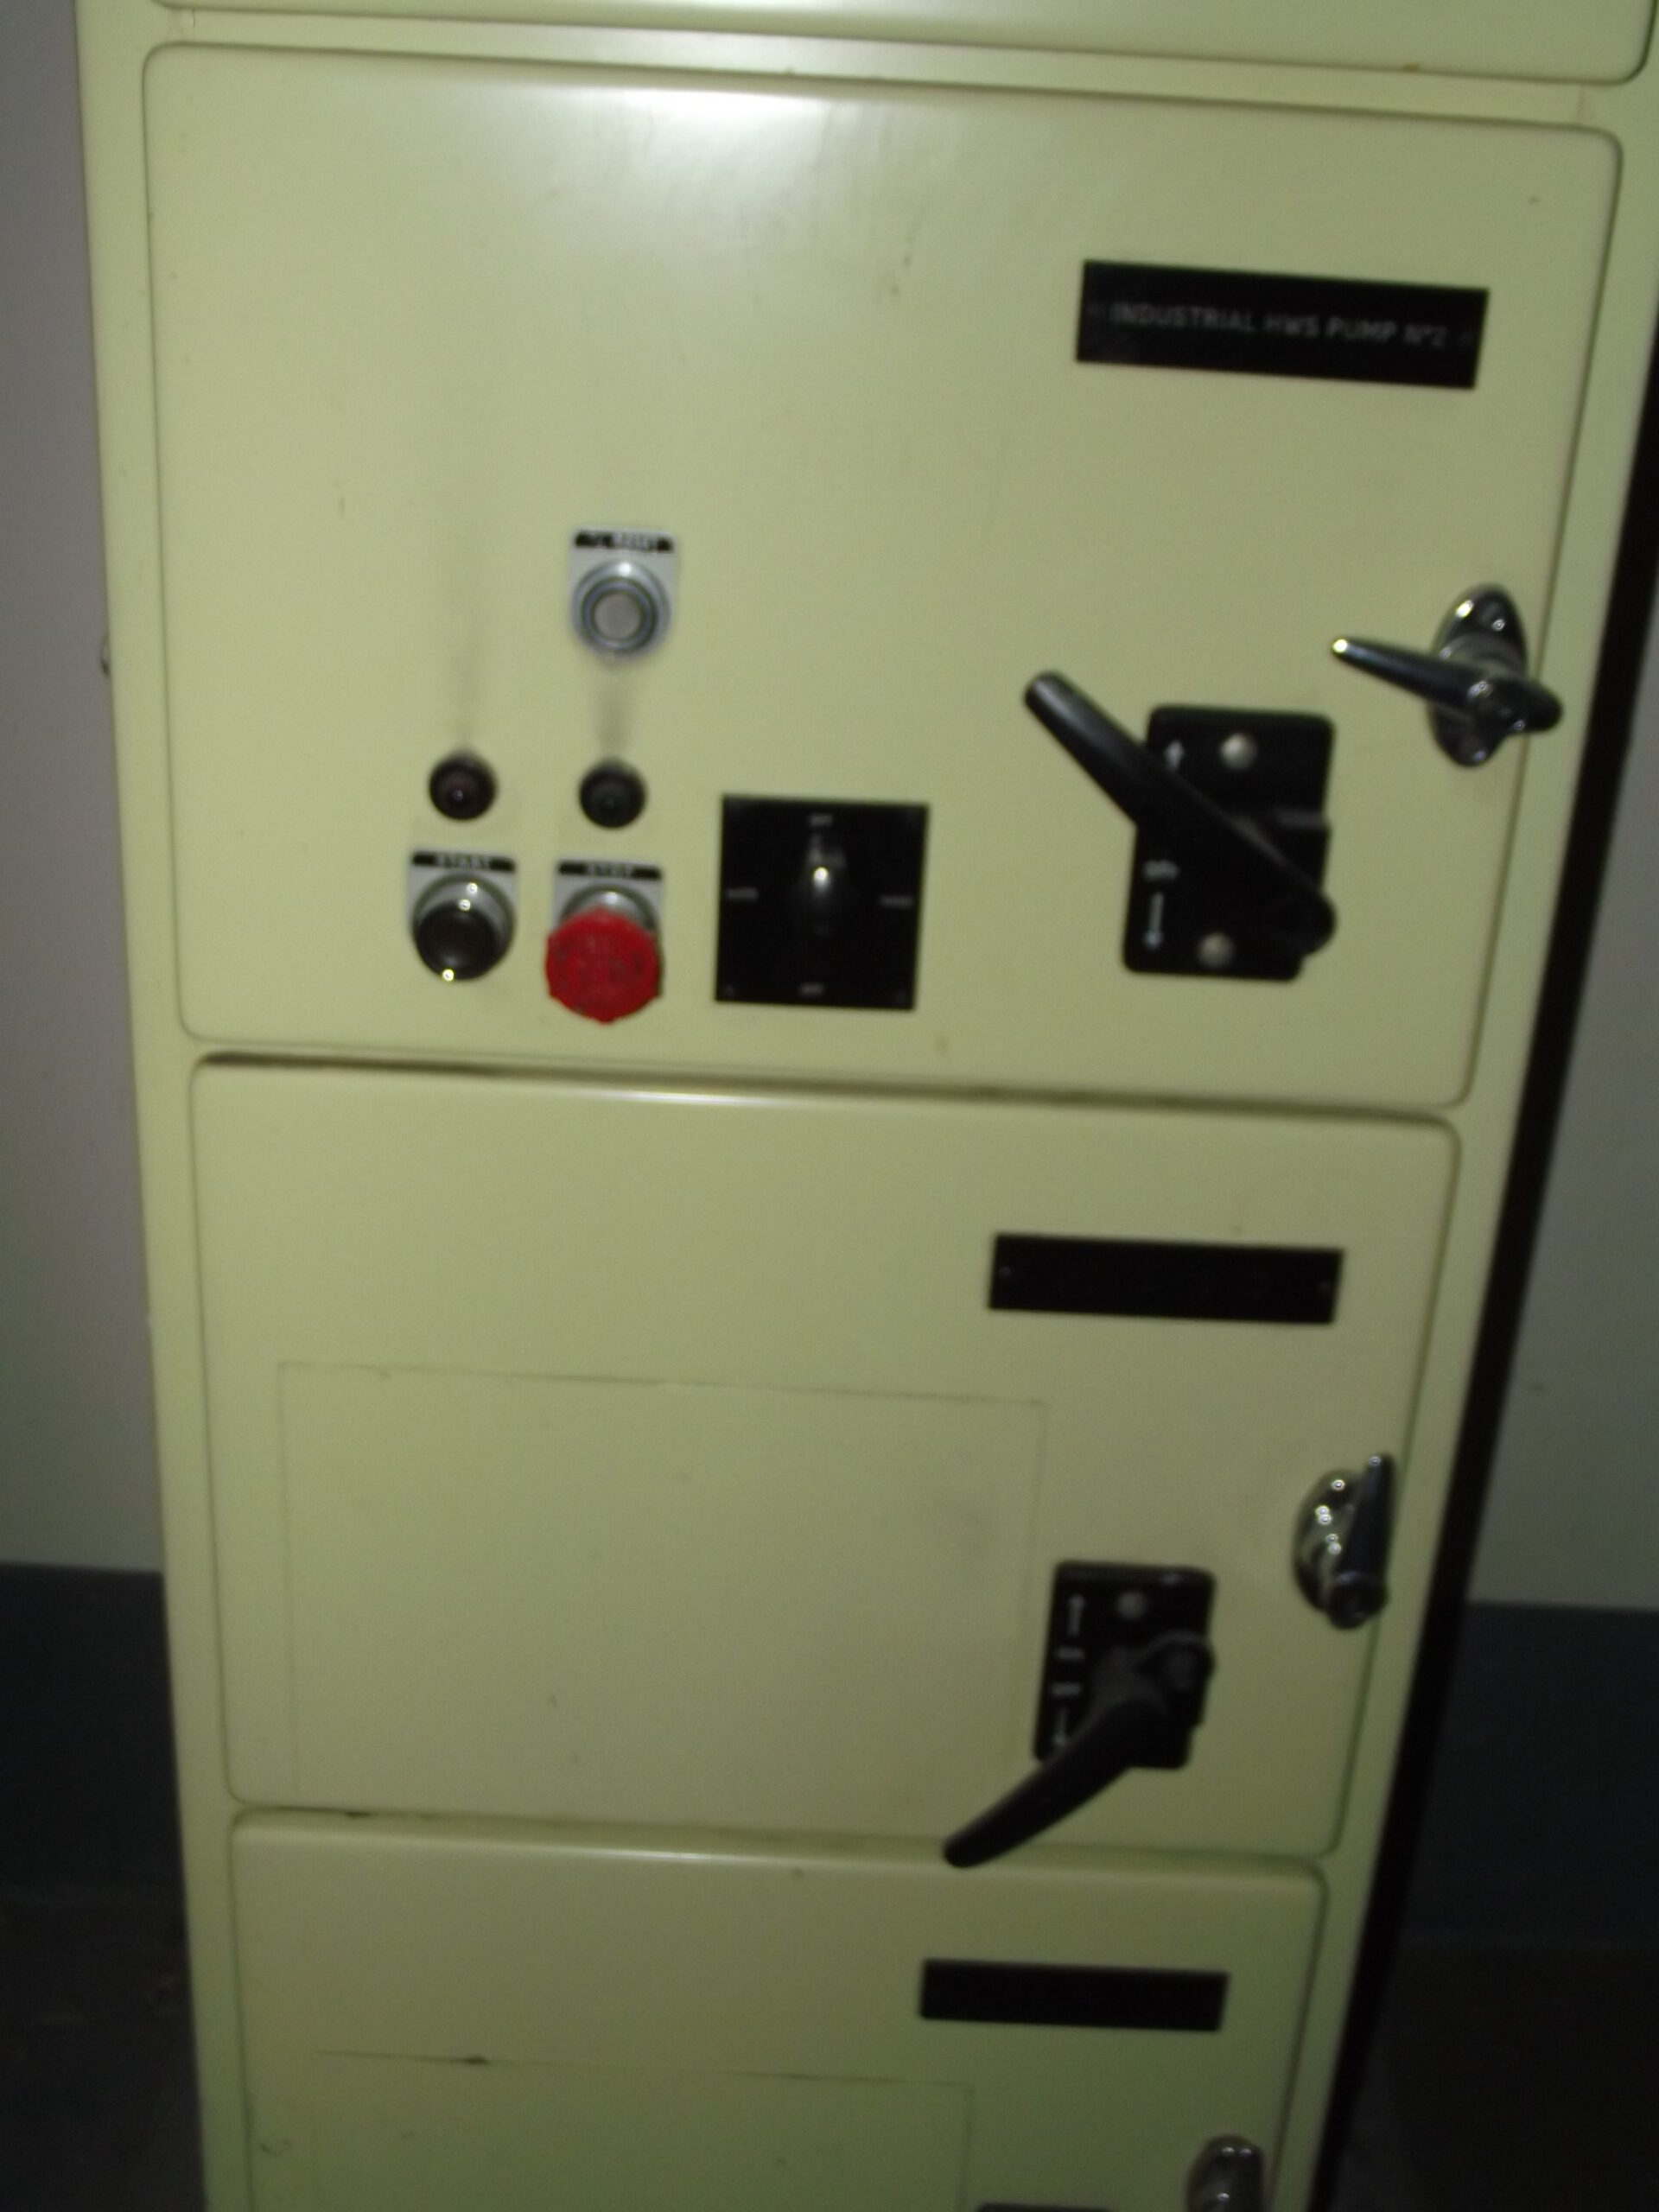
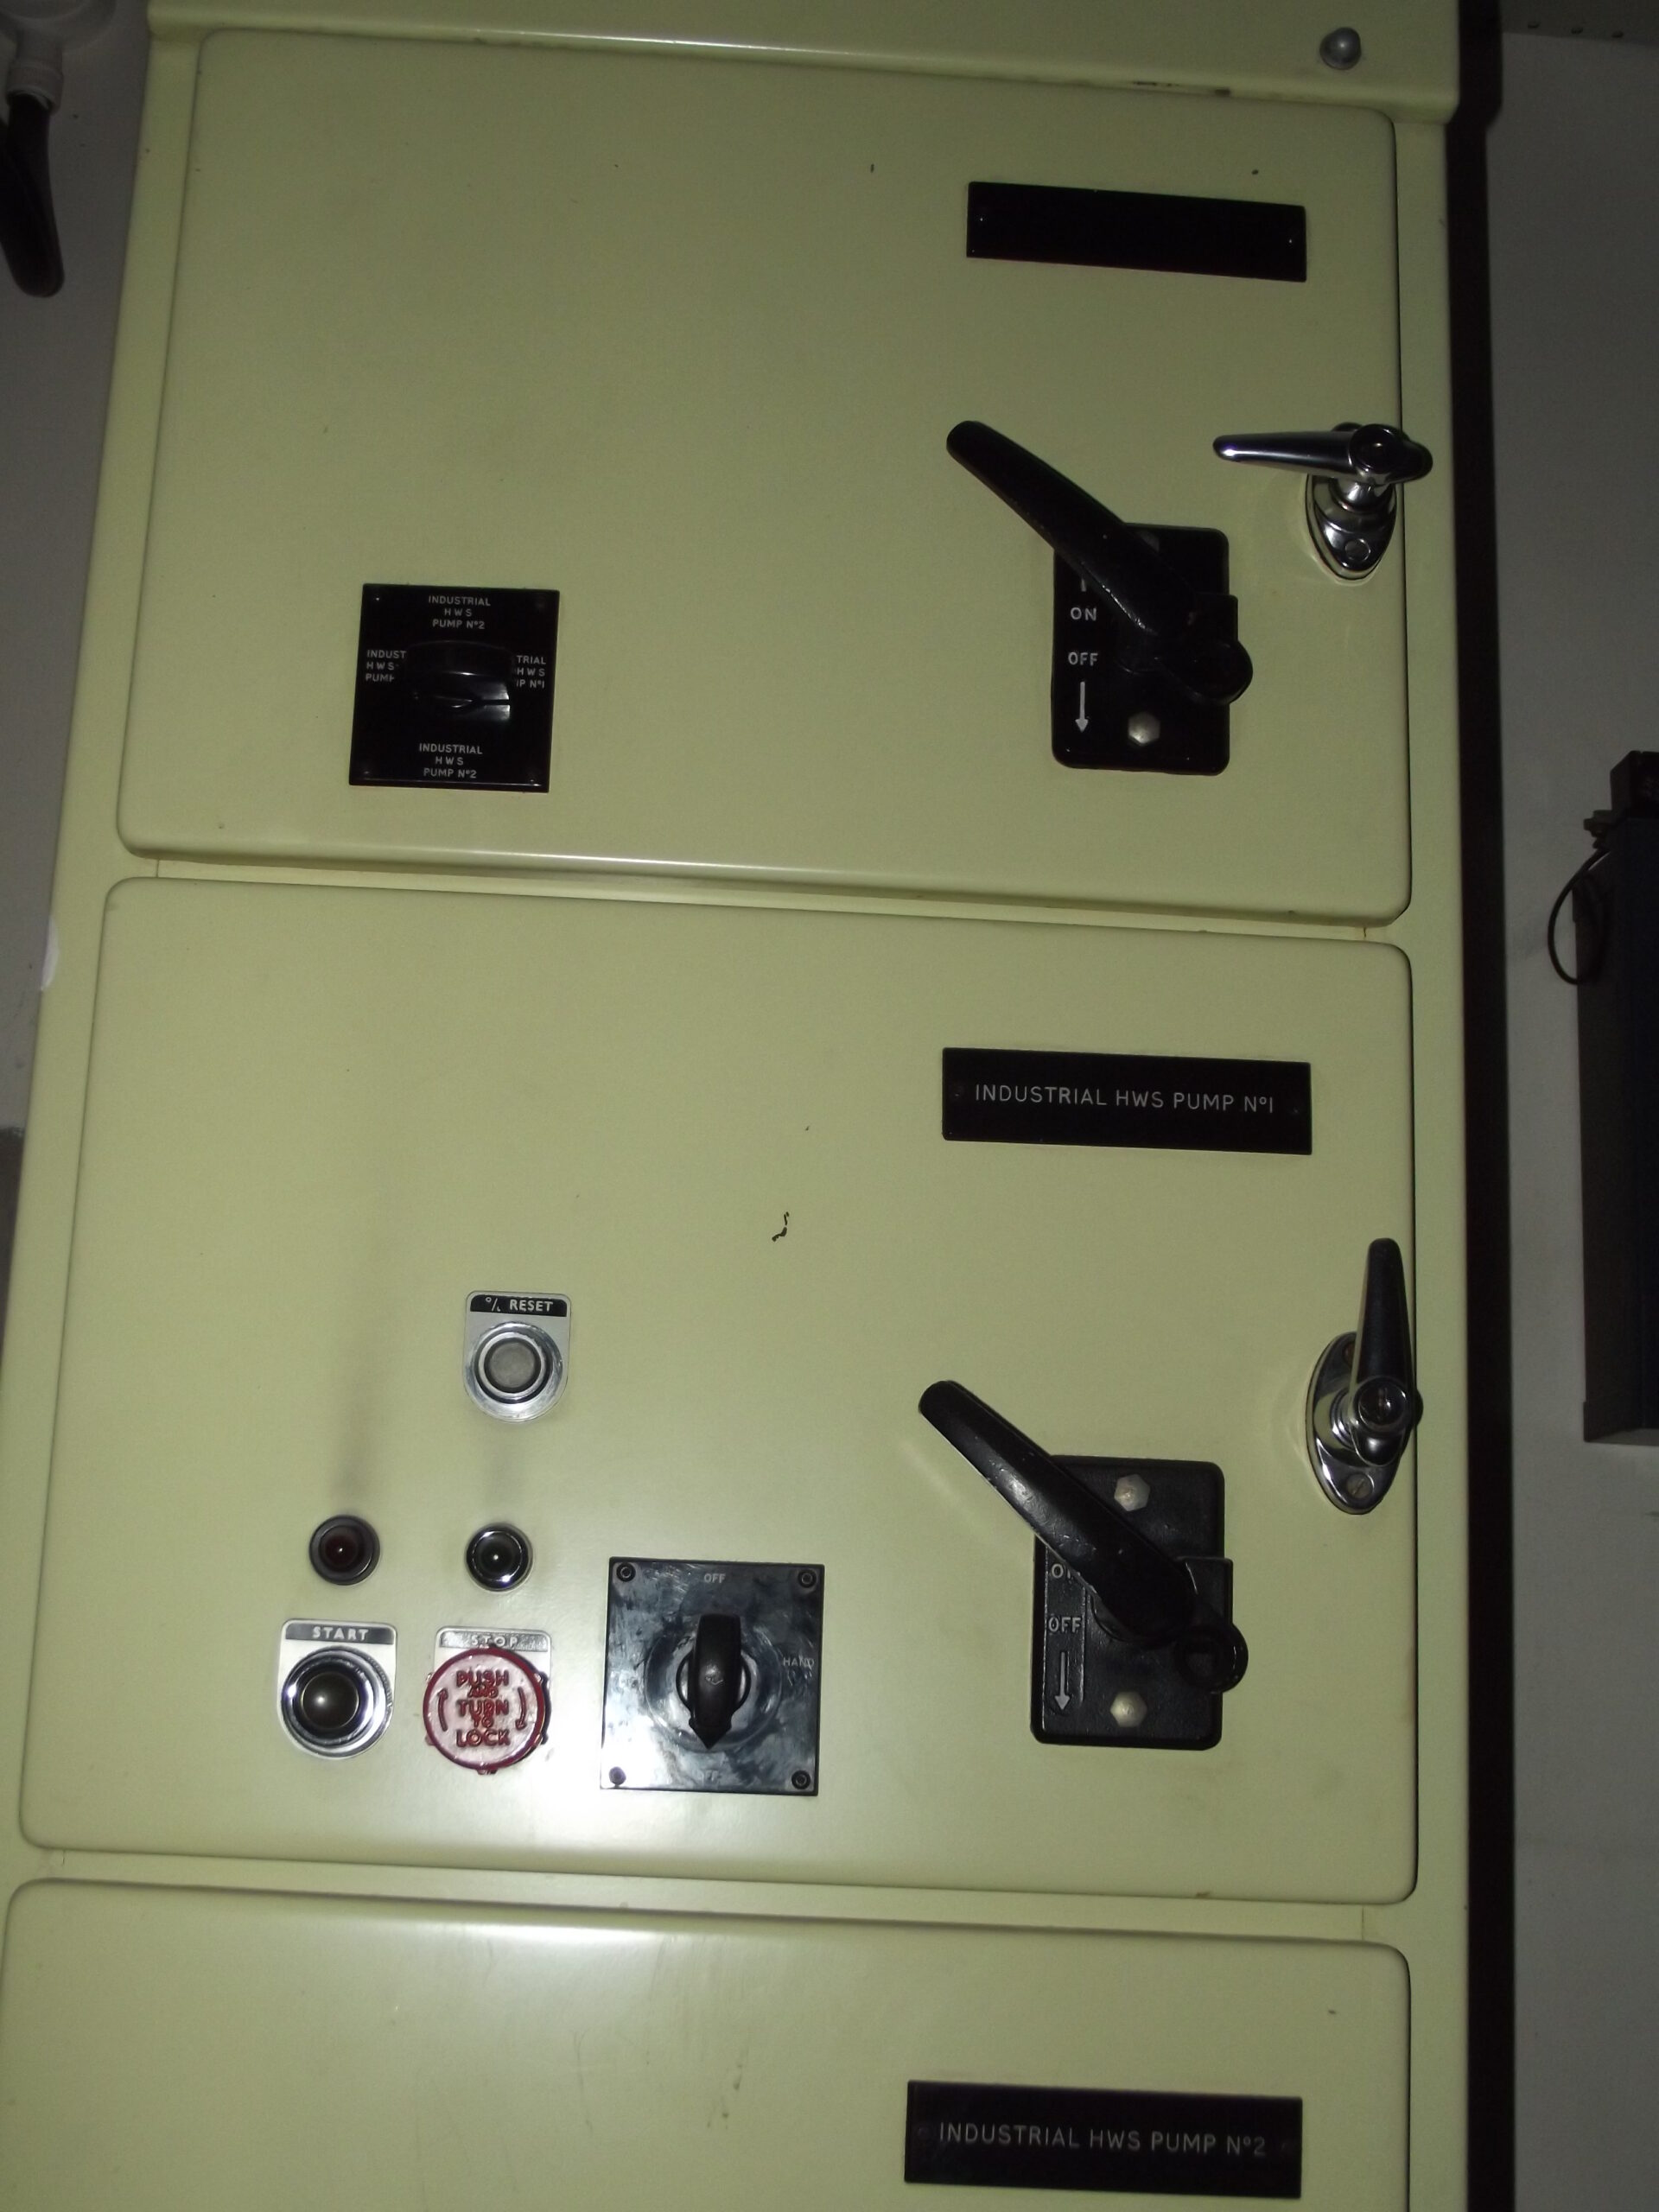
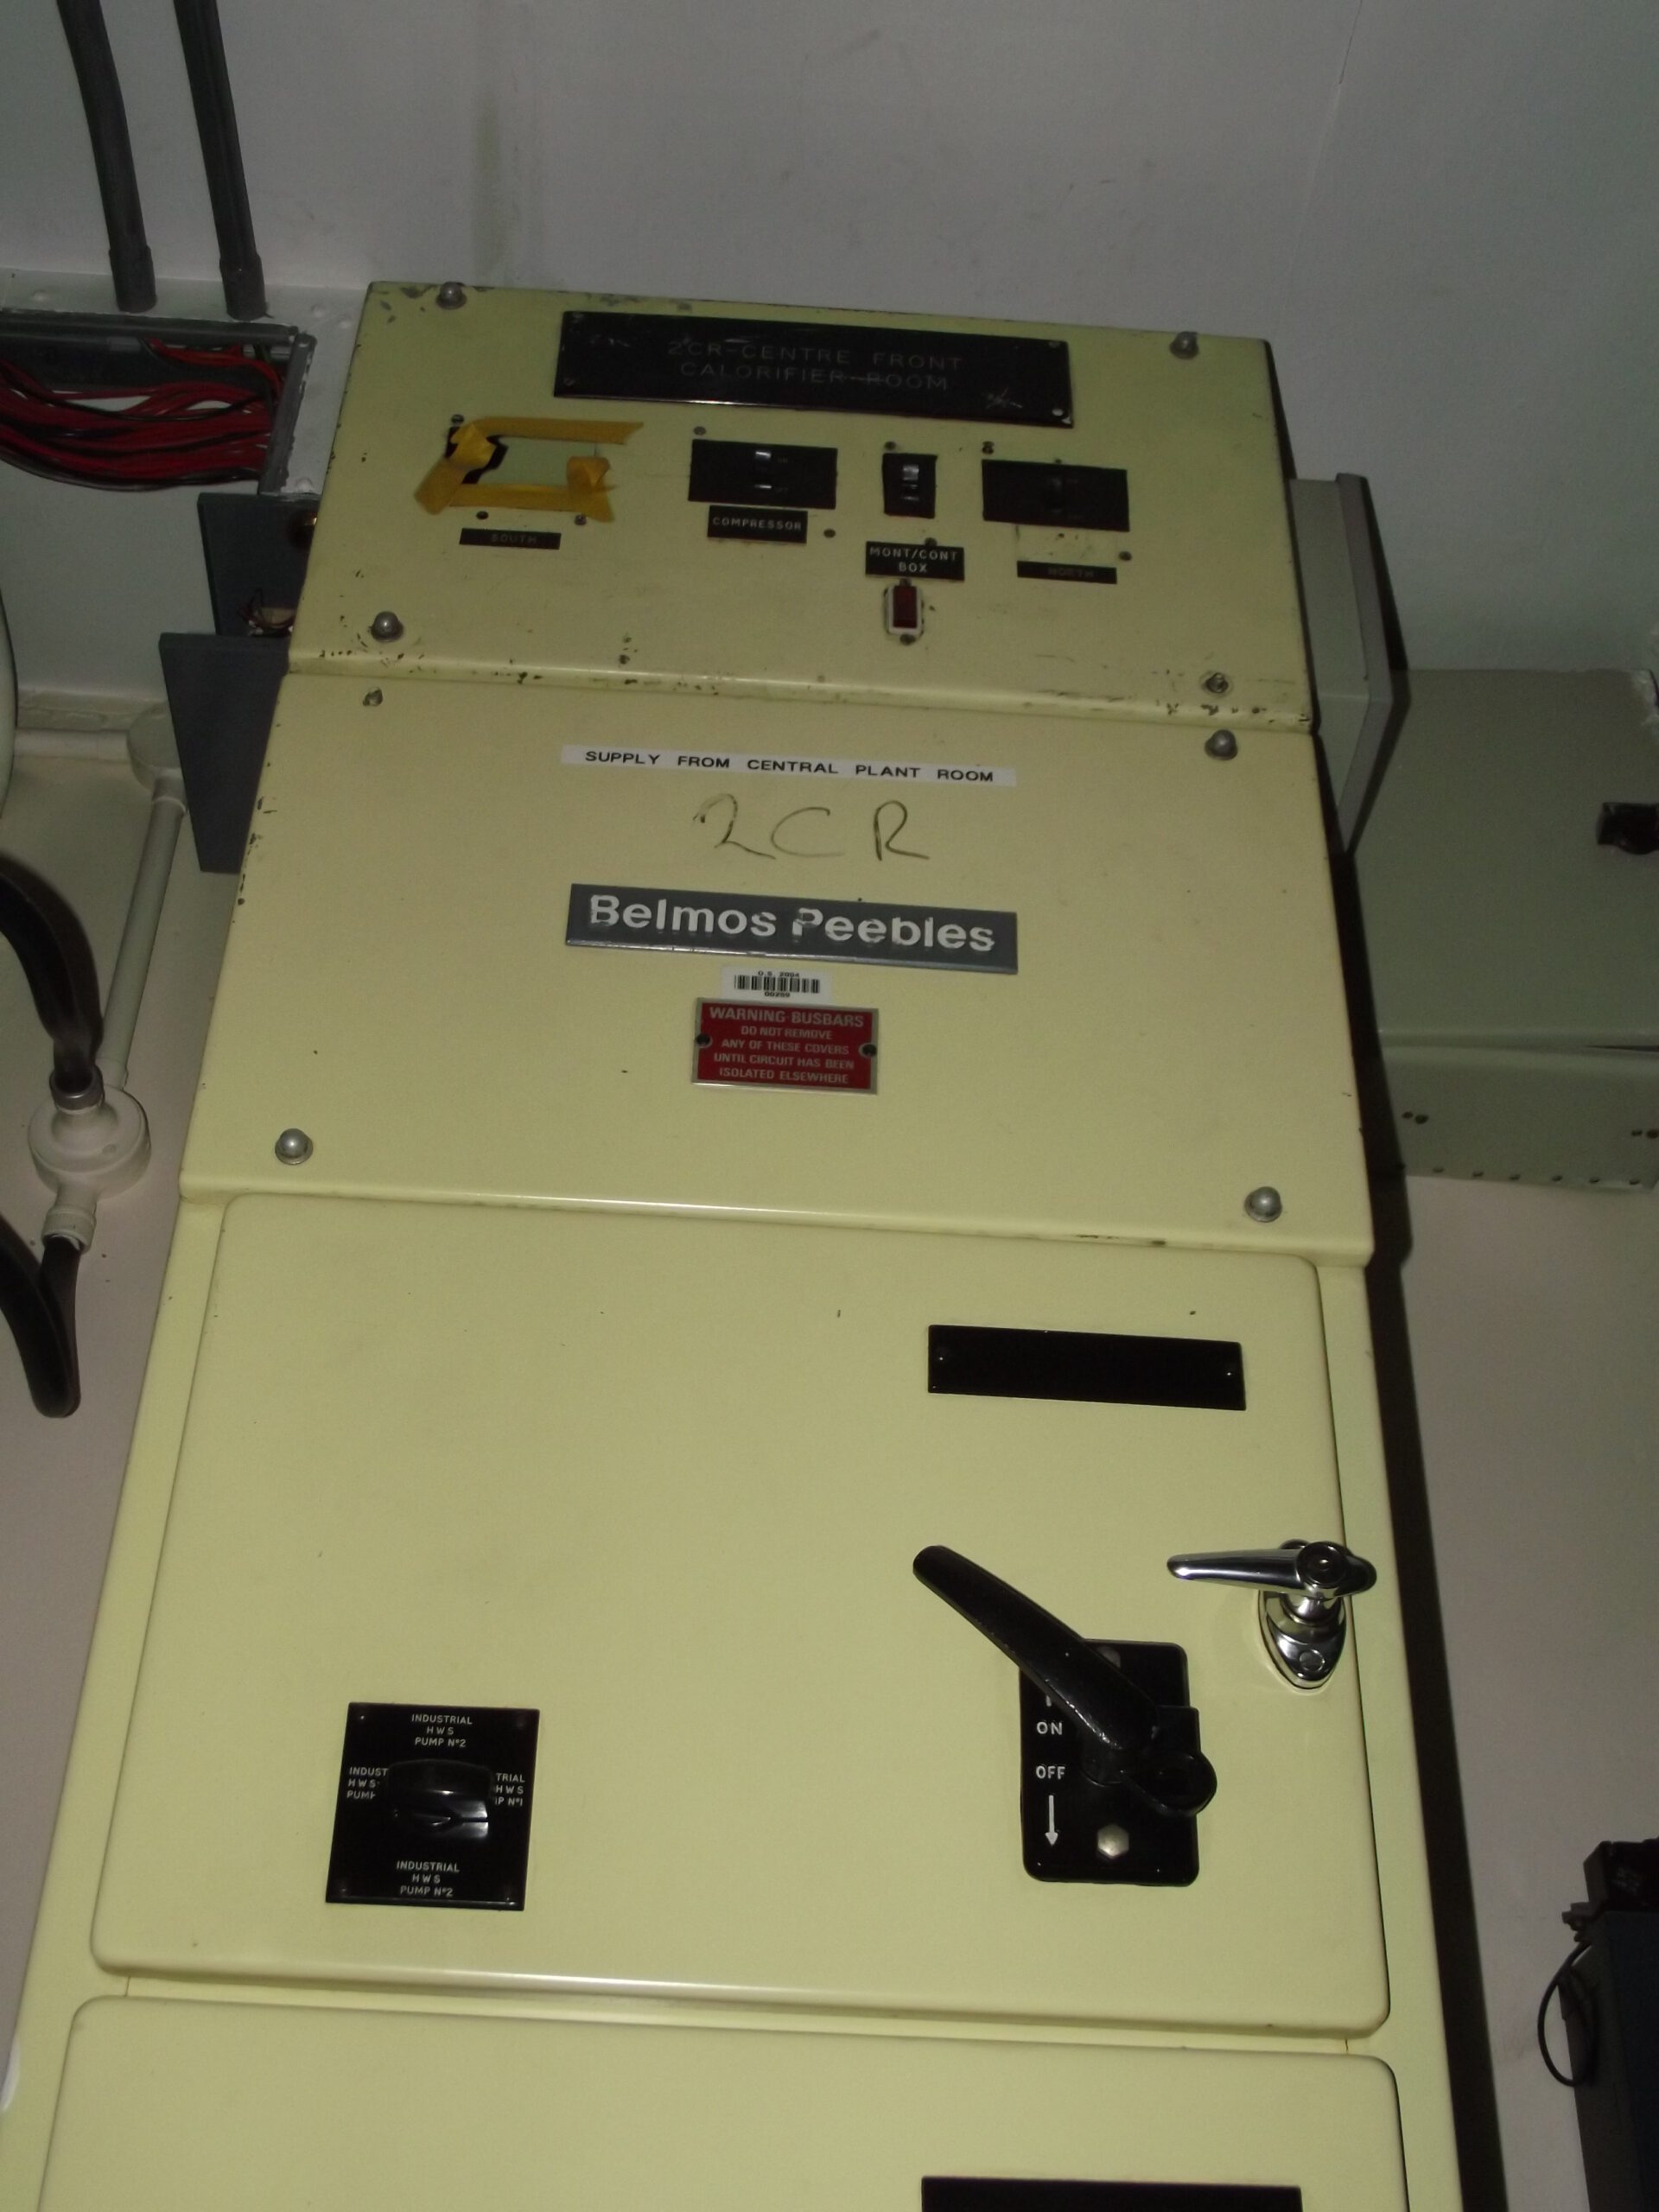
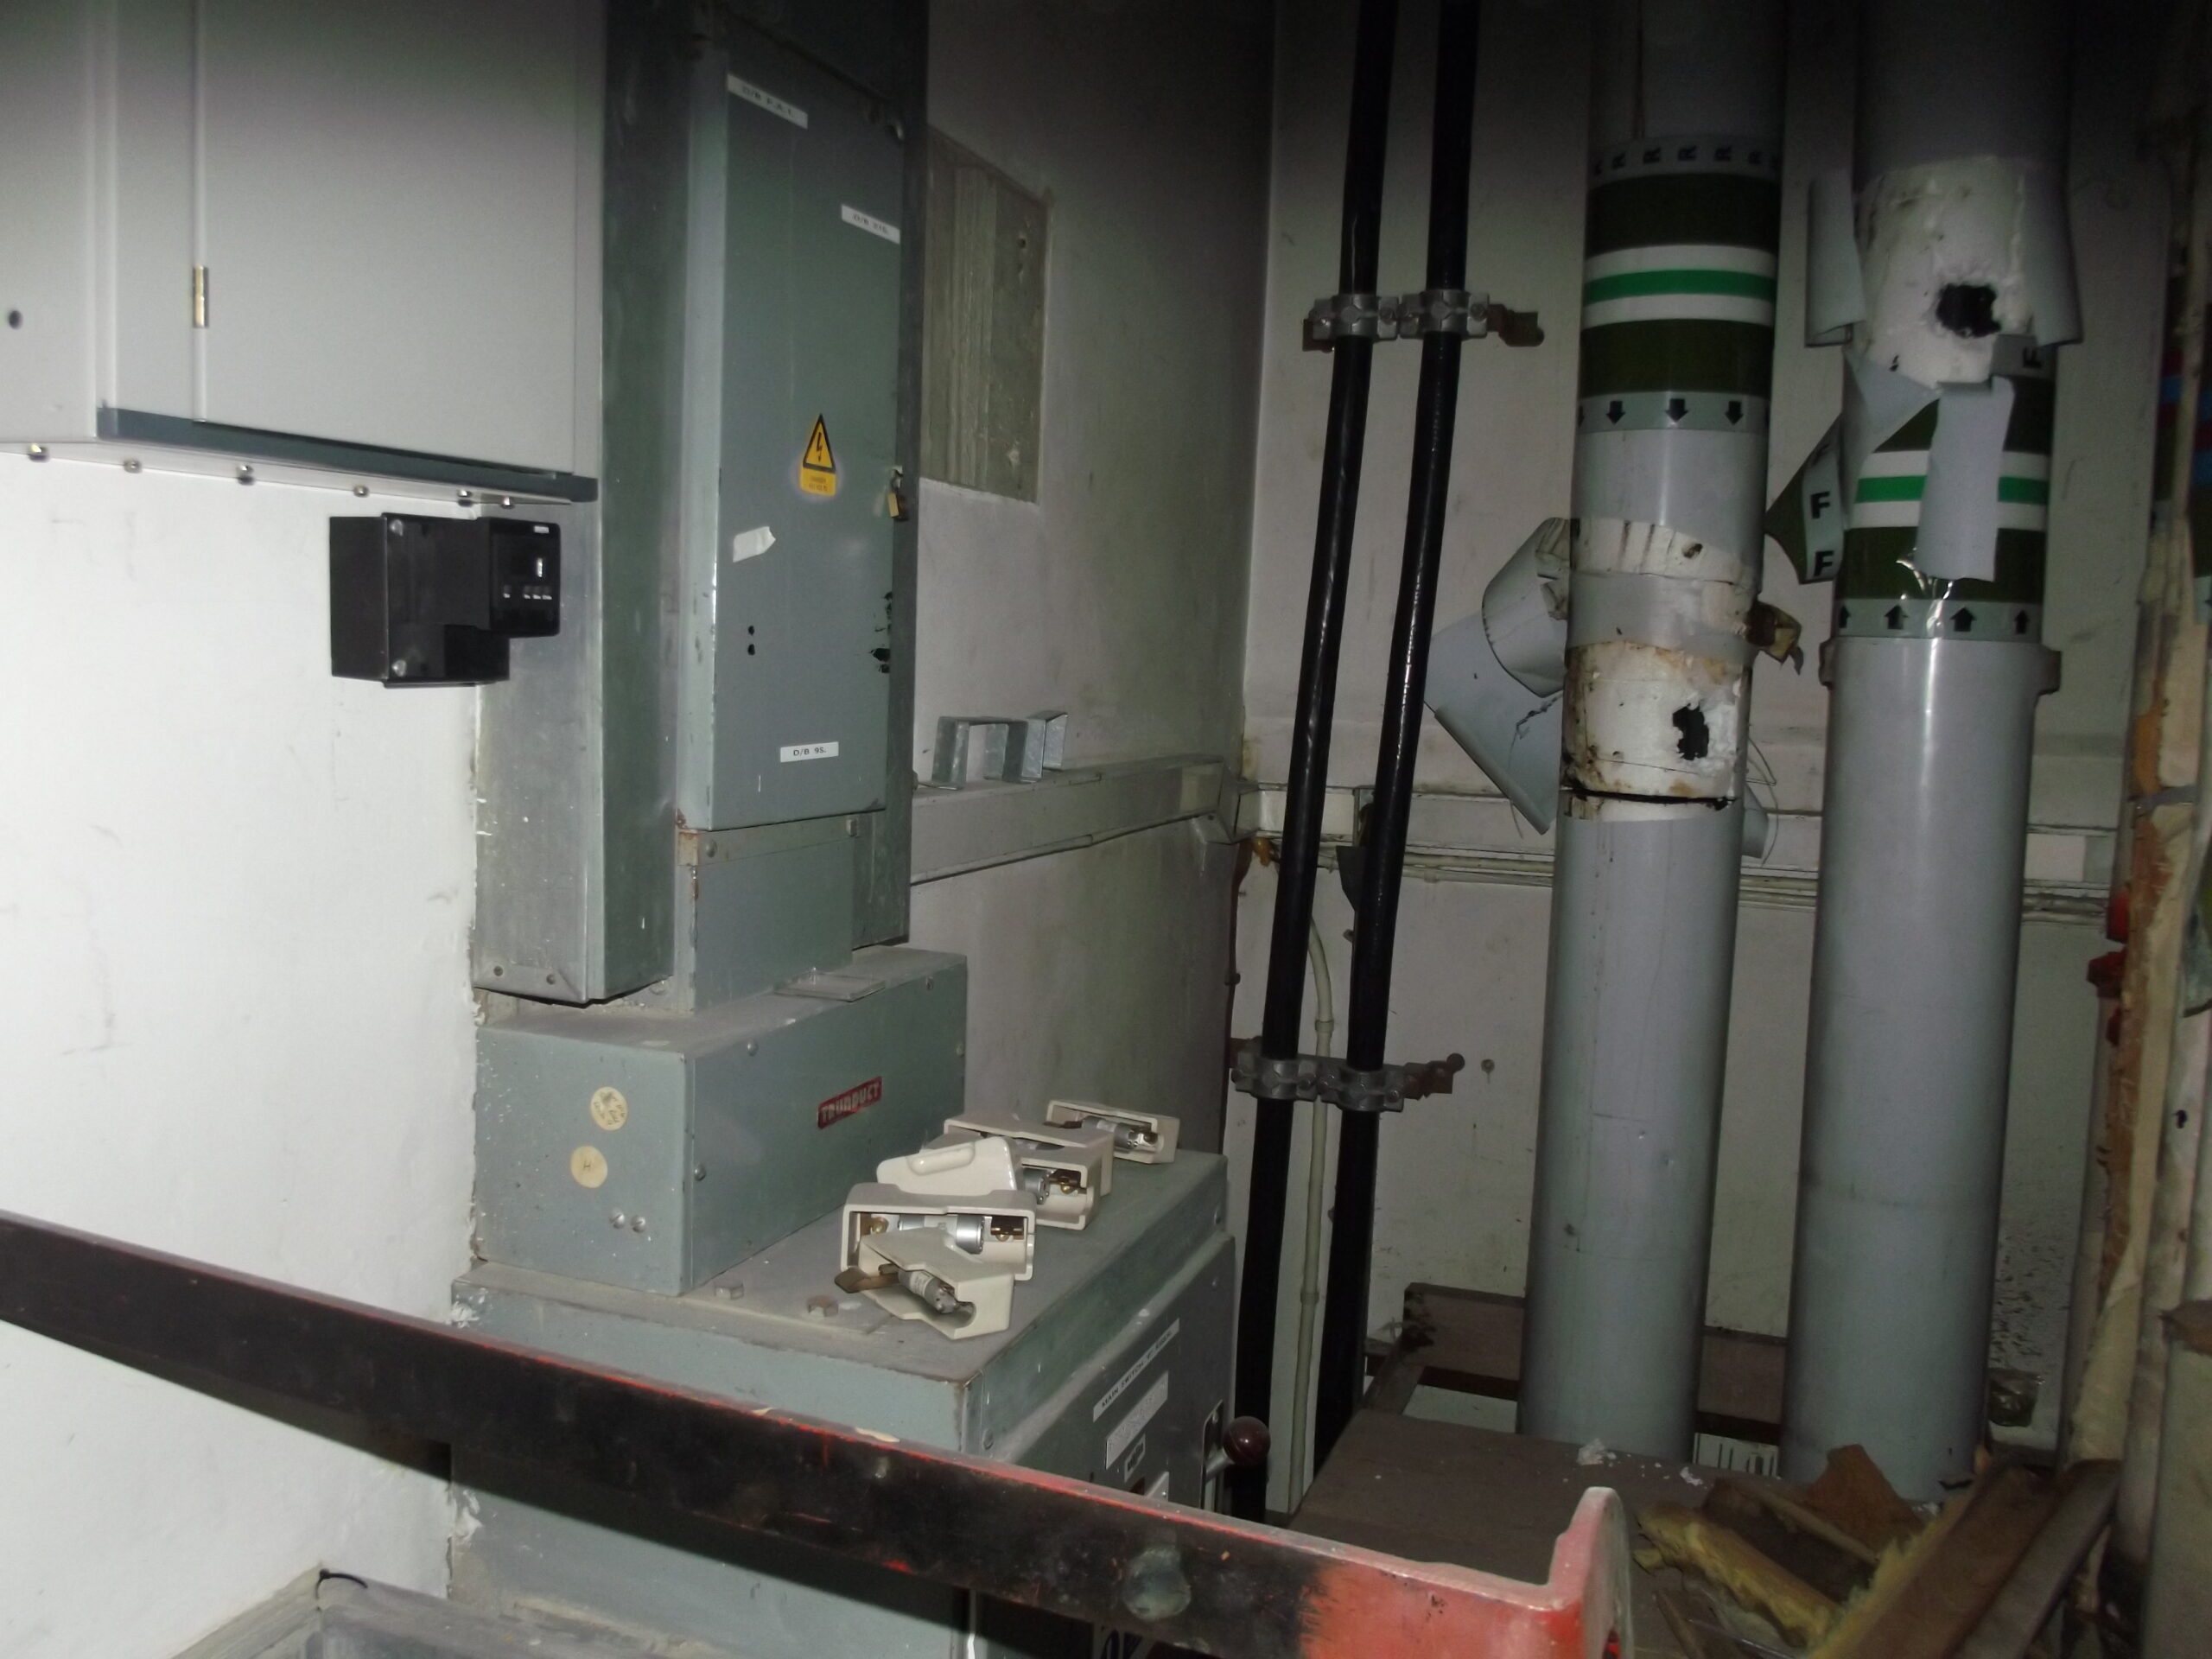
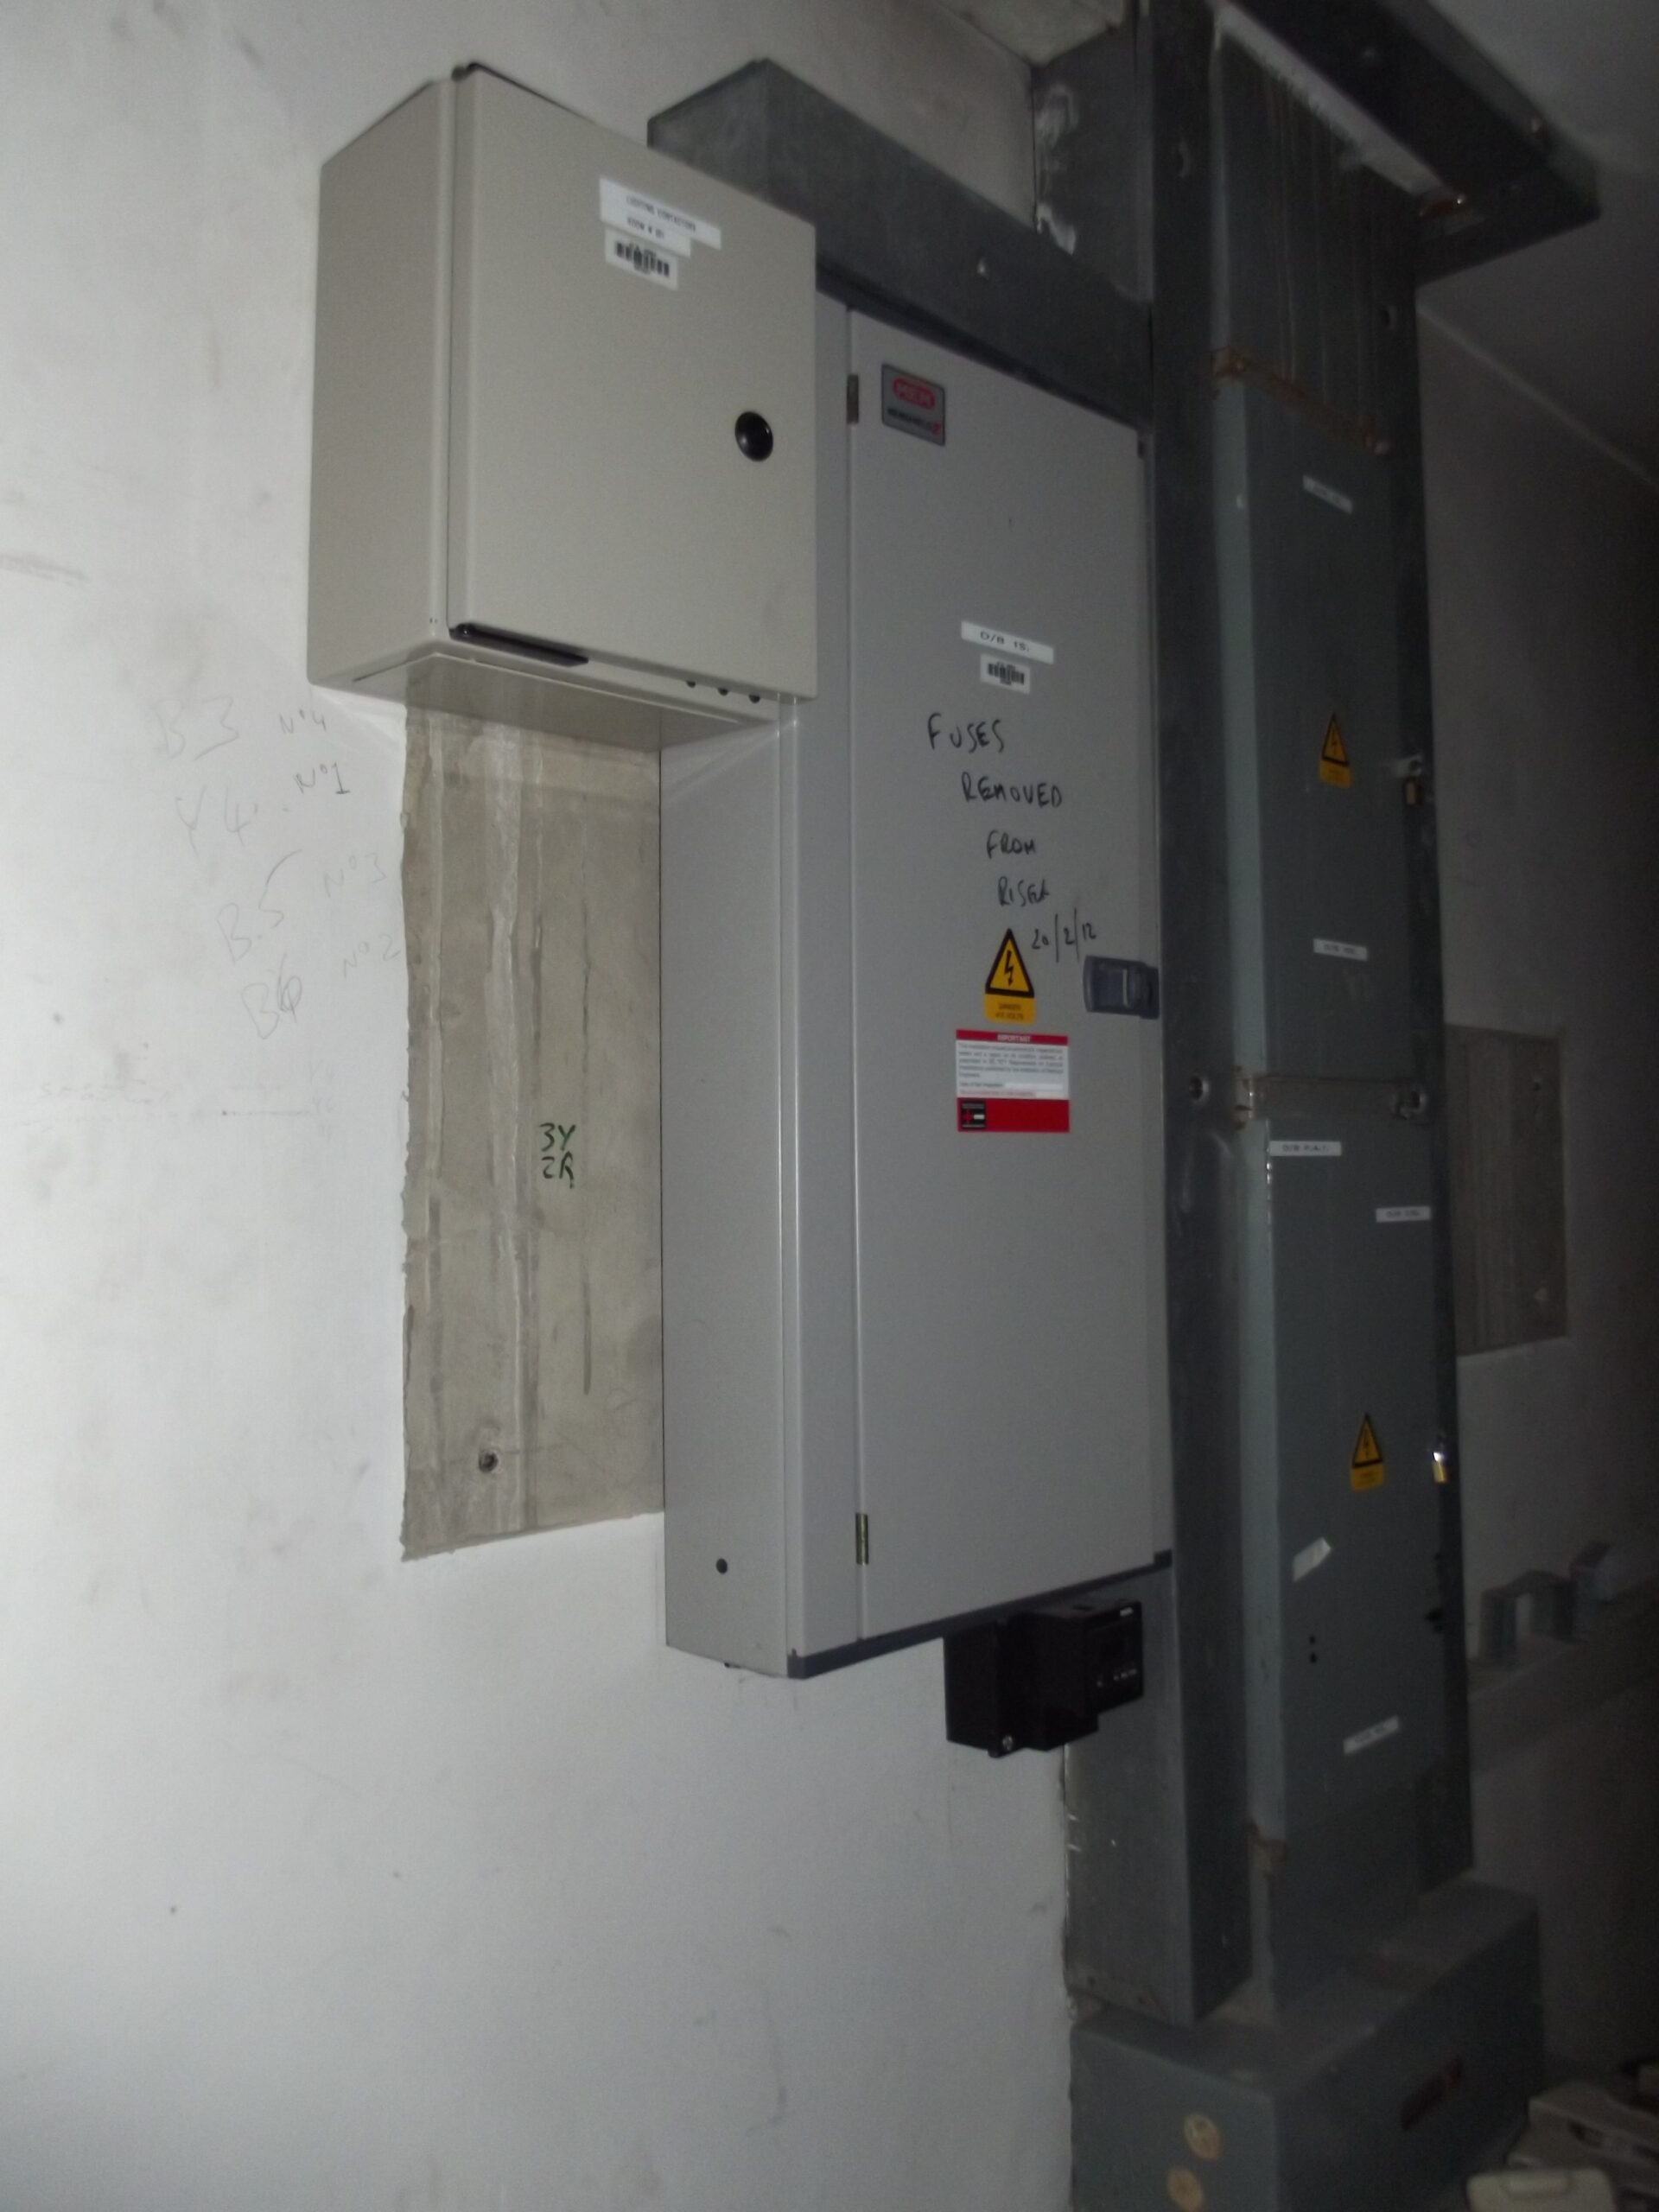
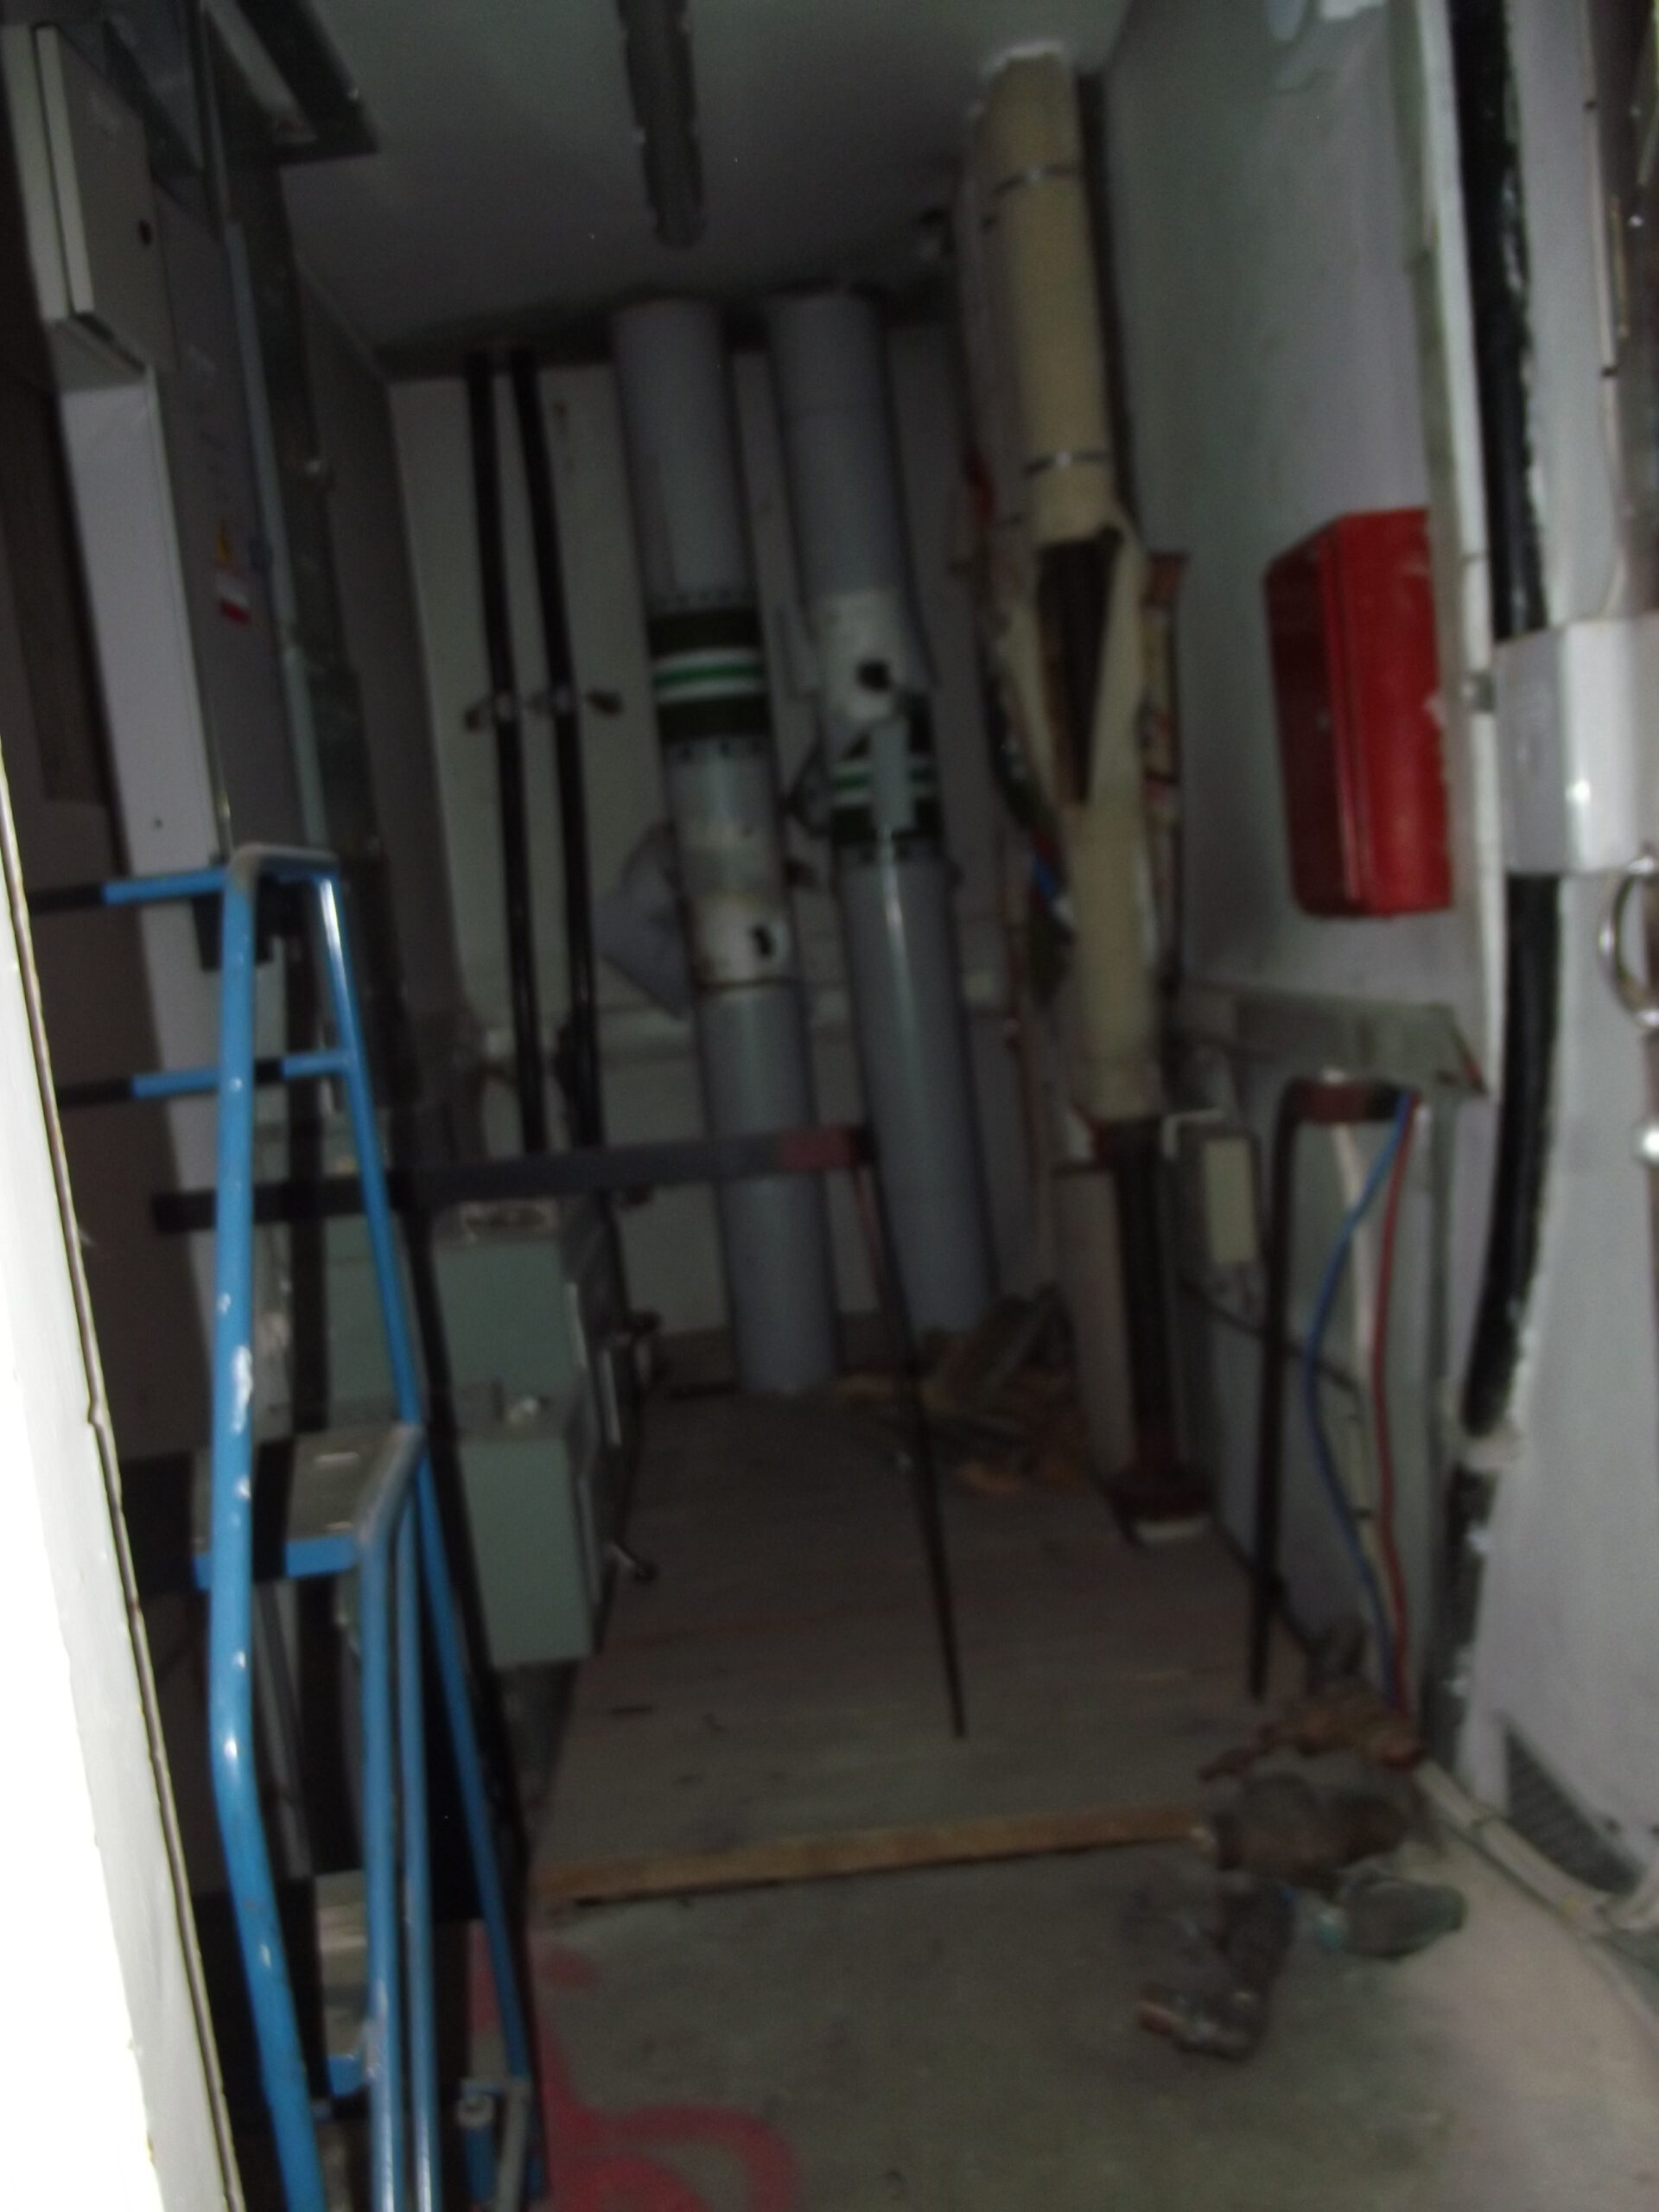
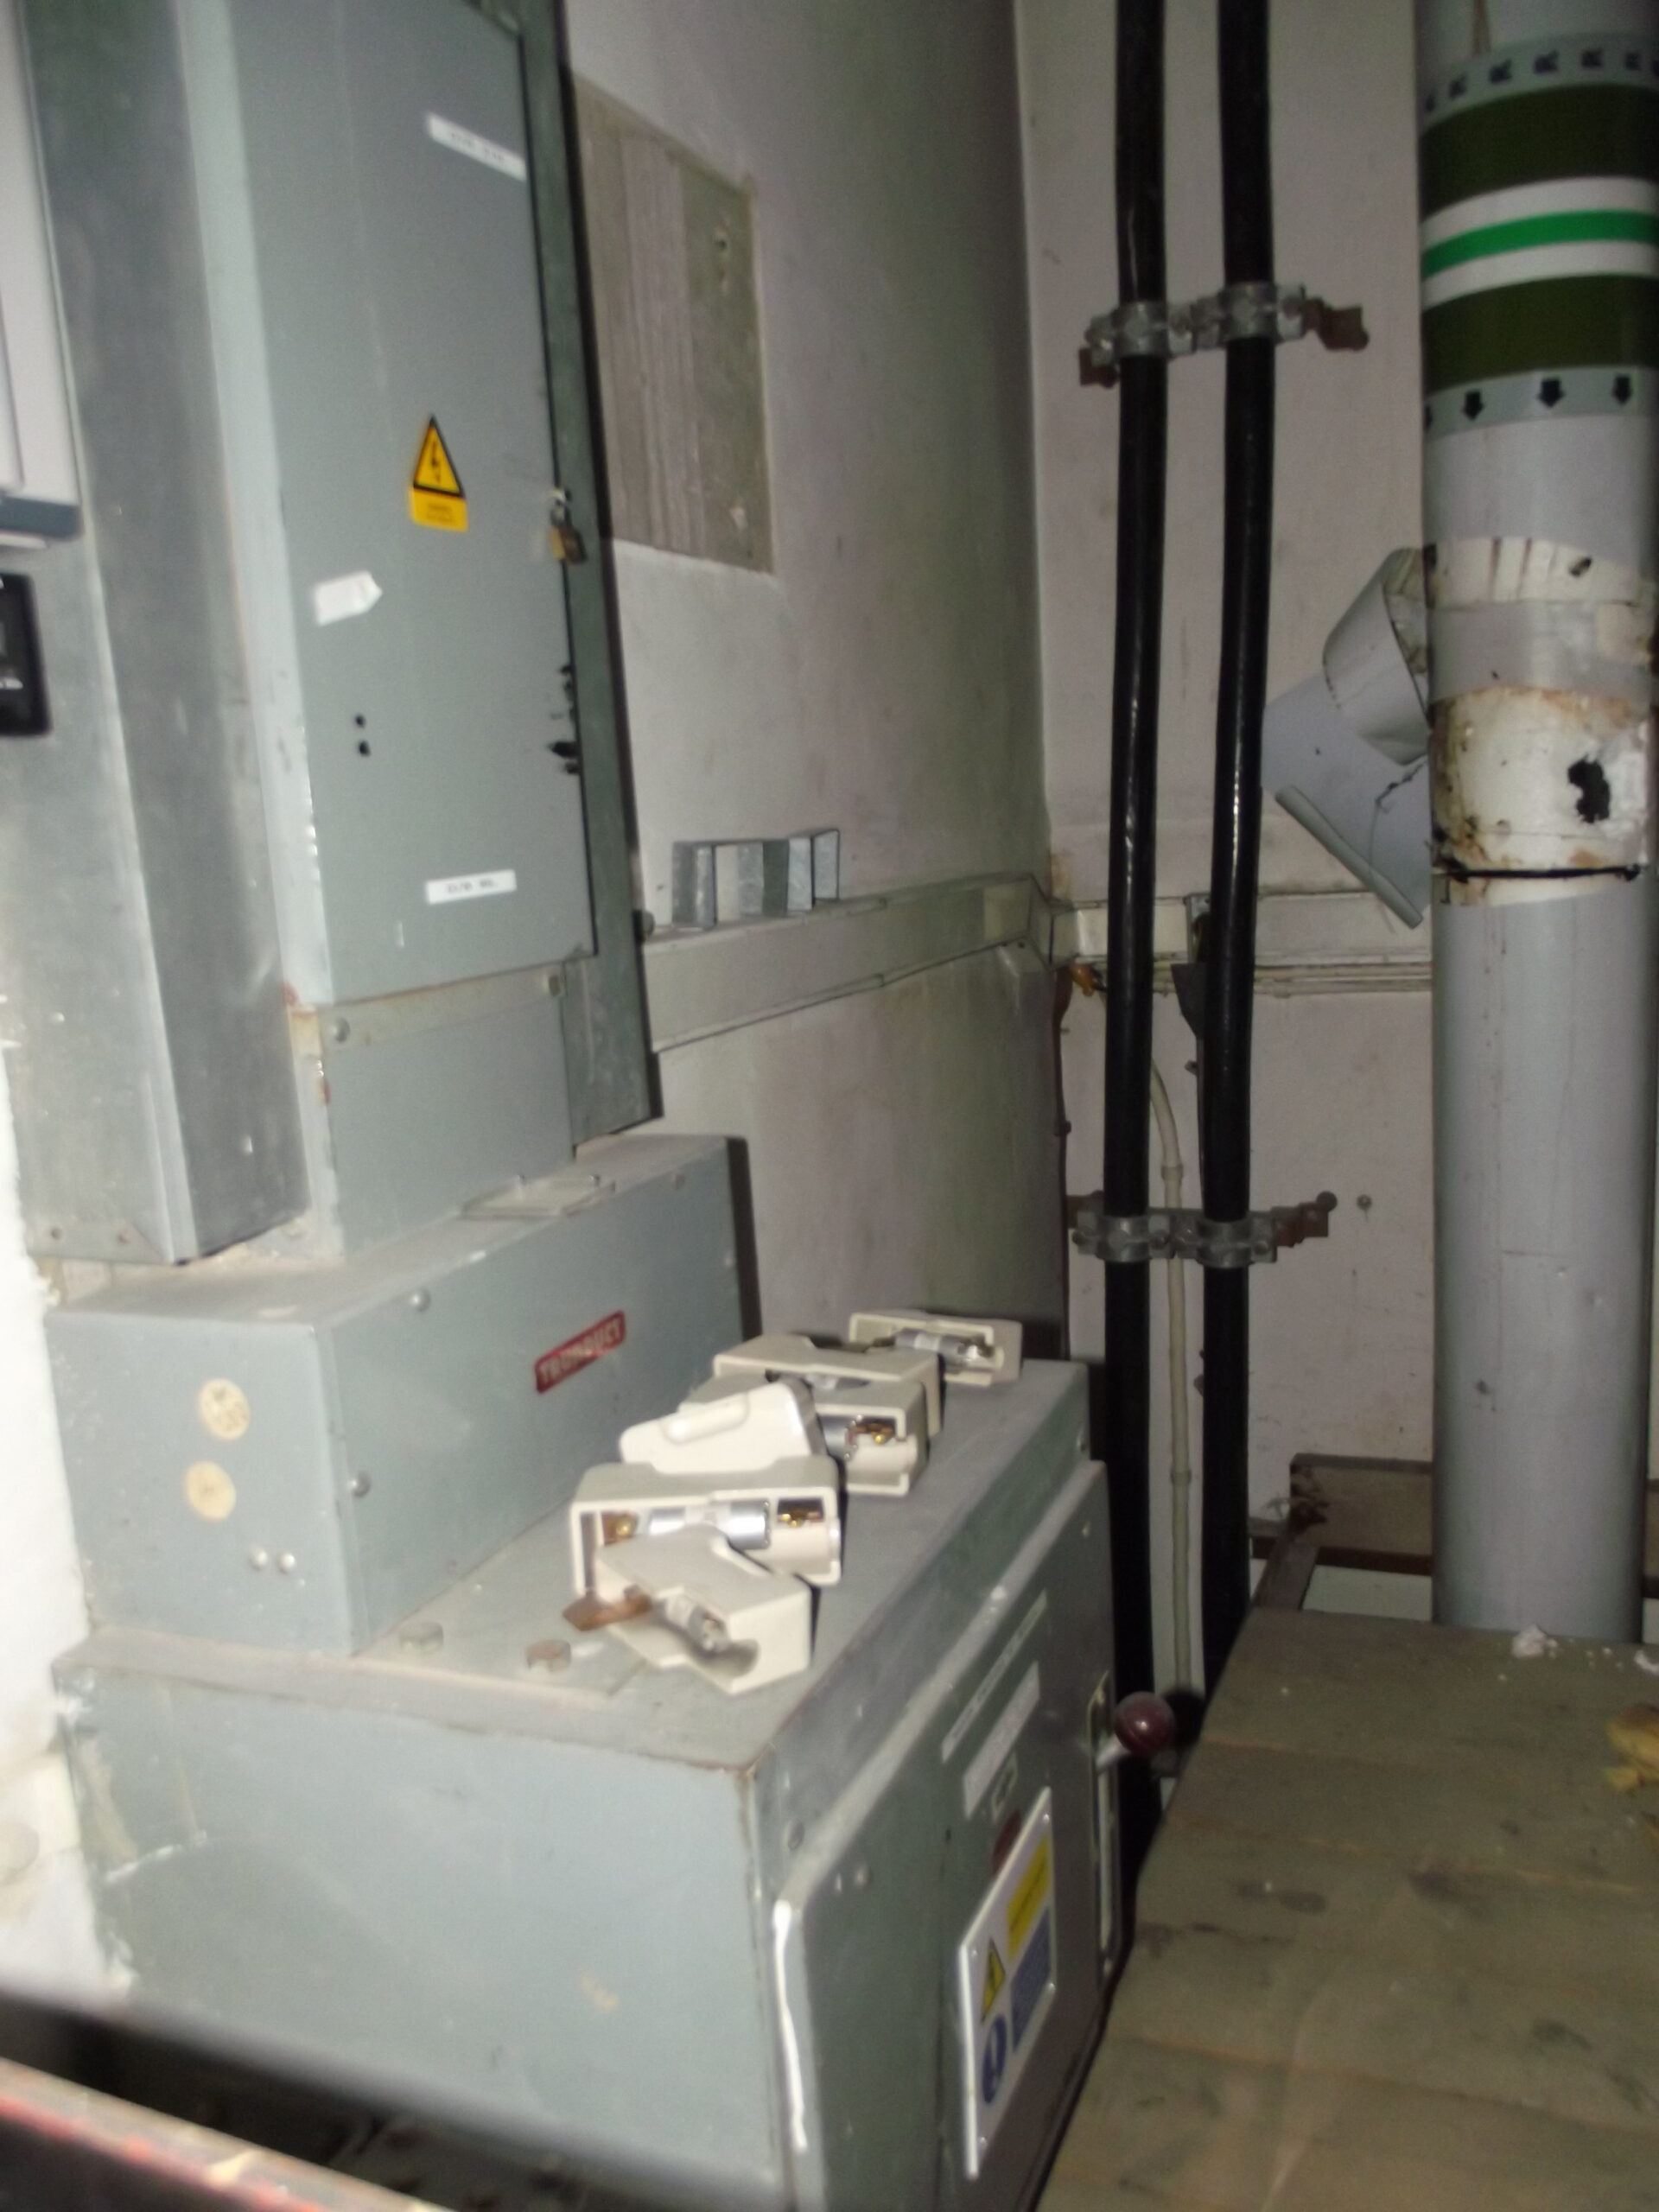
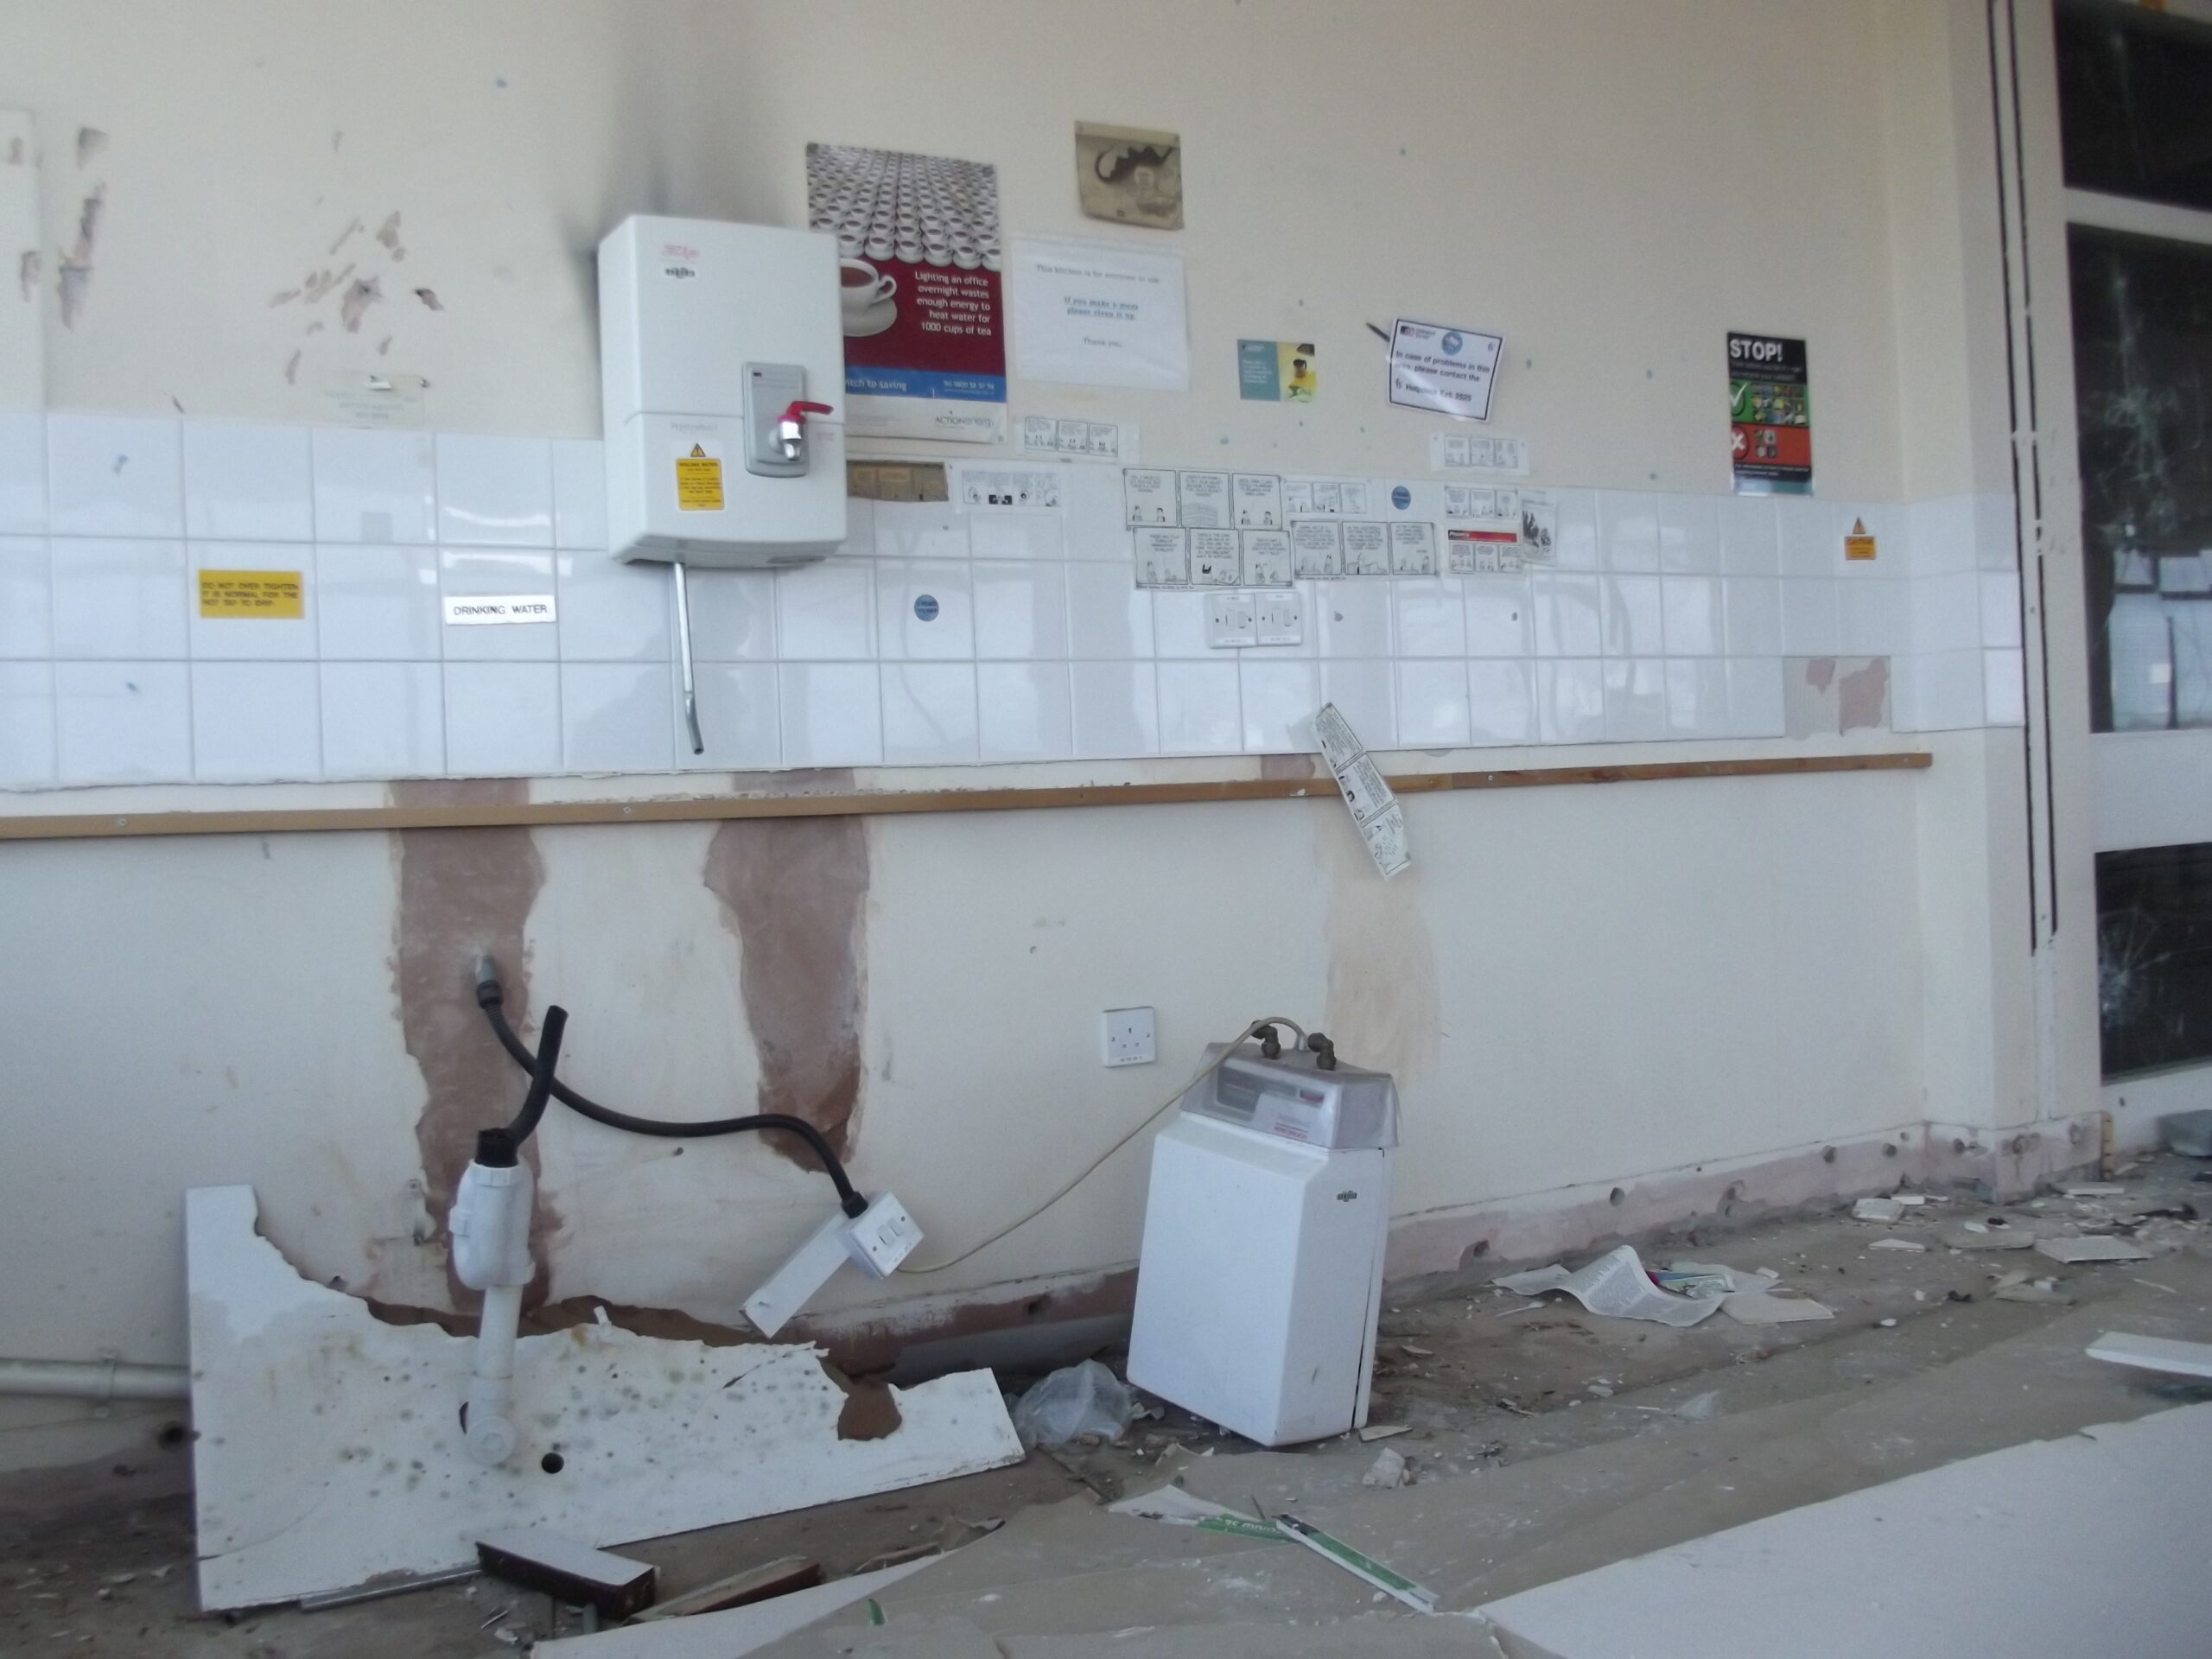
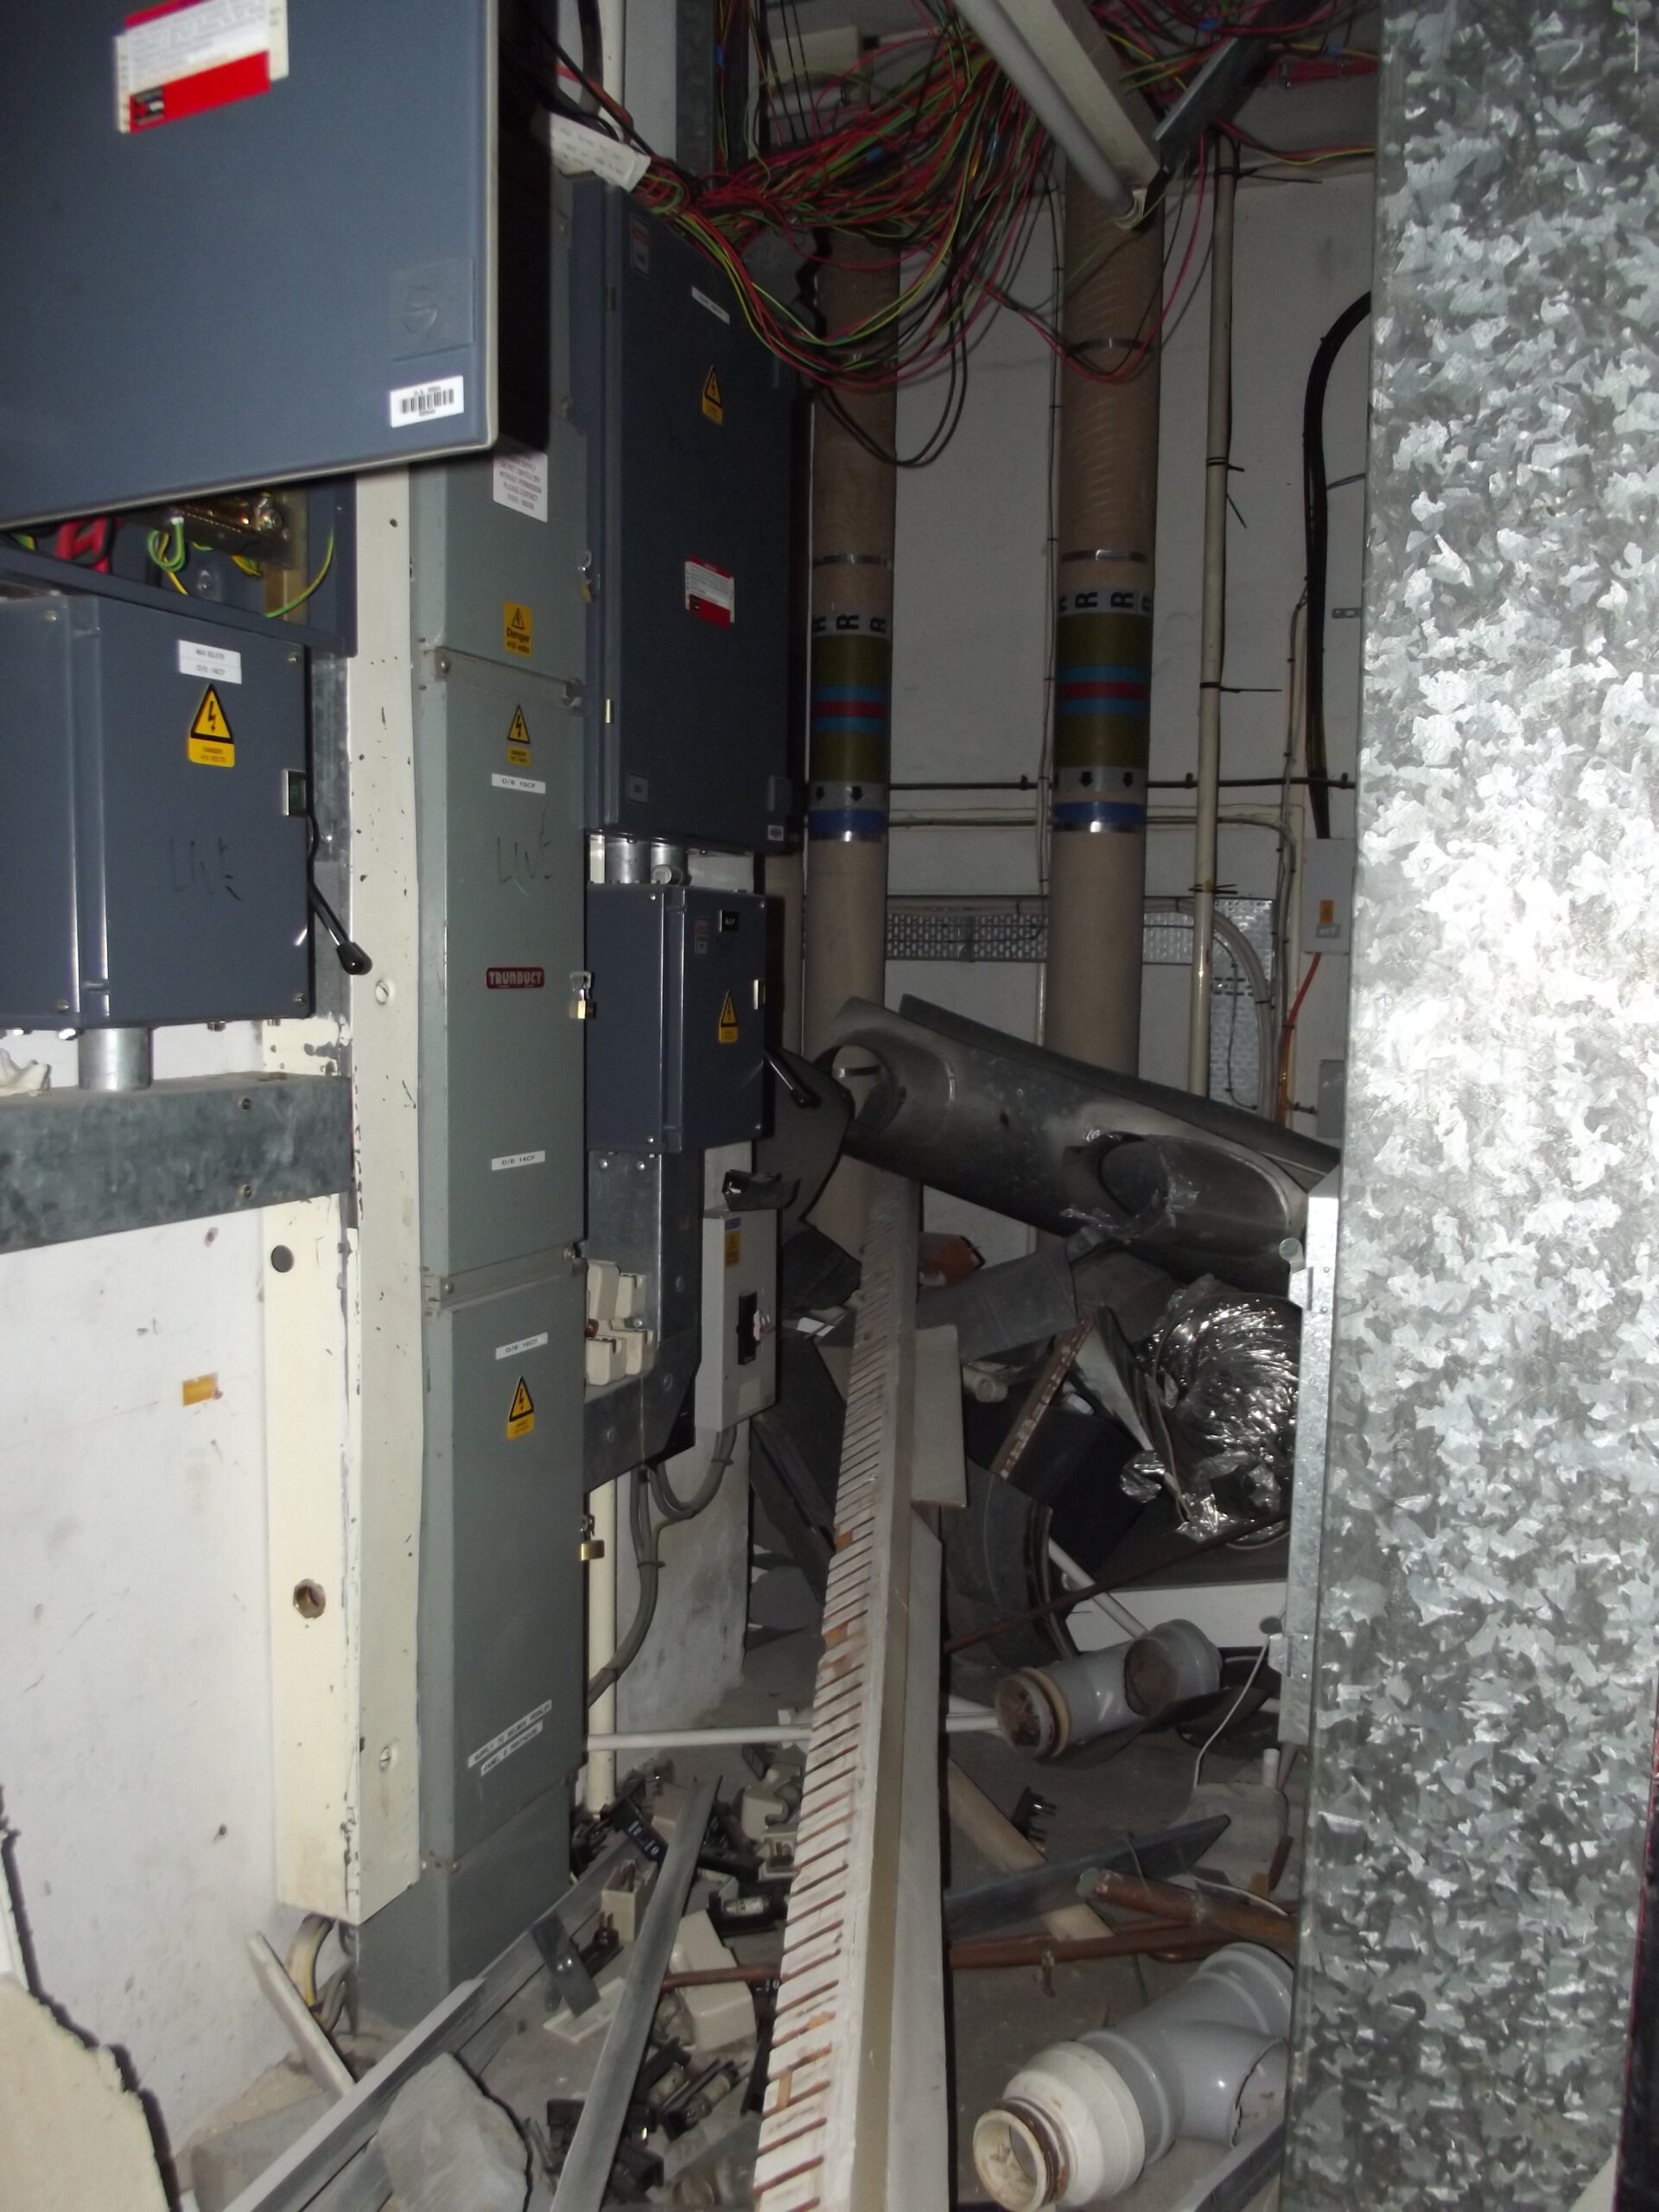
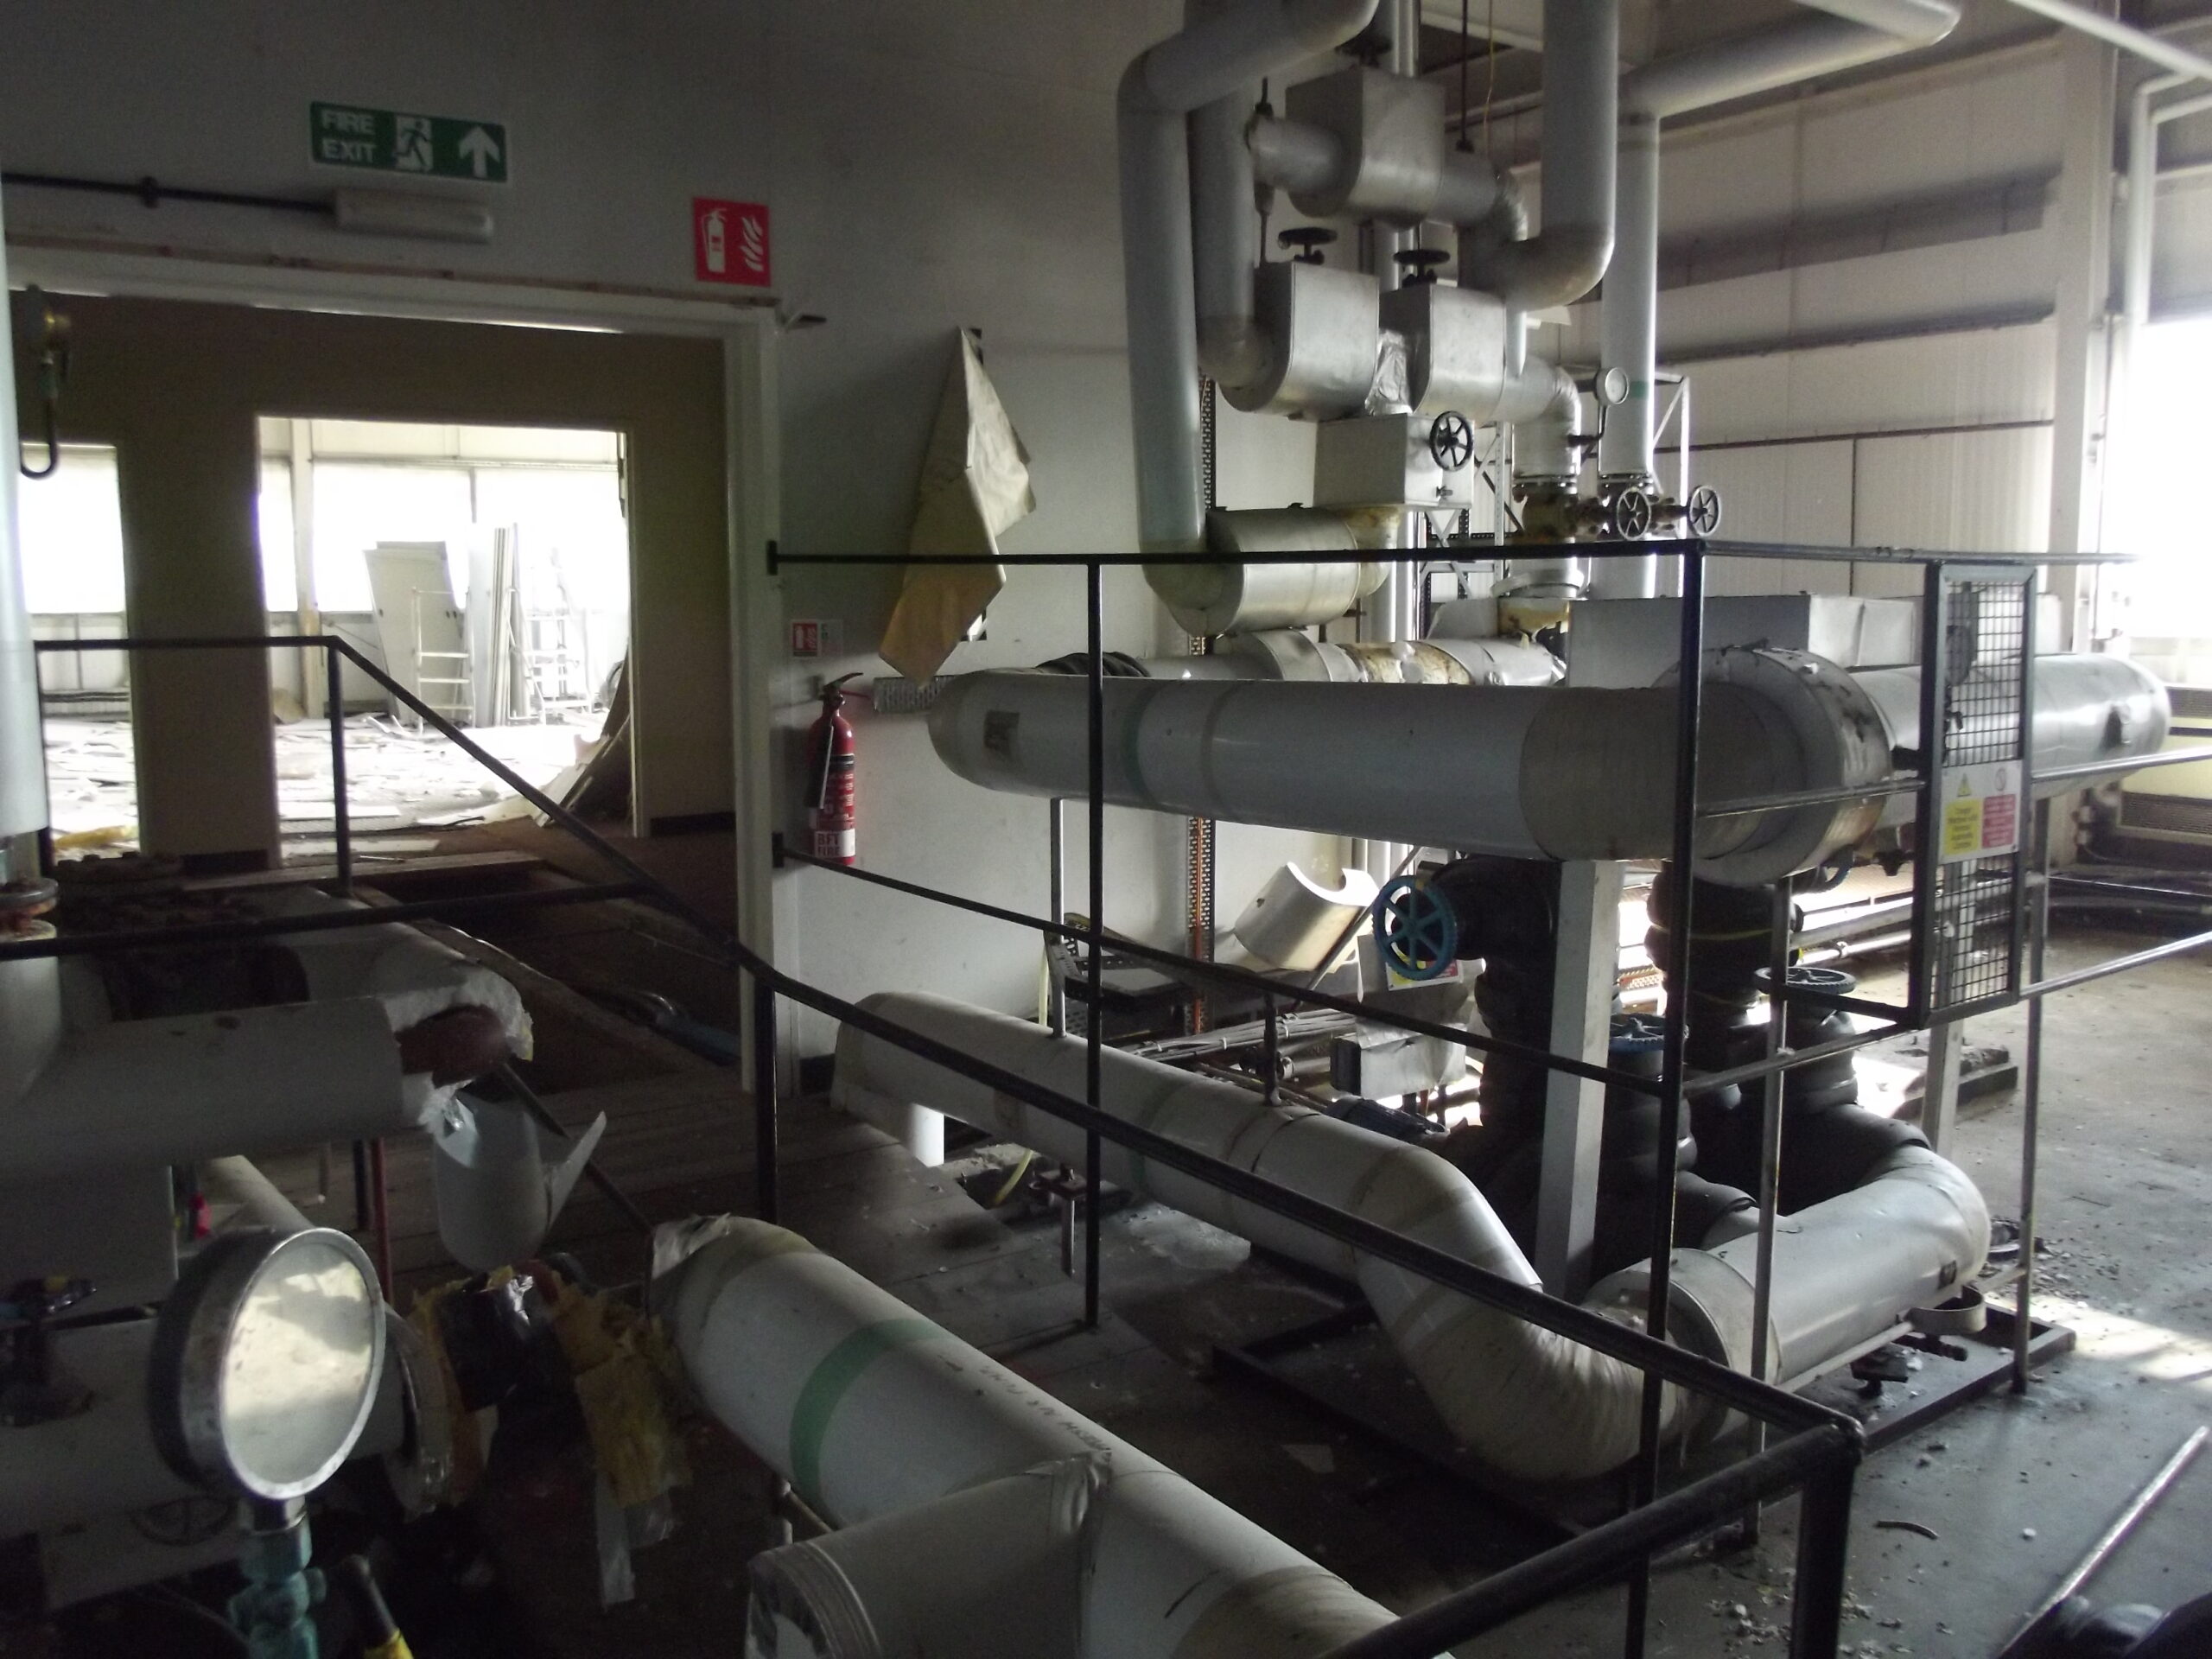
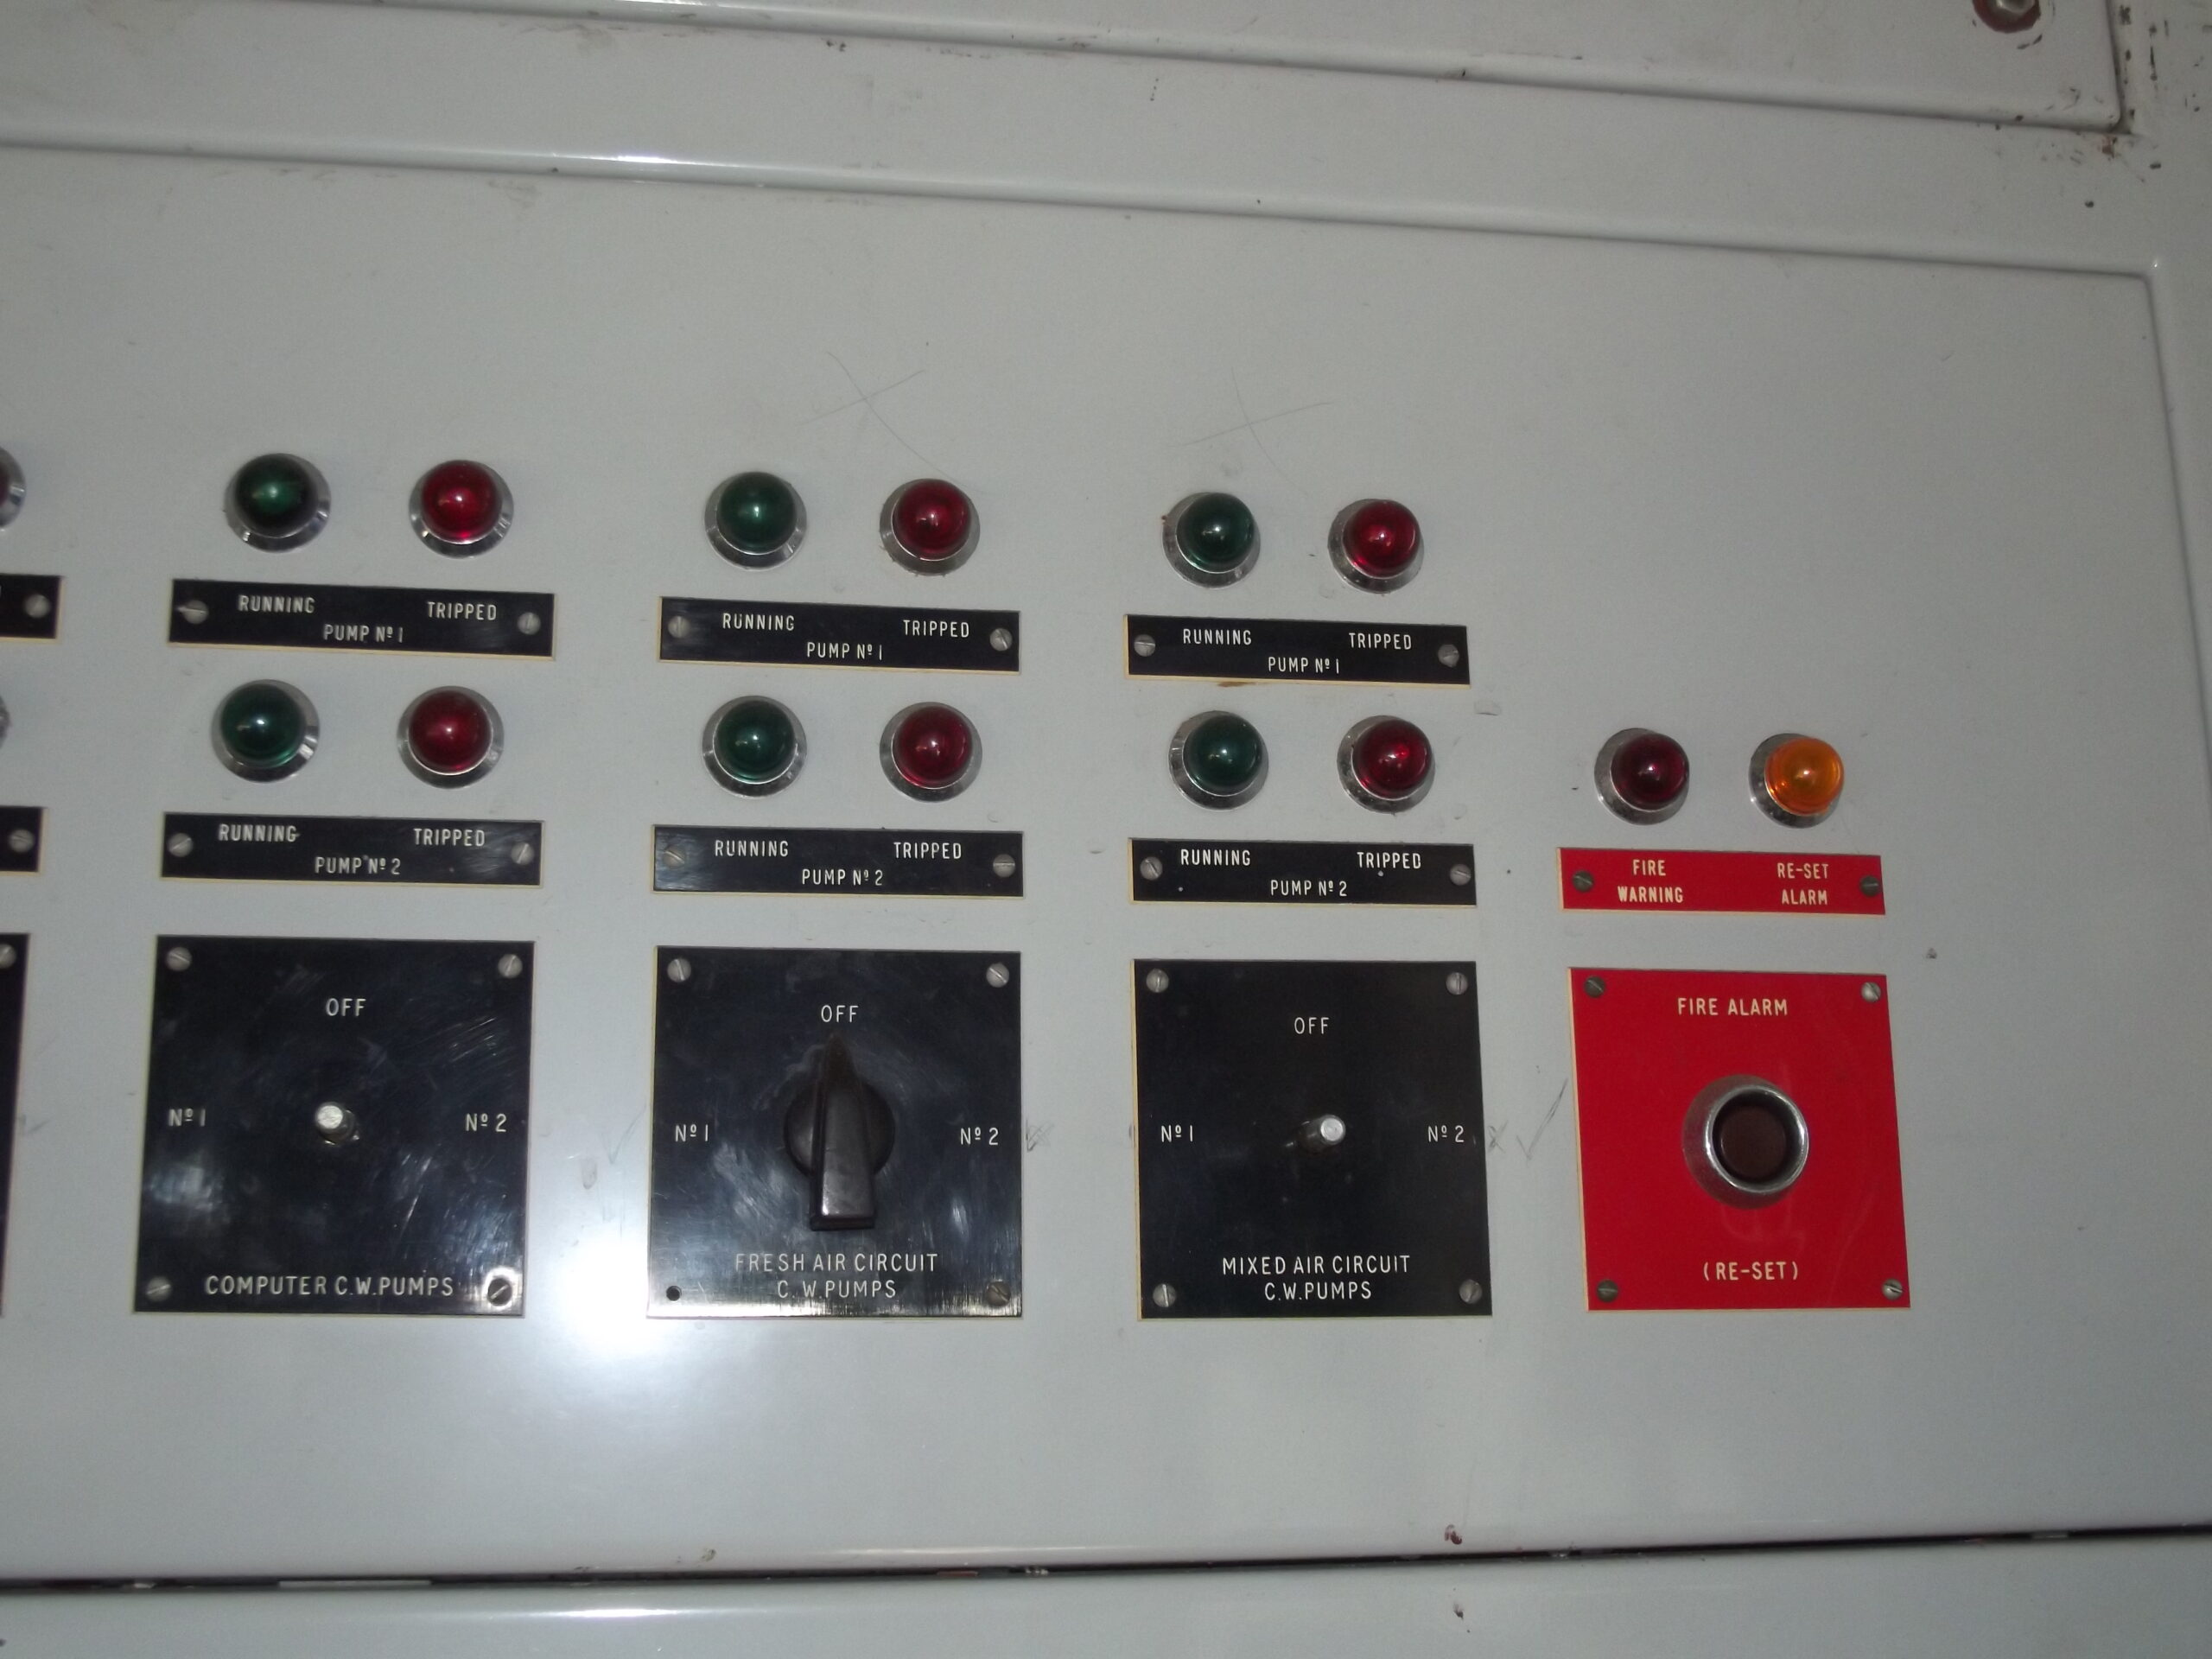
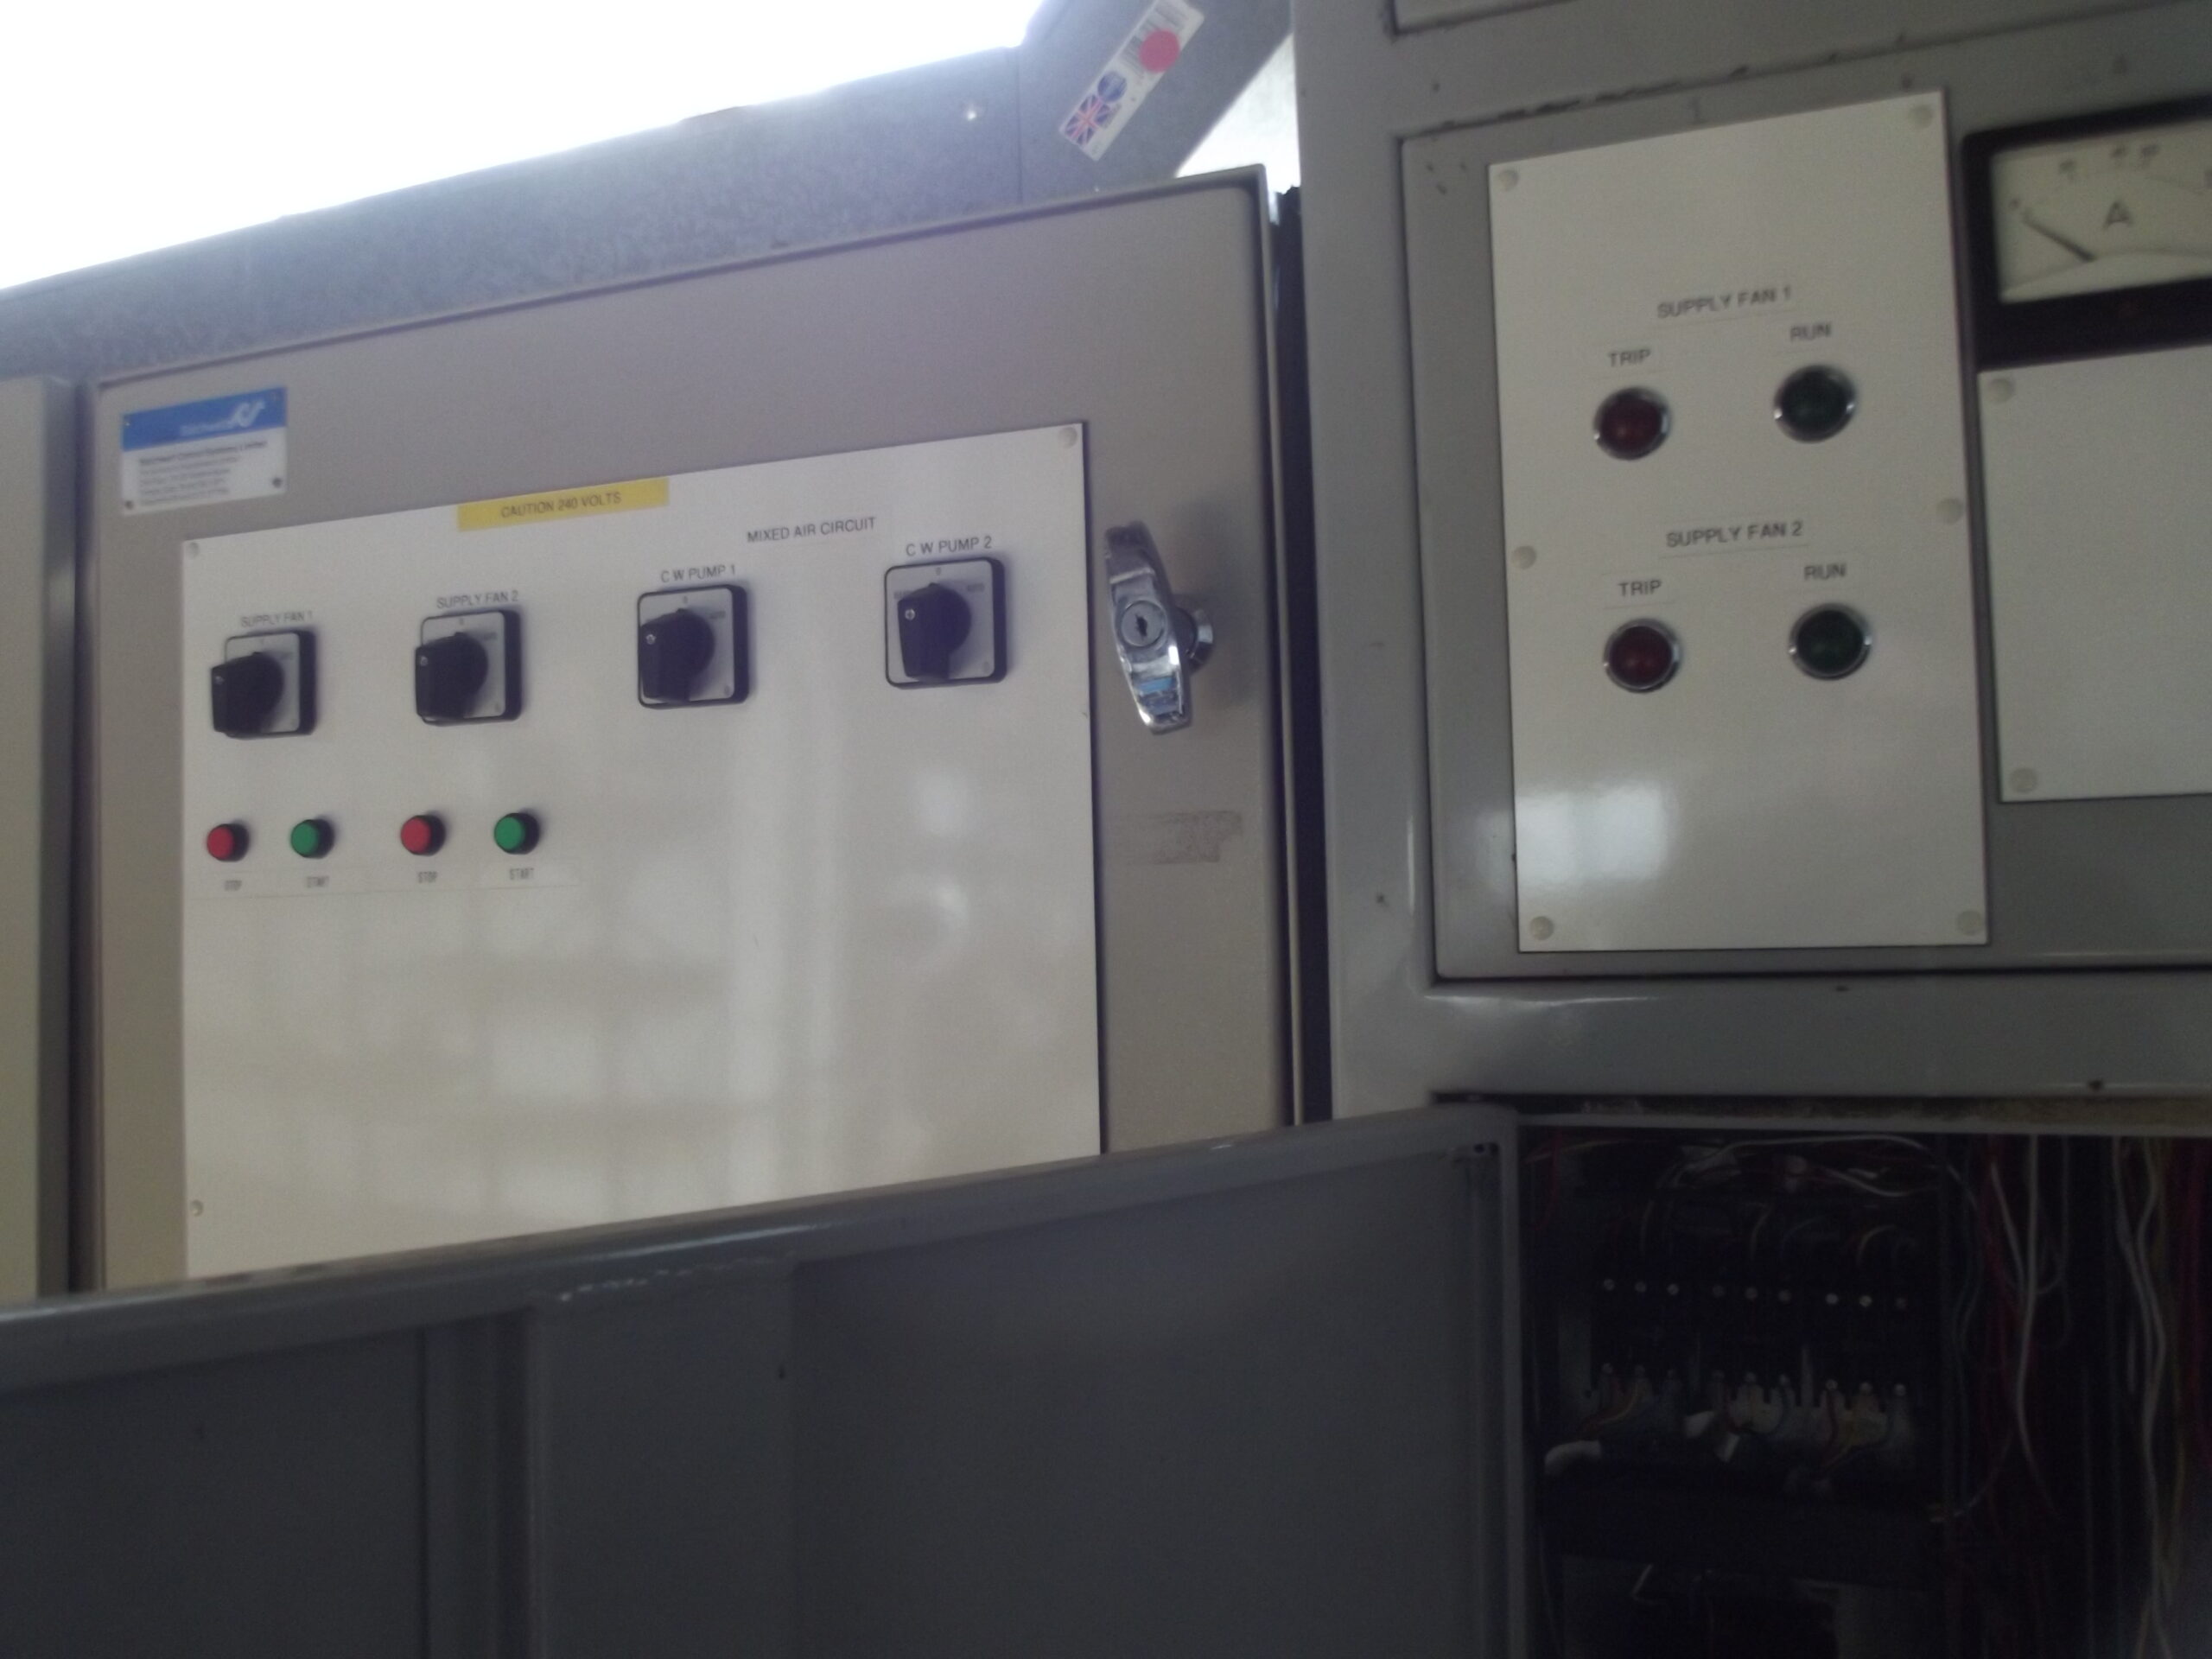
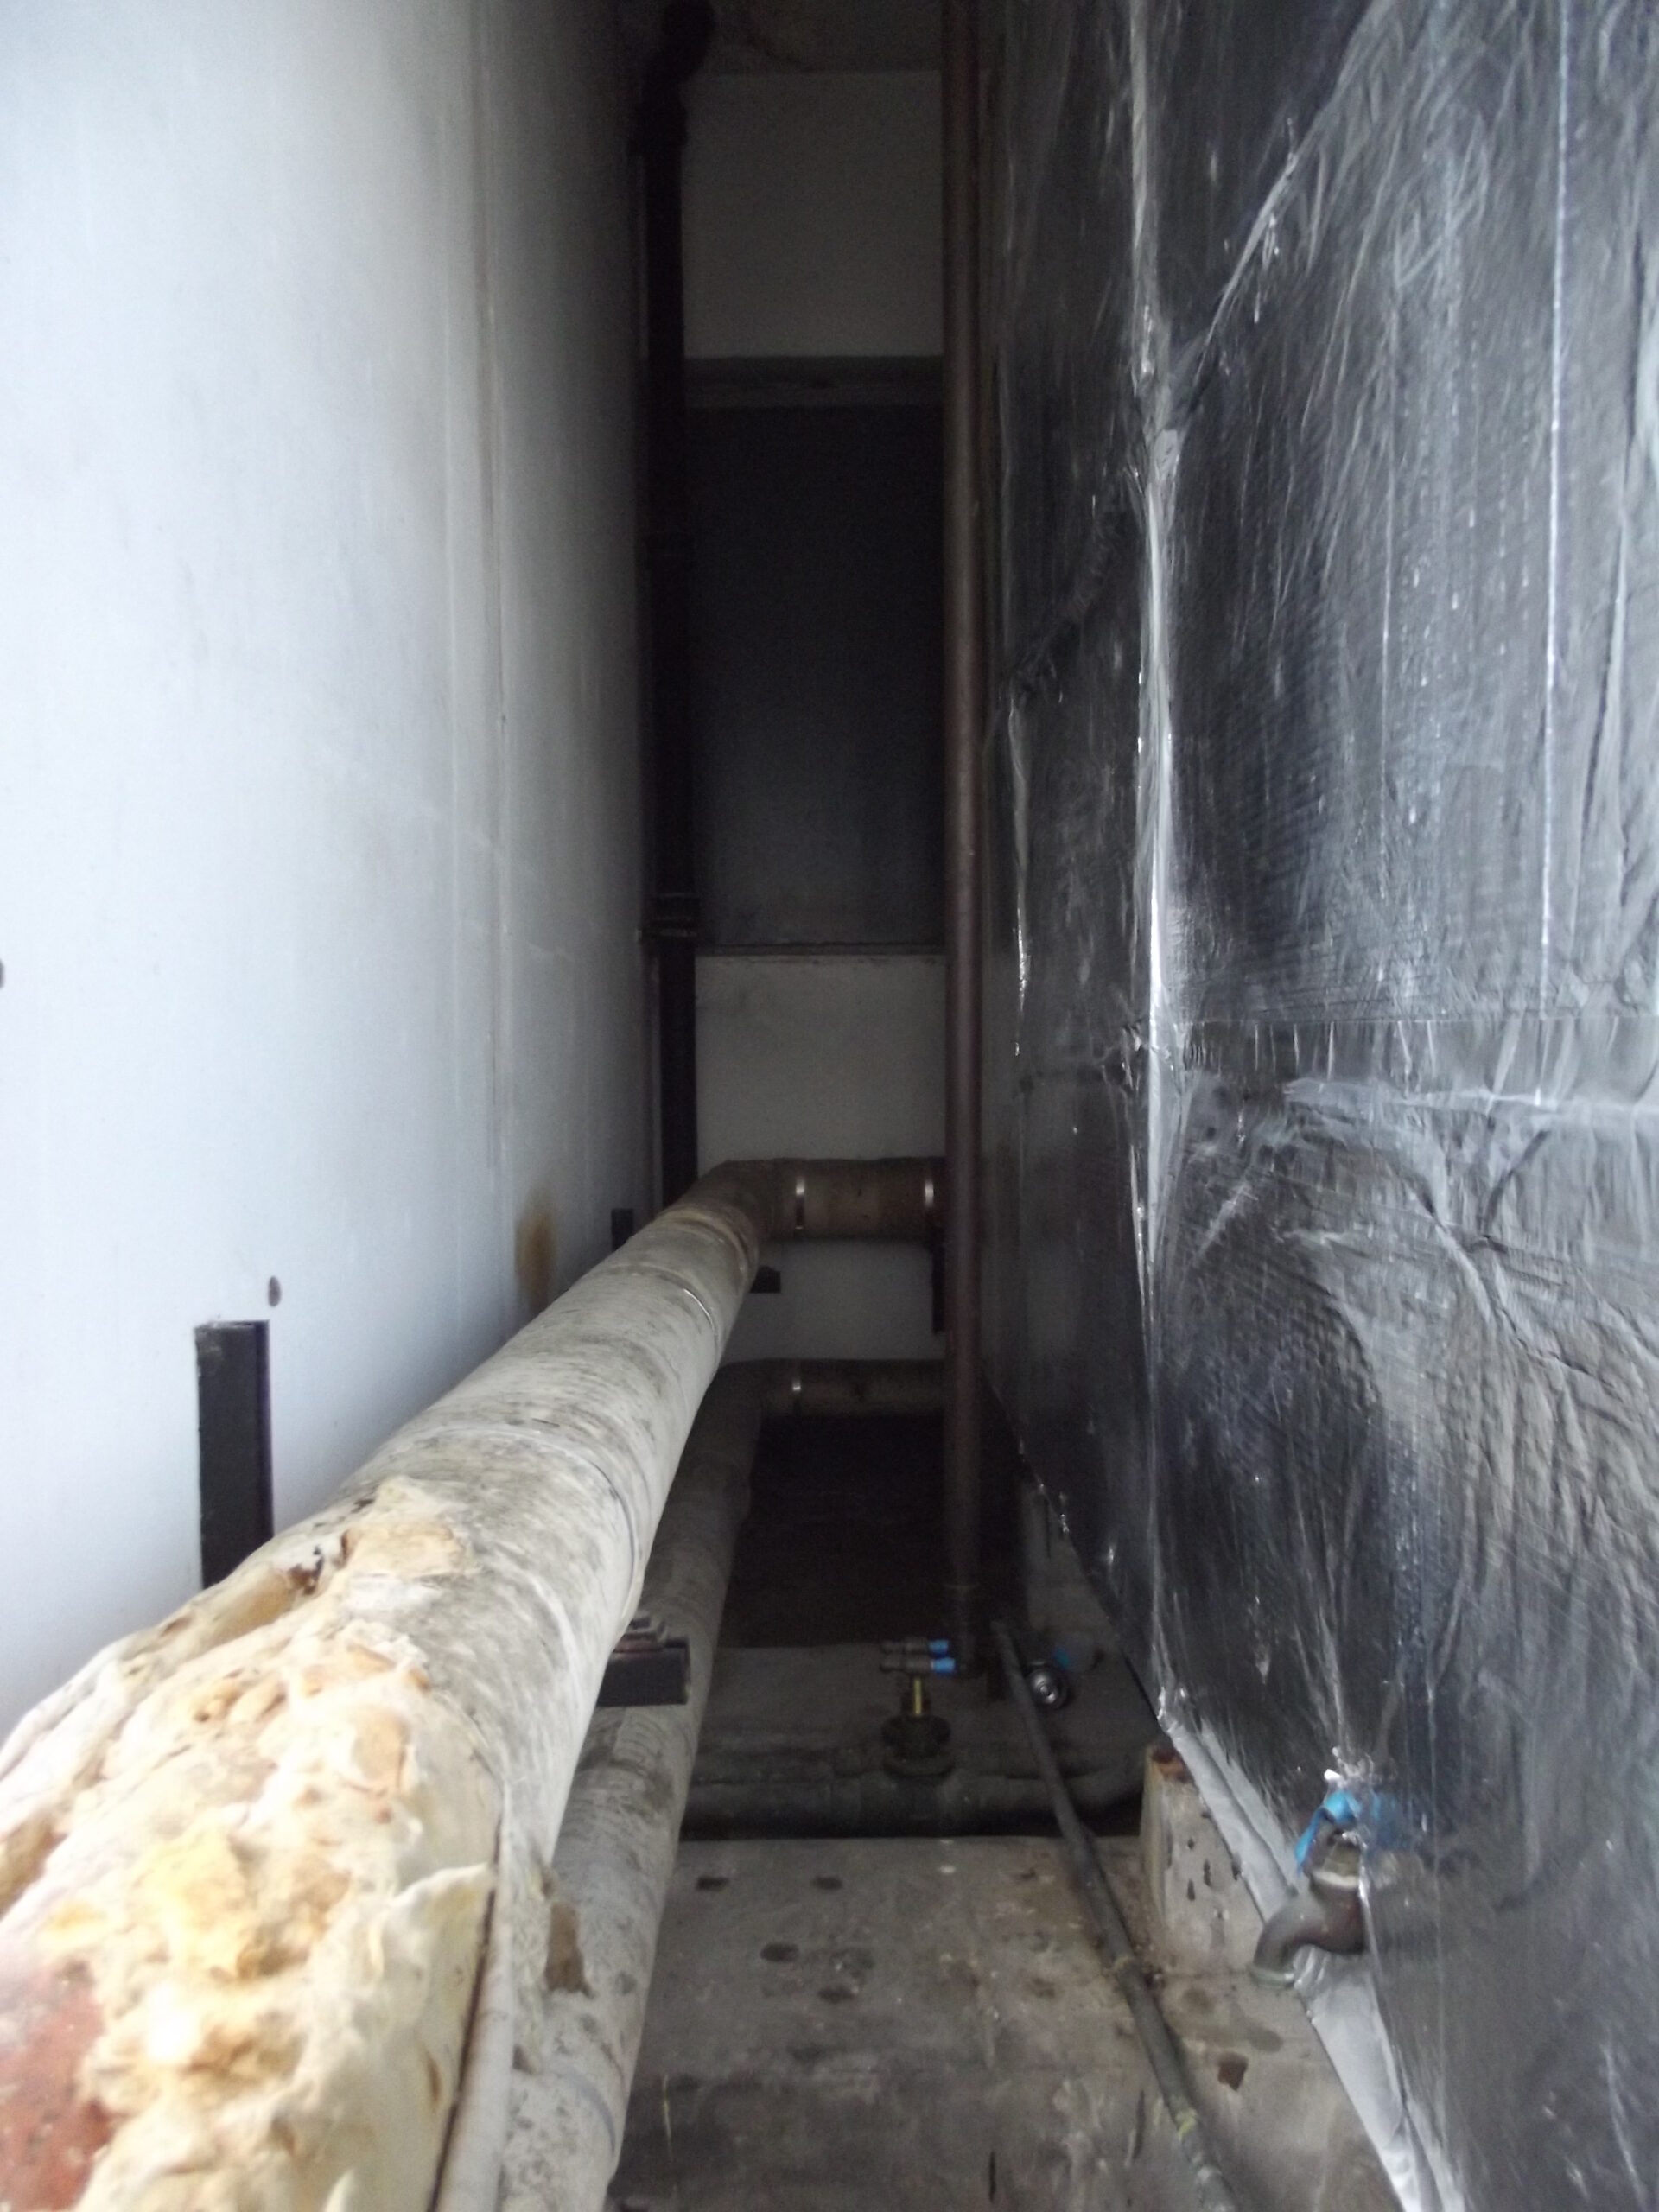
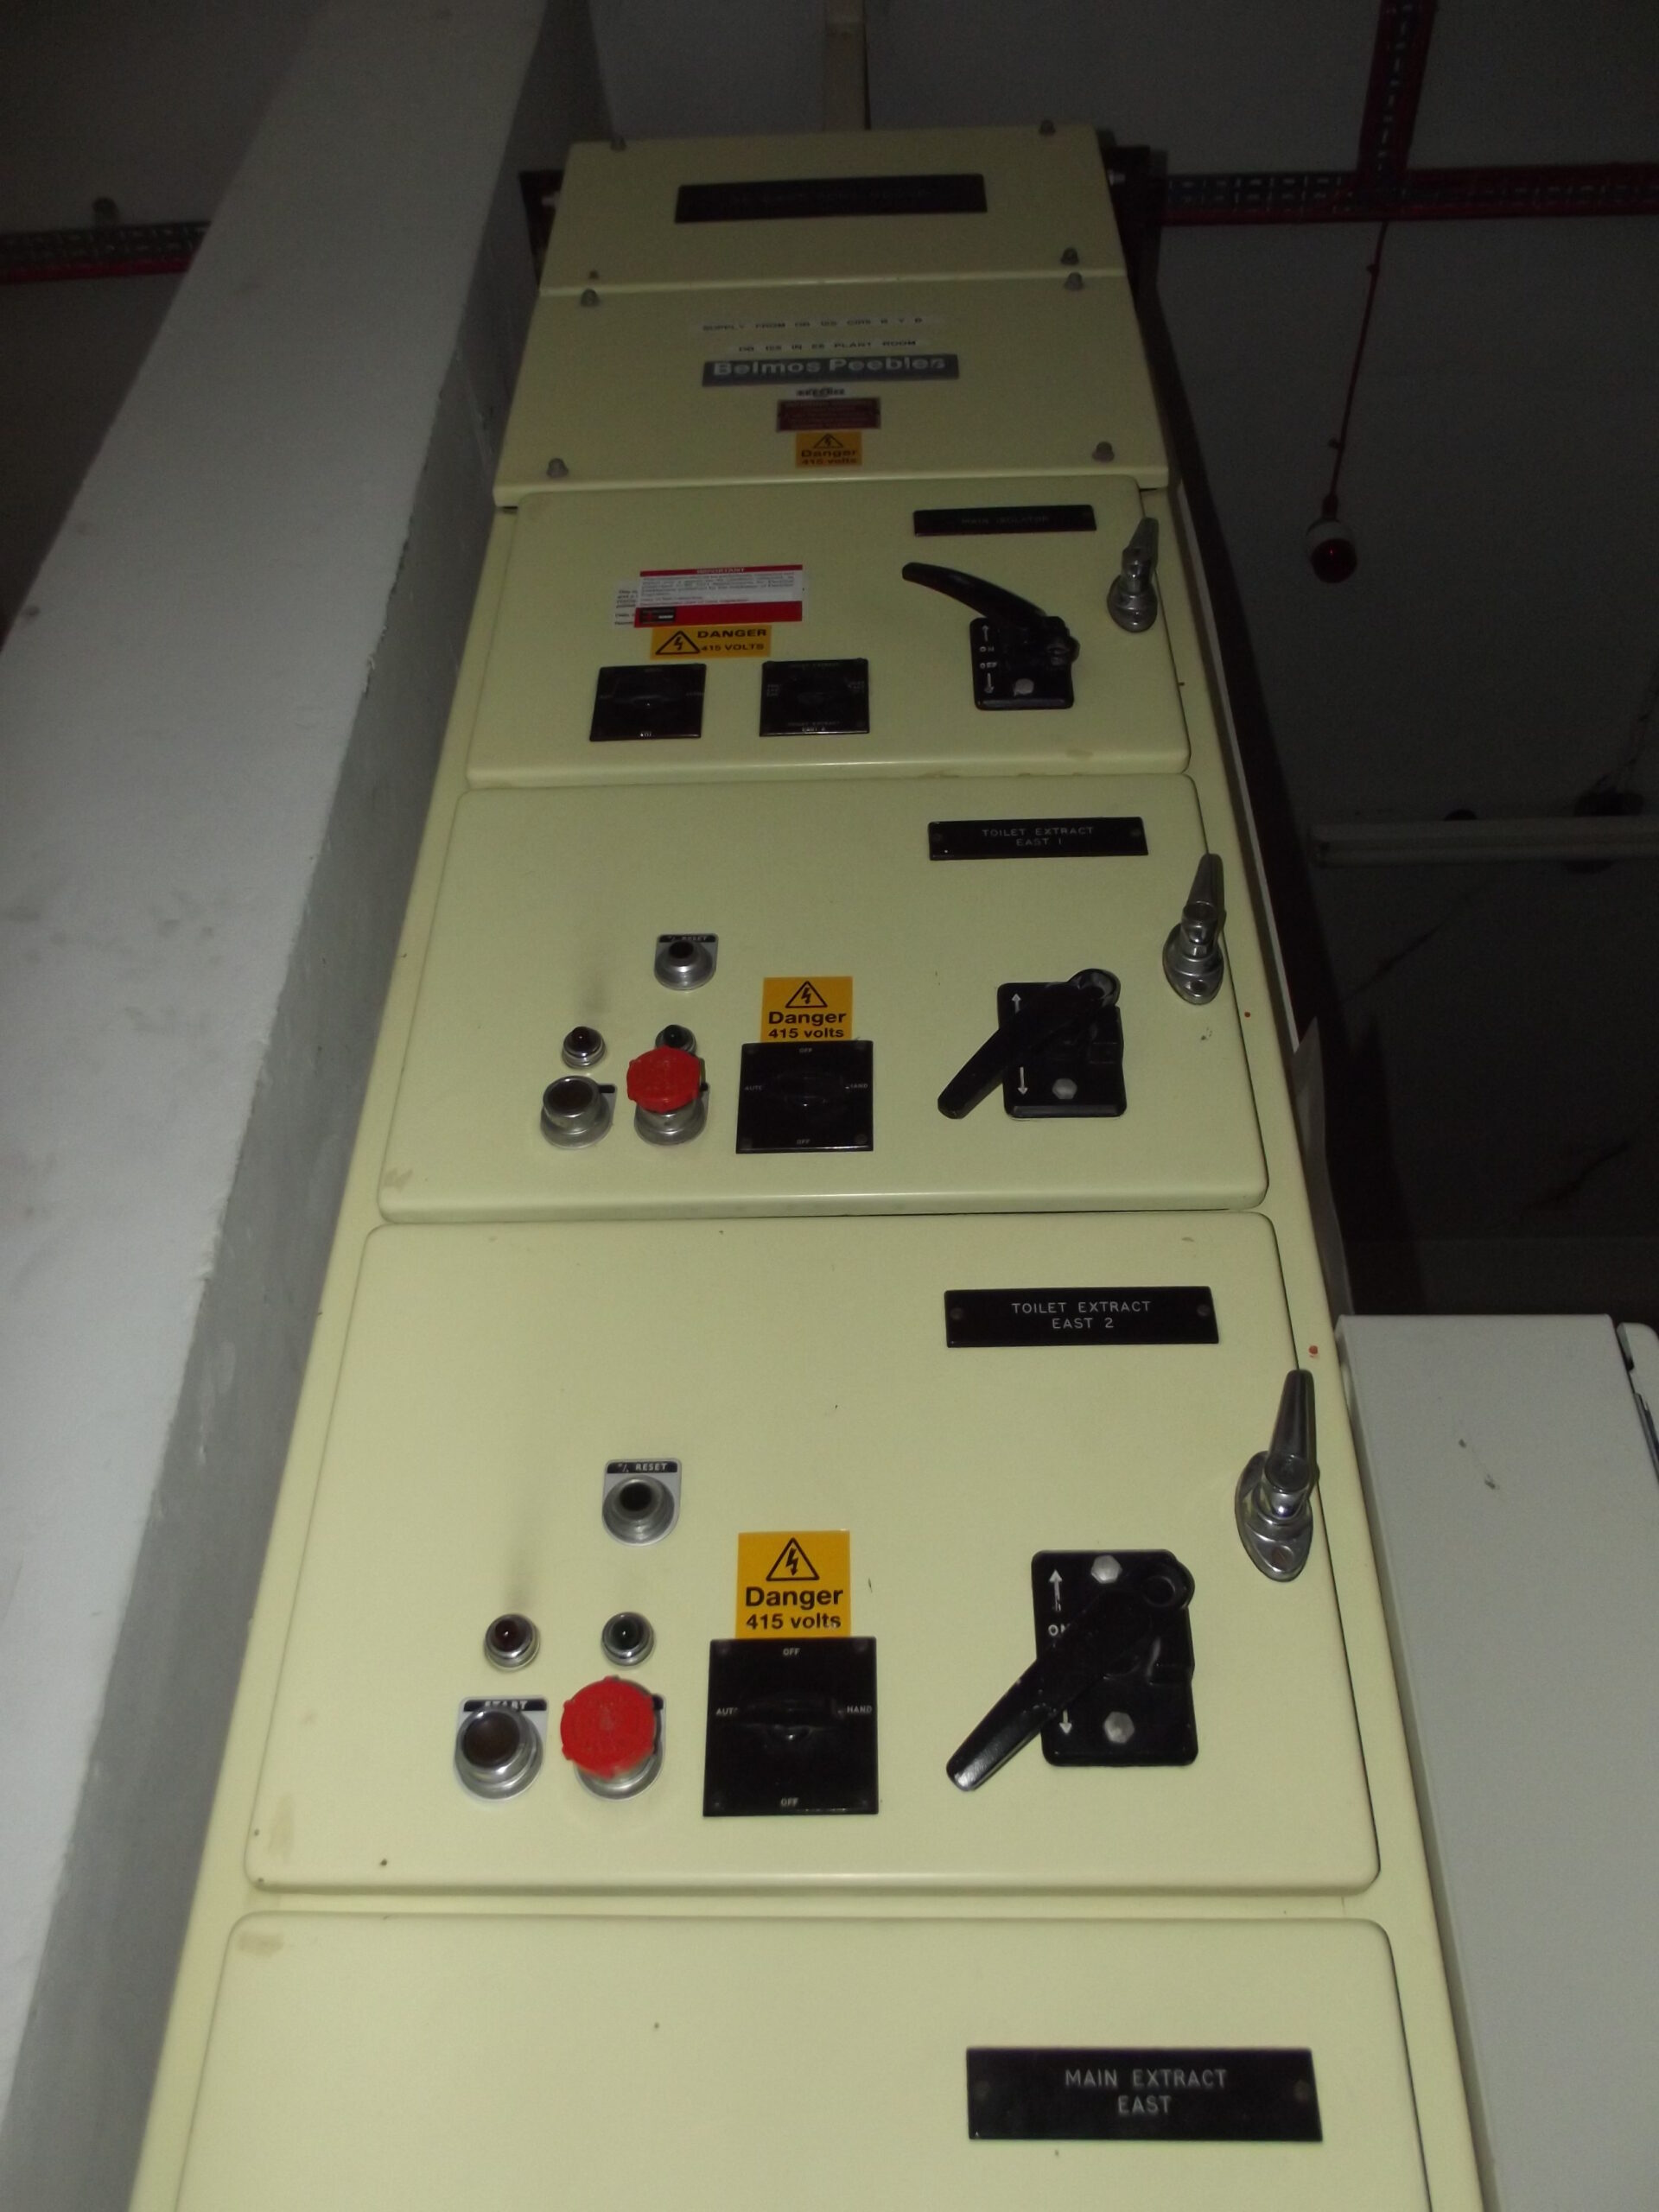
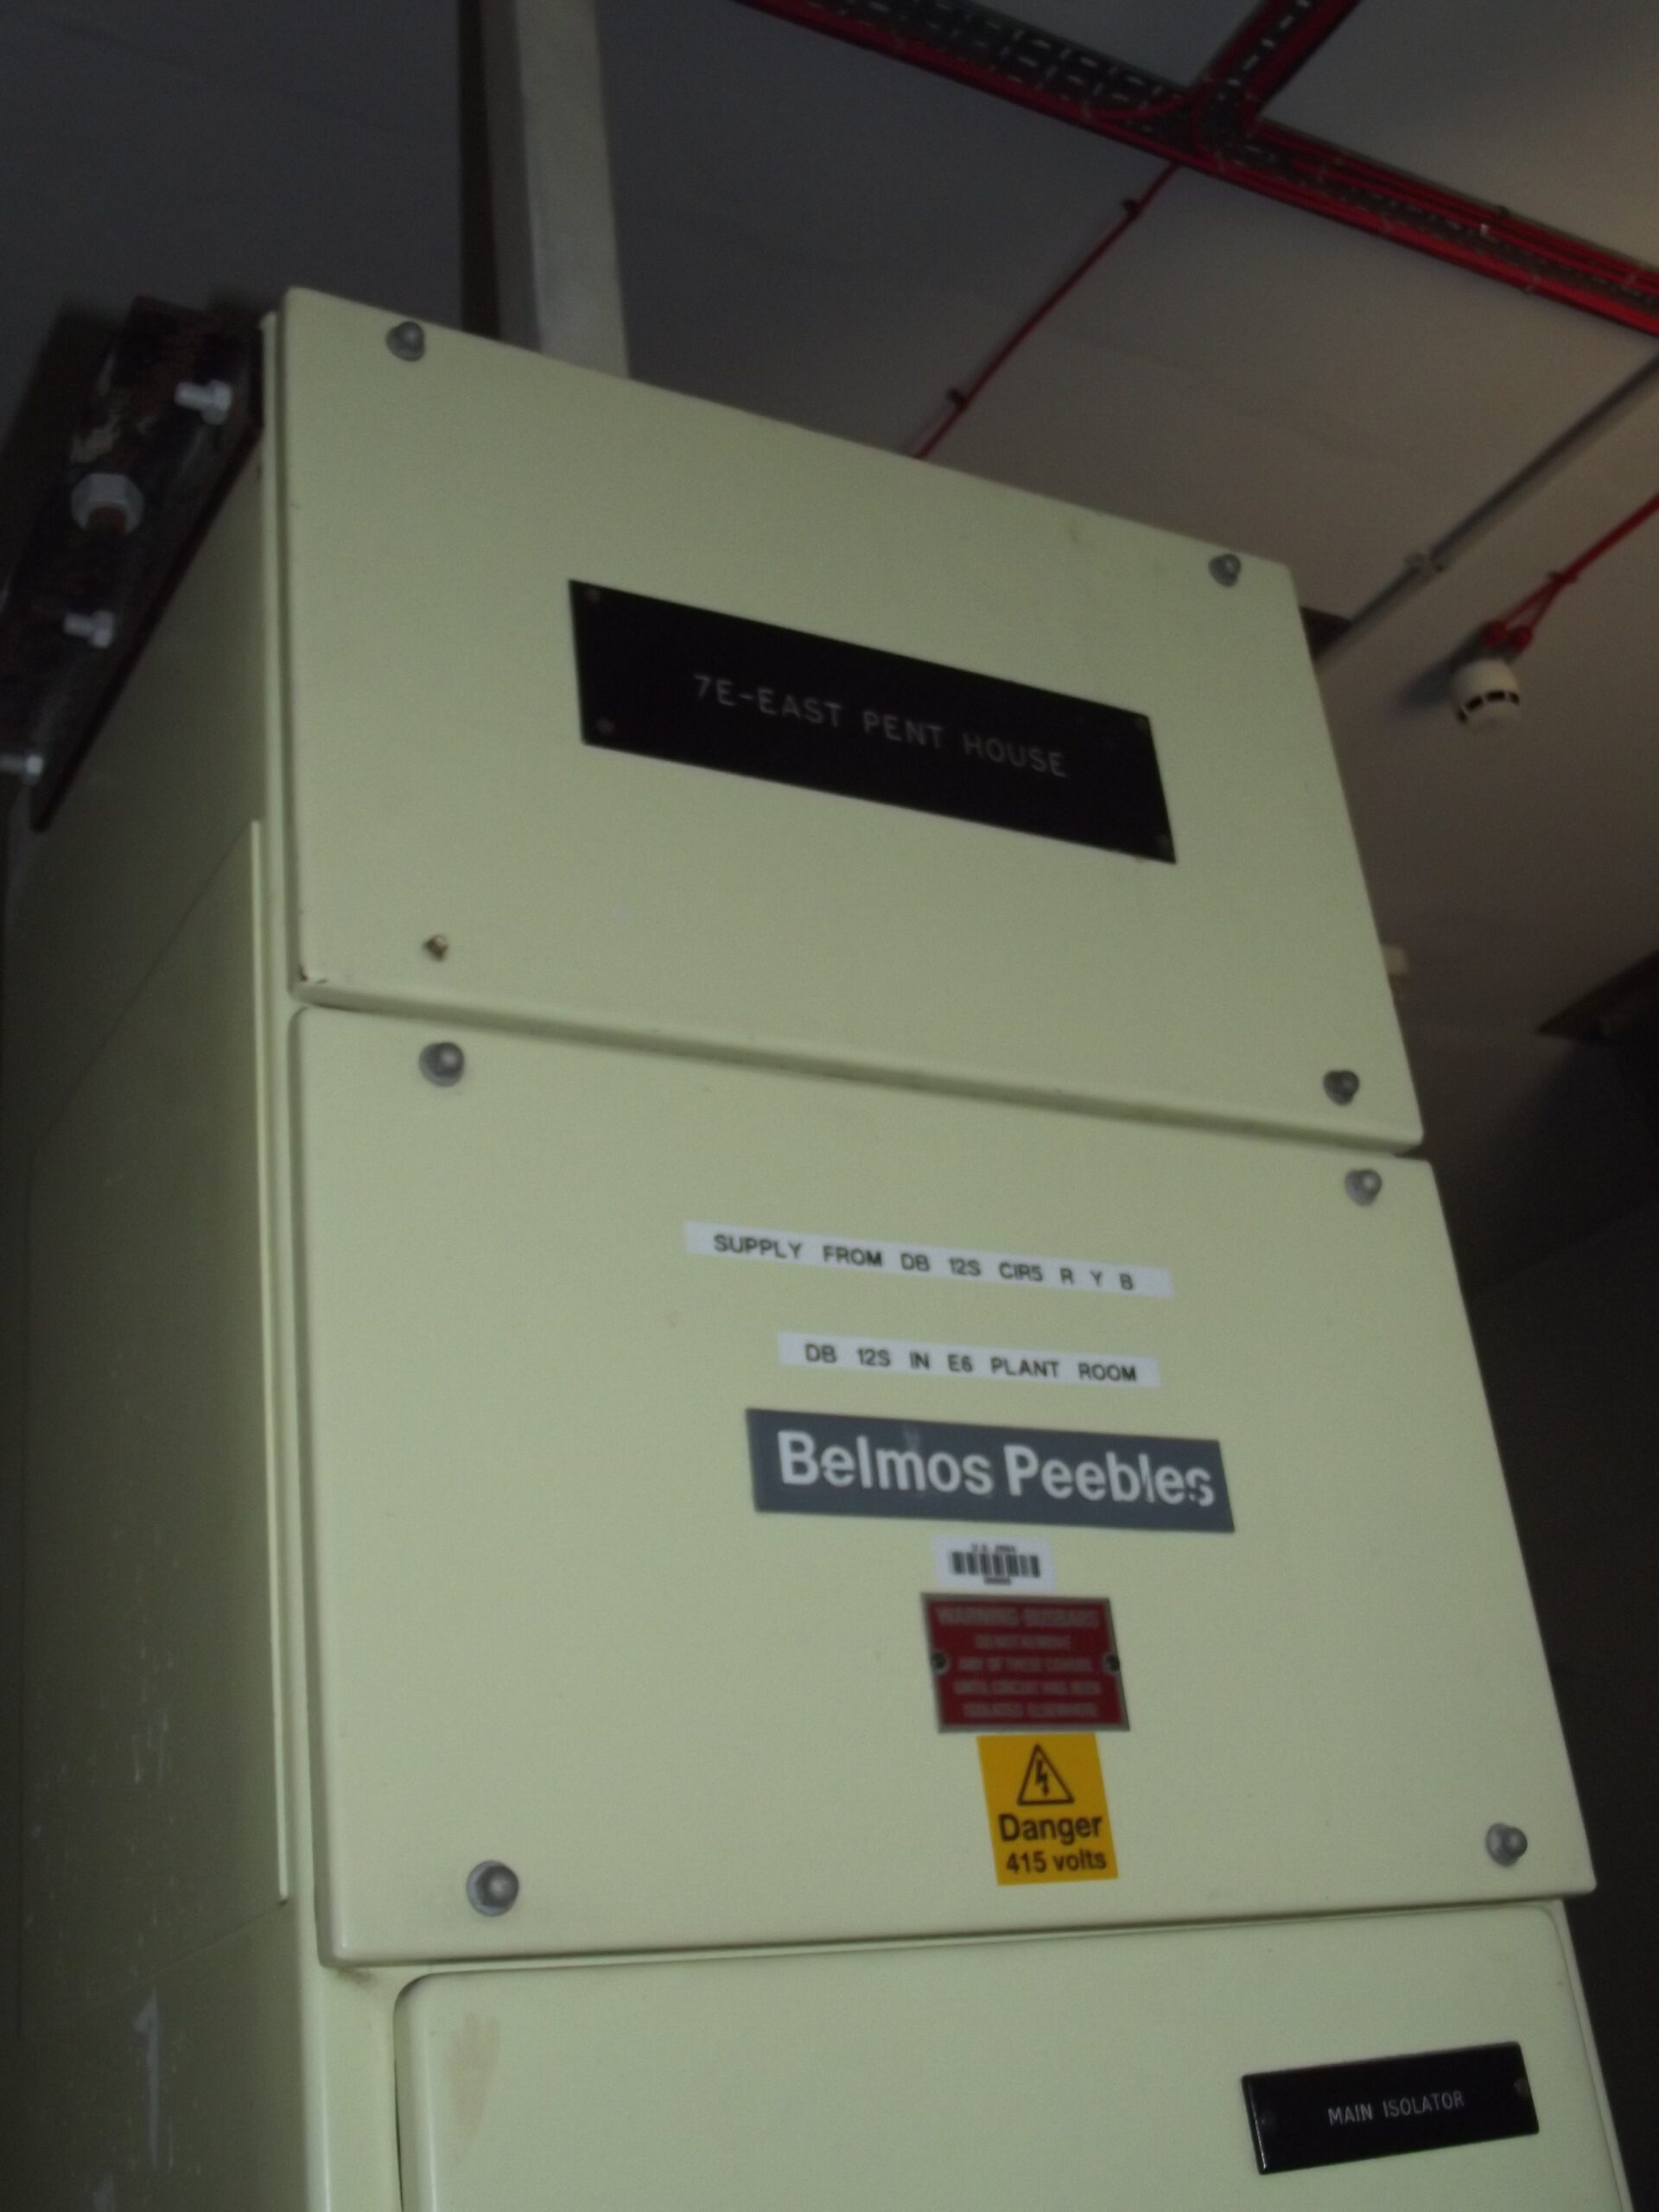
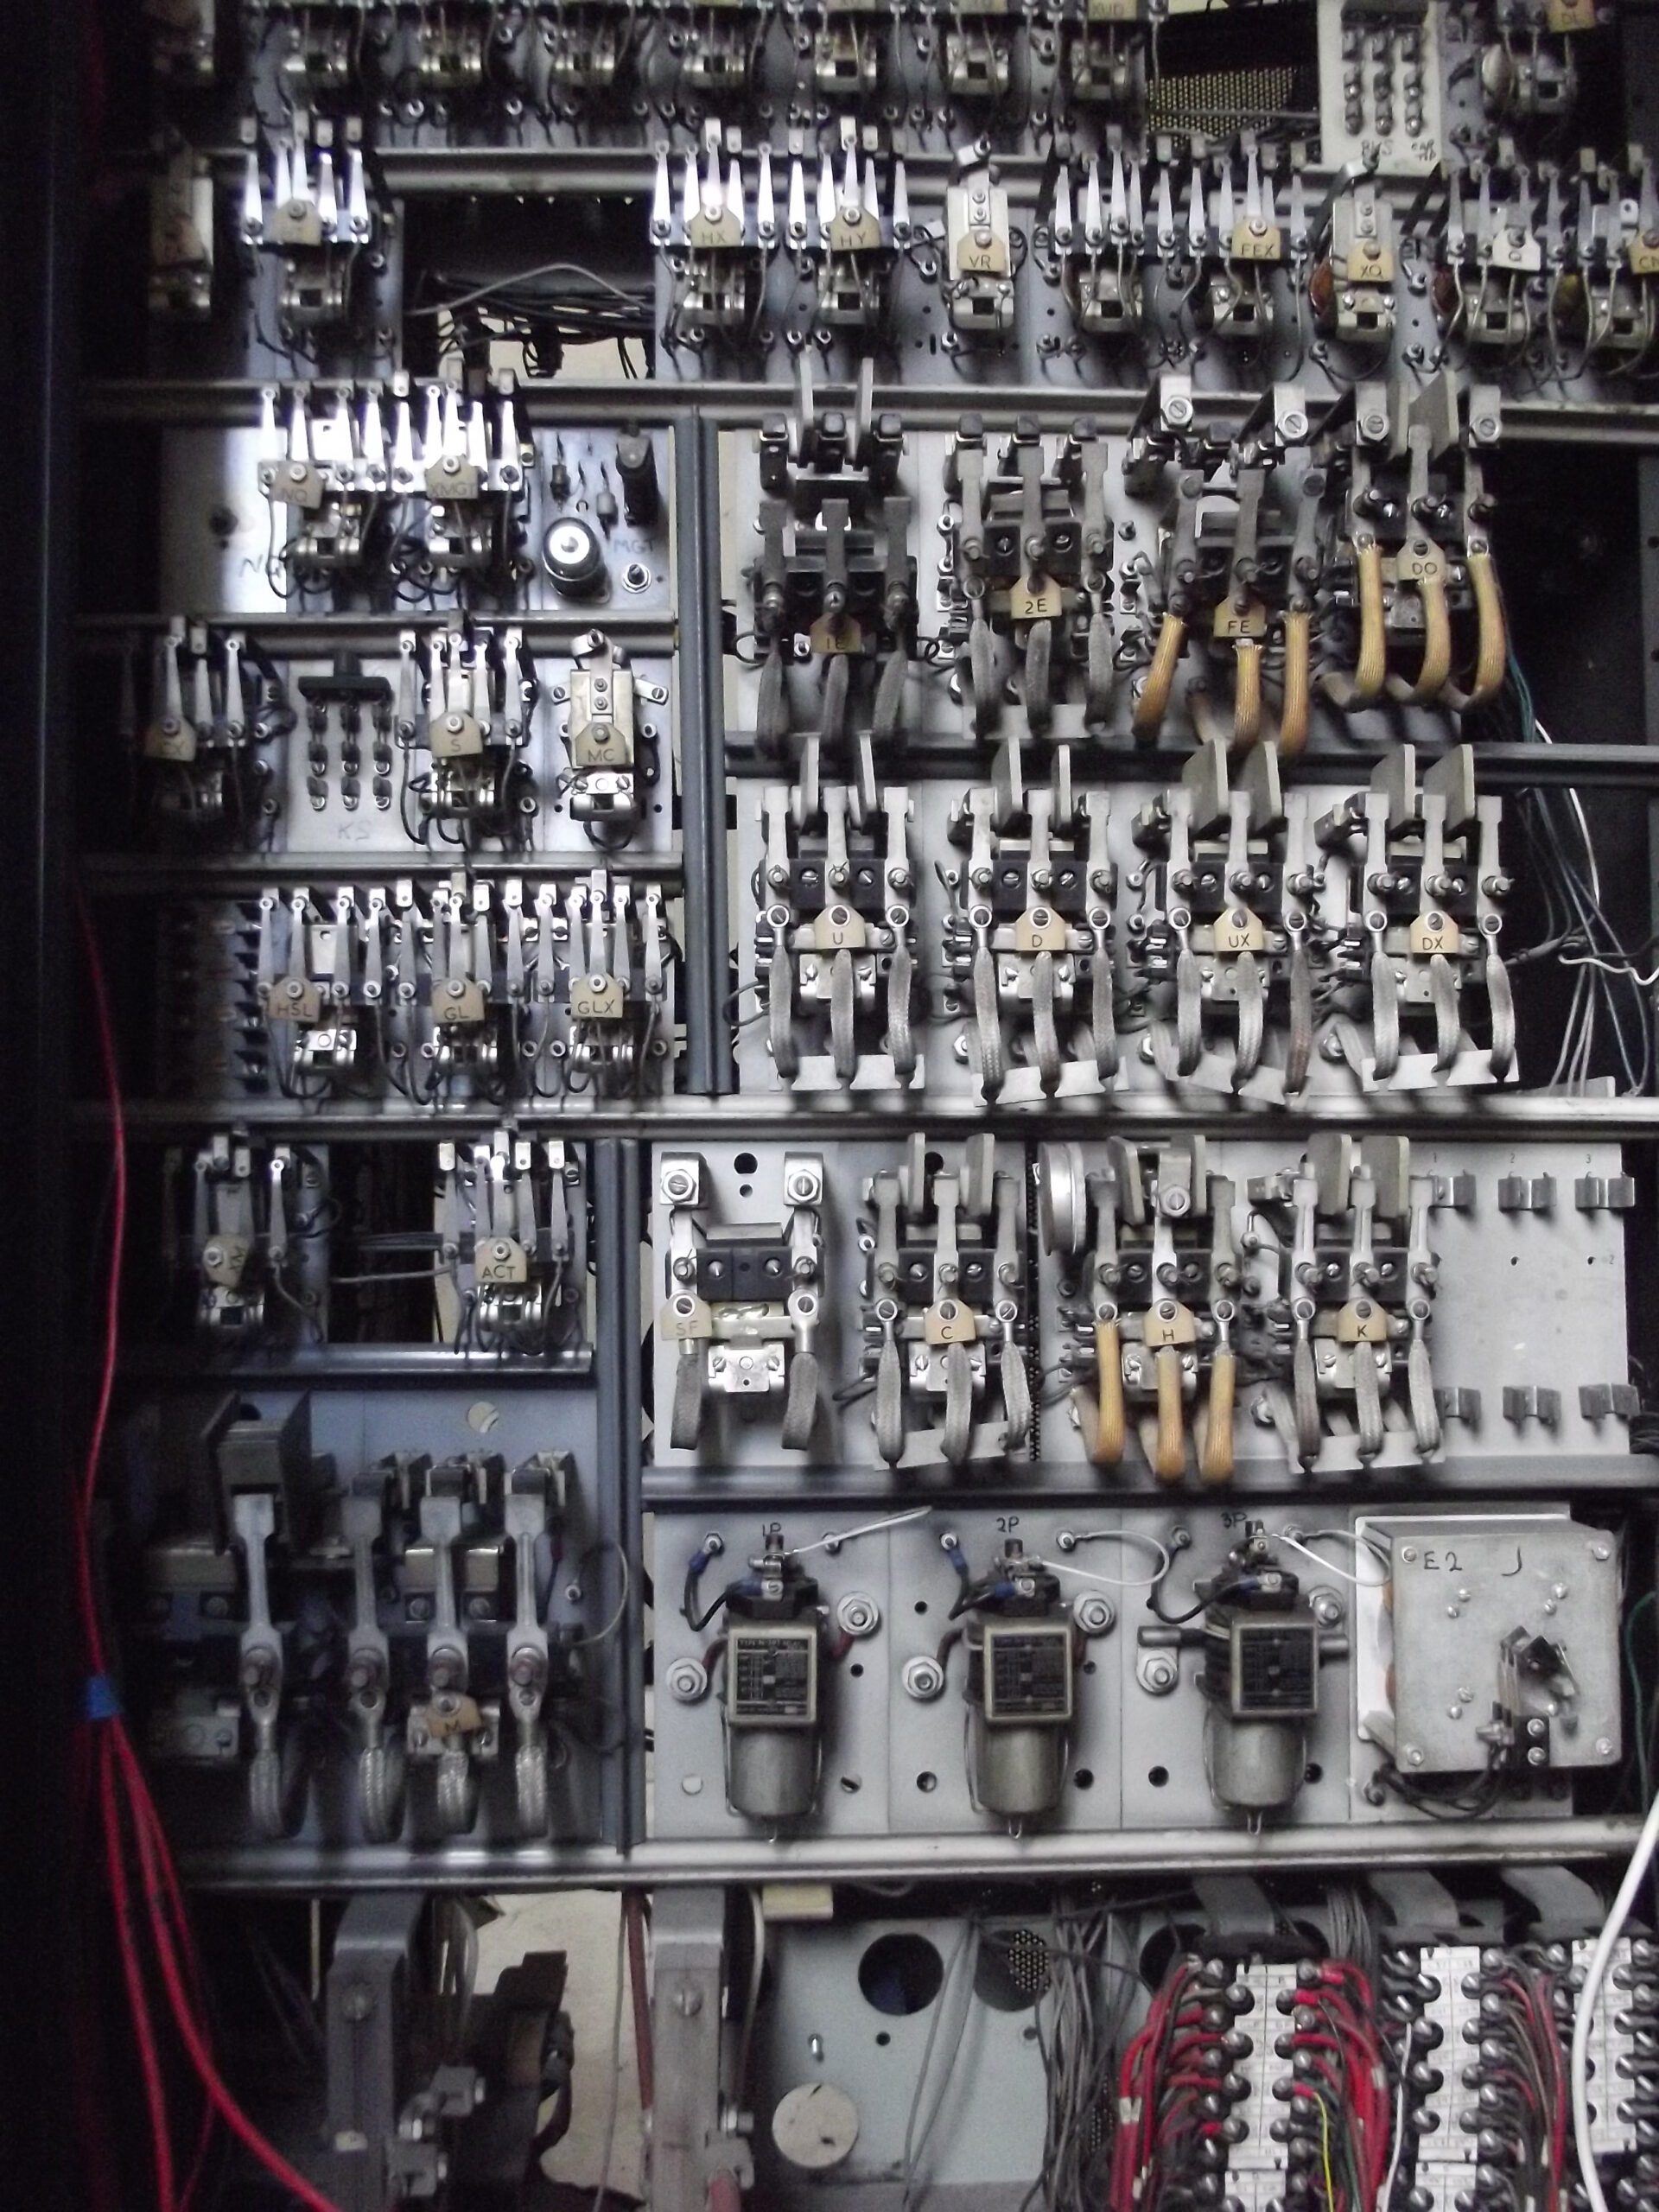
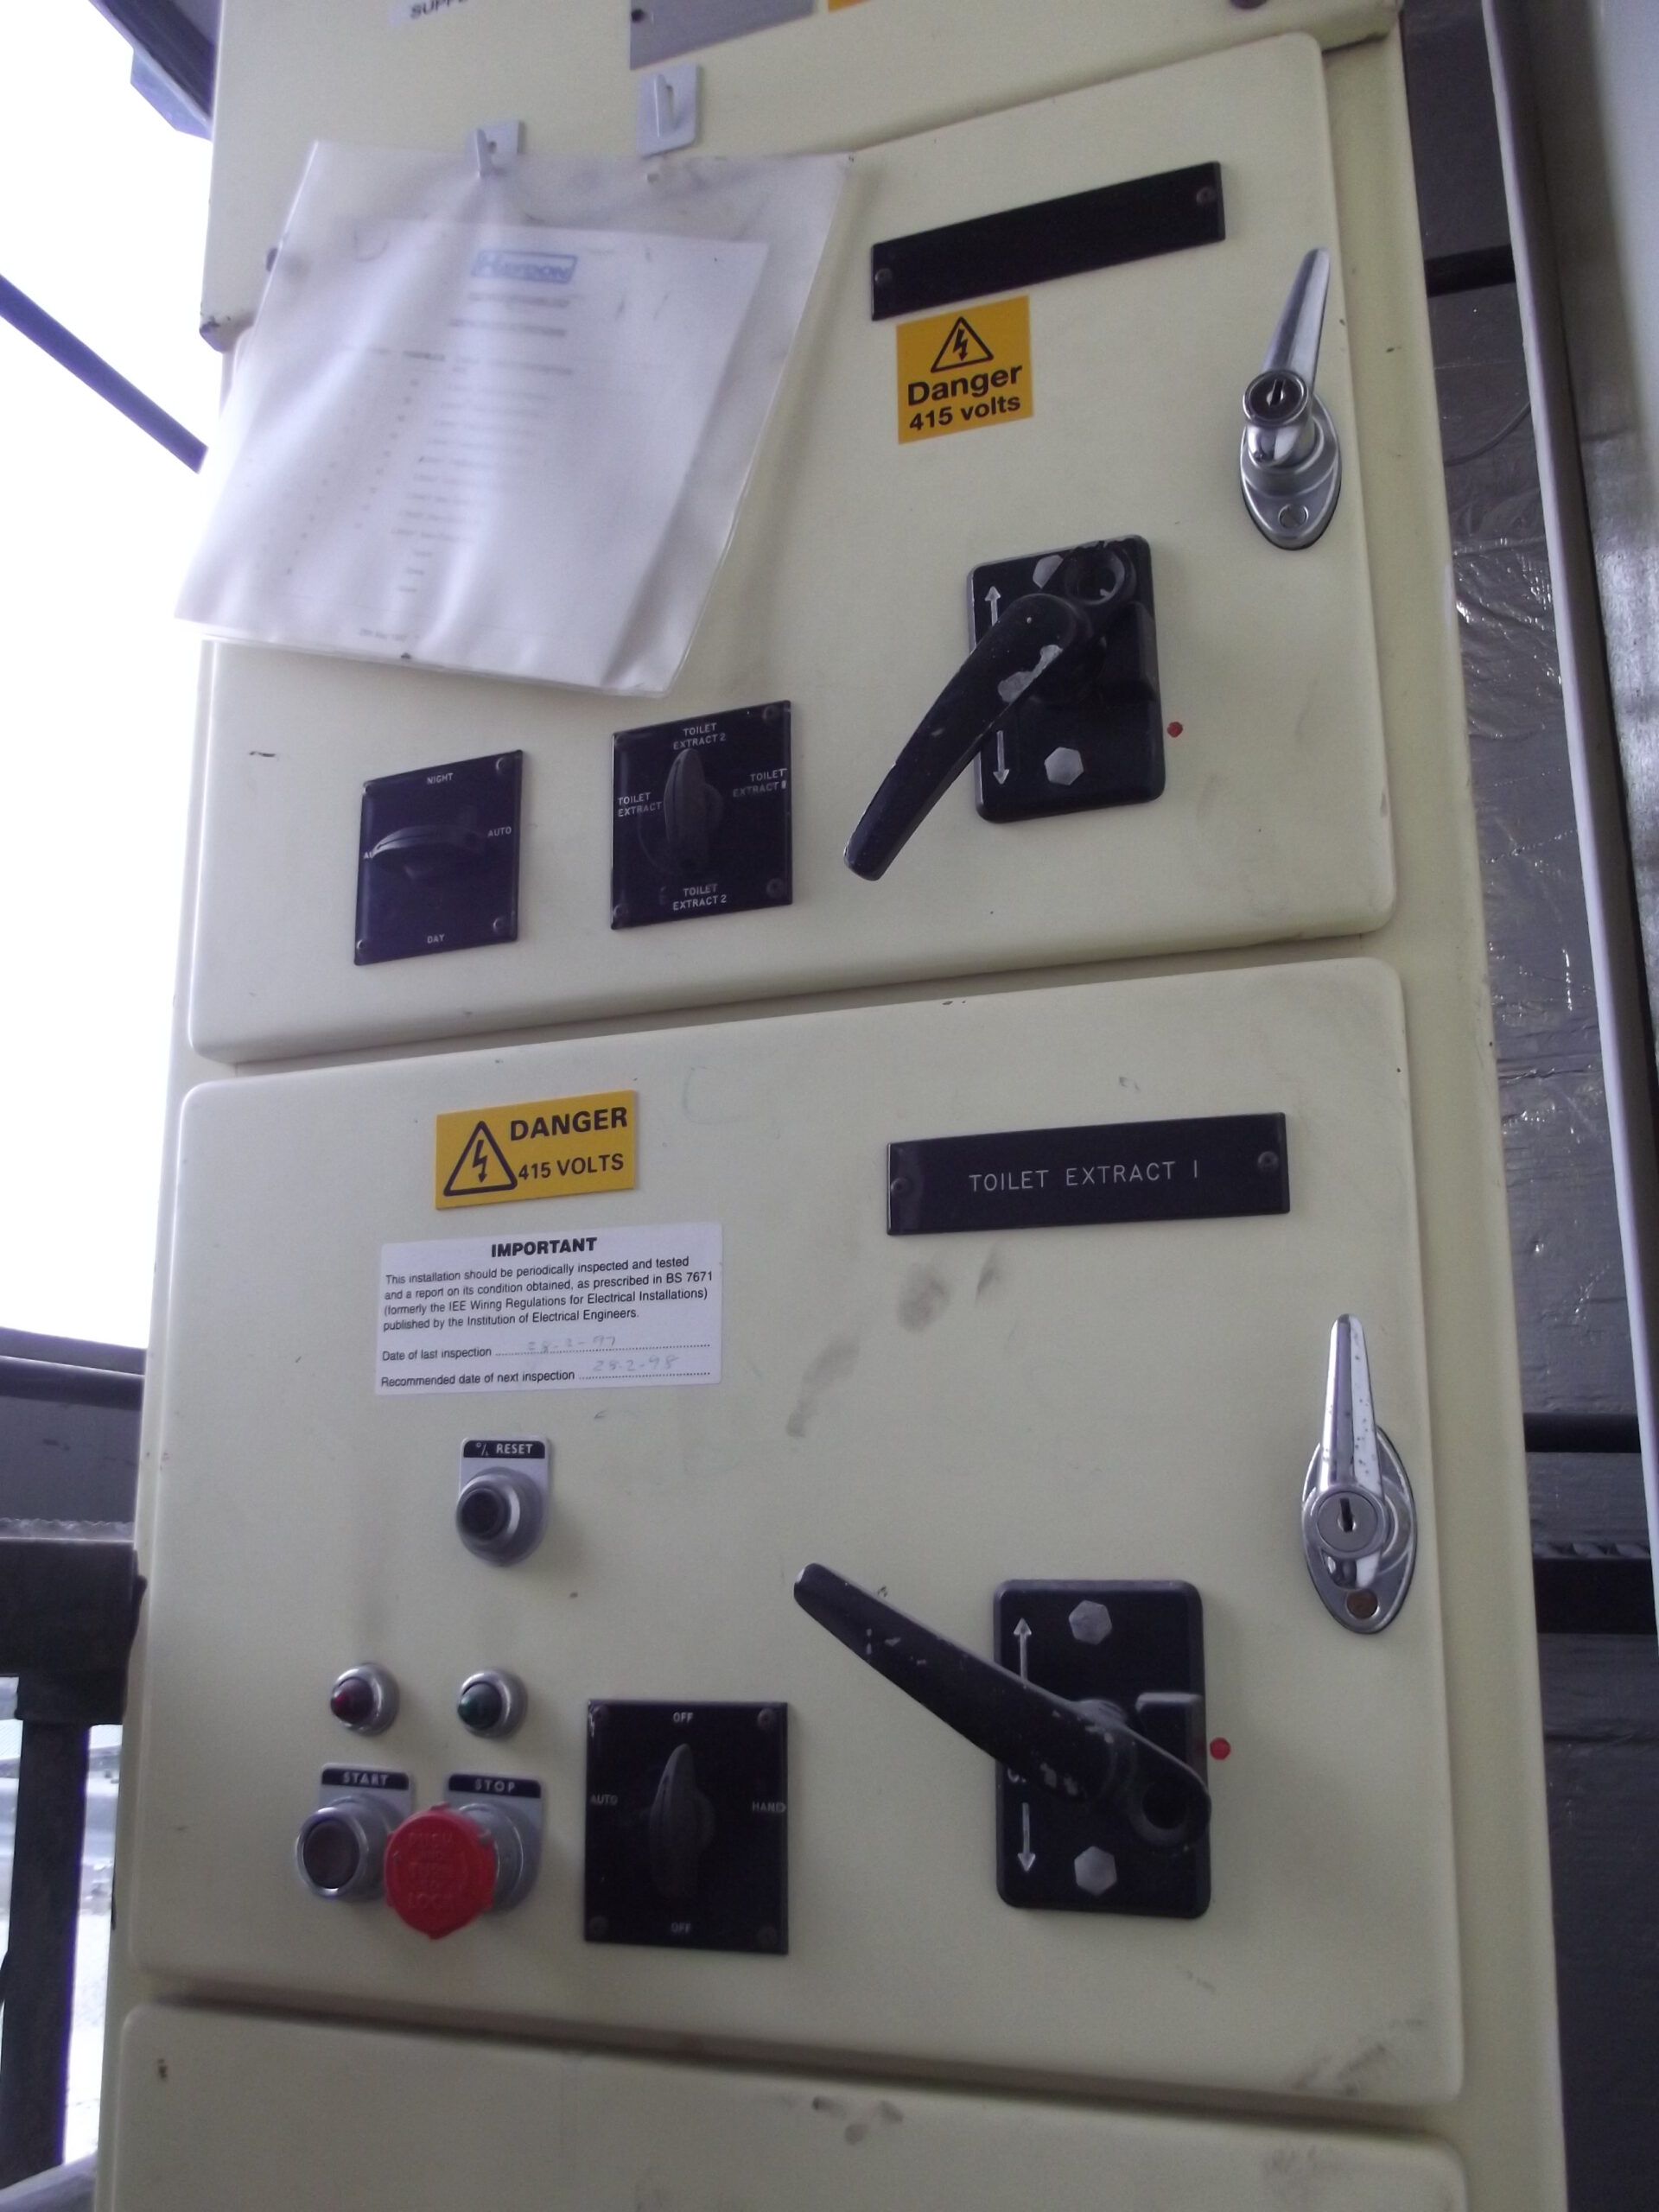
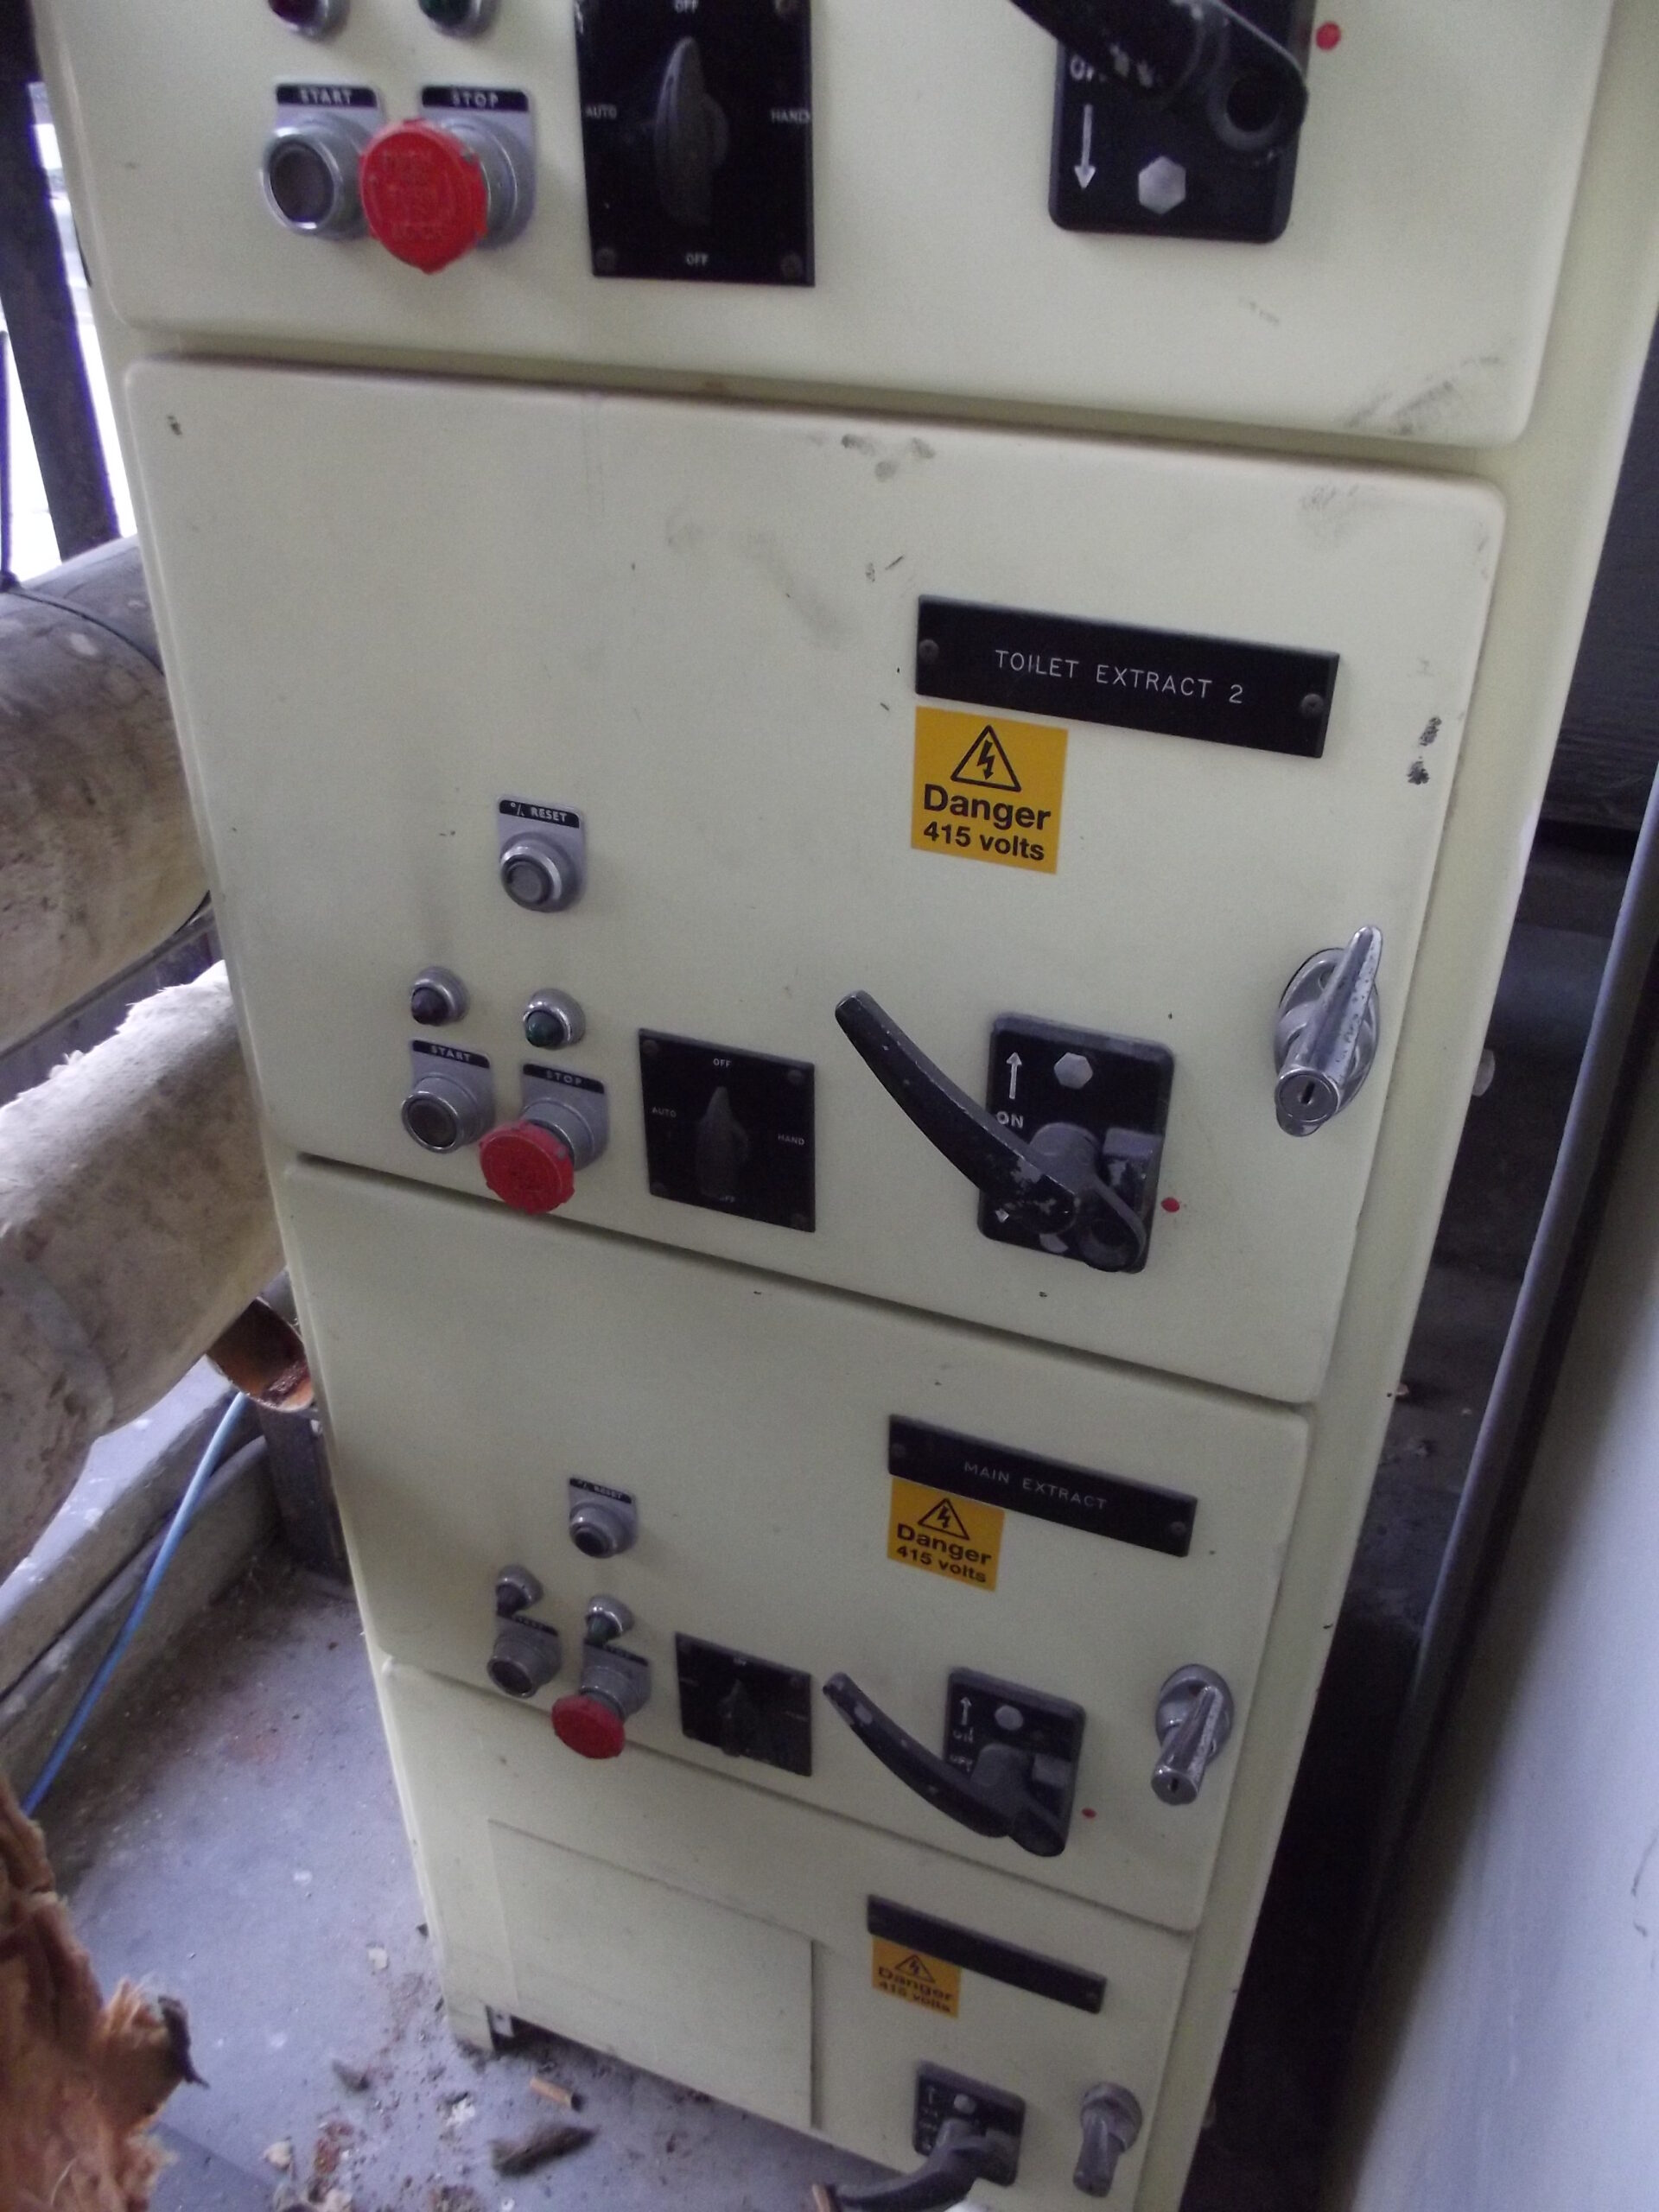
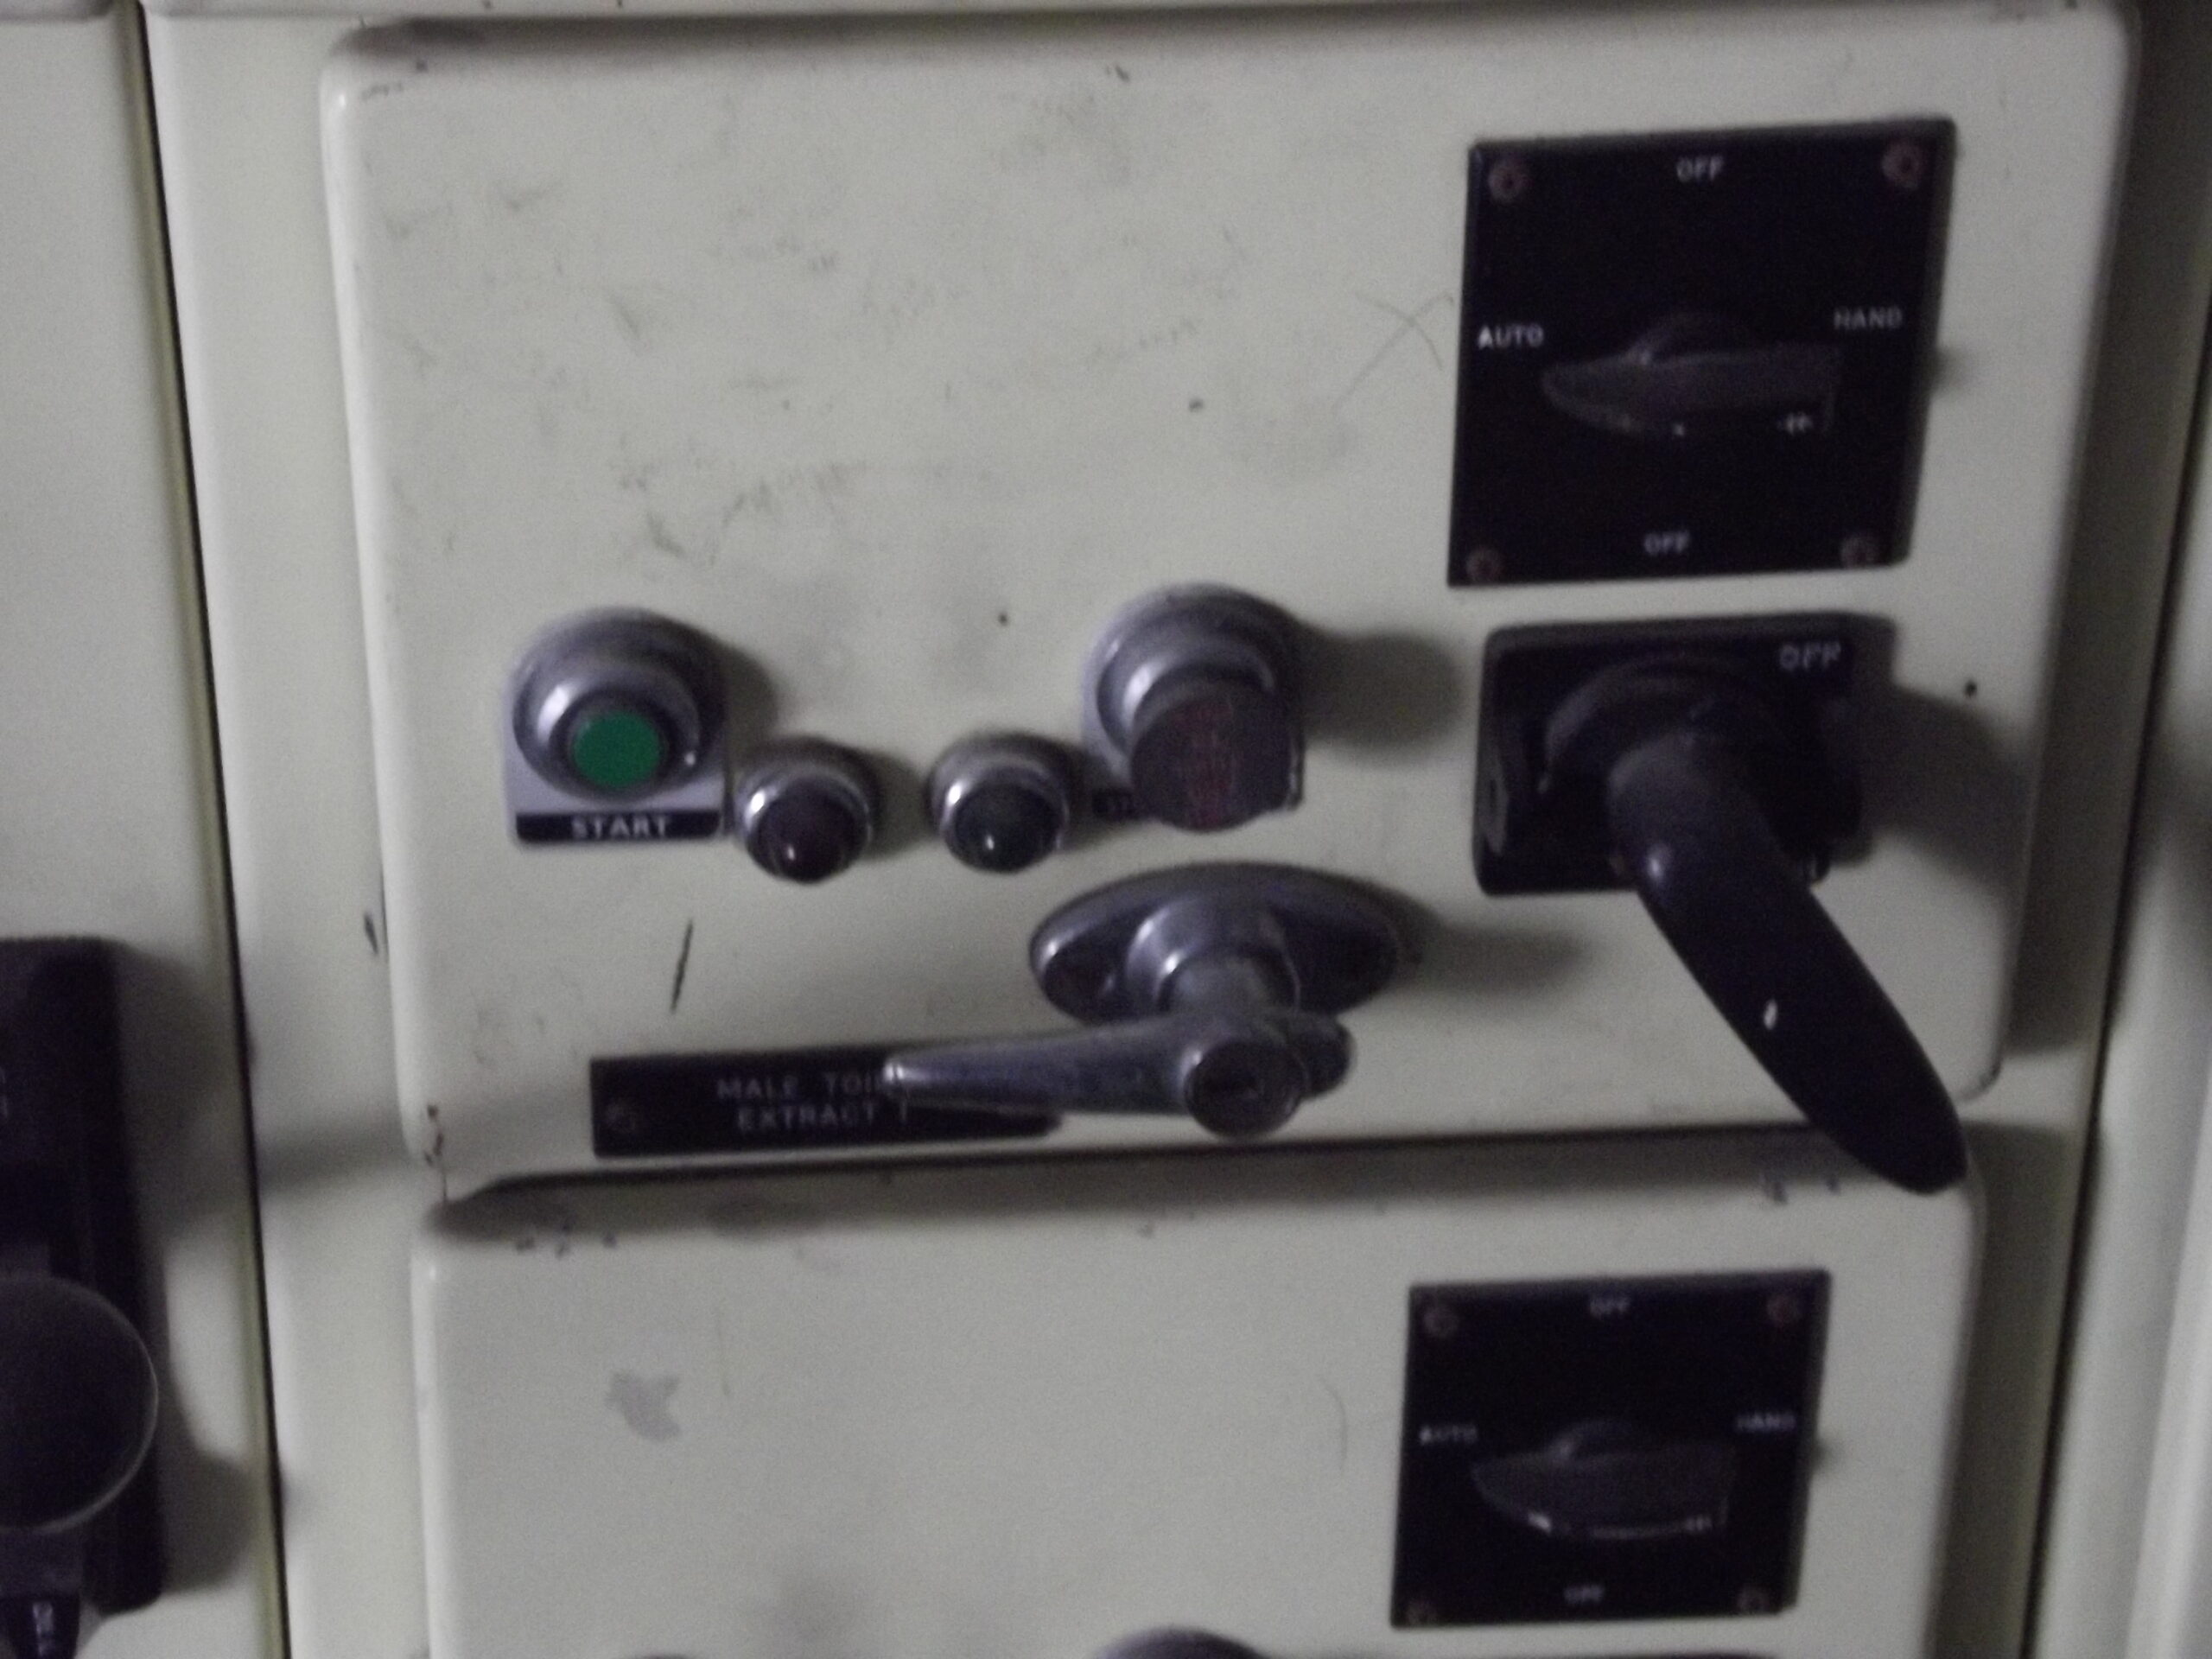
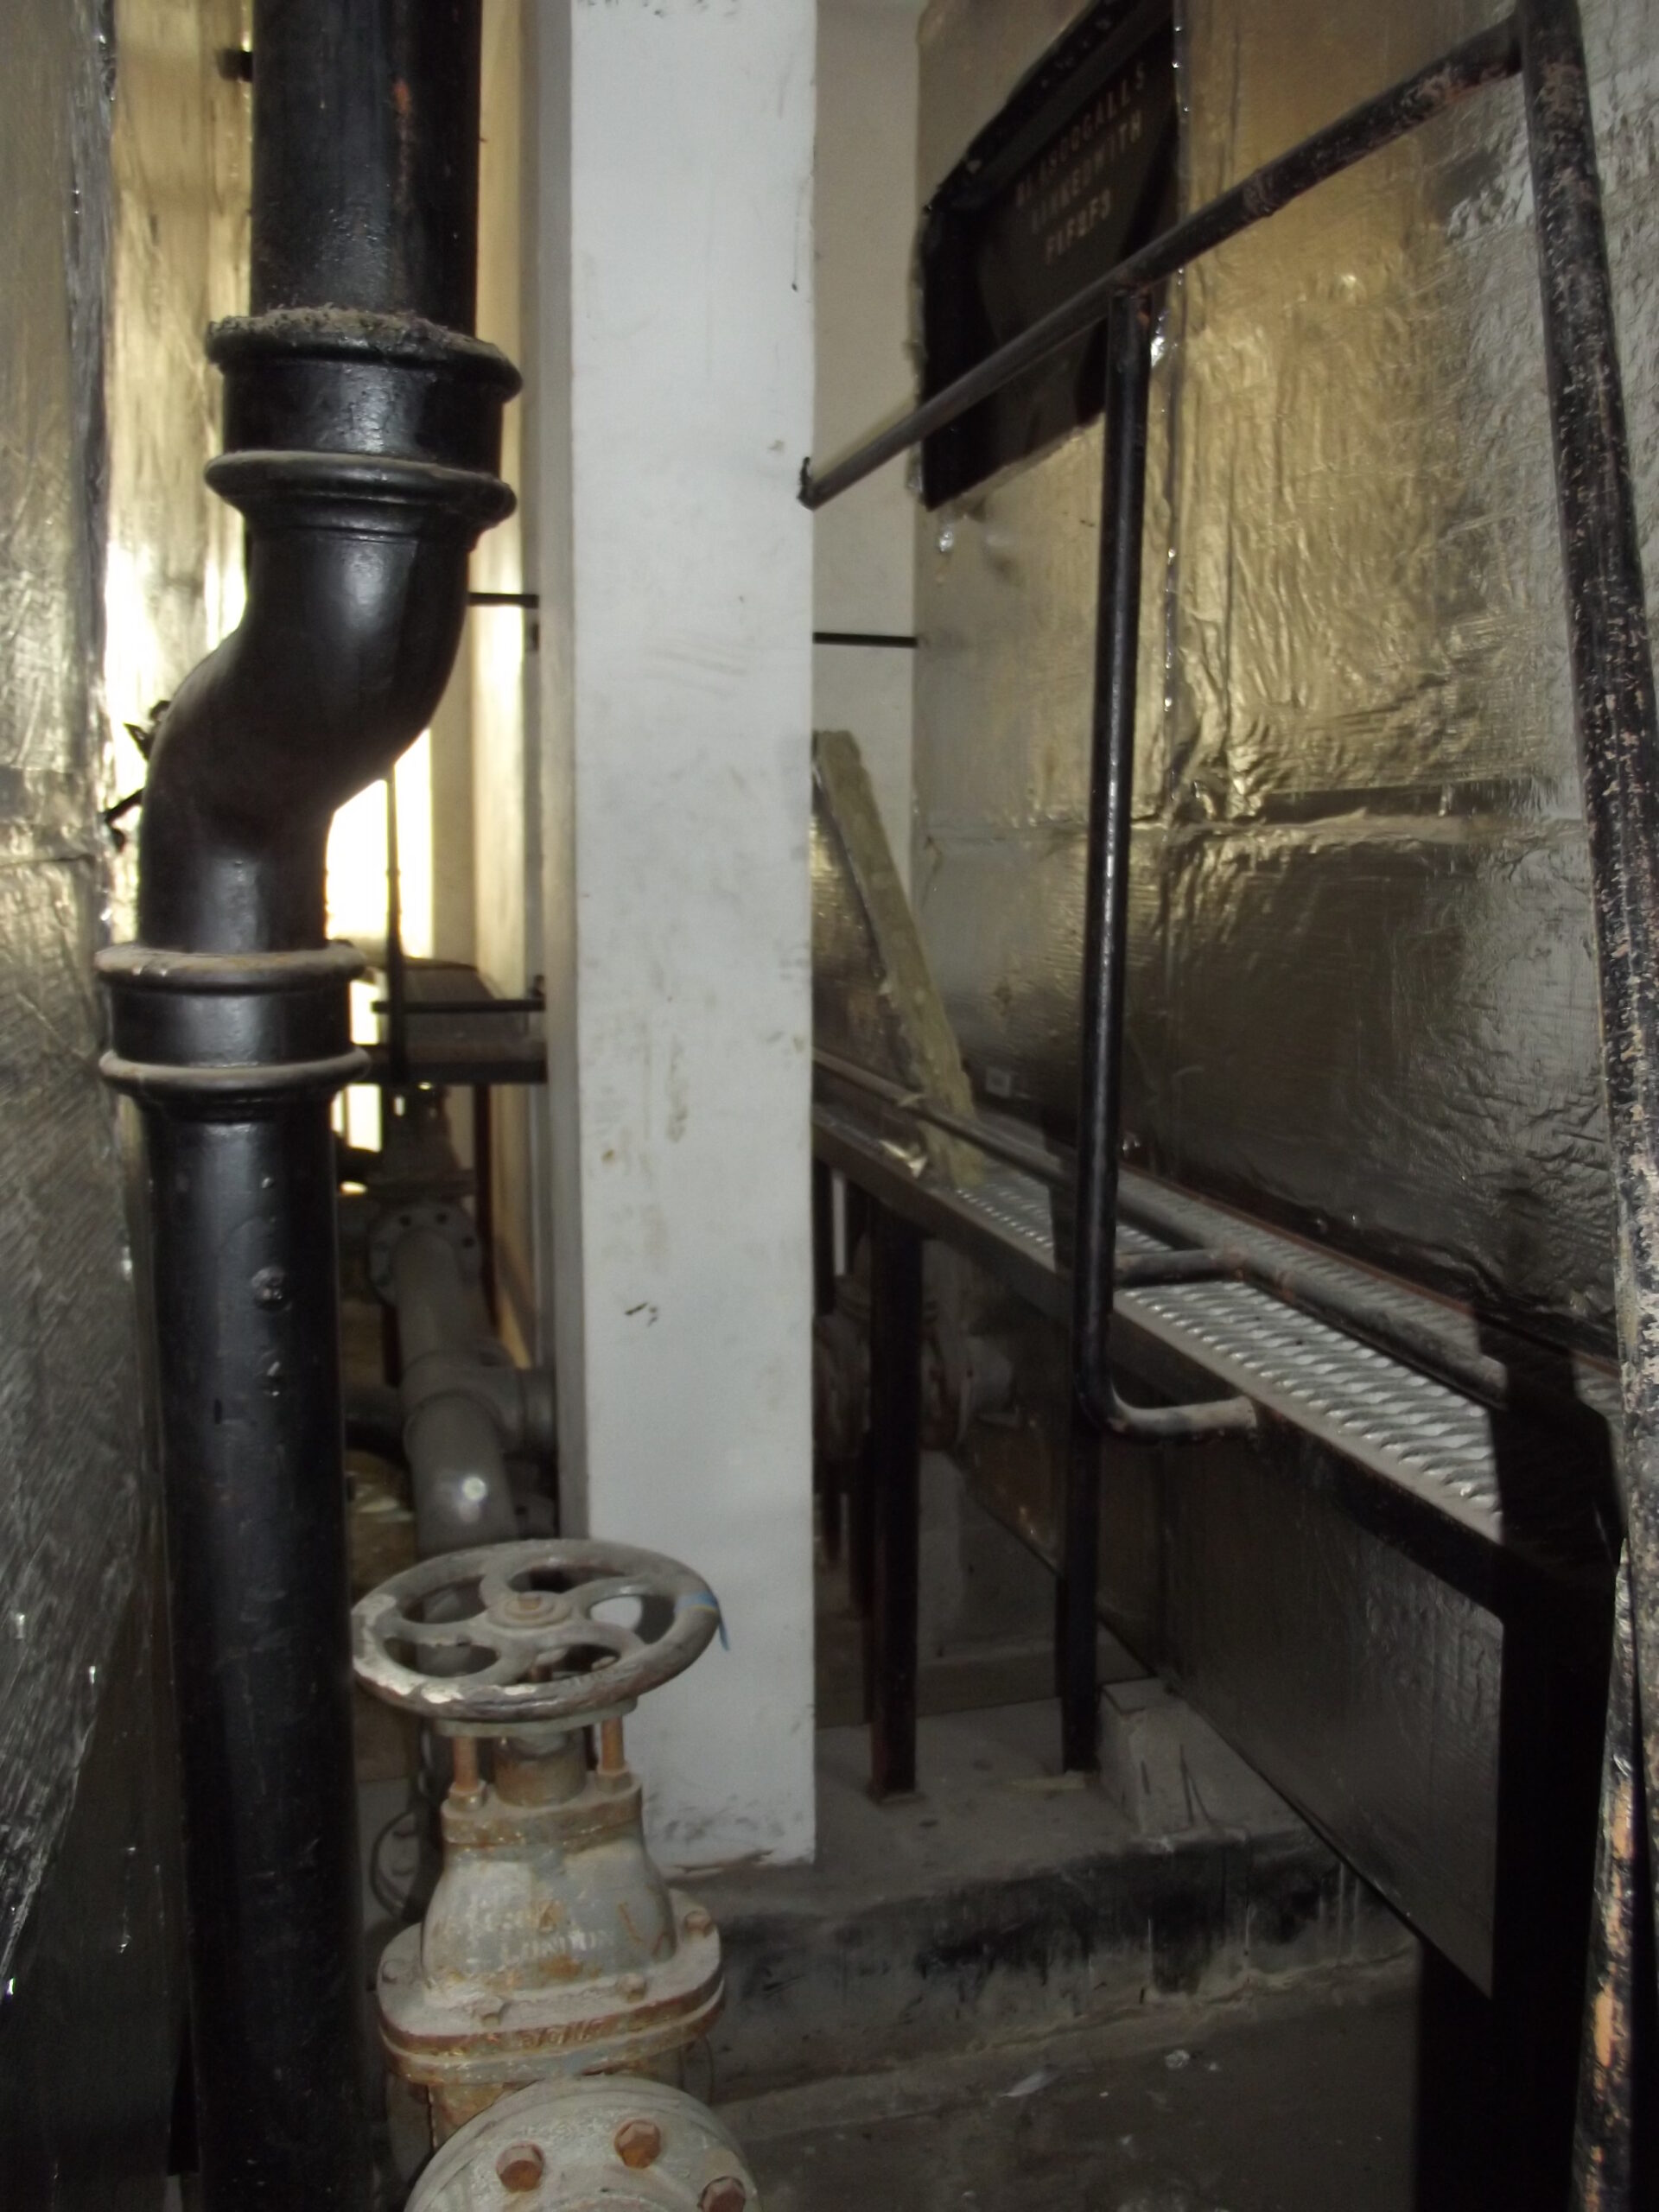
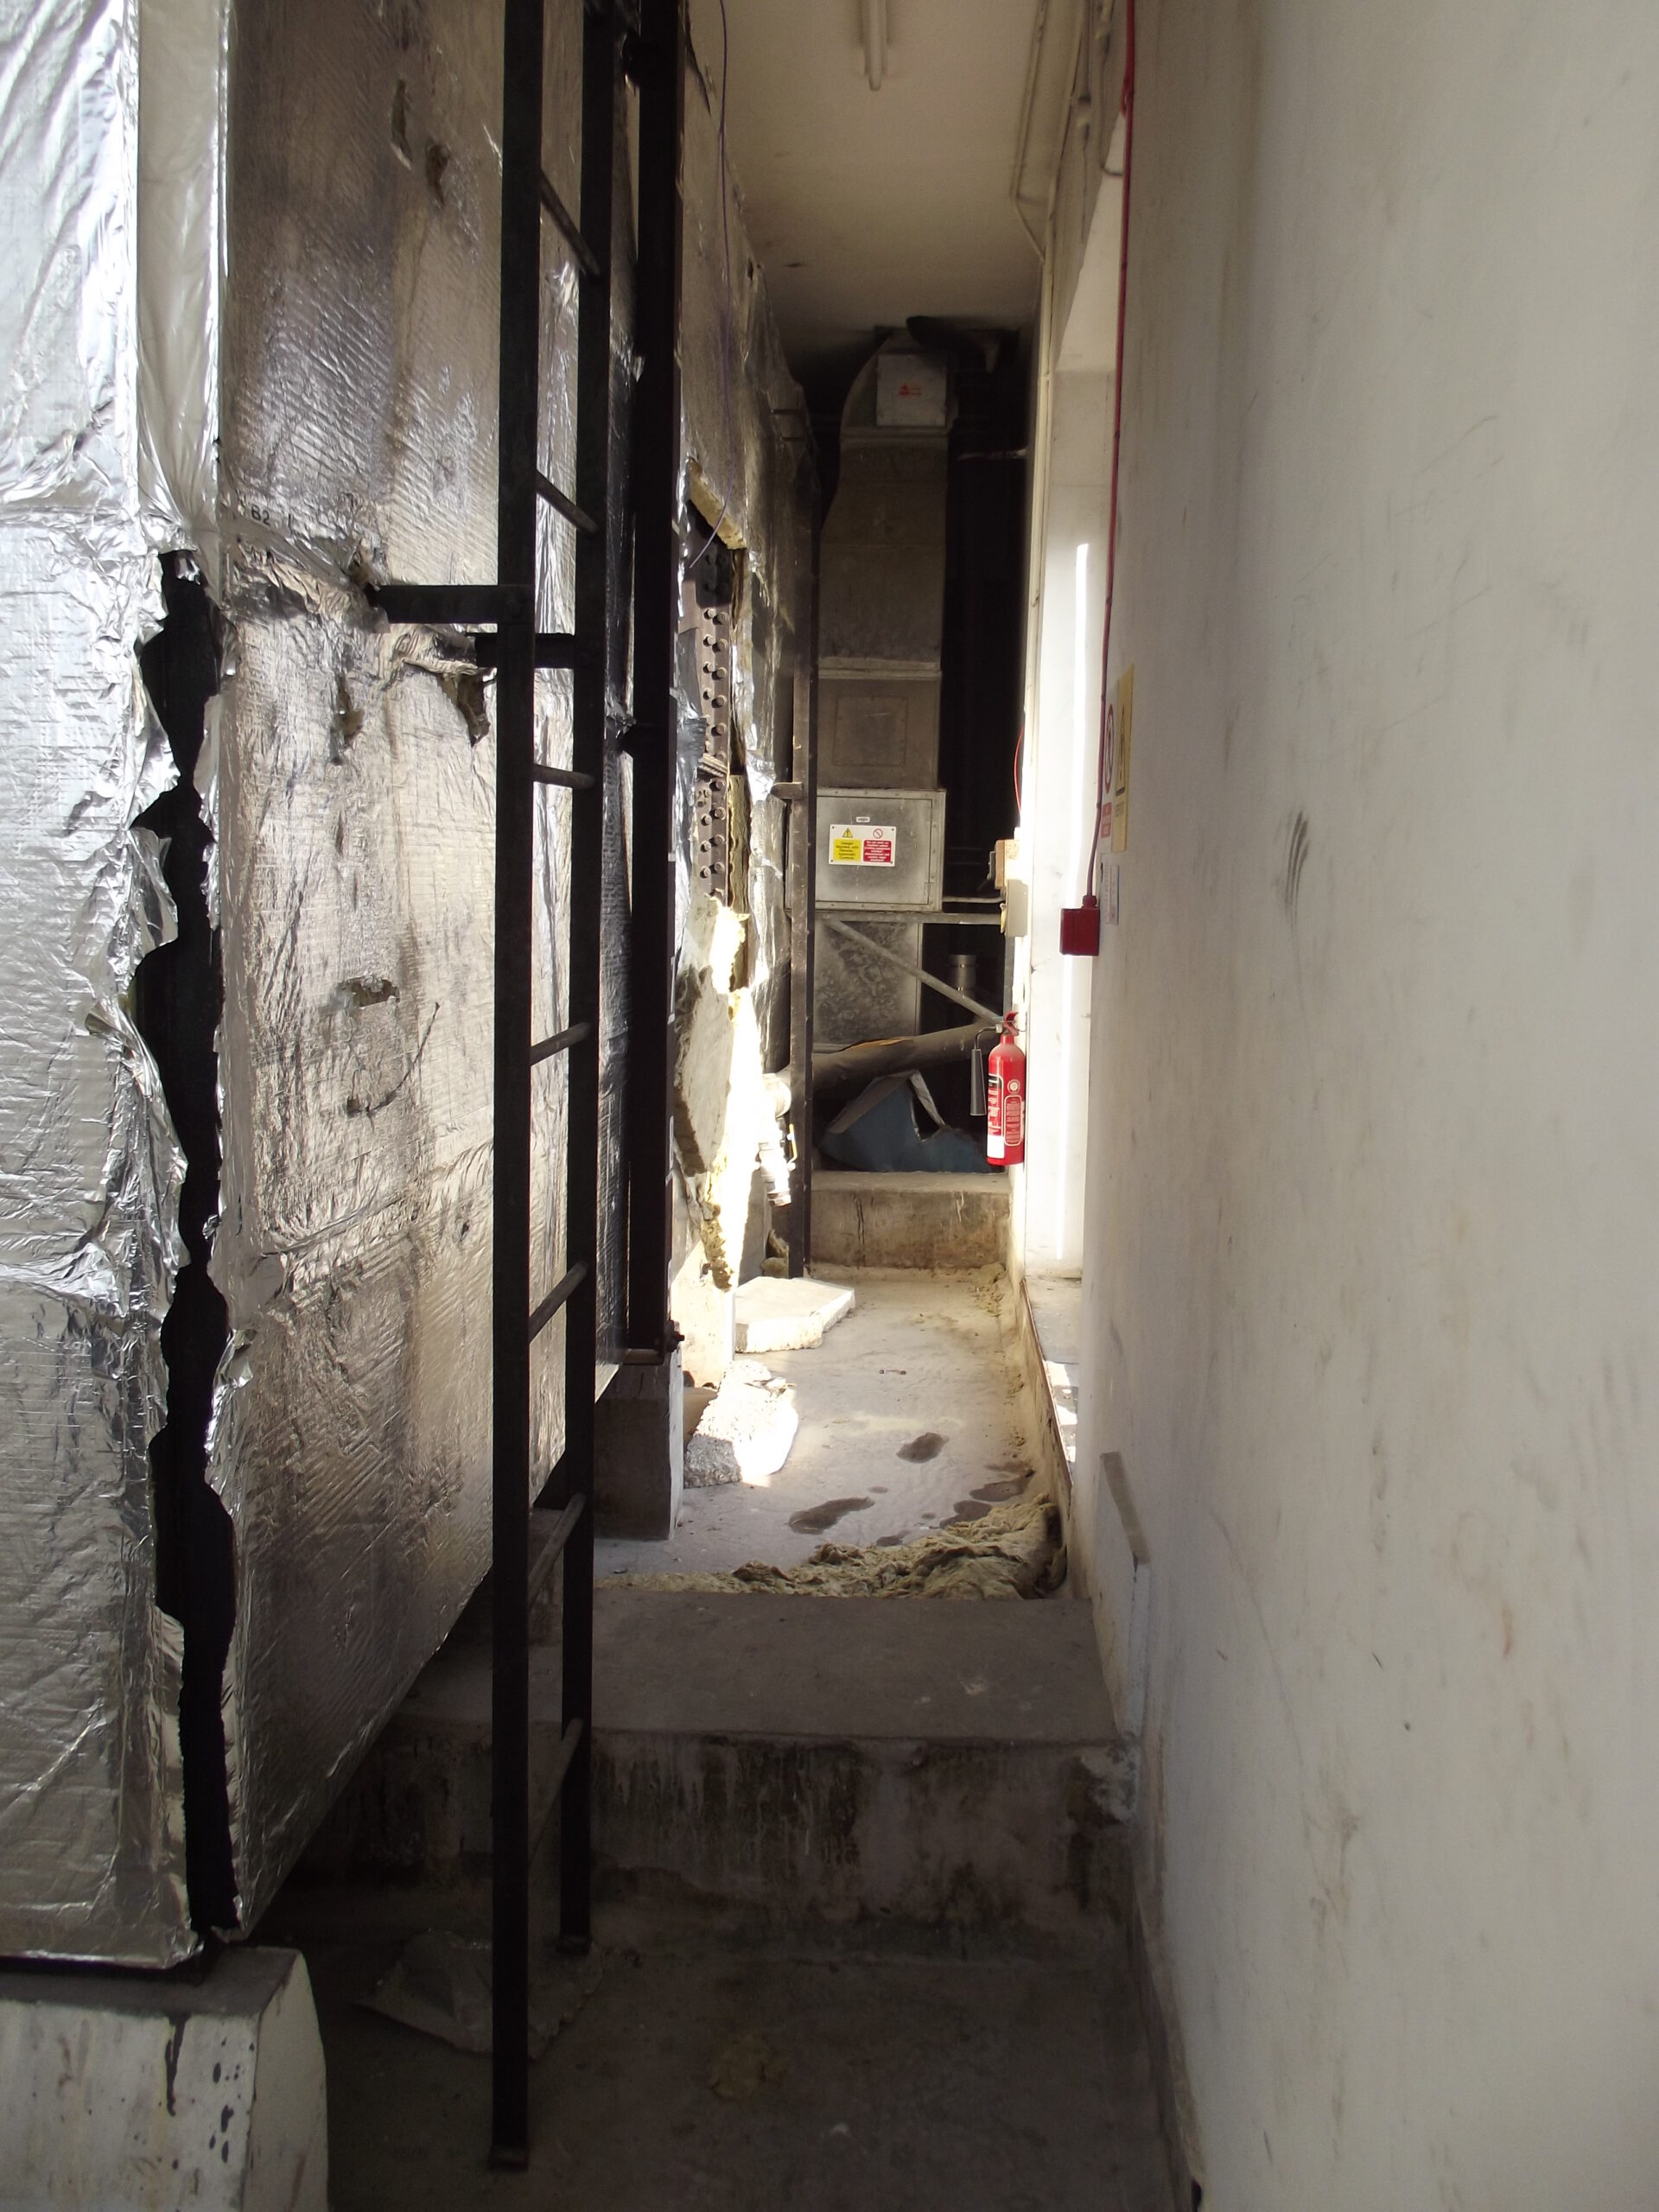
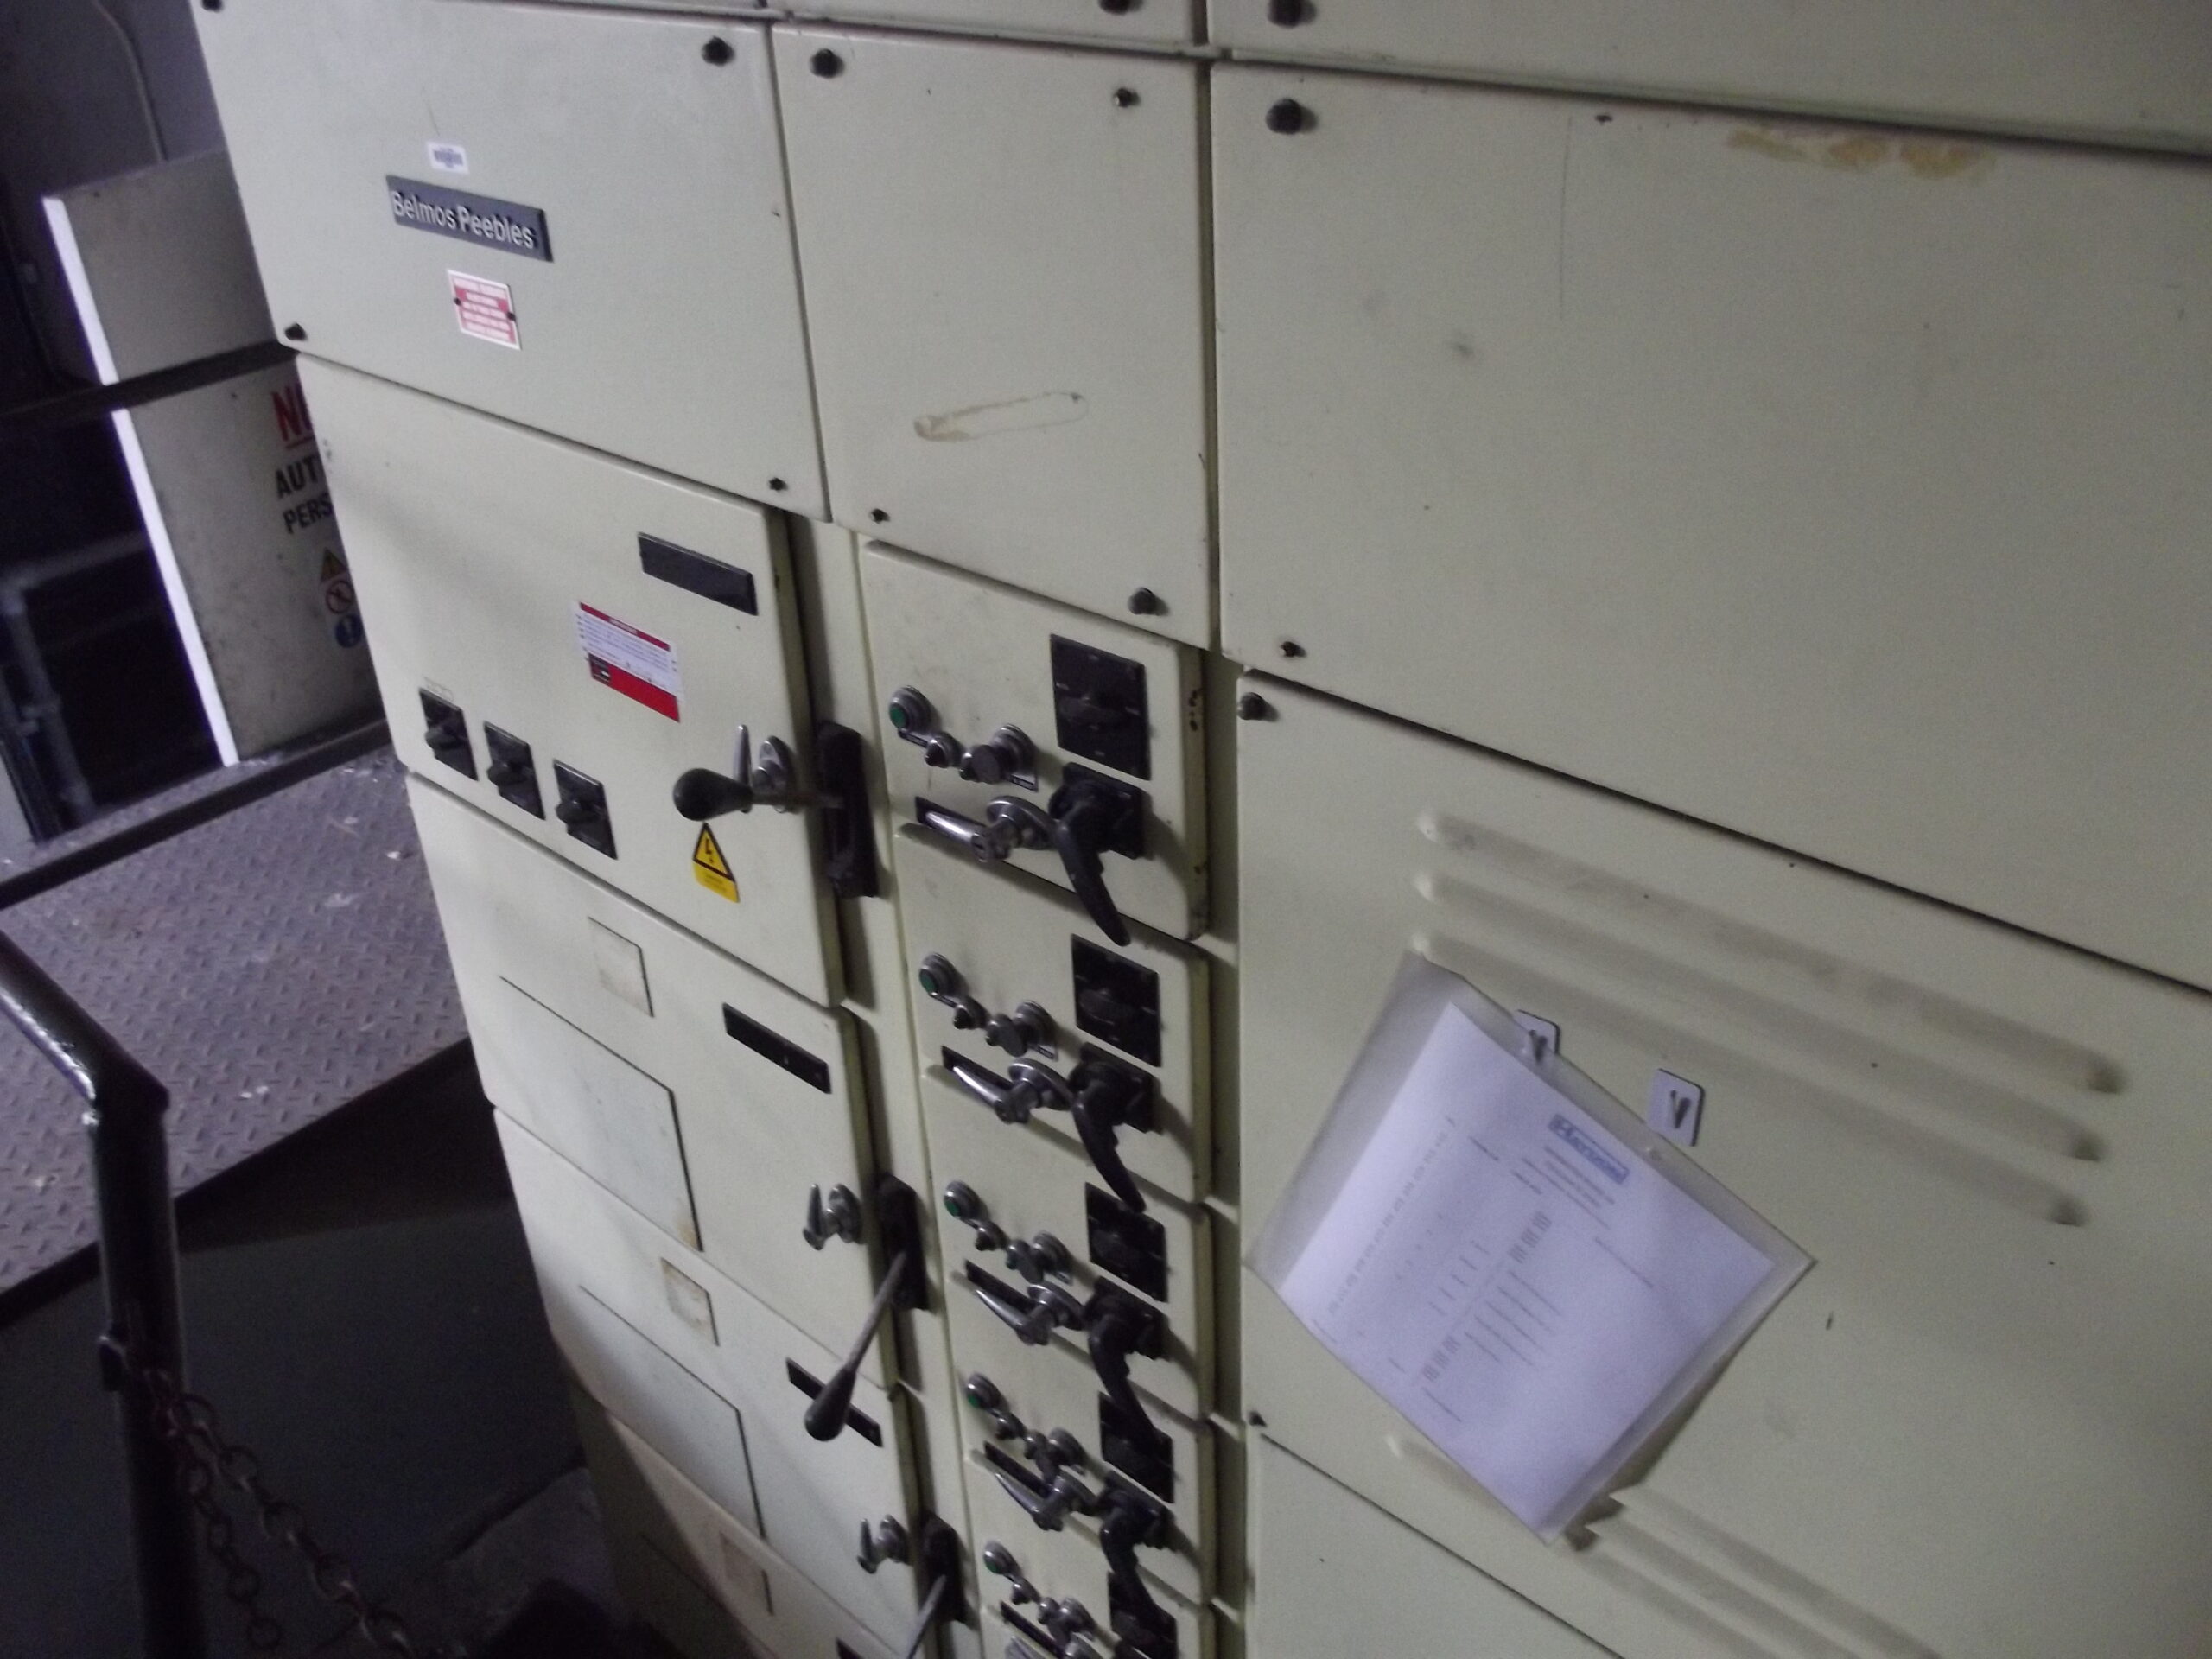
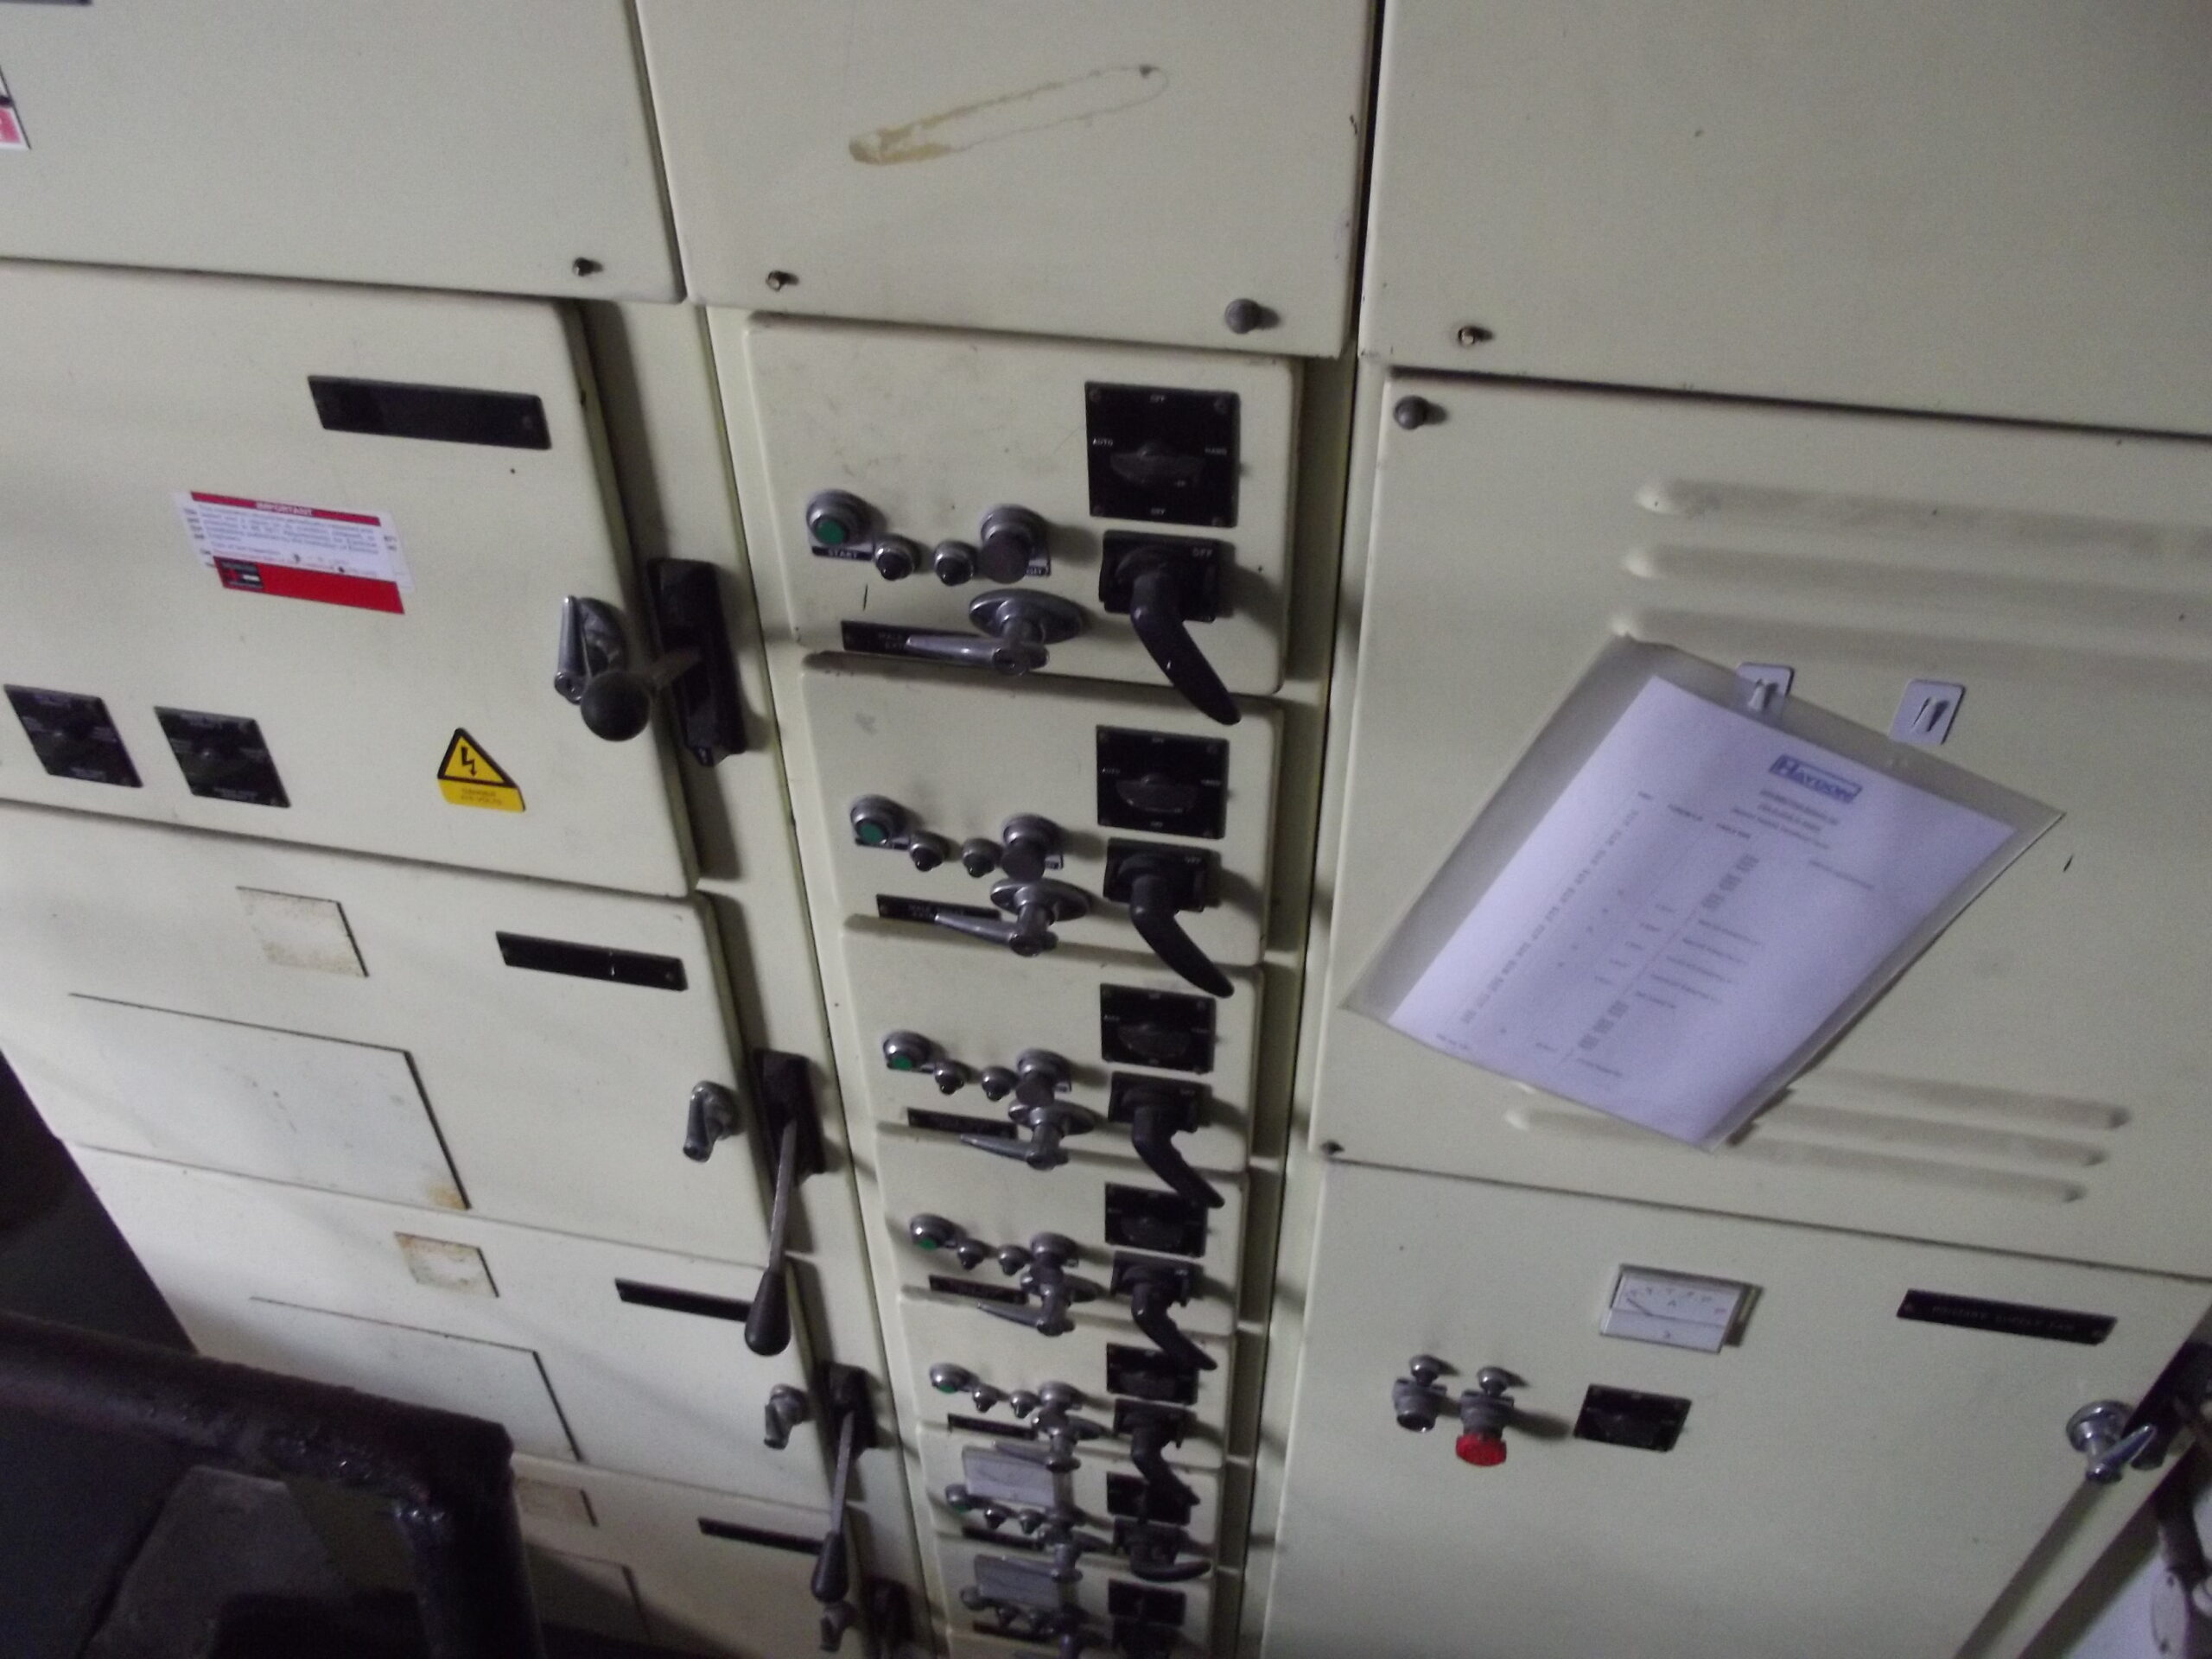
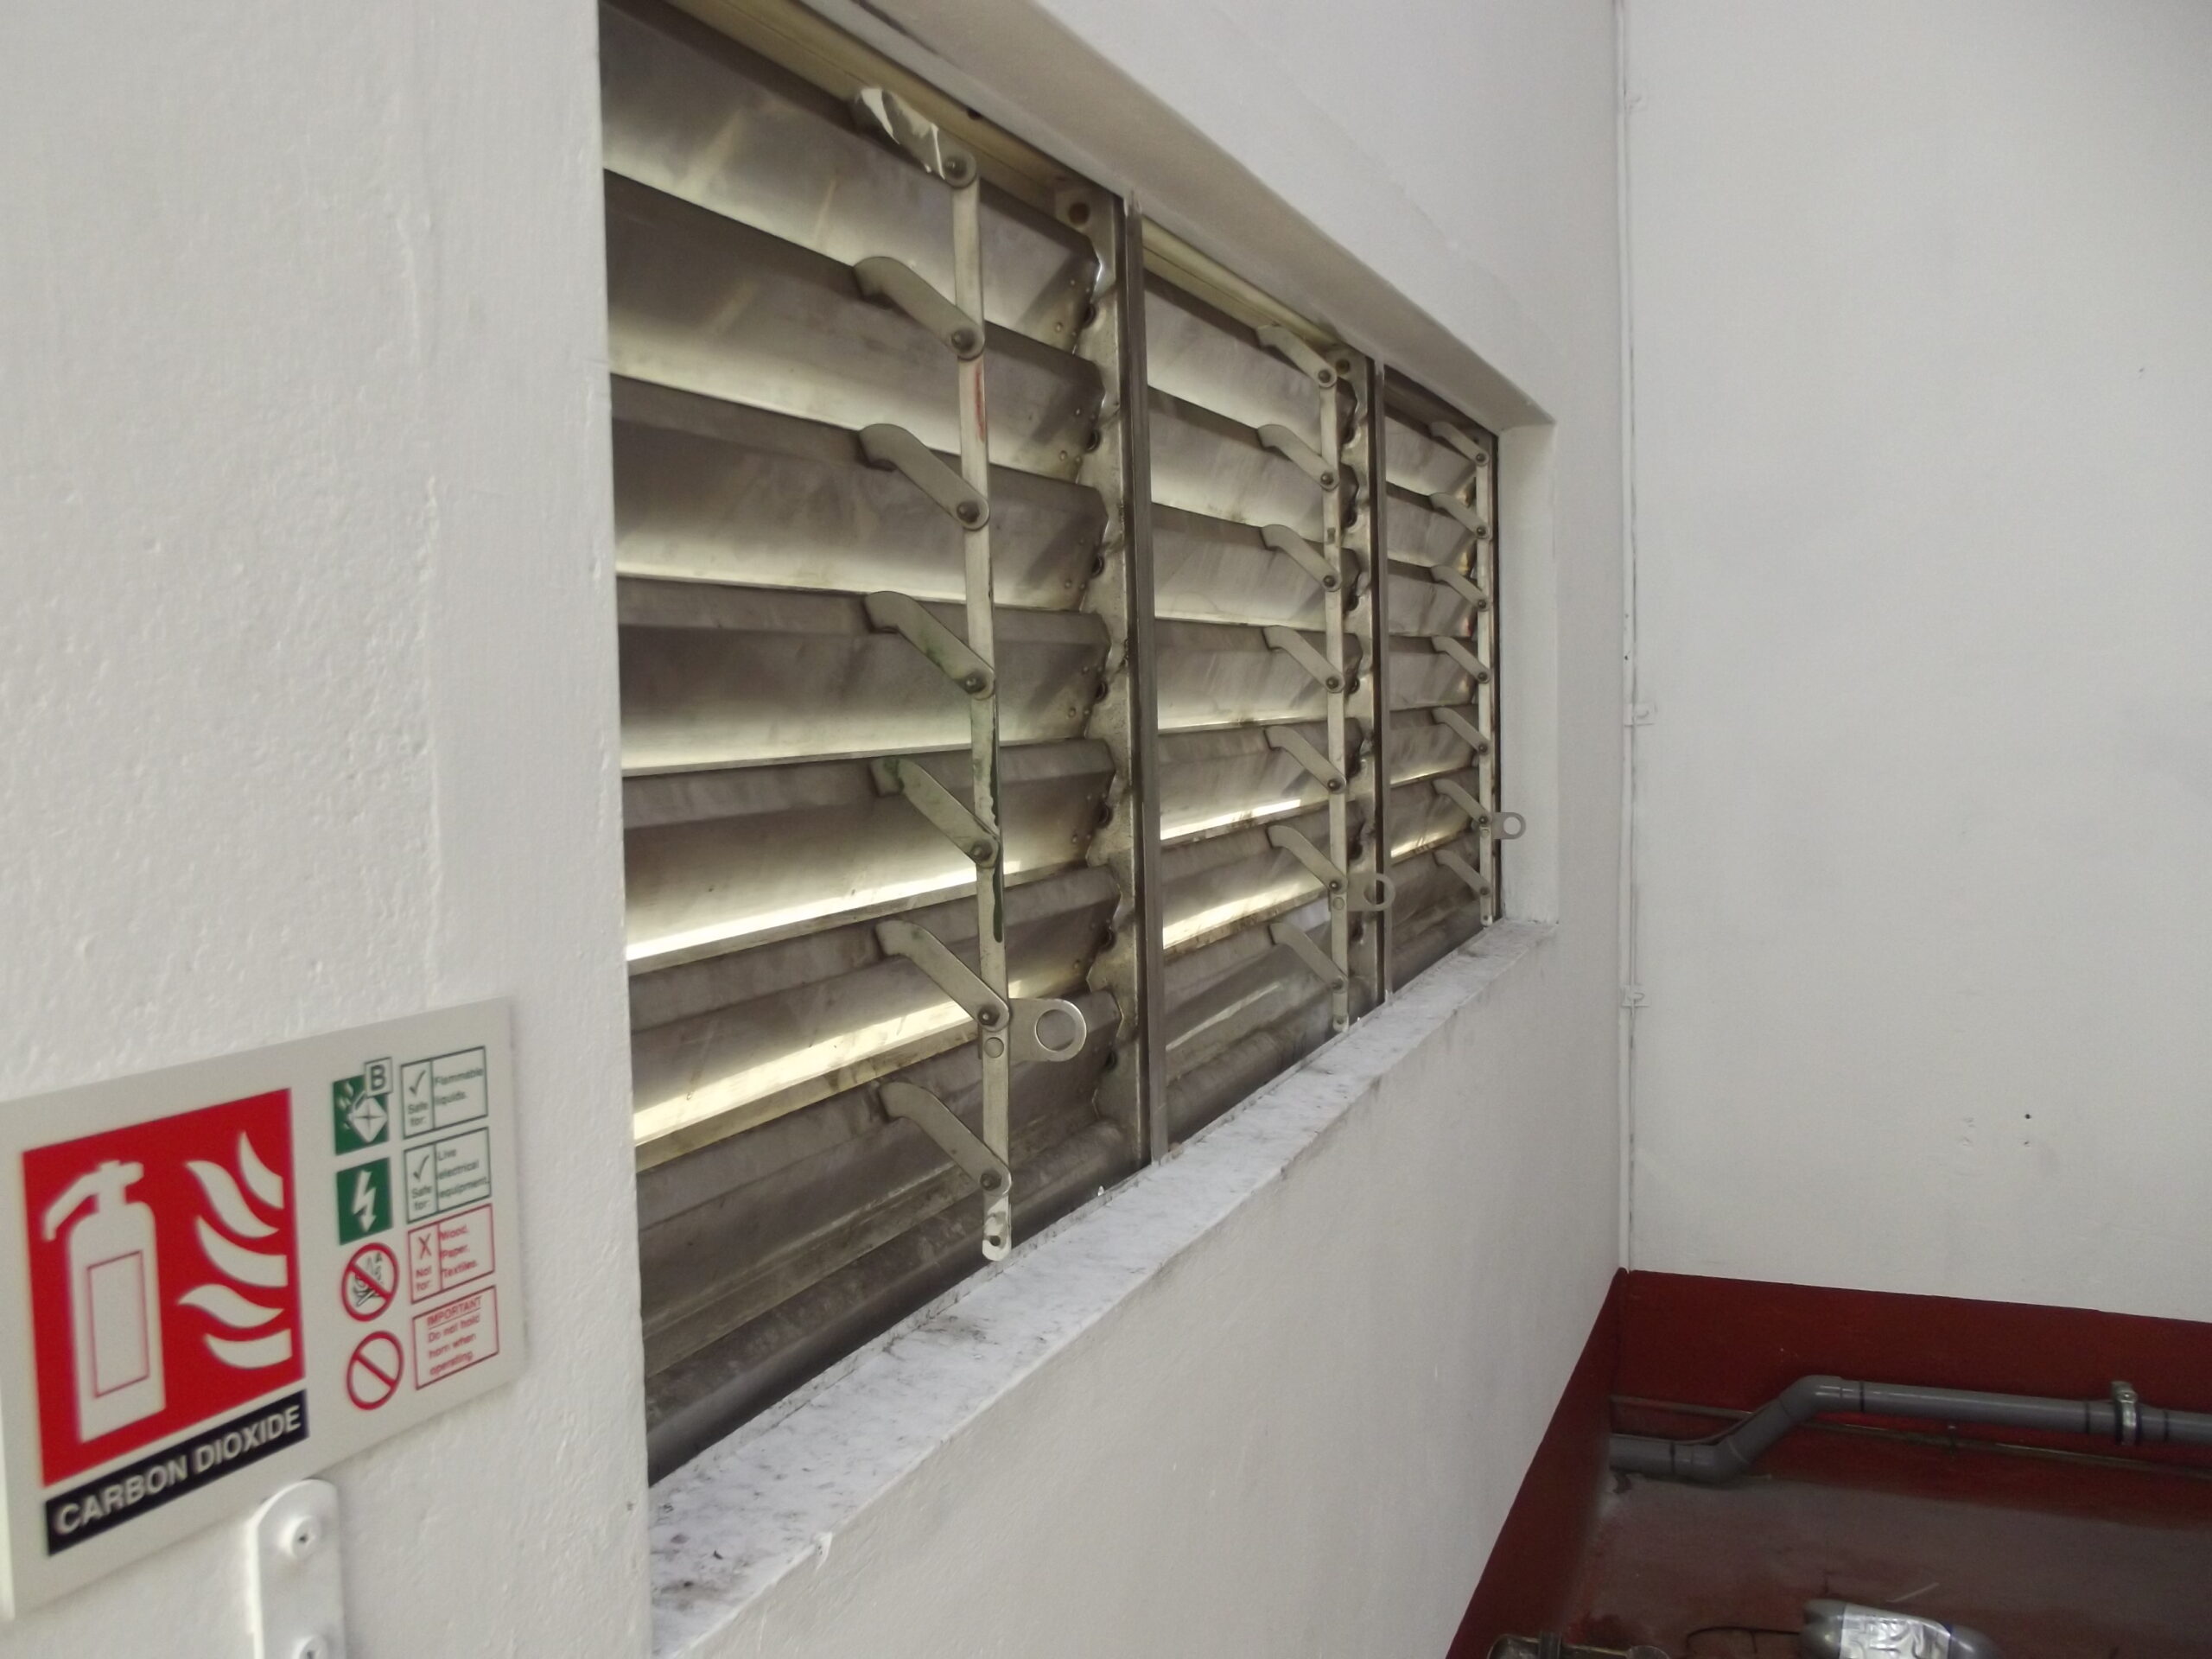
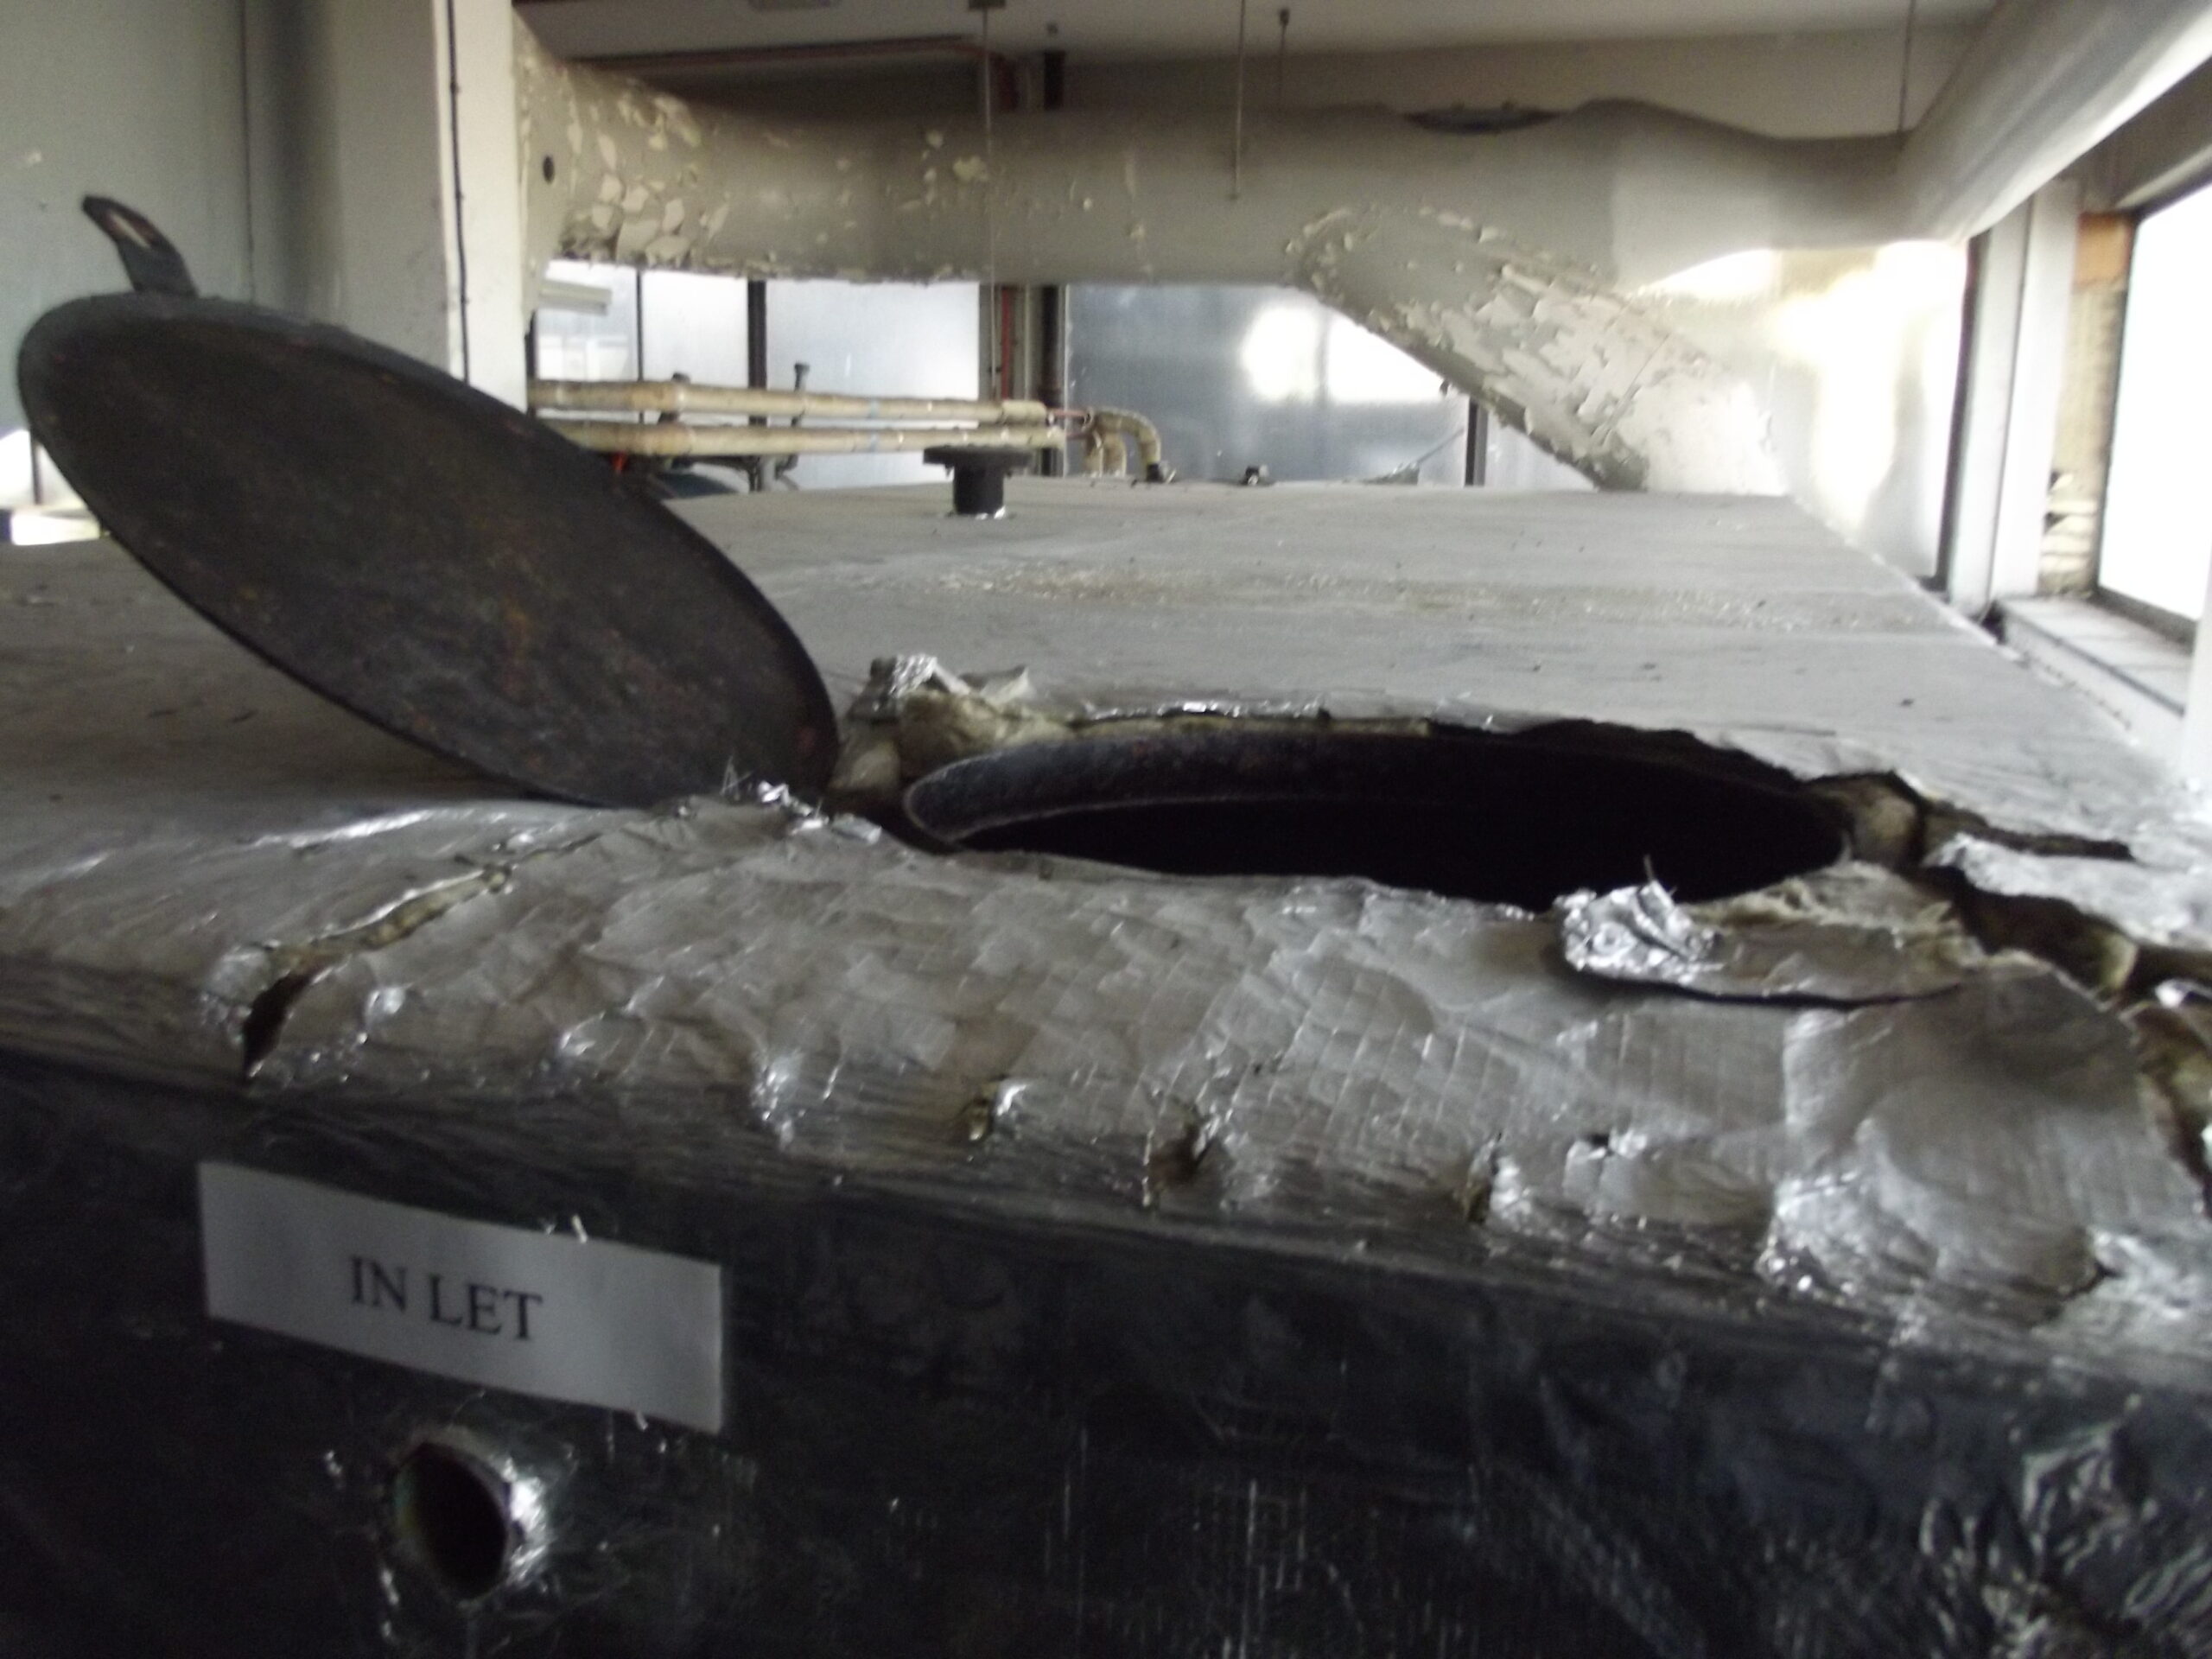
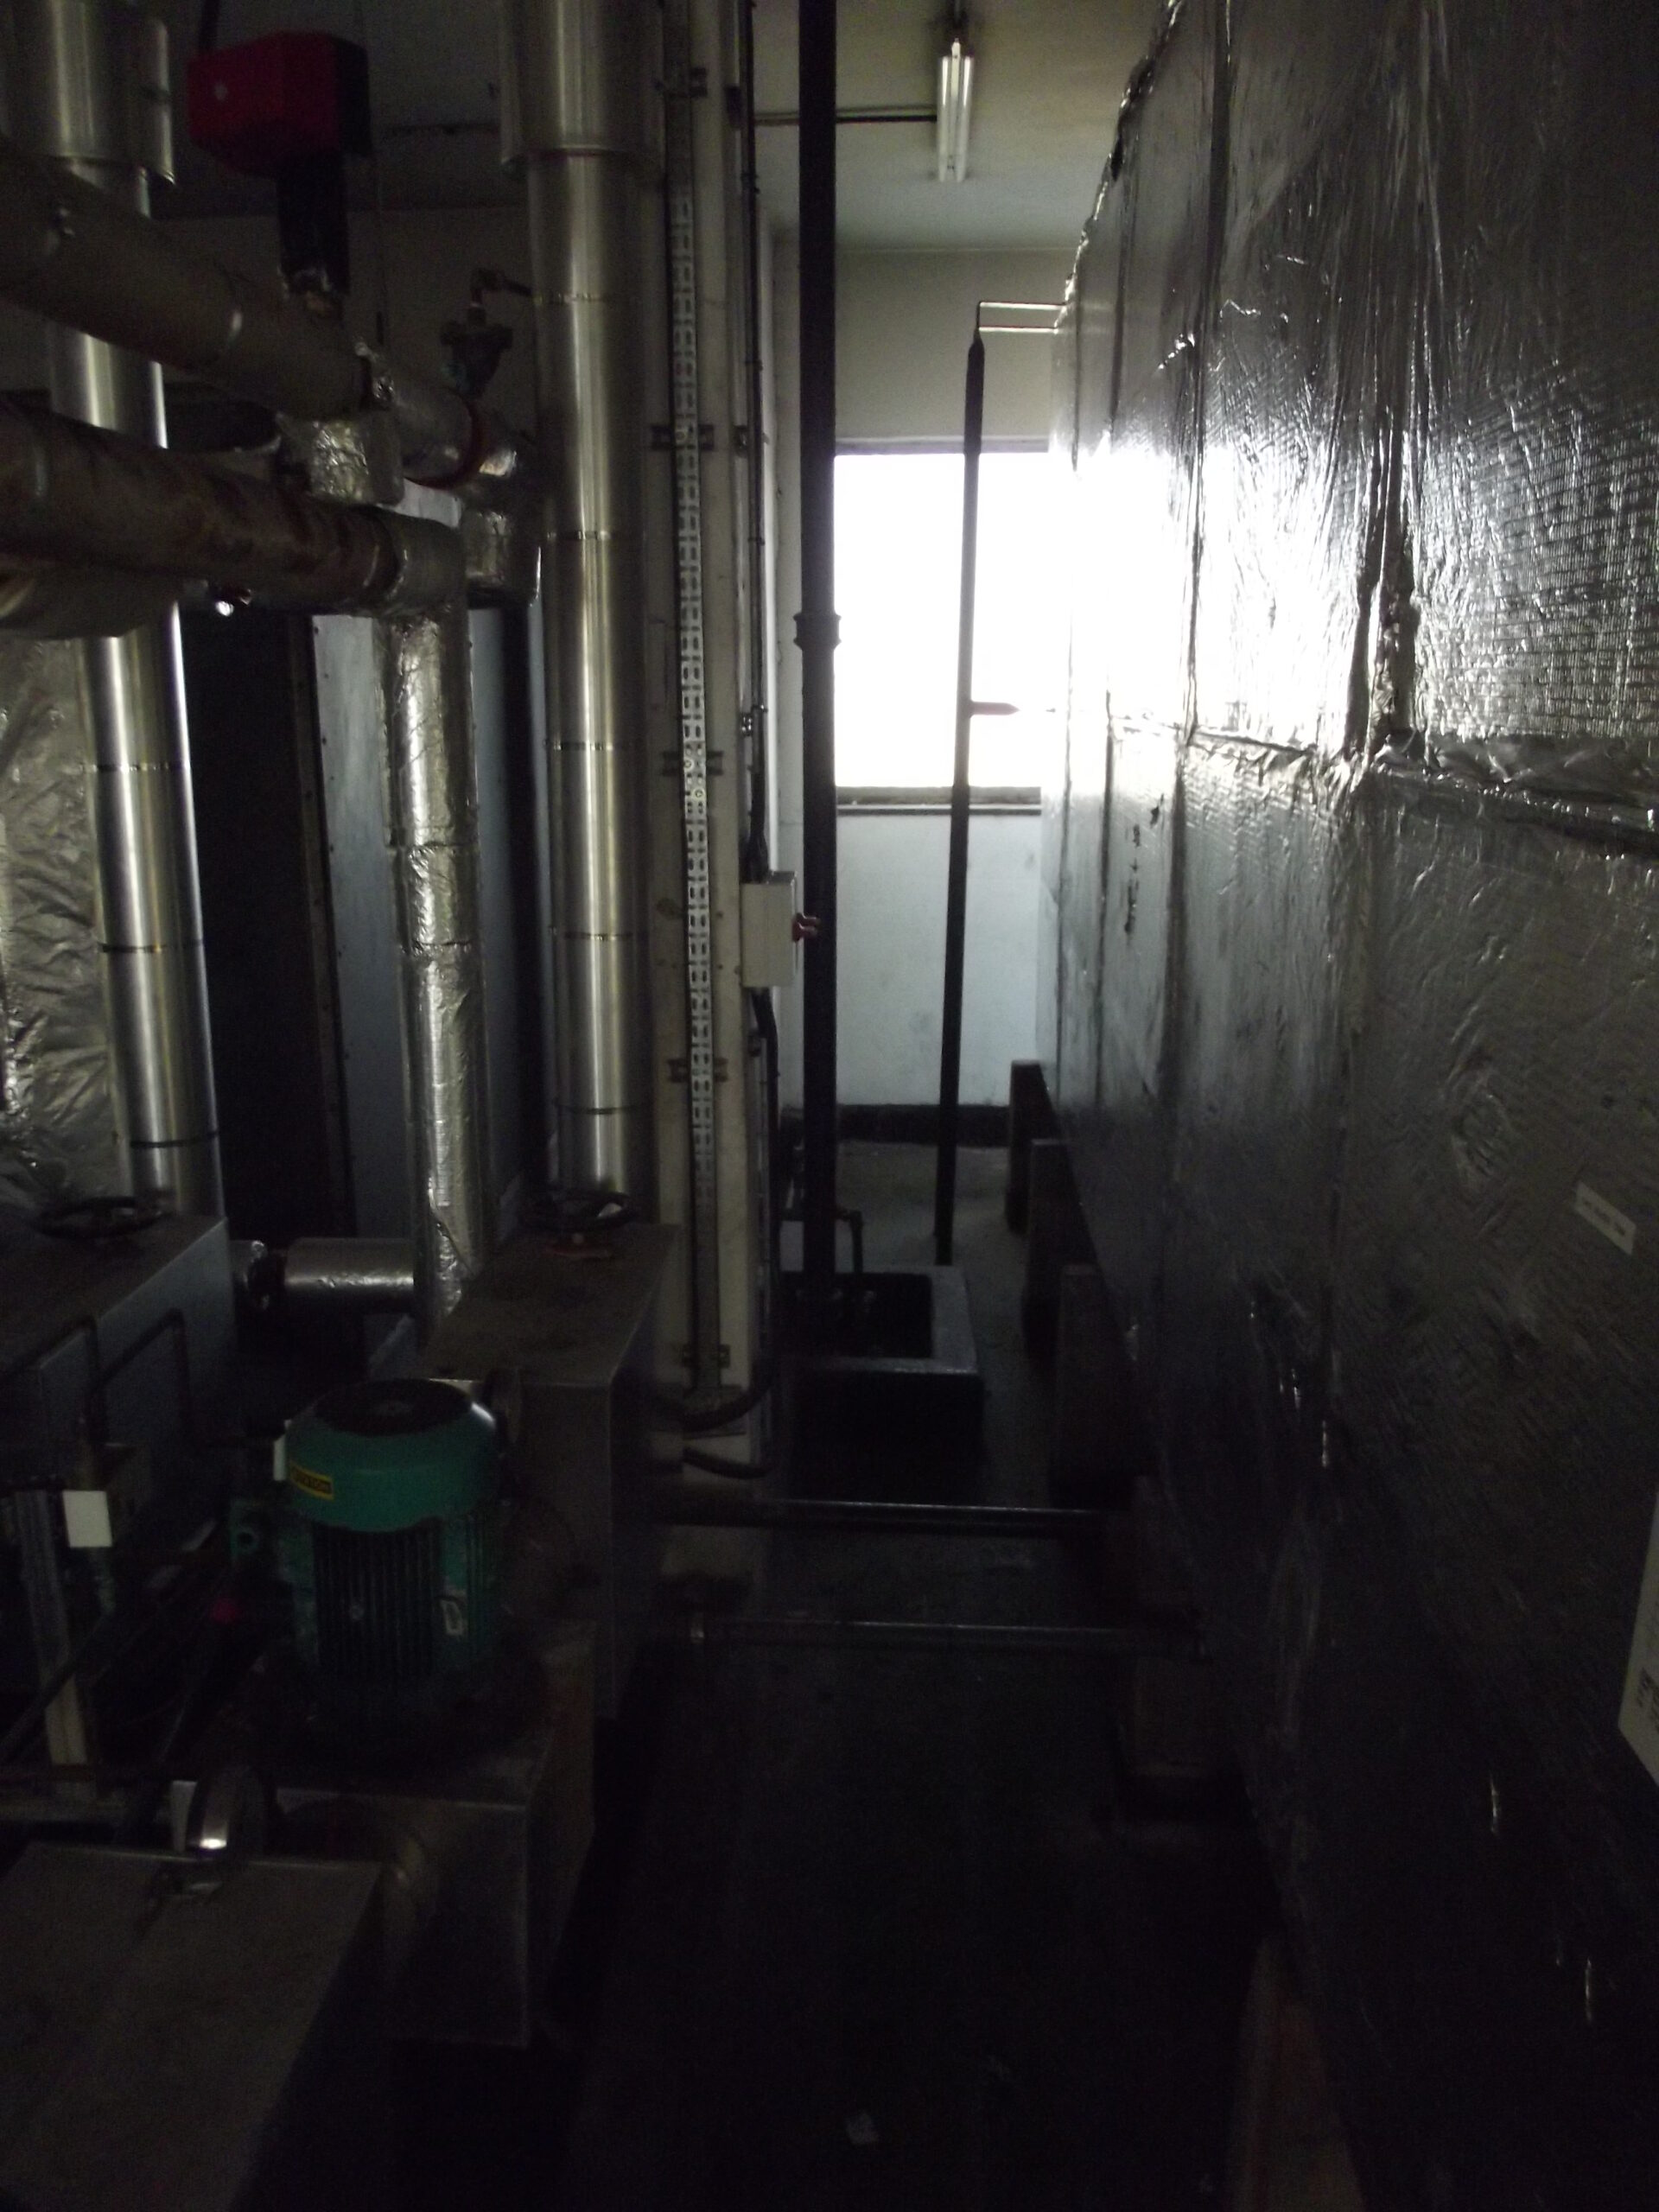
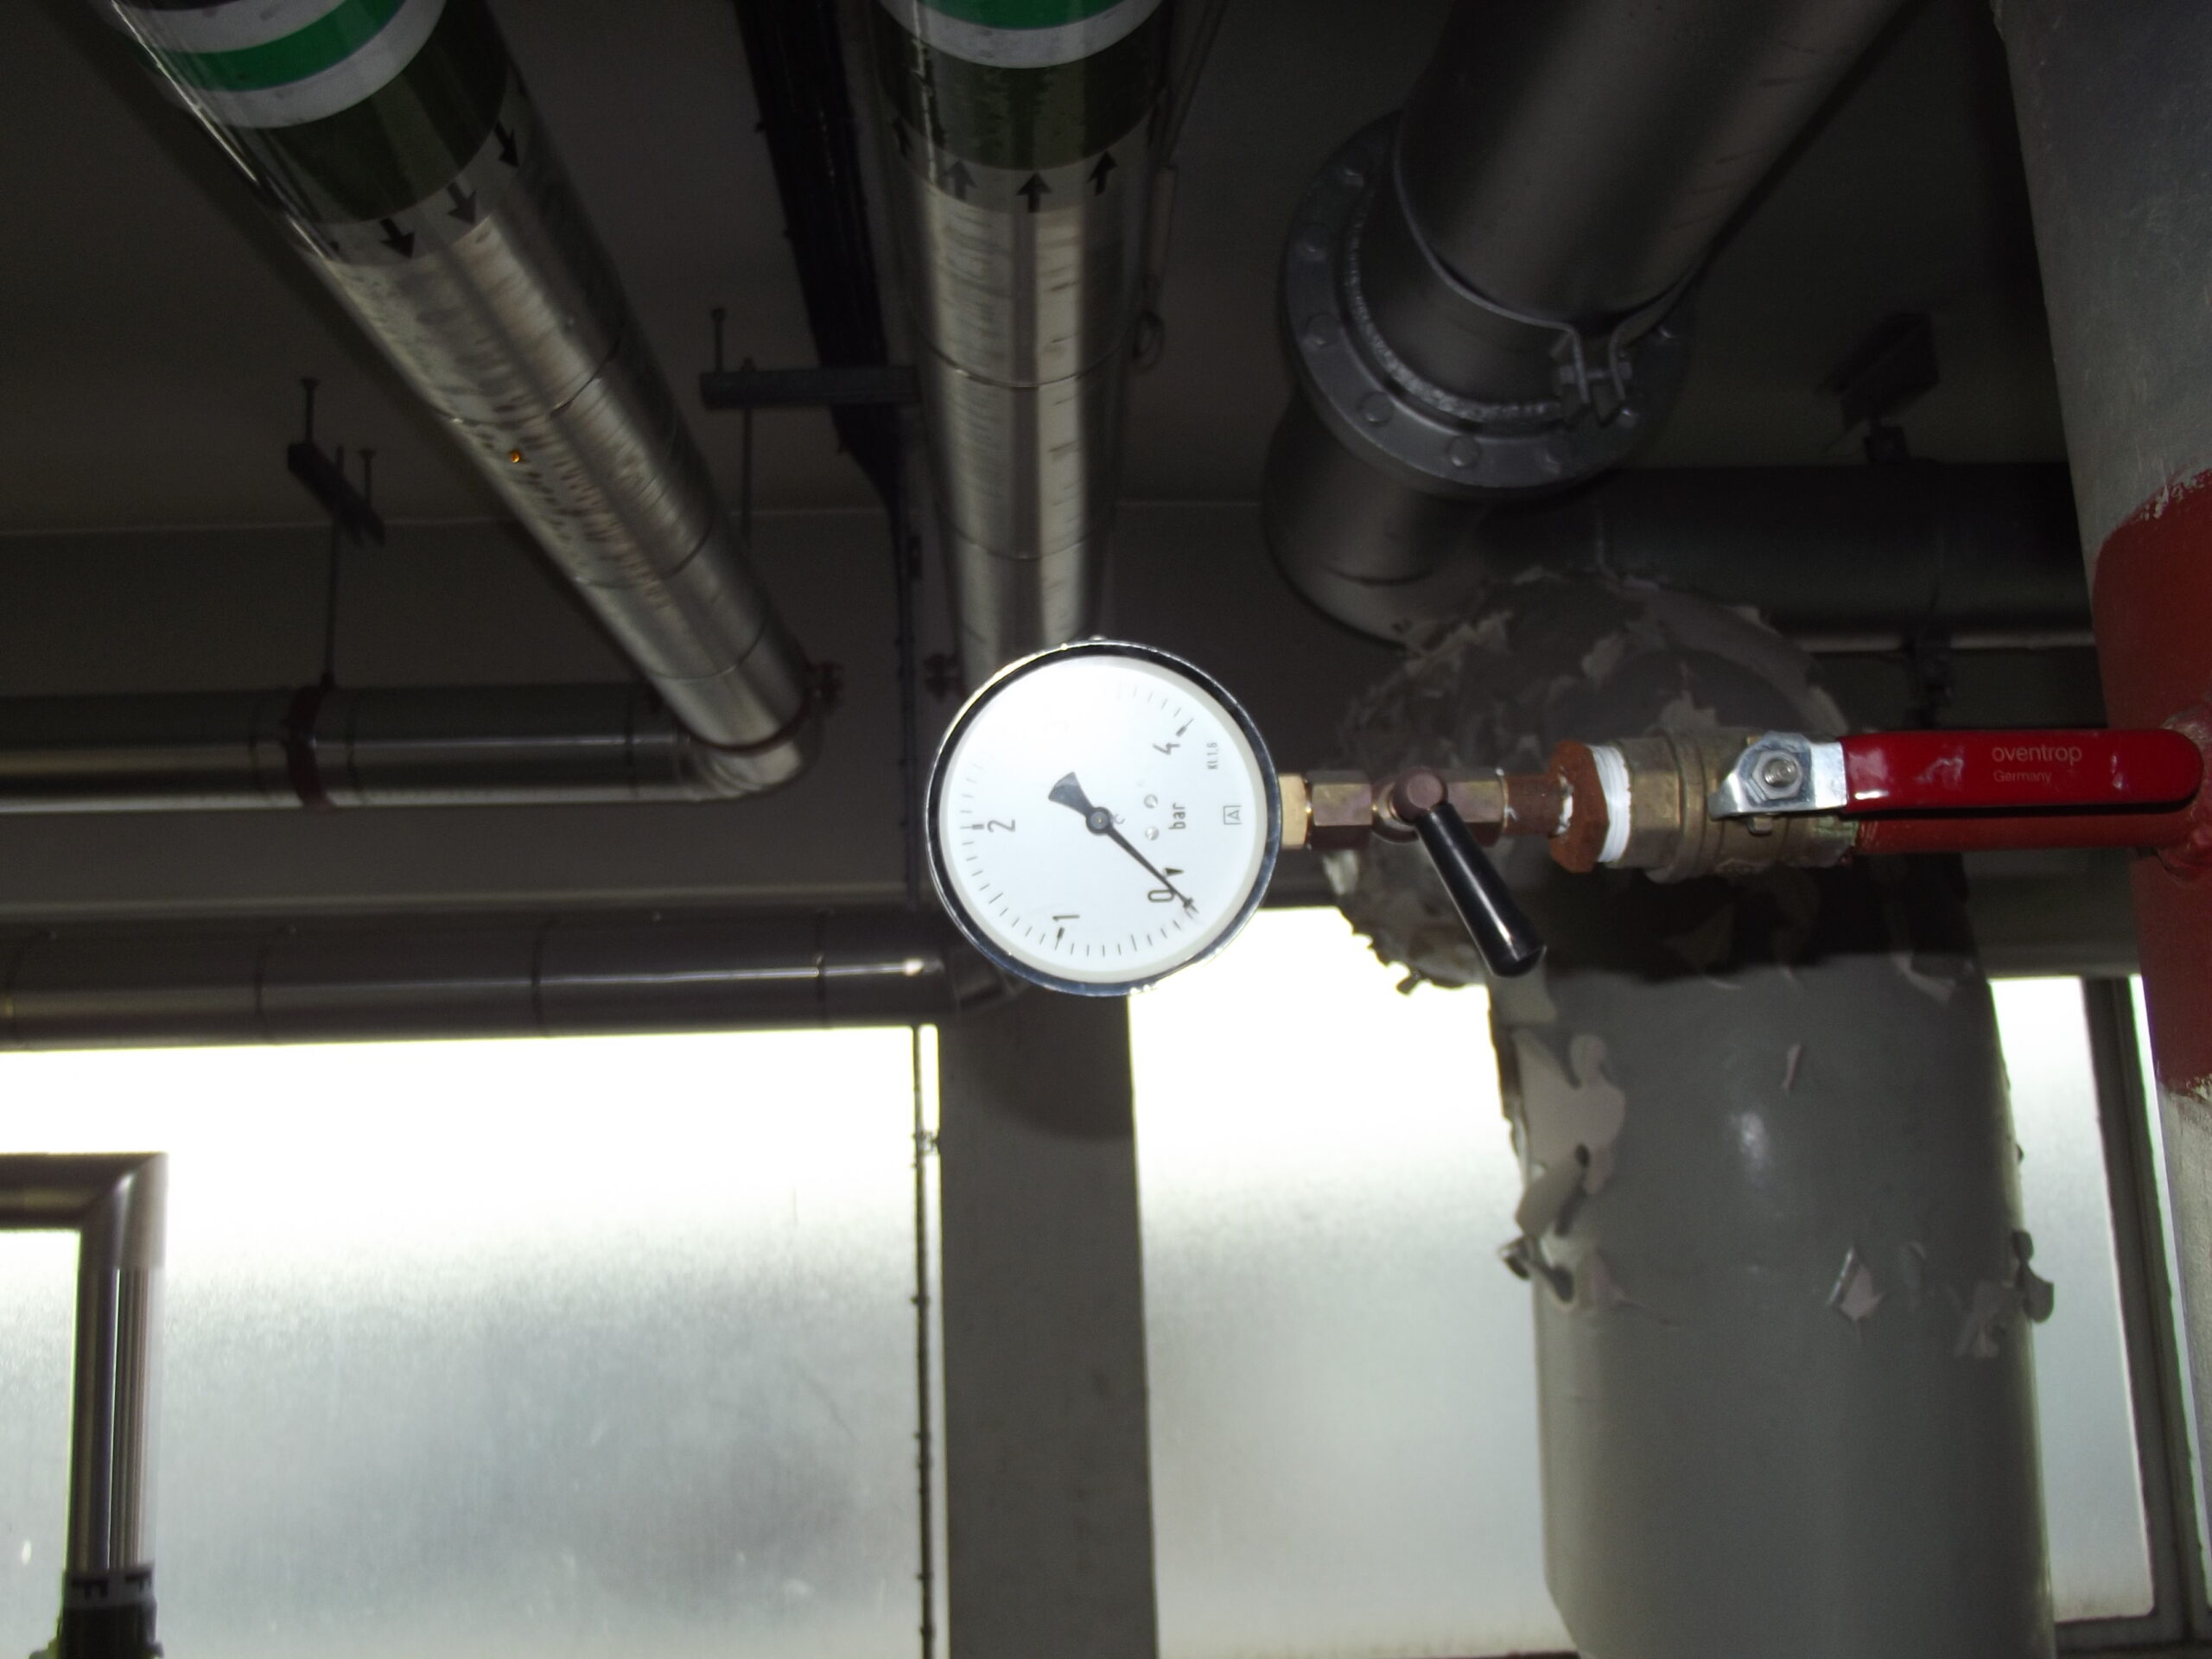
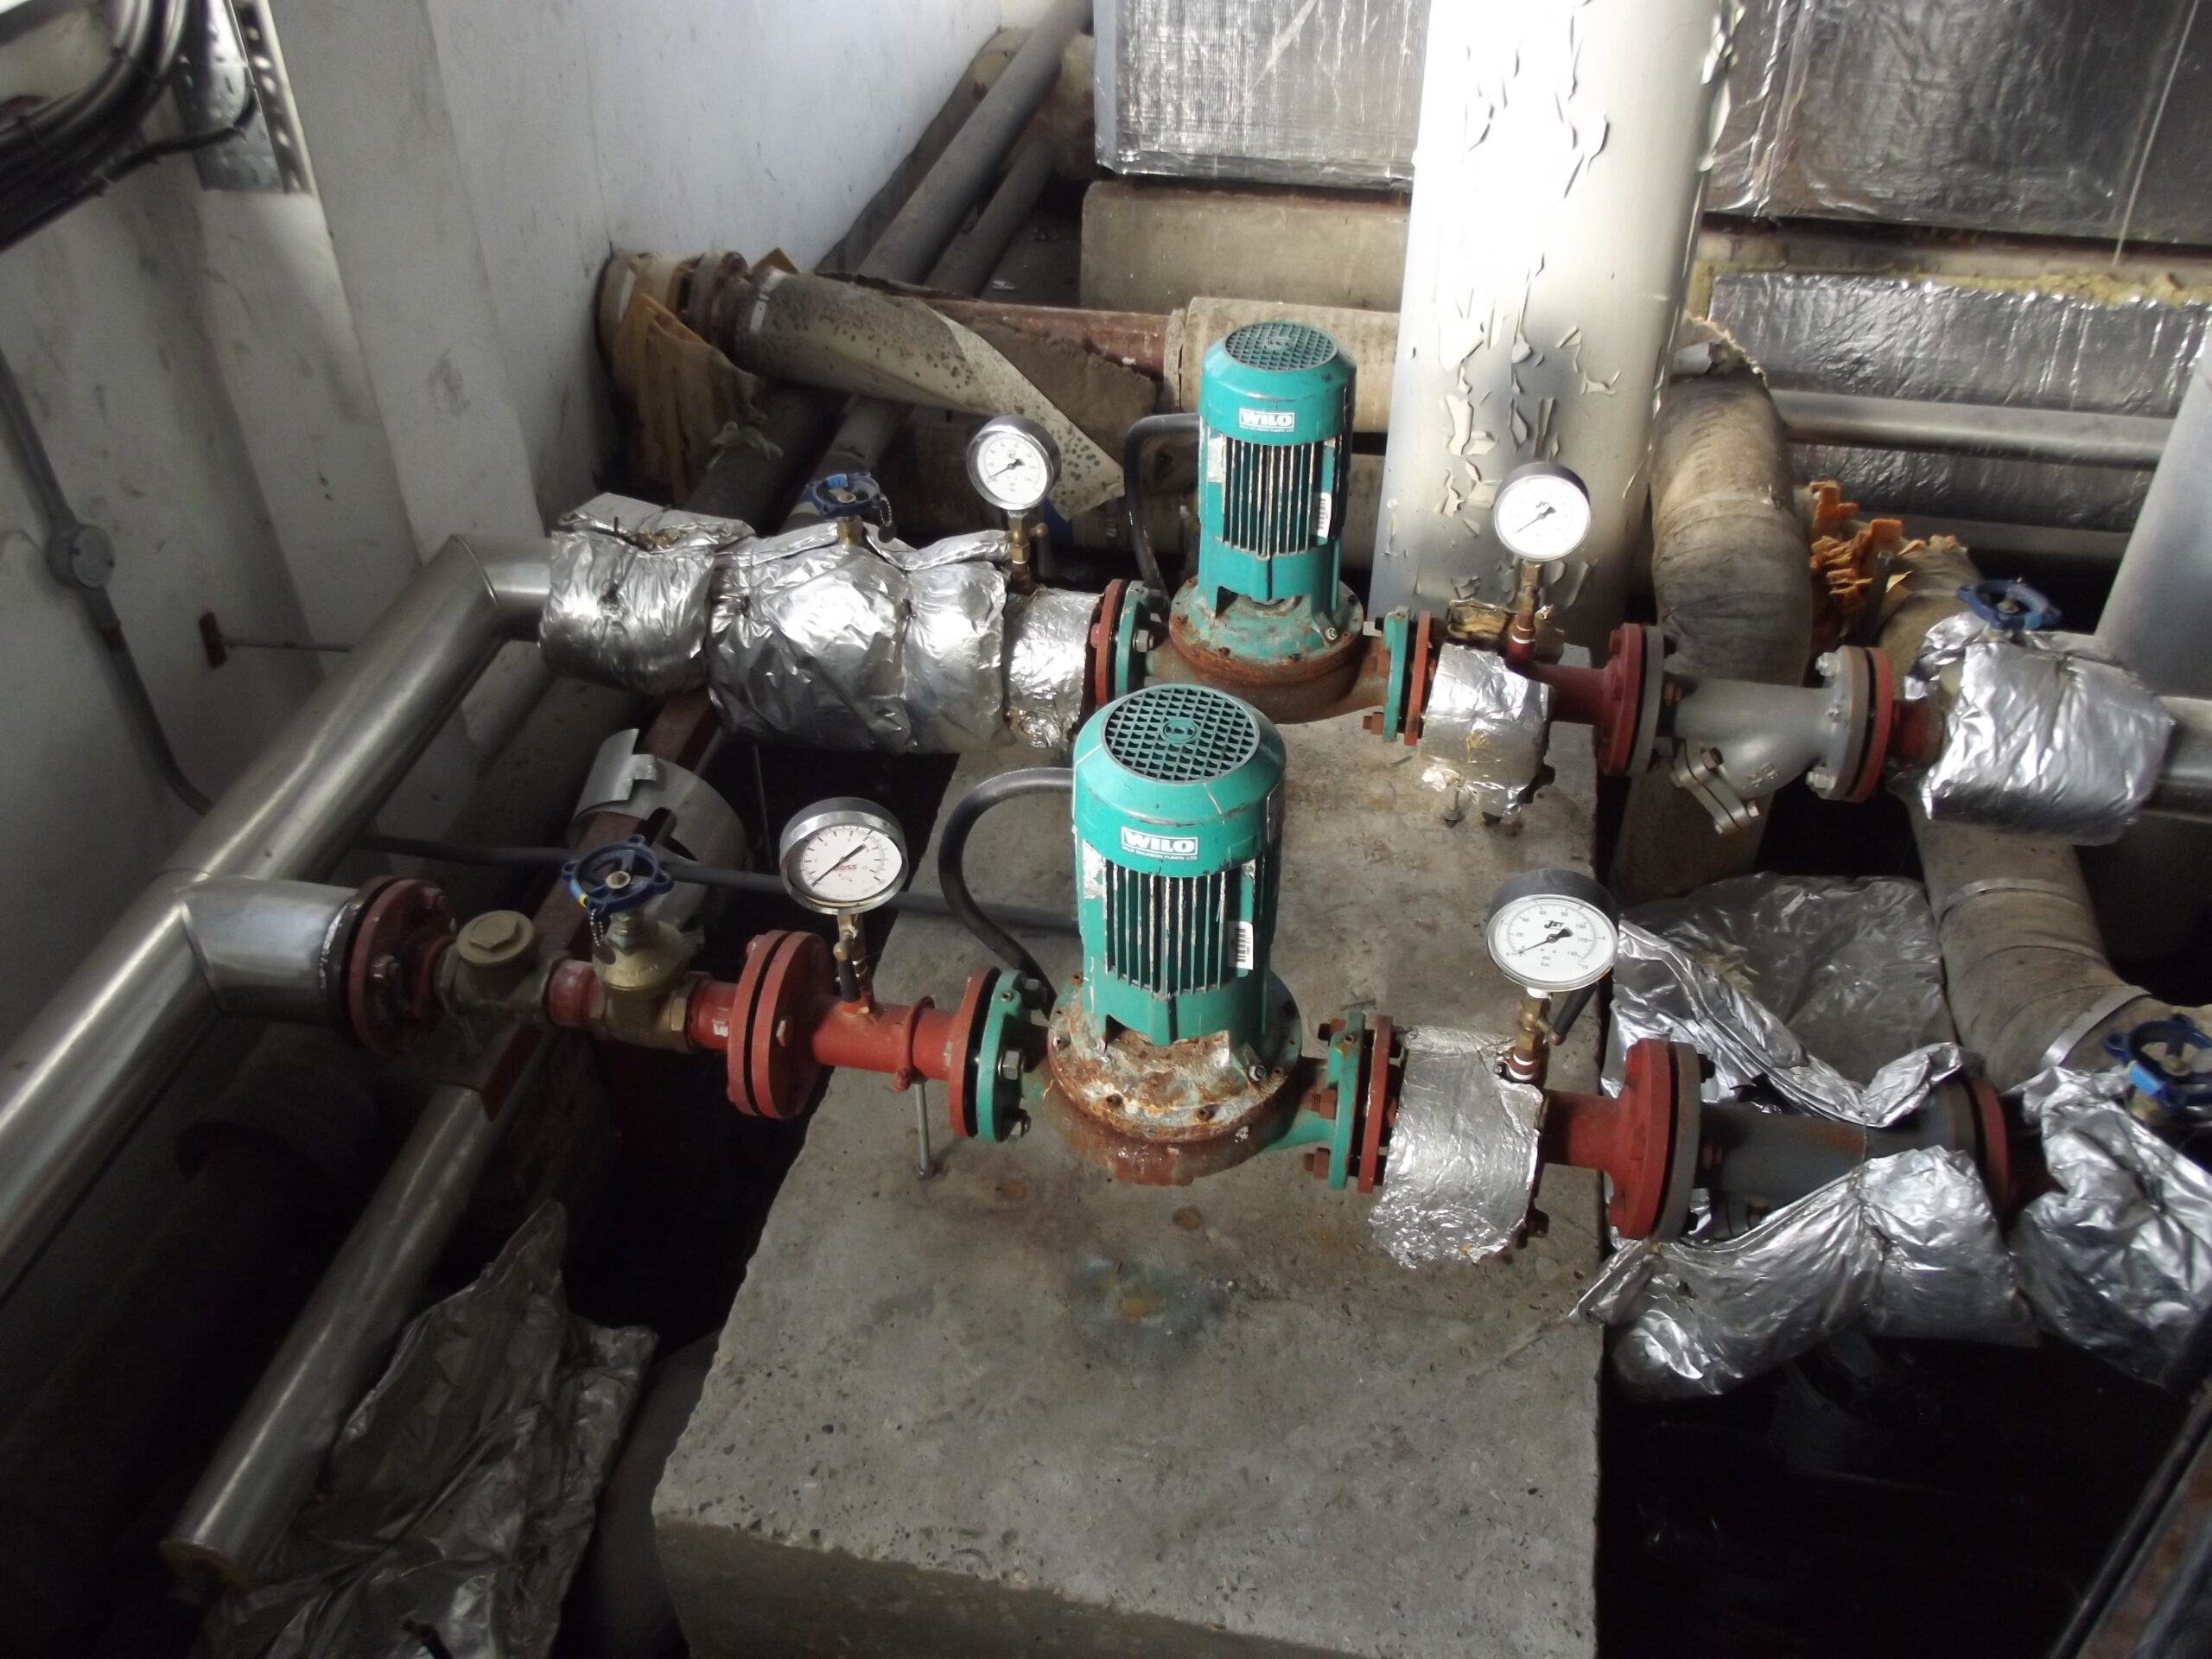
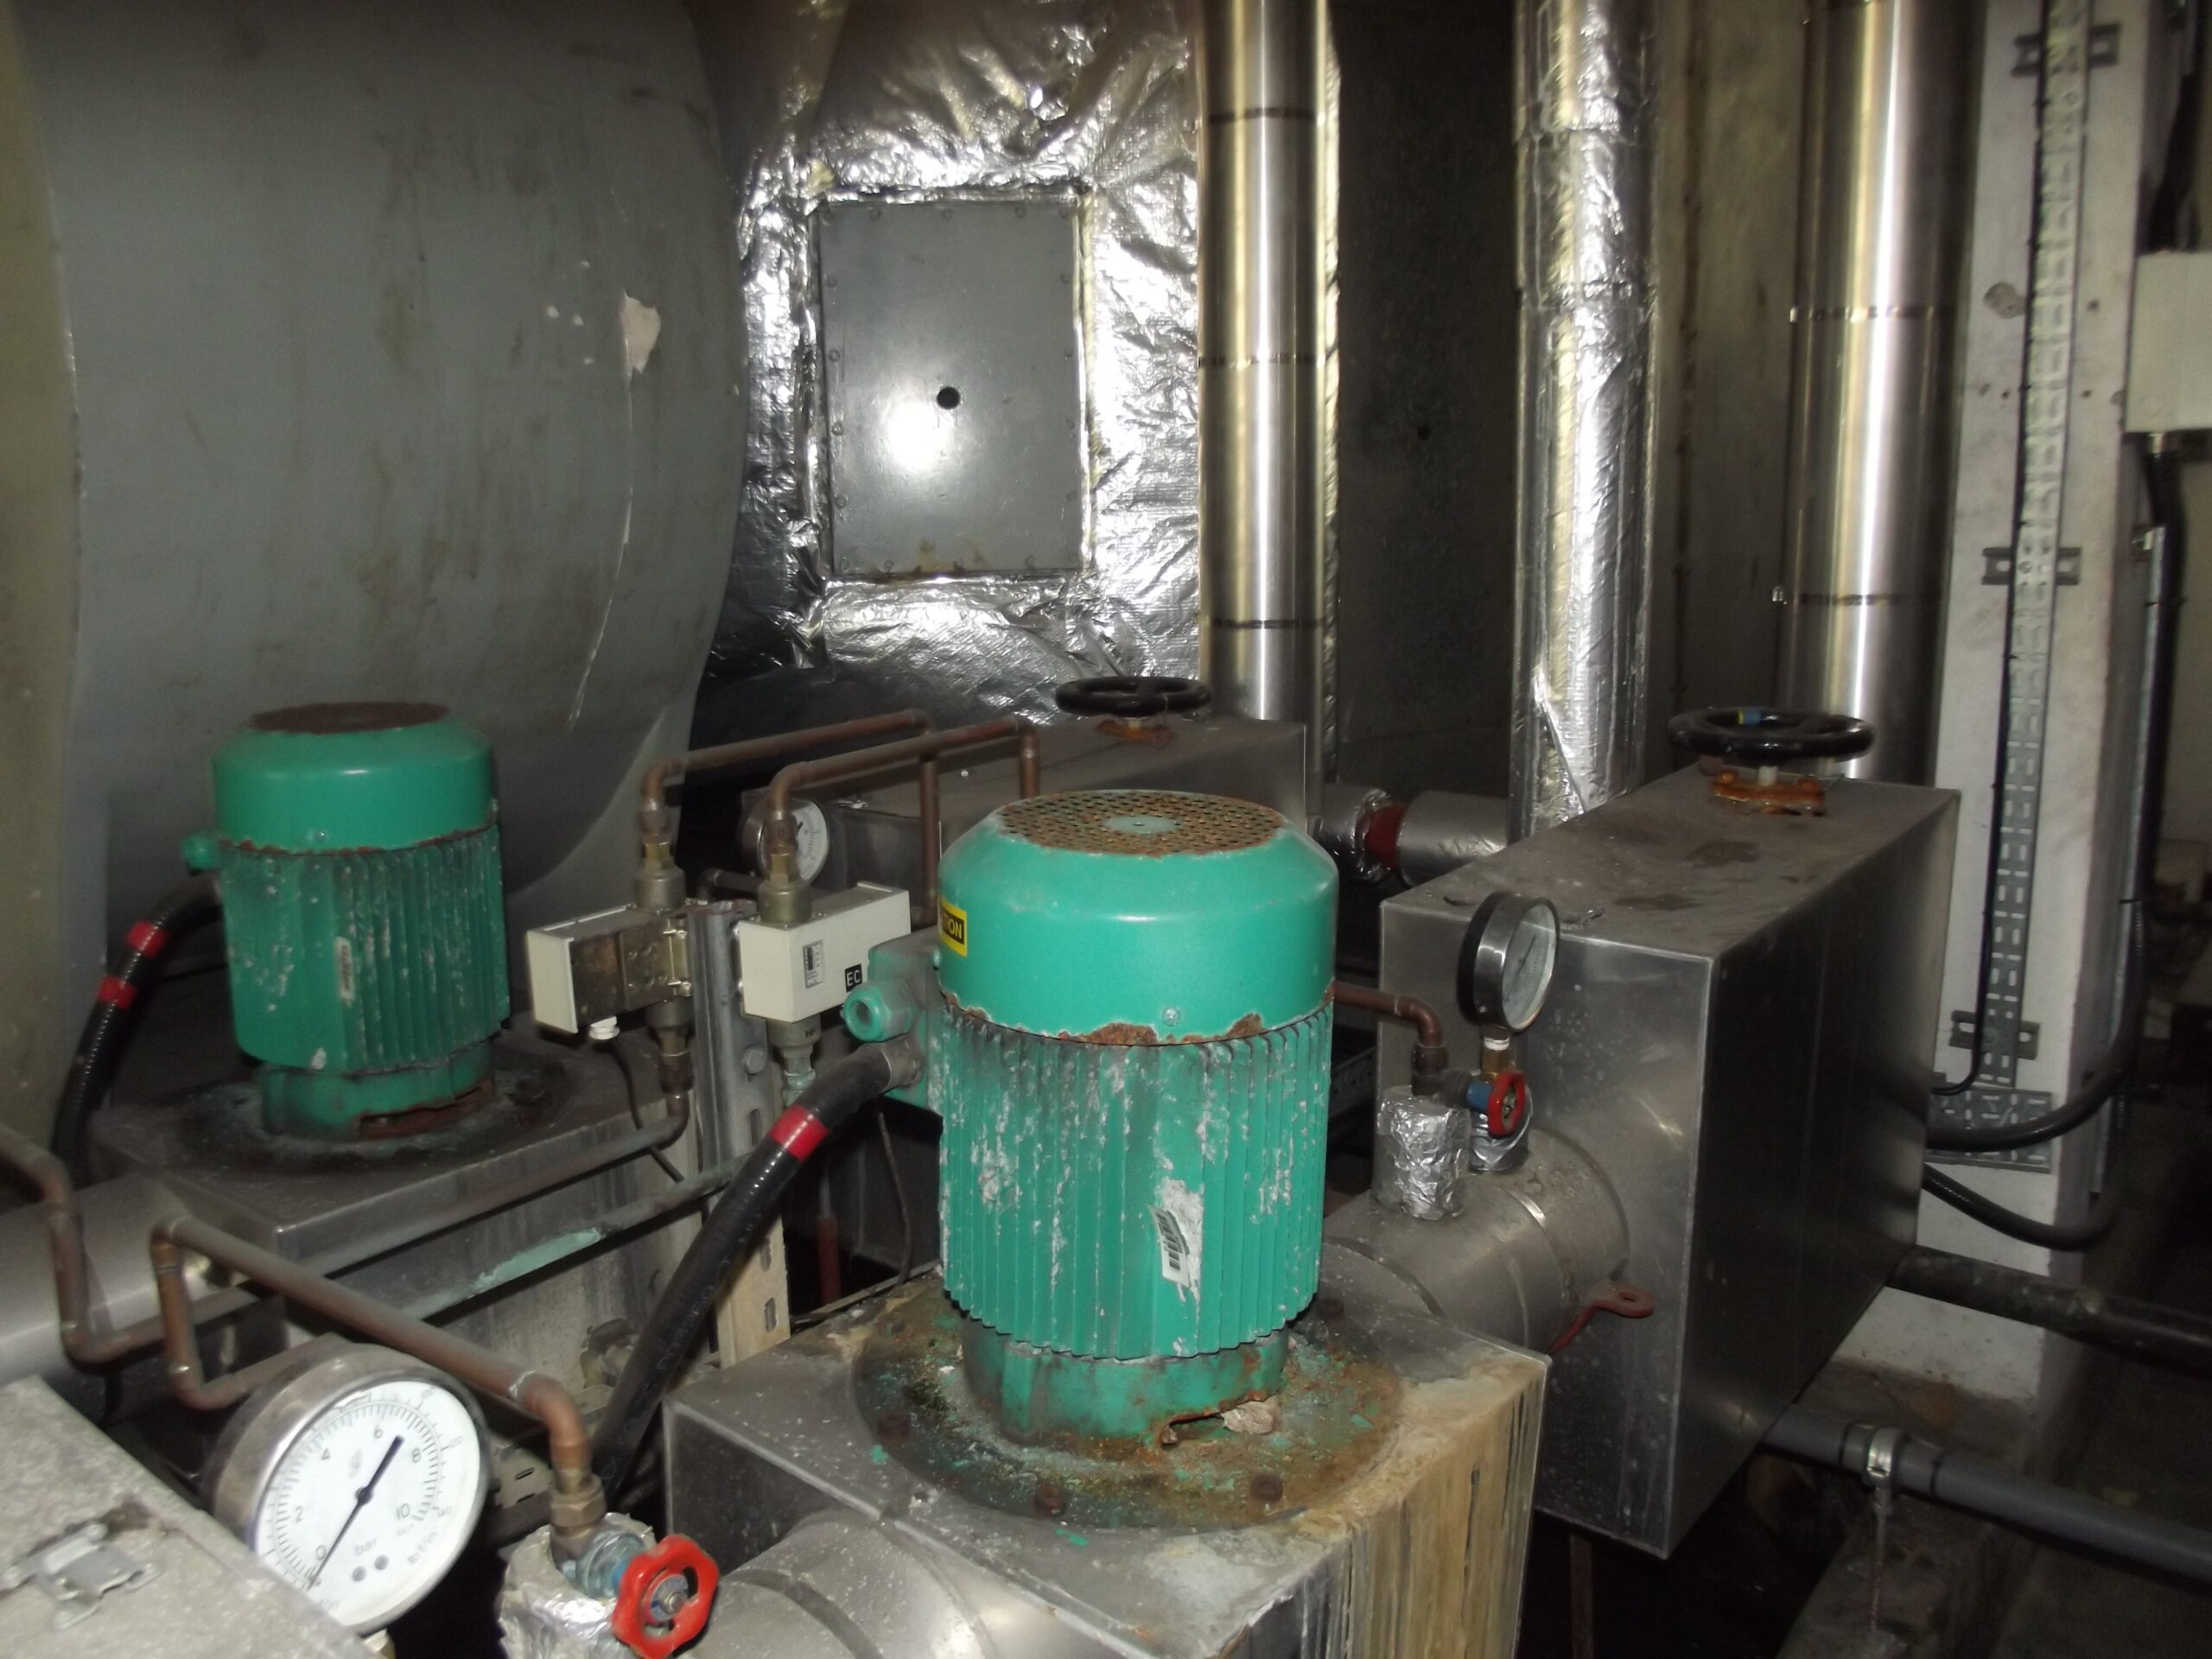
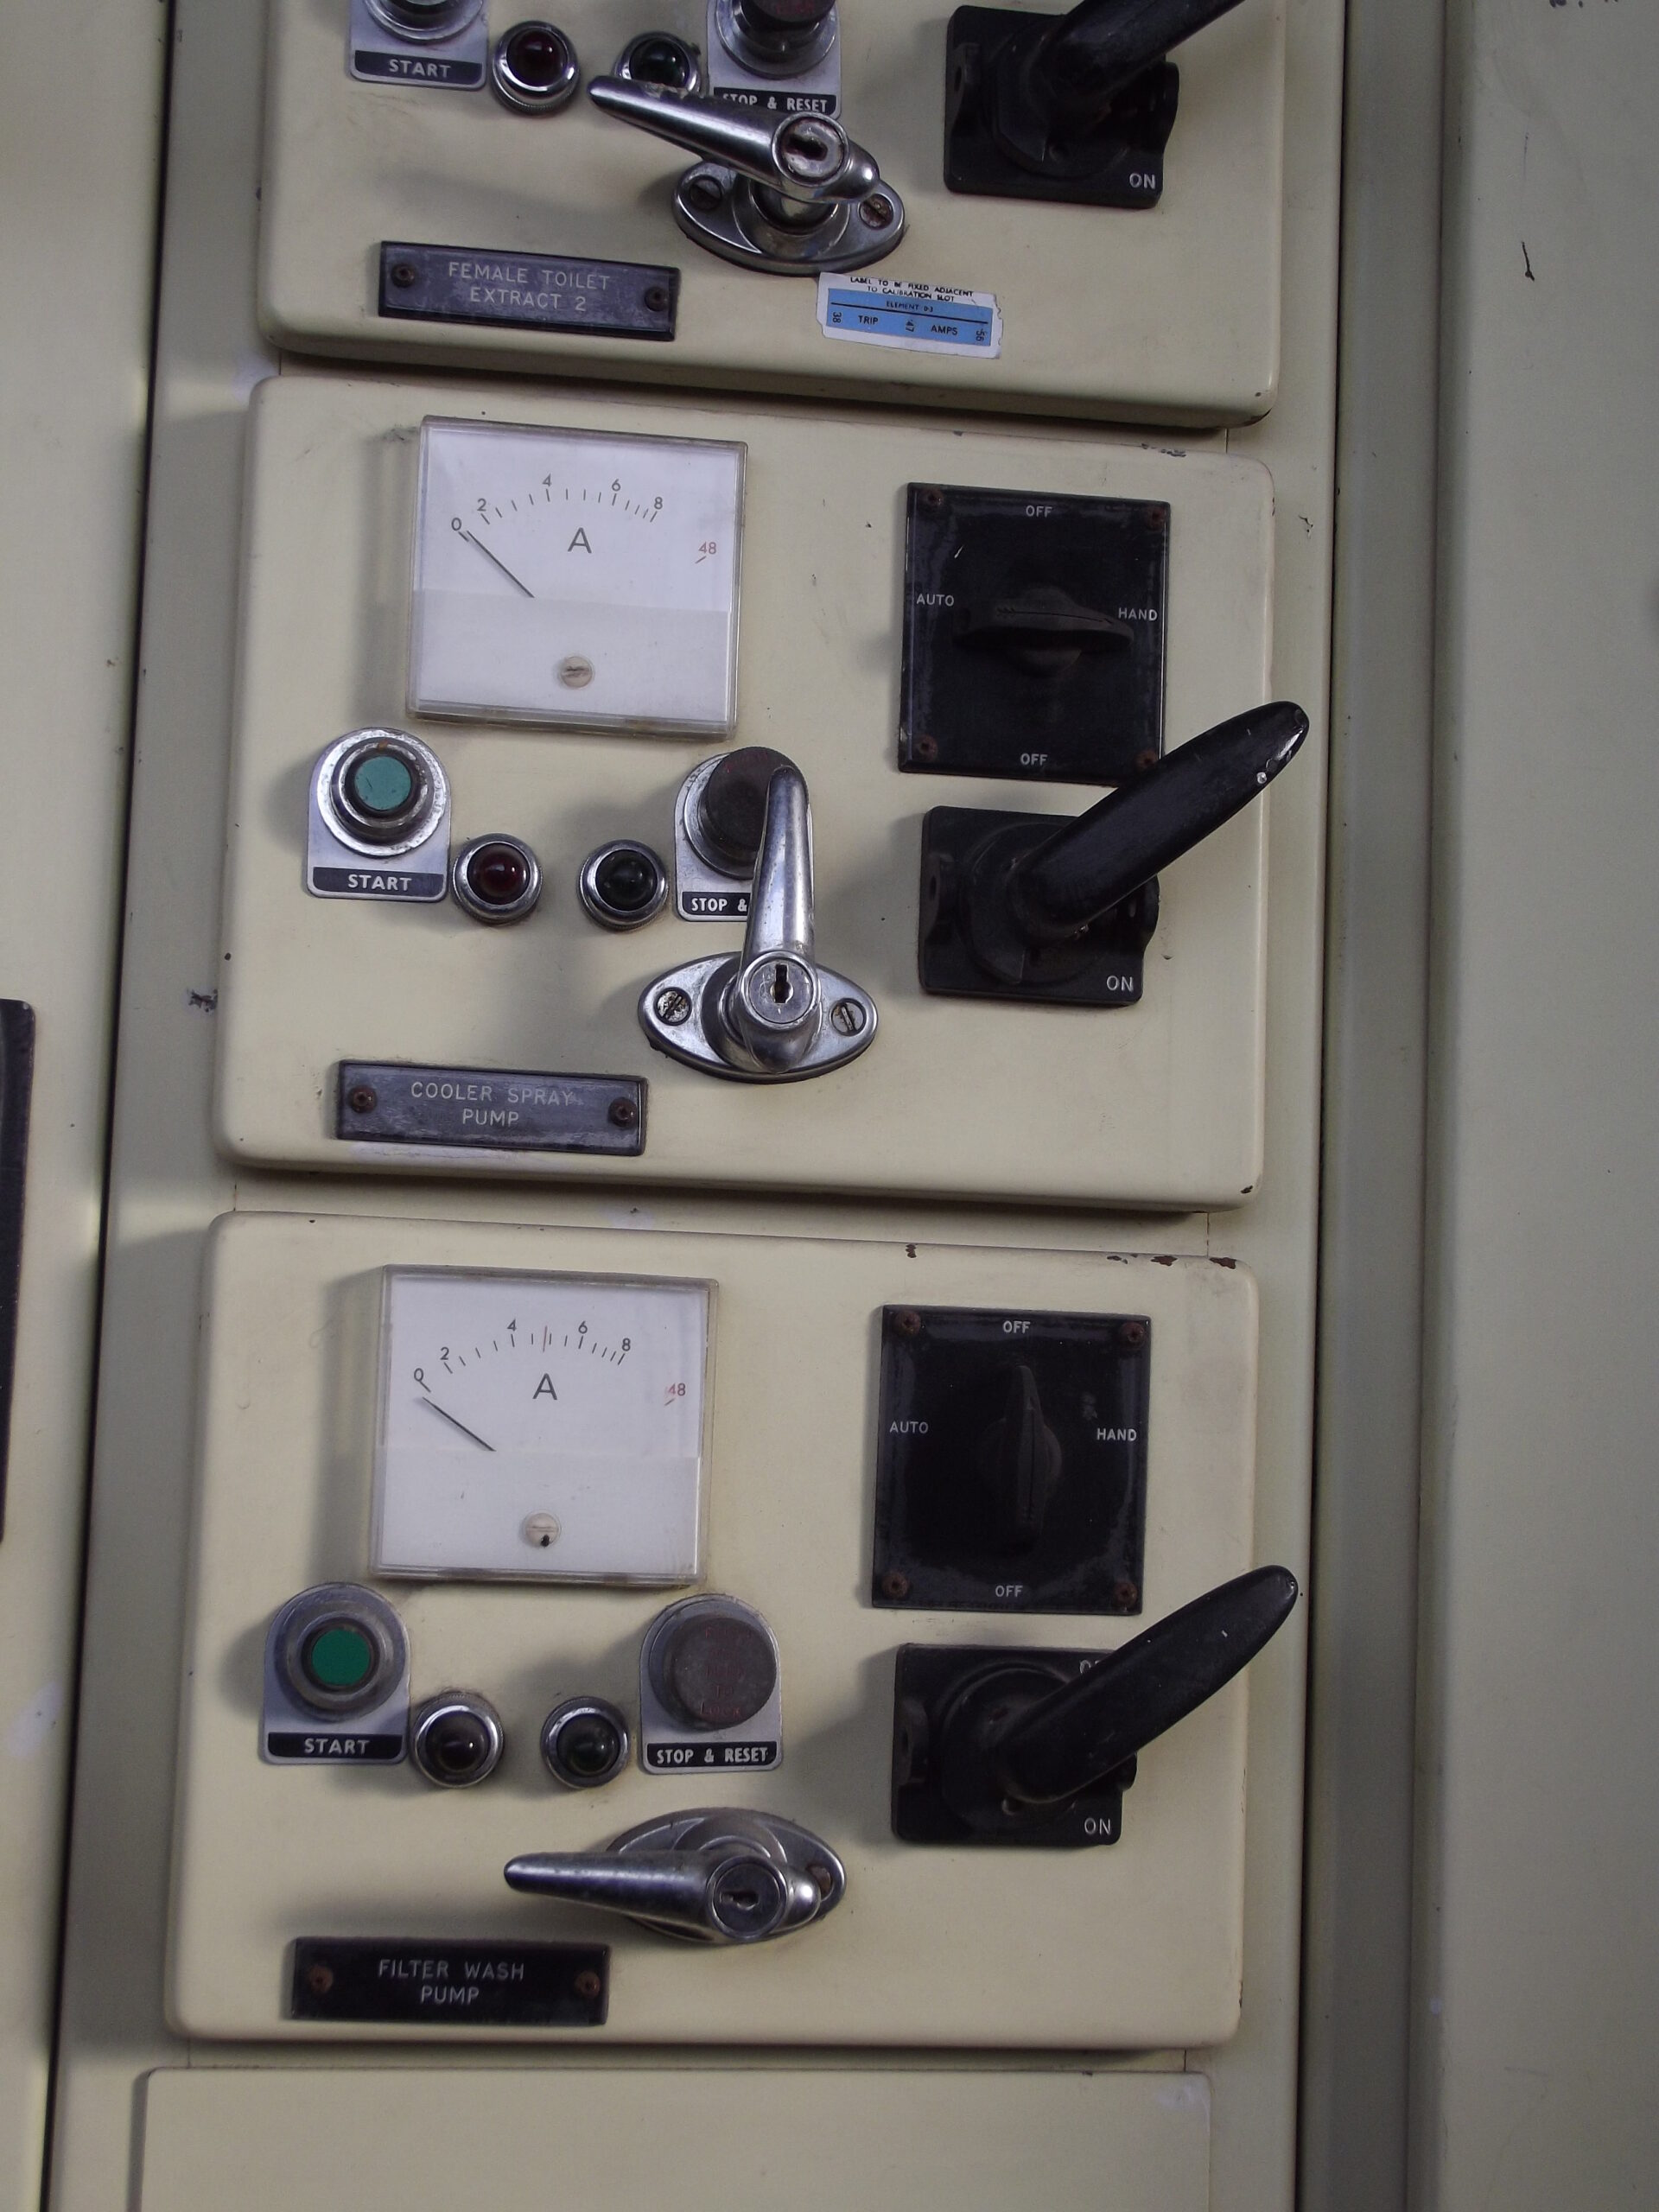
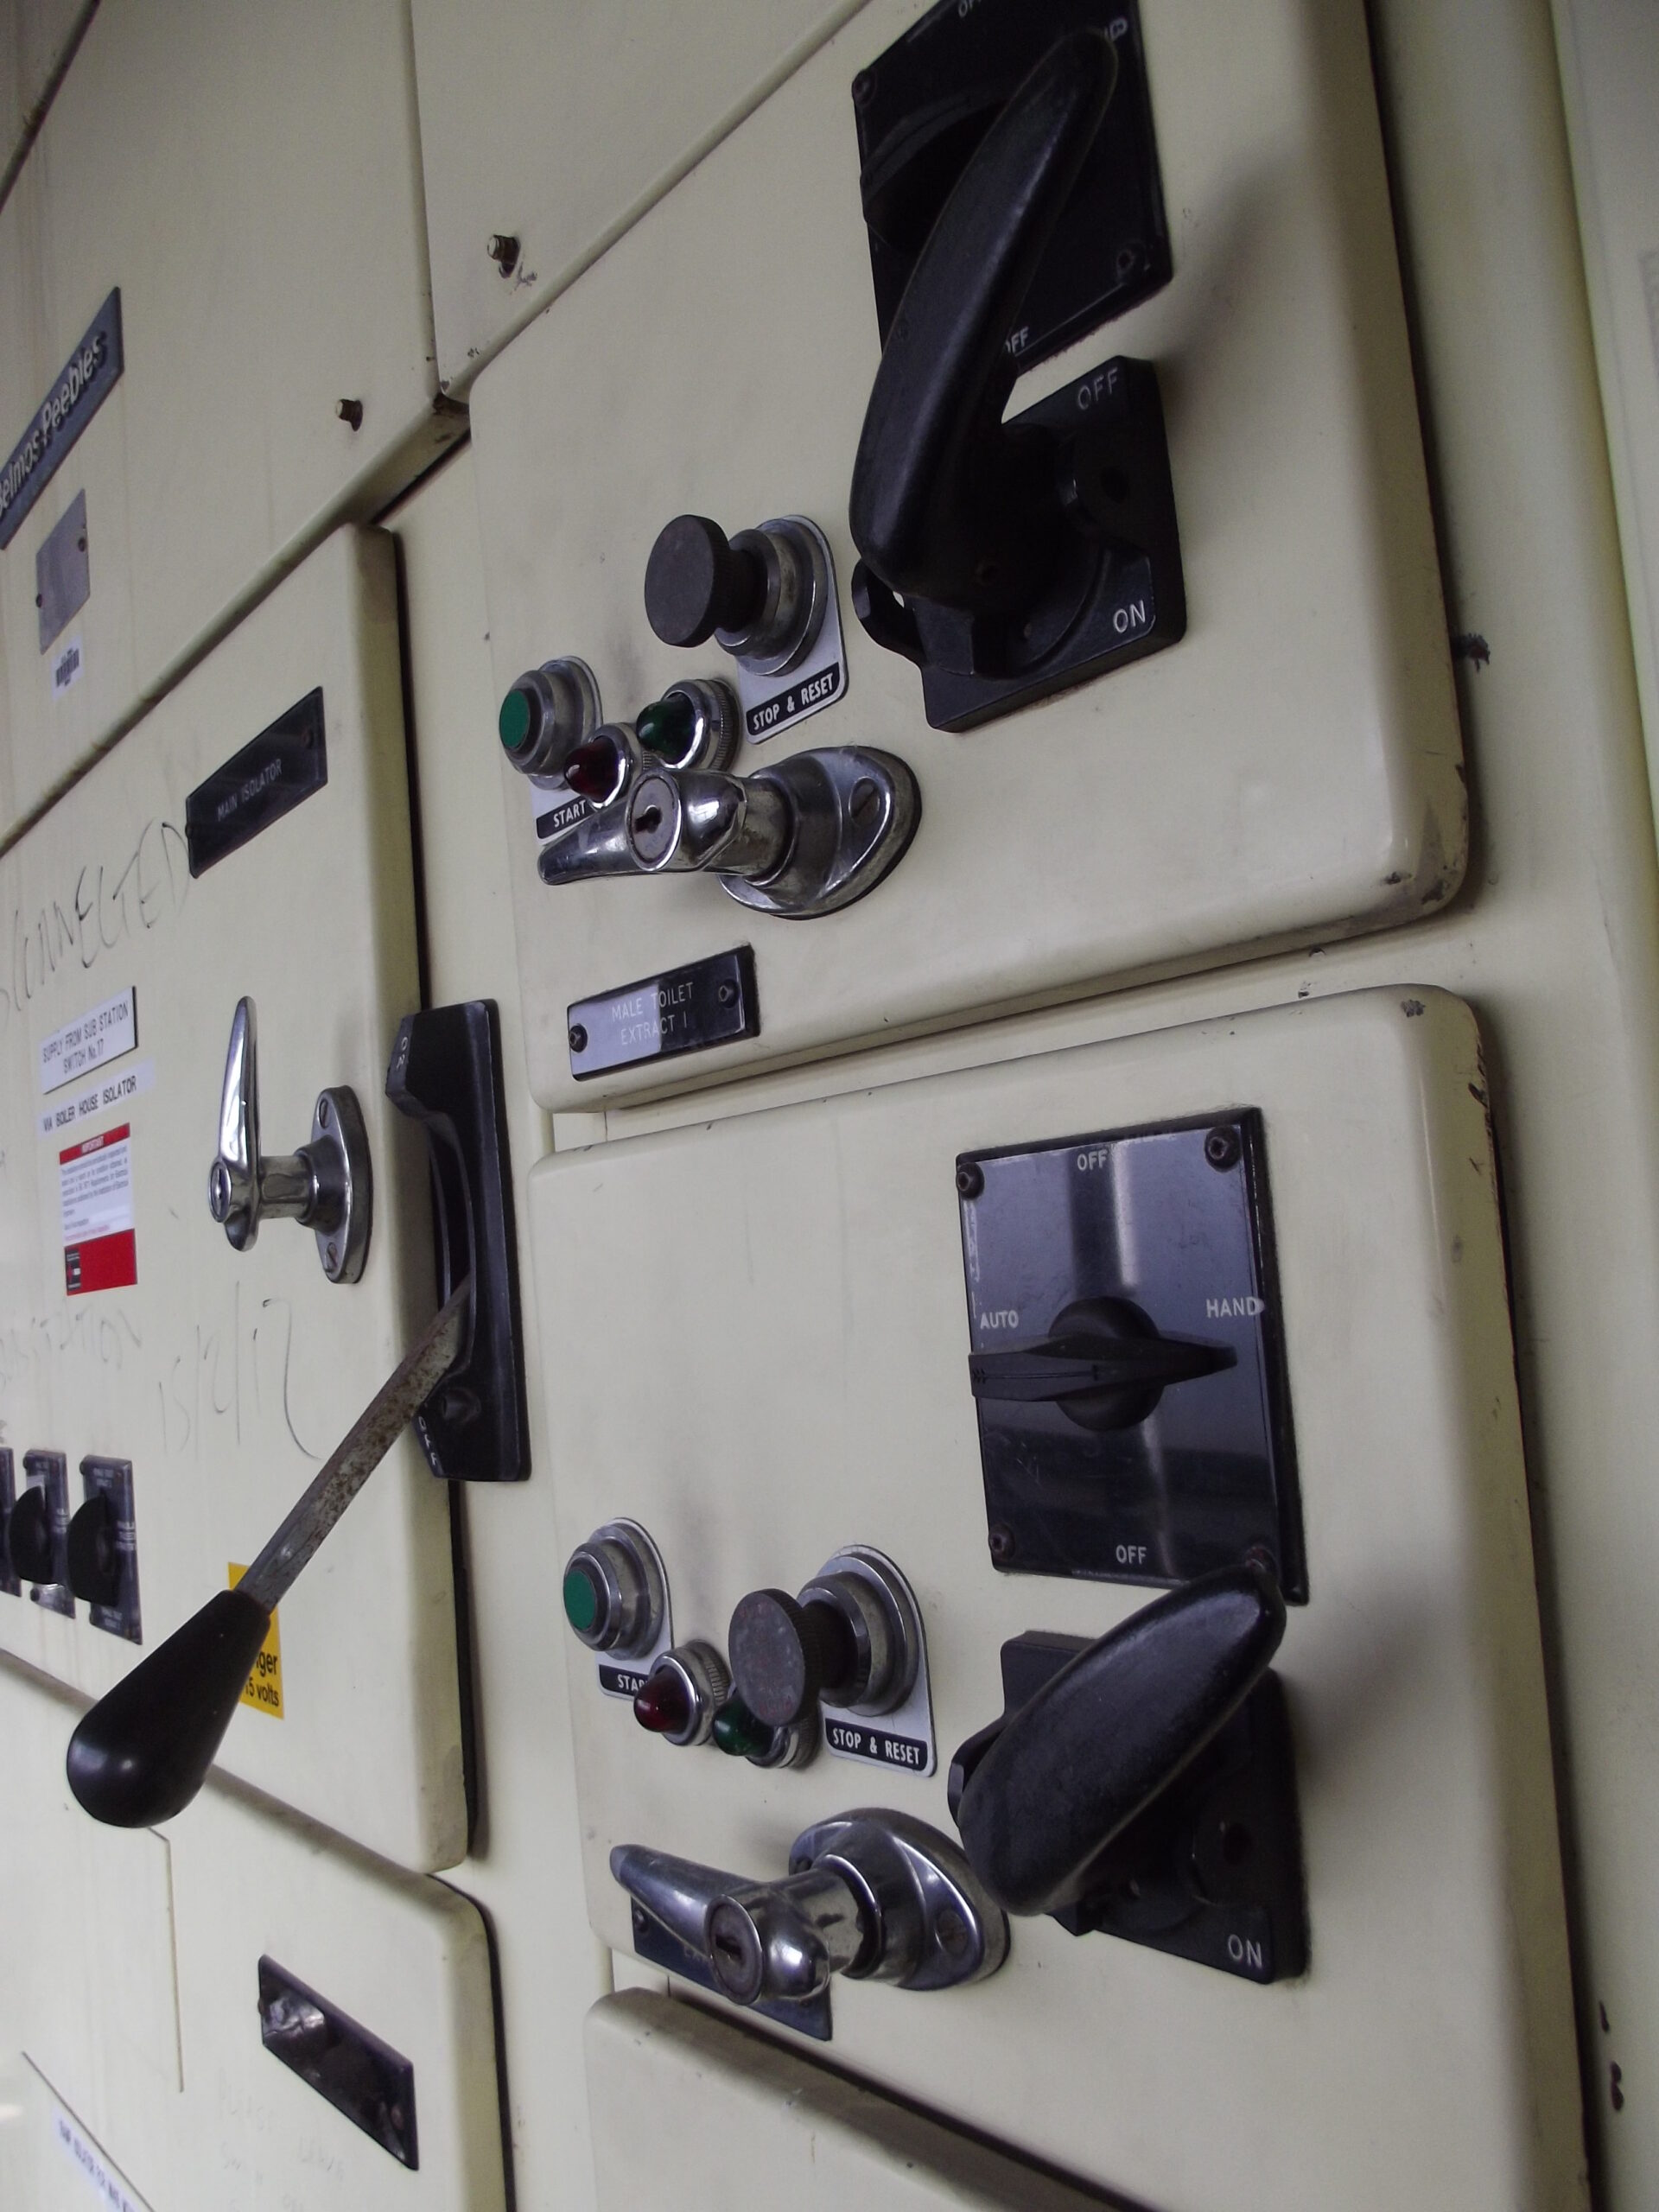
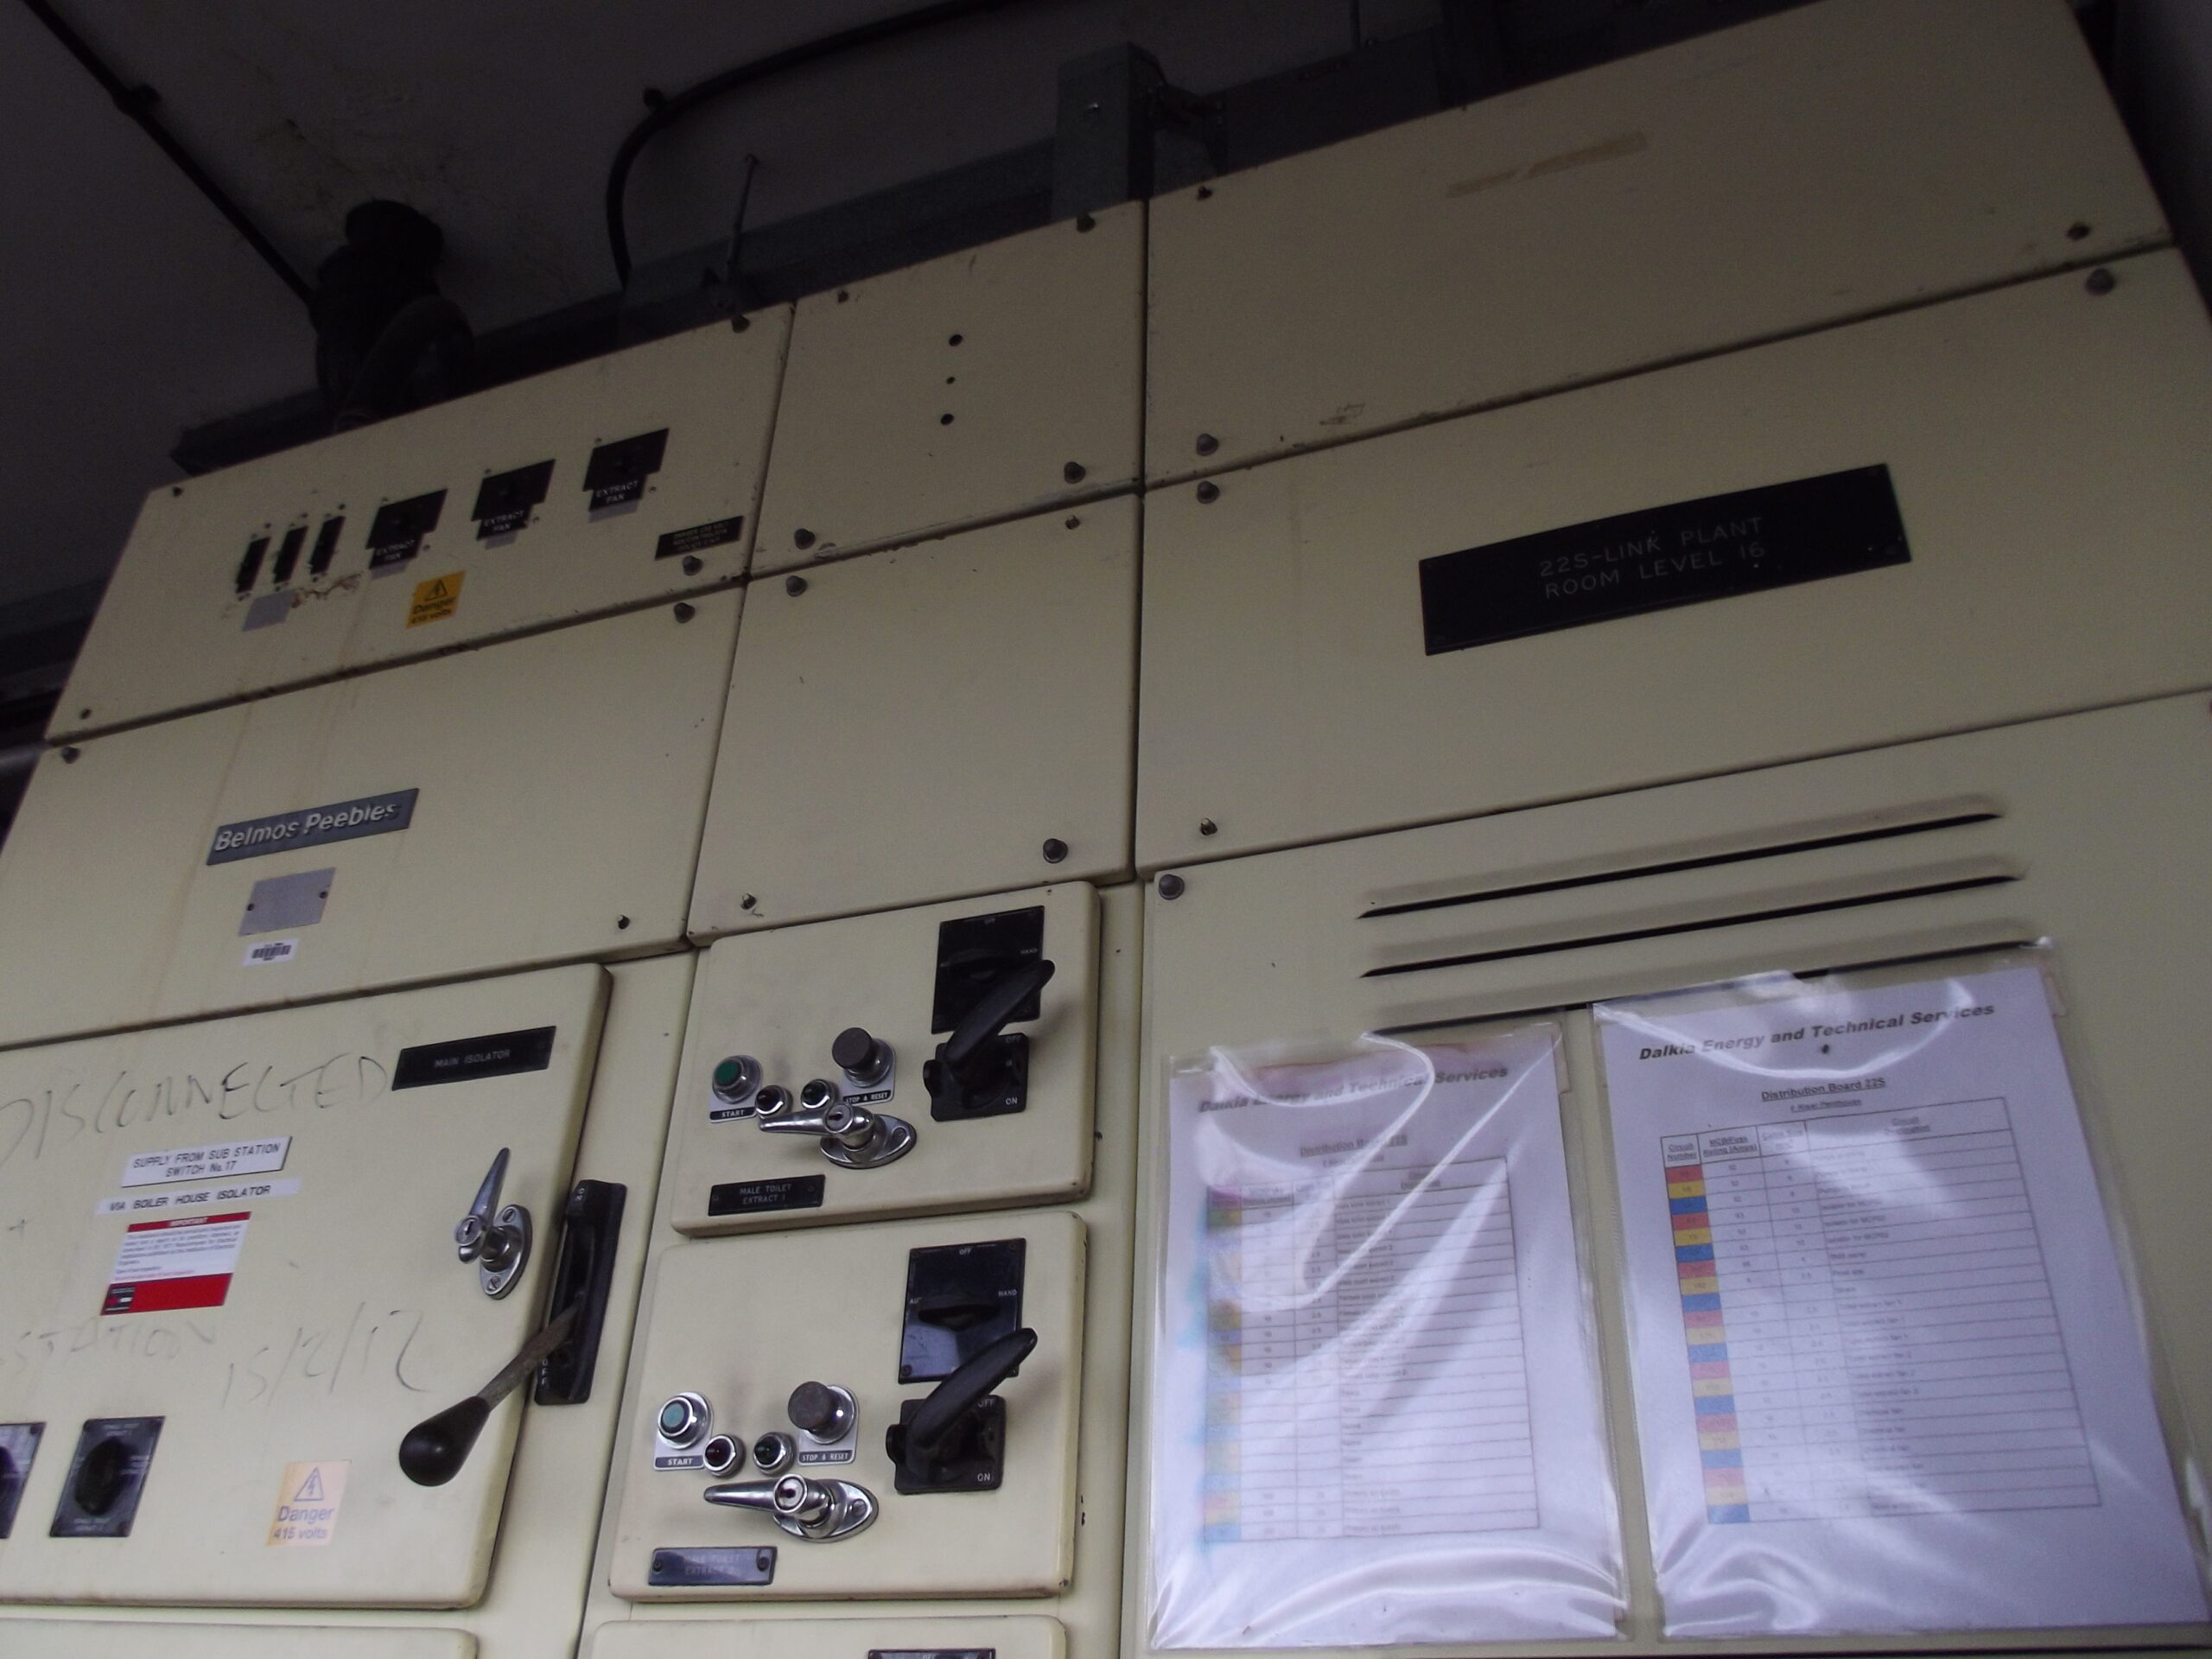
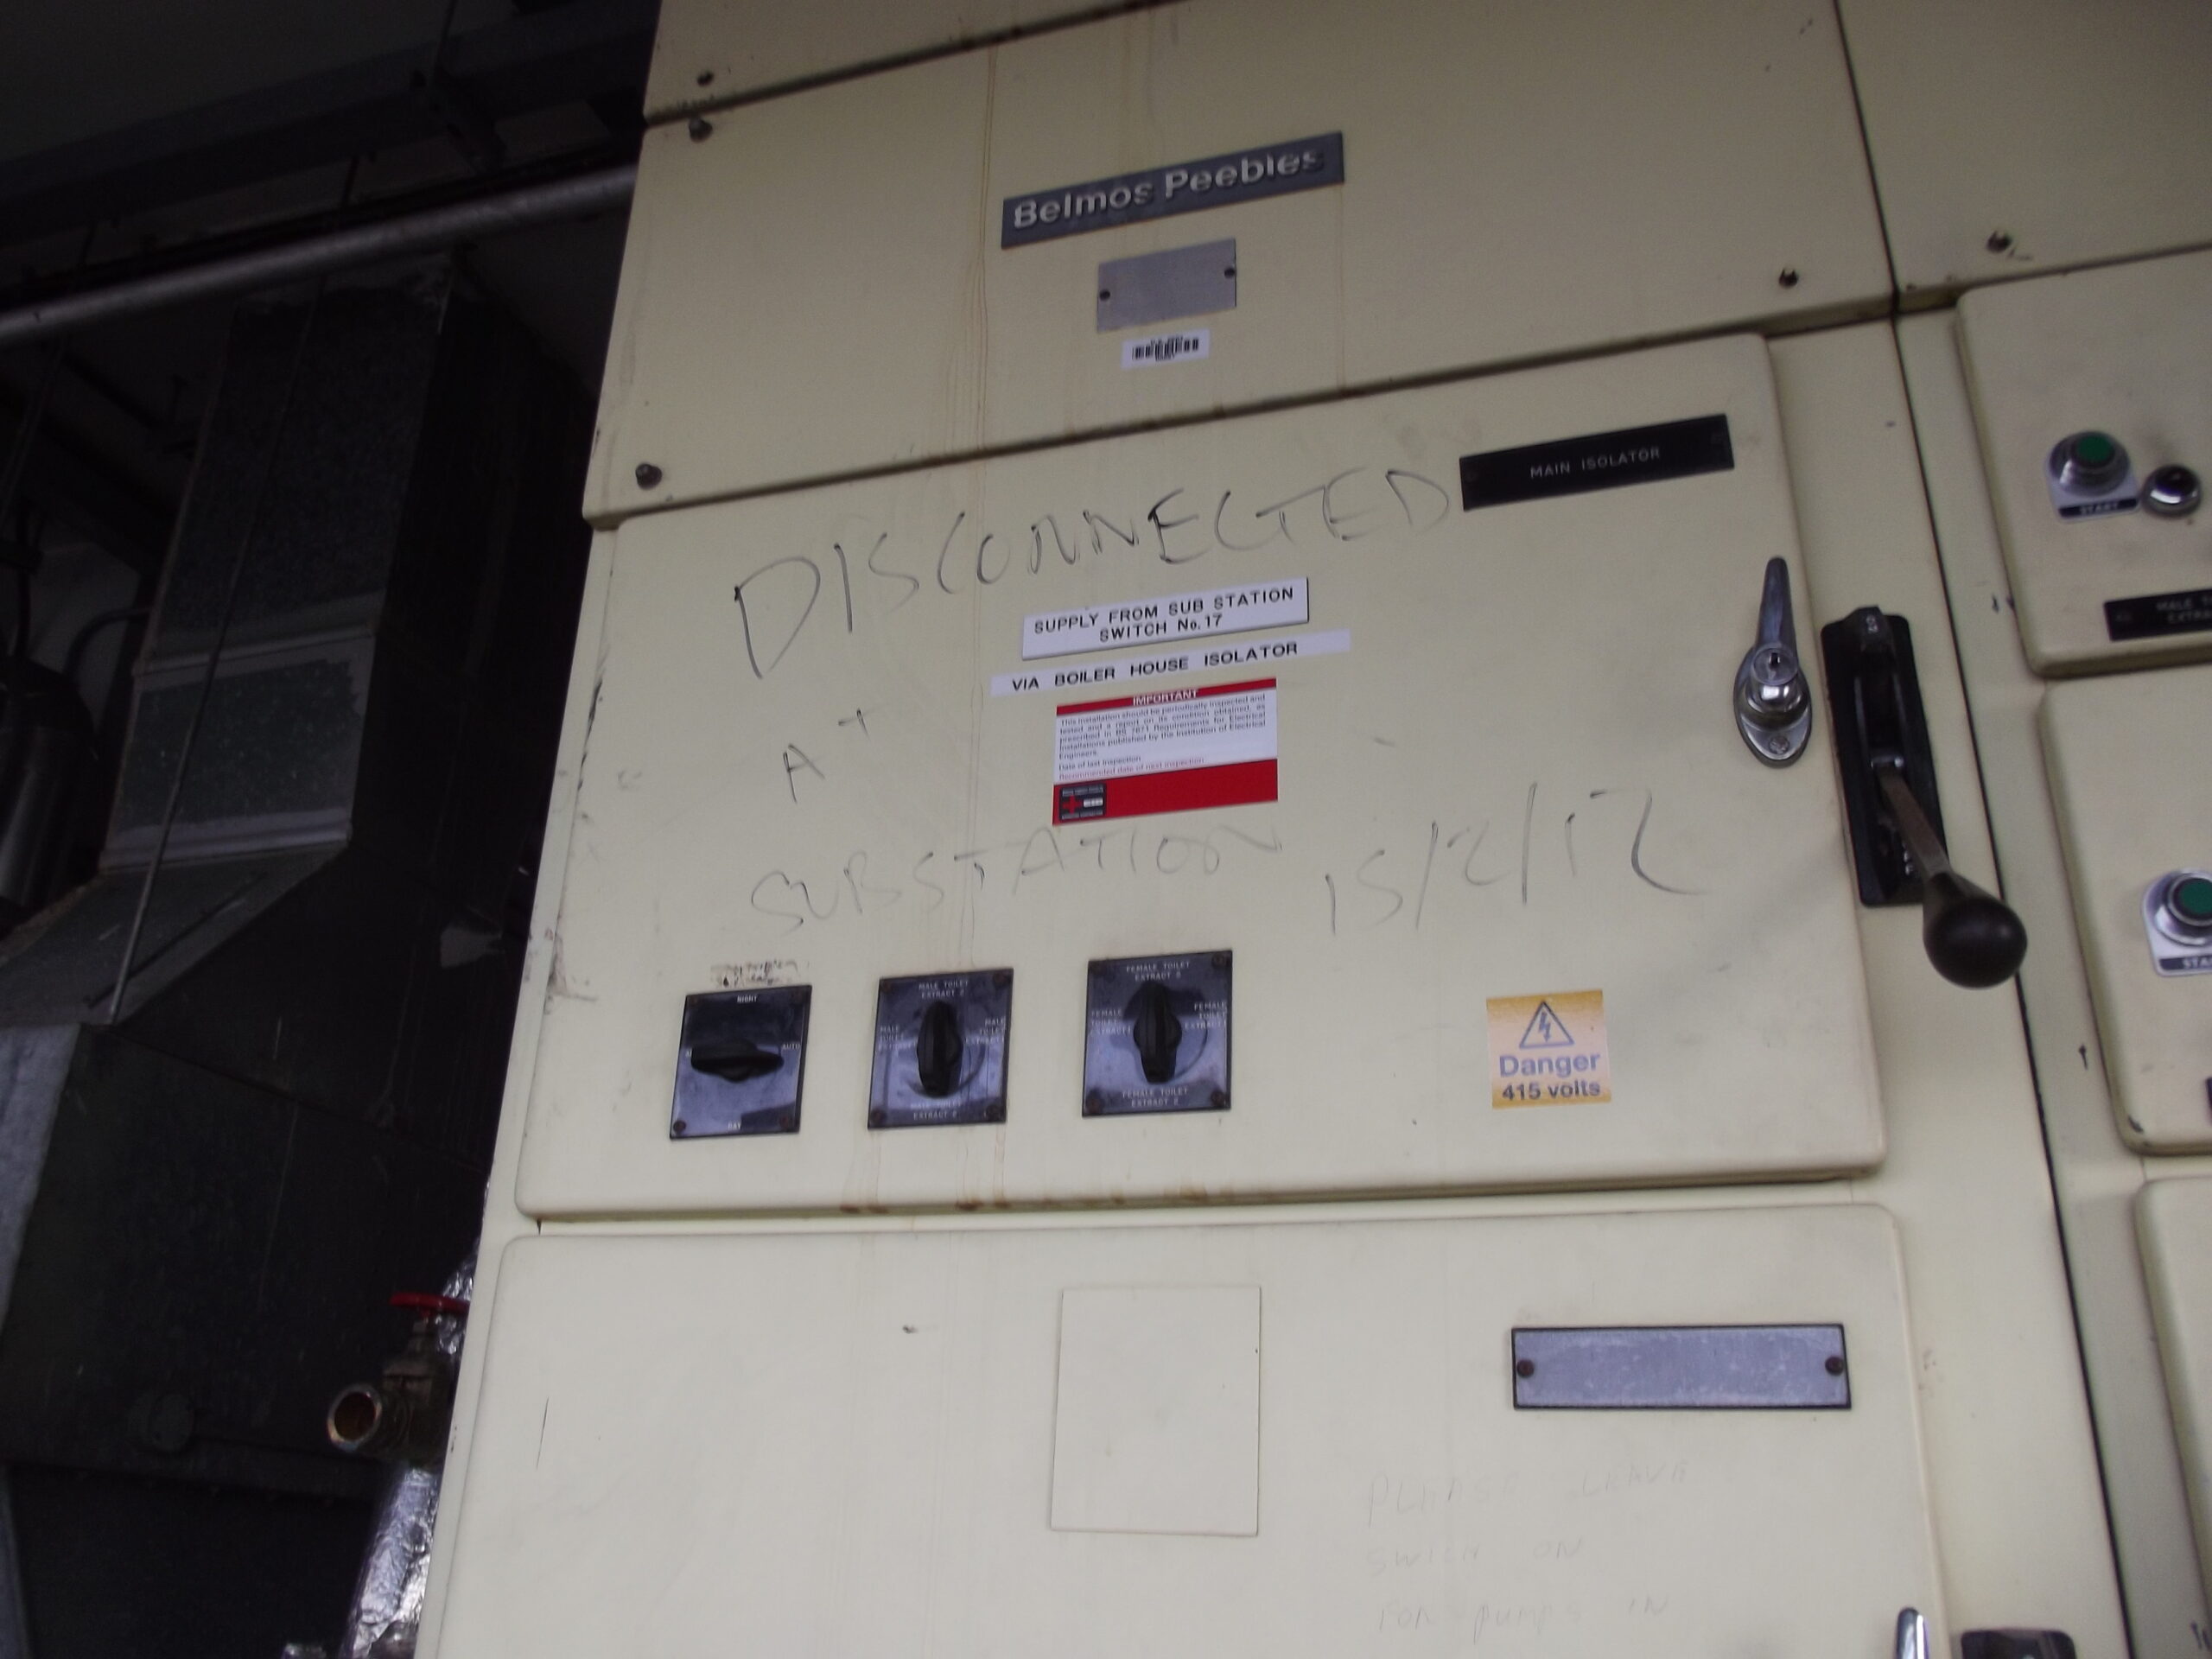
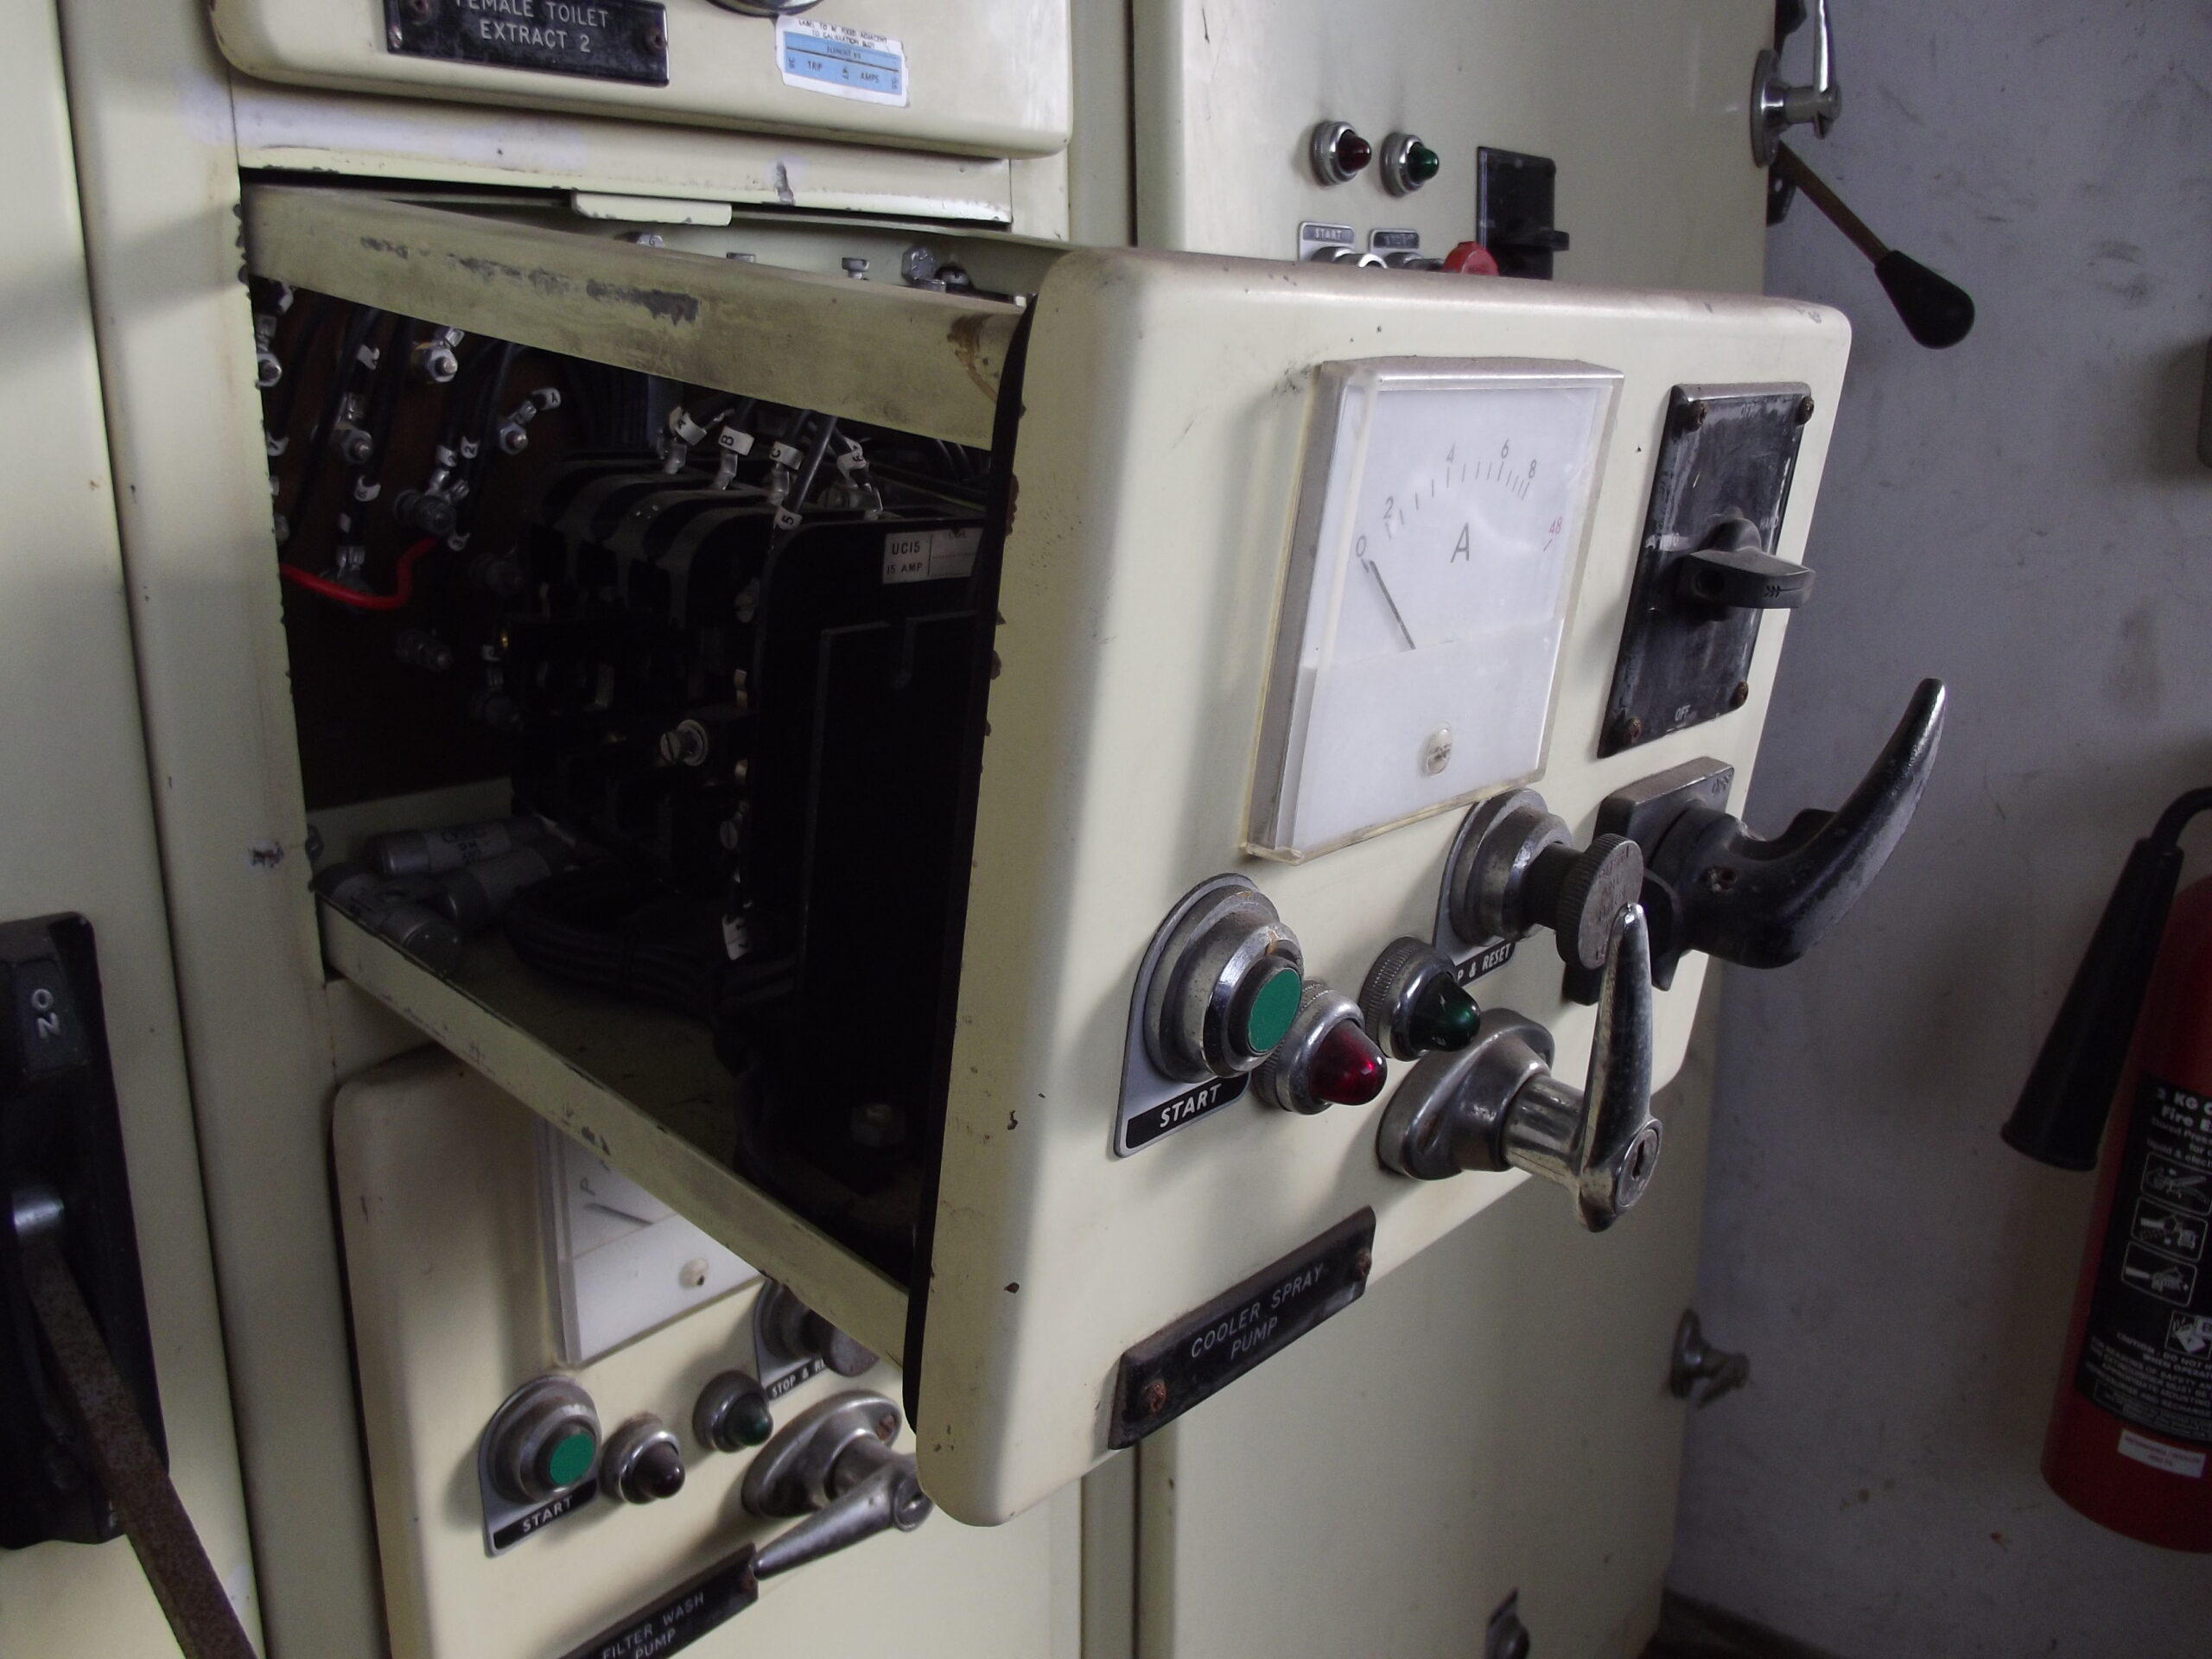
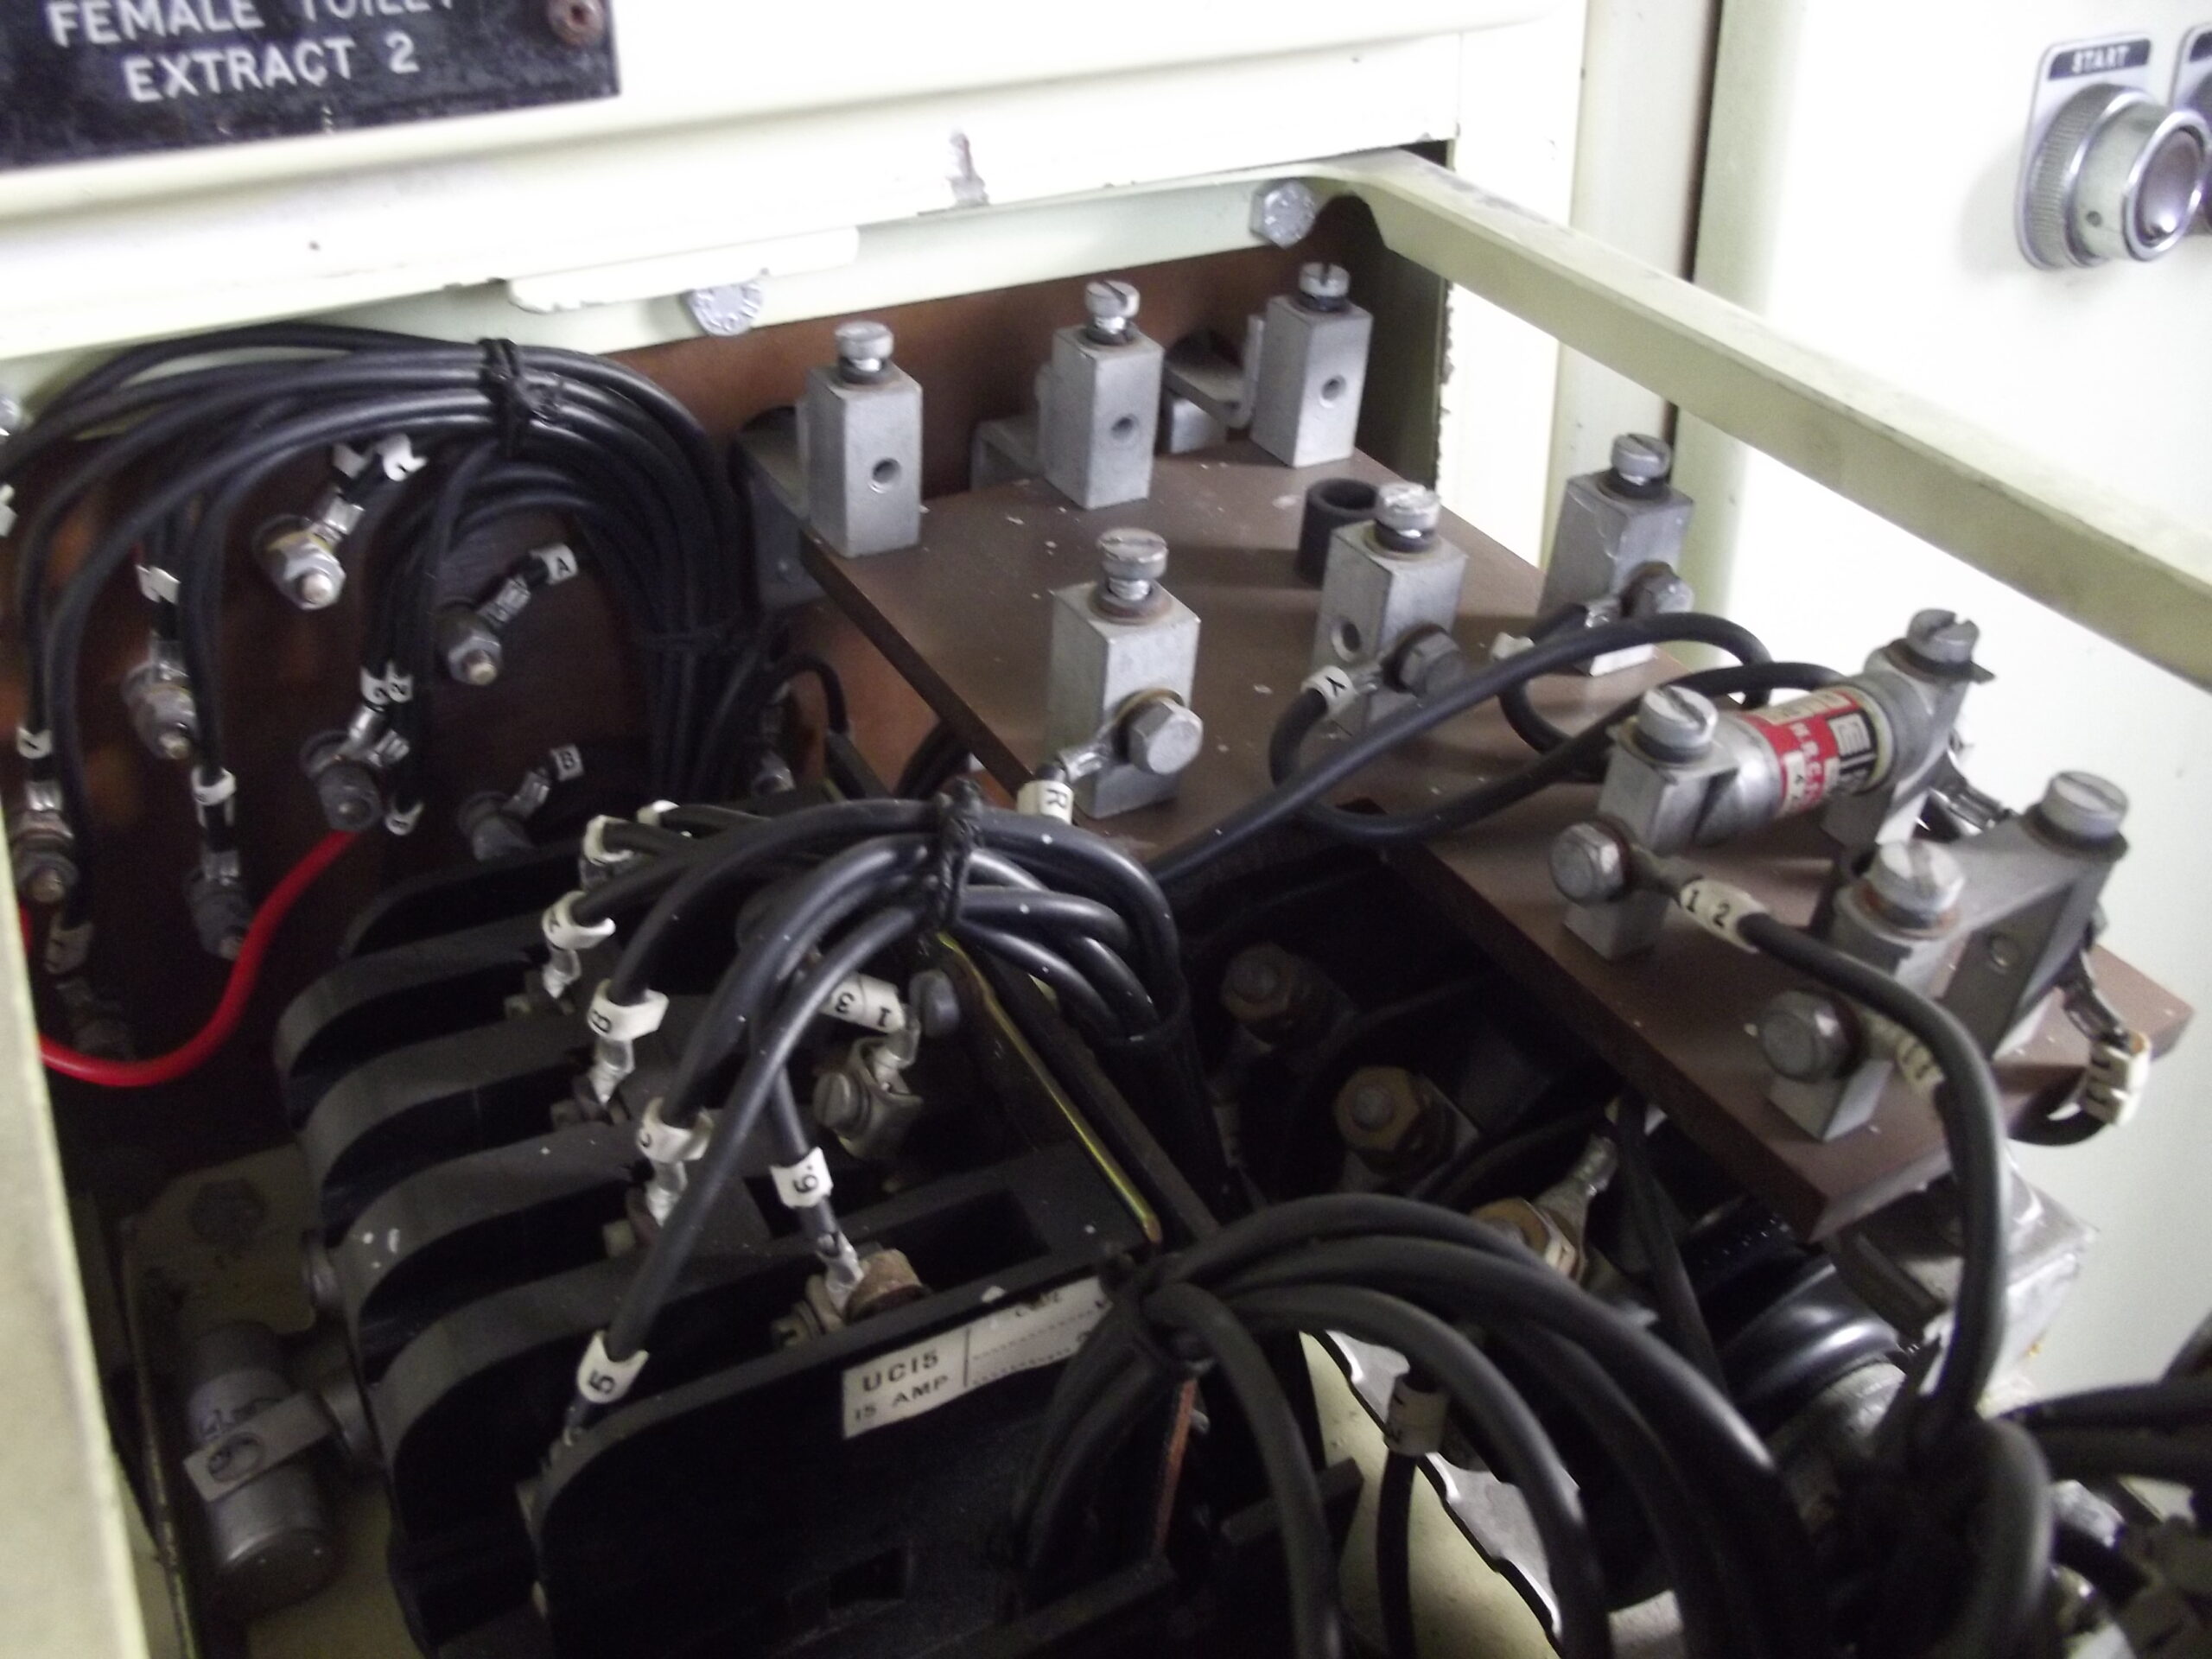
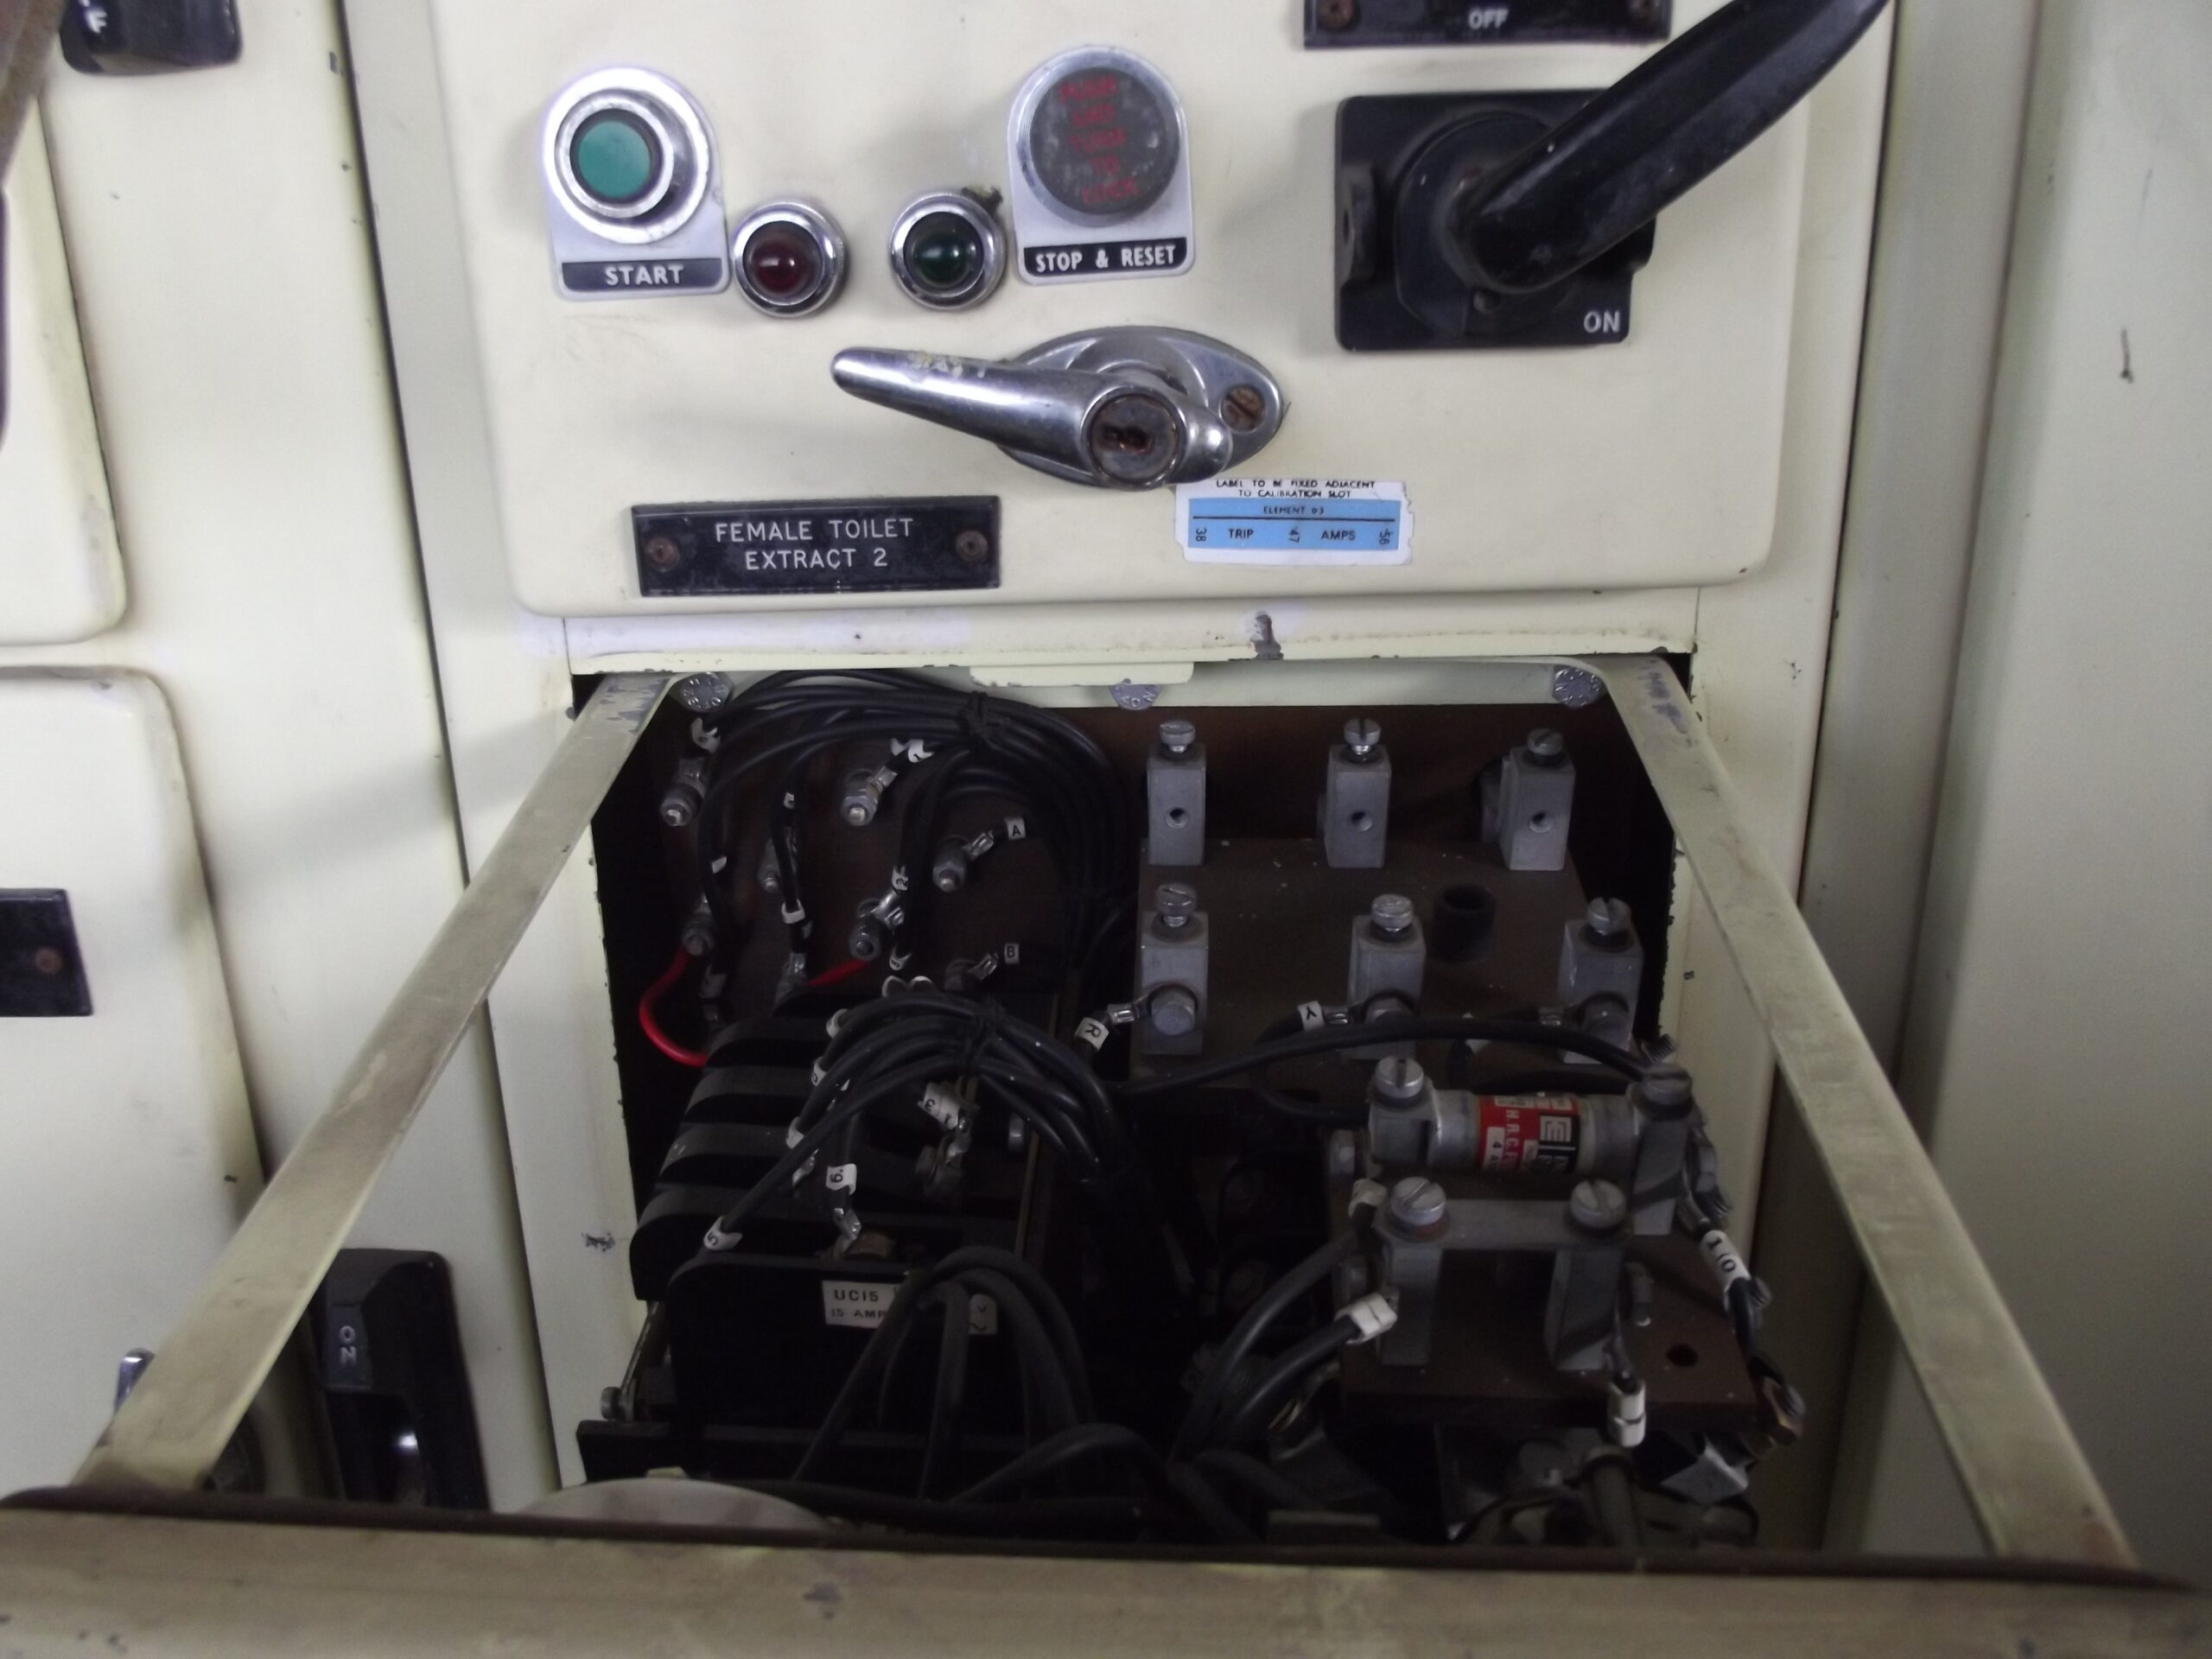
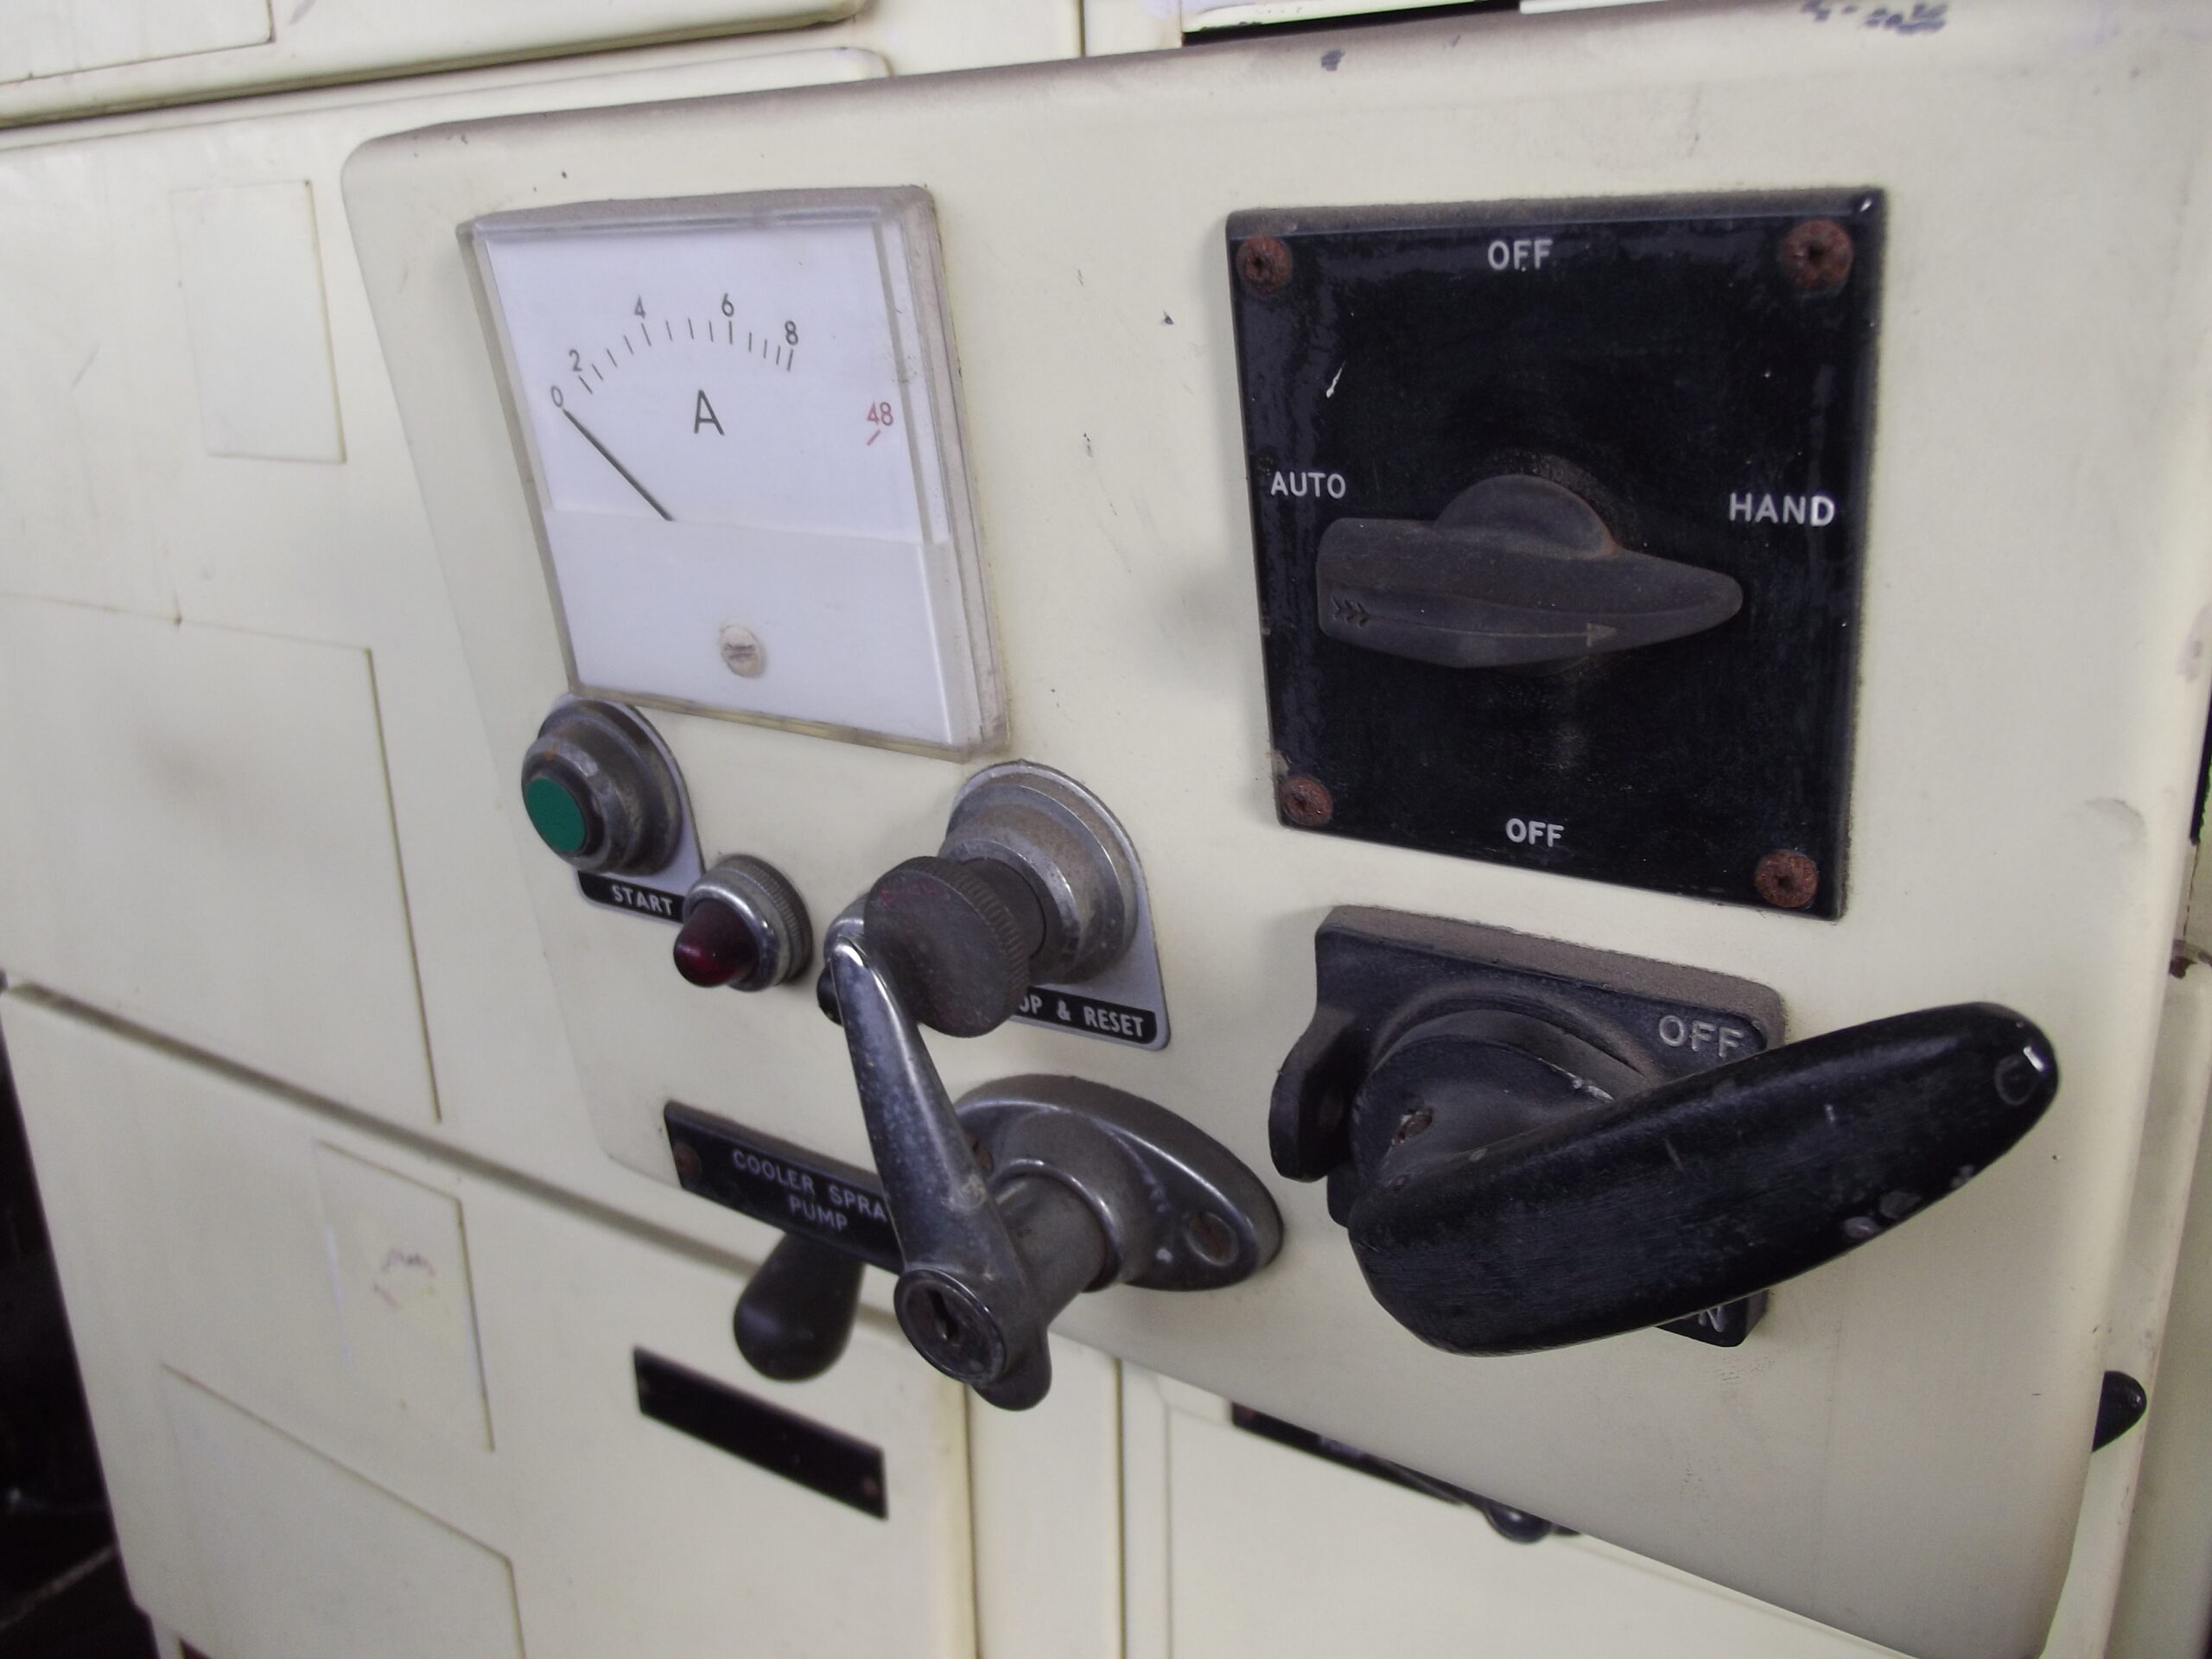
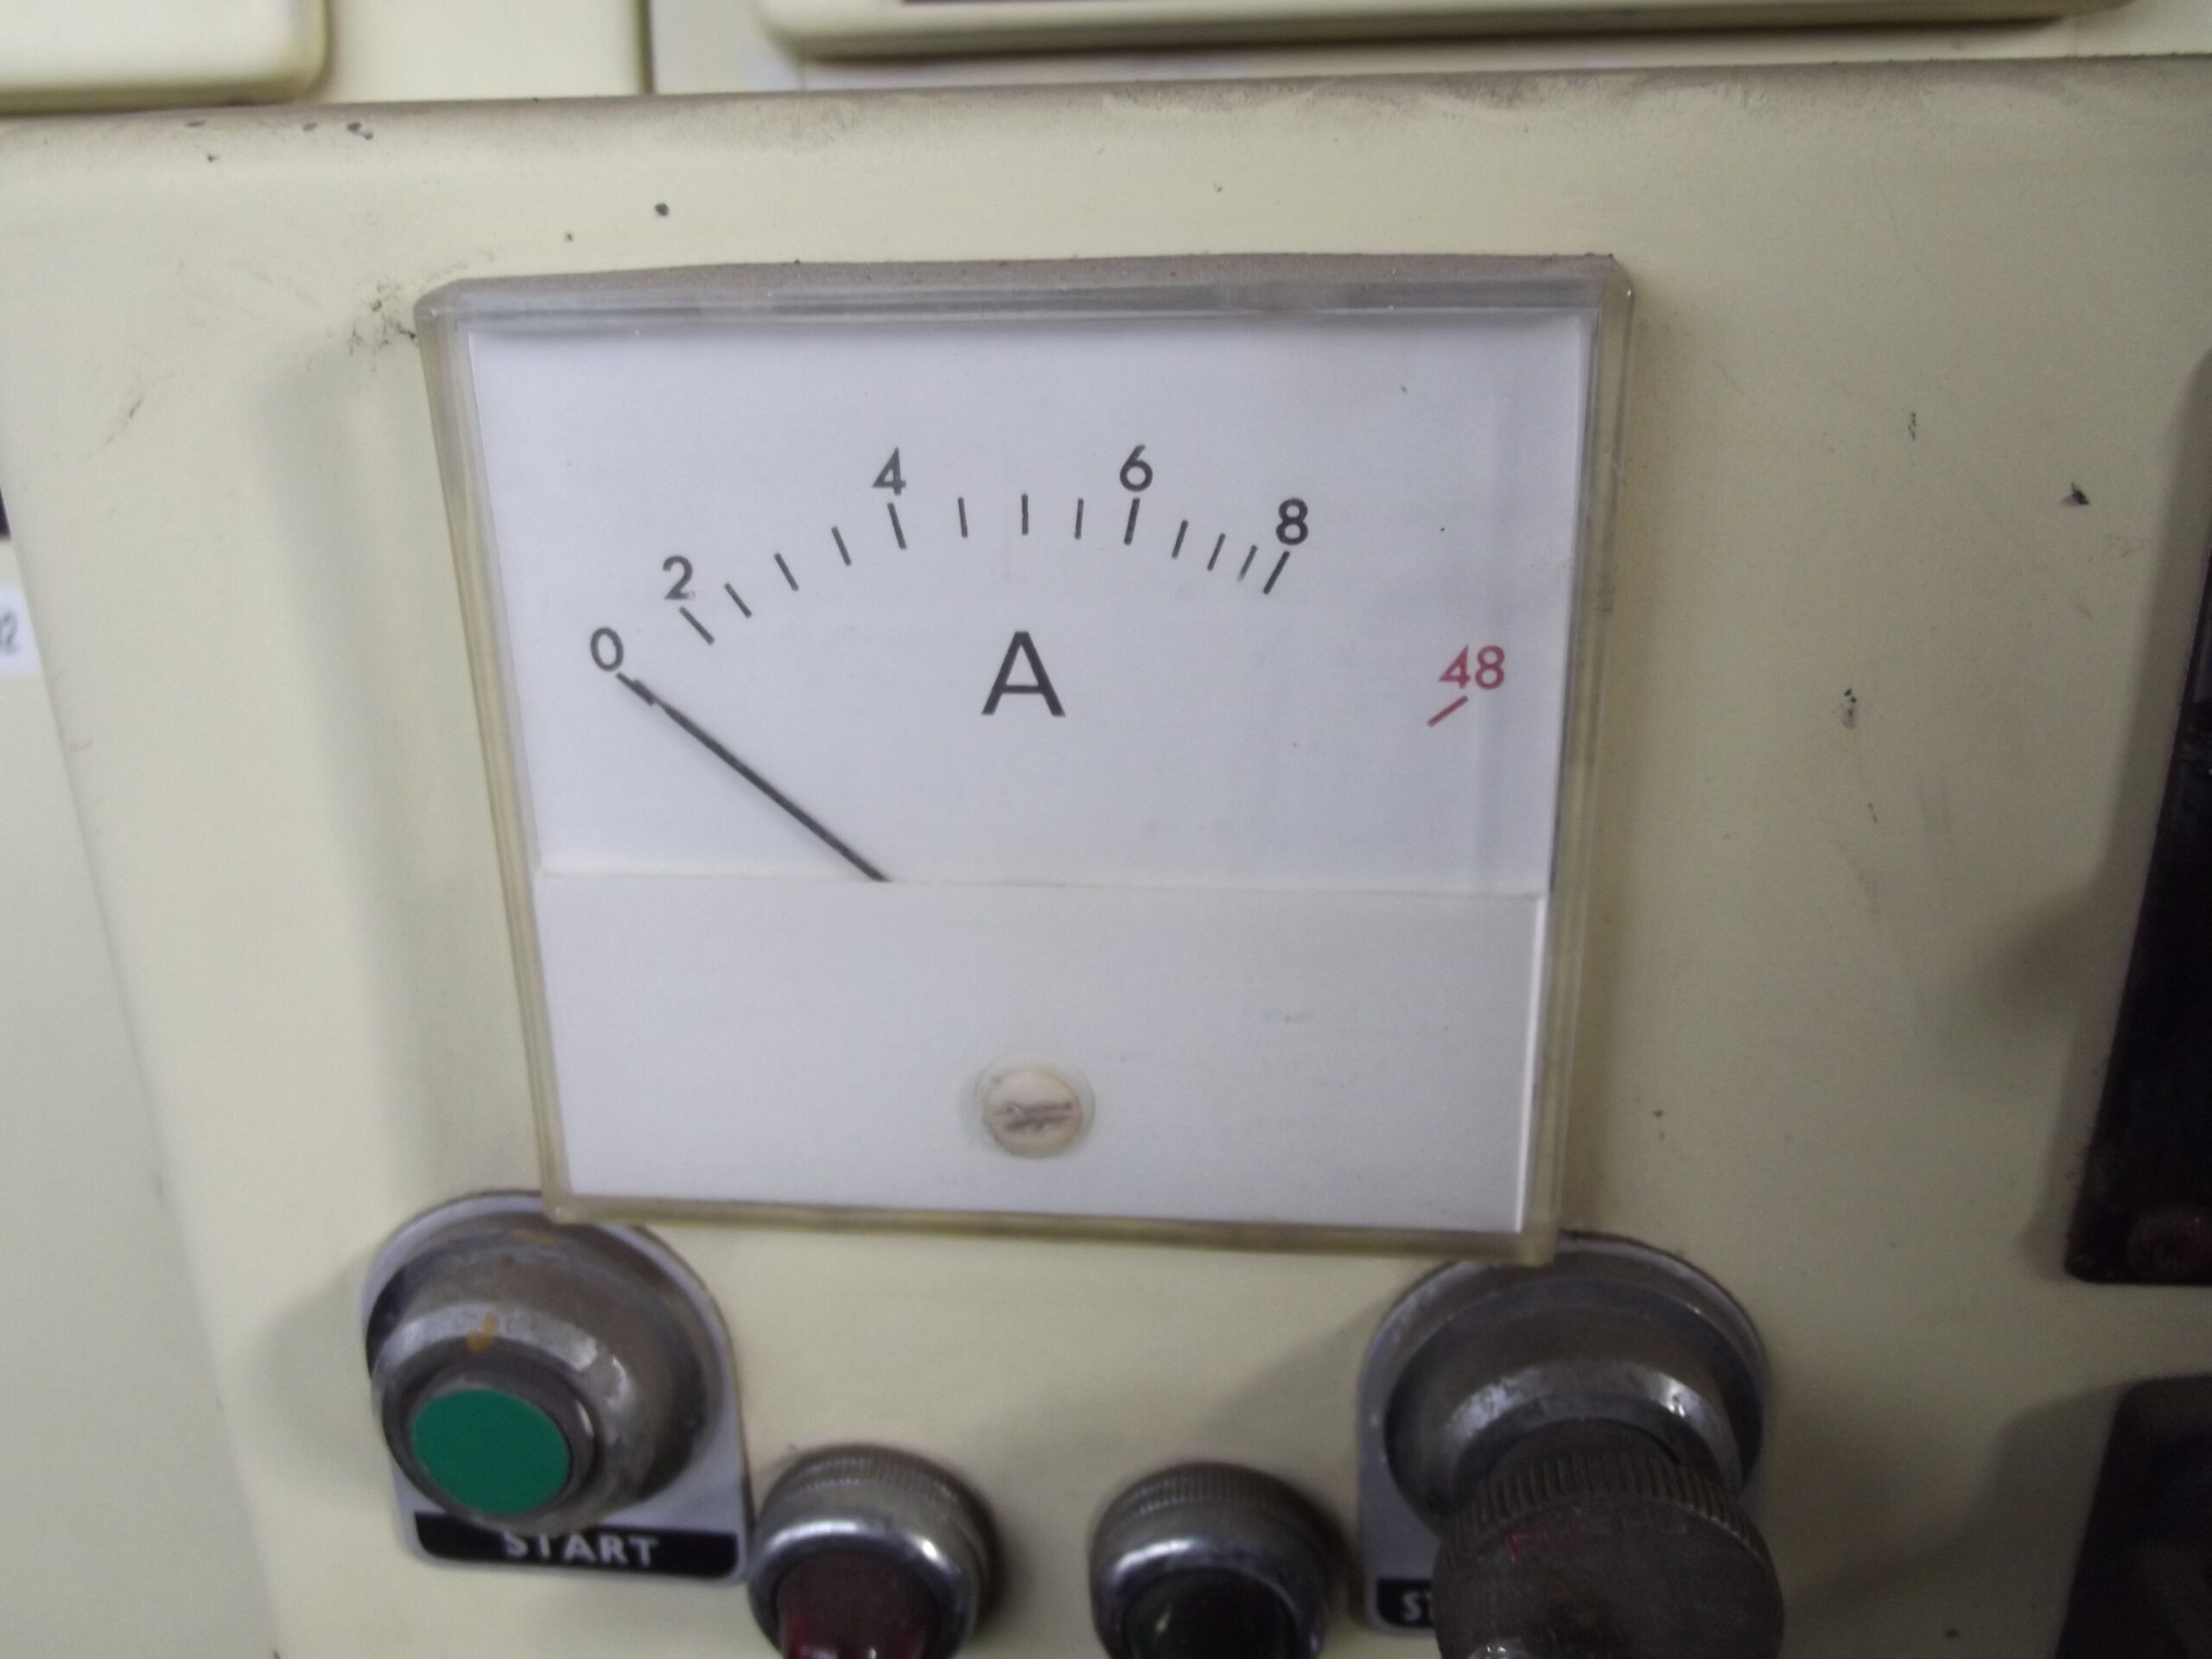
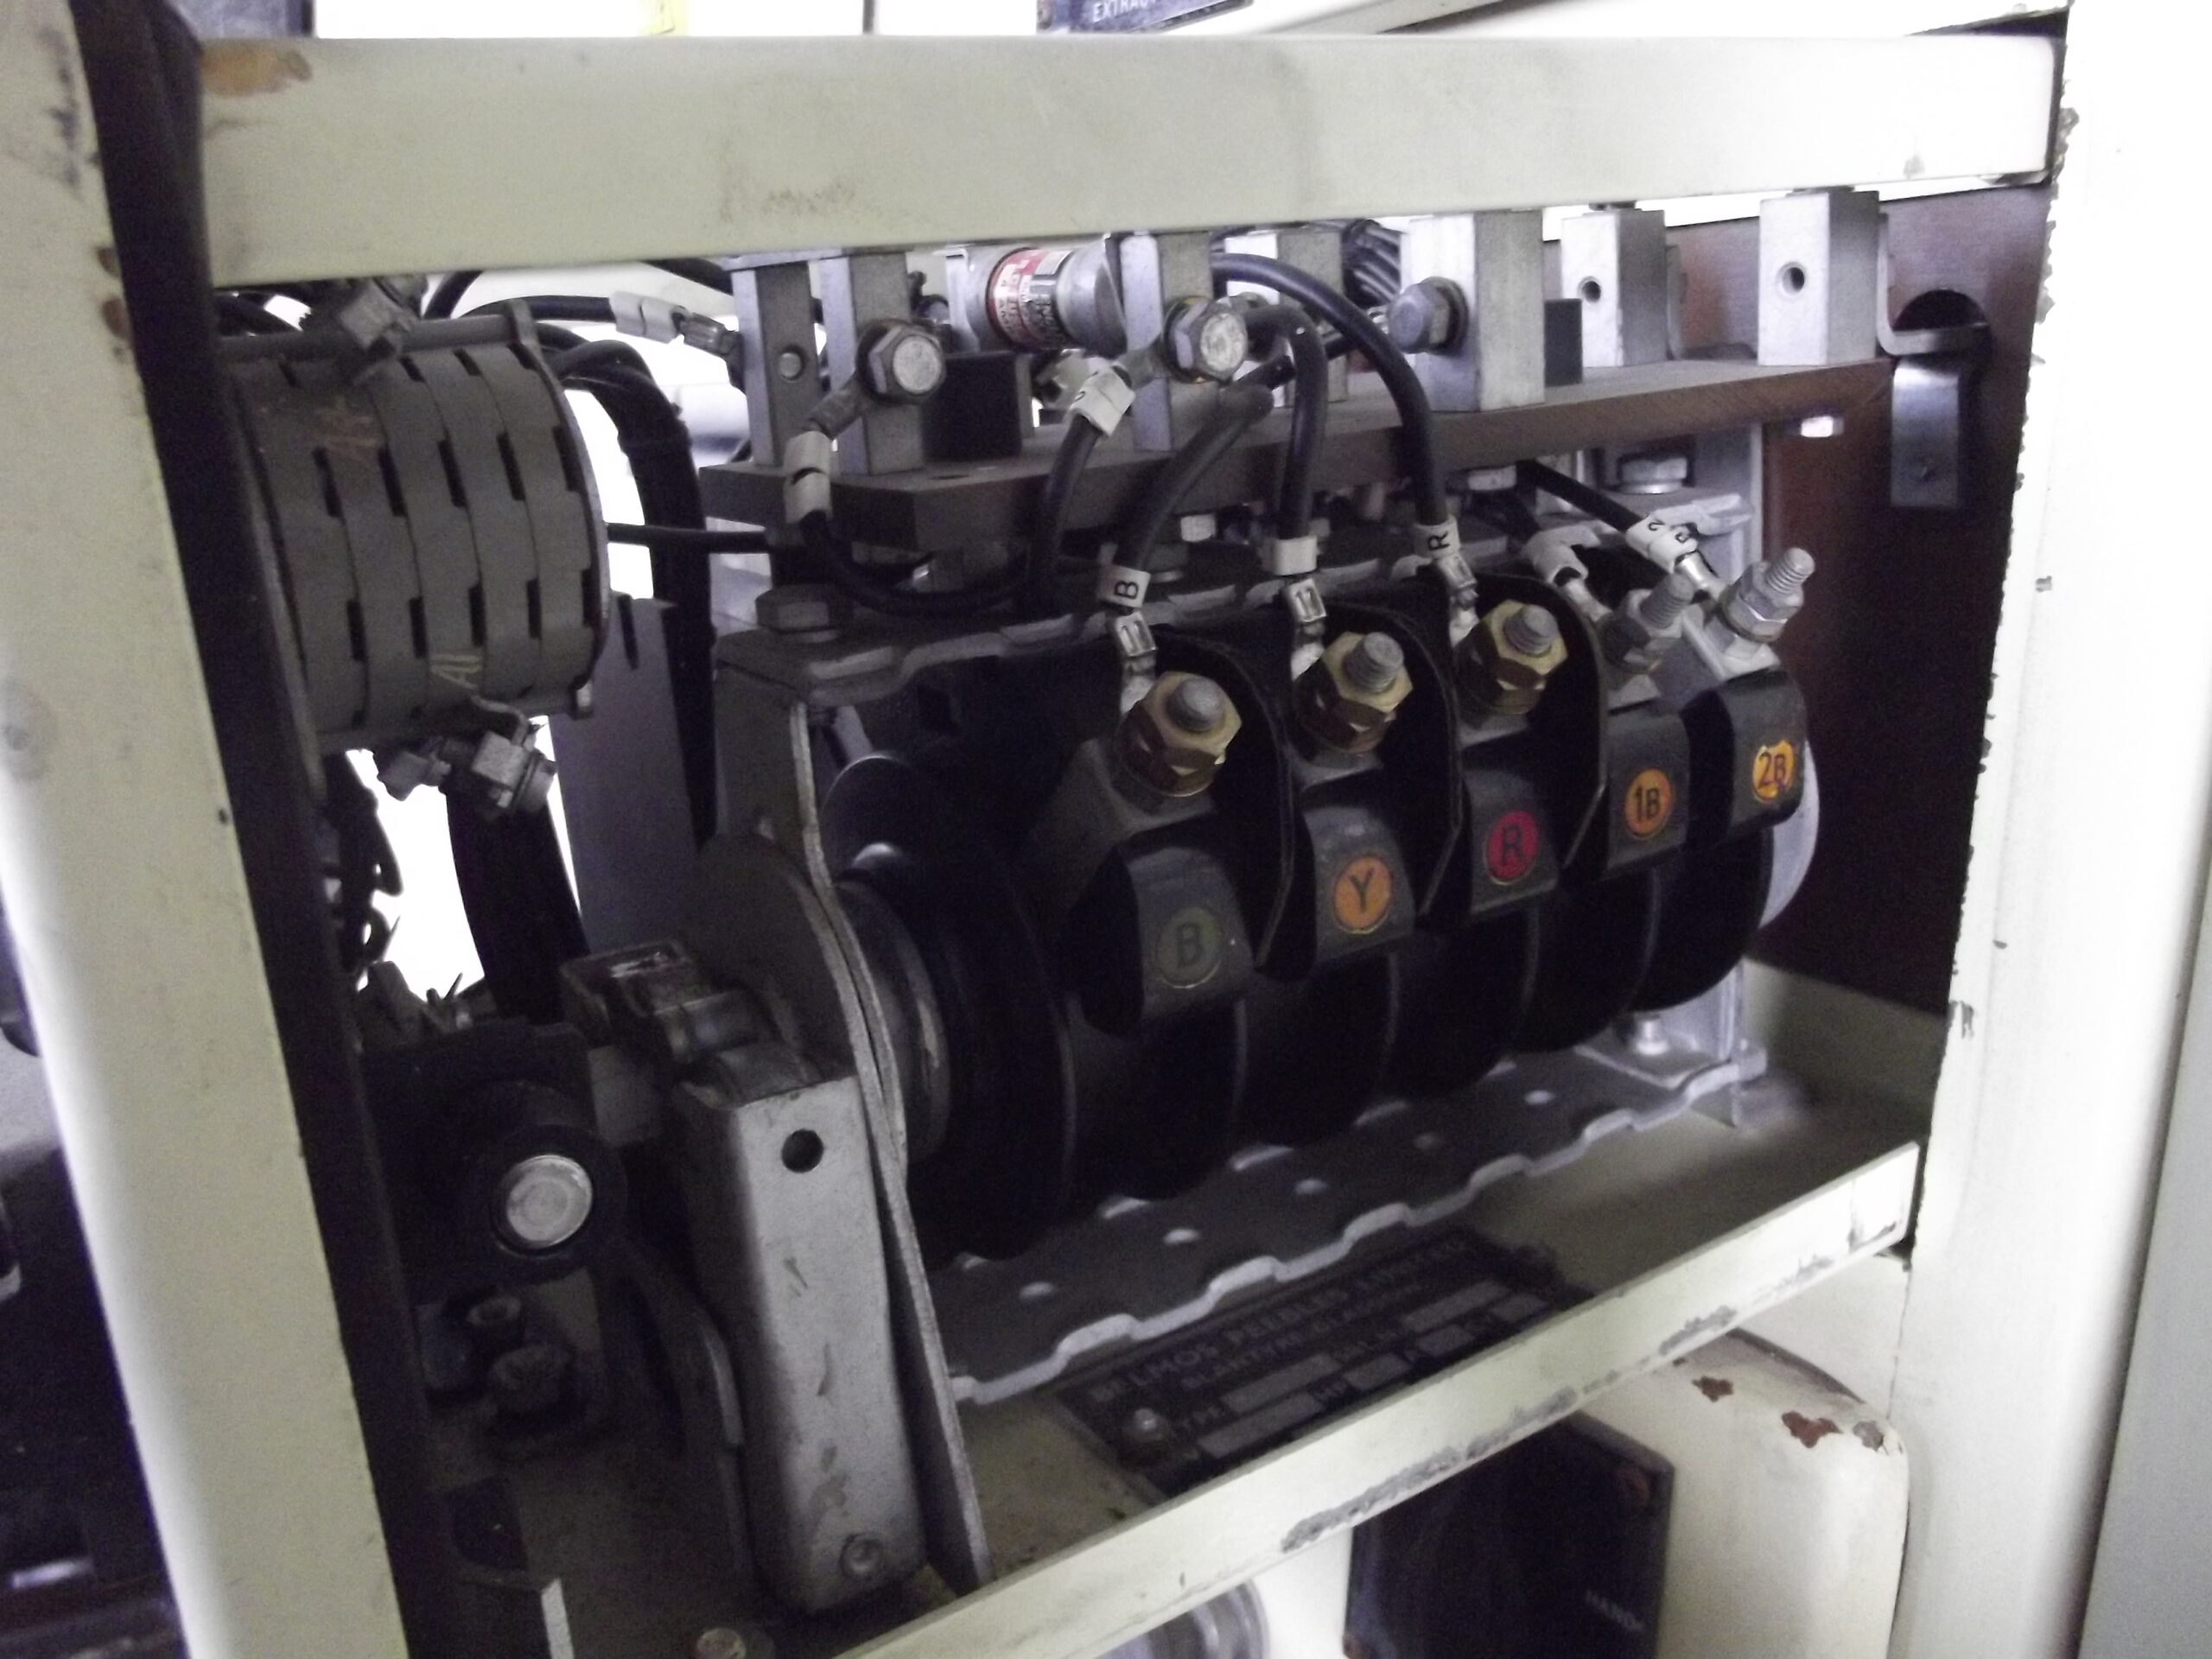
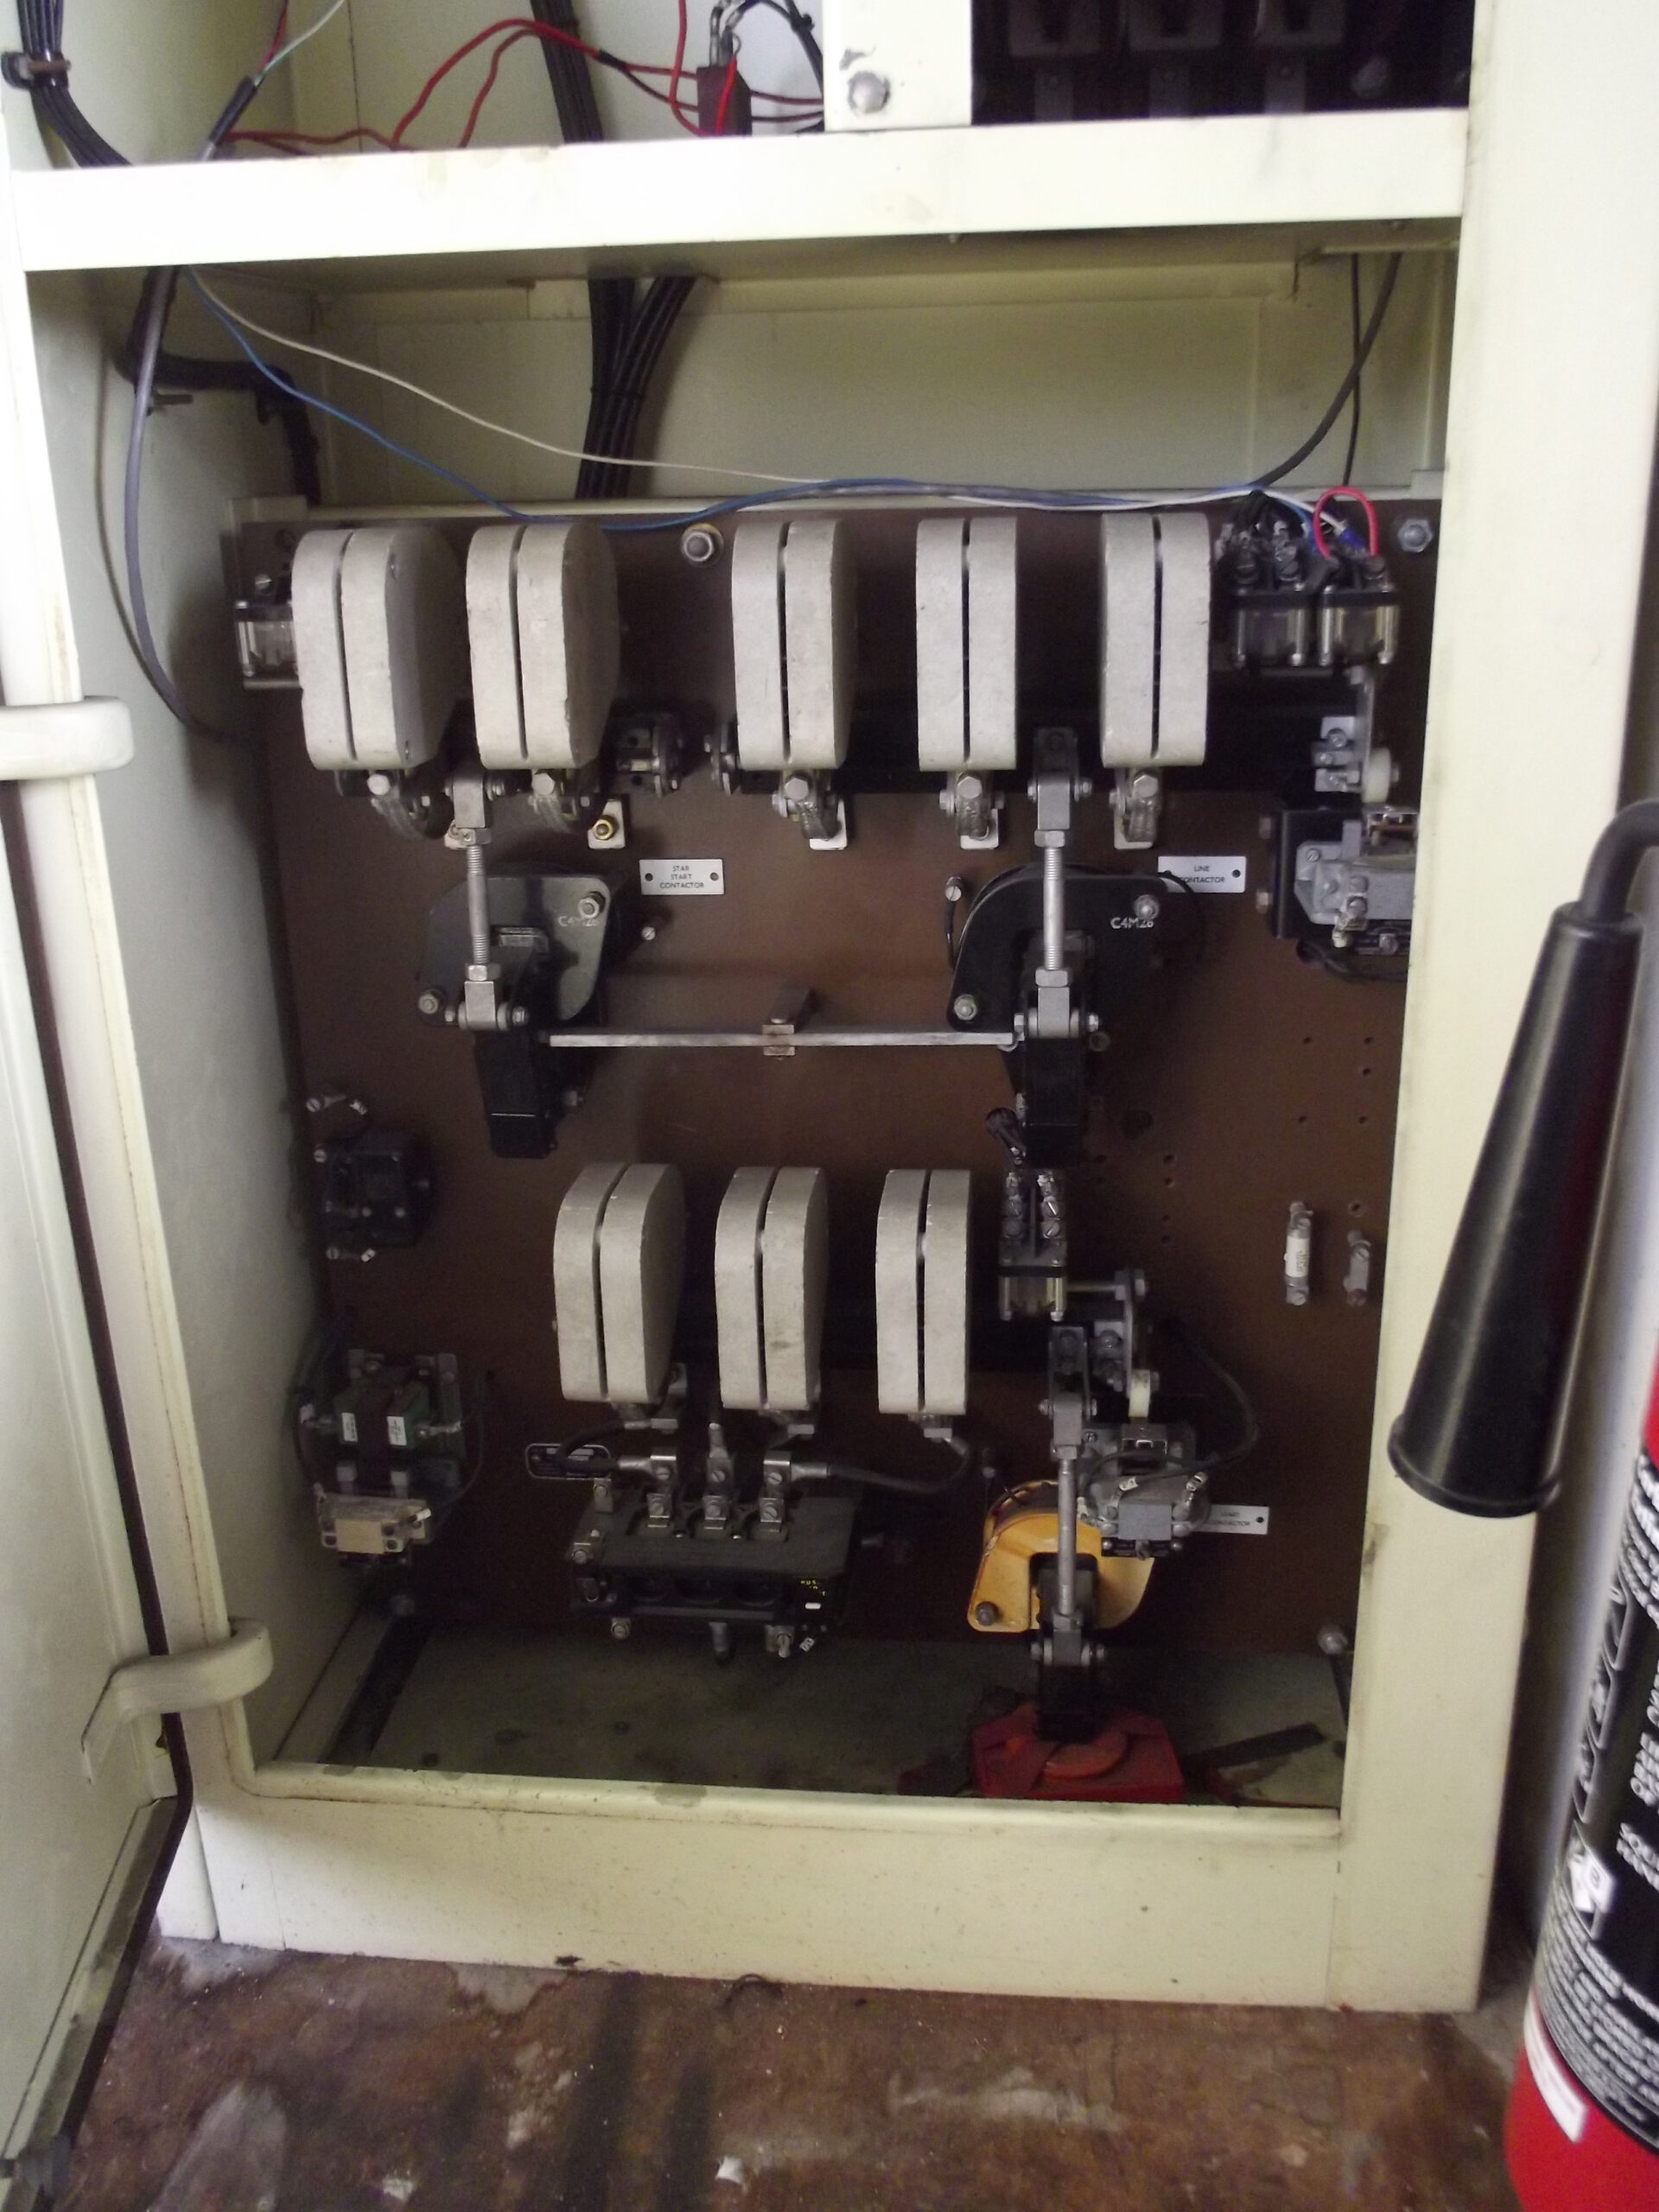
F Core lift lobby, LG floorF Core lifts, LG floorF Core lift lobby, LG floorF Core, LG floor – Fire alarm panel isometric site diagramF Core stairwell seen from the LG floorF Core plant attendant suite, LG floorF Core plant attendant suite, LG floorWorkshop. plant attendant suite by F Core turnstile Indicator panel, plant attendant suite by F Core turnstile OS Sports and Social Club noticeboard in the SubwayWater booster pumps below the RestaurantWater booster pump below the RestaurantSprinkler pumps below the RestaurantSprinkler pump control box below the RestaurantWater booster pumps below the RestaurantStaff Restaurant fan control unitsMain electrical switches for the Staff RestaurantCalorifier room below Staff Restaurant. The red door led to the subway. The curved mustard-coloured pipe was a gas main, presumably used for cooking as the heating system was fed from the main Boiler House.Calorifier room below the Staff Restaurant Hot water pump & gauges, Staff Restaurant calorifier roomHot water pump & gauges, Staff Restaurant calorifier roomHot water pipes etc in calorifier room below Staff RestaurantSubway by the Restaurant Subway and pipesSubway from F Core facing towards B CoreSubway facing towards Staff RestaurantSubway, B Core on the left facing towards Compass HouseSubway facing towards F CoreB-C Core calorifier room off the subway – floodedB Core LG calorifier room opposite B liftBelmos Peebles panel in B Core LG floor Calorifier RoomBelmos Peebles panel in B Core LG floor Calorifier RoomBelmos Peebles panel in B Core LG floor Calorifier RoomBelmos Peebles panel in B Core LG floor Calorifier Room
LG floor, West Block
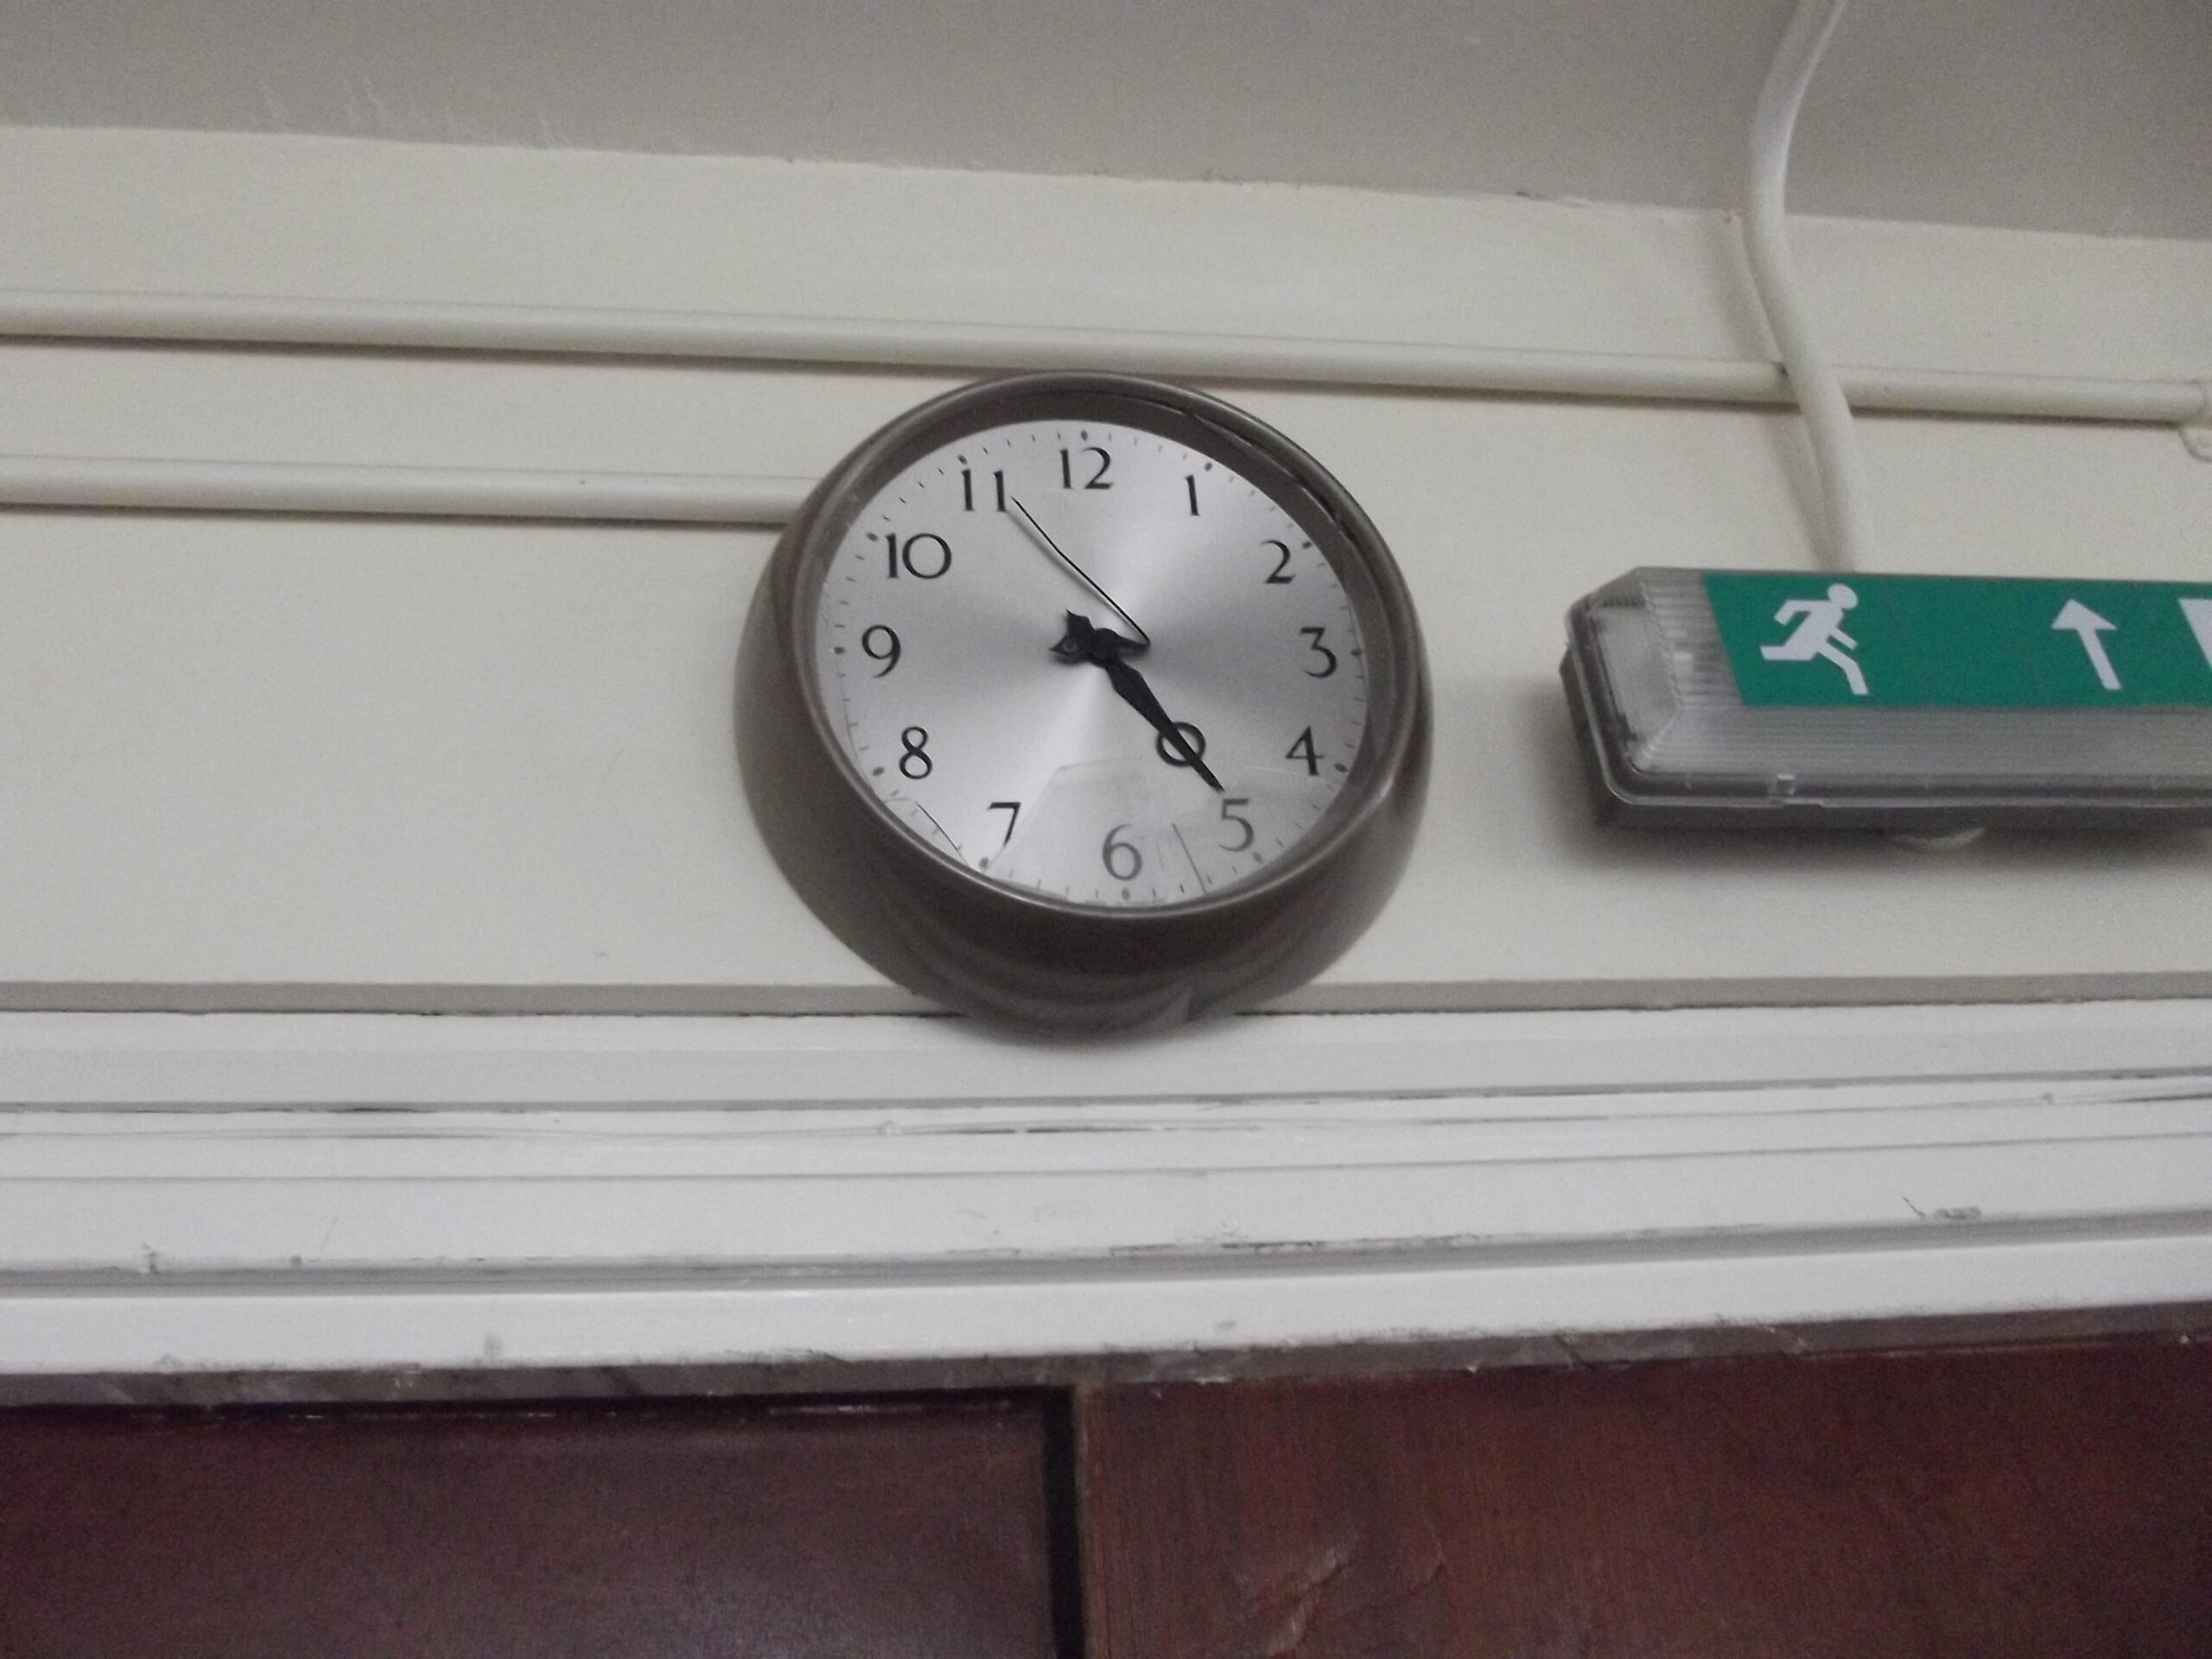
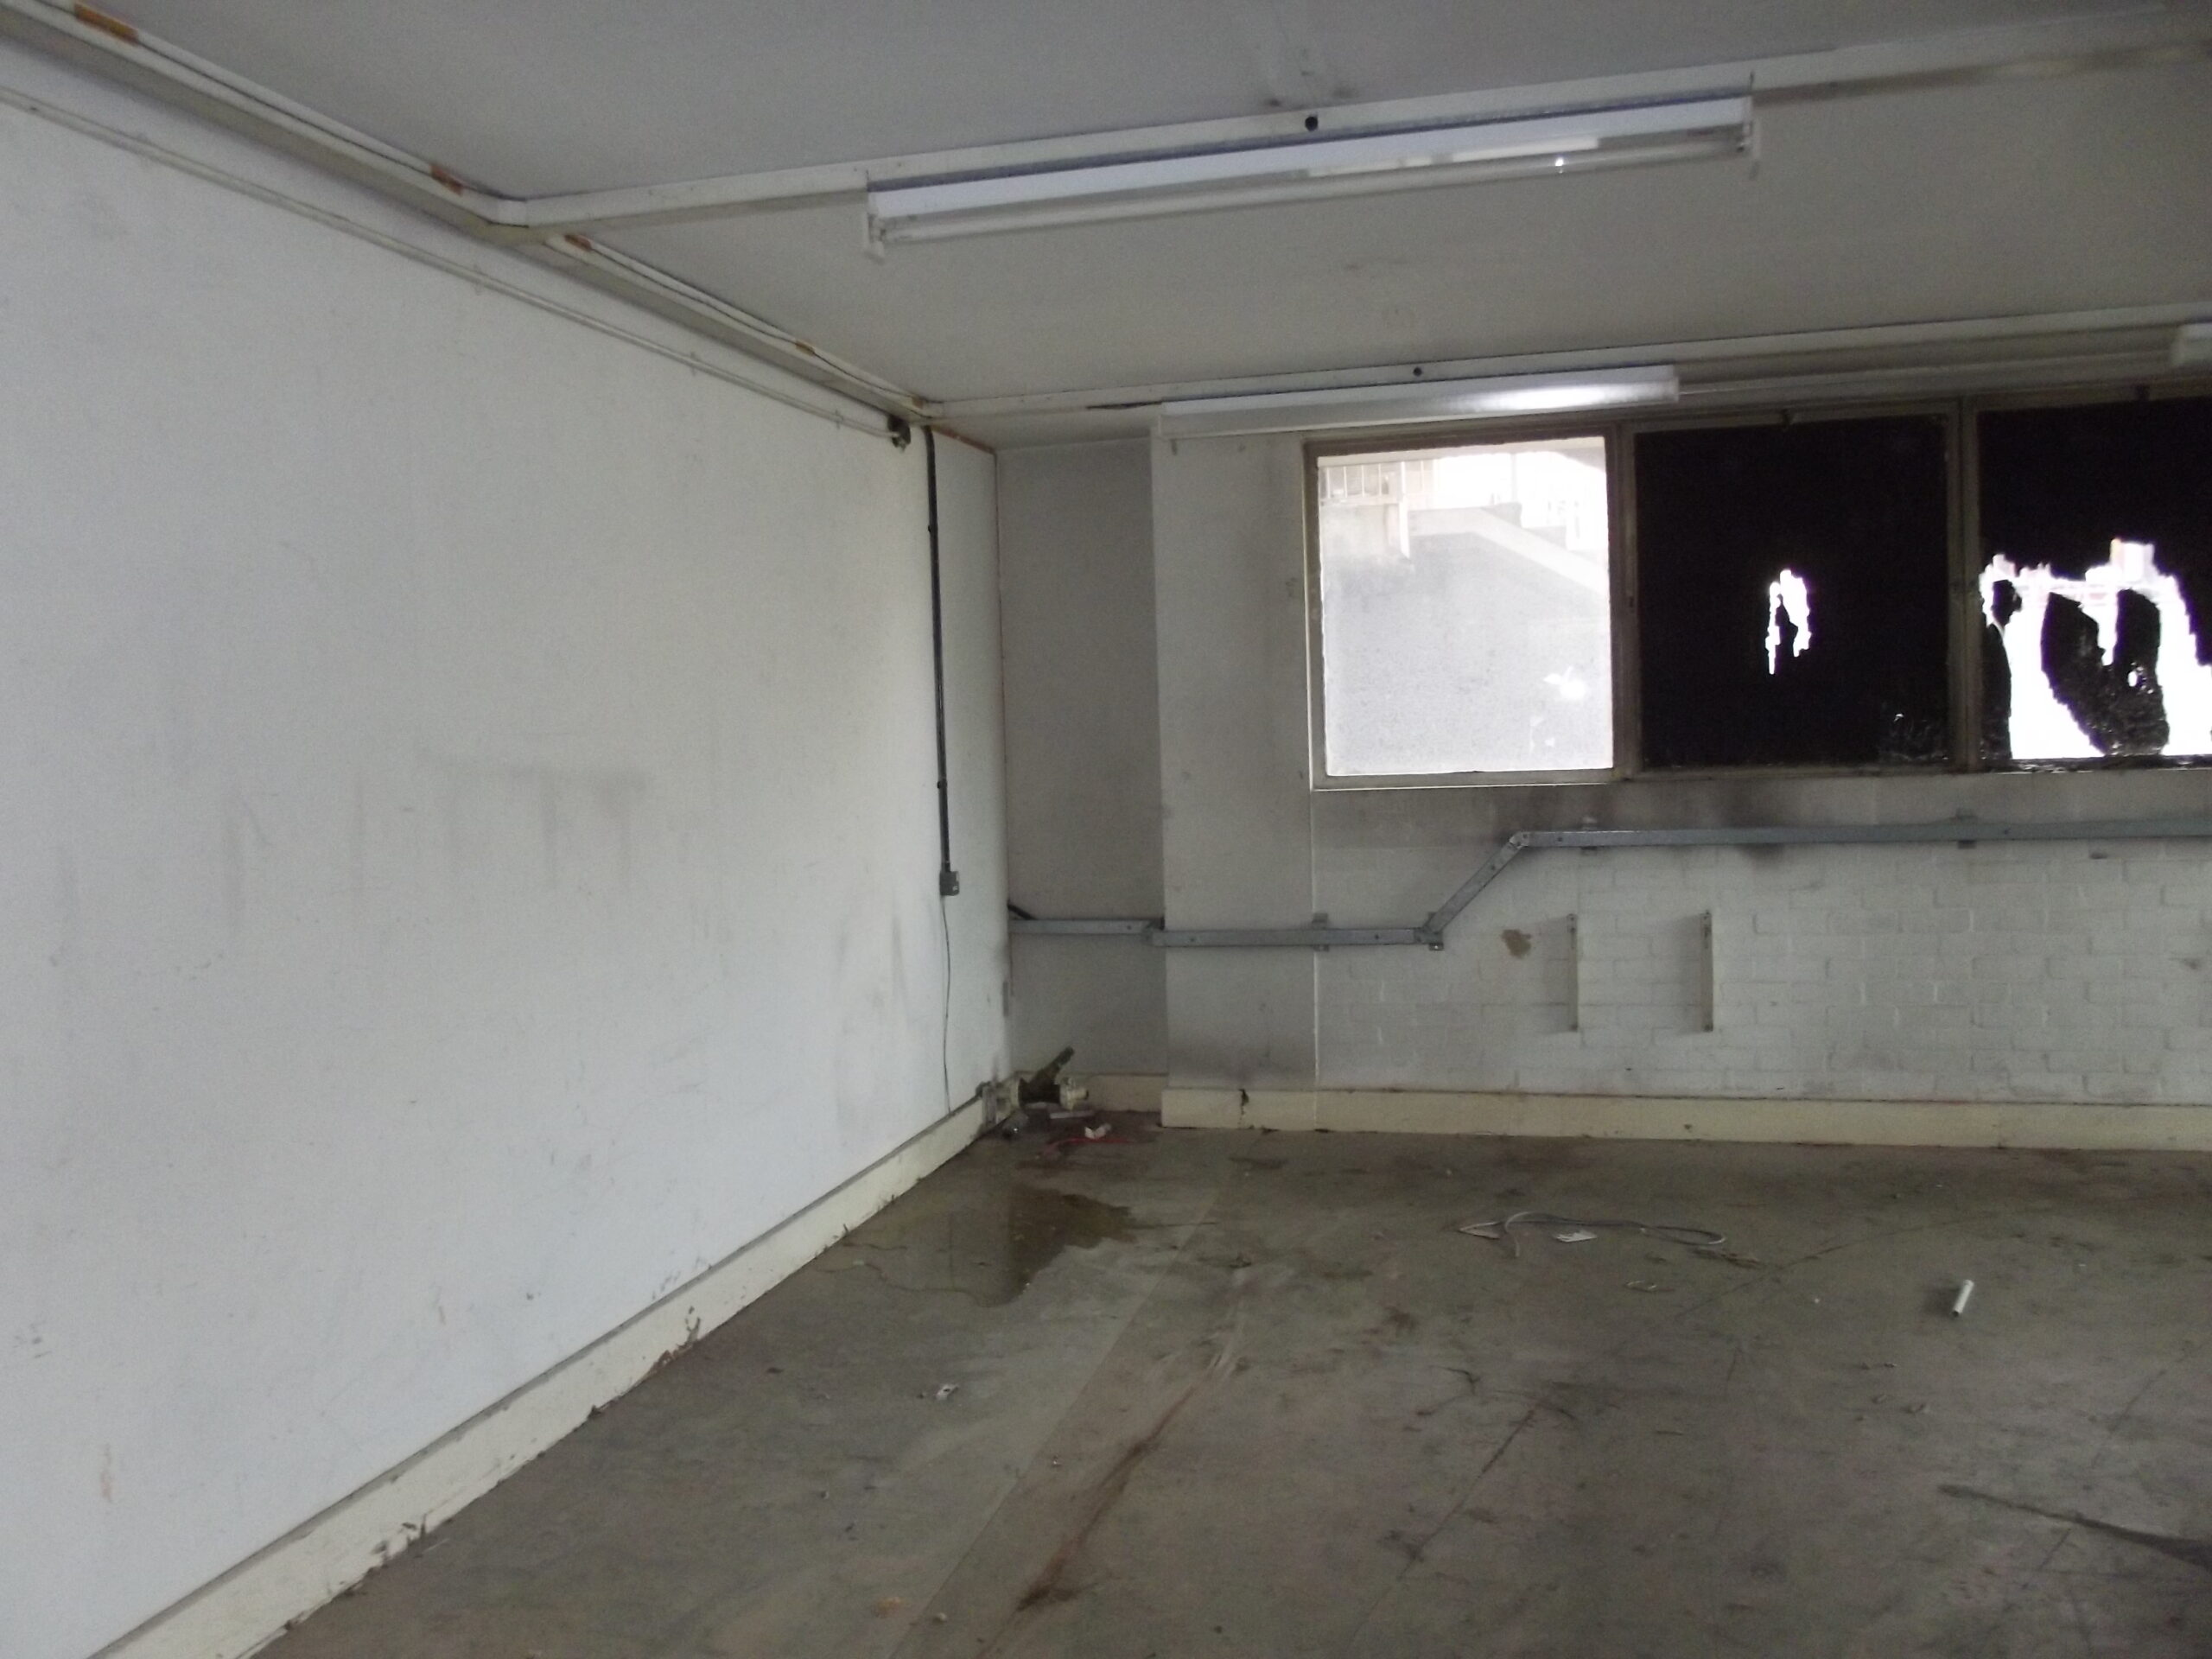
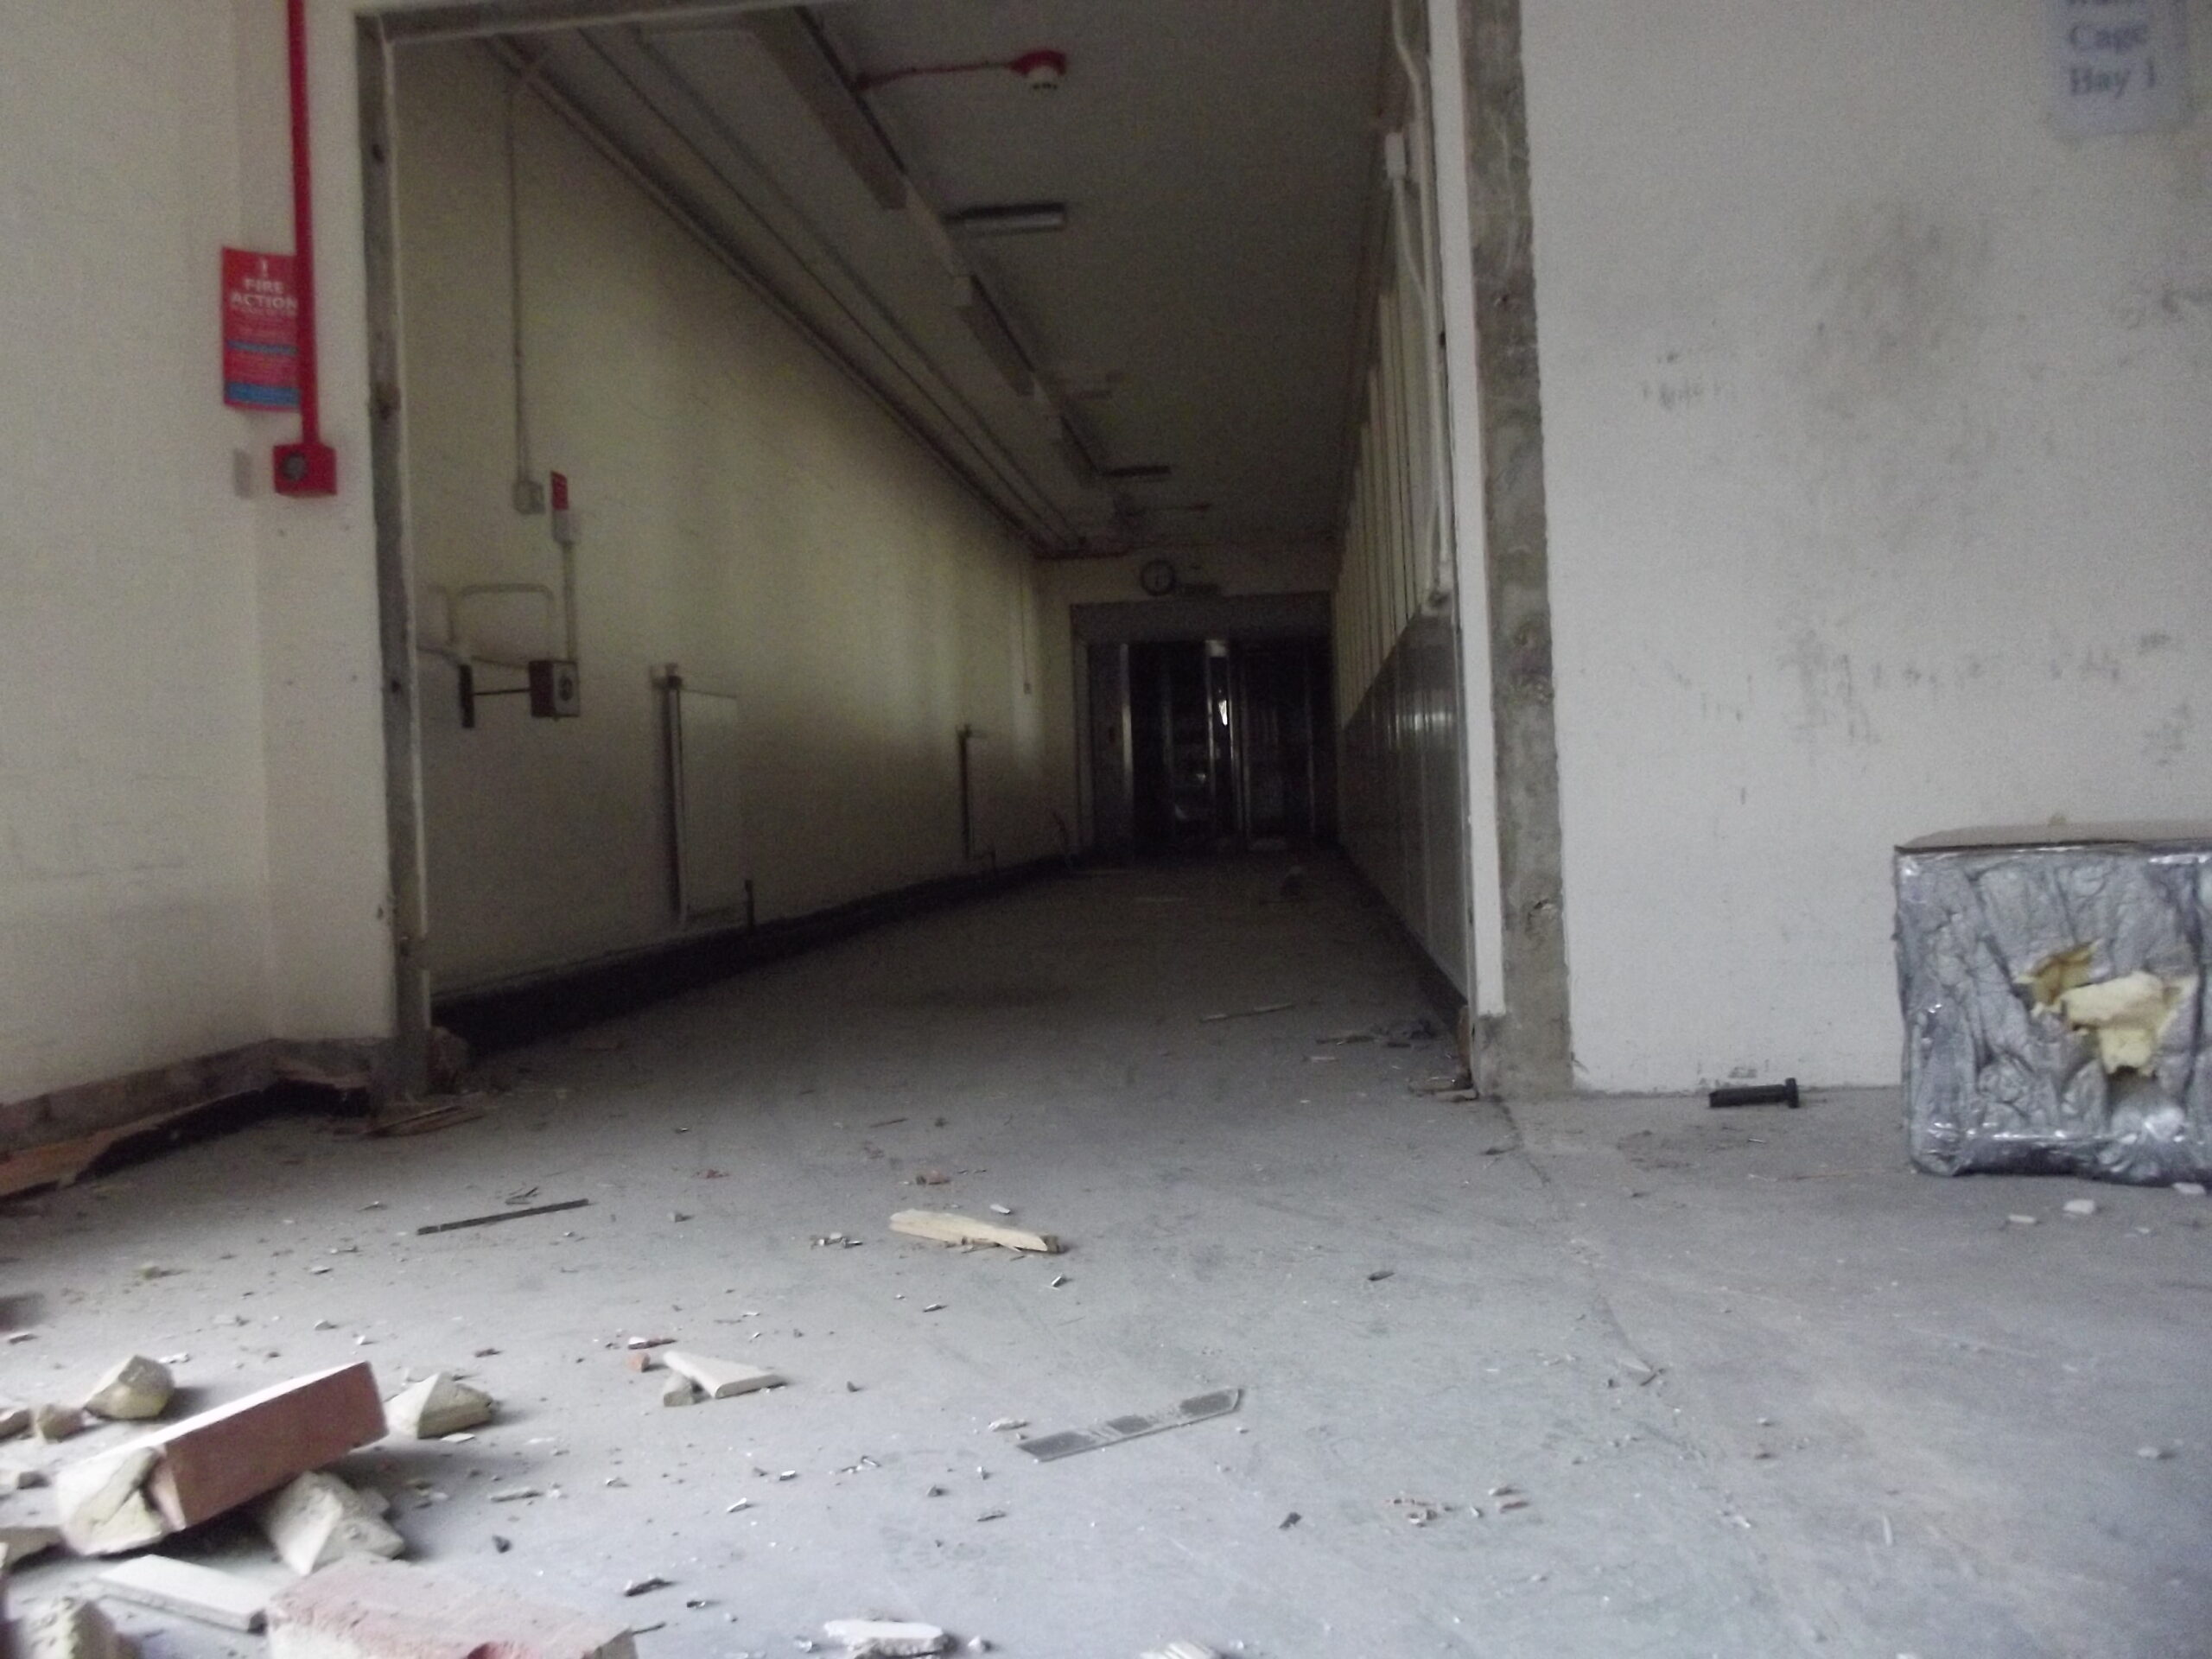
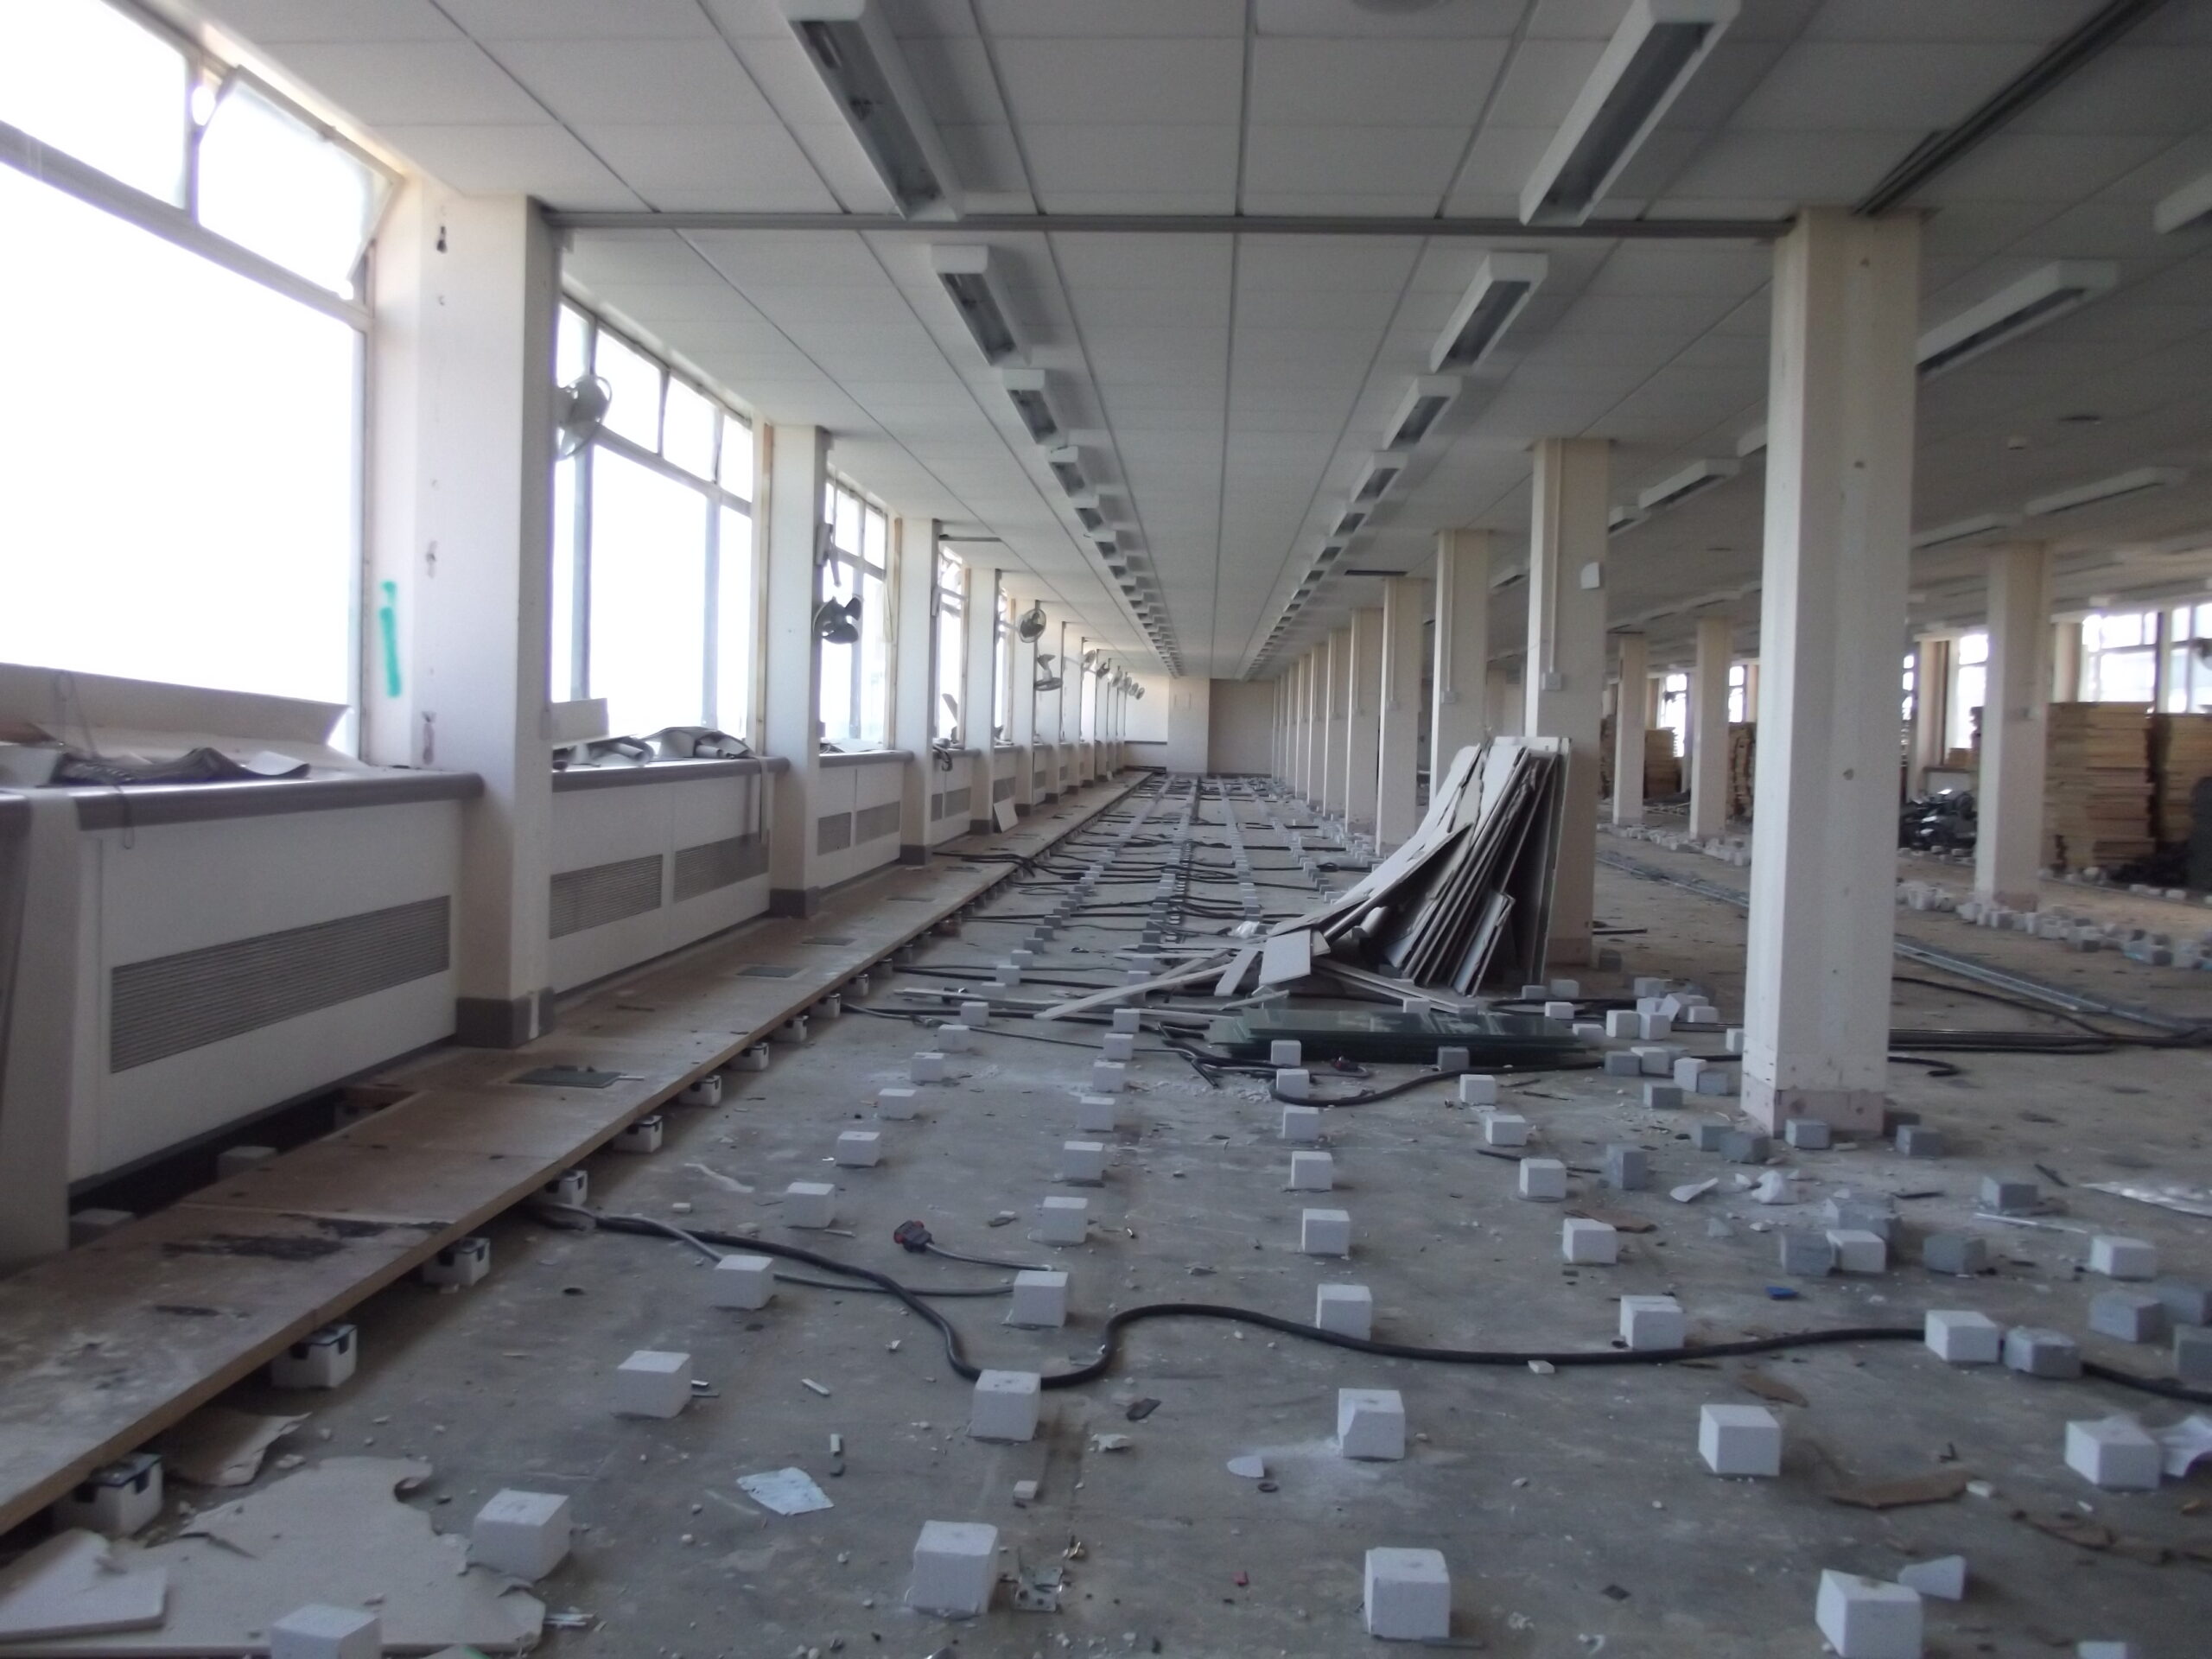
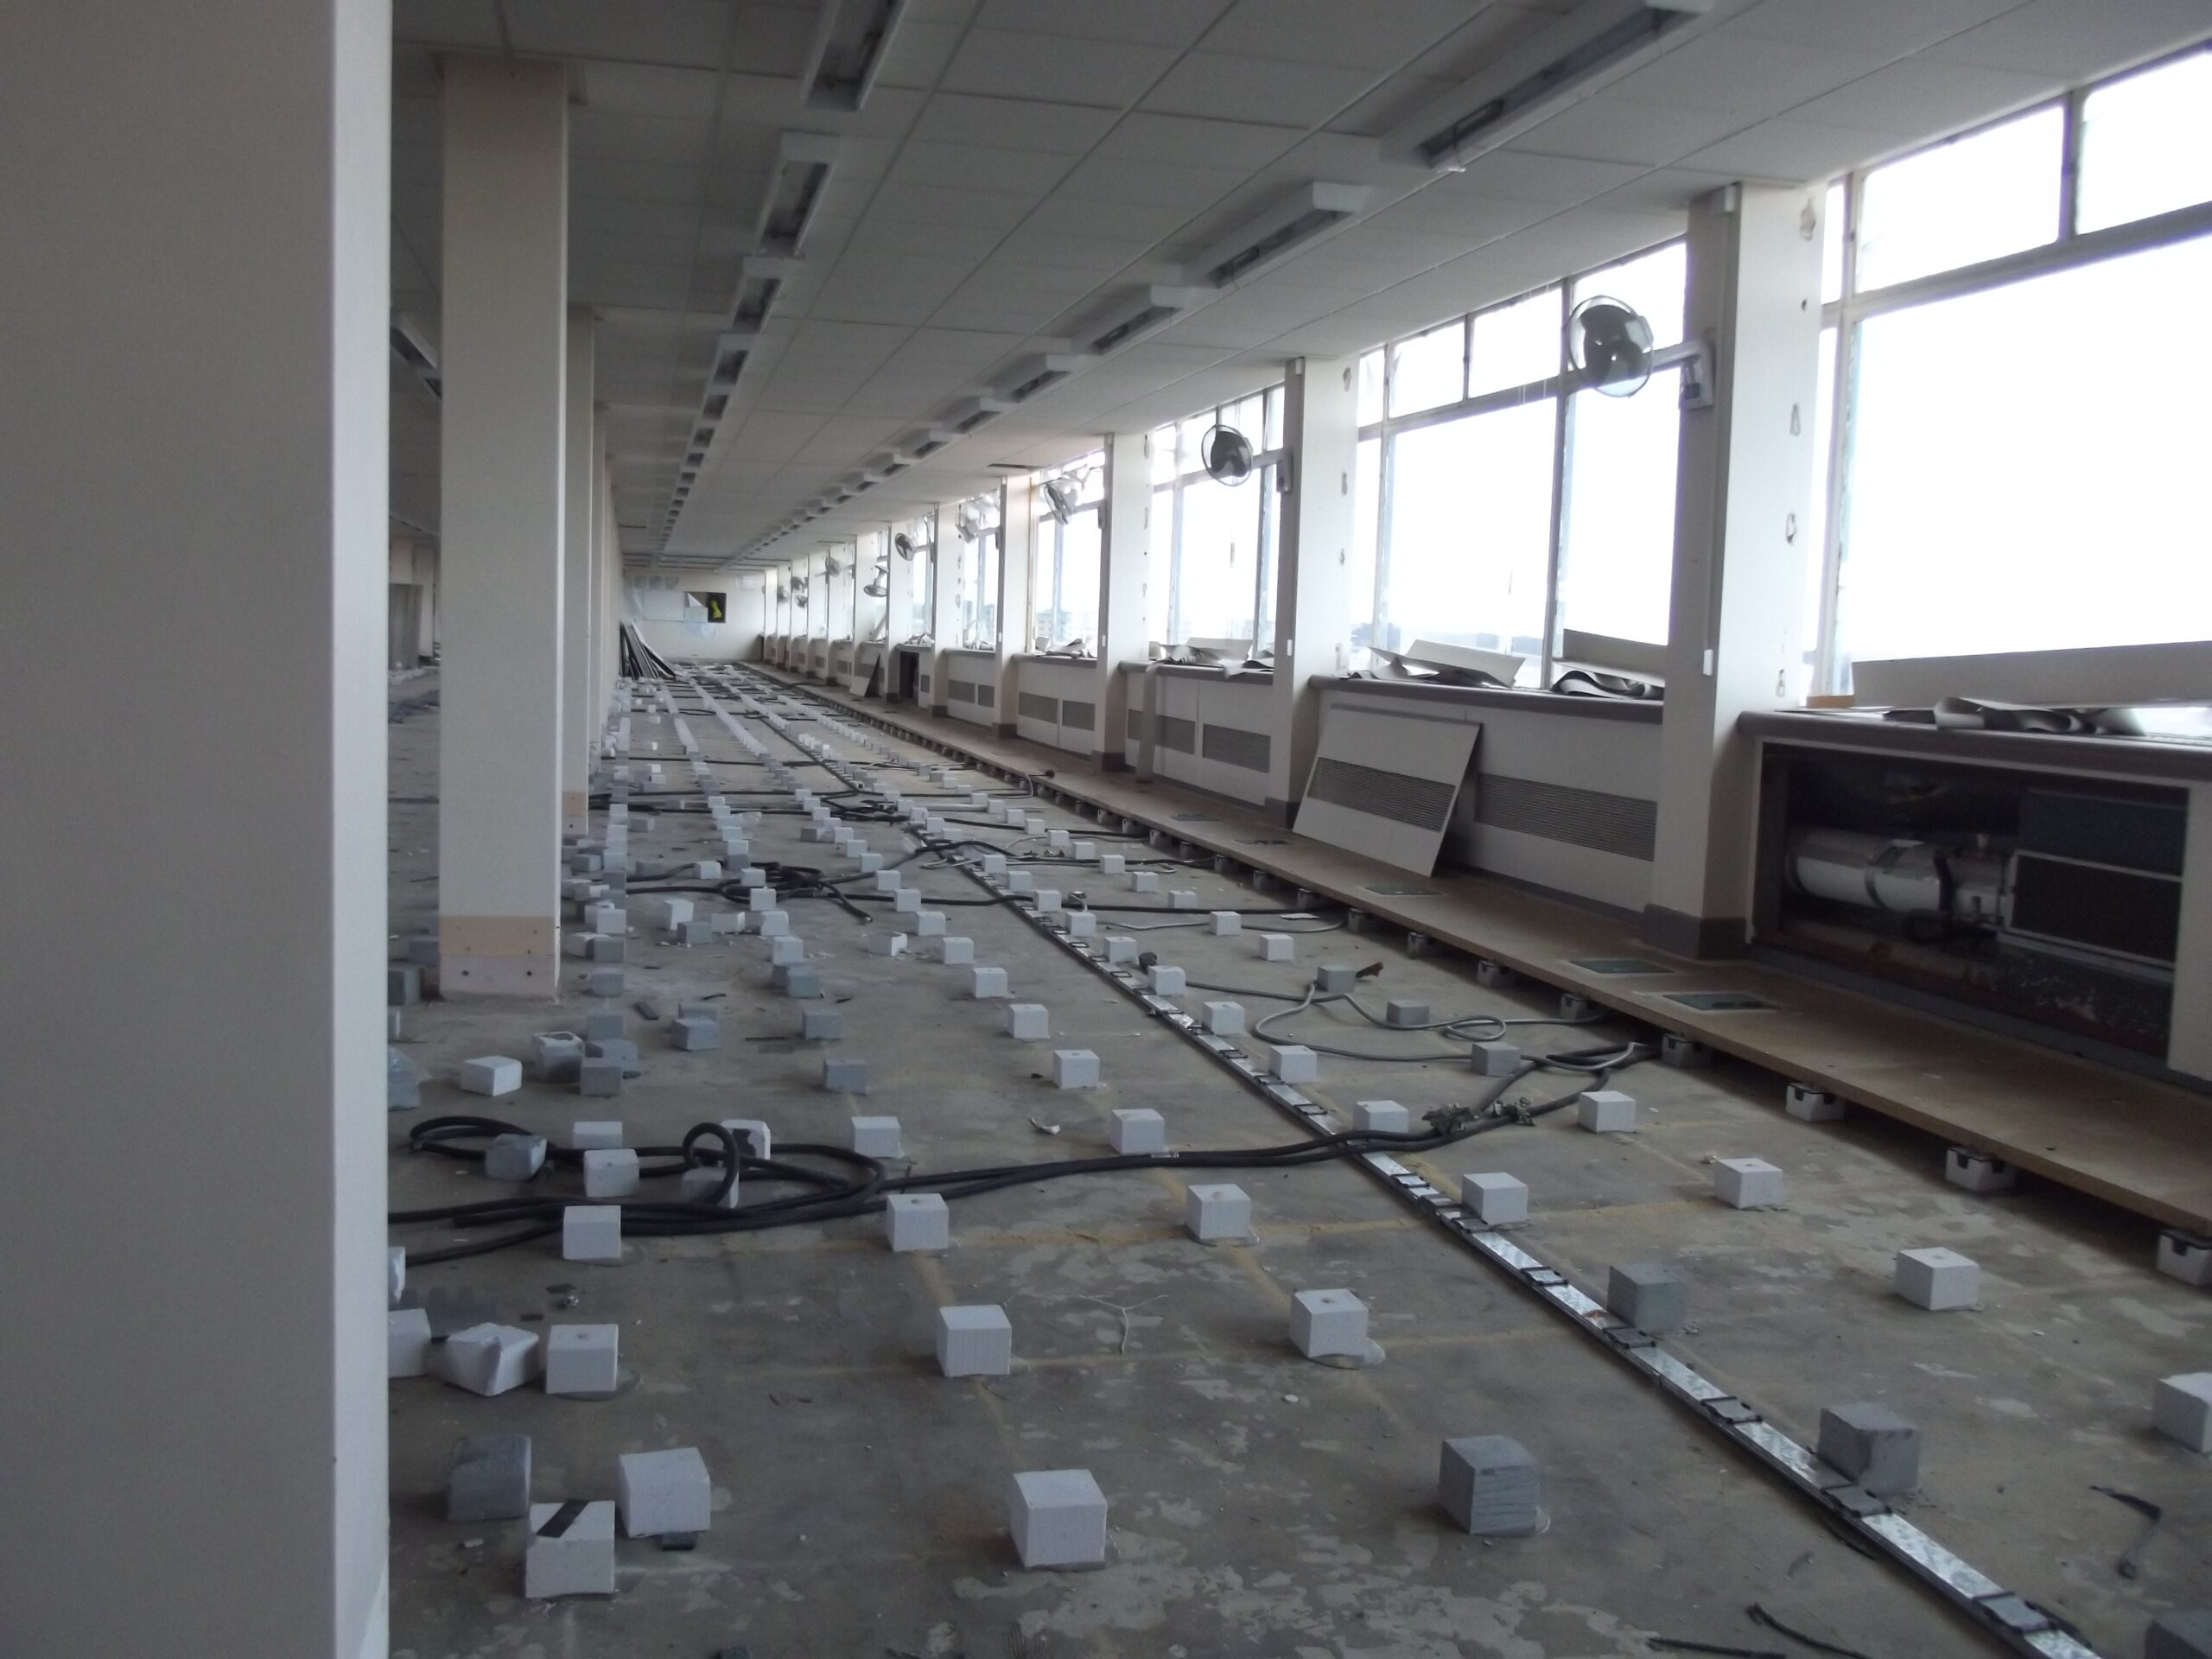
Original pulse clocks in W001? Maybe someone tried to move the hands in an effort to clock off early…W001 had the external walls removed, which made easy access for the exploration teamW001a, one of many stores on LG and G floor of West Block W001a, one of many stores on LG and G floor of West Block W001a, one of many stores on LG and G floor of West Block Looking out a dirty old window…W002W003LG floor corridor by W004 with an ingress of rubbleLG floor corridor by W004 with an ingress of rubble…how am I meant to eagerly wait for the trolley now?LG floor corridor by W004View from LG corridor next to W004Facing centre spur from West BlockLG floor corridor by W004, F Core aheadWest Block LG floor – ingress of rubbleW004 (Goods Inwards)W004 (Goods Inwards)W004 (Goods Inwards)W004 (Goods Inwards)W004 (Goods Inwards)Toilets in W004
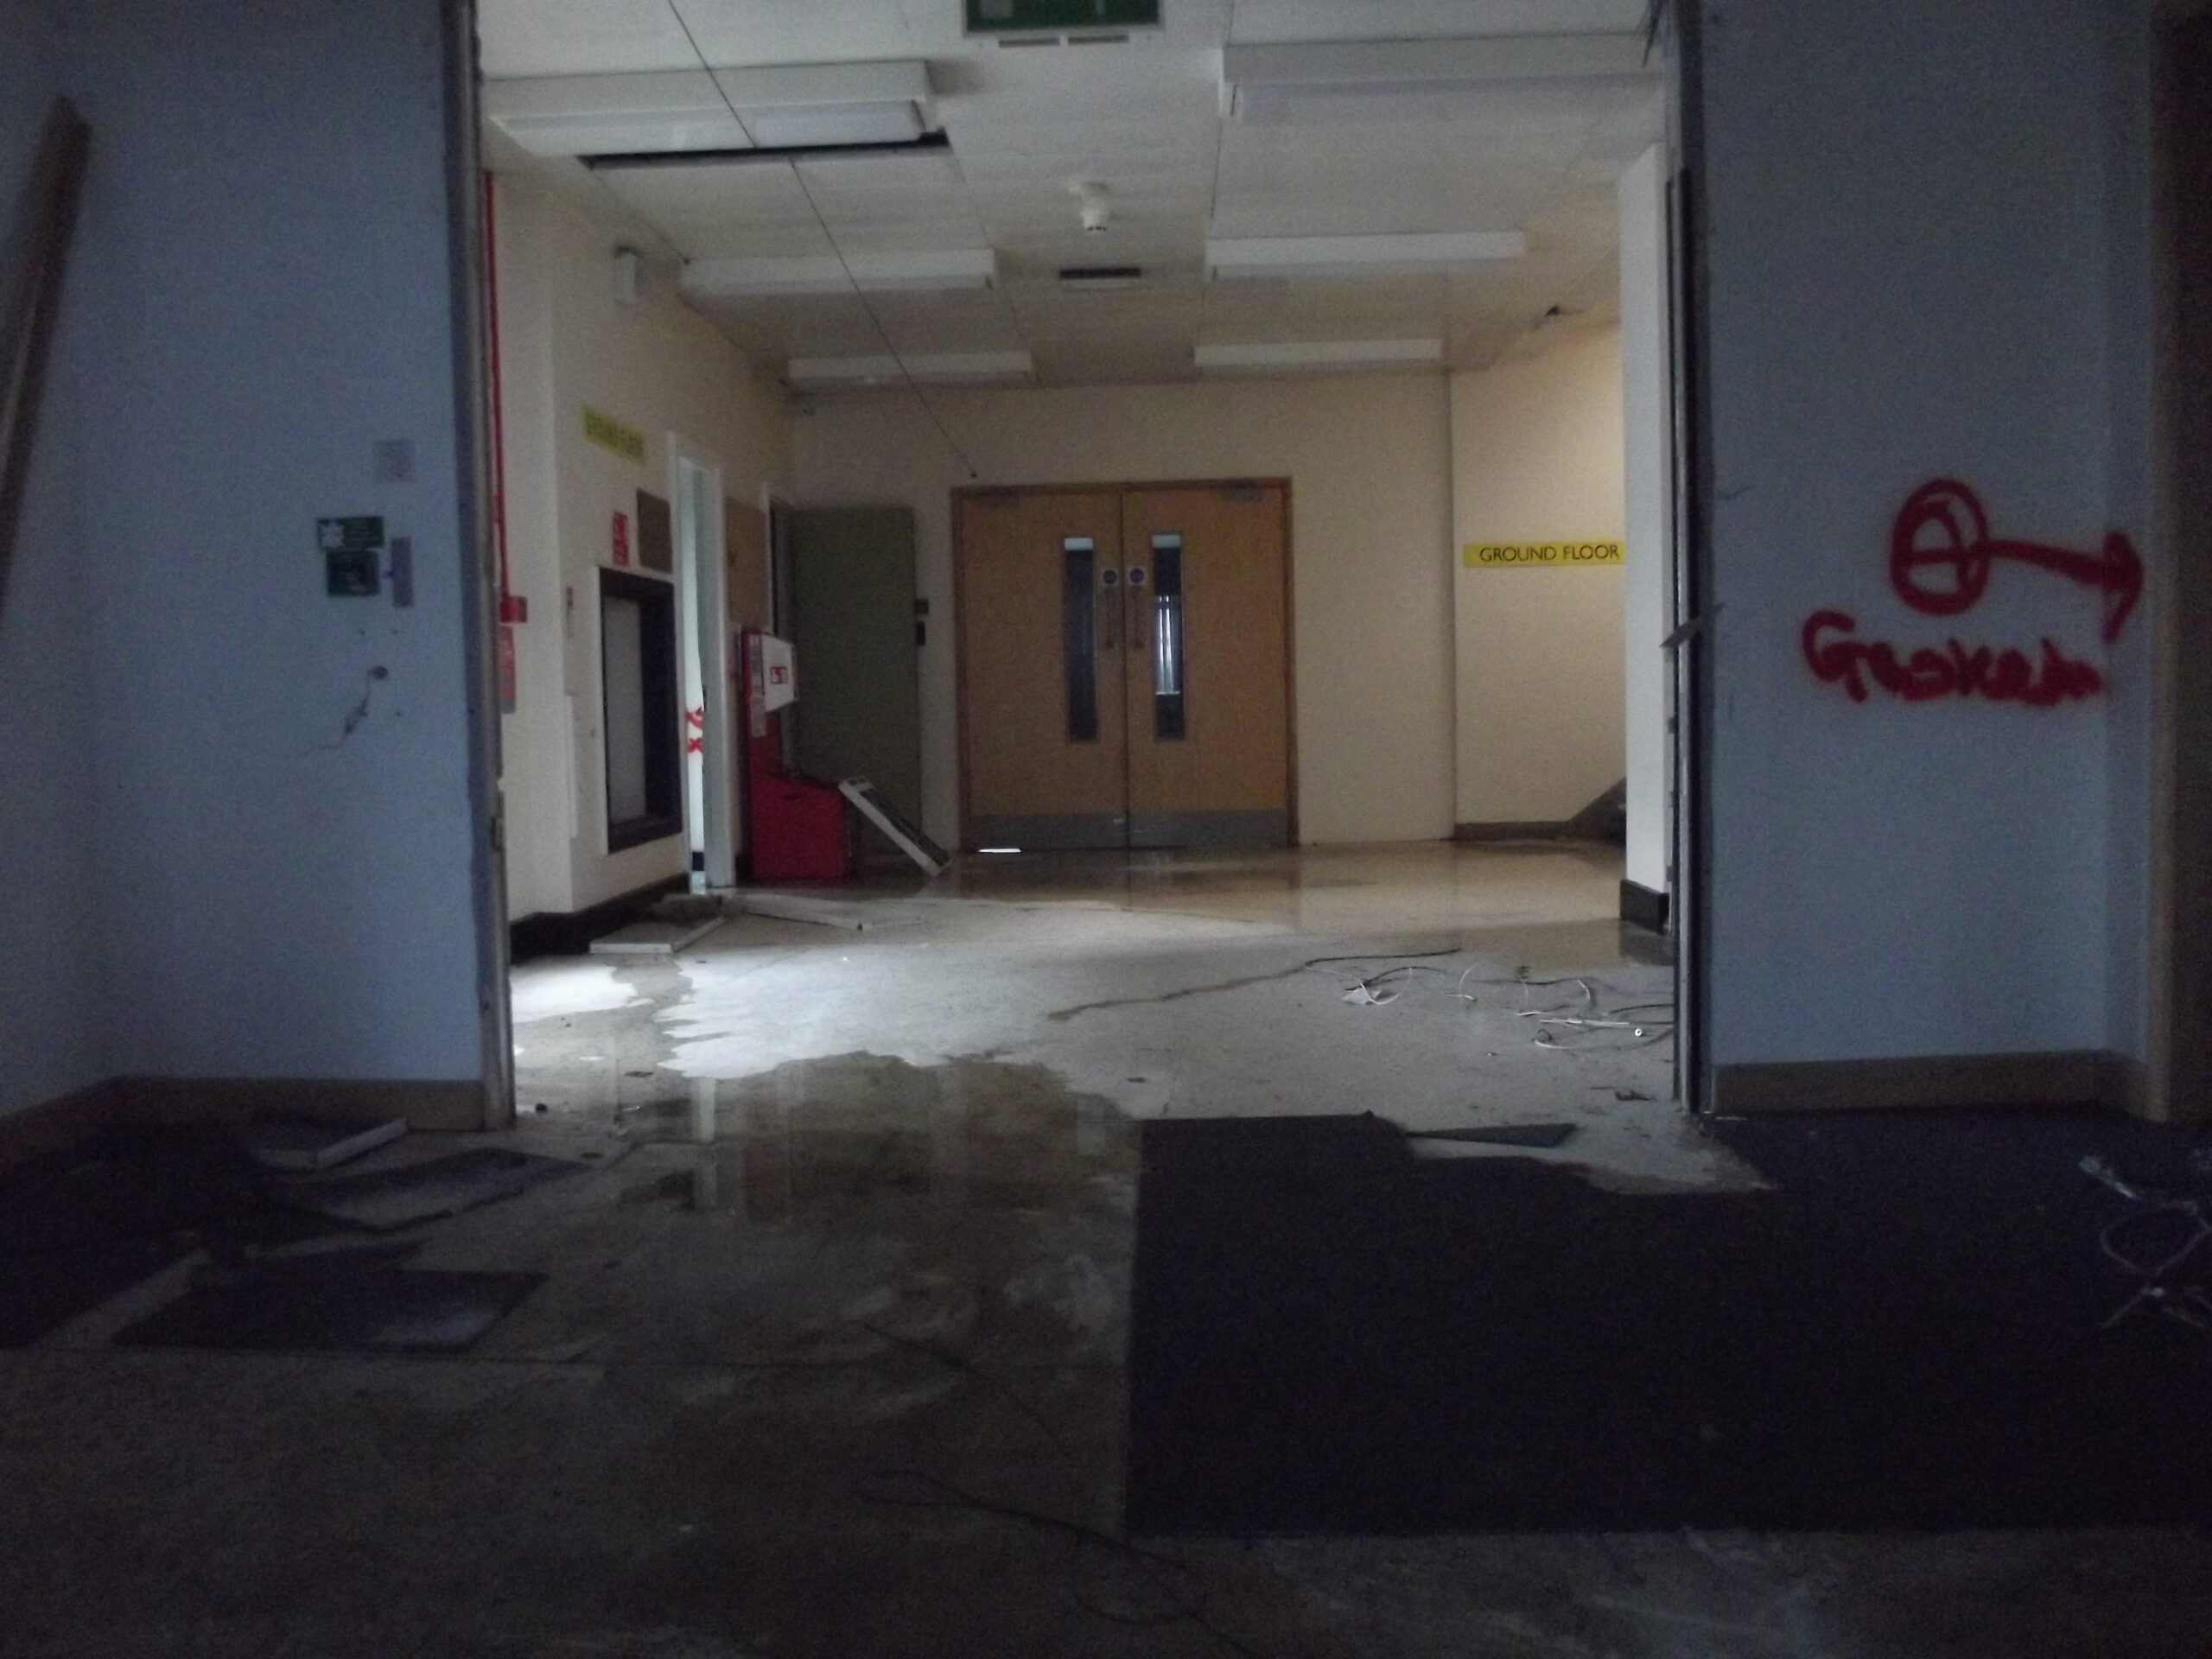
Ground floor William Roy Building
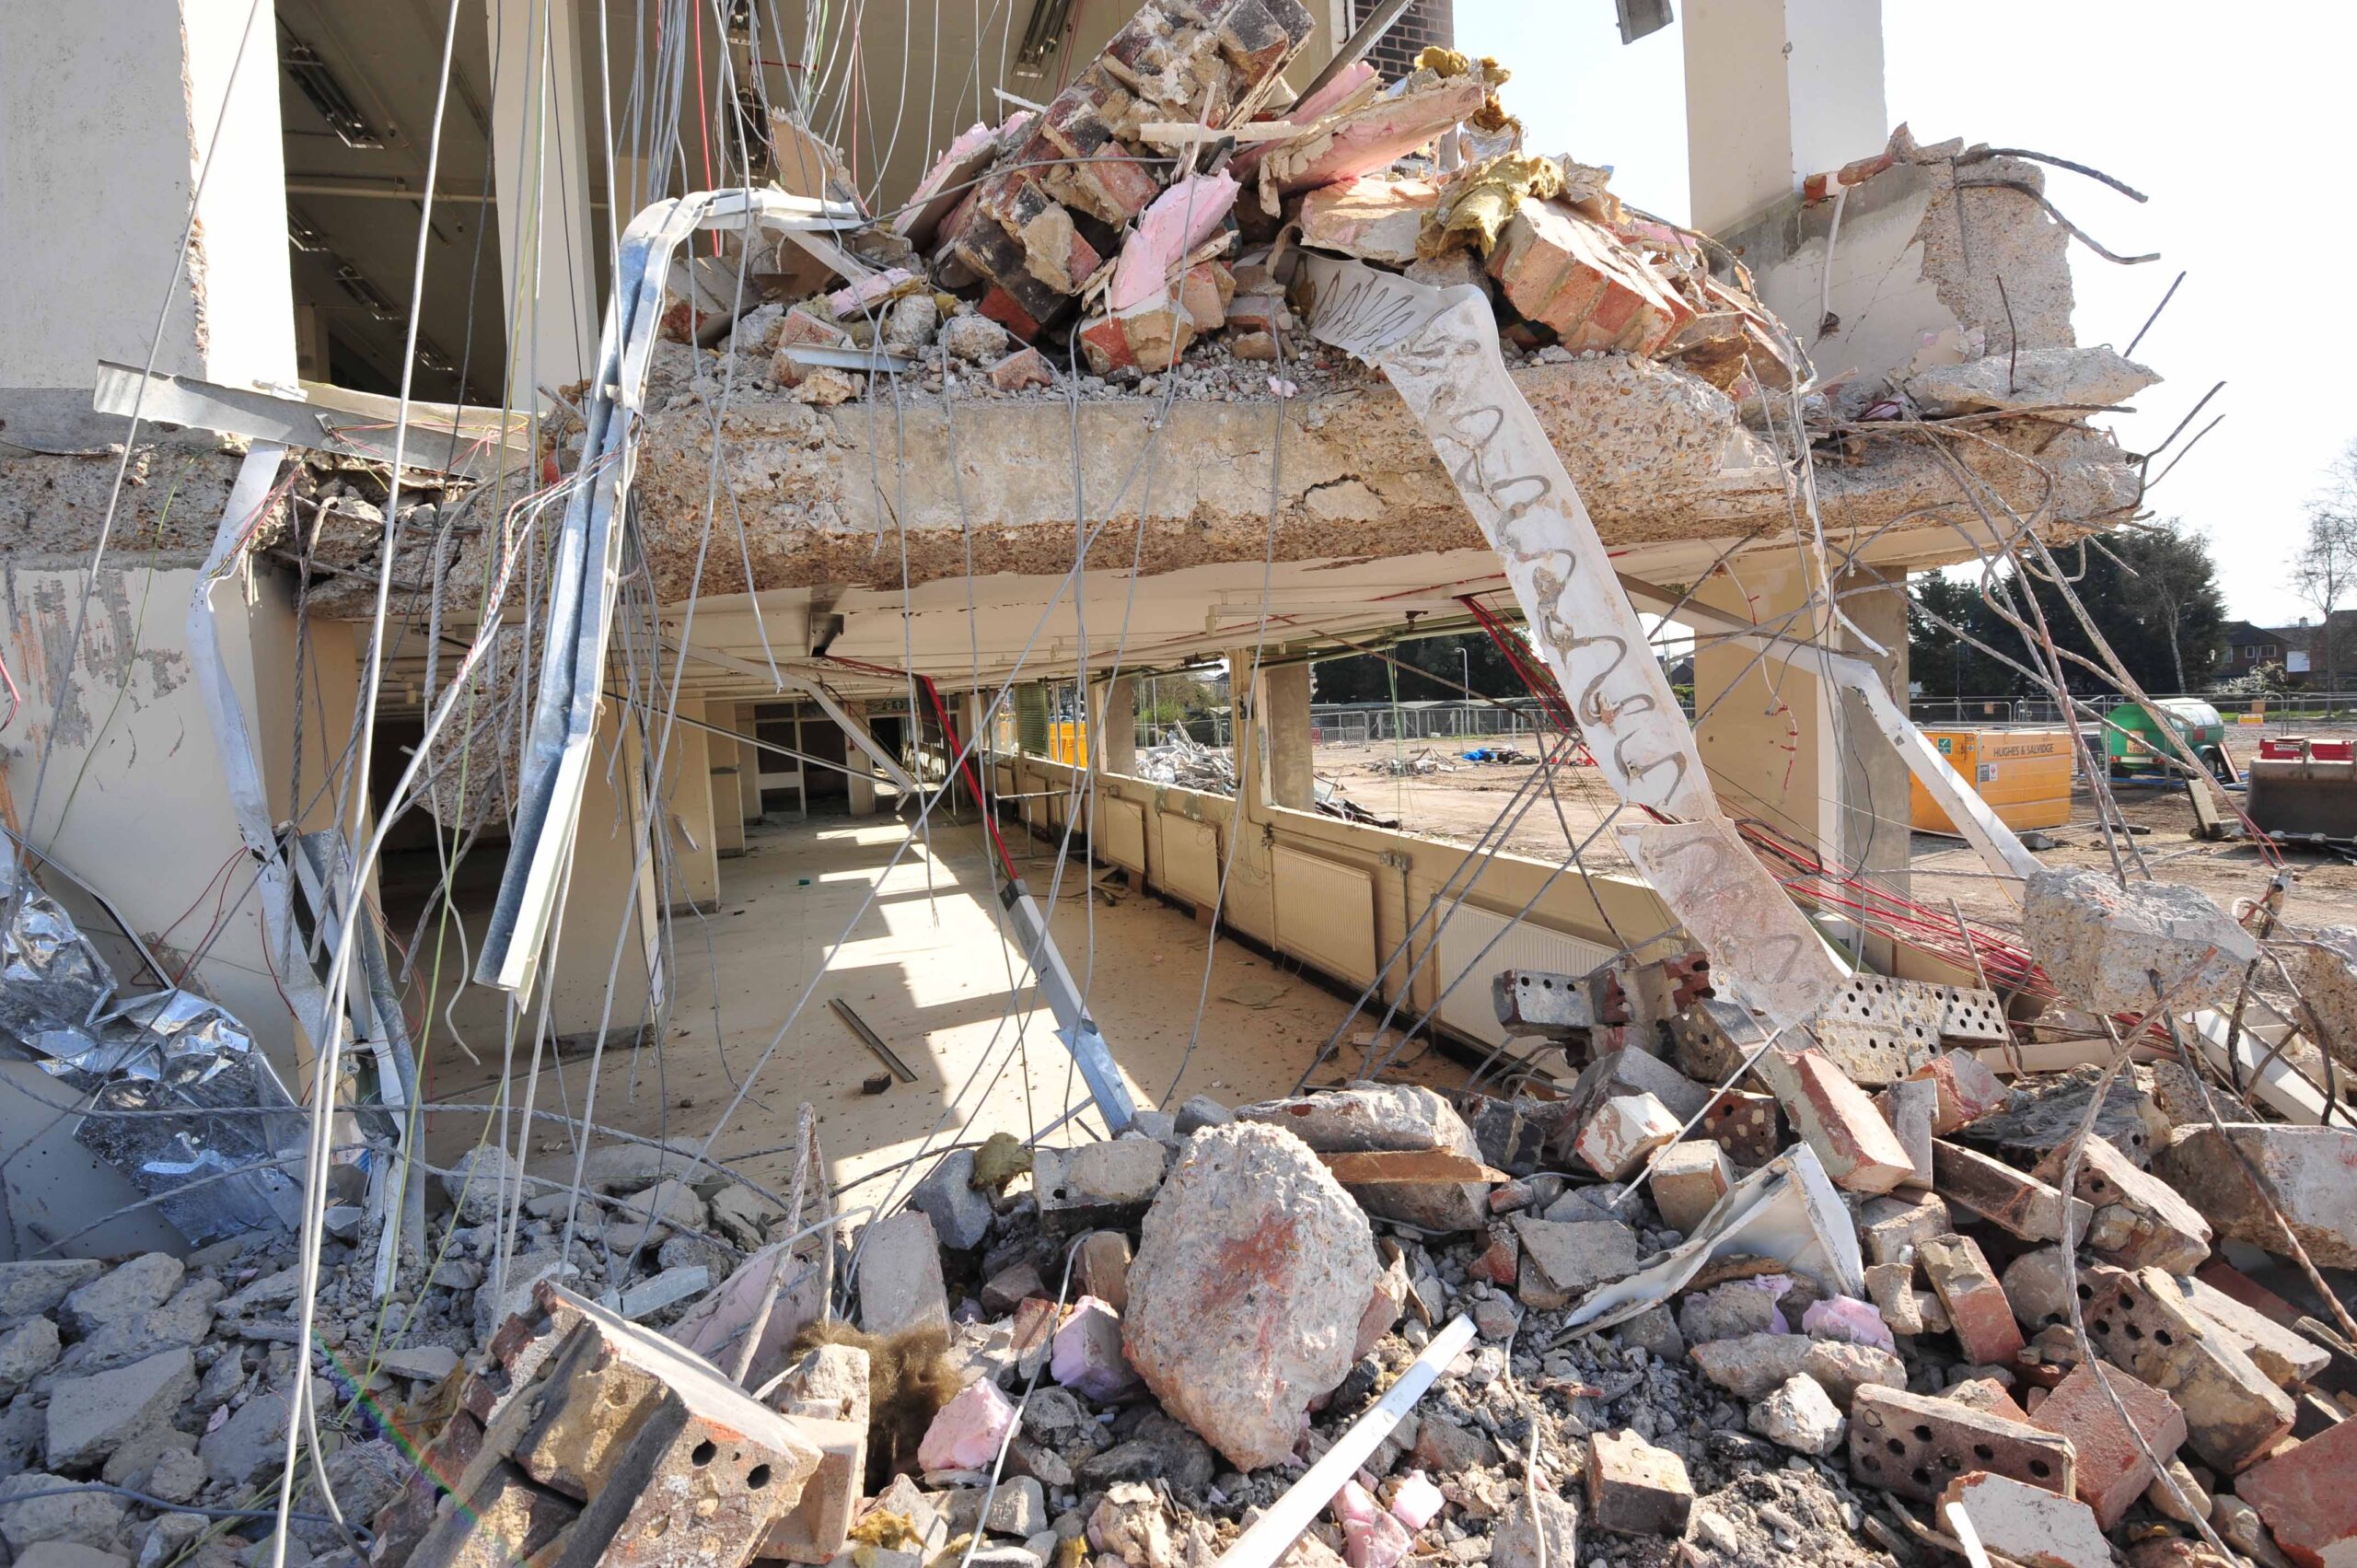
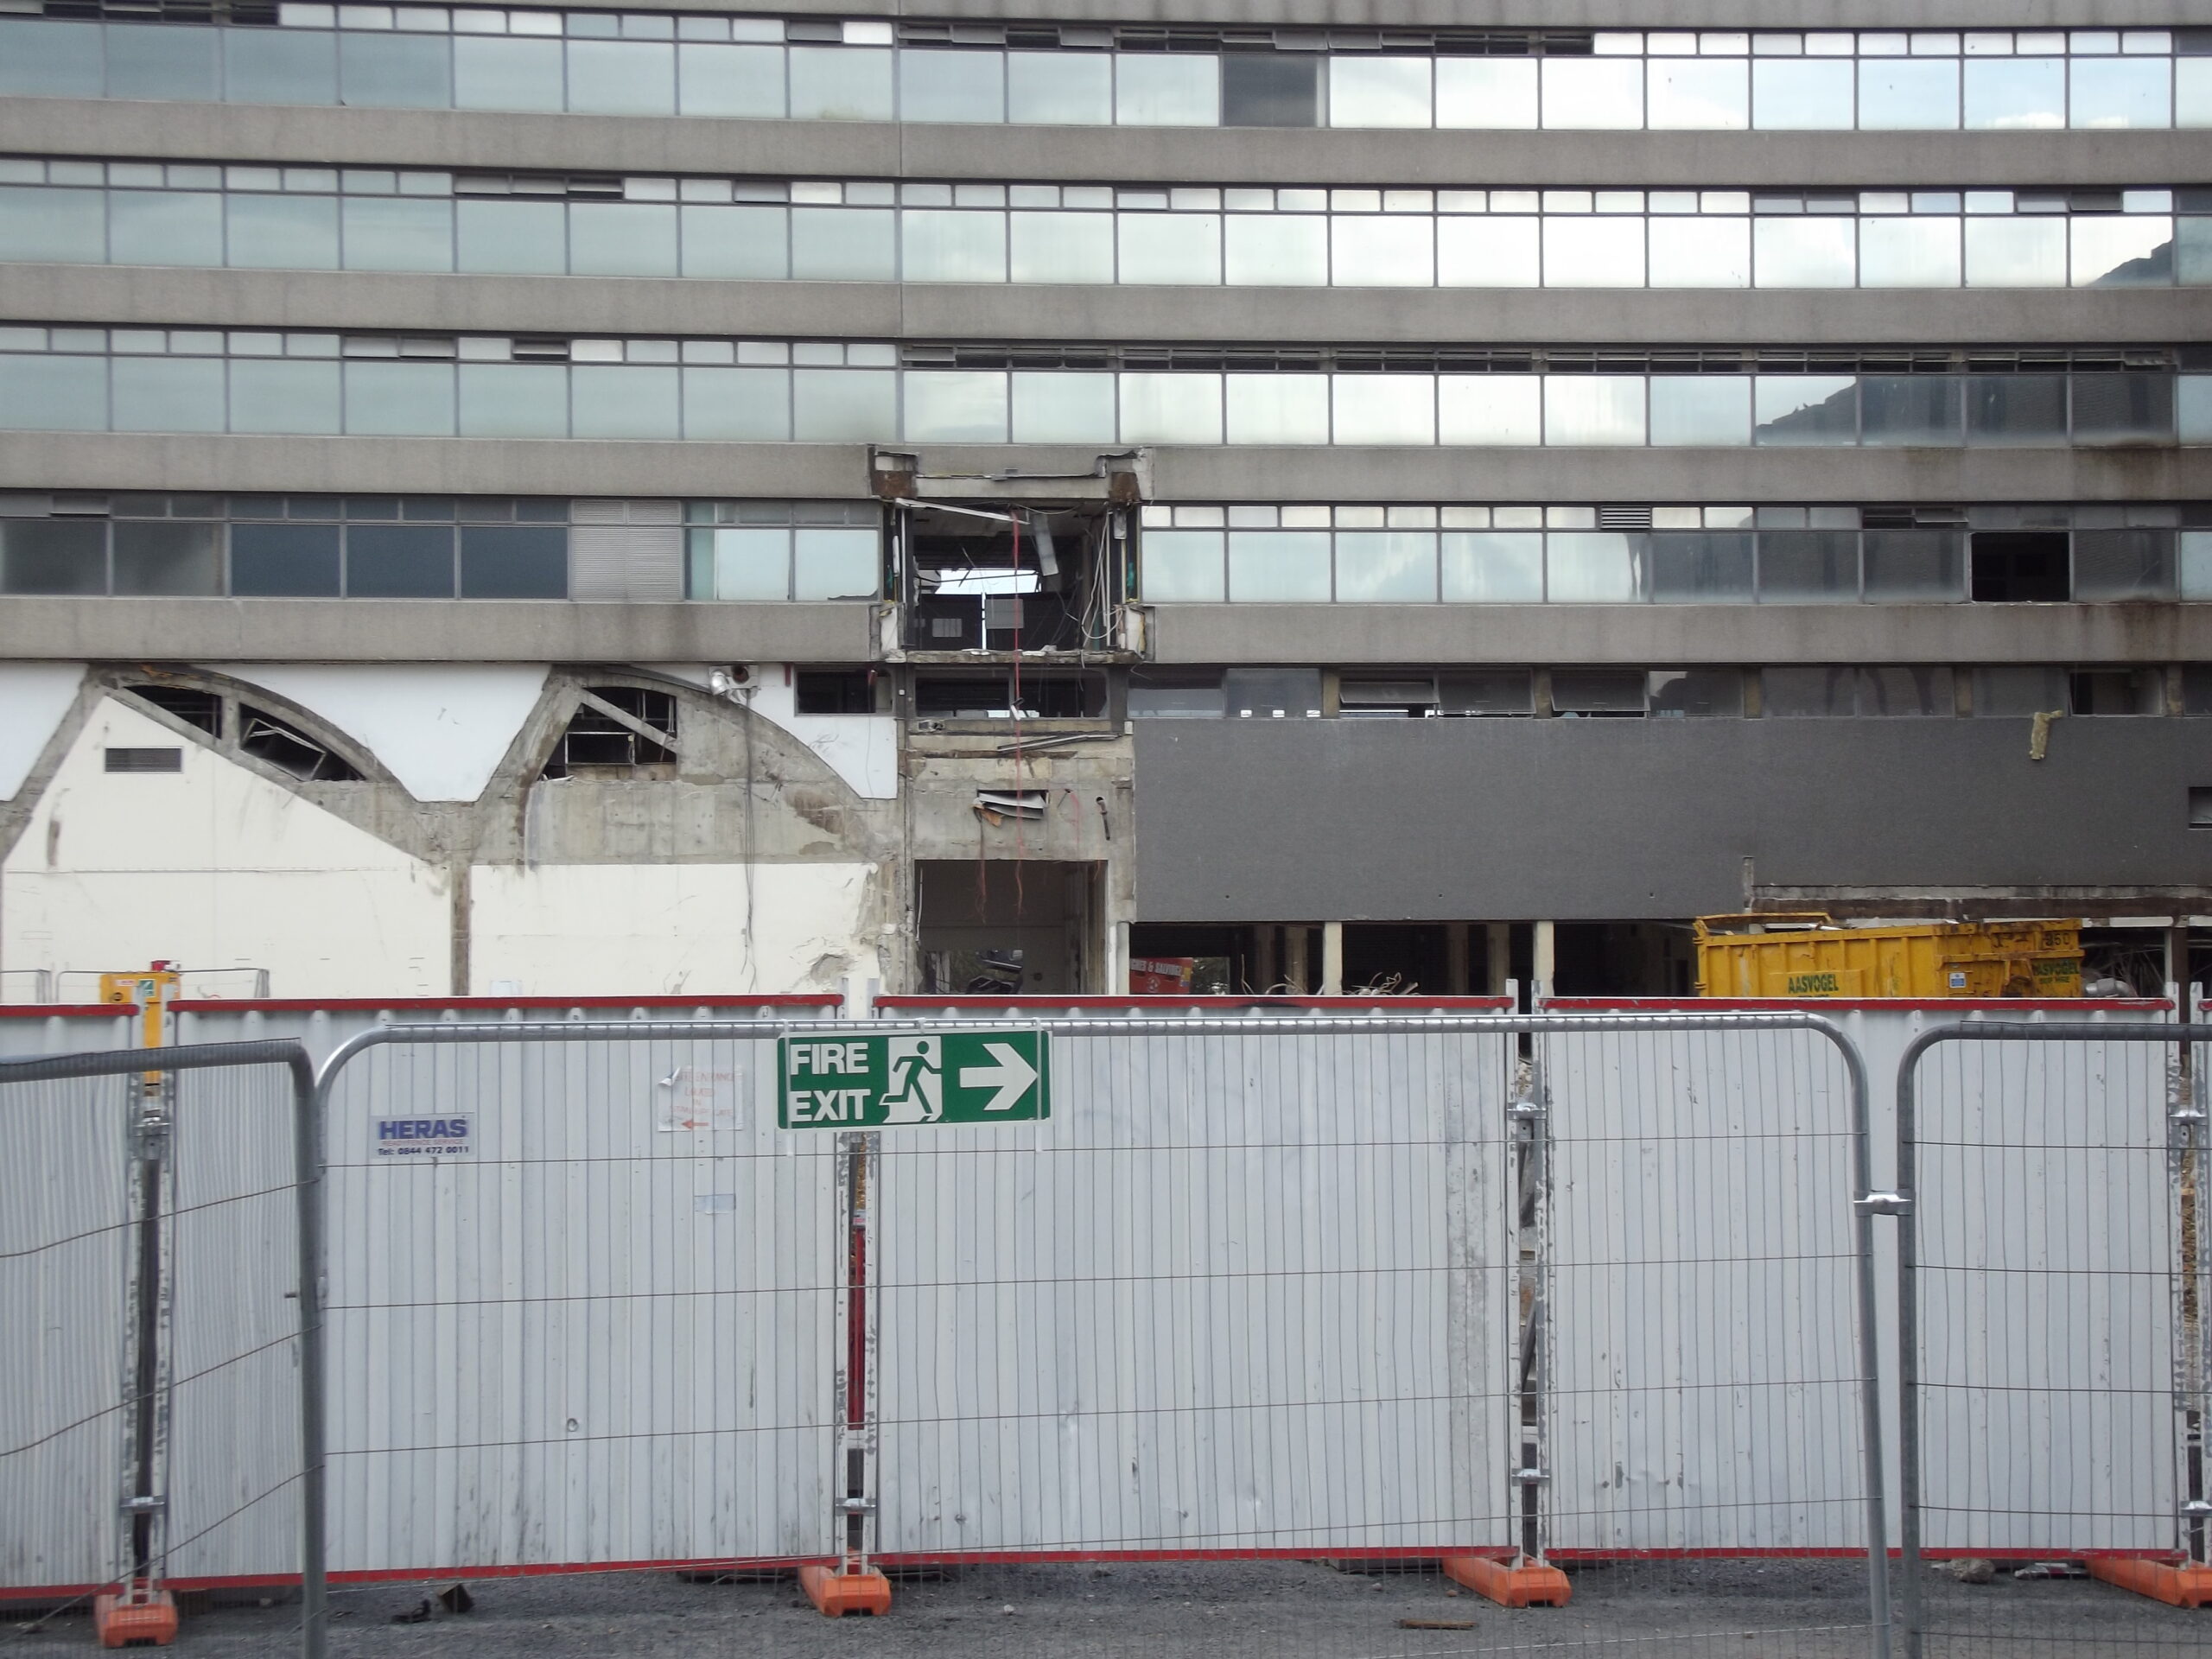
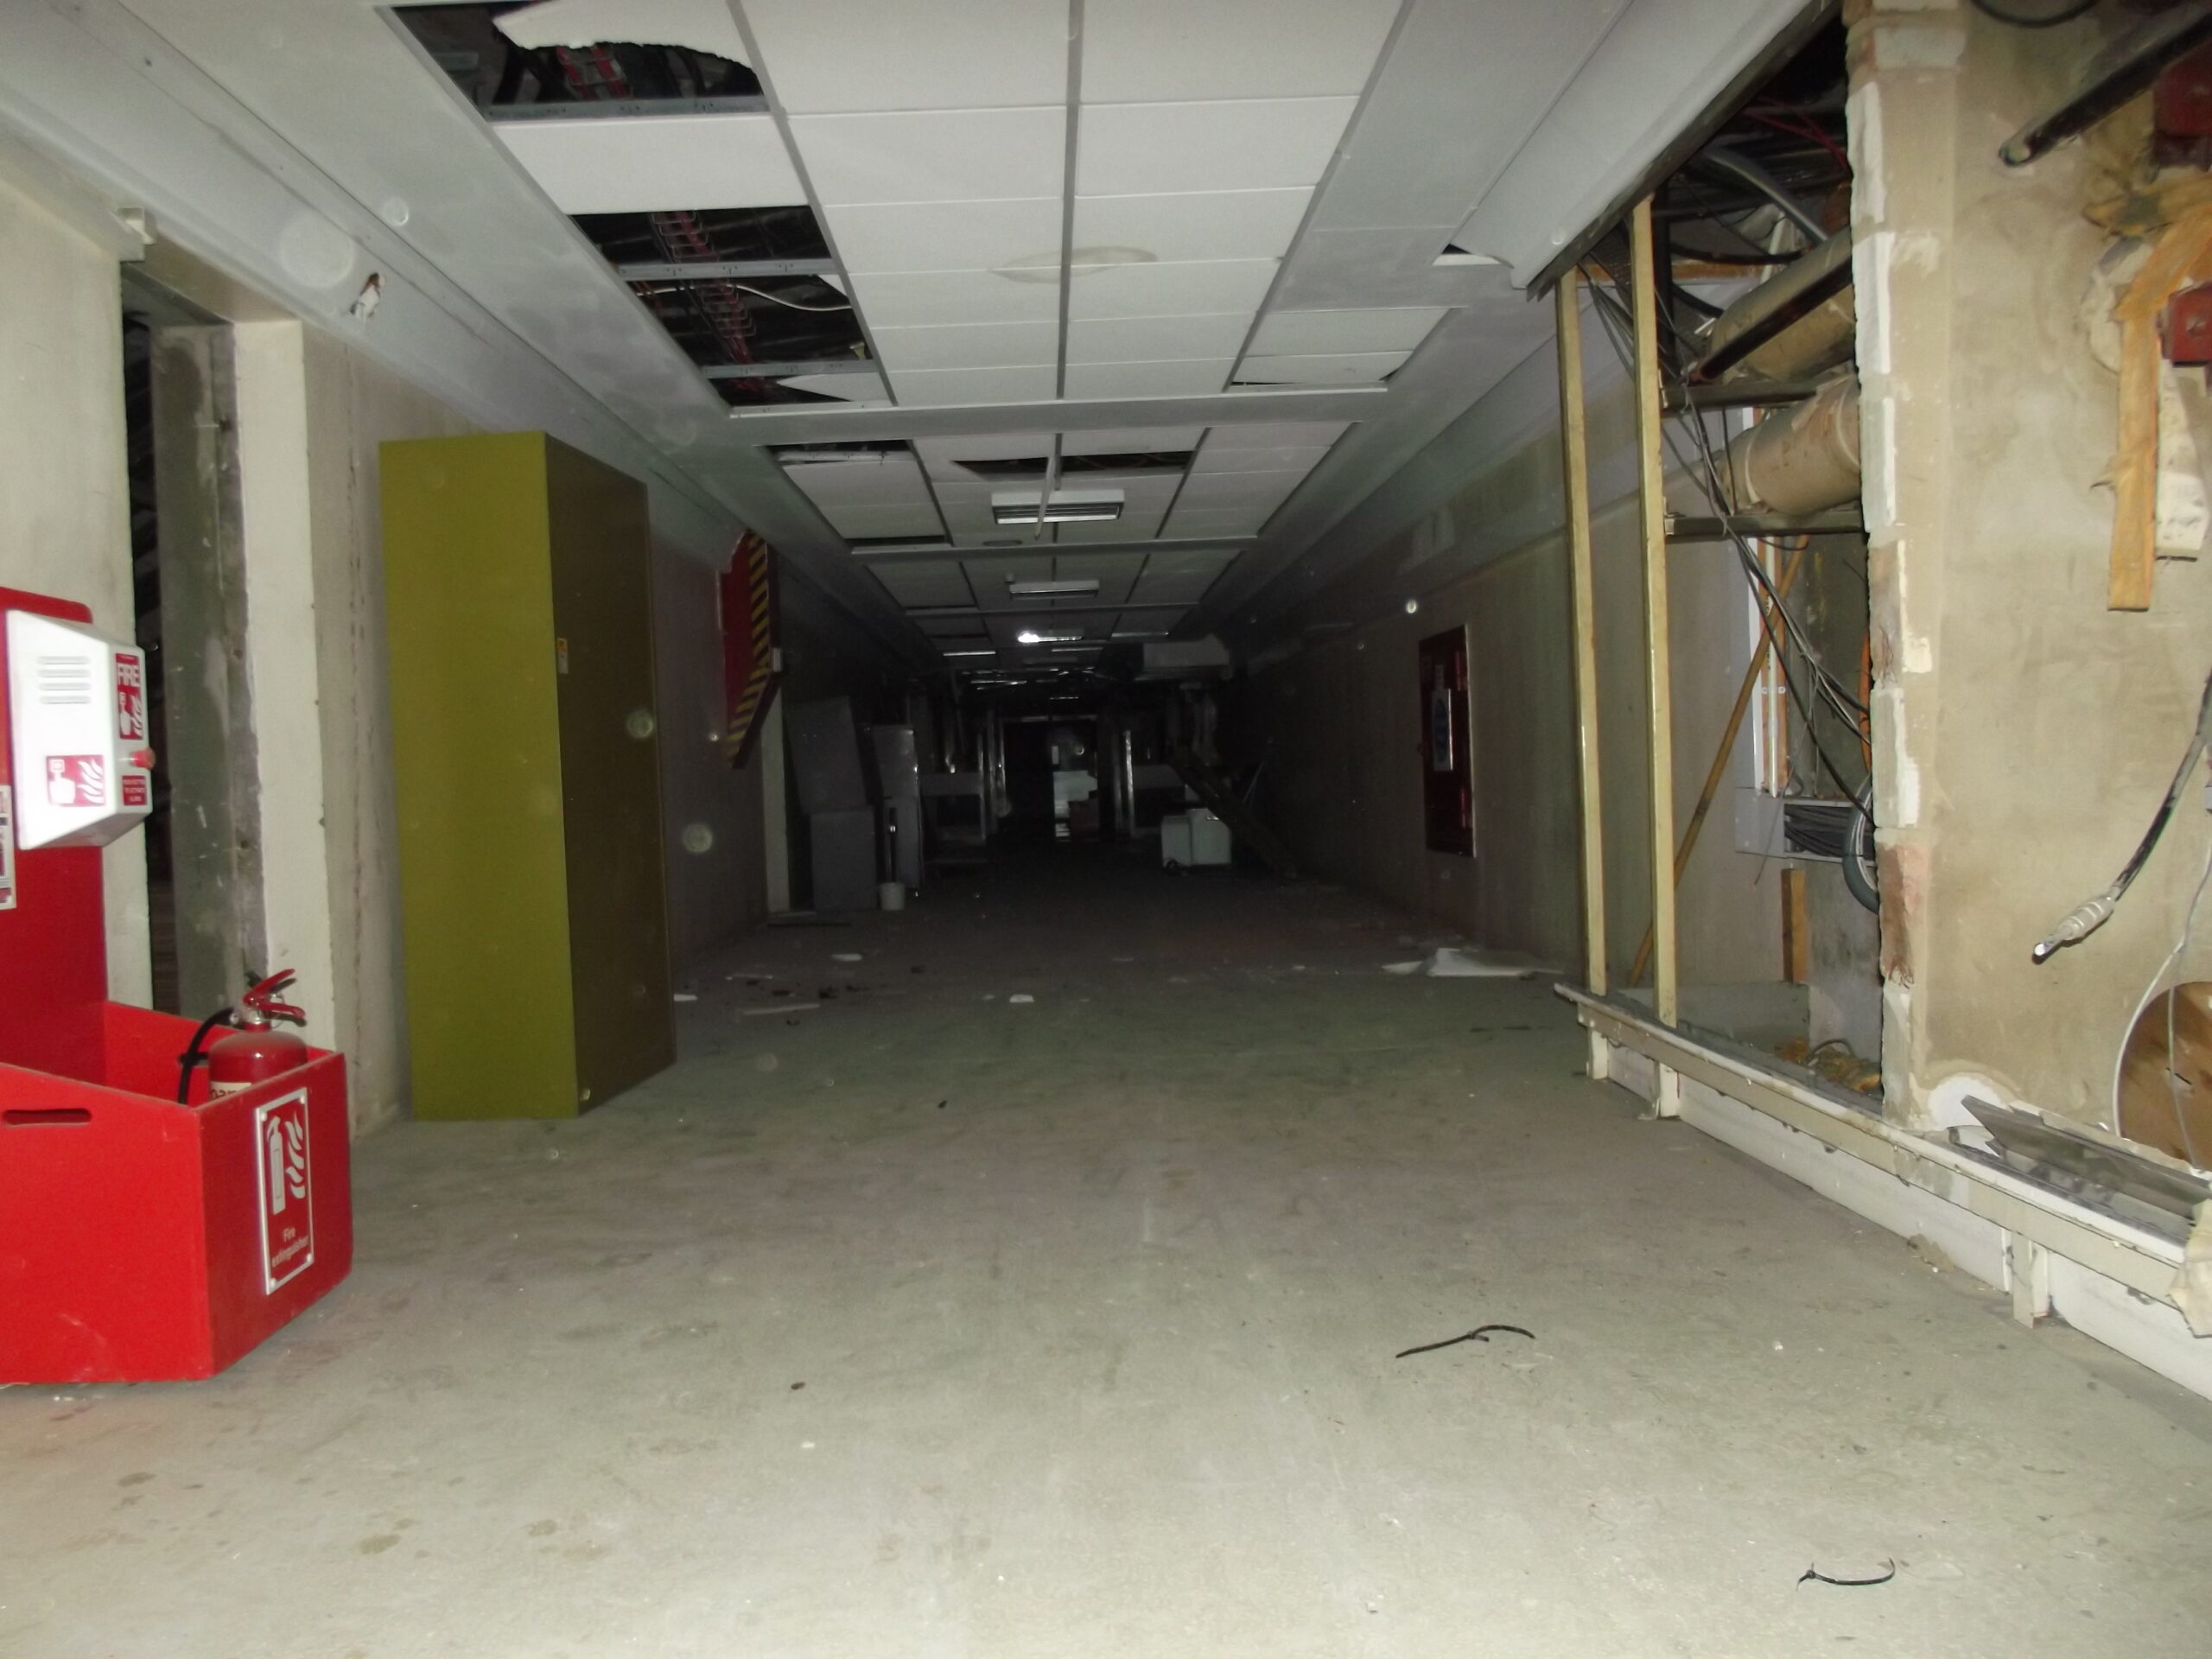
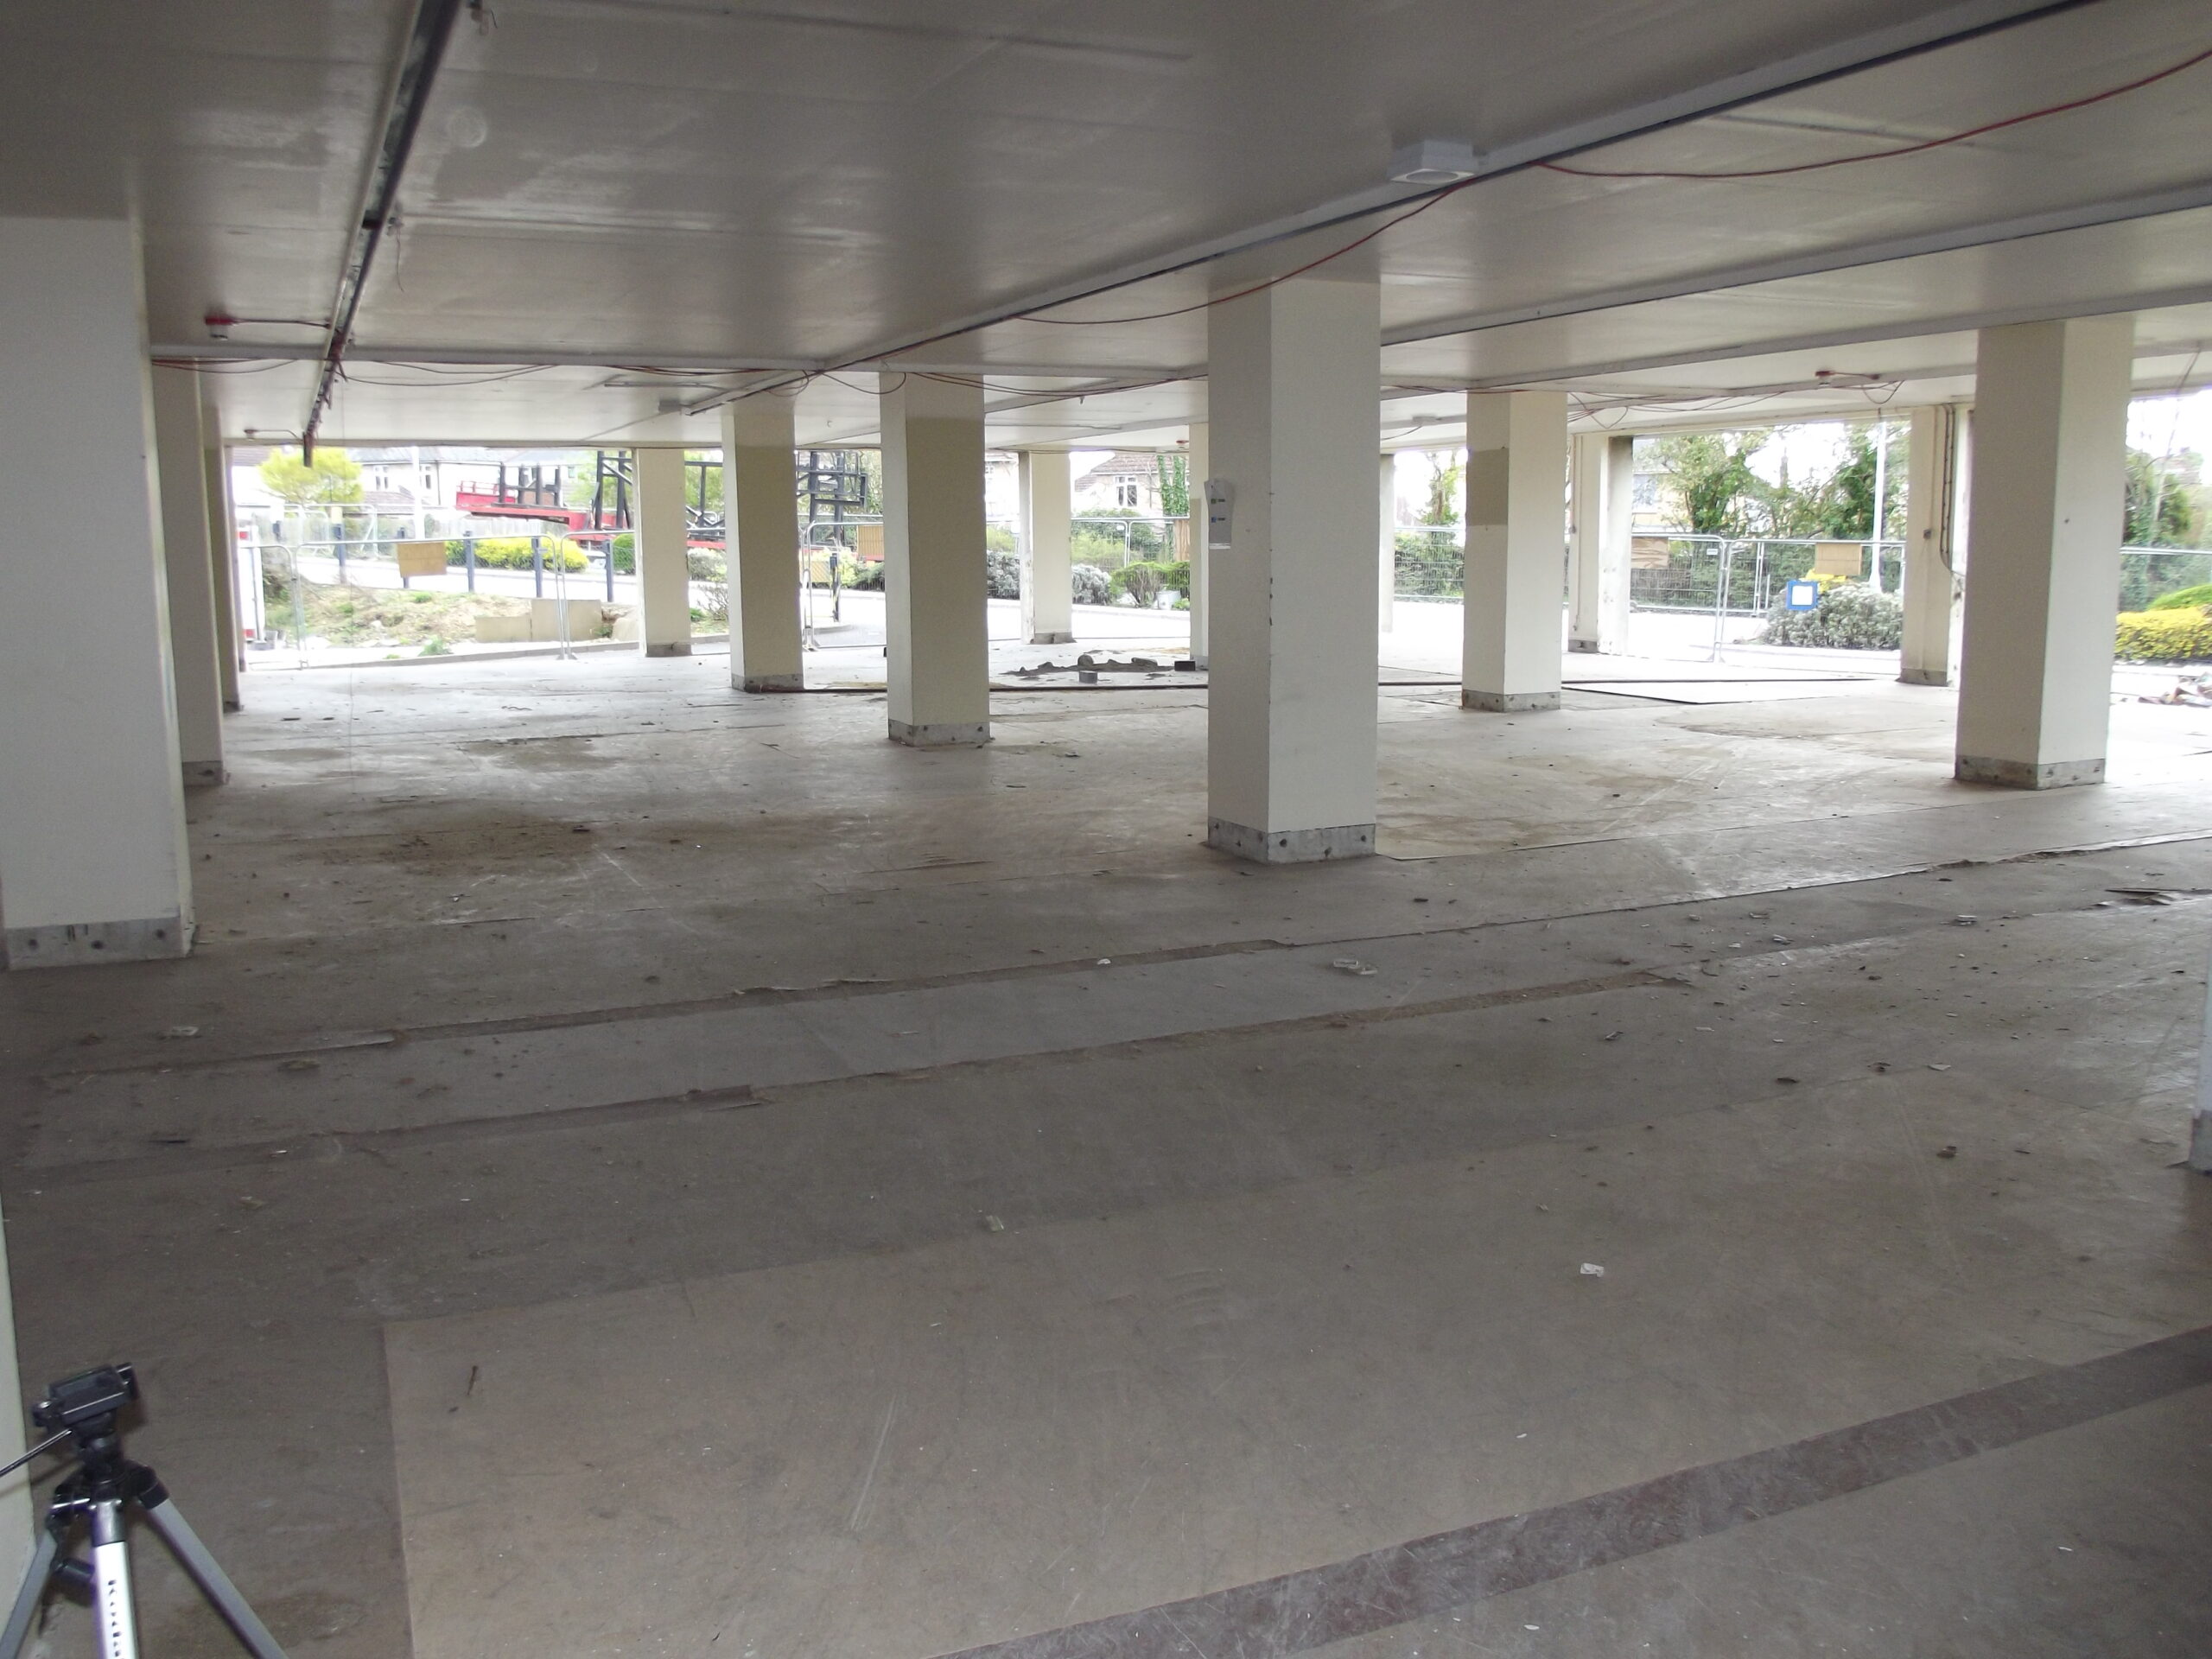
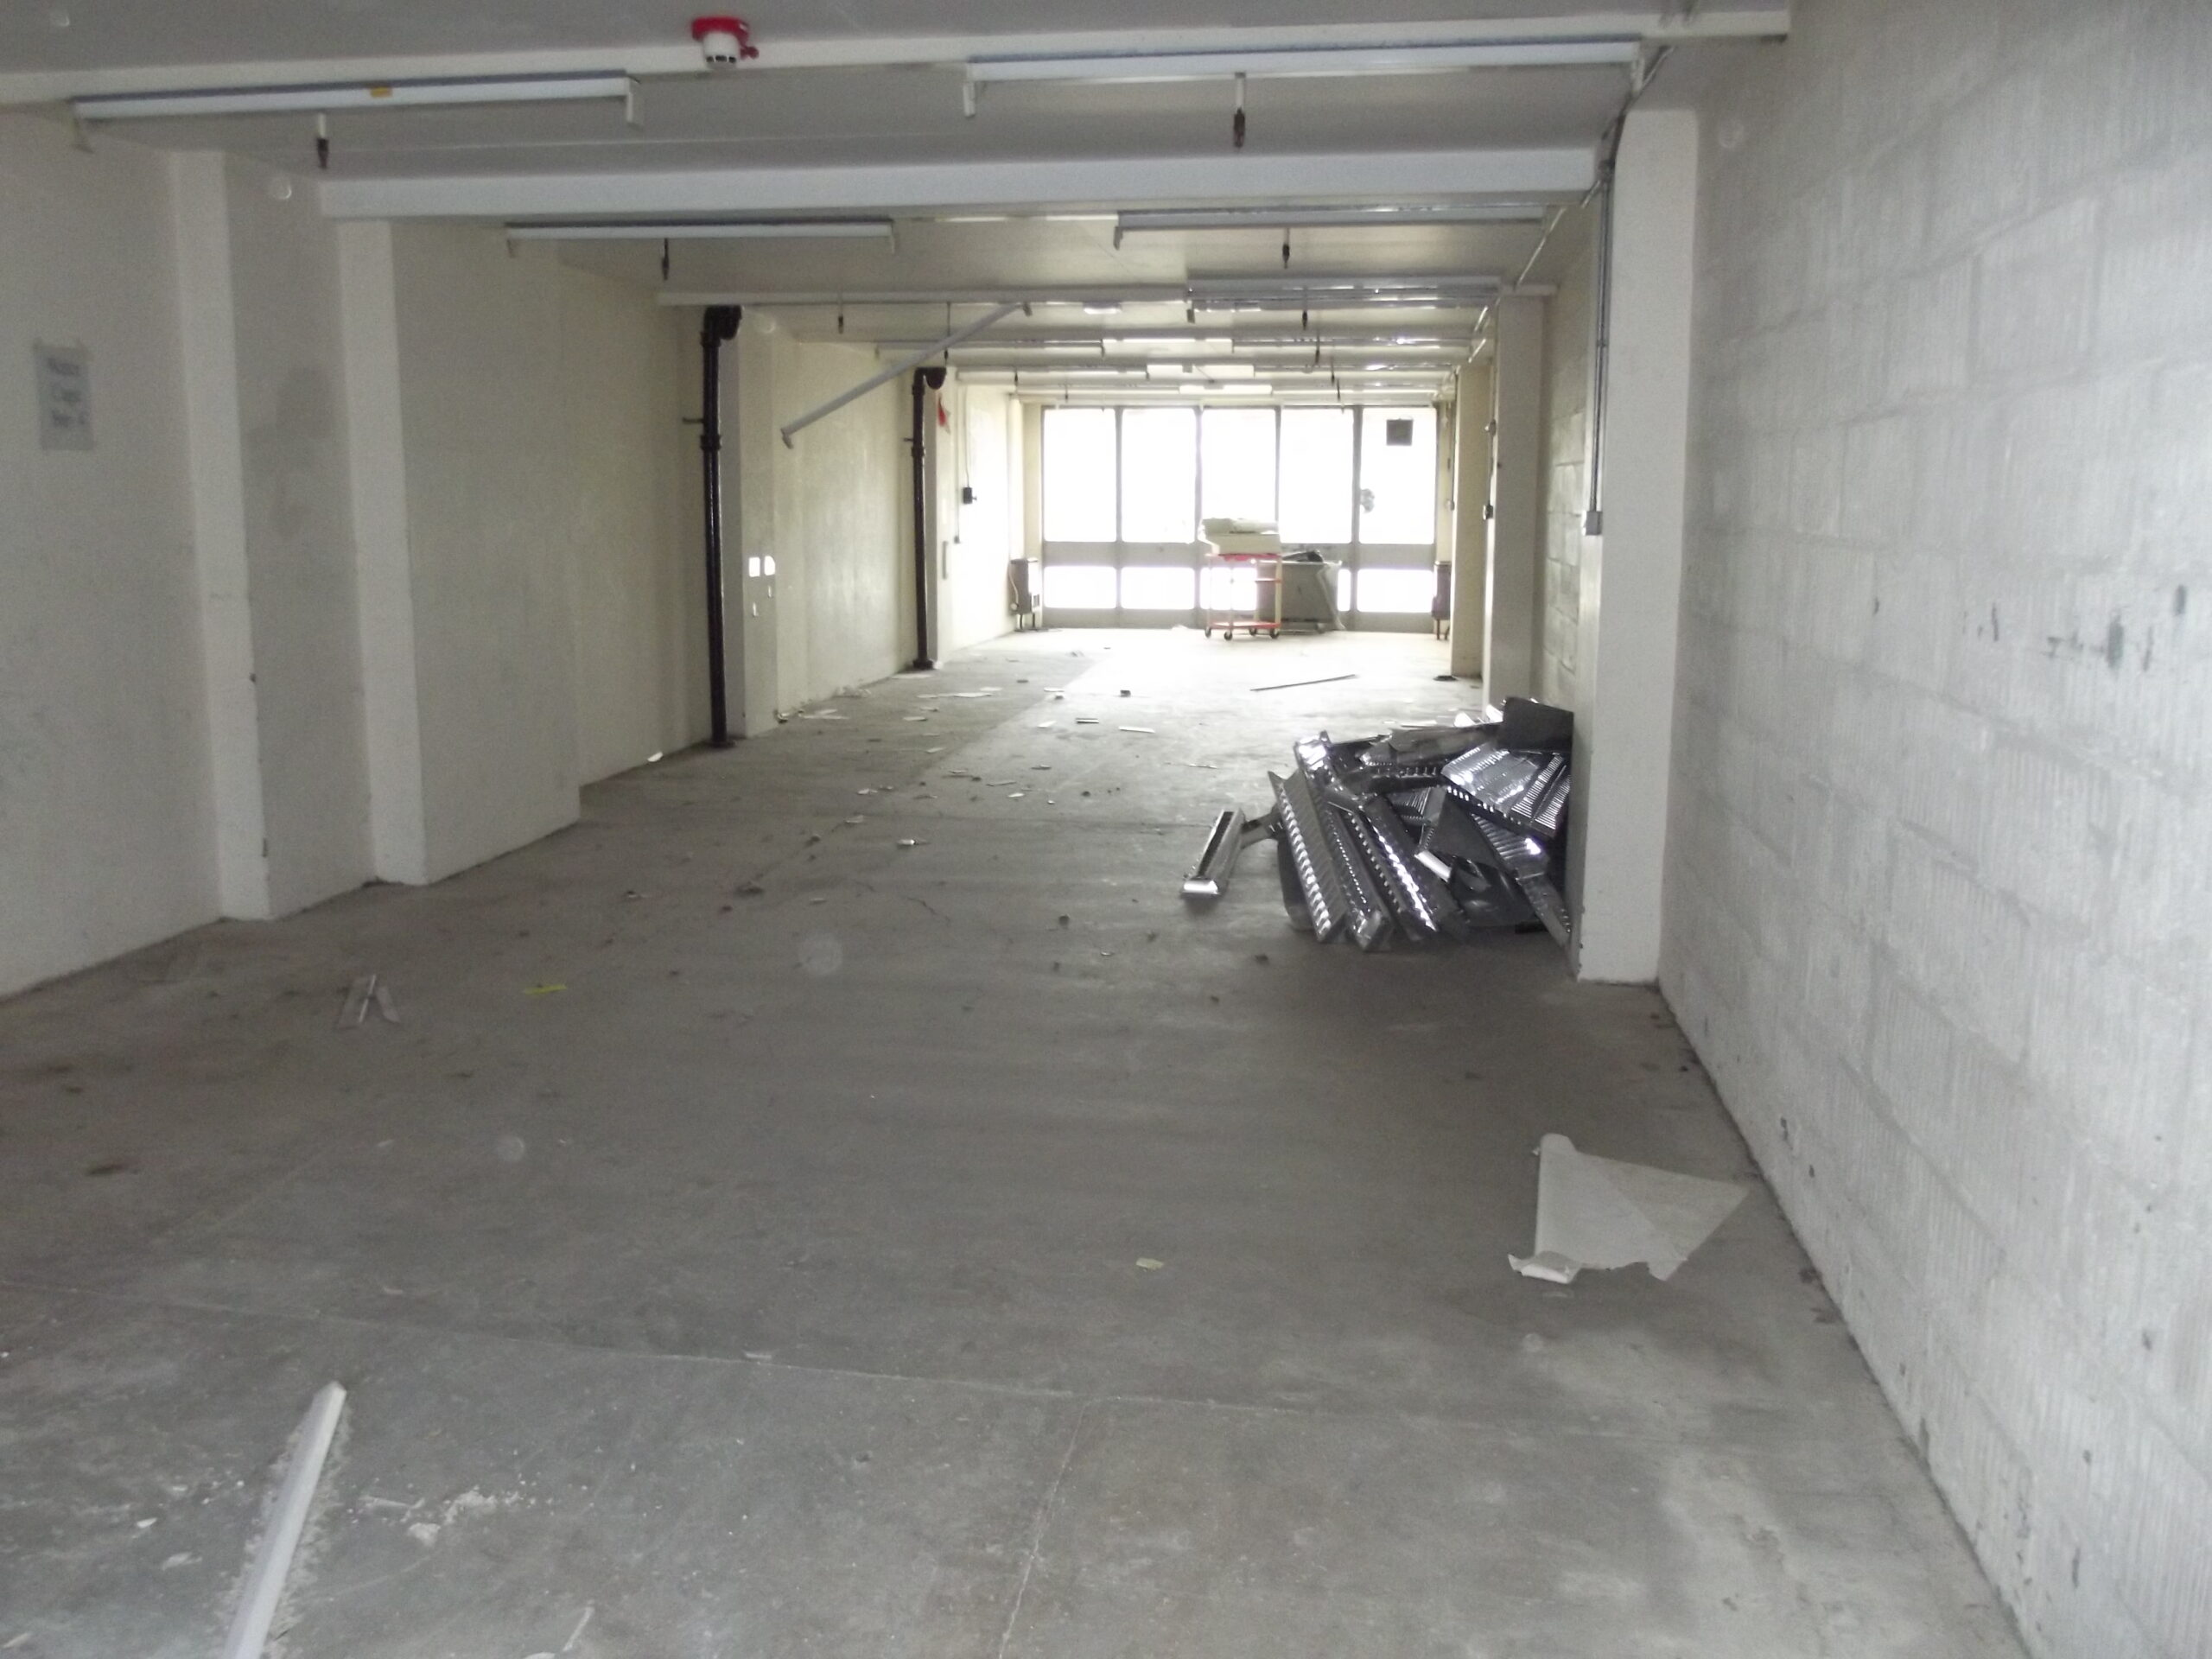
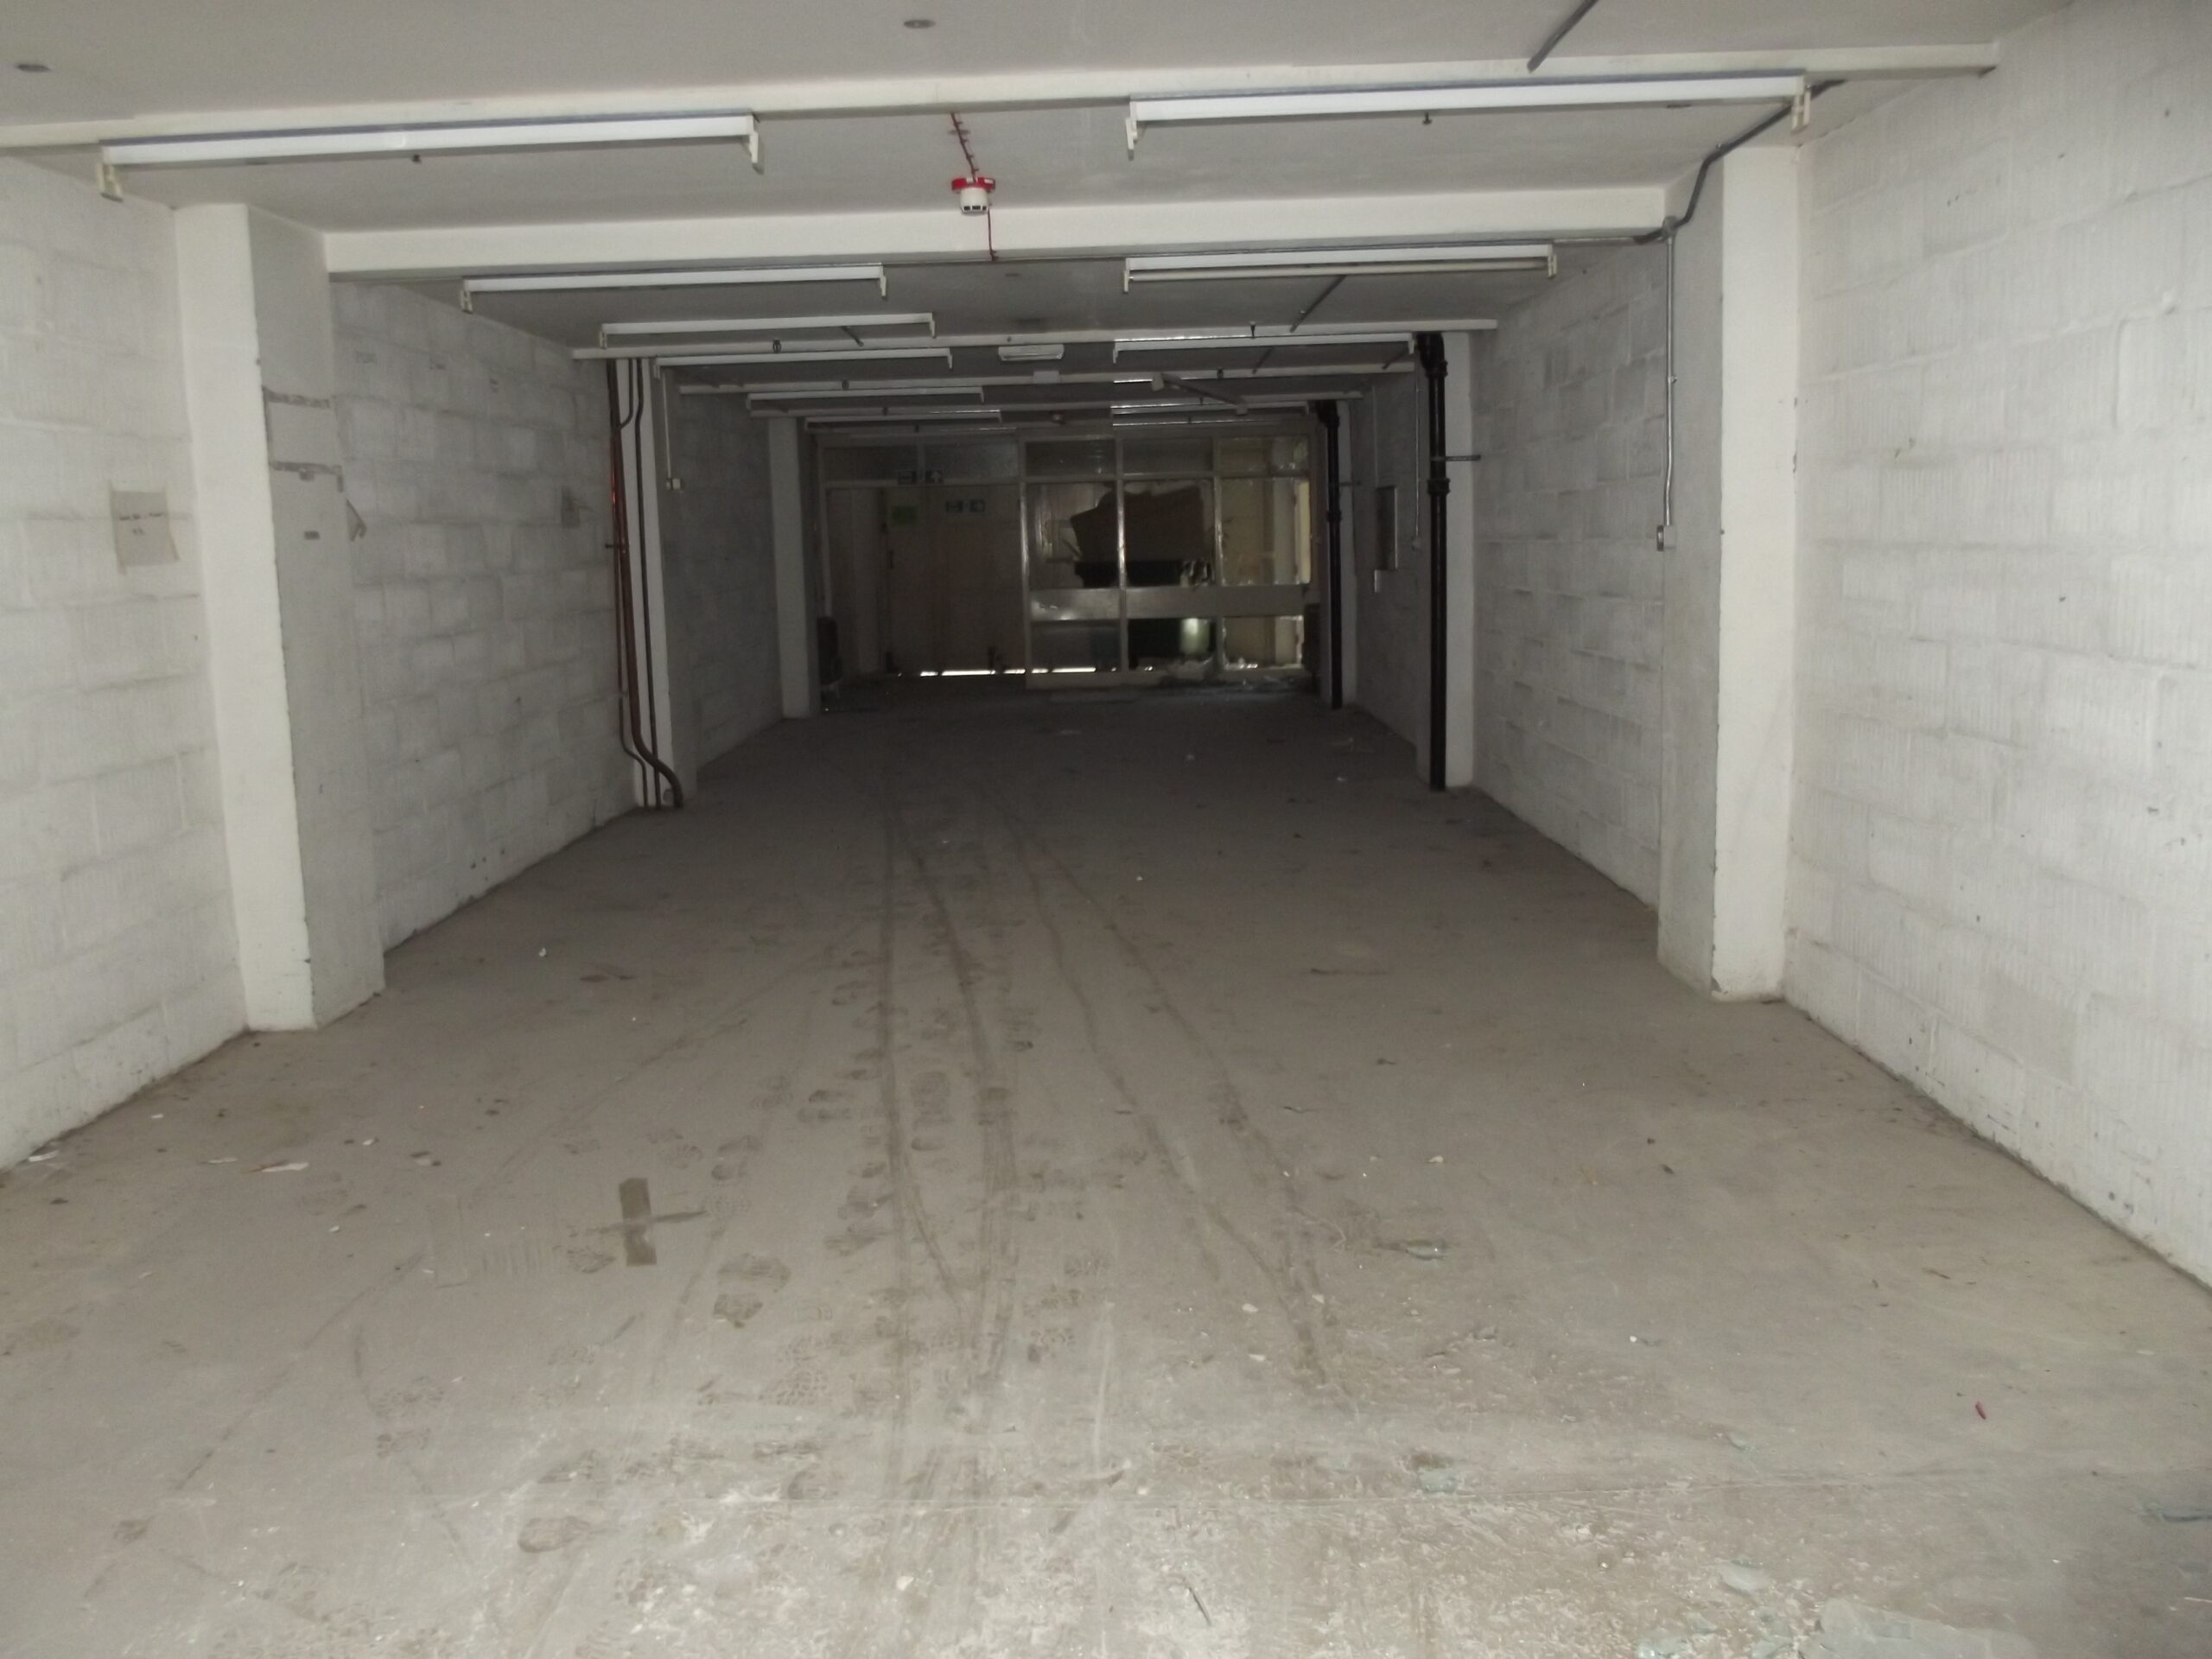
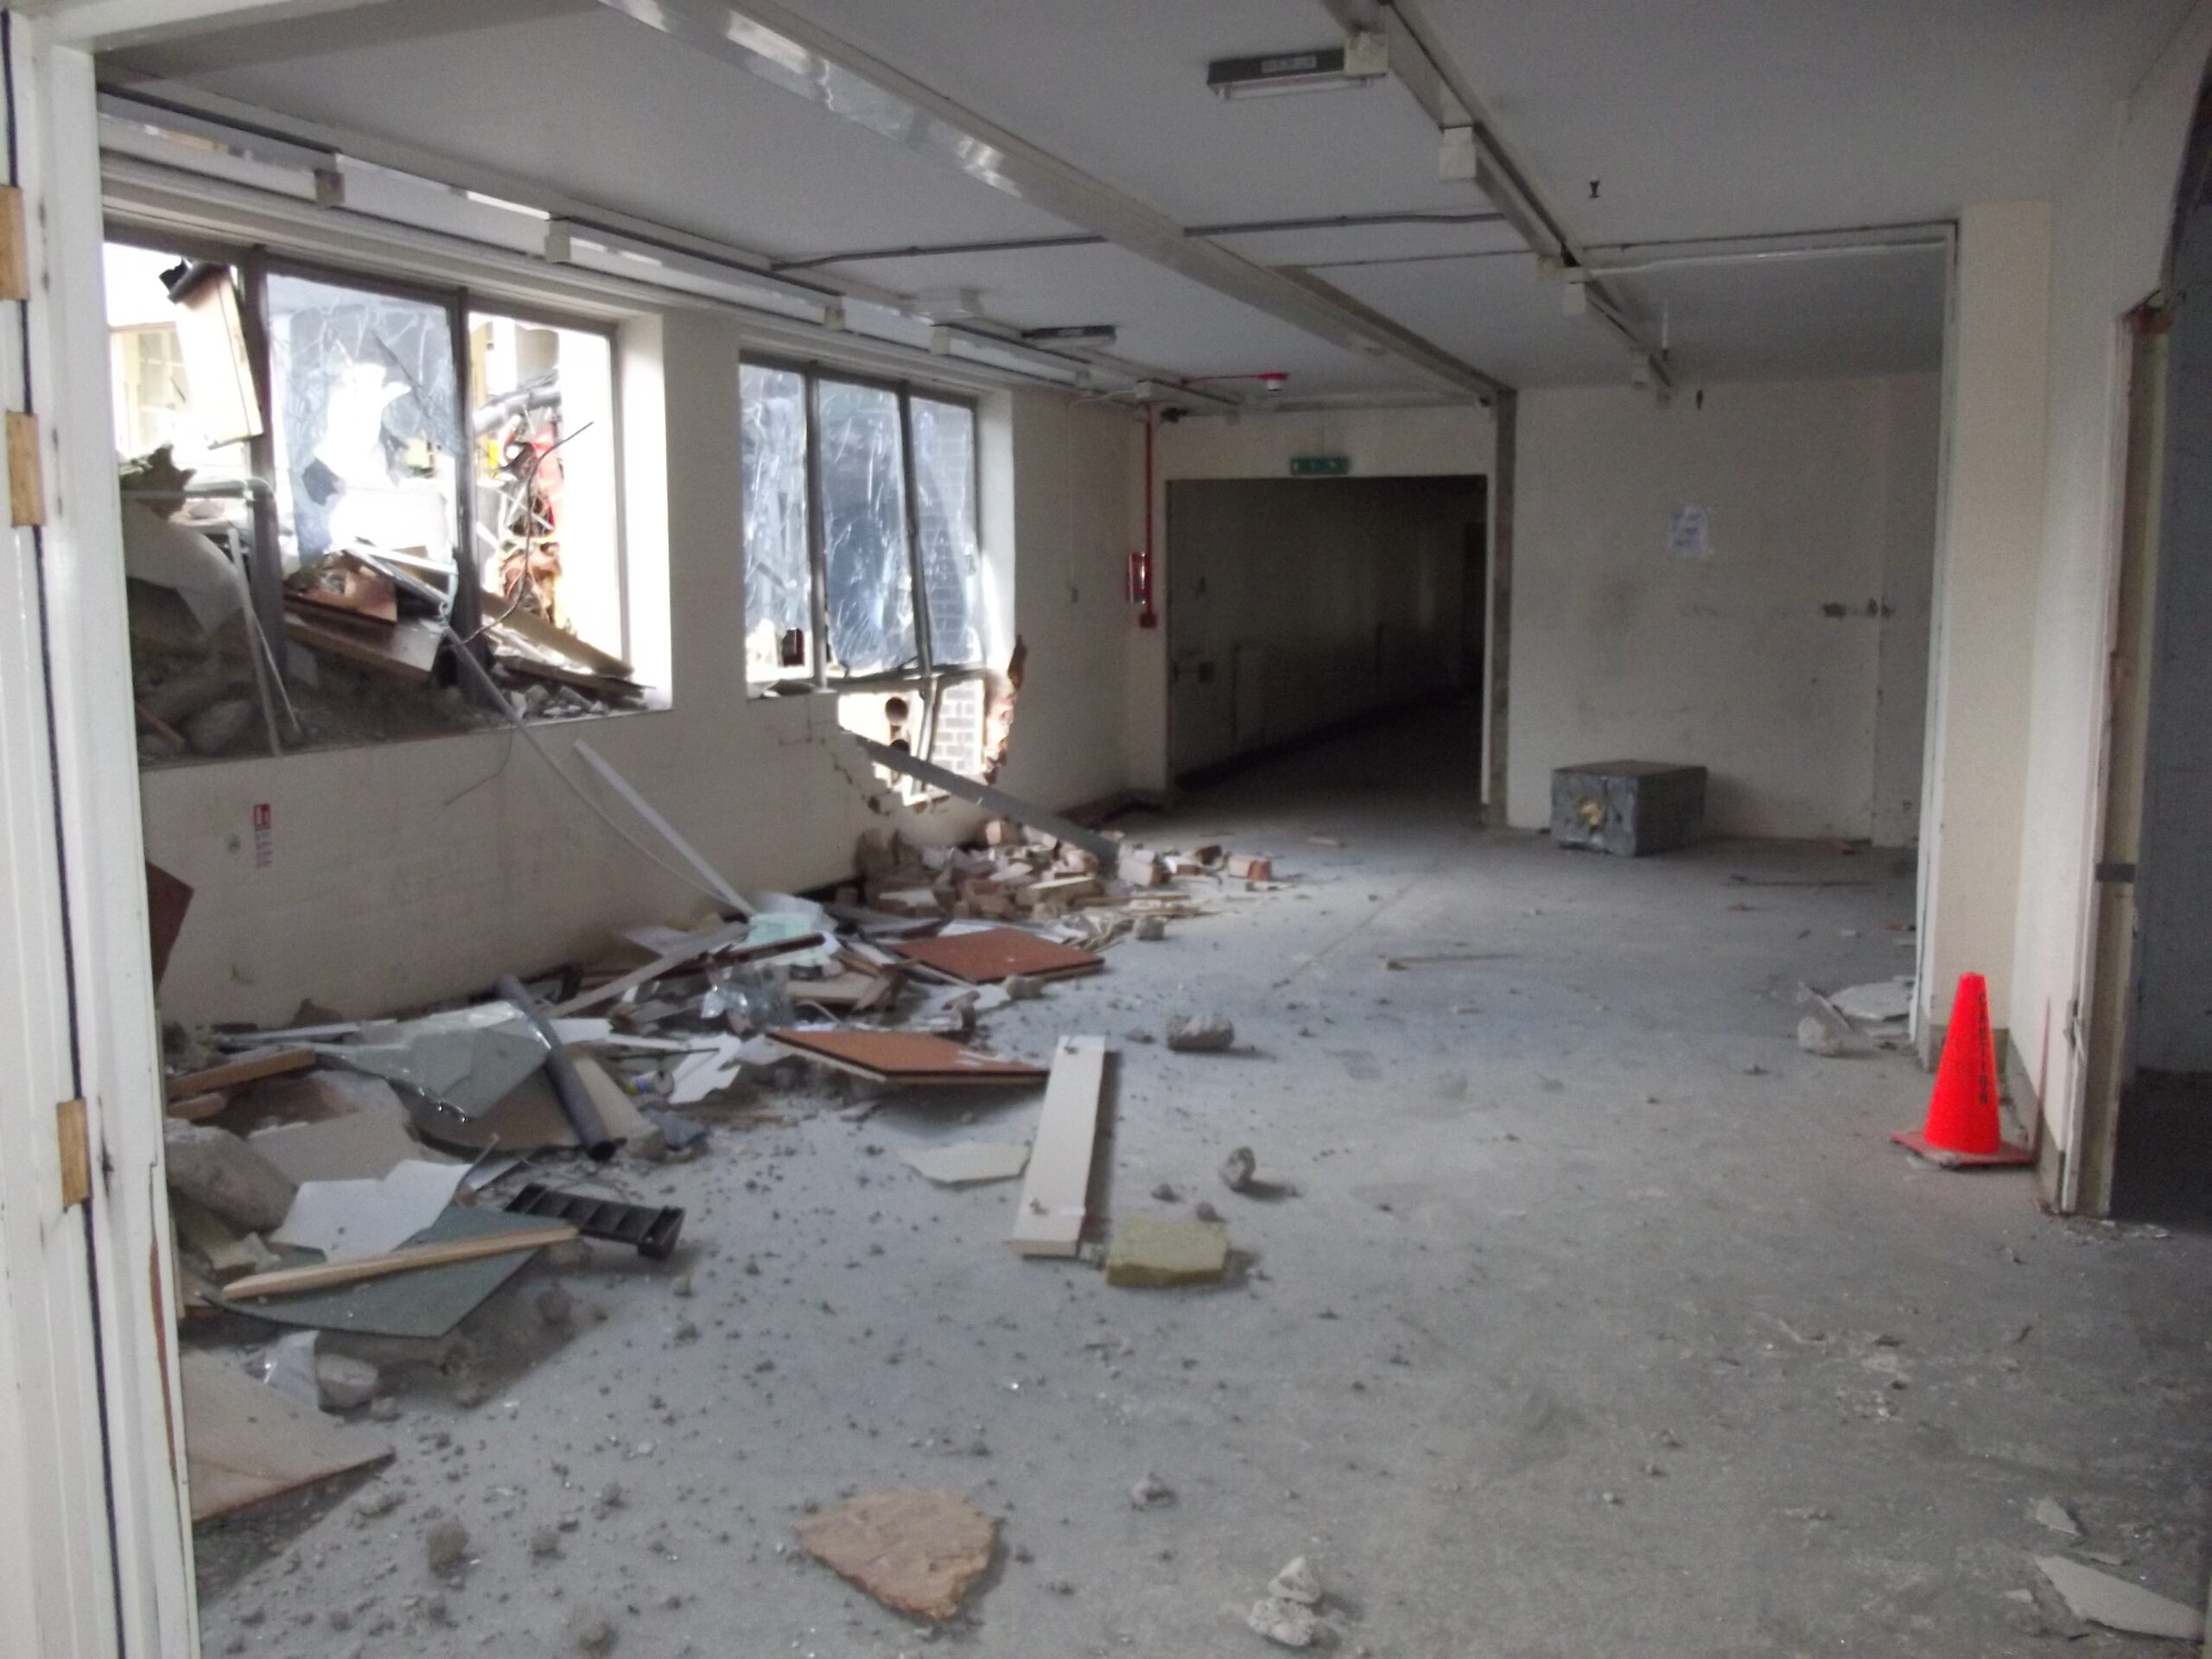
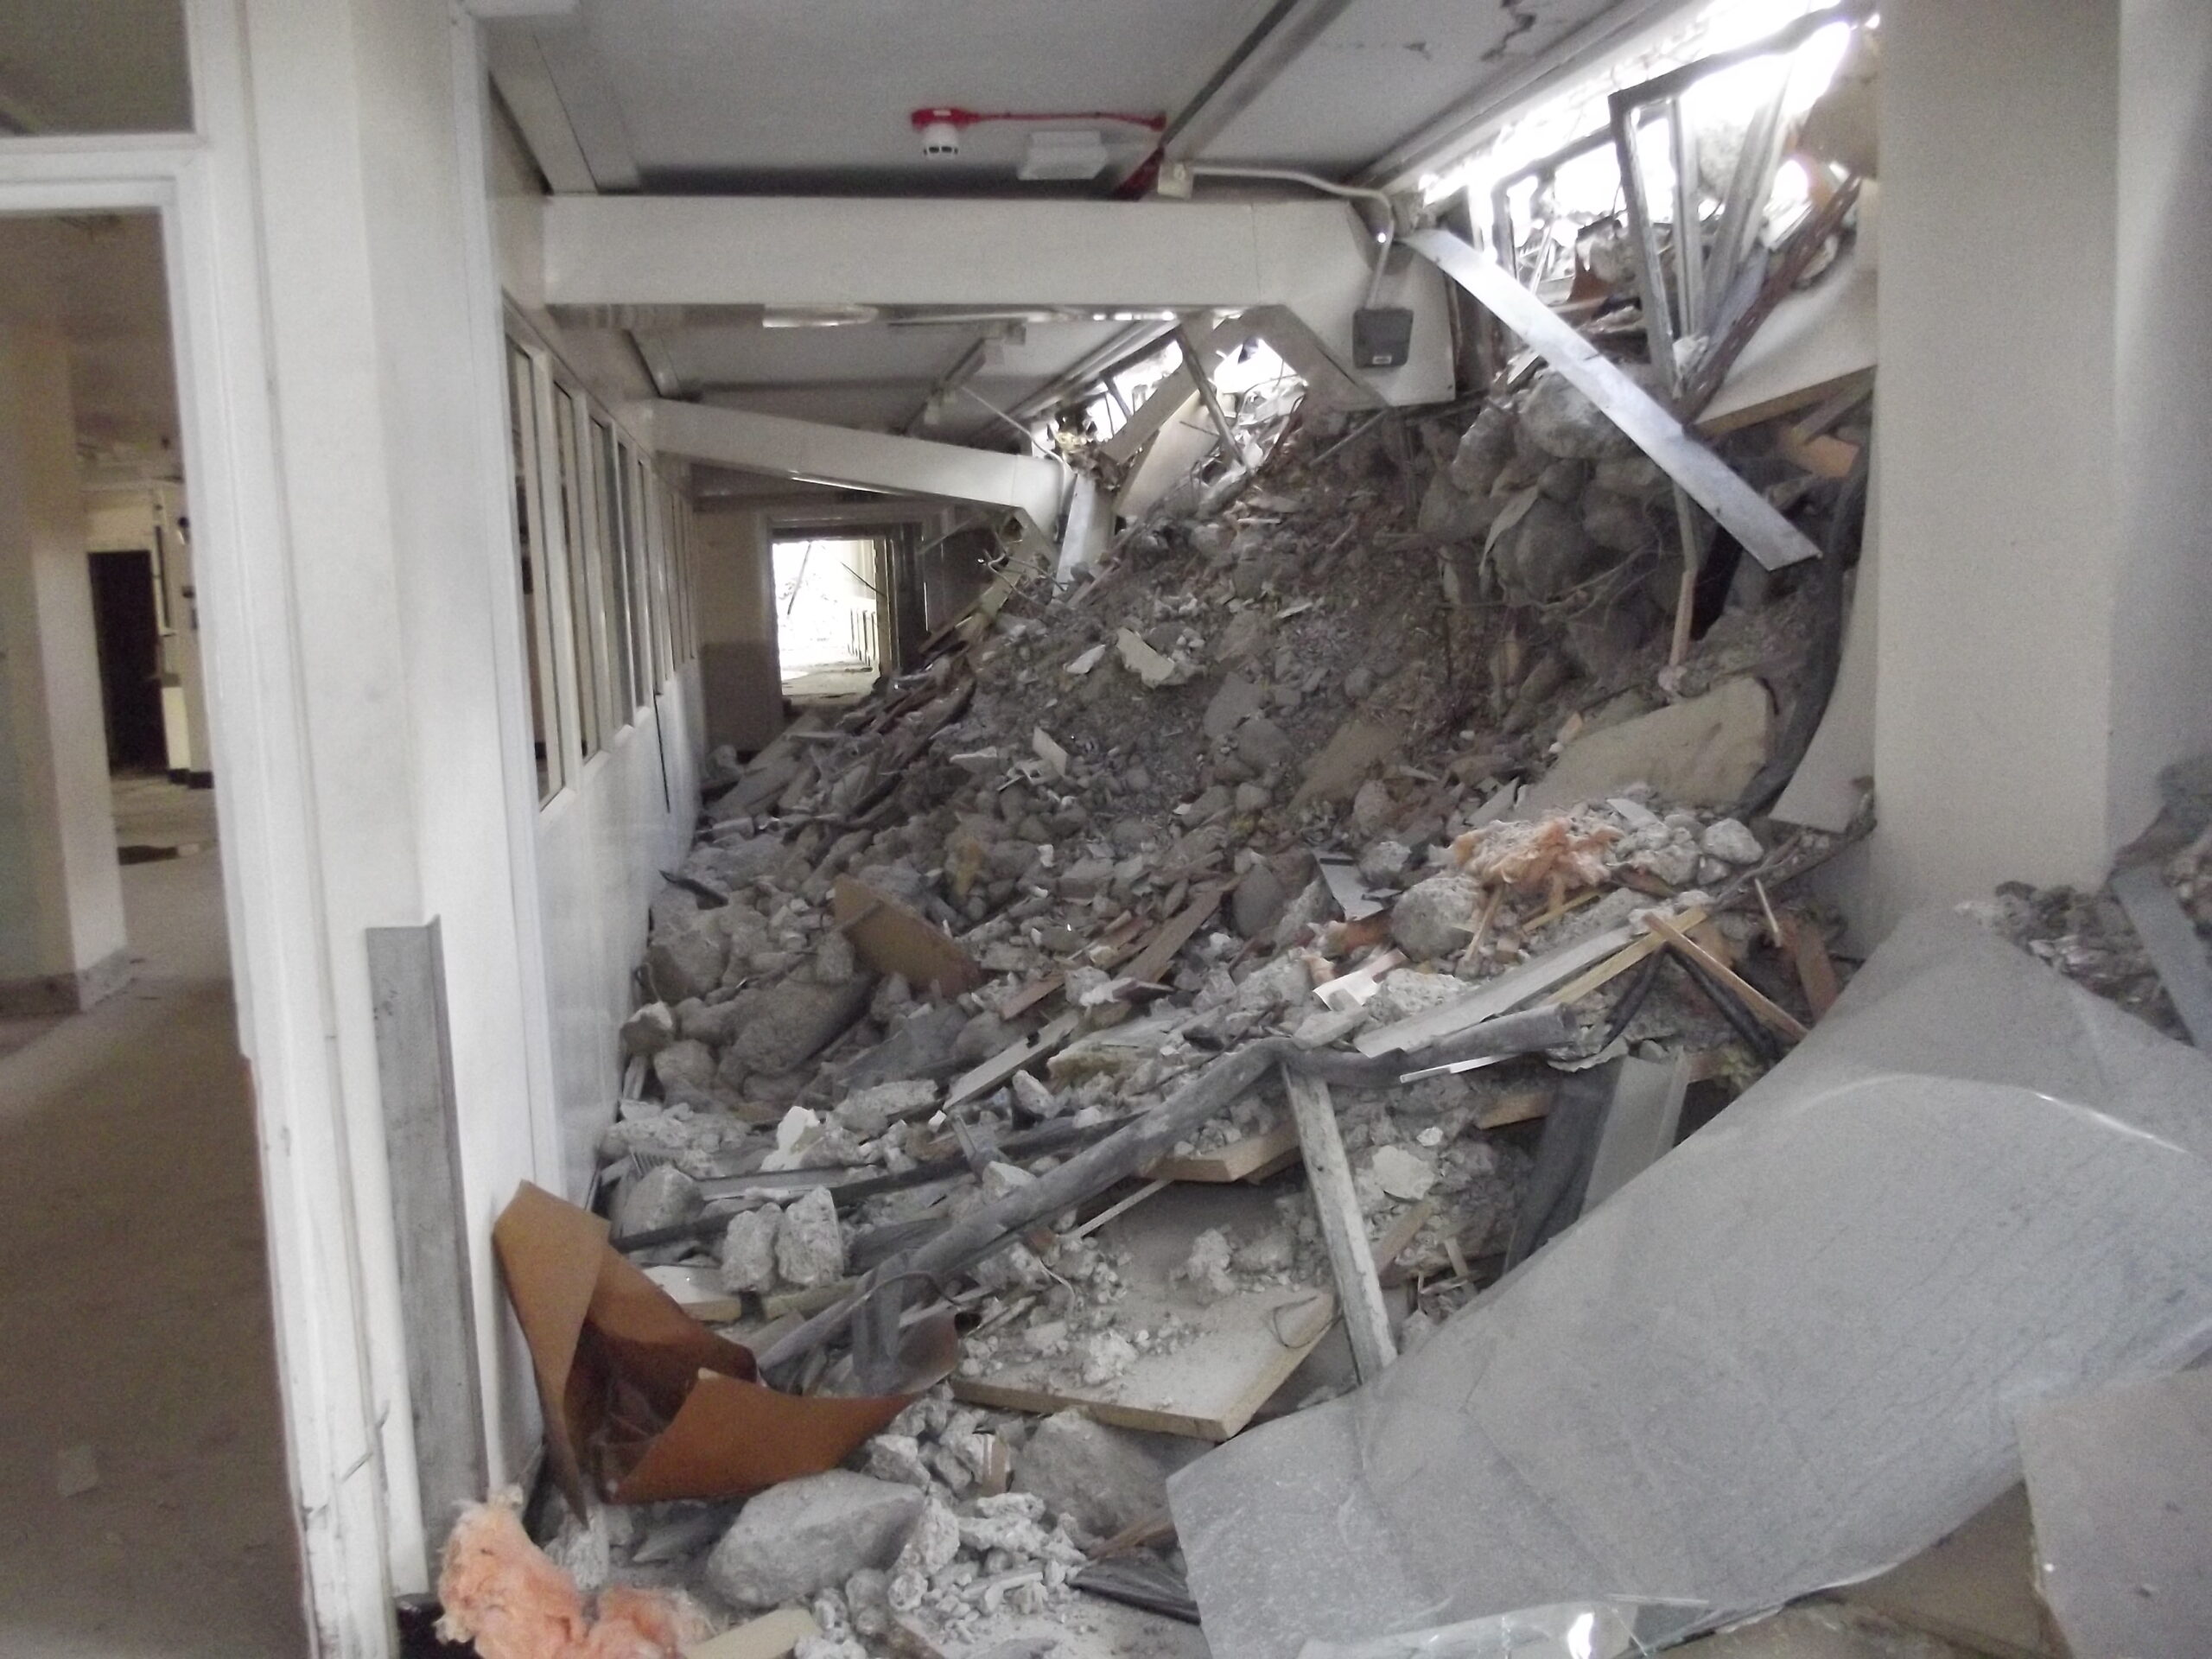
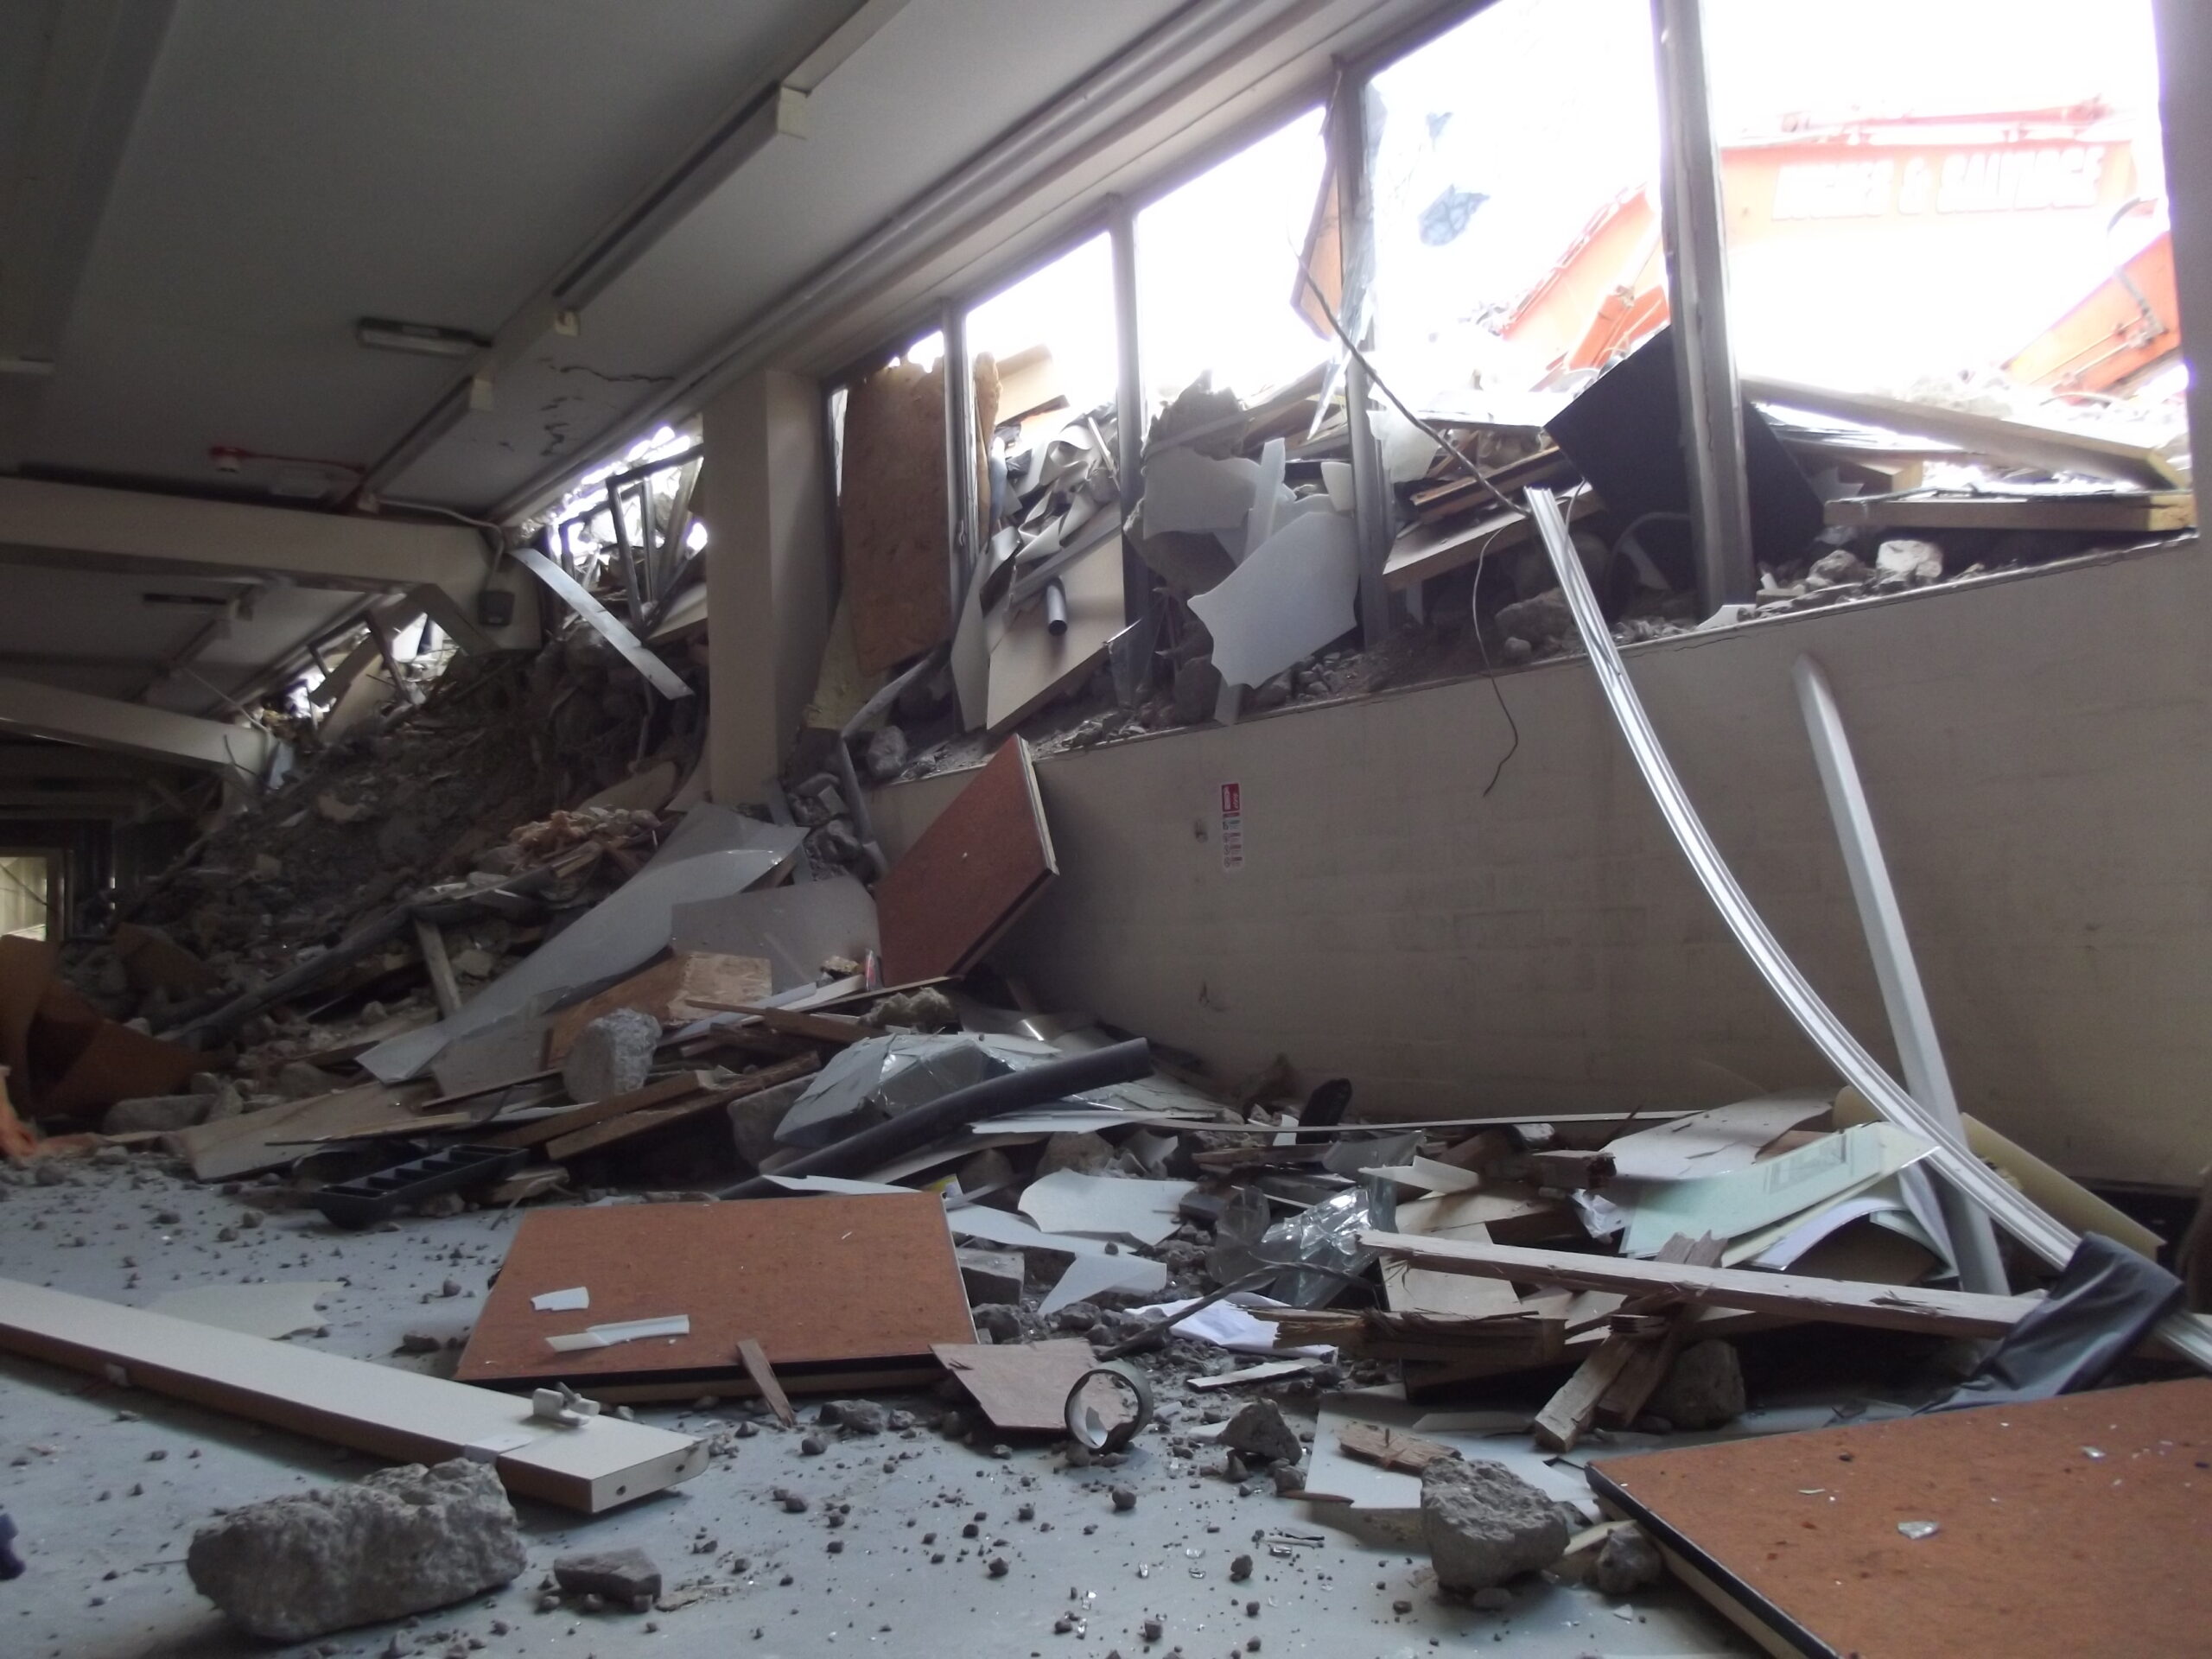
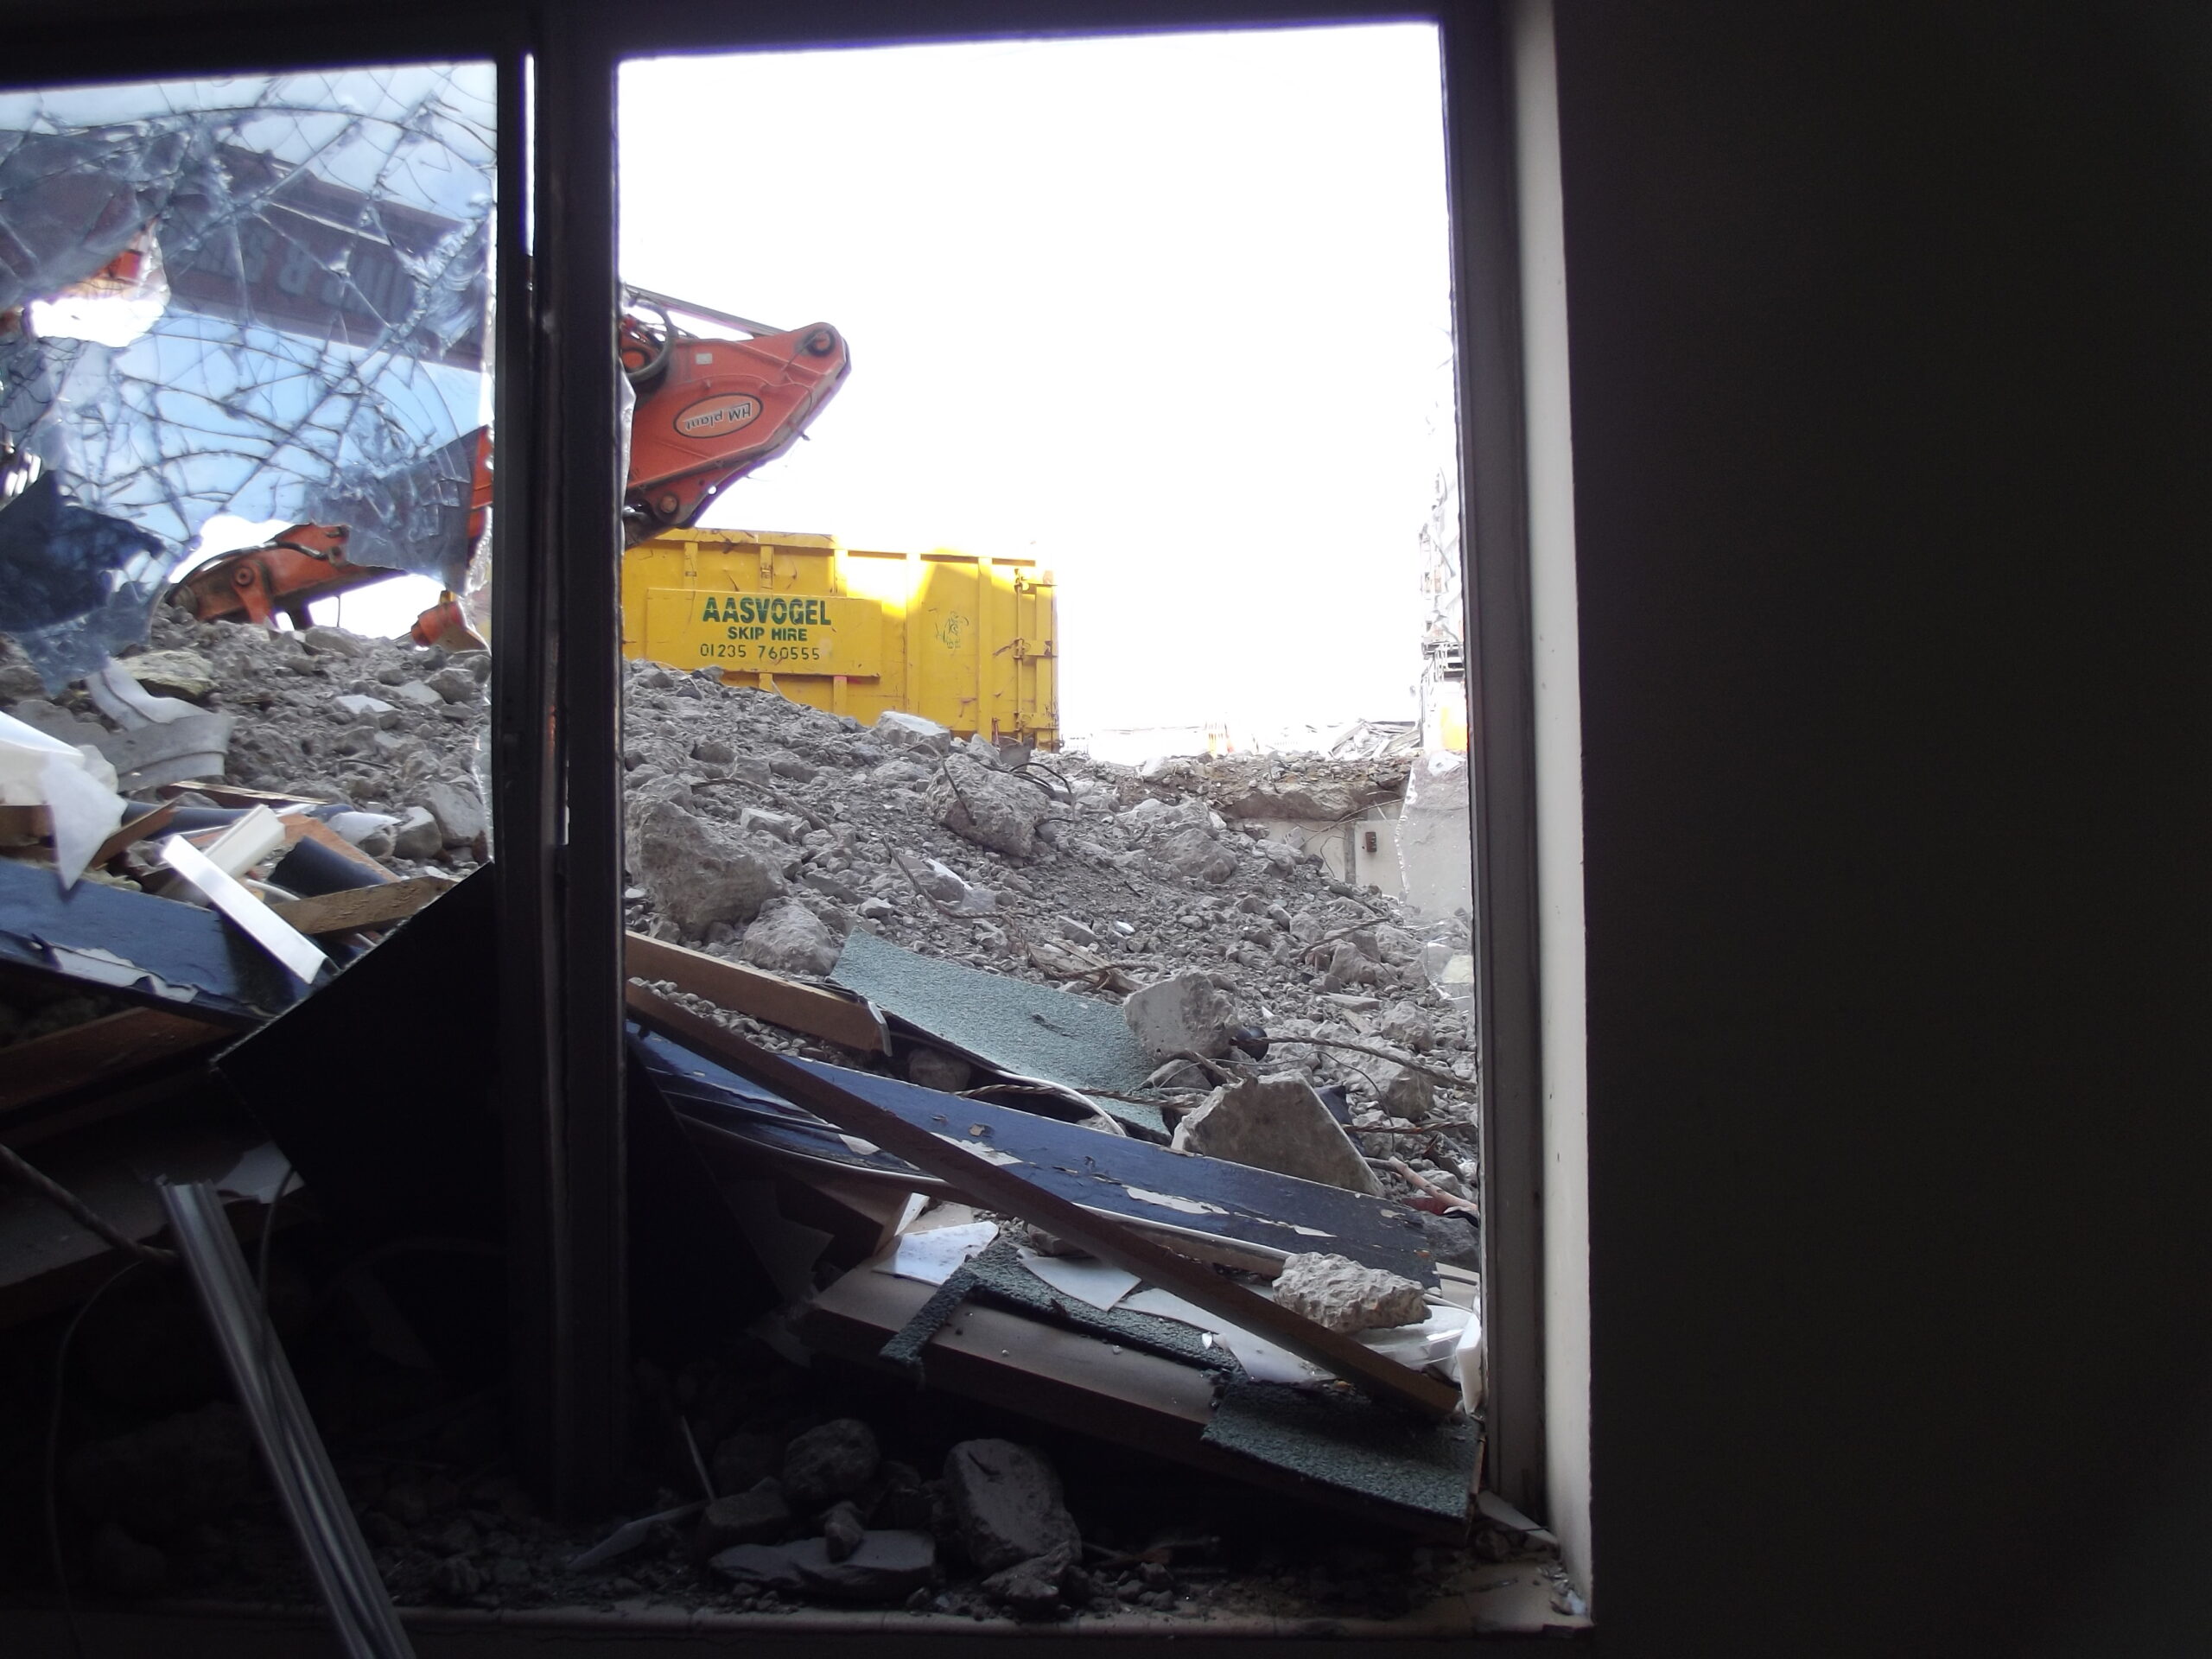
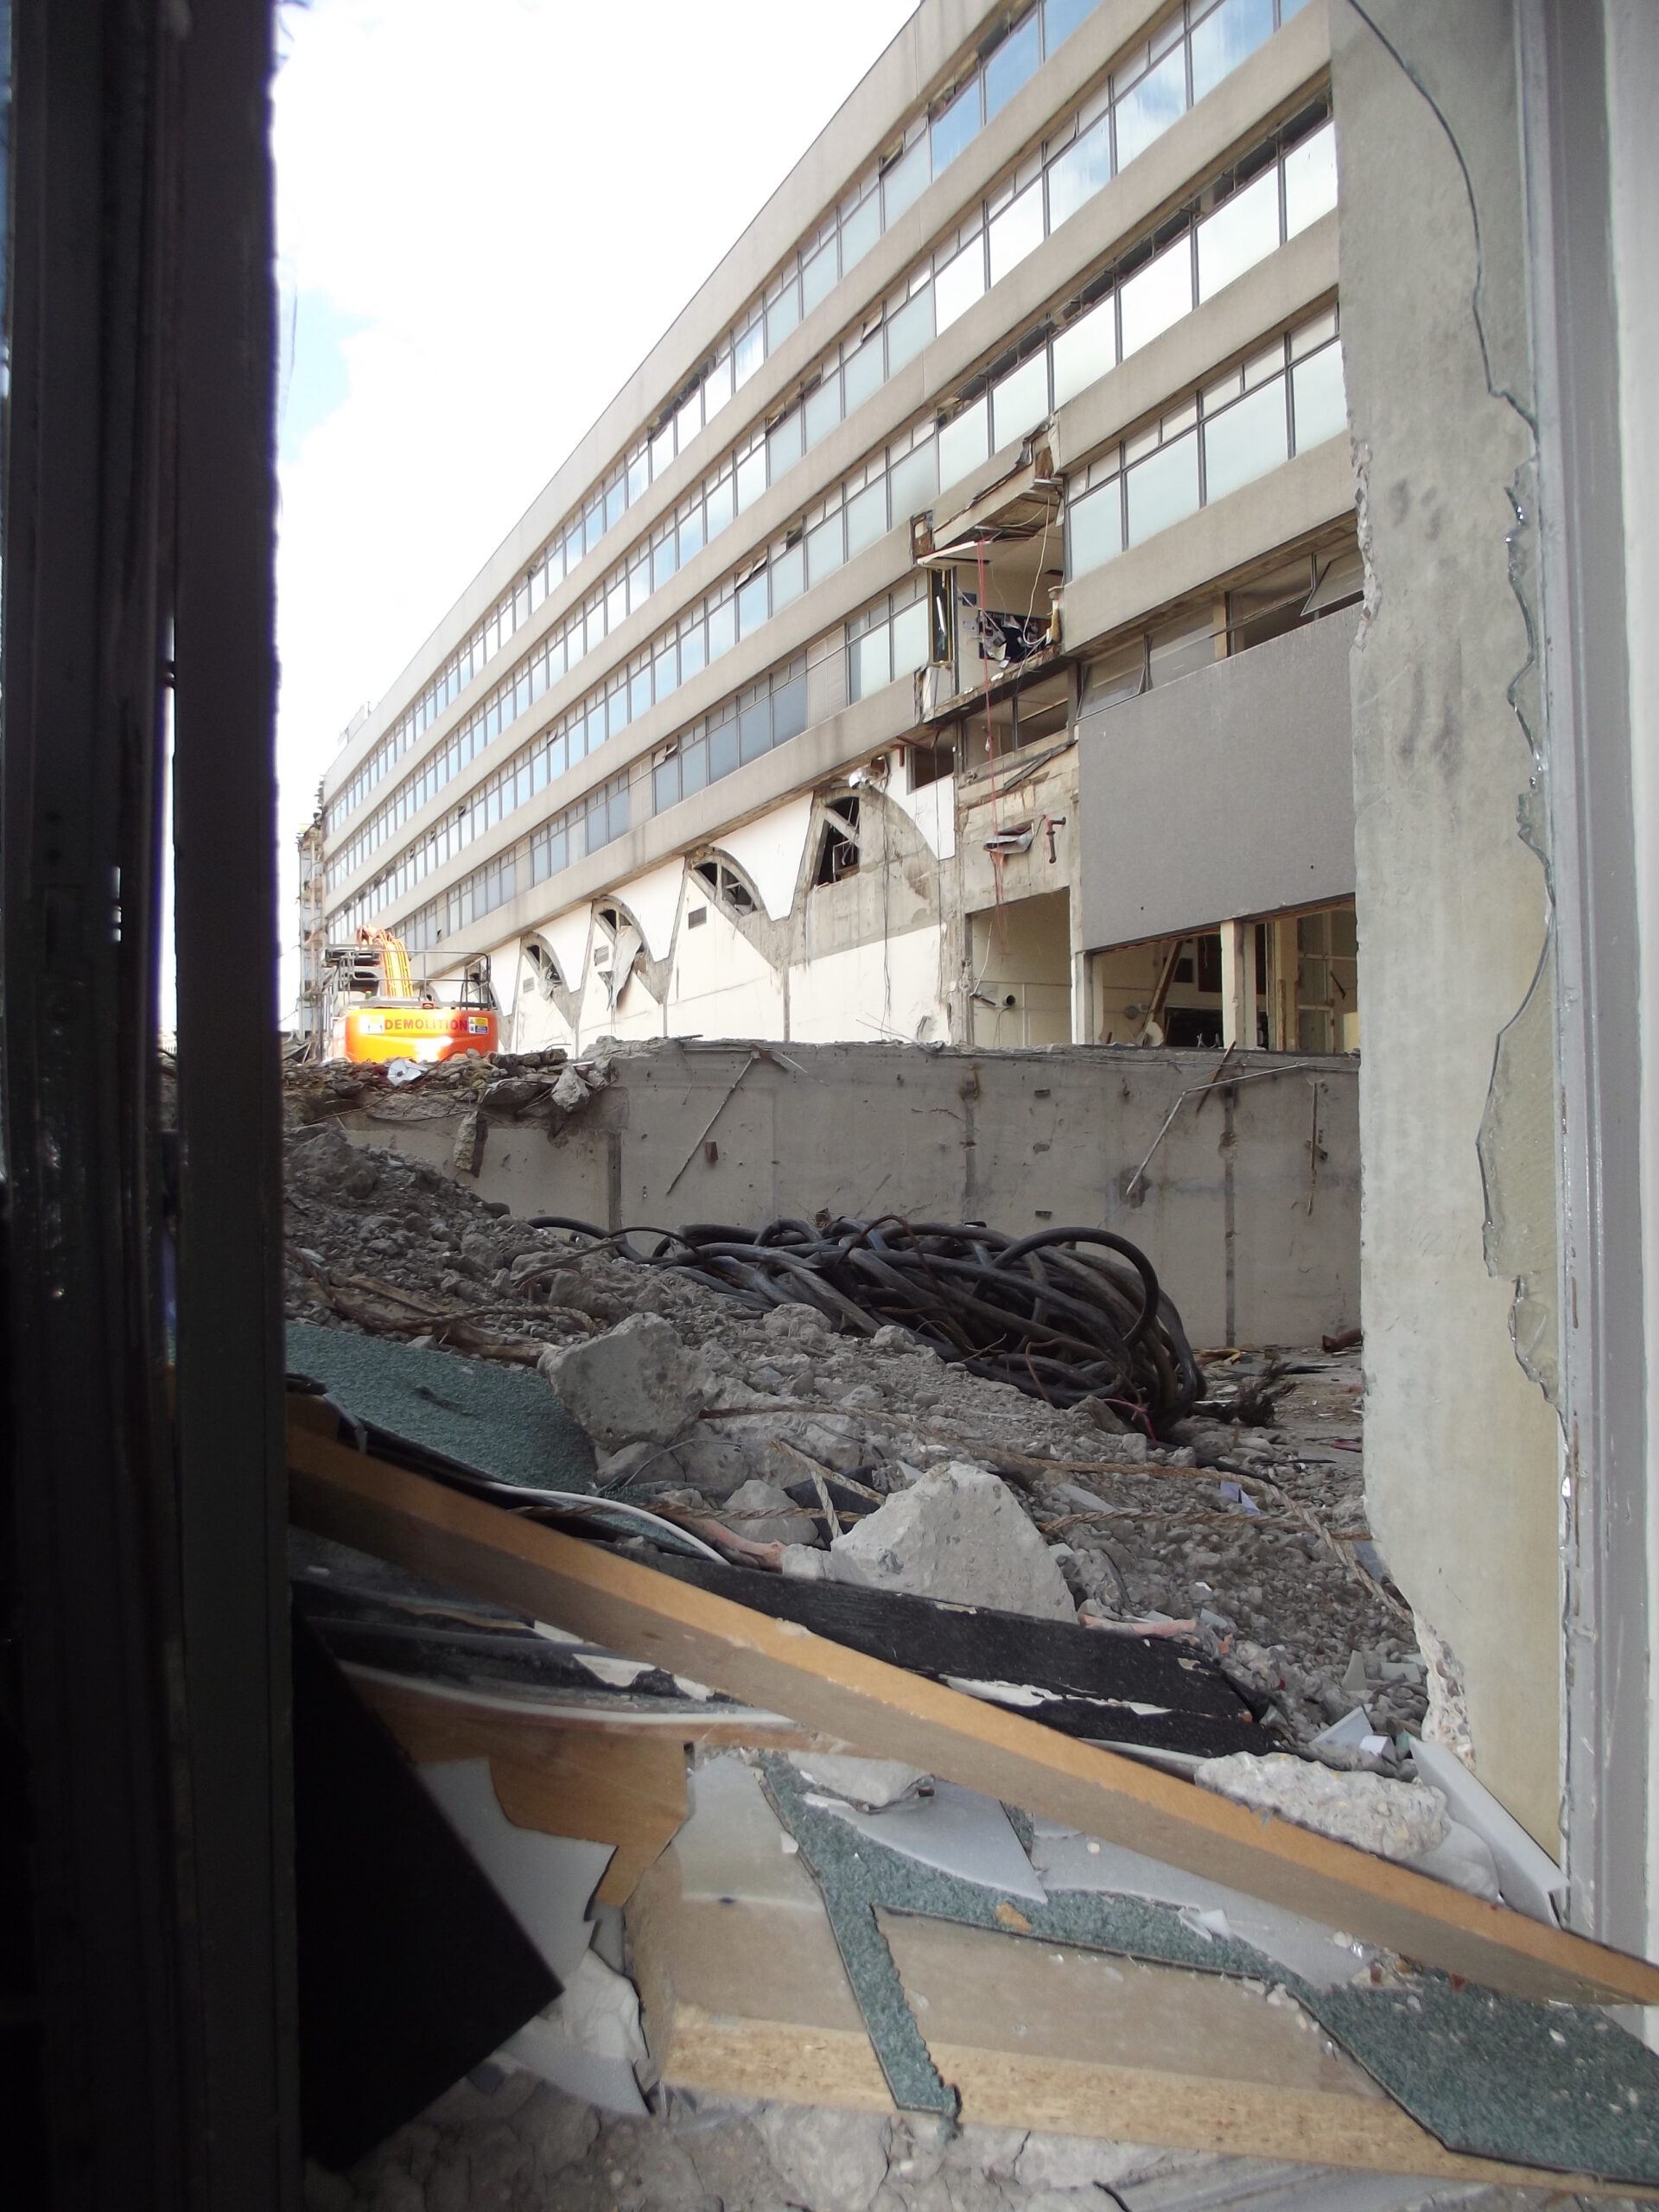
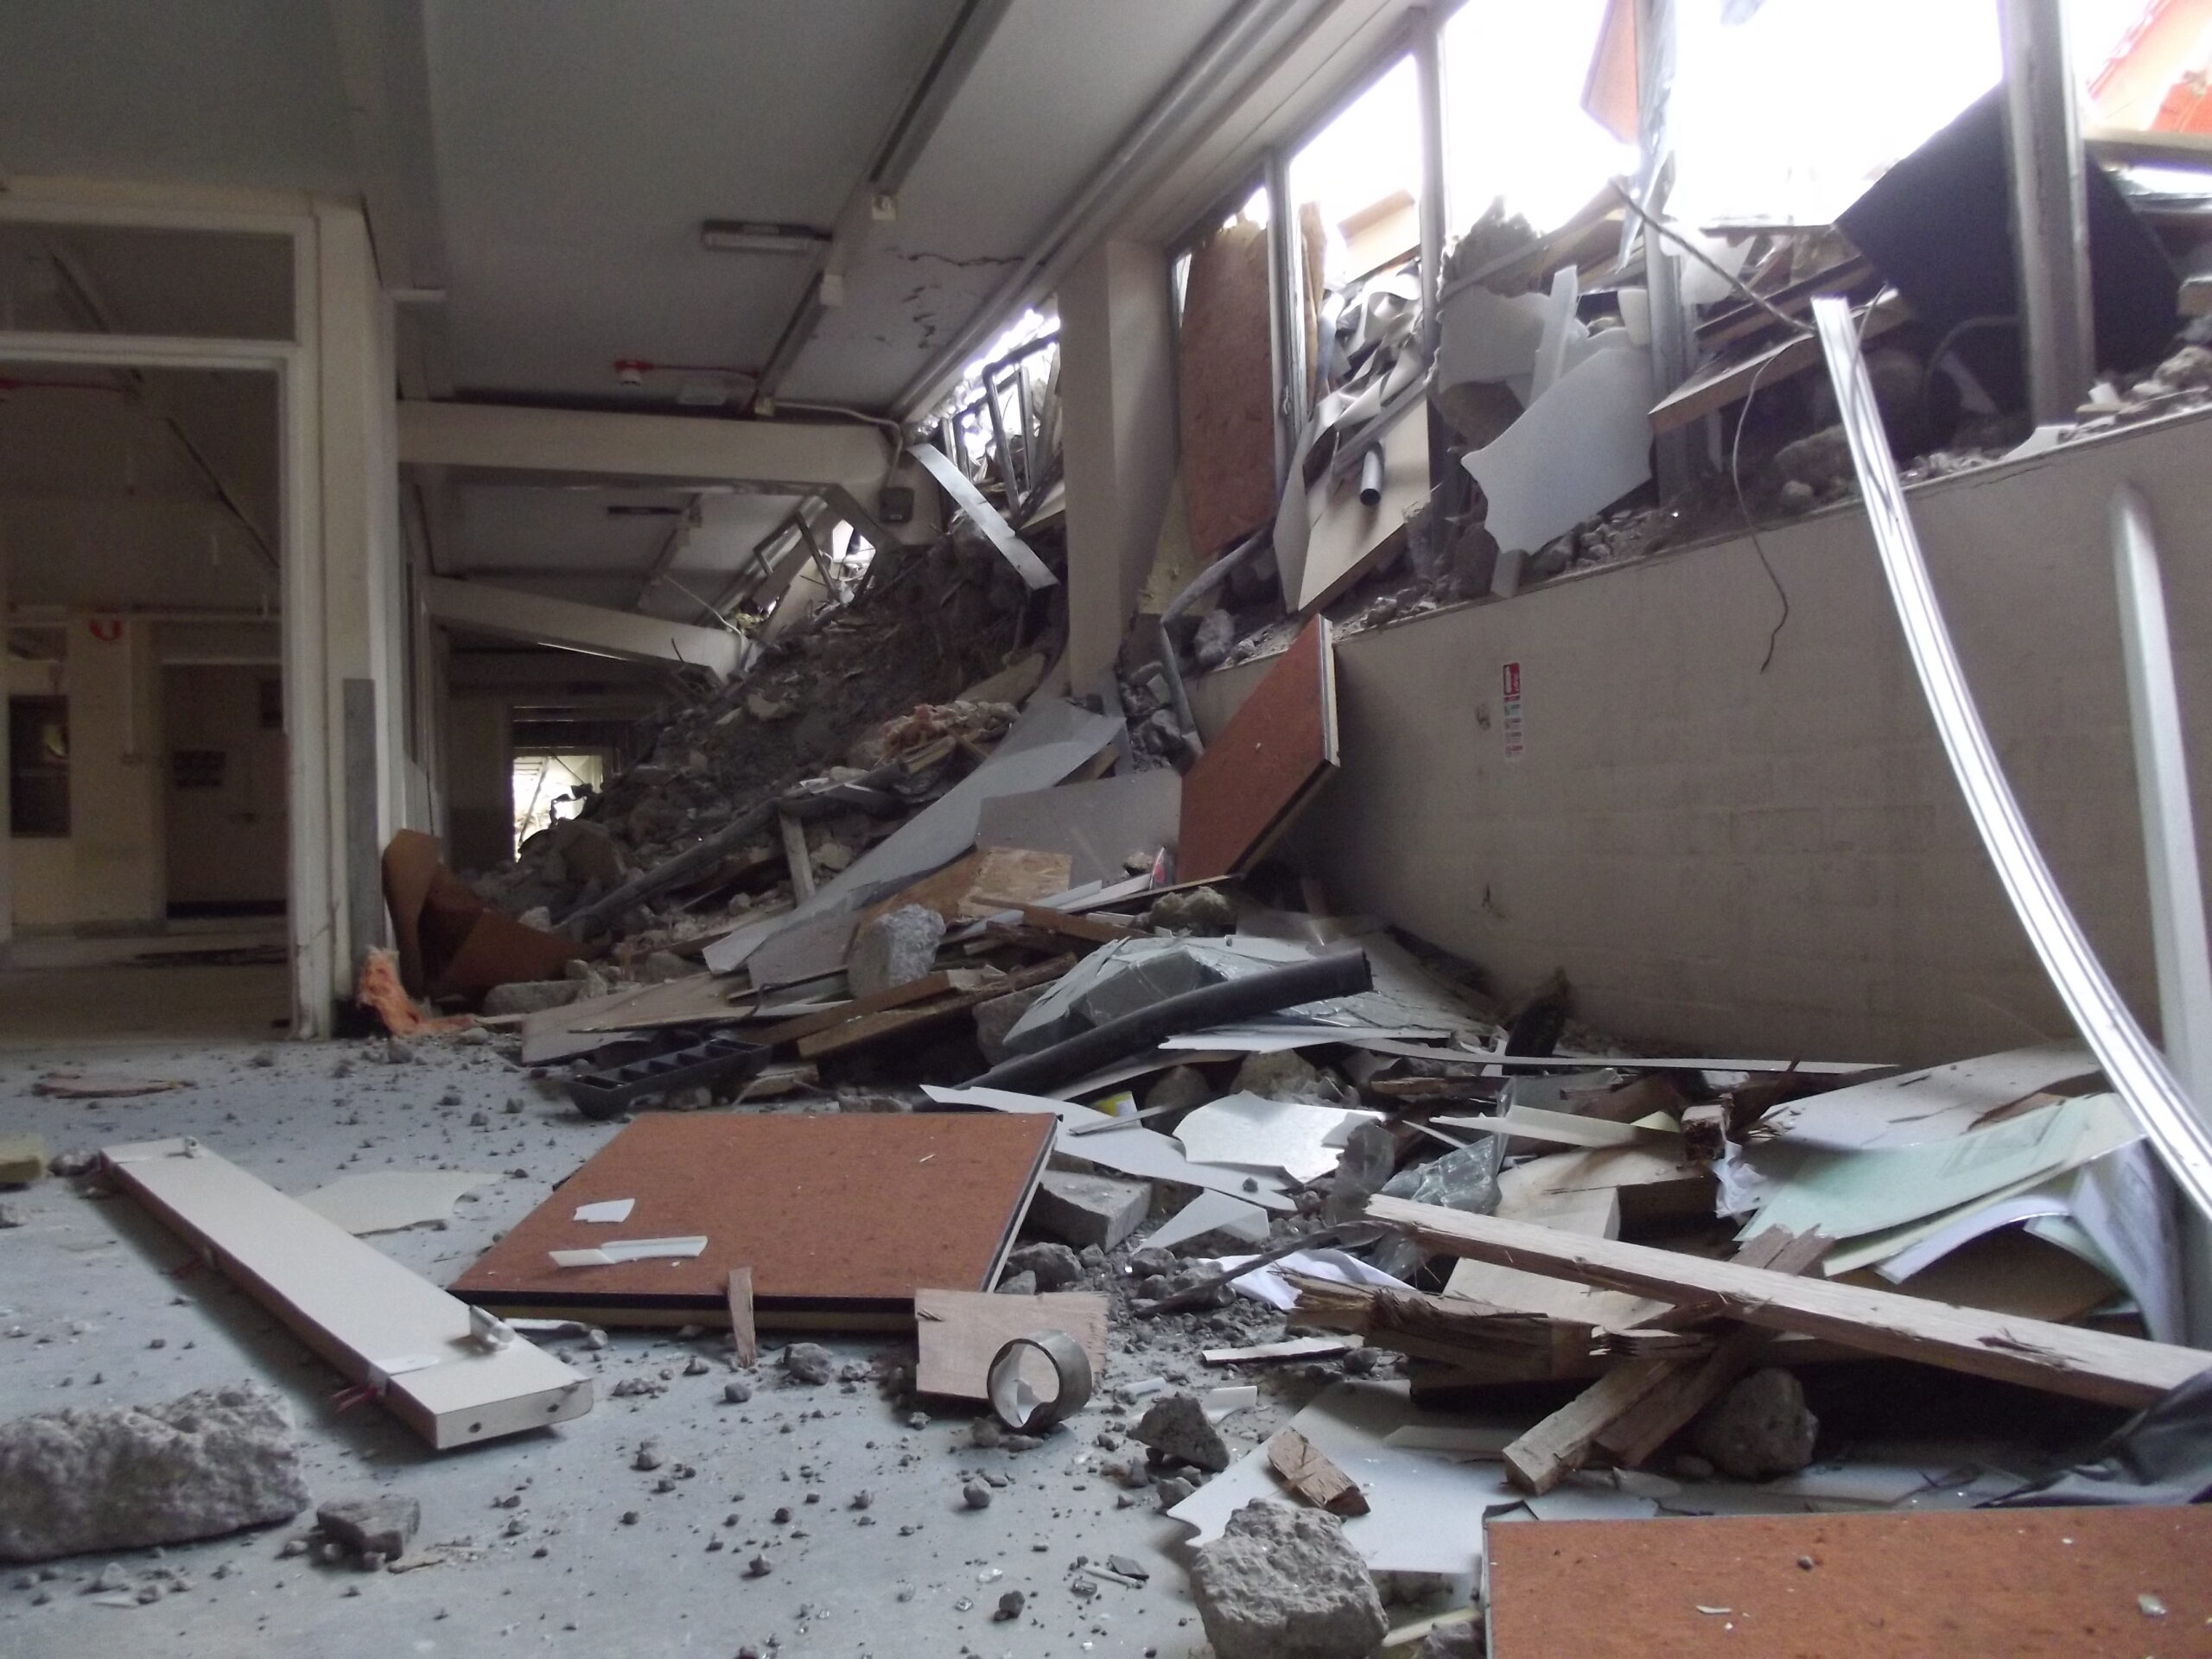
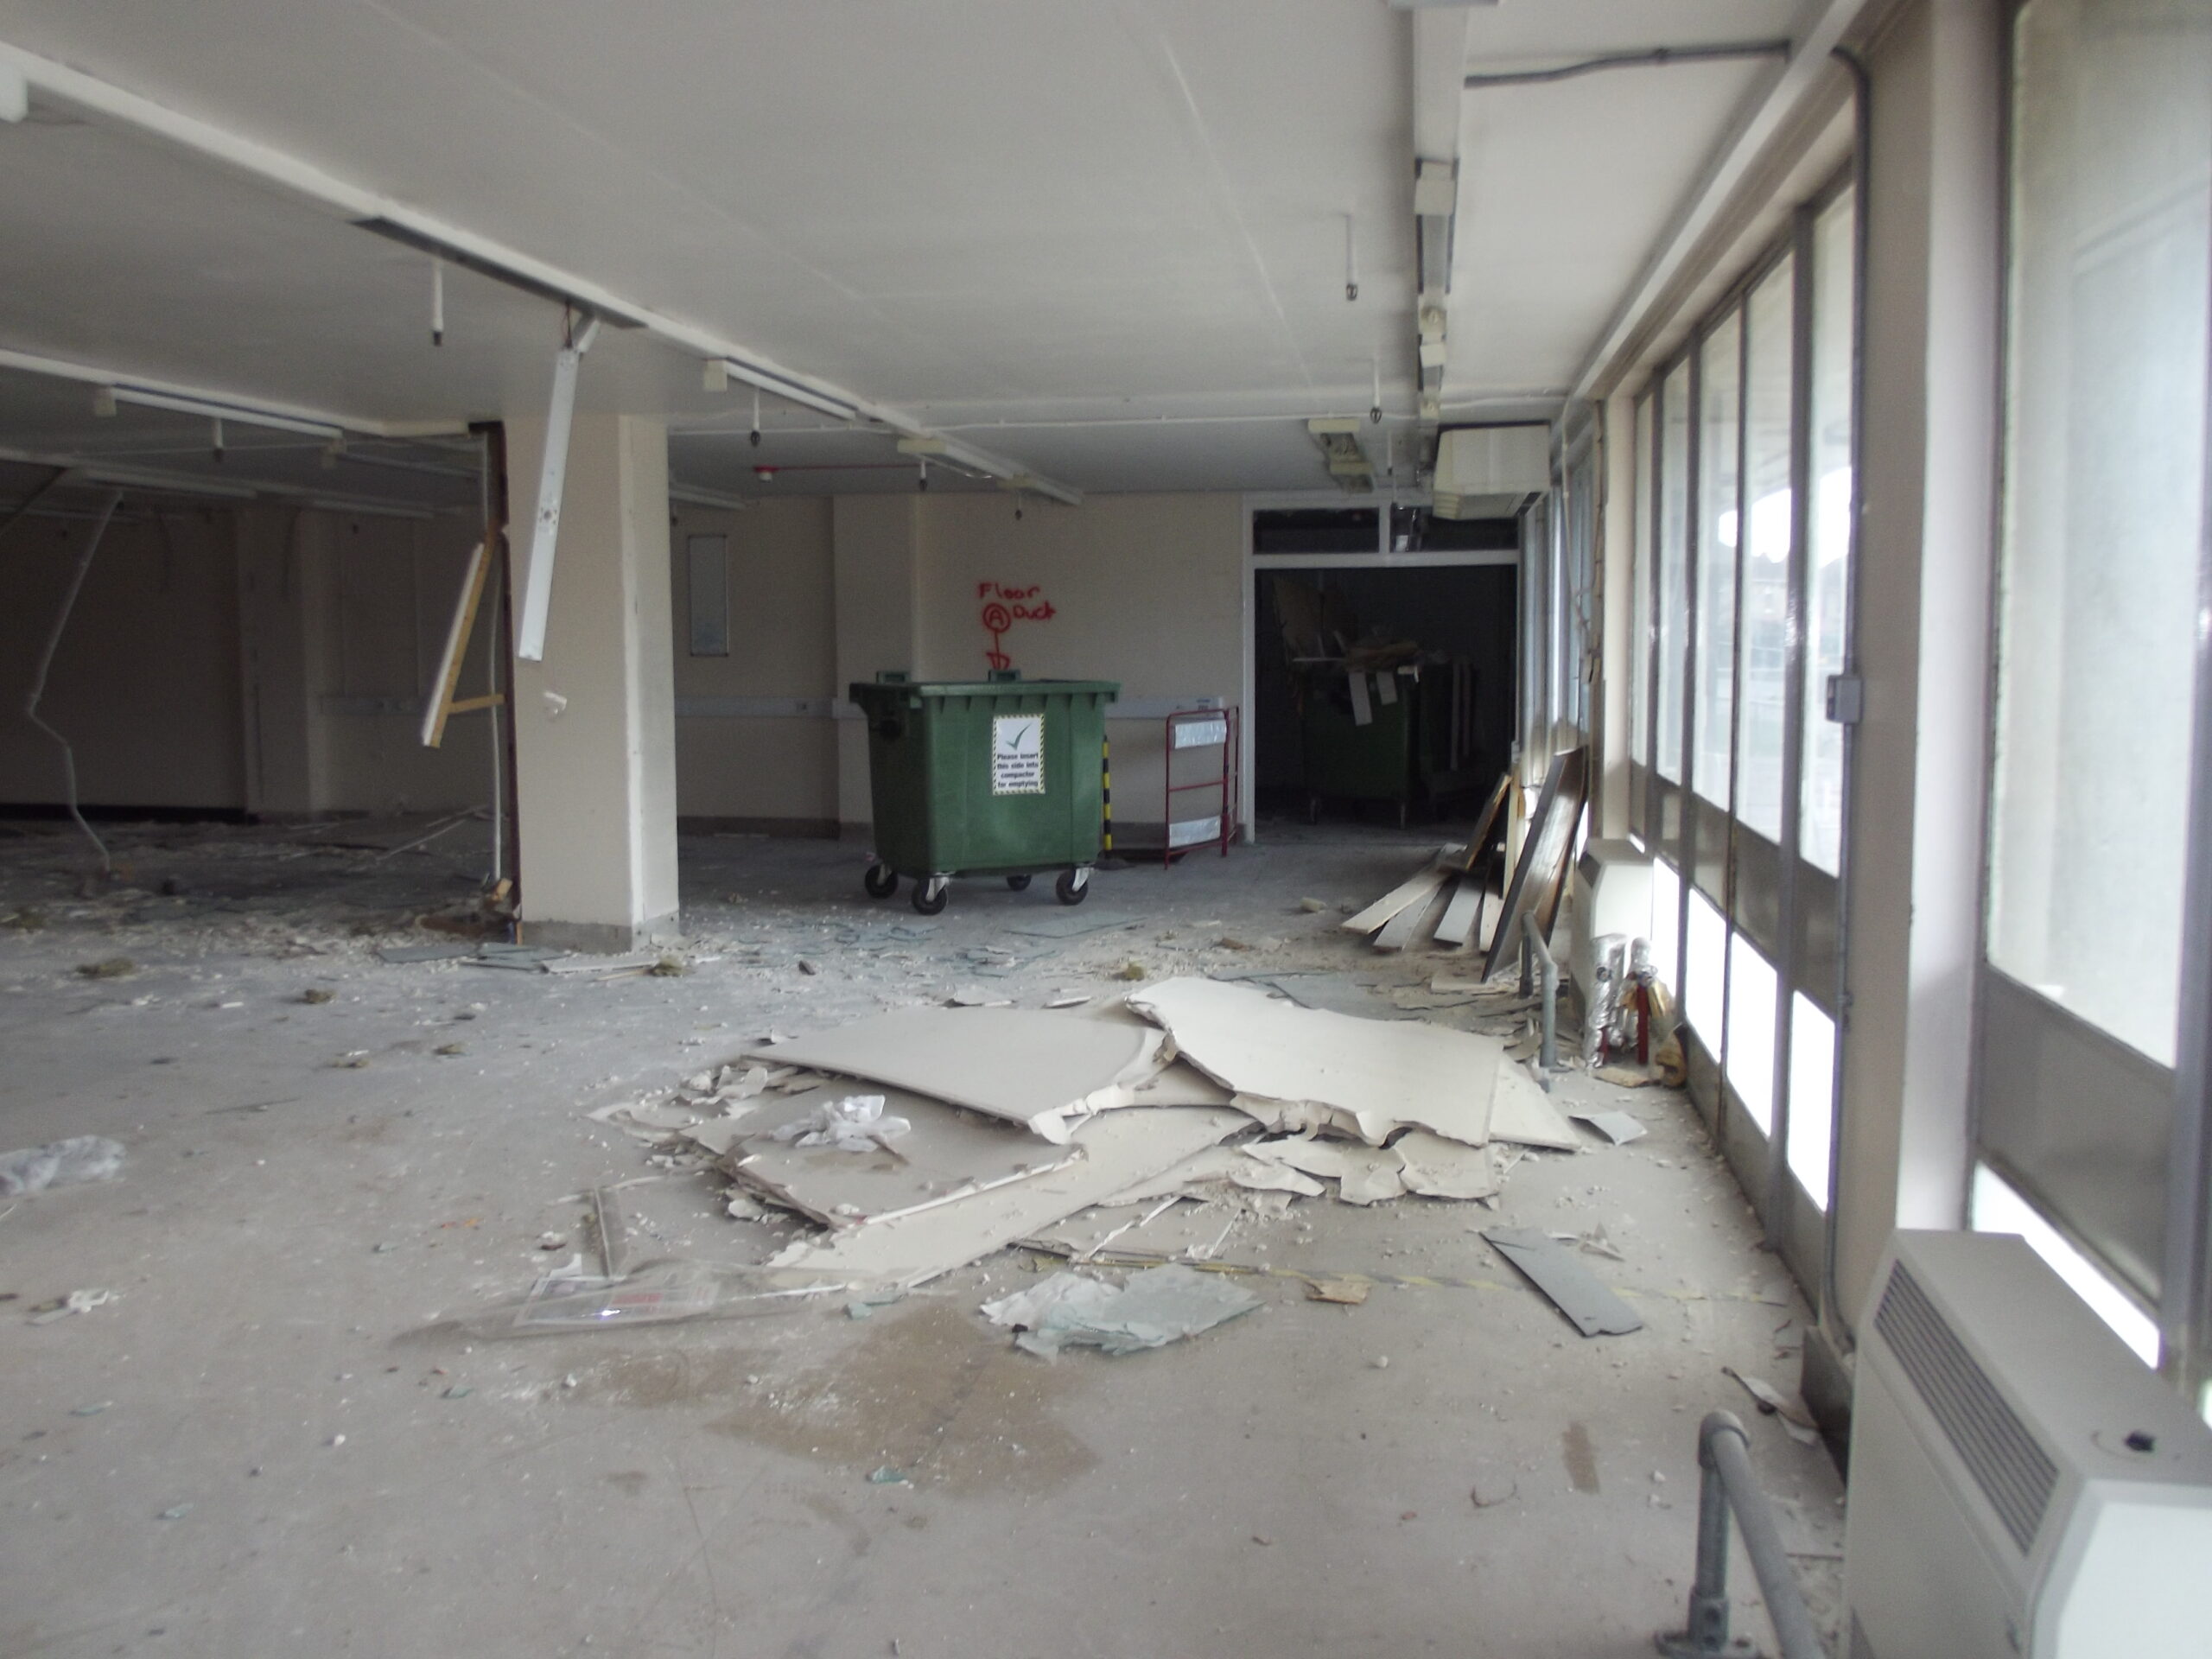
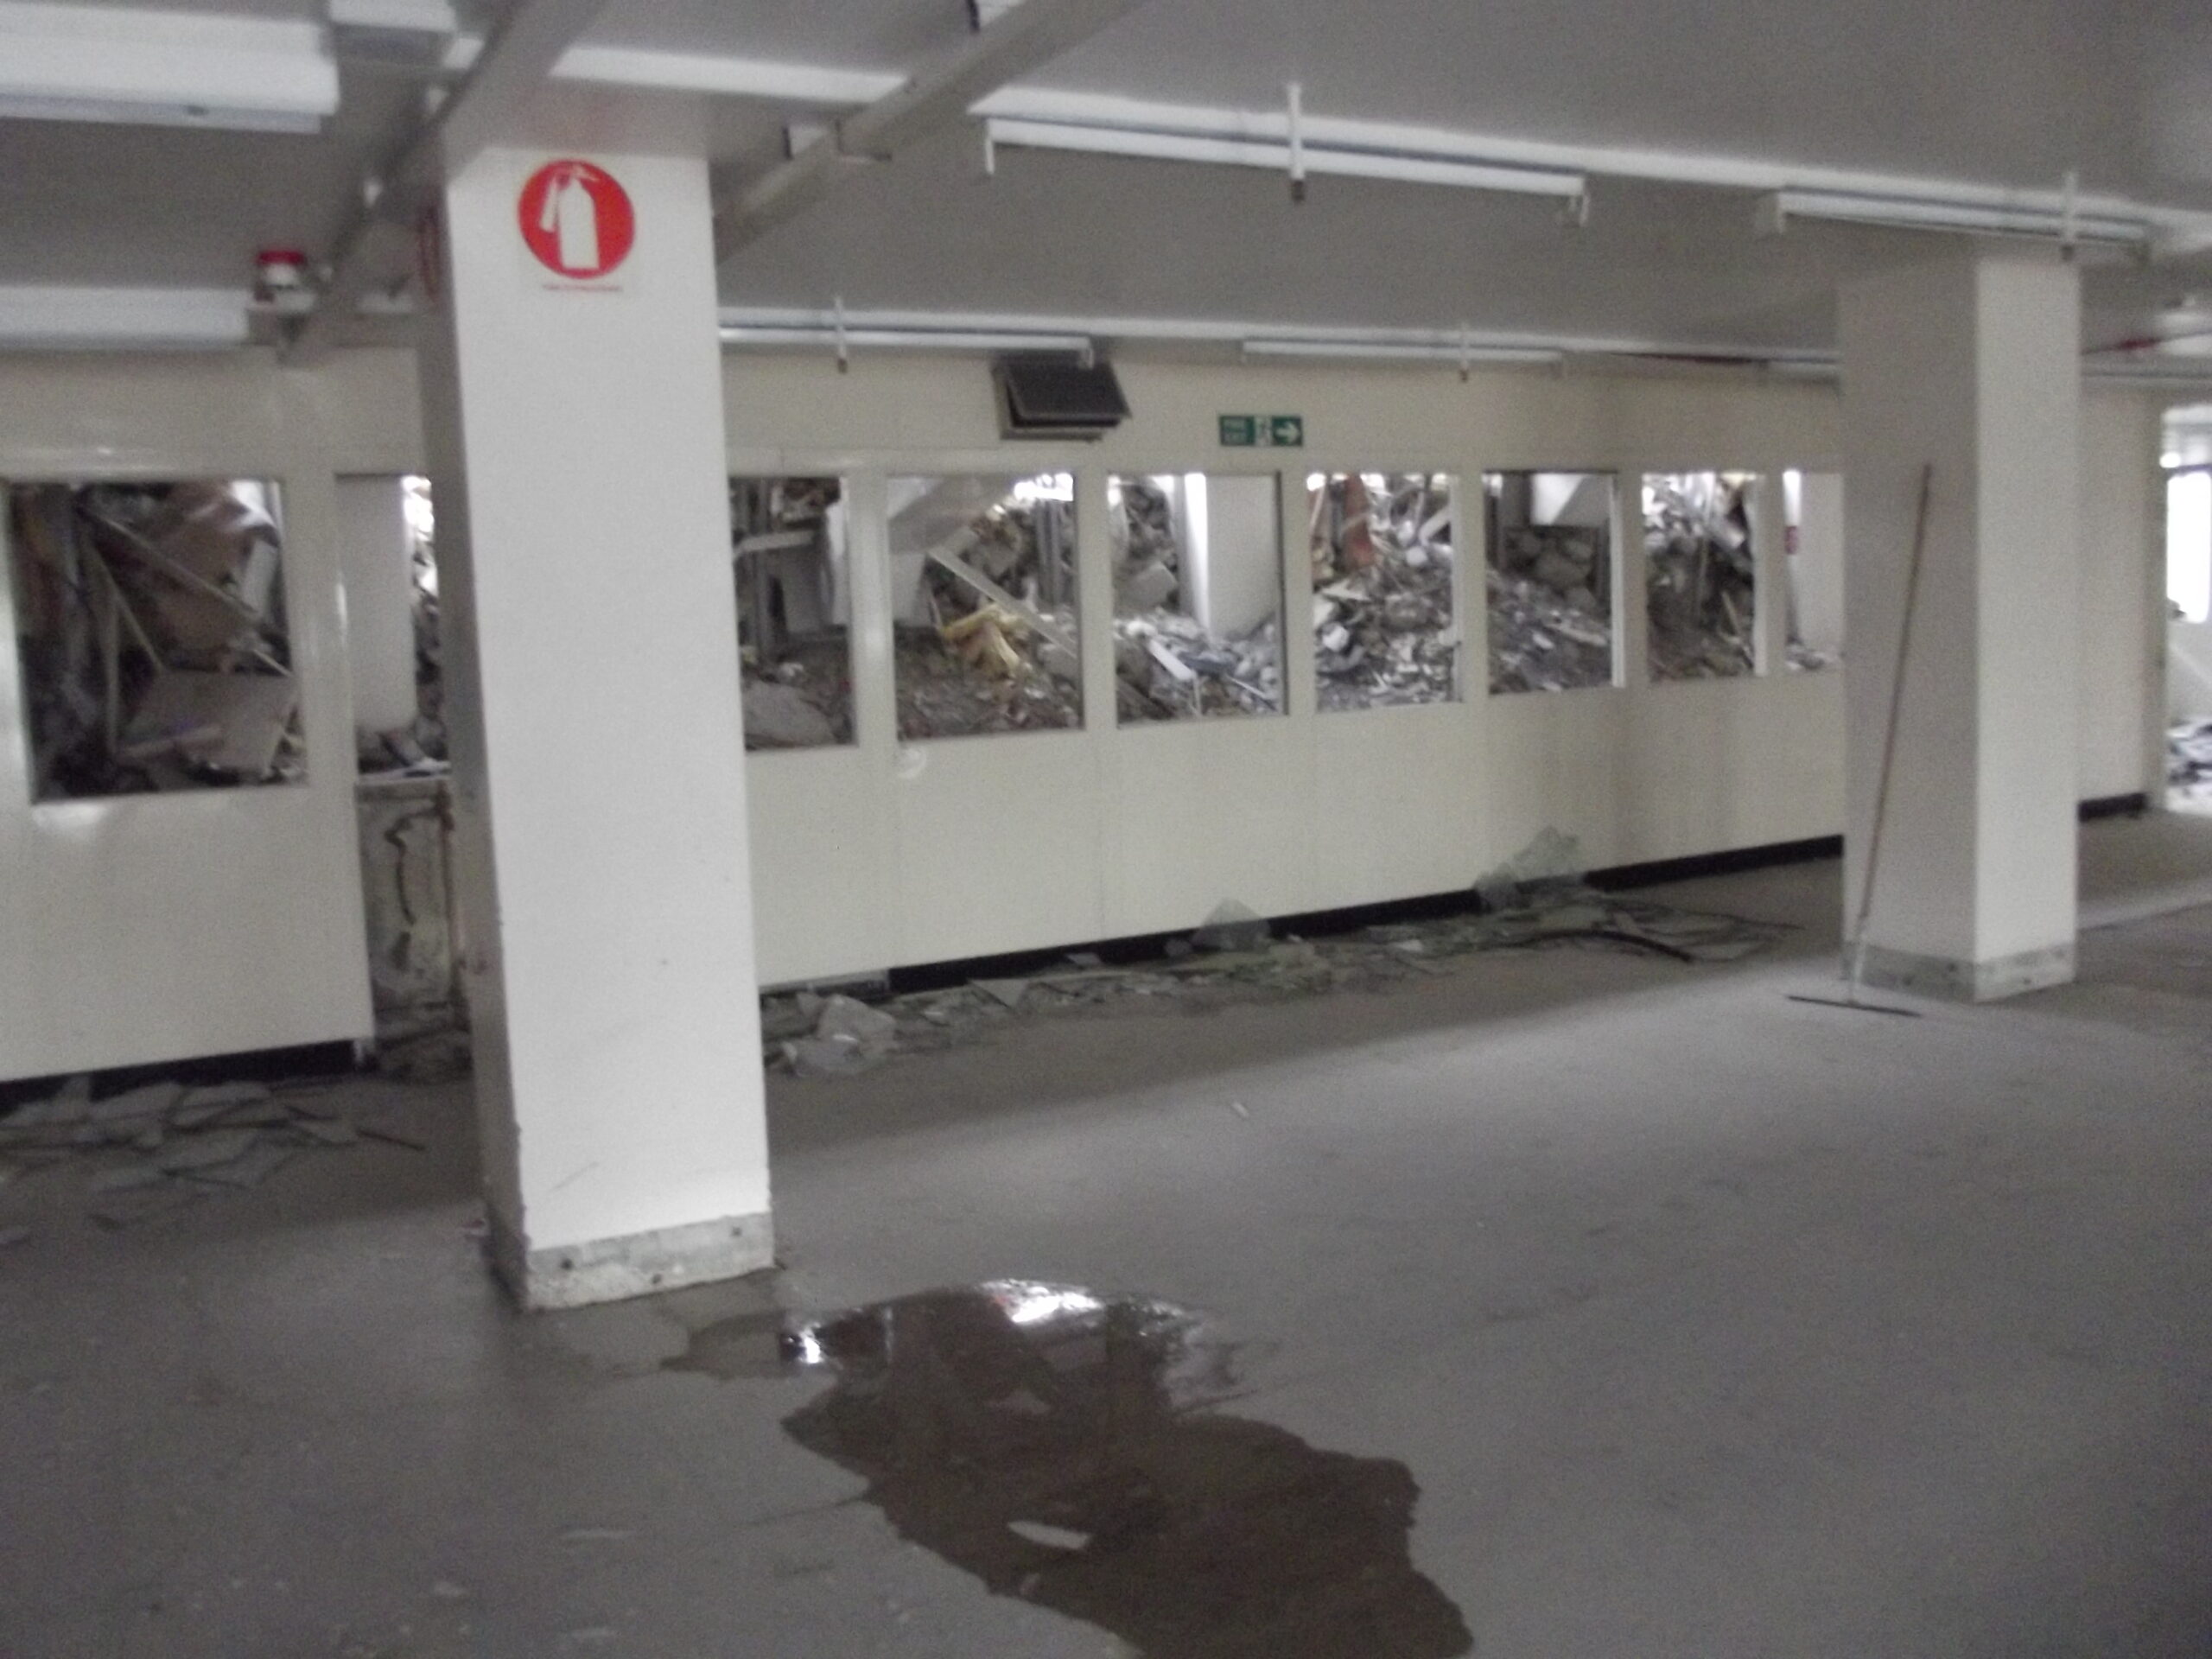
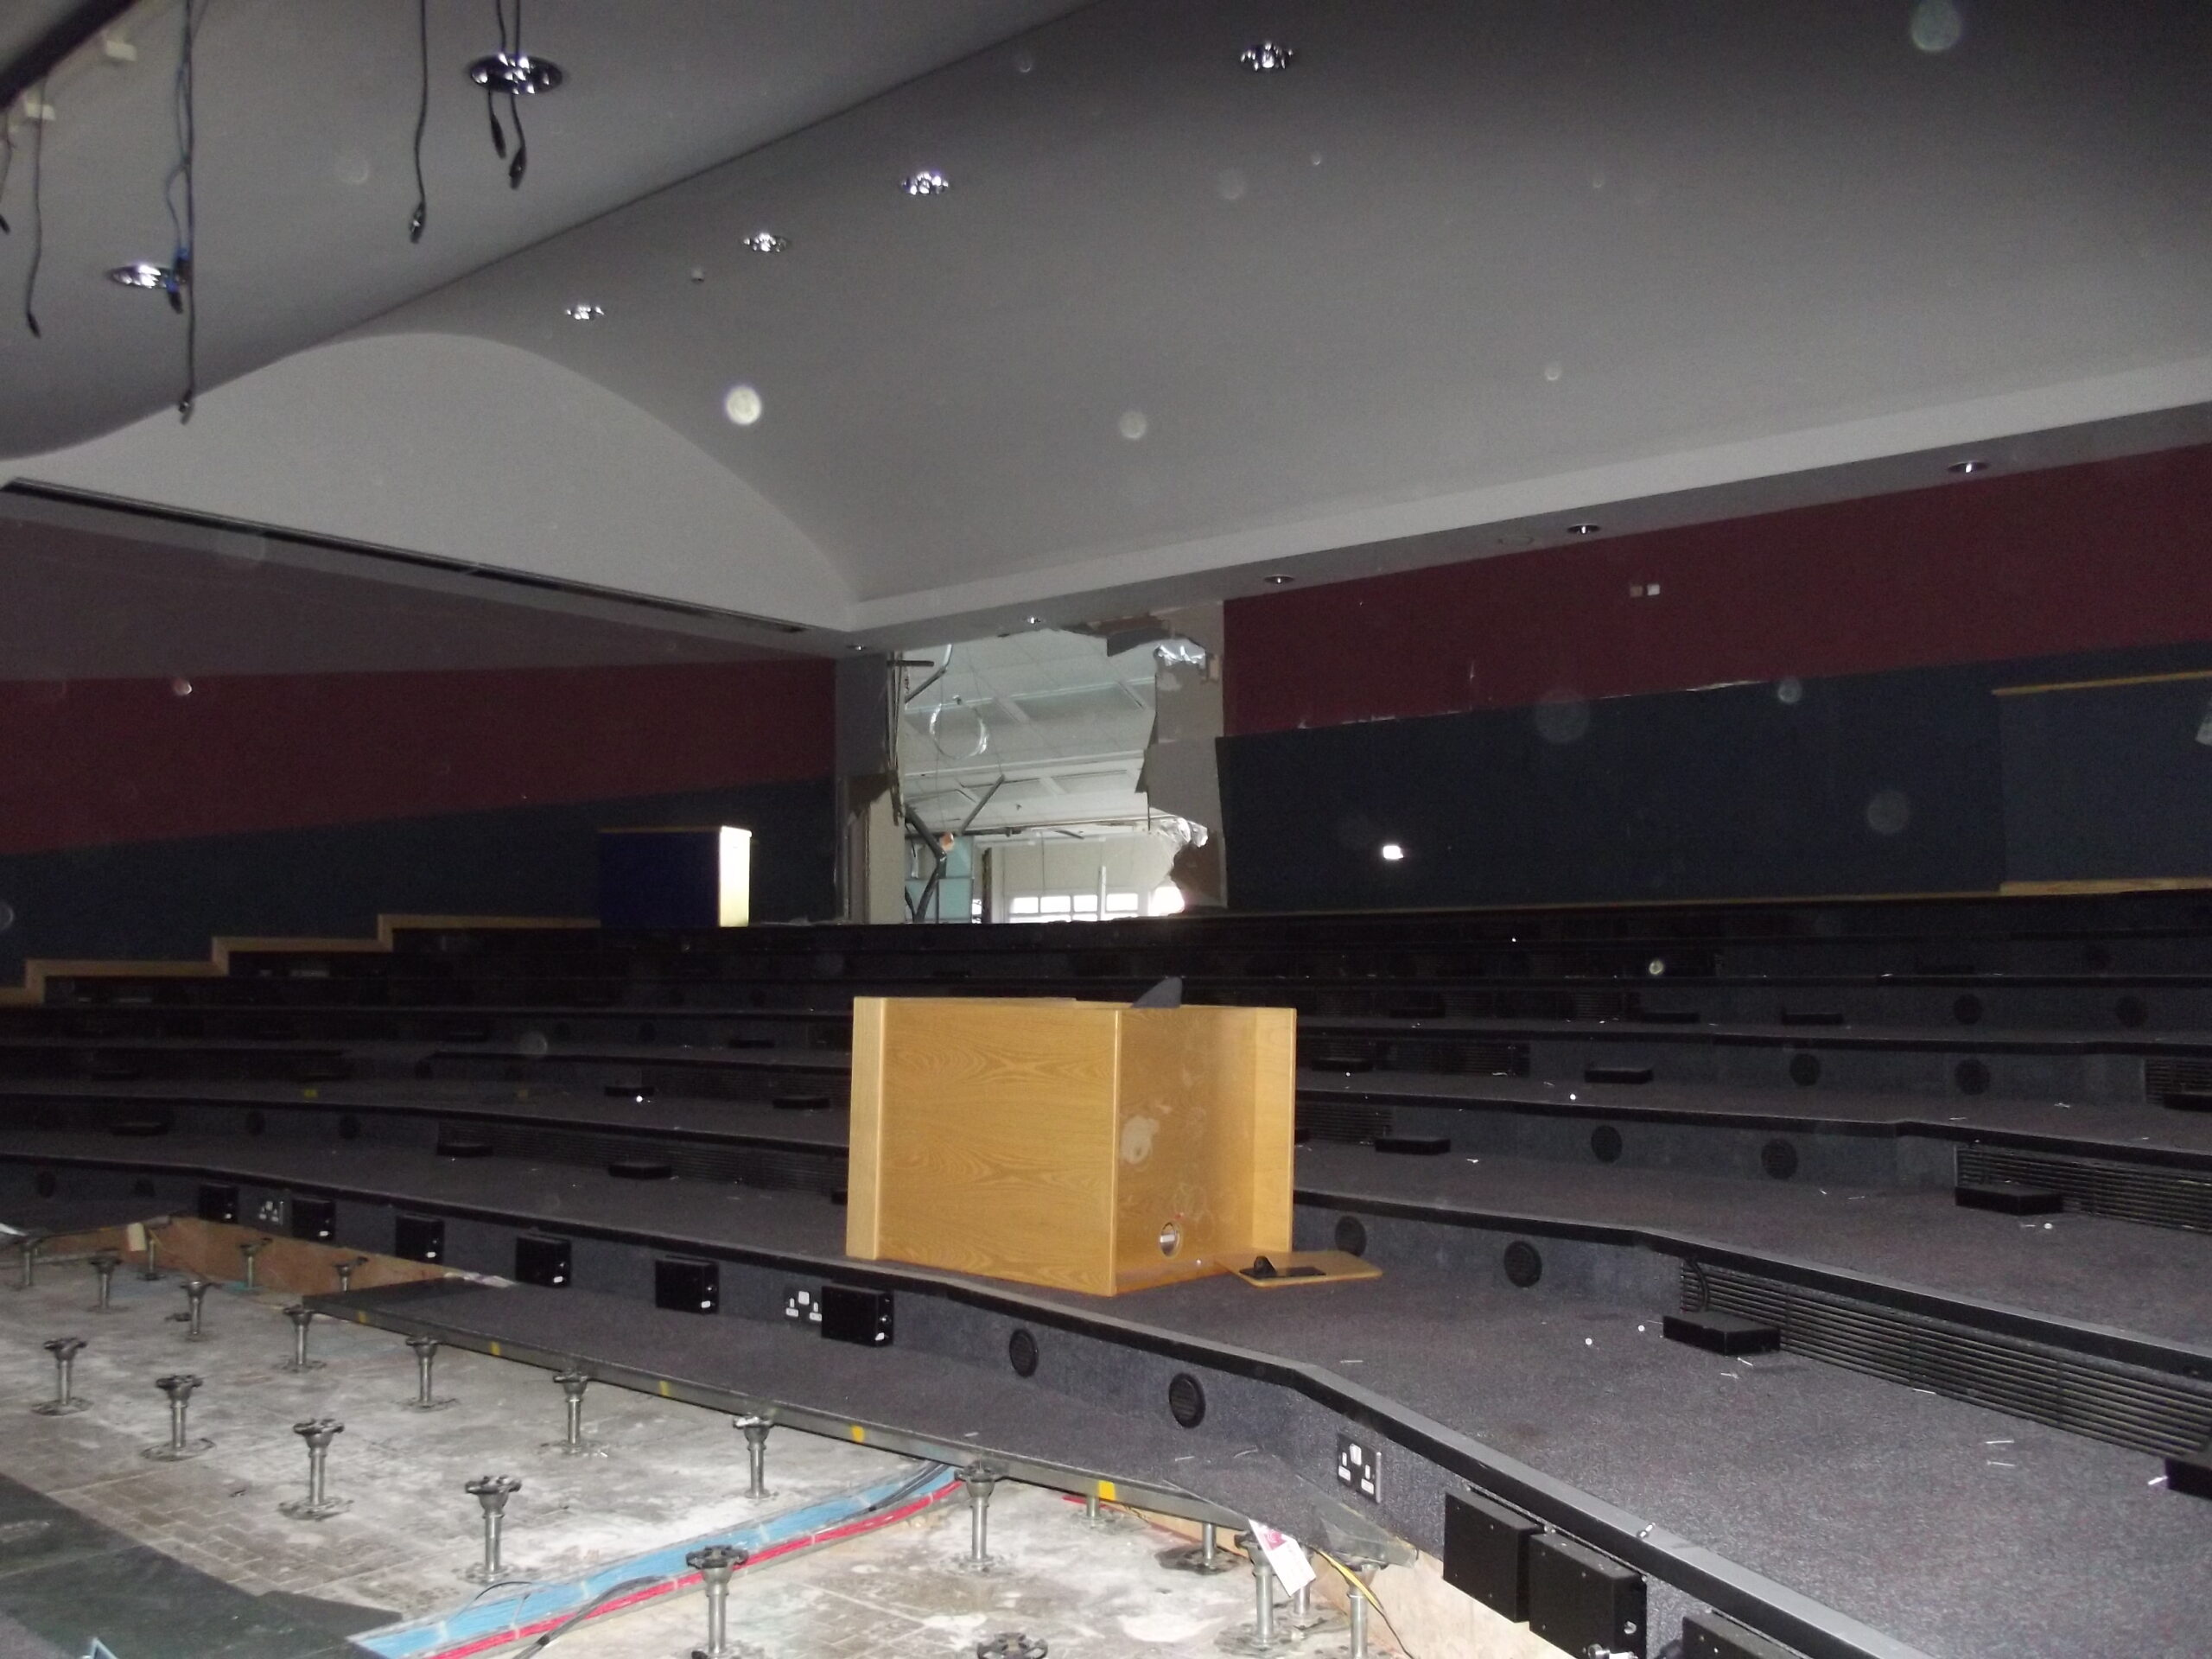
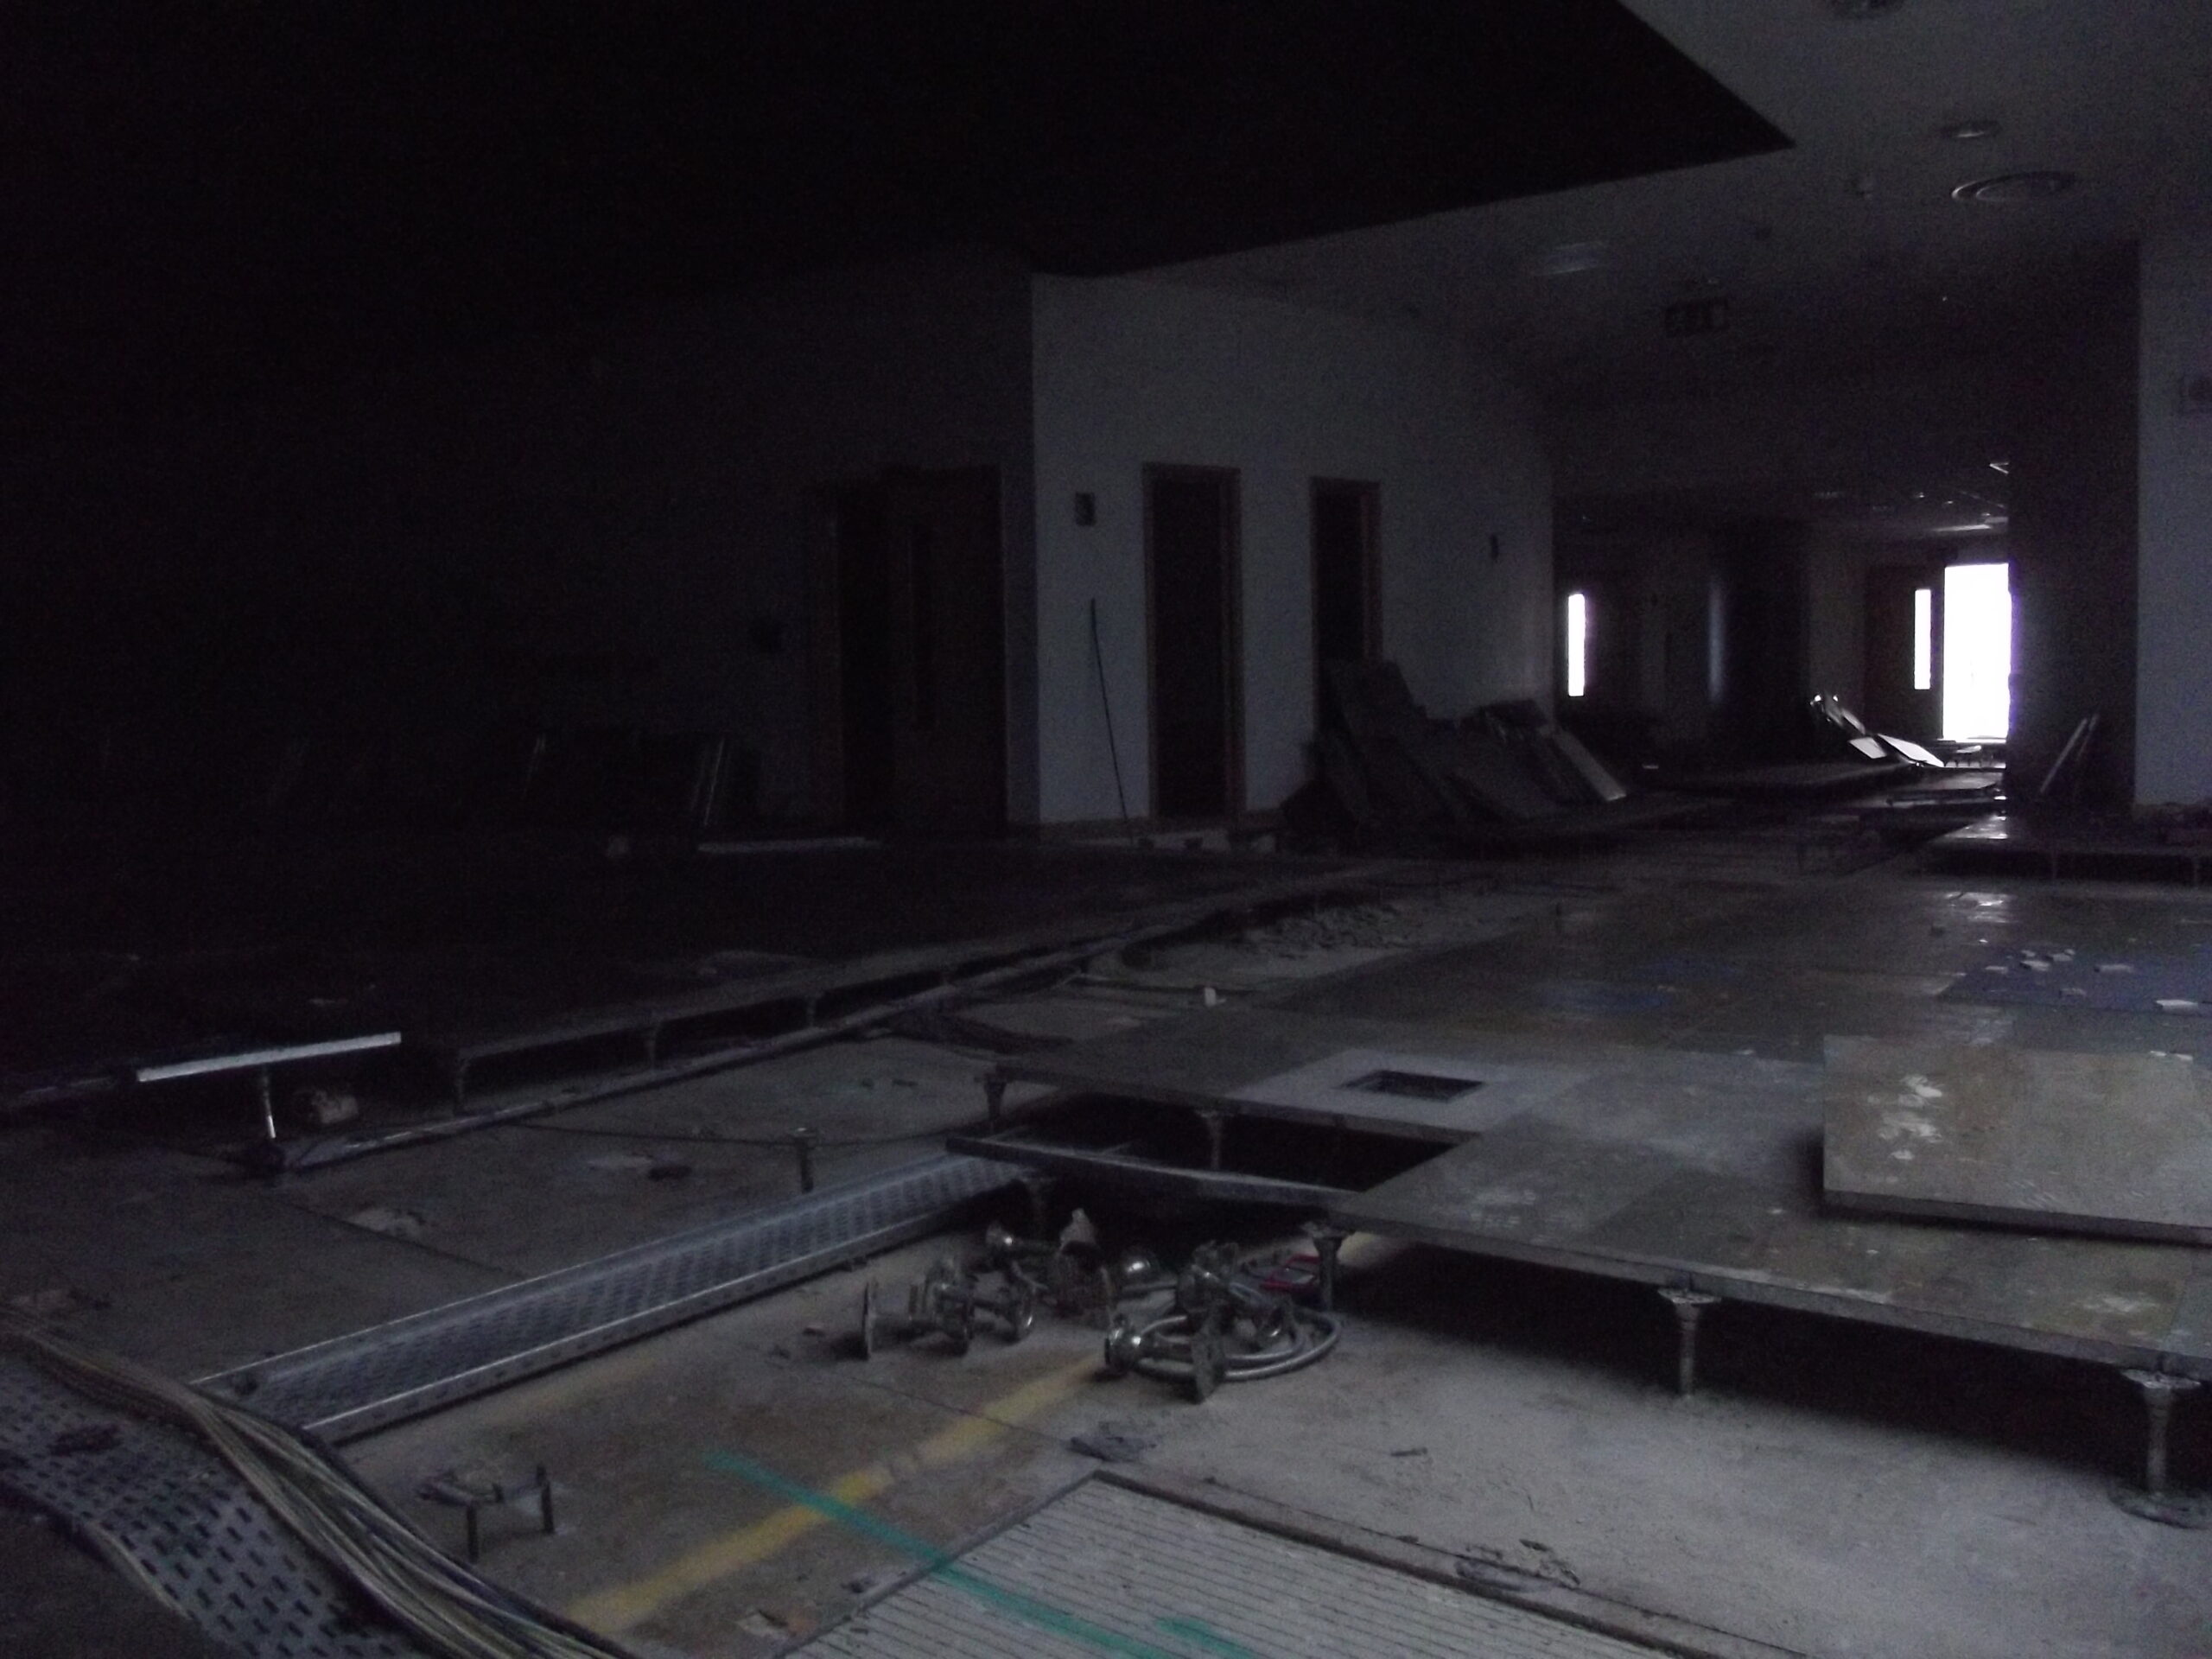
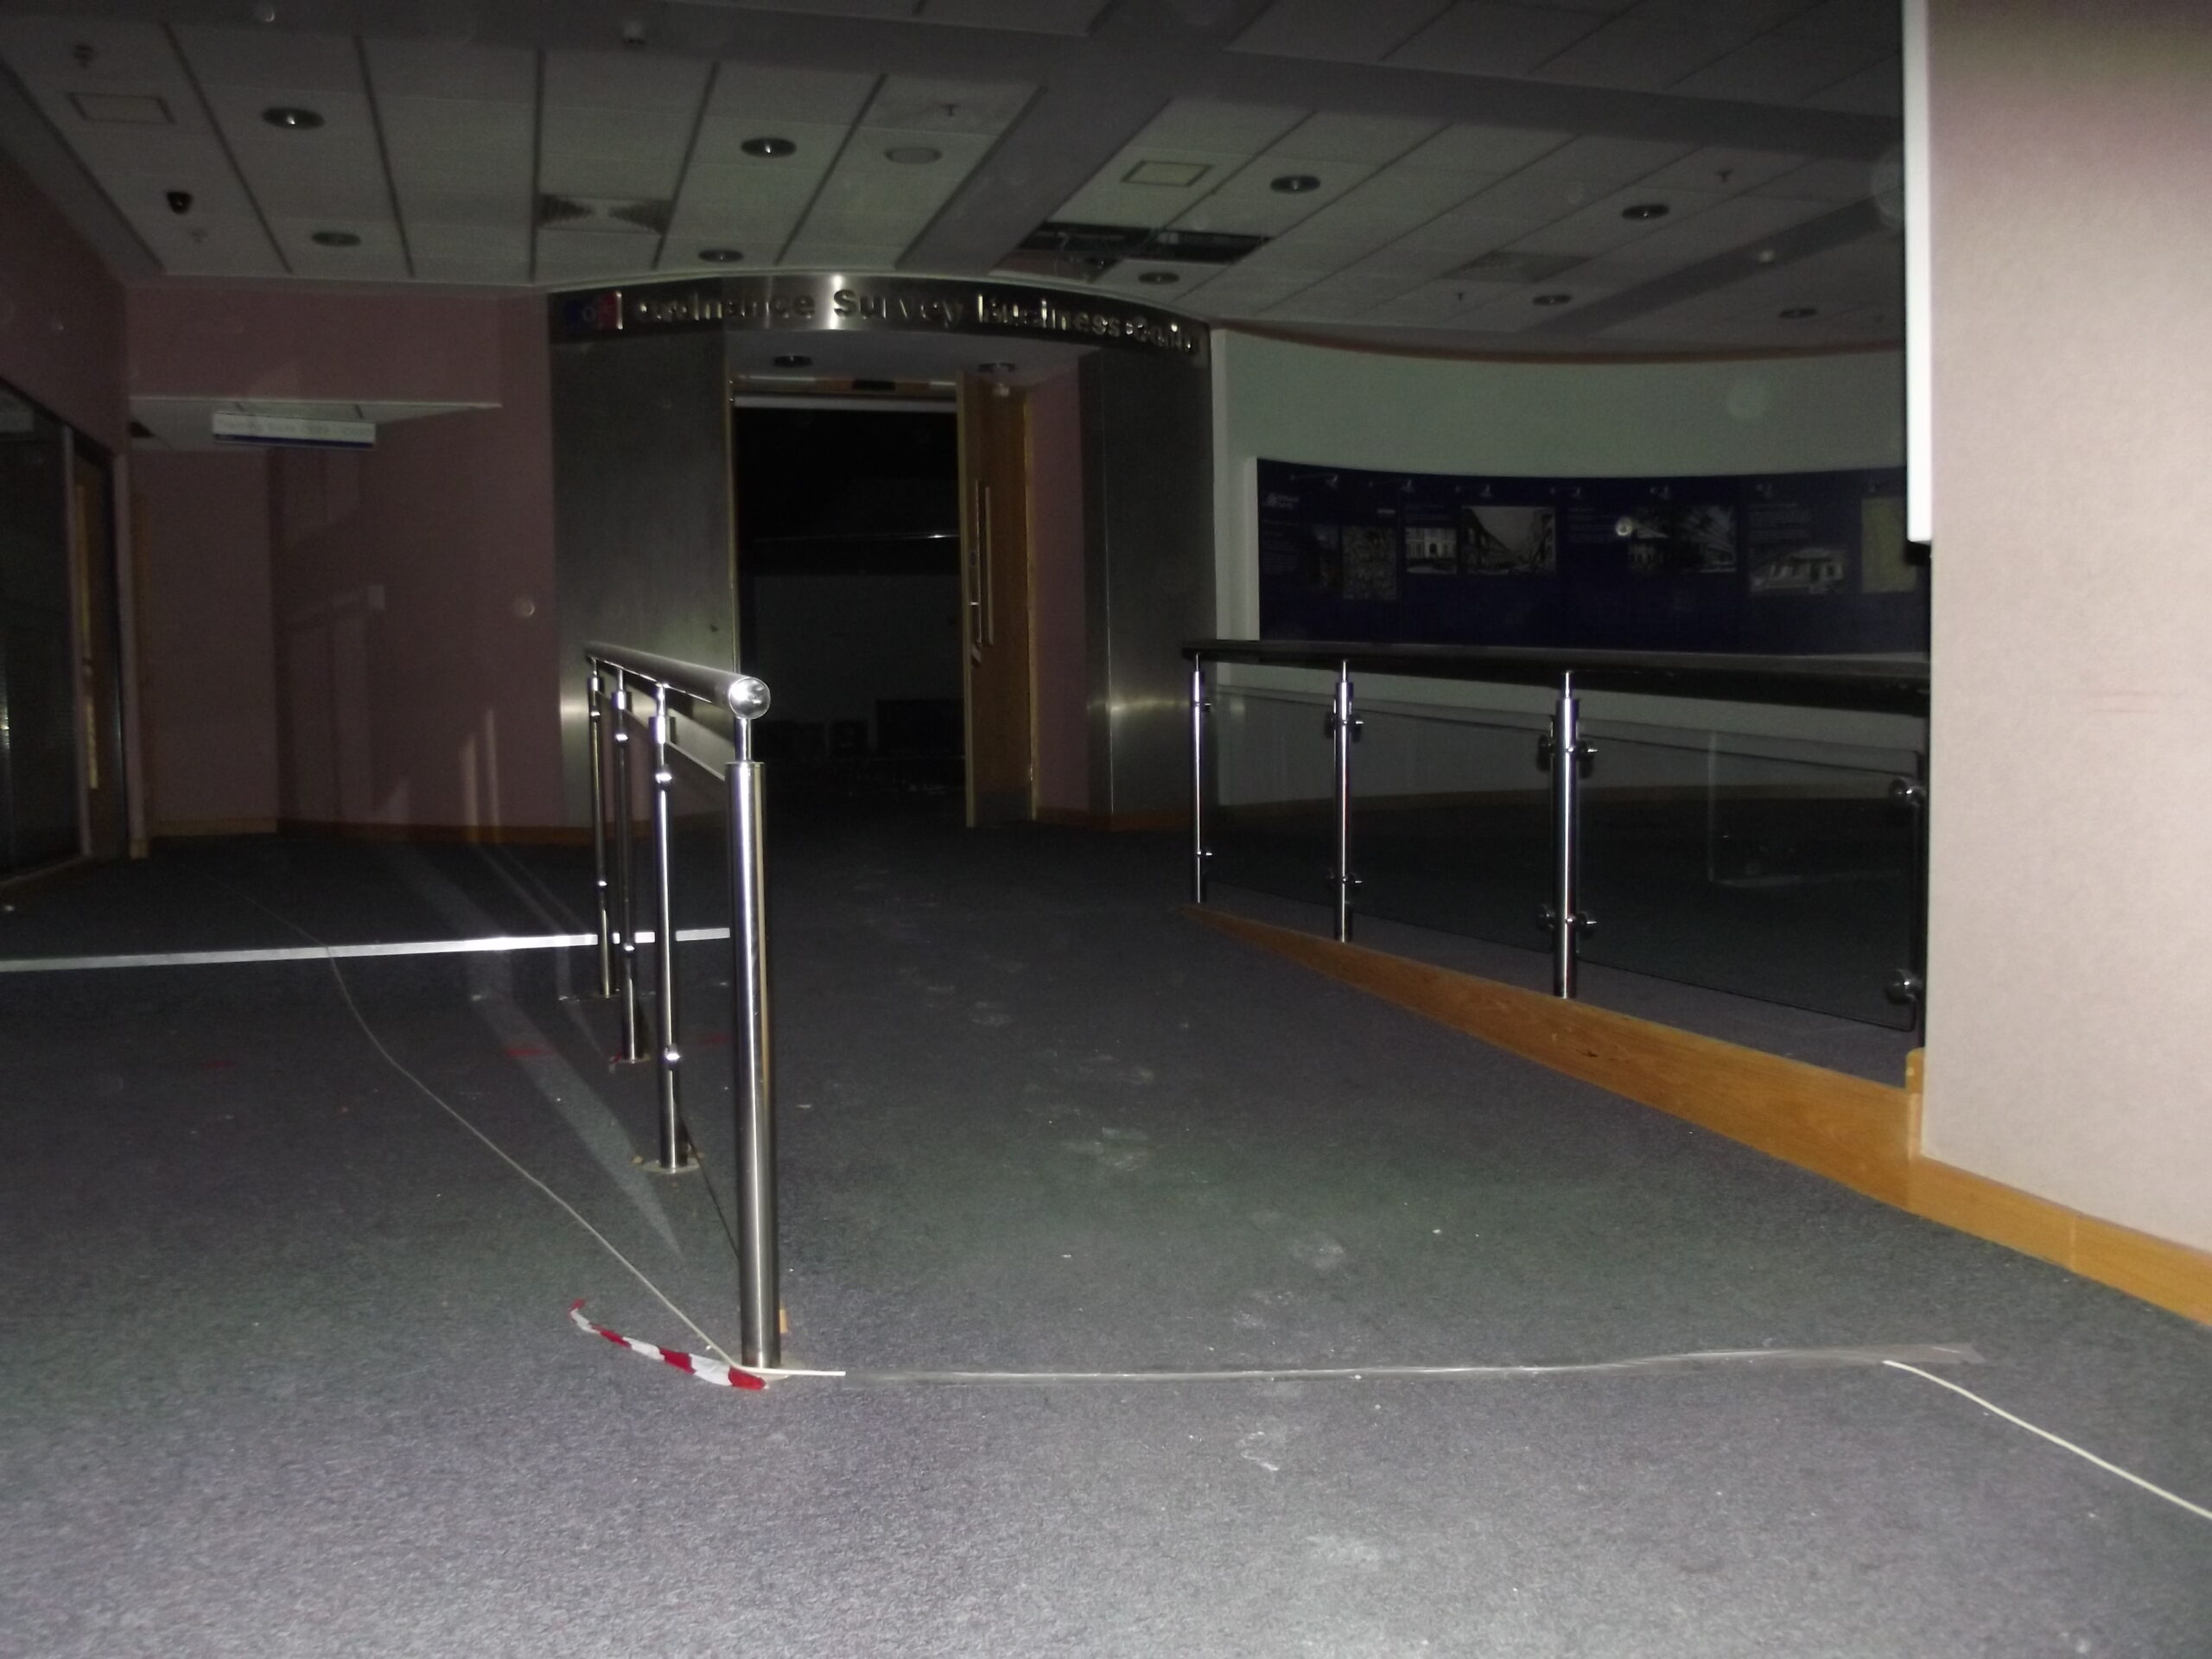
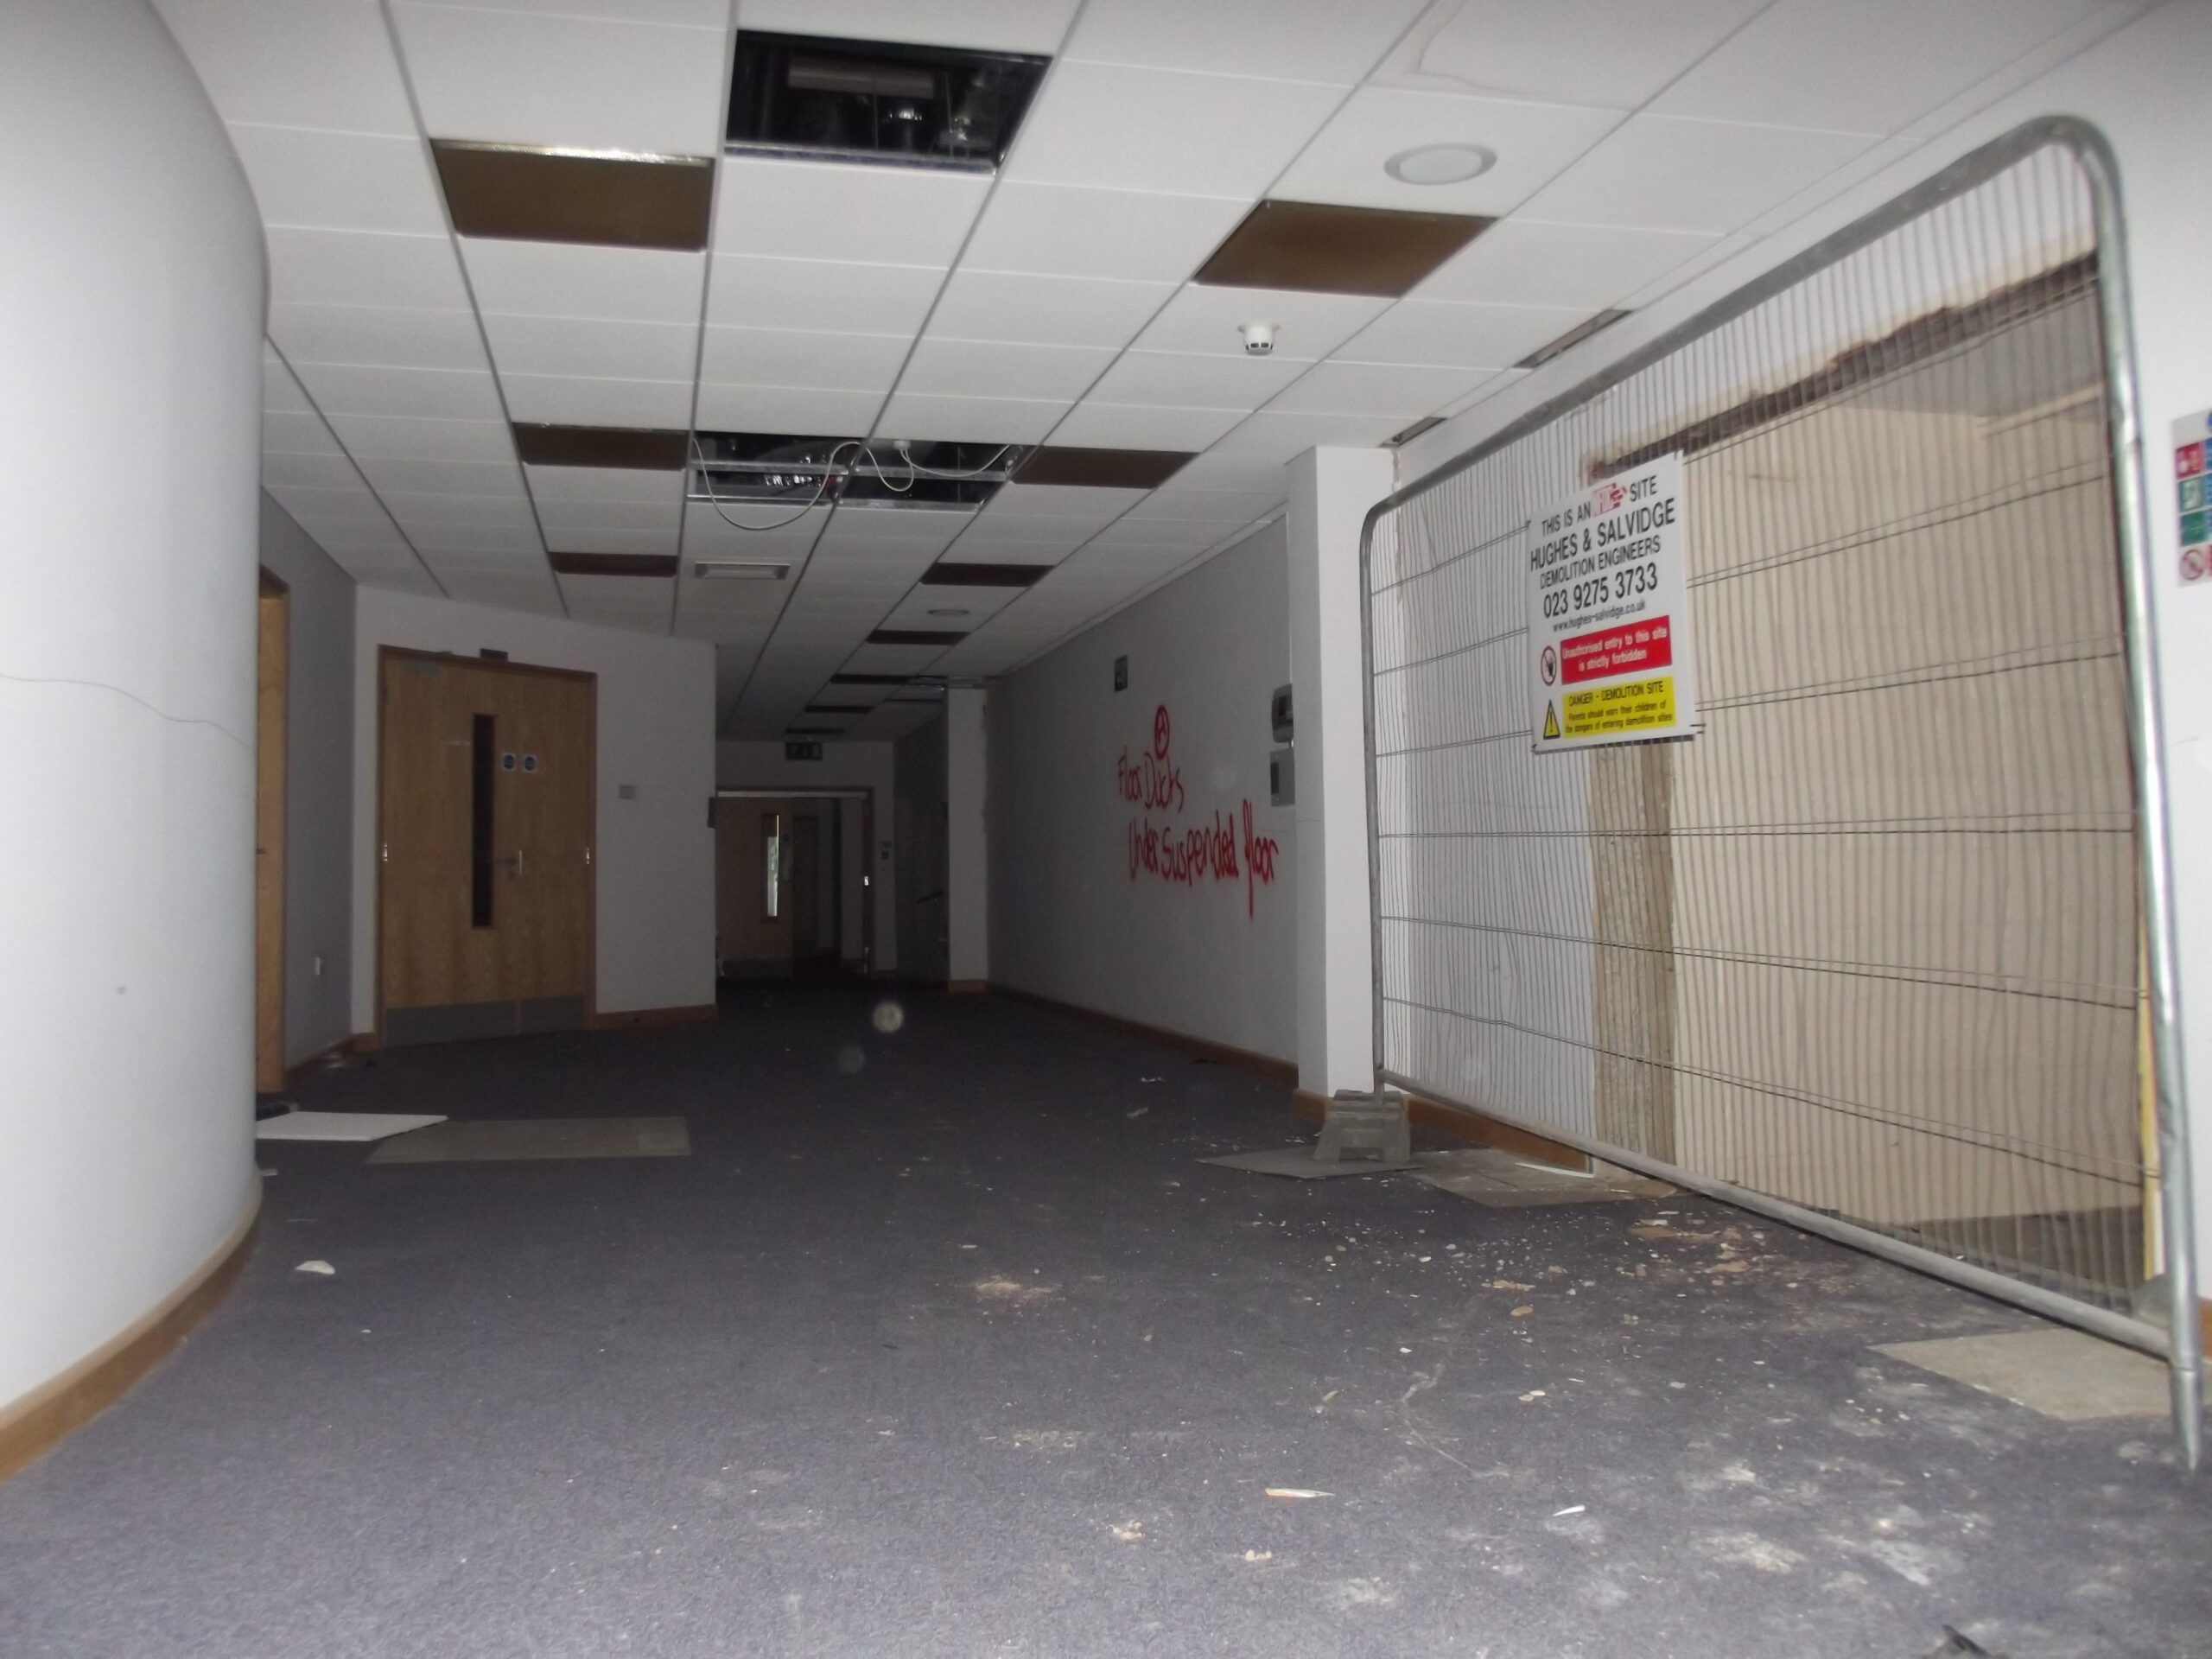
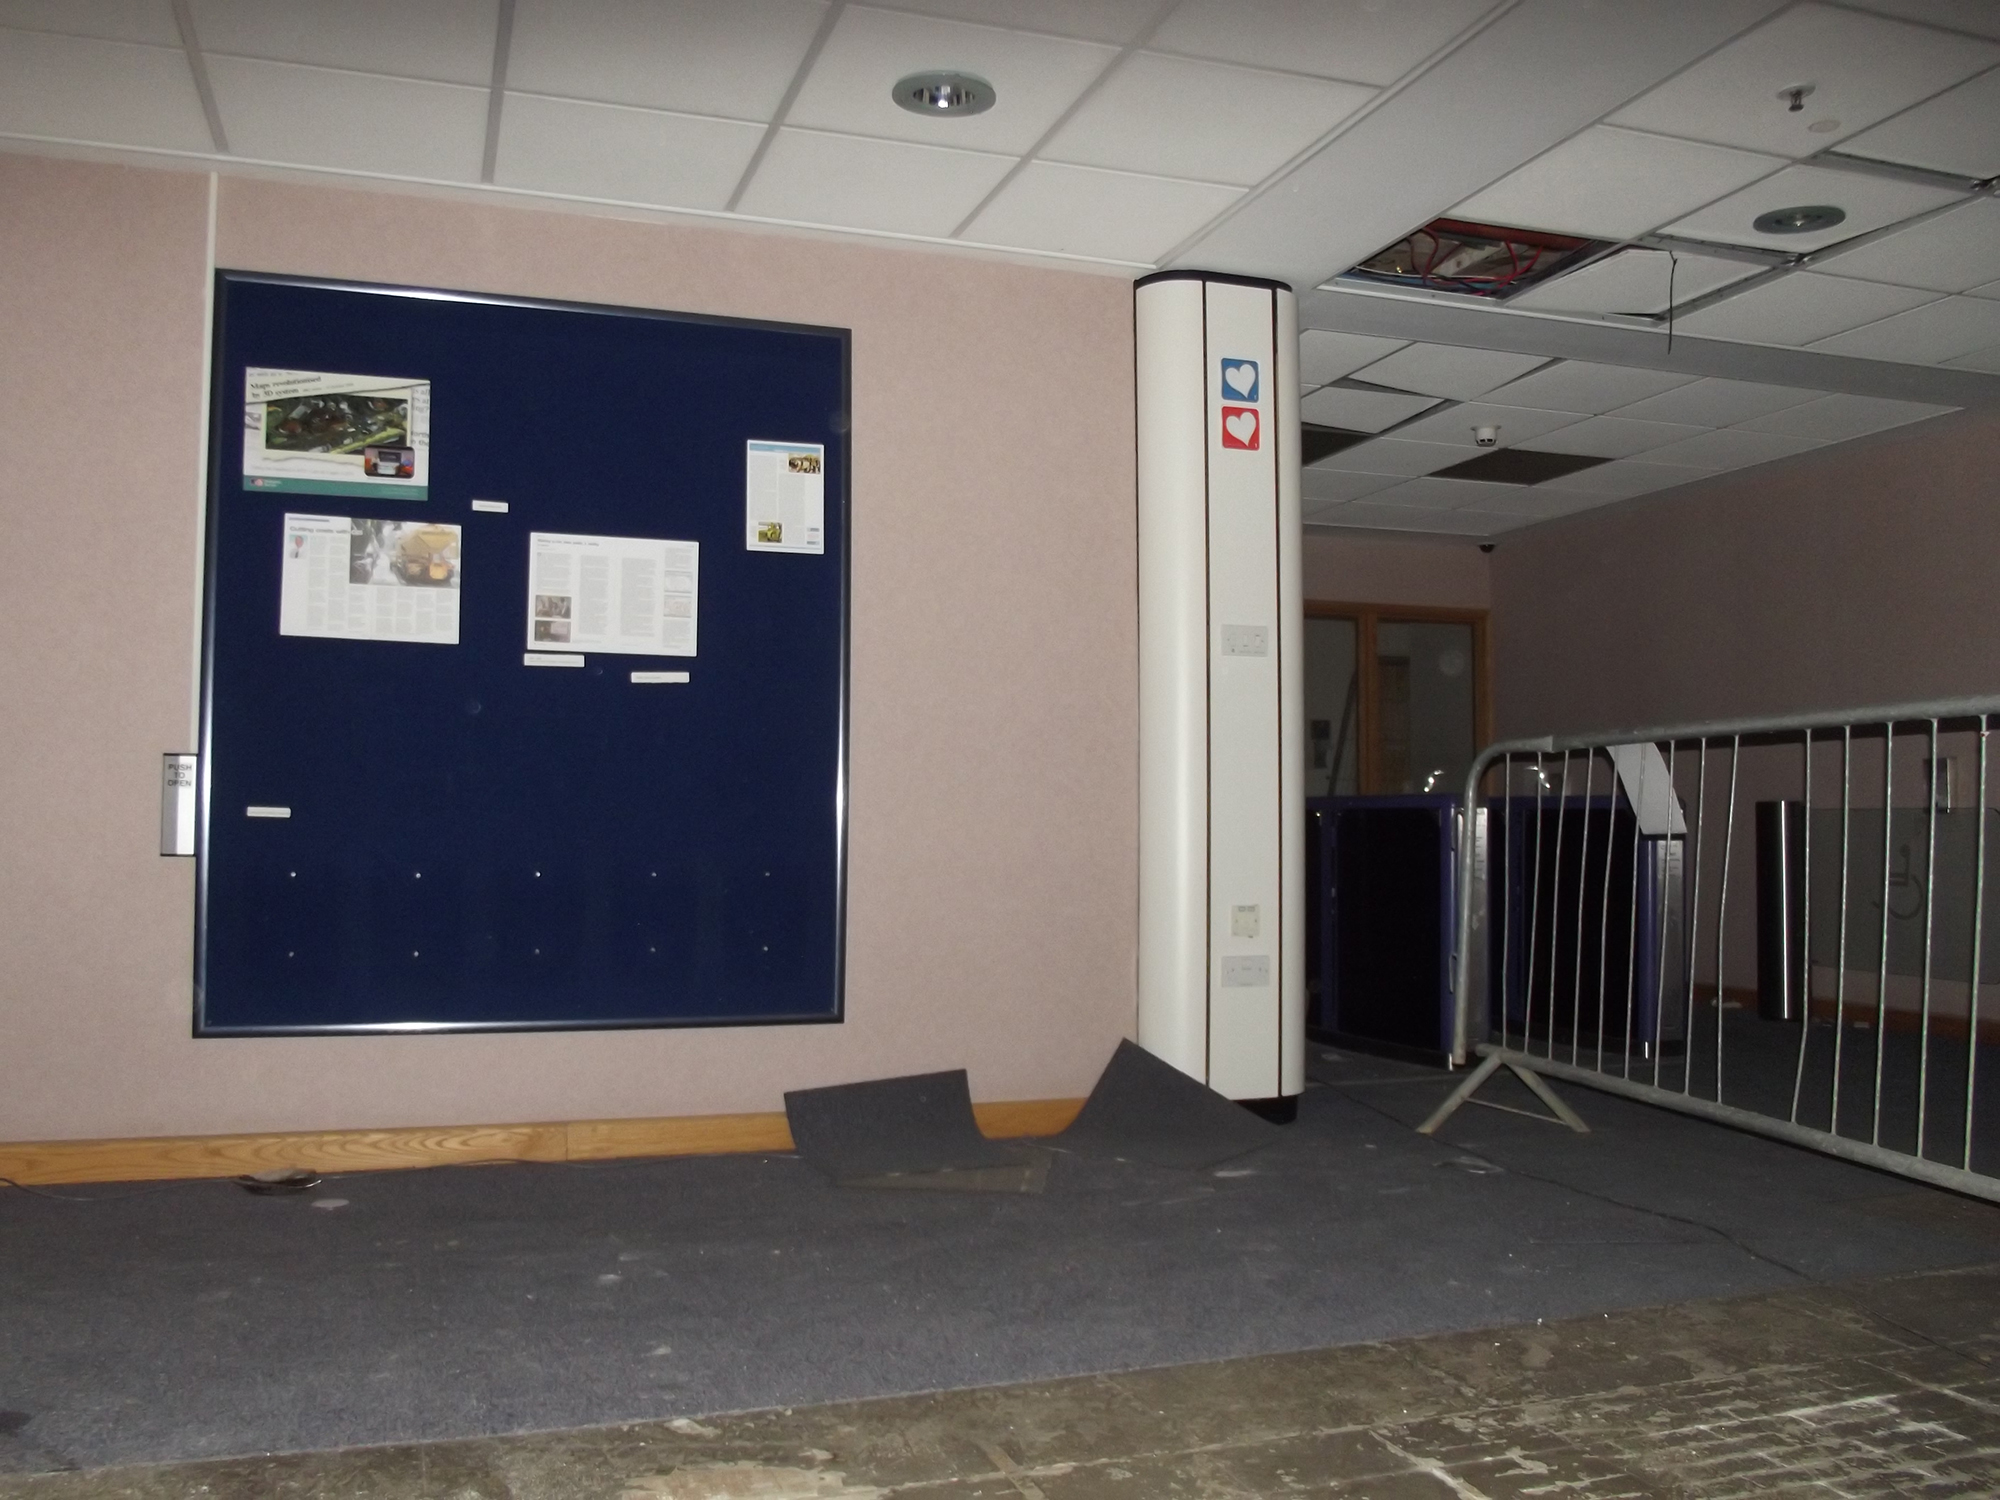
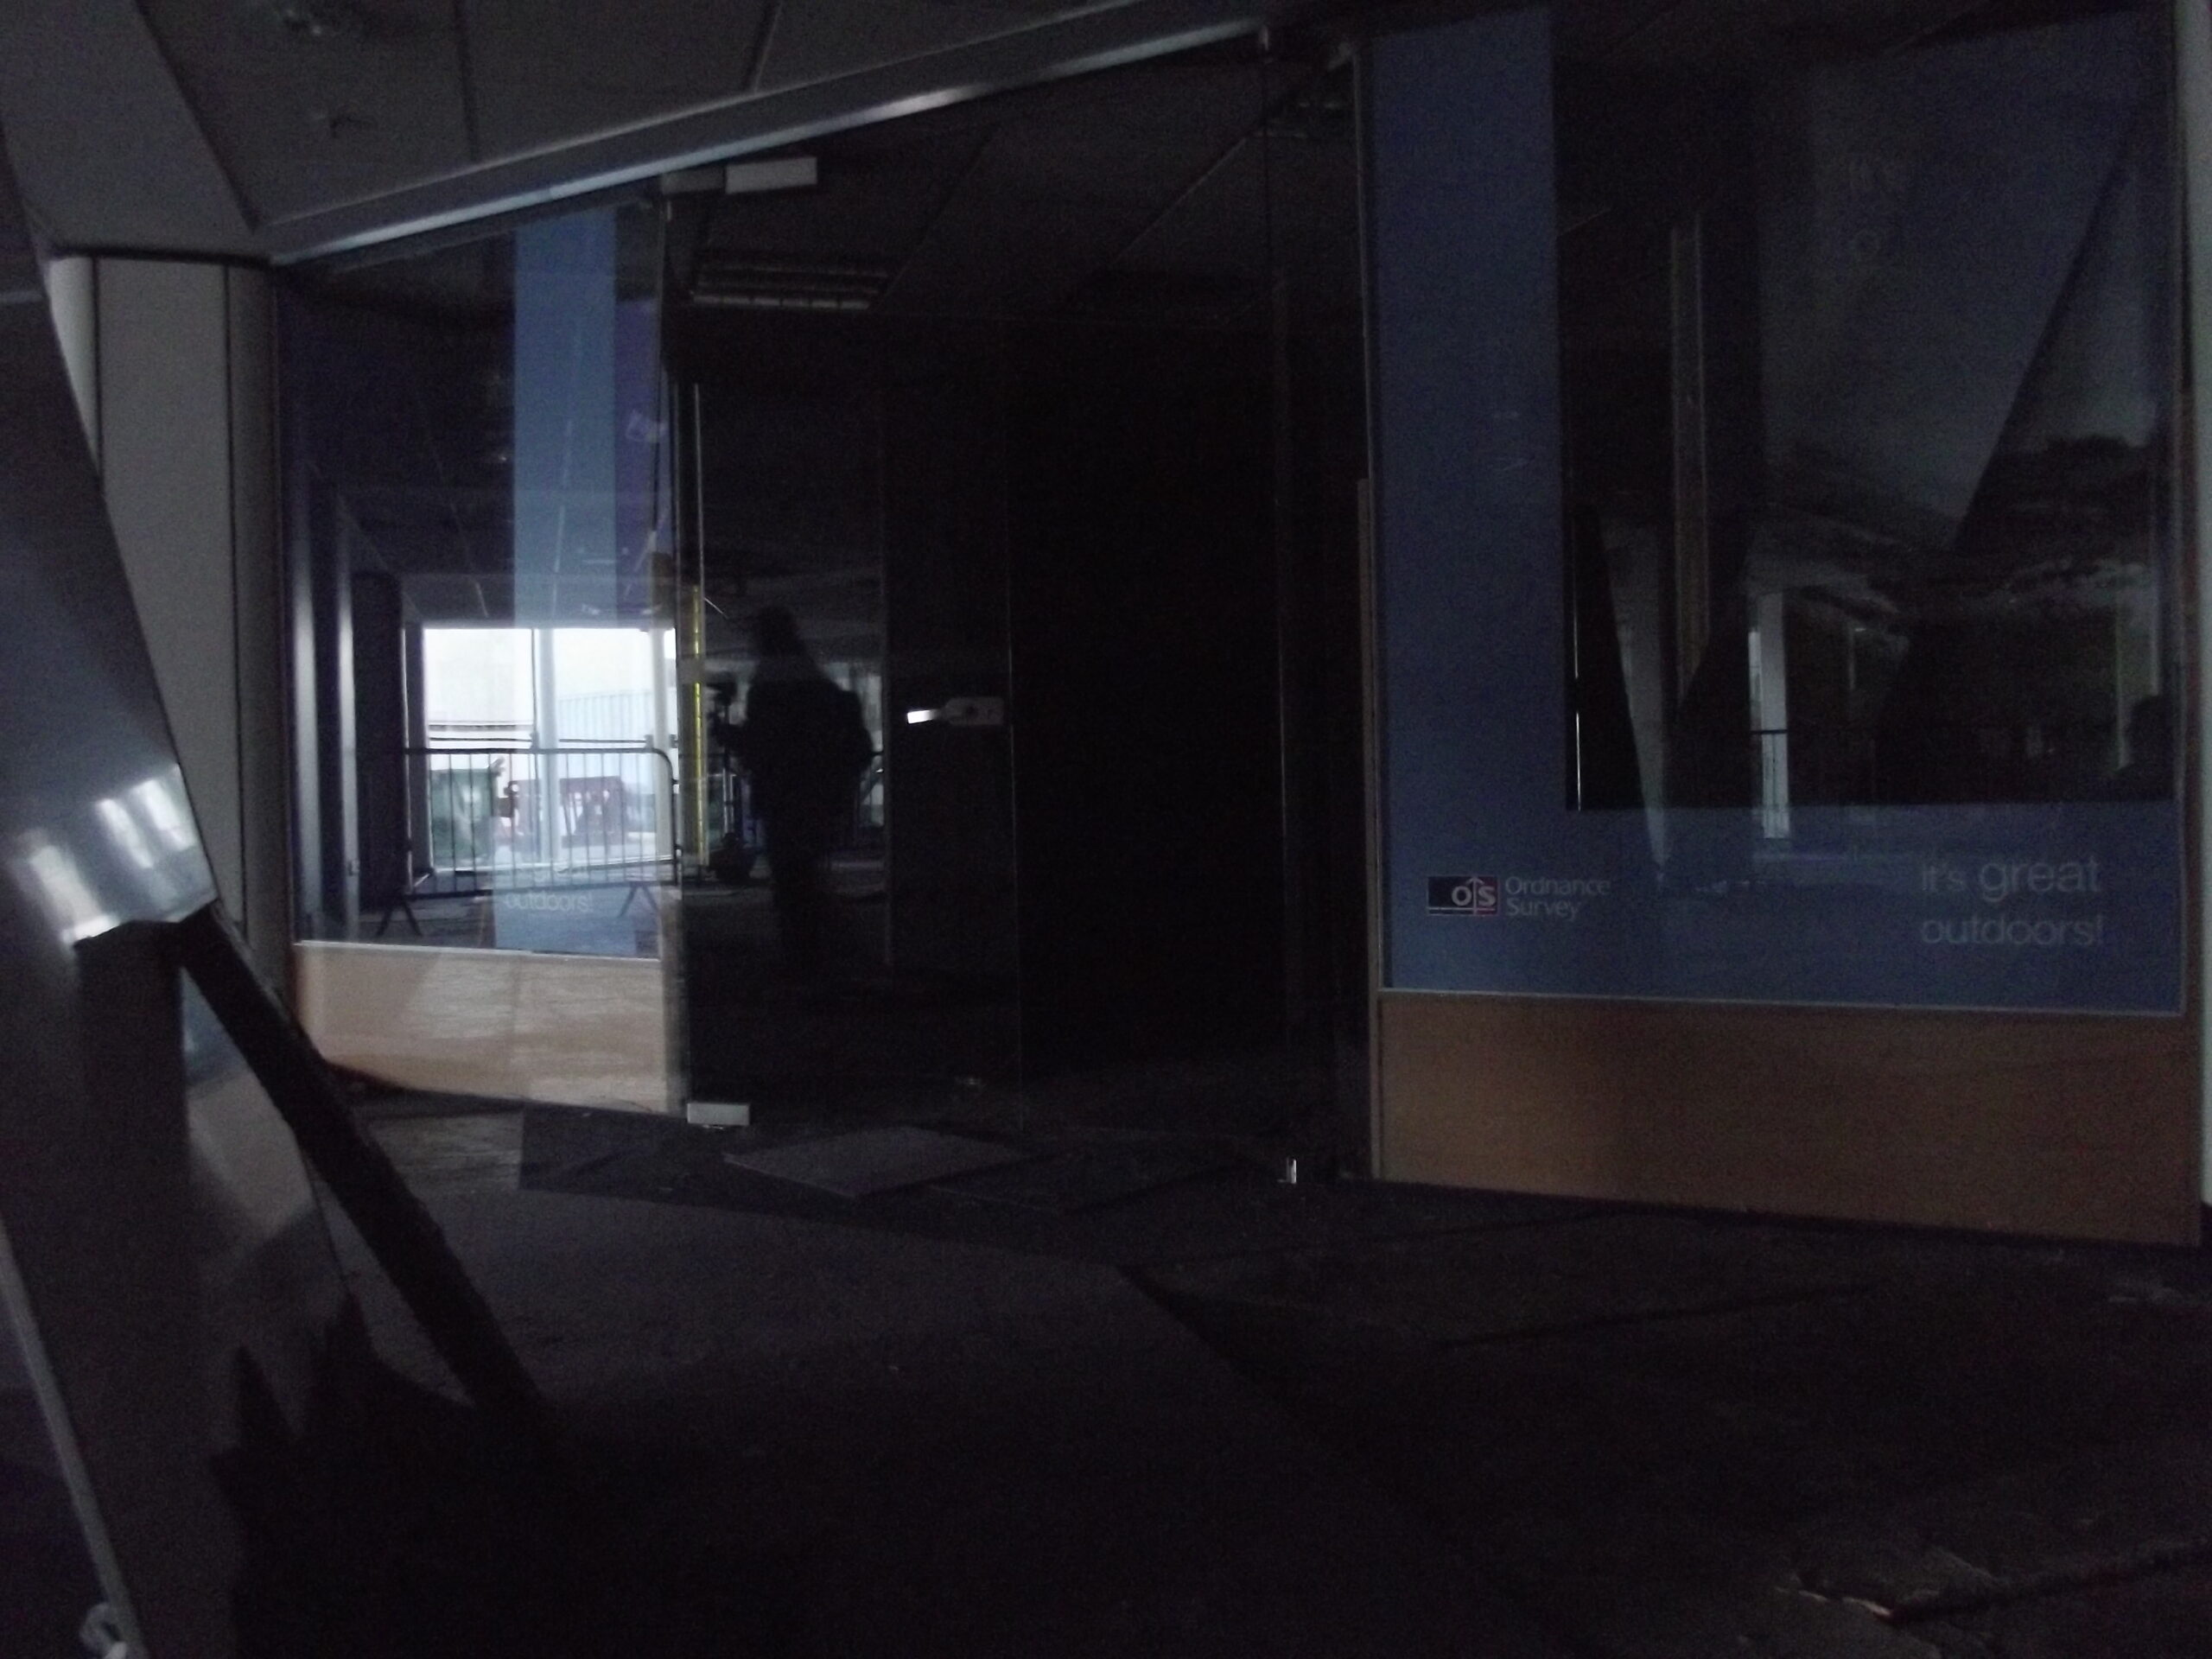
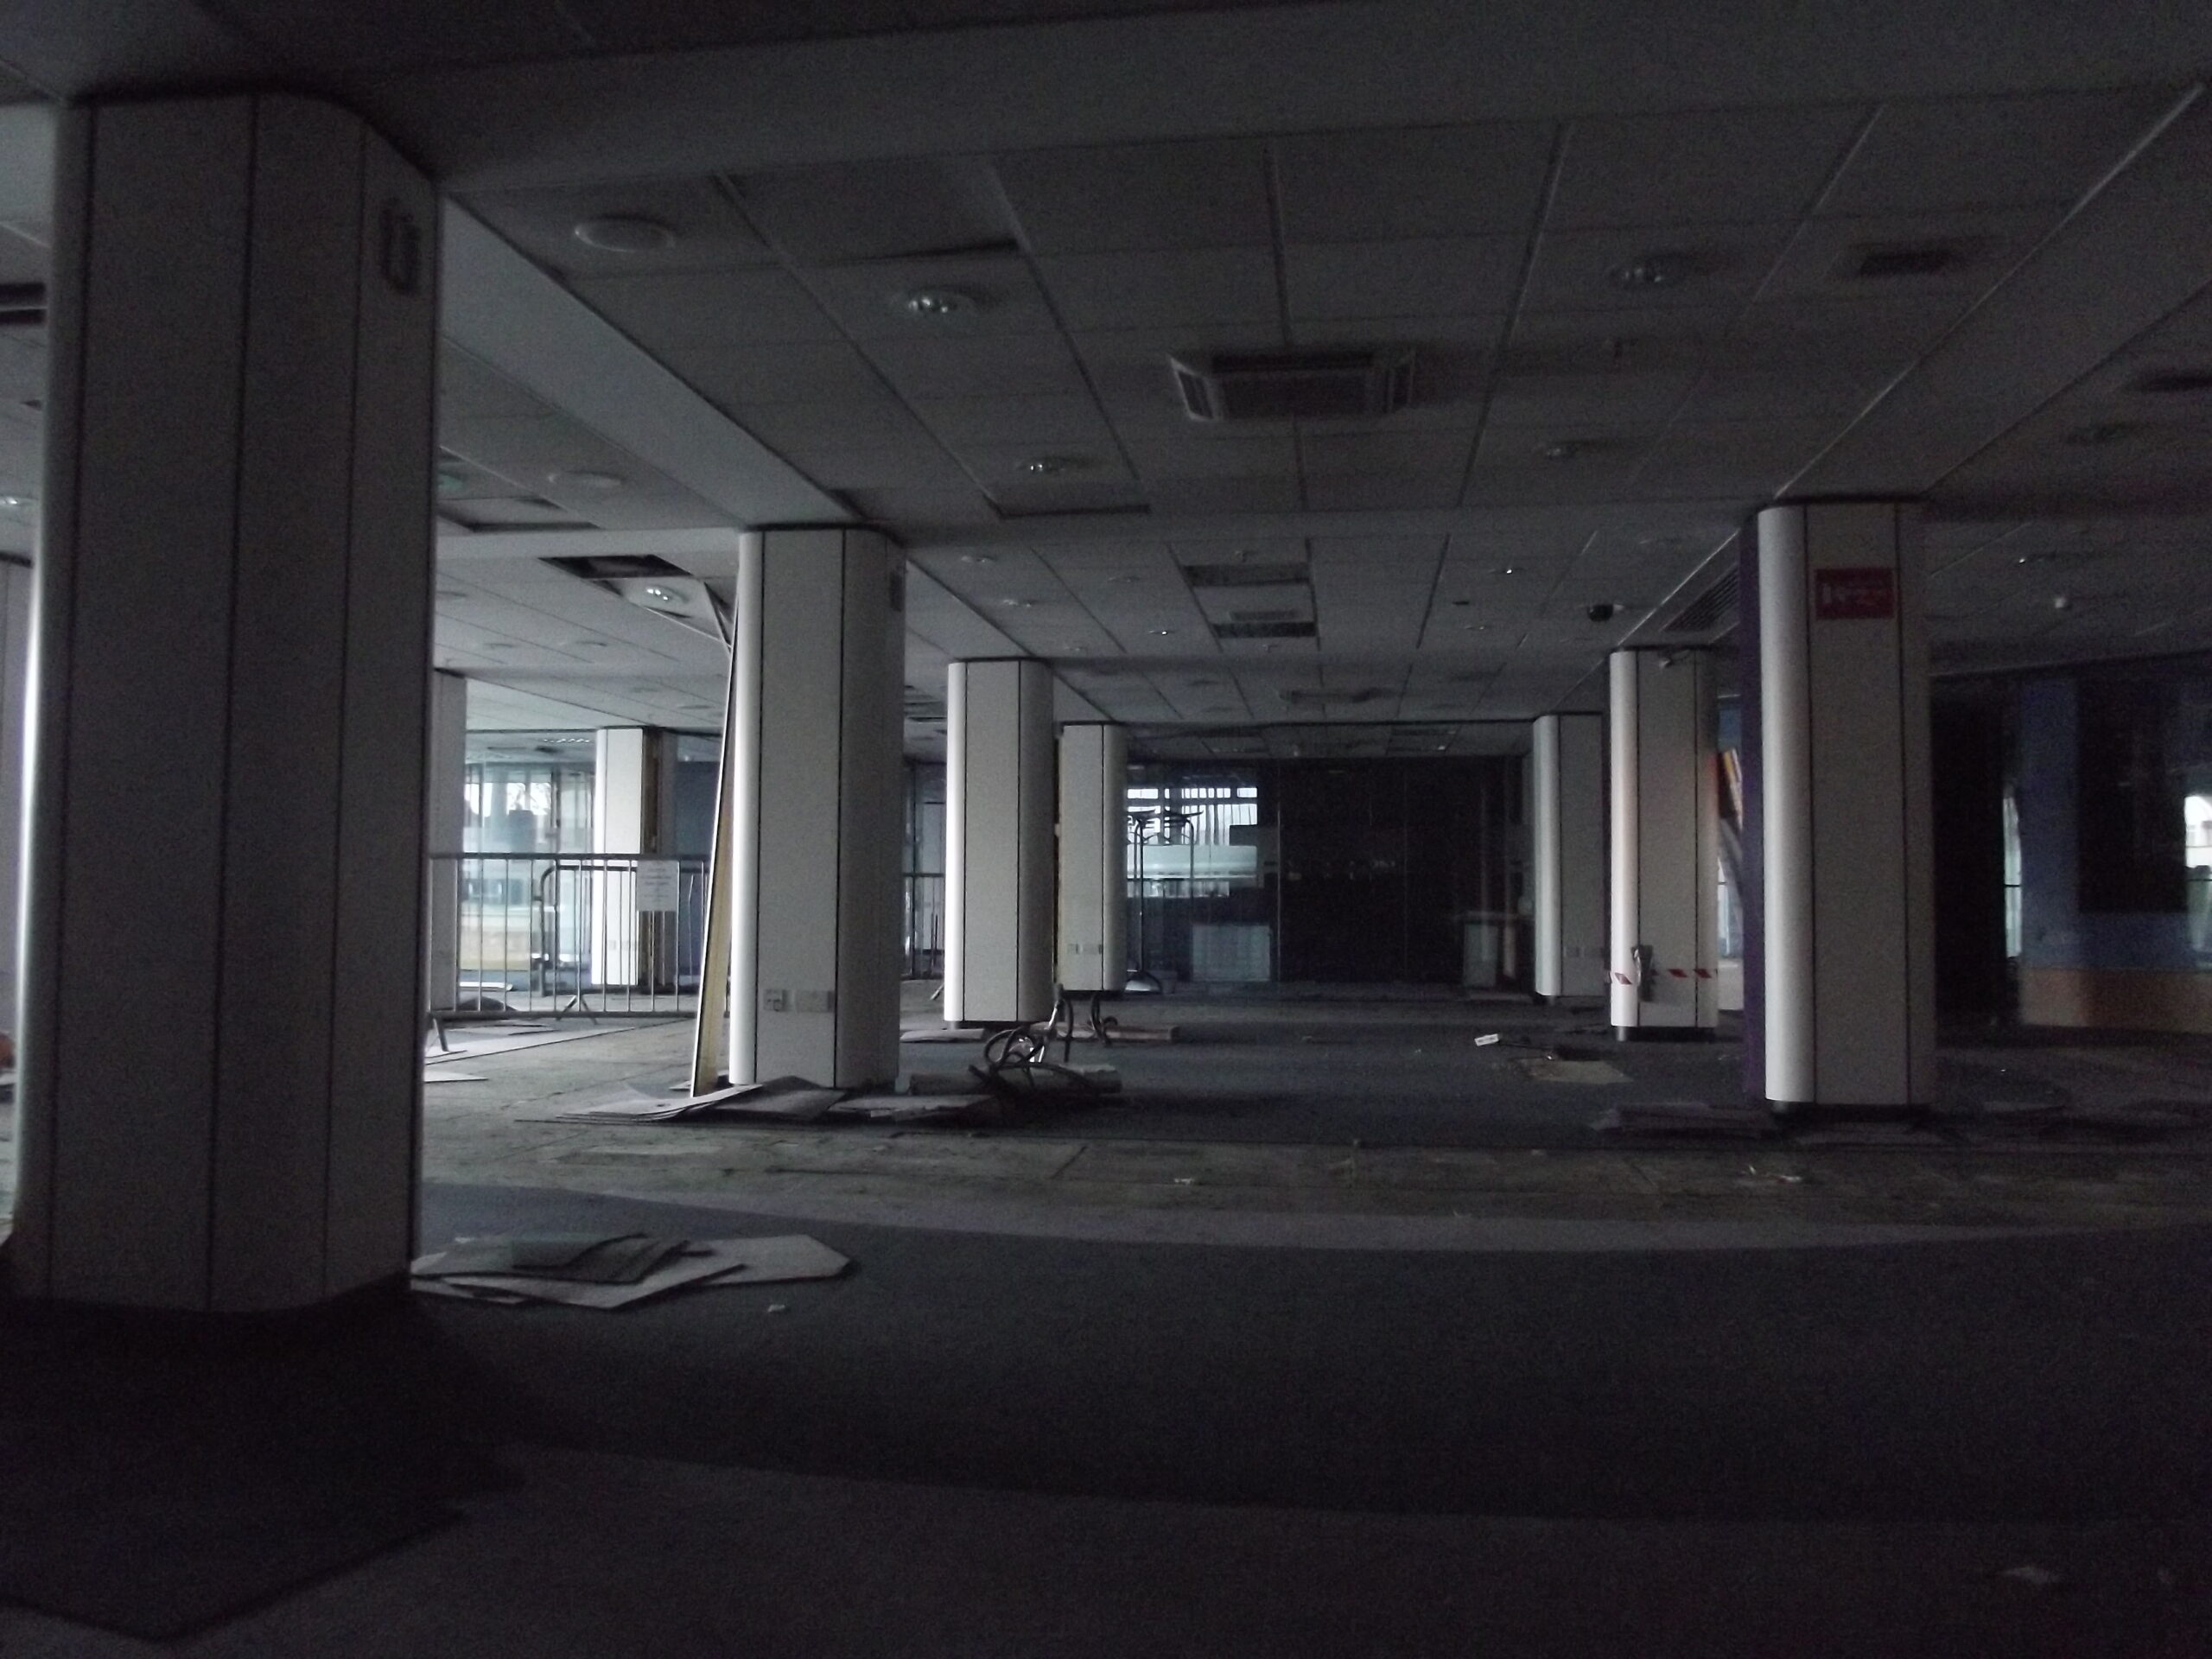
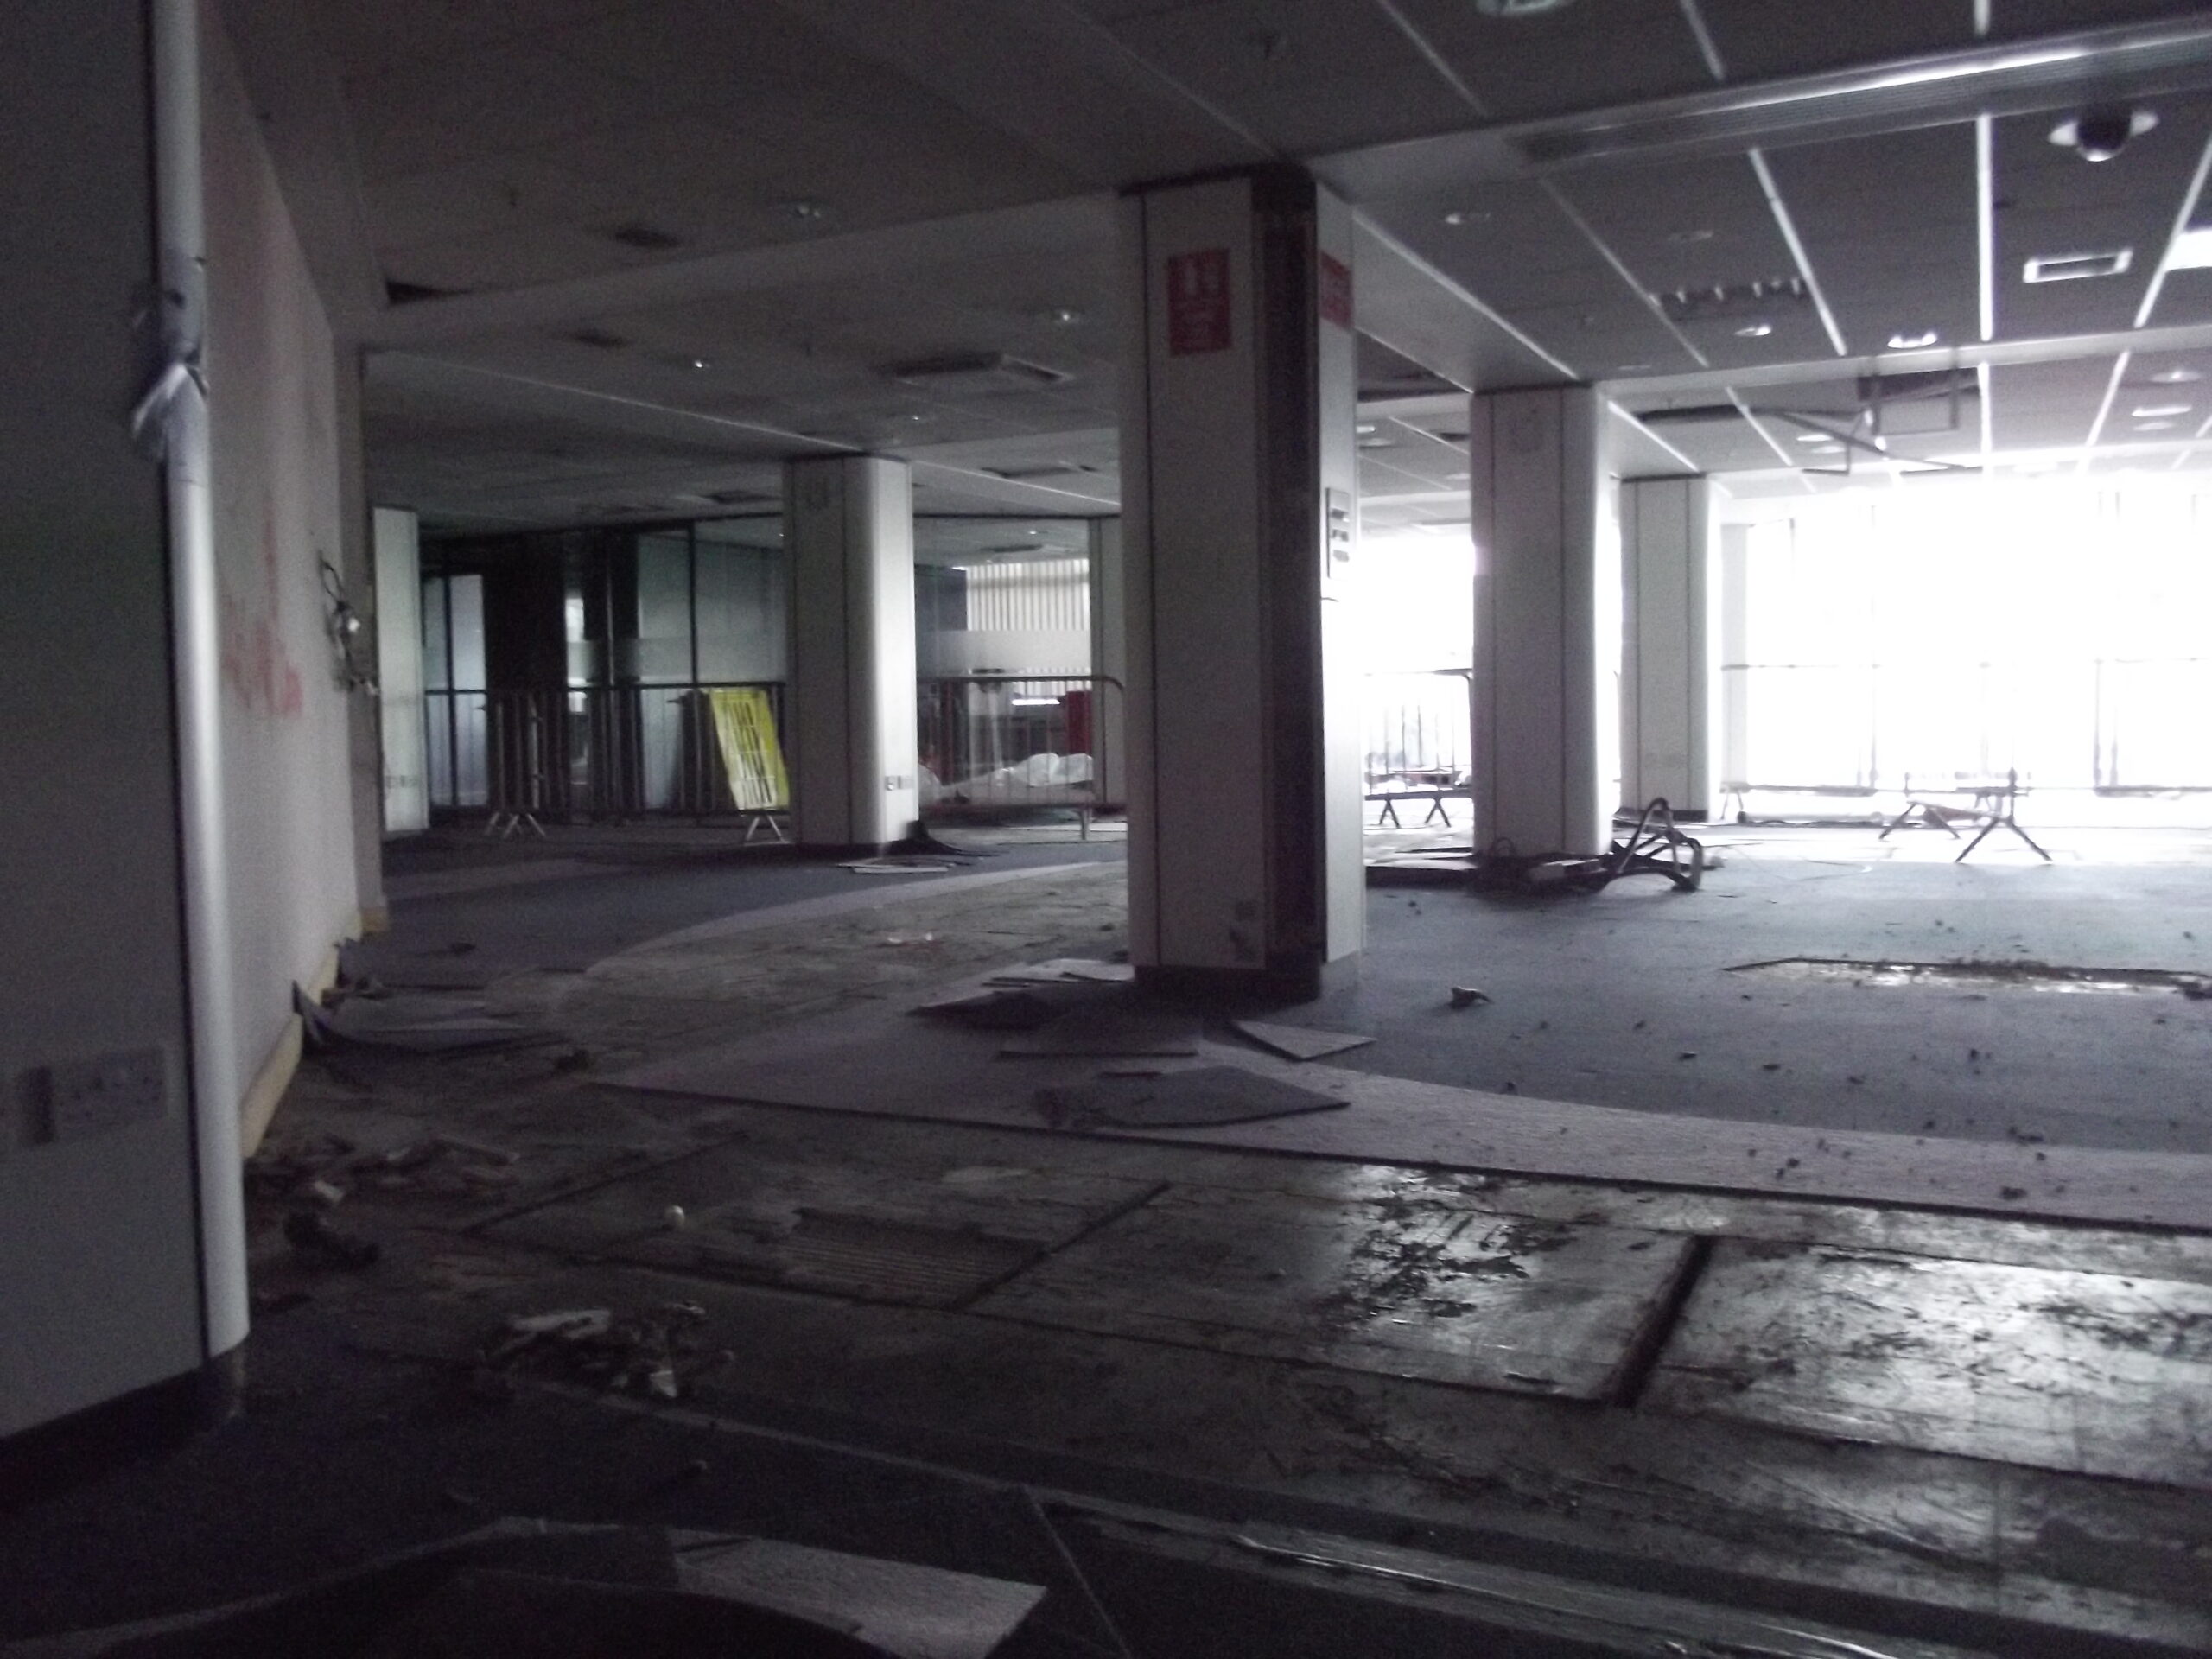
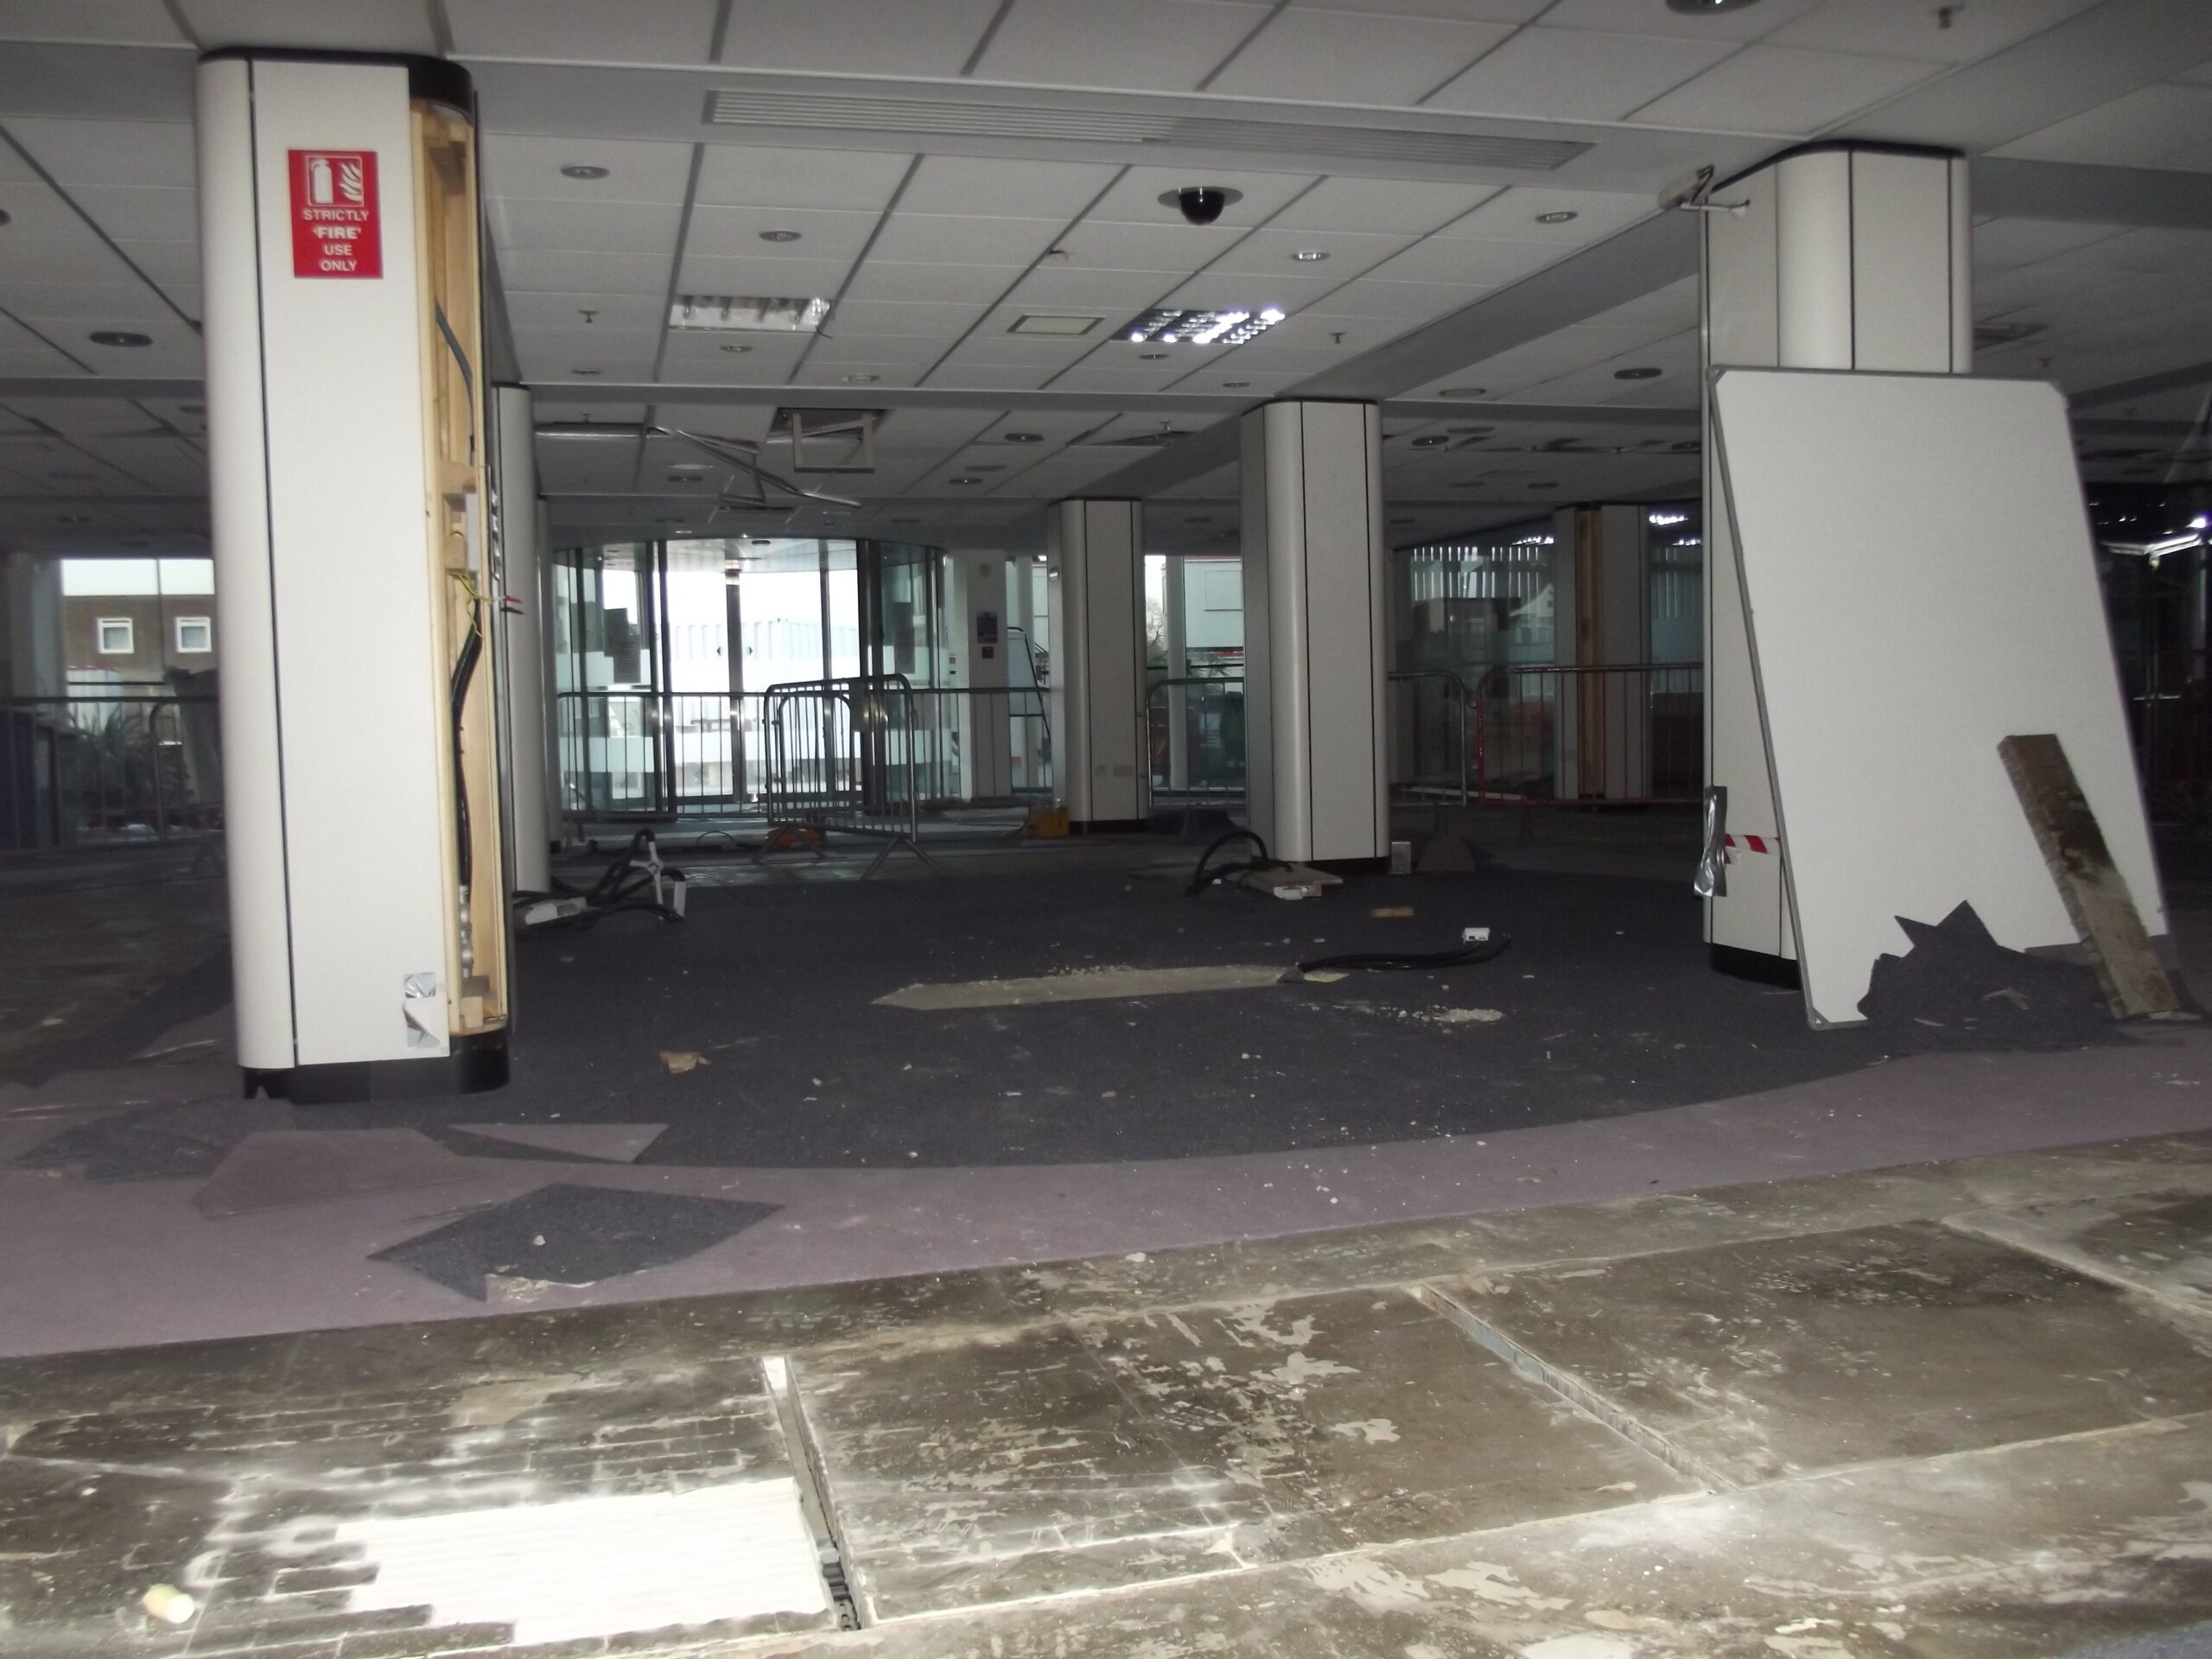
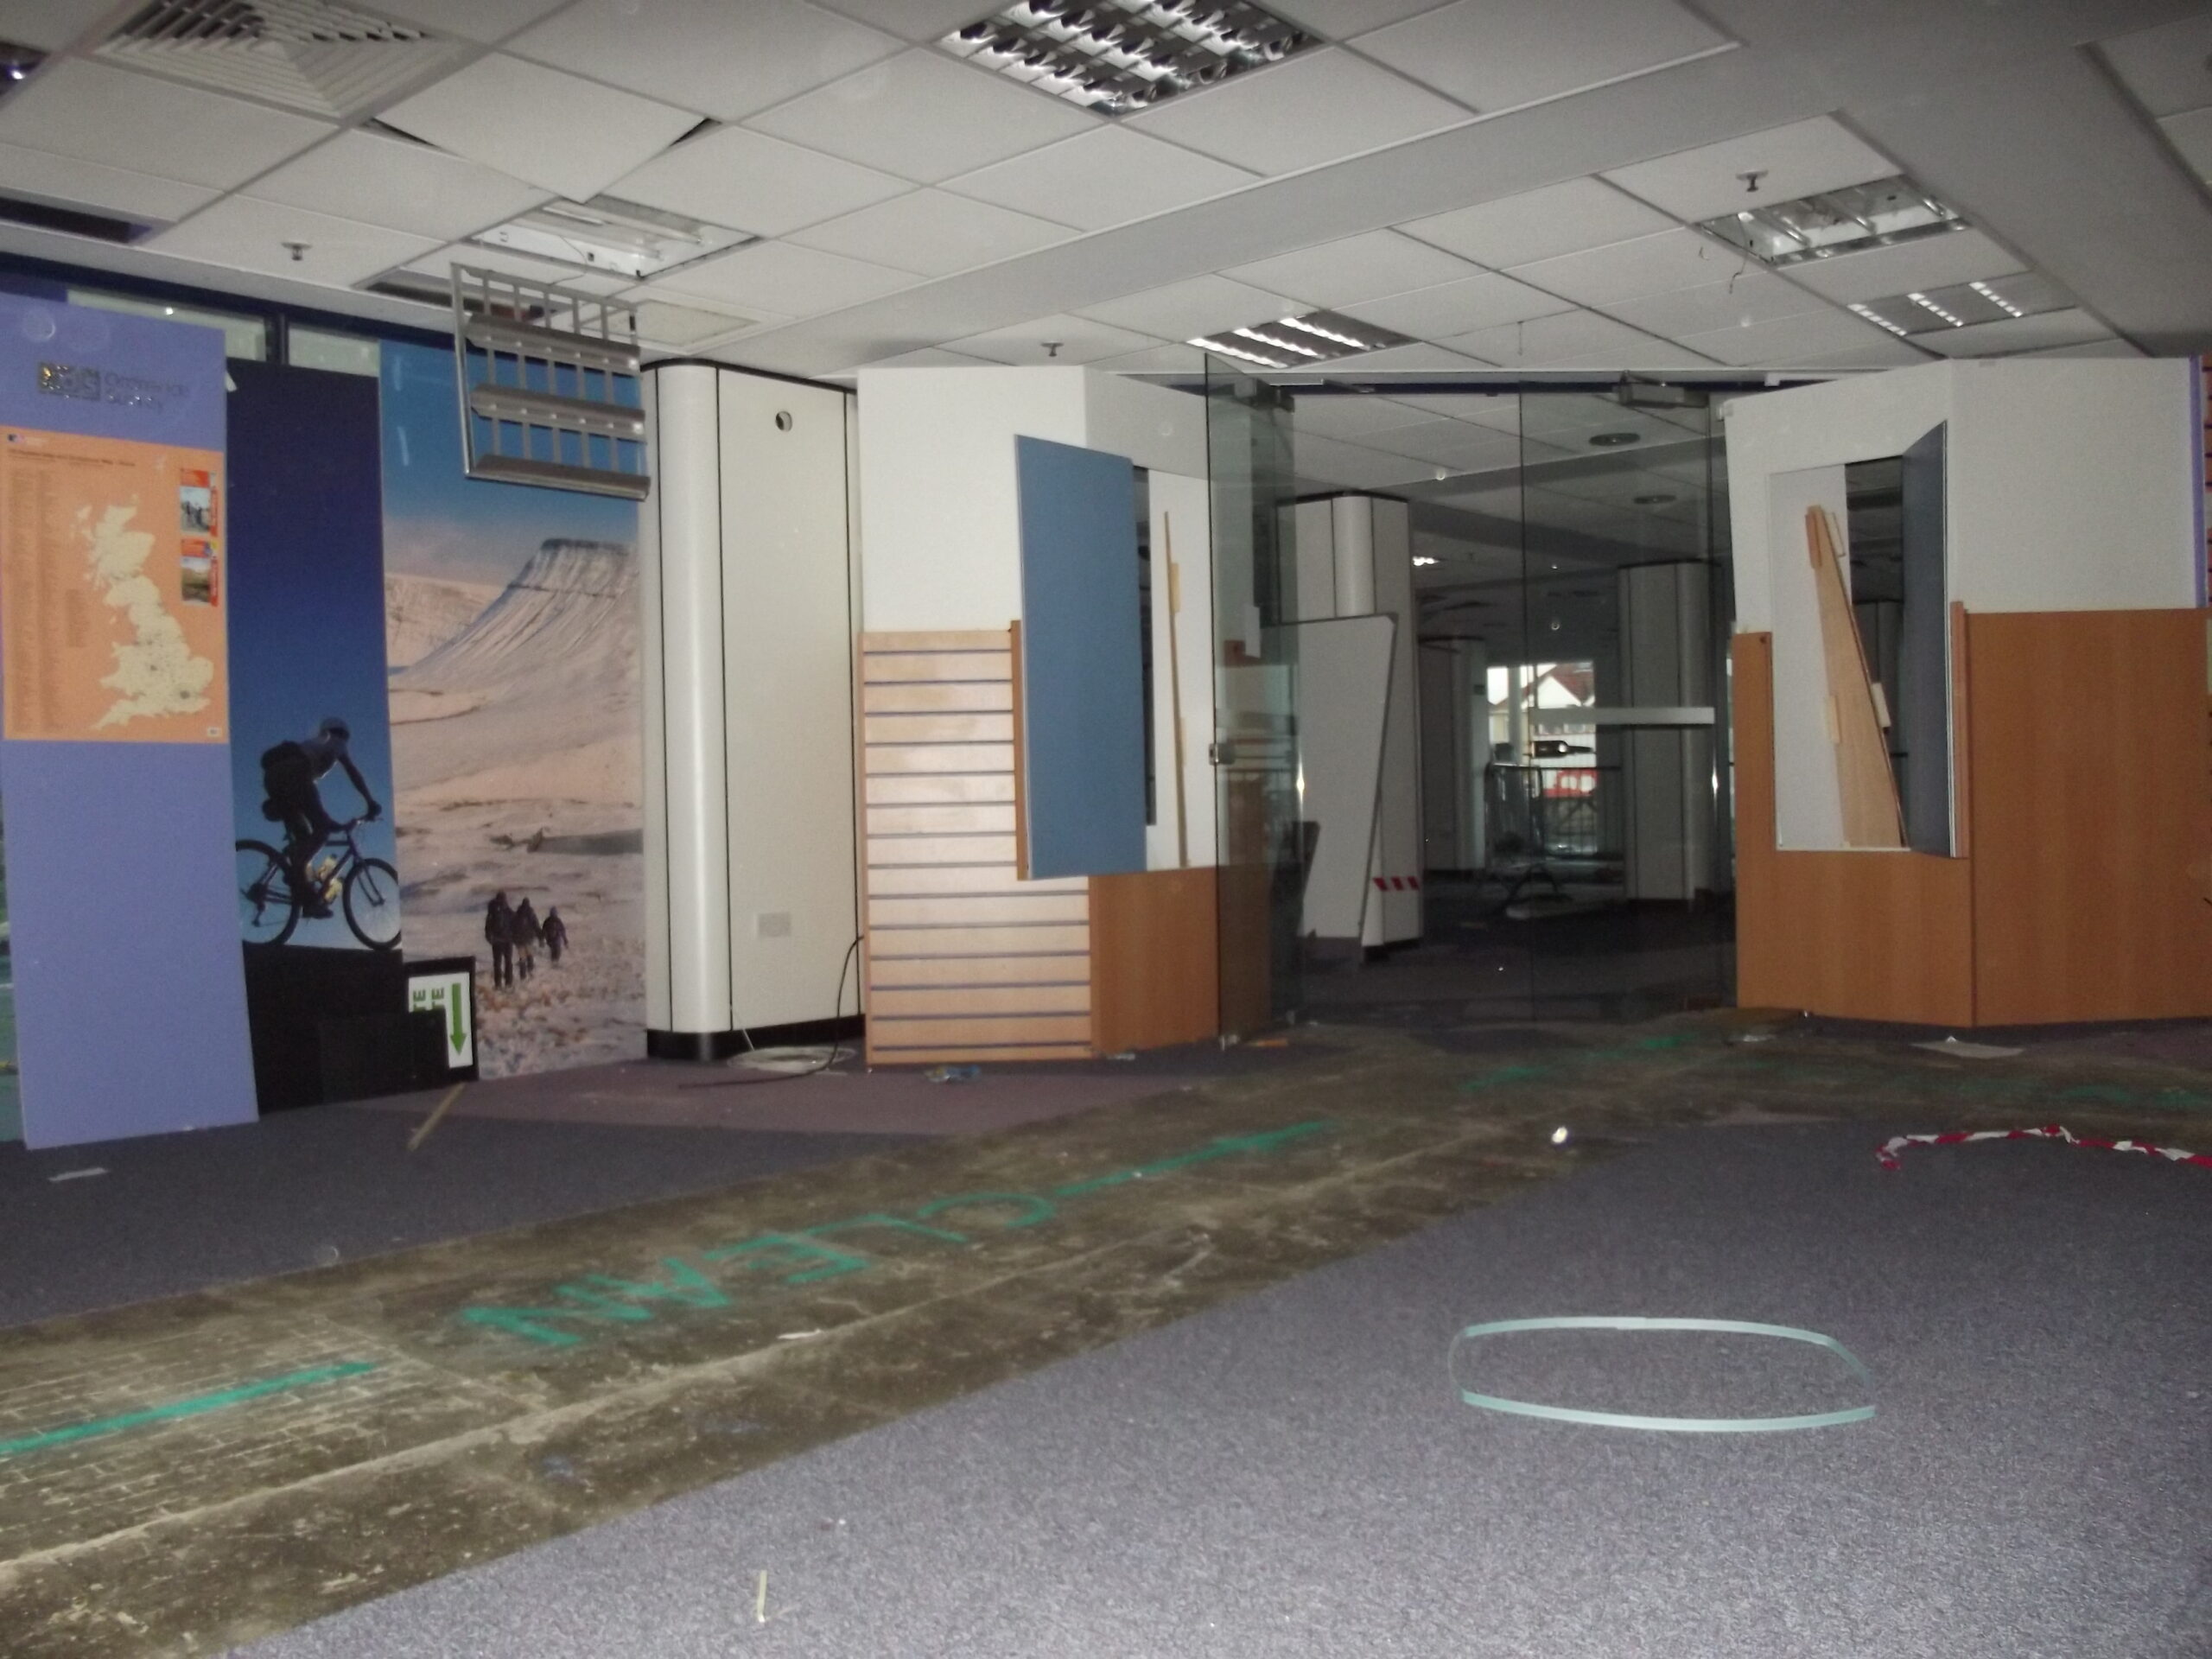
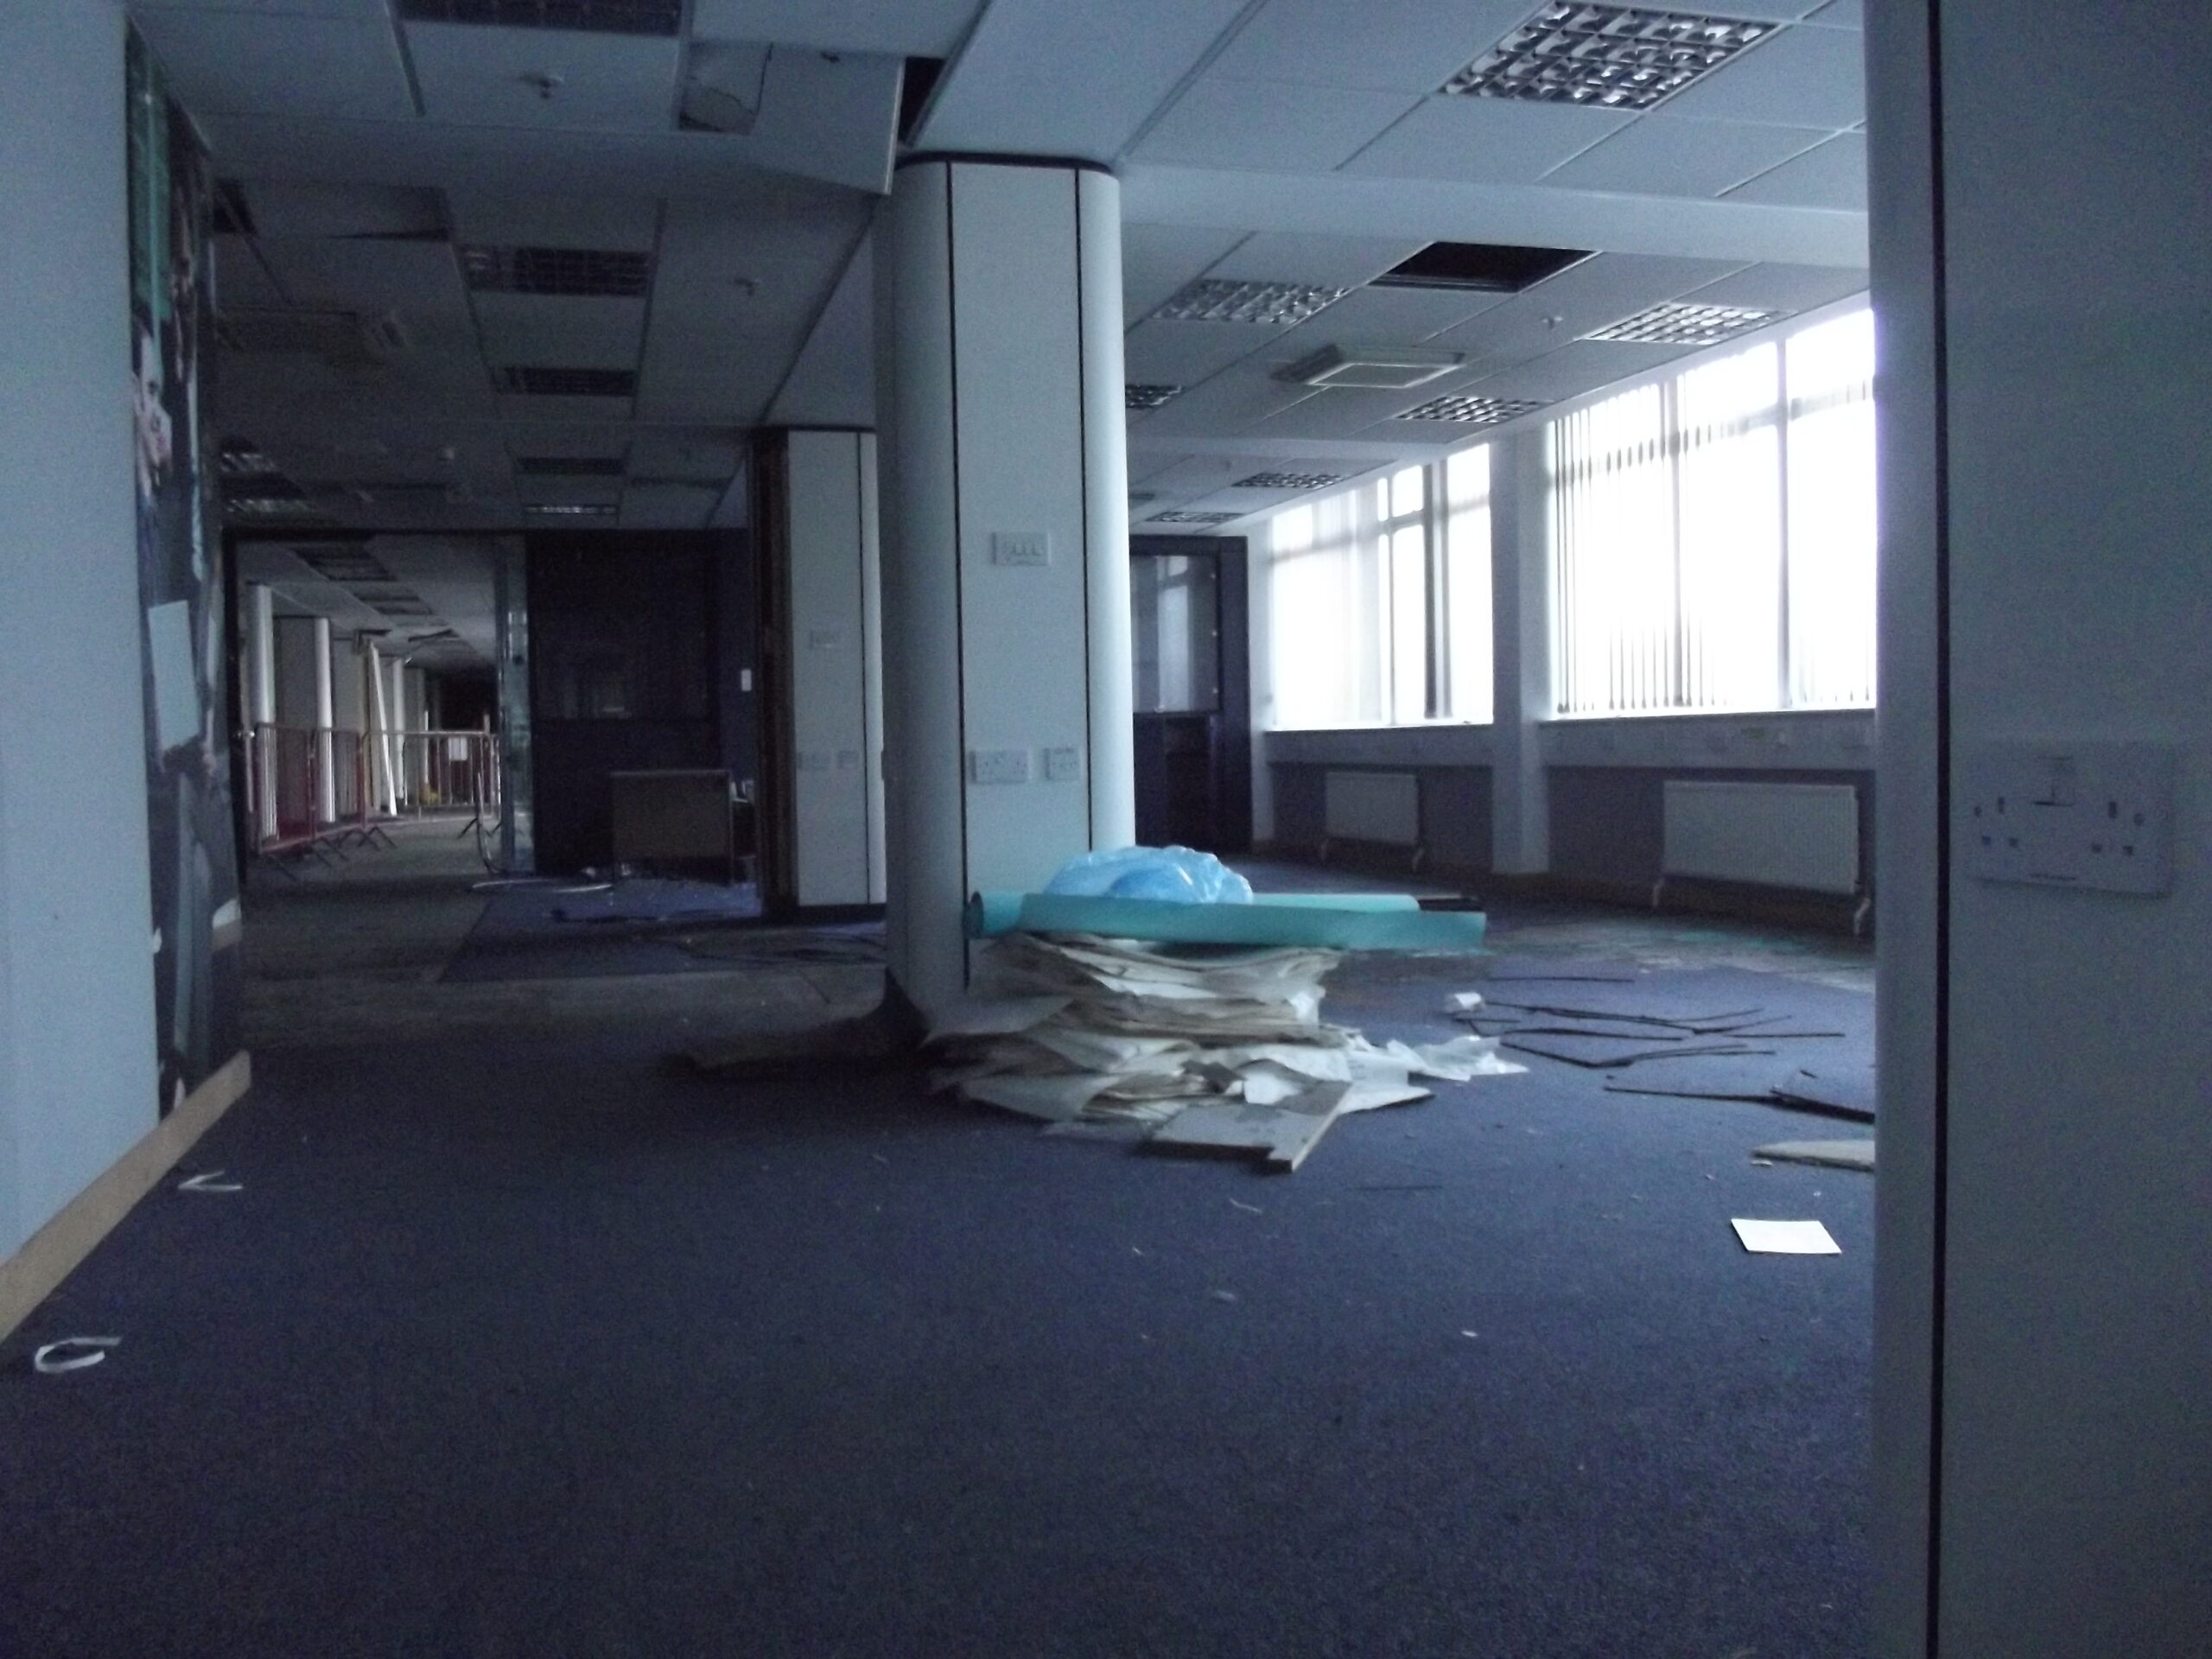
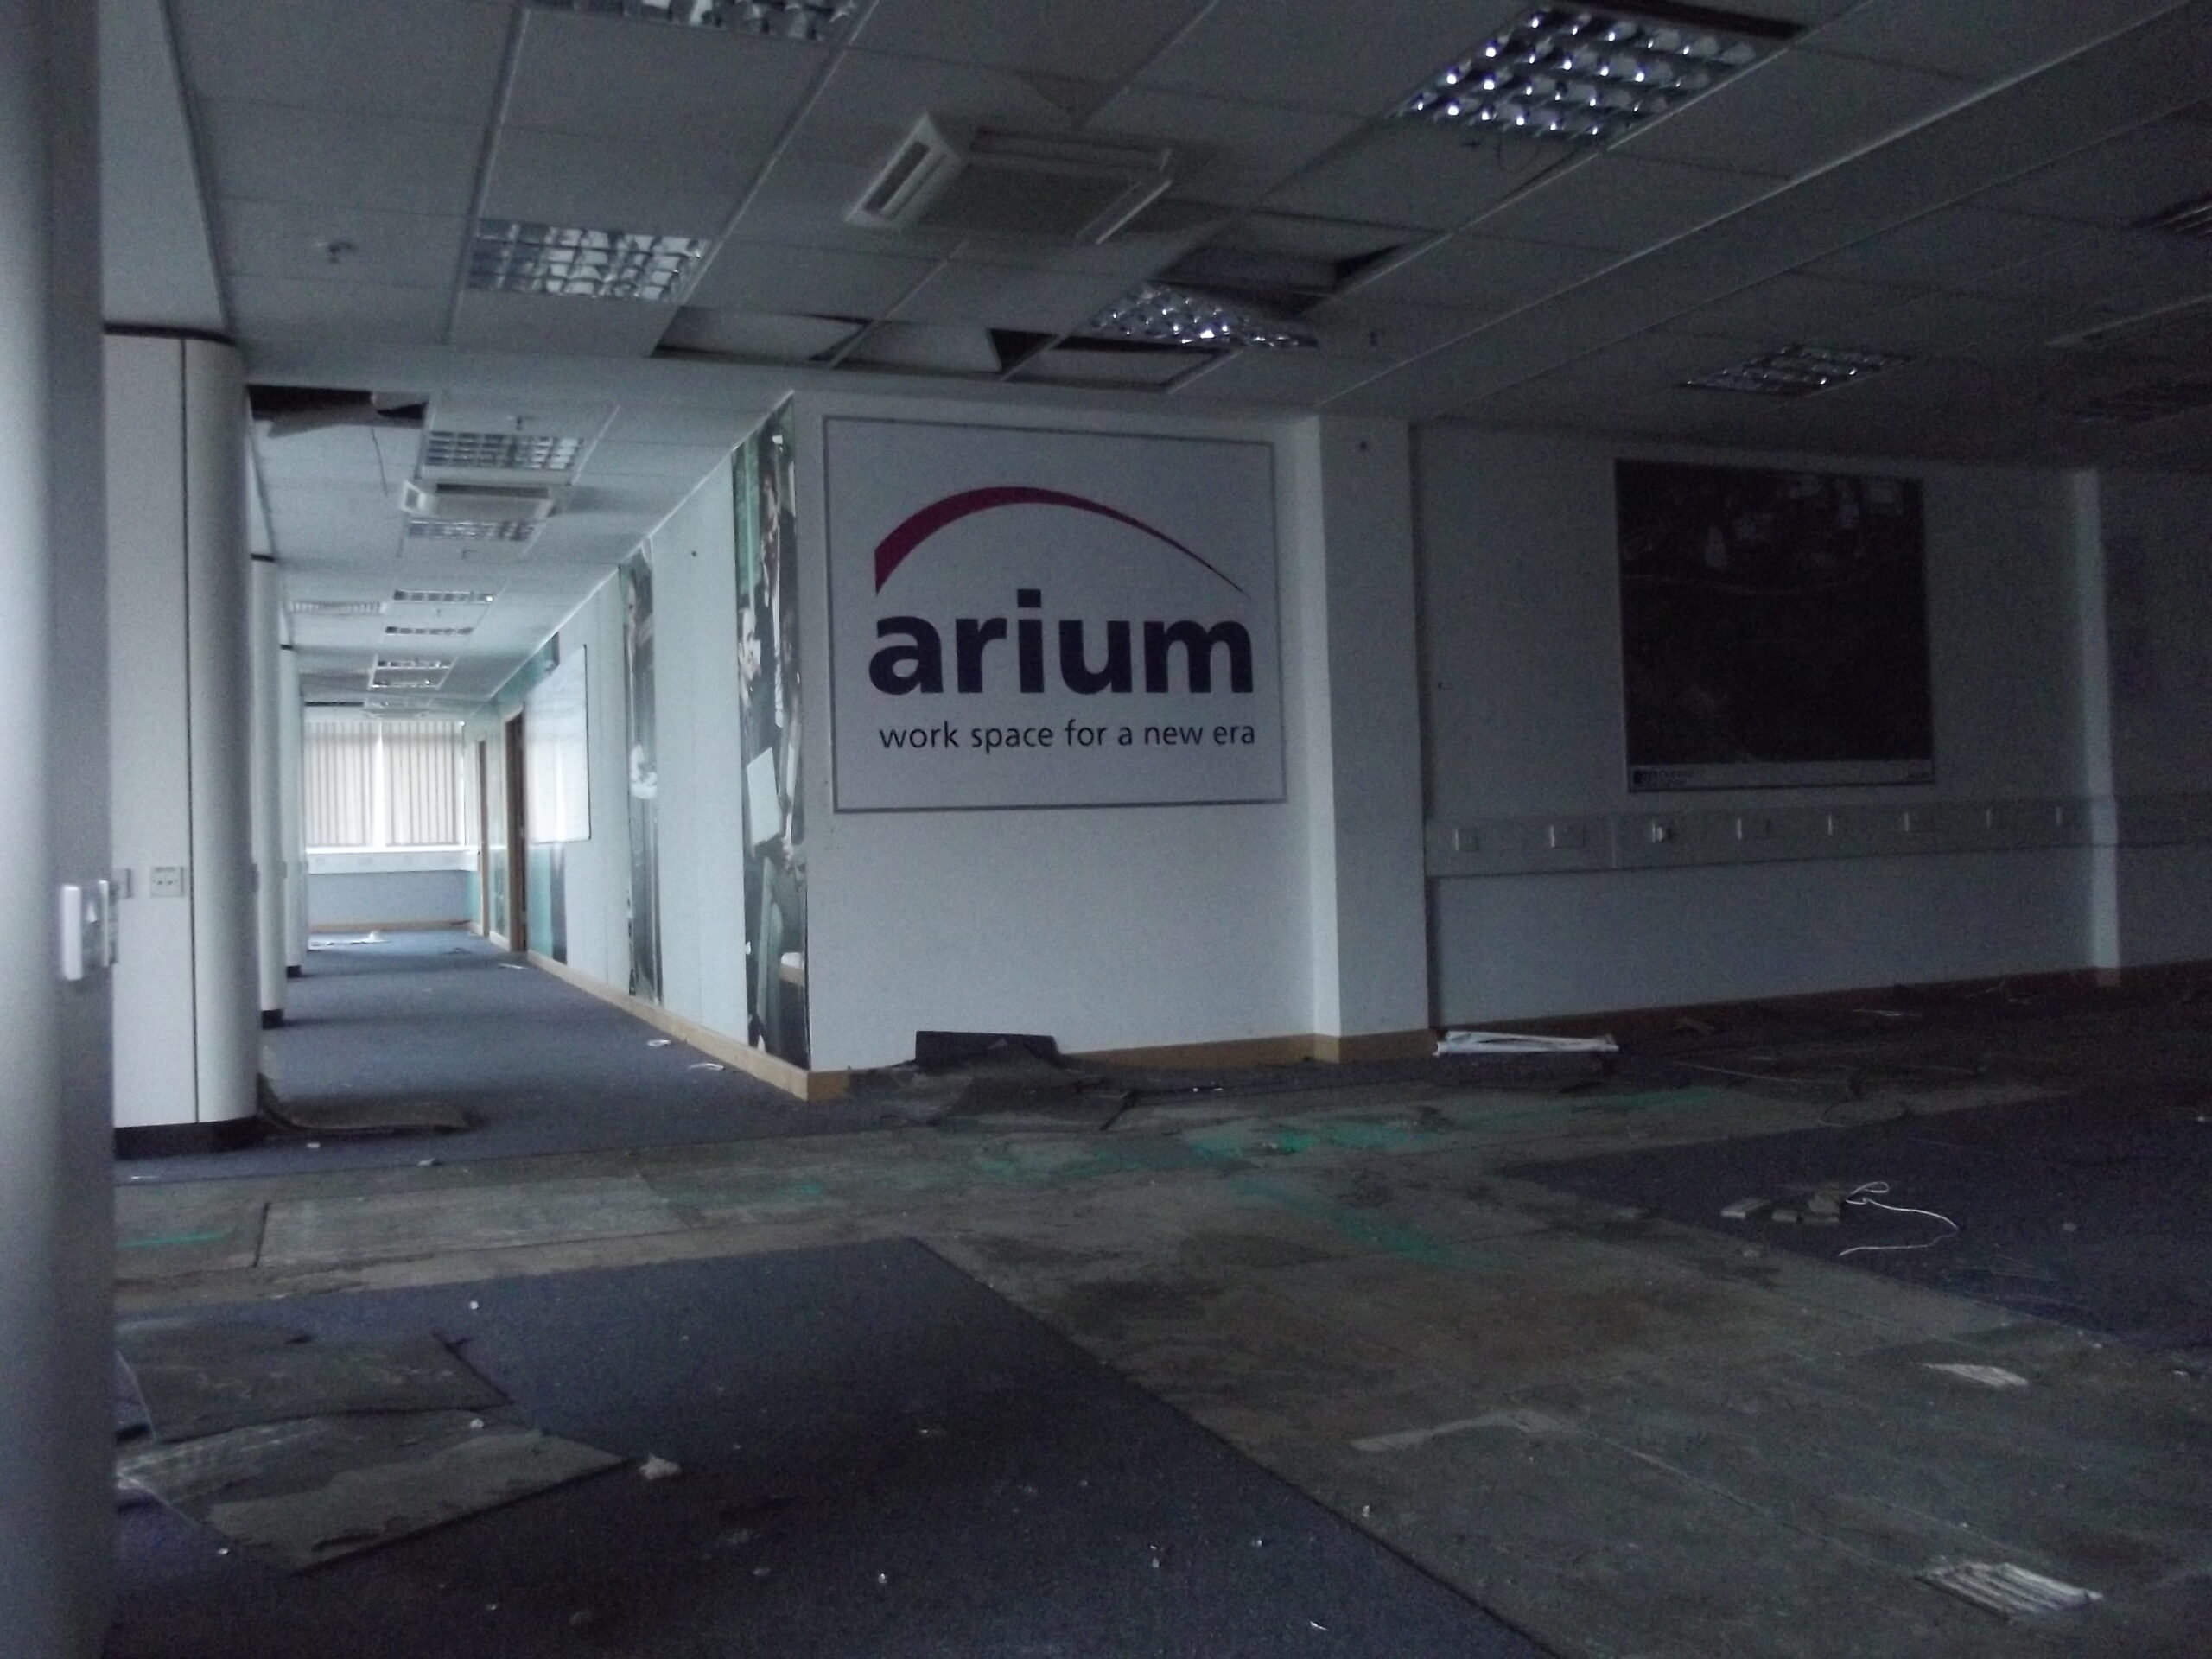
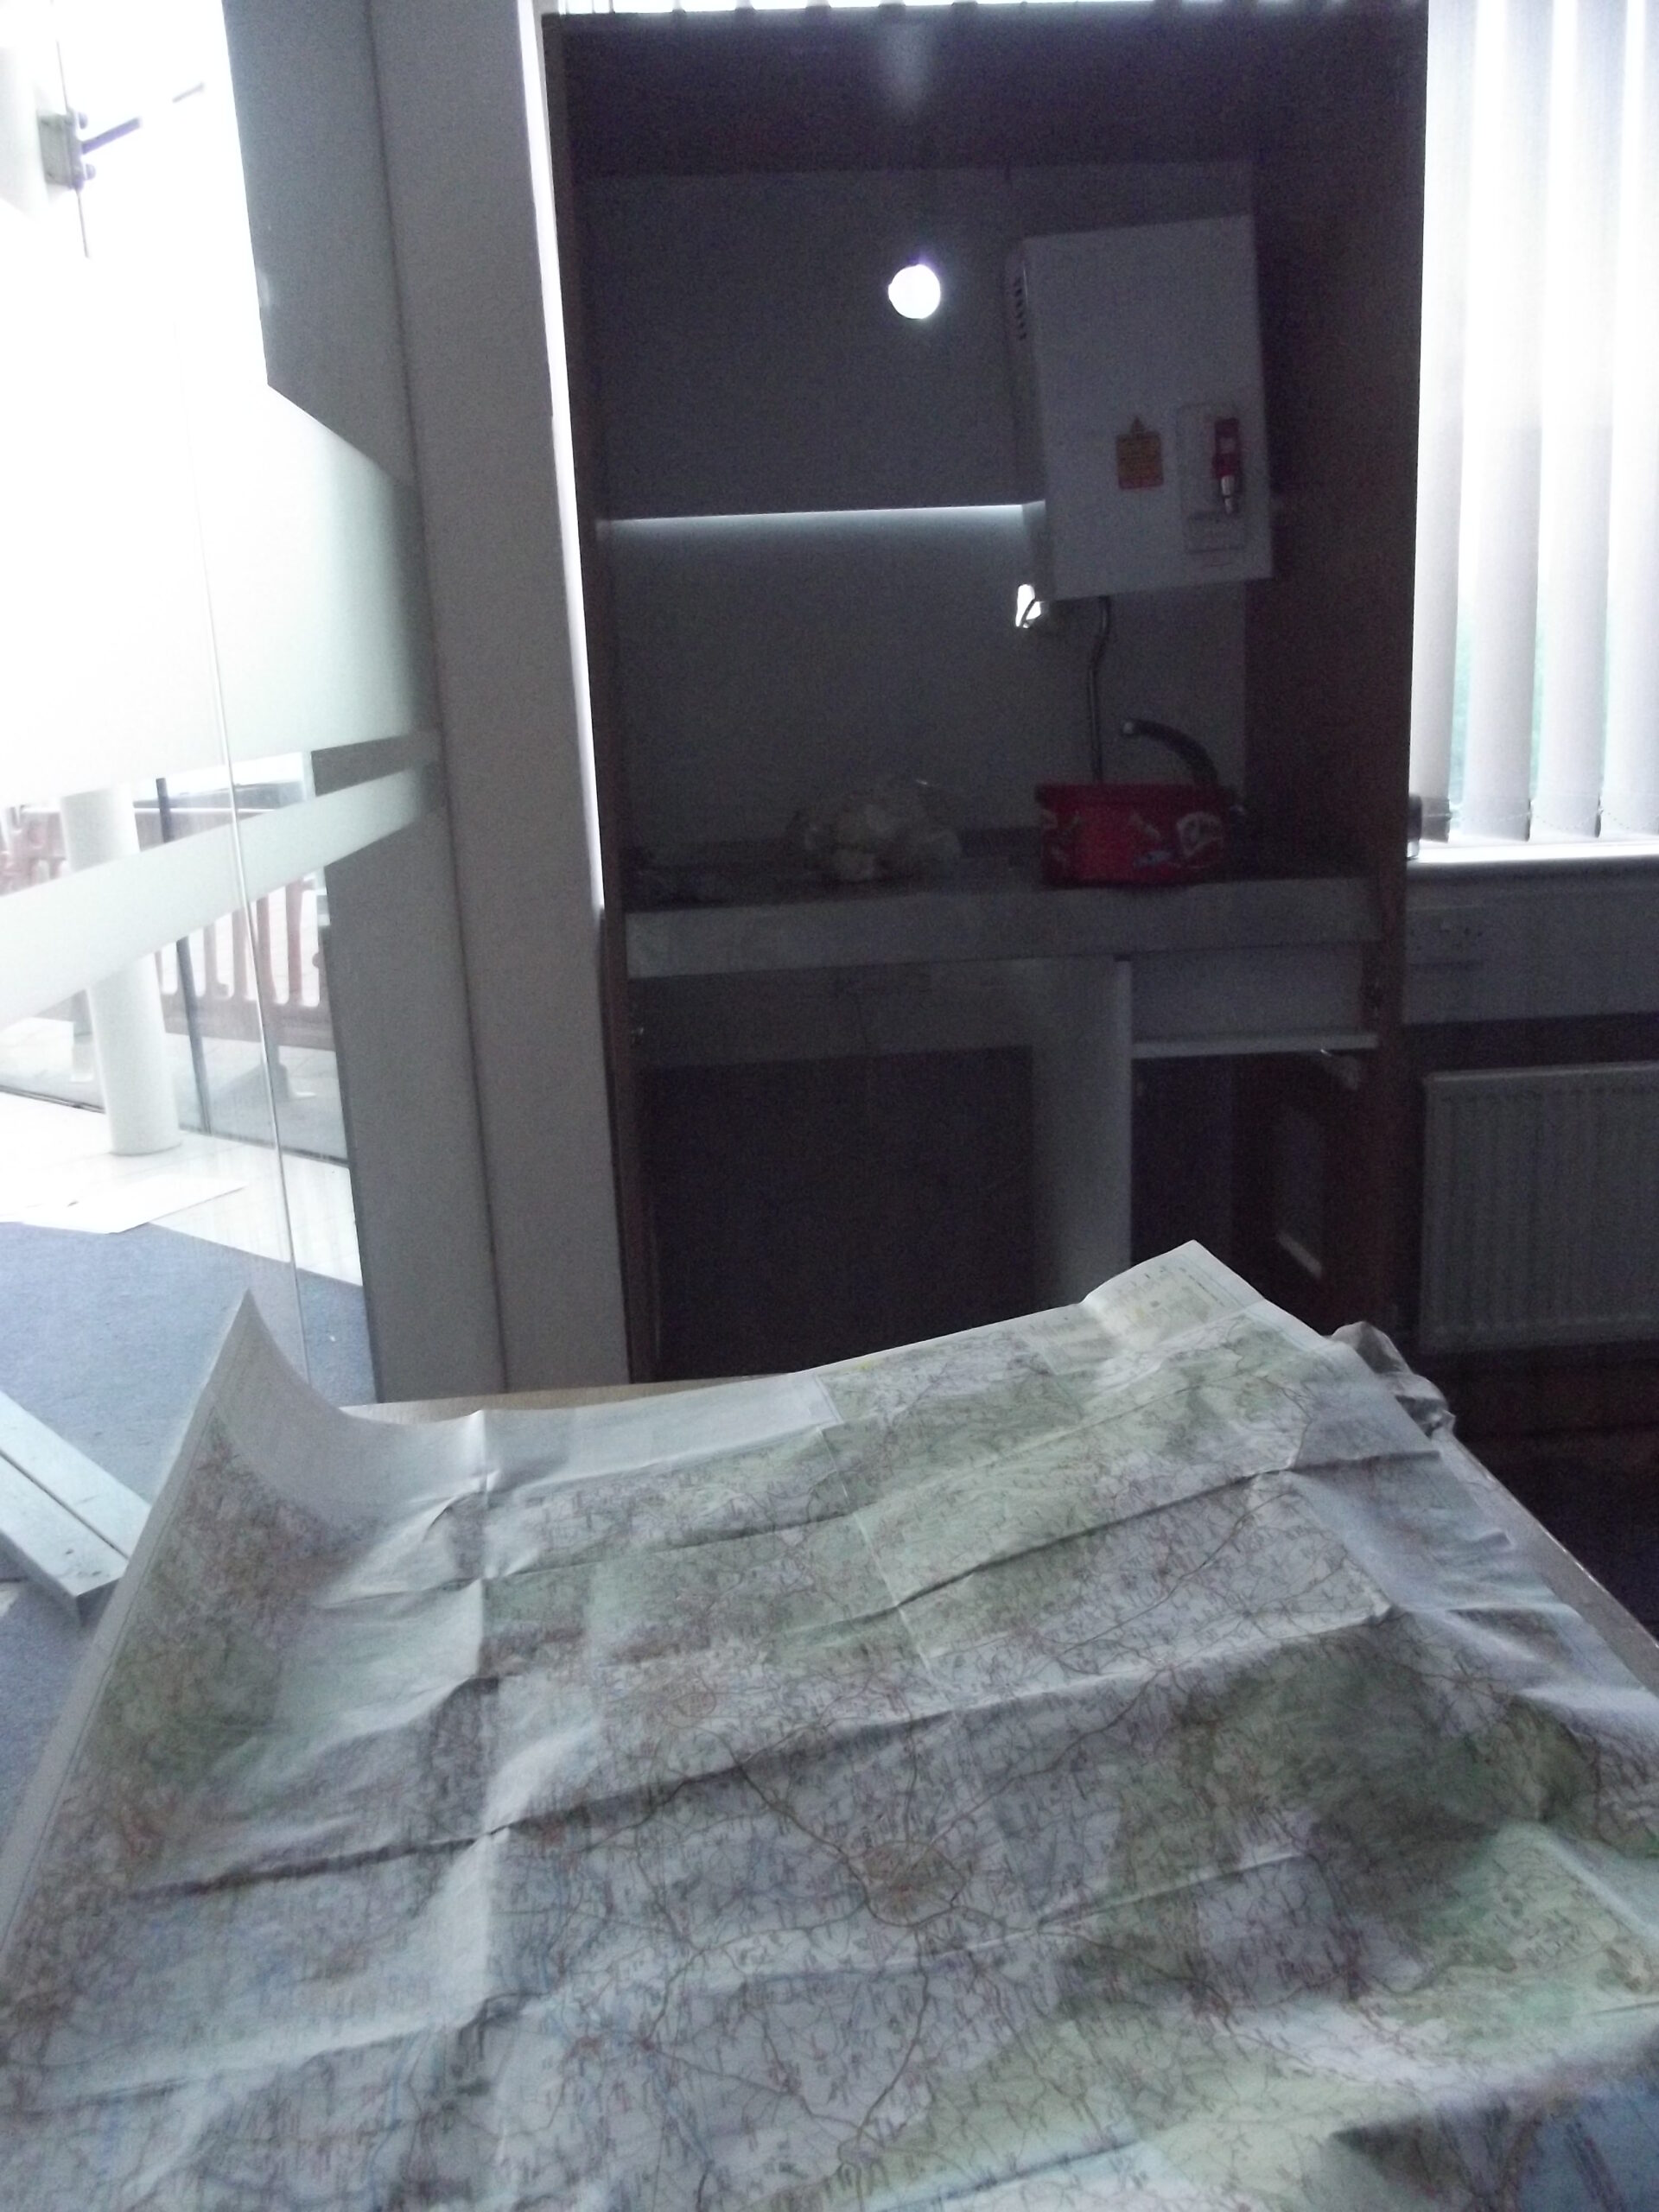
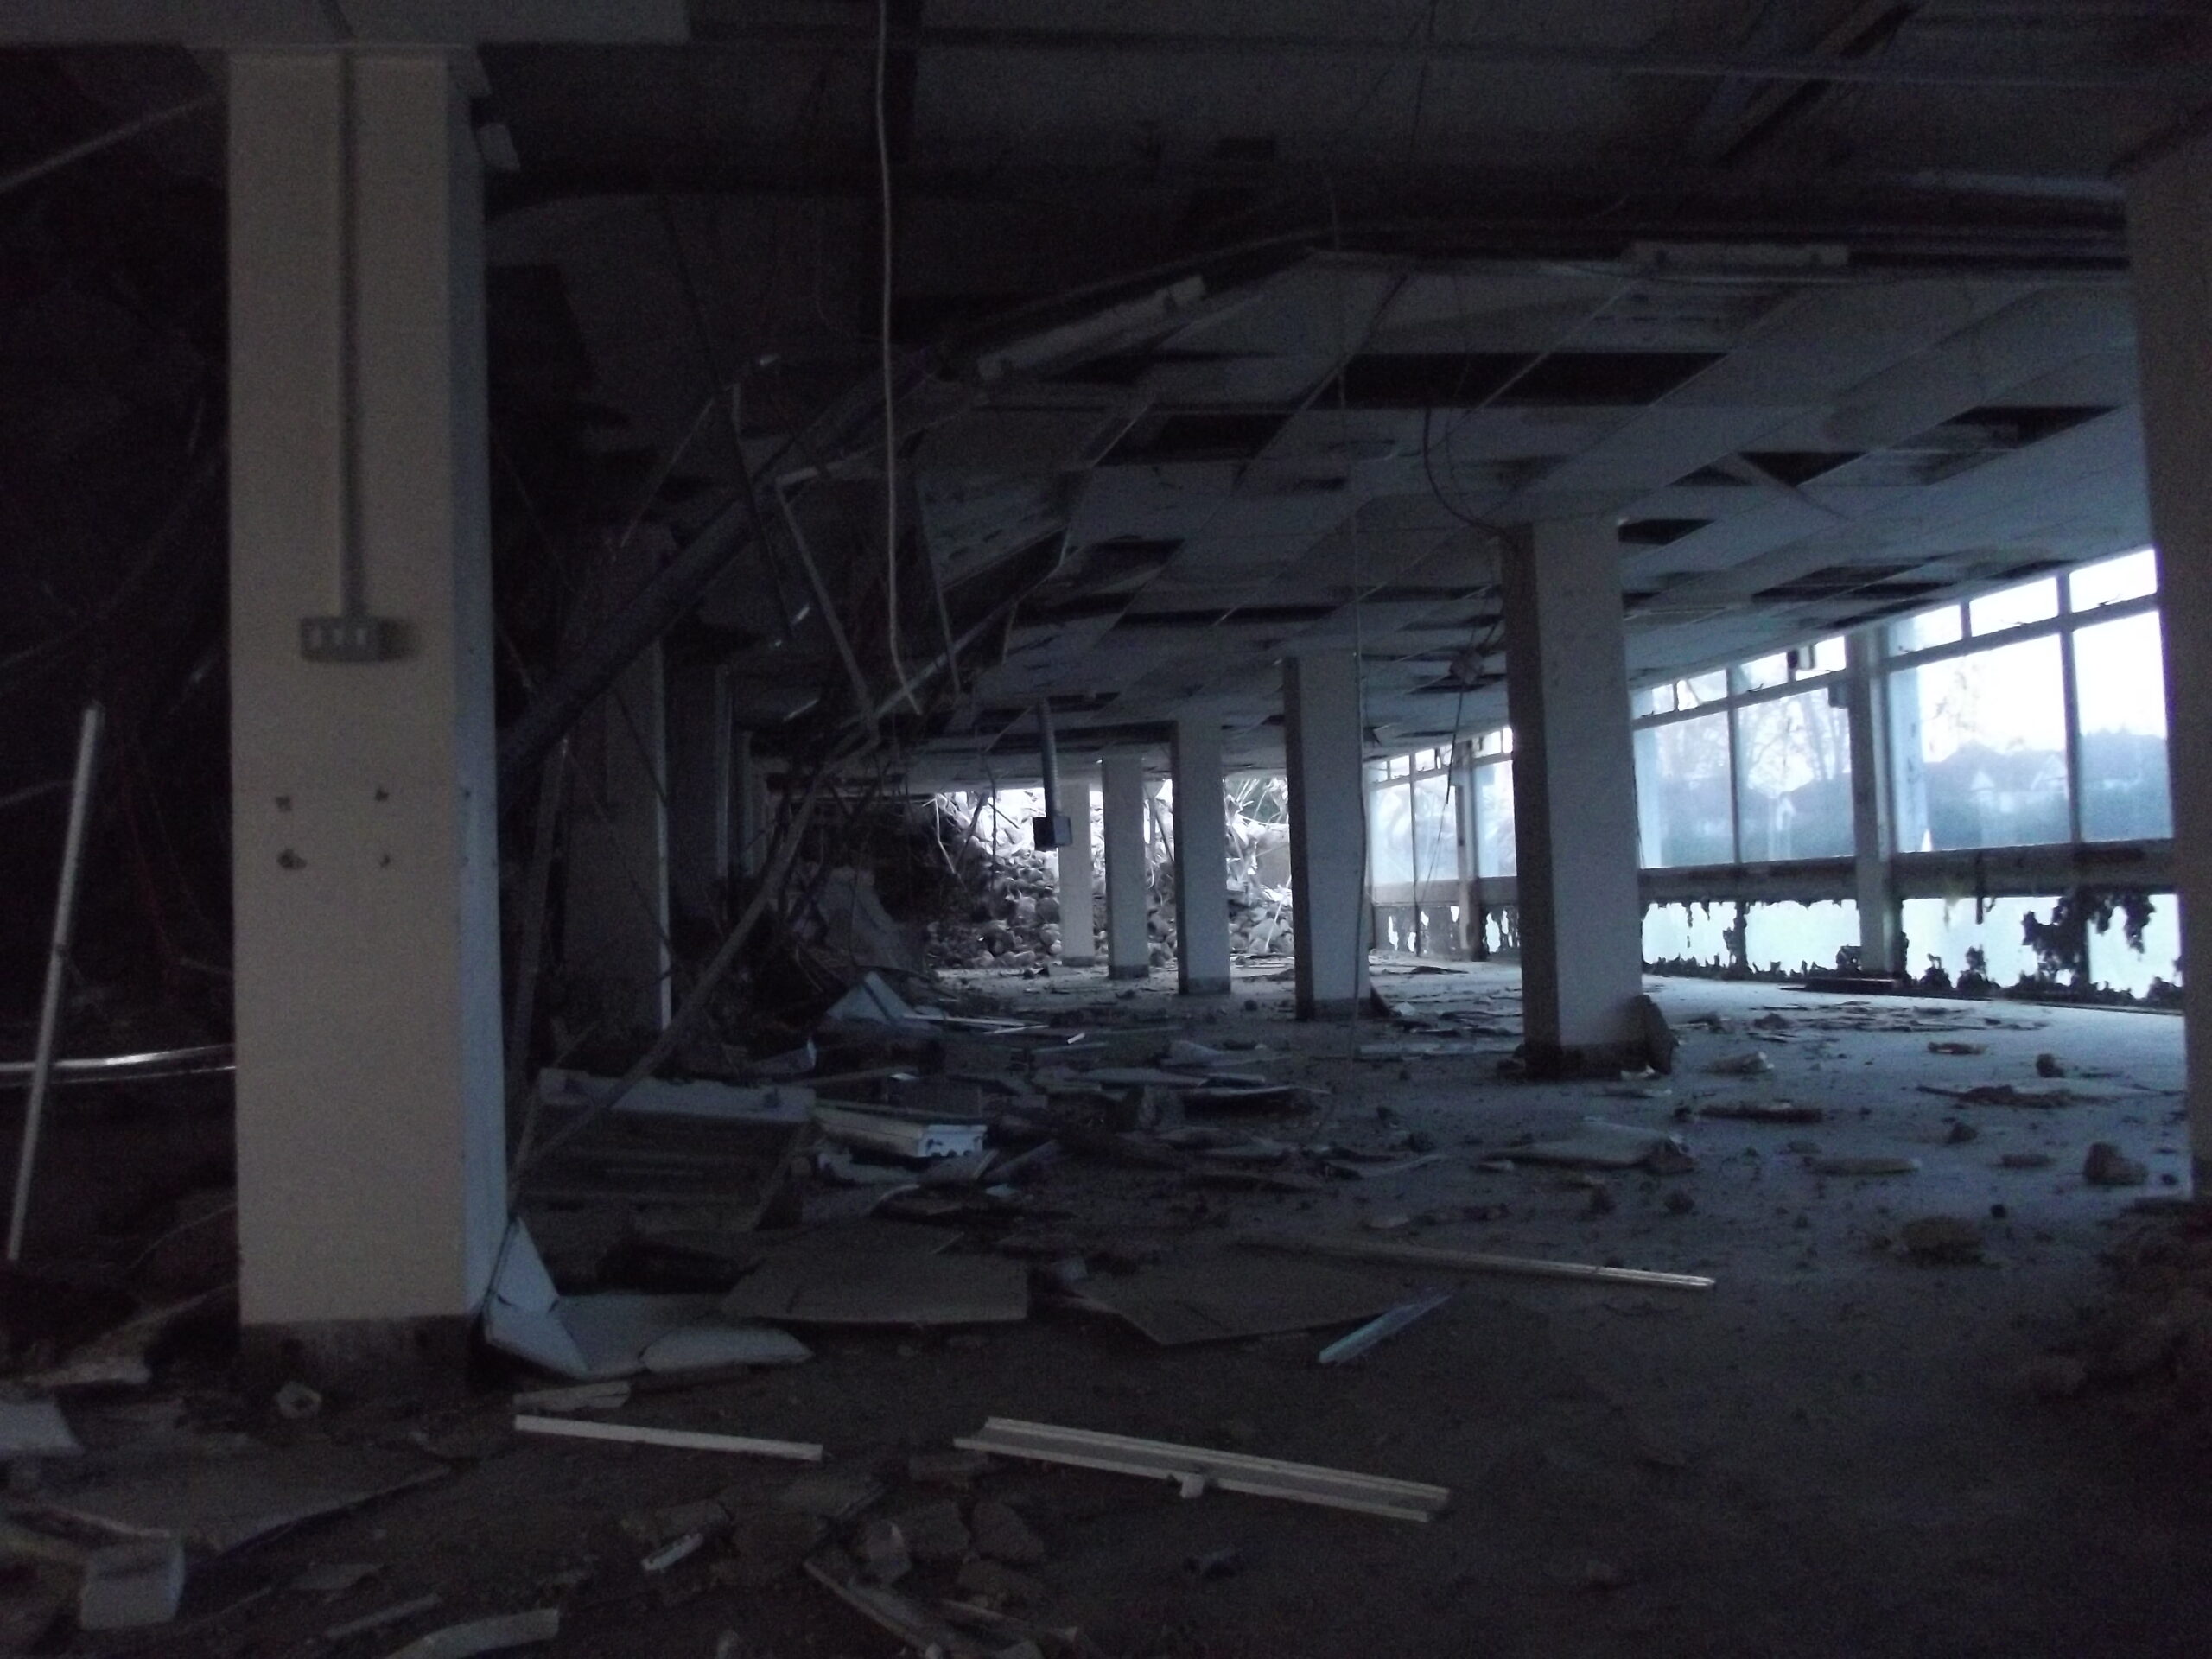
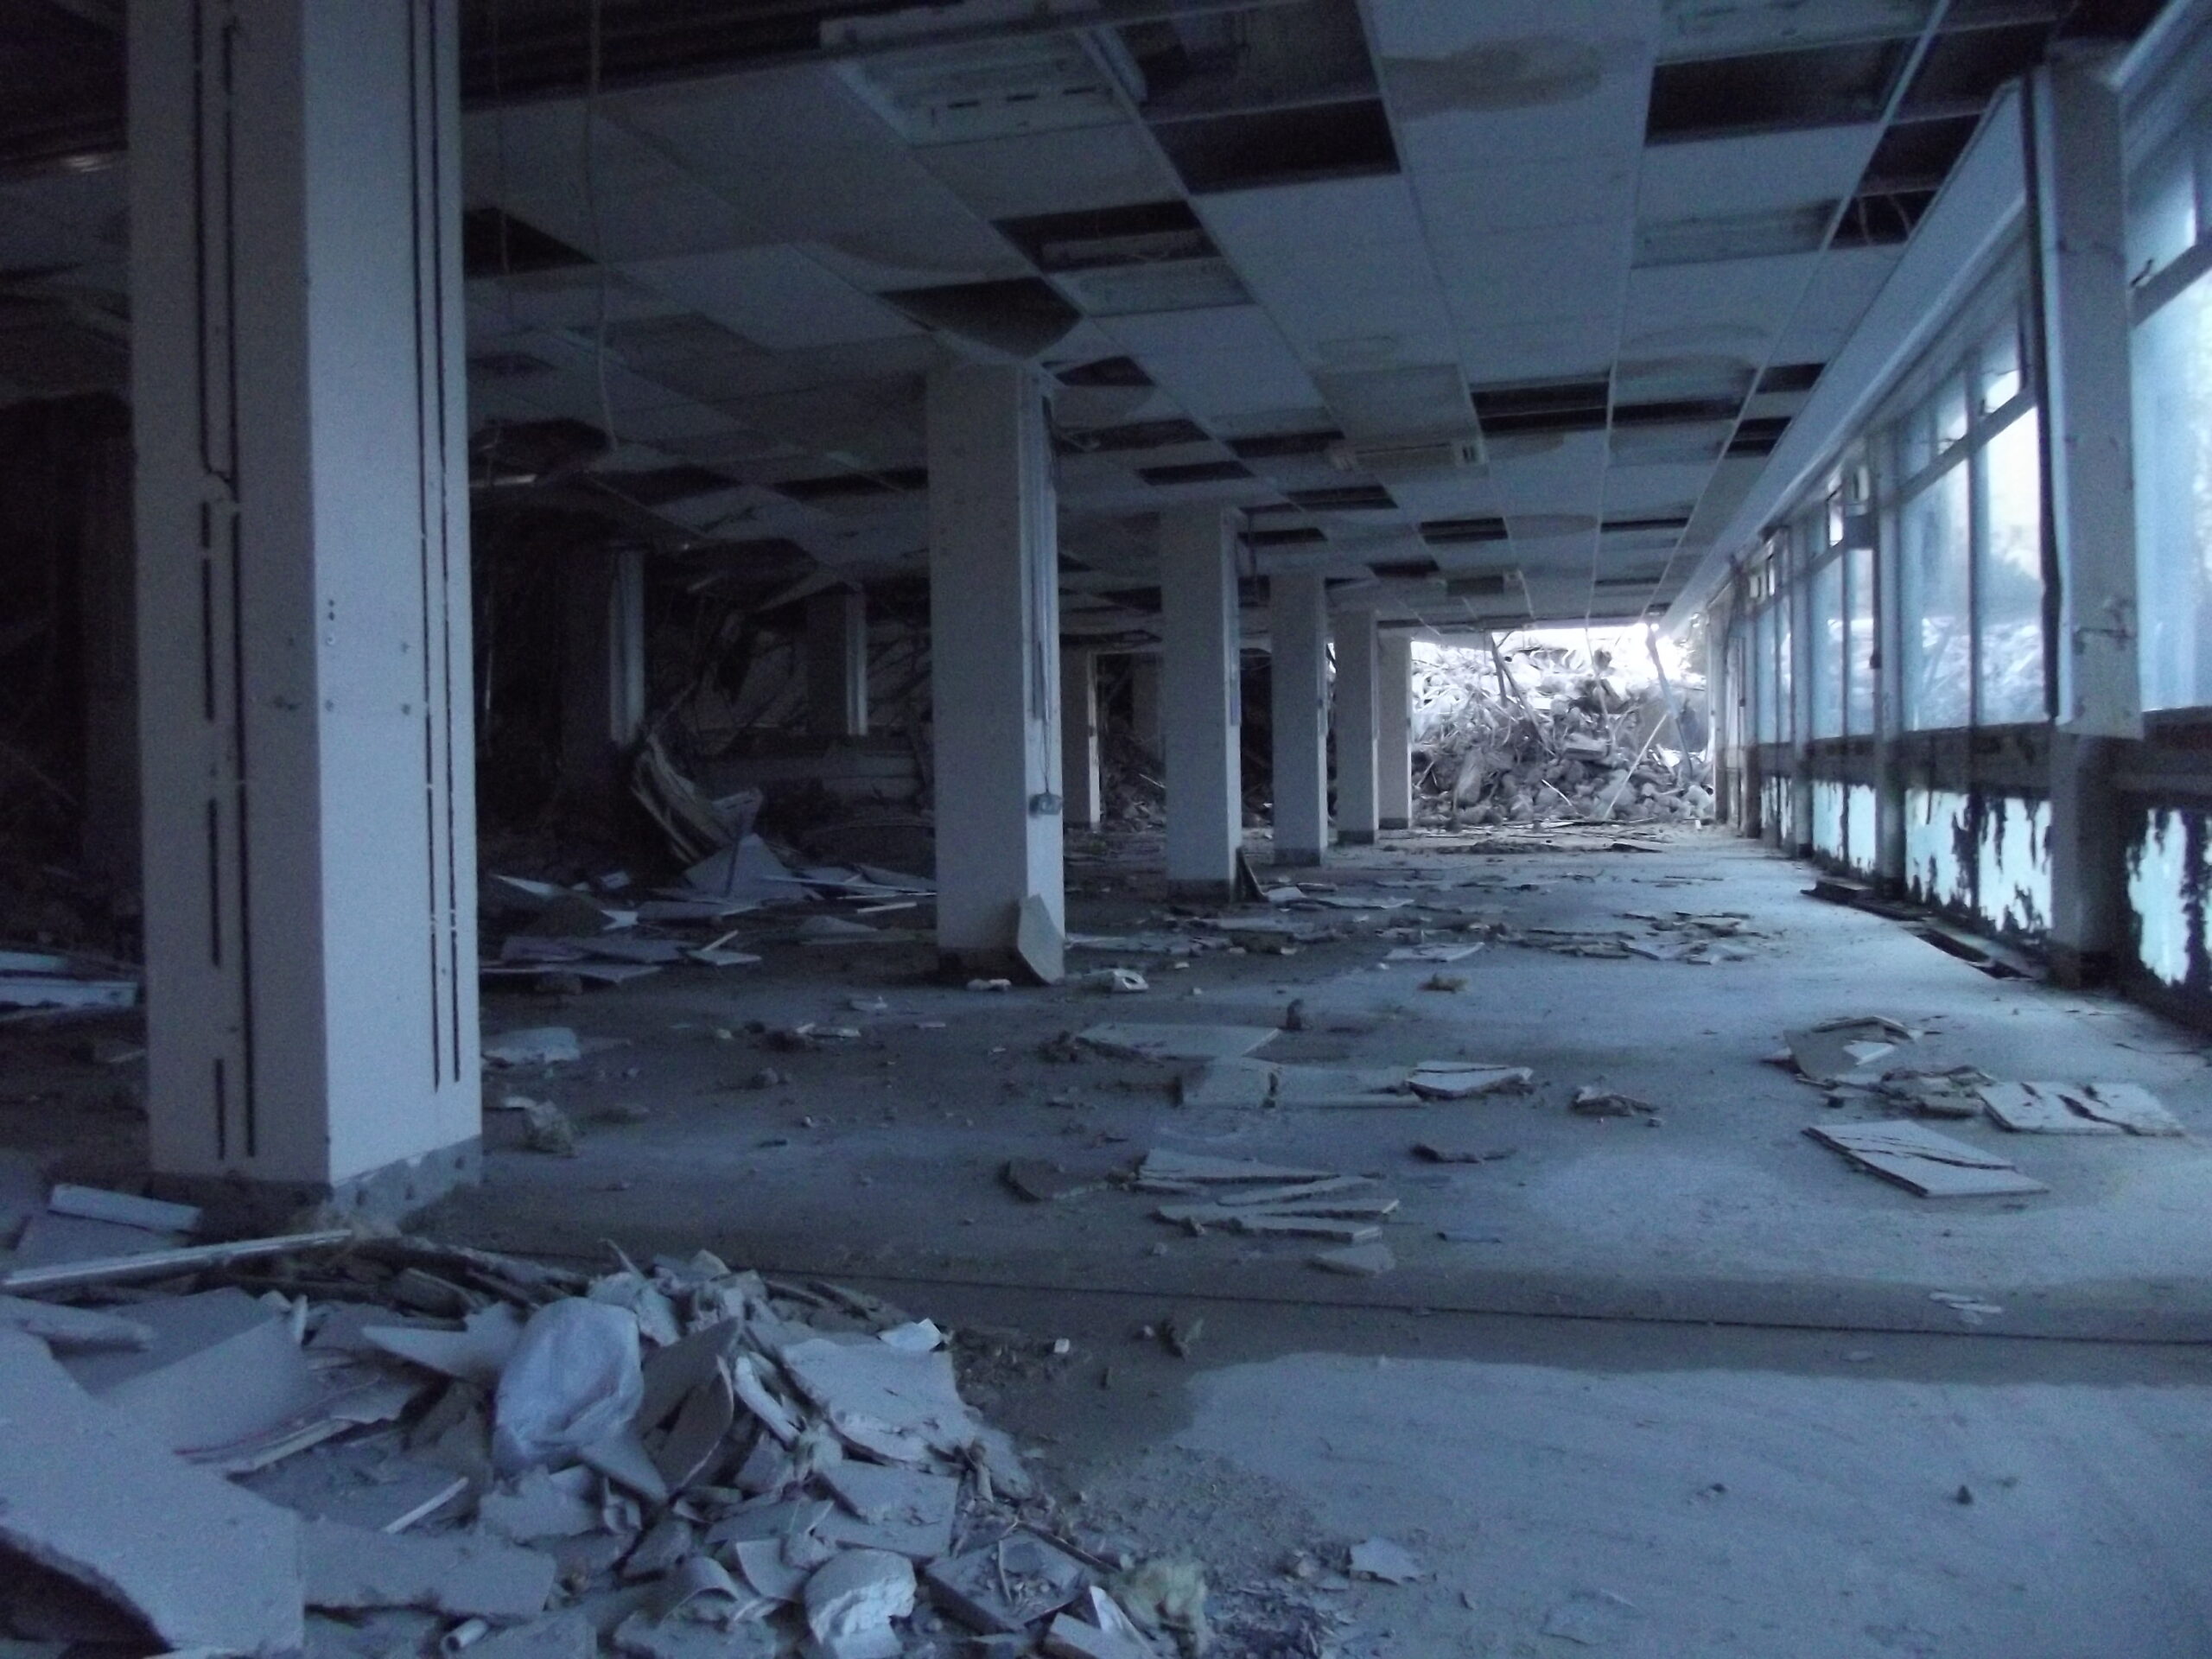
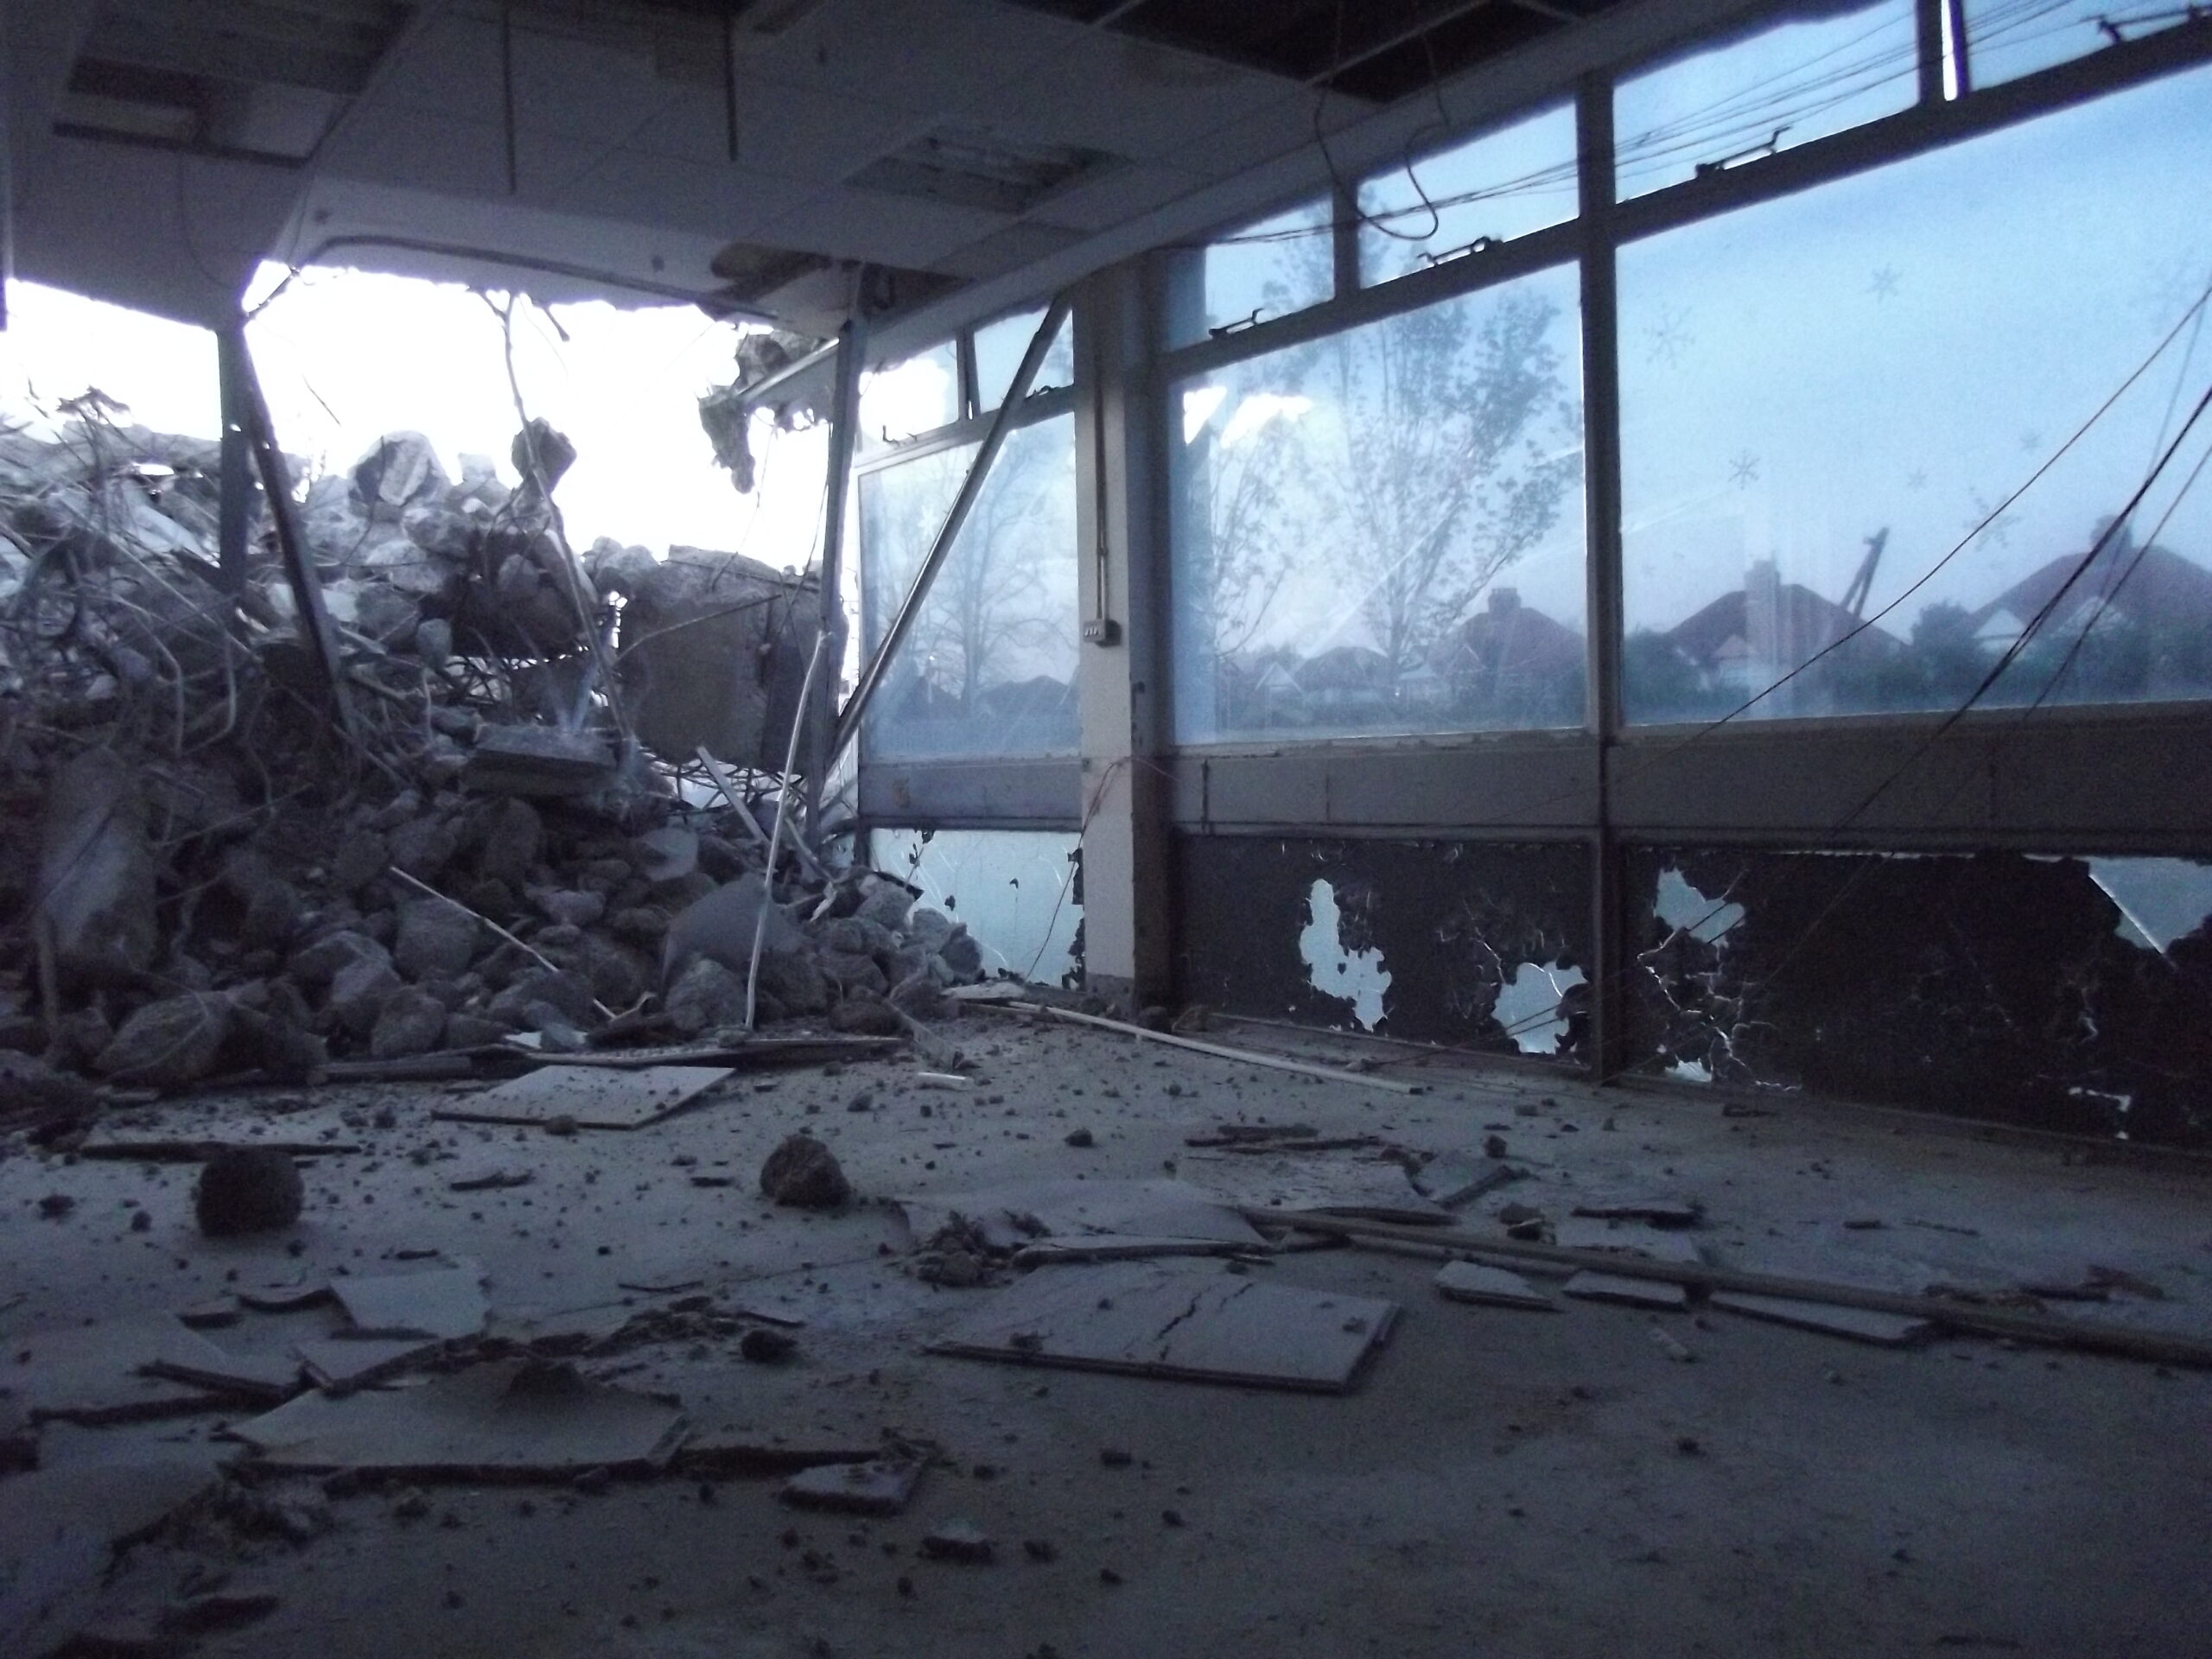
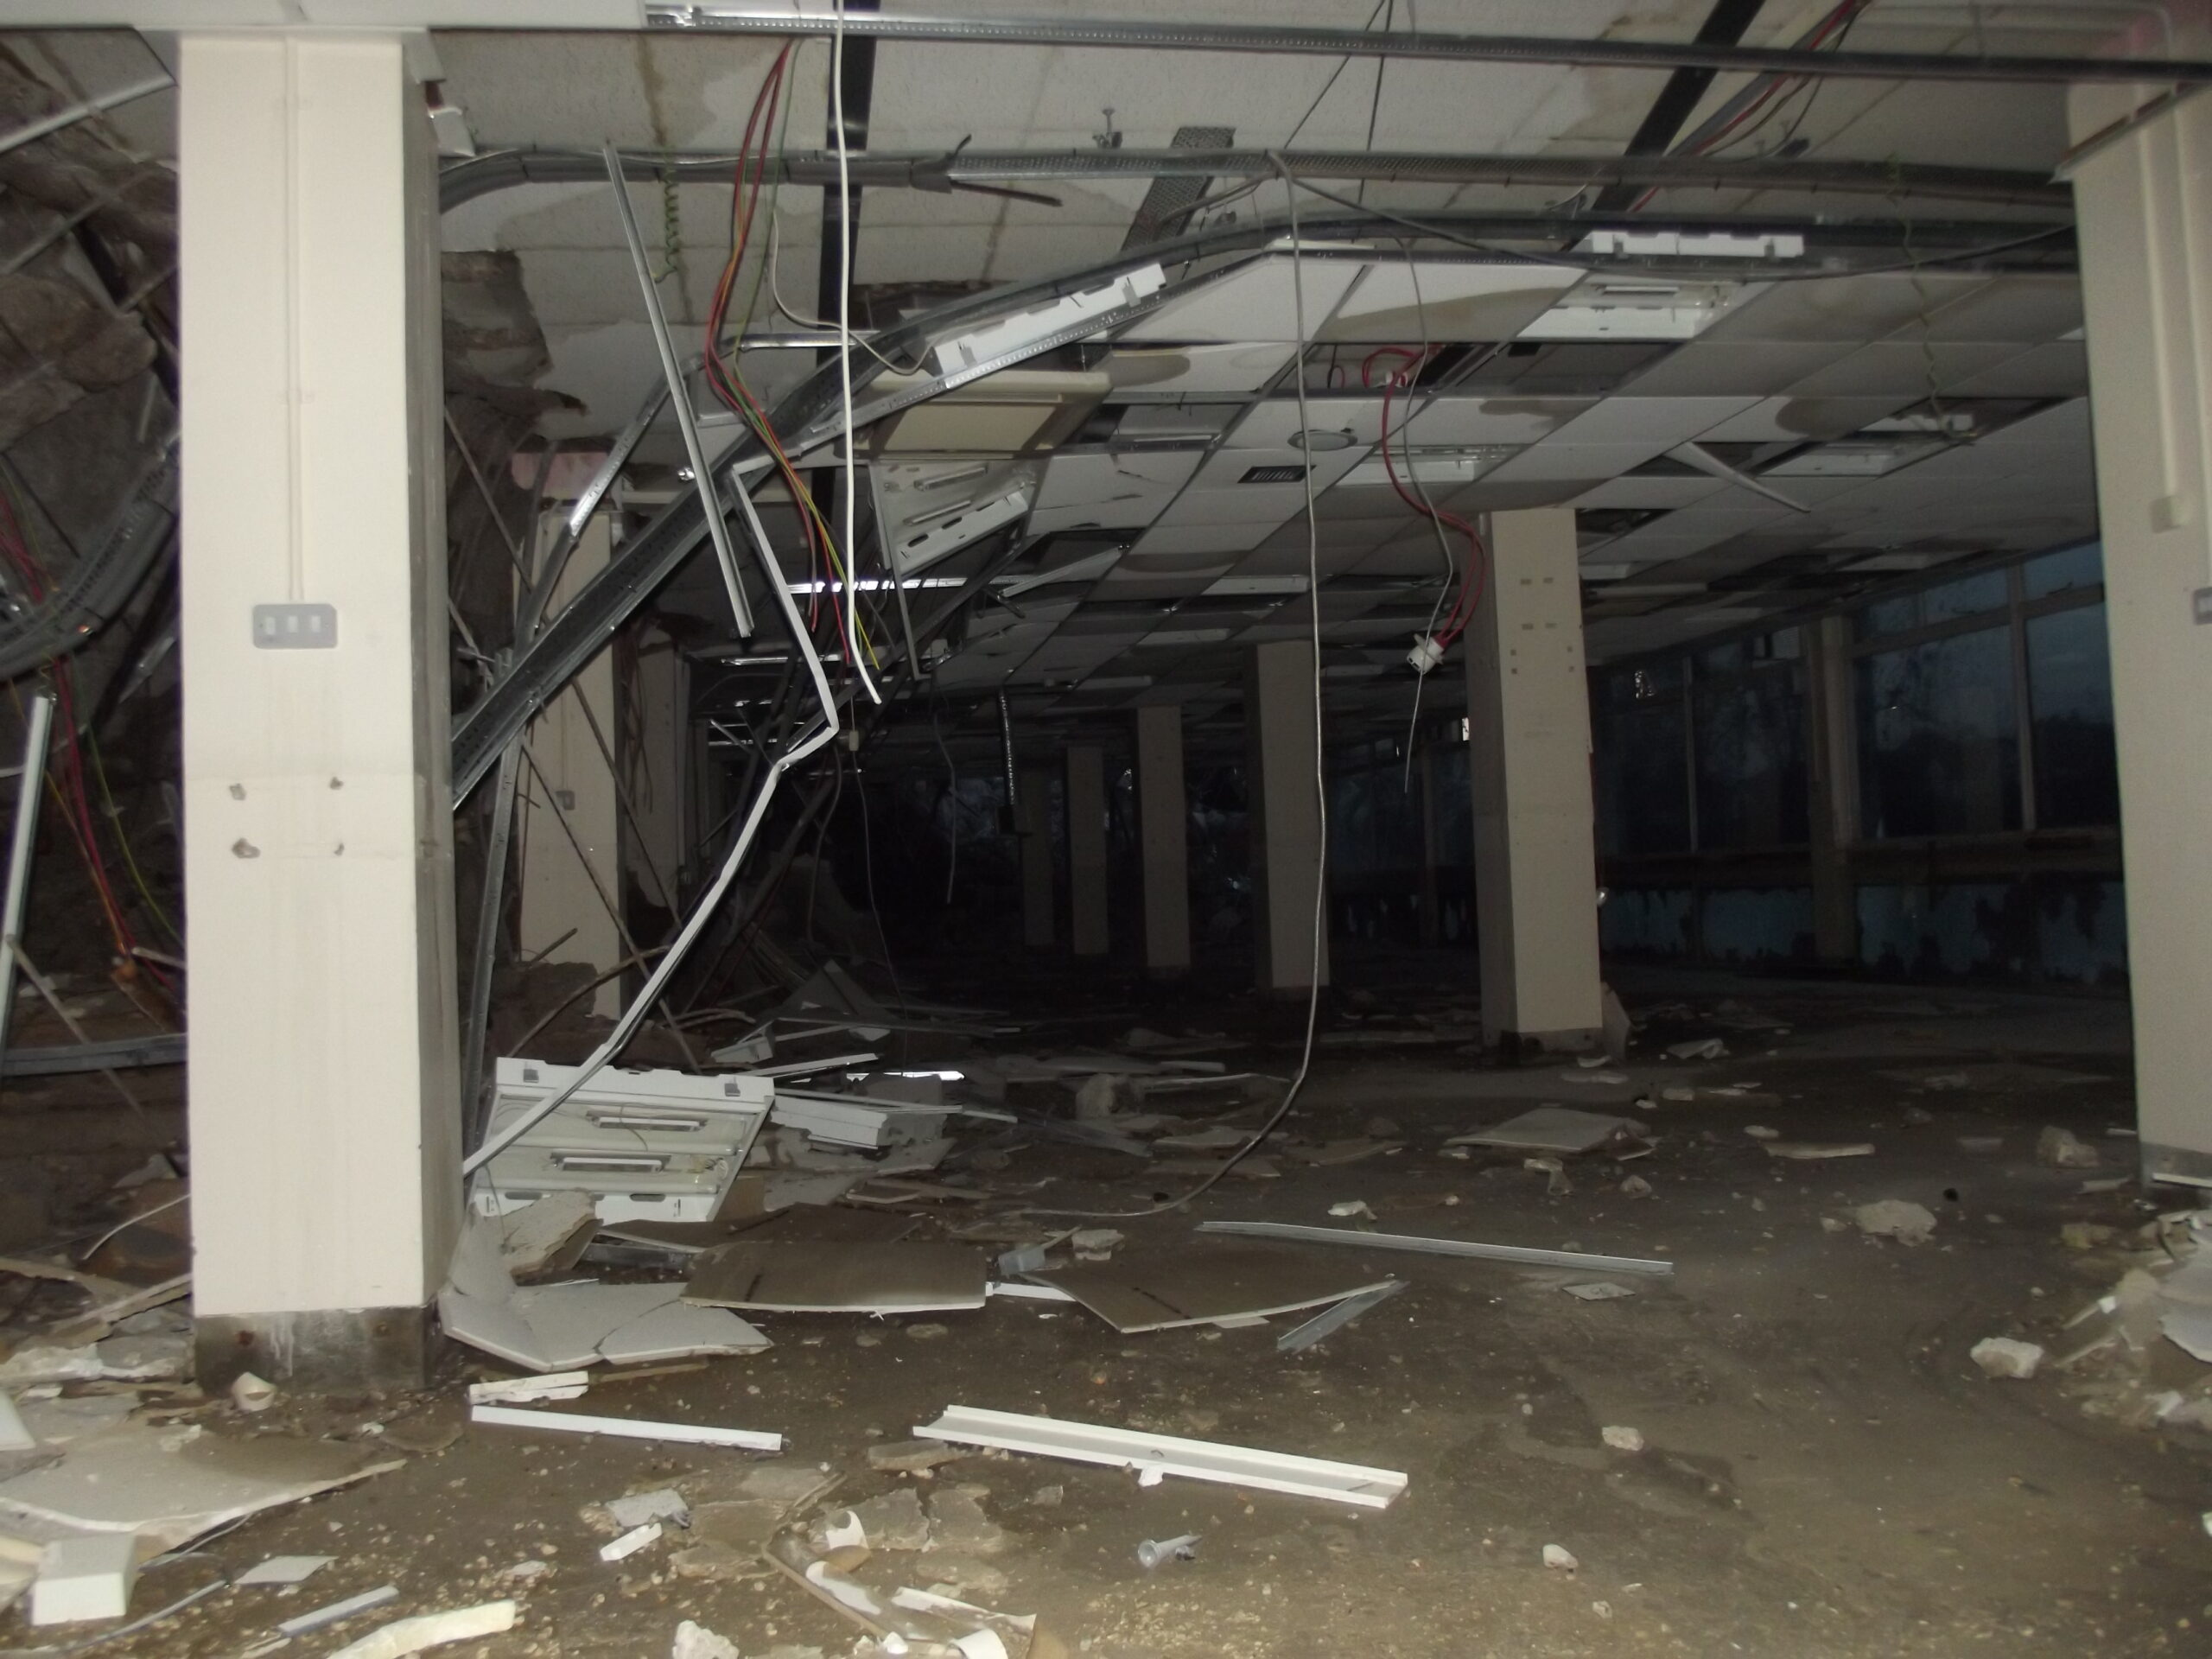
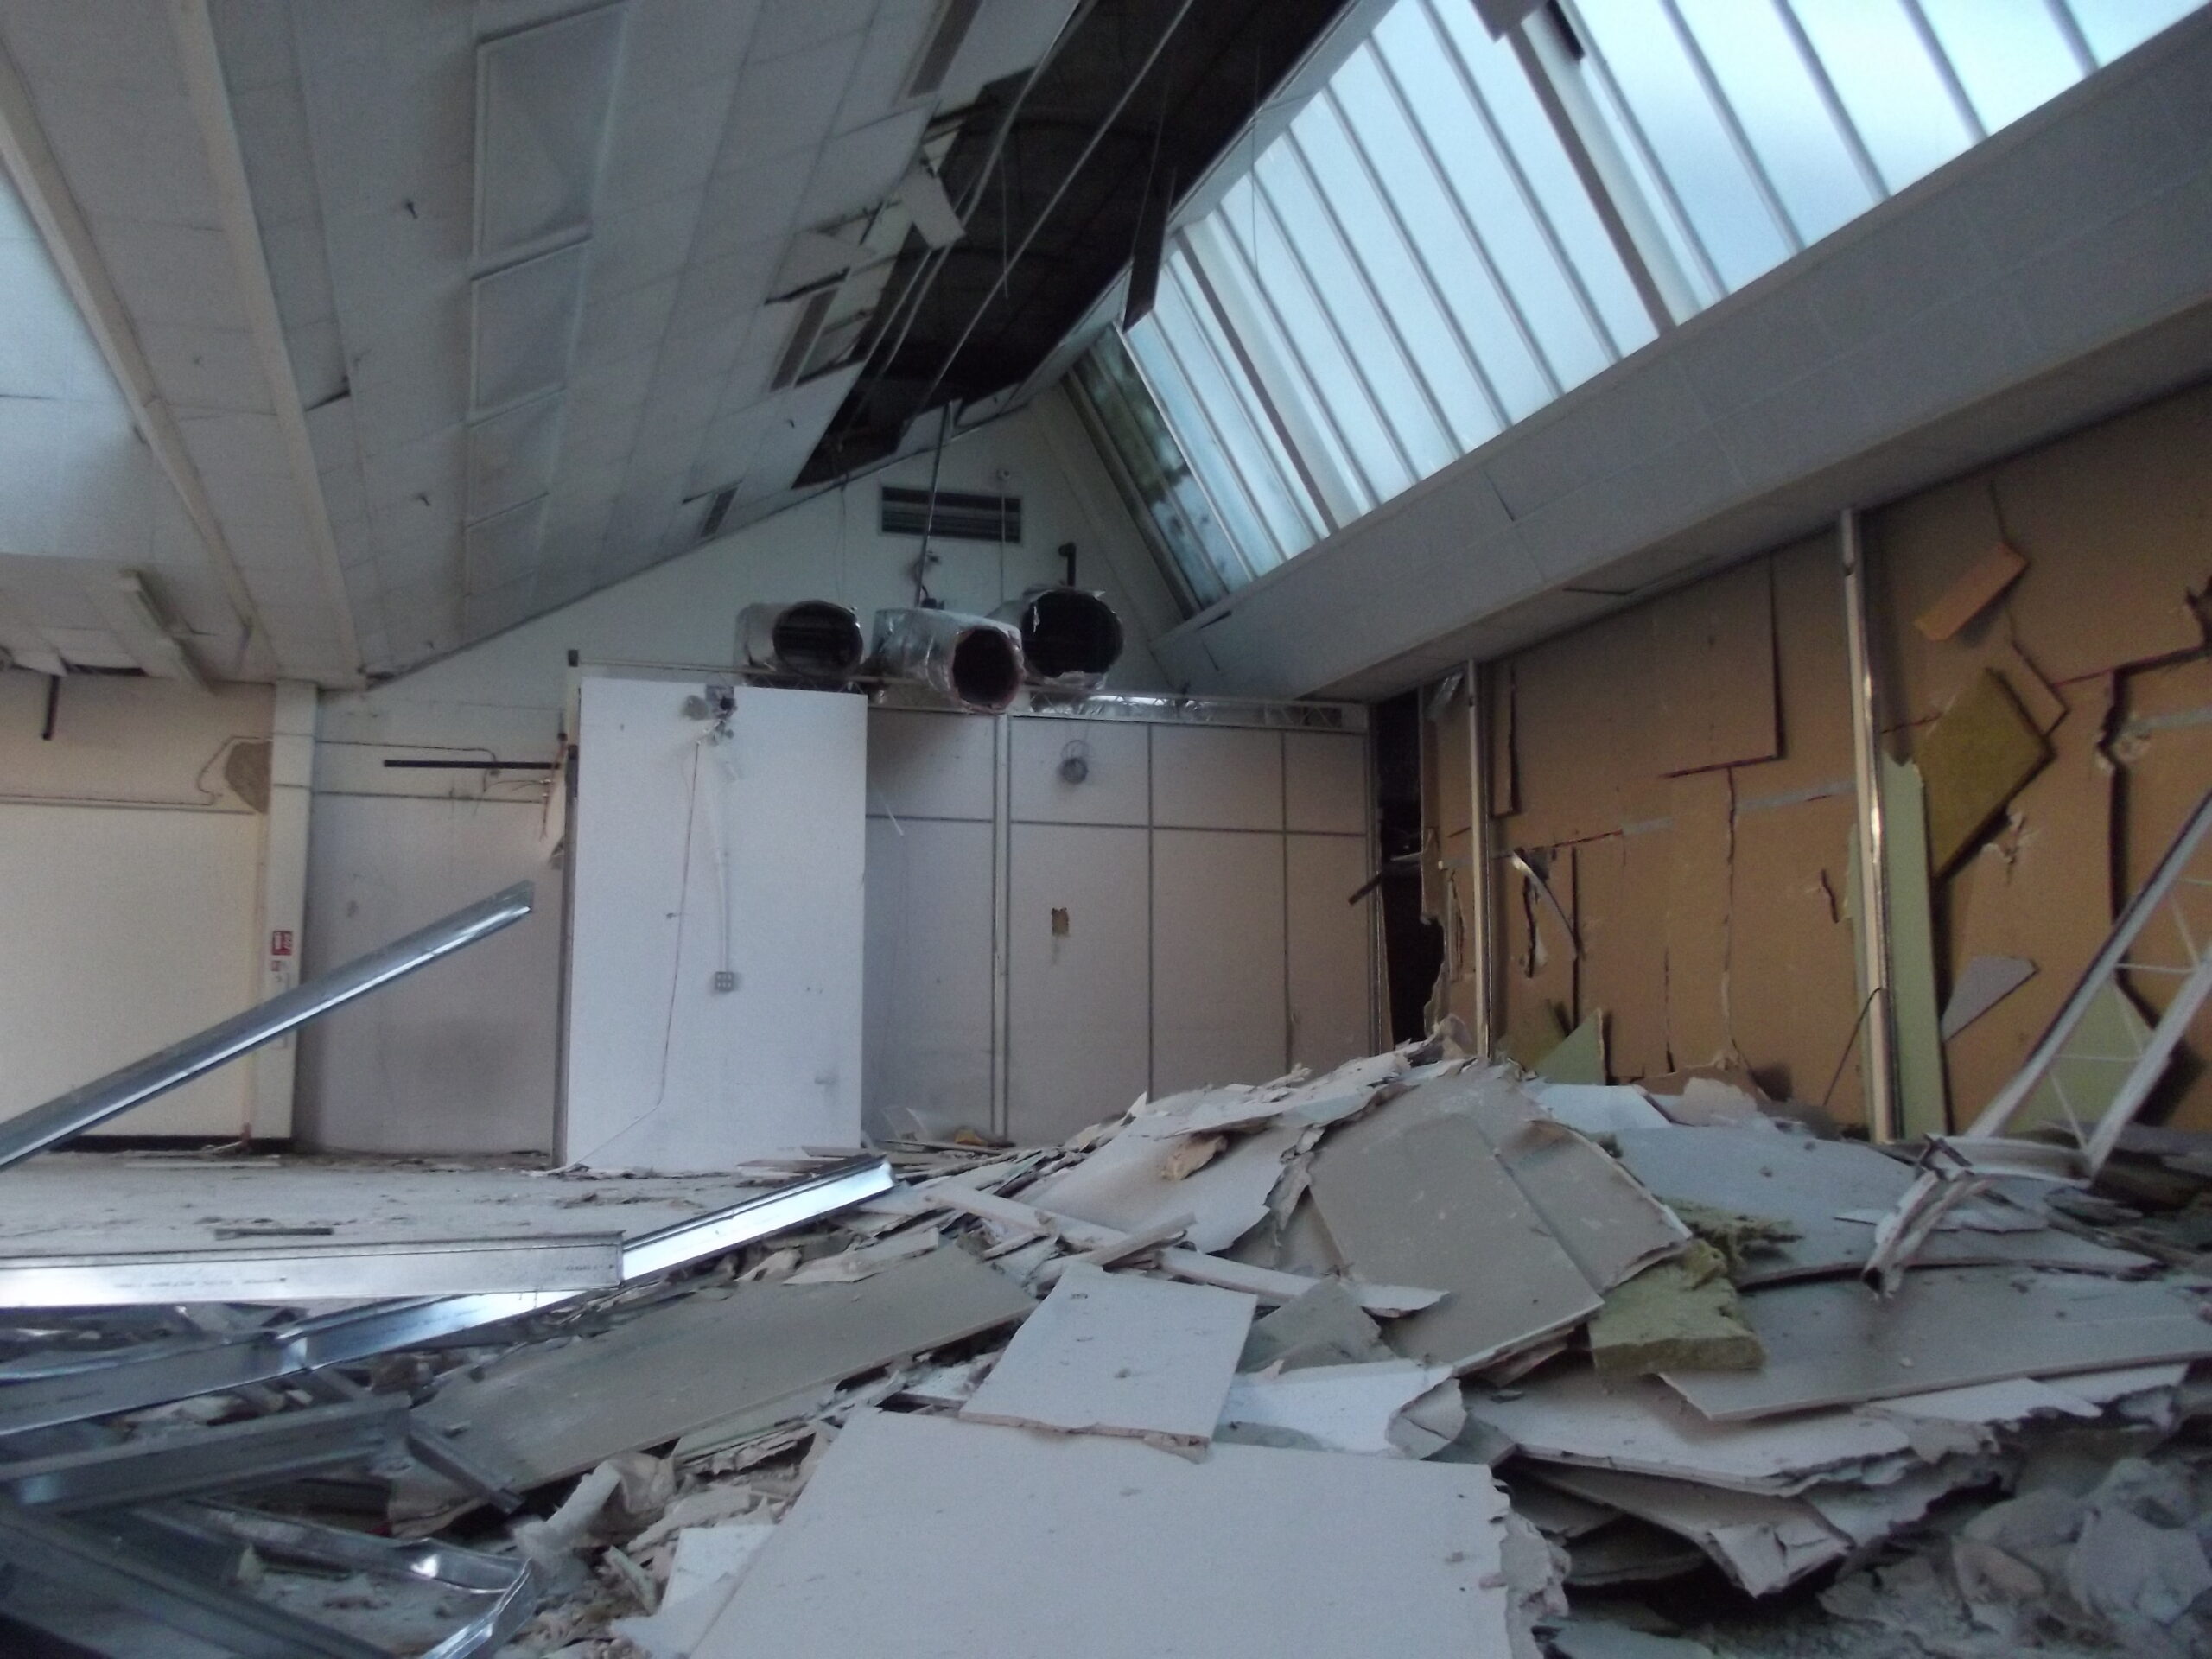
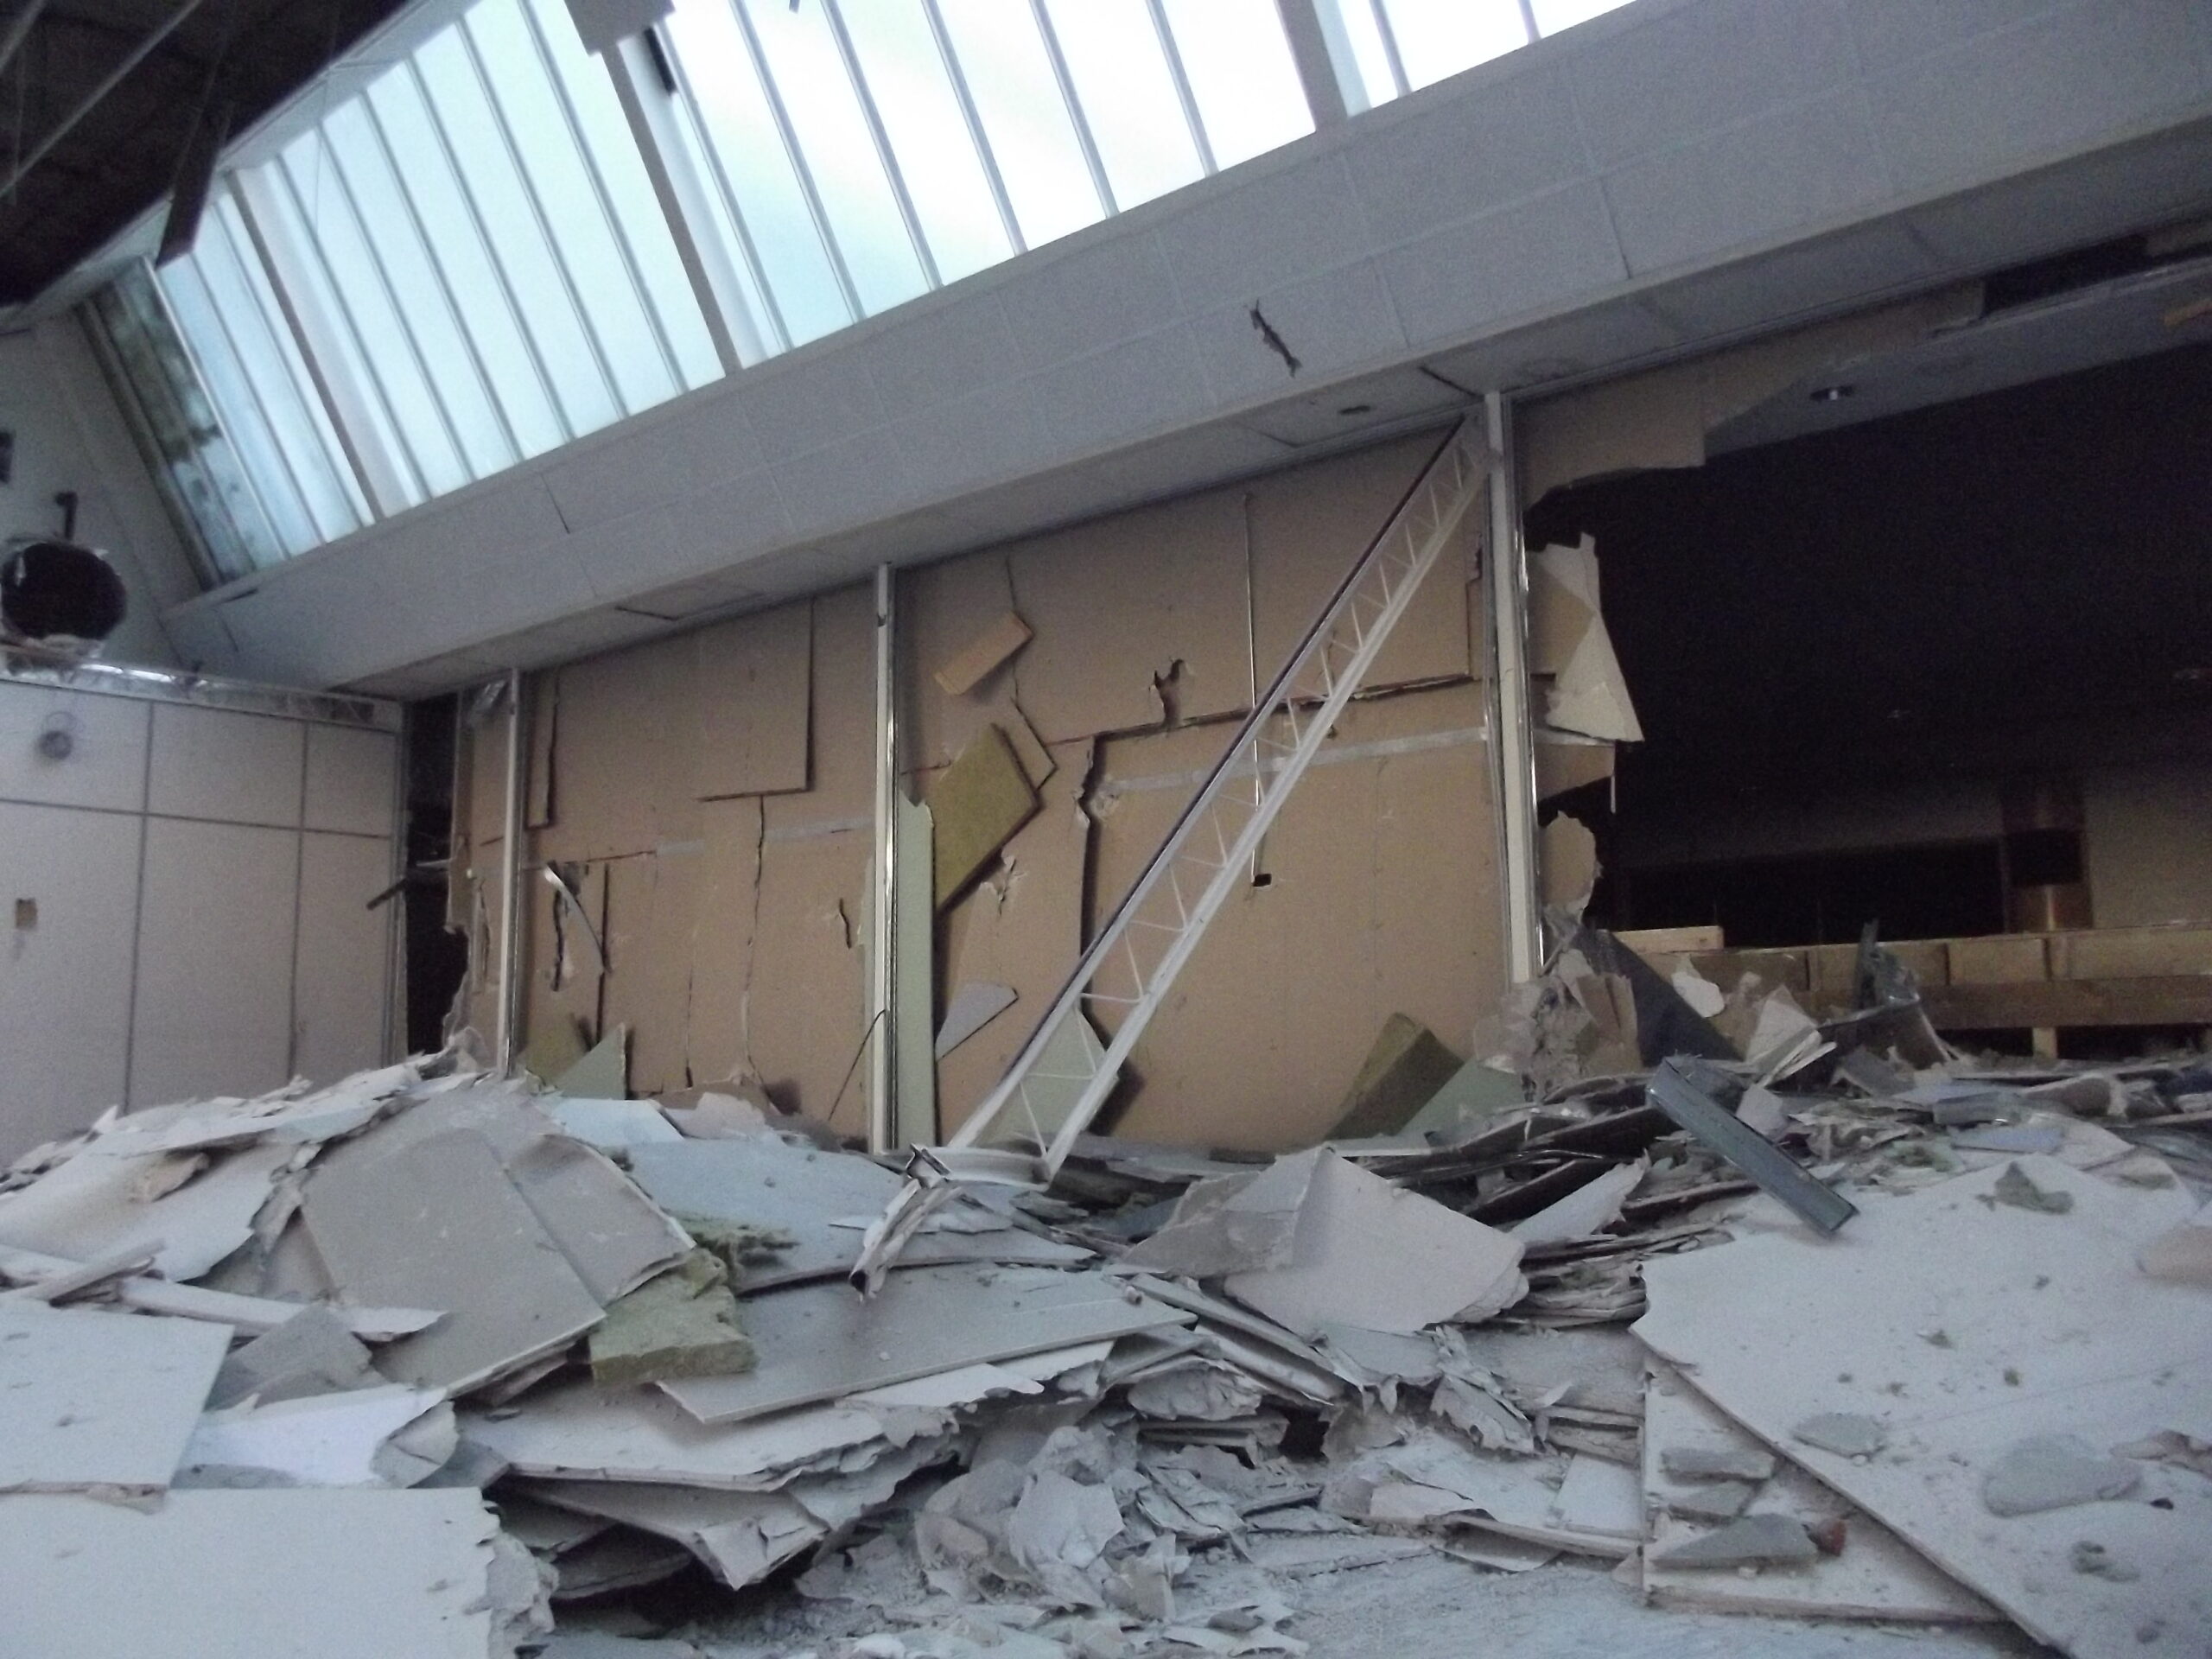
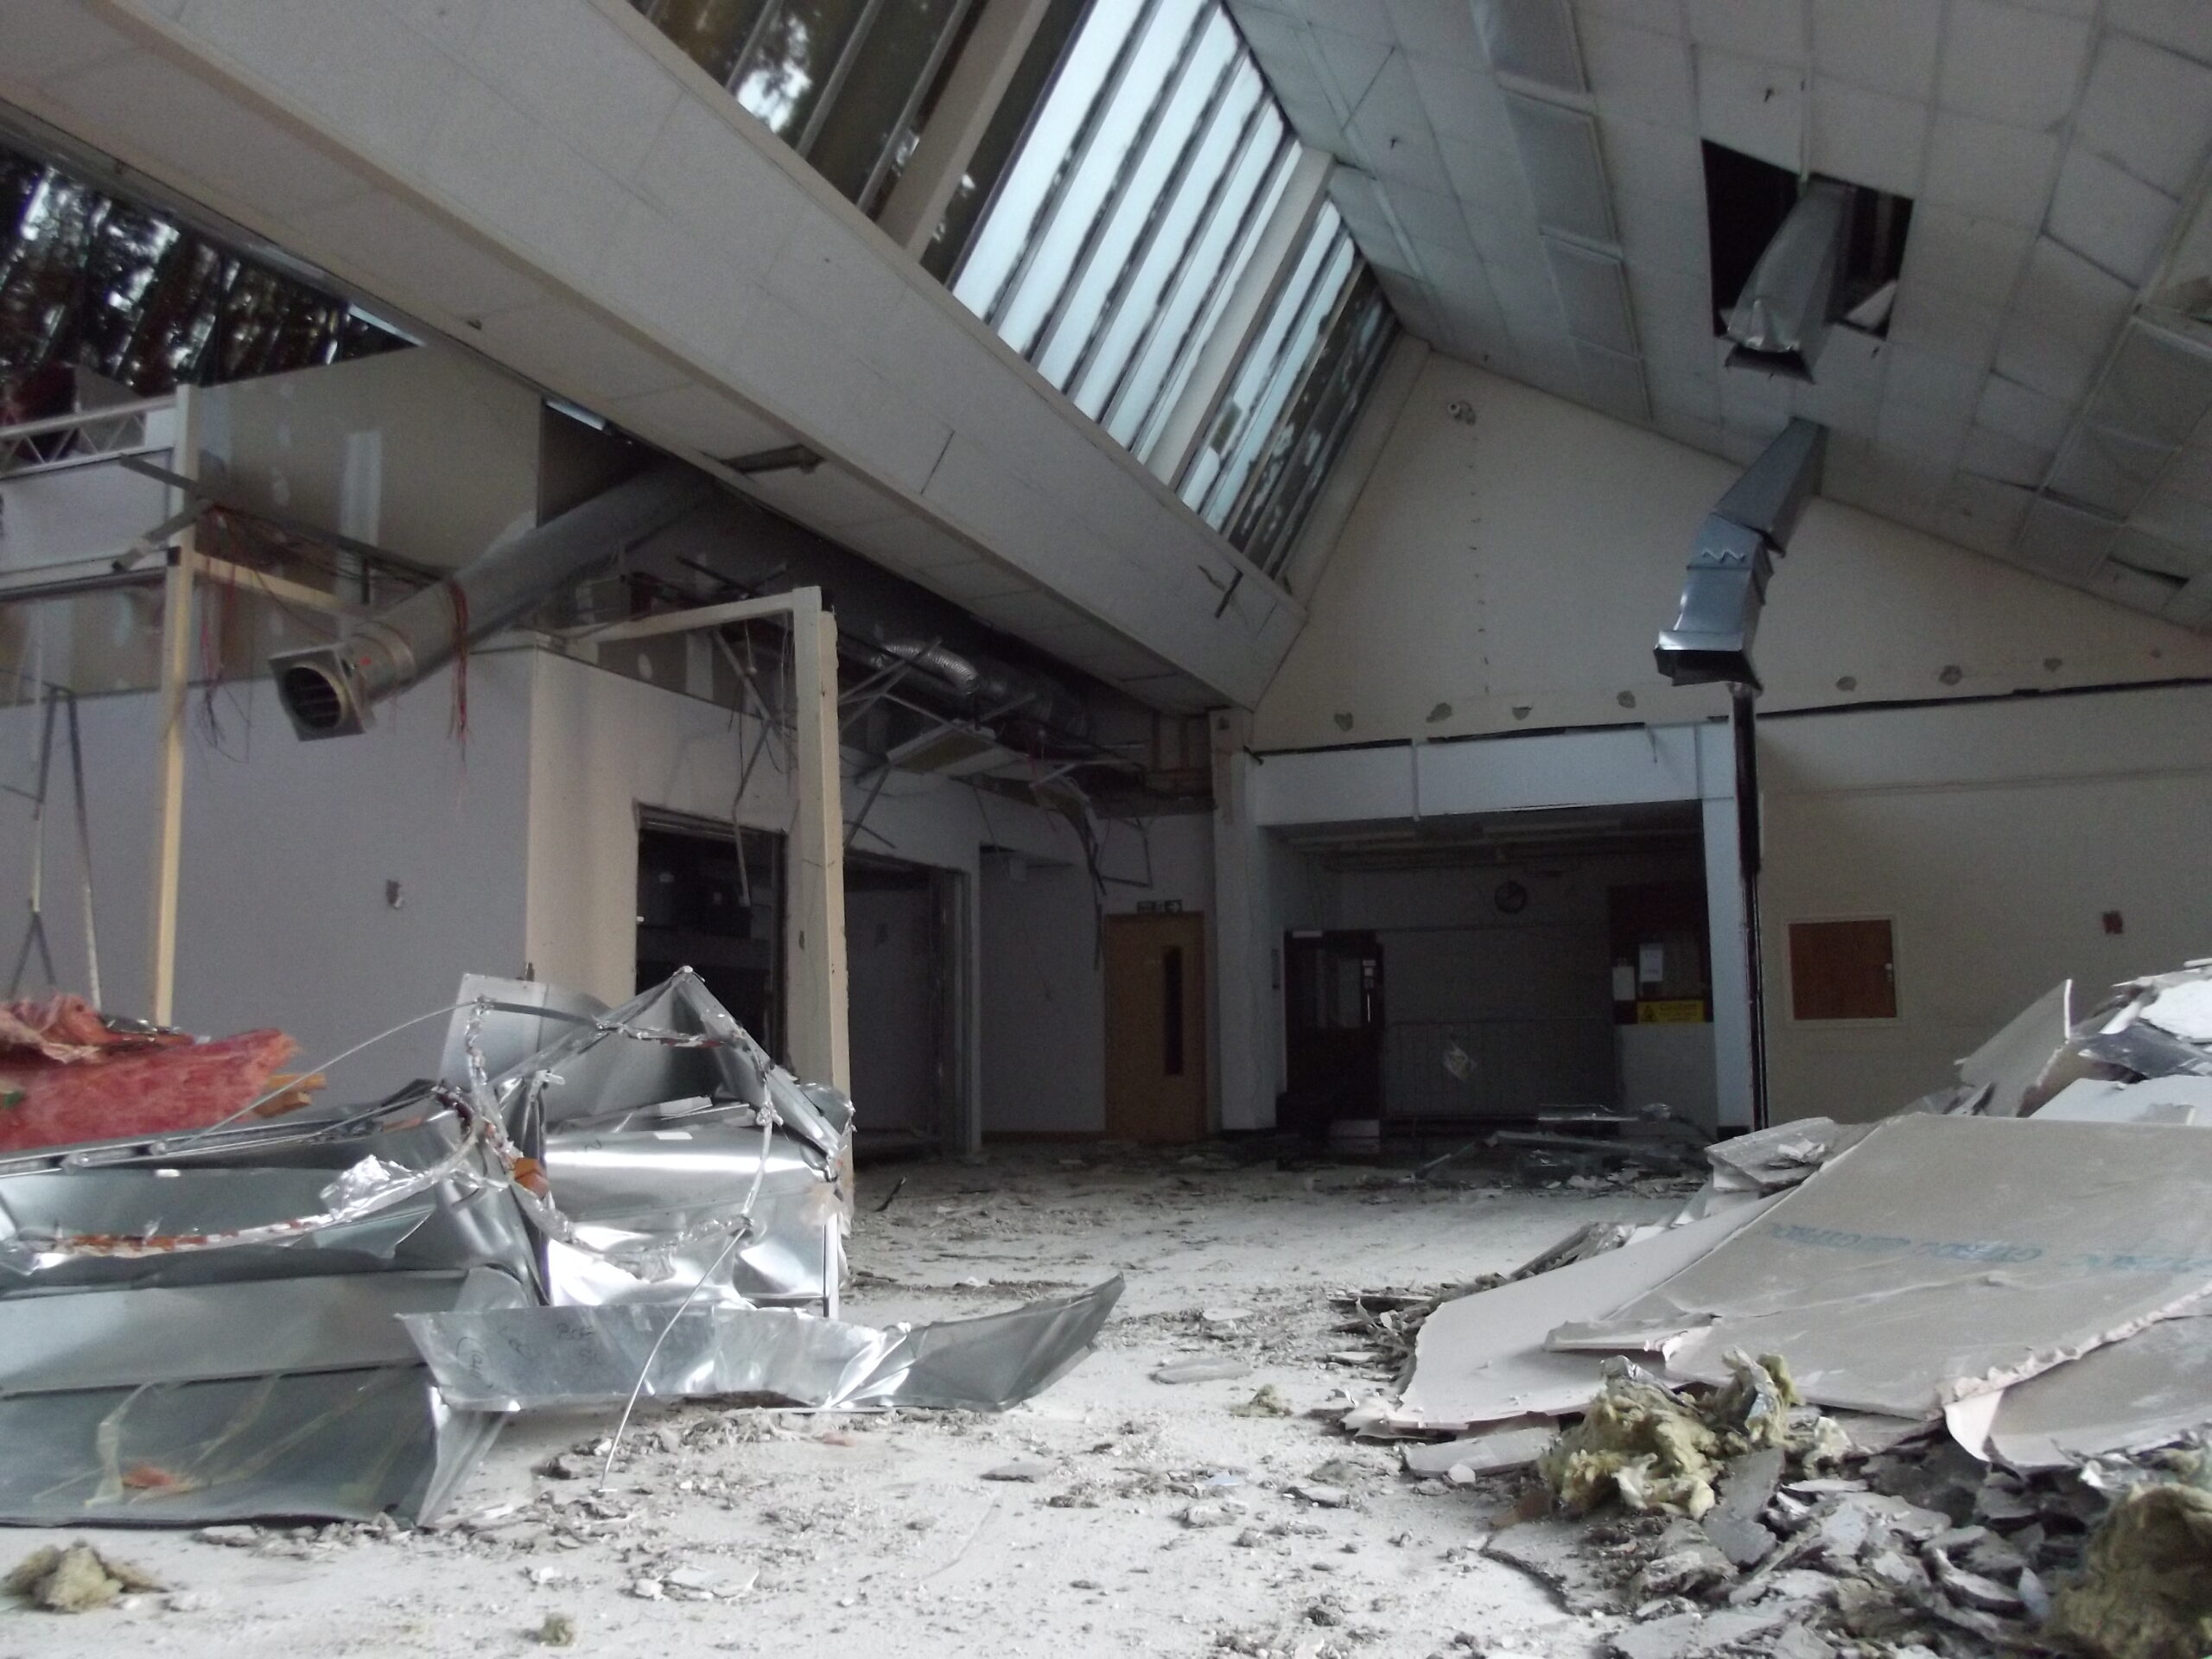
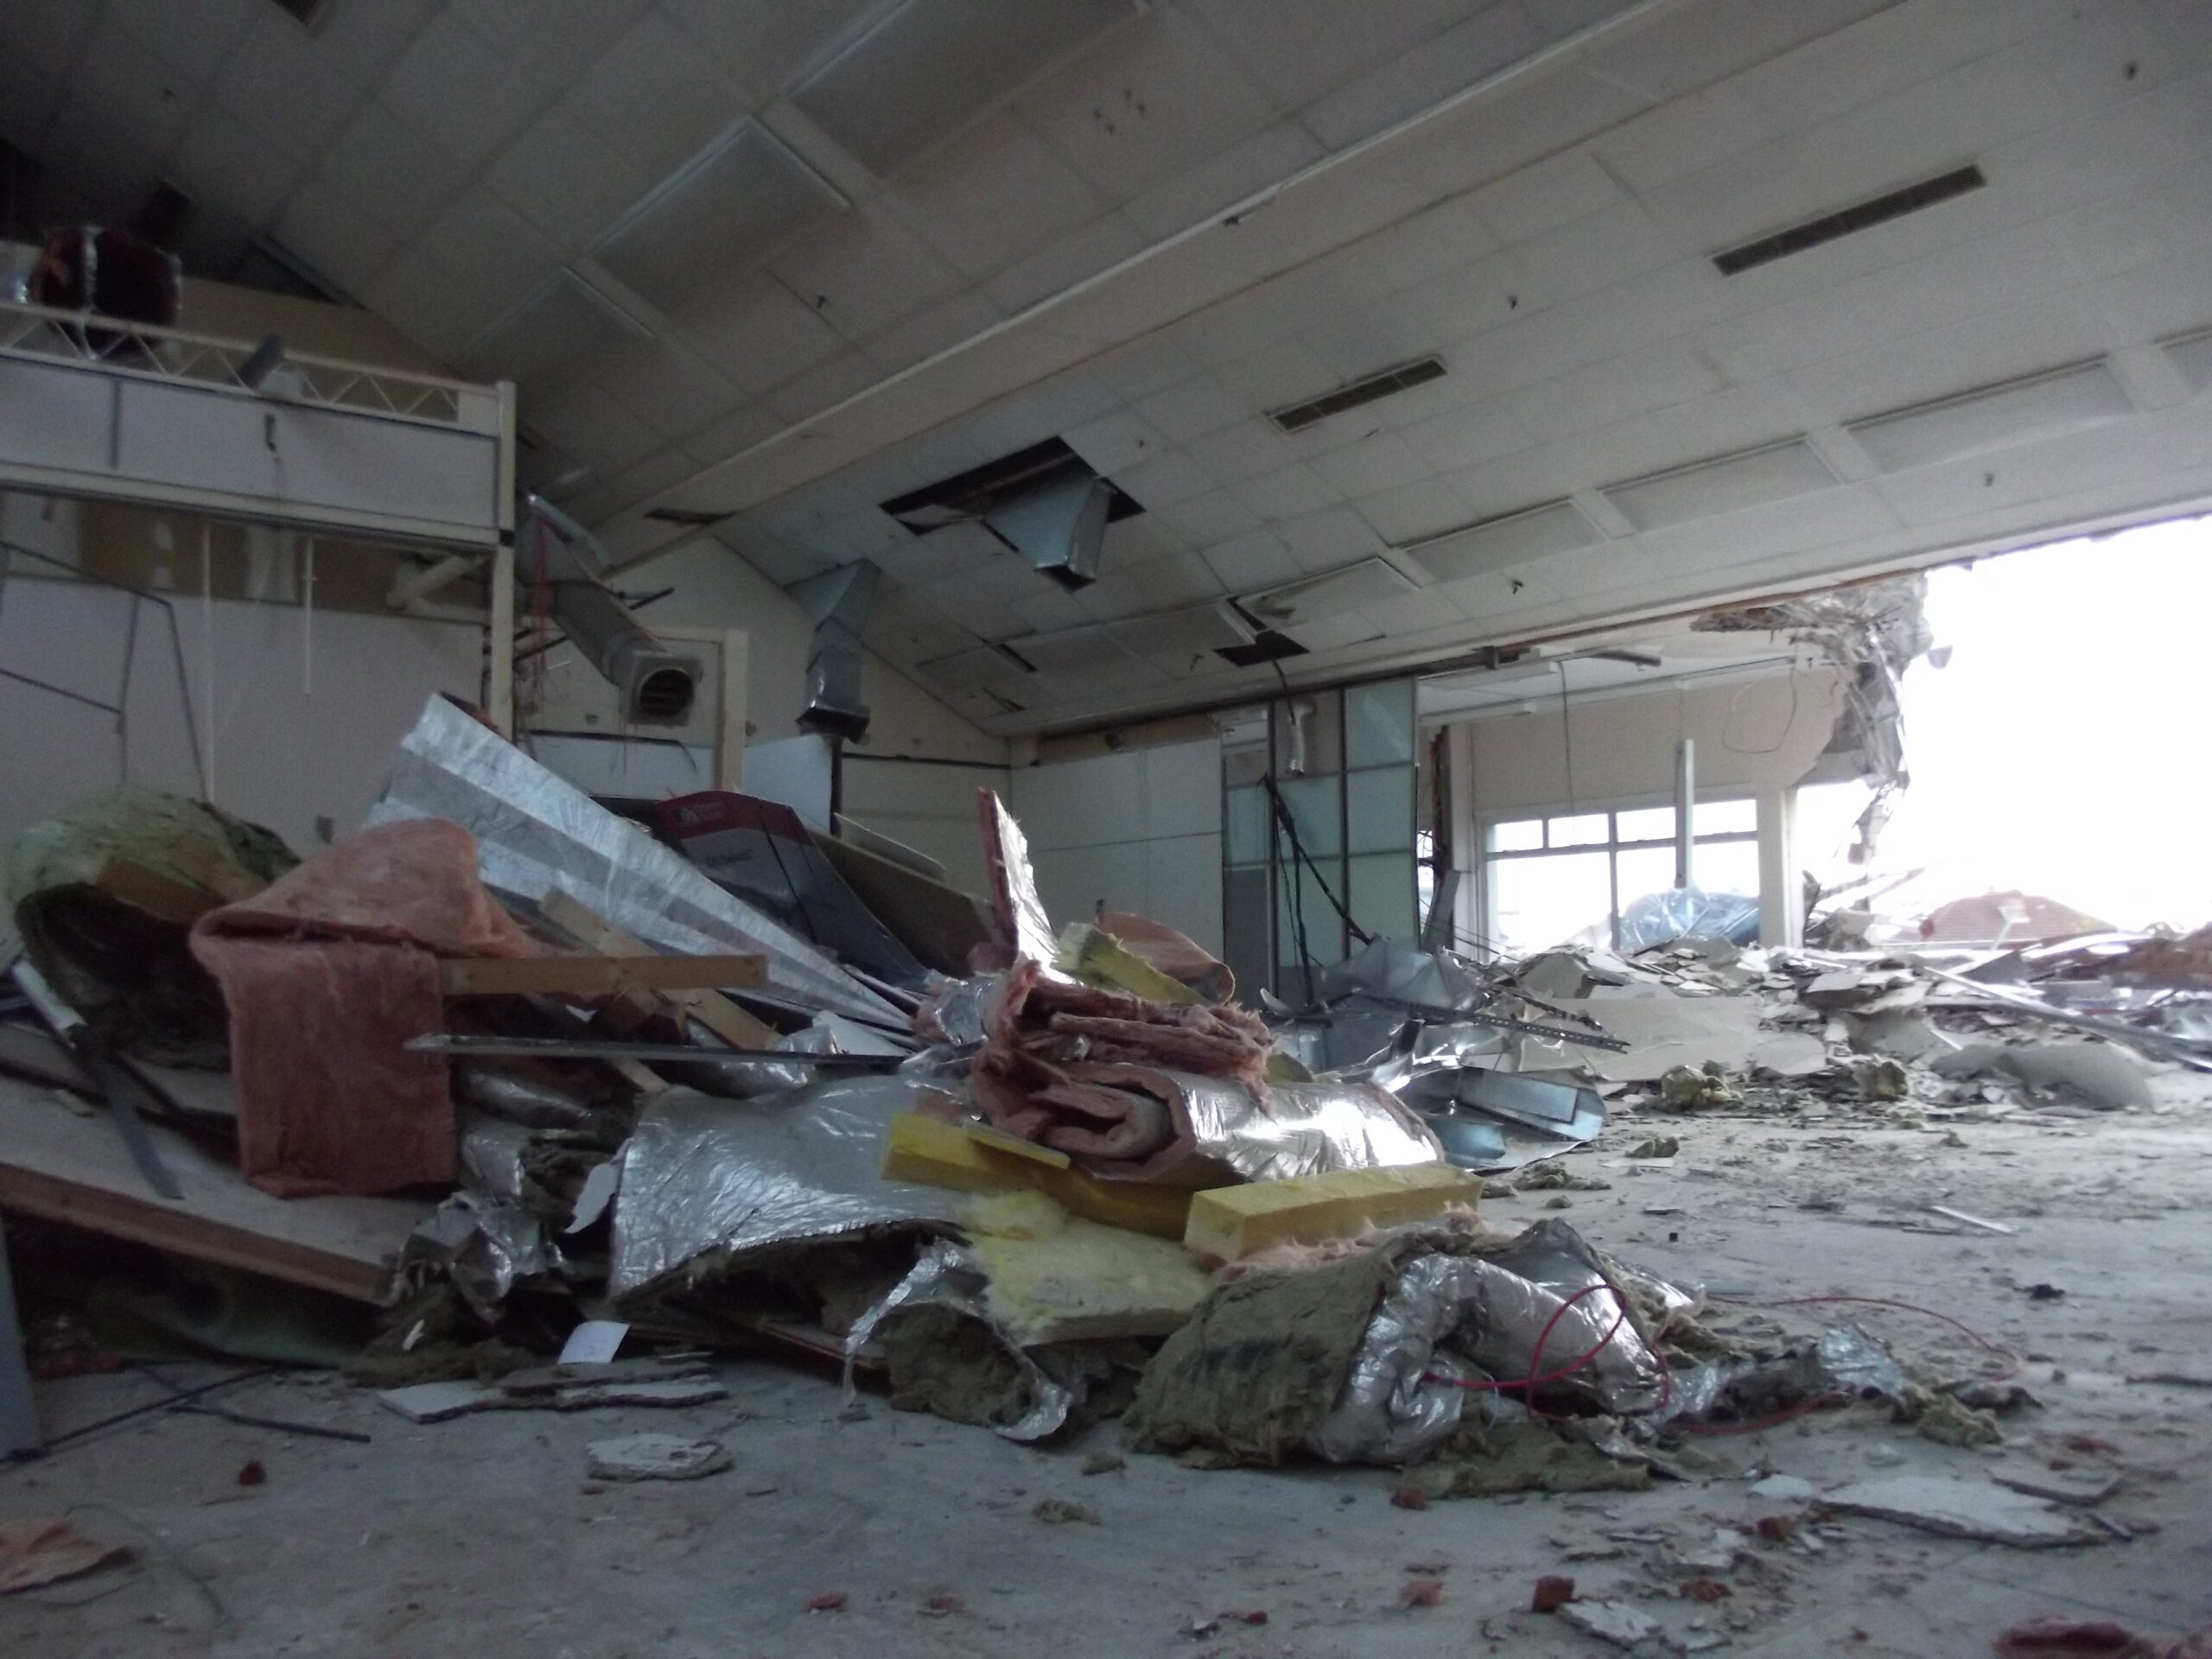
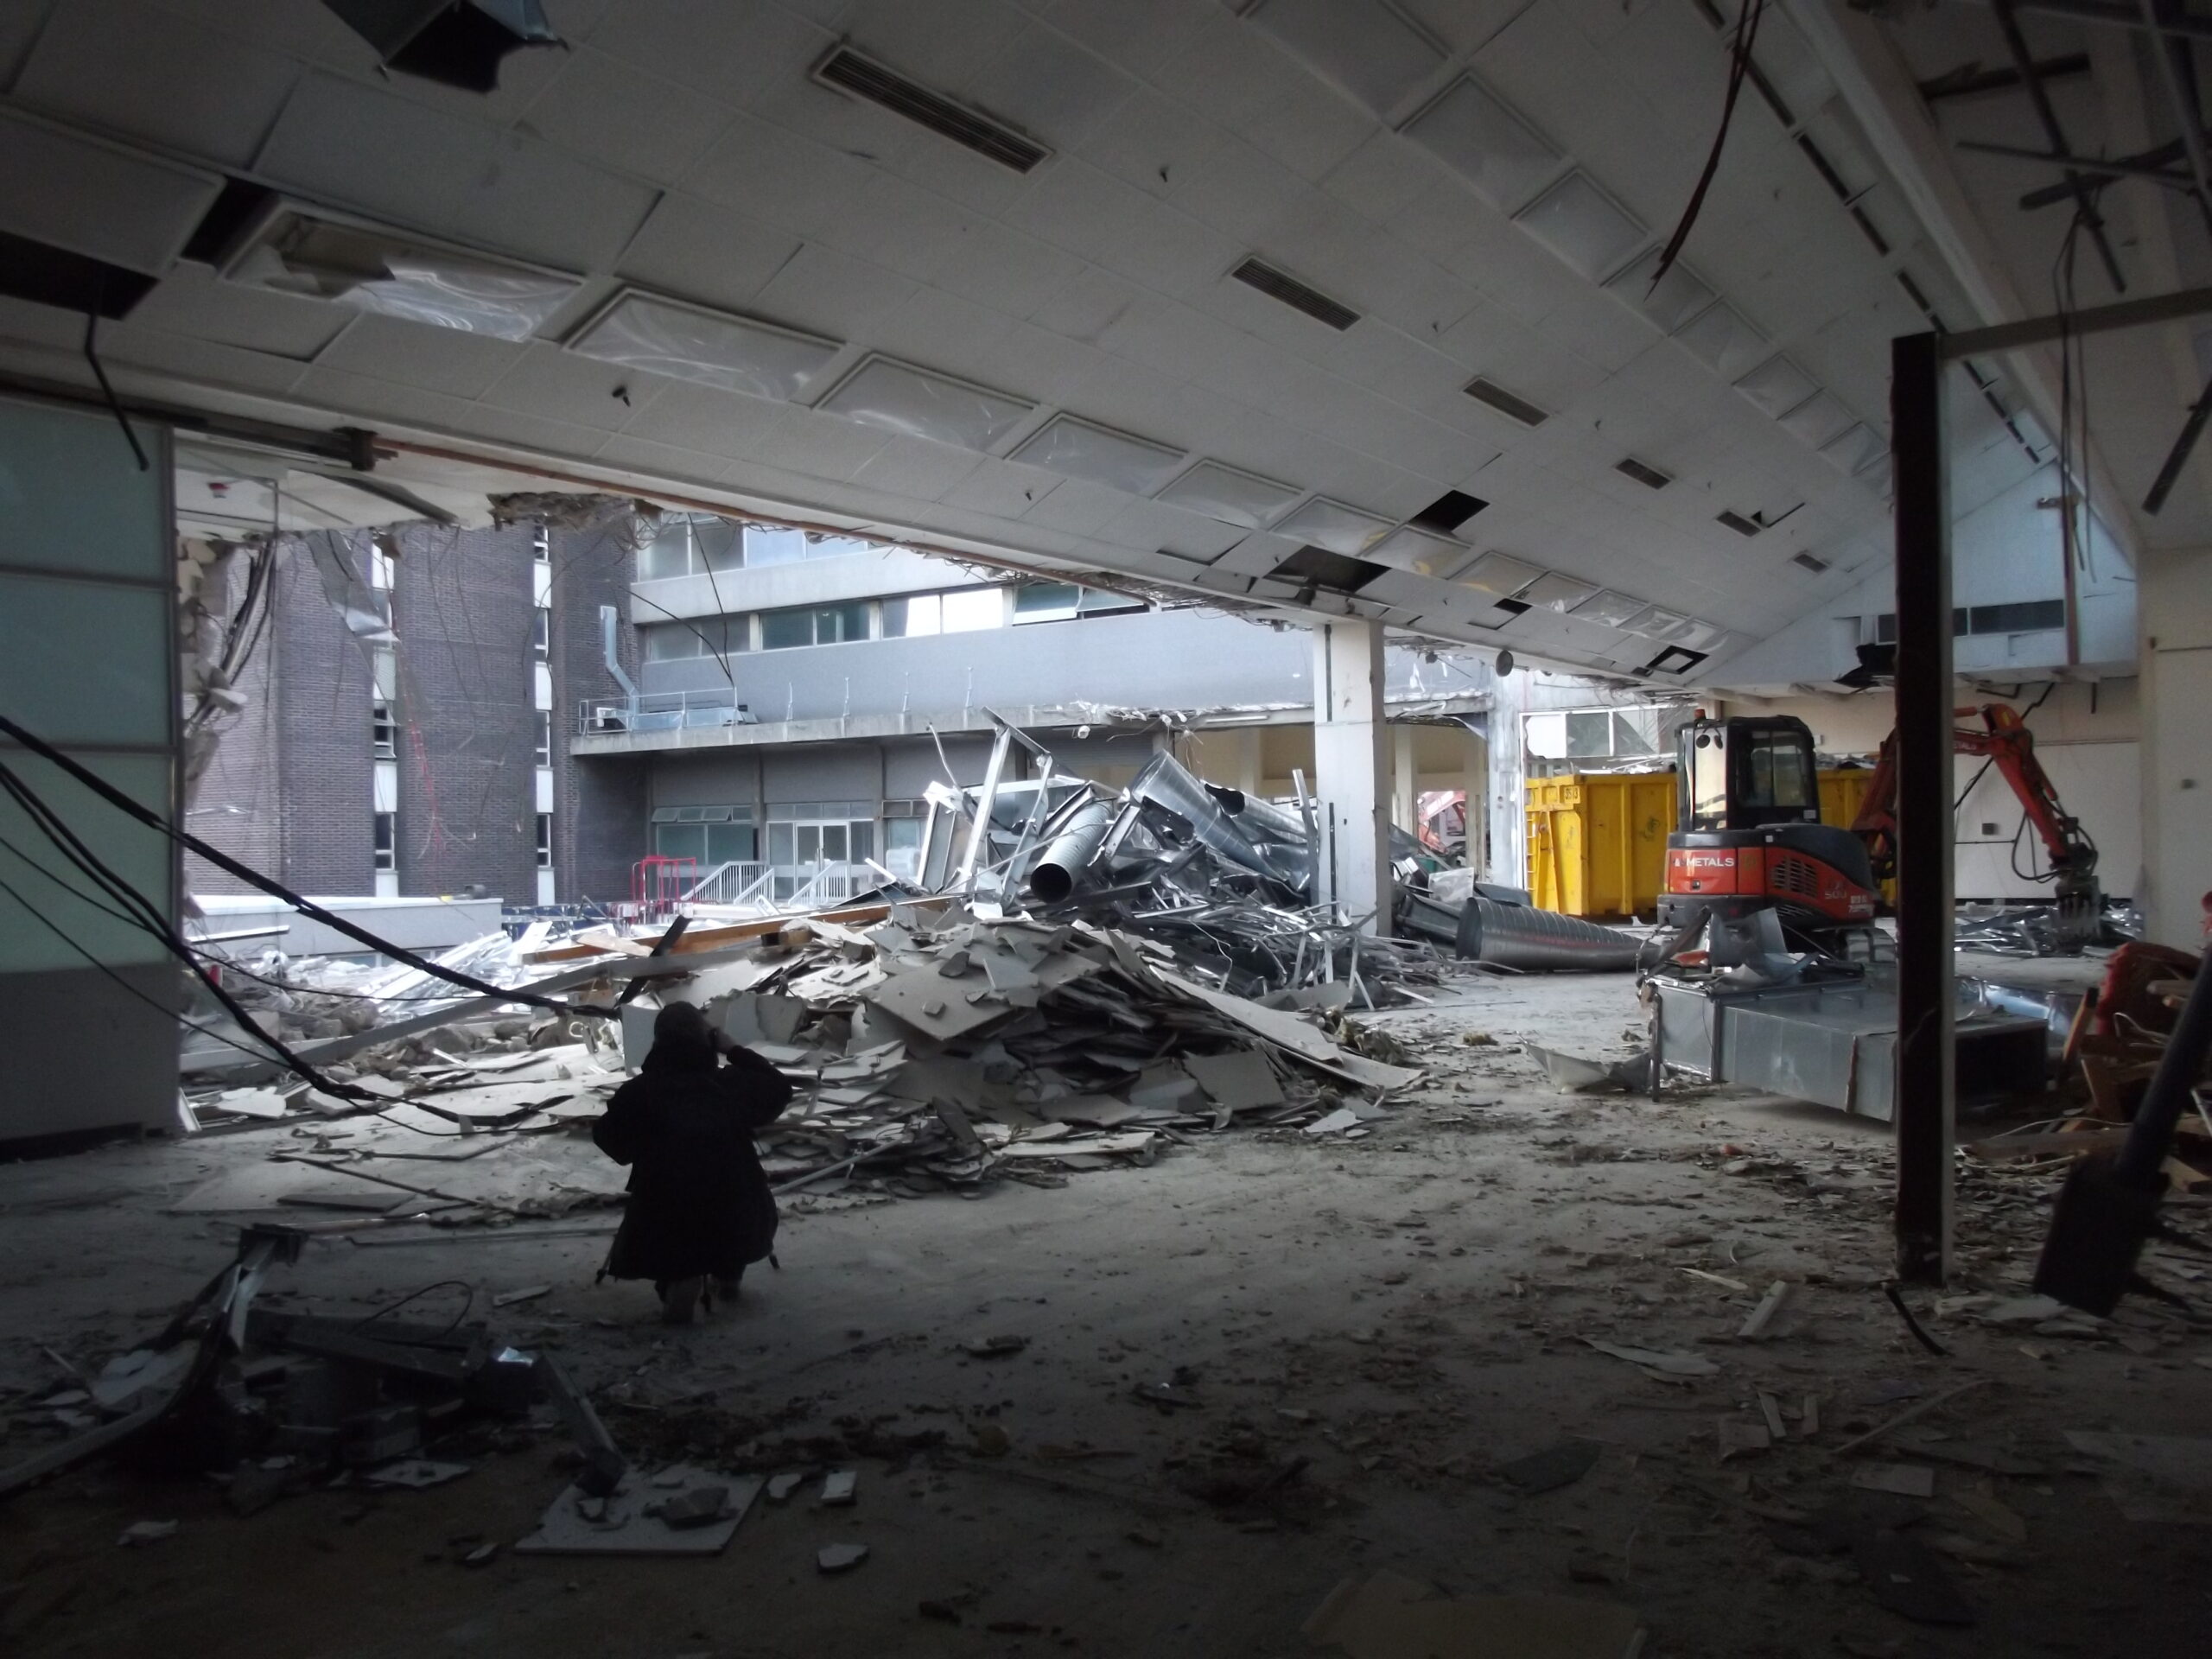
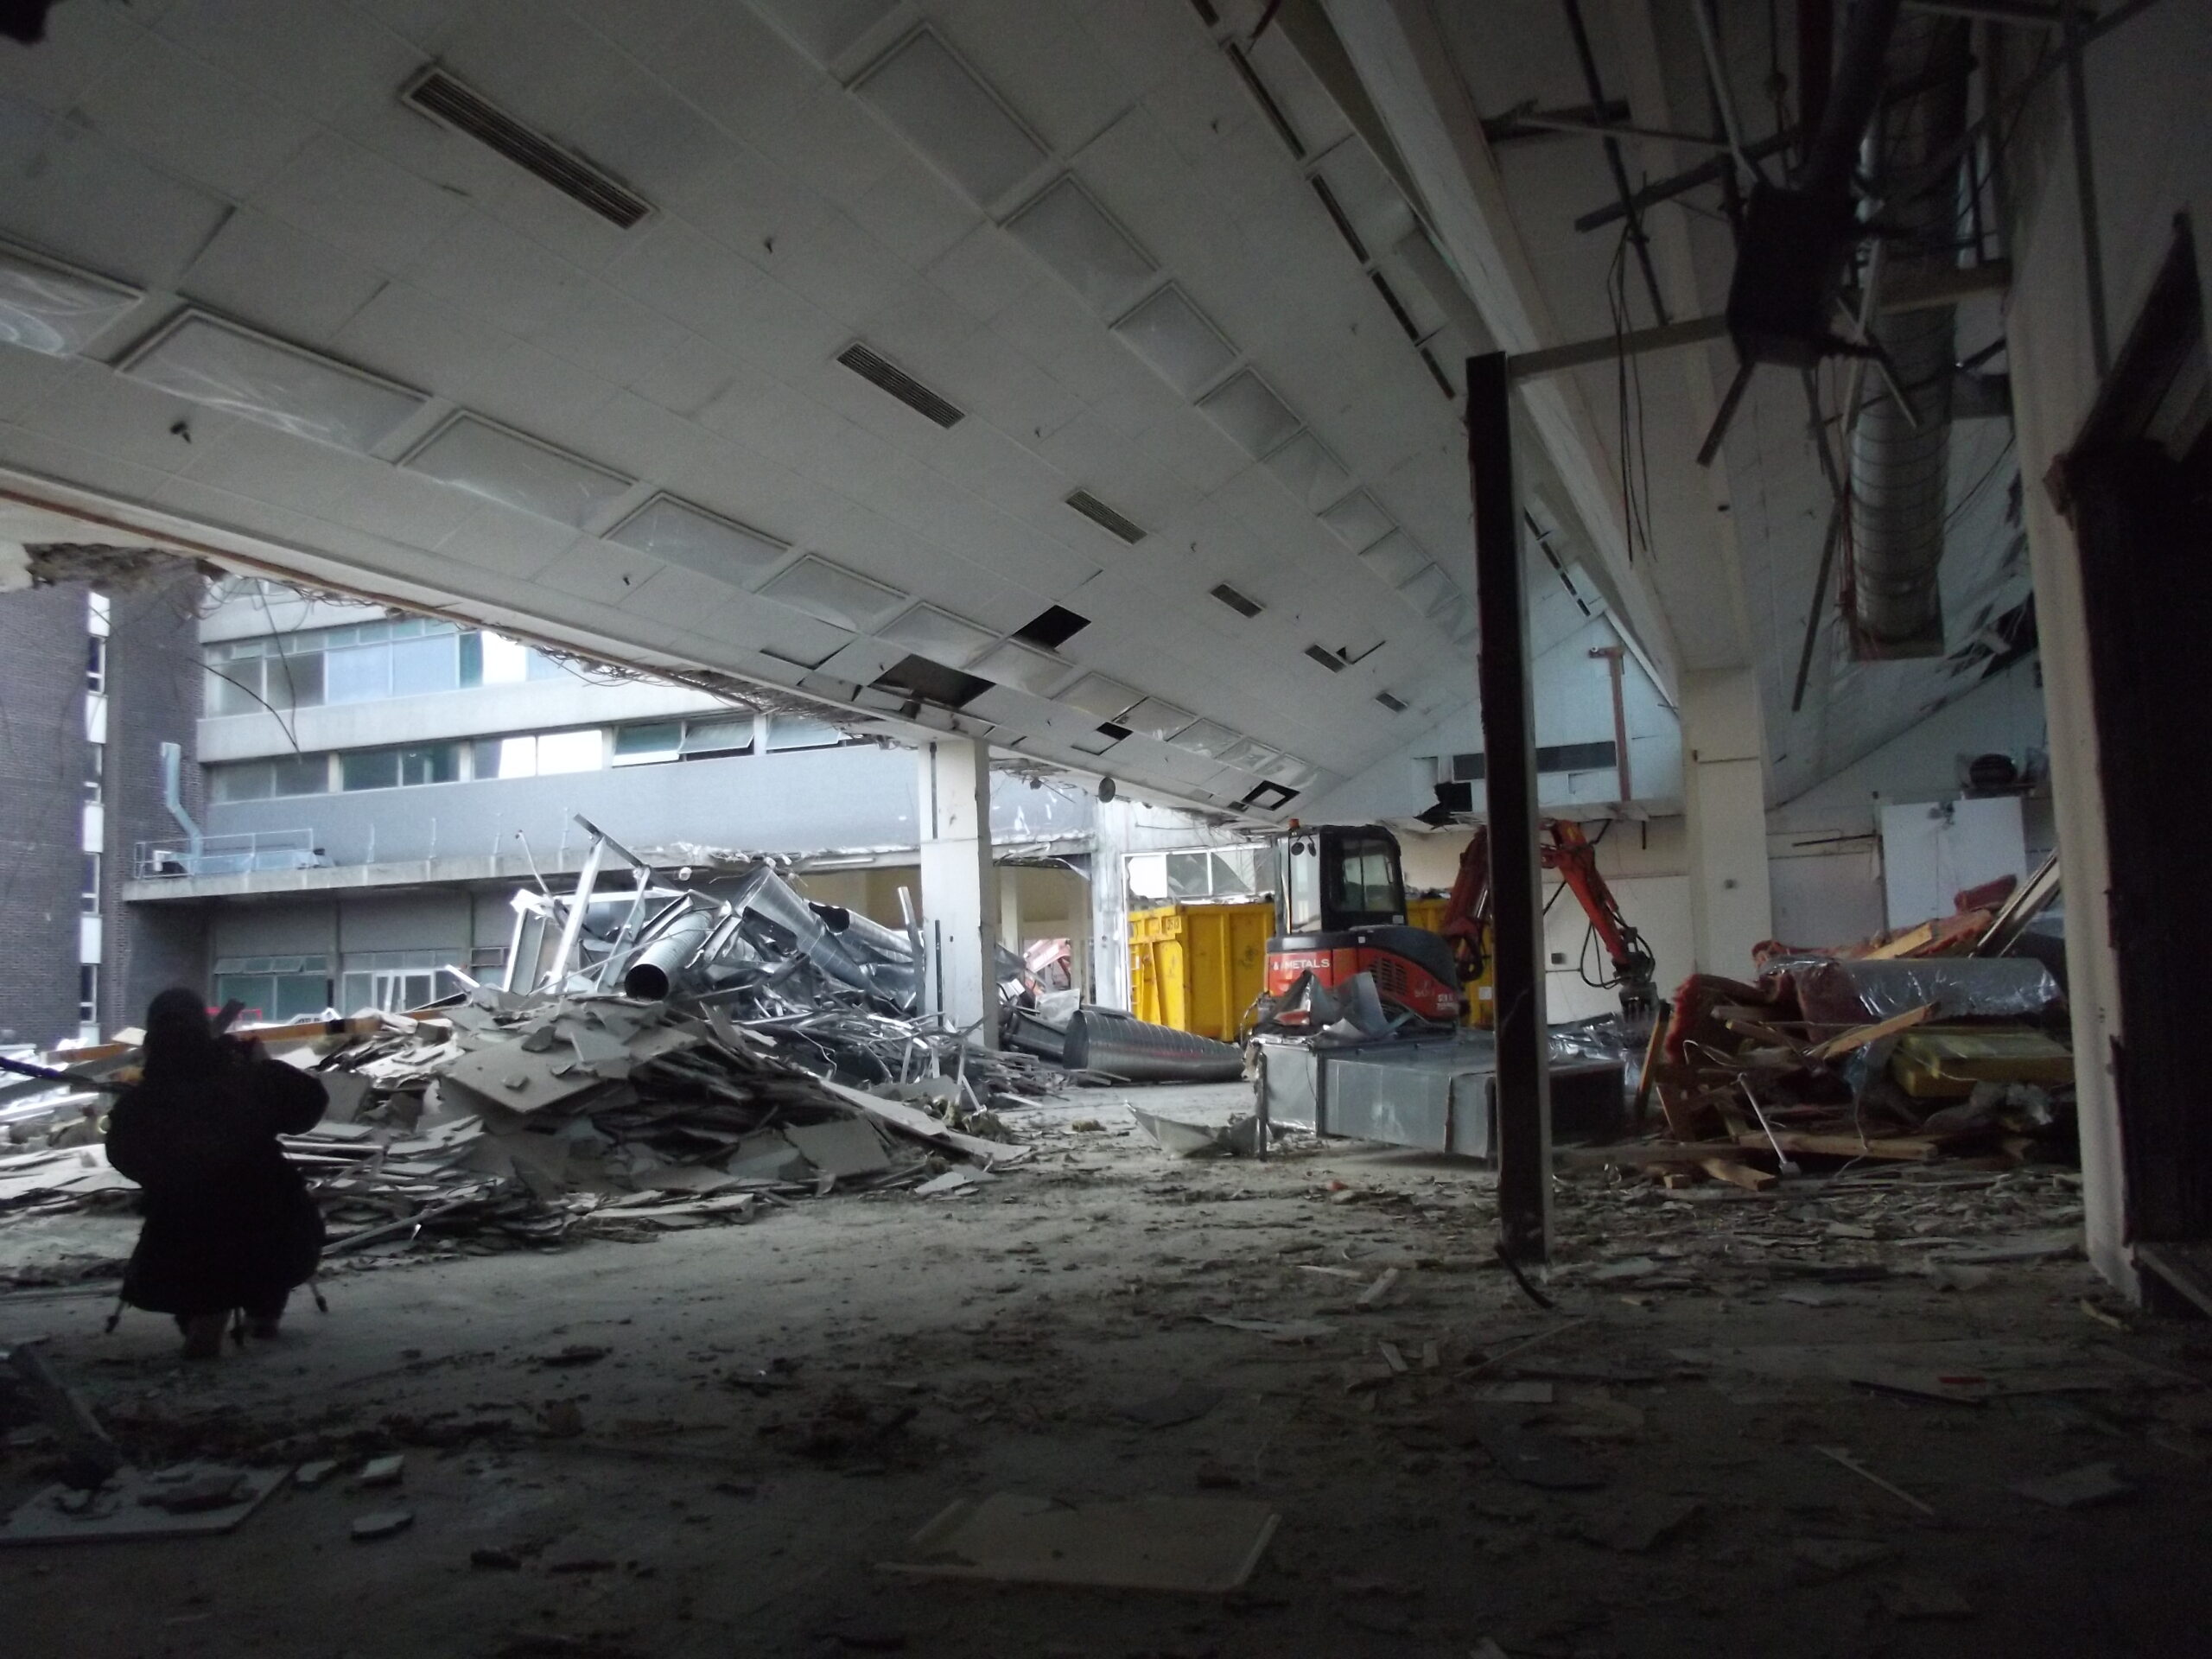
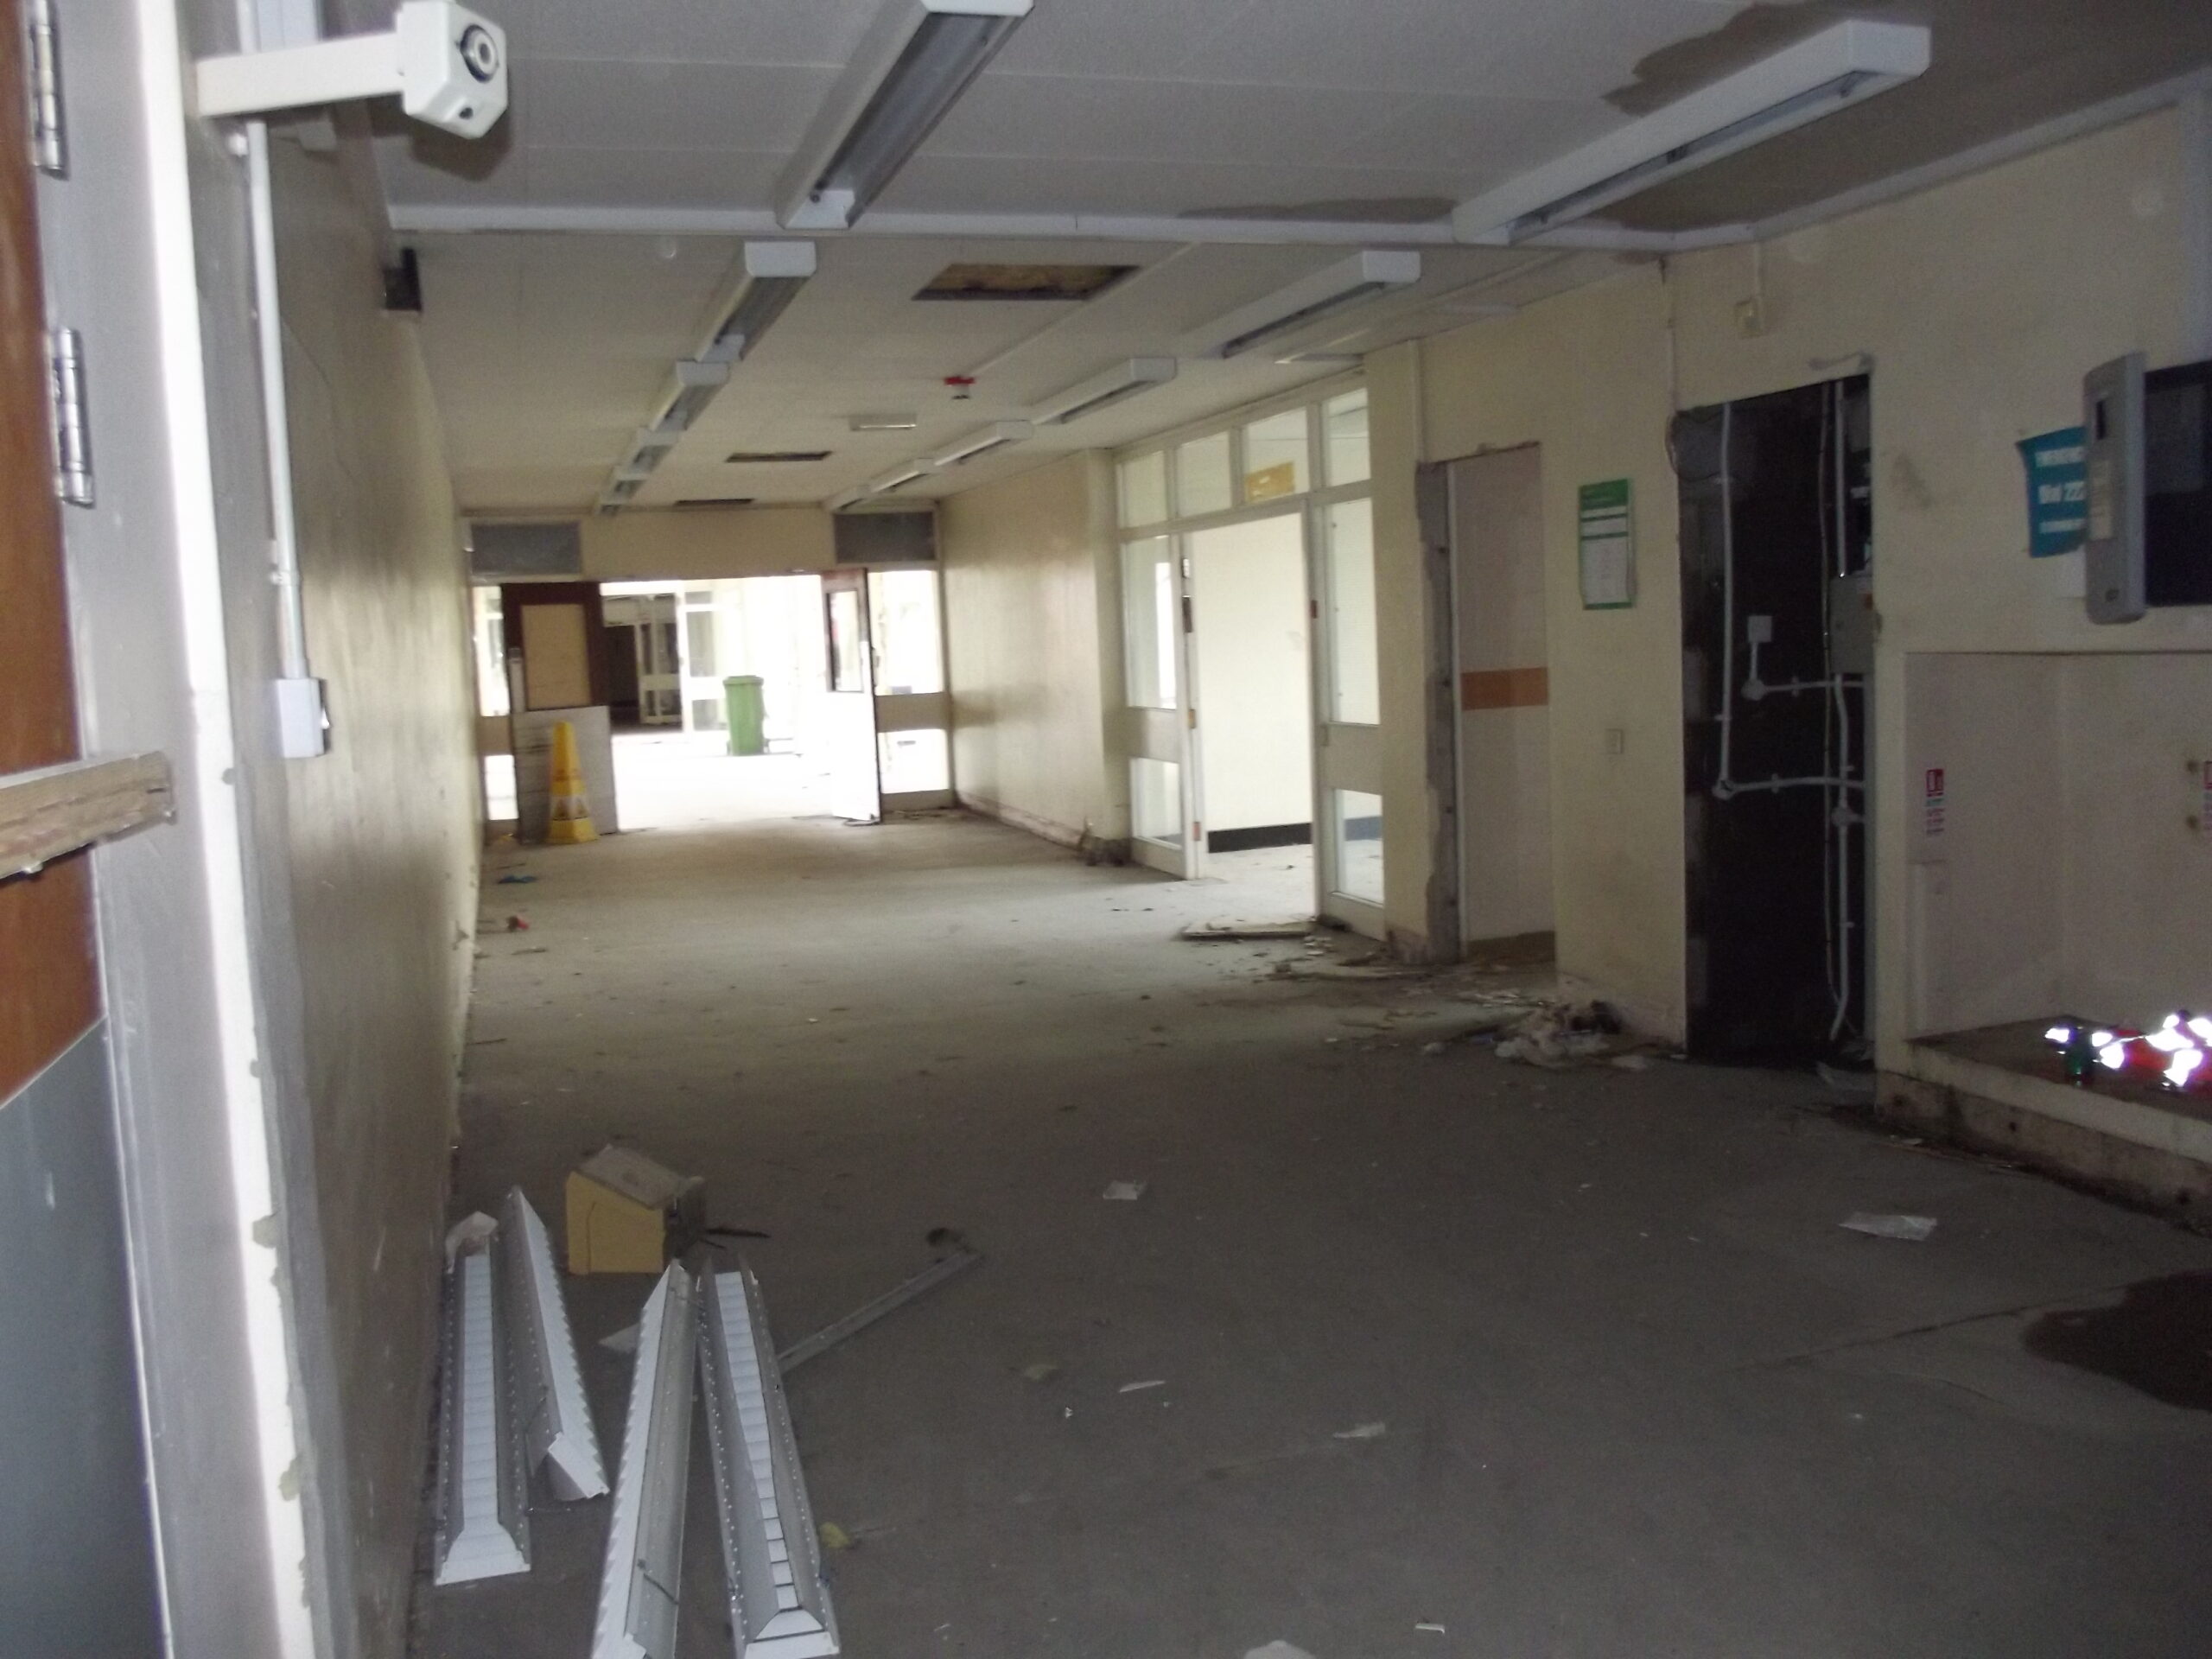
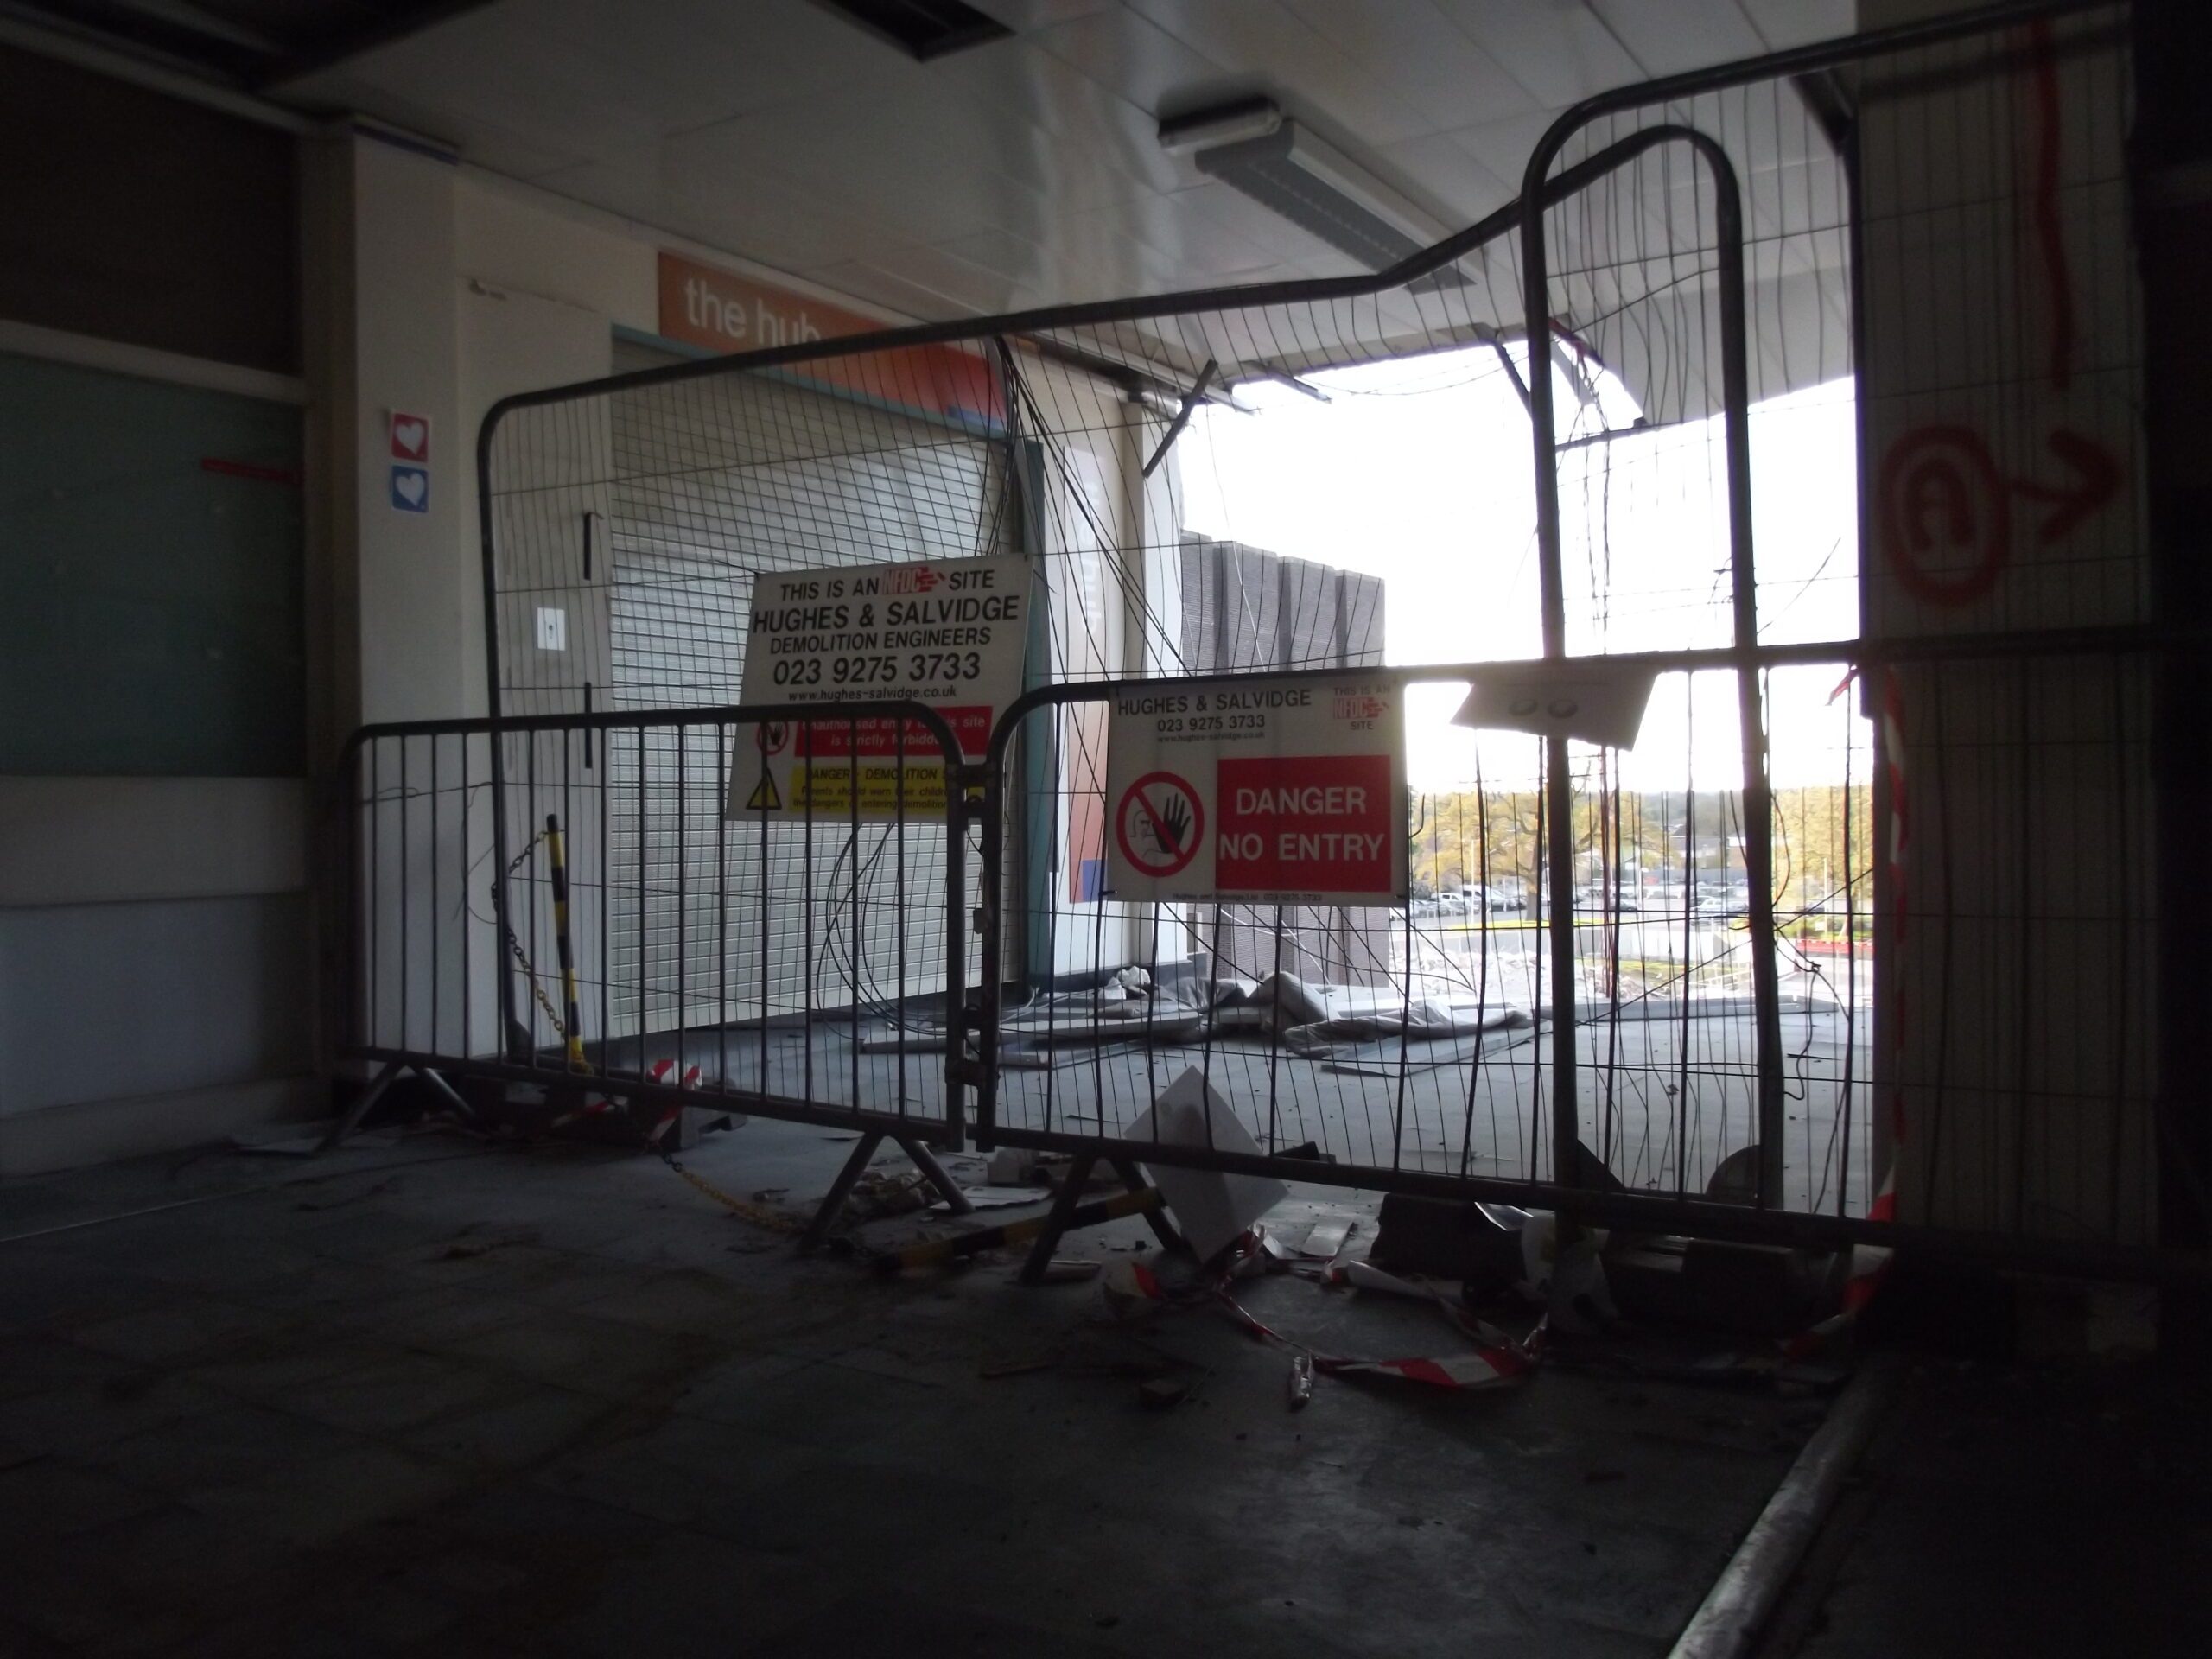
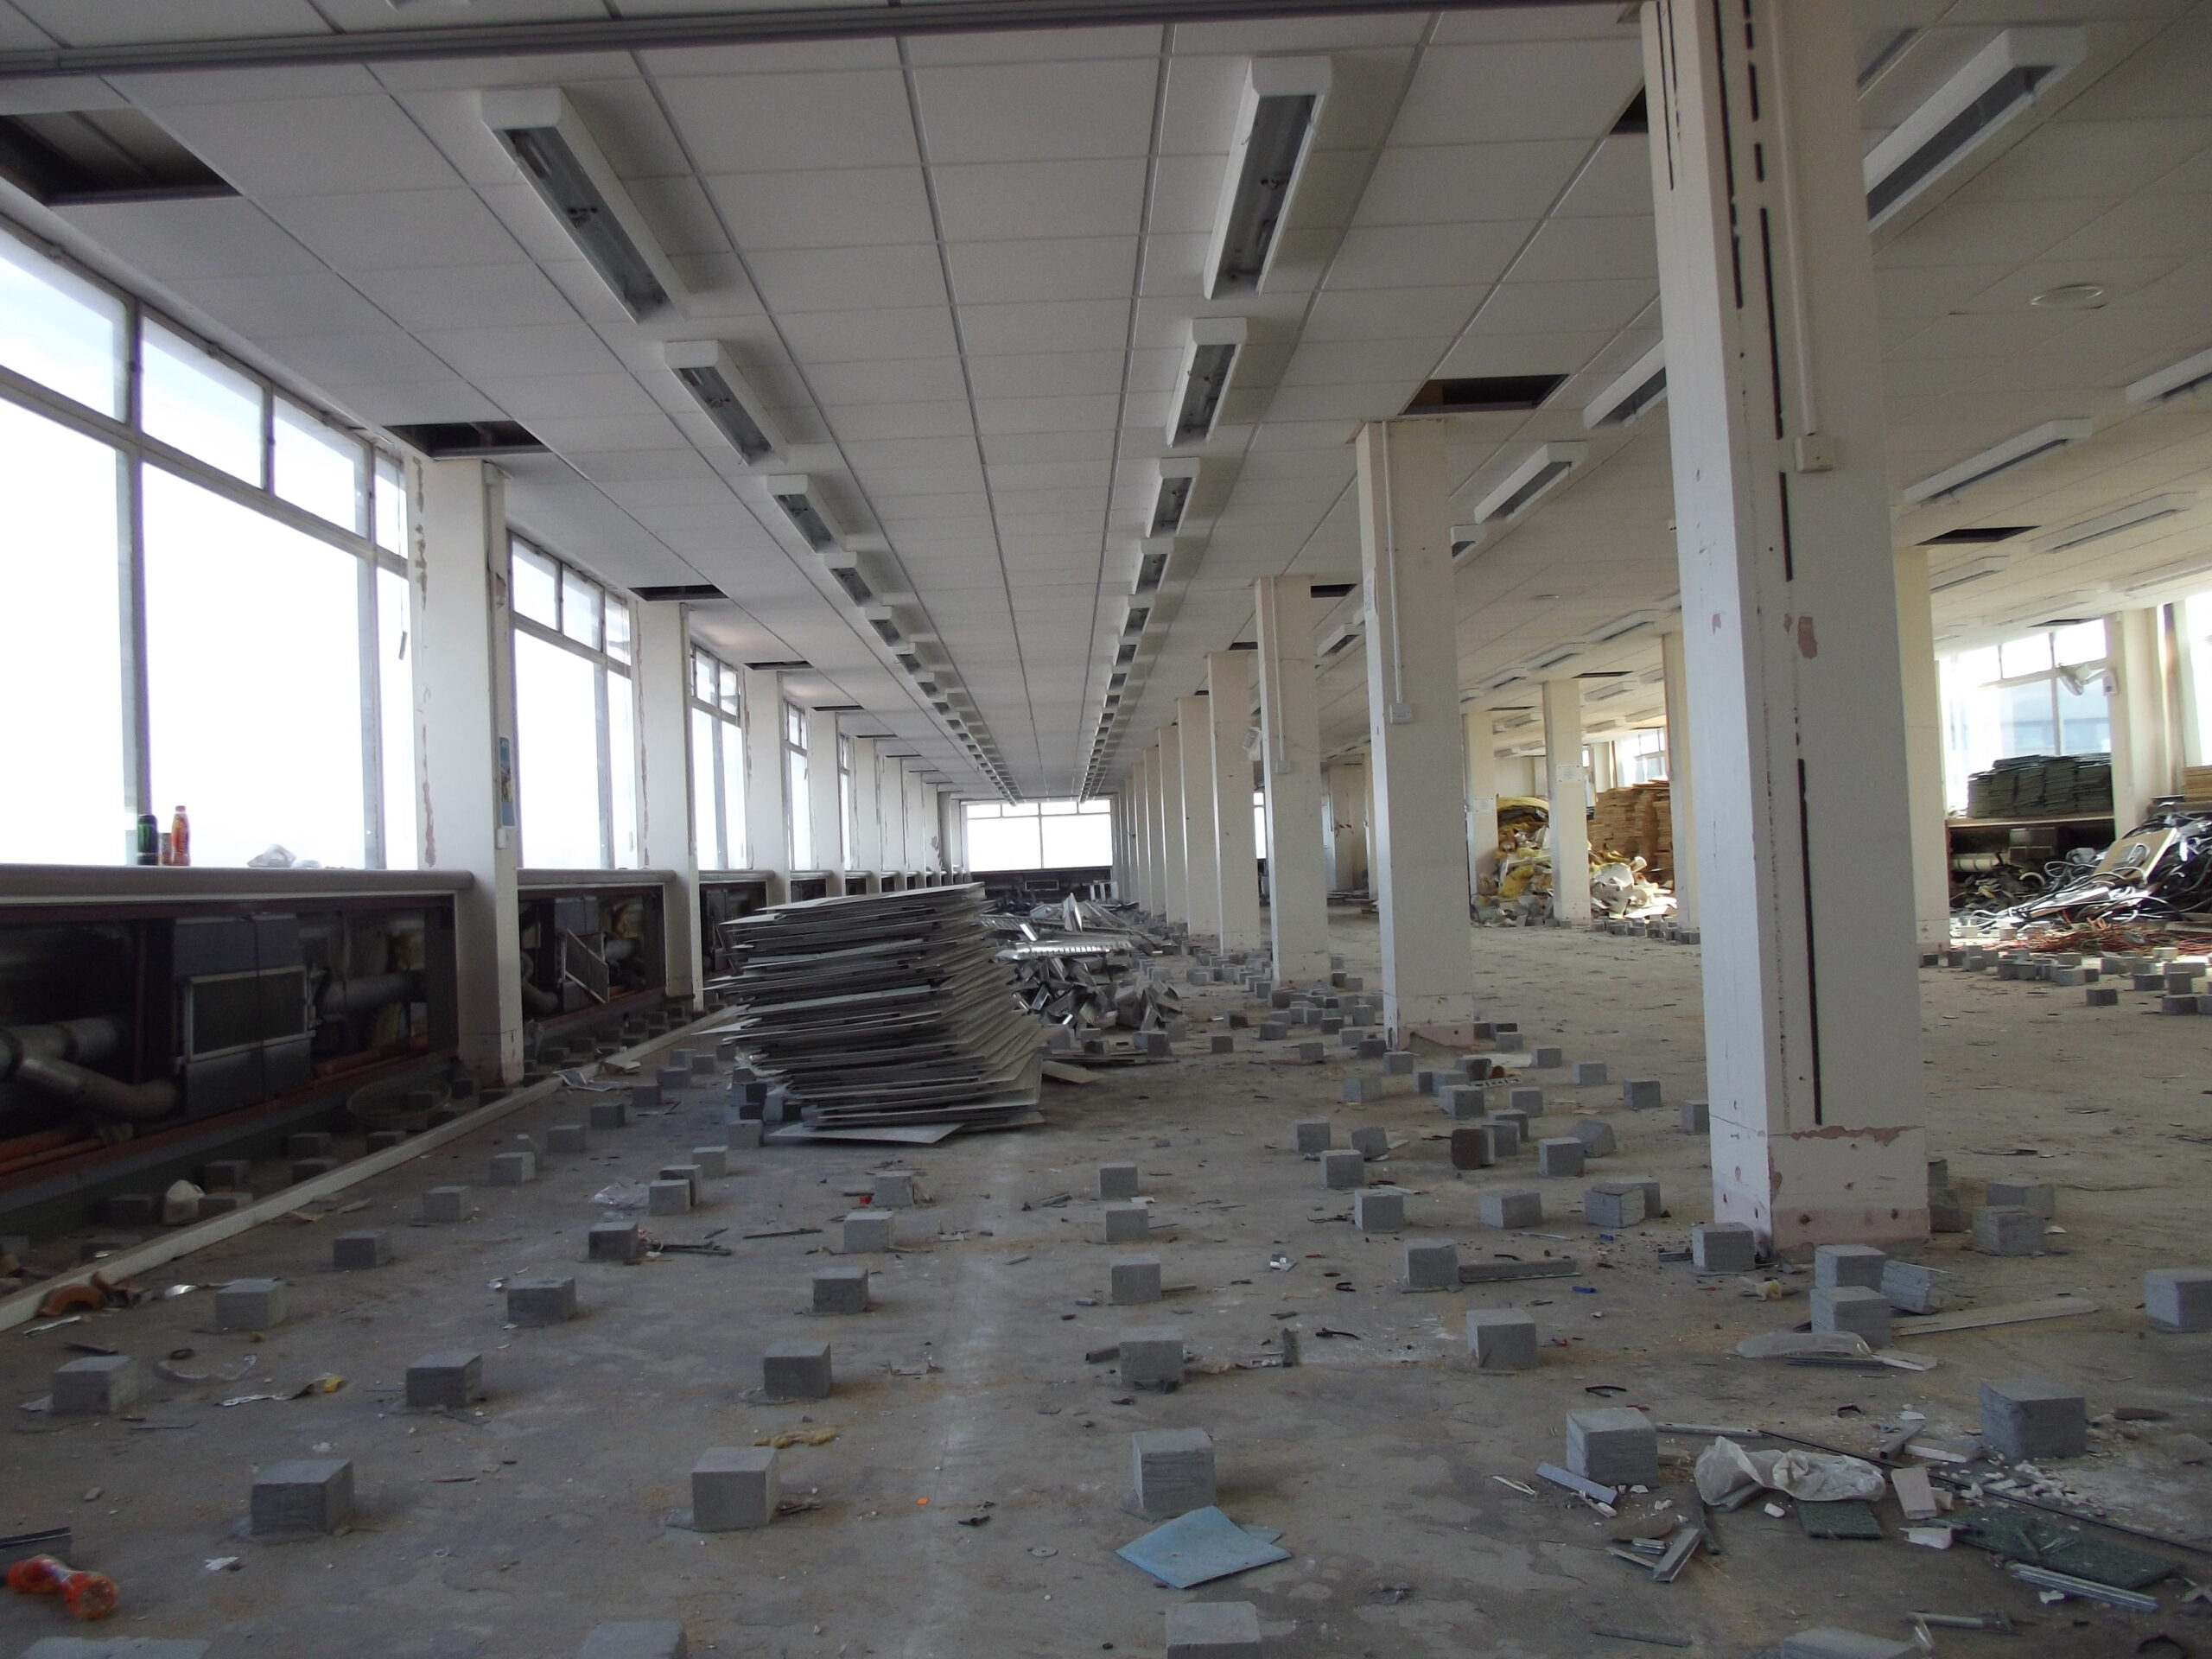
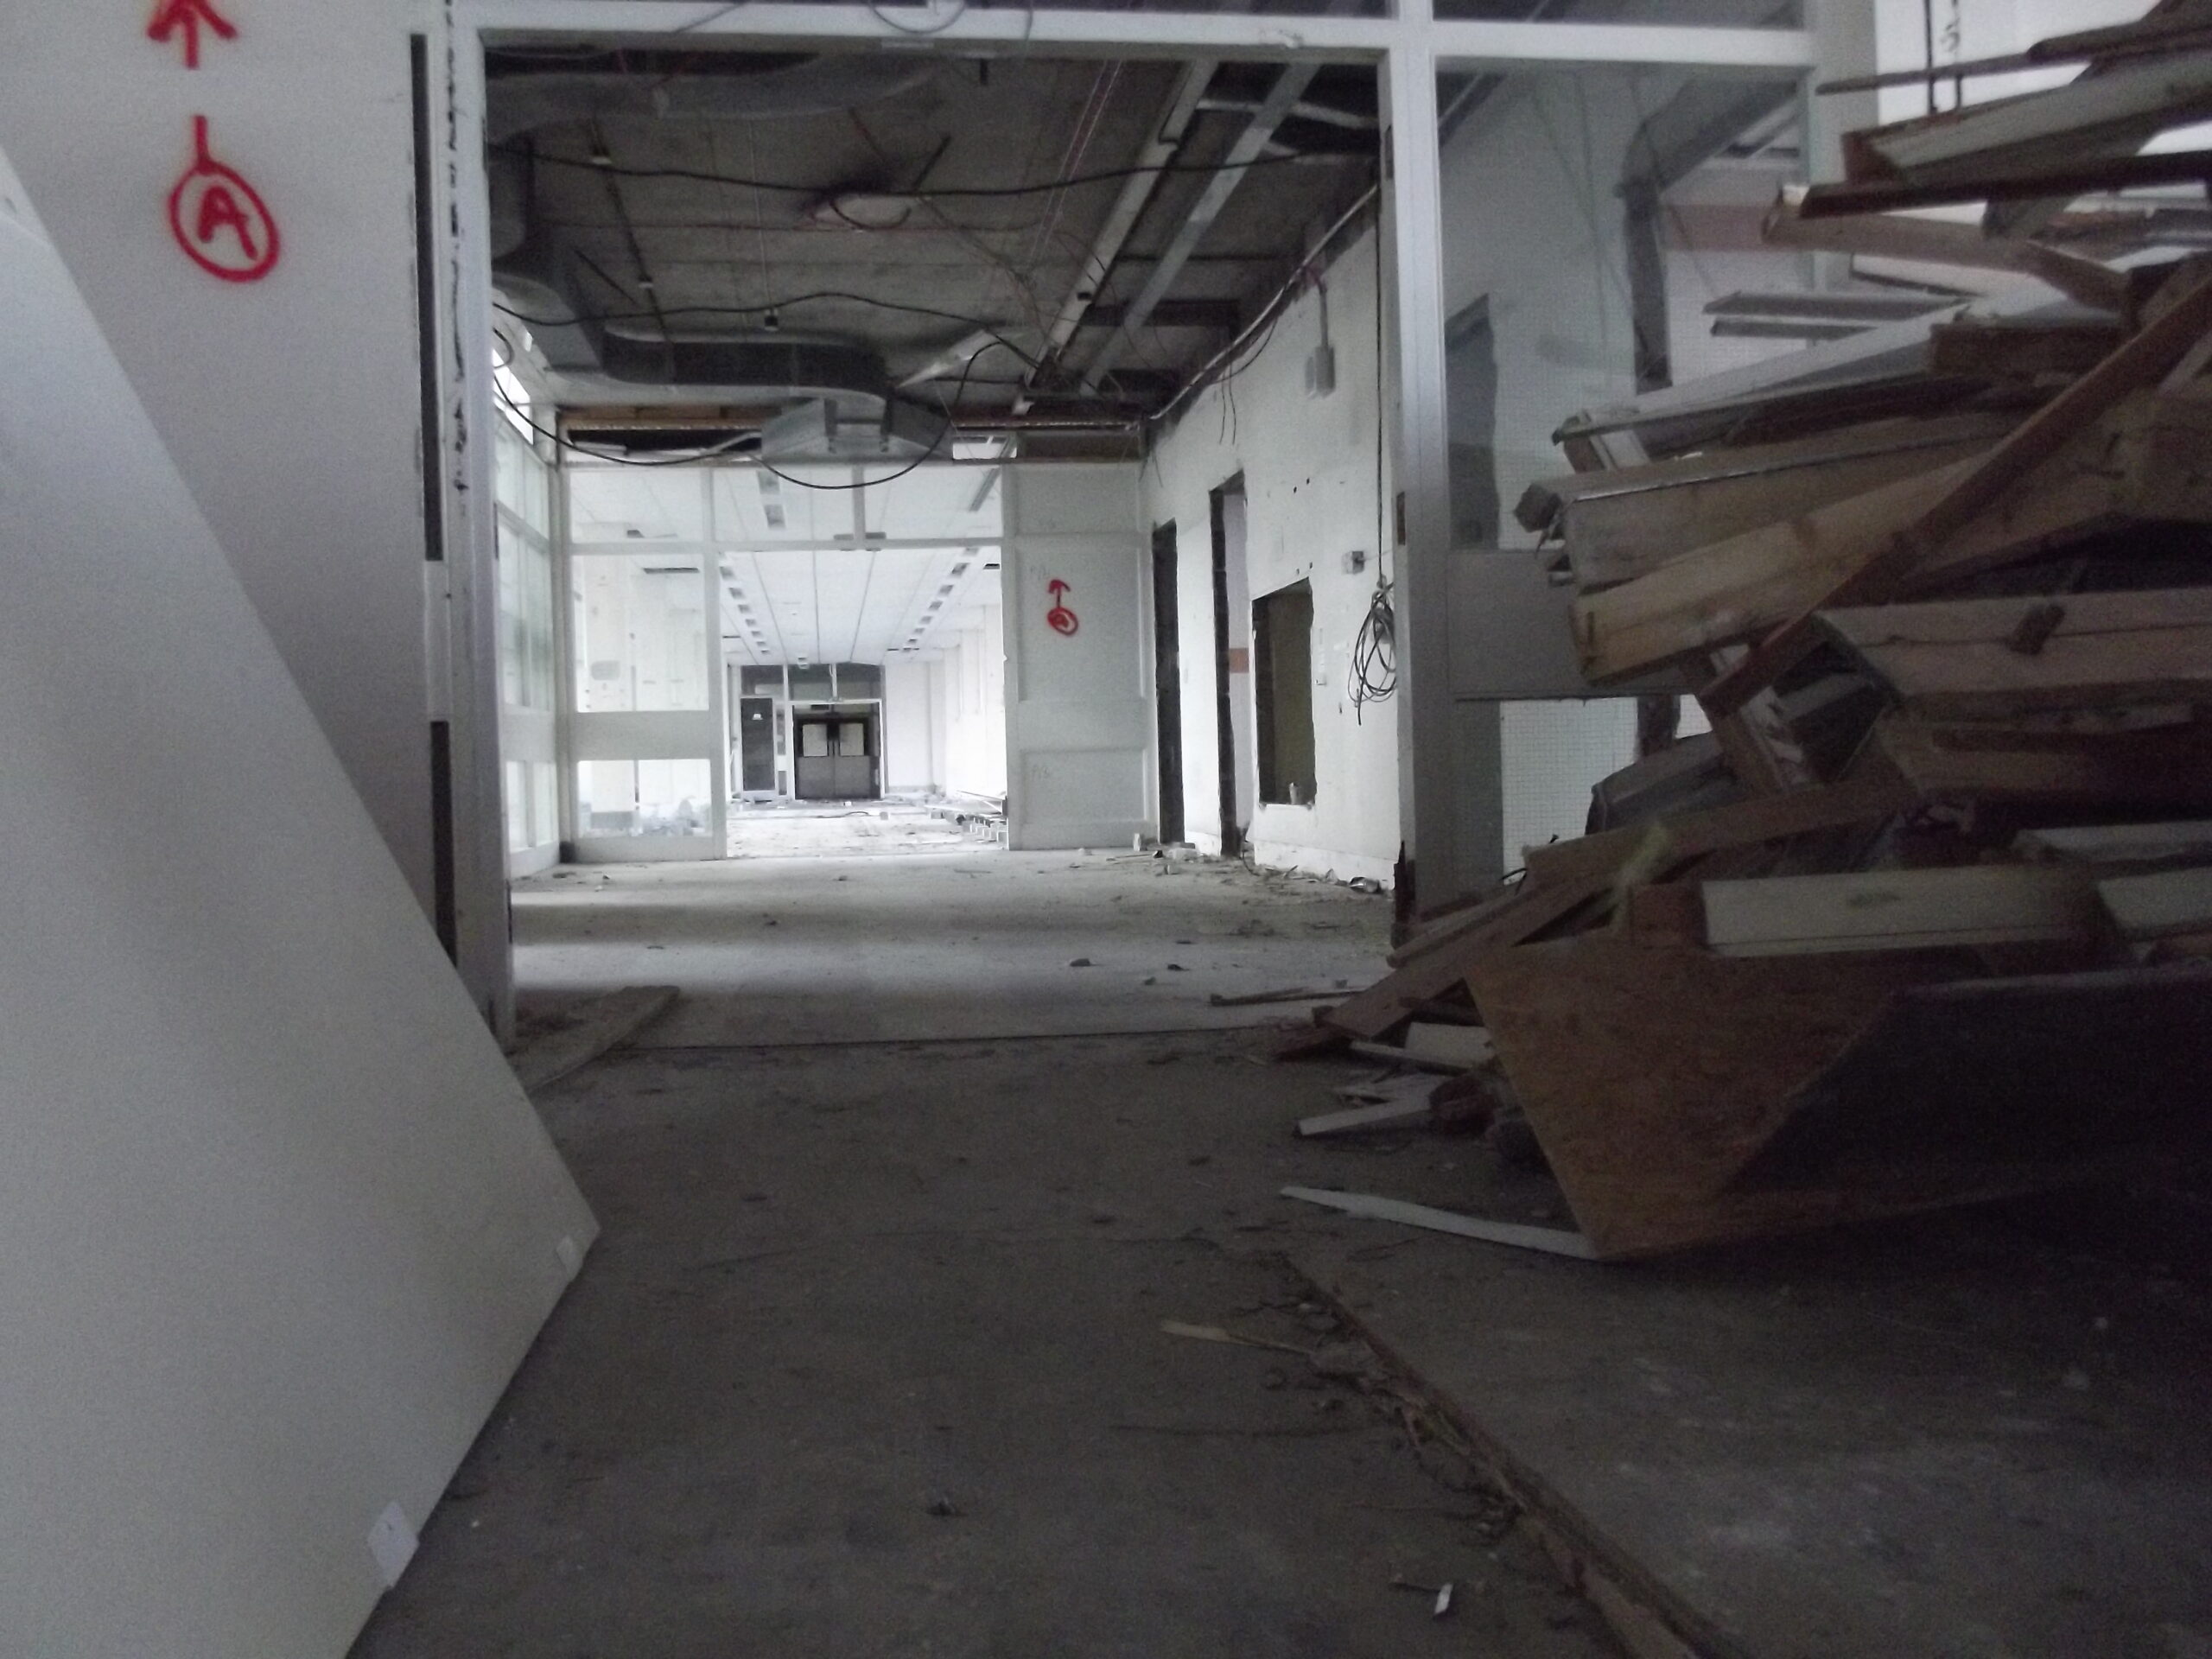
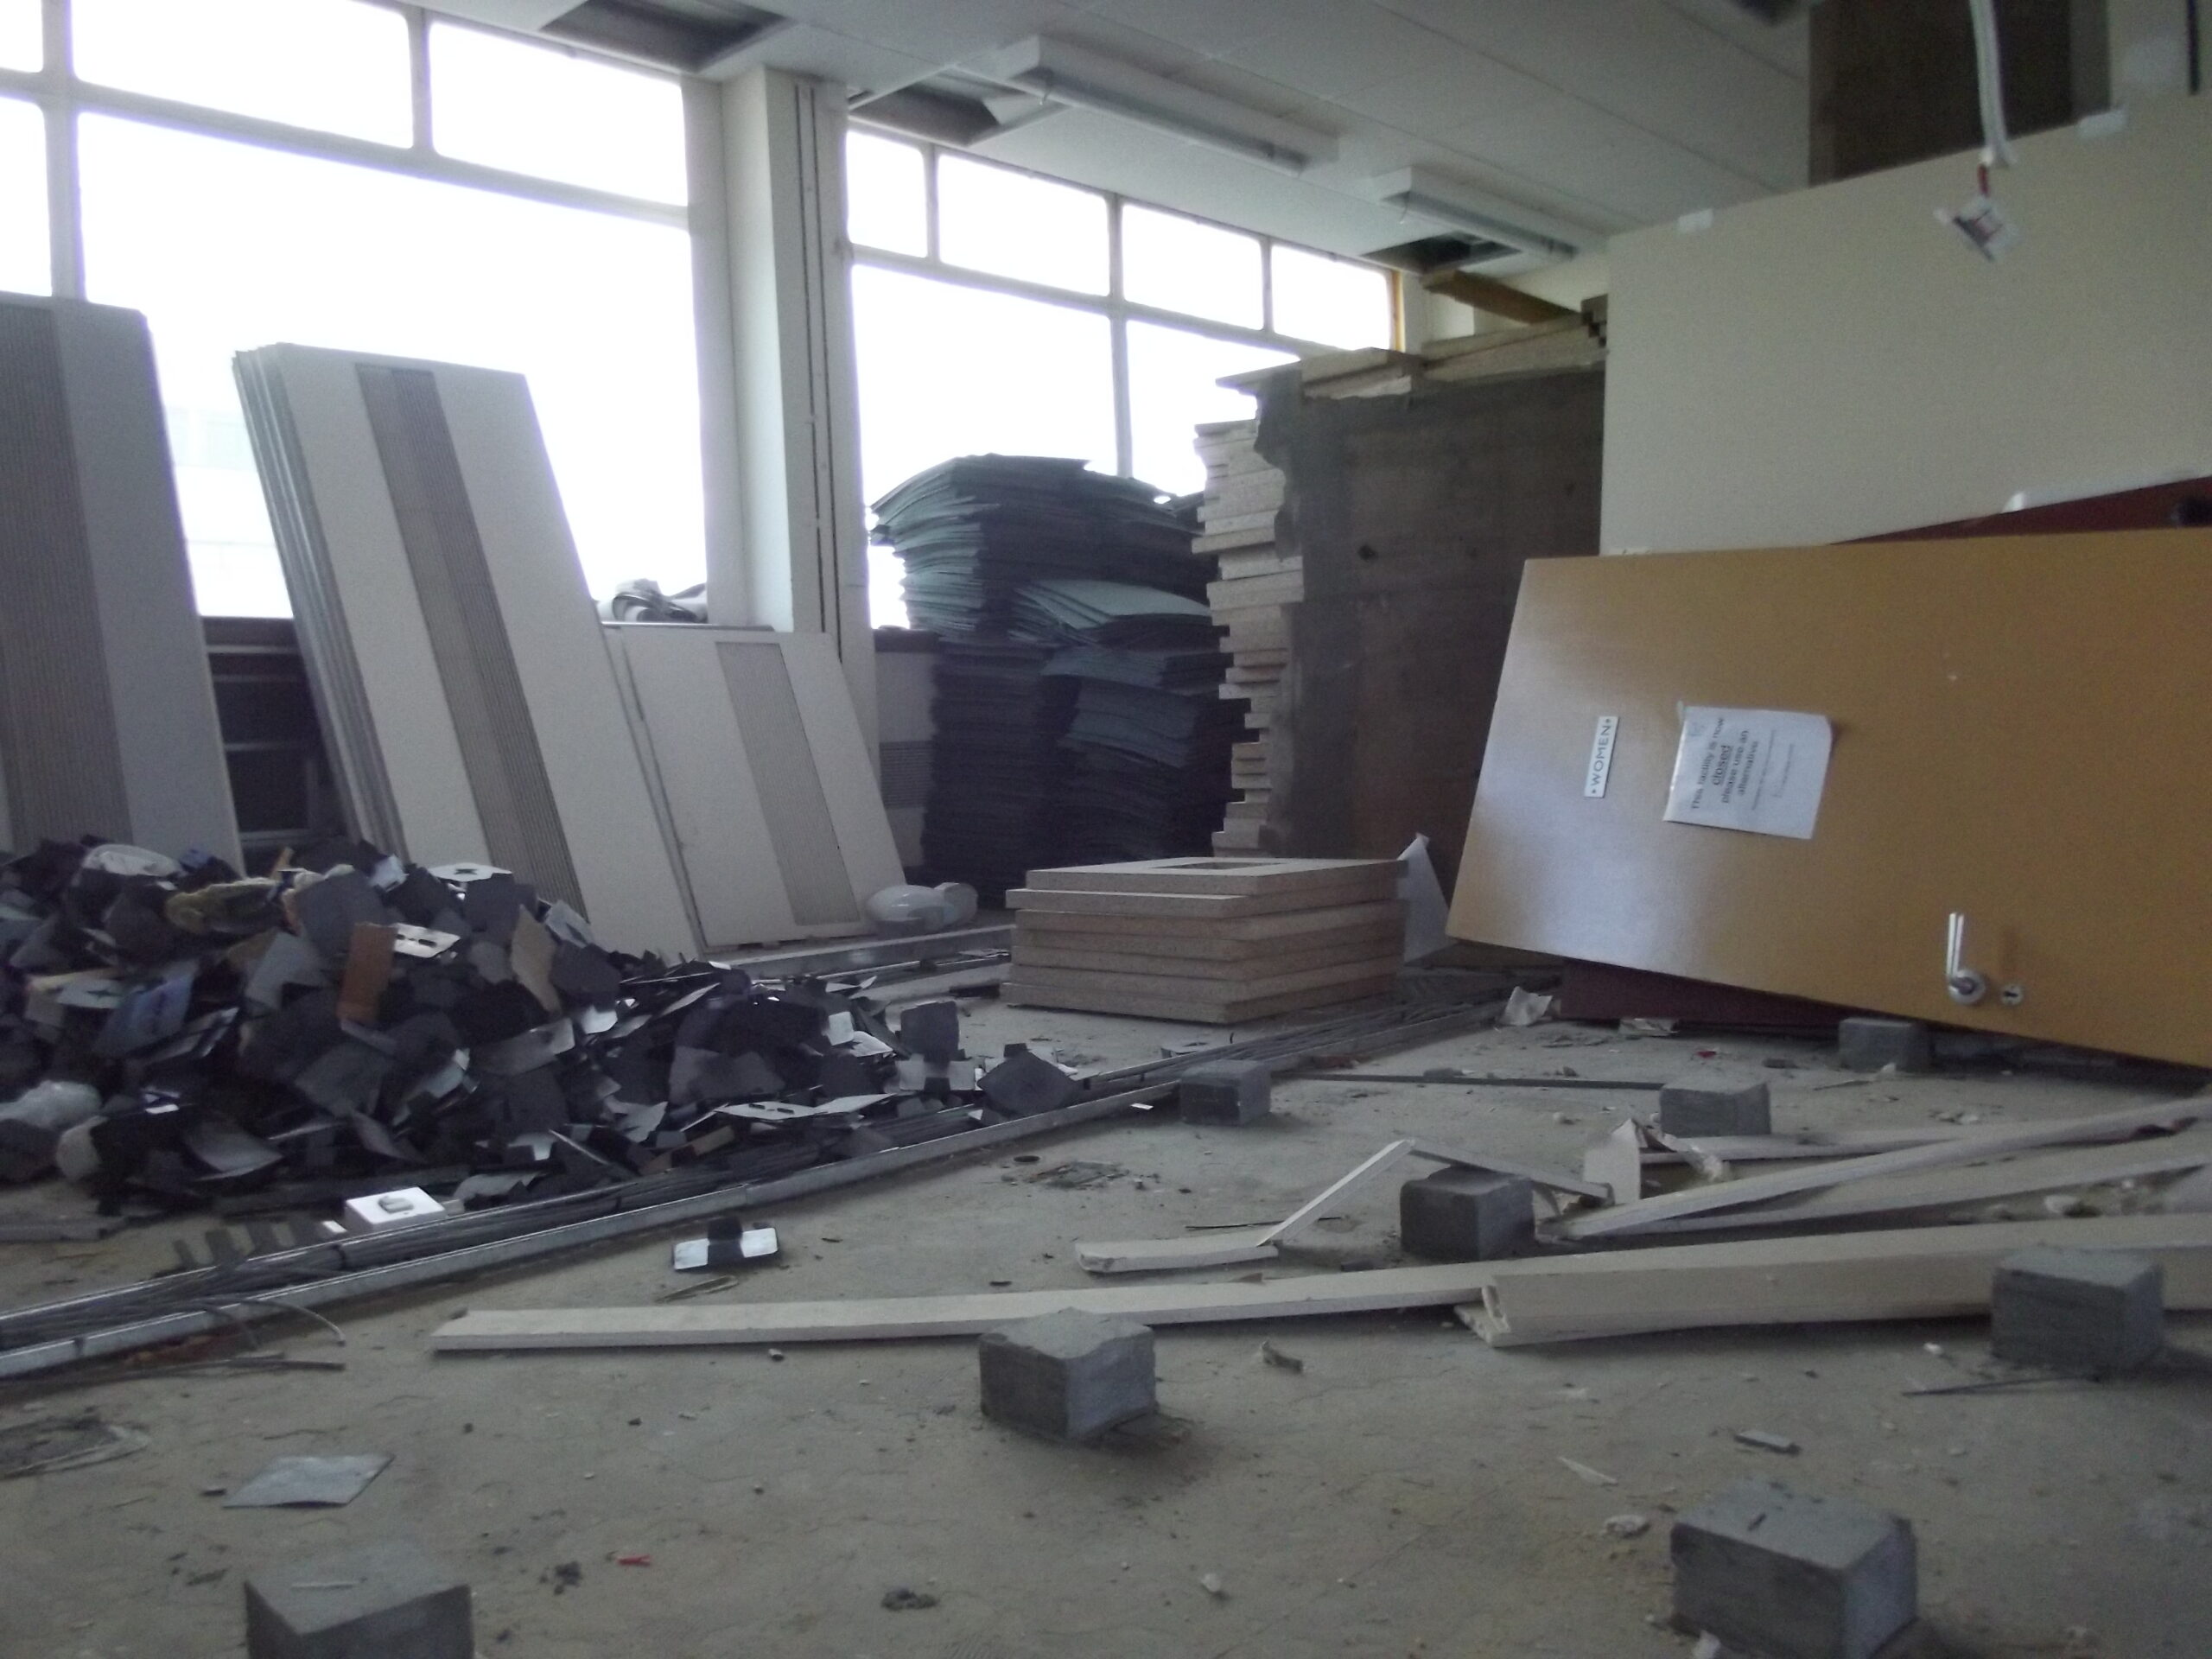
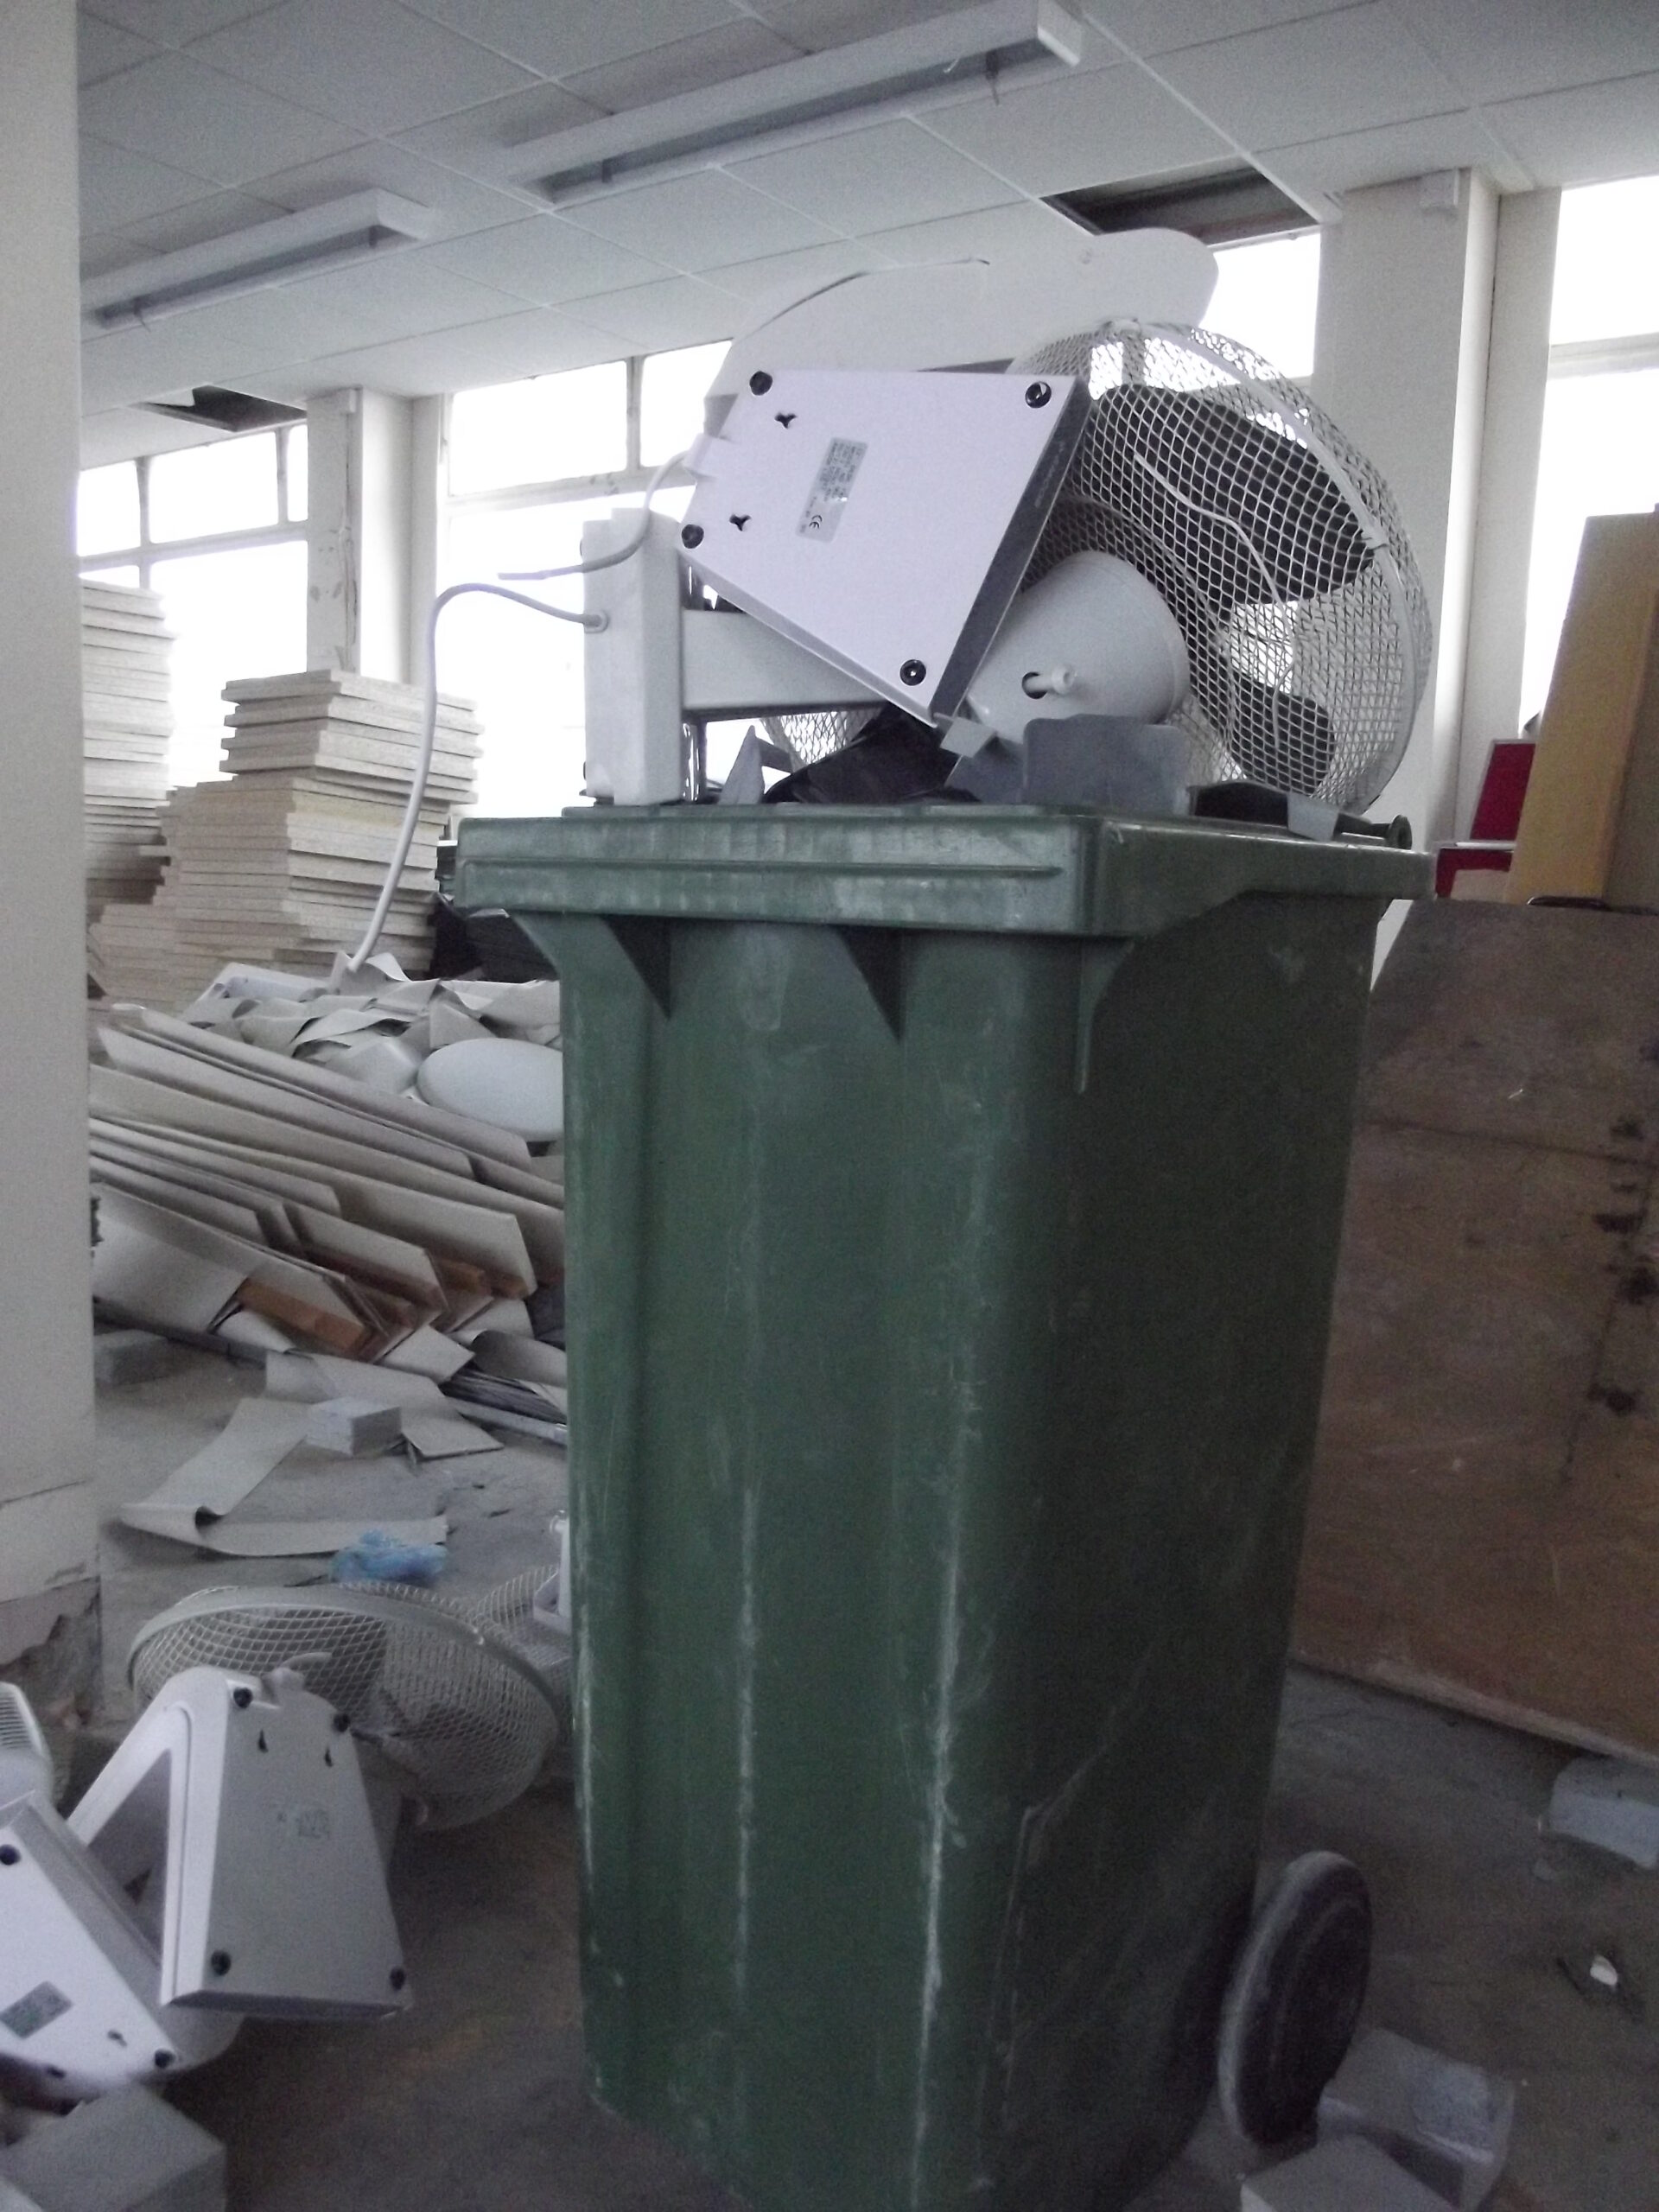
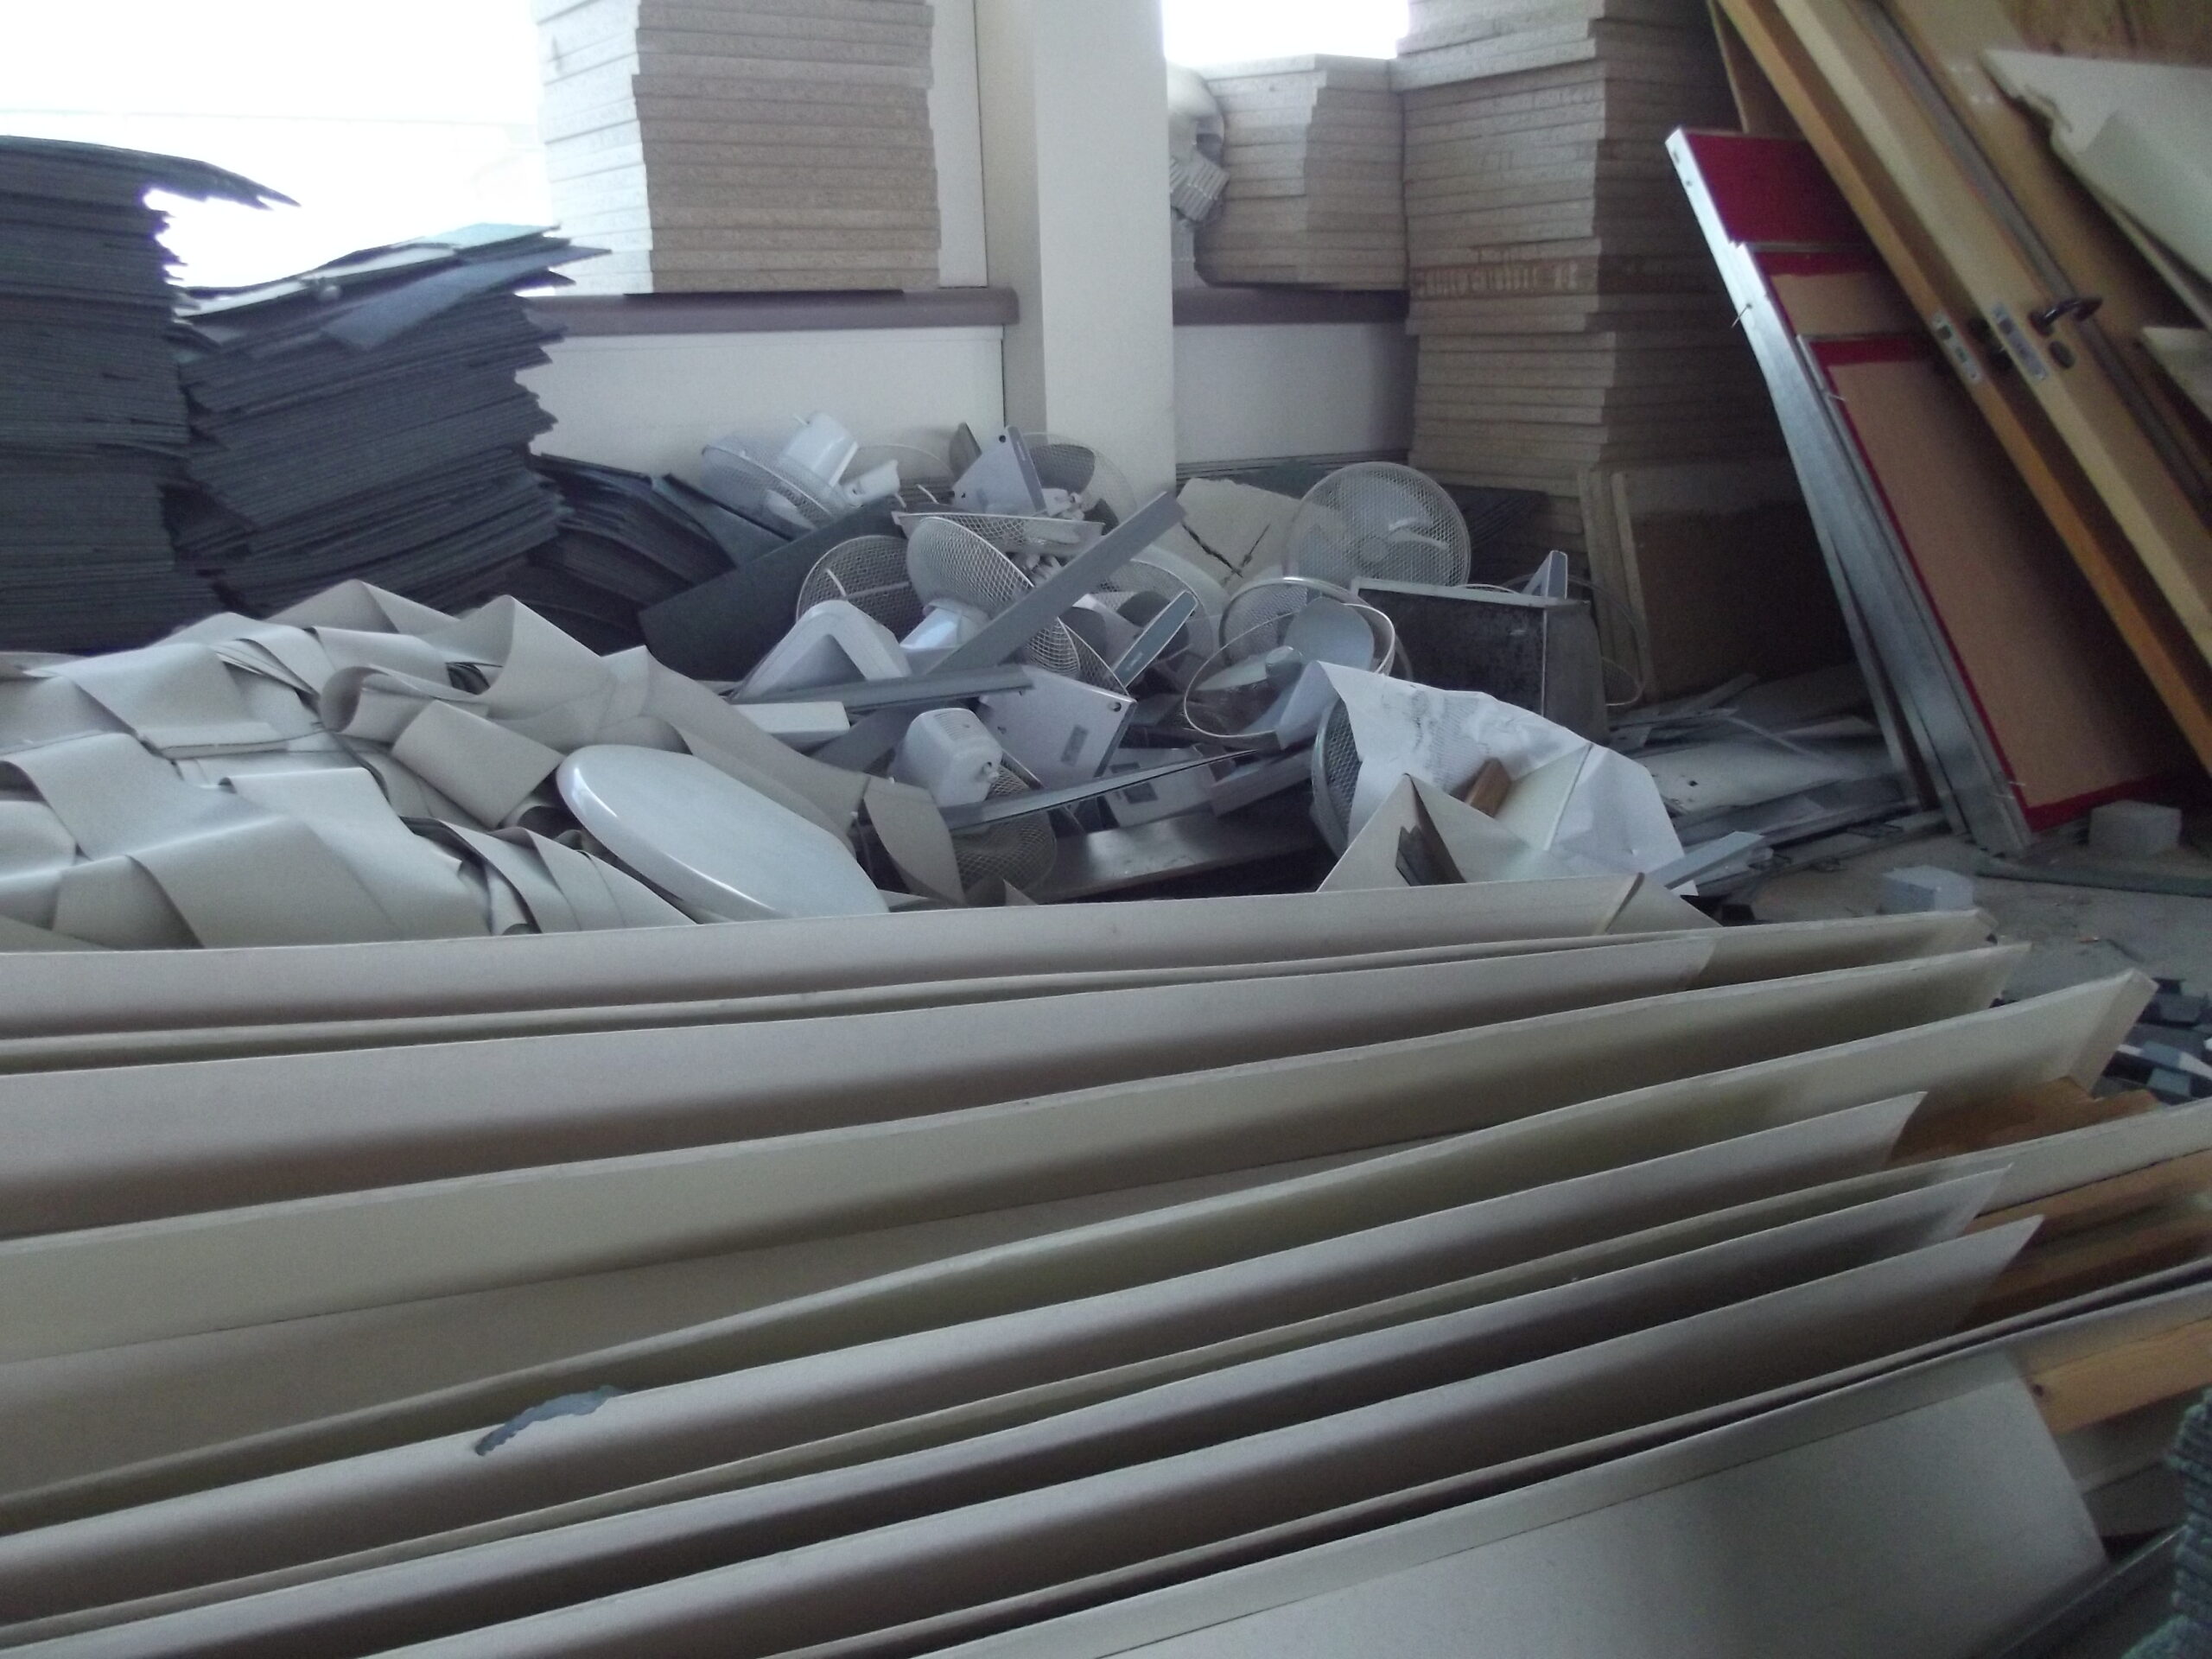
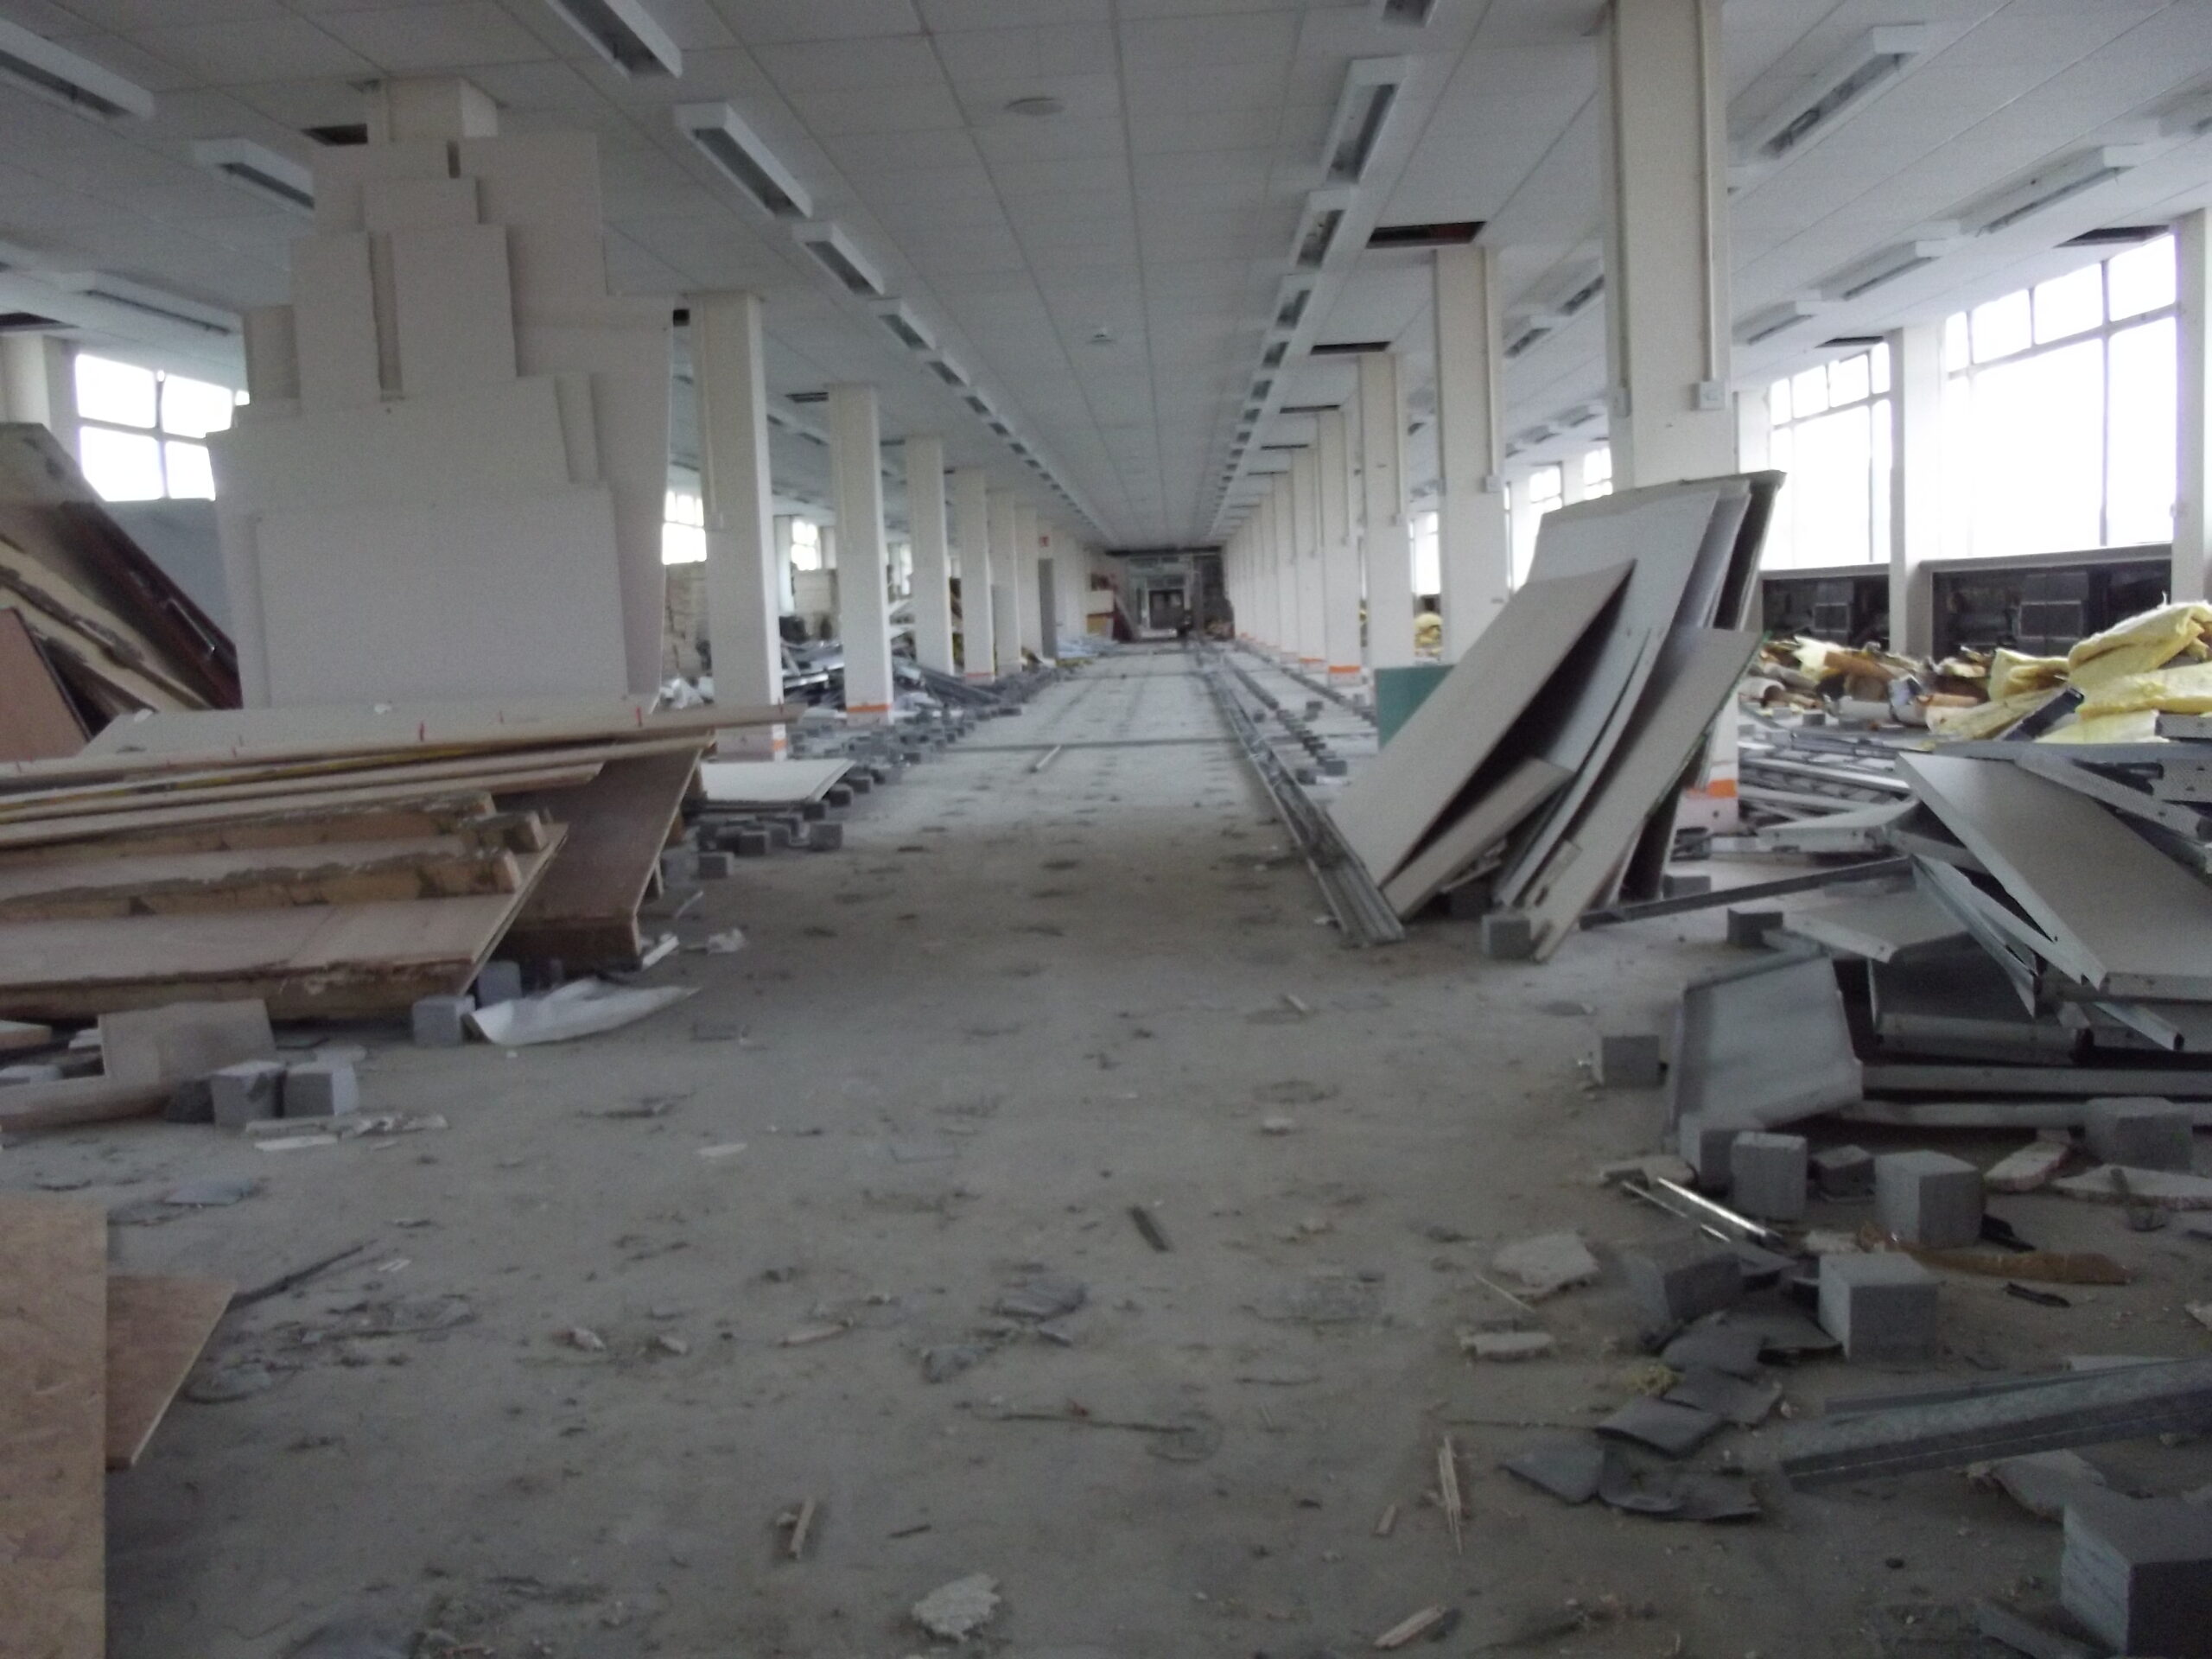
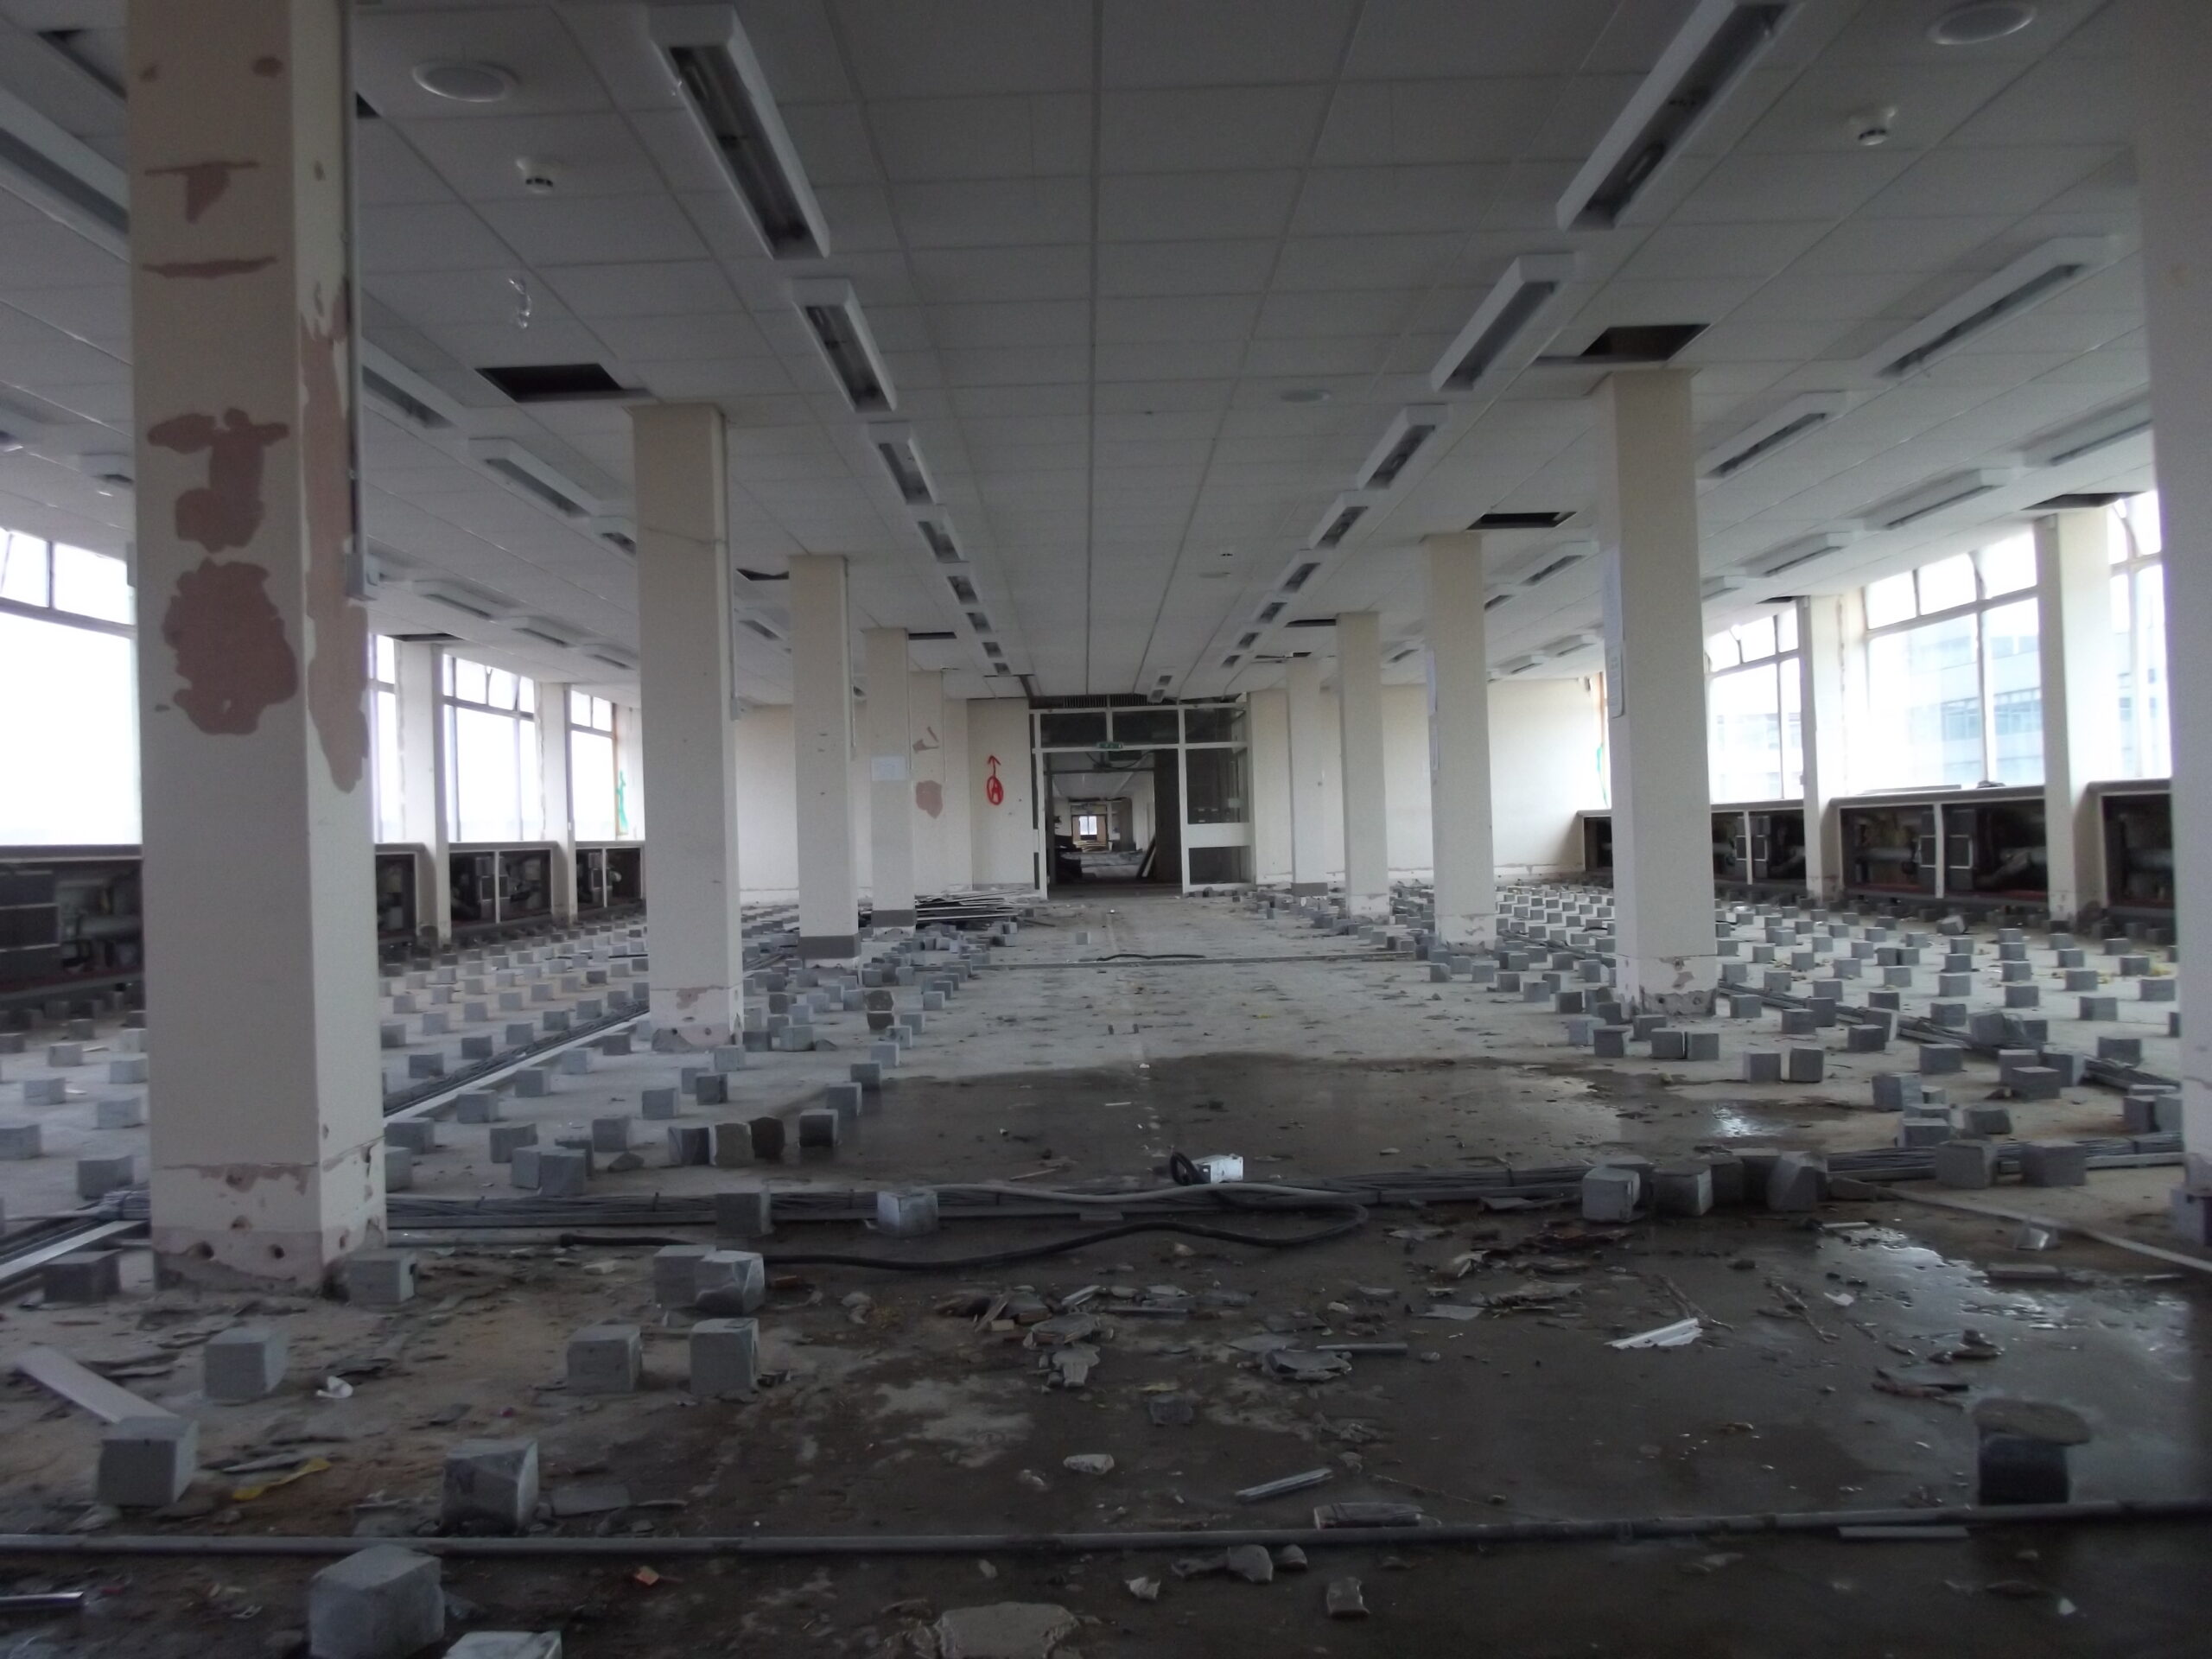
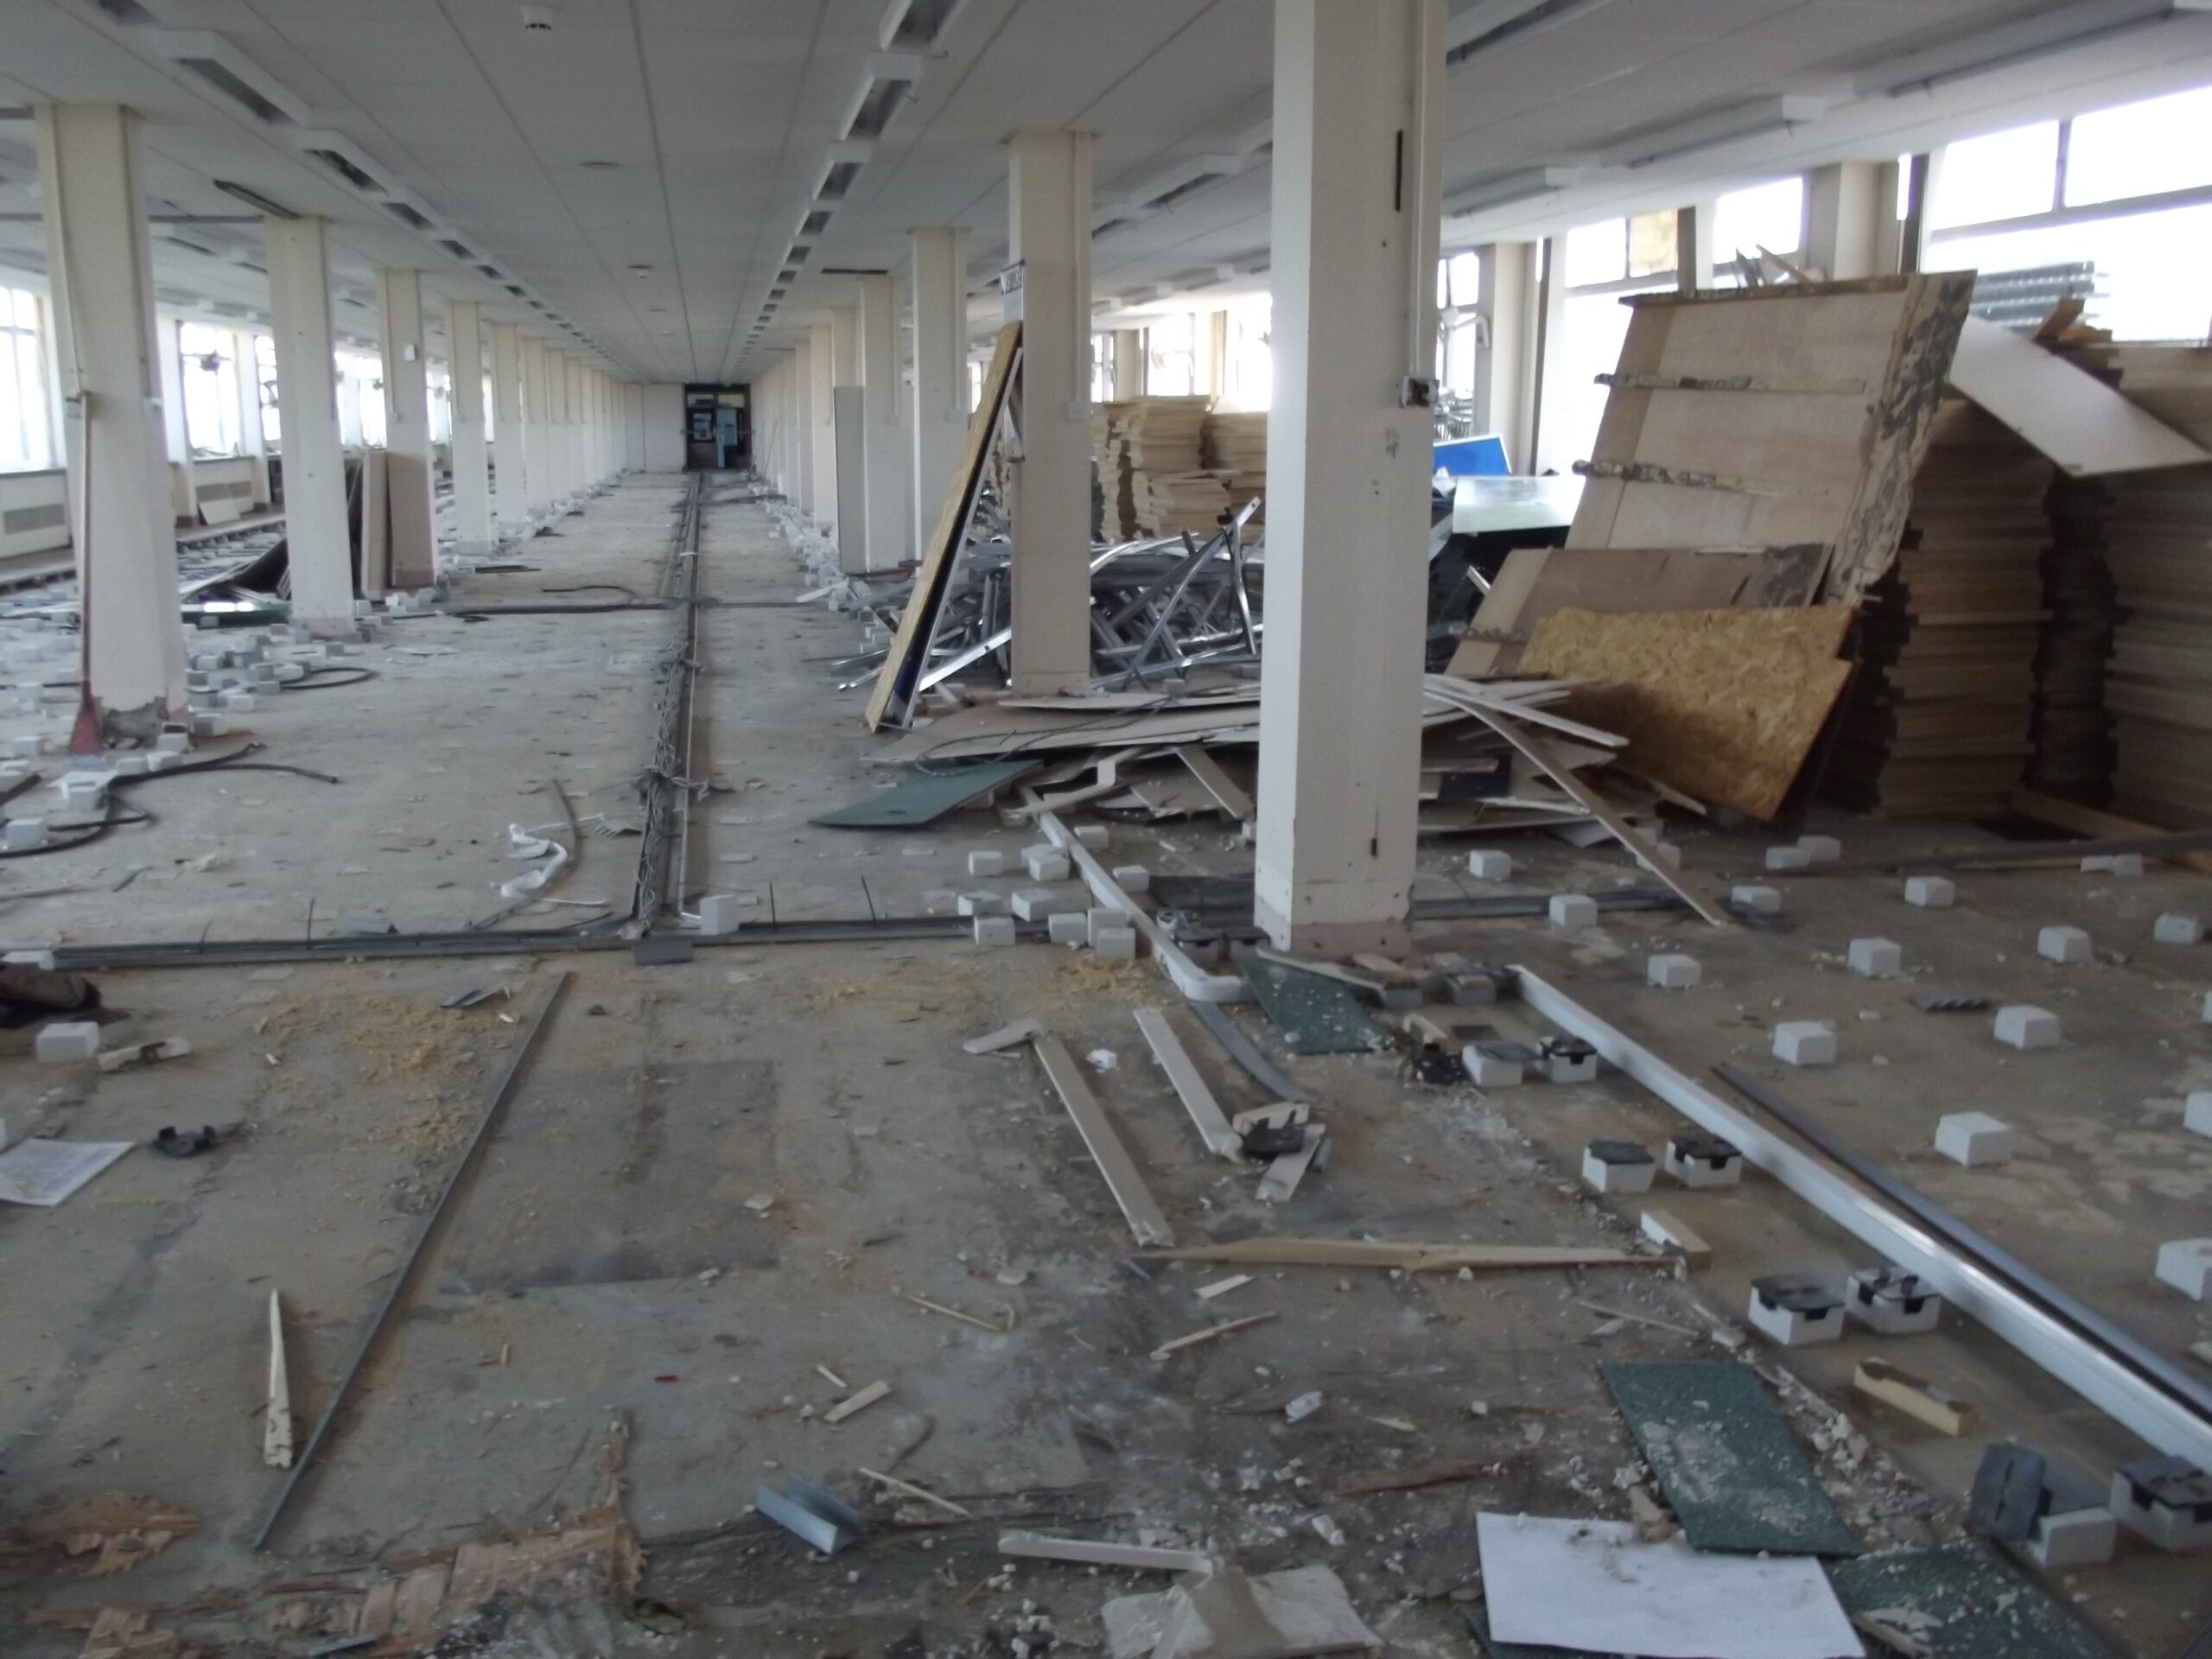
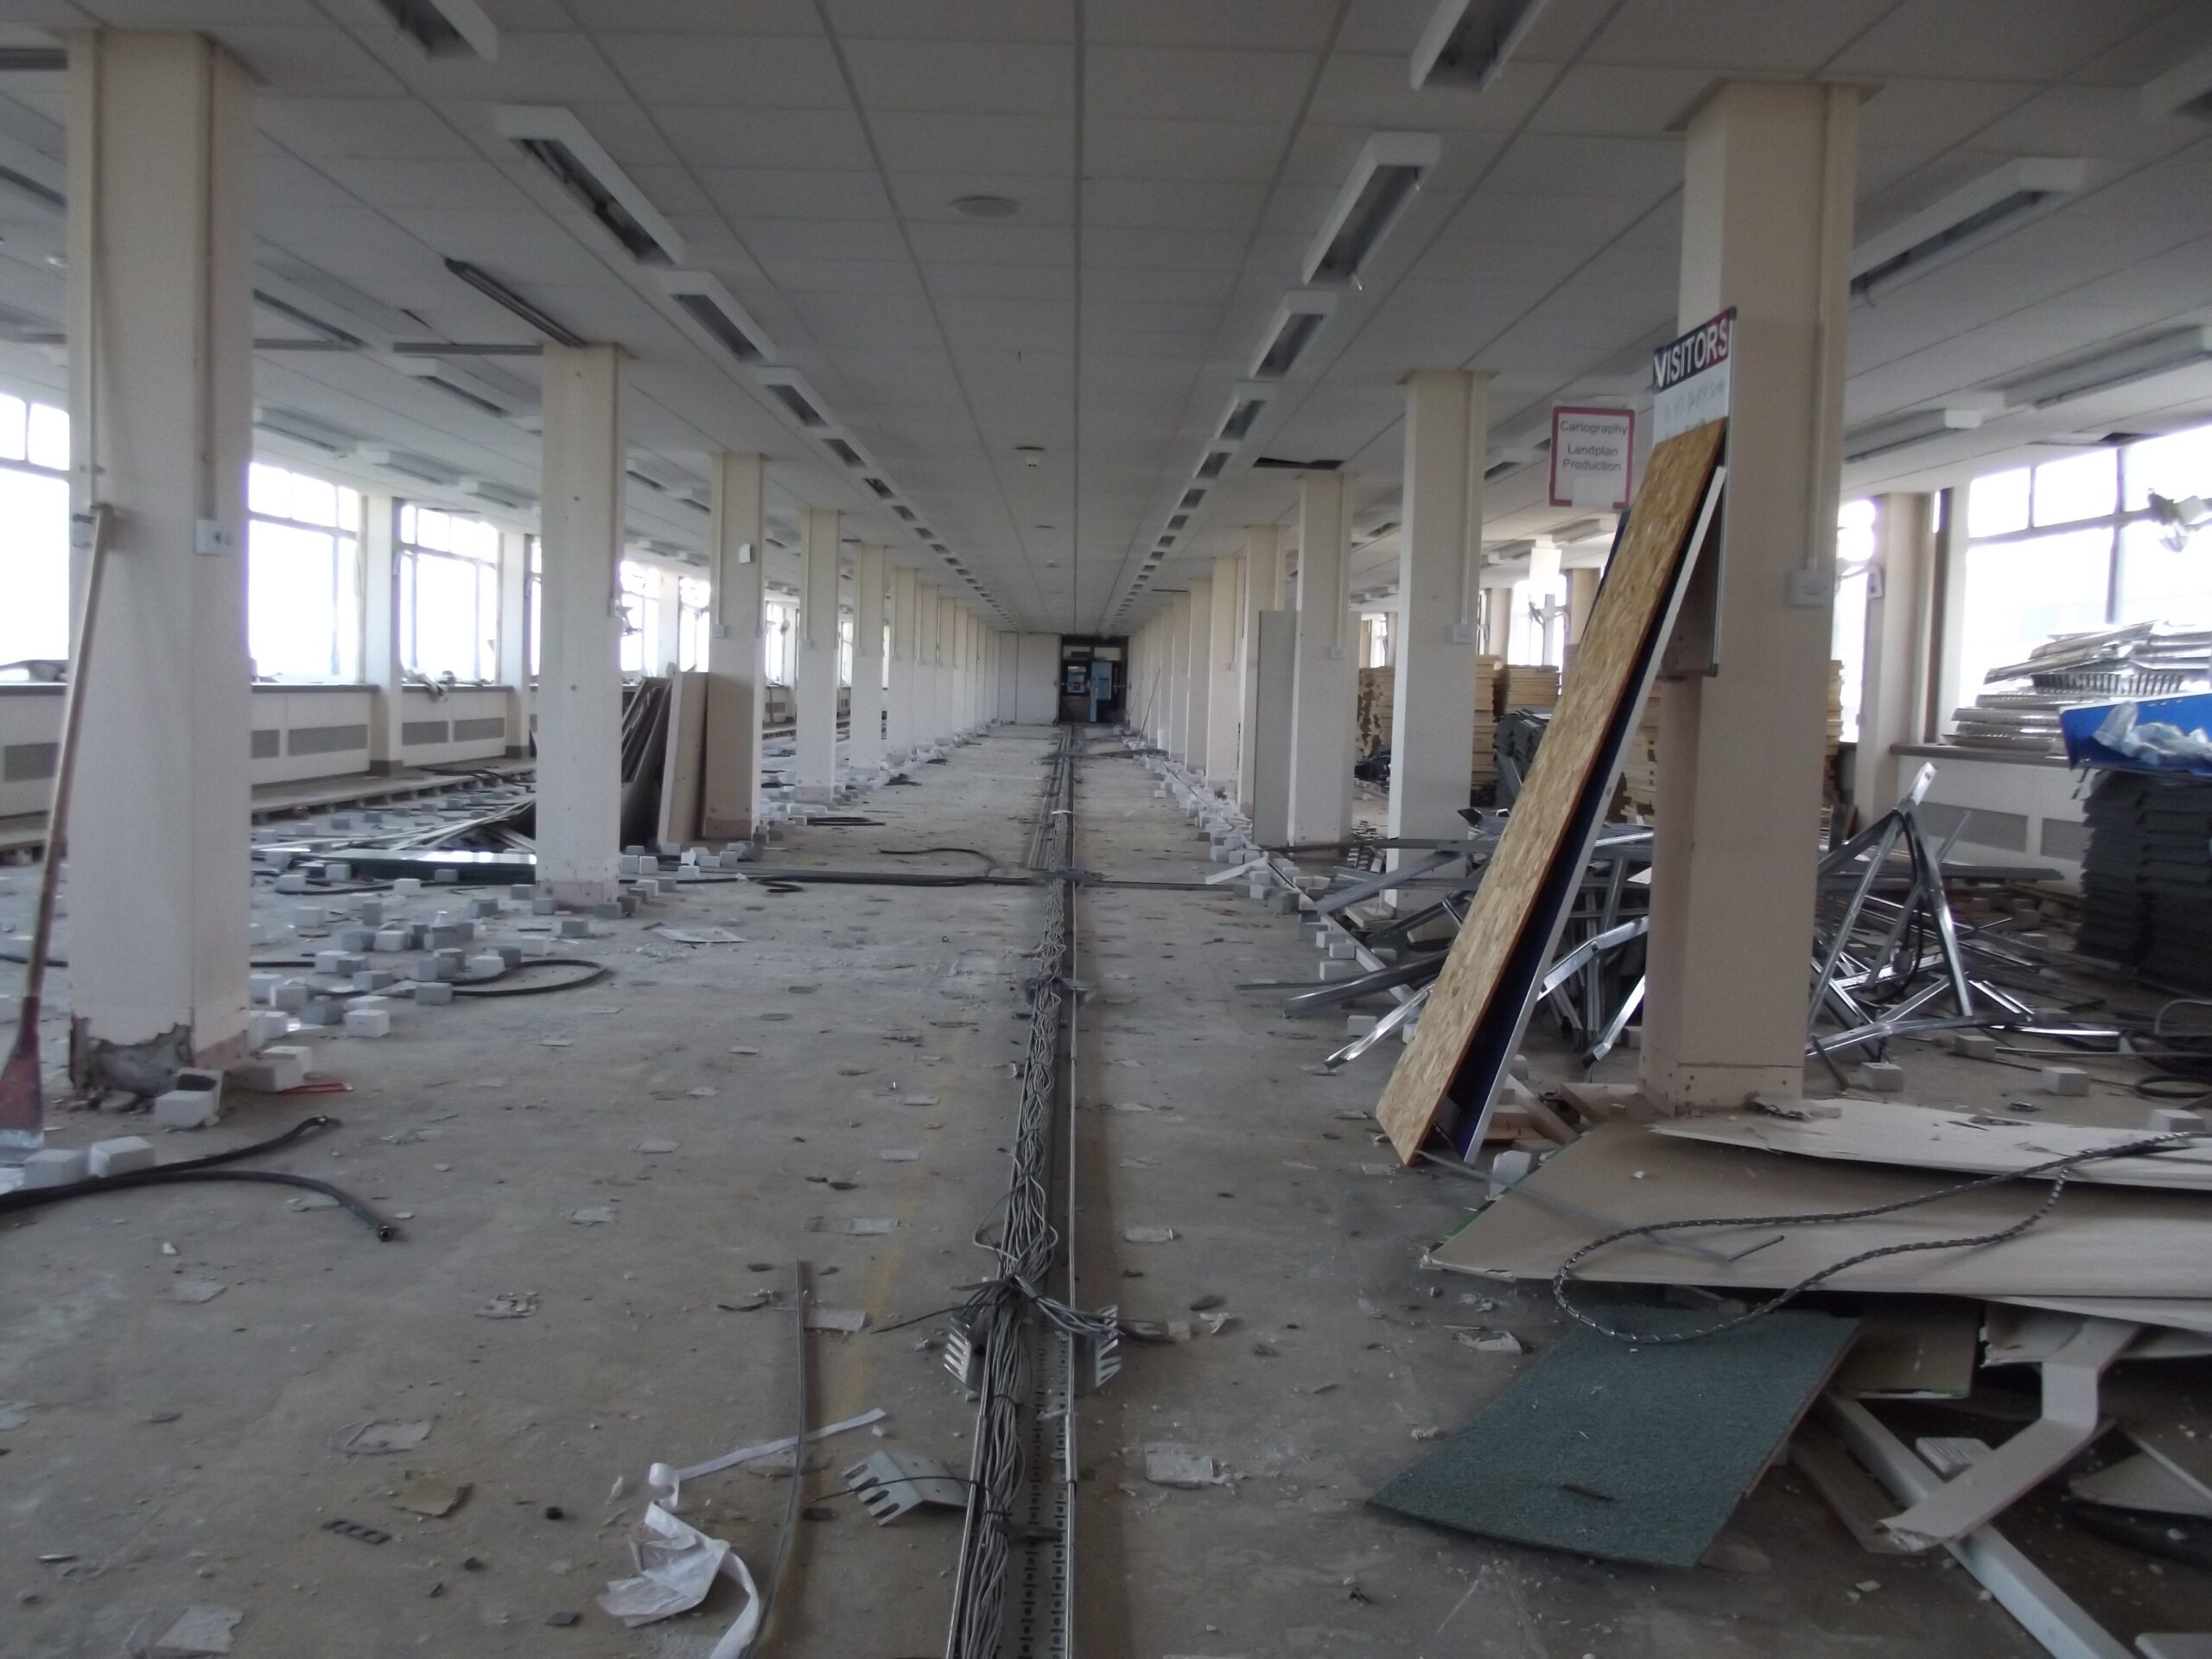
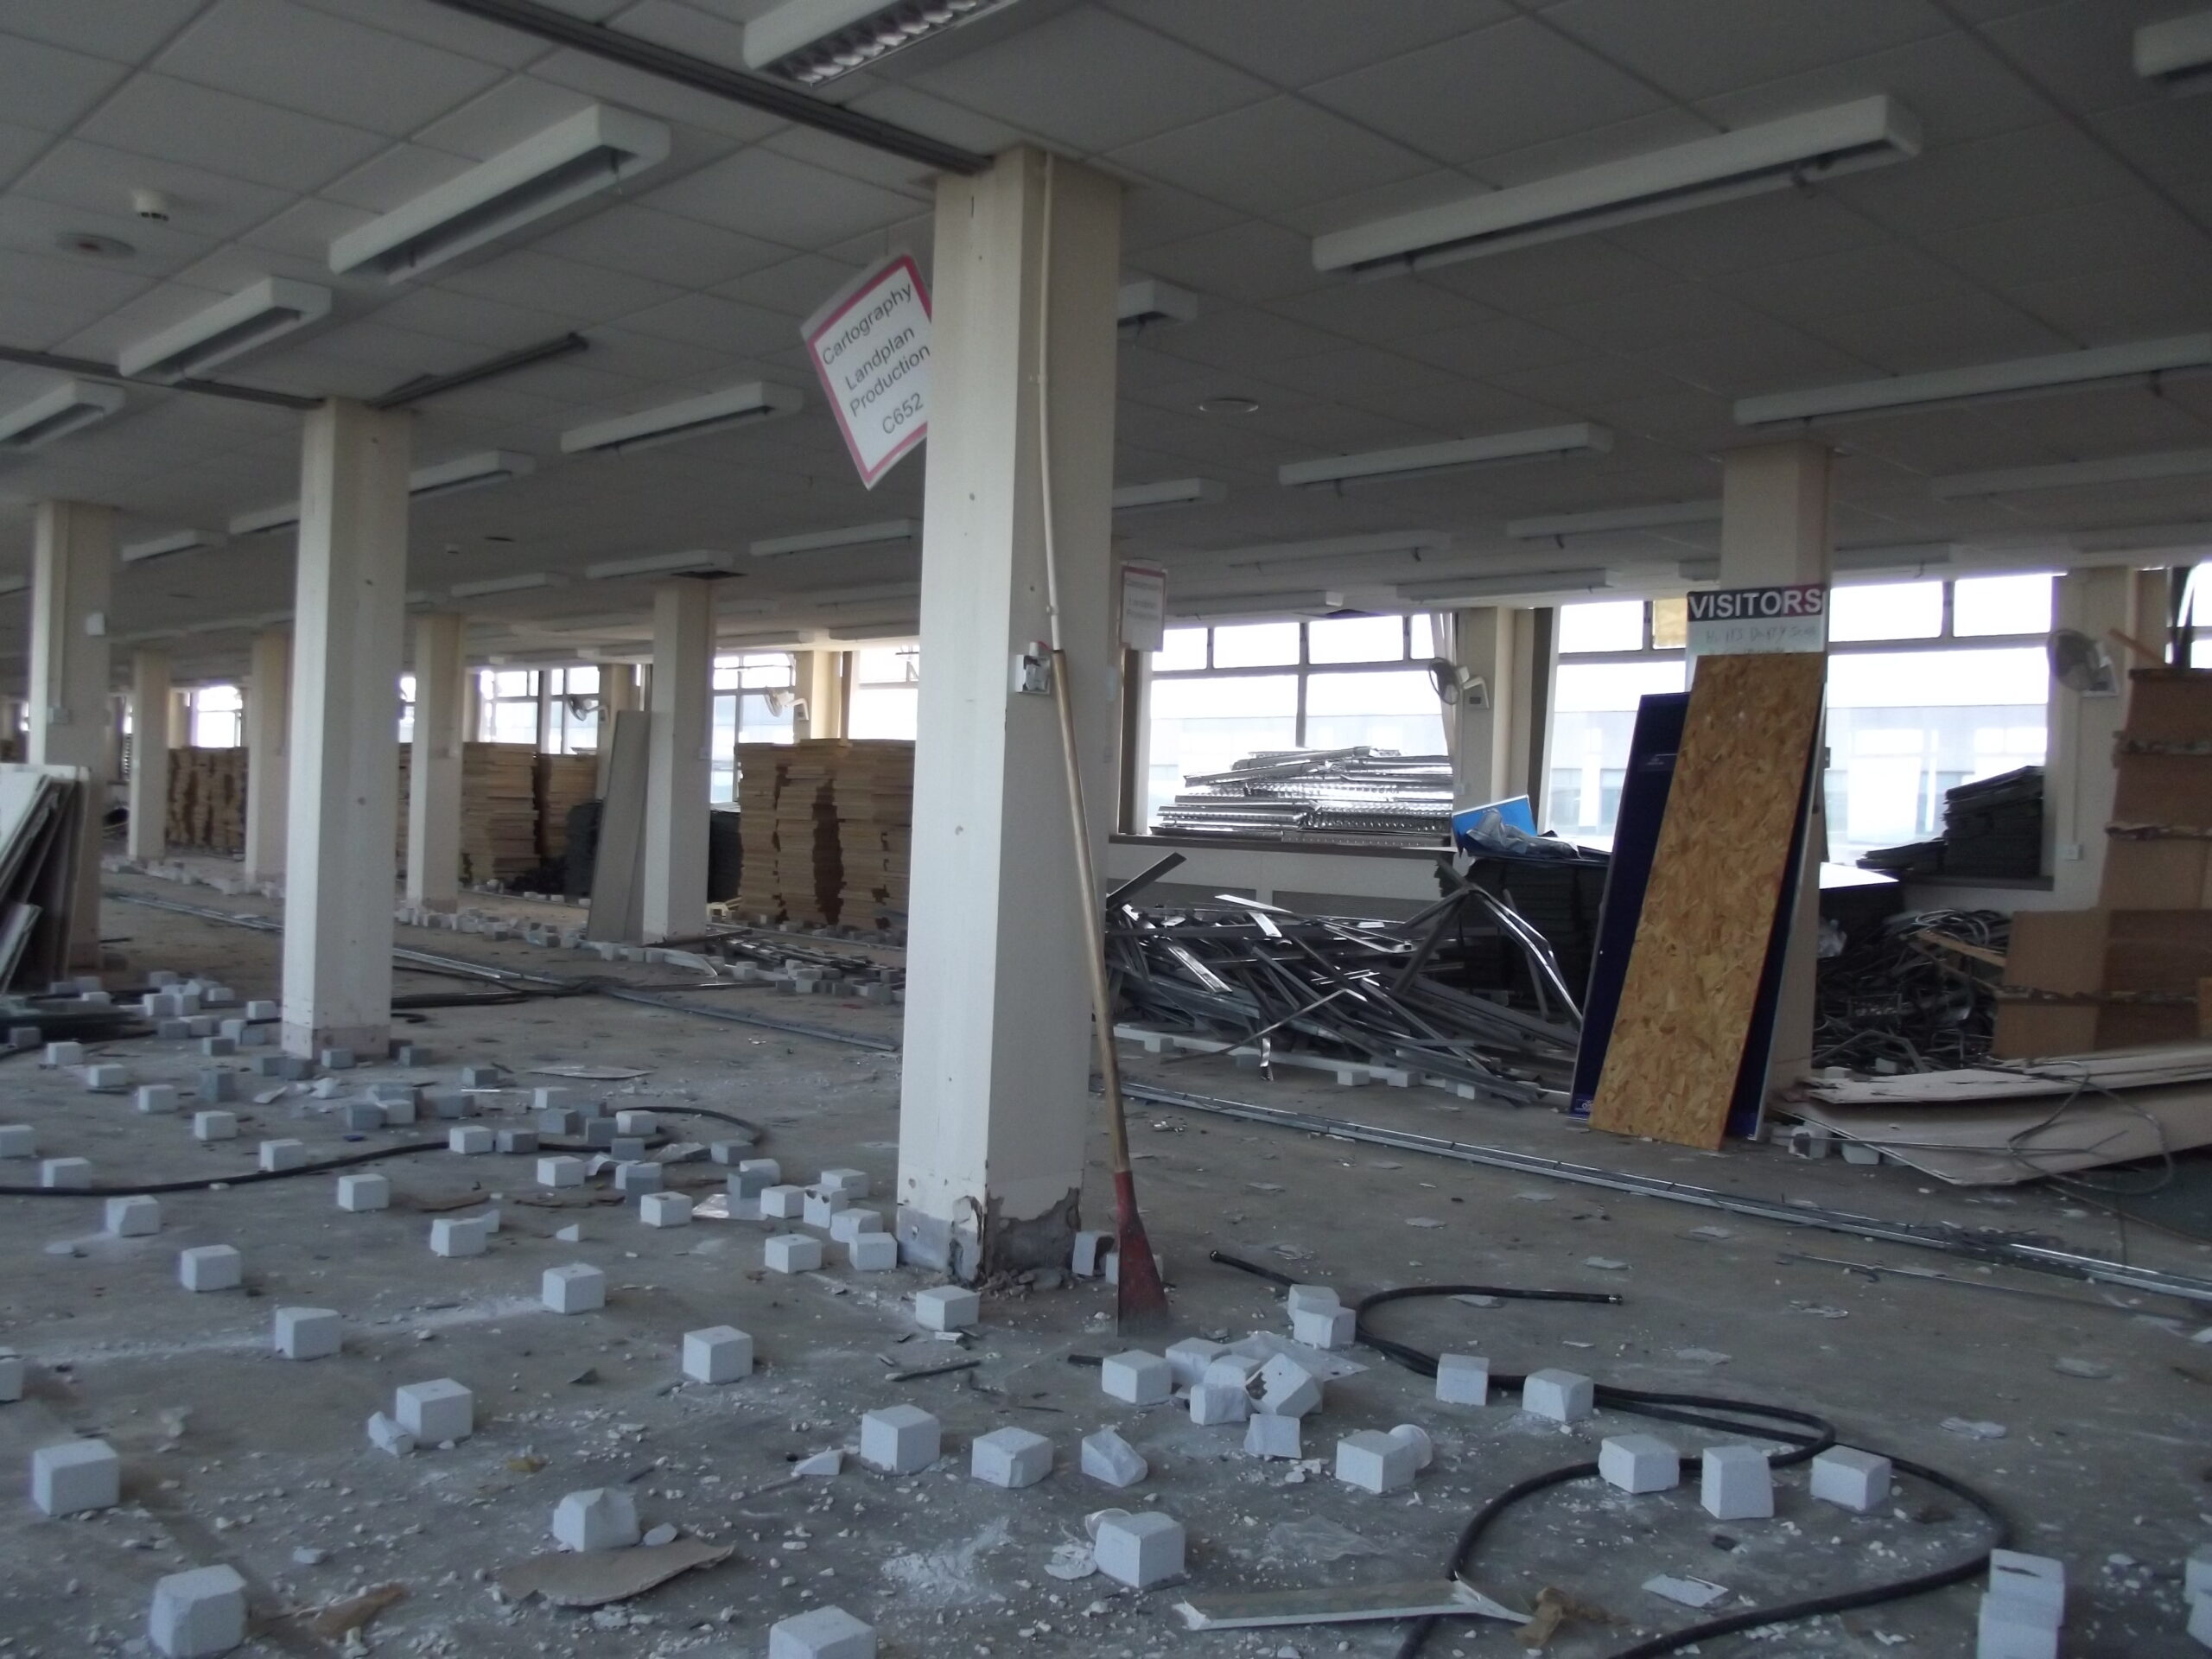
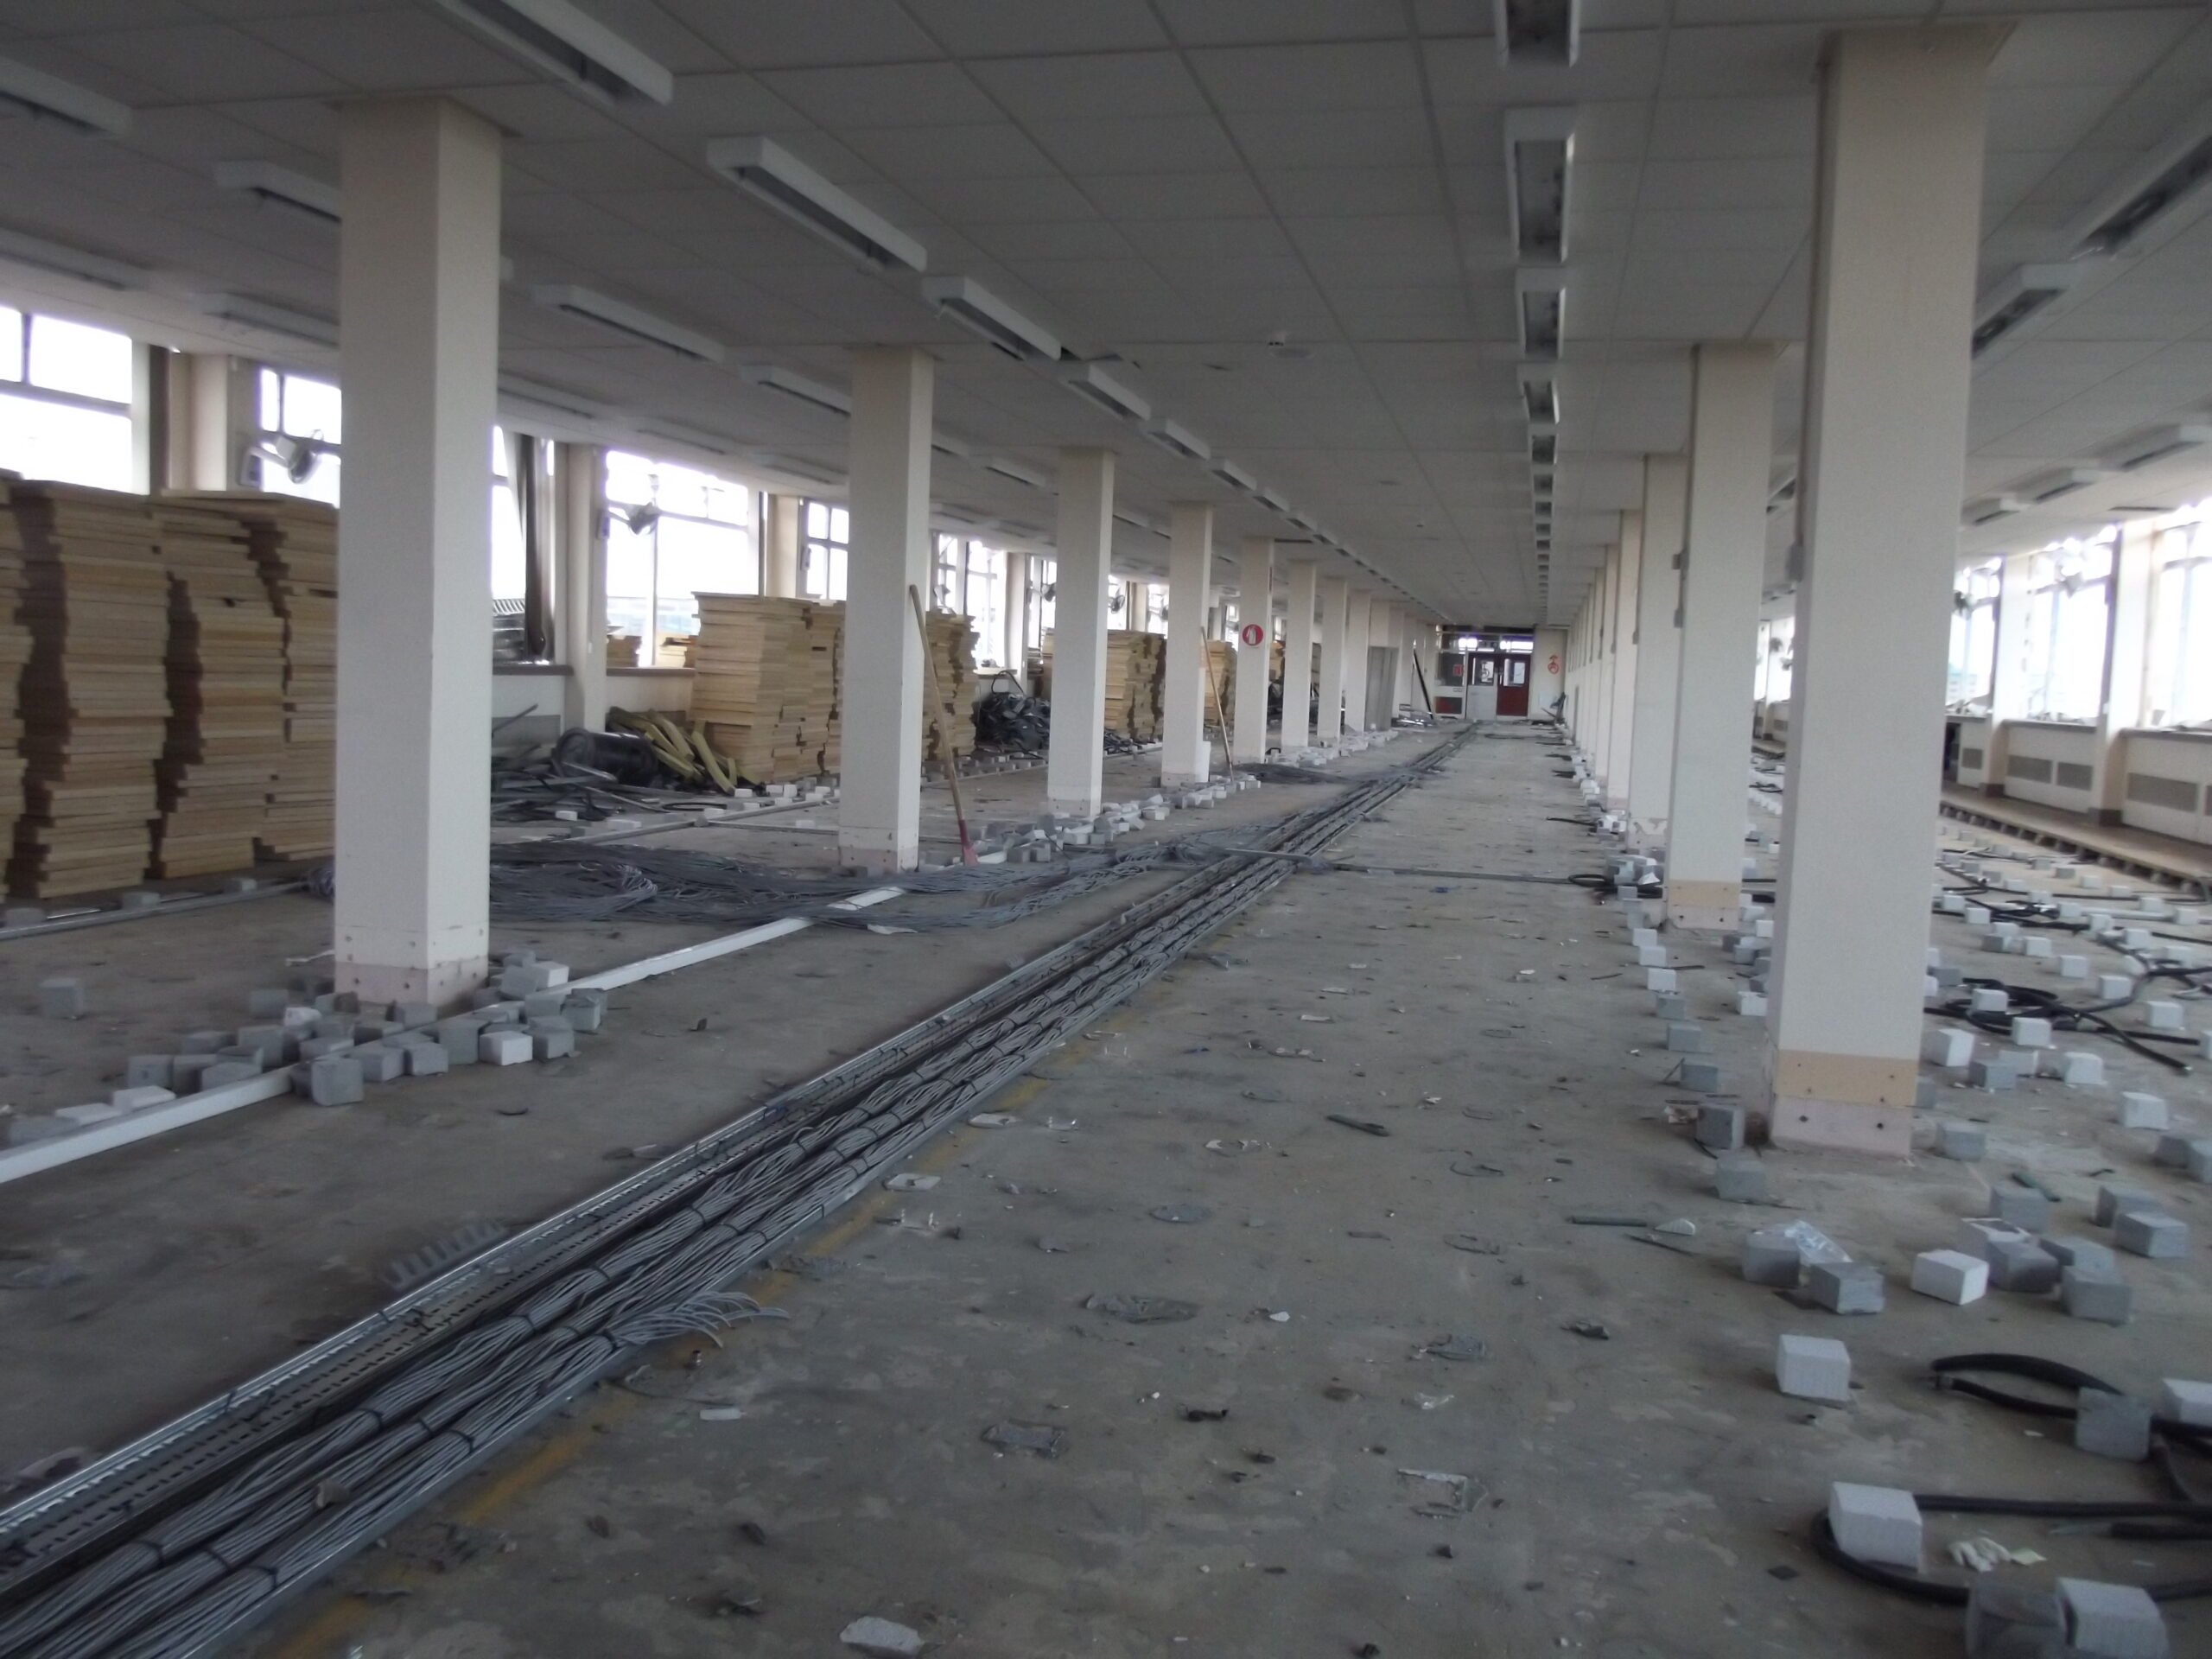
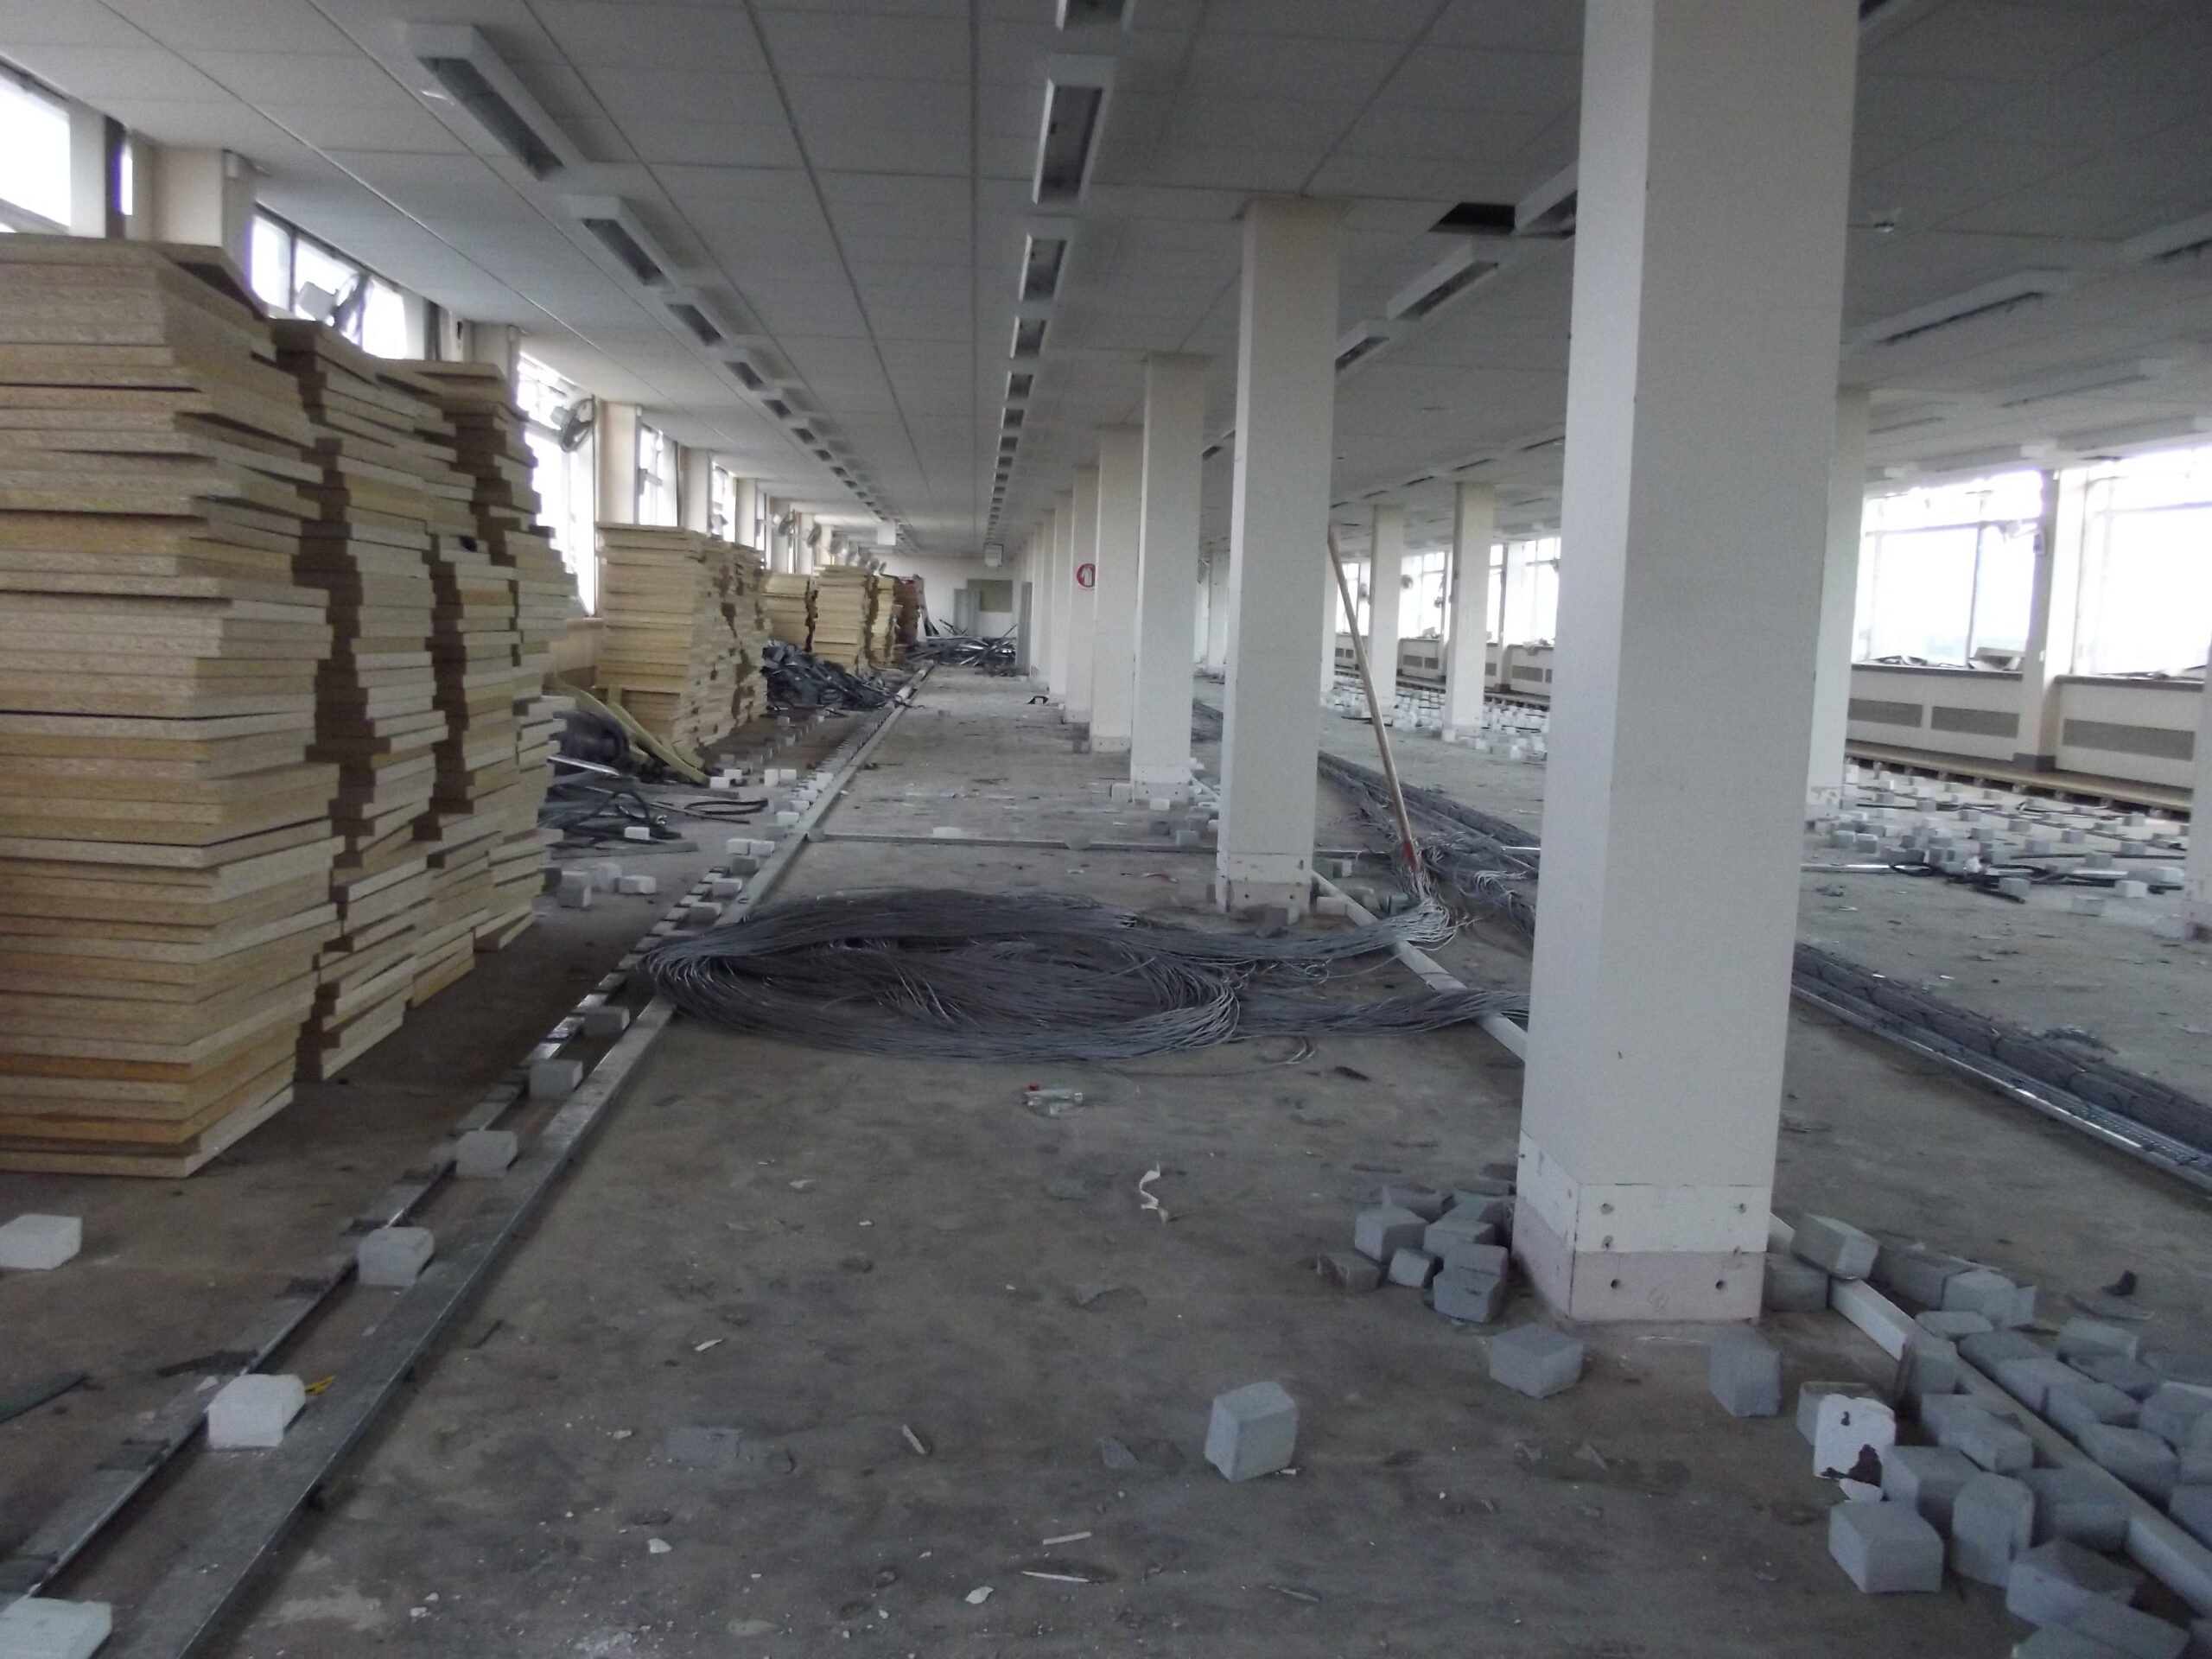
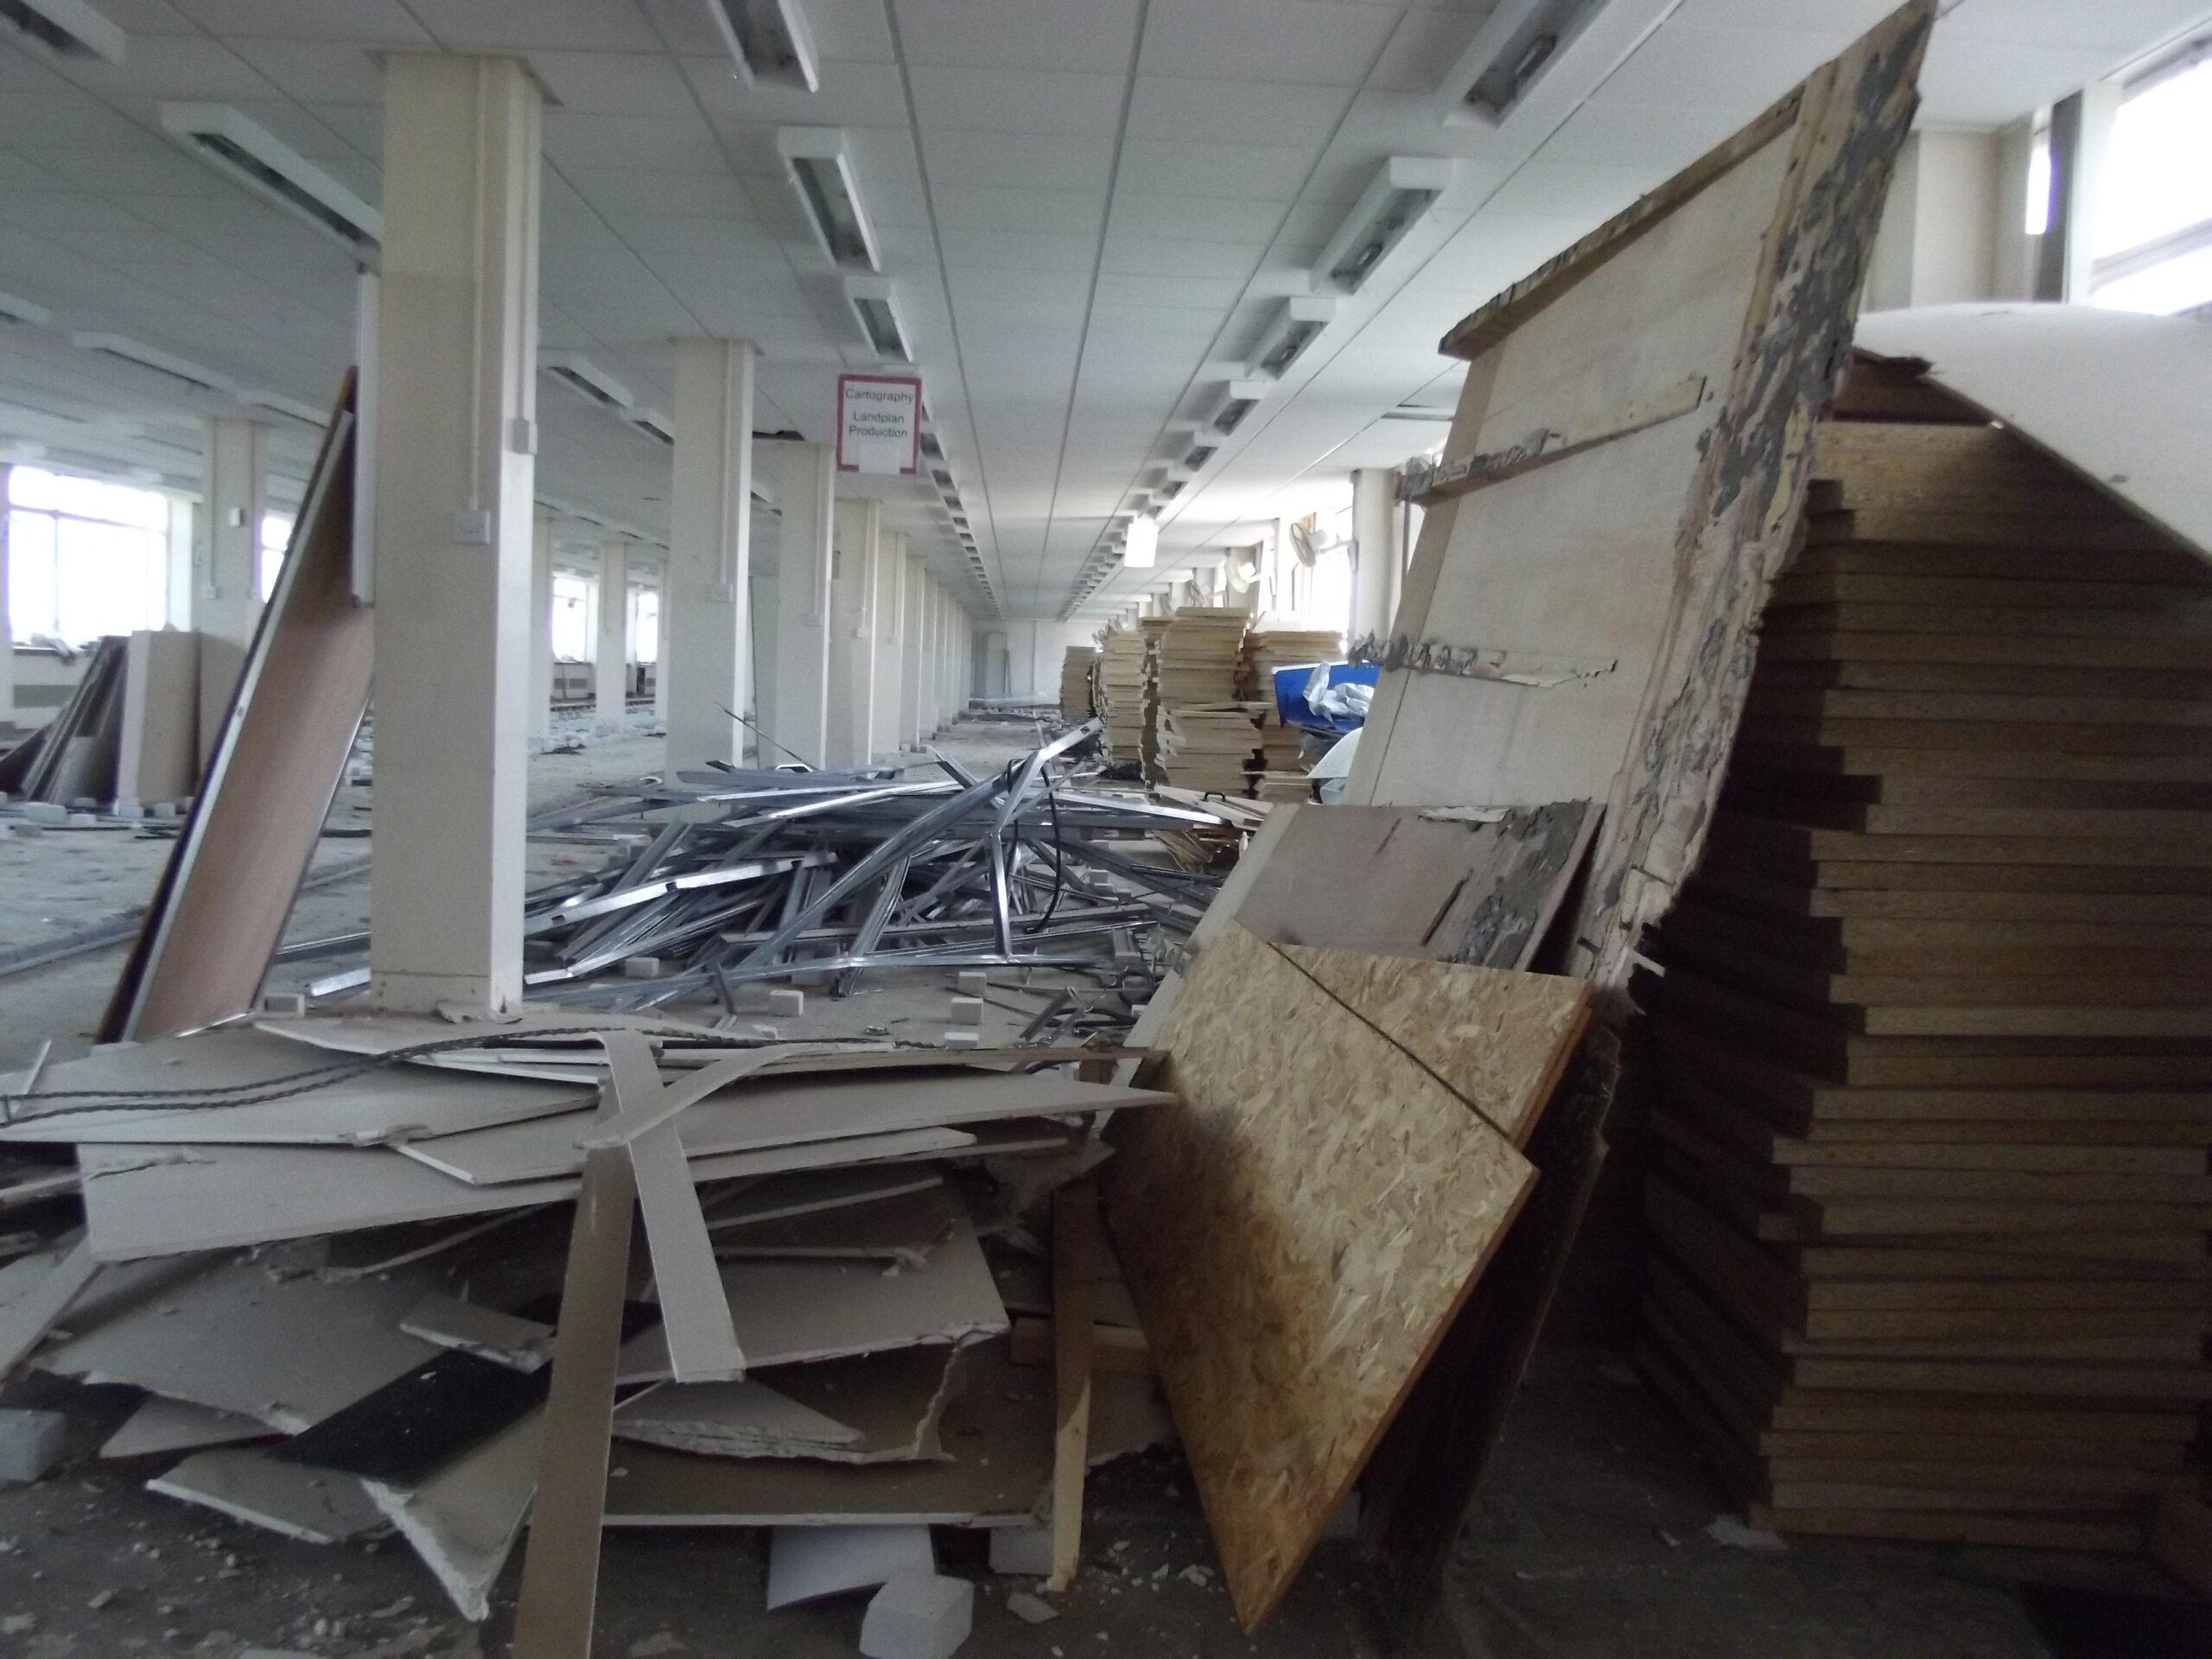
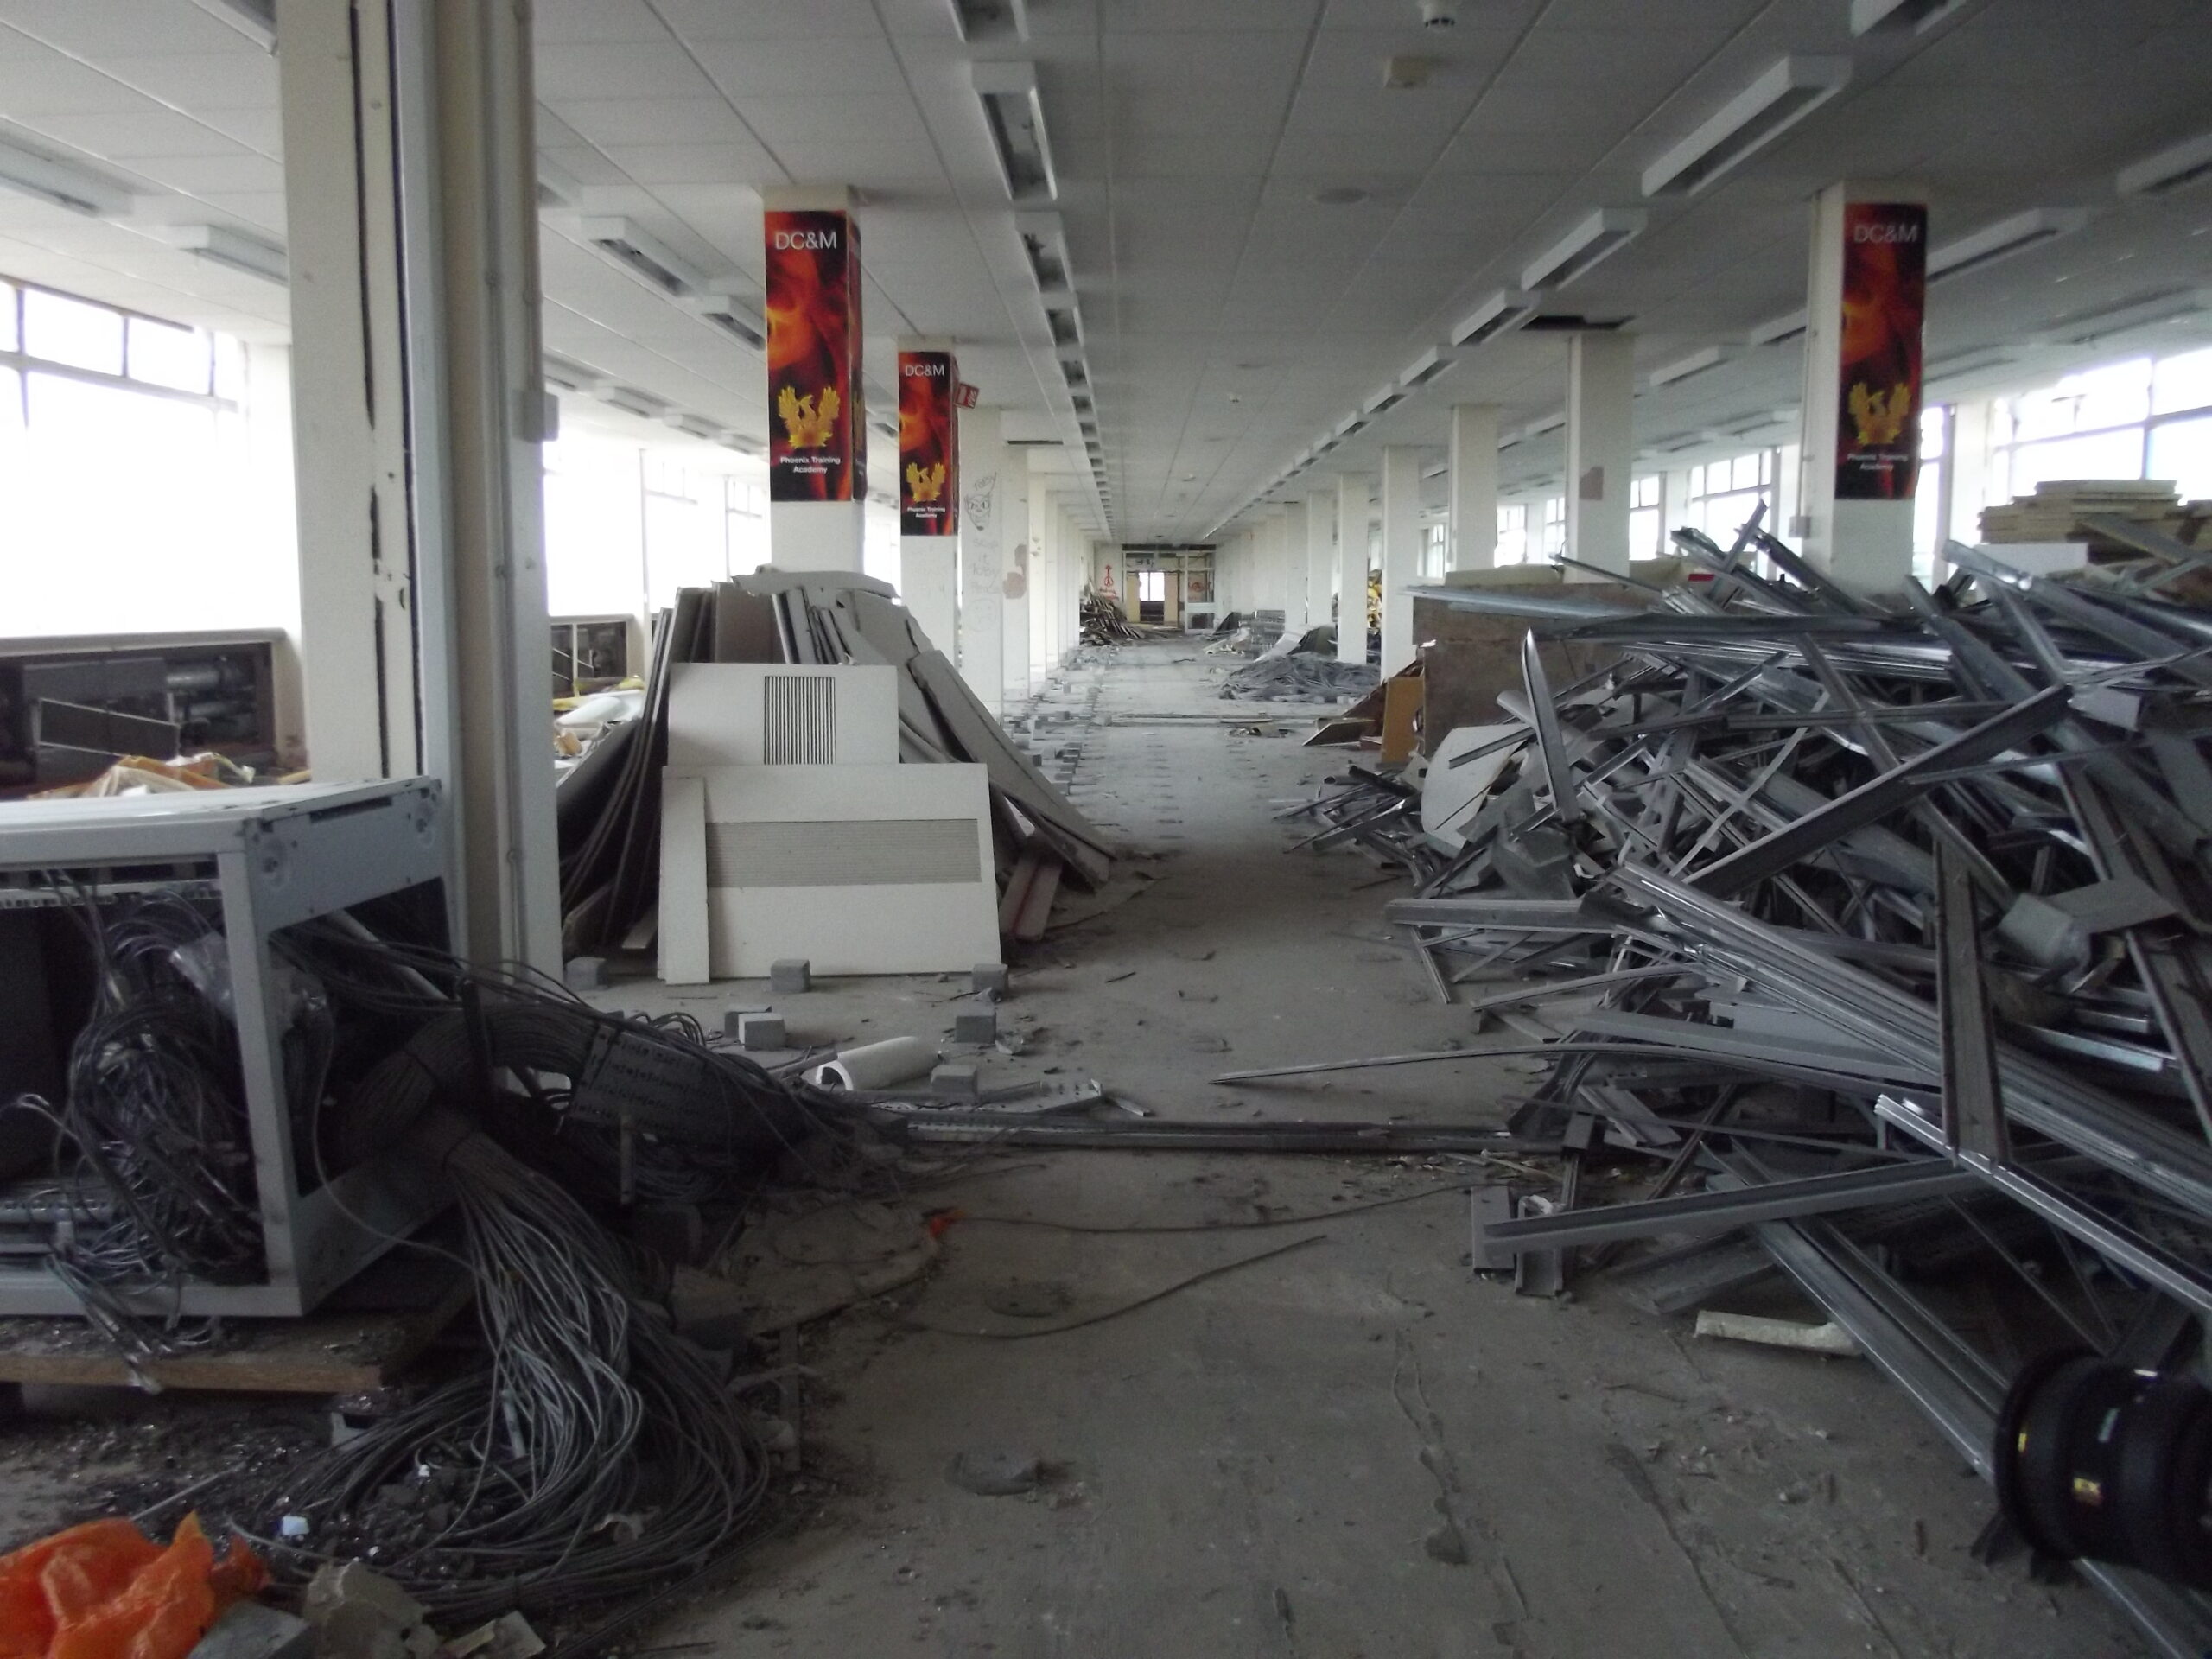
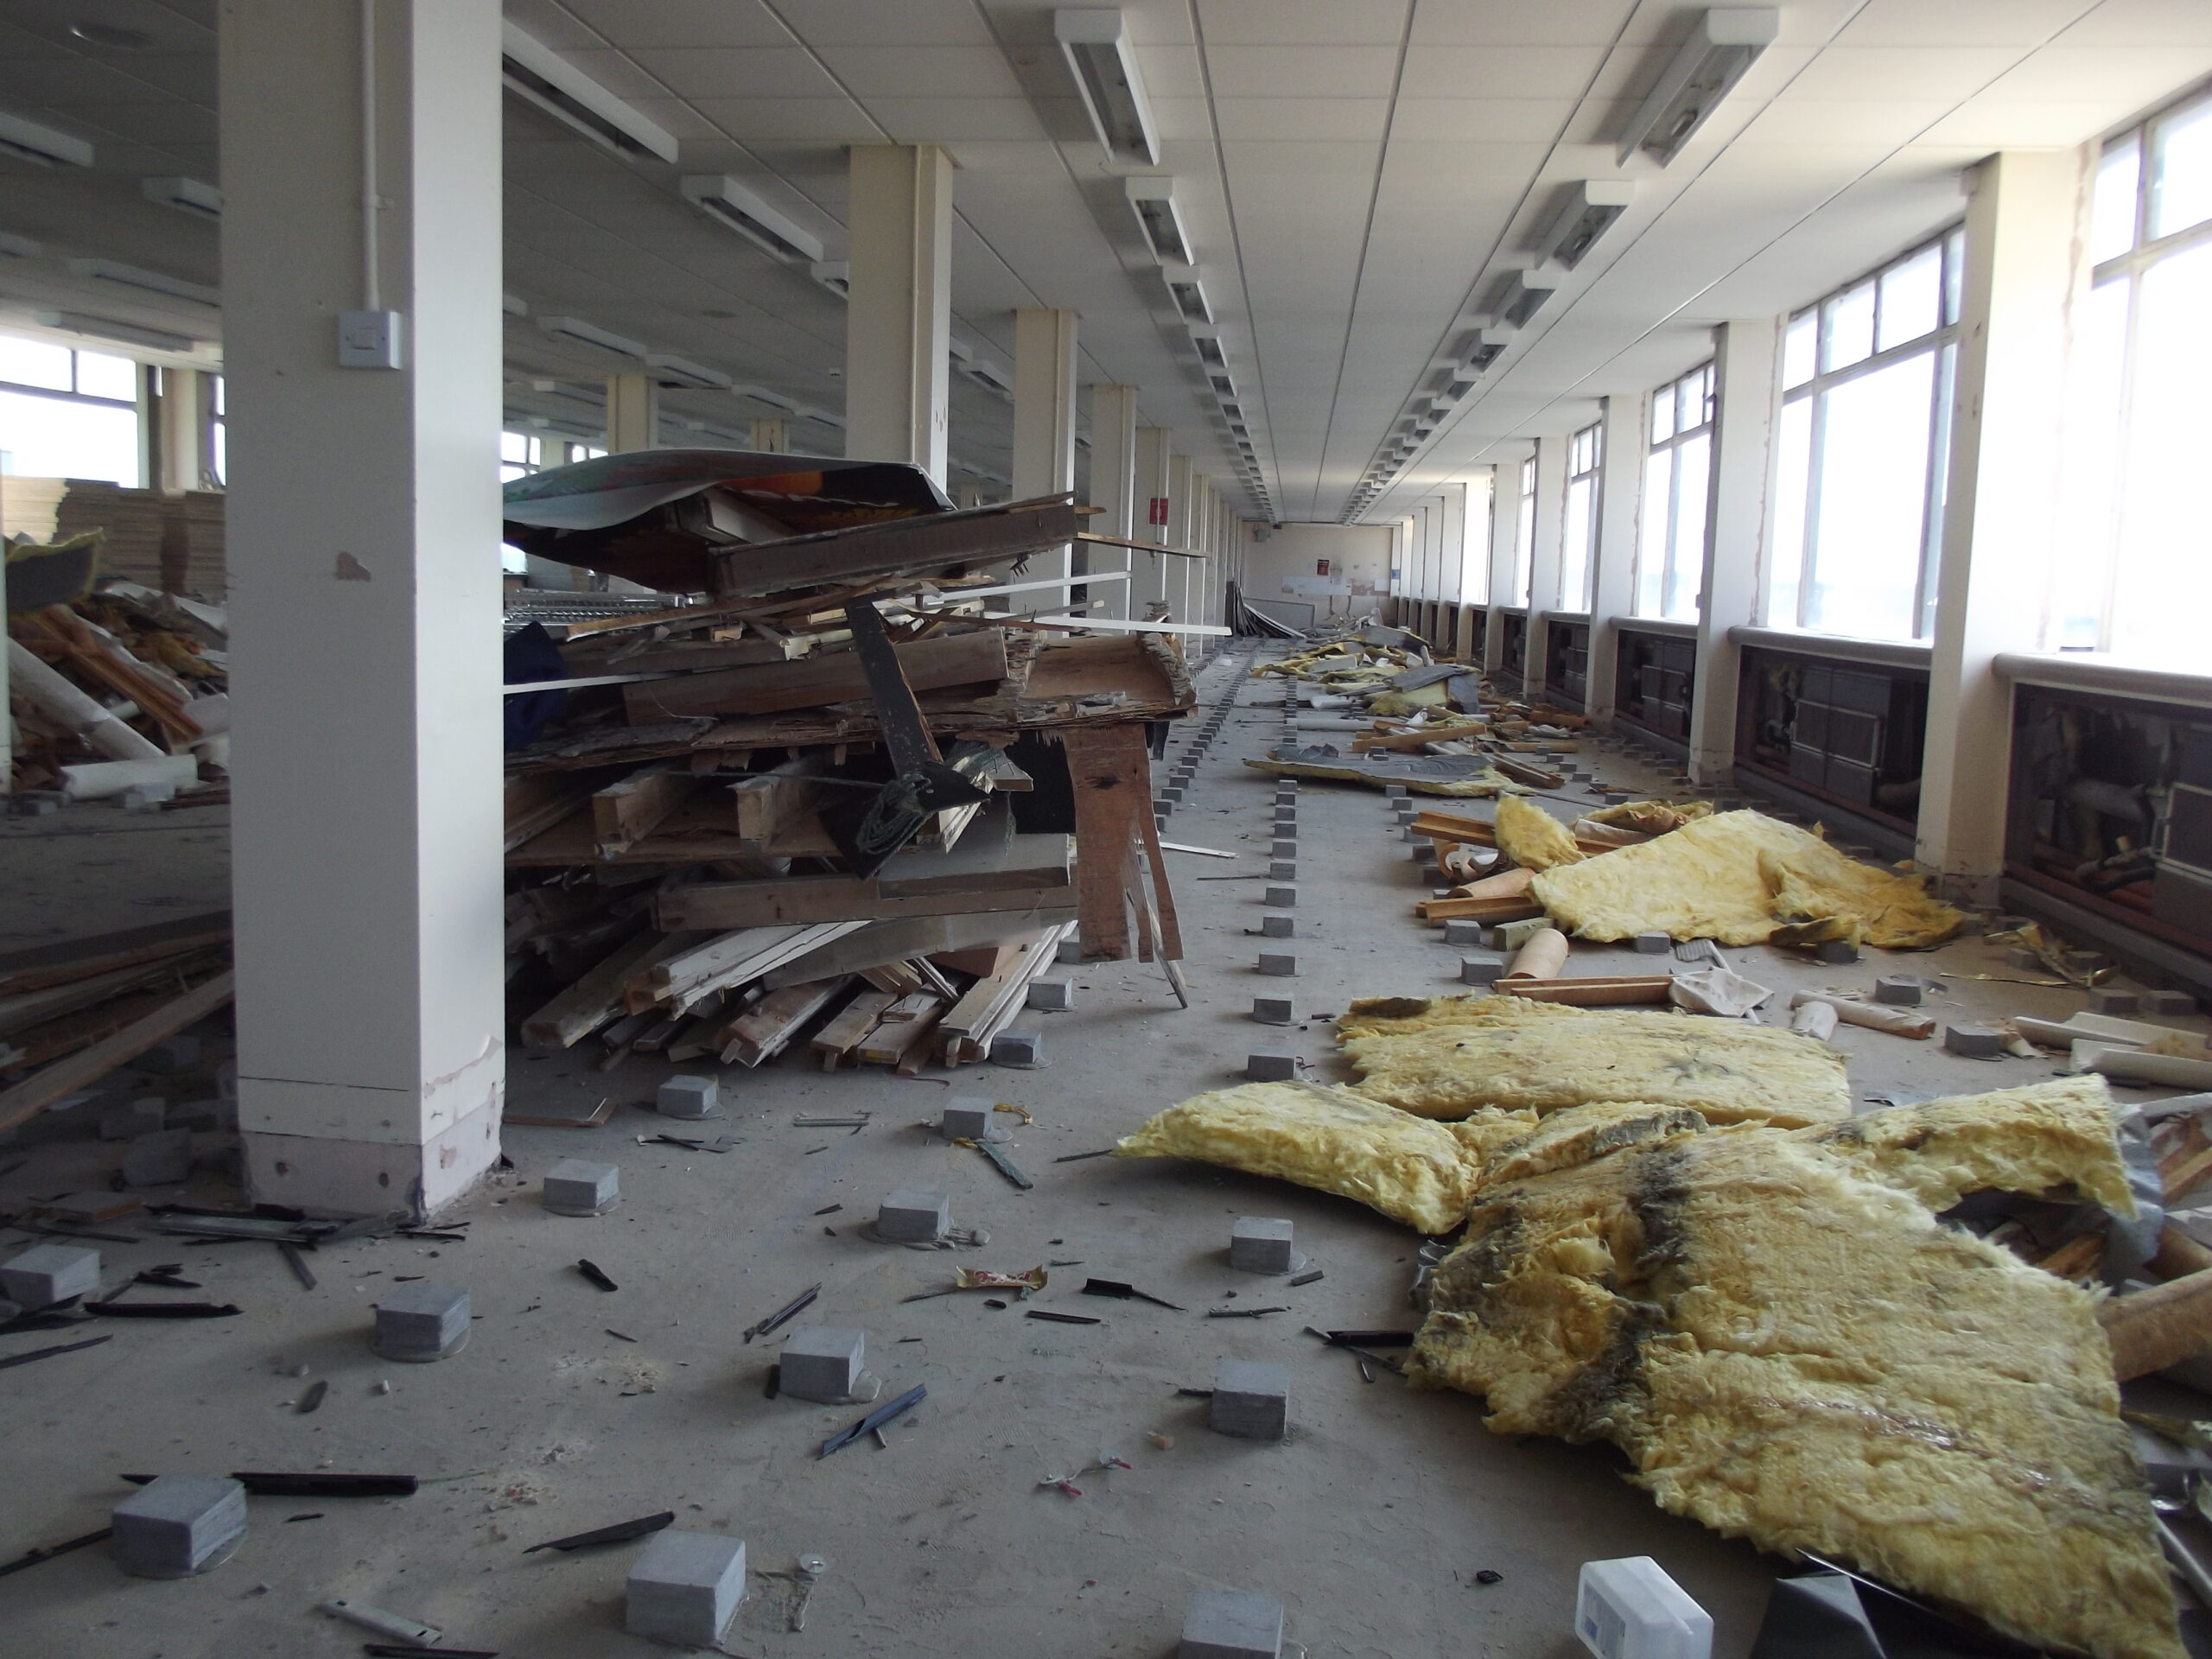
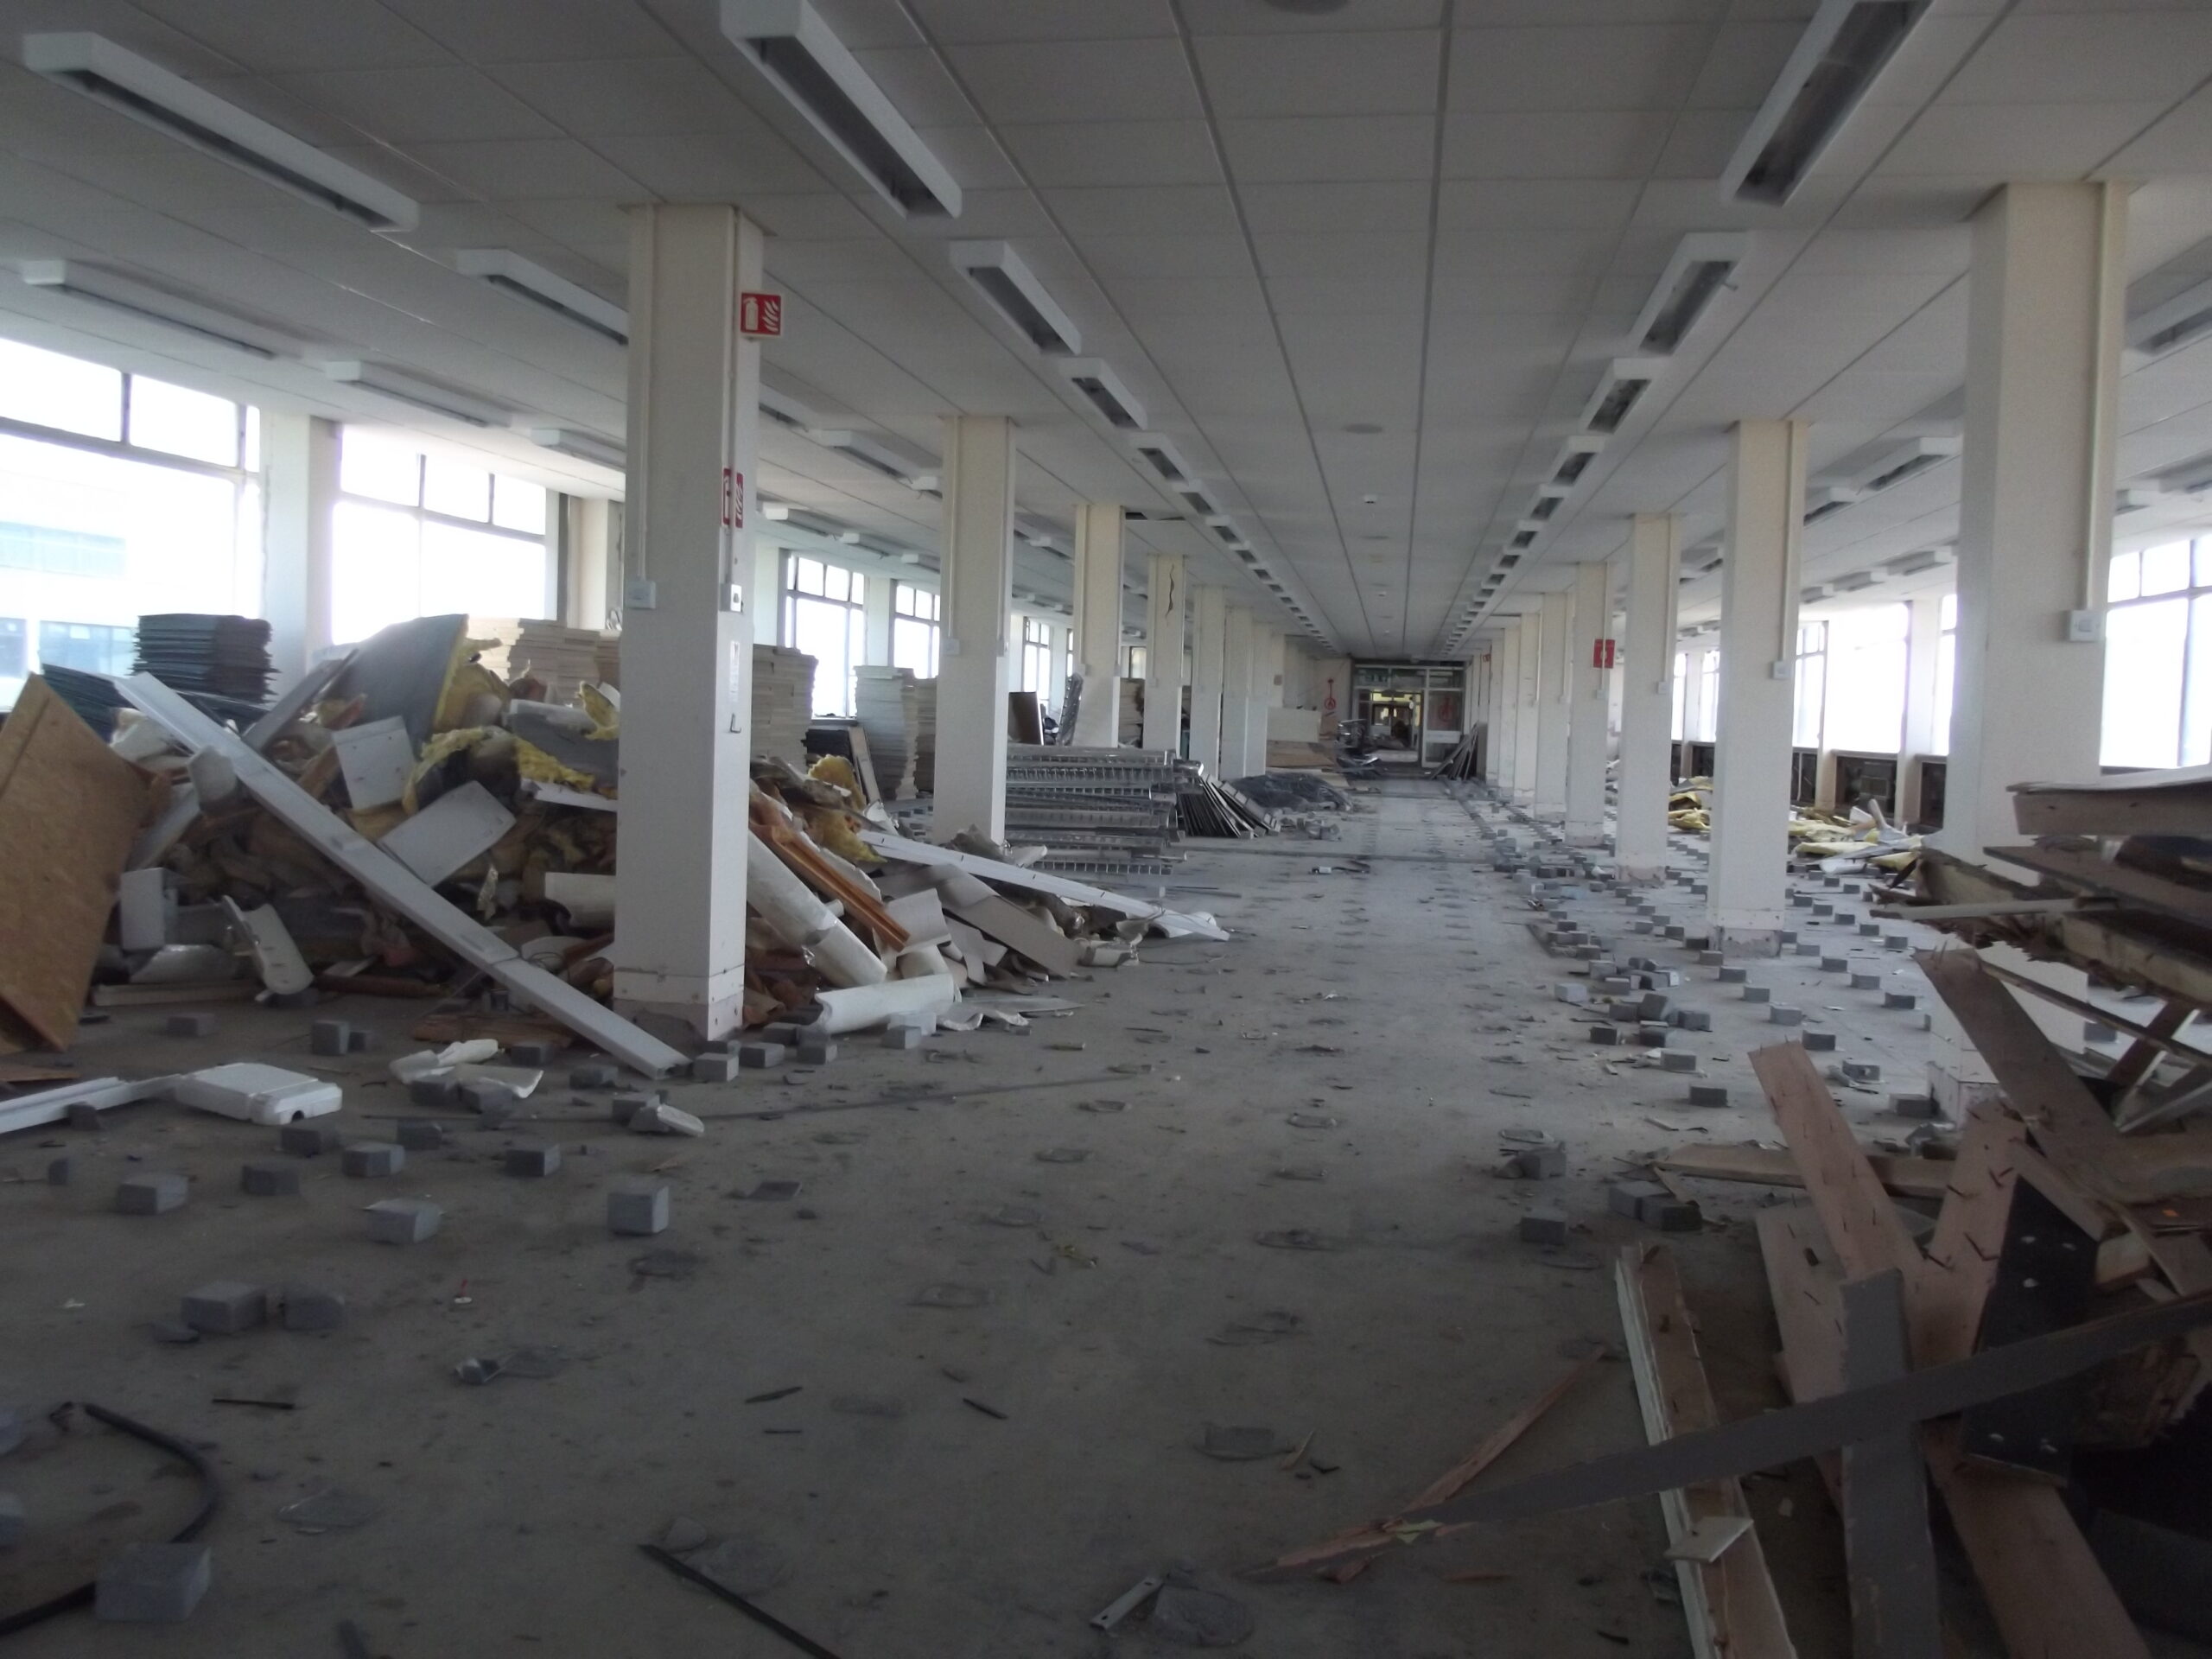
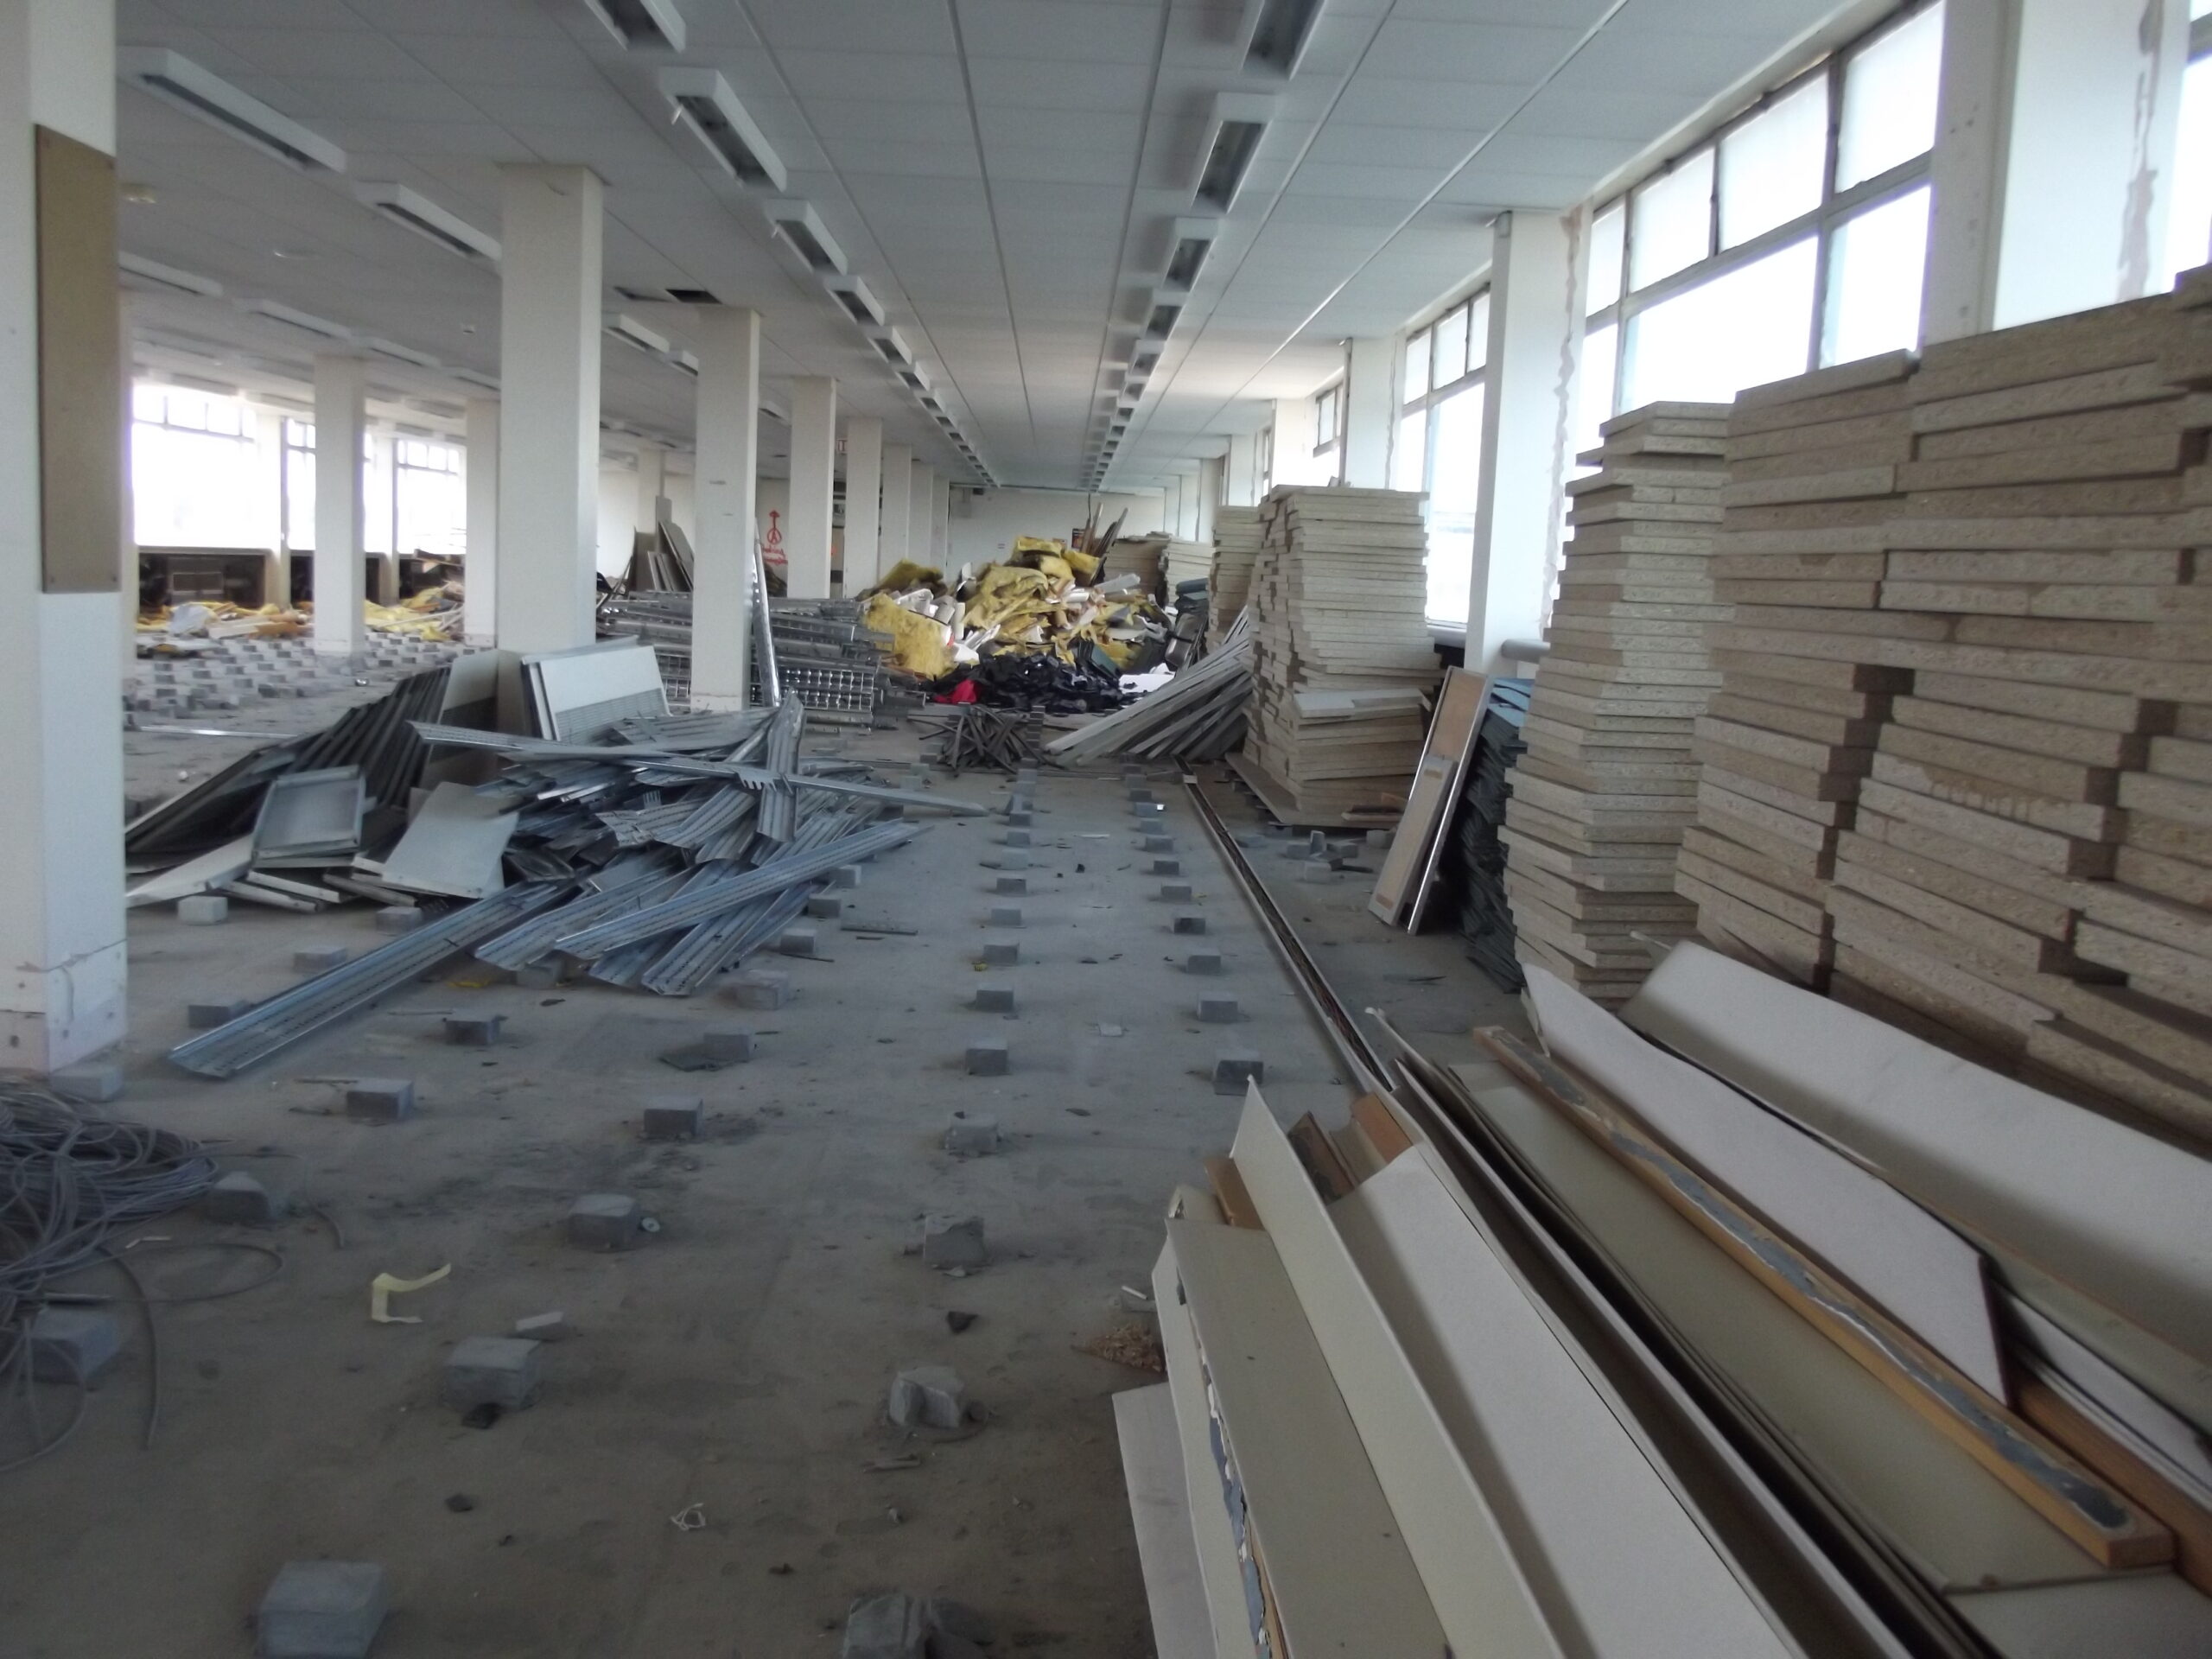
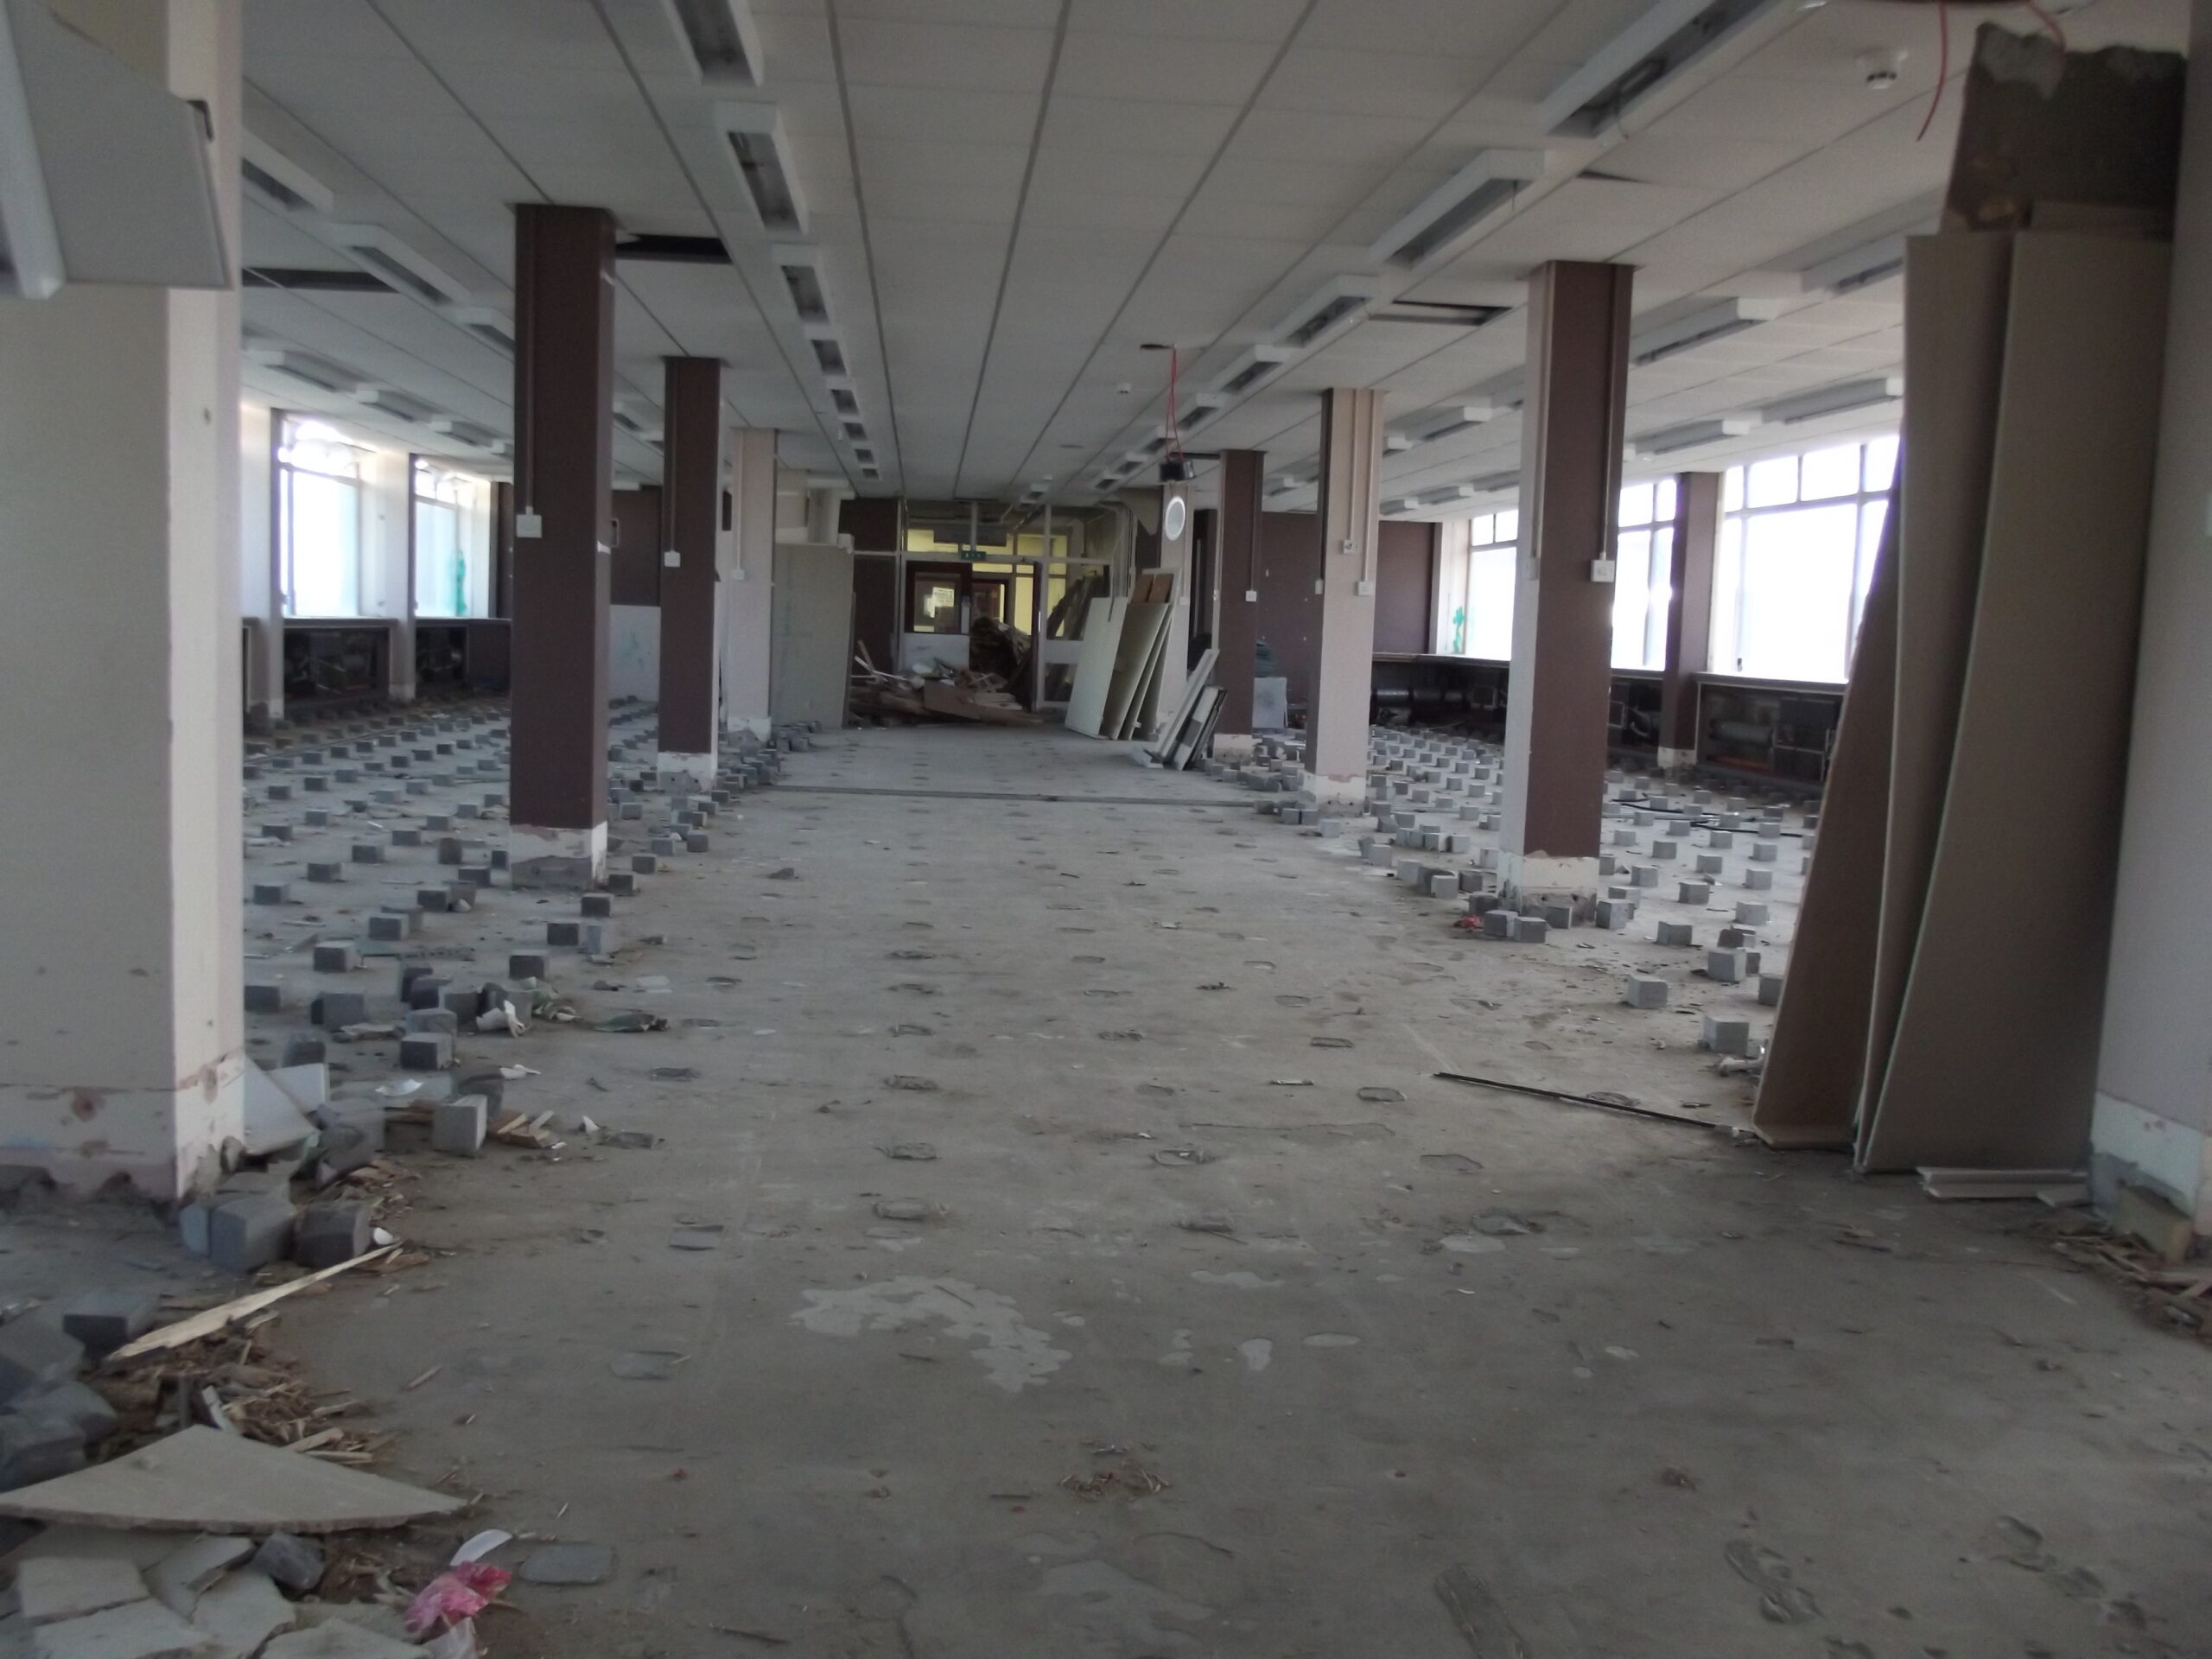
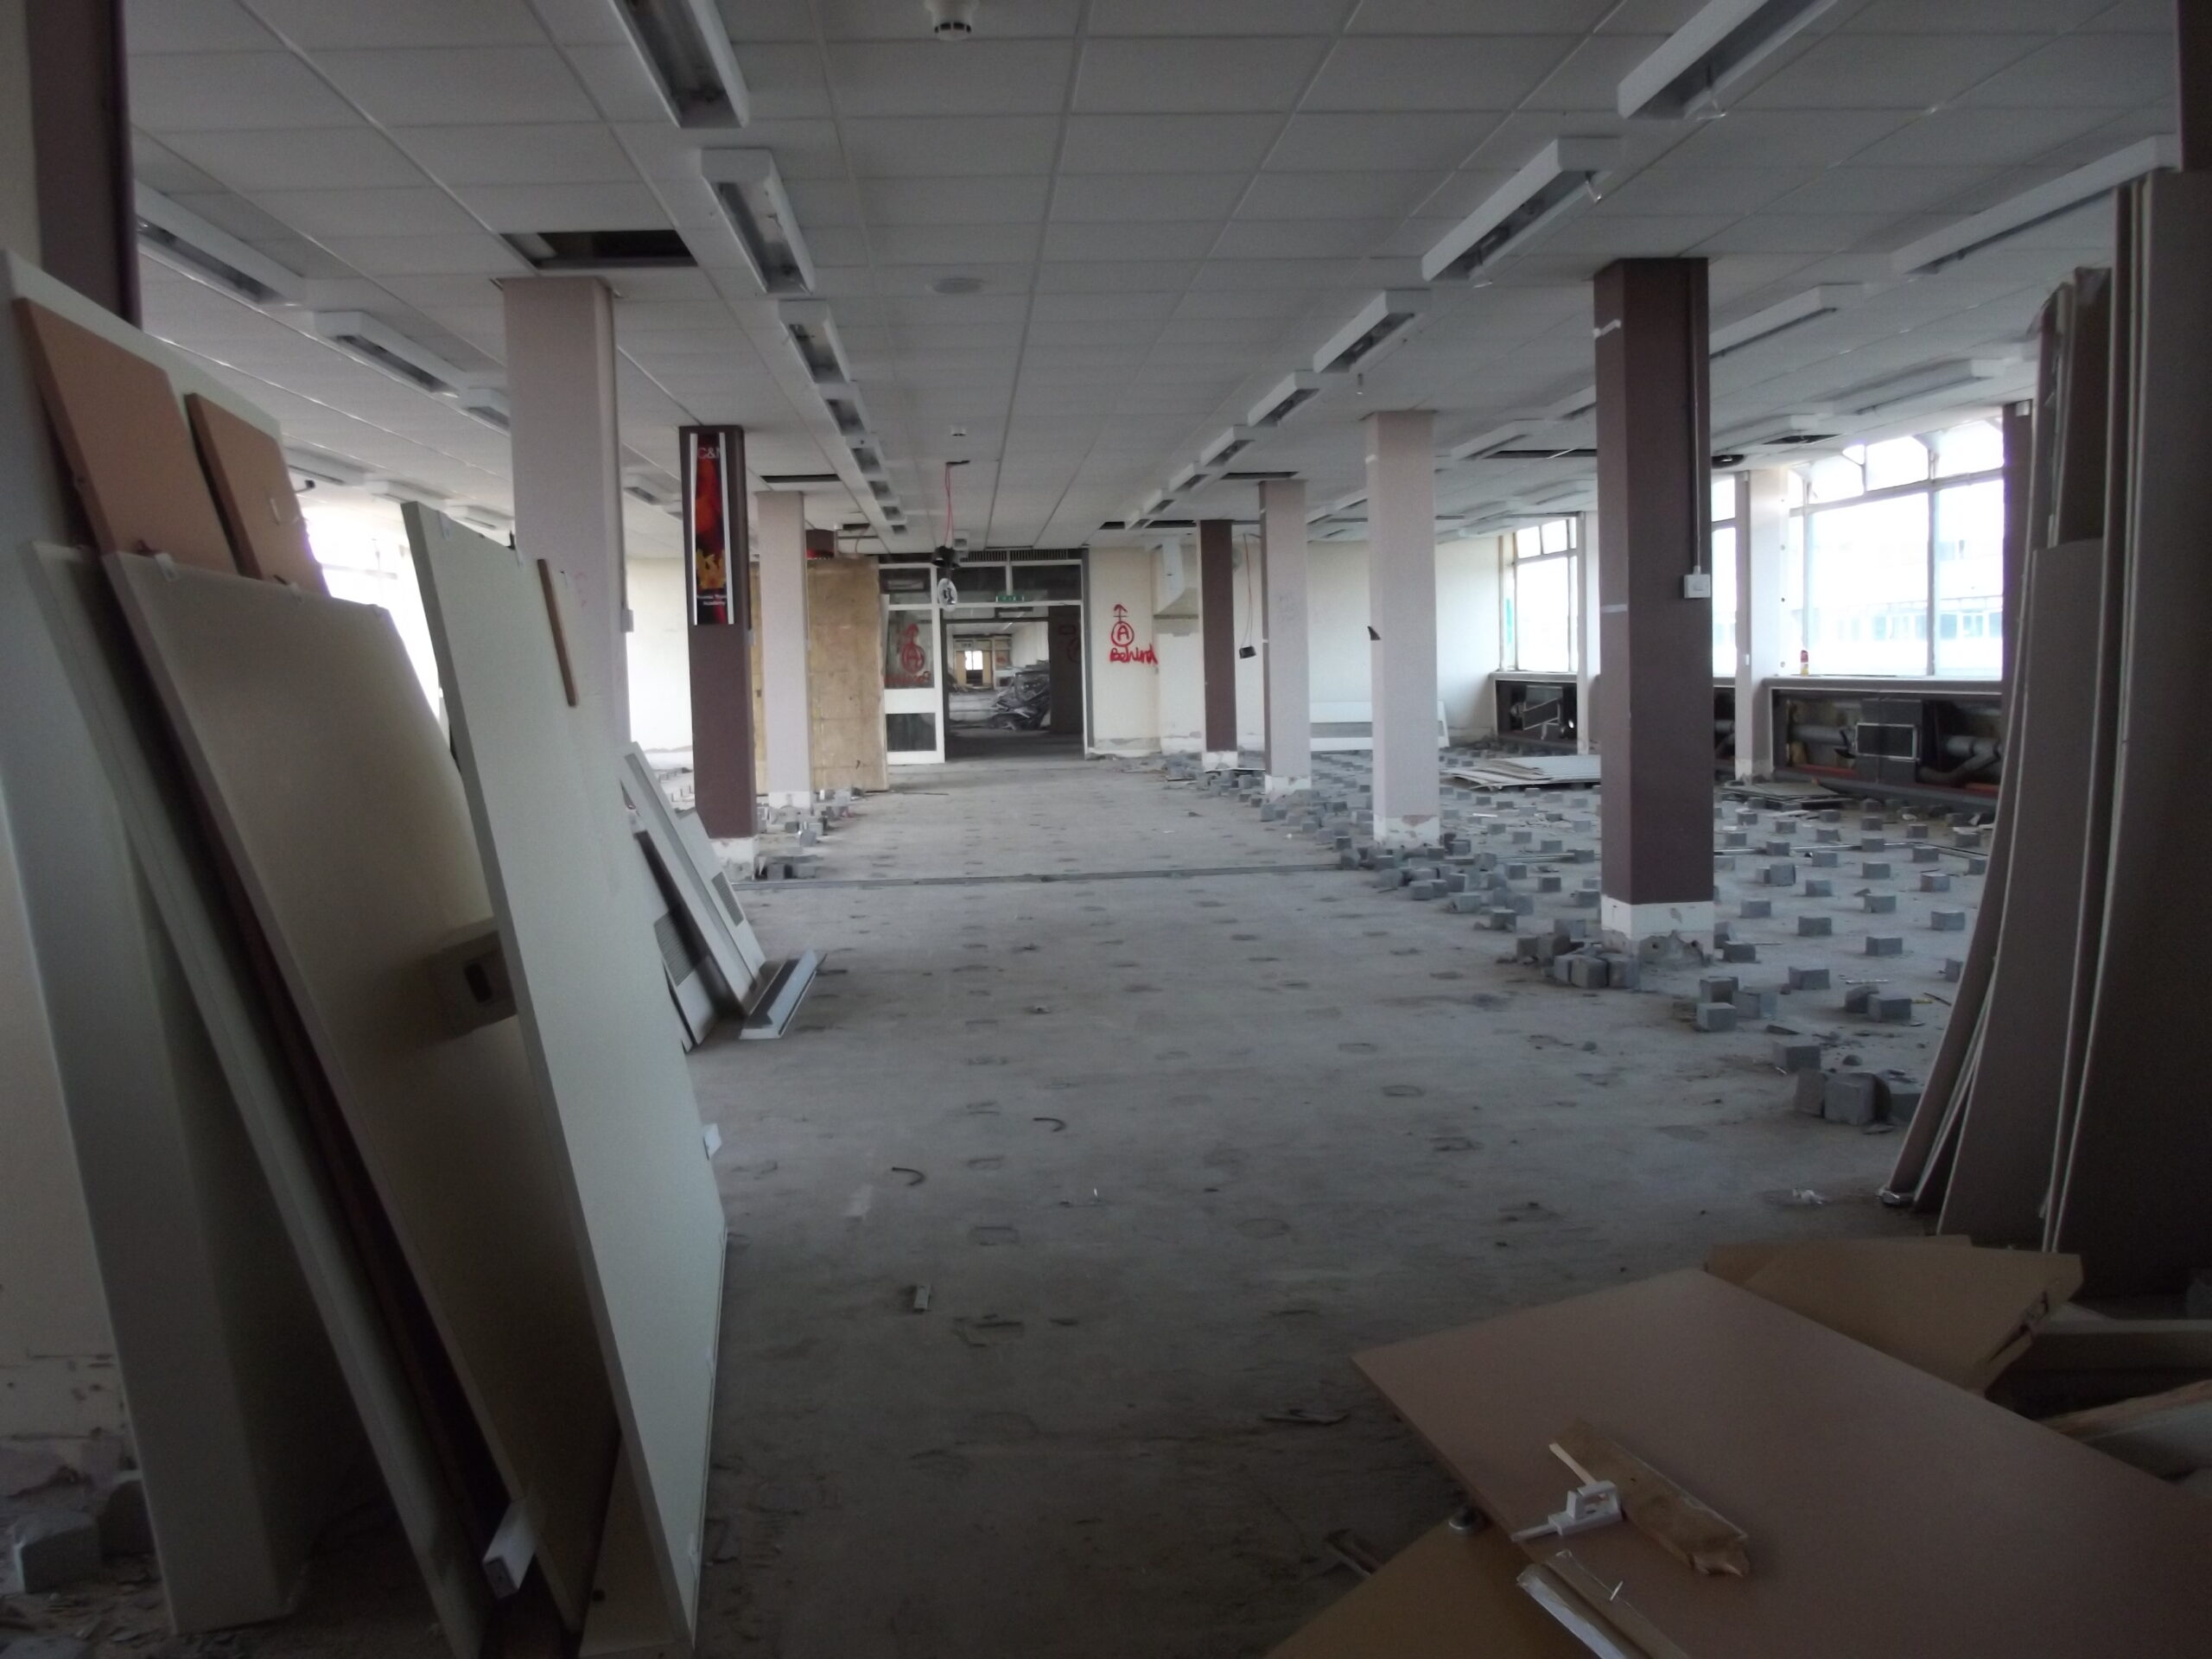
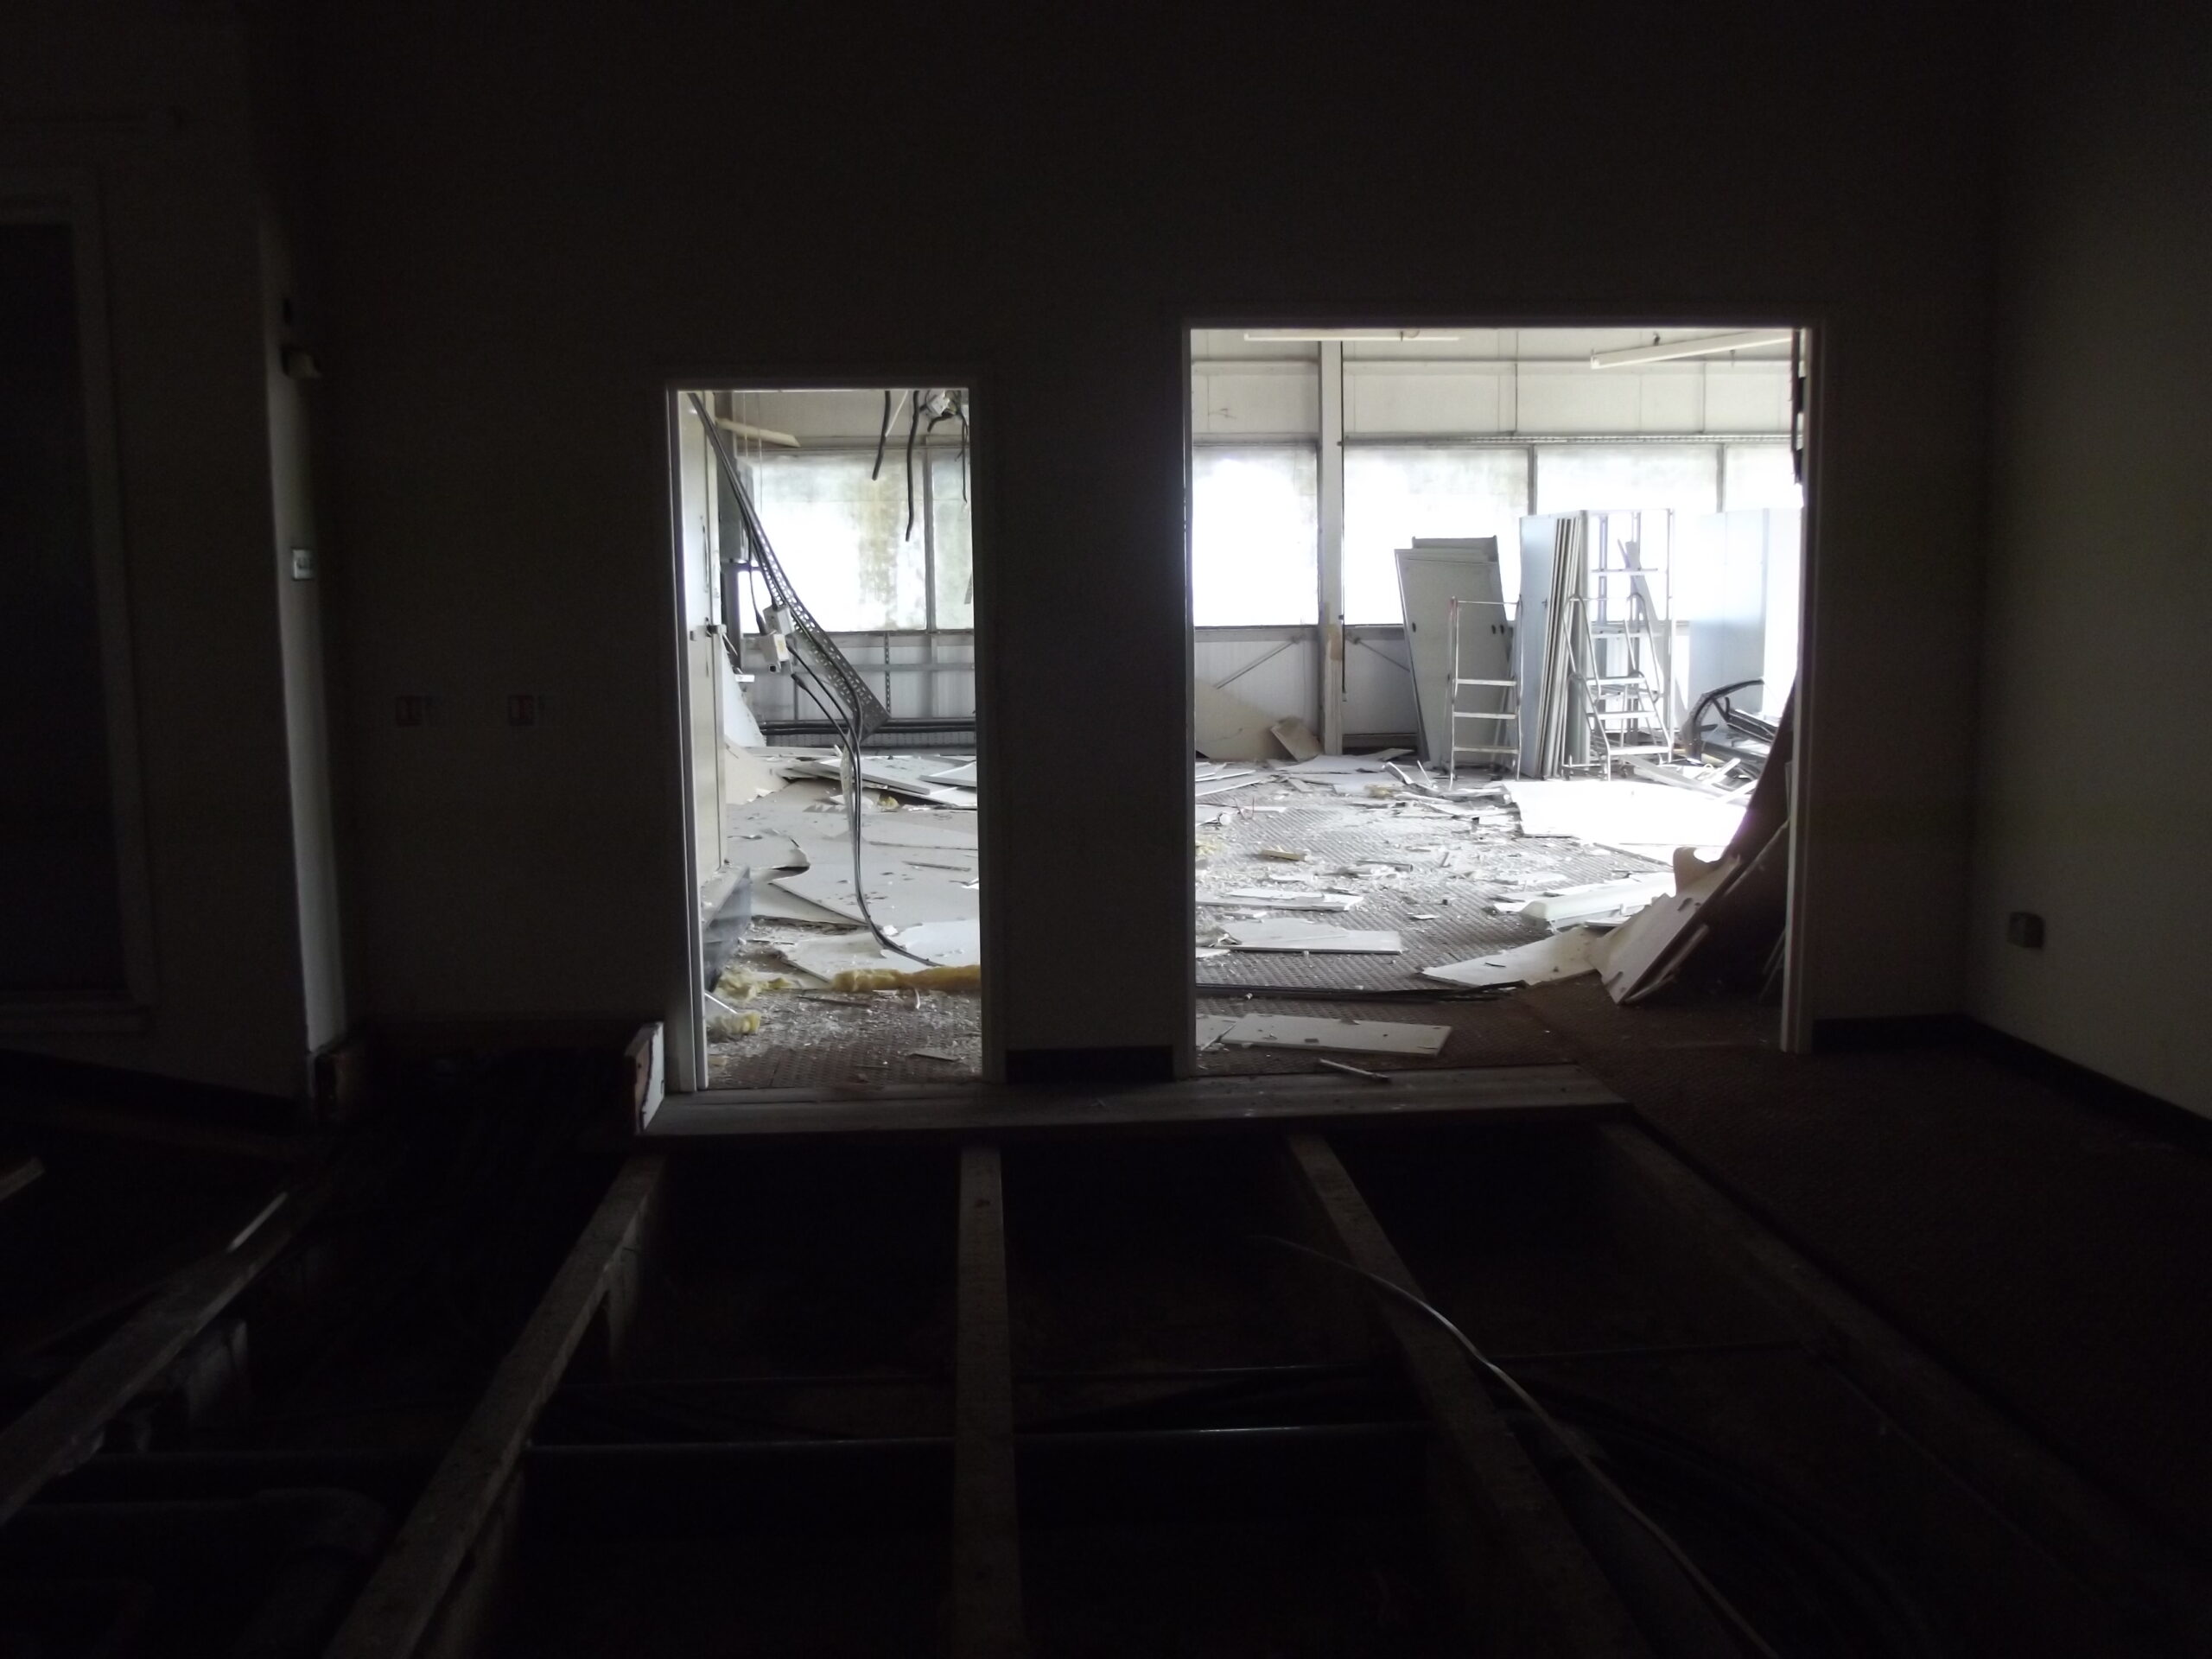
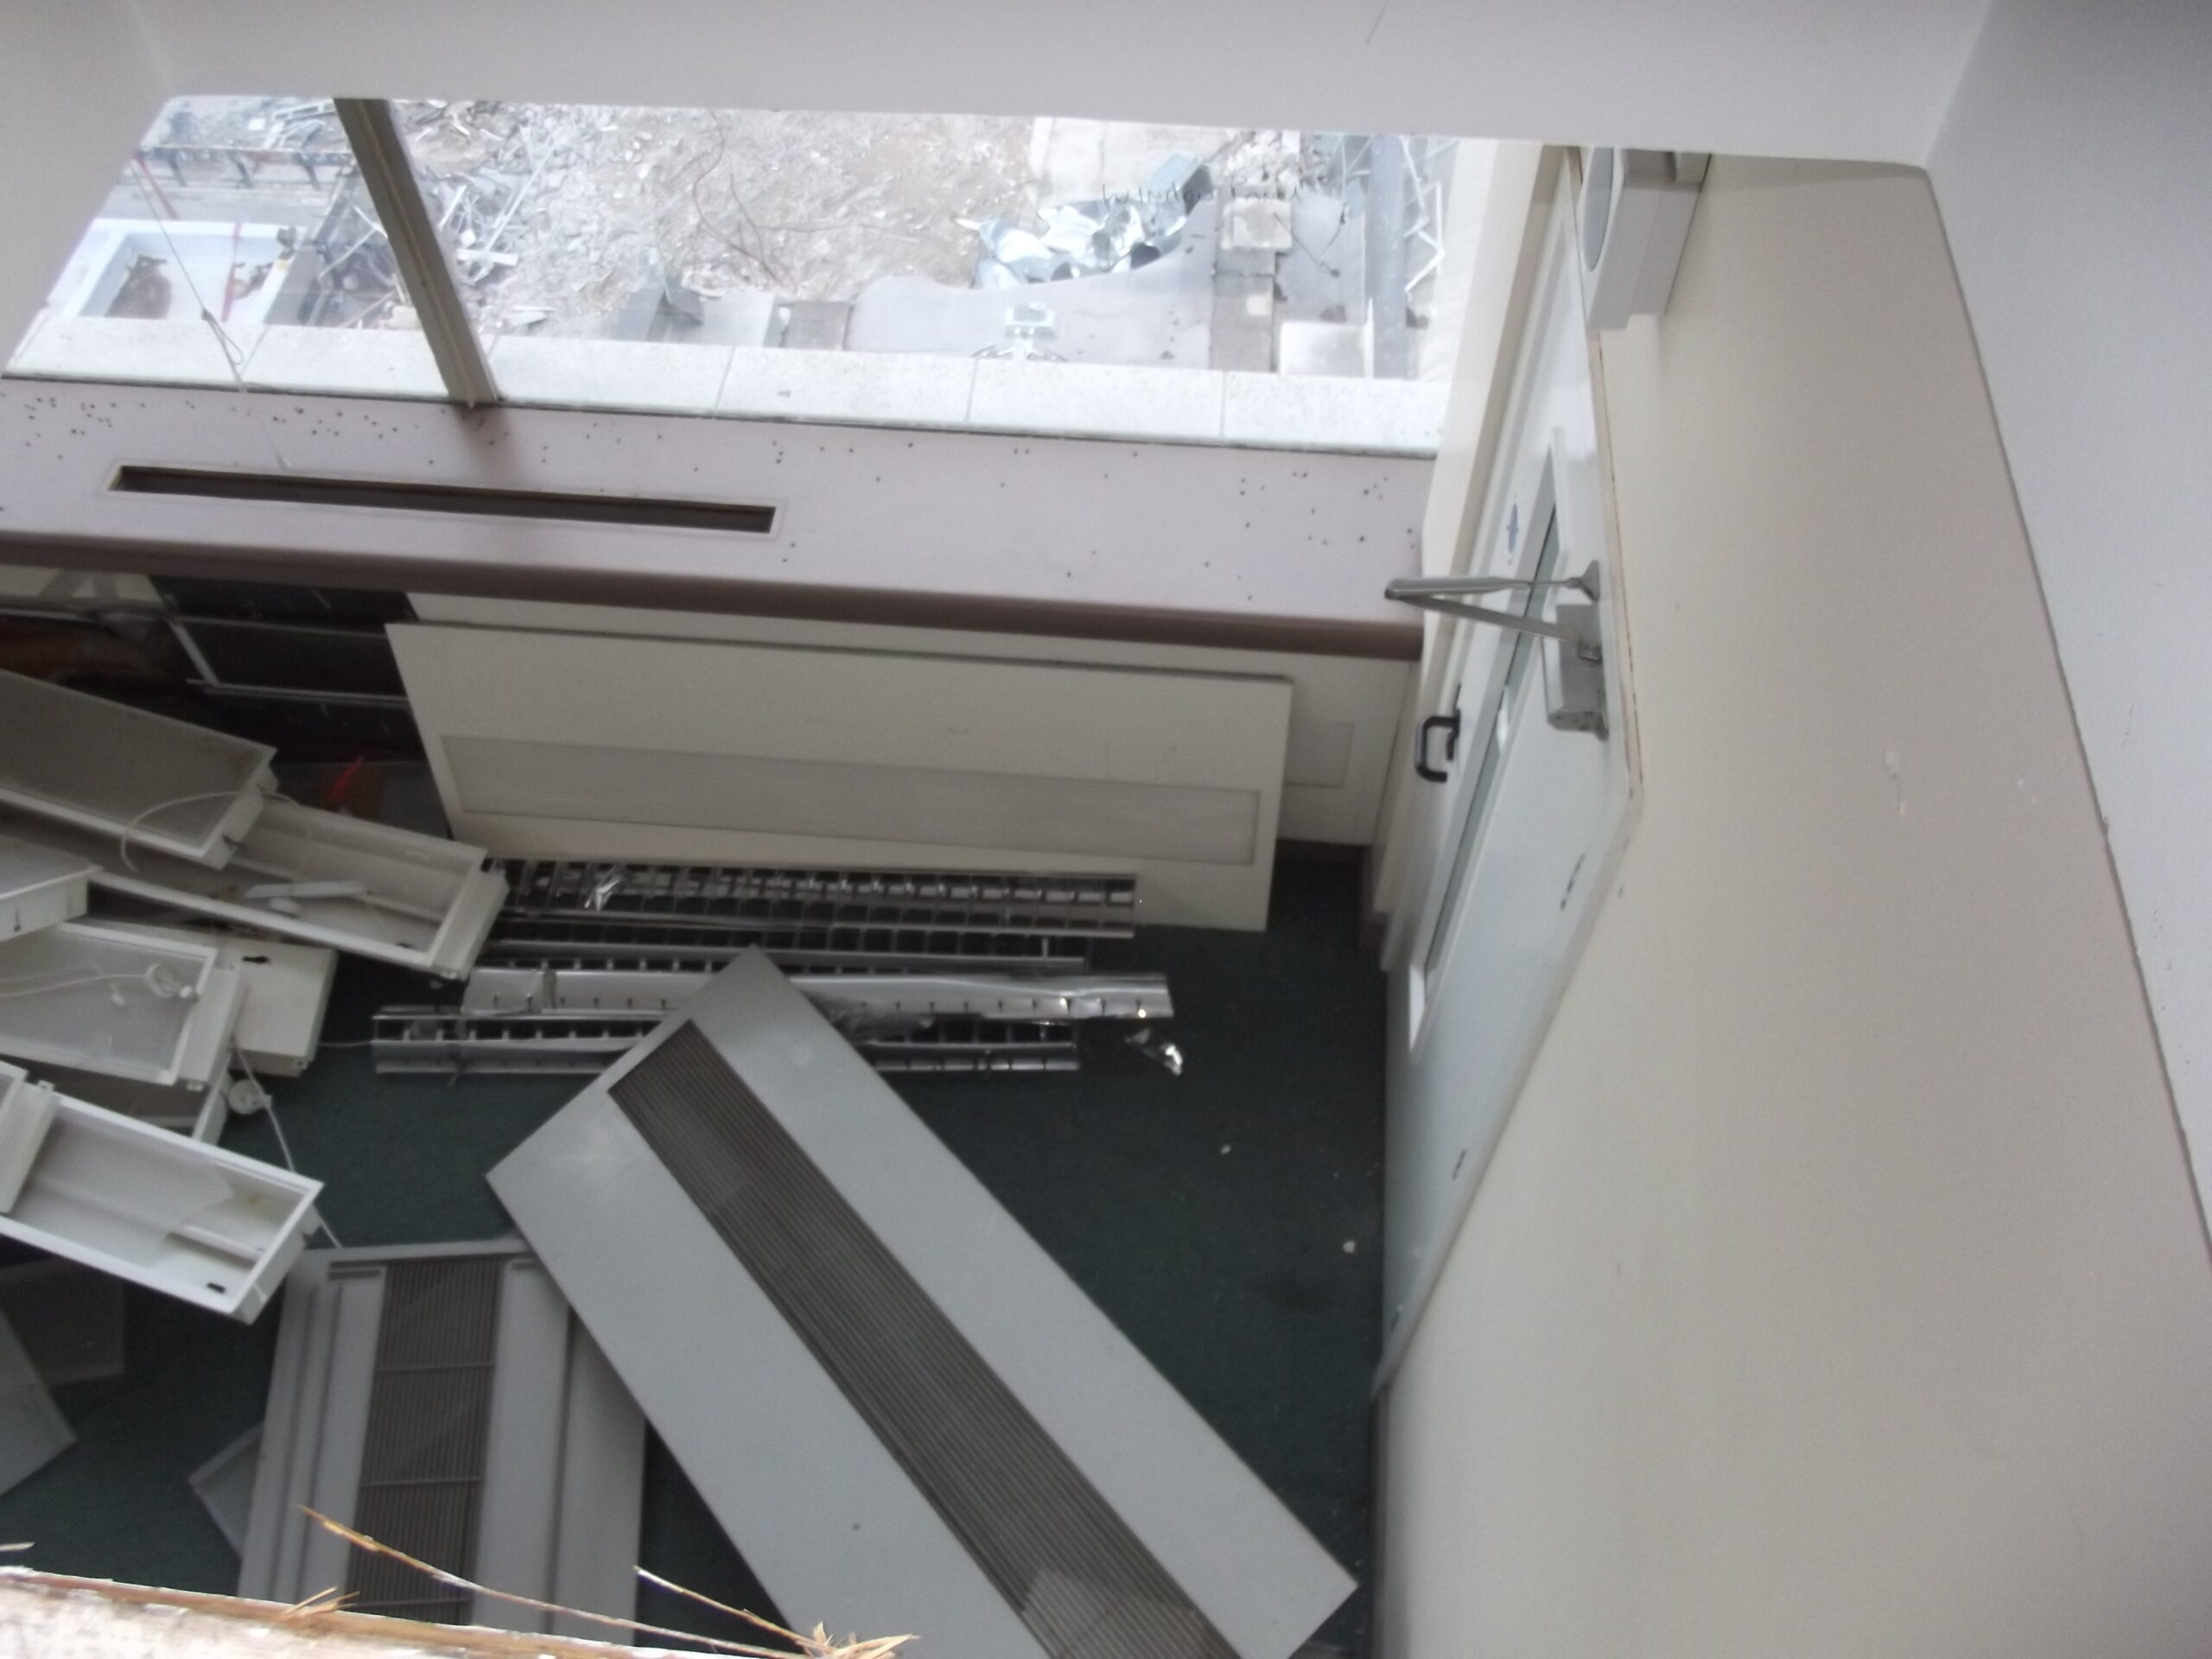
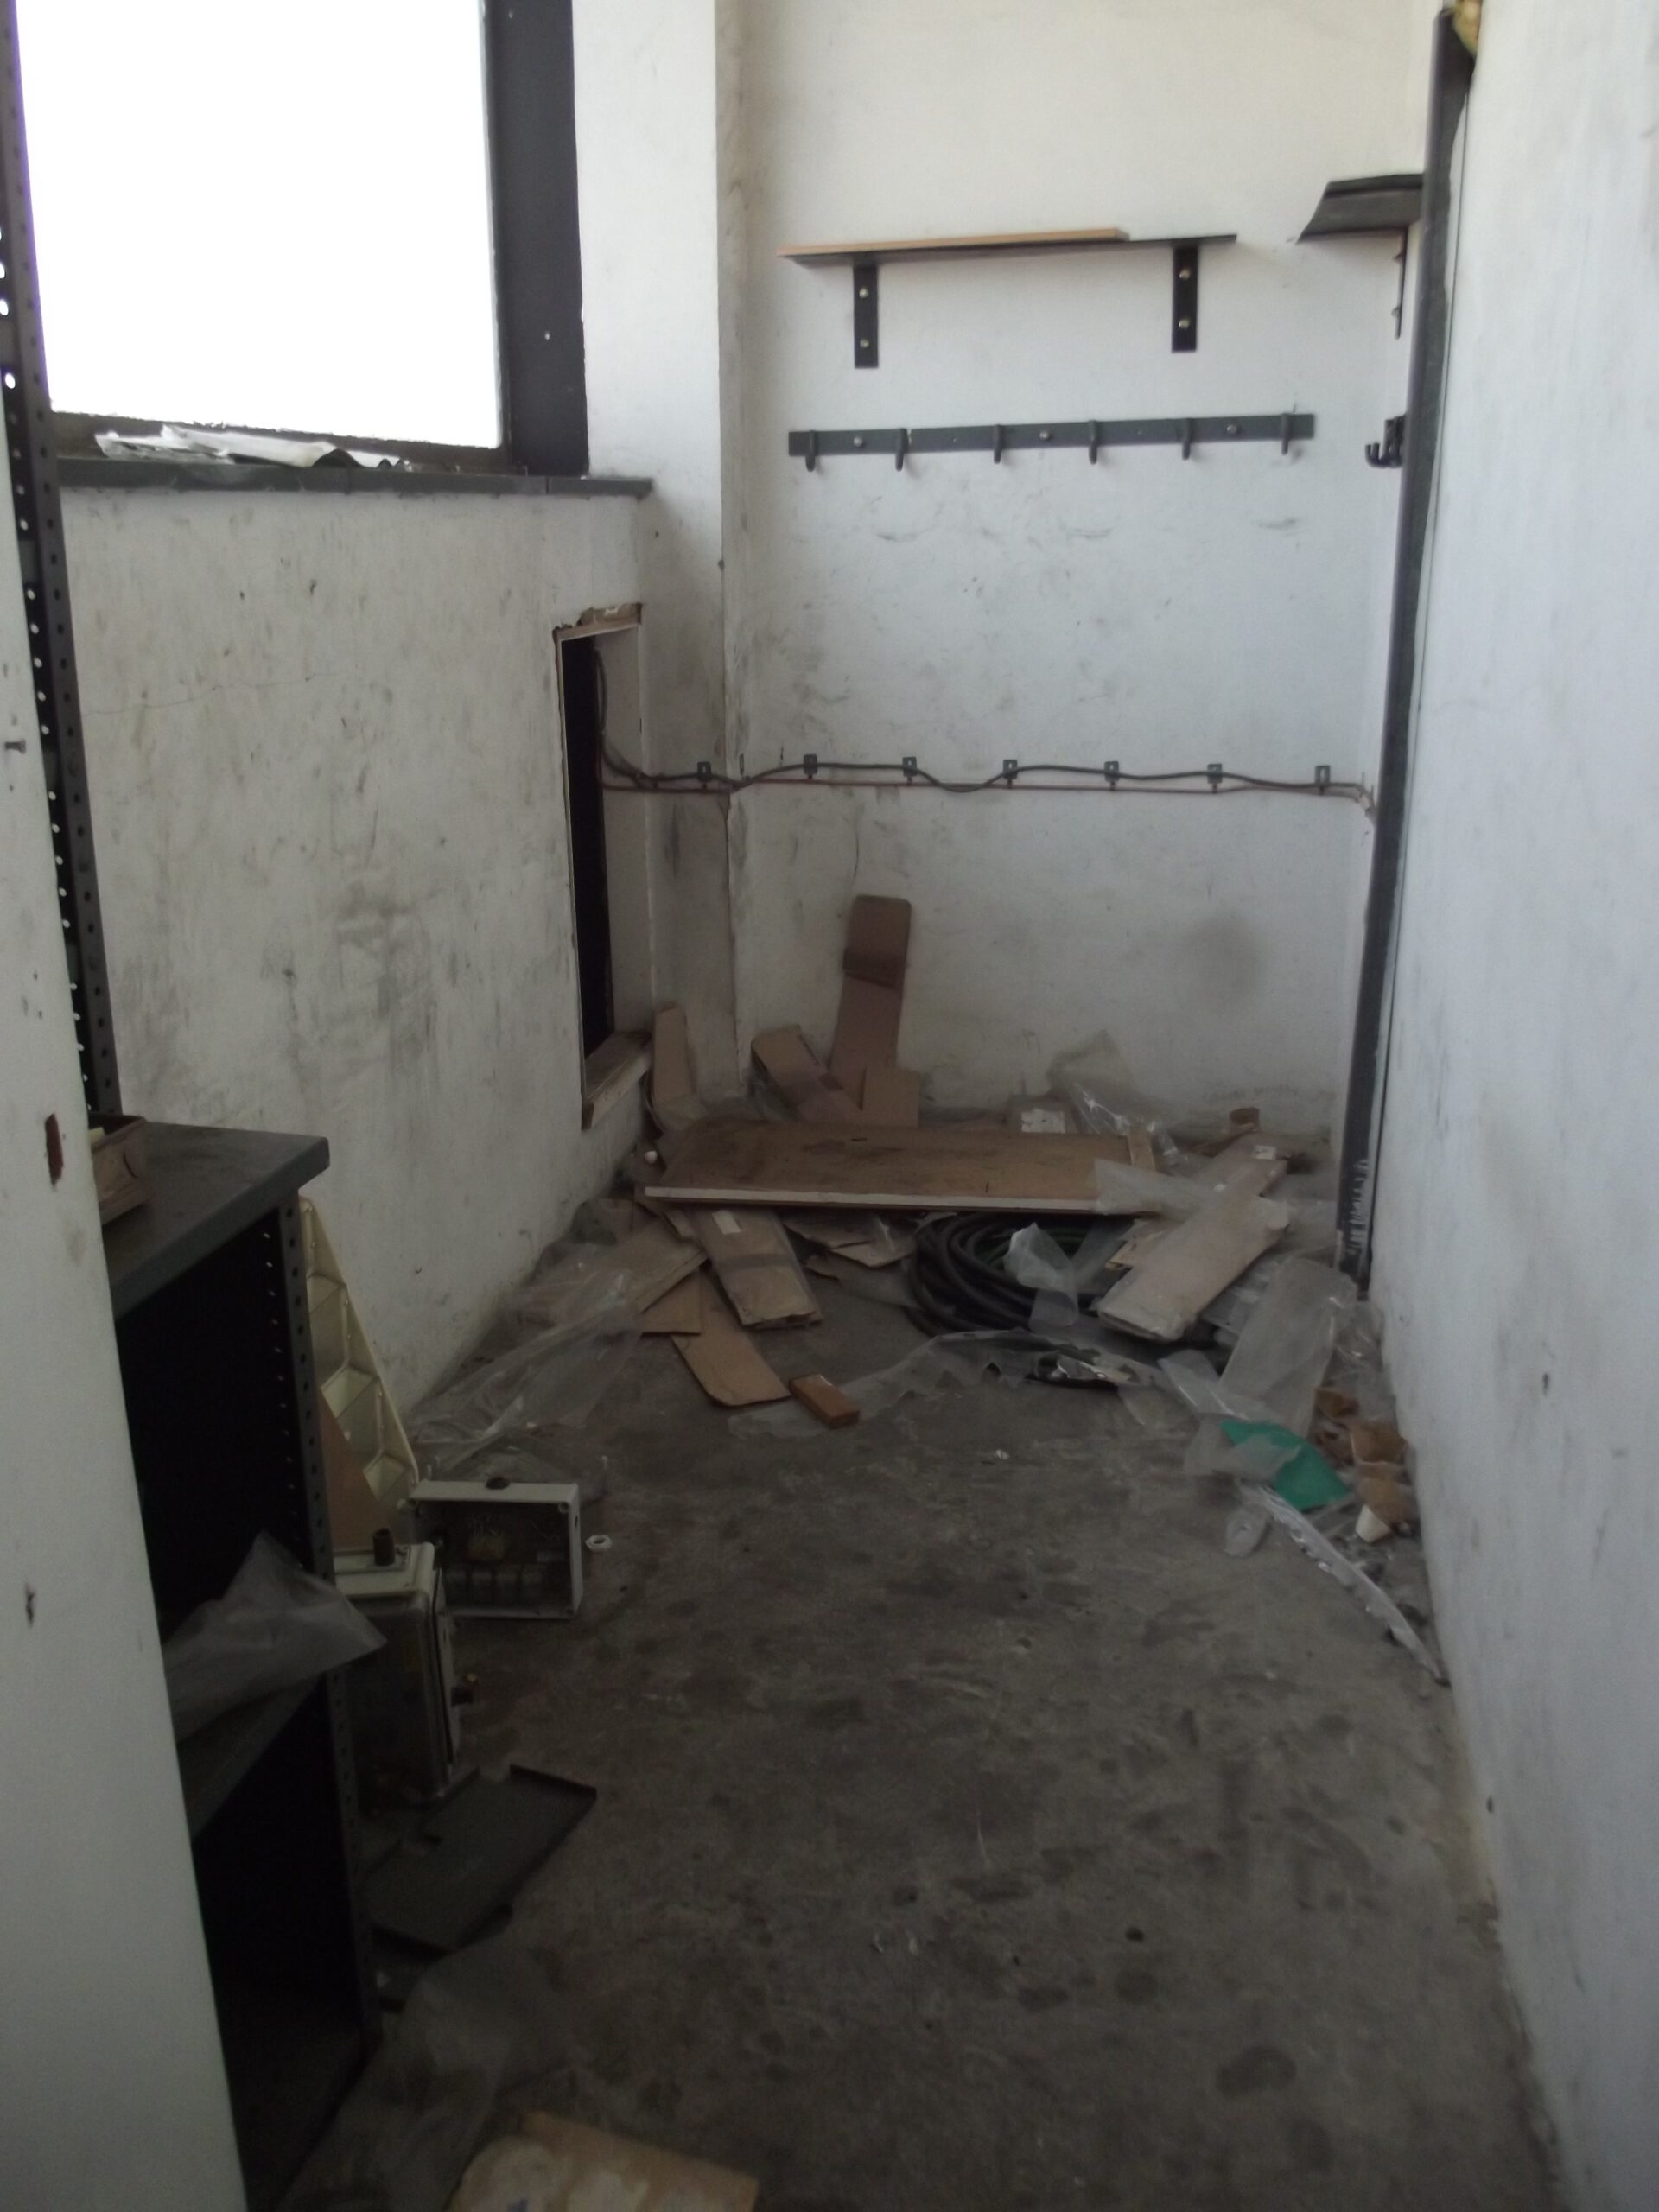
Lecture Theatre with a hole in the back.Business Centre main Exhibition HallBusiness Centre main hallBusiness Centre main Exhibition Hall to the left, Garden Room straight ahead and Lecture Theatre behind the photographer. The raised floor has been lifted to expose the original Granwood floor (as used on the Print Floor).Reception, main entrance to Business CentreBusiness Centre corridorReception, main turnstiles at B Core. The Urban Explorers were intrigued by the heart stickers (a ‘Love Your Heart’ campaign encouraging staff to walk around the site and become more active.Reception and Map ShopReceptionReception seen from the entrance to the Business CentreReception seen from the entrance to the Business CentreMap Shop, part of the Reception areaC015 office next to Reception. This was originally built for the Customer Service Centre at the same time as Reception but they moved up to C454 and this was used by the Project Arium team, who were organising the move to a new HQ.Arium office, C015C015, a strange cupboard with a sink and Zip boiler in., .A core next to C015 I thinkC064 – demolition nearly completeC064 – demolition nearly completeC064 – demolition nearly completeC064, offices used by Repro, demolition underwayK Lift controller. centre spurK Lift controller. centre spurPaper Store – ground floor central spurCWS tank and remains of B-C spur seen from centre spur paper storeRemains of the front spur (B-C) seen from the paper storeGround floor chemical store in centre spur (C057)Demolition of area behind the Business Centre (C041/42)Demolition of C042 and C041 beyondDemolition of C042 and C041 beyondDemolition of C042 behind the Business CentreDemolition of C042 behind the Business CentreBehind Lecture Theatre, C042 was used as a large exhibition materials store. The ducts to the centre spur were installed when original Graphic Repro area was decommissioned; the original ducts fed the vaulted roof so were completely different.Back of the Lecture Theatre, C042 exhibition materials storeDemolition of third floor corridorFormer Repro area behind the Business Centre (C041)C041 and C042, note, the ducts that have been attached to the original vents in the vaulted roof, the original 60s blue partitions in the centre (these were covered with newer beige plasterboard) and 3rd floor corridor beyond.Demolition of area behind Business Centre – doors to the right of electrical boards went to corridor with training rooms, E Core was to the right. I think this area used to be partitioned off into smaller rooms.Demolition of C041 and C042Demolition of C041 and C042 as wellDemolition of C041/C042 behind the Business Centre
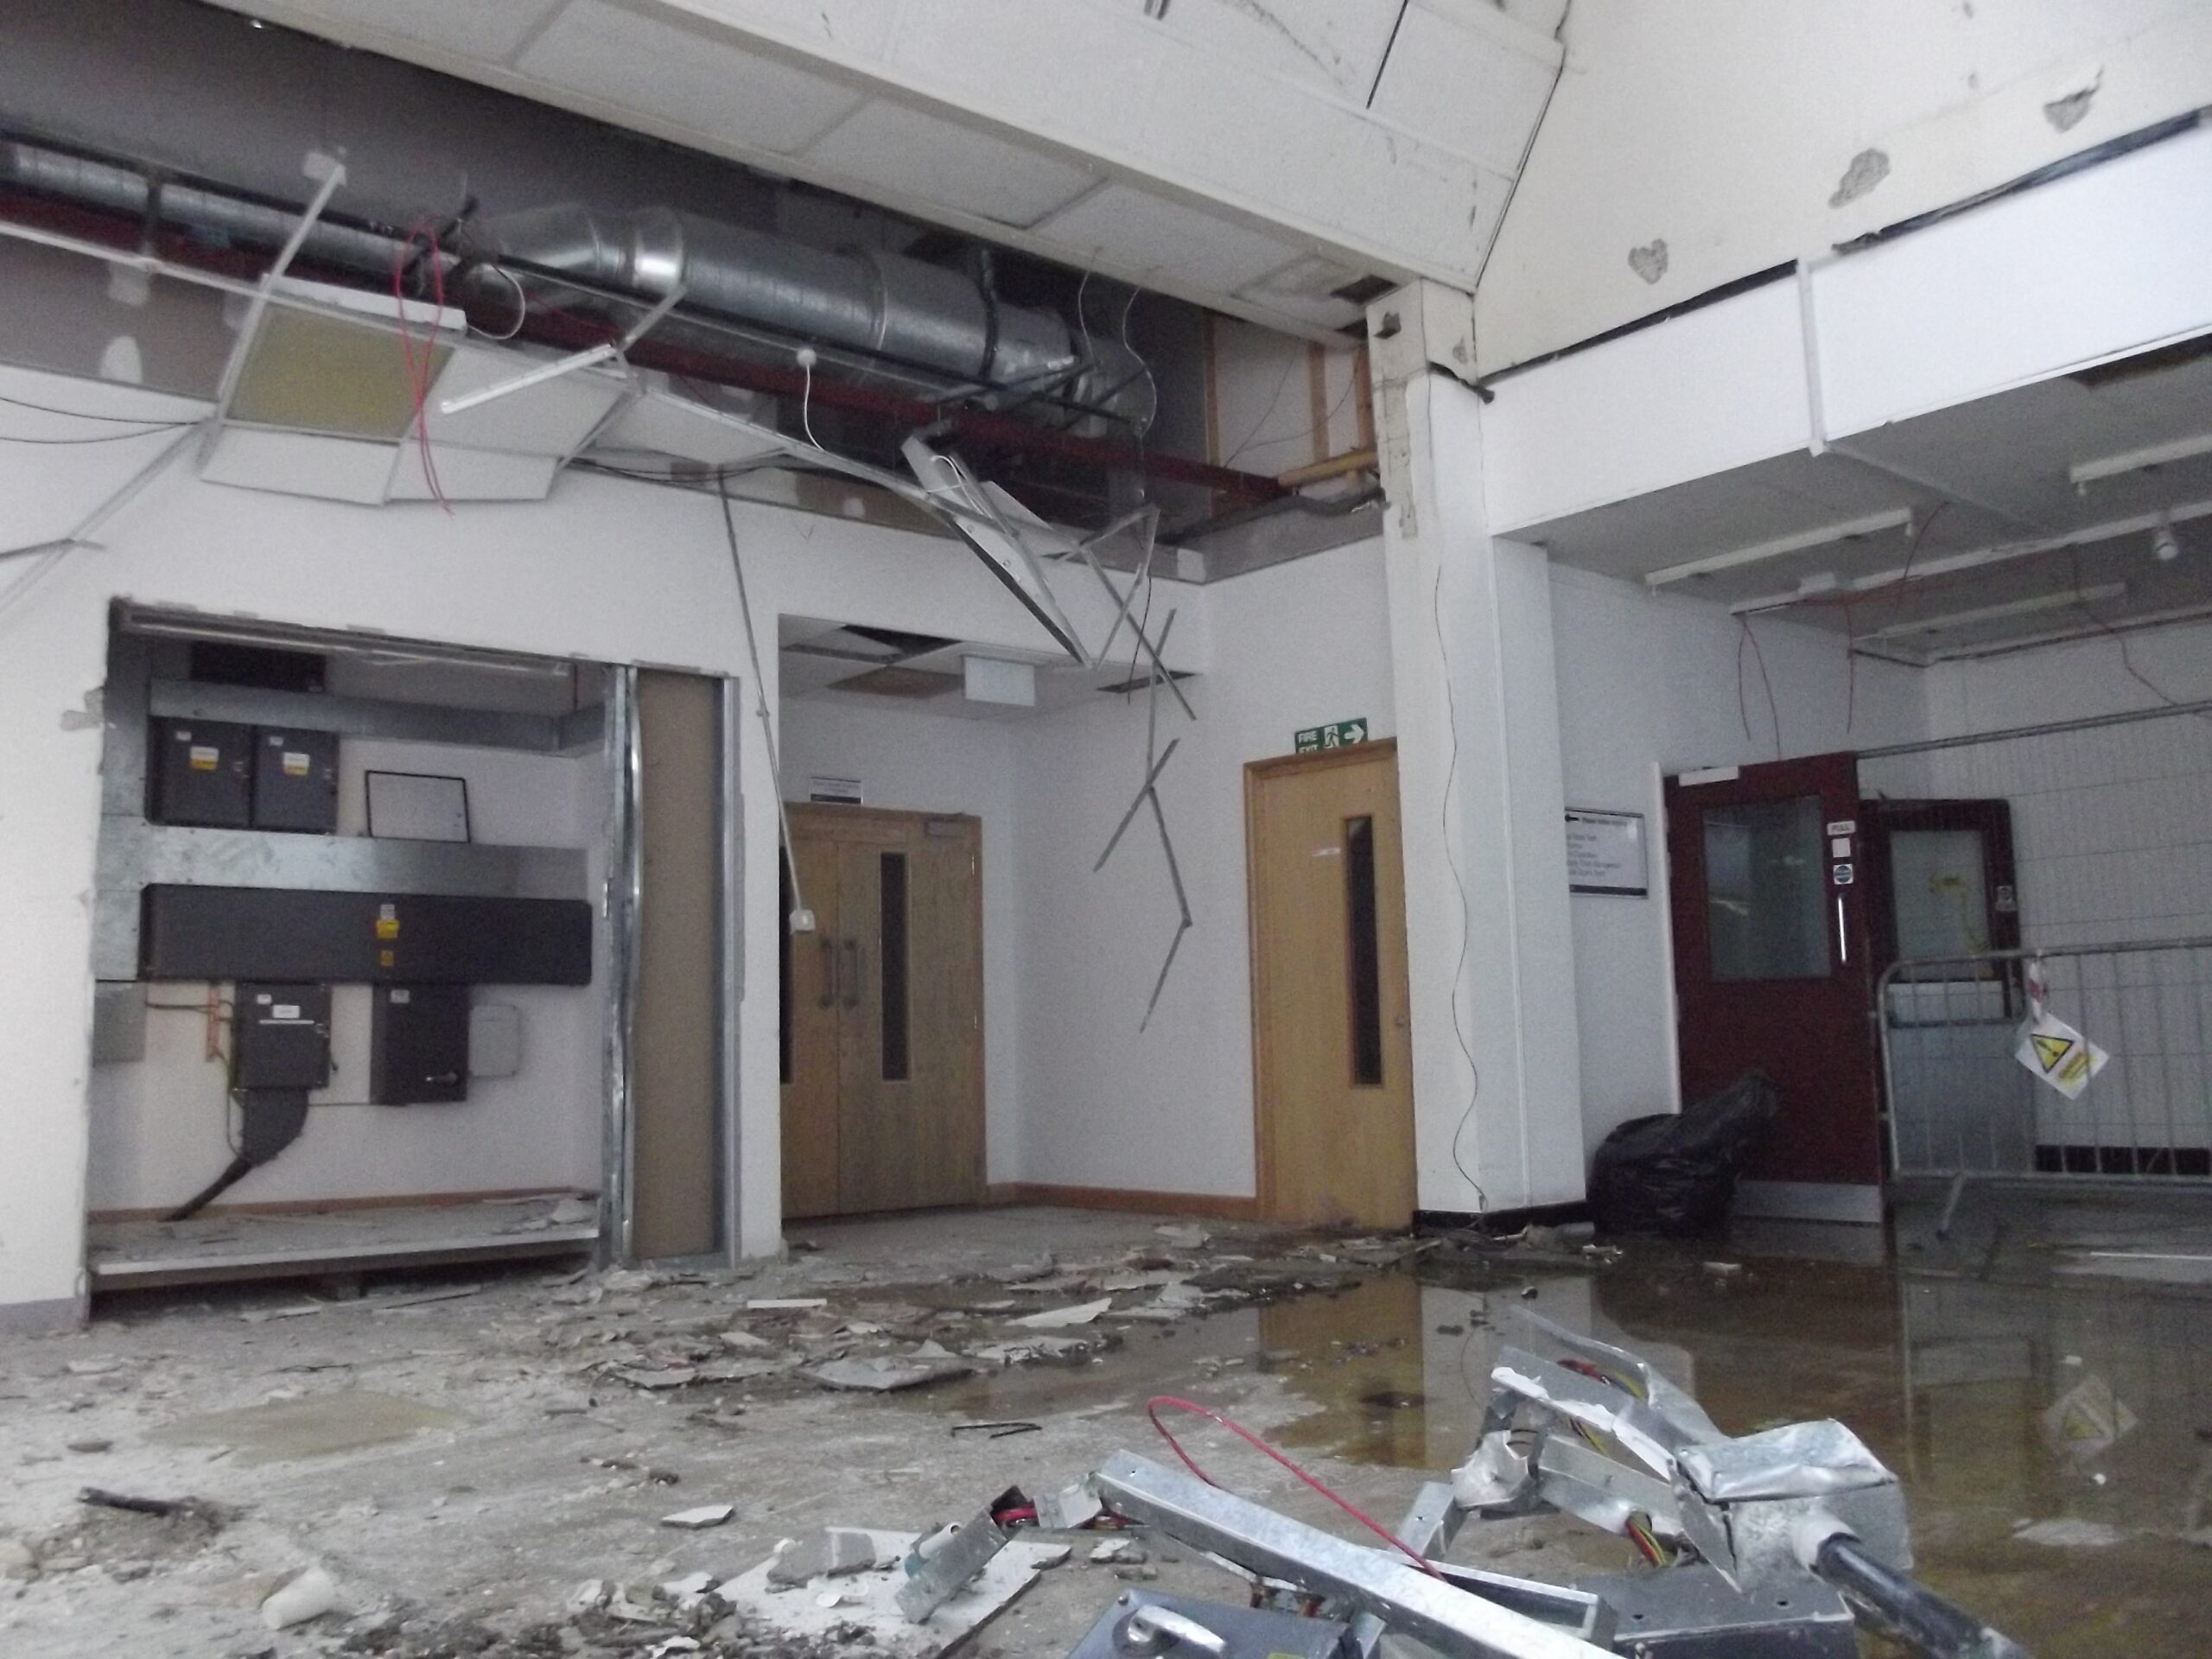
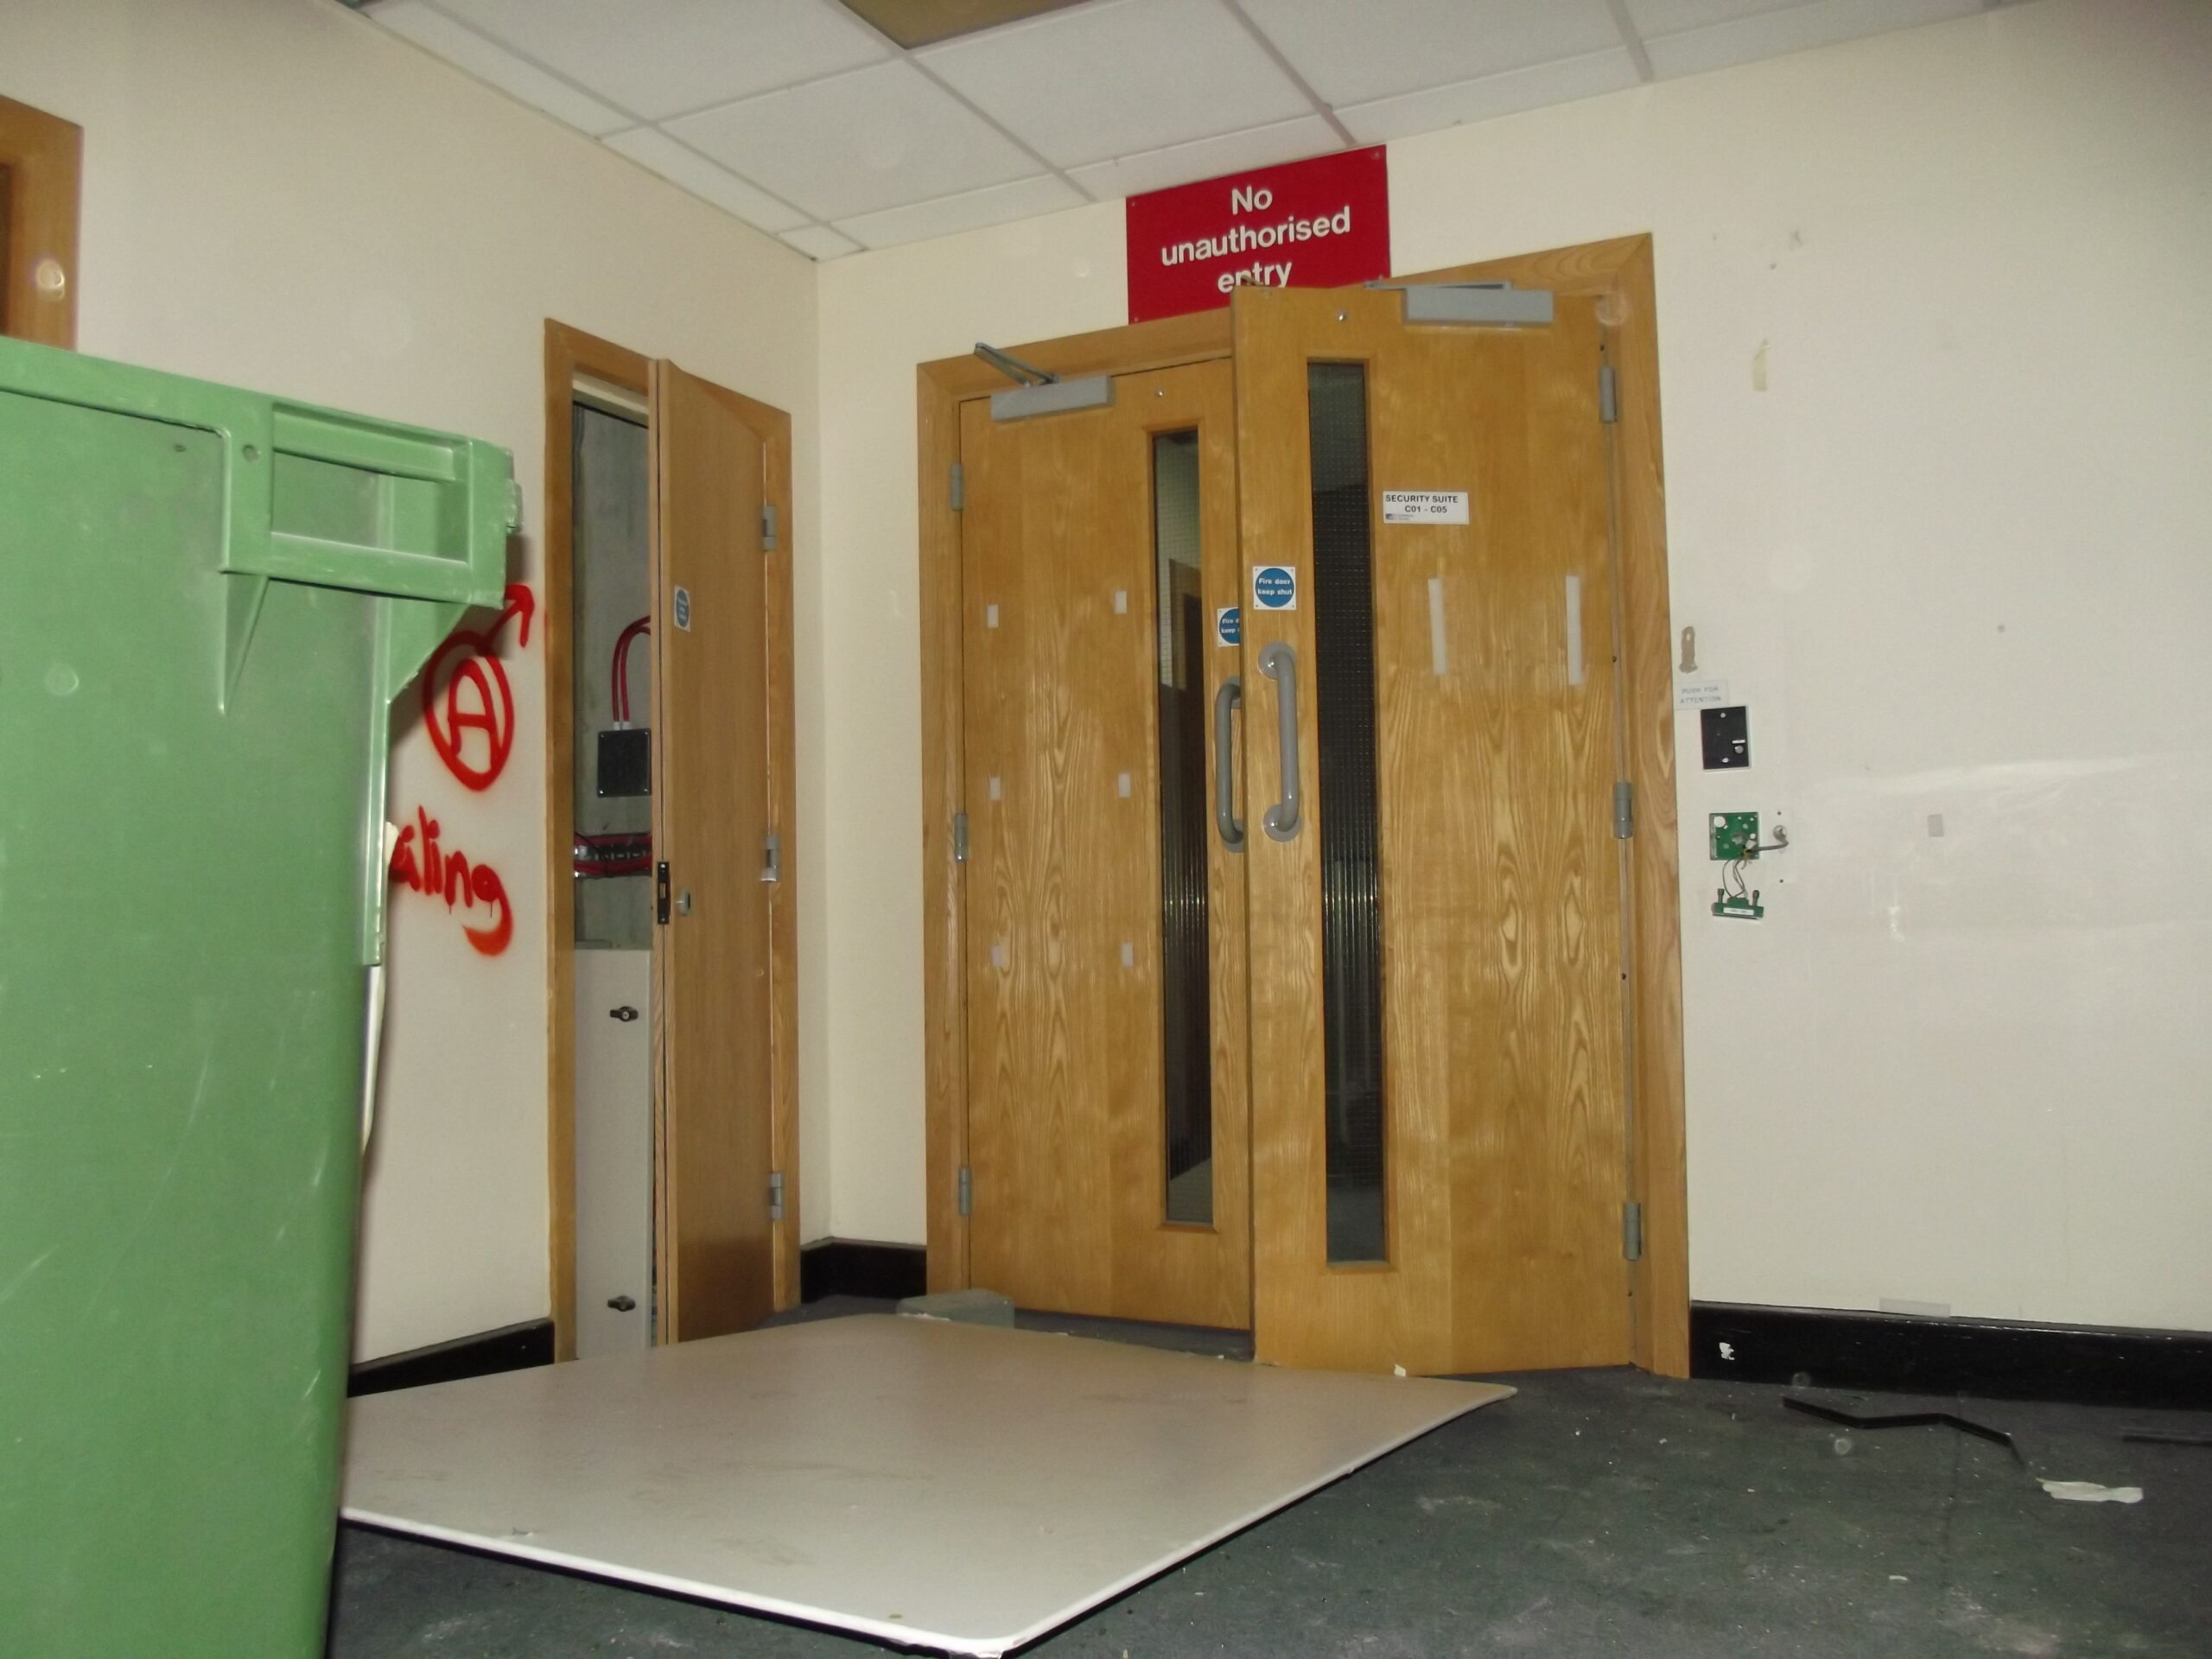
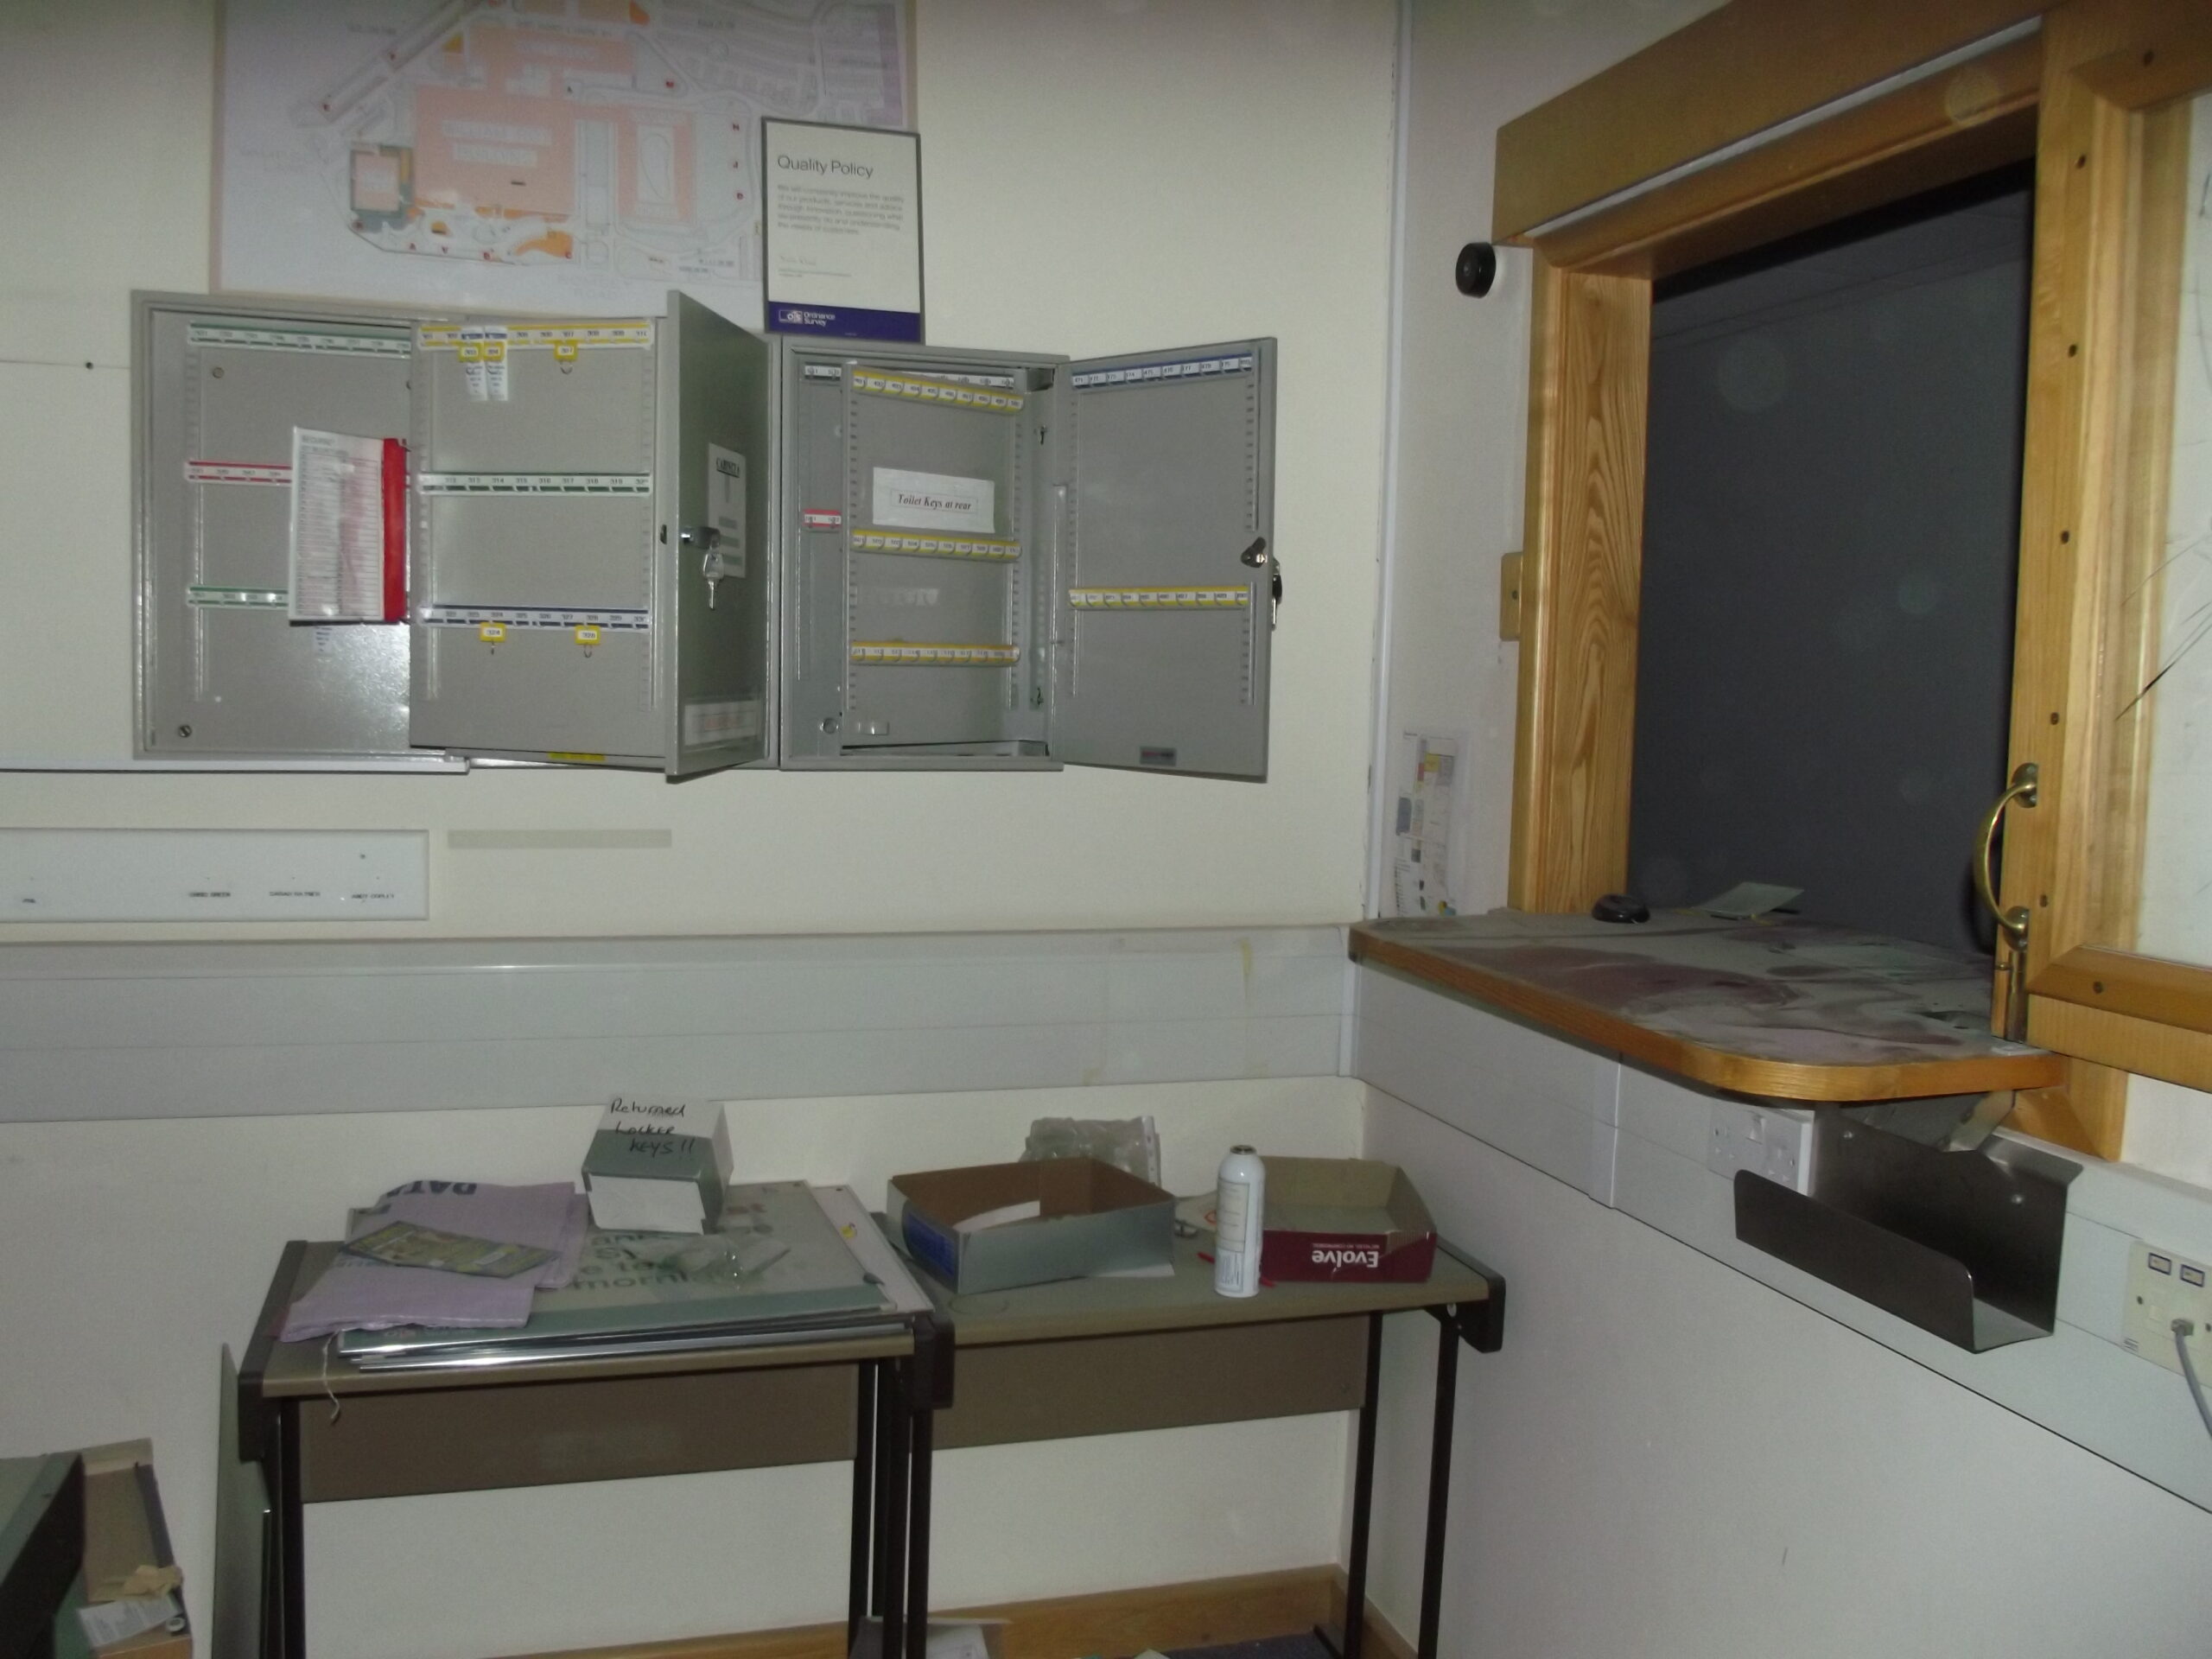
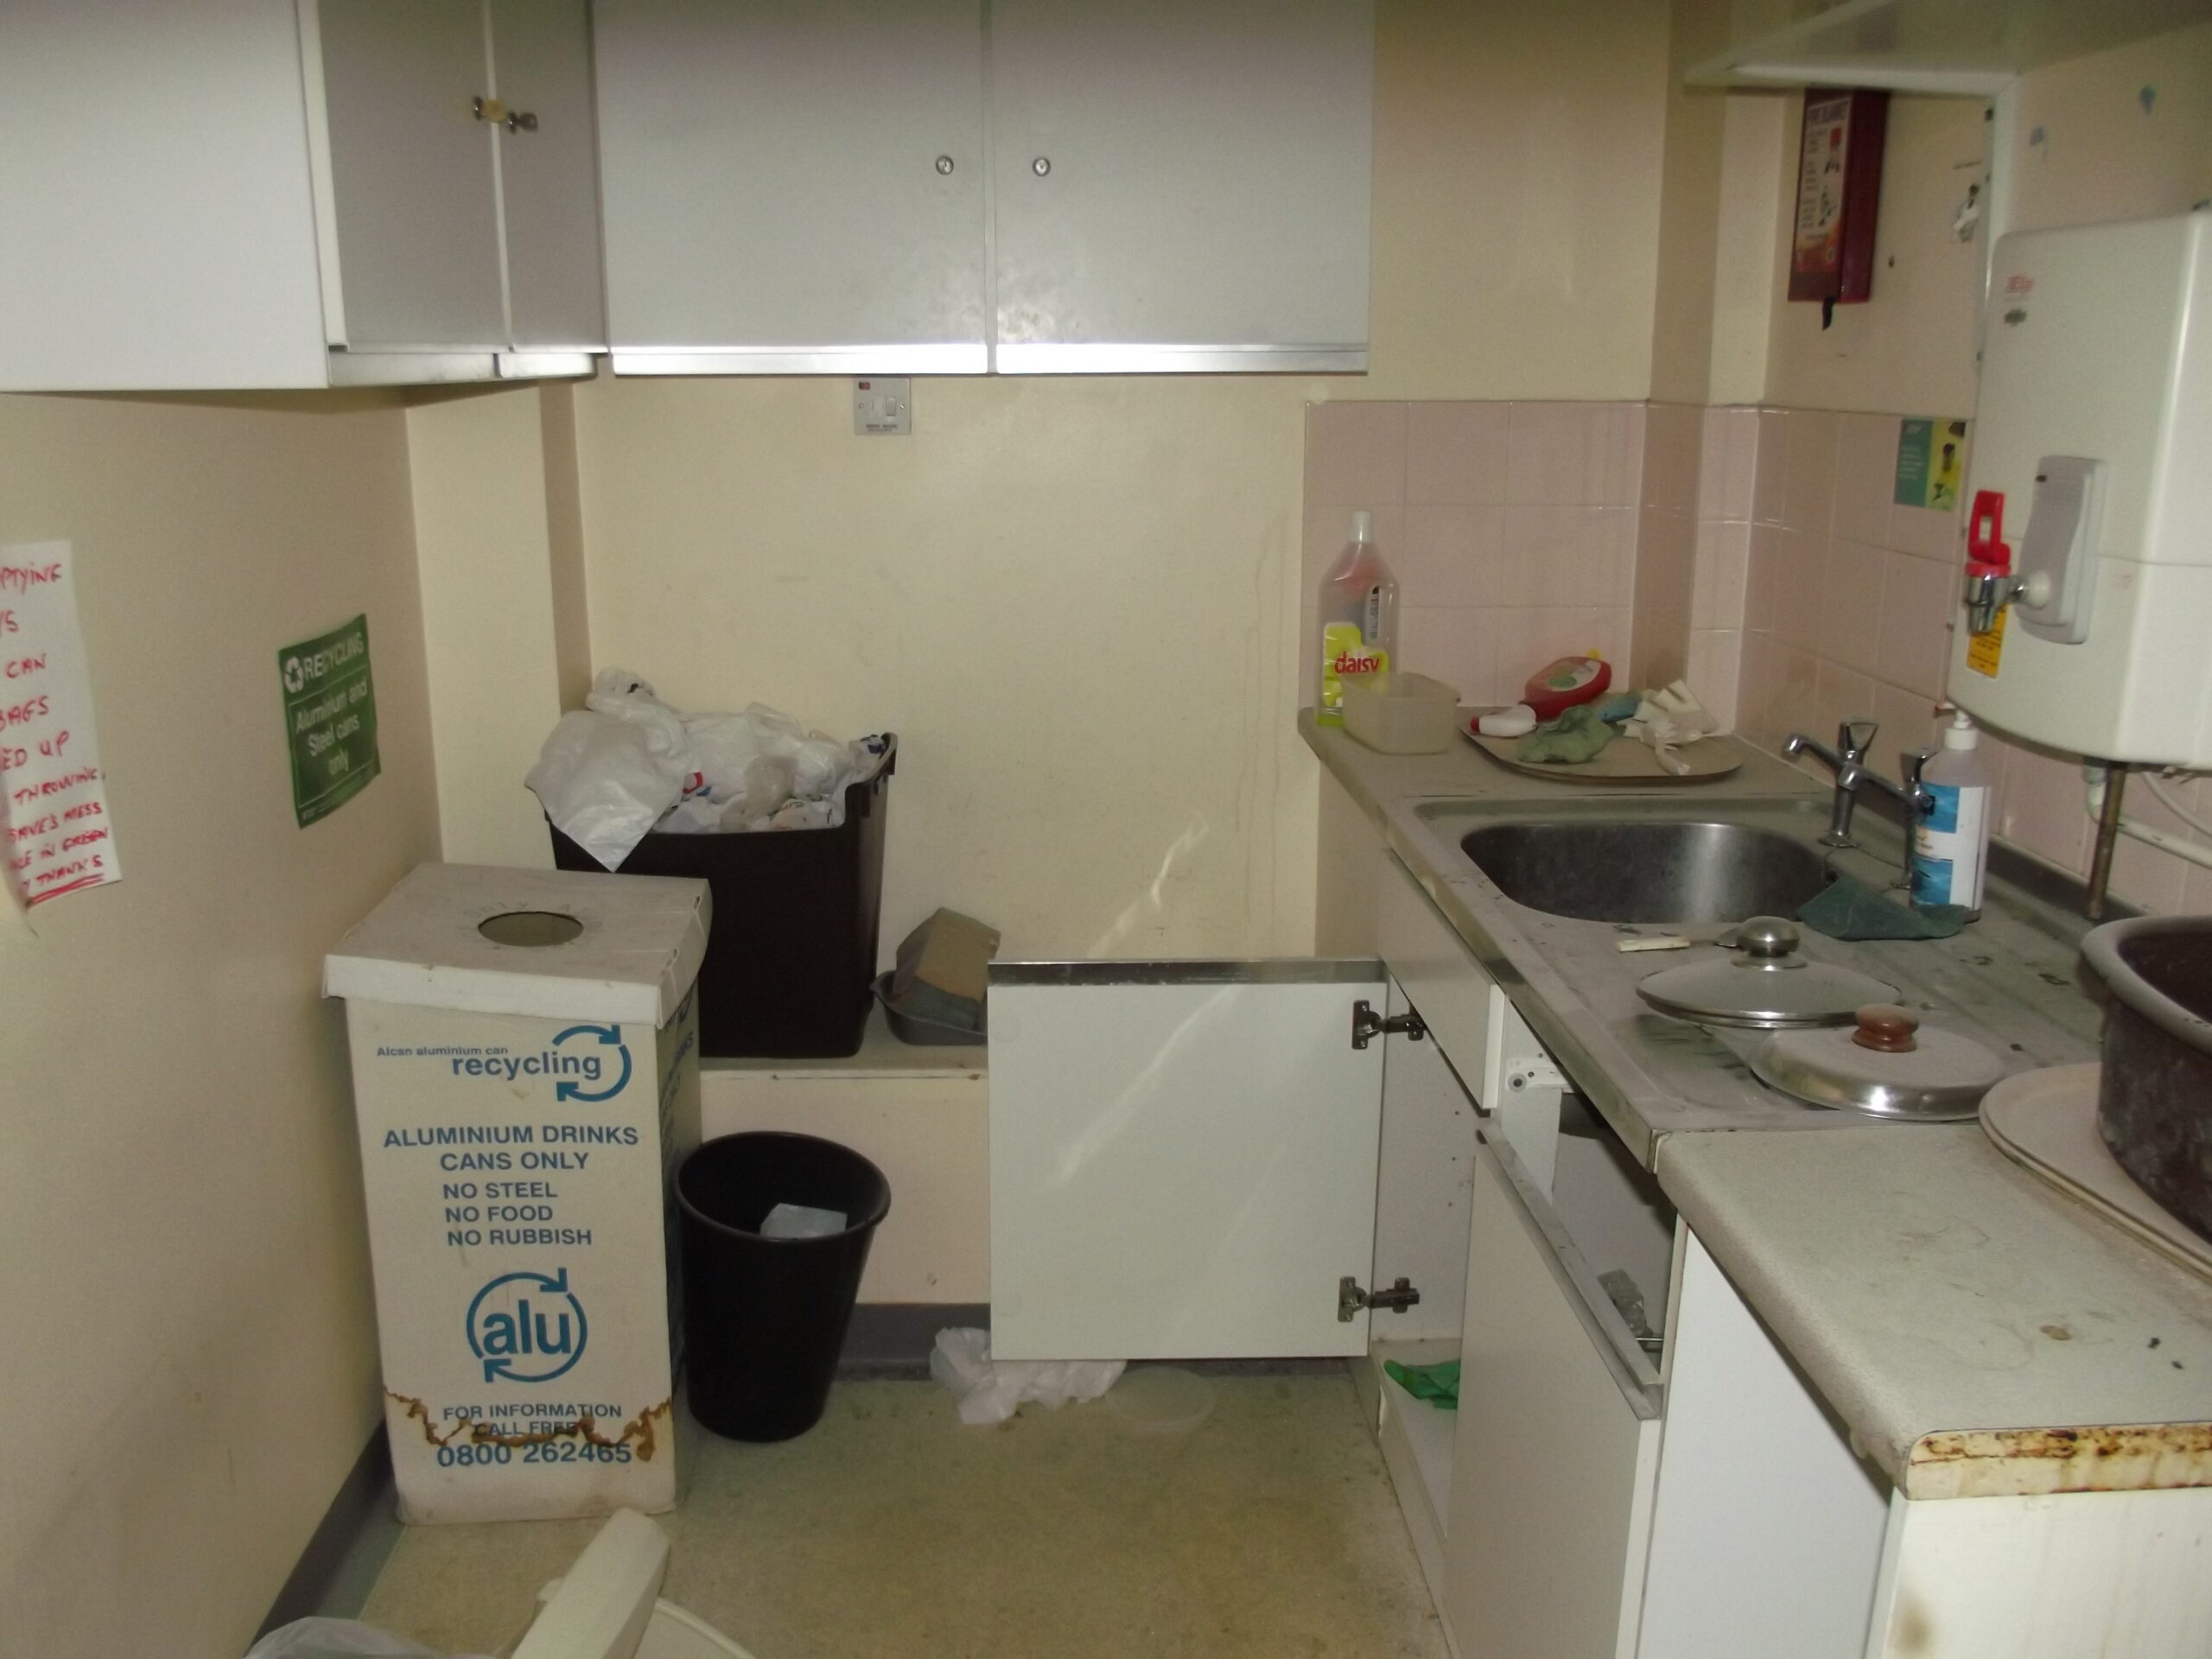
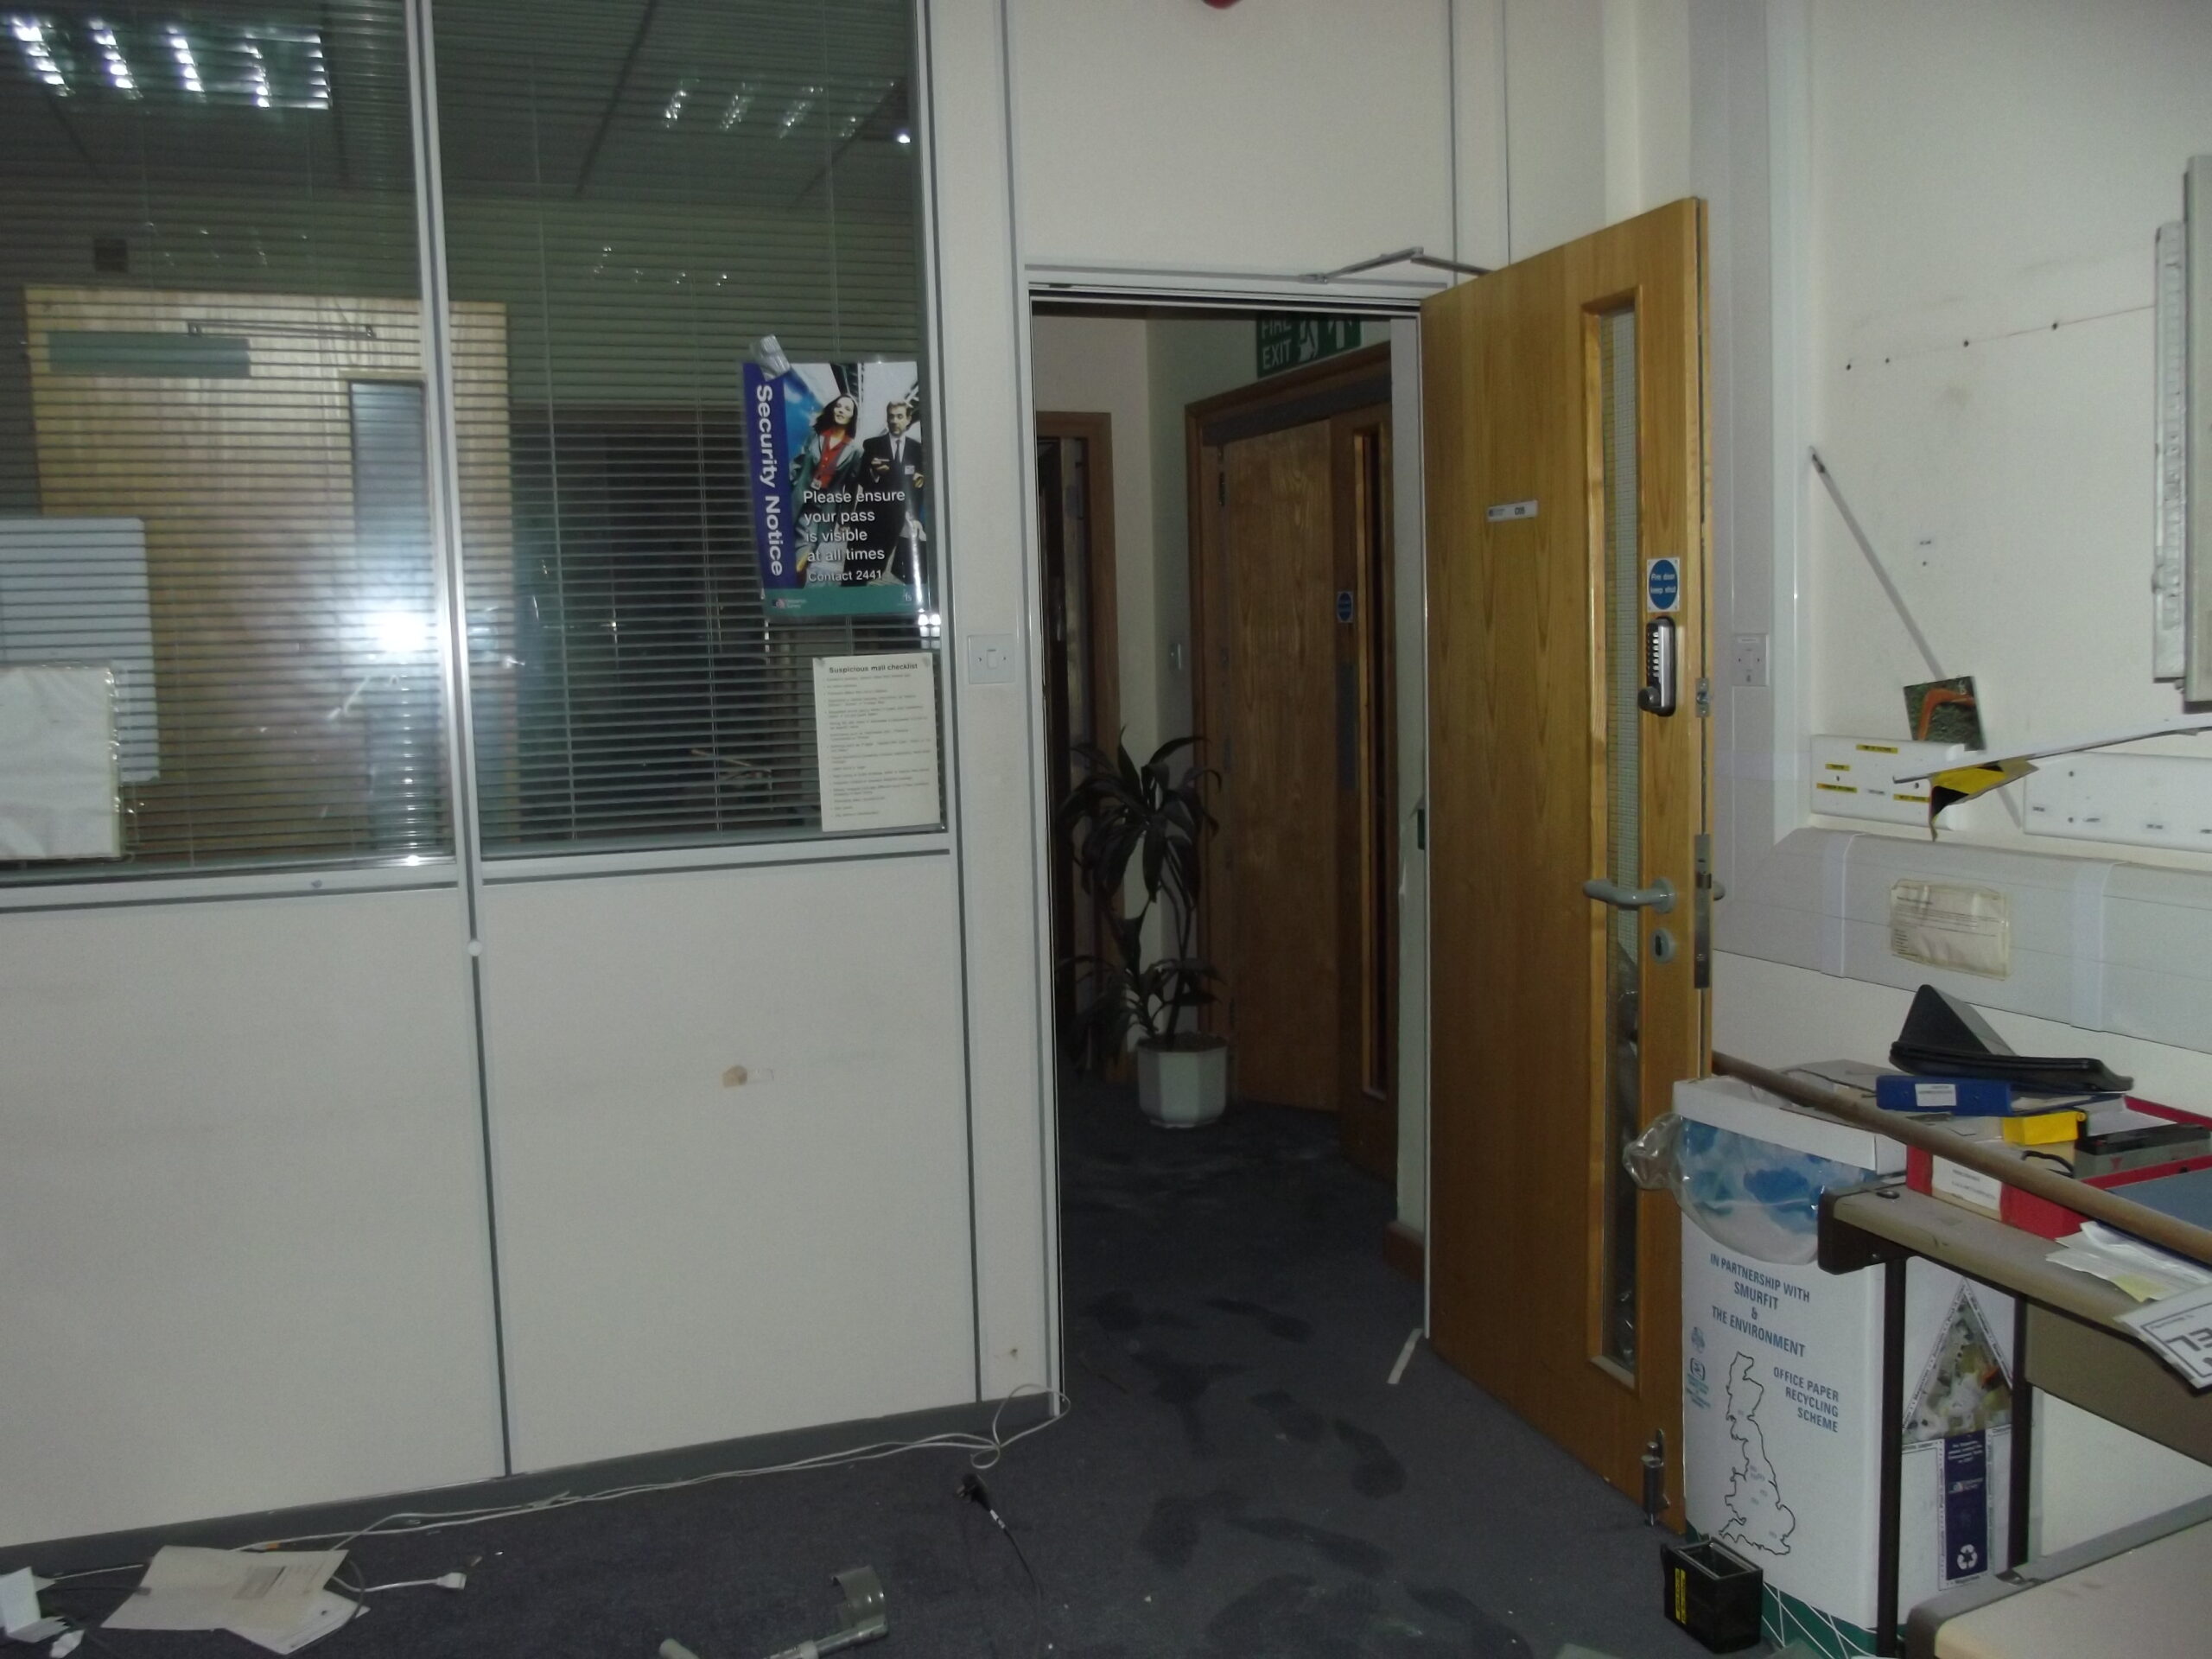
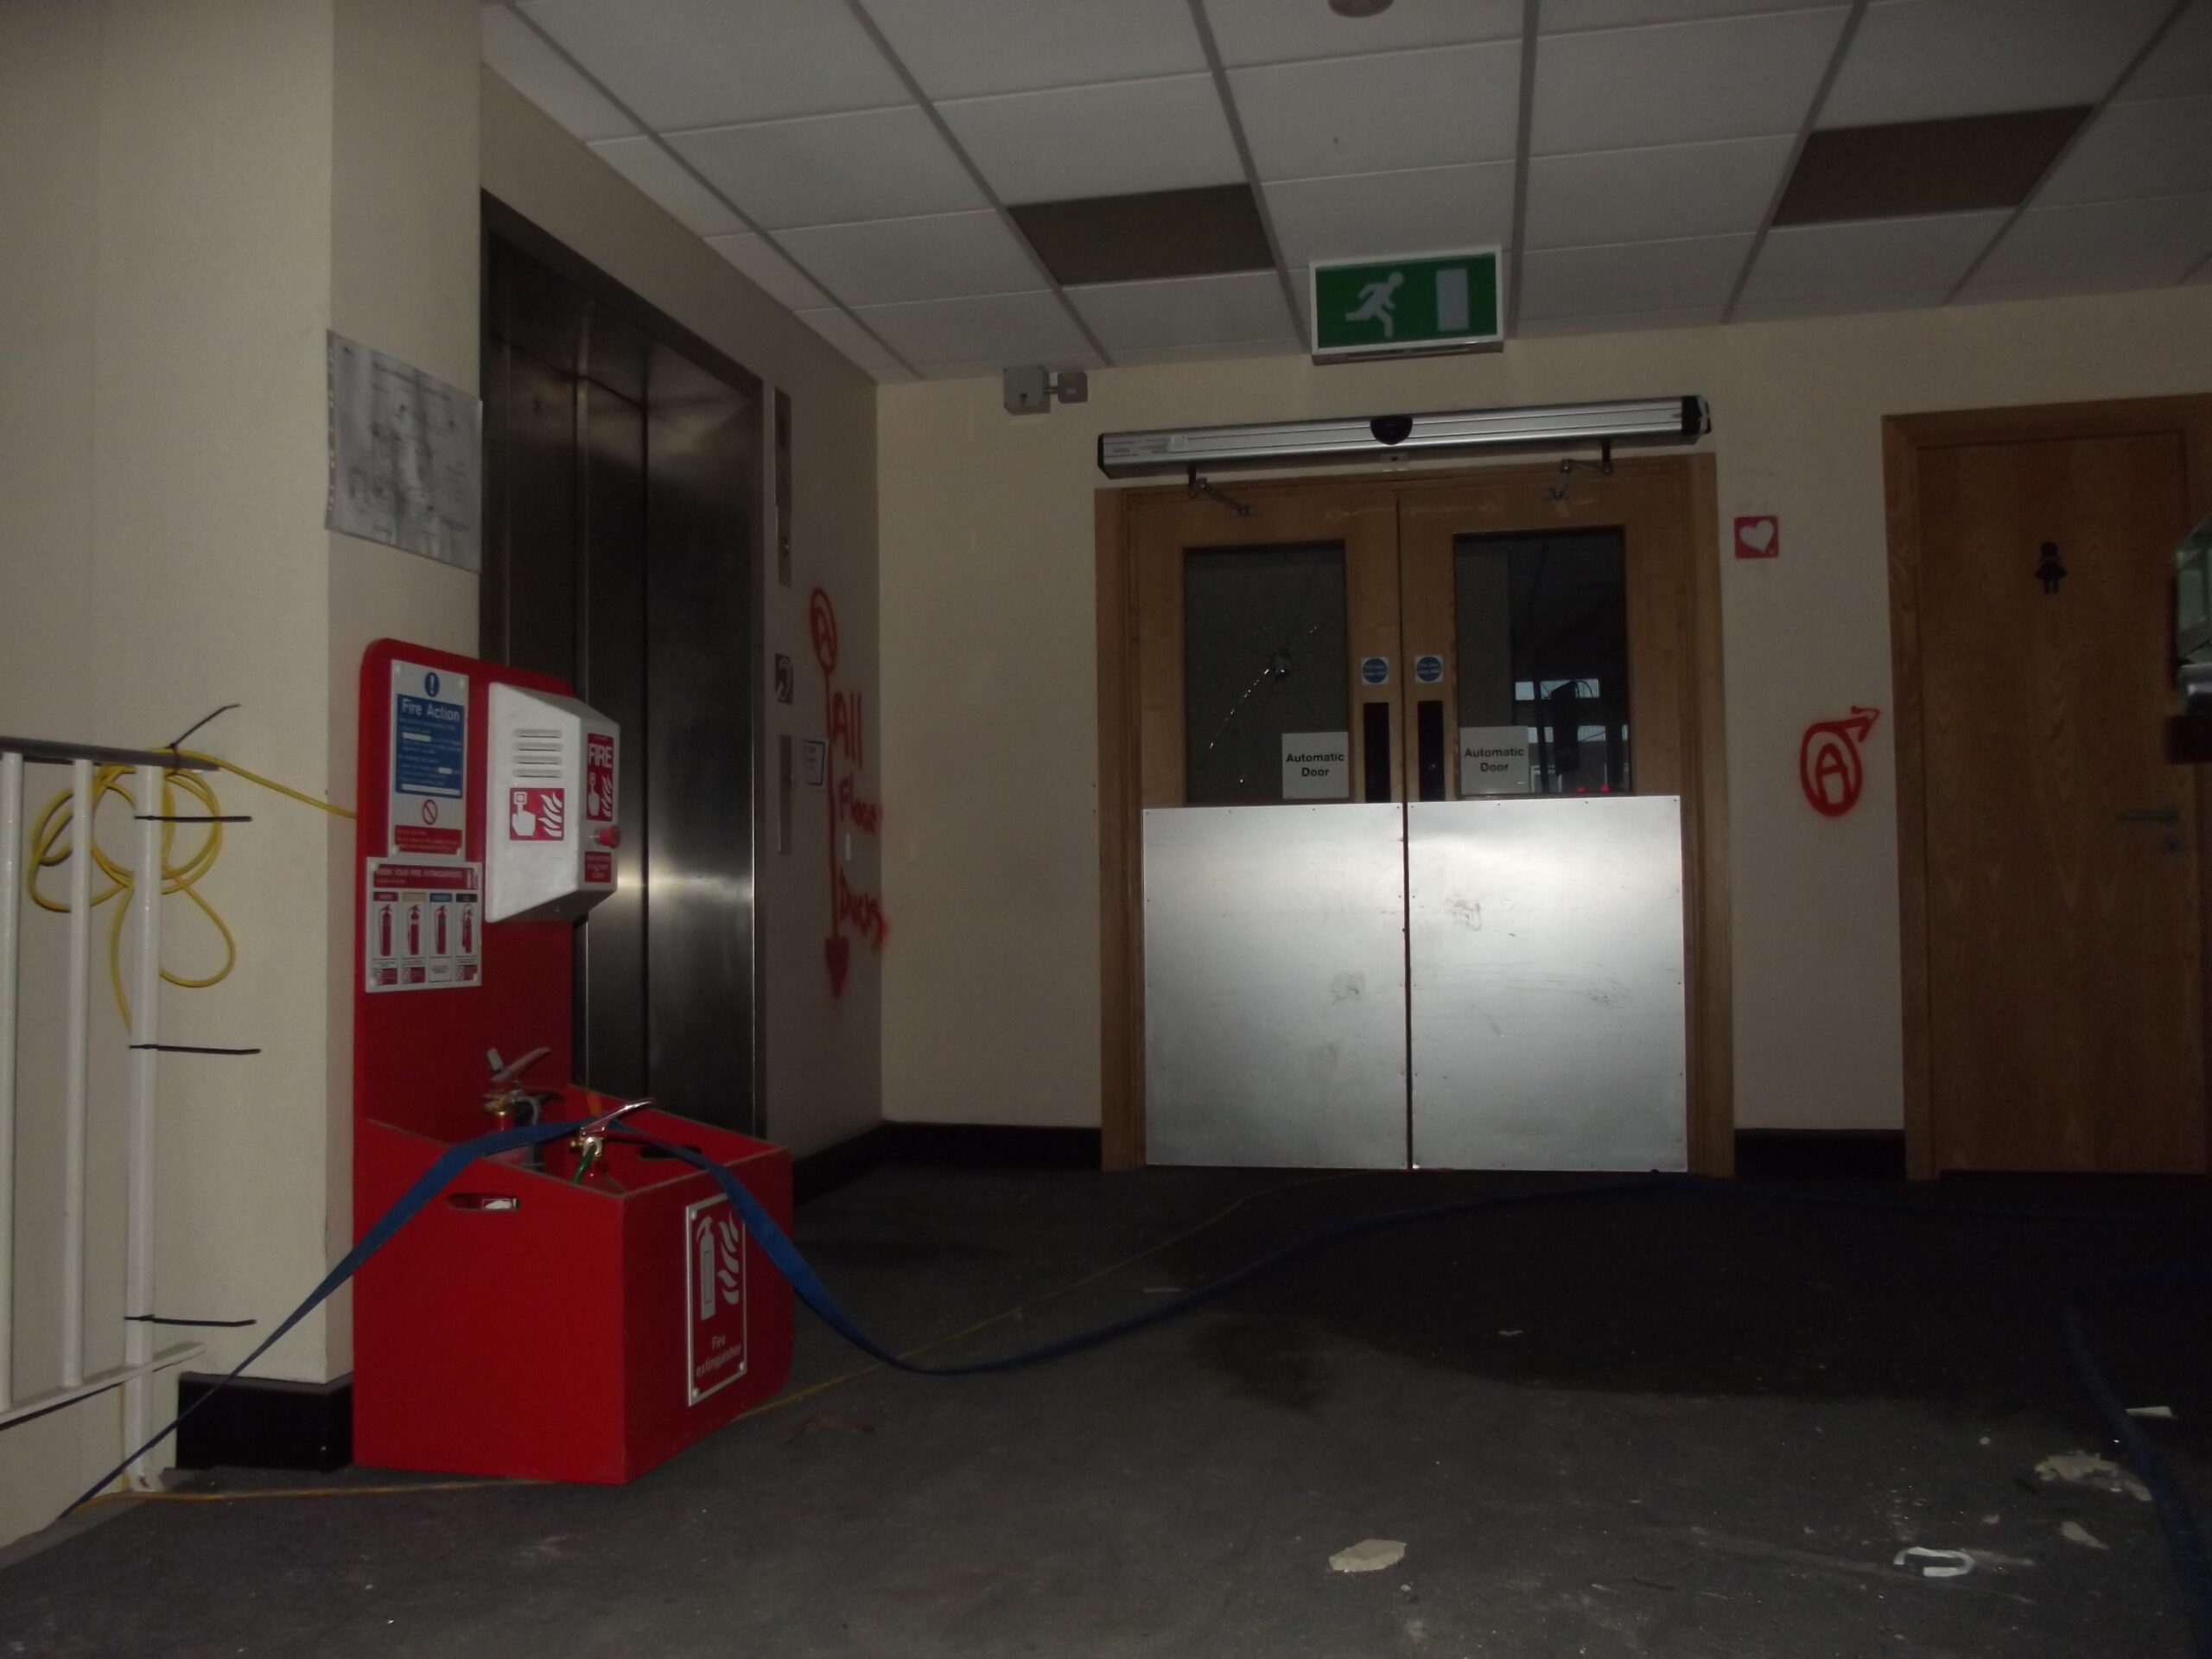
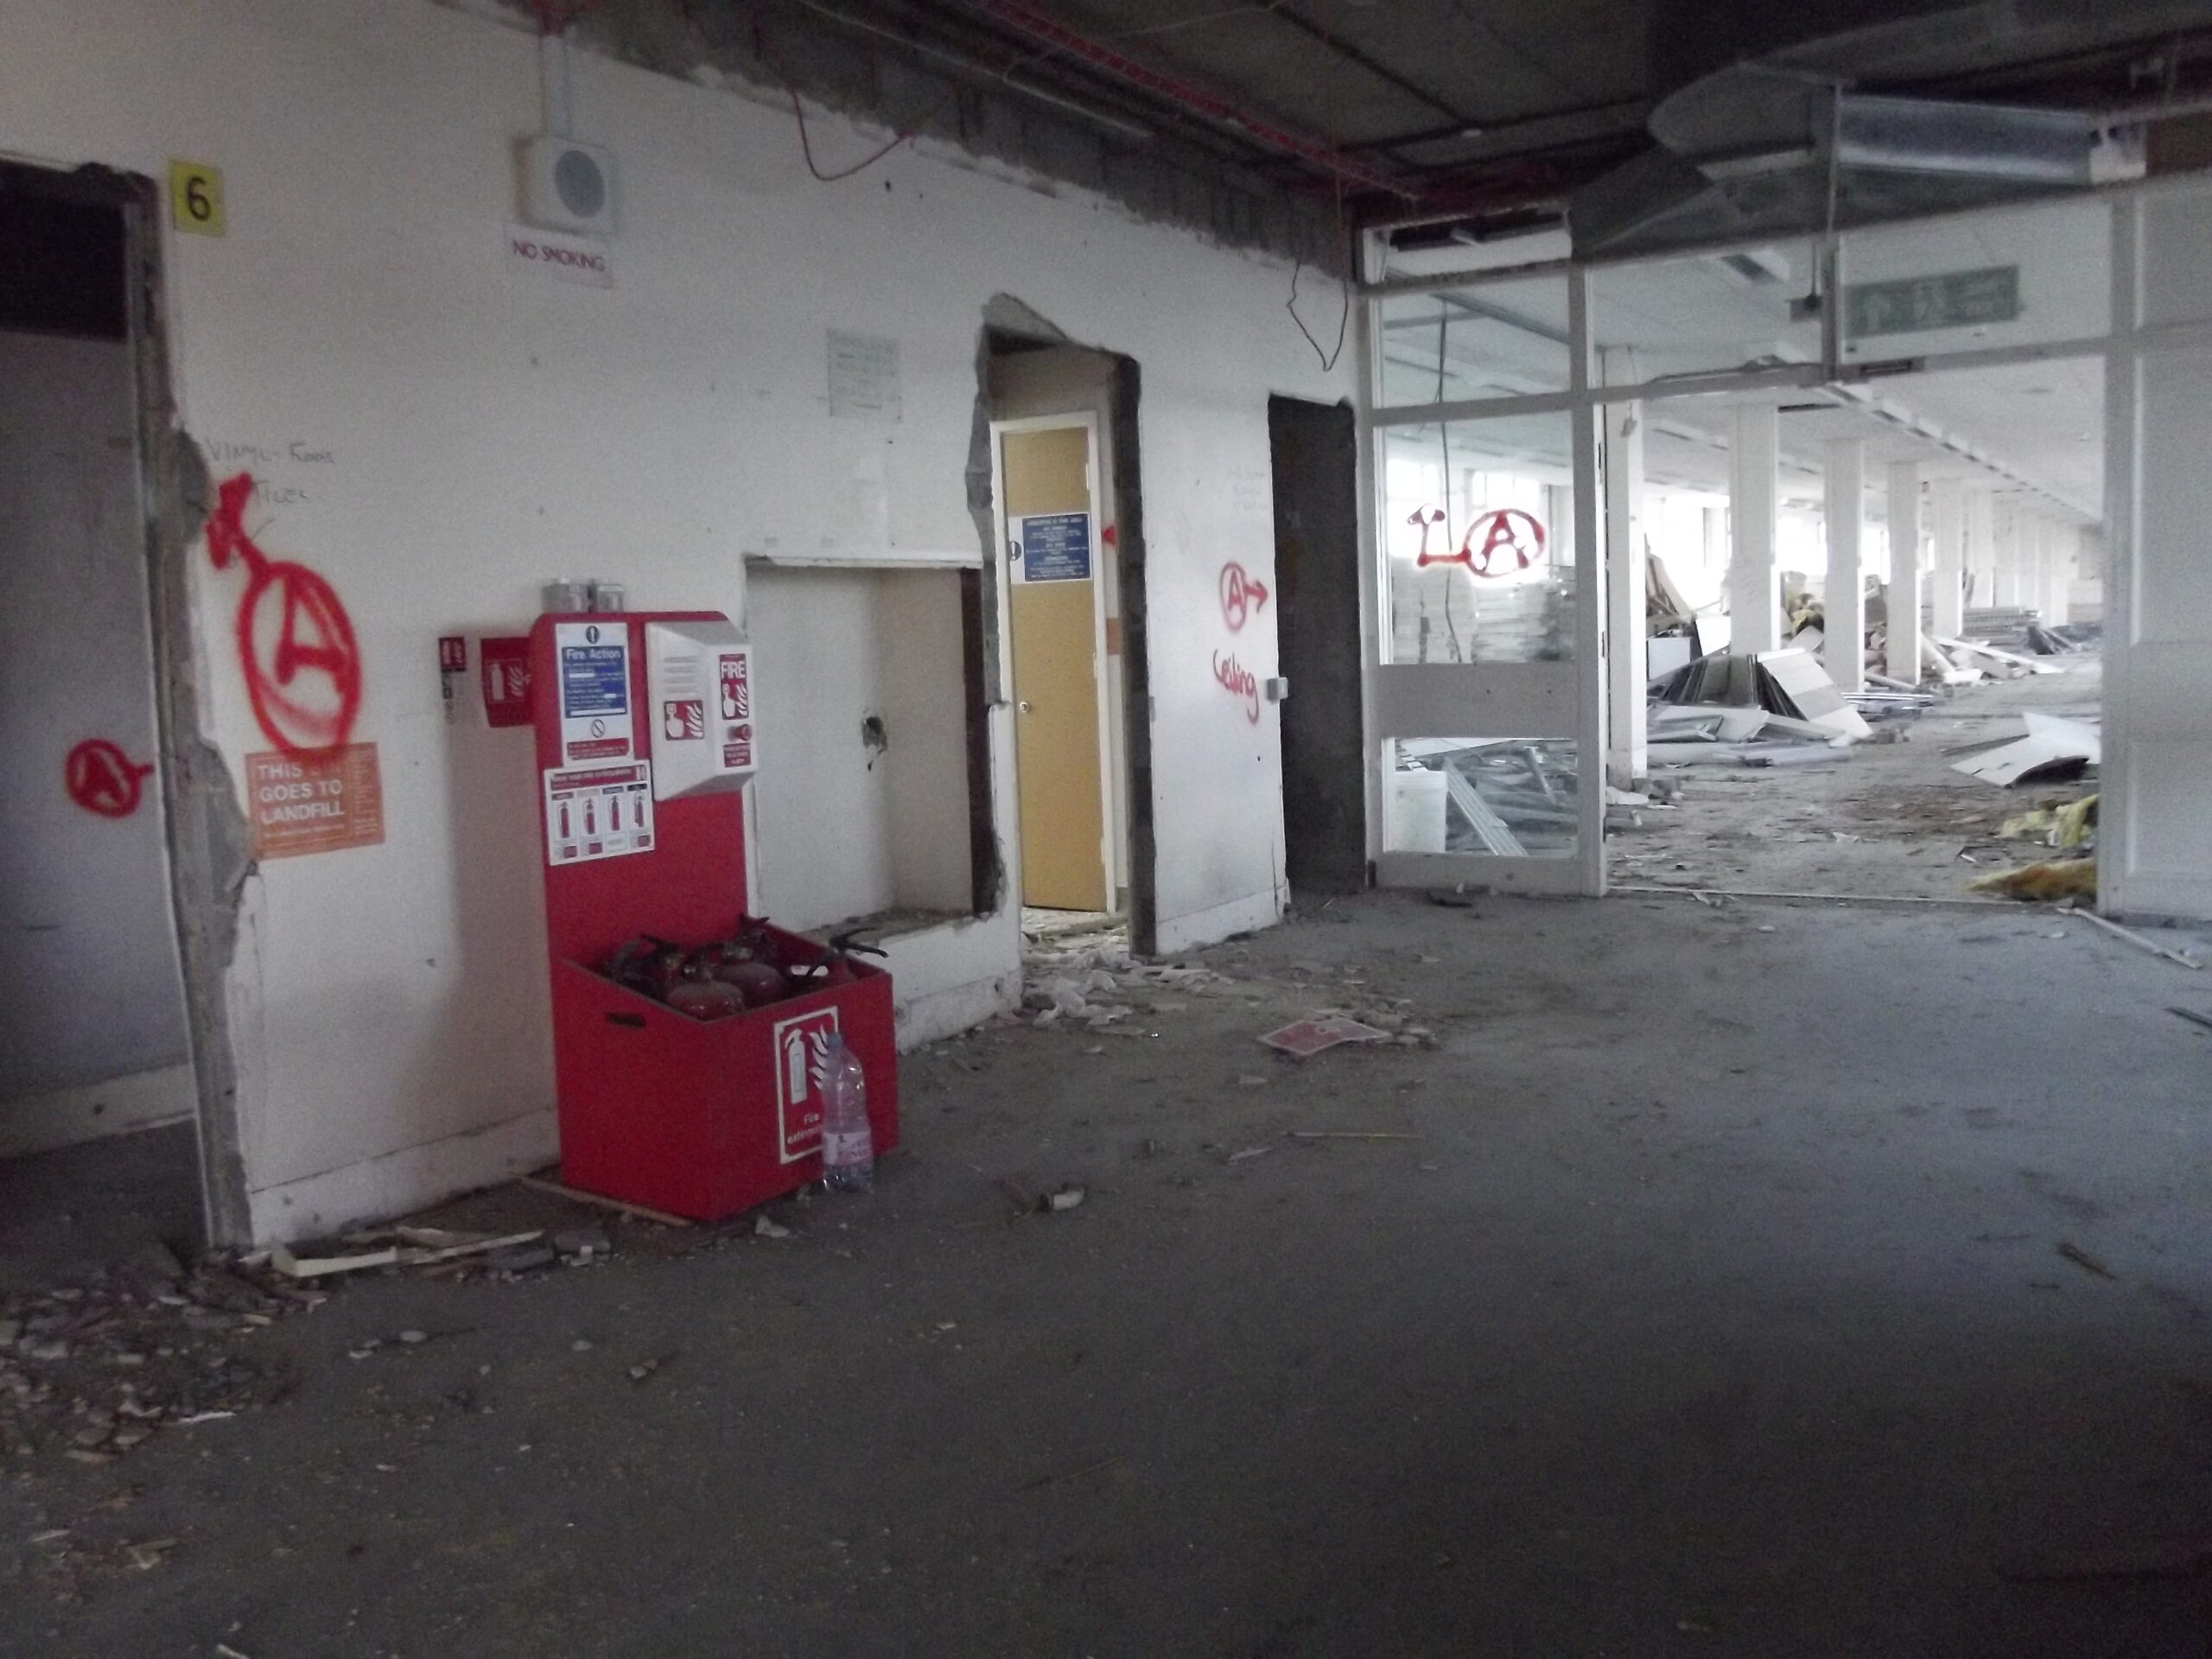
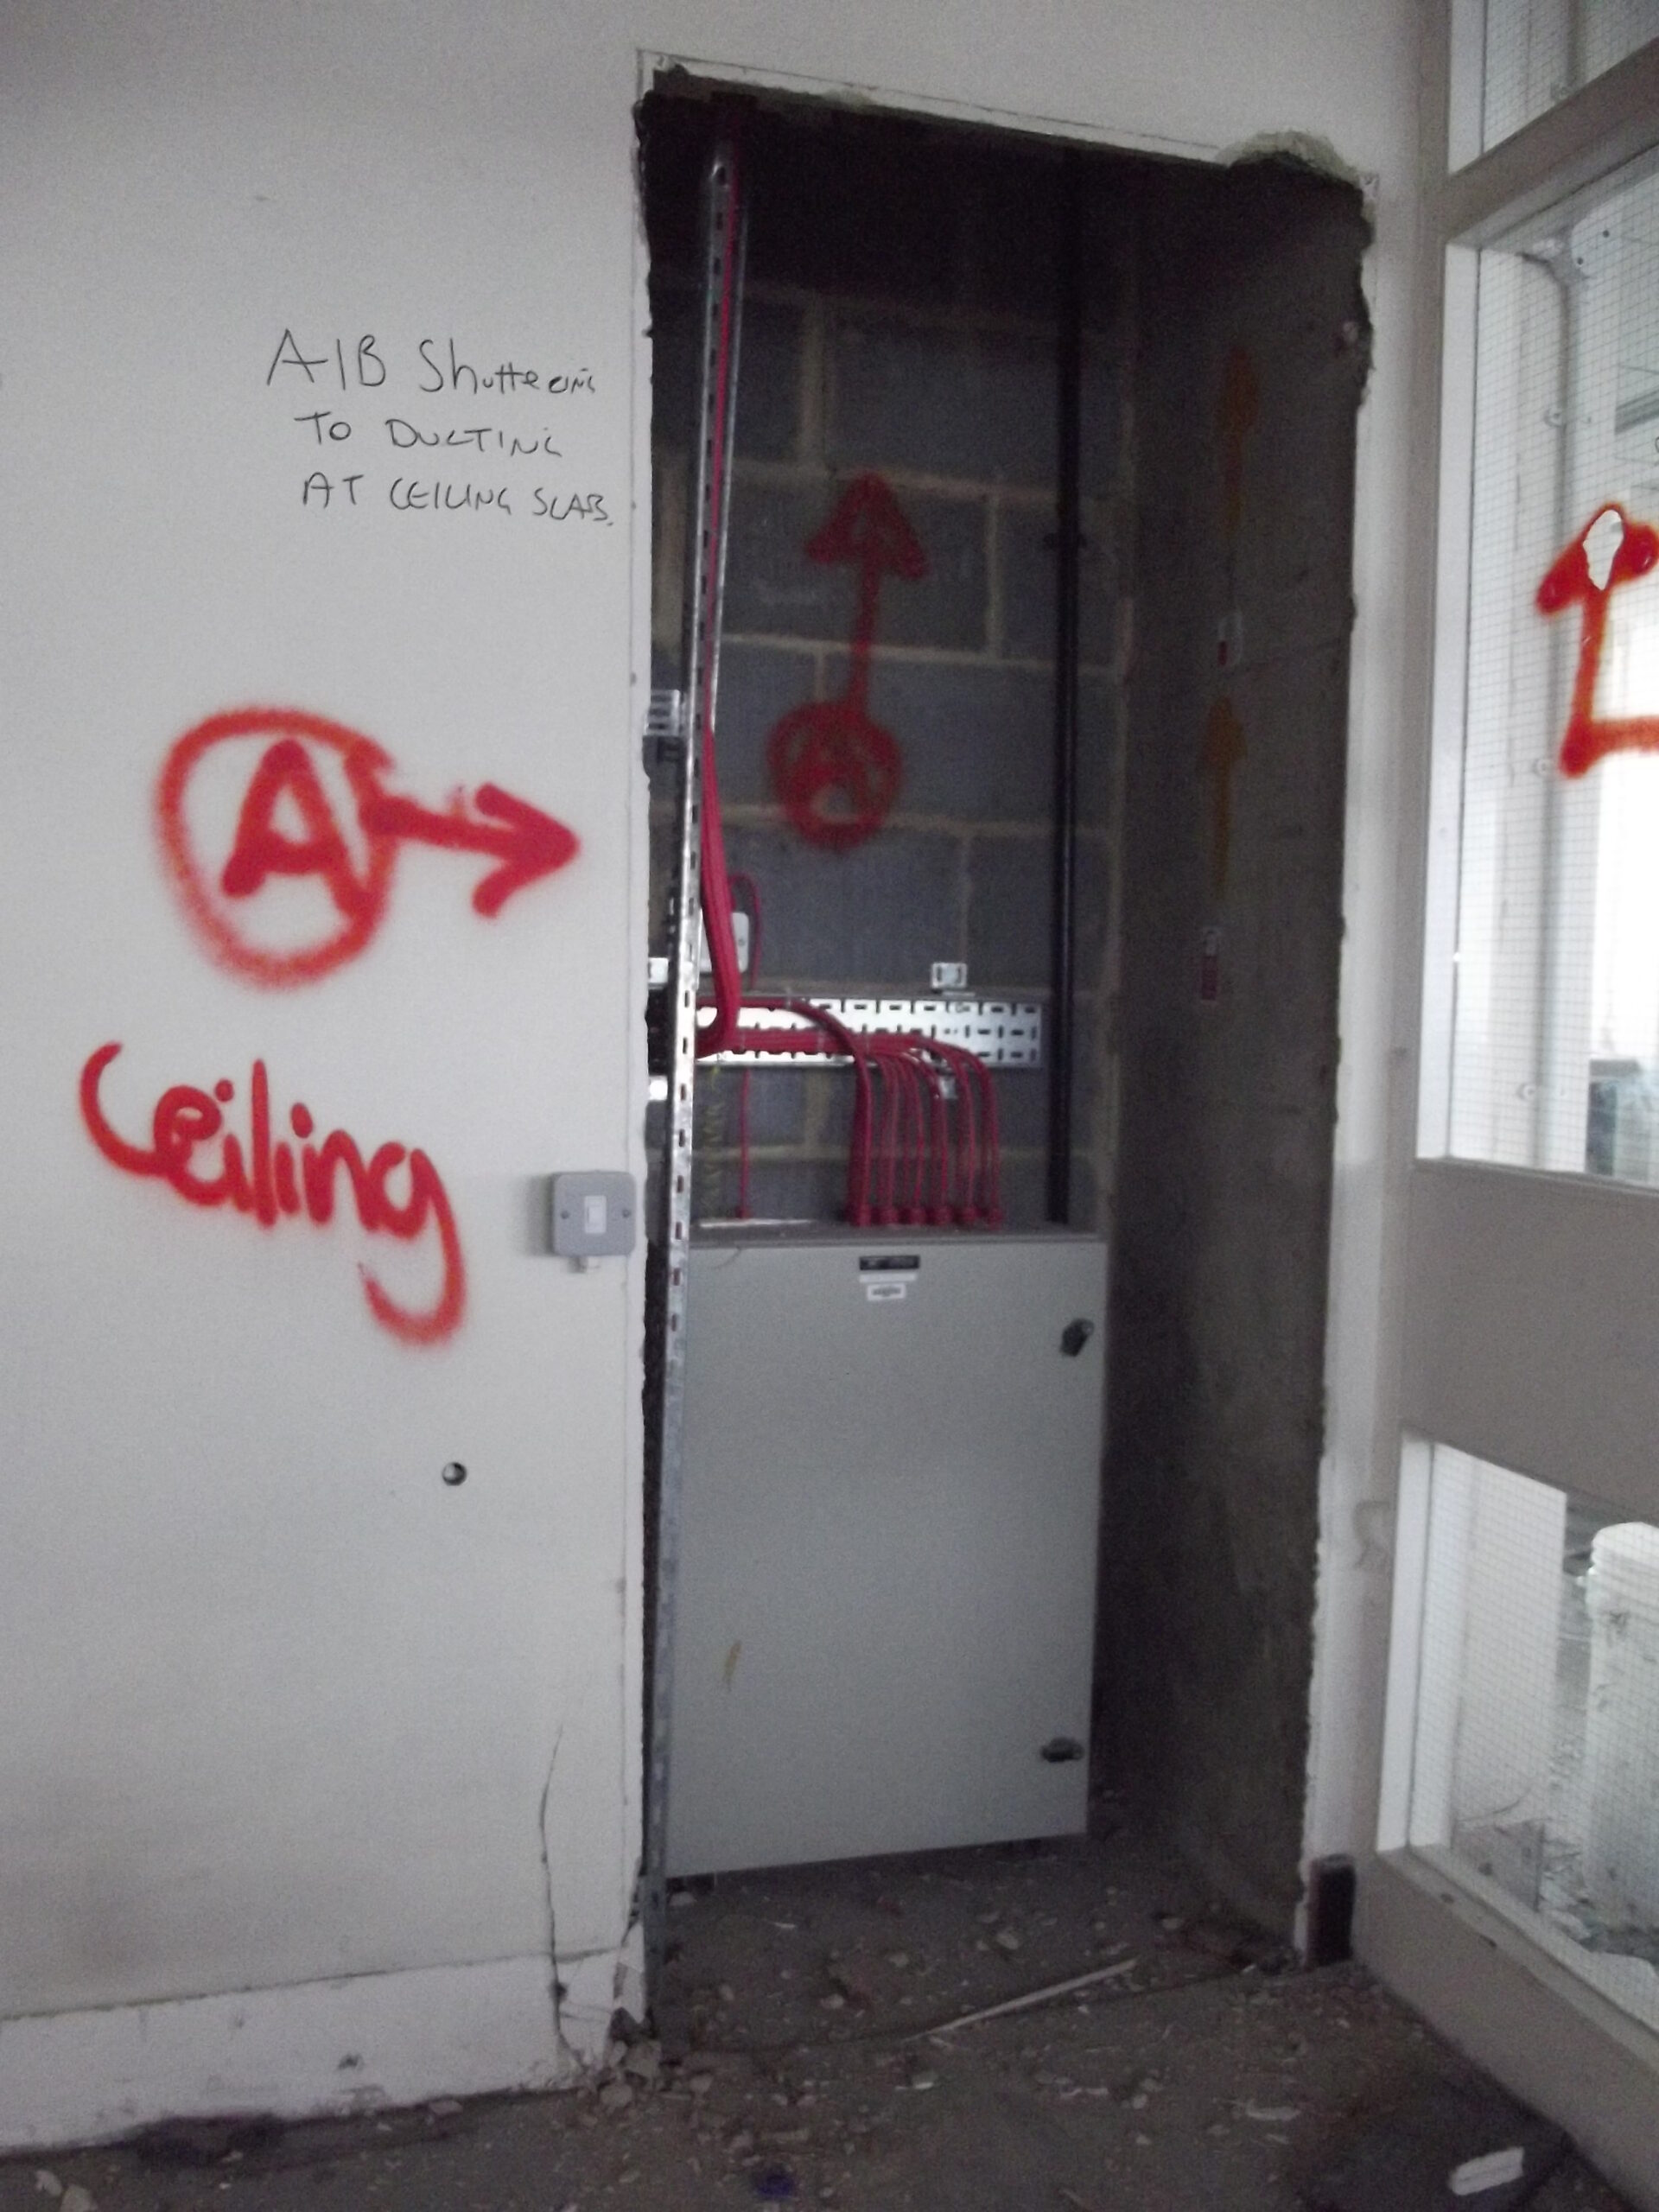
*captionDemolition of Upper Loading Bay, an area I was extremely familiar with after forklifting and organising the installation of a waste paper compactor.Upper Loading BaySecurity suite near B Core, ground floorSecurity suite near B Core, ground floorSecurity suite near B Core, ground floor, CCTV monitorsSecurity suite near B Core, ground floorB Core entrance to SecuritySecurity hatch near B Core, ground floorKitchen, part of Security suite near B Core, ground floorSecurity suite near B Core, ground floor – fire alarm speaker. As a Fire and Bomb Warden and also responsible for being a ‘Recorder’ when there was a fire alarm incident, I saw this in use many times, useful for giving the all-clear mainly after the alarms had been set off.Security suite, by B Core, ground floorSecurity suite near B Core, ground floorB Core, ground floor standing outside entrance to SecurityDemolition of area around B core
Ground floor West Block
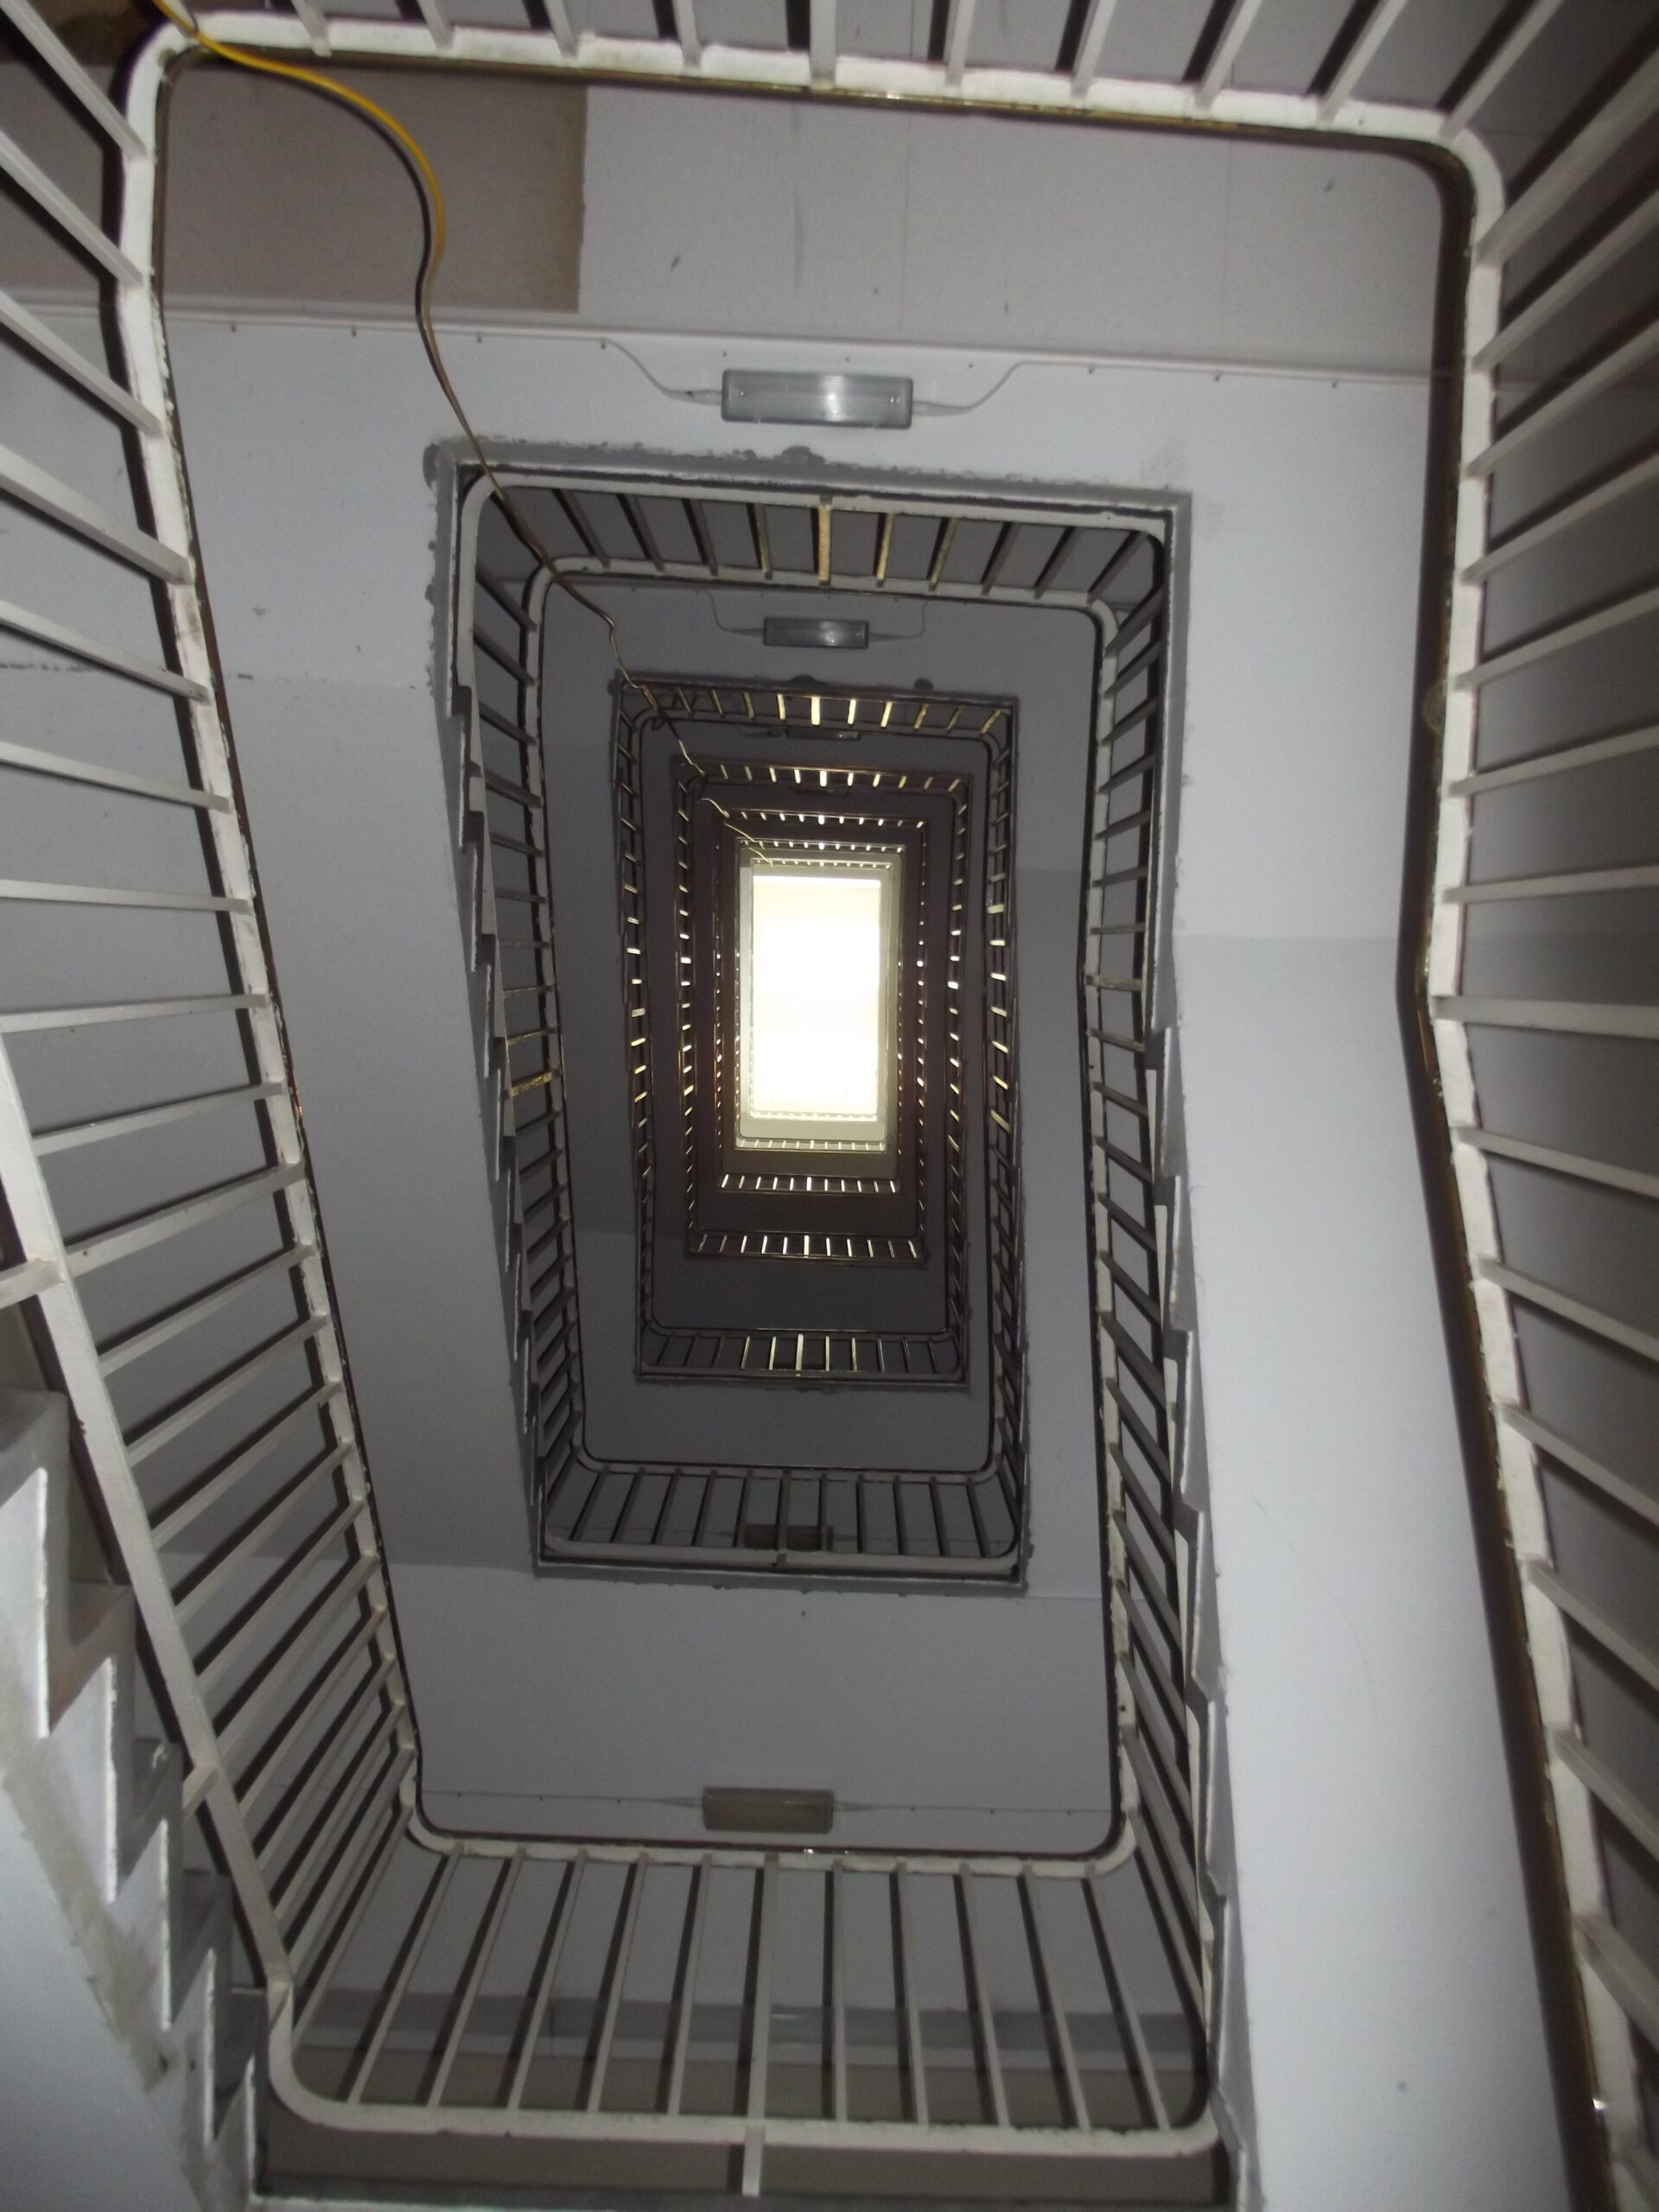
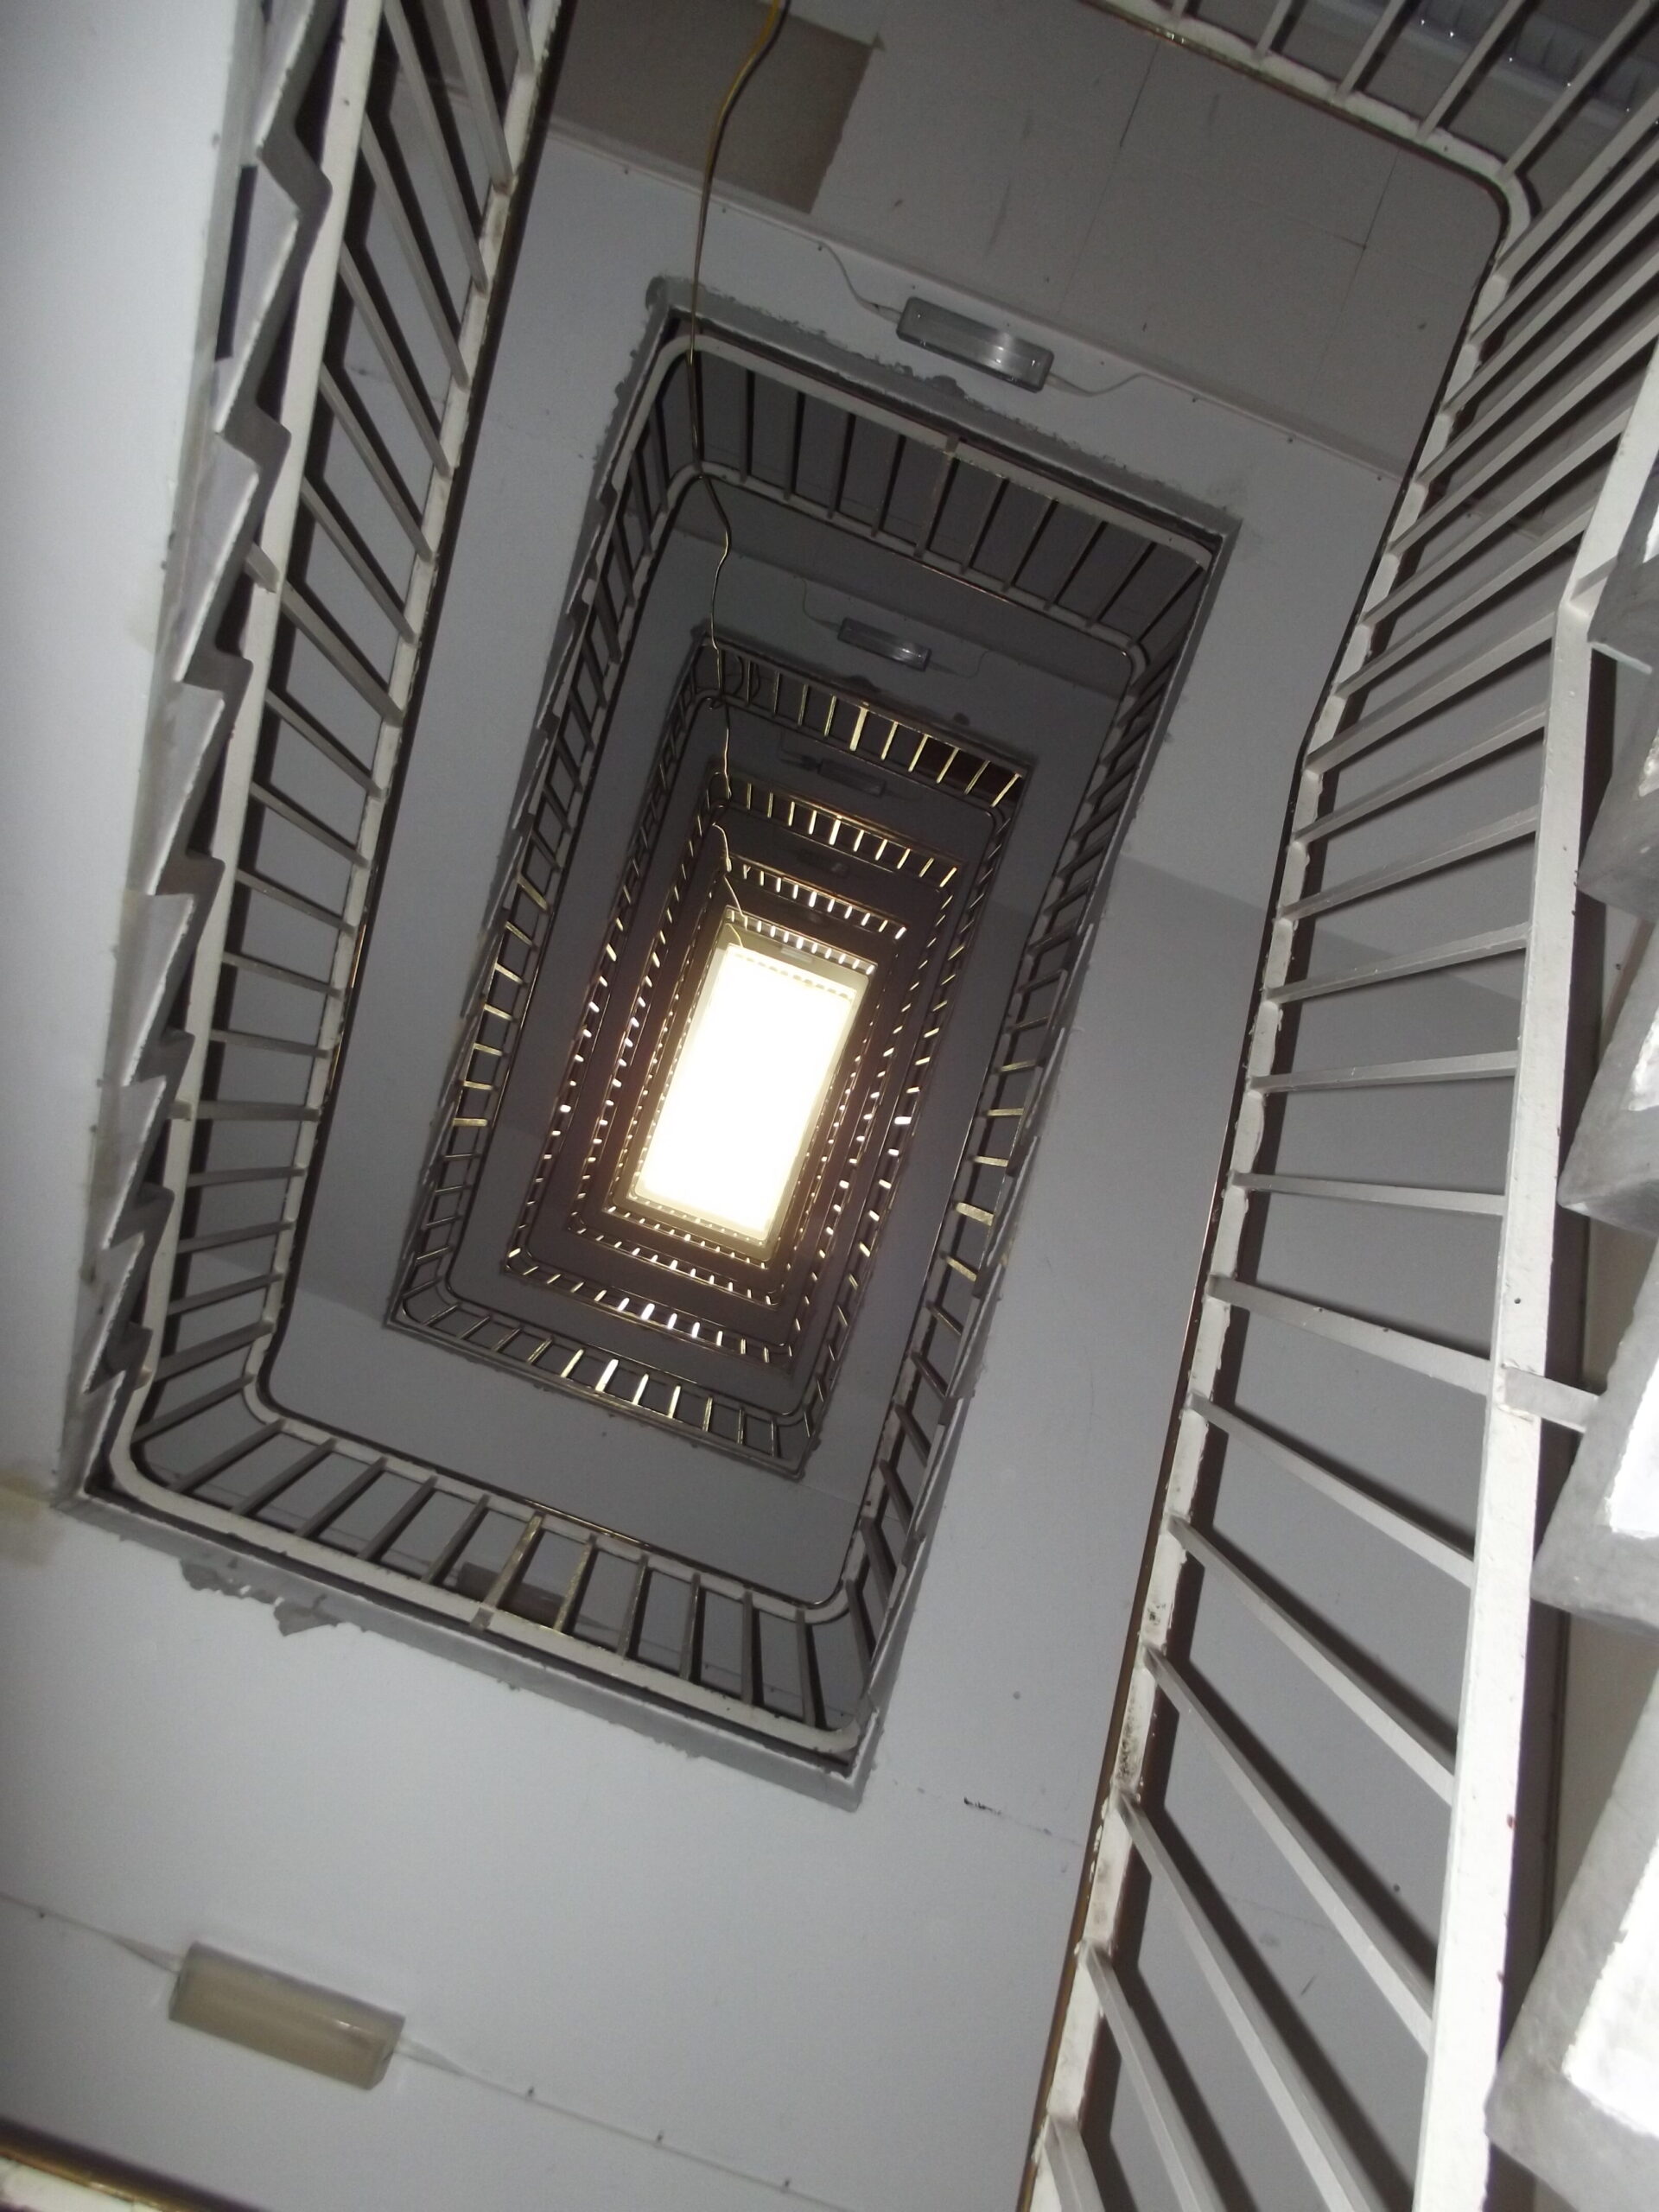
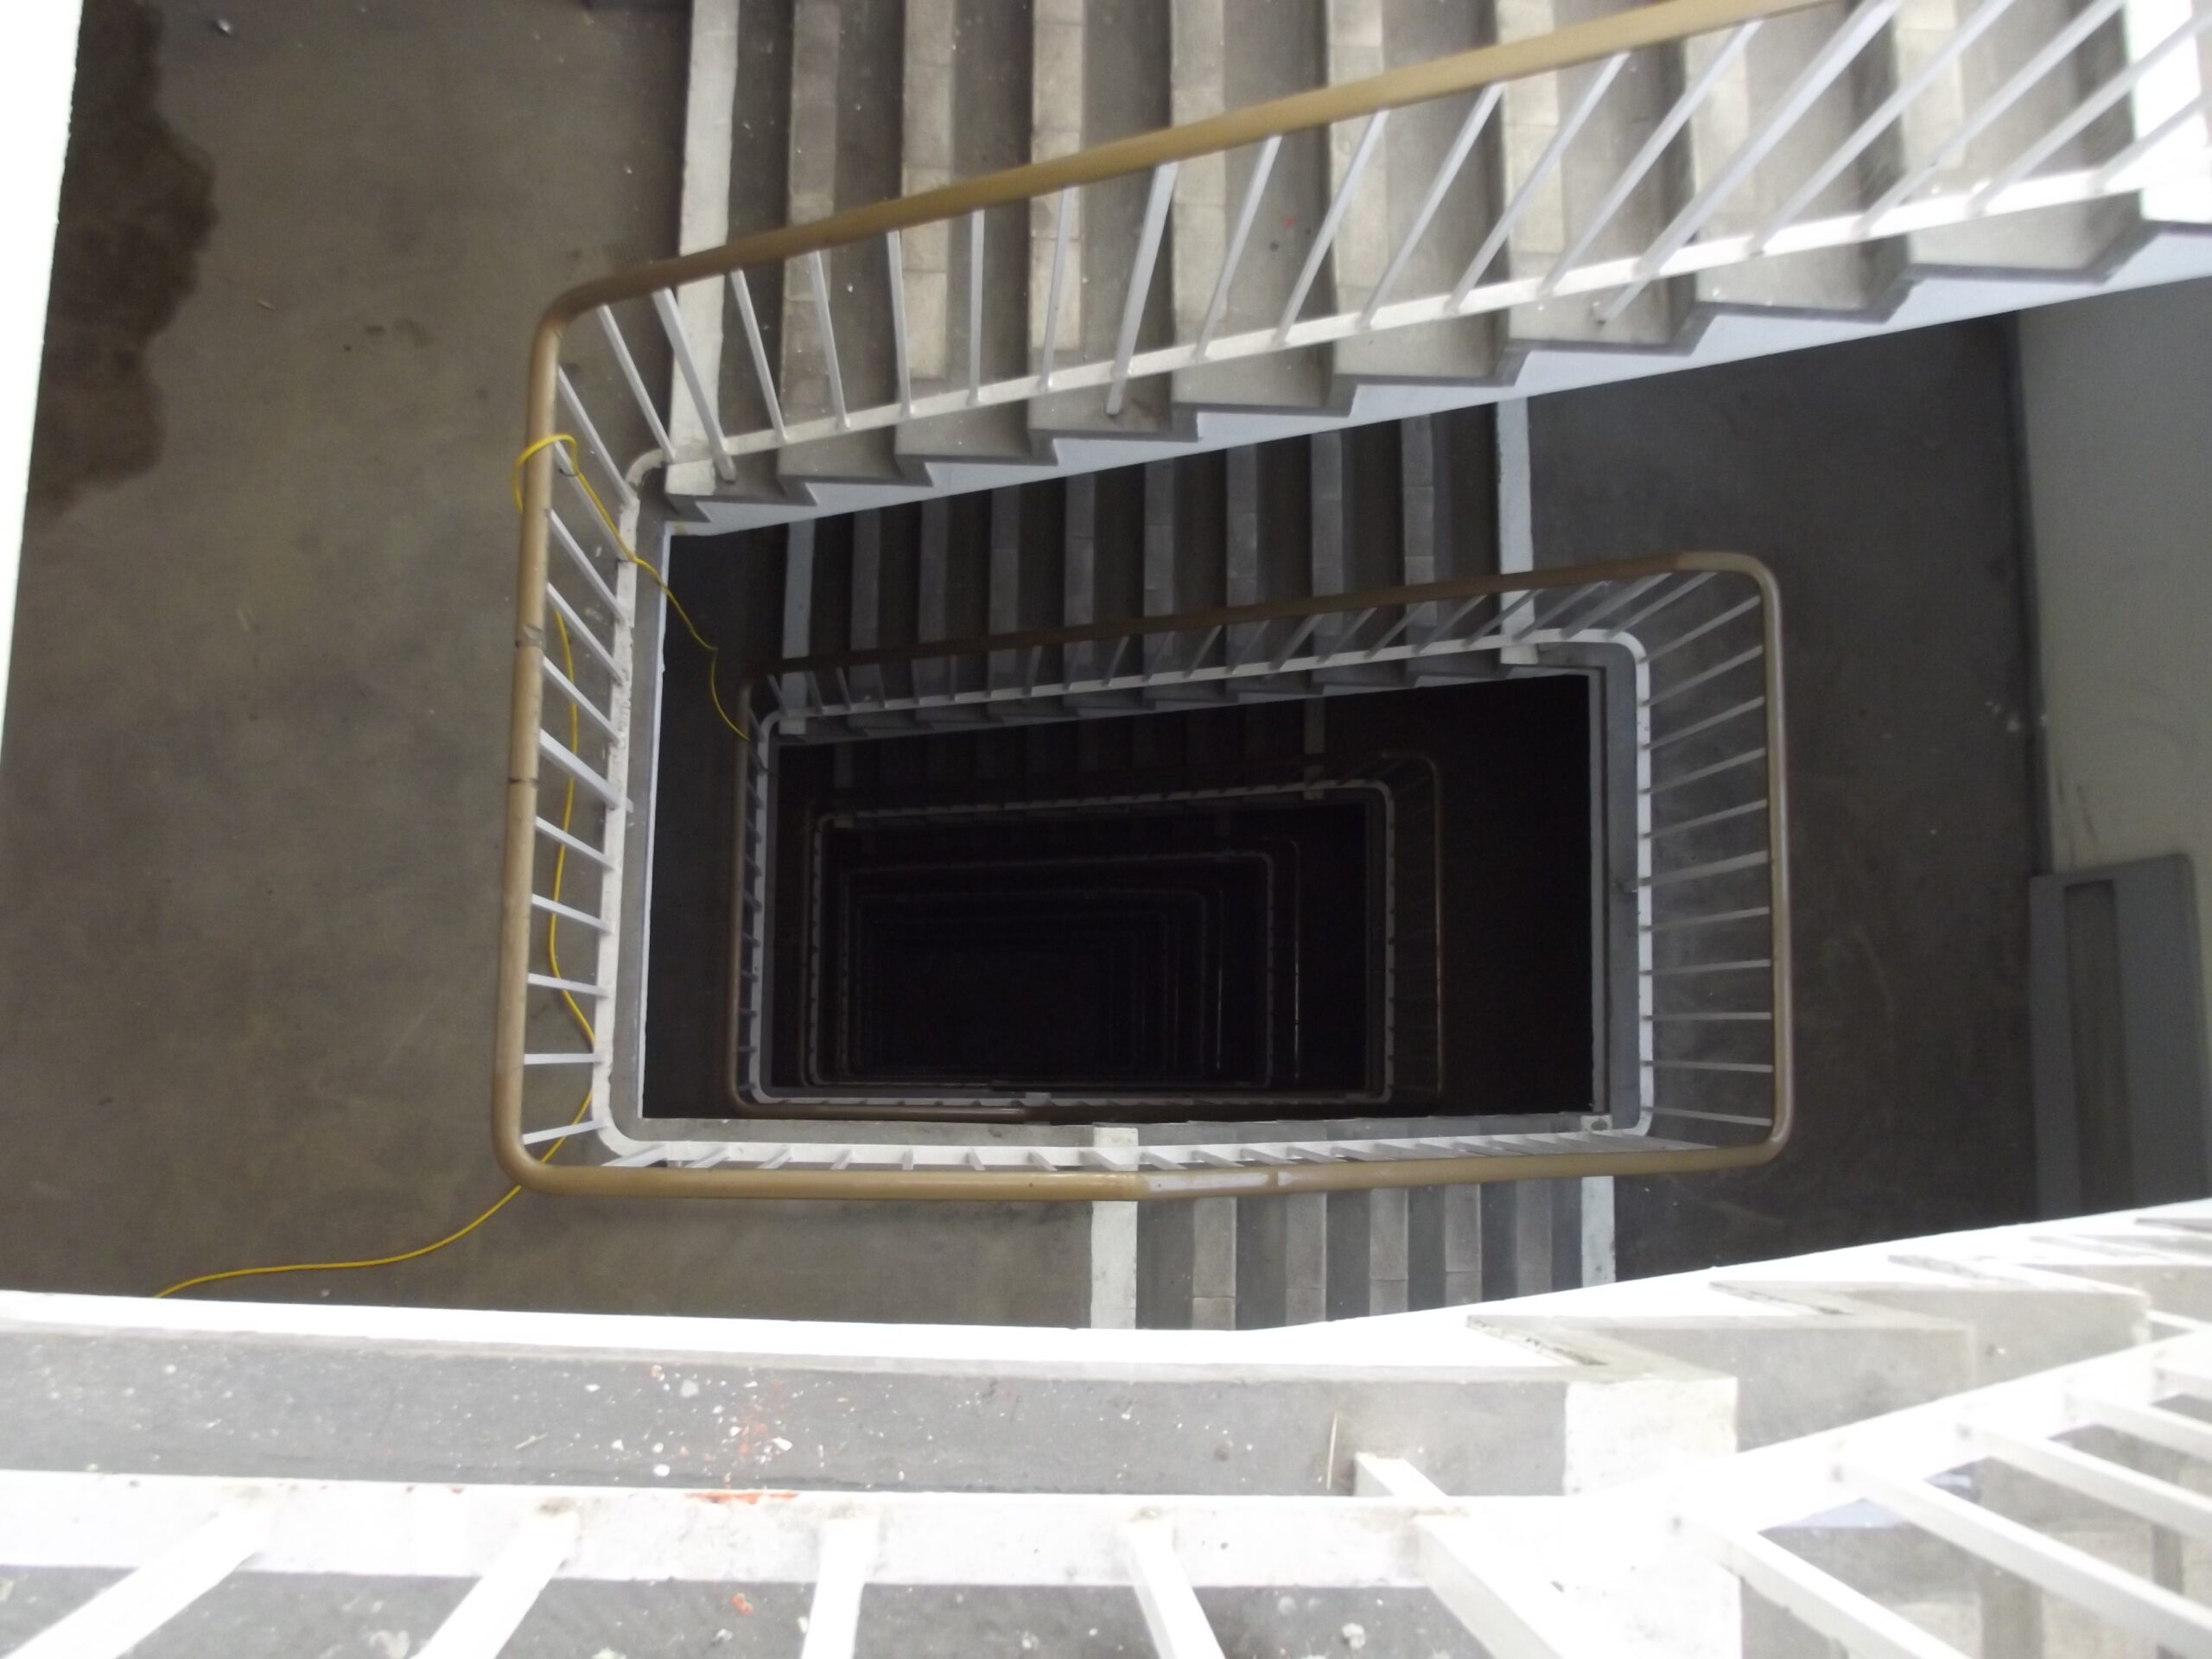
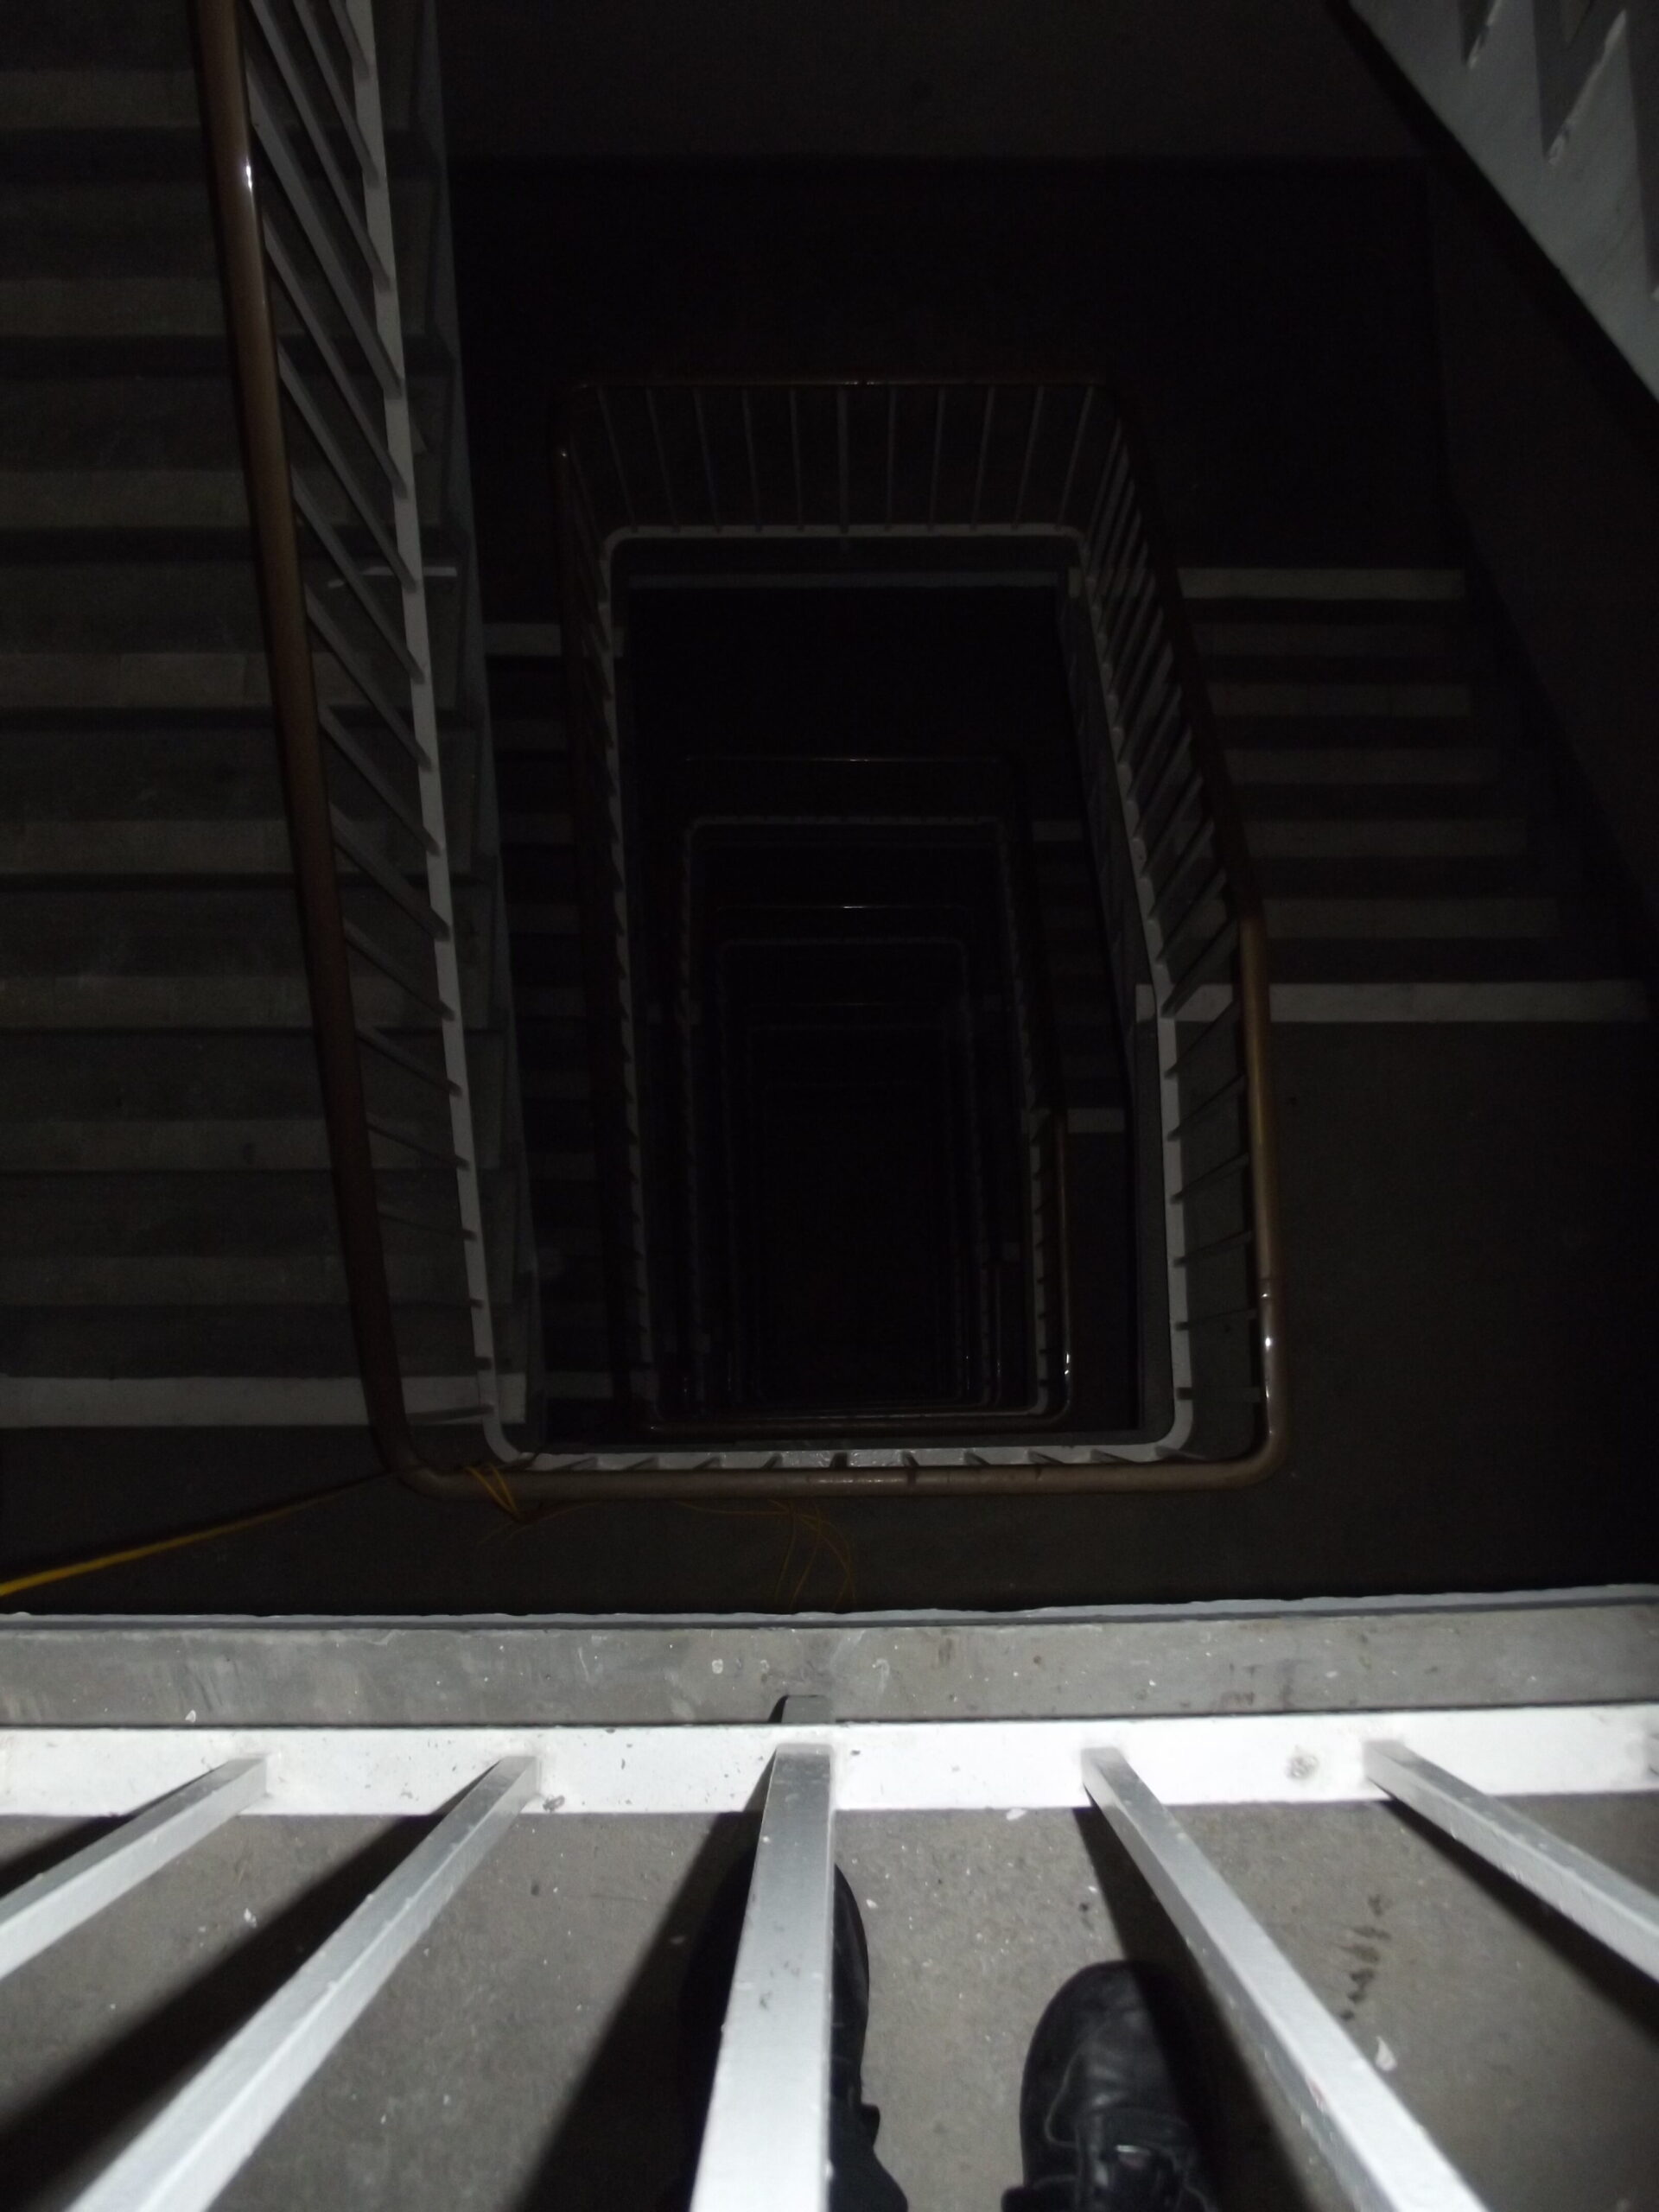
F Core ground floor riser plant room and CHW pipesF Core ground floor riser plant room F Core ground floor riser plant roomF Core ground floor riser plant roomF Core lift shaft and top of F2 liftF Core lift shaftF Core lift shaft F Core ground floor lift lobbyF Core stairs, ground floorF Core stairs, ground floor. A lot of people think they are nothing special and just very functional but the photographers who have visited have all been amazed, particularly by F Core, where there is a large void in the centre of the stairwell and nine levels.
3rd floor
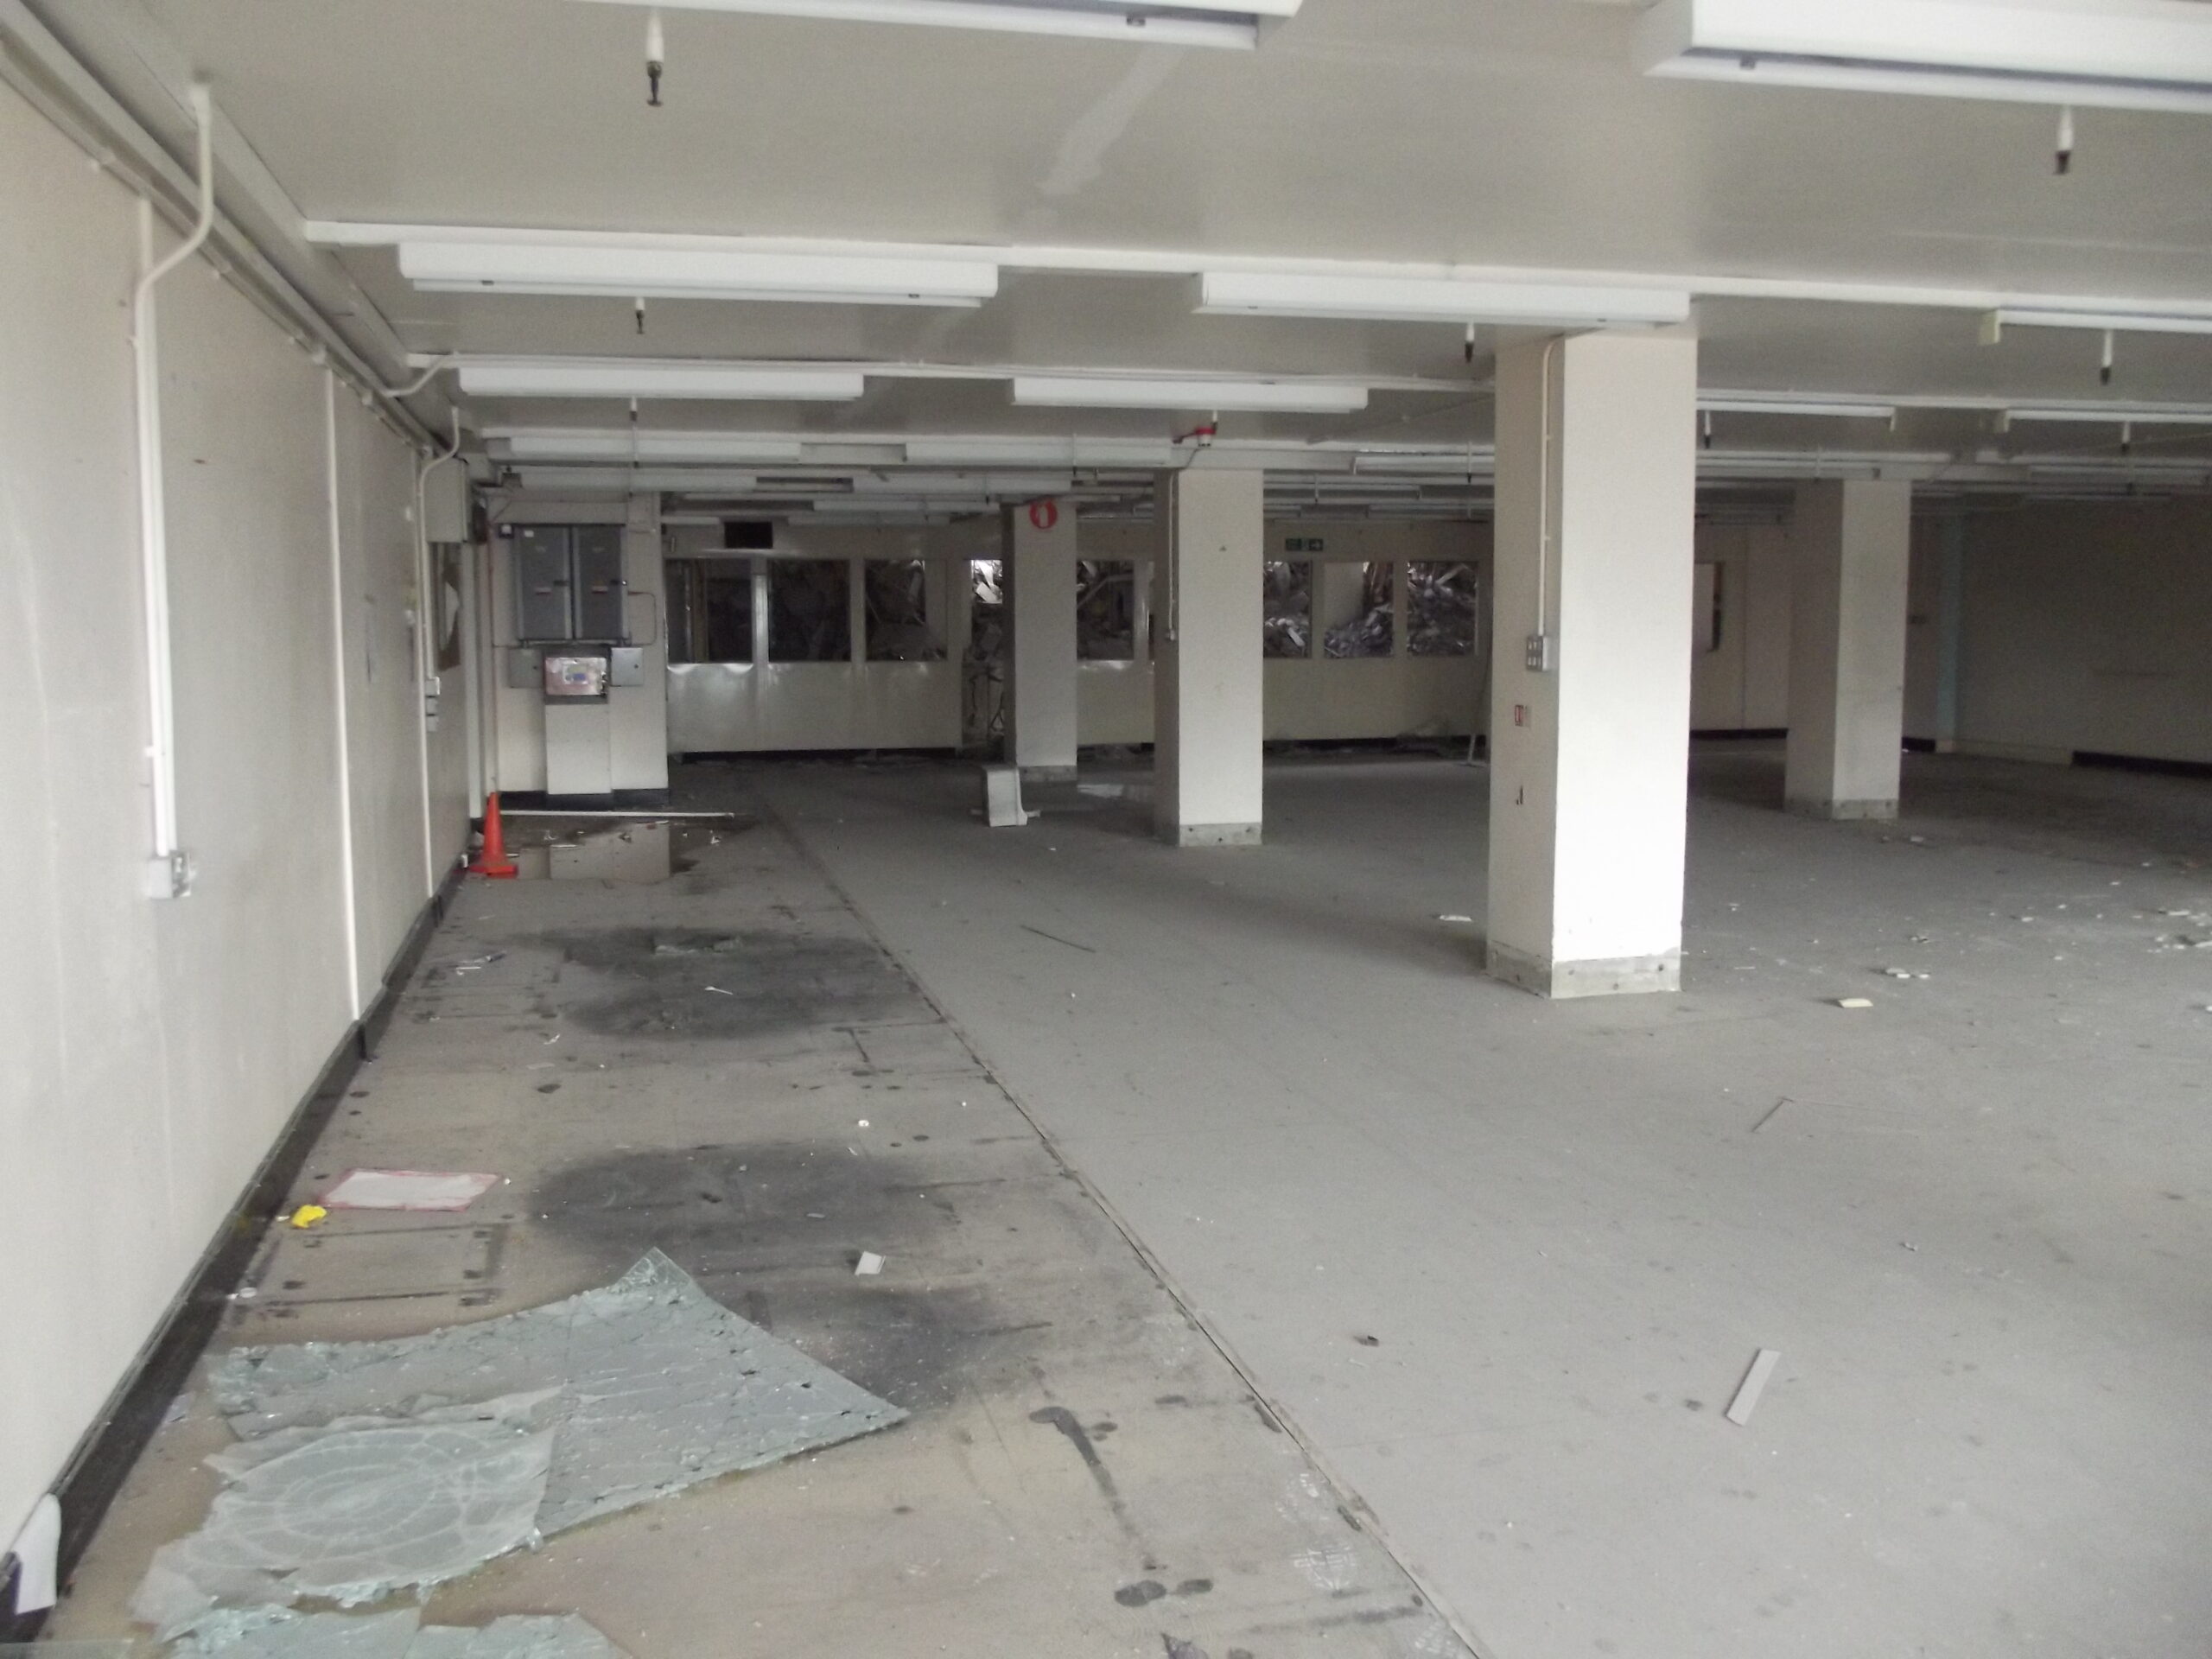
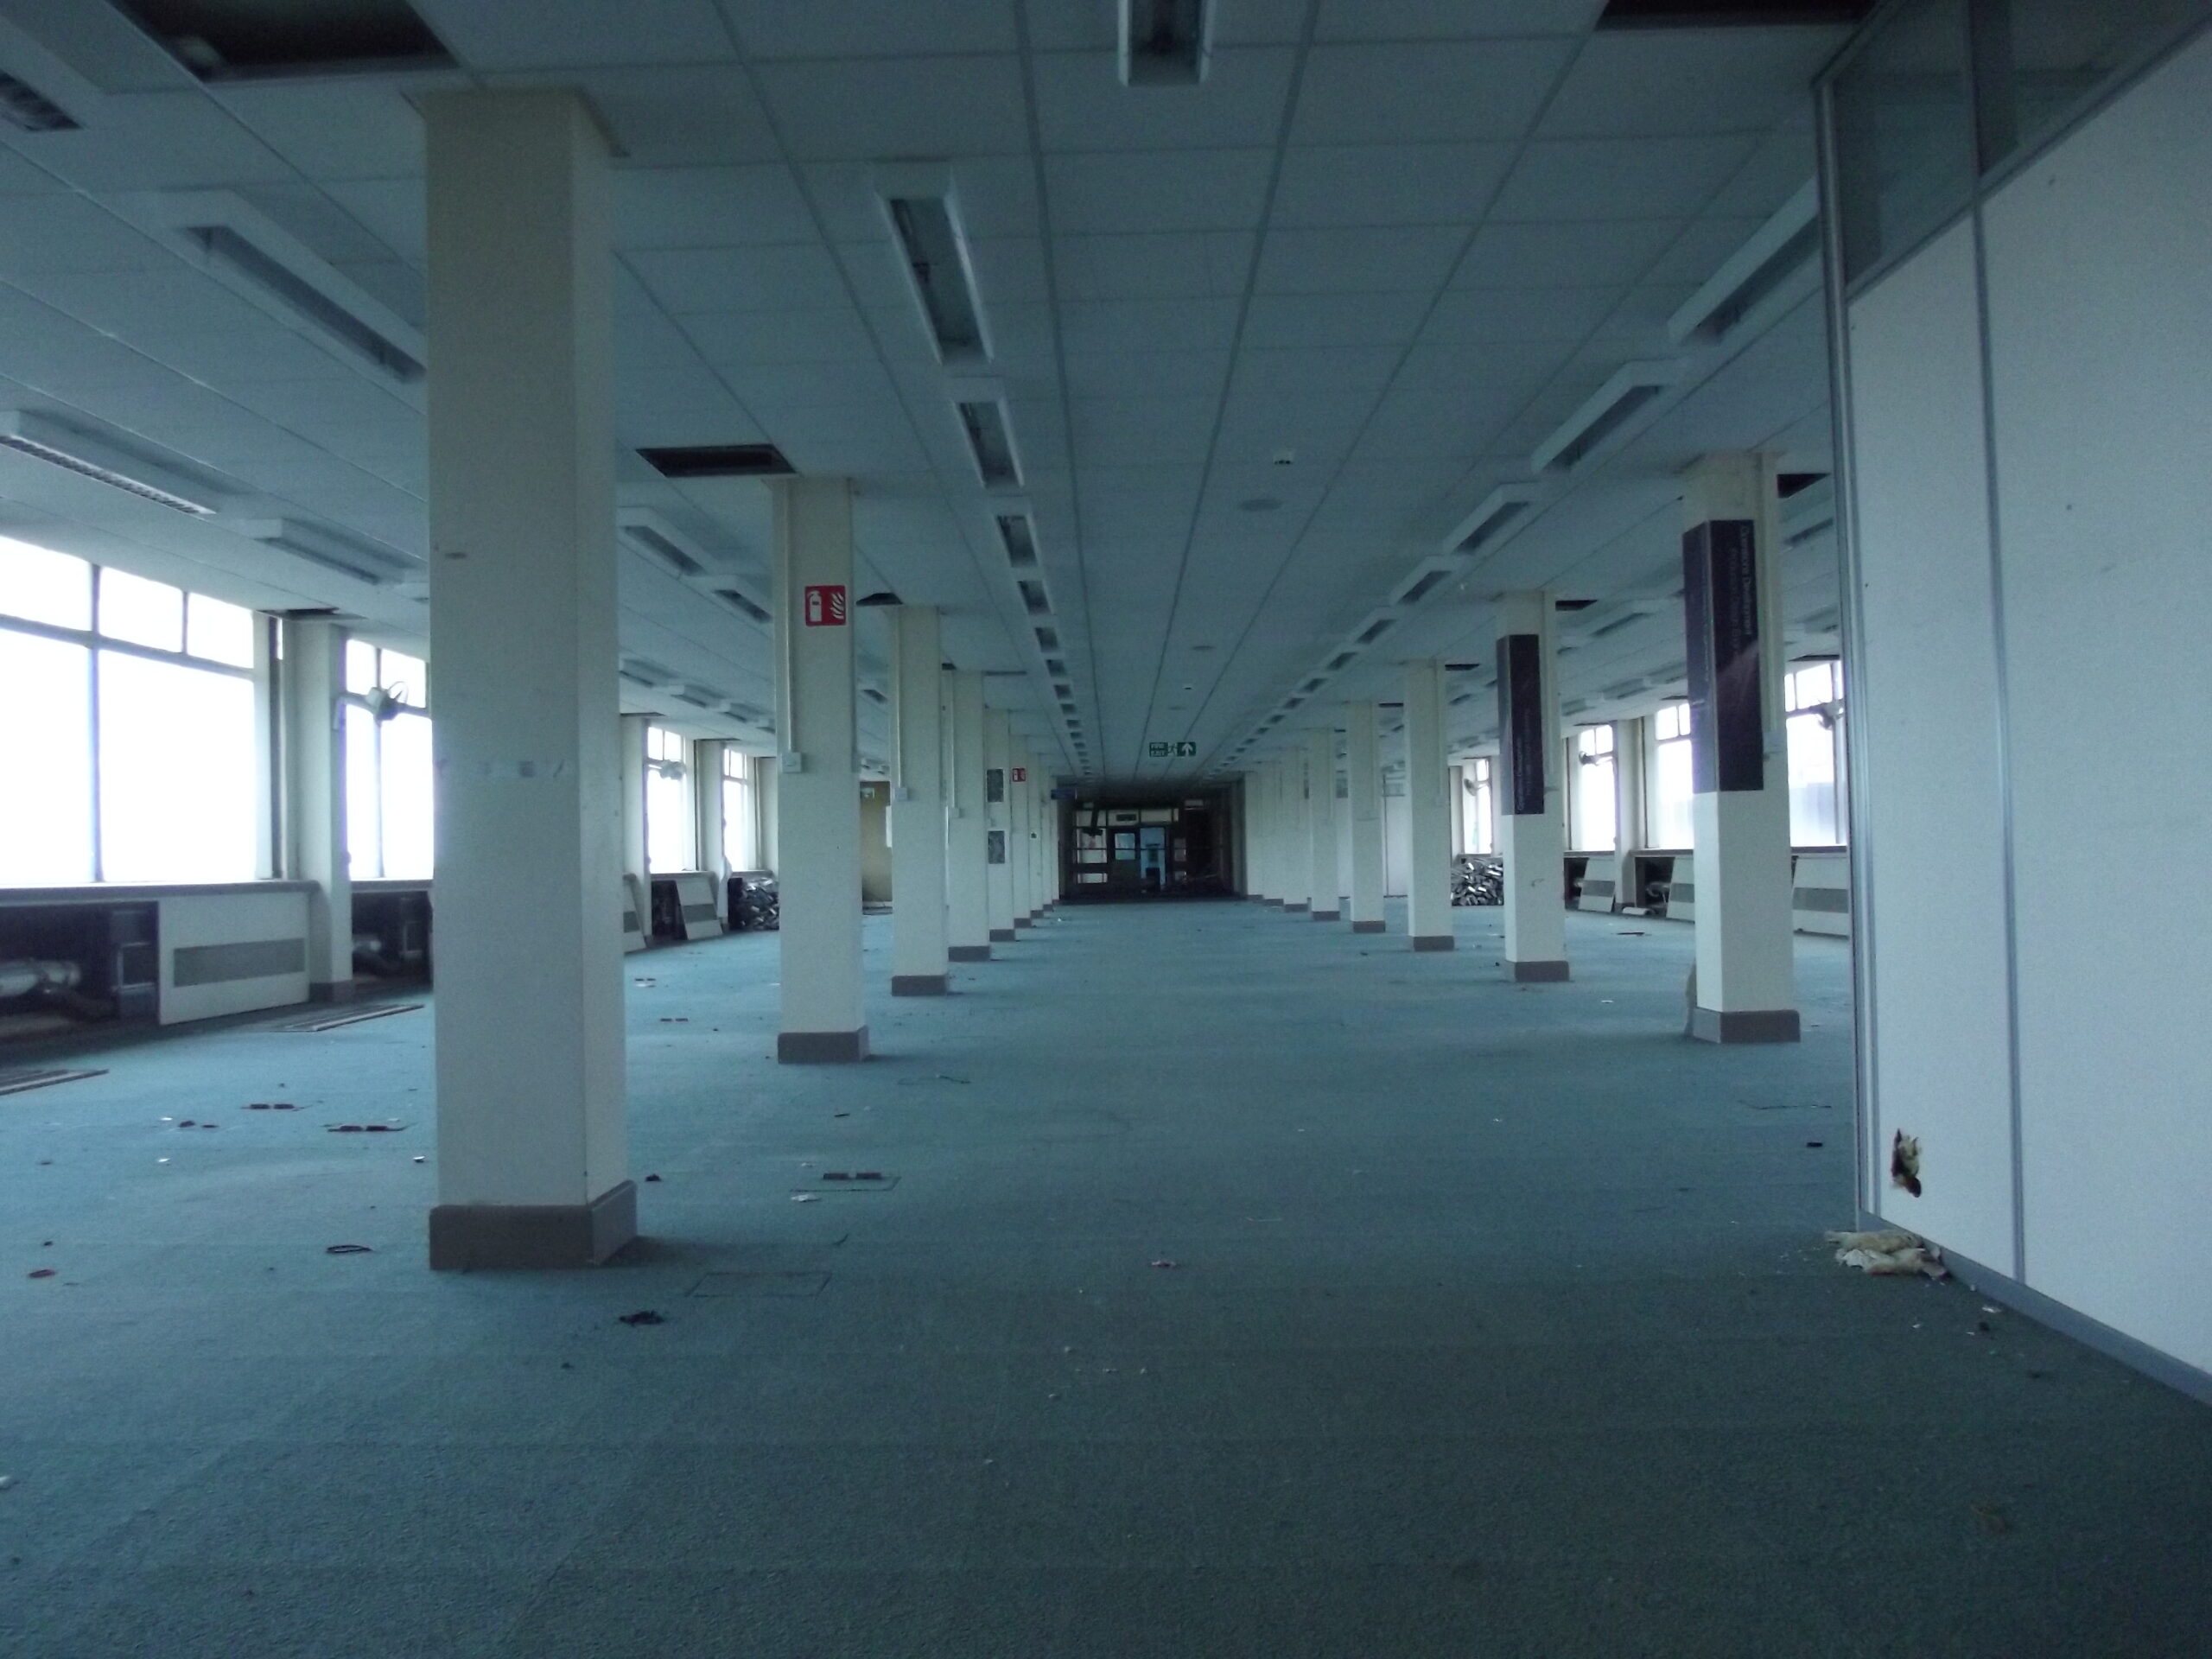
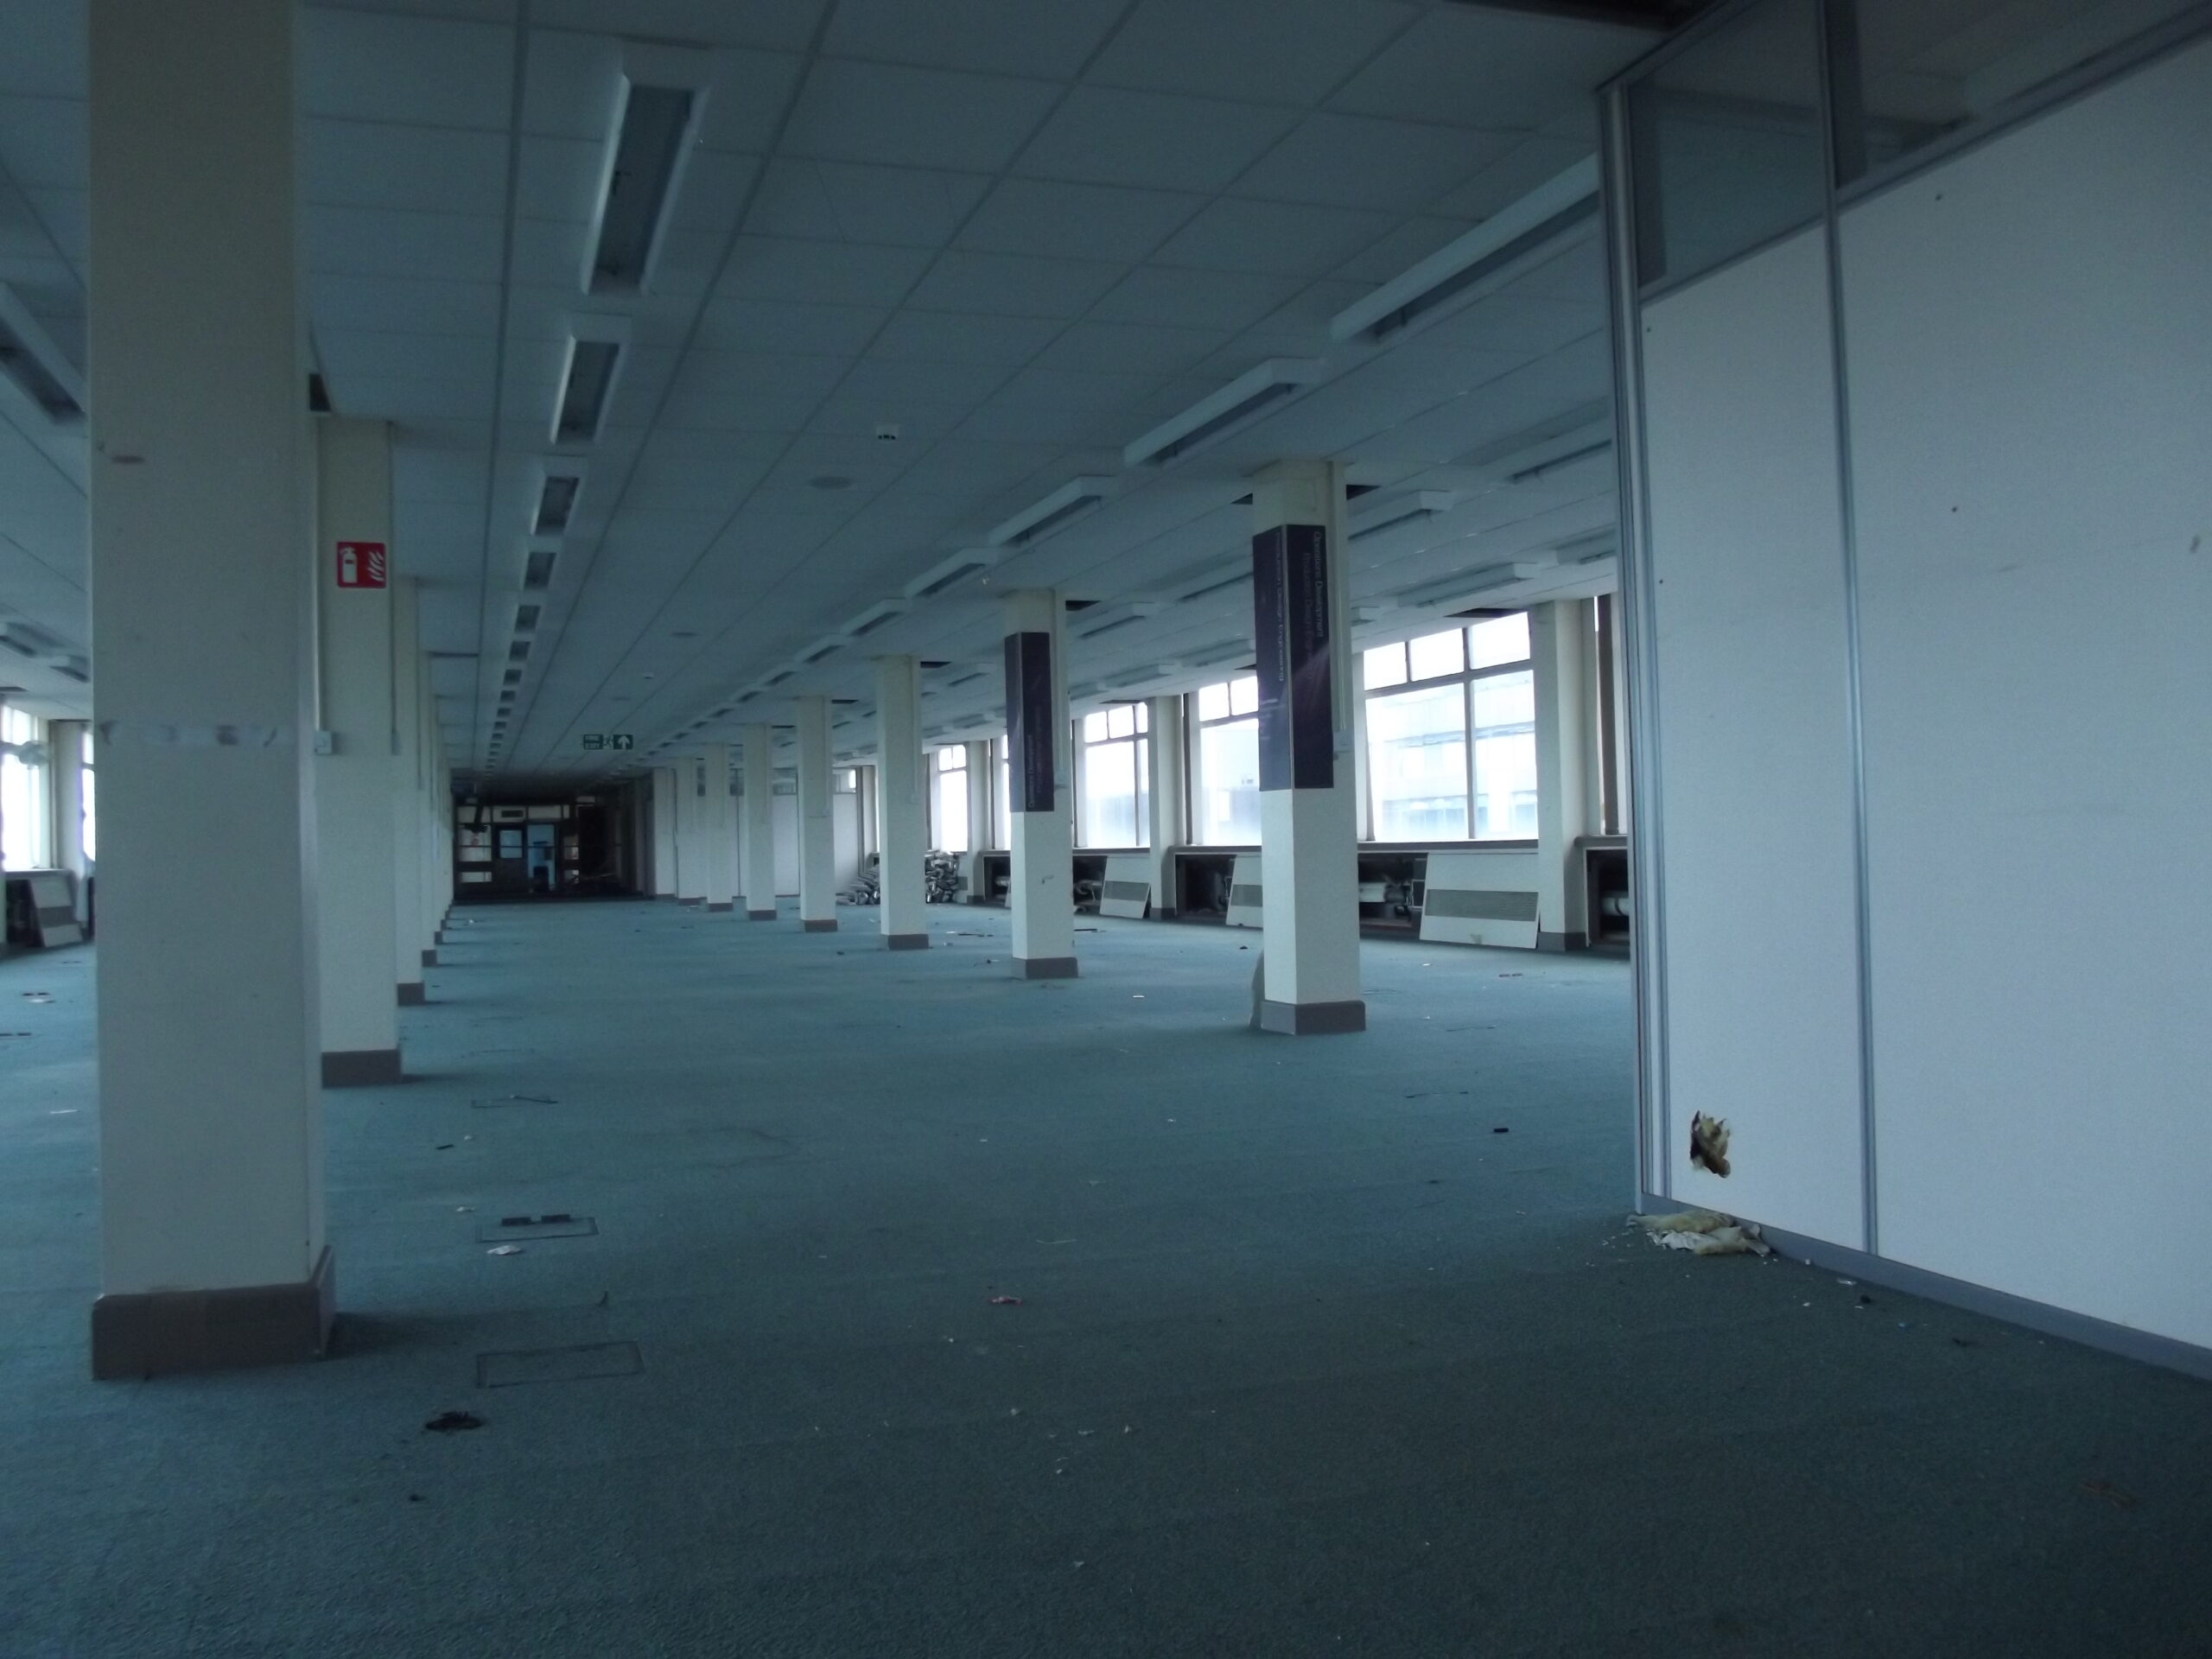
The Hub coffee shop/convenience storeThe Hub, 3rd floor former coffee shop/convenience storeOffice space behind The Hub shop3rd floor area near K core3rd floor corridor entrance to the Hub
5th floor
Asbestos comment: E core 5th and 6th floor lift lobbies were sealed off for for asbestos removal; obviously the Urbex team gave these areas a wide berth!
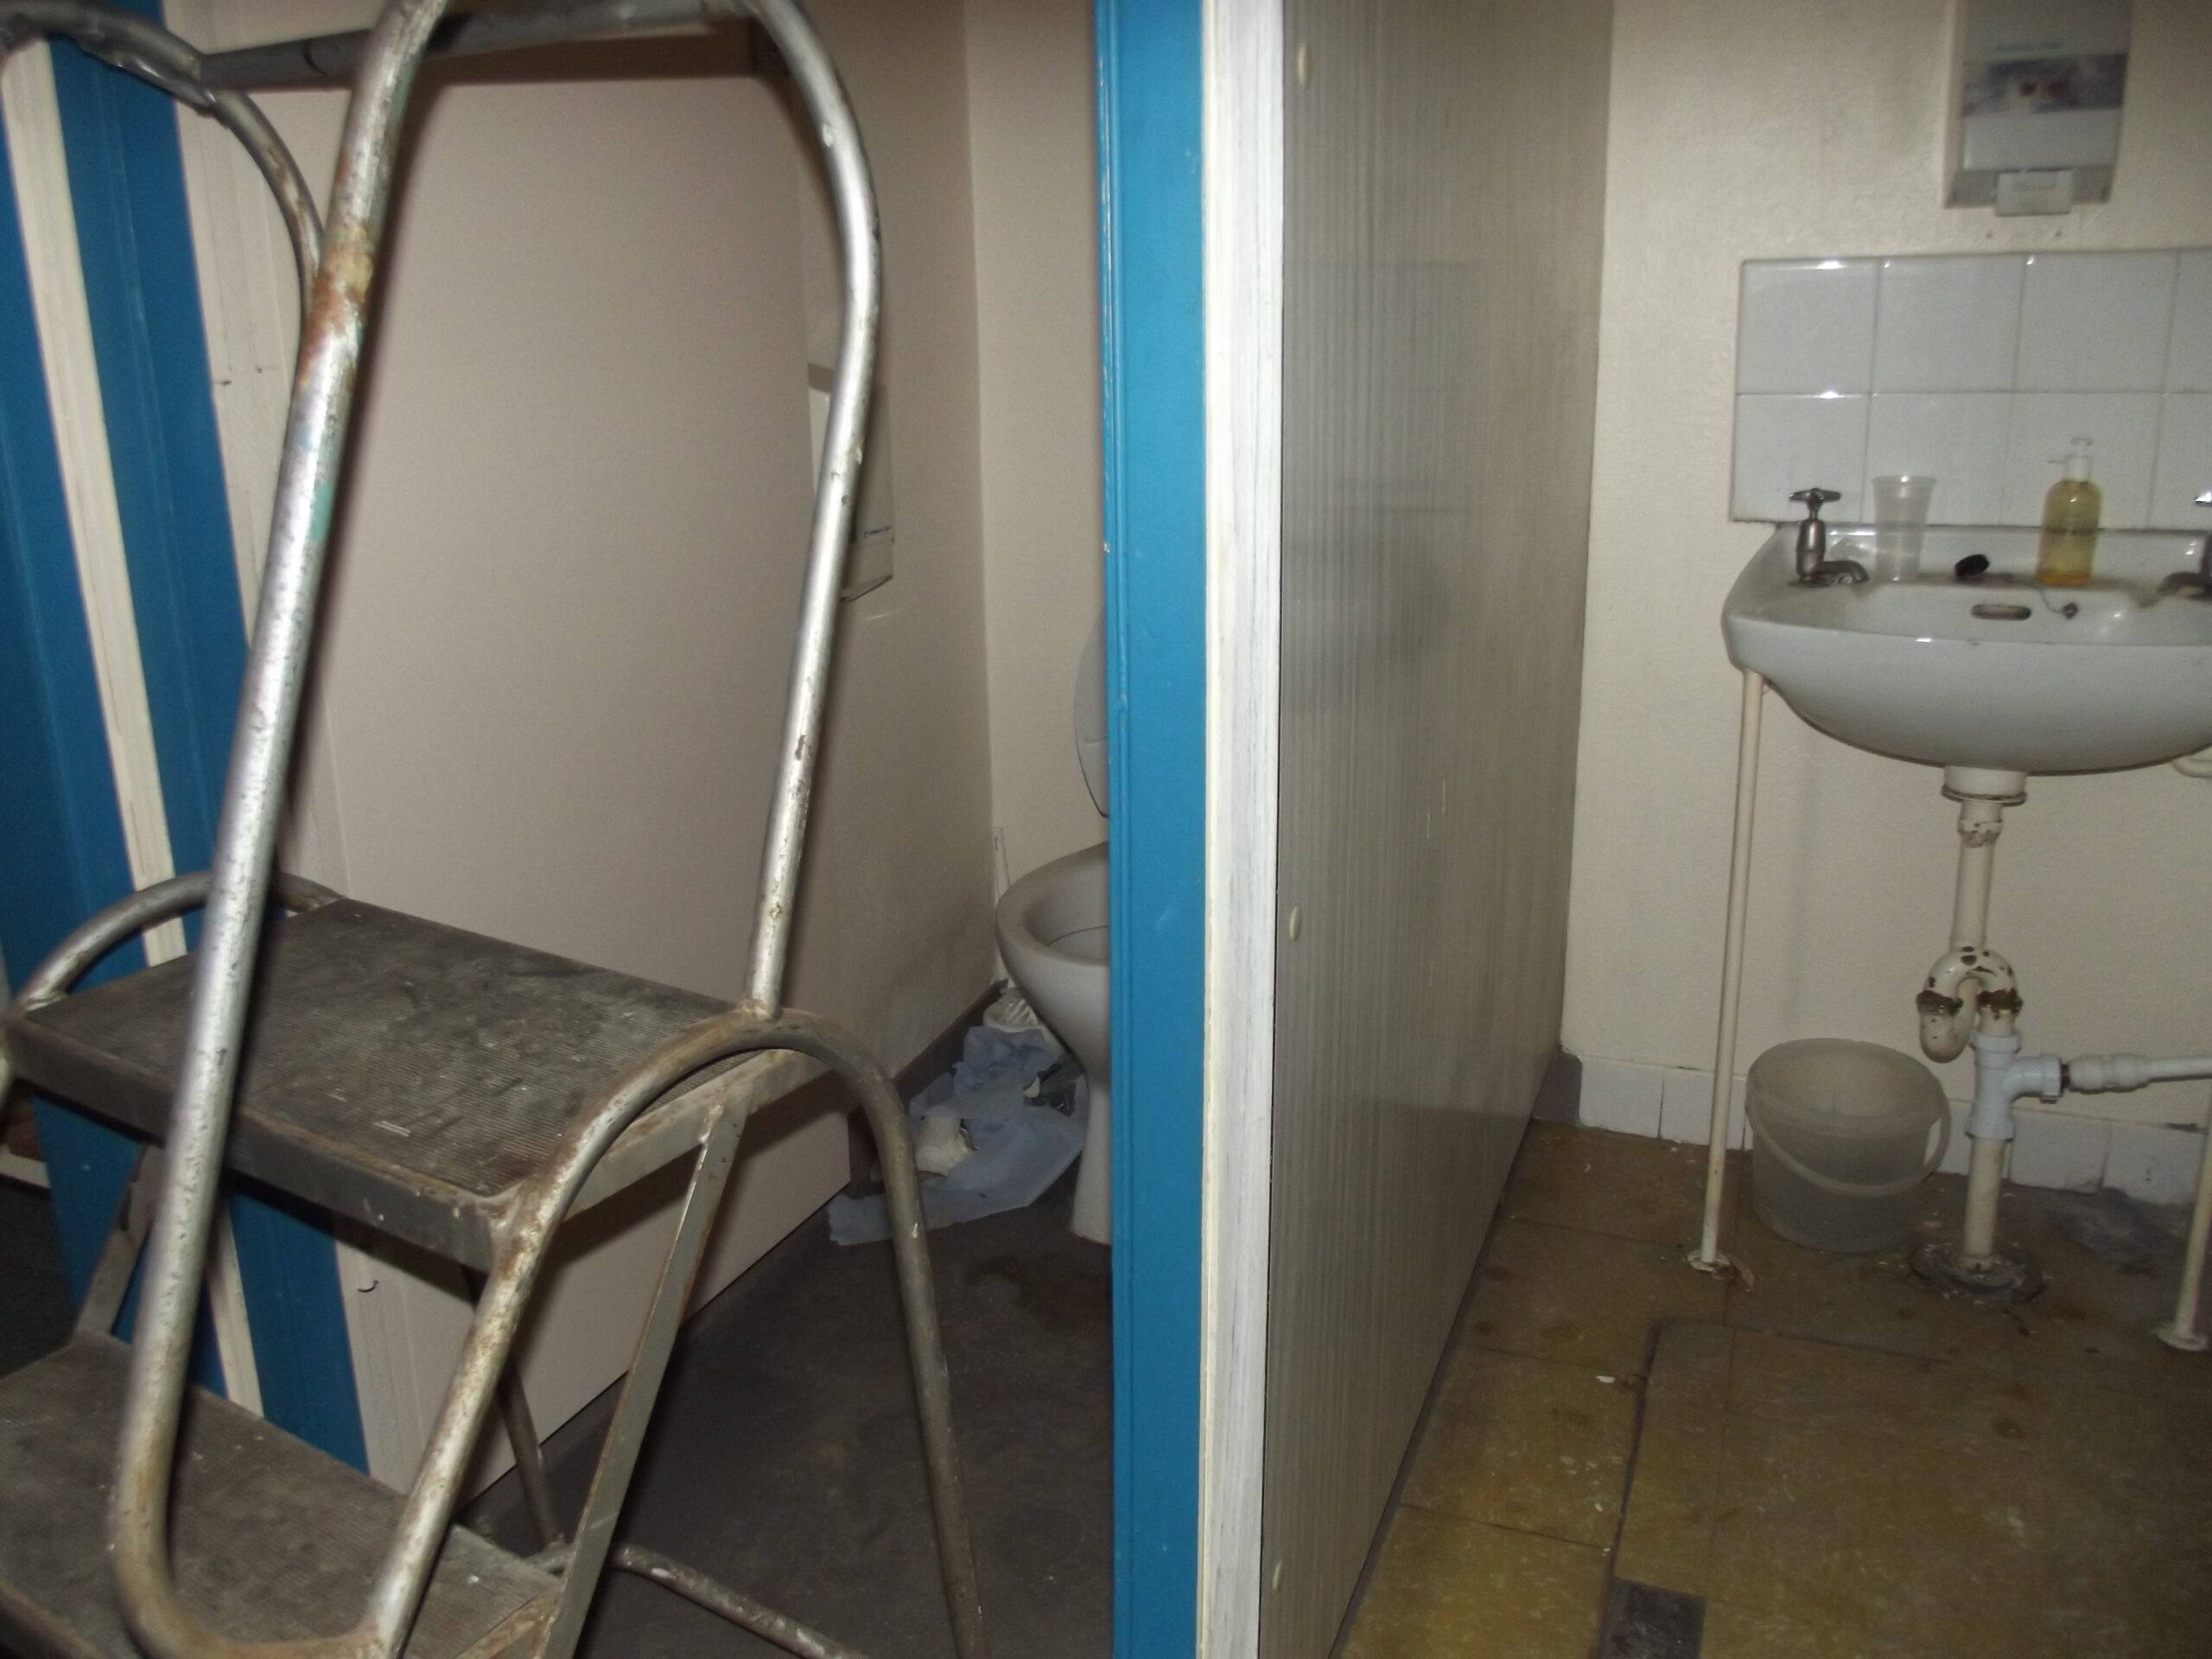
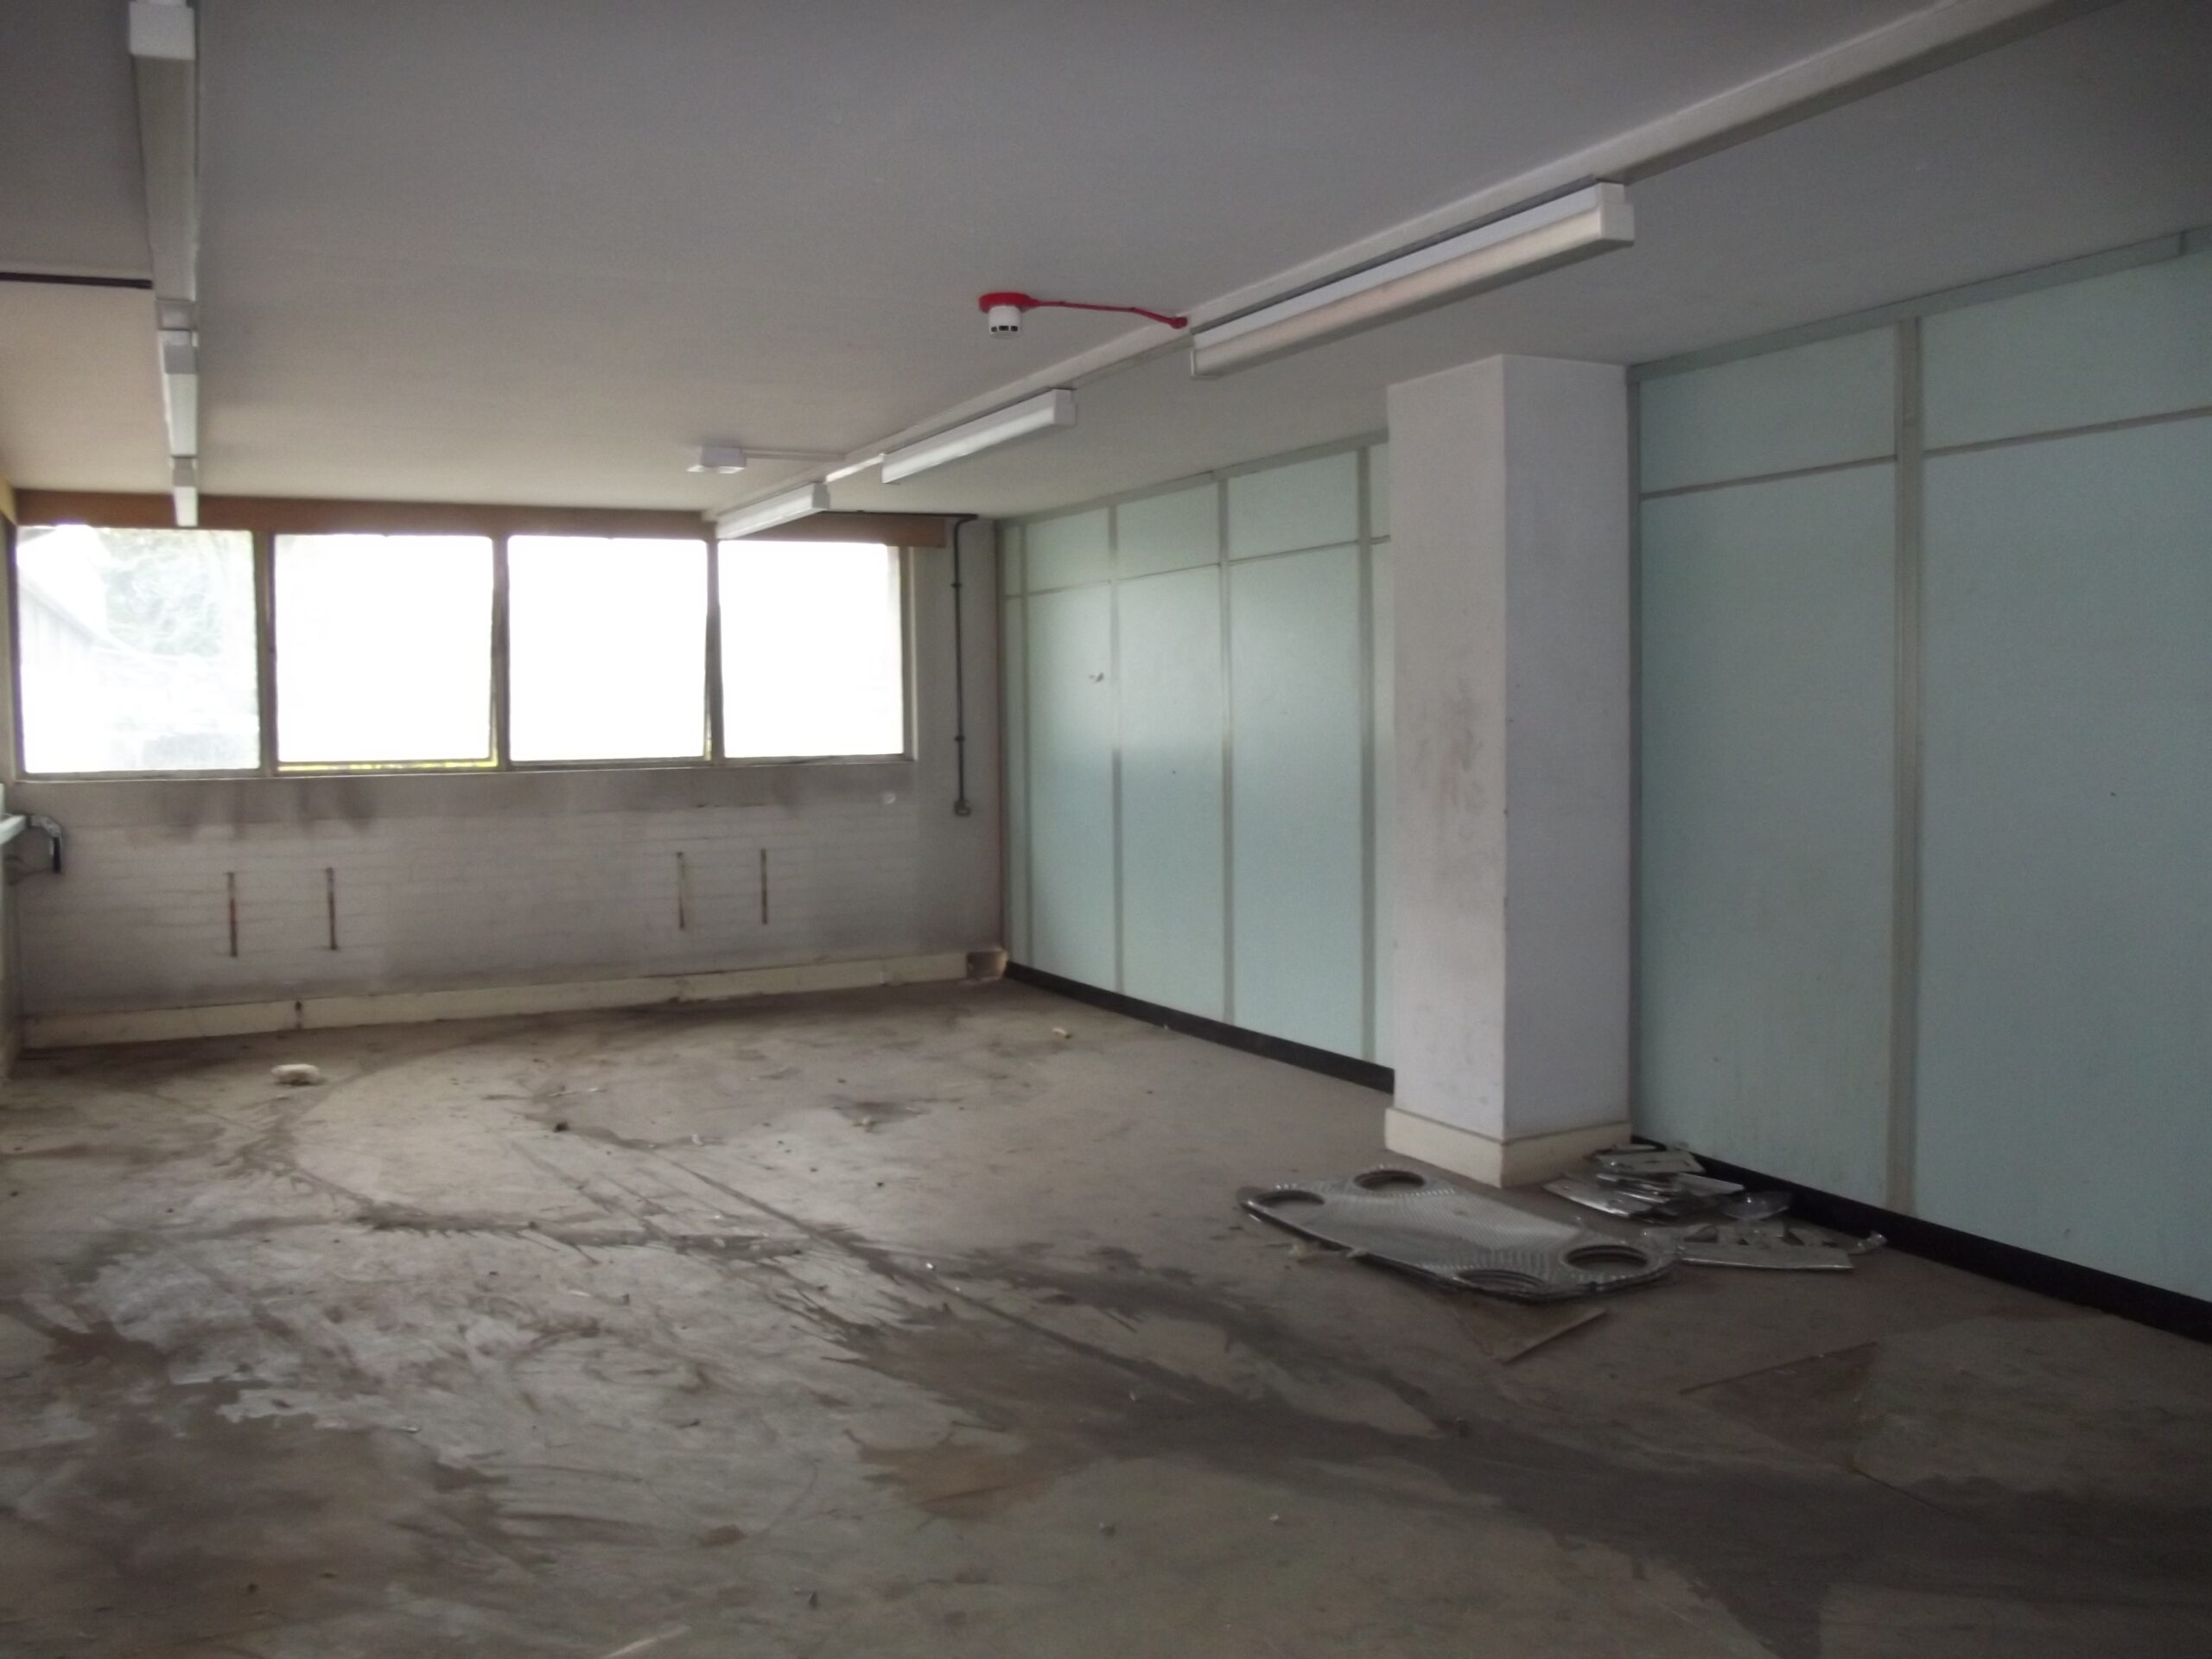
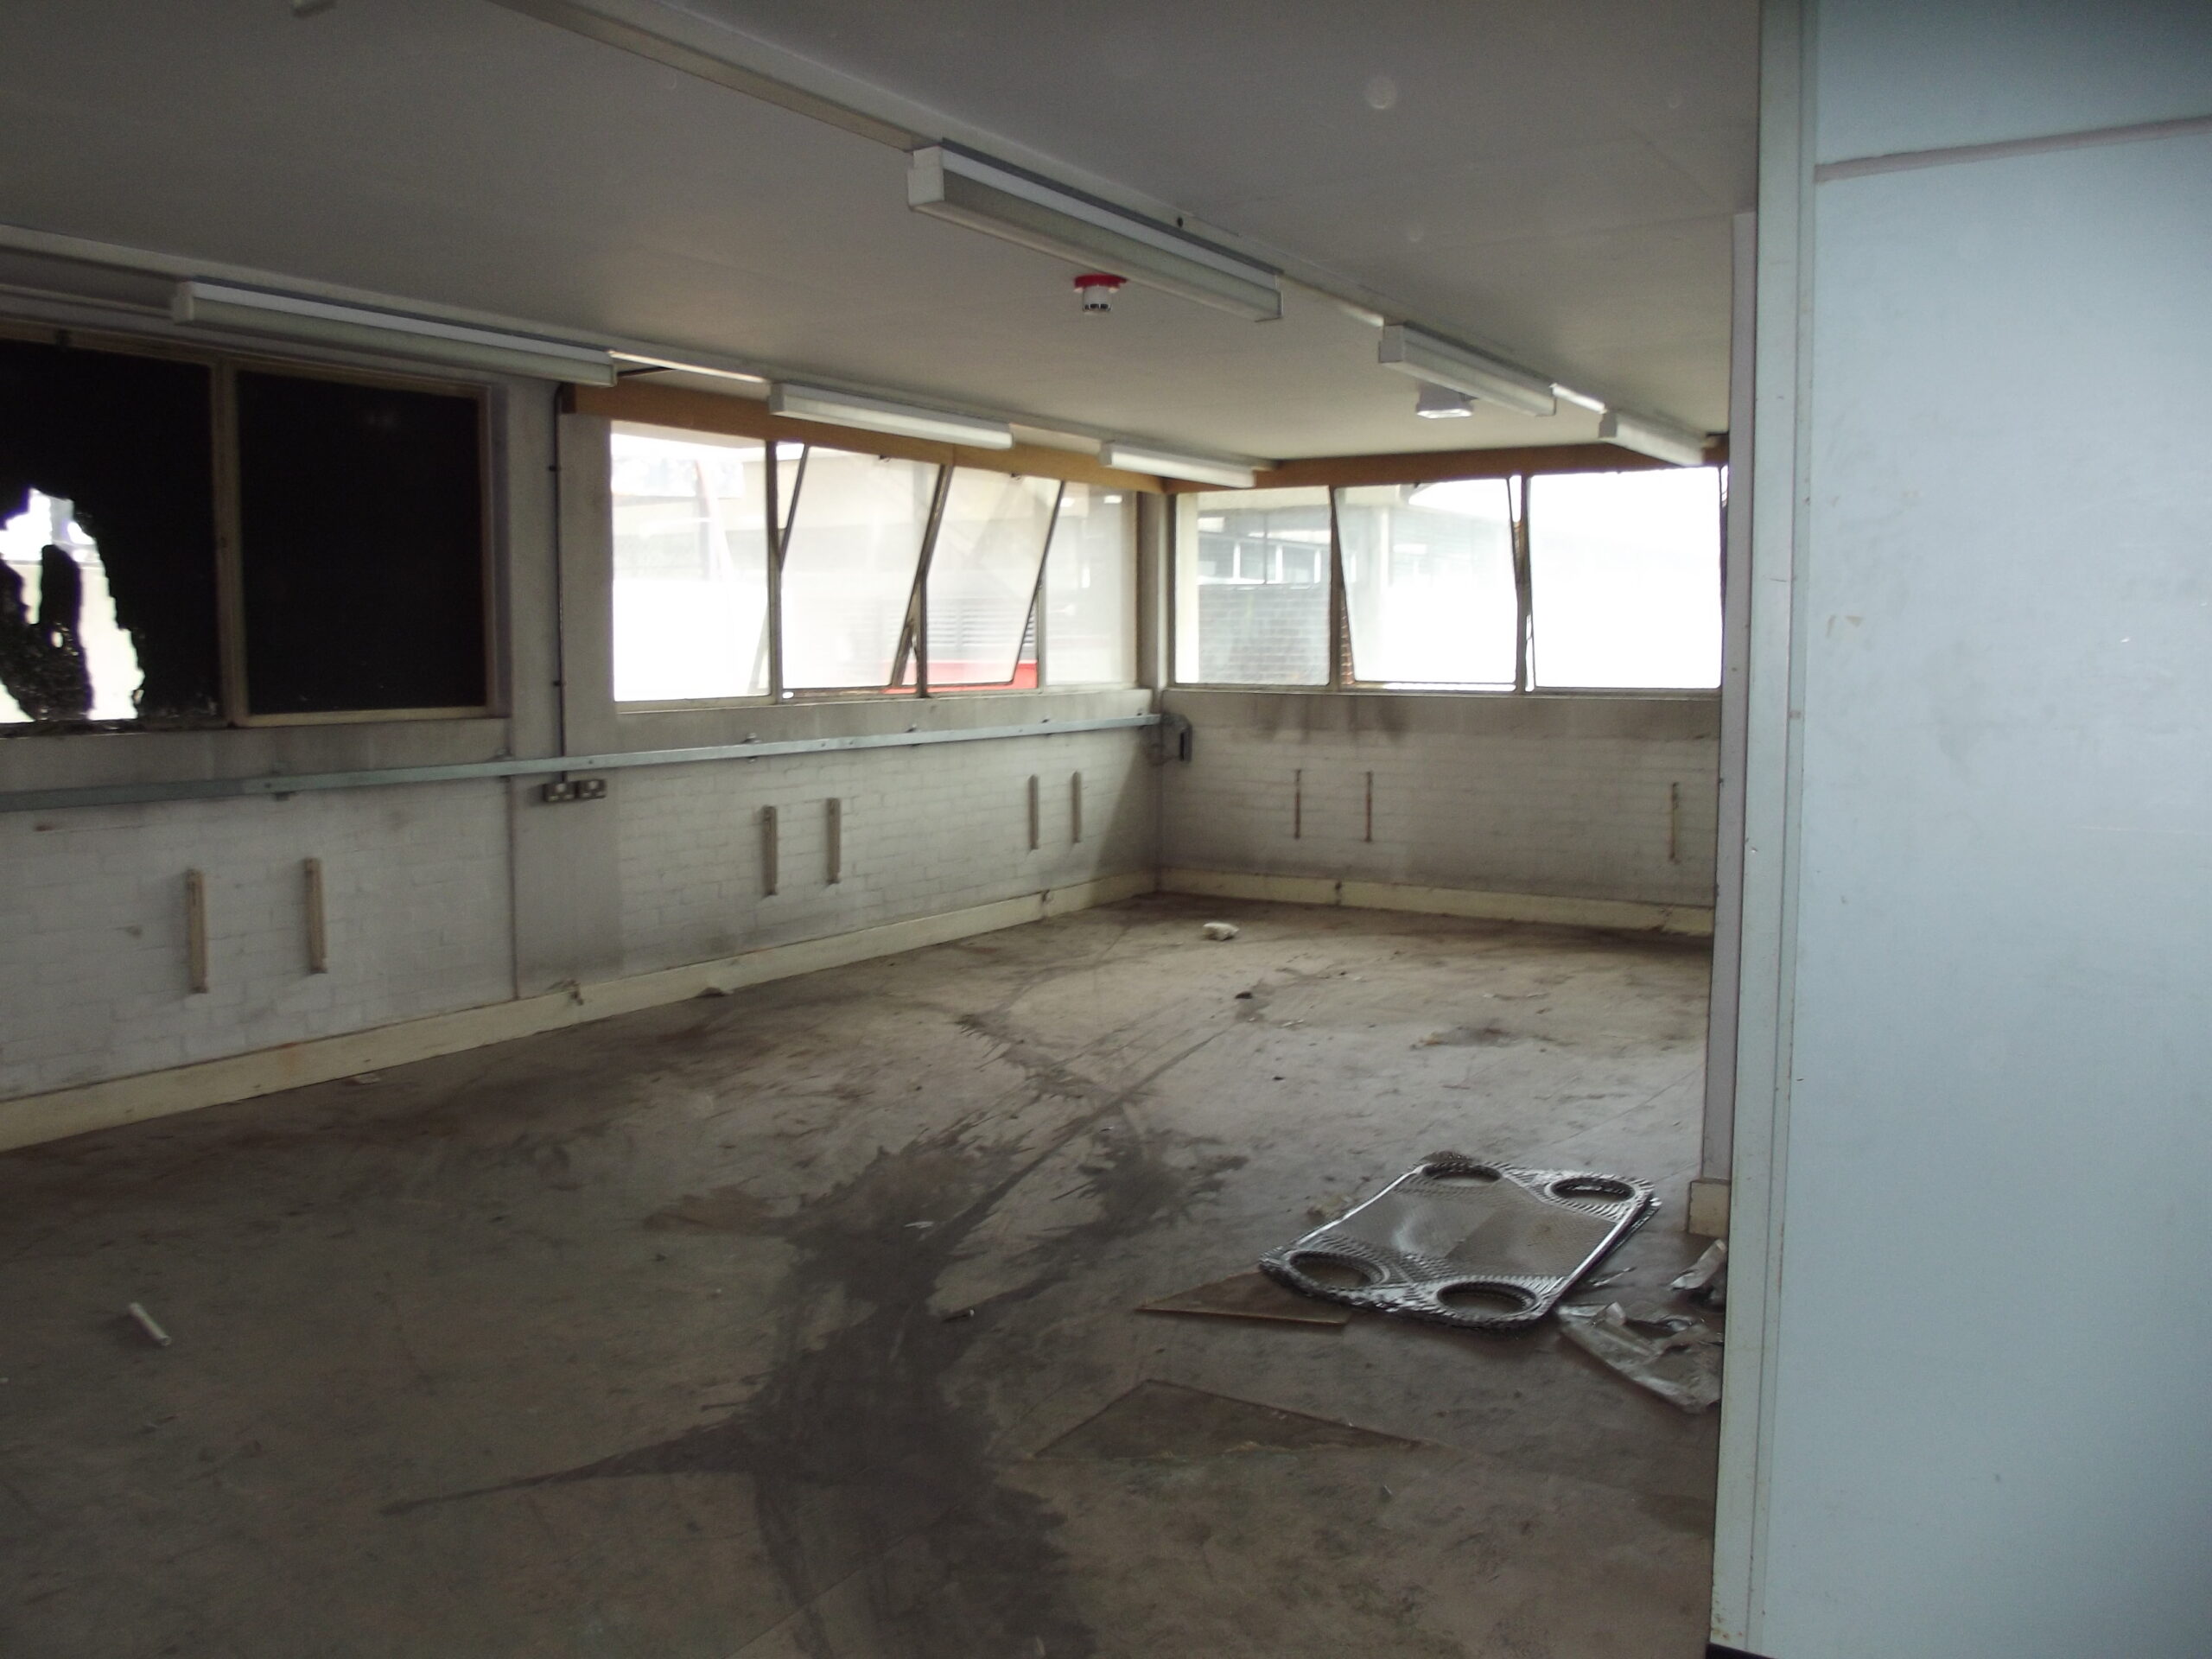
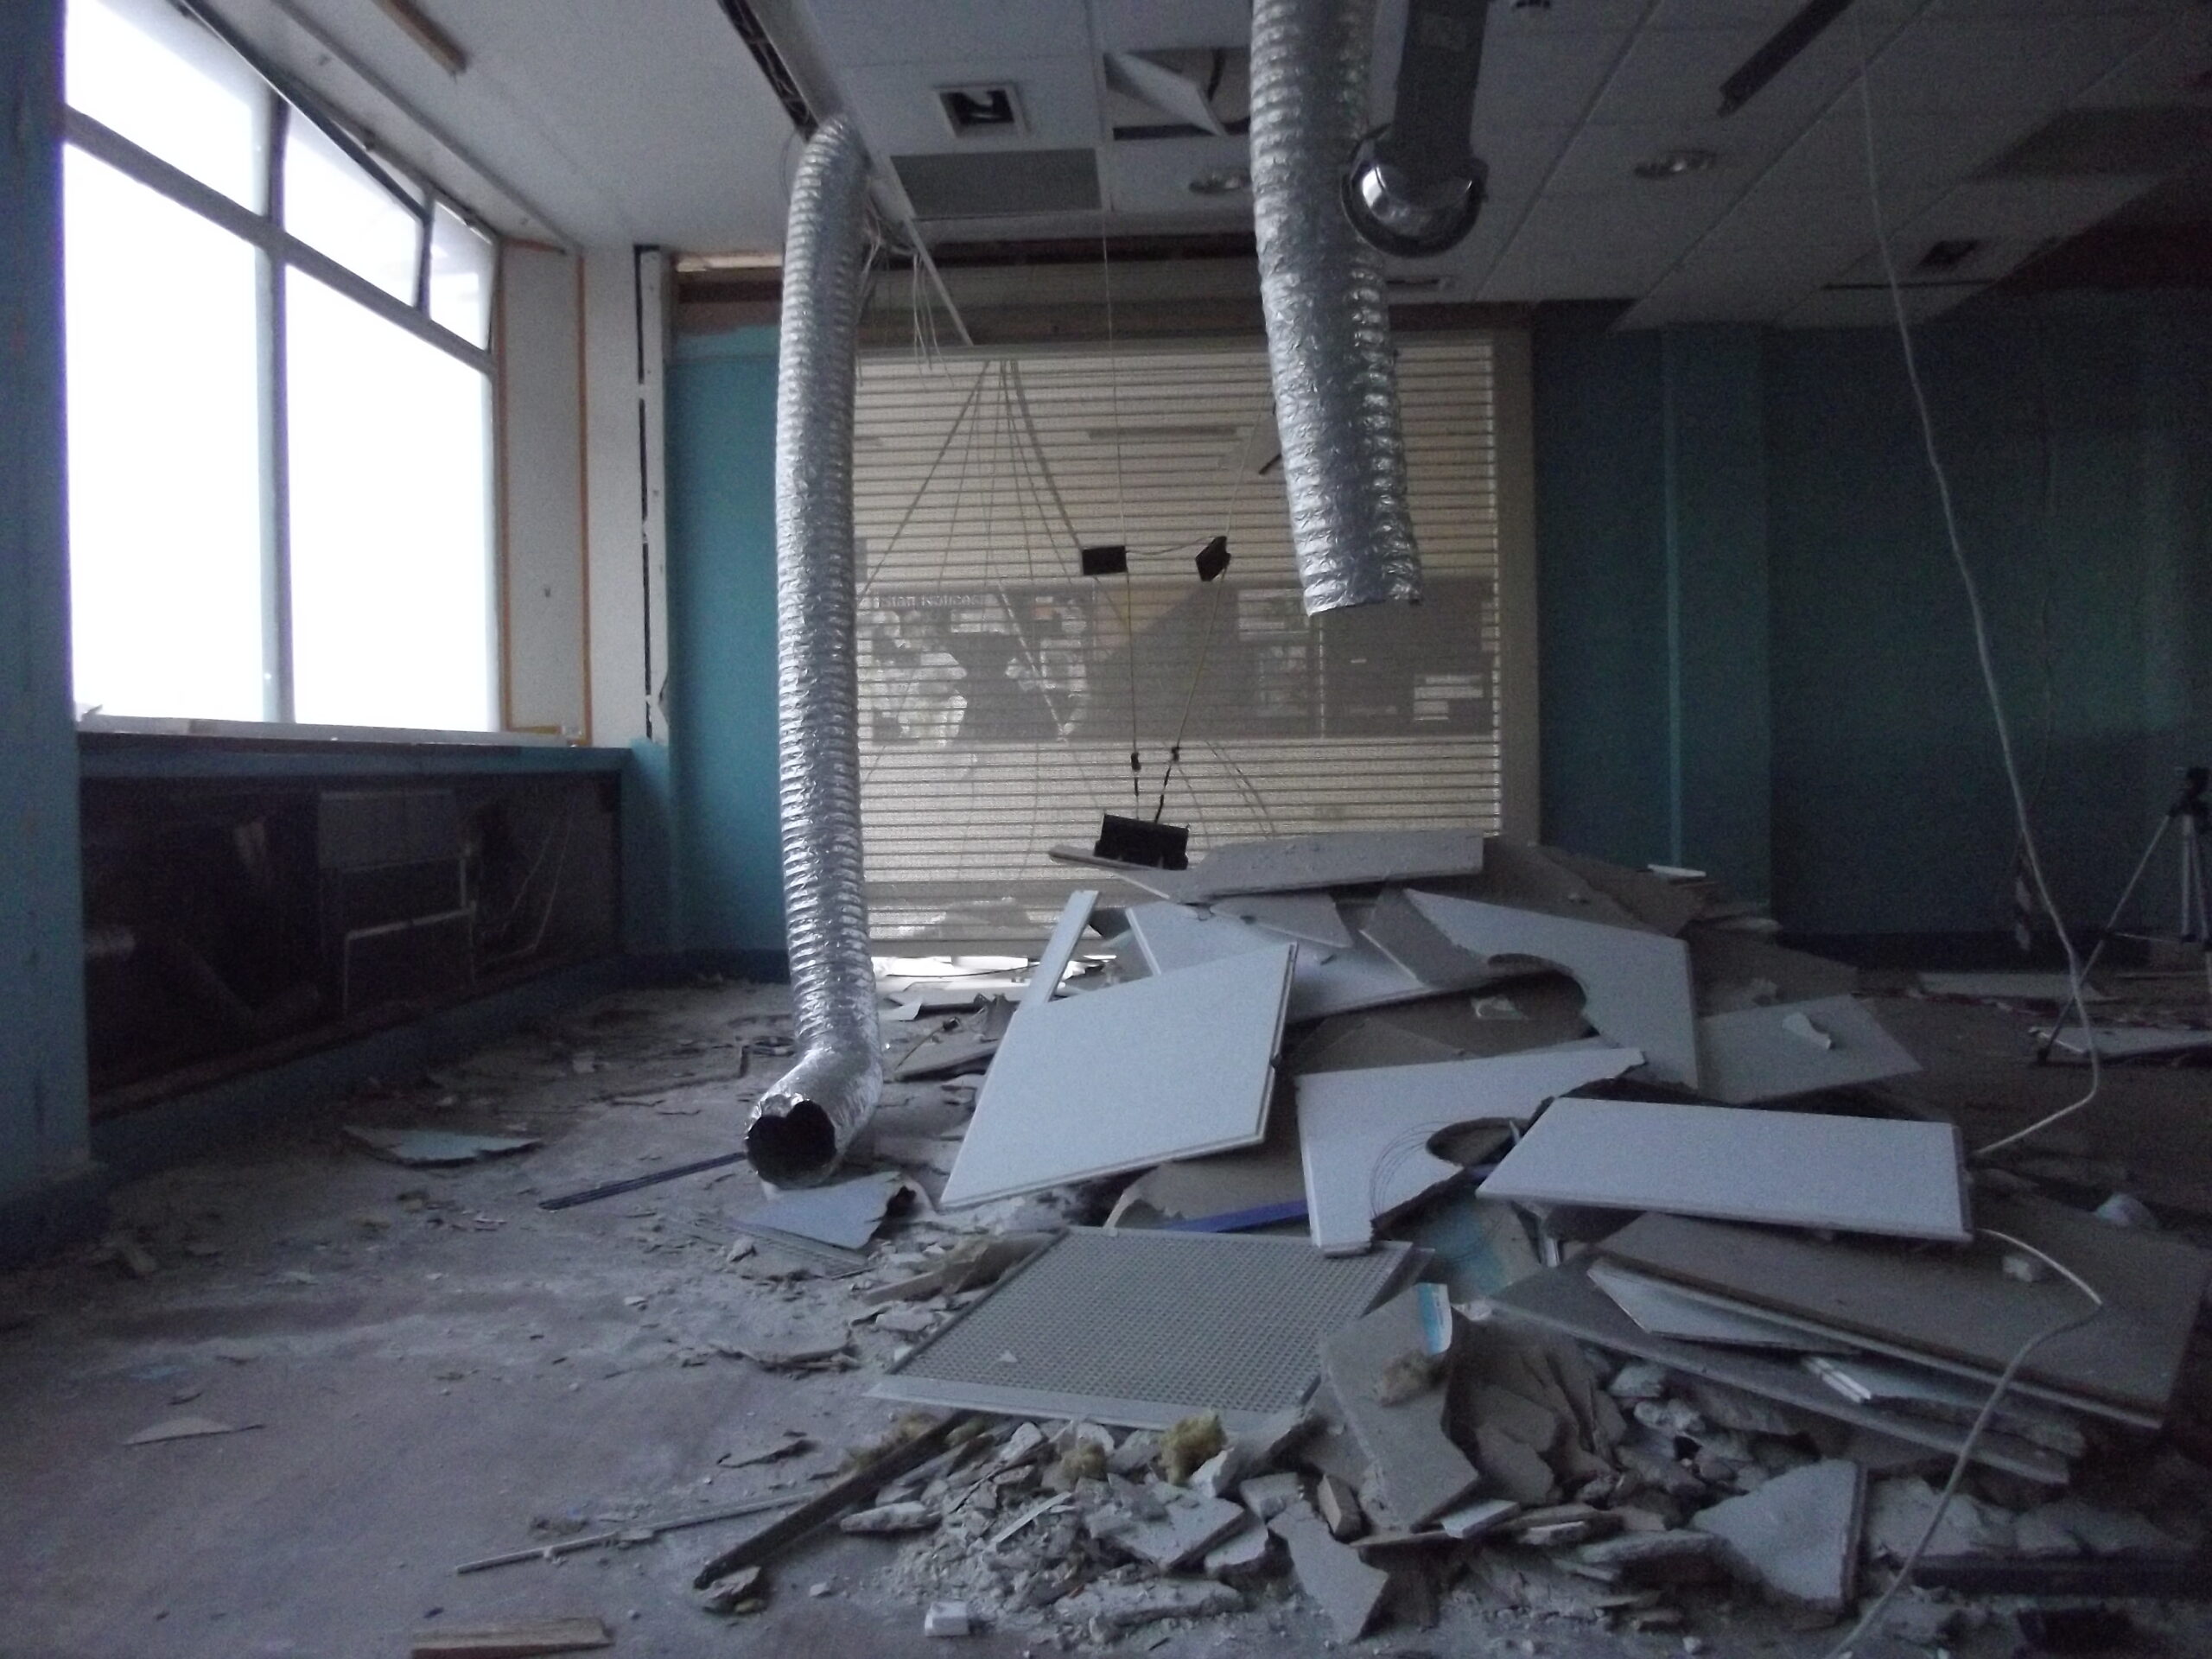
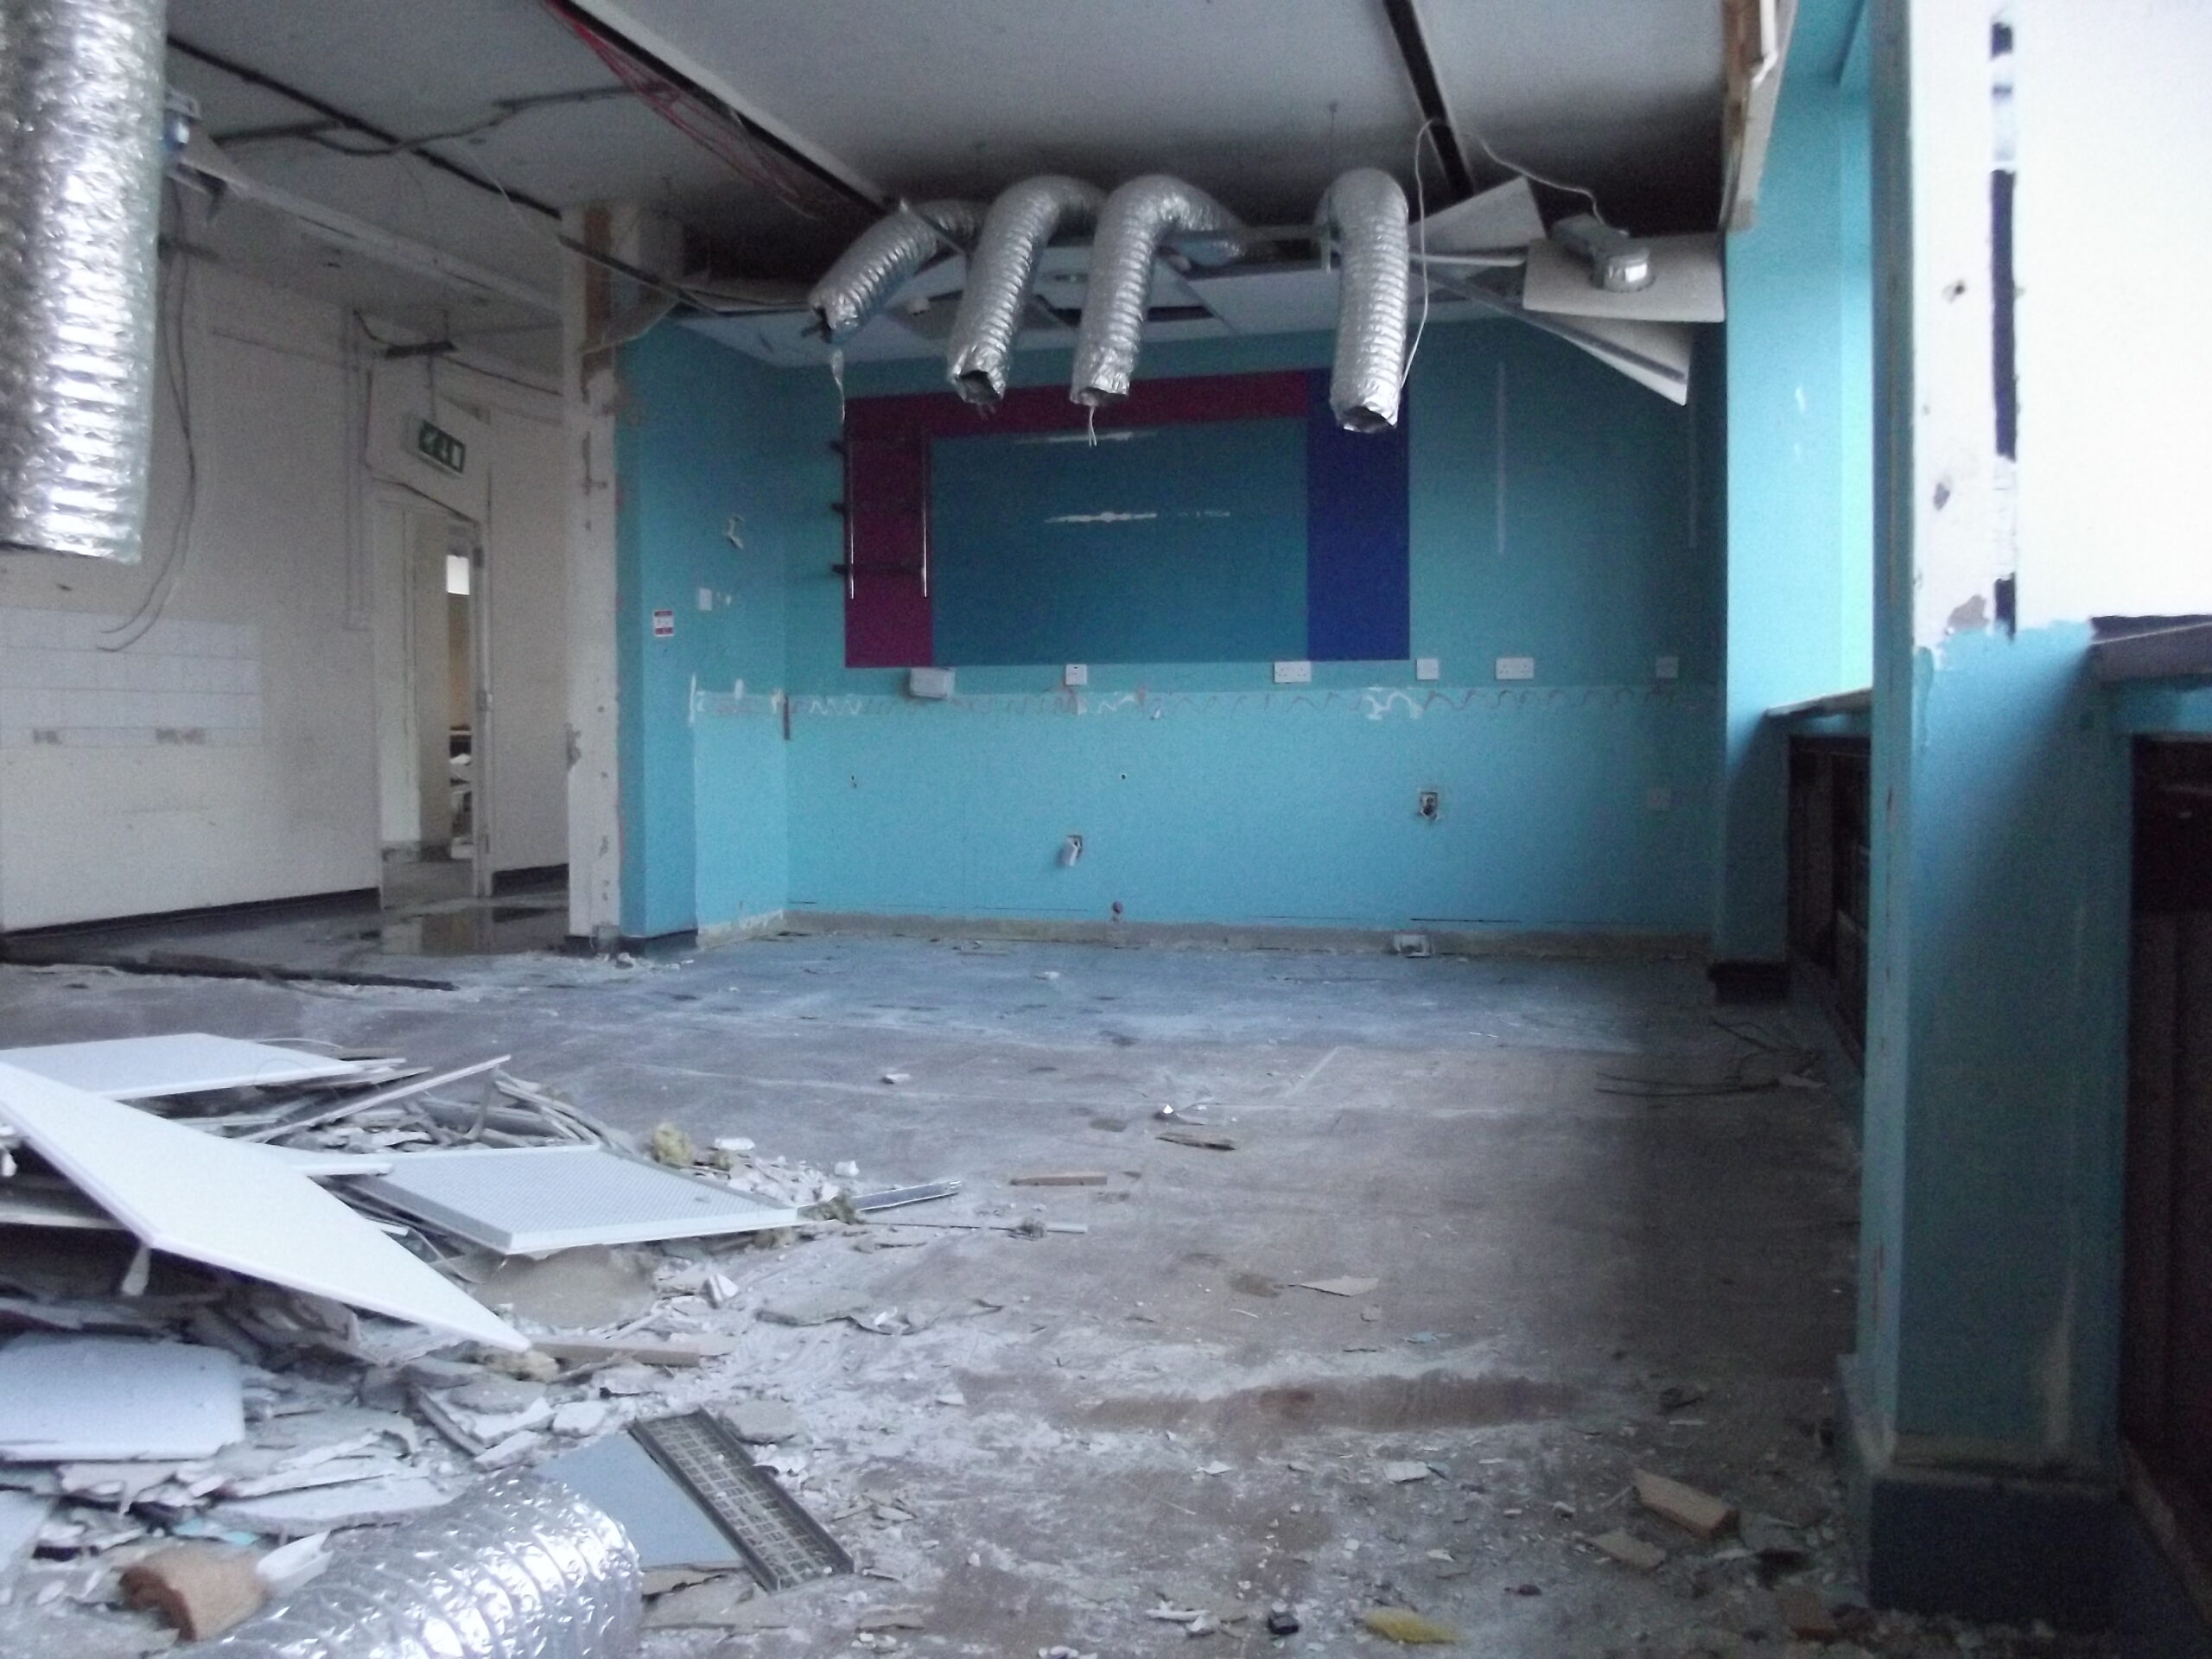
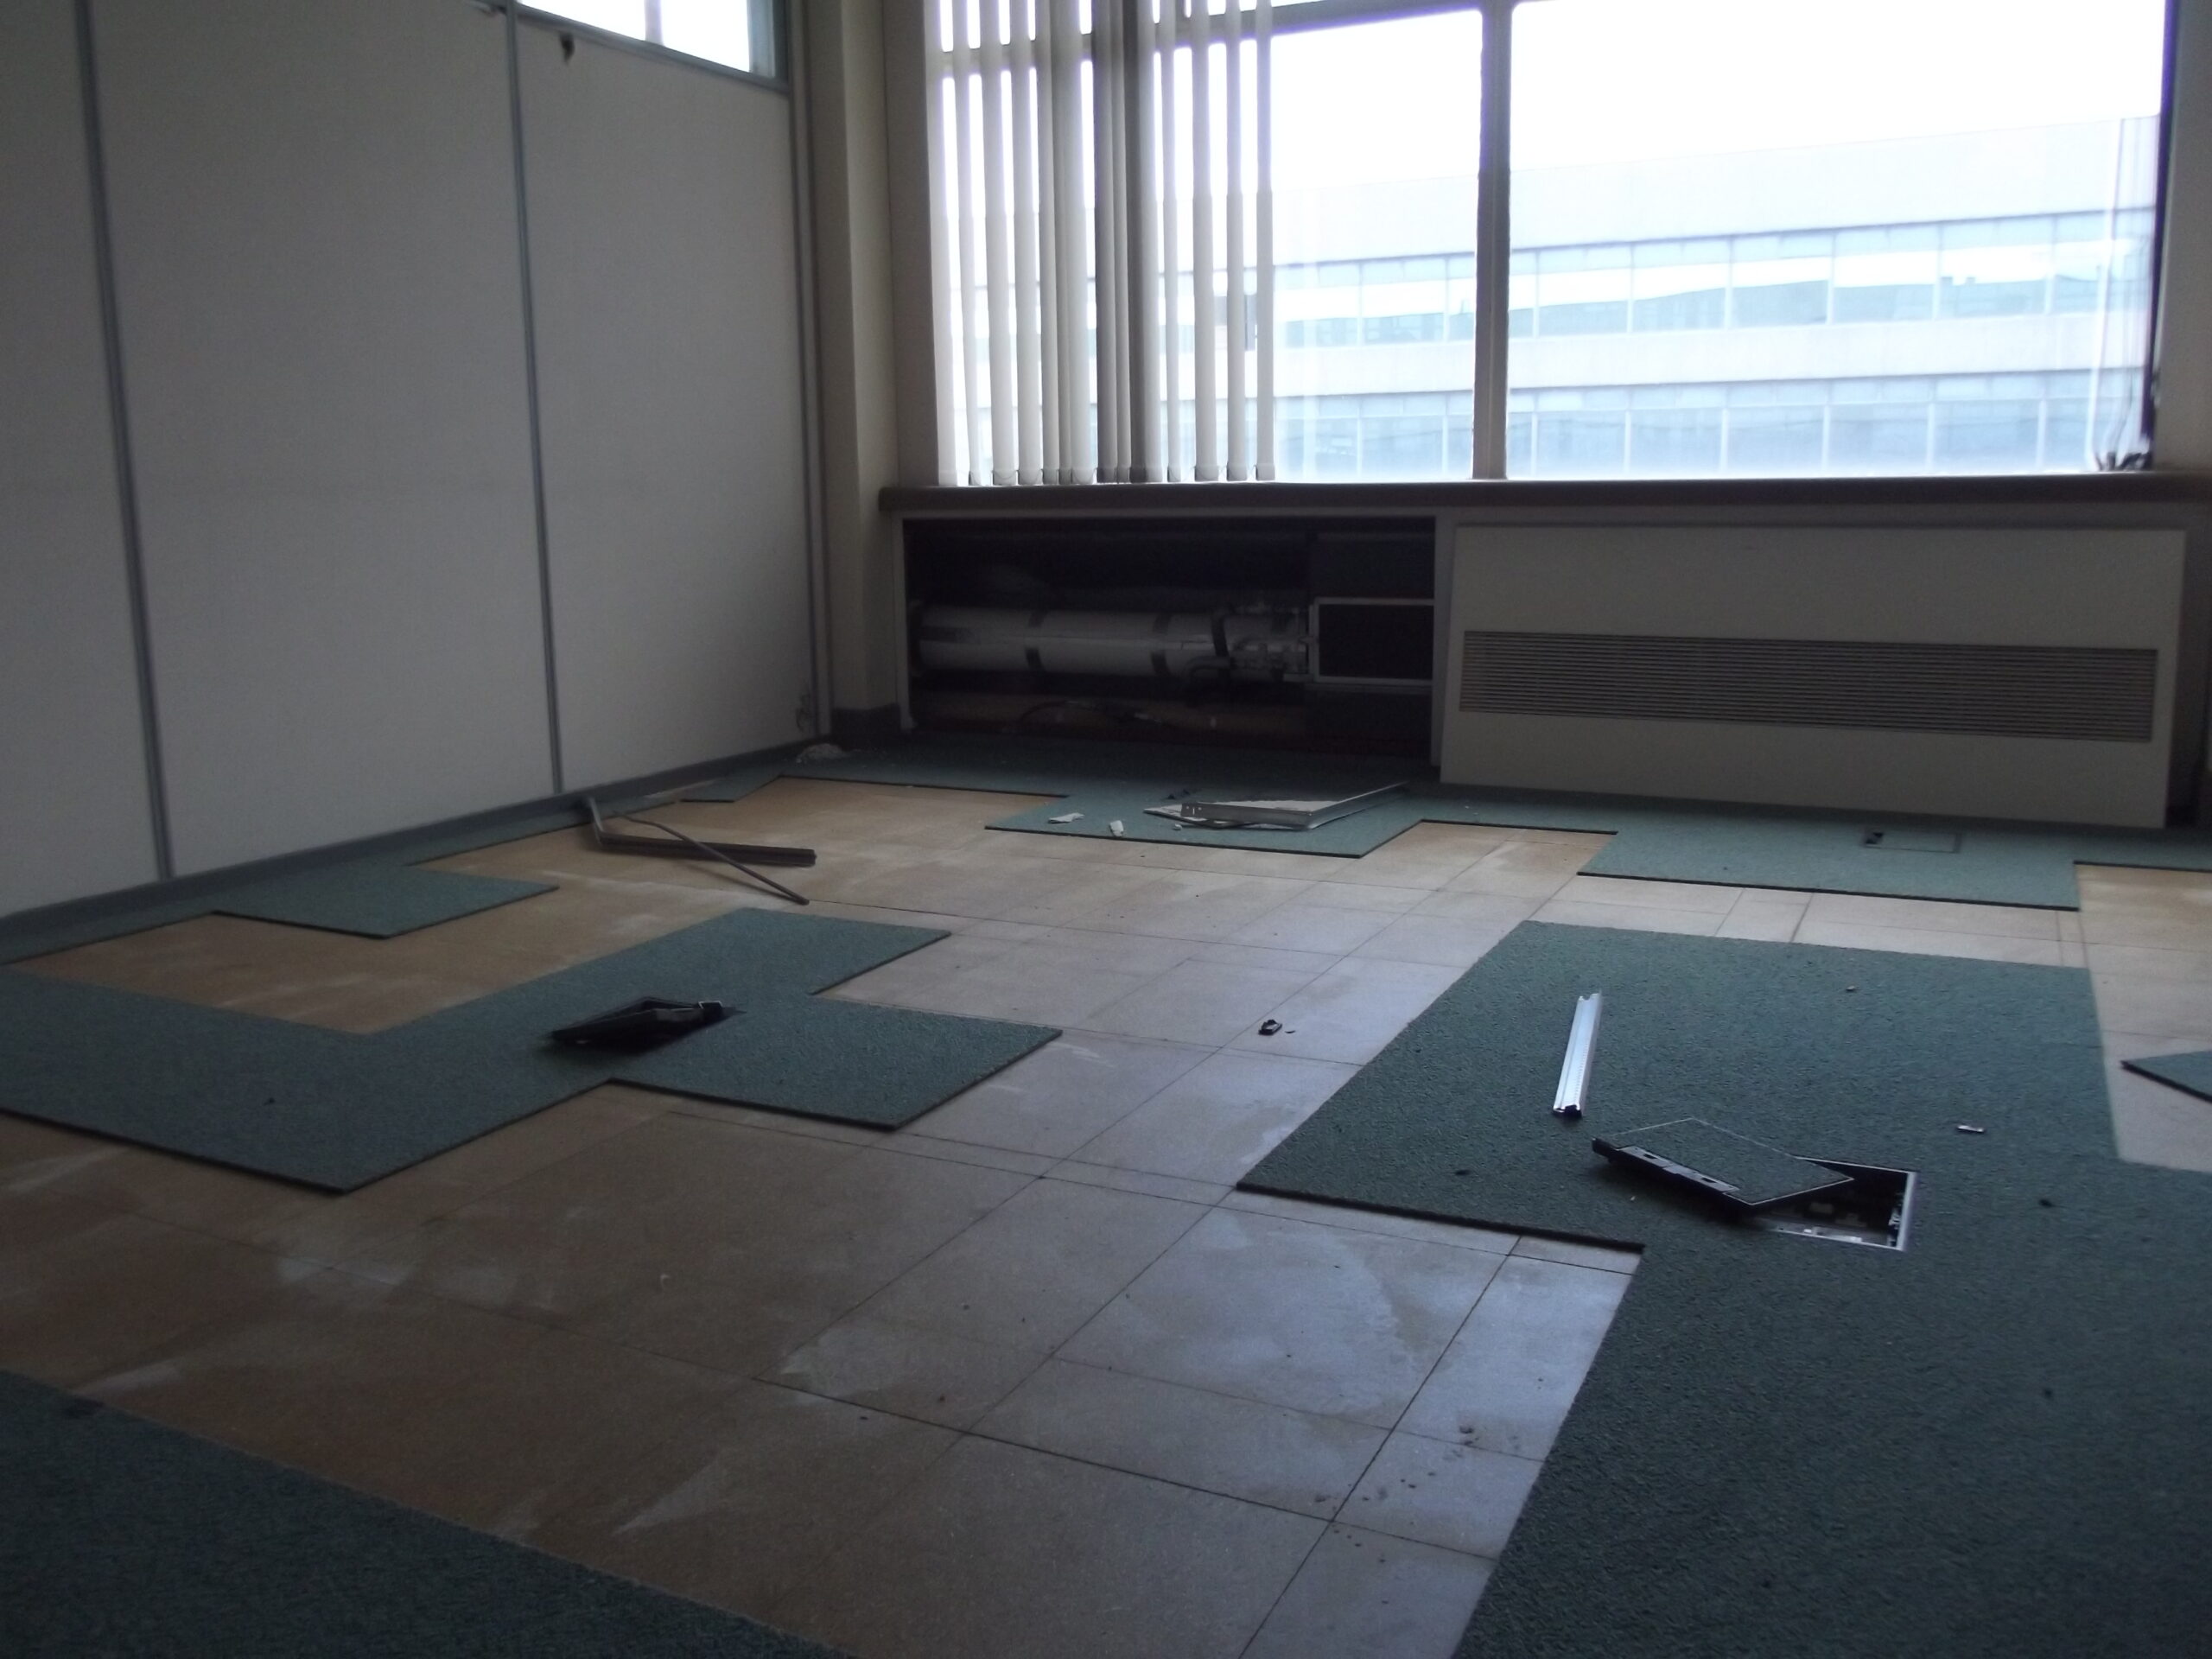
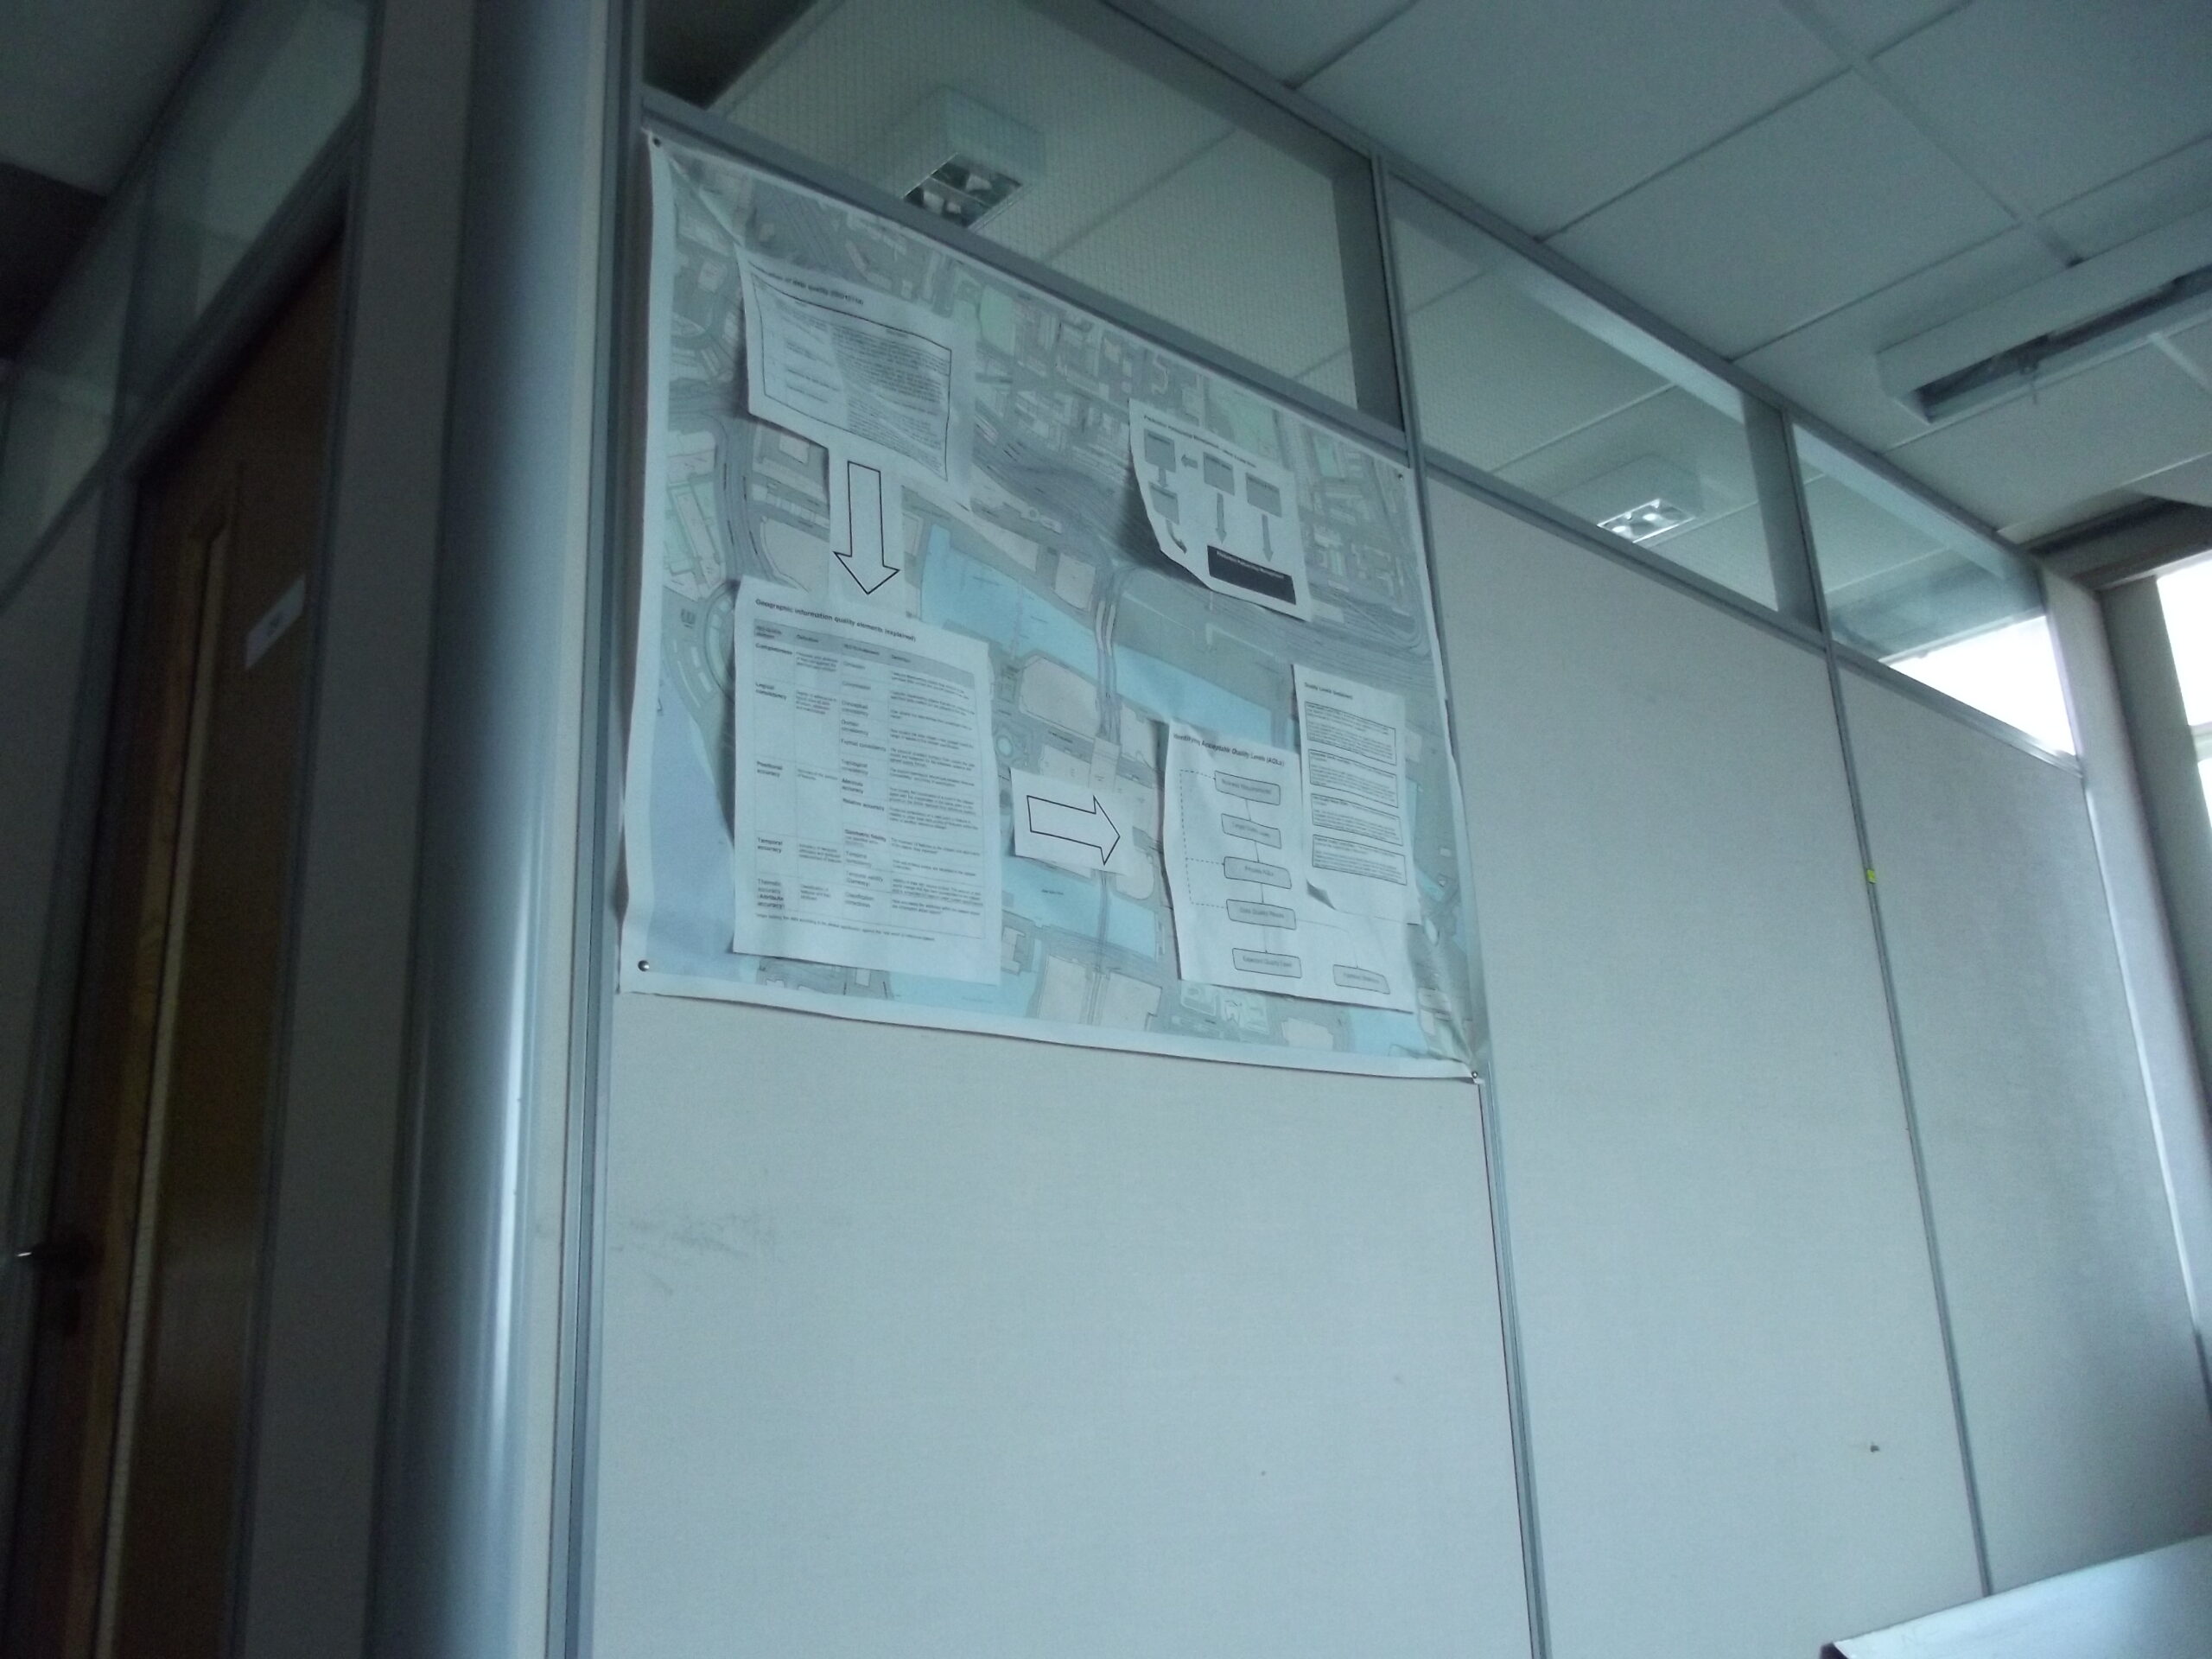
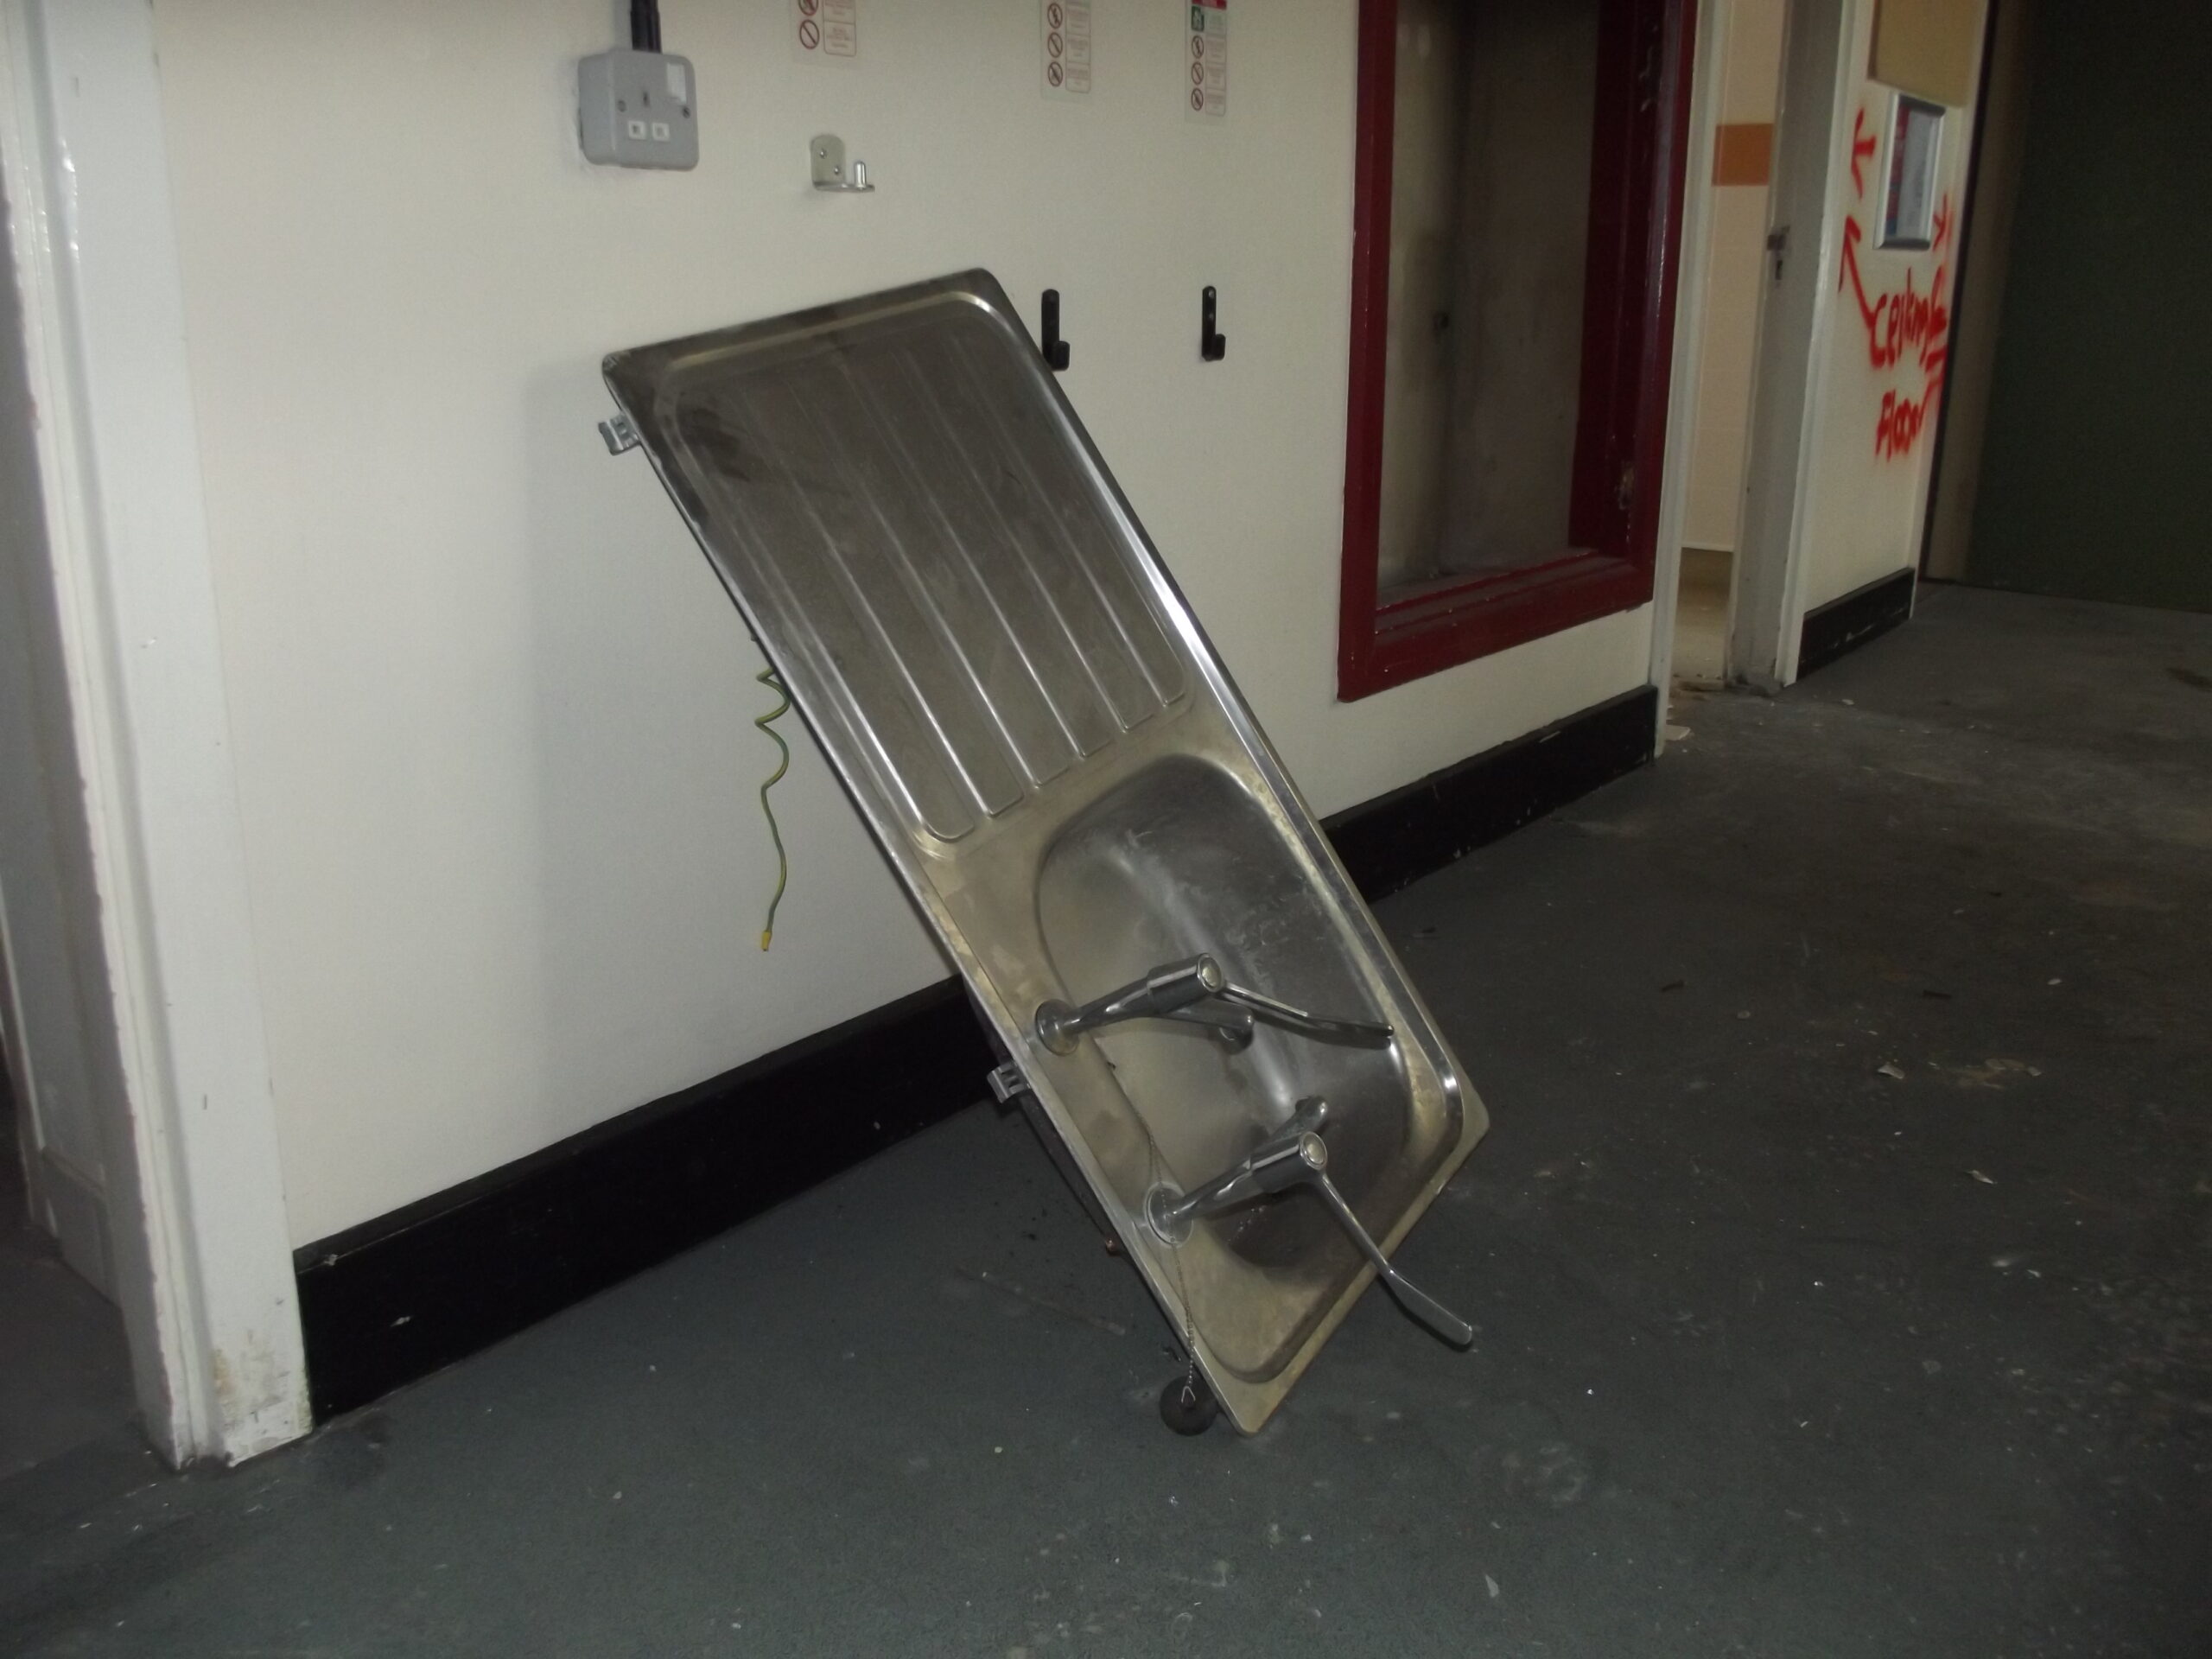
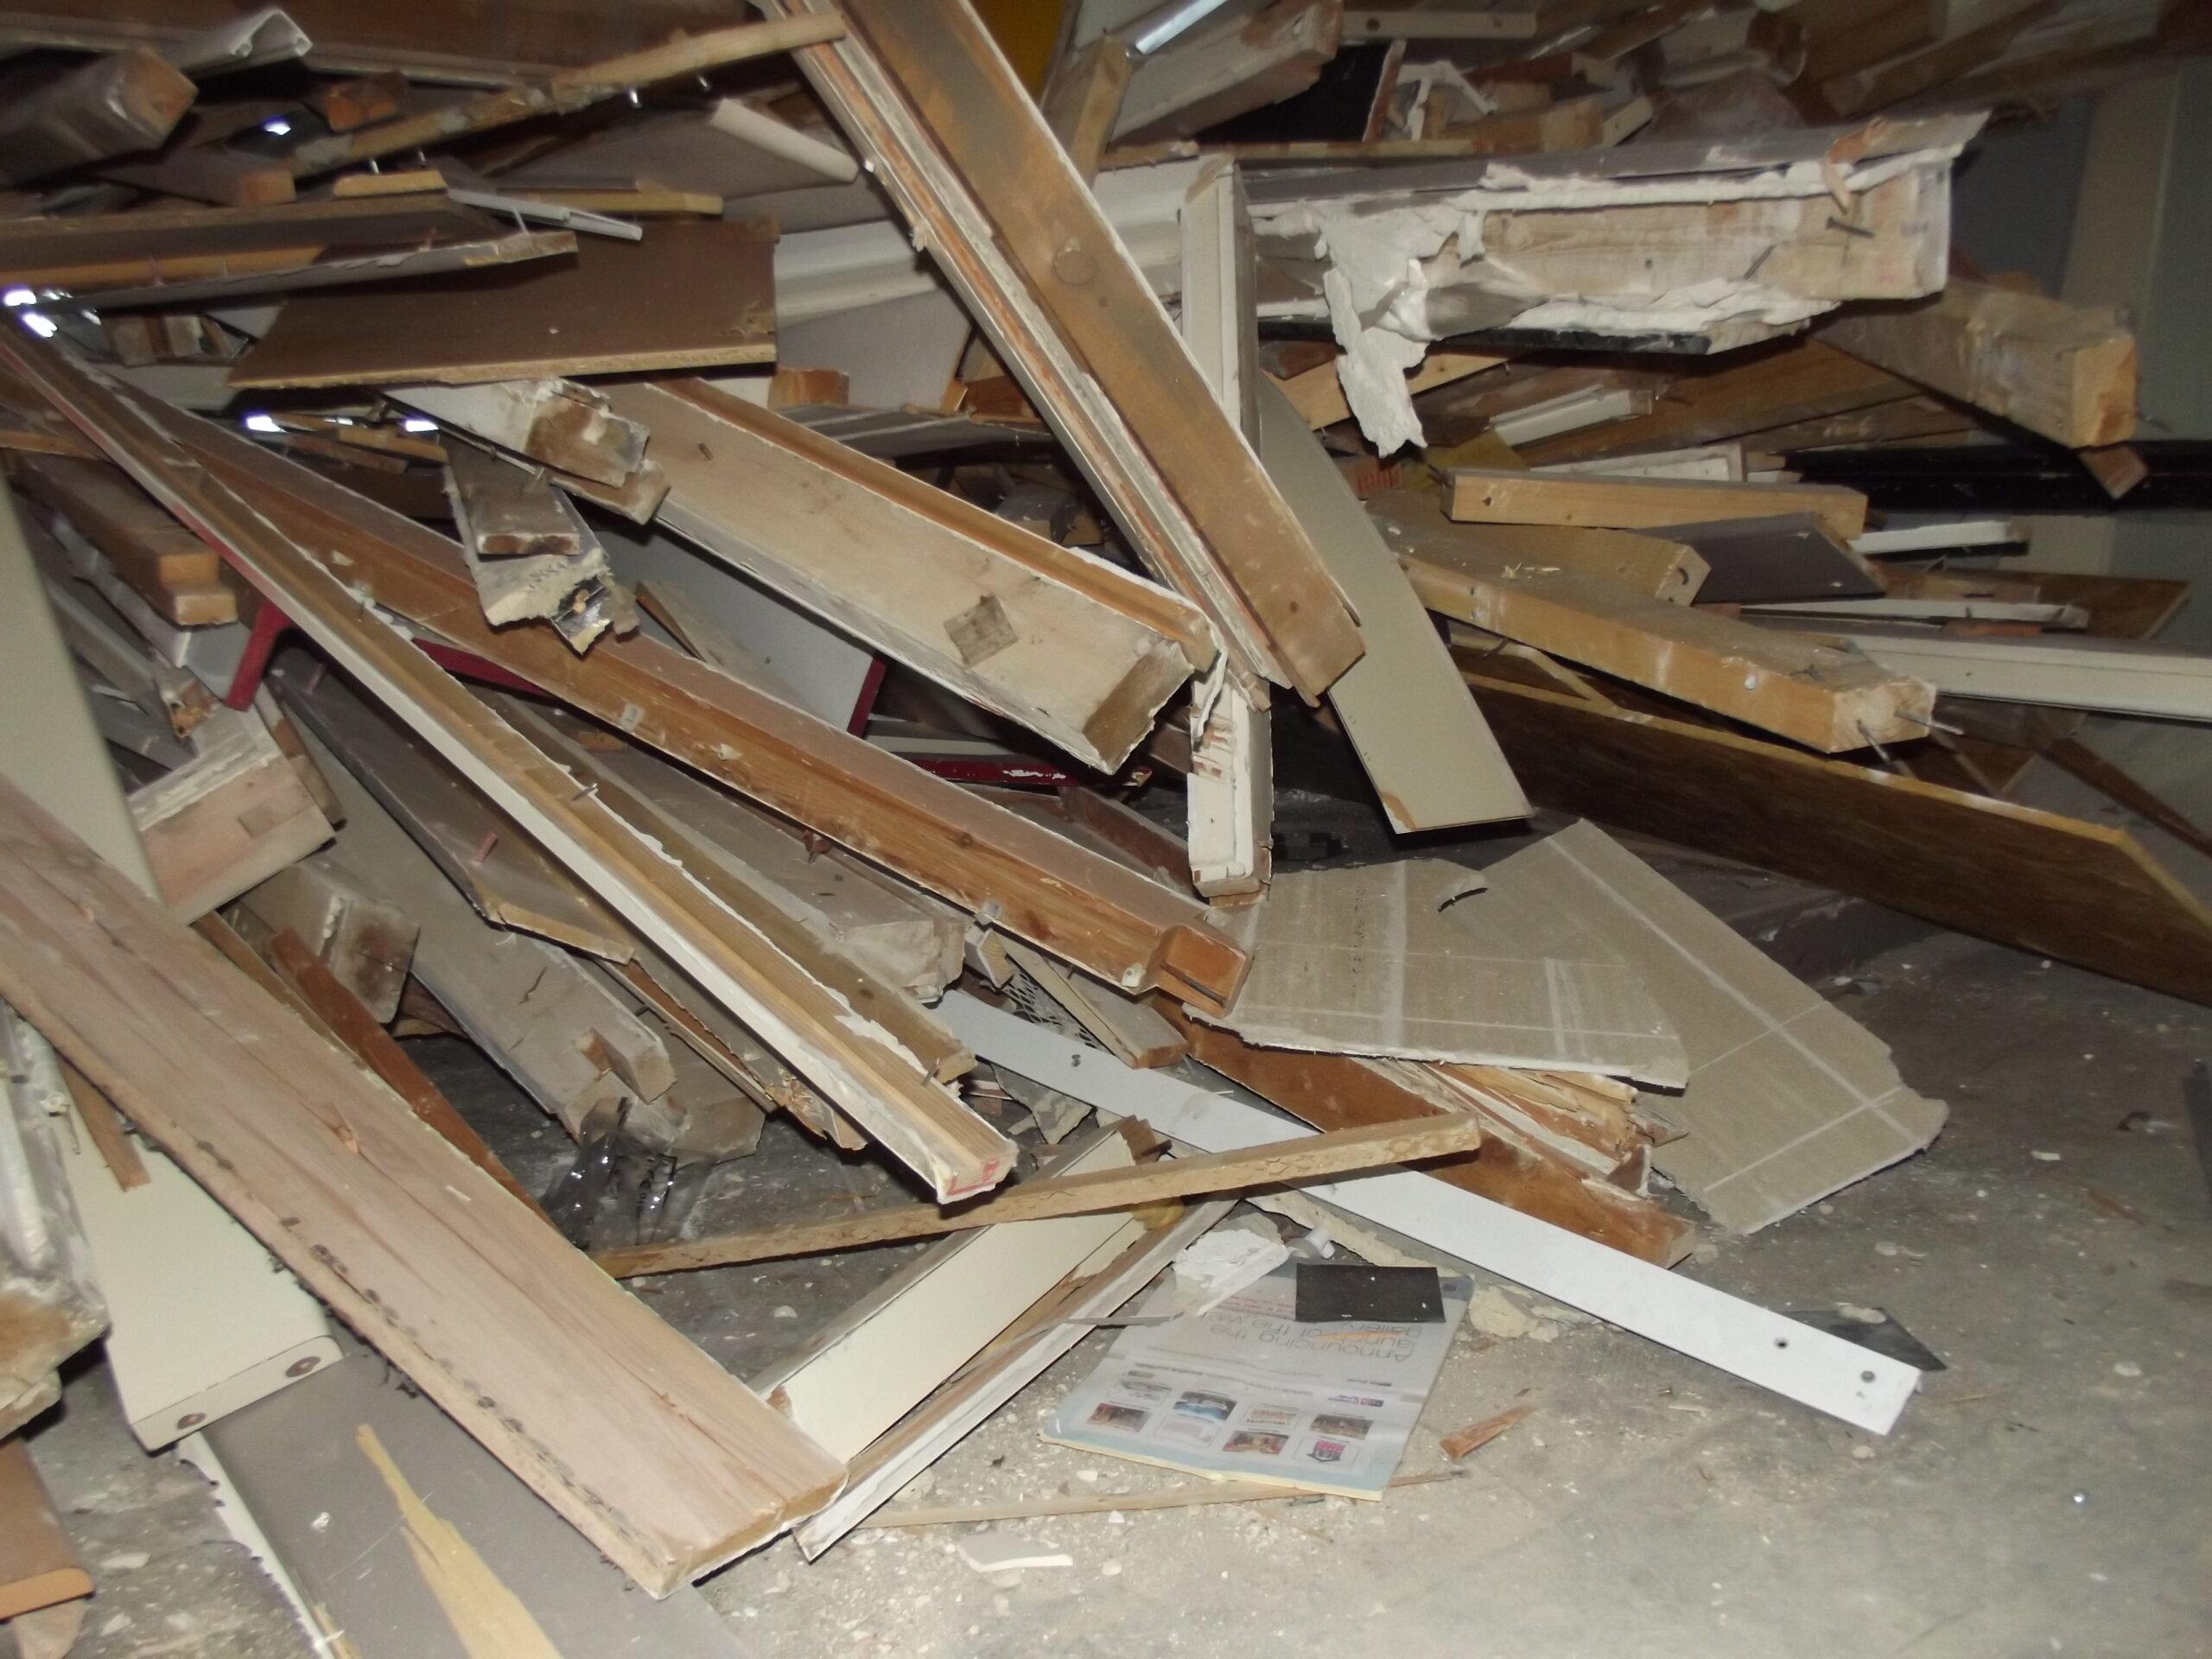
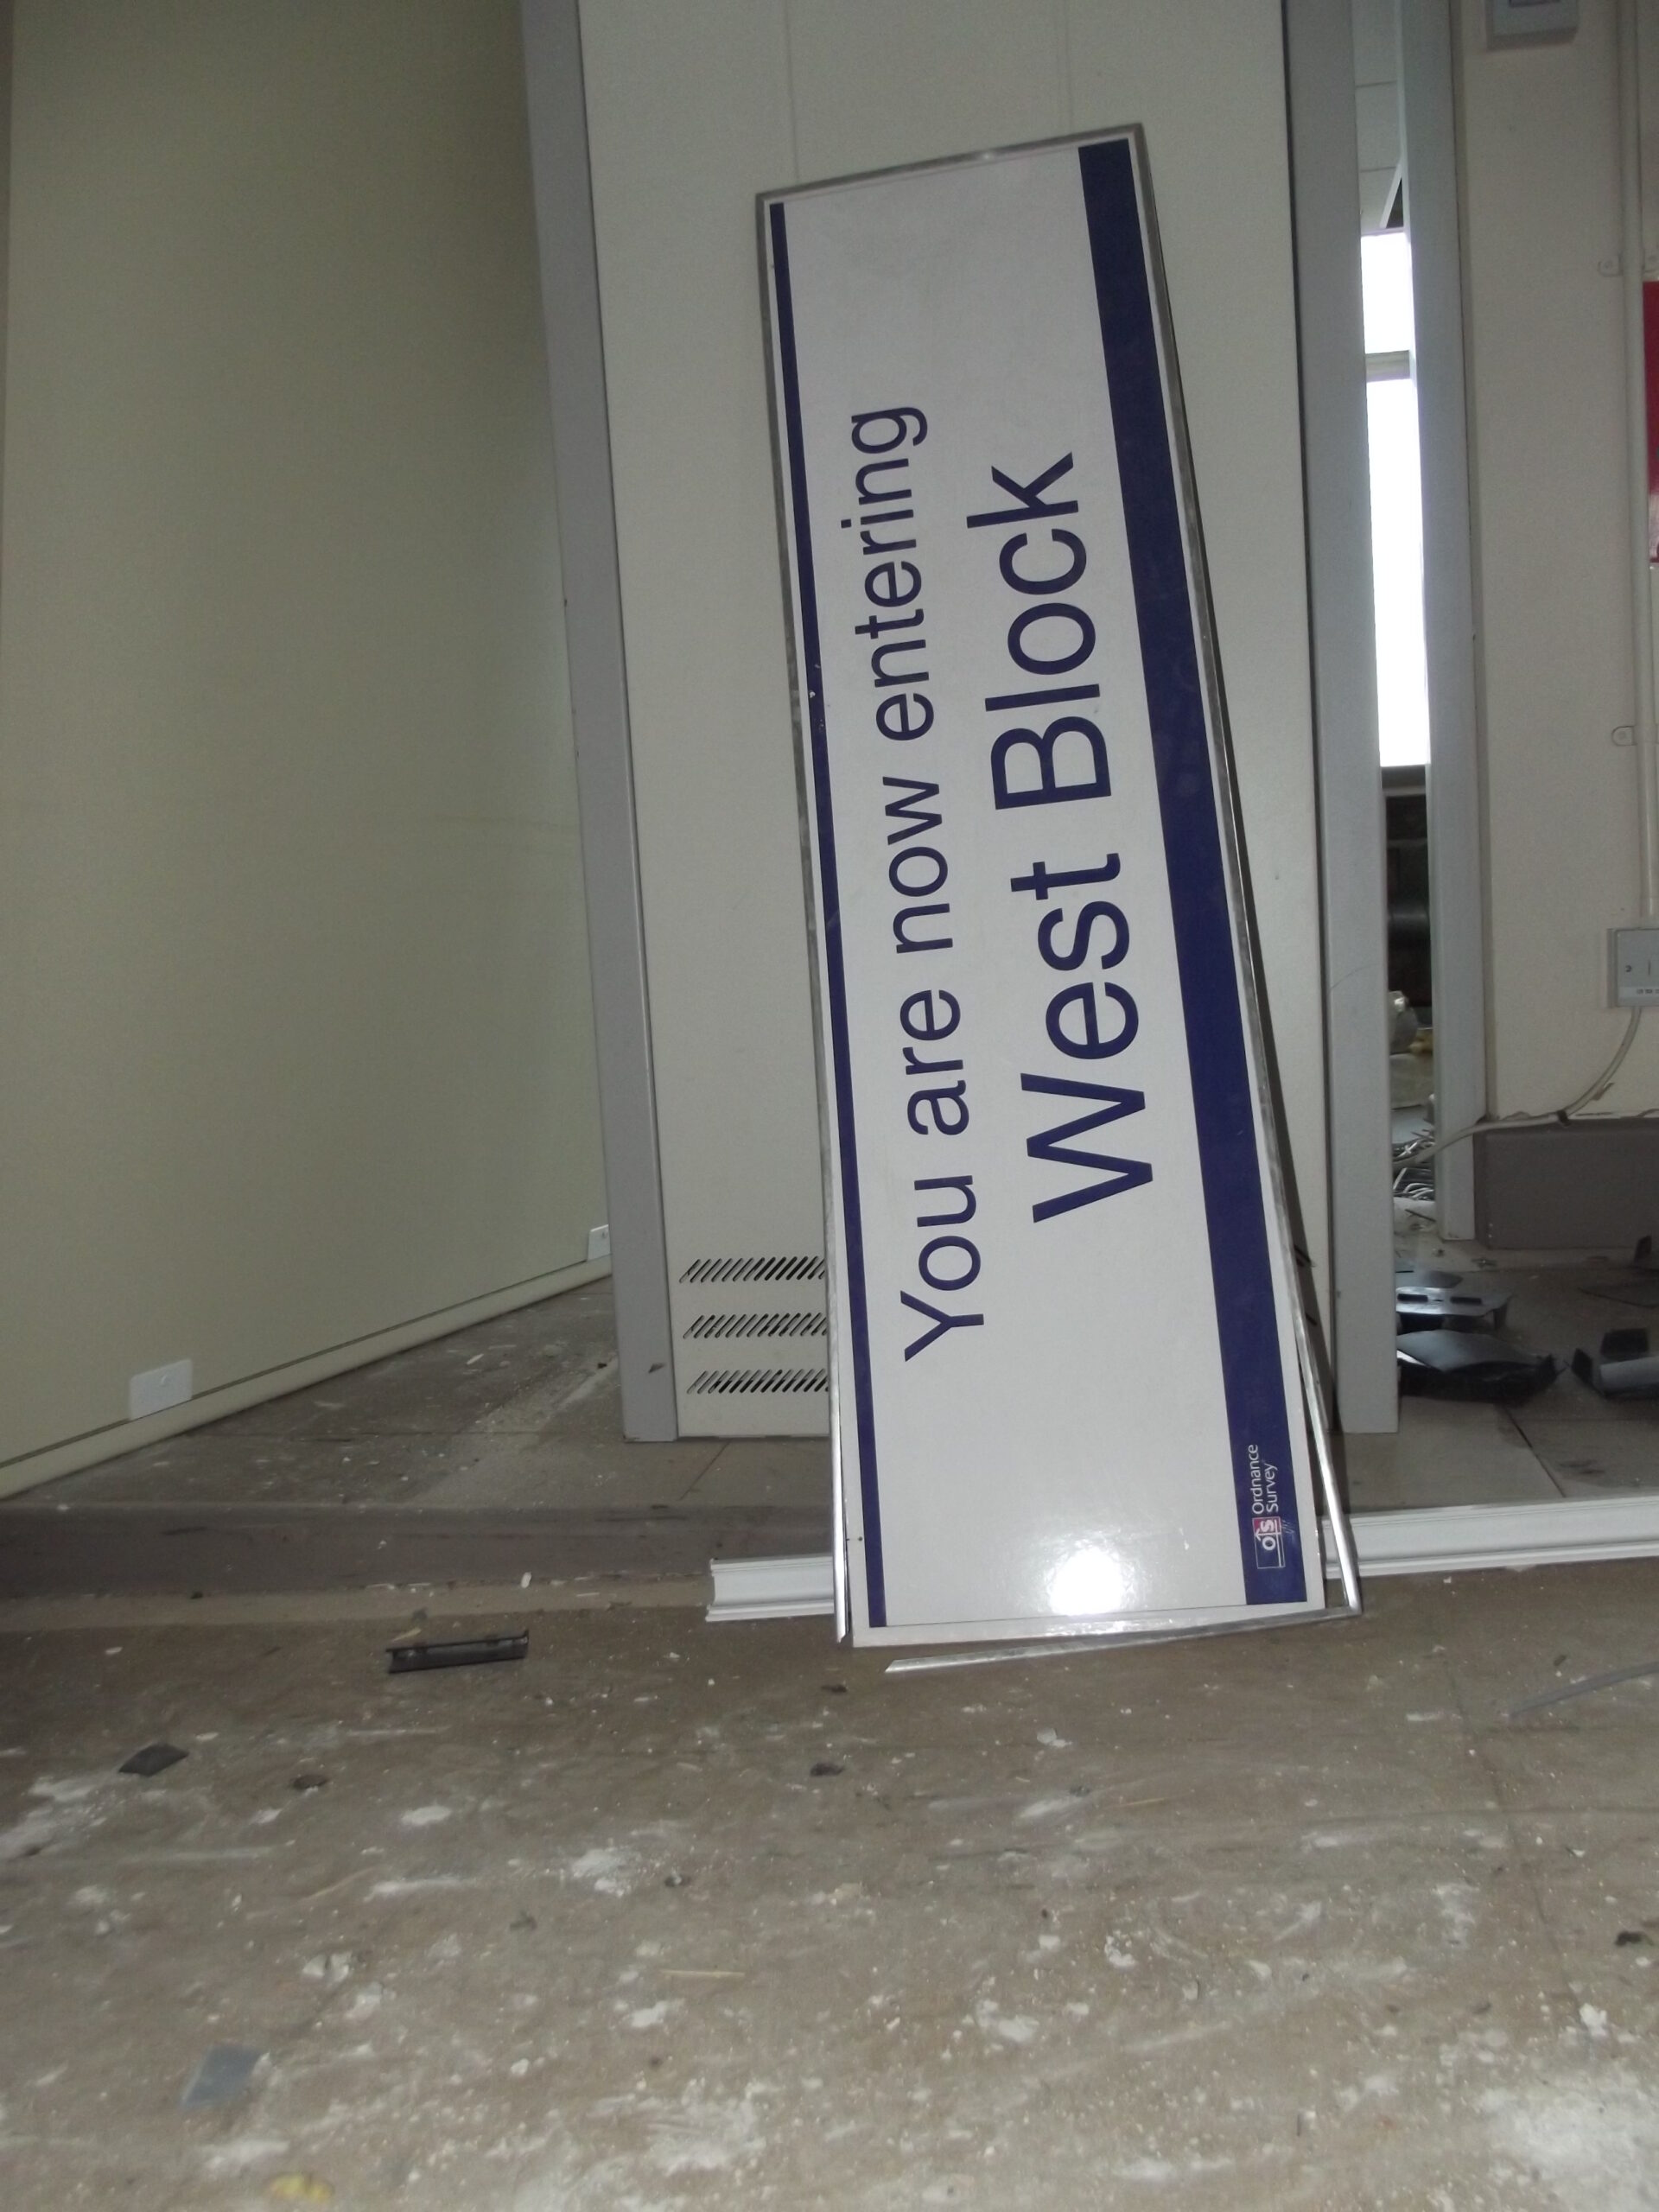
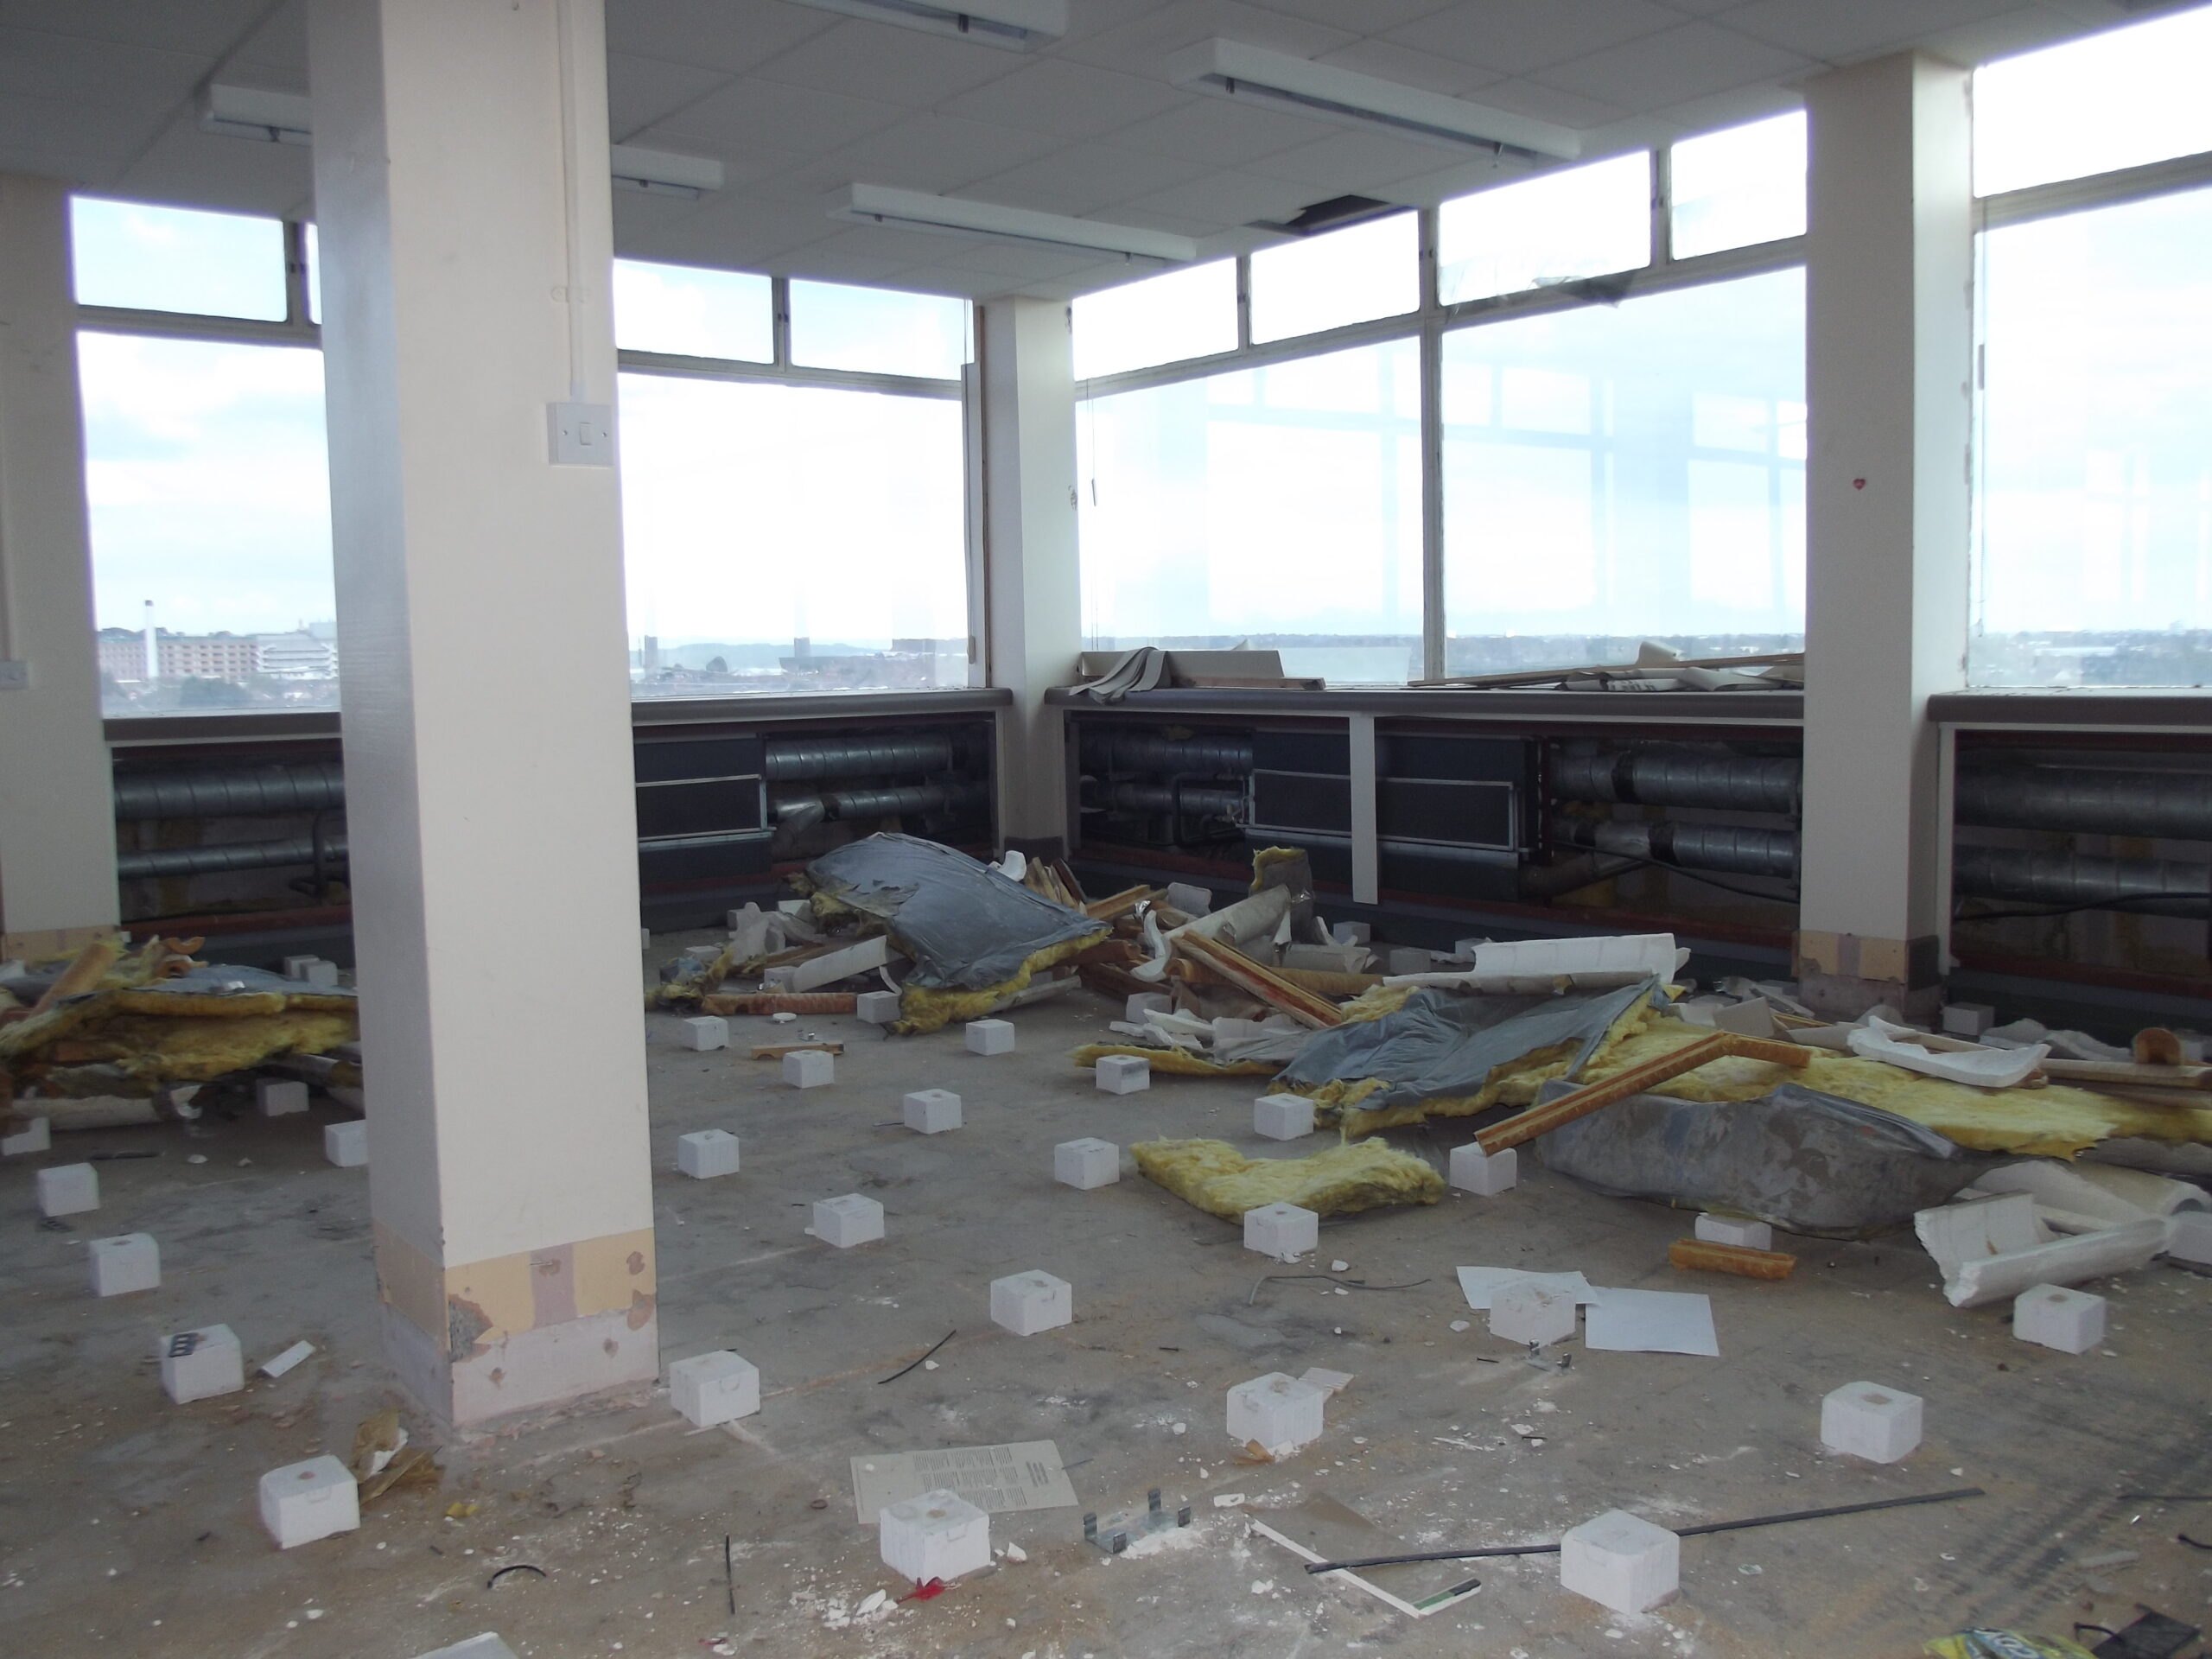
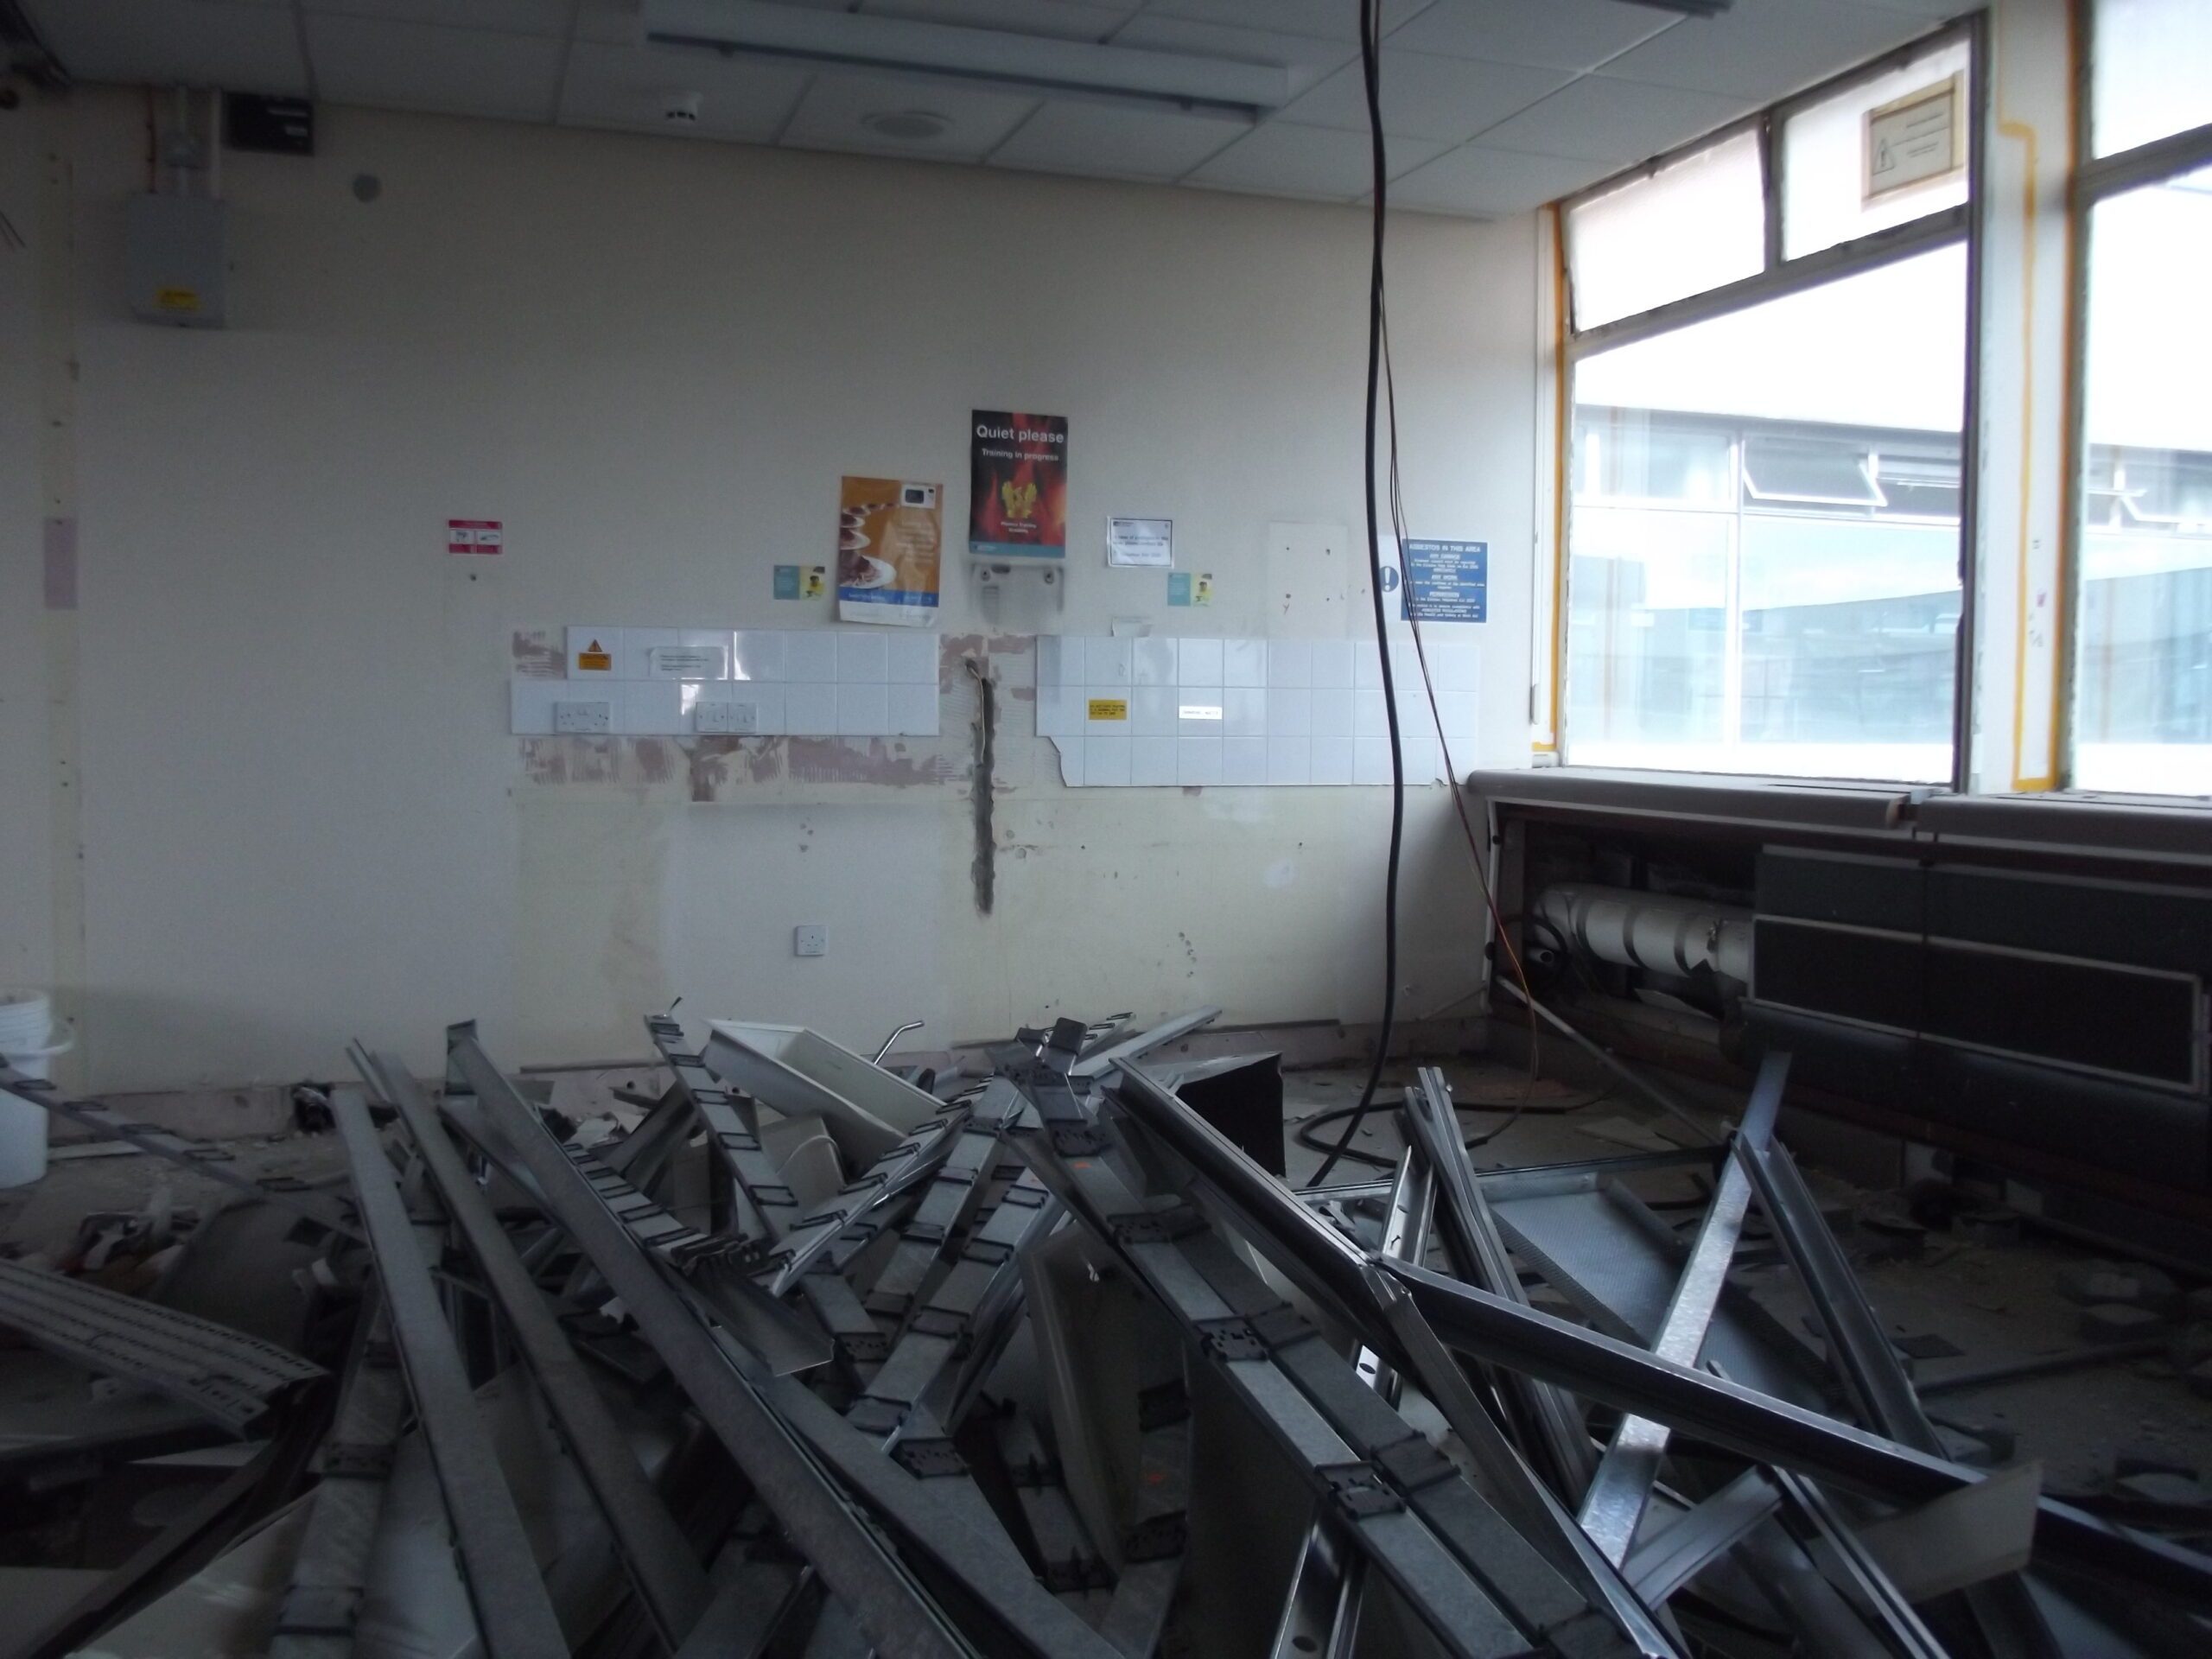
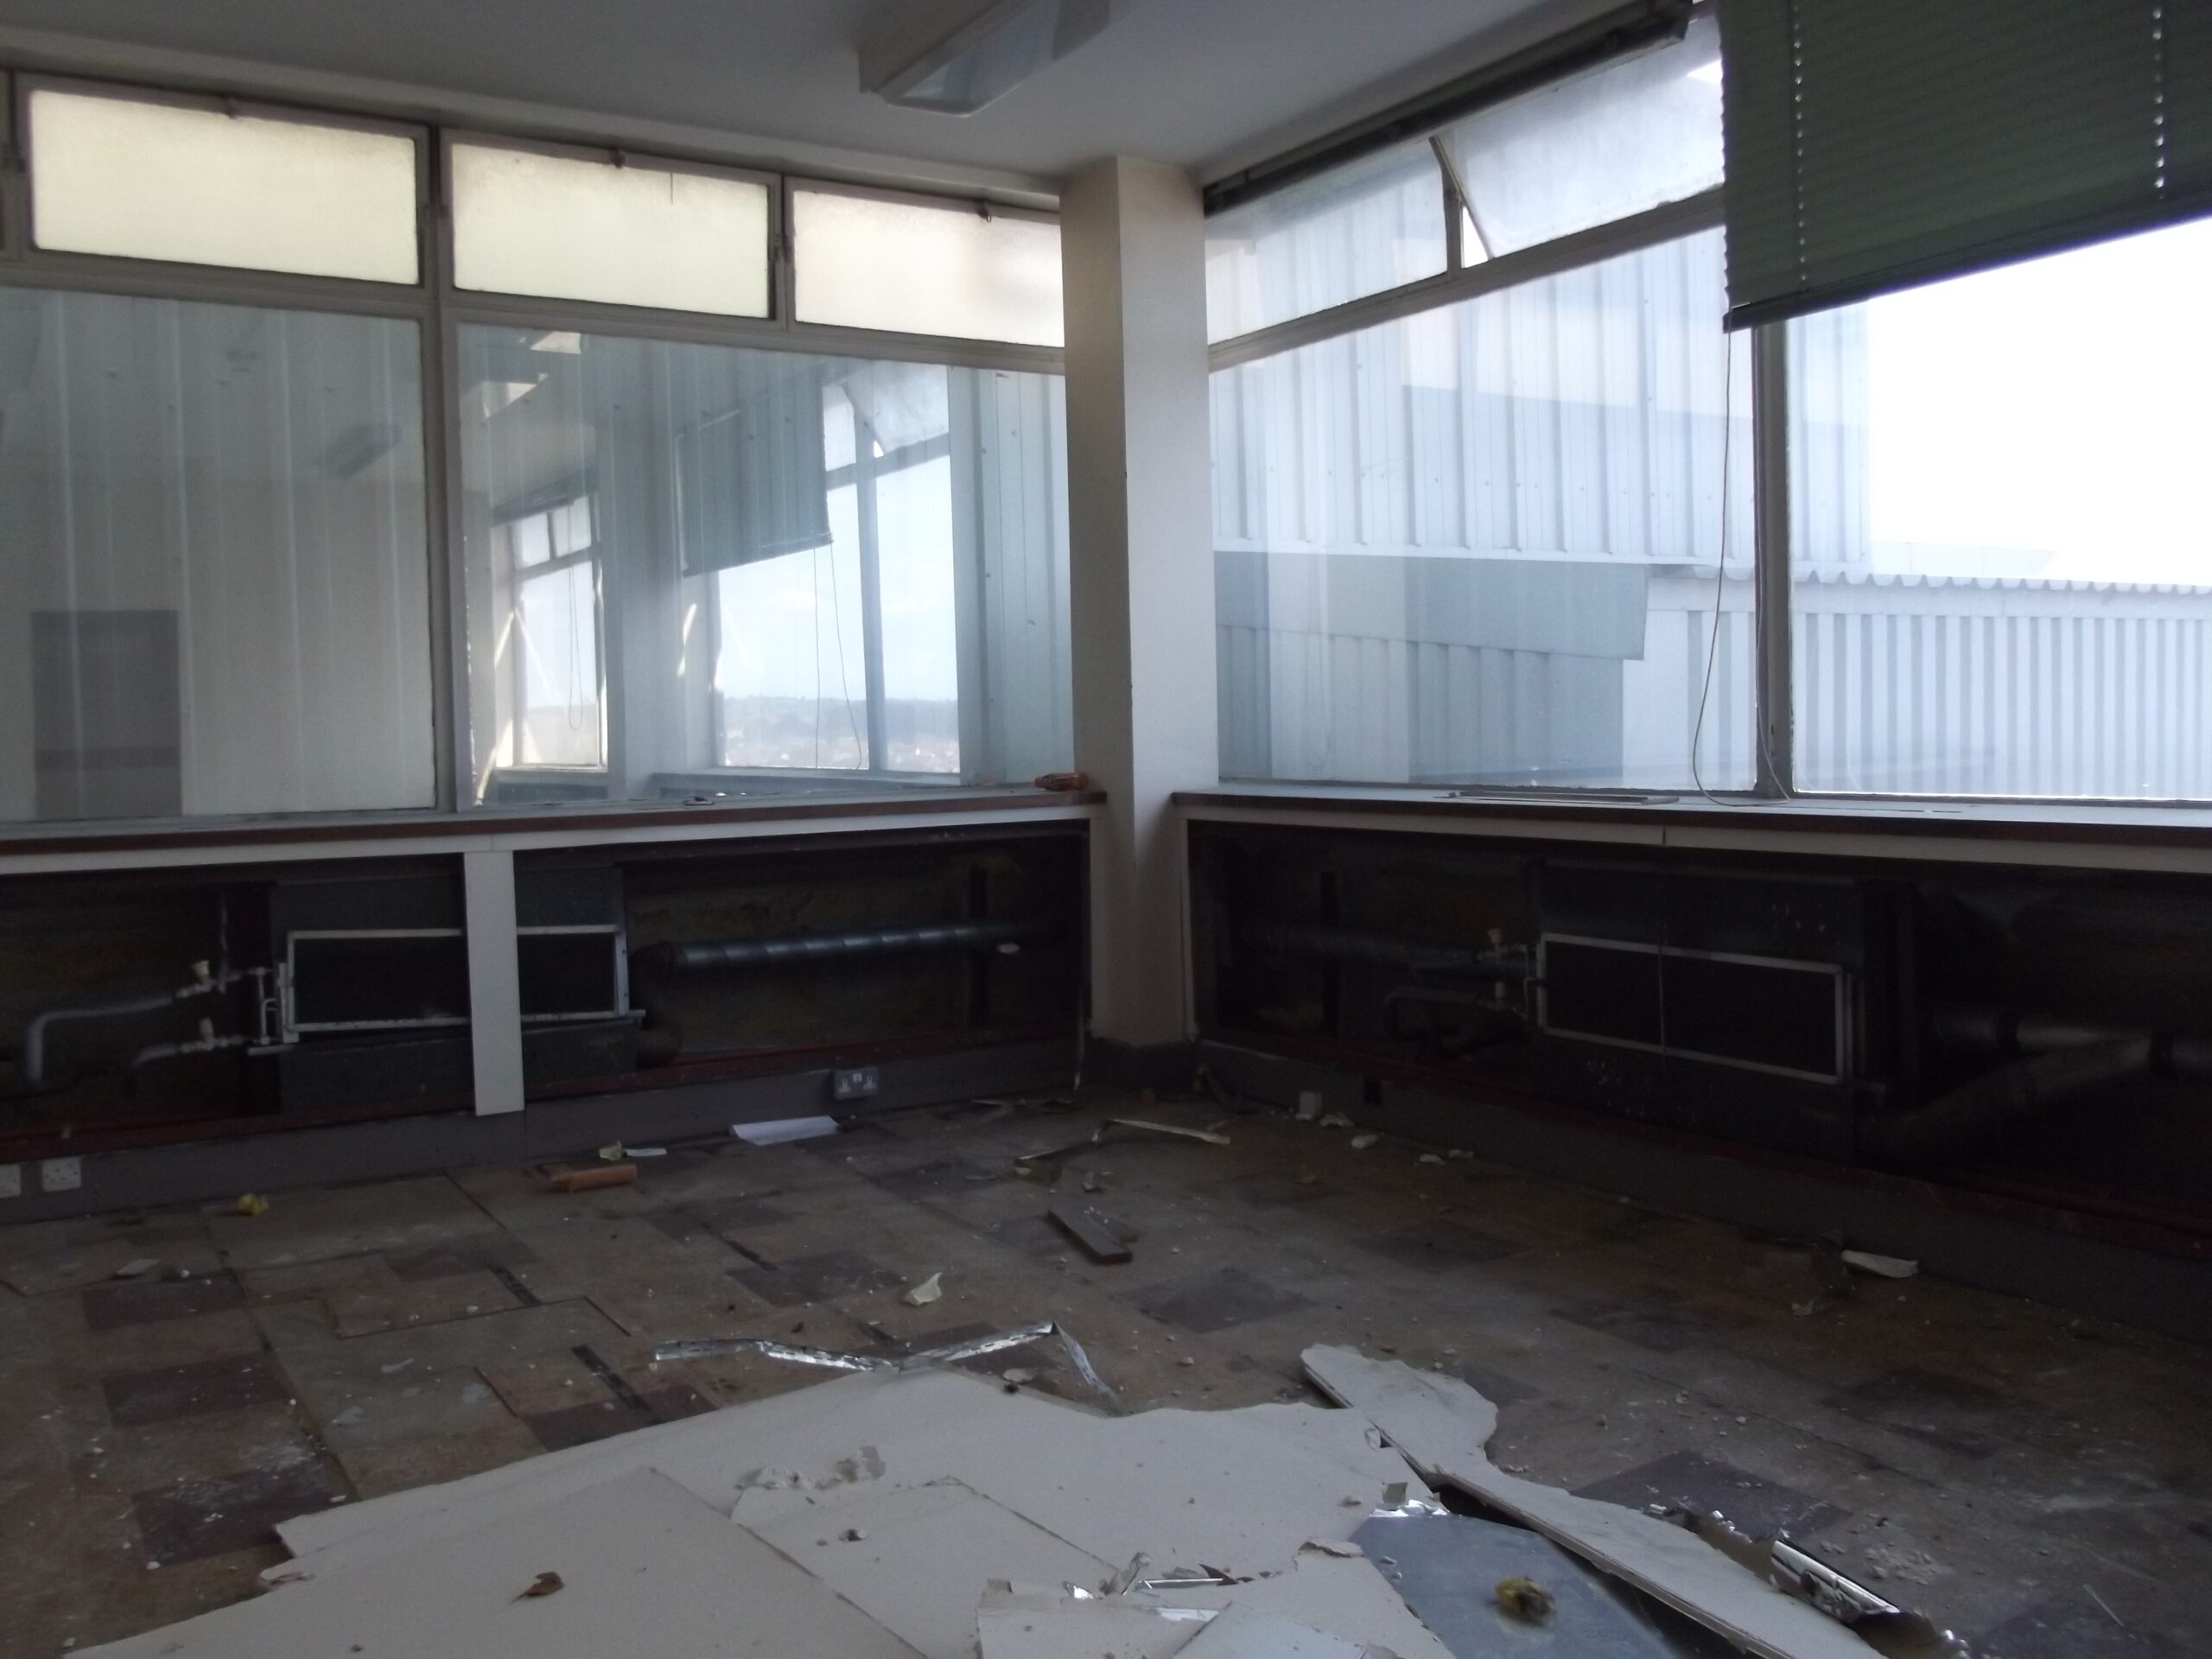
C505C505C506, removal of carpet tilesMapping and process diagram in C505Kitchenette with no walls off C526E Core 5th floor, asbestos removal in process. The machine here creates a vacuum in effect in the area that has been sealed off so any loose asbestos fibres can be trapped. Obviously this are a was given a wide berth by the Urbex team.E Core 5th floor, asbestos removal in progress. Obviously this area was given a wide berth by the Urbex team.Asbestos removal at E Core 5th floor lift lobbyA Core, 5th floor after asbestos removalA Core, 5th floor after asbestos removal and removal of the metal false ceiling, the asbestos appears to have been in the bulkheads between the lobbies and offices so would not have been disturbed during the building’s normal working life. The wood and glass partition between the stairwell and lift lobby also had ACM stickers on it, which is why there was no longer any partition here.A Core, 5th floor after asbestos removalRandom kitchen sink at A Core, 5th floorA Core, 5th floor after asbestos removalA Core, 5th floor after asbestos removalB Core, C530 used to be on the leftC526 office after strip-out of carpet, metal and wood. C526, front of building adjacent to B Core C550, all the wood has been stripped outC550, all the wood has been stripped outC550 internal strip out C550 in the process of internal strip-out C550 in the process of internal strip-out C550 in the process of internal strip-out C550 in the process of internal strip-out You are now entering West Block – seen in C550C556 after internal strip-out of wood/metal/carpetFacing towards Compass House from C556Always a popular sight, remains of a pay slip!Under-window convection heater in C556Under-window convection heater in C5565th floor, F Core, wash basinsToilets at F Core, 5th floor. The toilets in WRB/Restaurant/West Block were all refurbished in the 1990s. The cubical walls have been removed so these look rather exposed!
6th floor William Roy Building
Asbestos comment: E core 5th and 6th floor lift lobbies were sealed off for for asbestos removal; obviously the Urbex team gave these areas a wide berth!
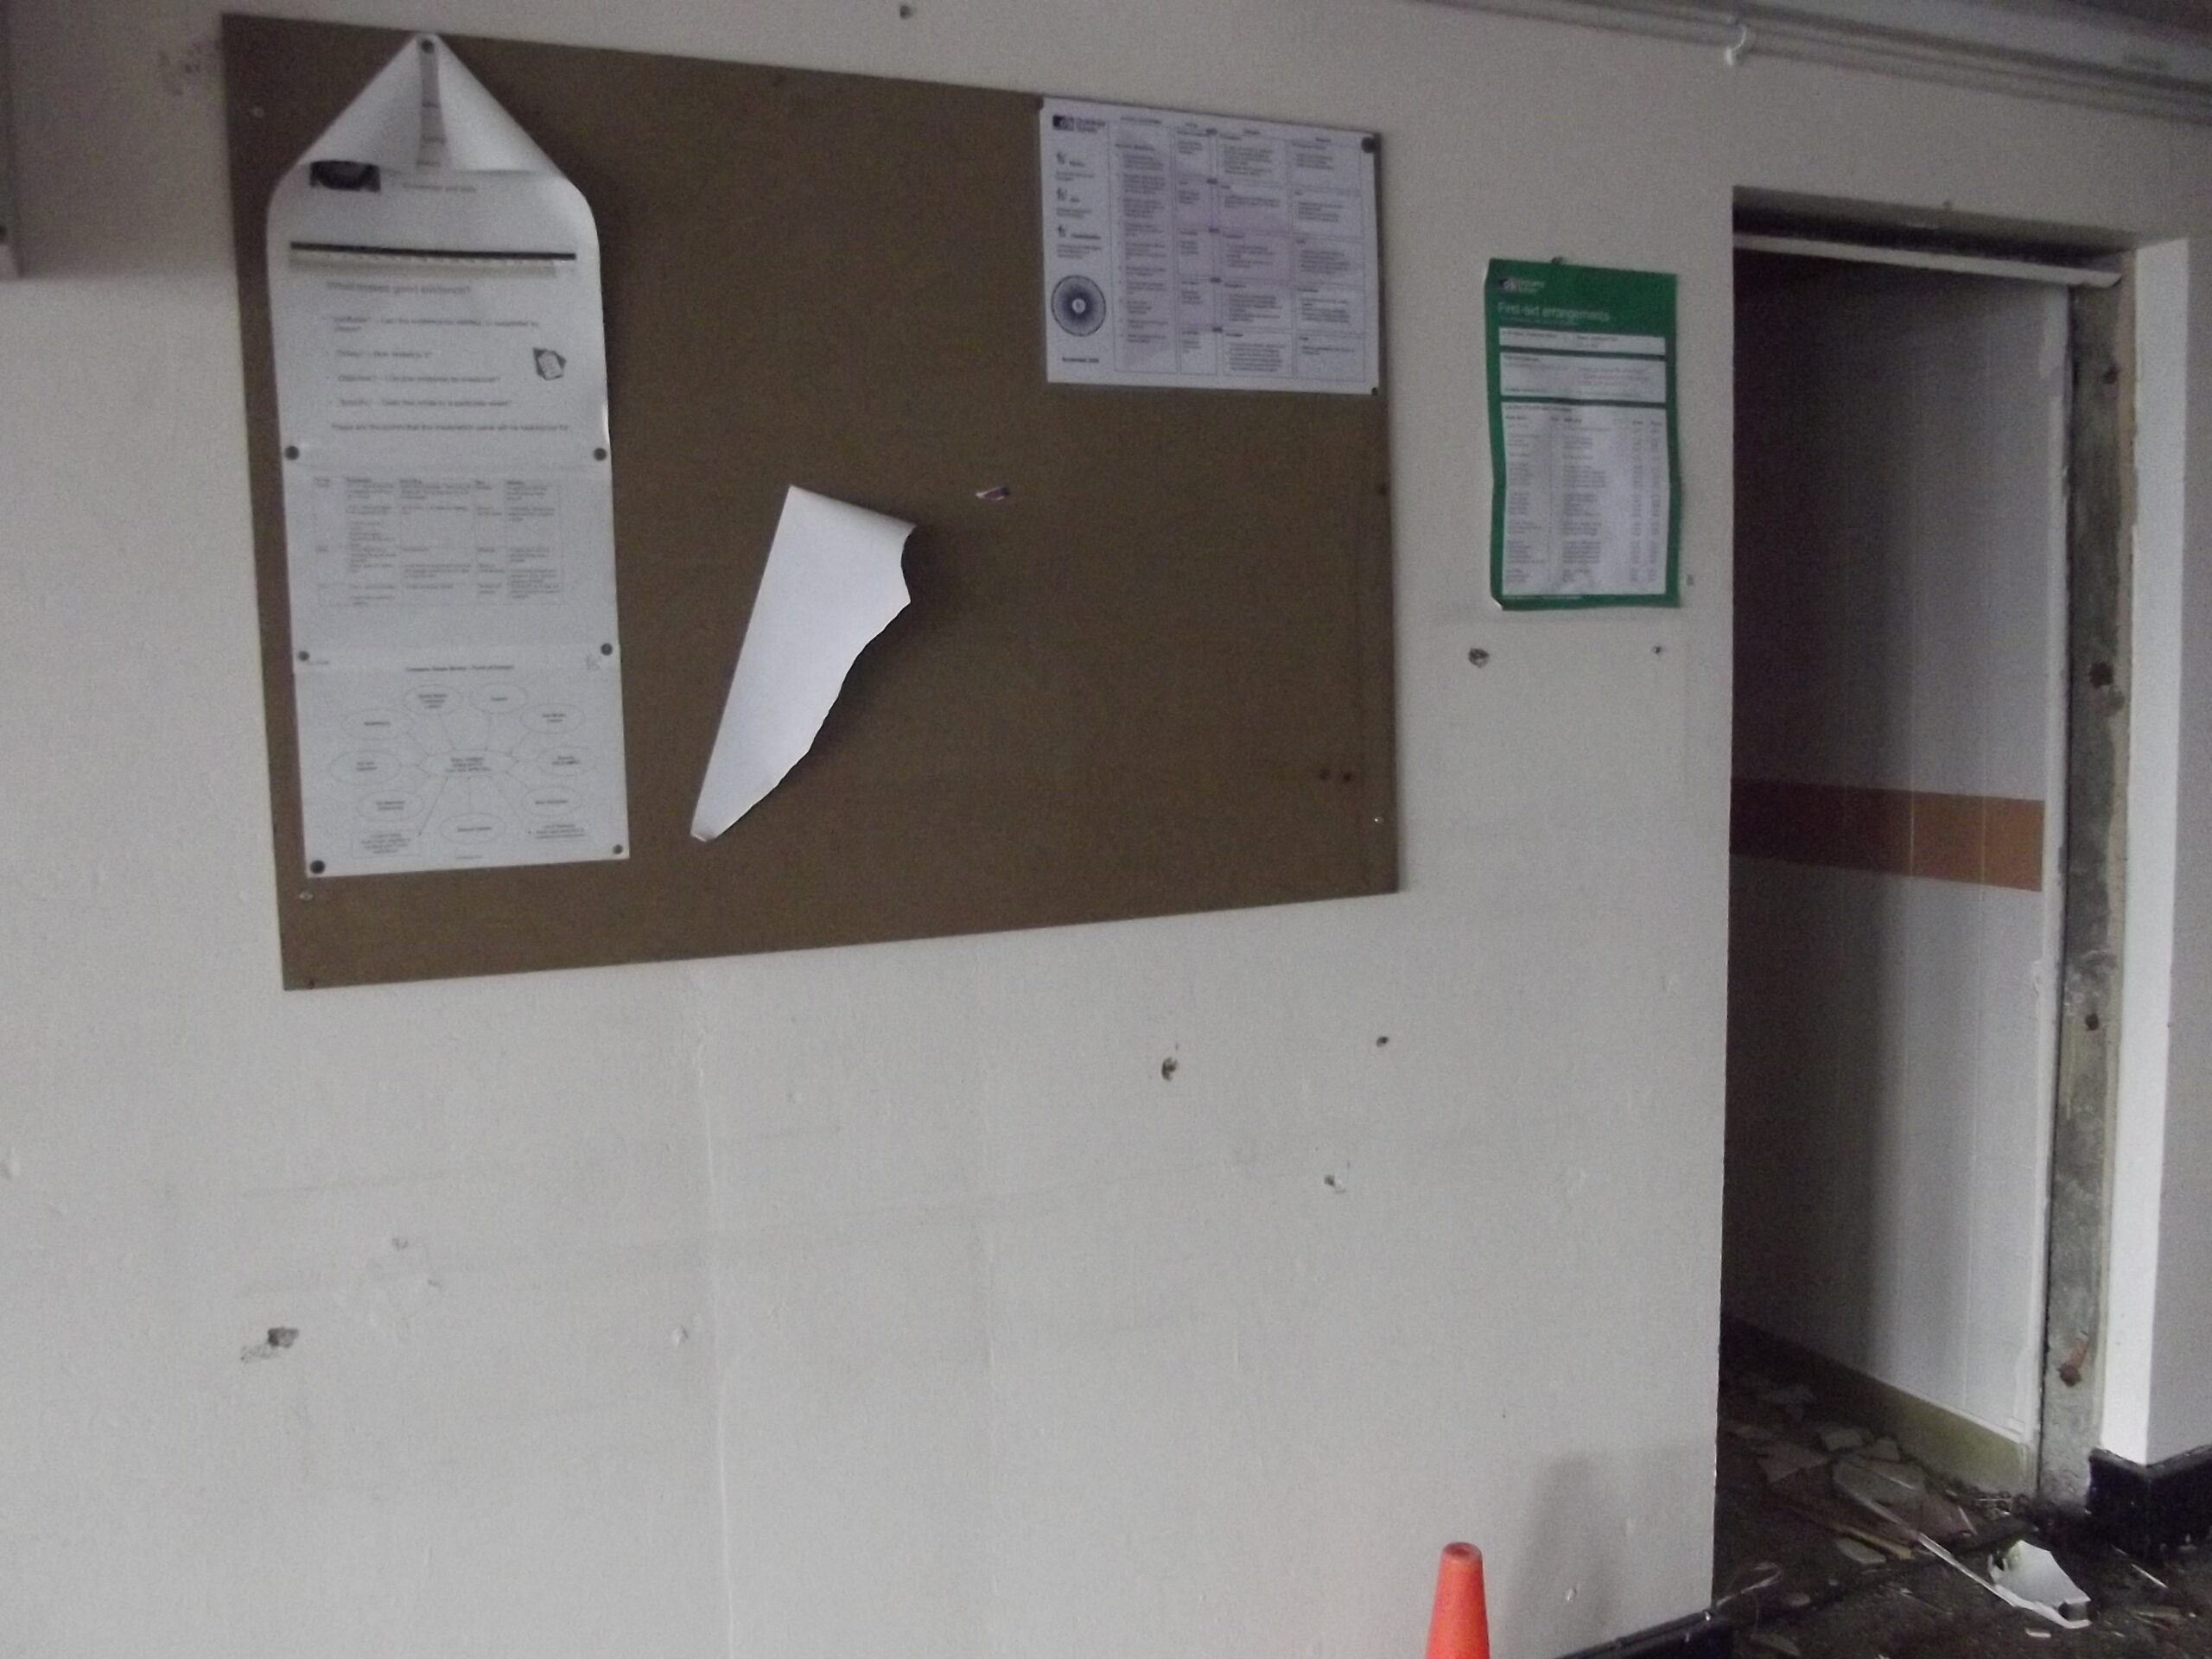
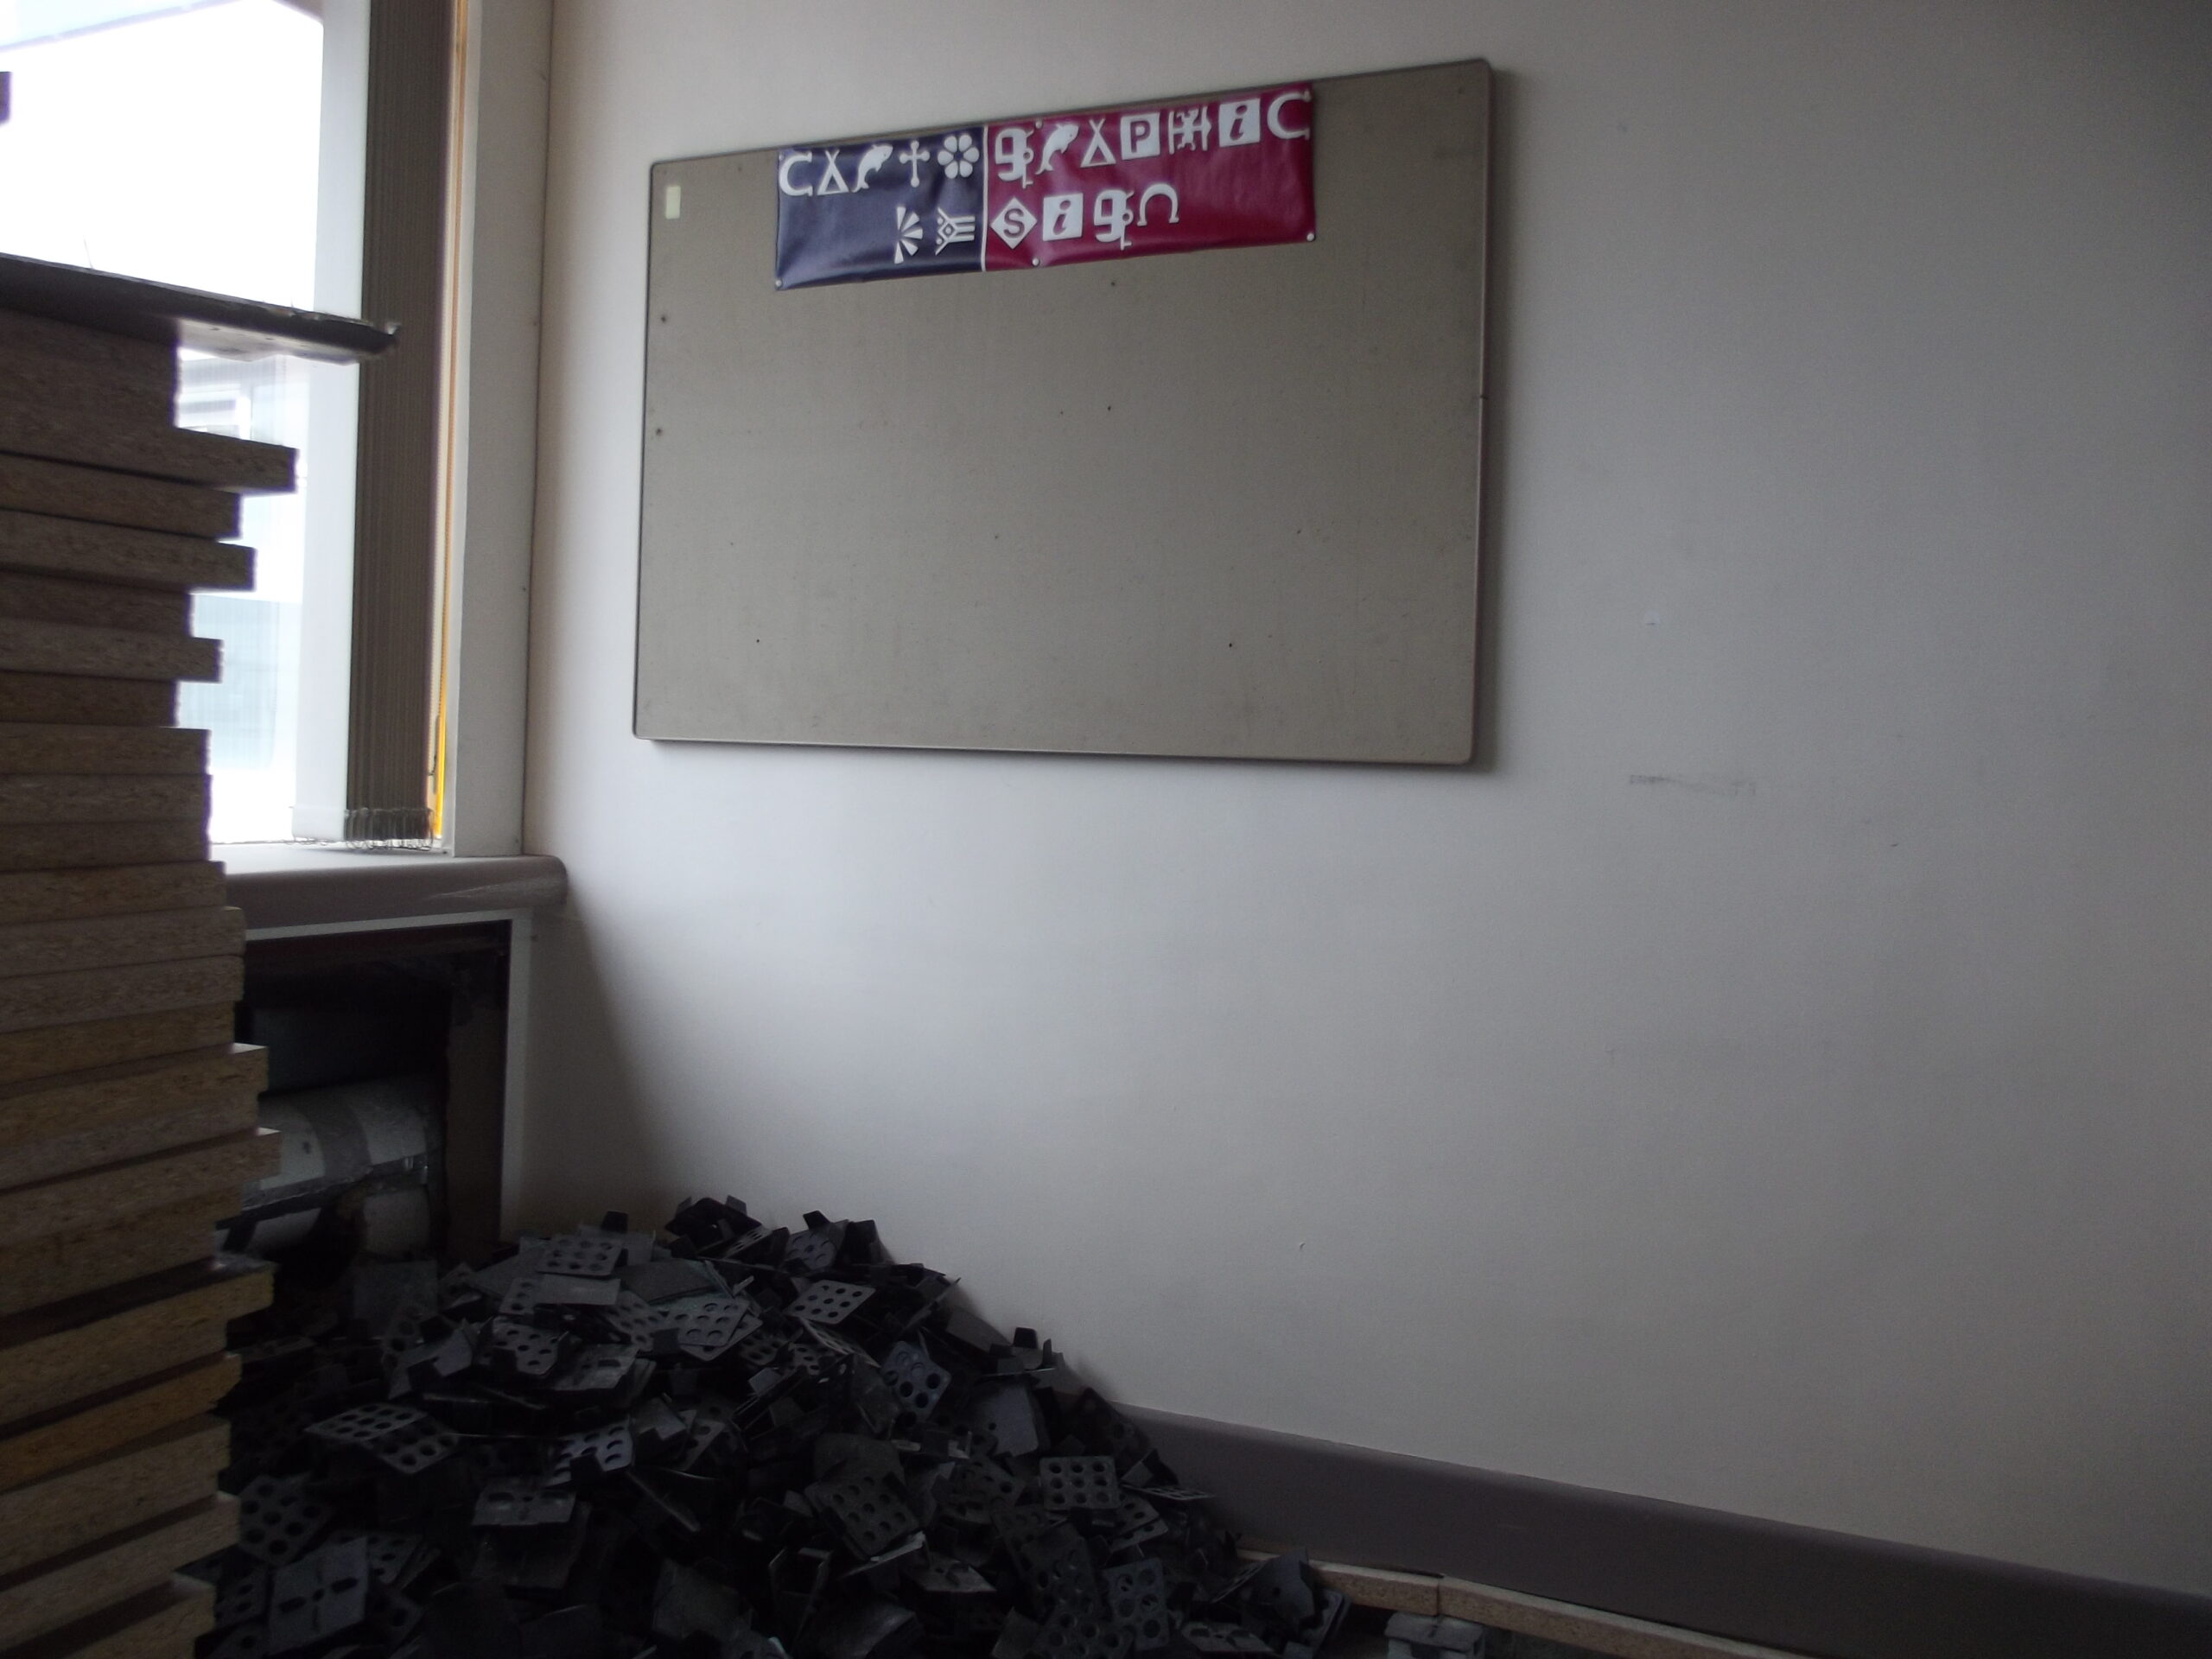
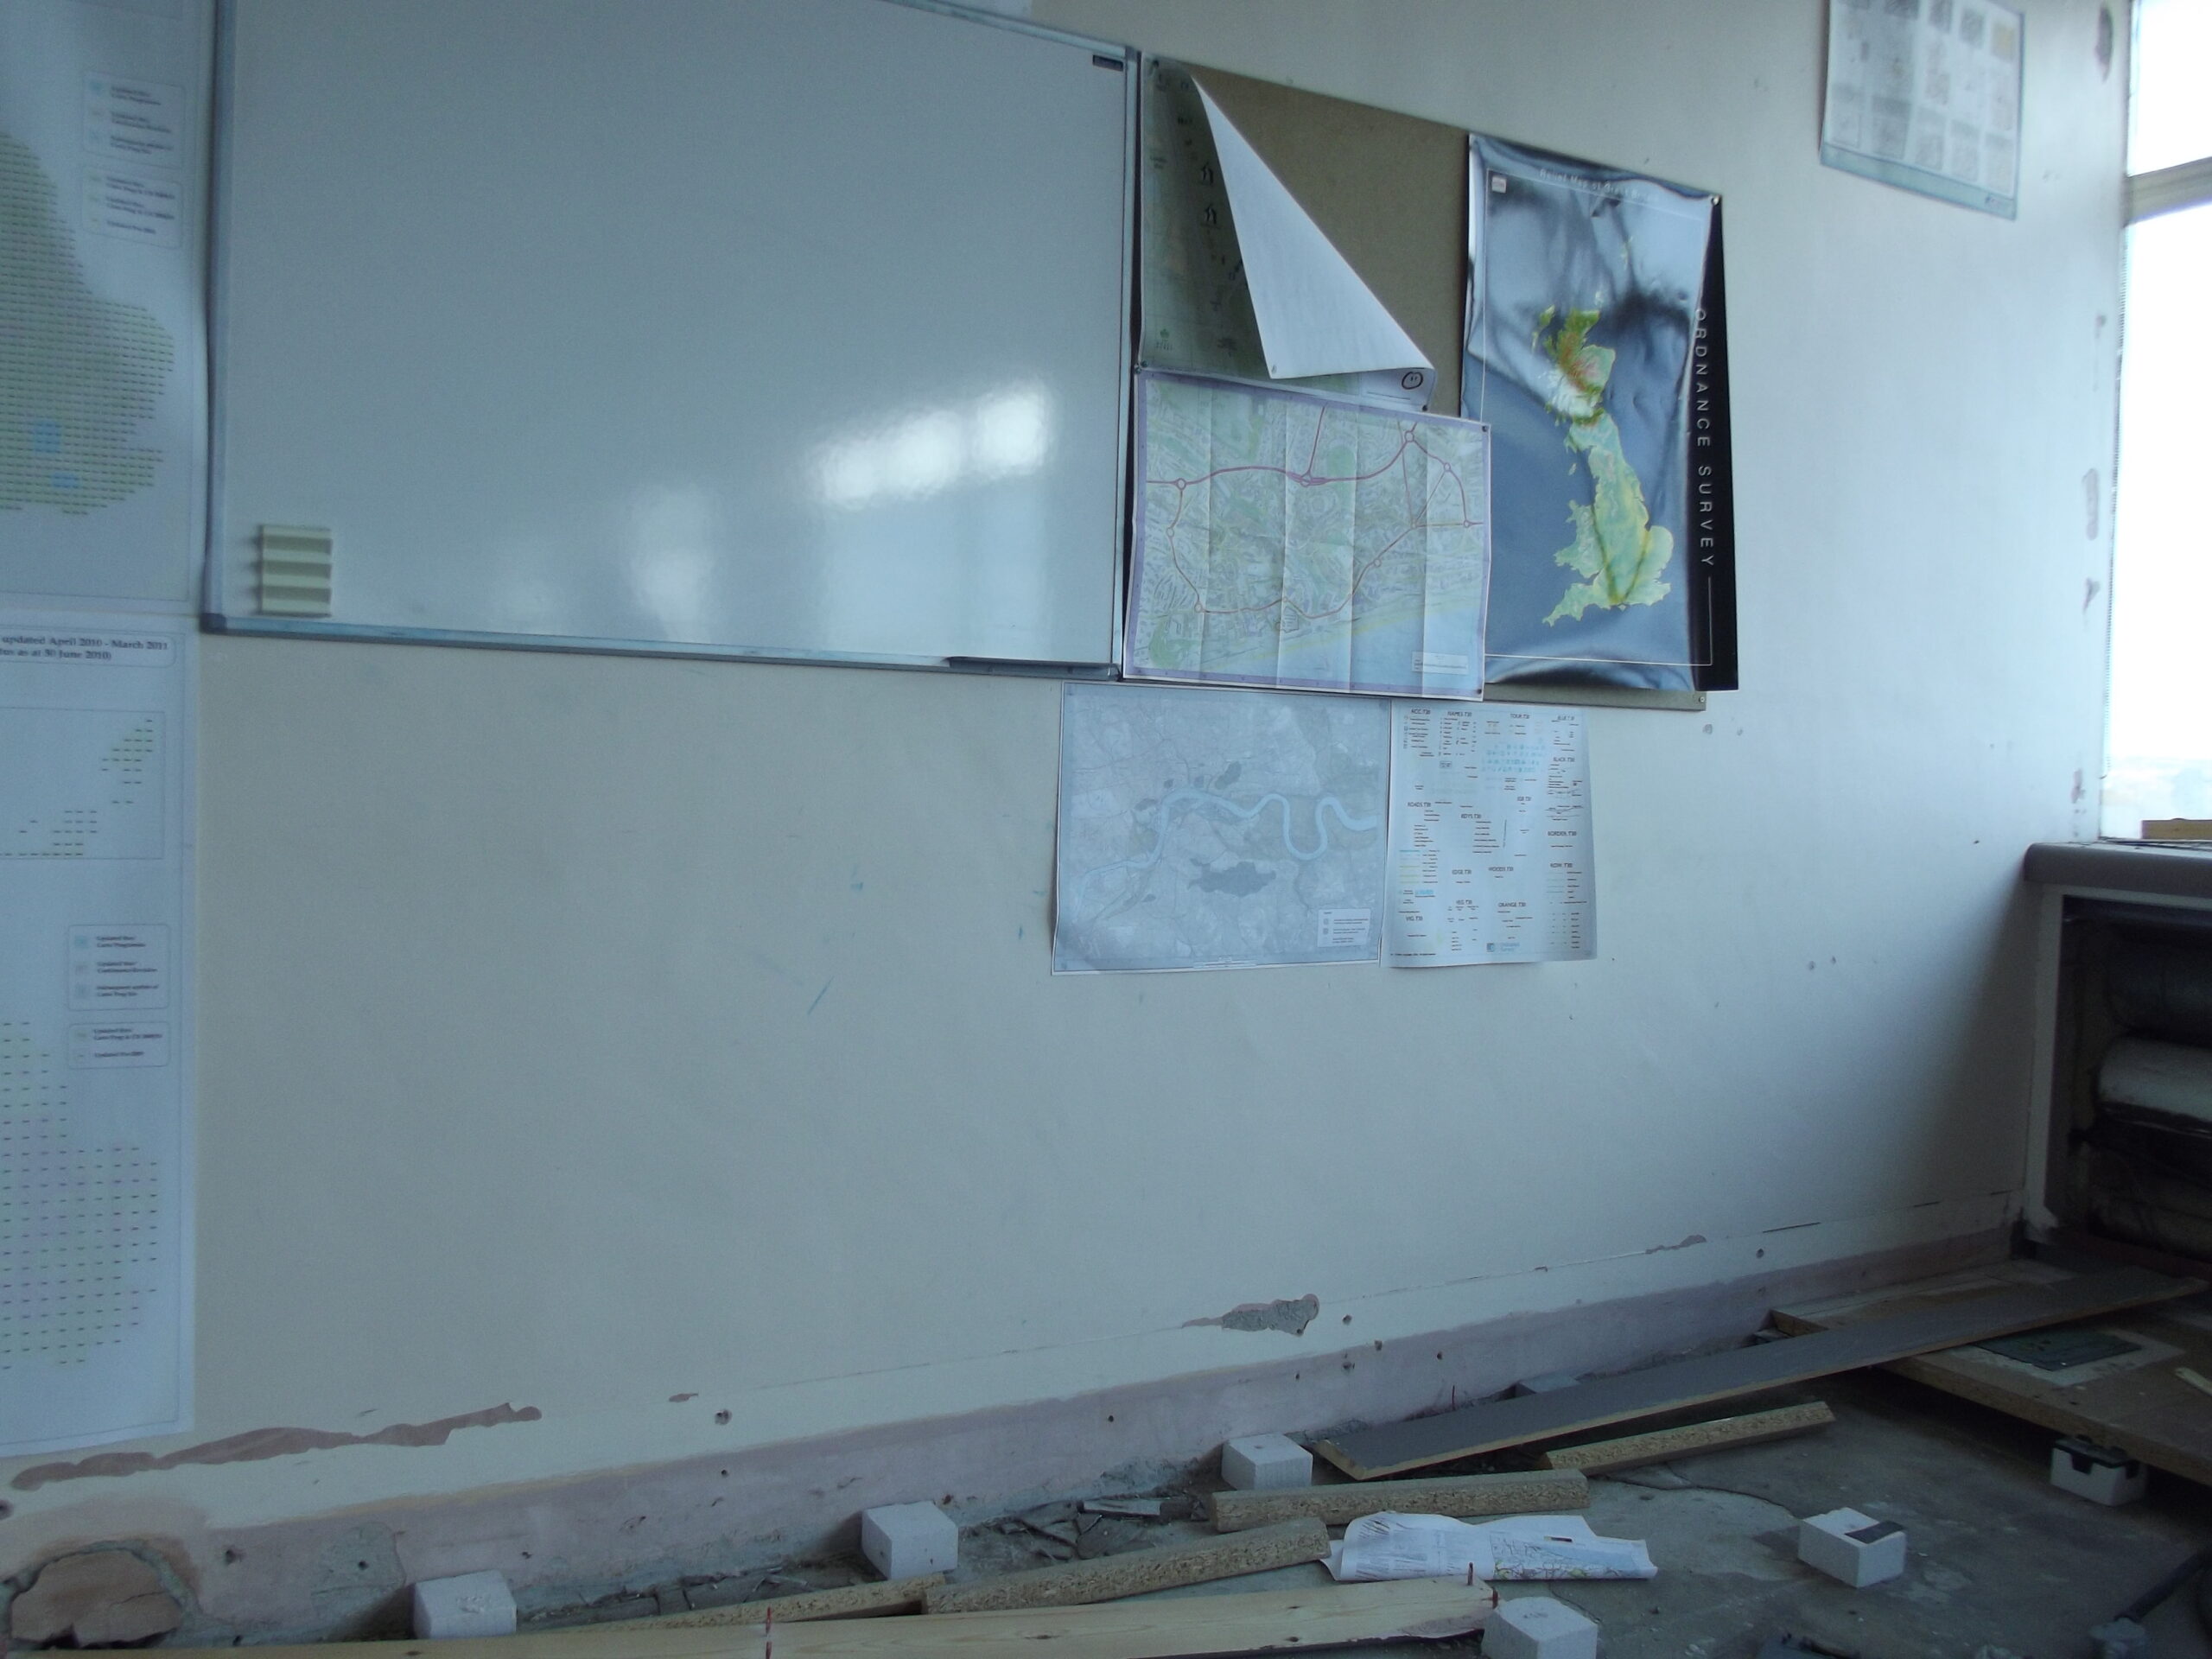
C602 in the process of internal strip-outC602 in the process of internal strip-outC602 in the process of internal strip-outVarious maps/boards at the end of C602C602 Cartographic Design noticeboardVarious maps/boards at the end of C602C602 in the process of internal strip-outC602 in the process of internal strip-outC602 in the process of internal strip-outC602 in the process of internal strip-outC602 in the process of internal strip-outC602 in the process of internal strip-outC602 in the process of internal strip-out. The plastic tubing came from the specialist asbestos ventilation unit as E core 5th and 6th floor lift lobbies were sealed off for for asbestos removal; obviously the Urbex team gave these areas a wide berth!C602 in the process of internal strip-out
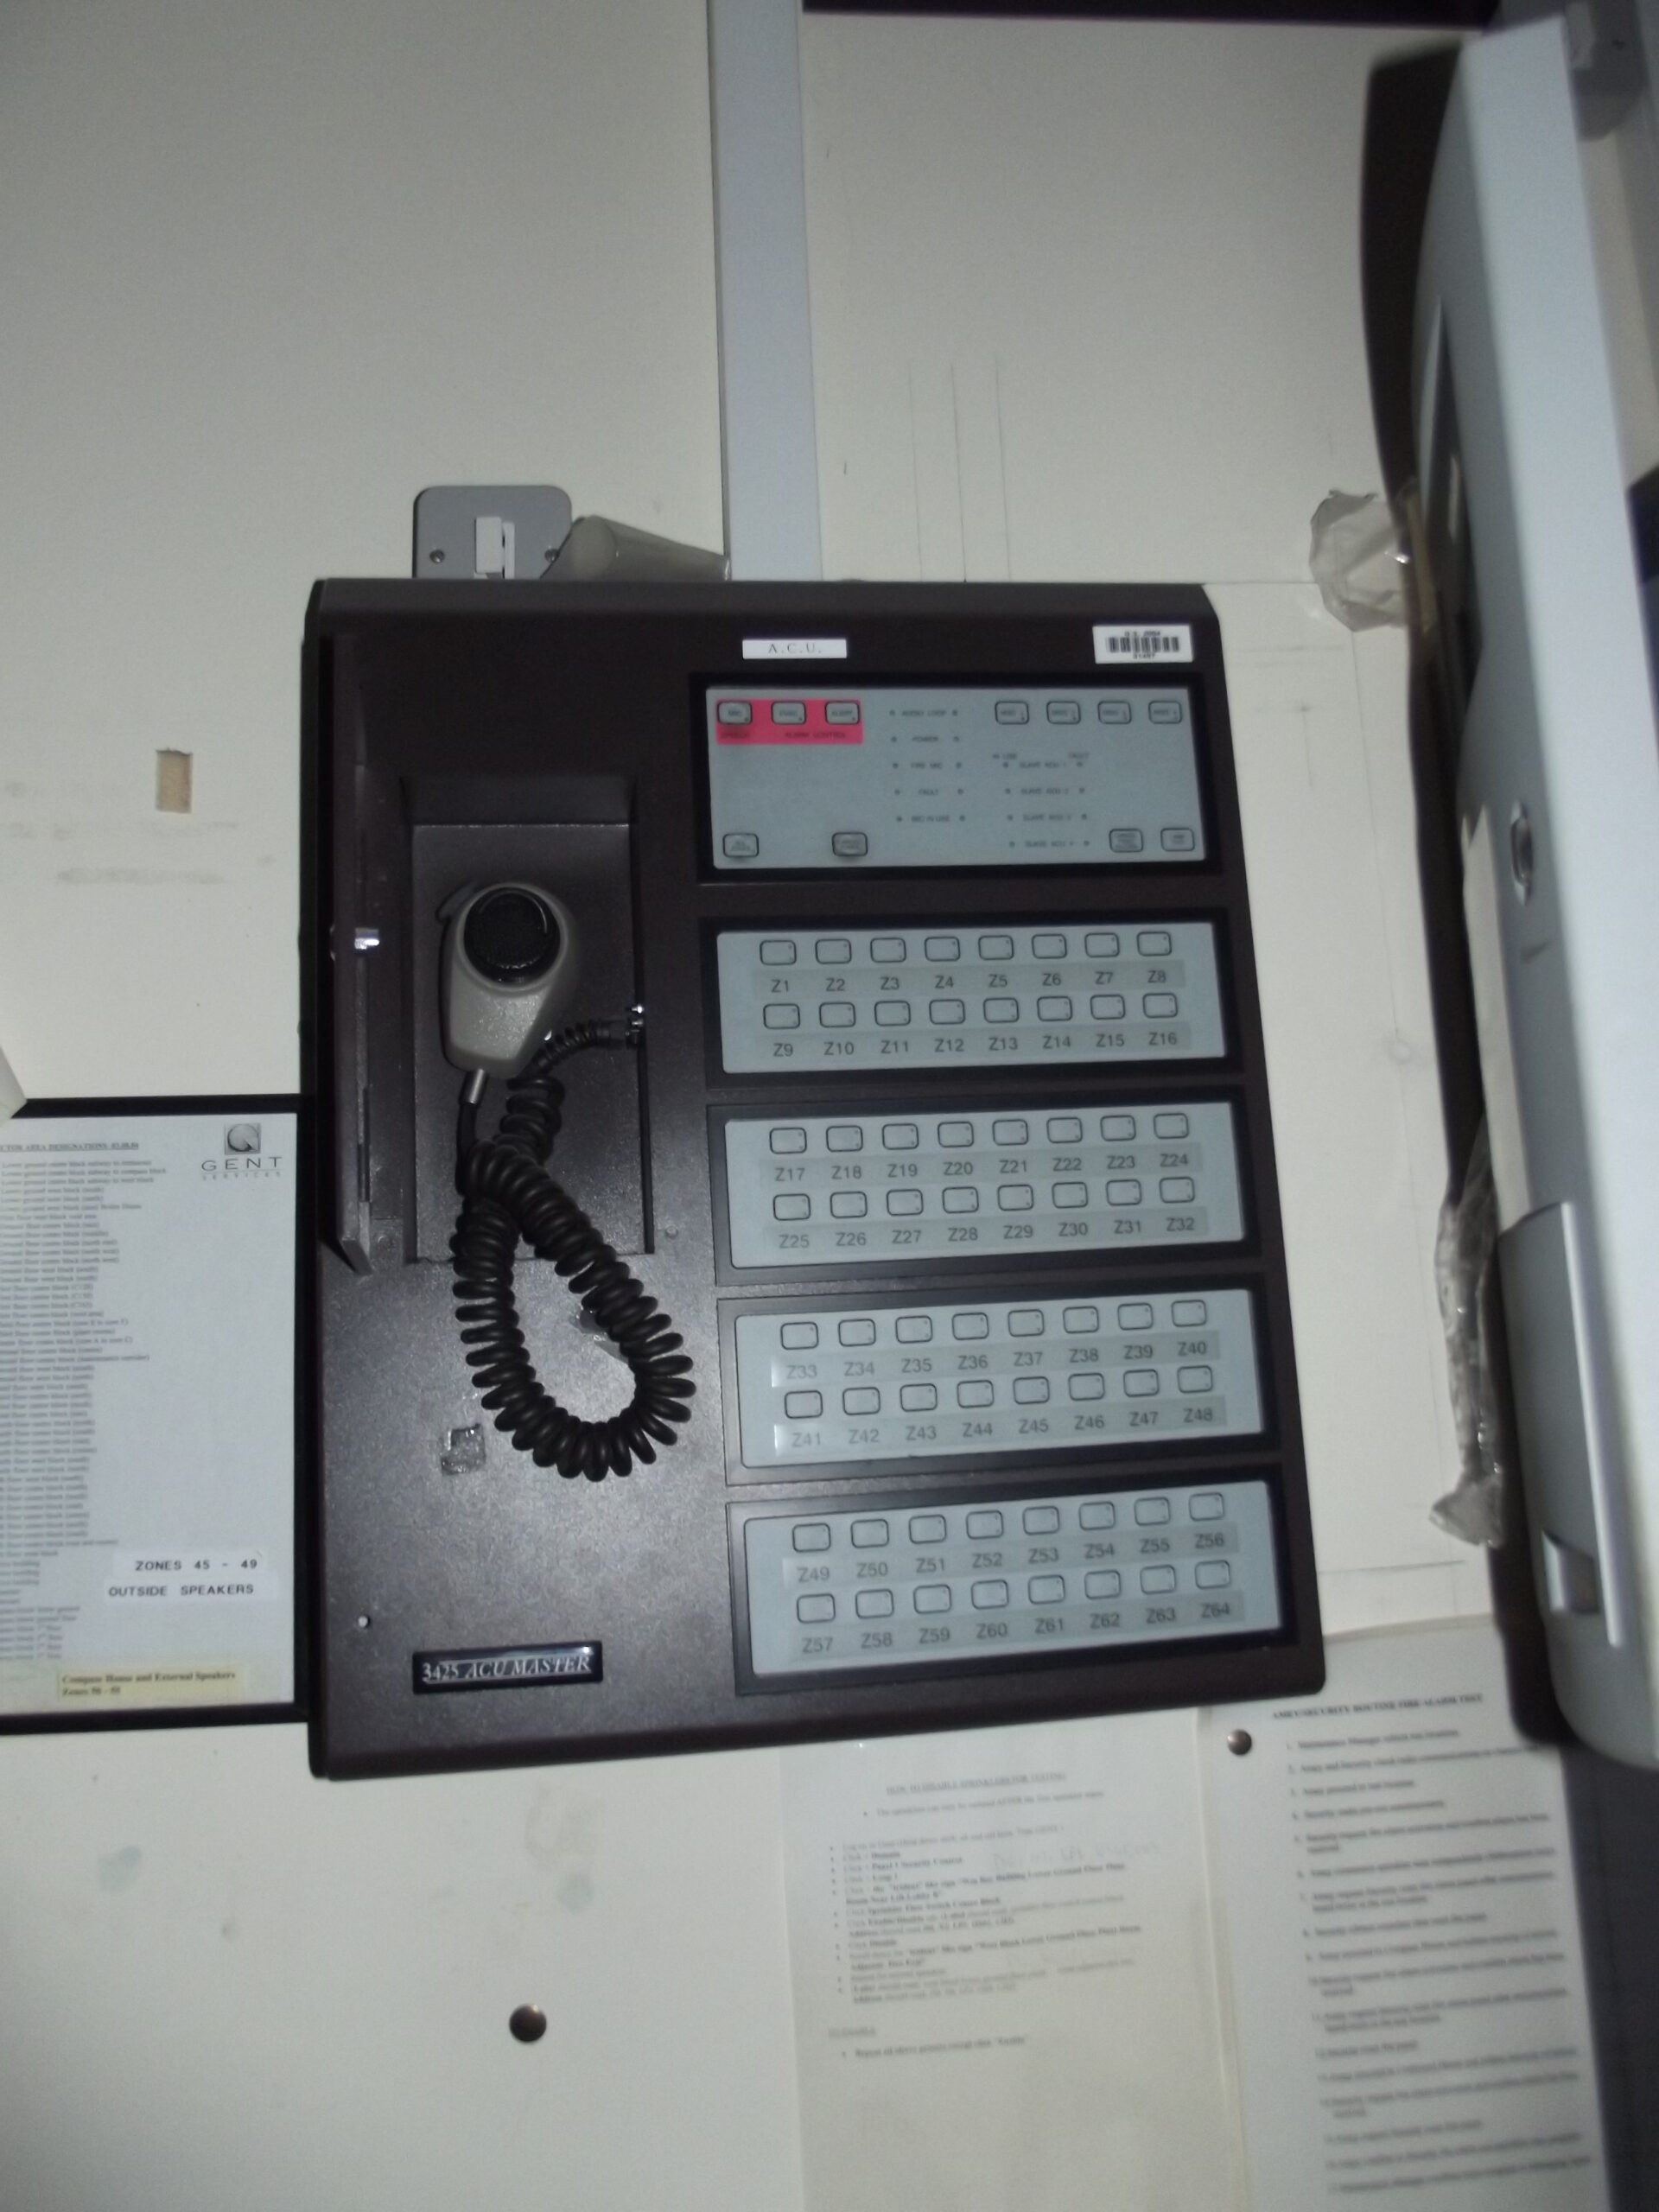
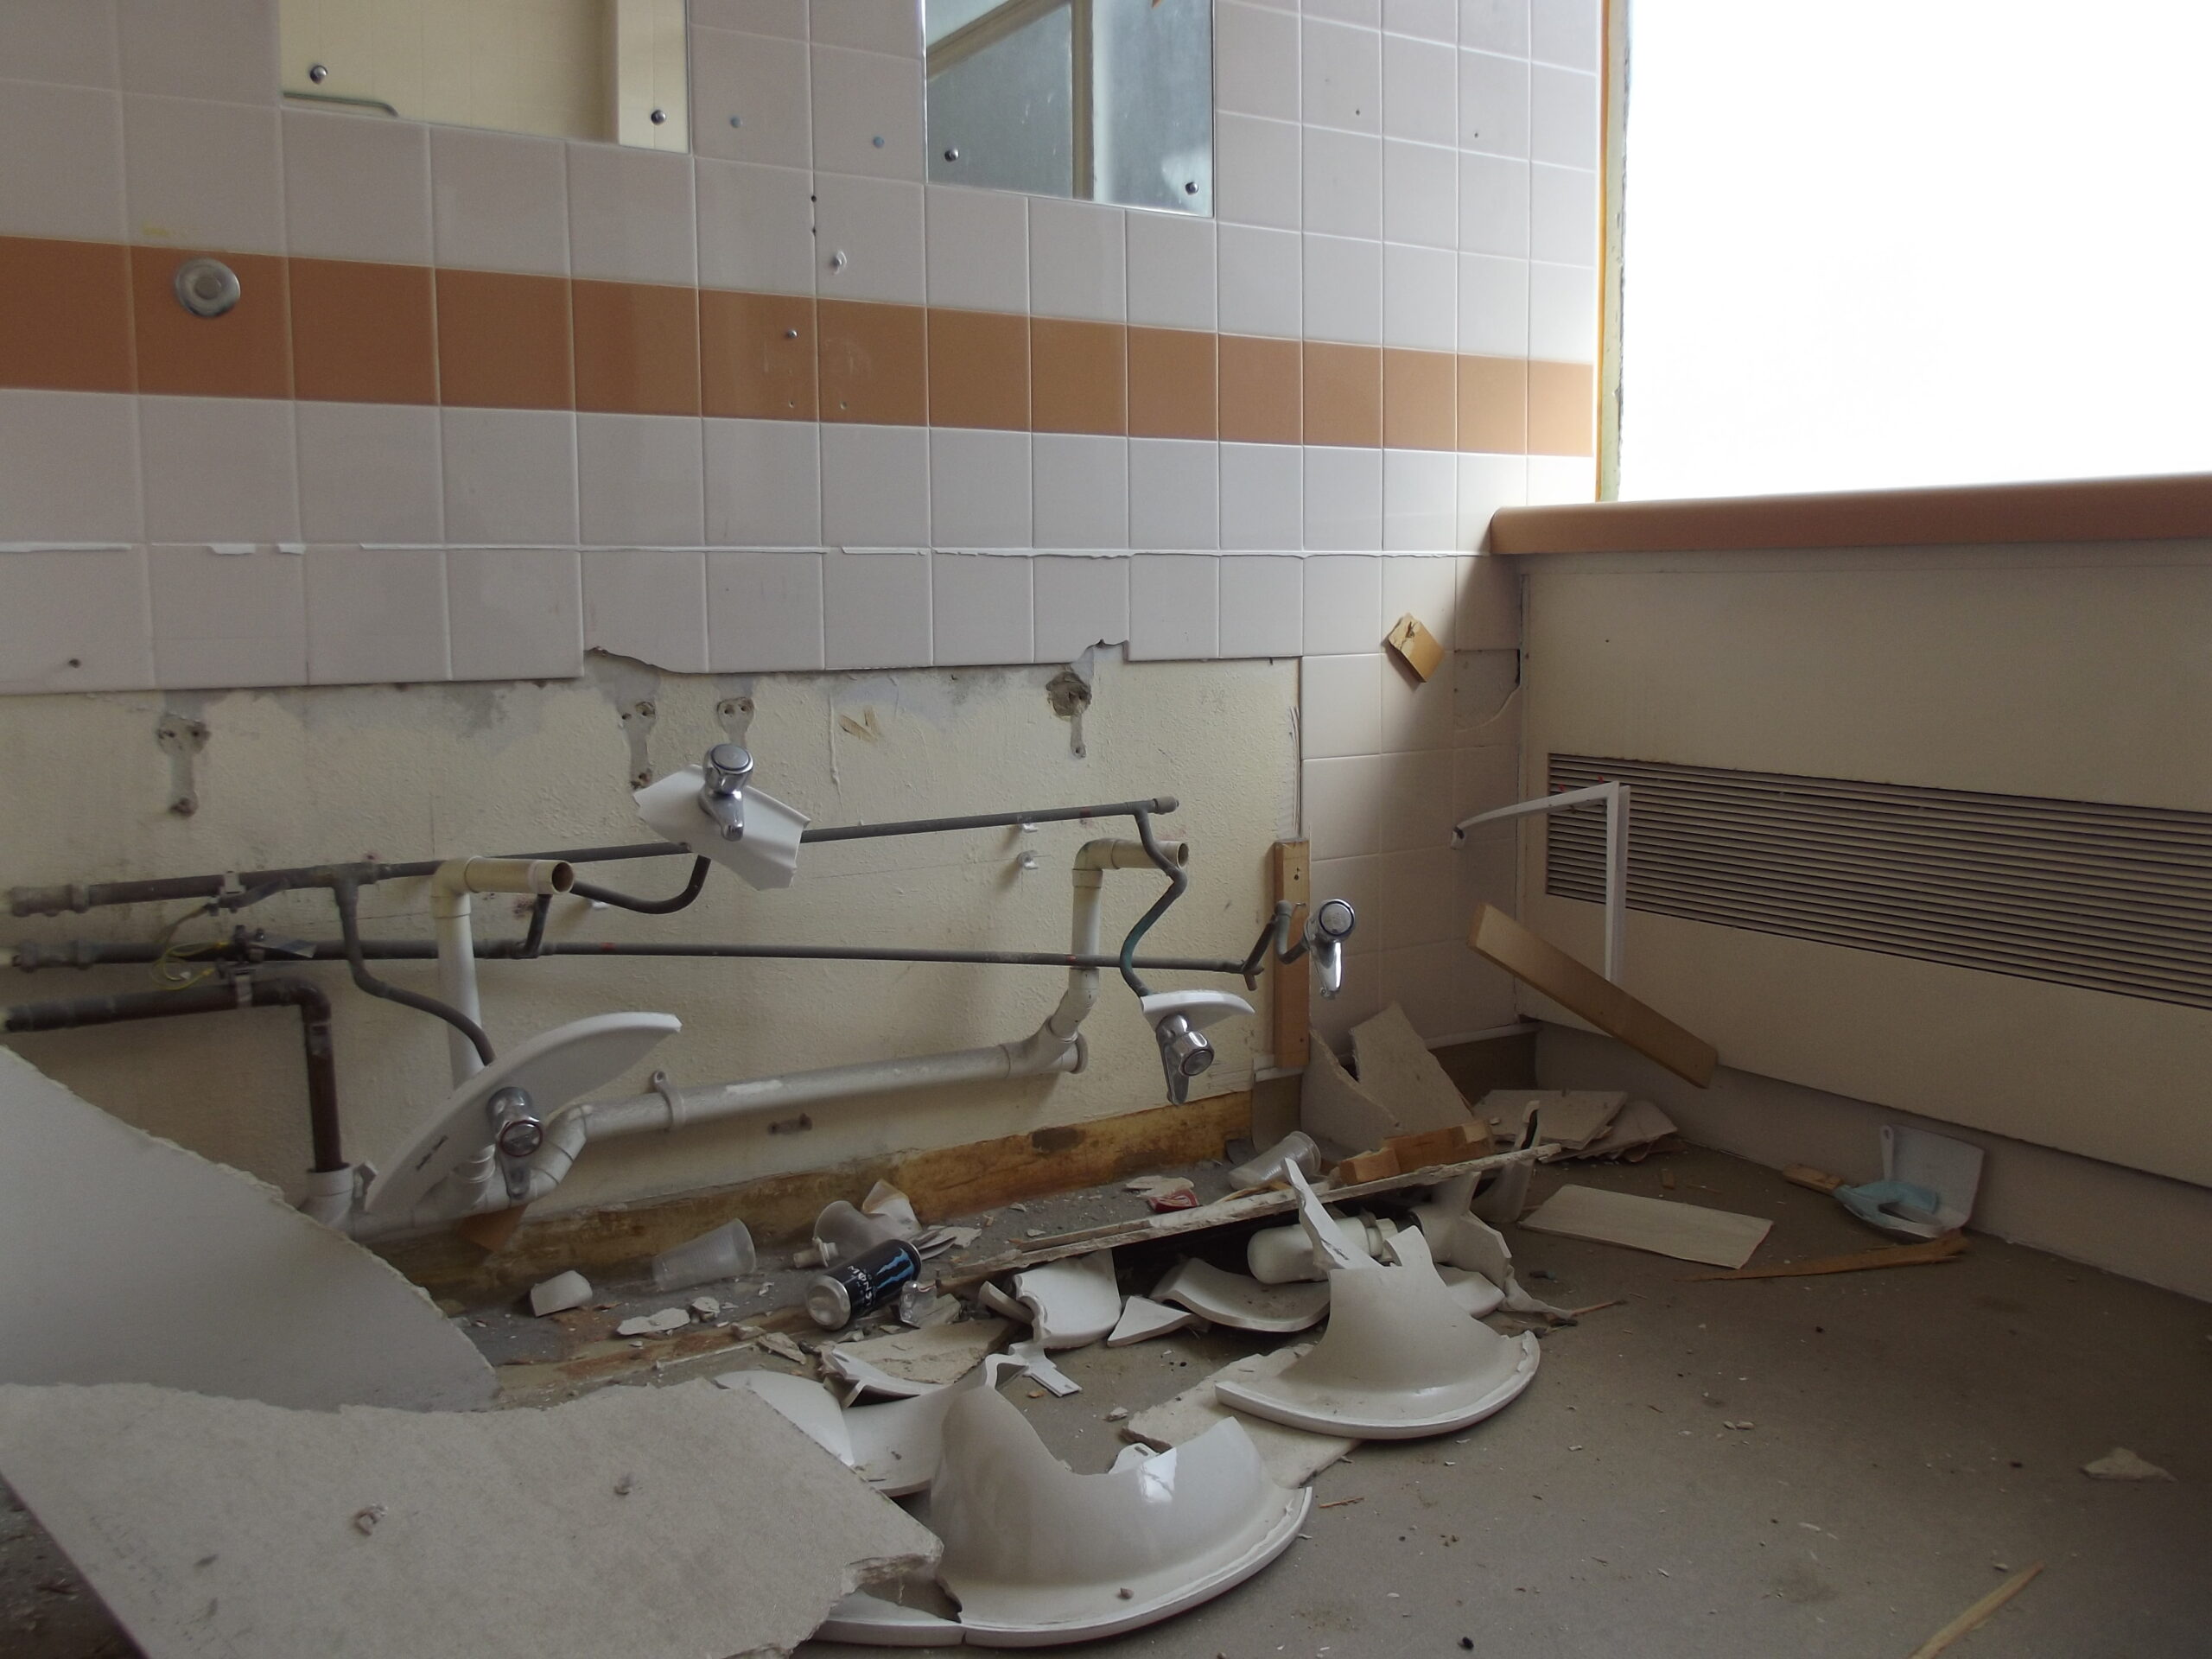
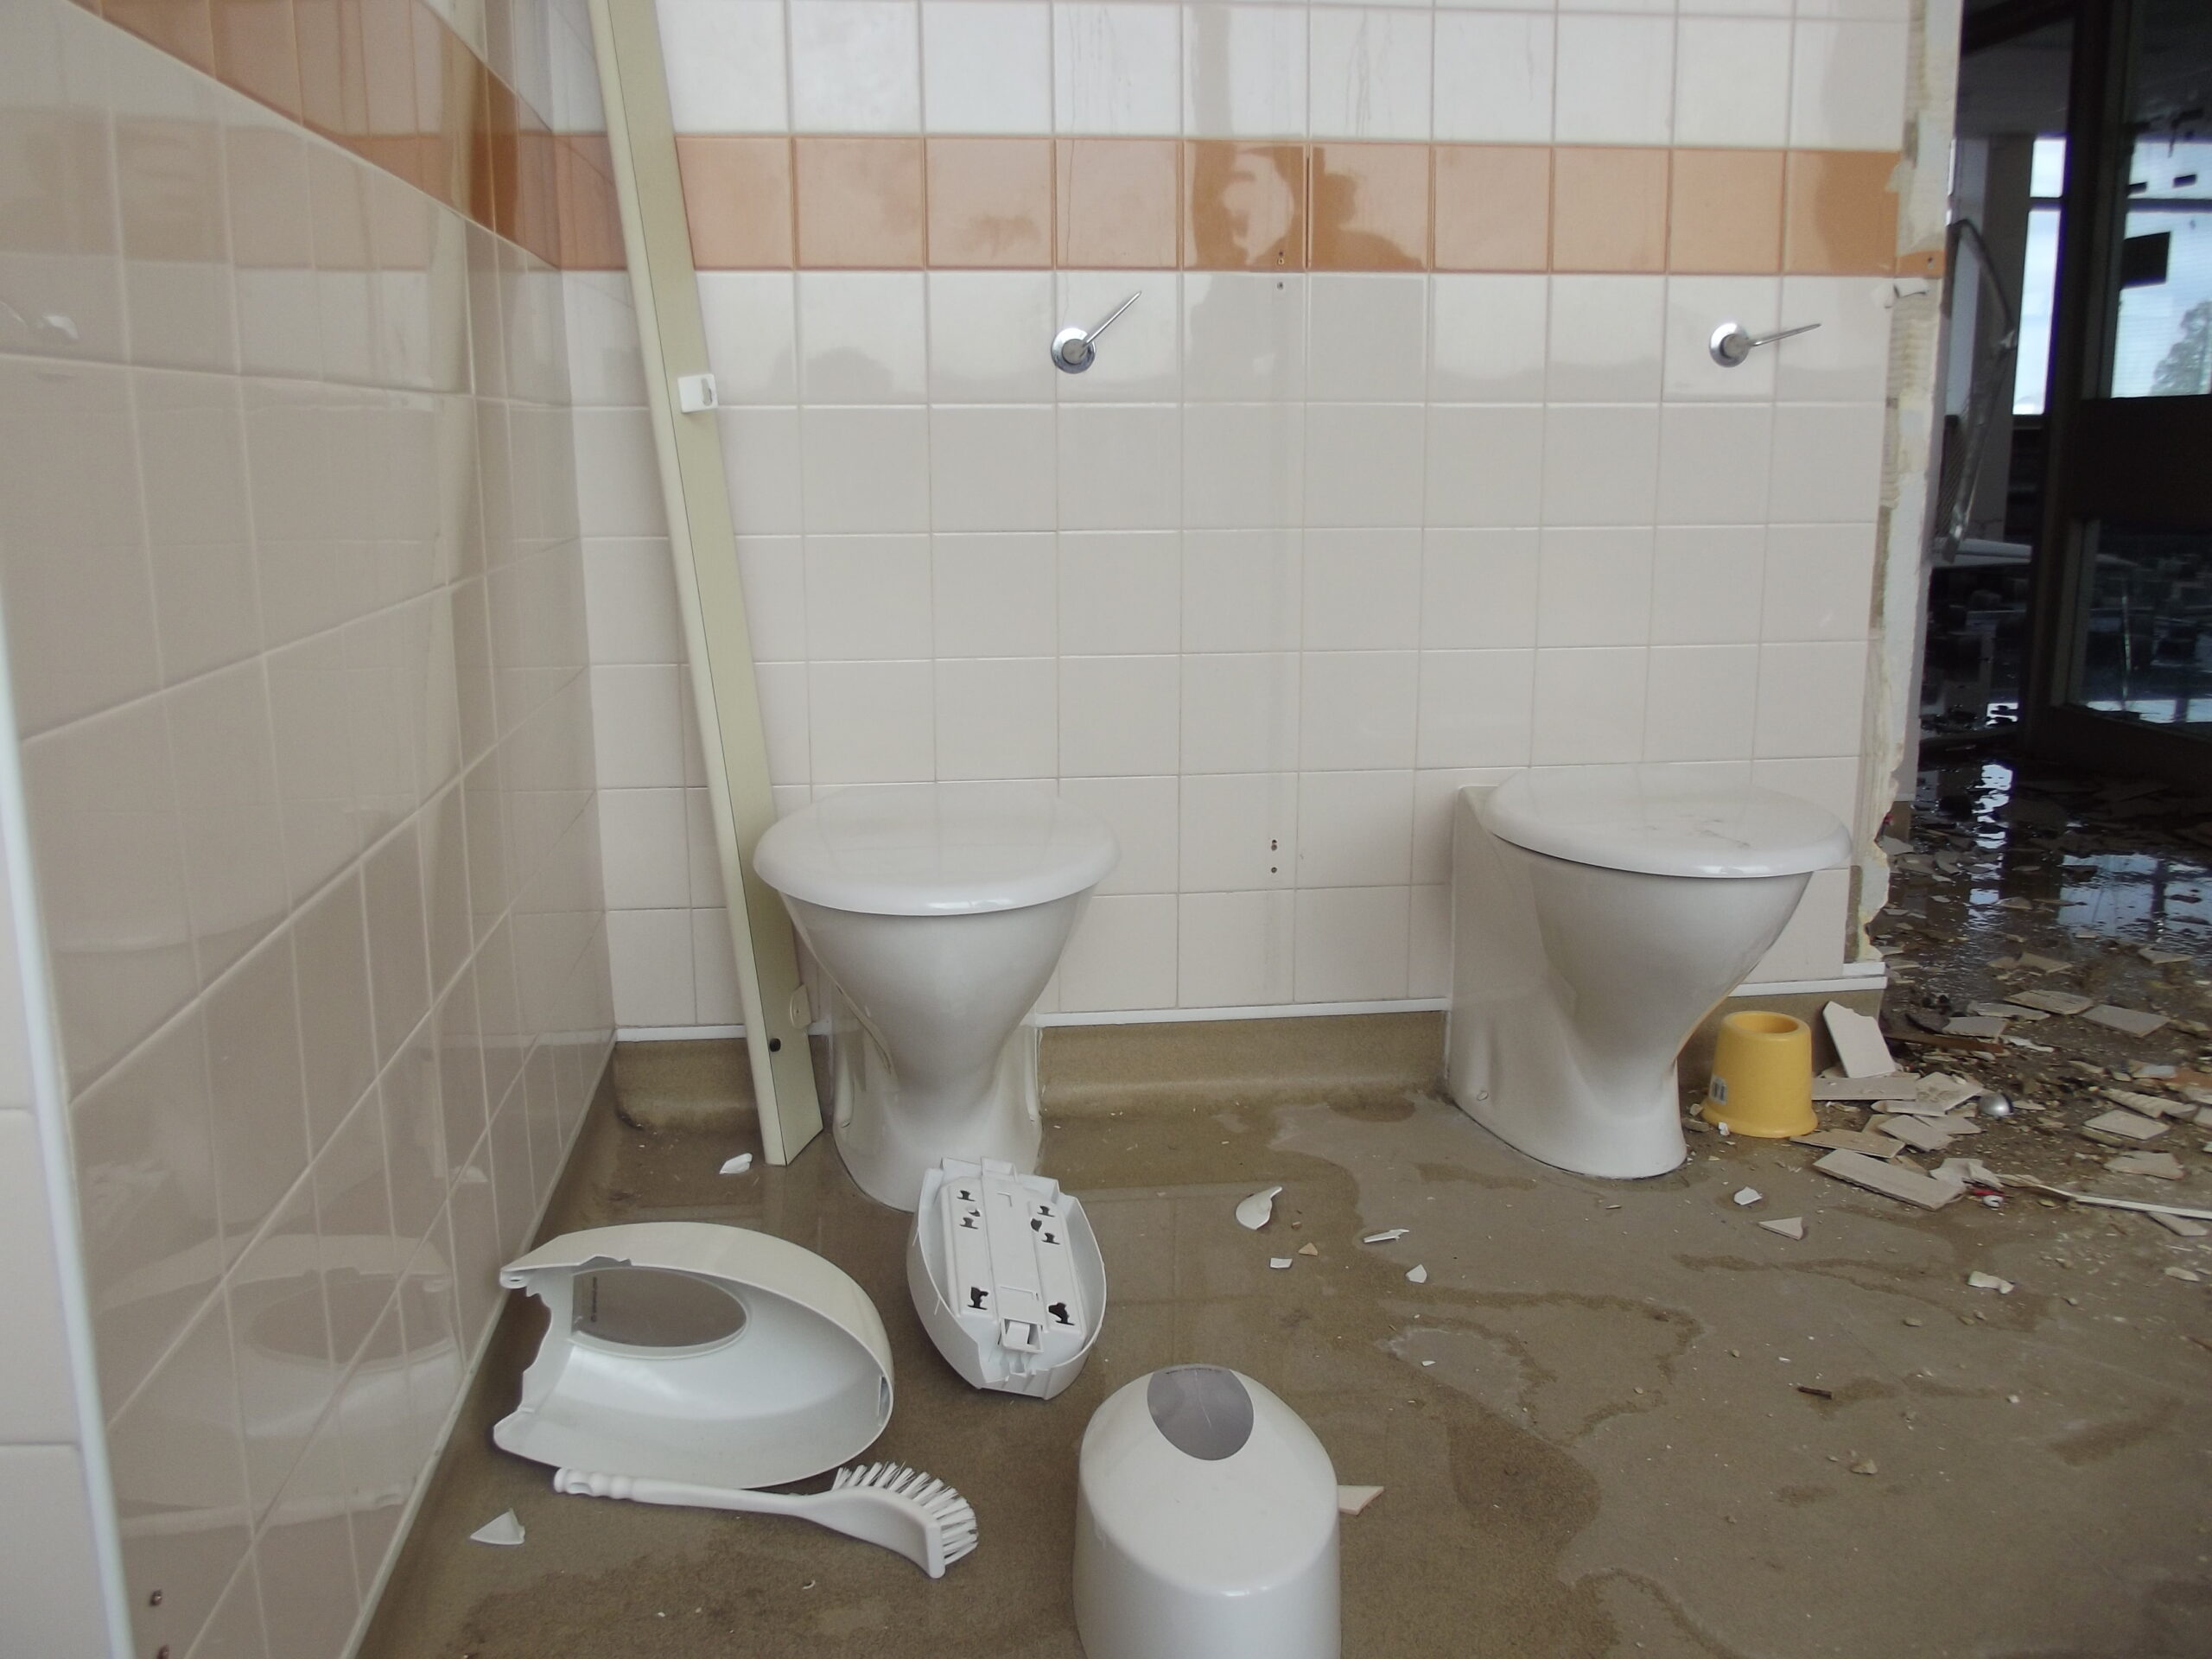
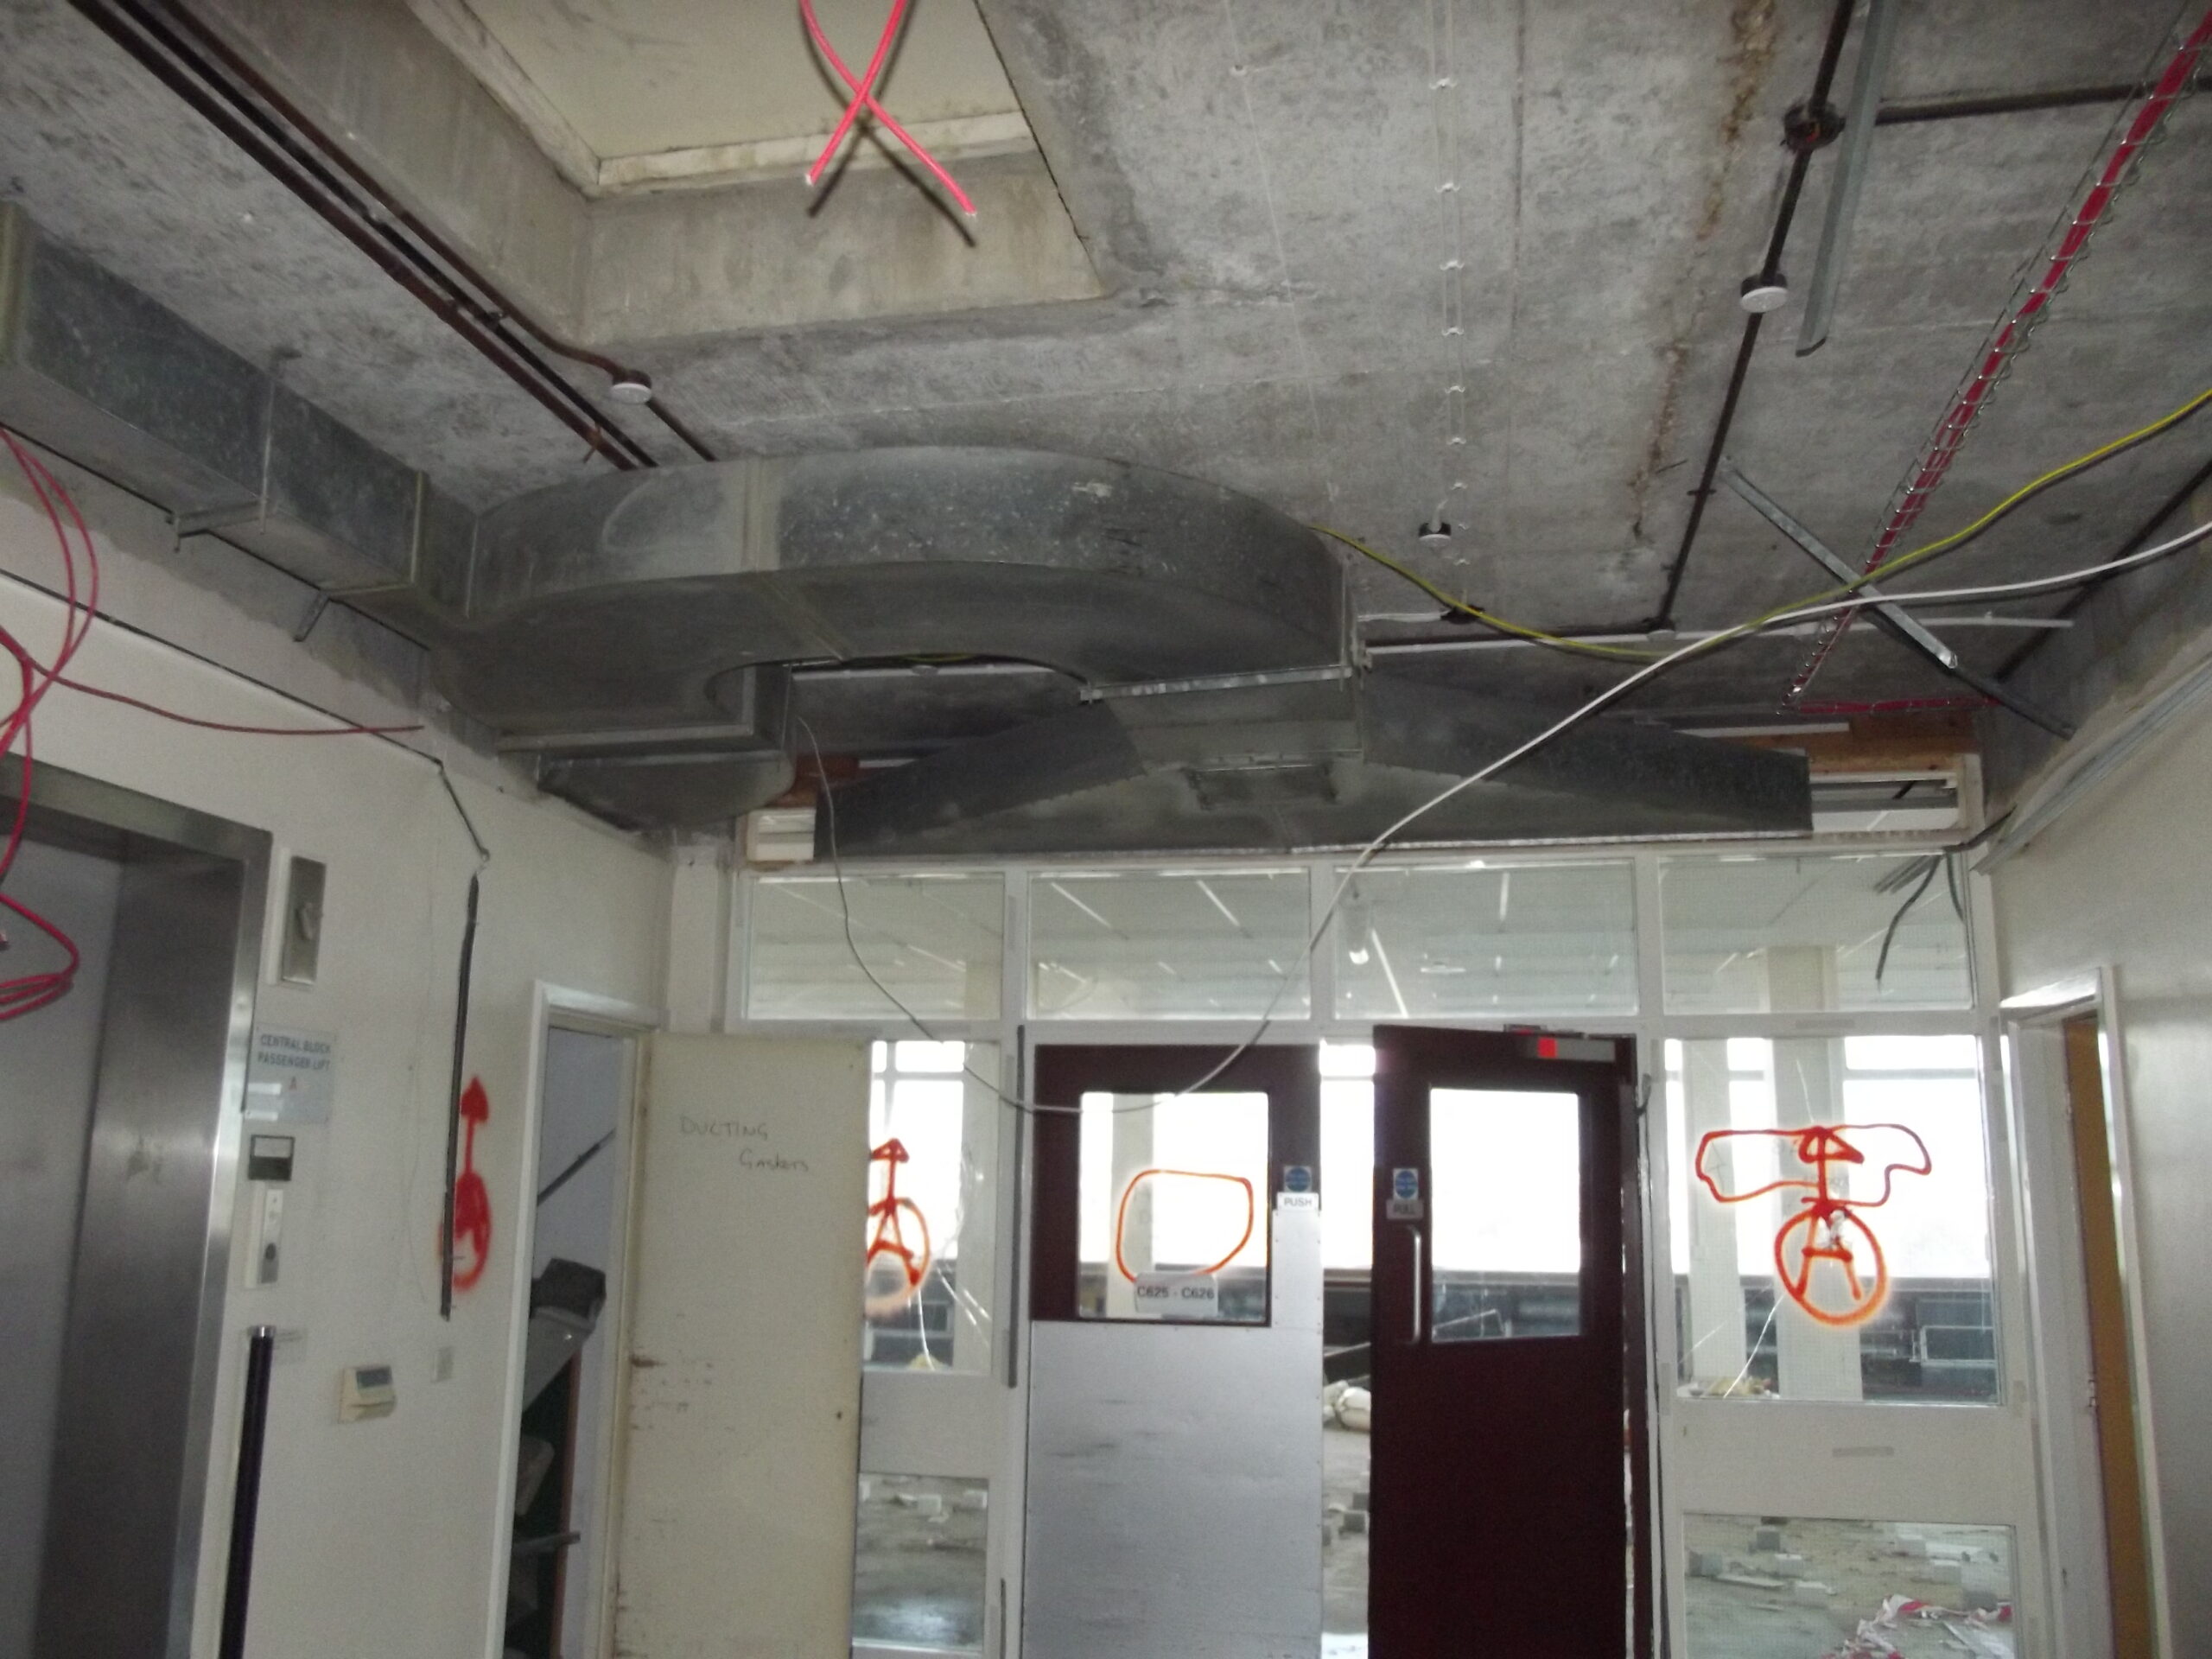
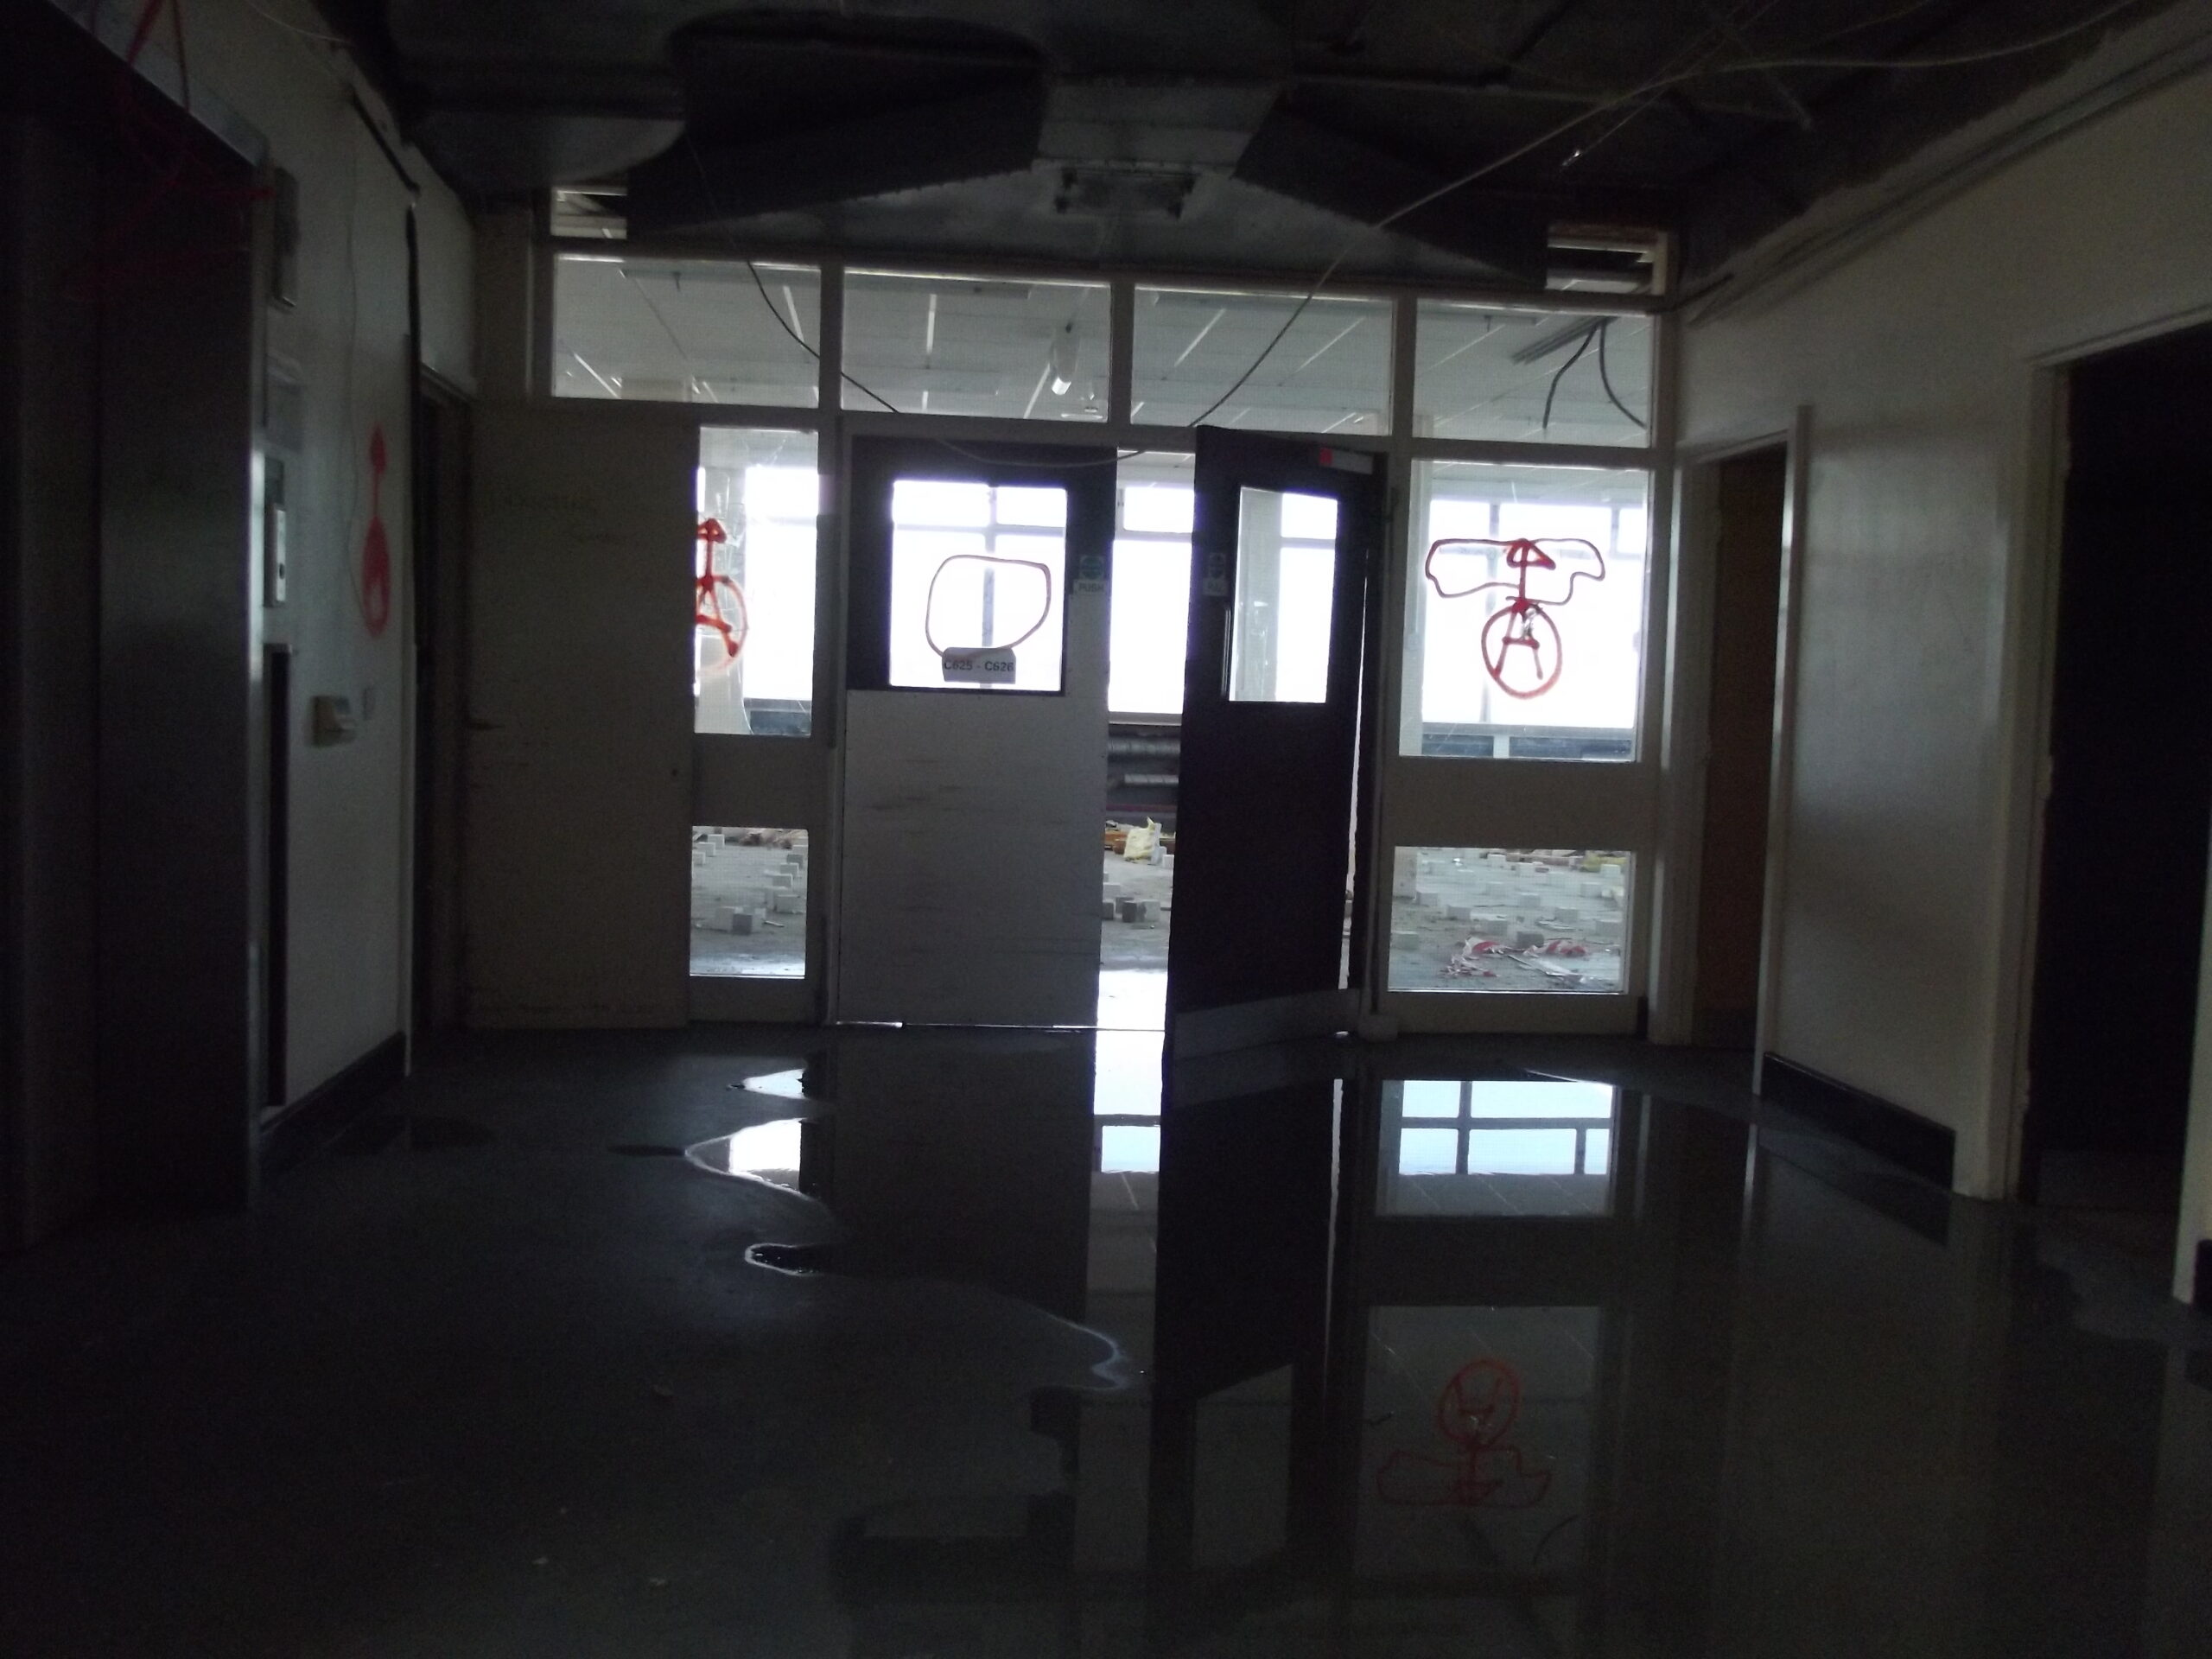
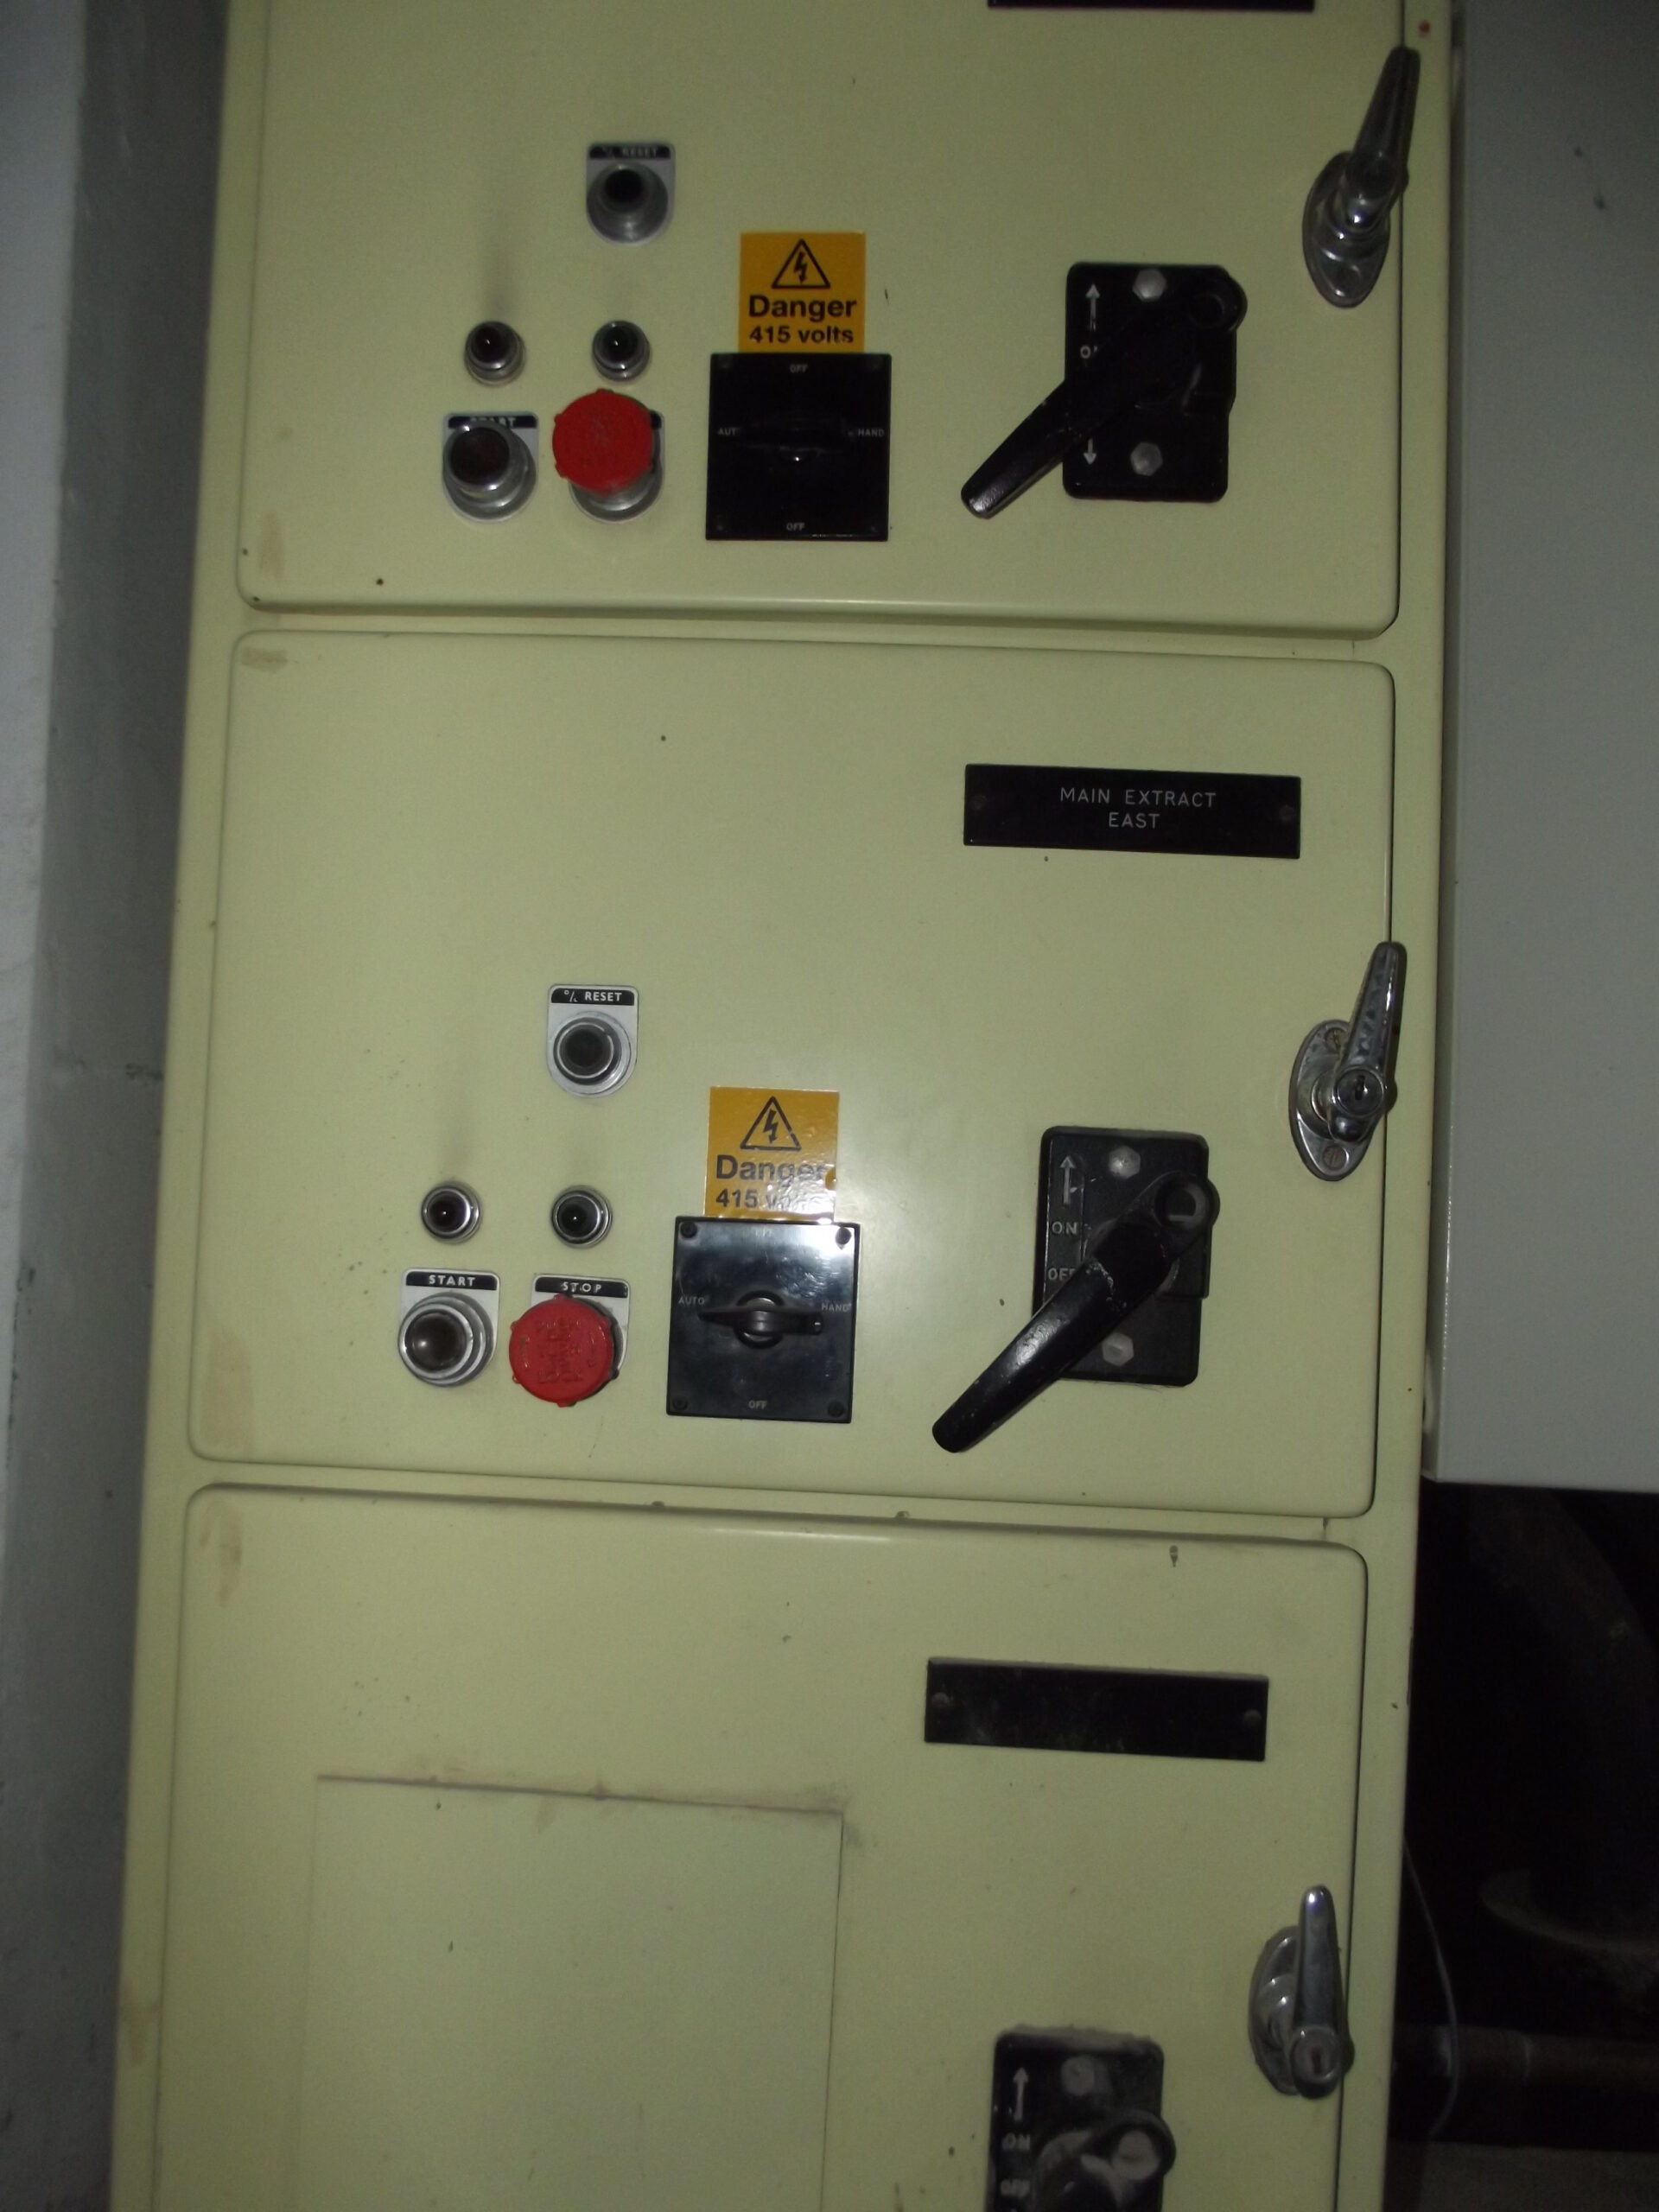
*captionA Core (I think) Riser plant room, 6th floor6th floor A Core lift lobby. The asbestos seems to have been above the metal false ceilings or the bulkheads above the ceilings between the lobbies and offices but it would not have been disturbed during normal use of the building. It has here been carefully removed by specialists who were in the process of doing this at E core 5th/6th floors. The metal air ducts can be seen here and also a trap door to the lift motor room (only needed for moving heavy equipment into there).6th floor A Core lift lobby following asbestos removal6th floor A Core lift lobbyC626 in the process of internal strip-out, east cornerC626 in the process of internal strip-outC626 in the process of internal strip-out6th floor B Core lift lobbyB core lift at the 6th floor6th floor B core riser and fire alarm panelB core 6th floor toilets- B core 6th floor toilets. The police were called but said they had nothing to go on (sorry that’s a terrible old joke)!C652, kitchen by B core C652 internal strip-outC652 internal strip-outC652 internal strip-out – scrap metalC652 in the process of strip-out of metal, wood/carpet etcC652 in the process of strip-out of metal, wood/carpet etcC652 in the process of strip-out of metal, wood/carpet etcC652 in the process of strip-out of metal, wood/carpet etcThe network is down! C652C652 showing convection heaterC652 showing convection heater and air duct/pipes6th floor K core lobby facing into C6586th floor K core lobby – entrance to toilets.6th floor K Core lobby and C652 Facing towards the former B-C spur from C652C658 after being stripped of metal, wood and carpet.C658 after being stripped of metal, wood and carpet.6th floor F Core6th floor F Core, C660
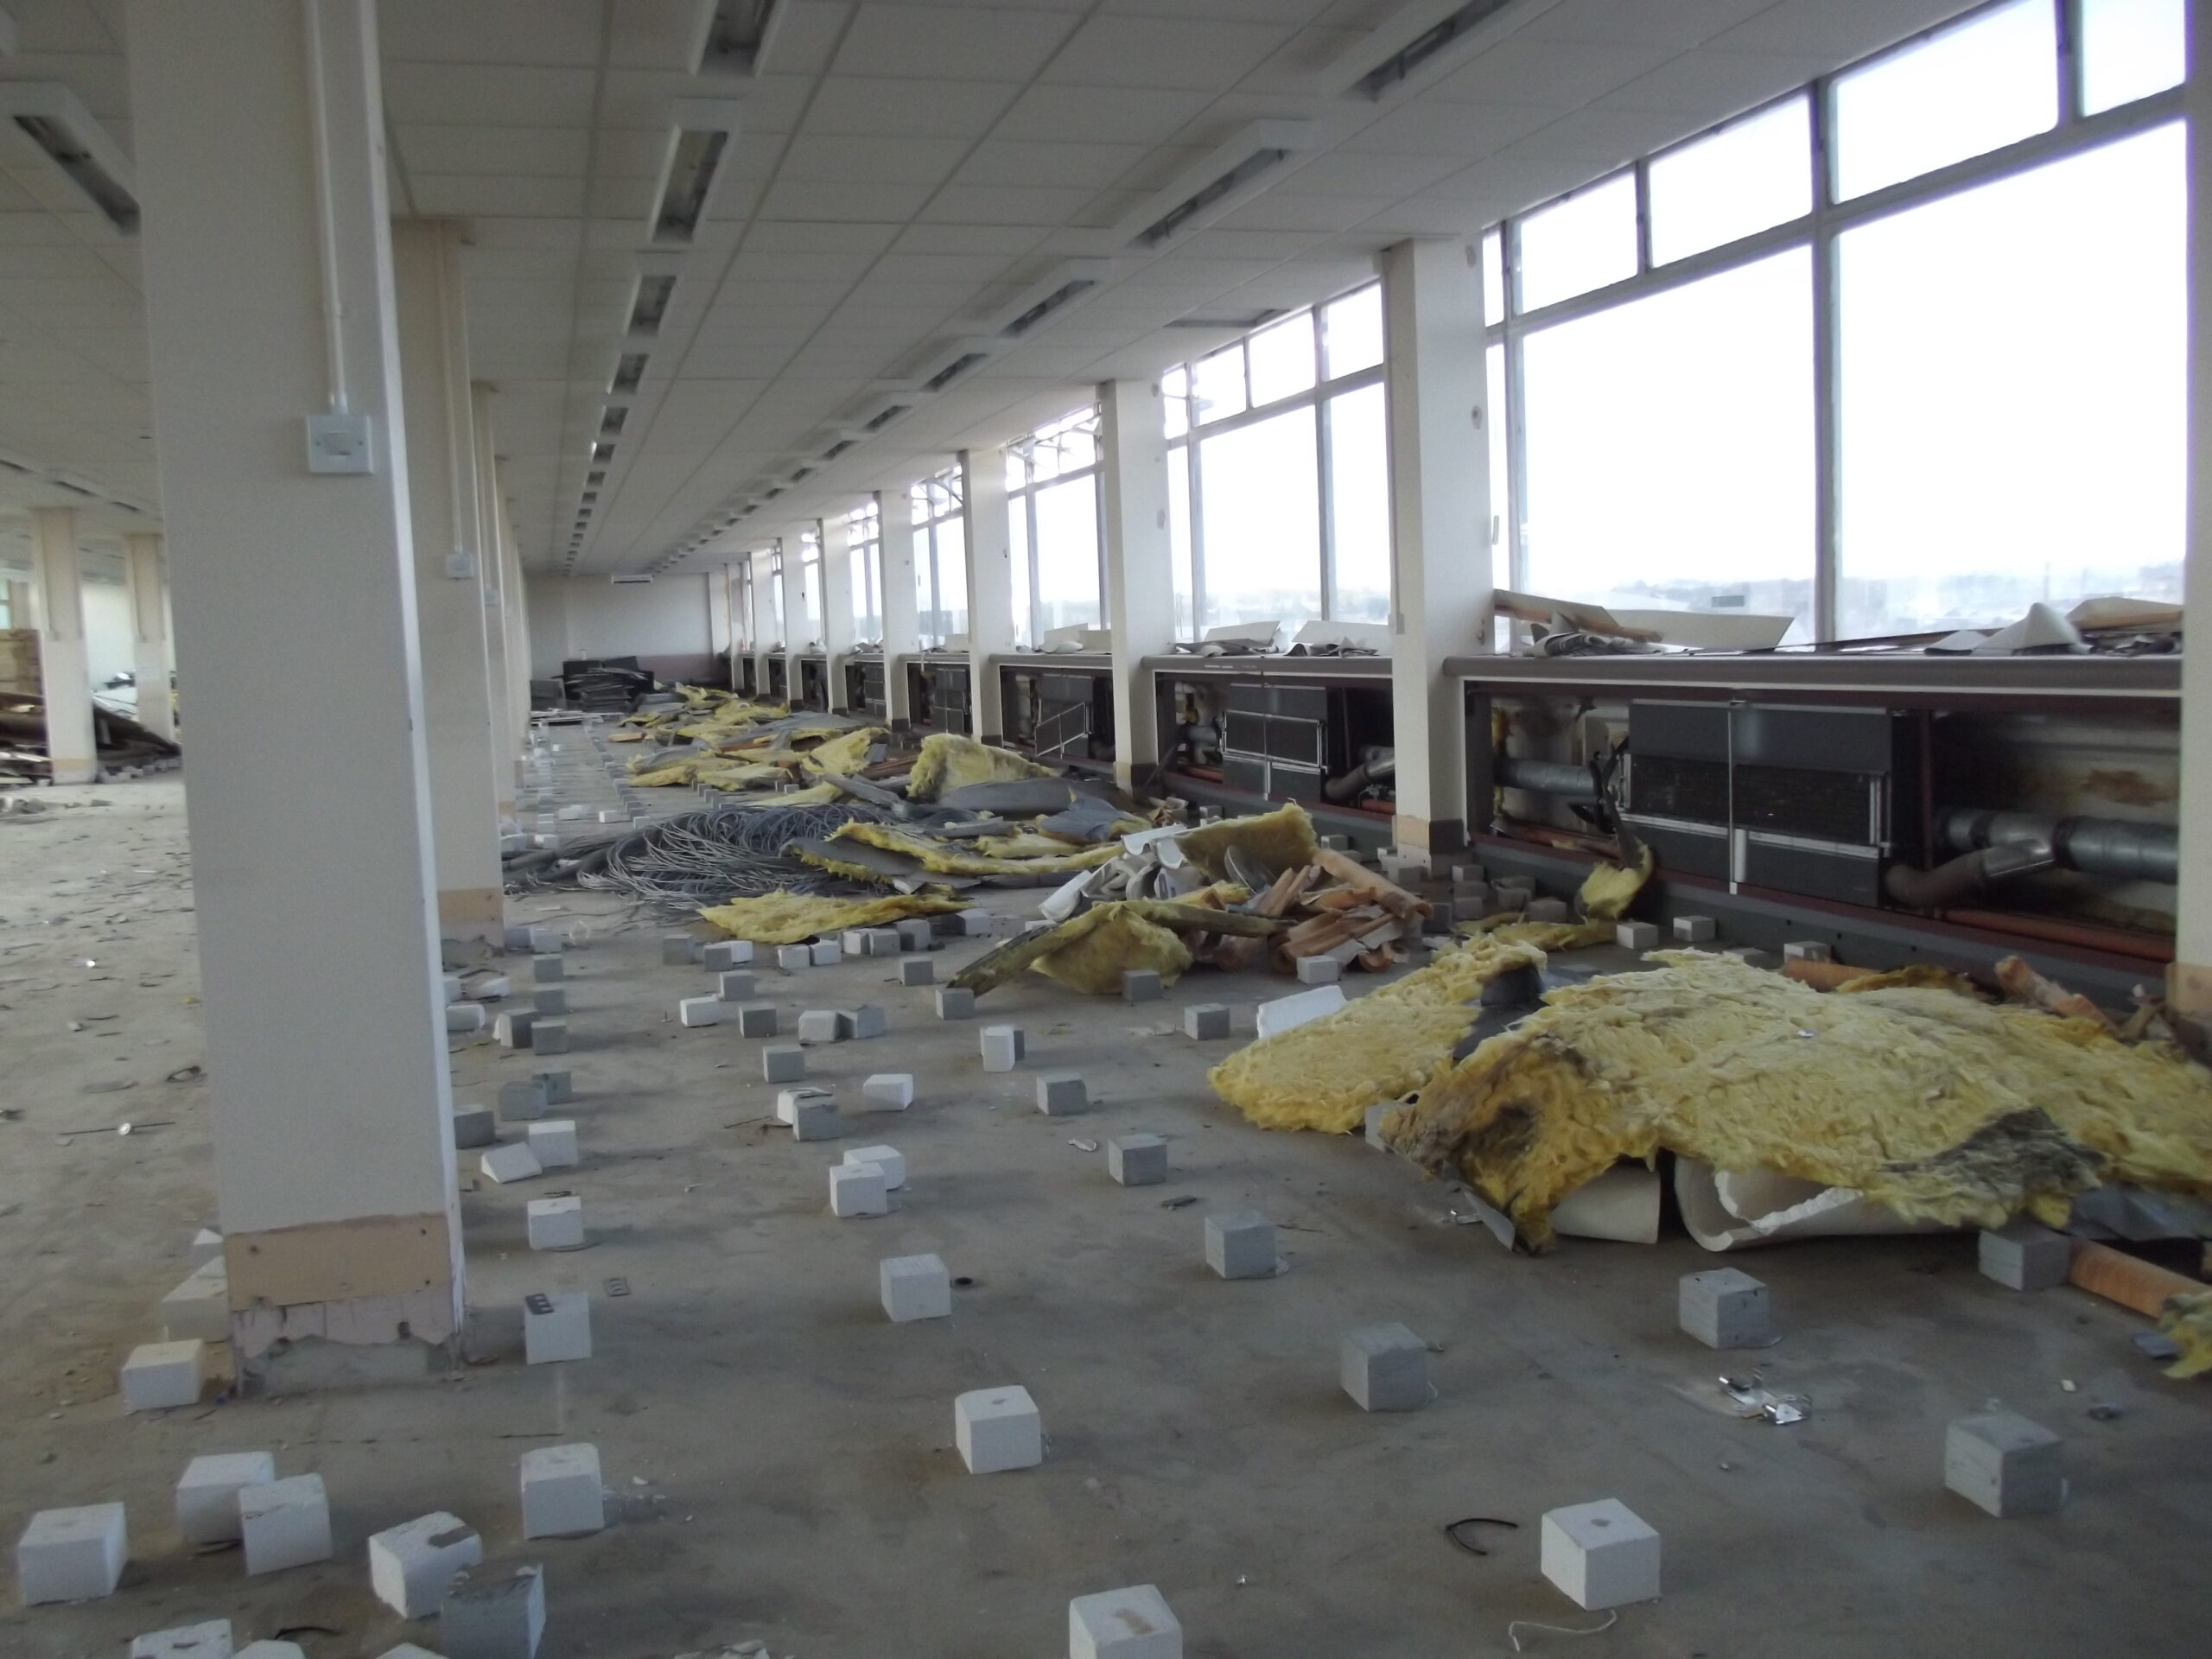
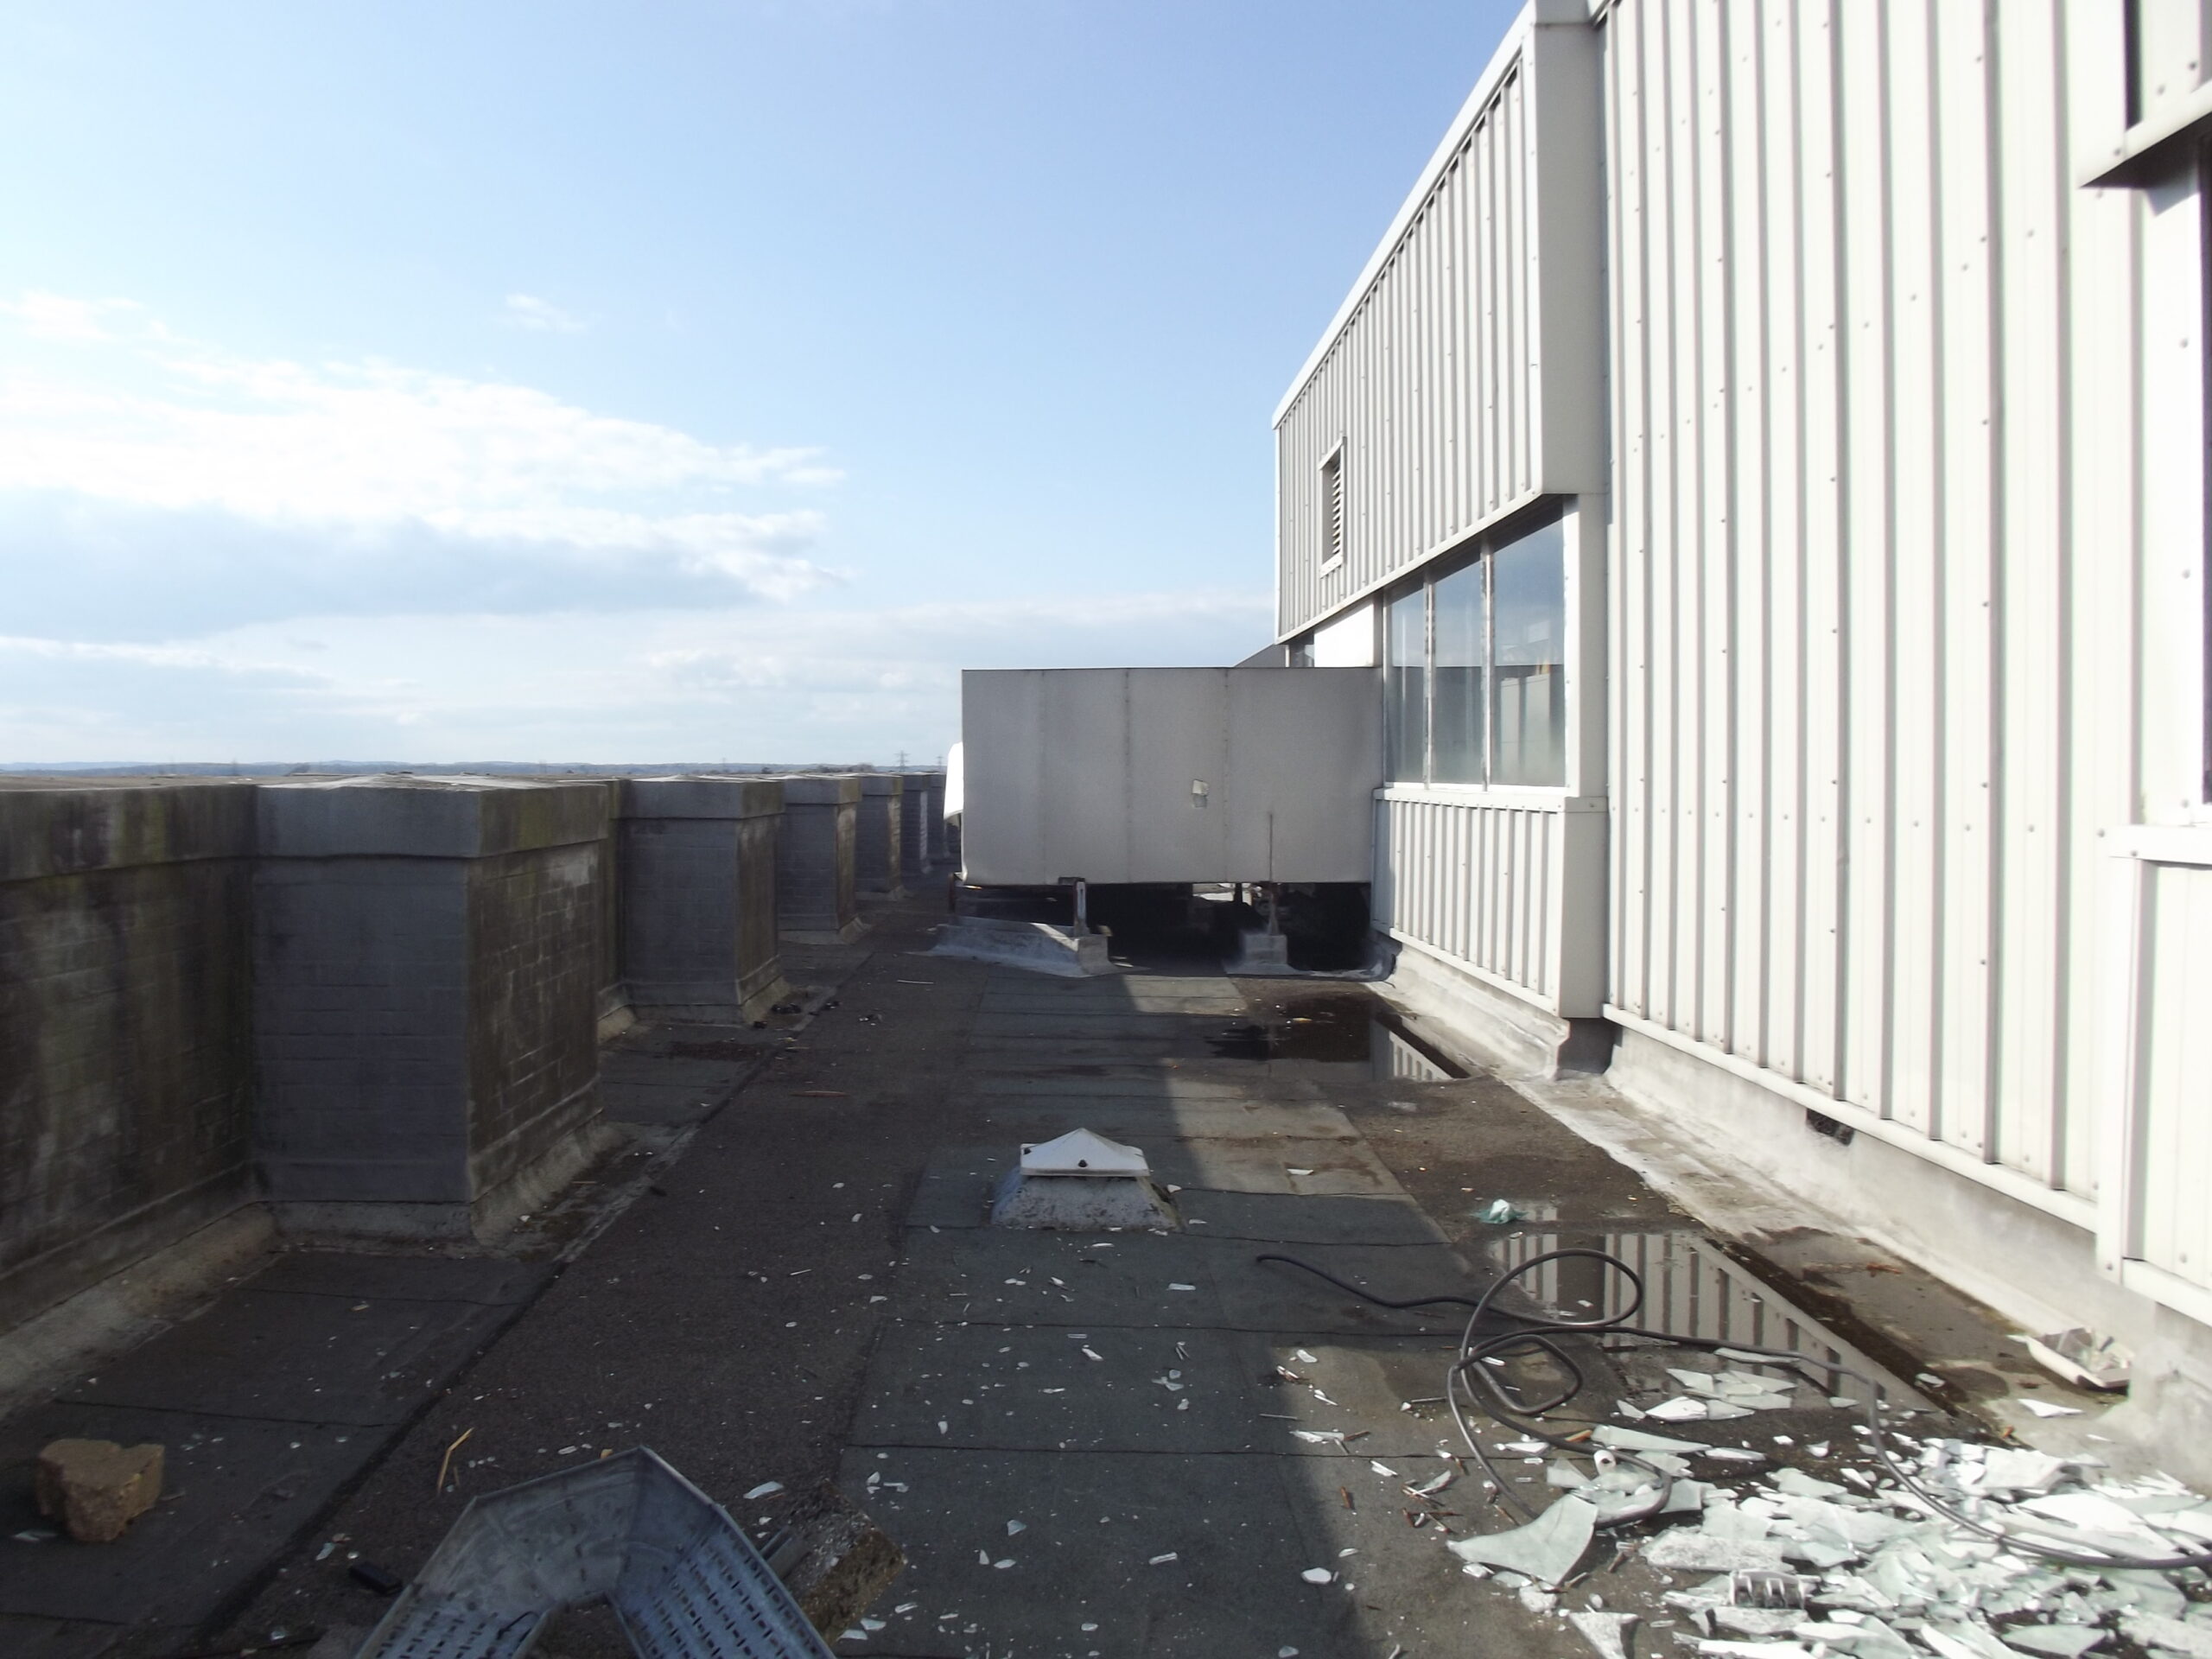
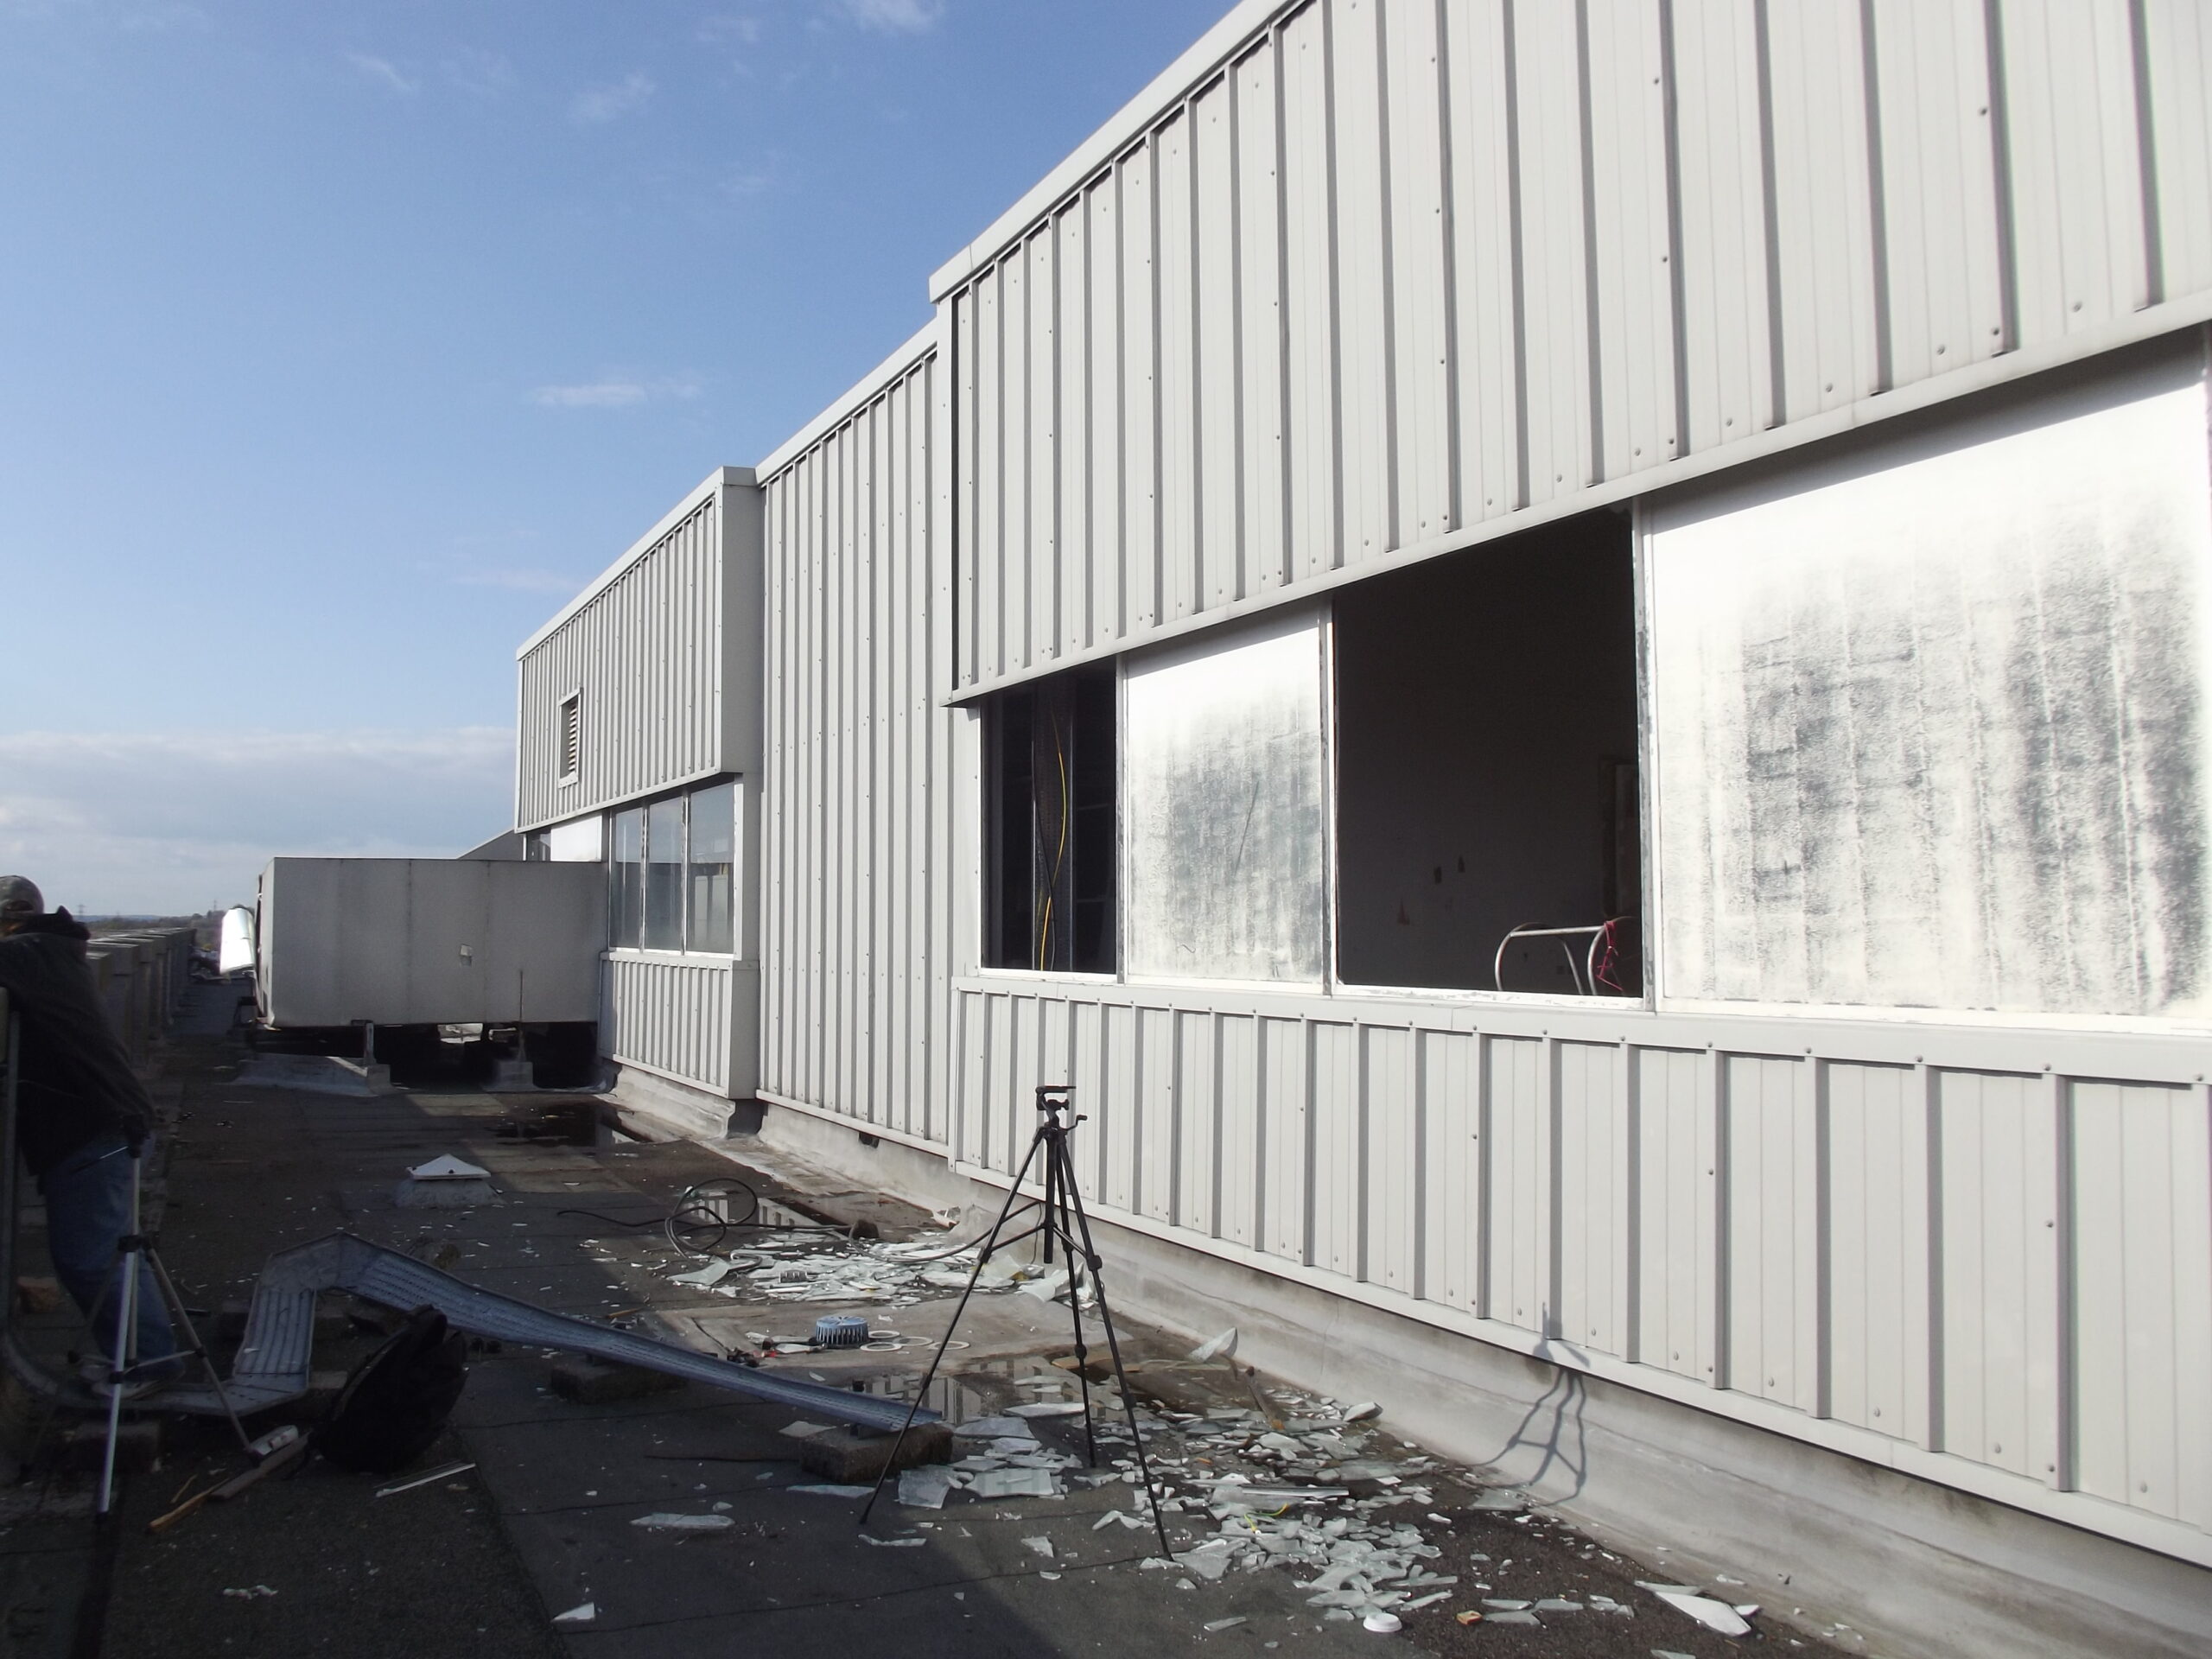
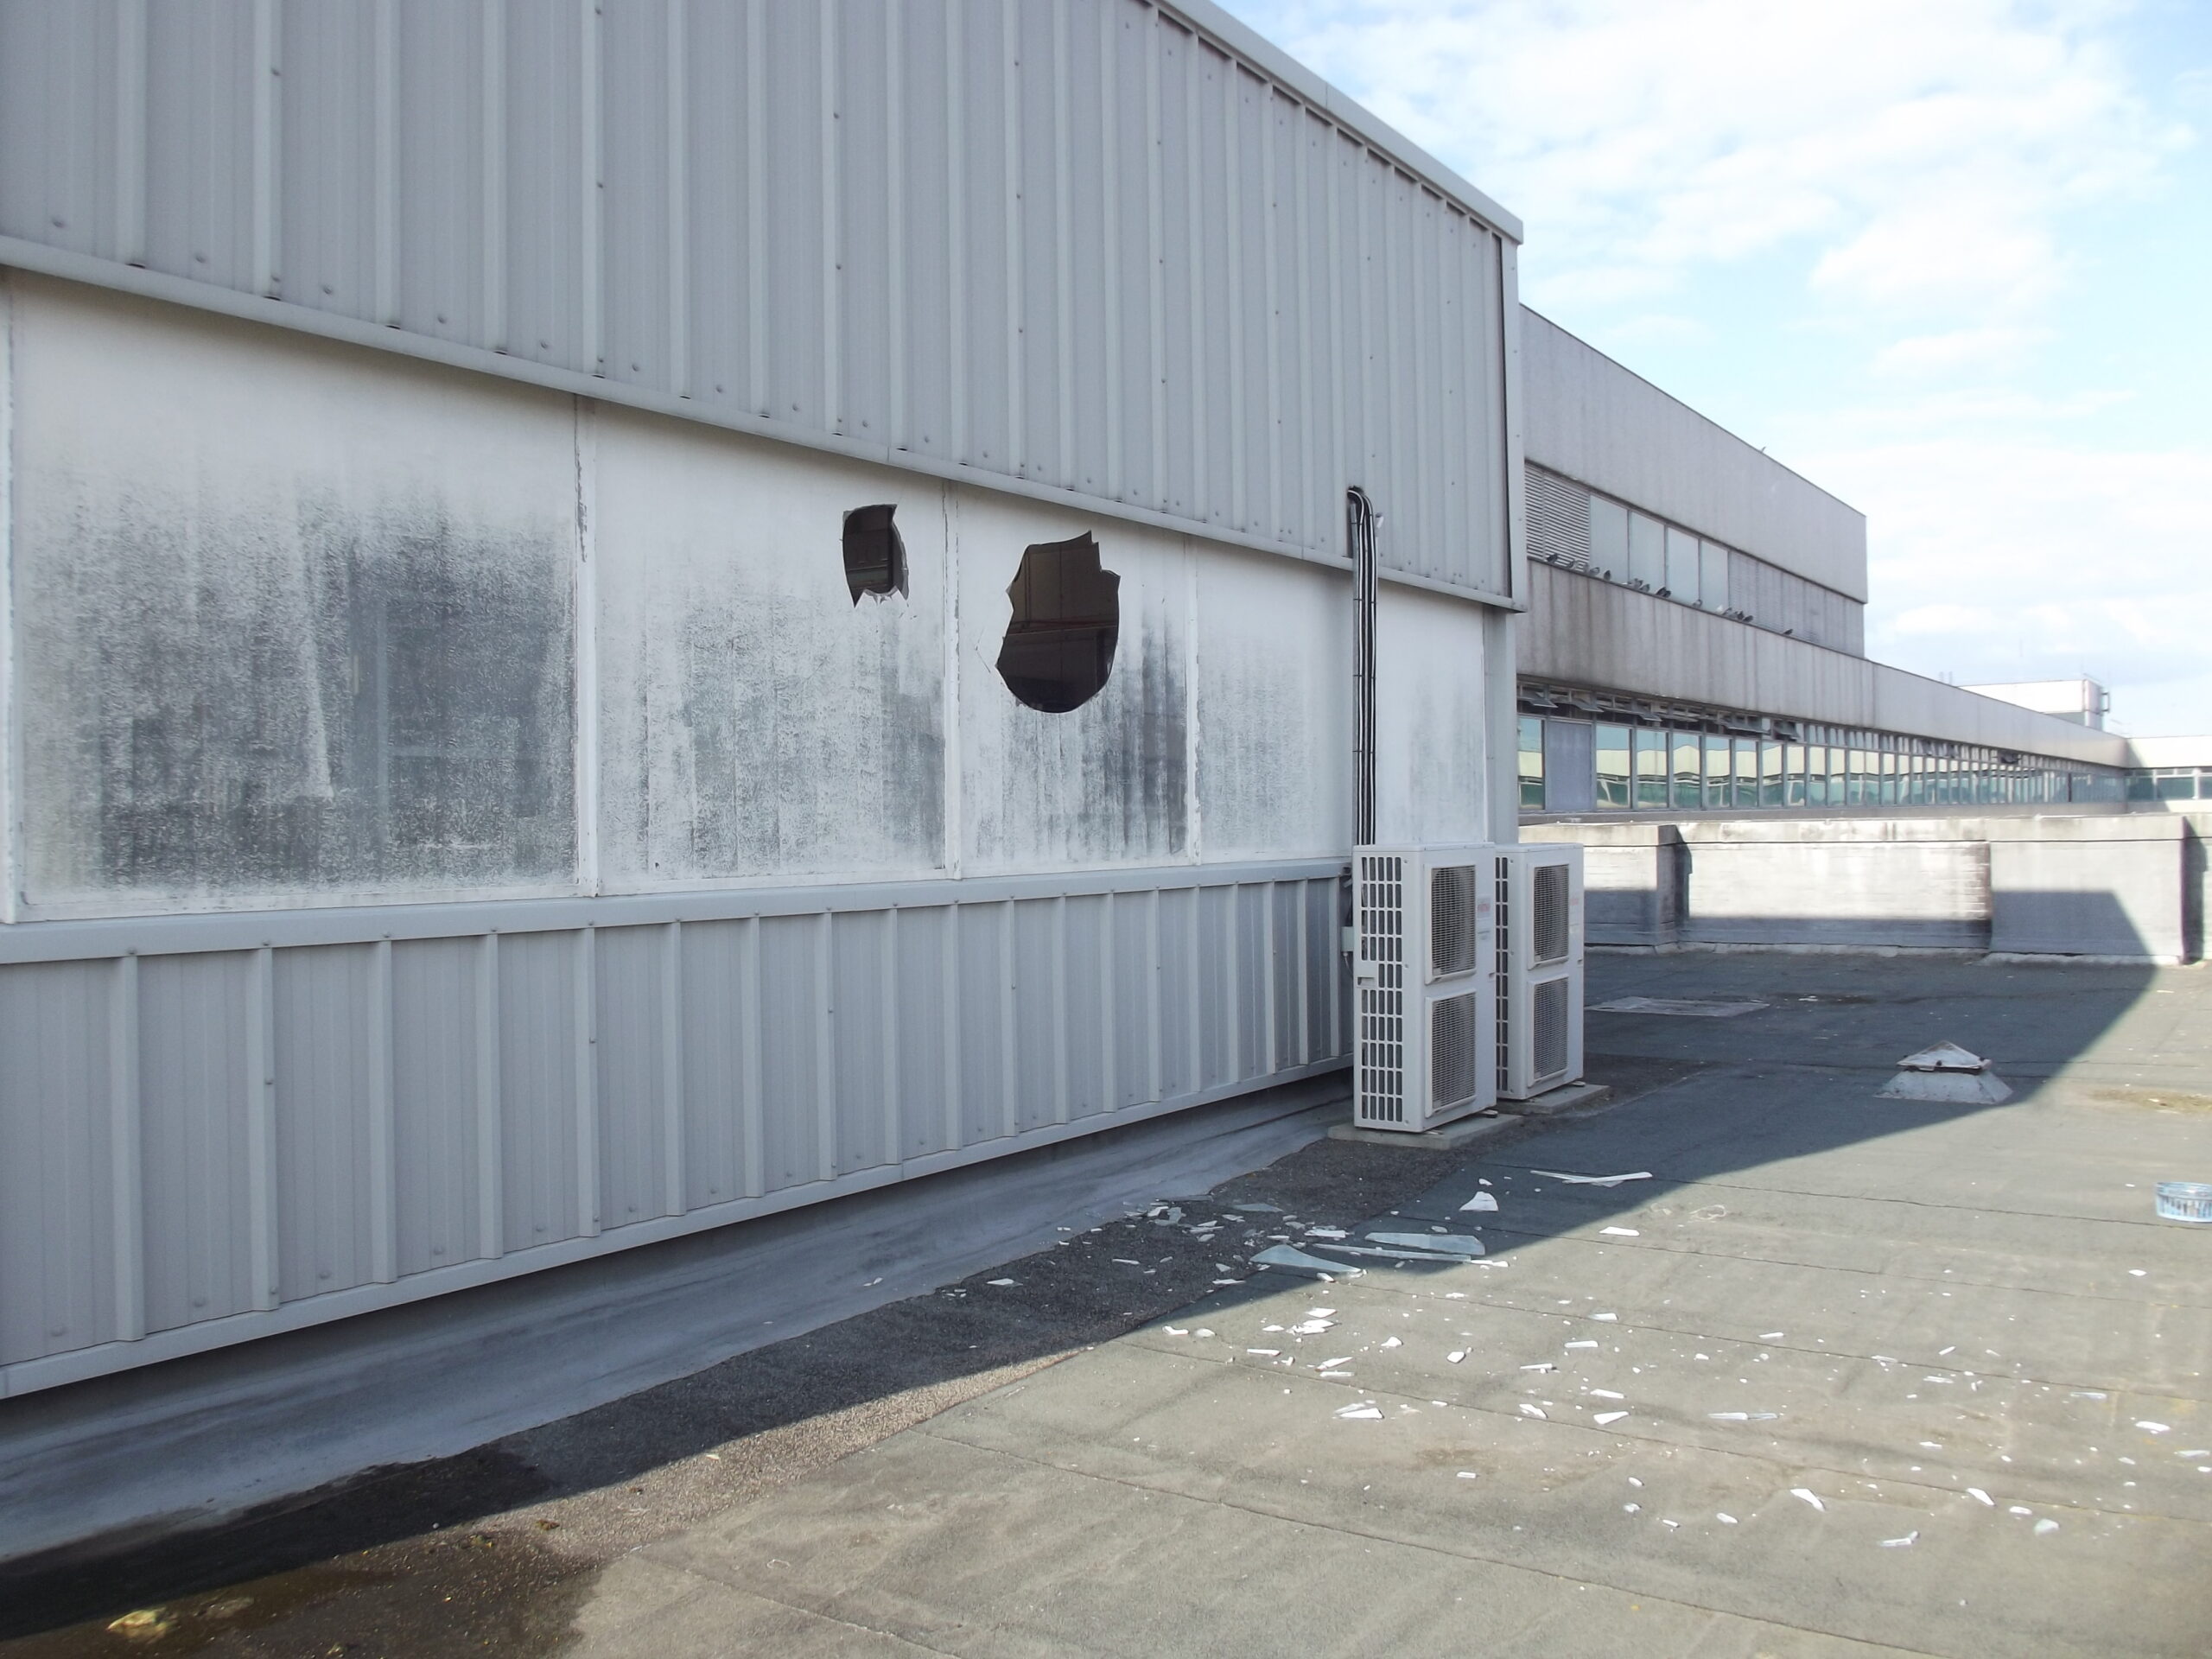
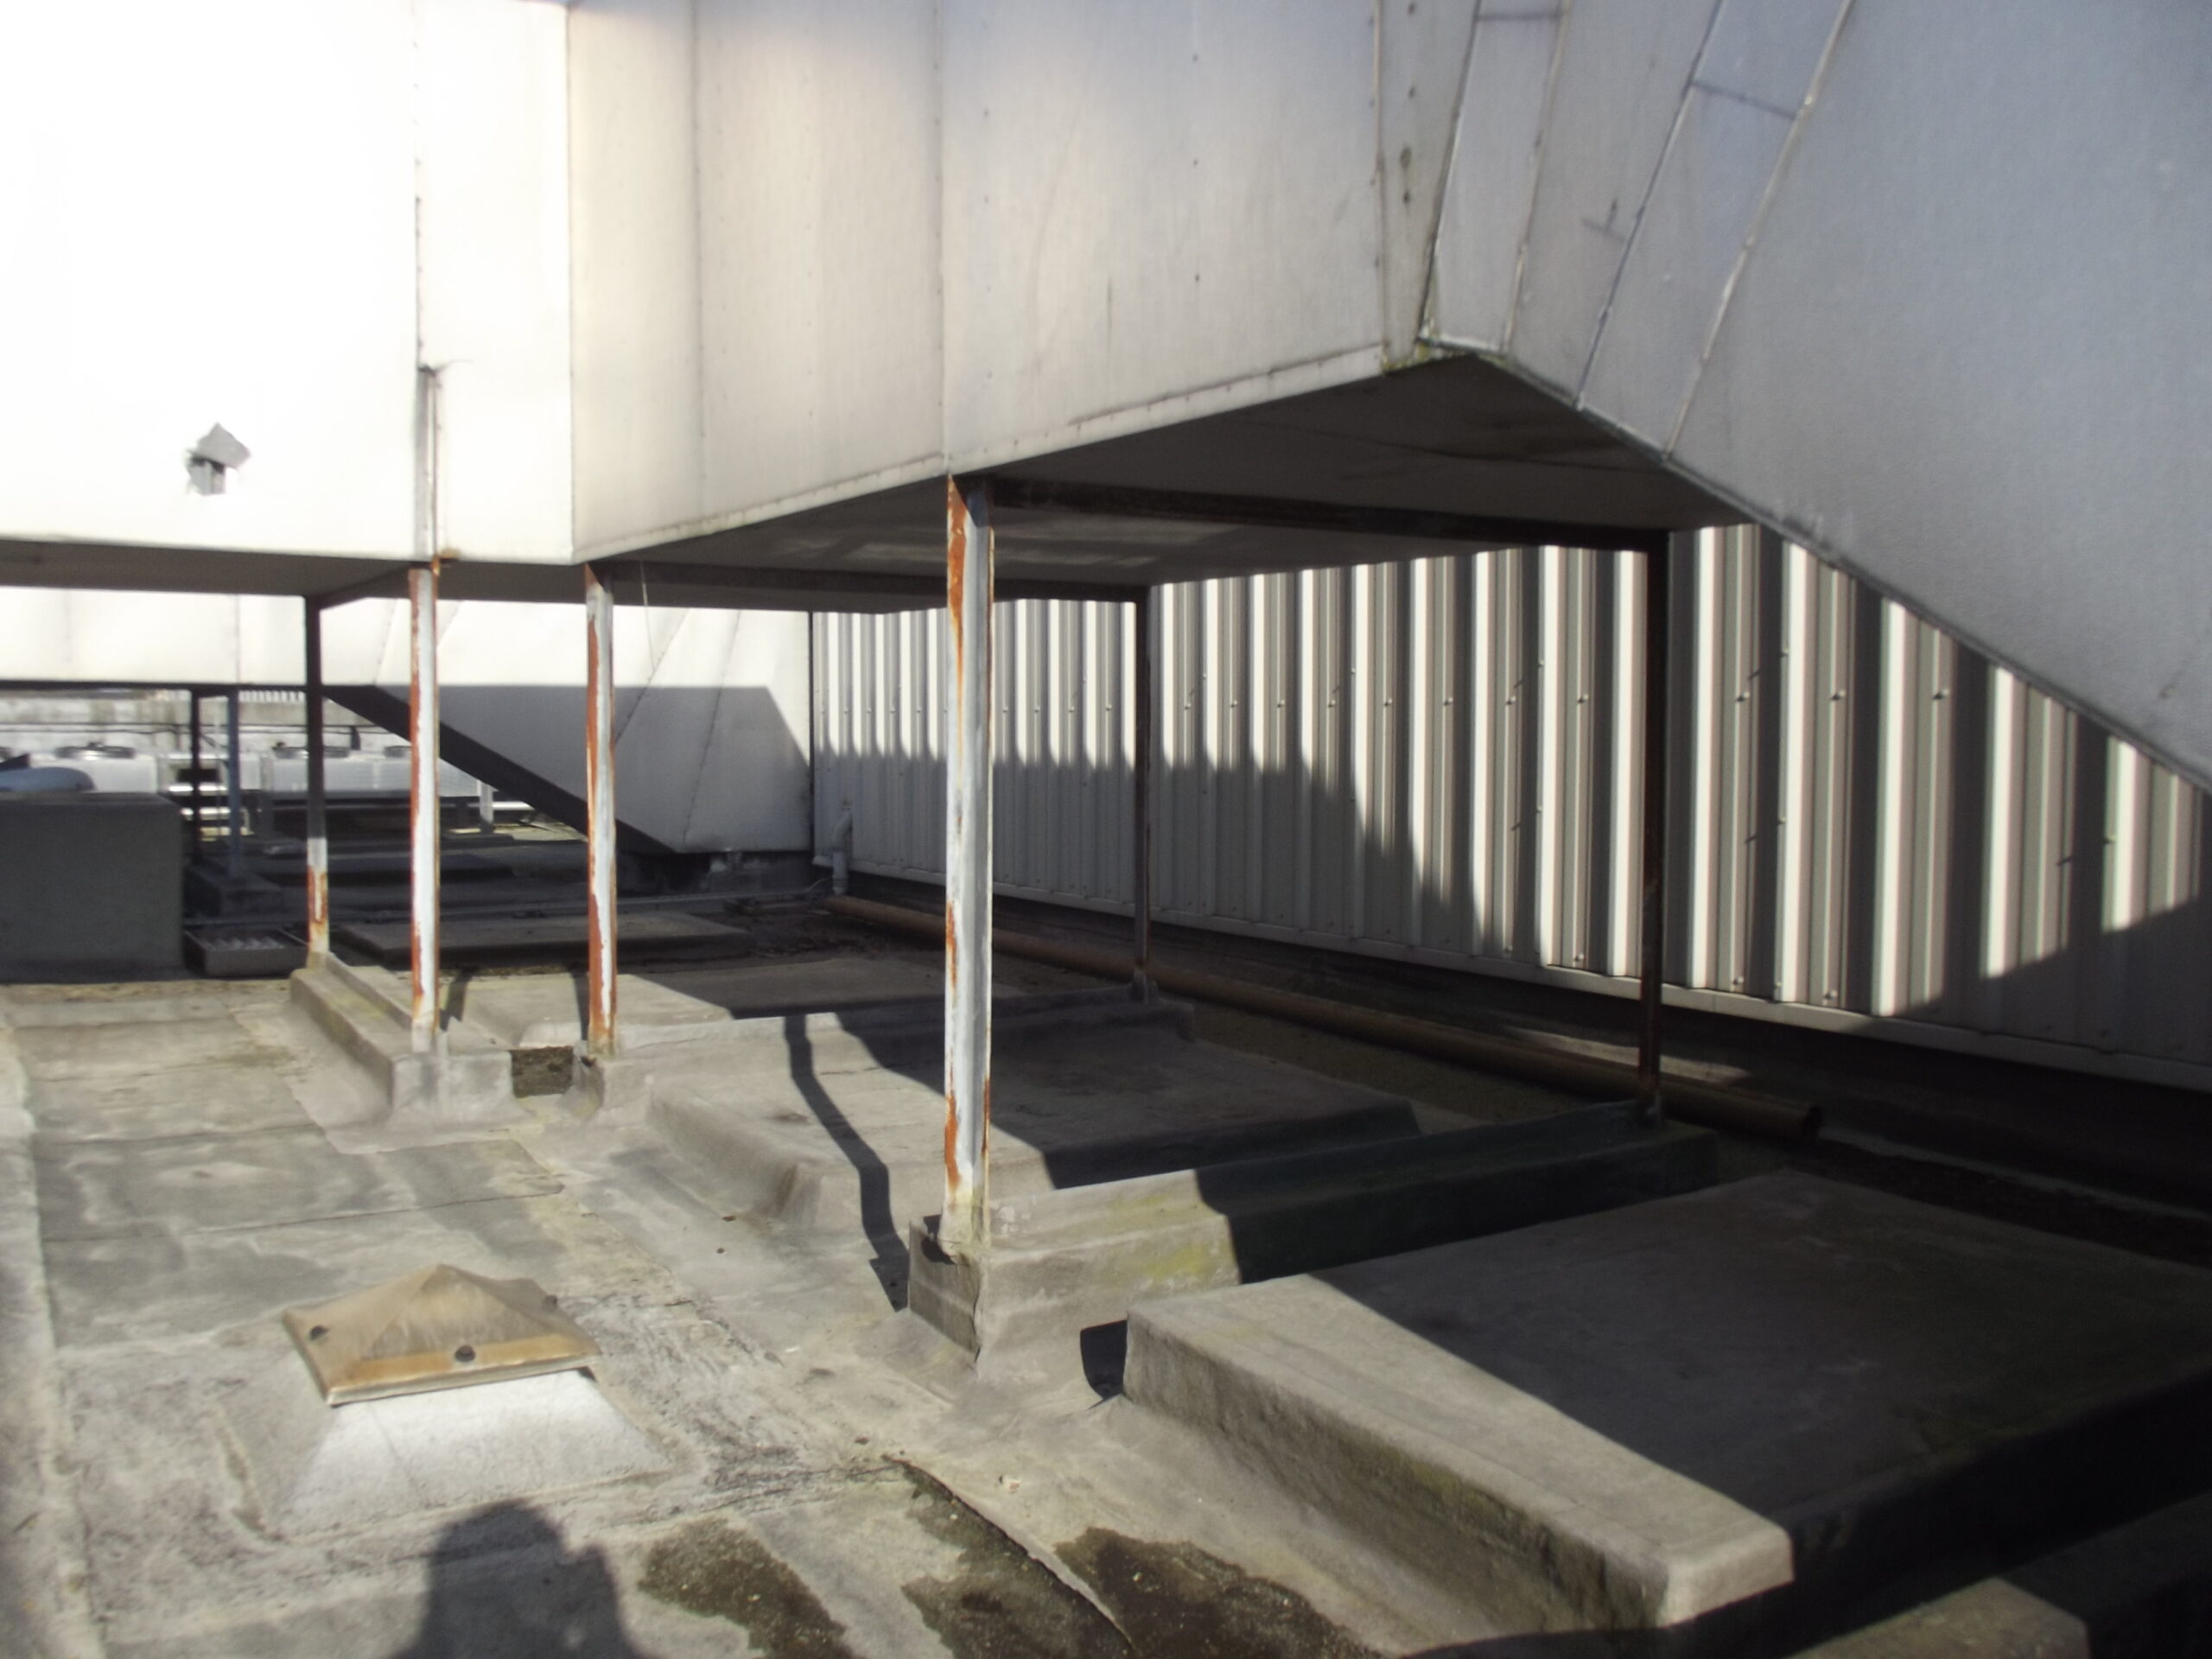
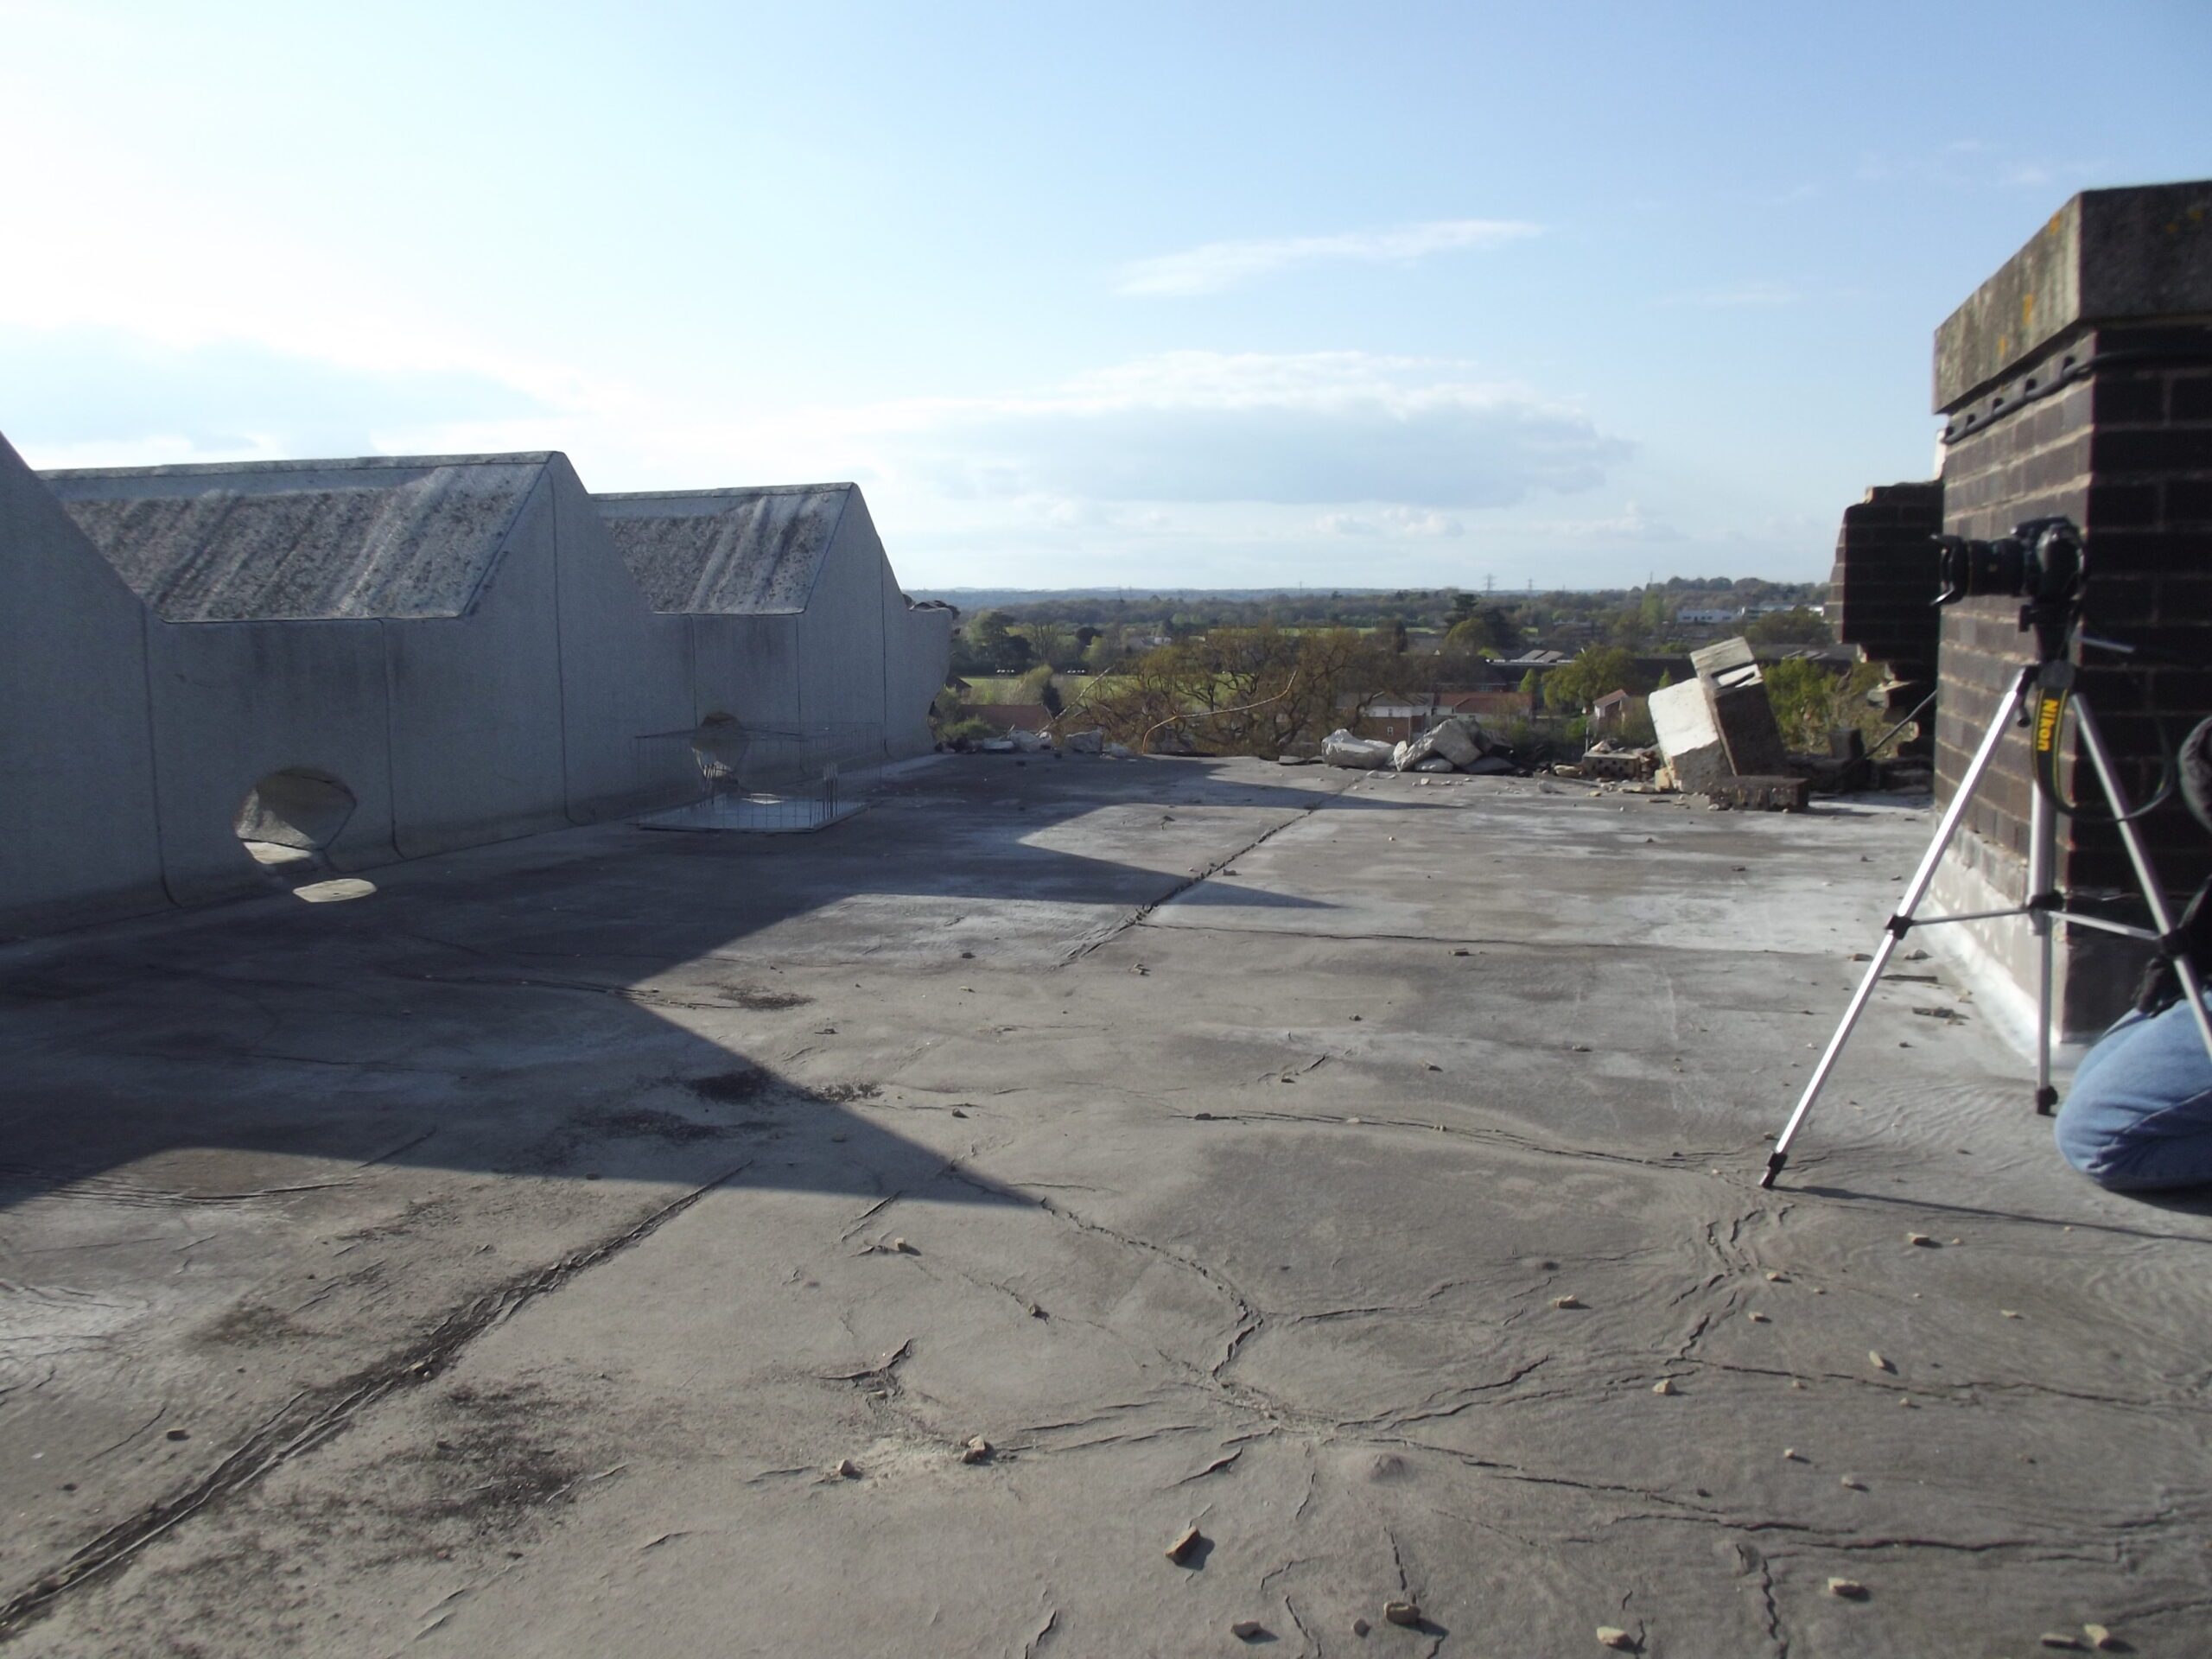
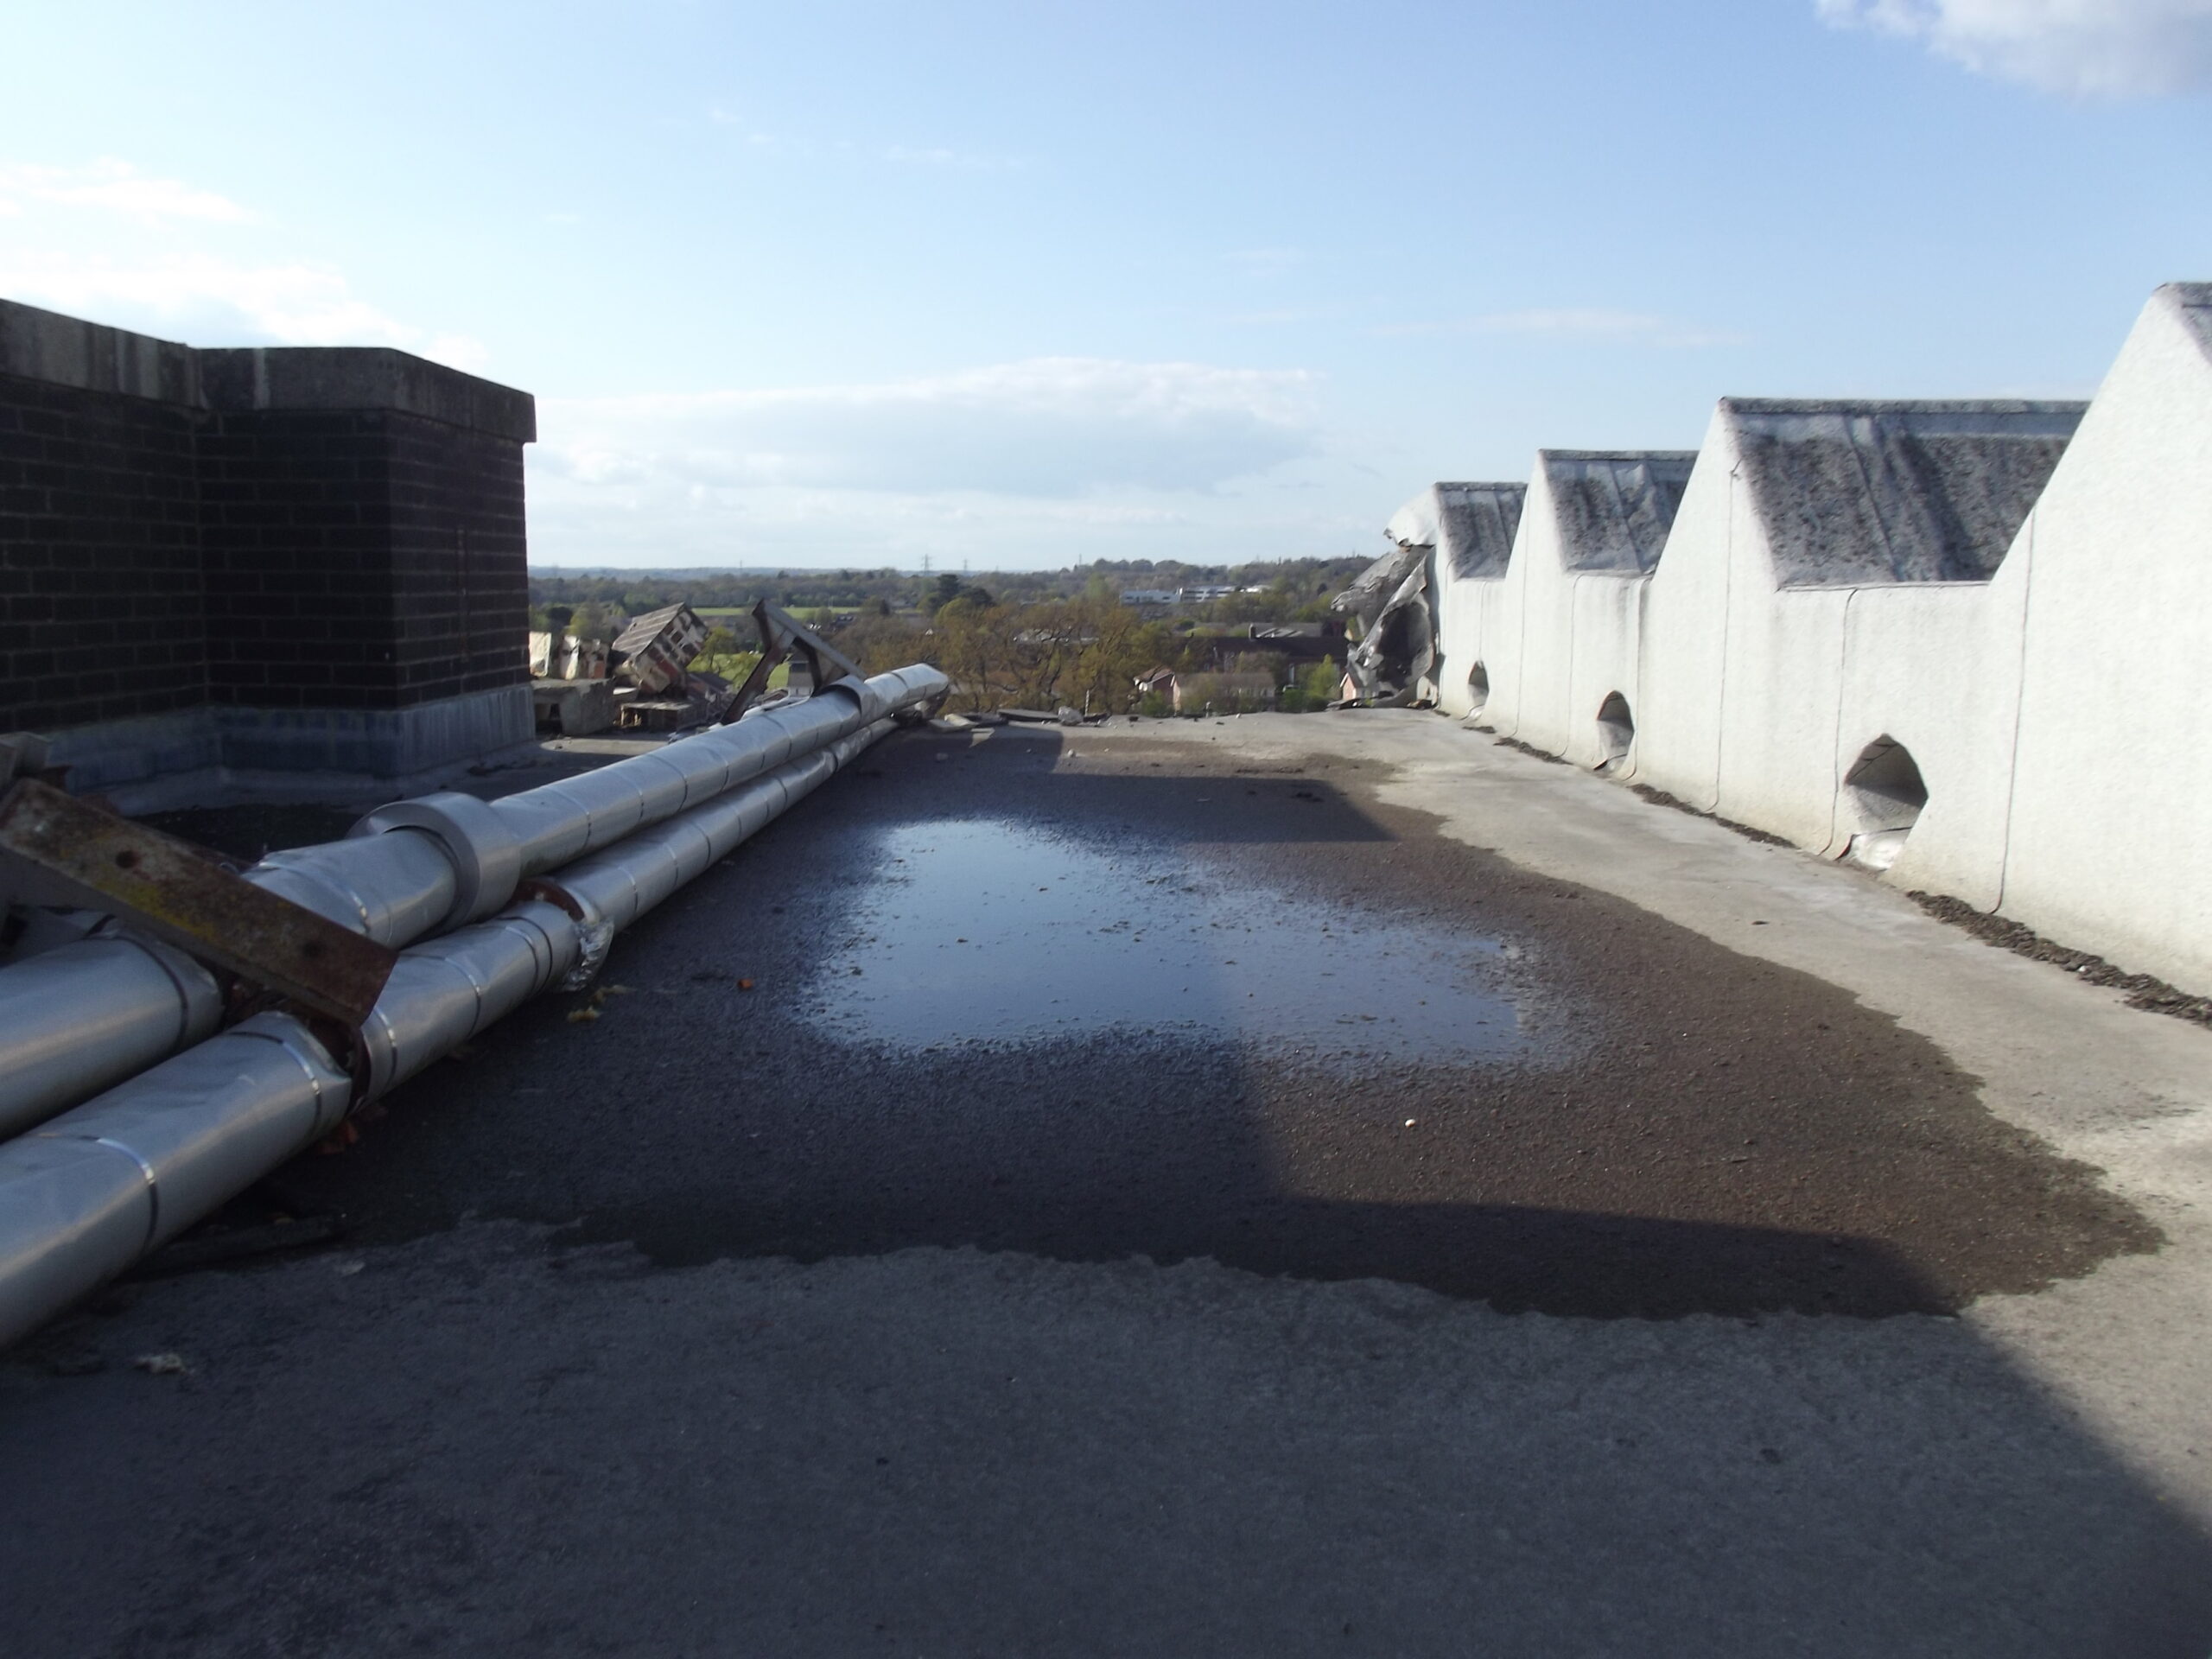
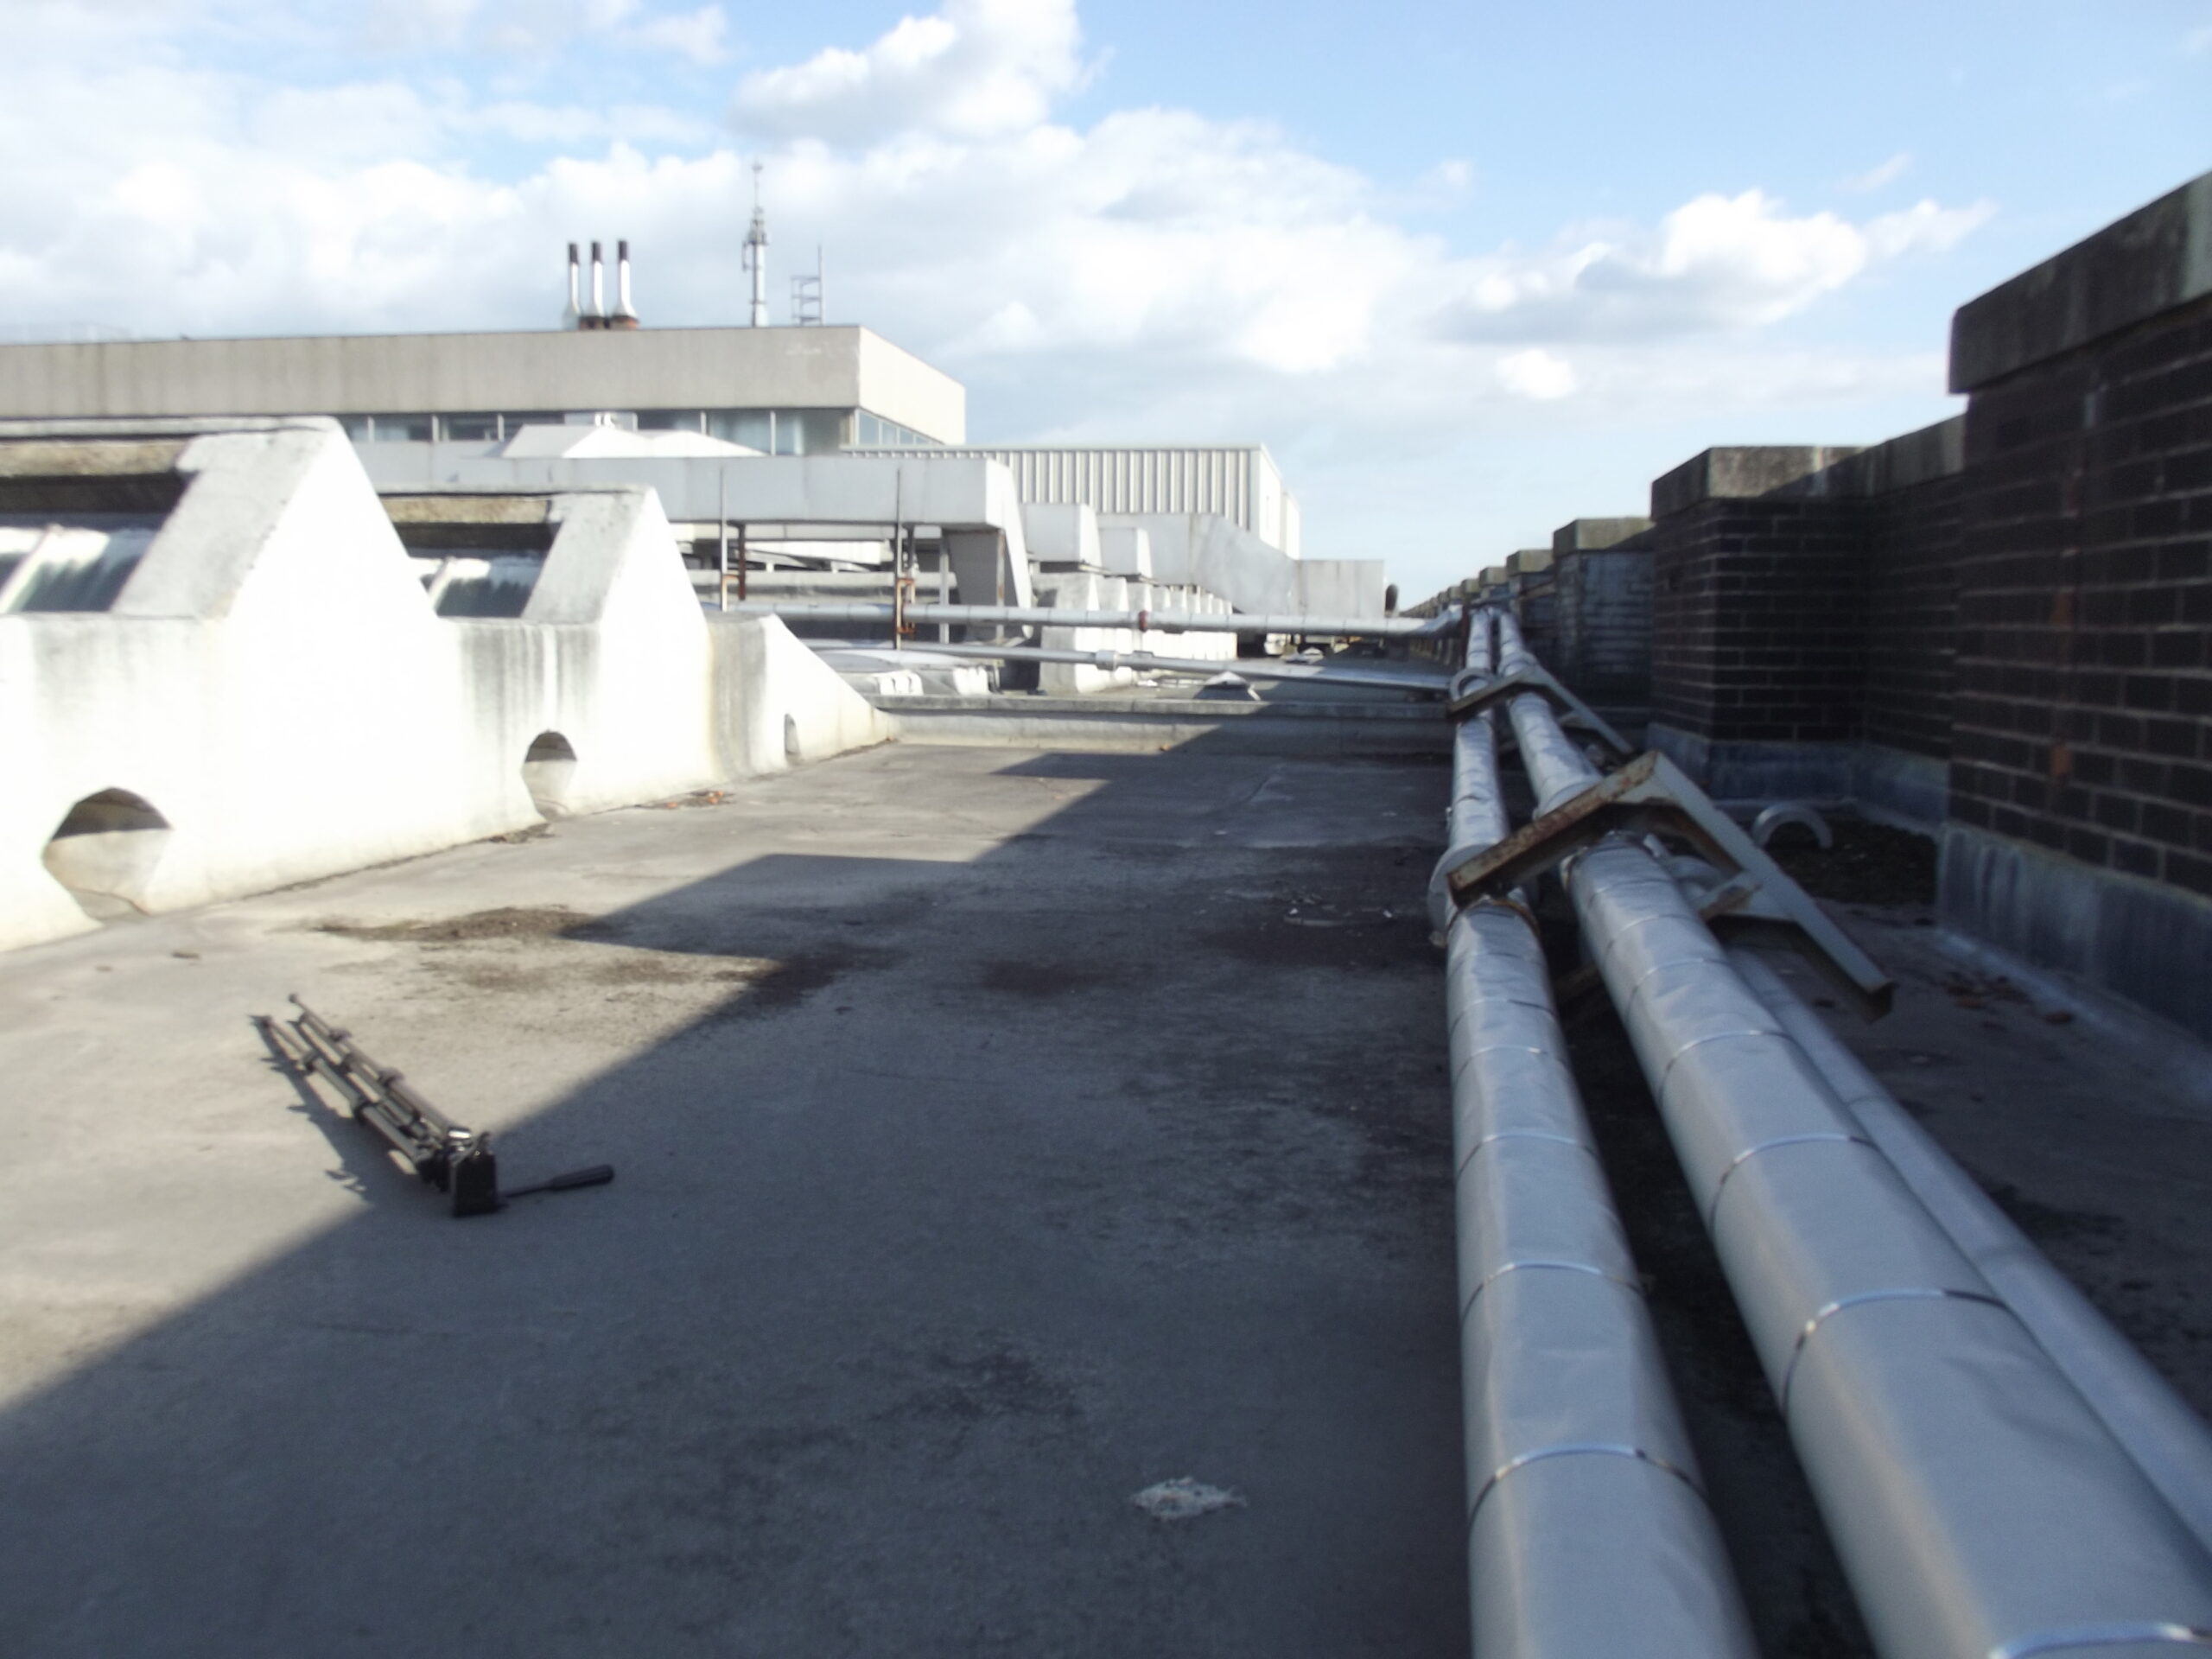
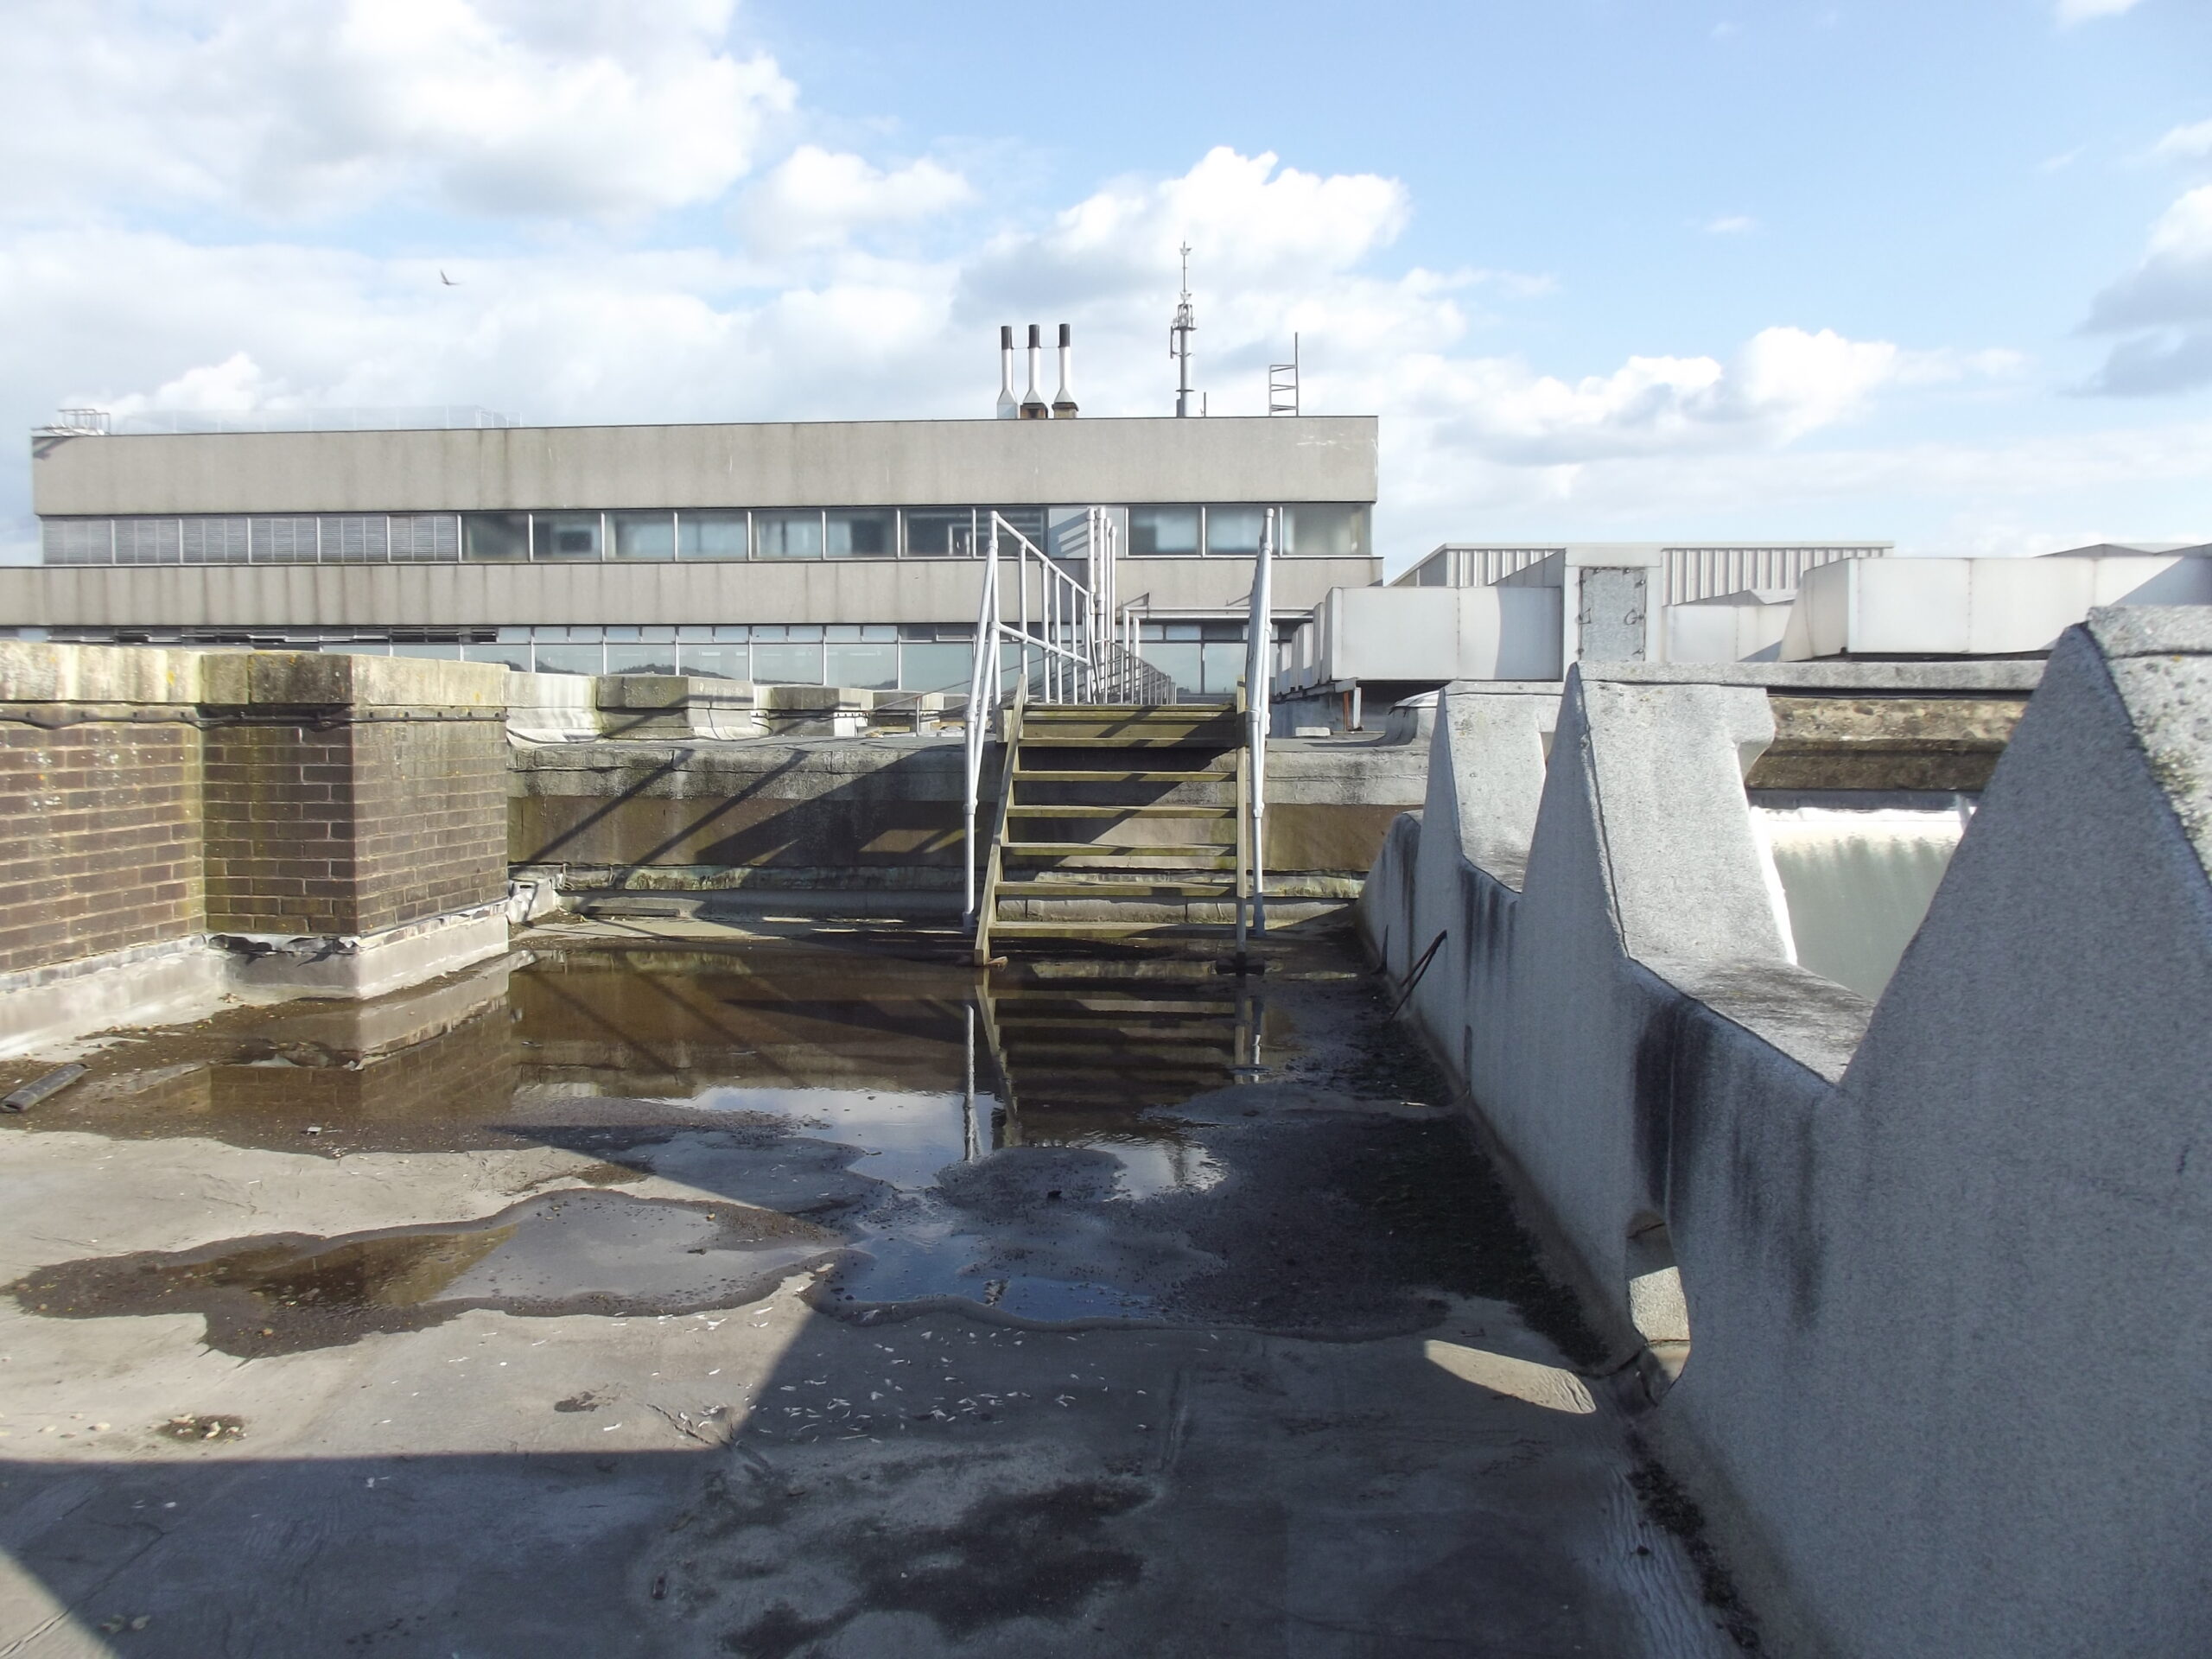
West Block 6th floor and roof
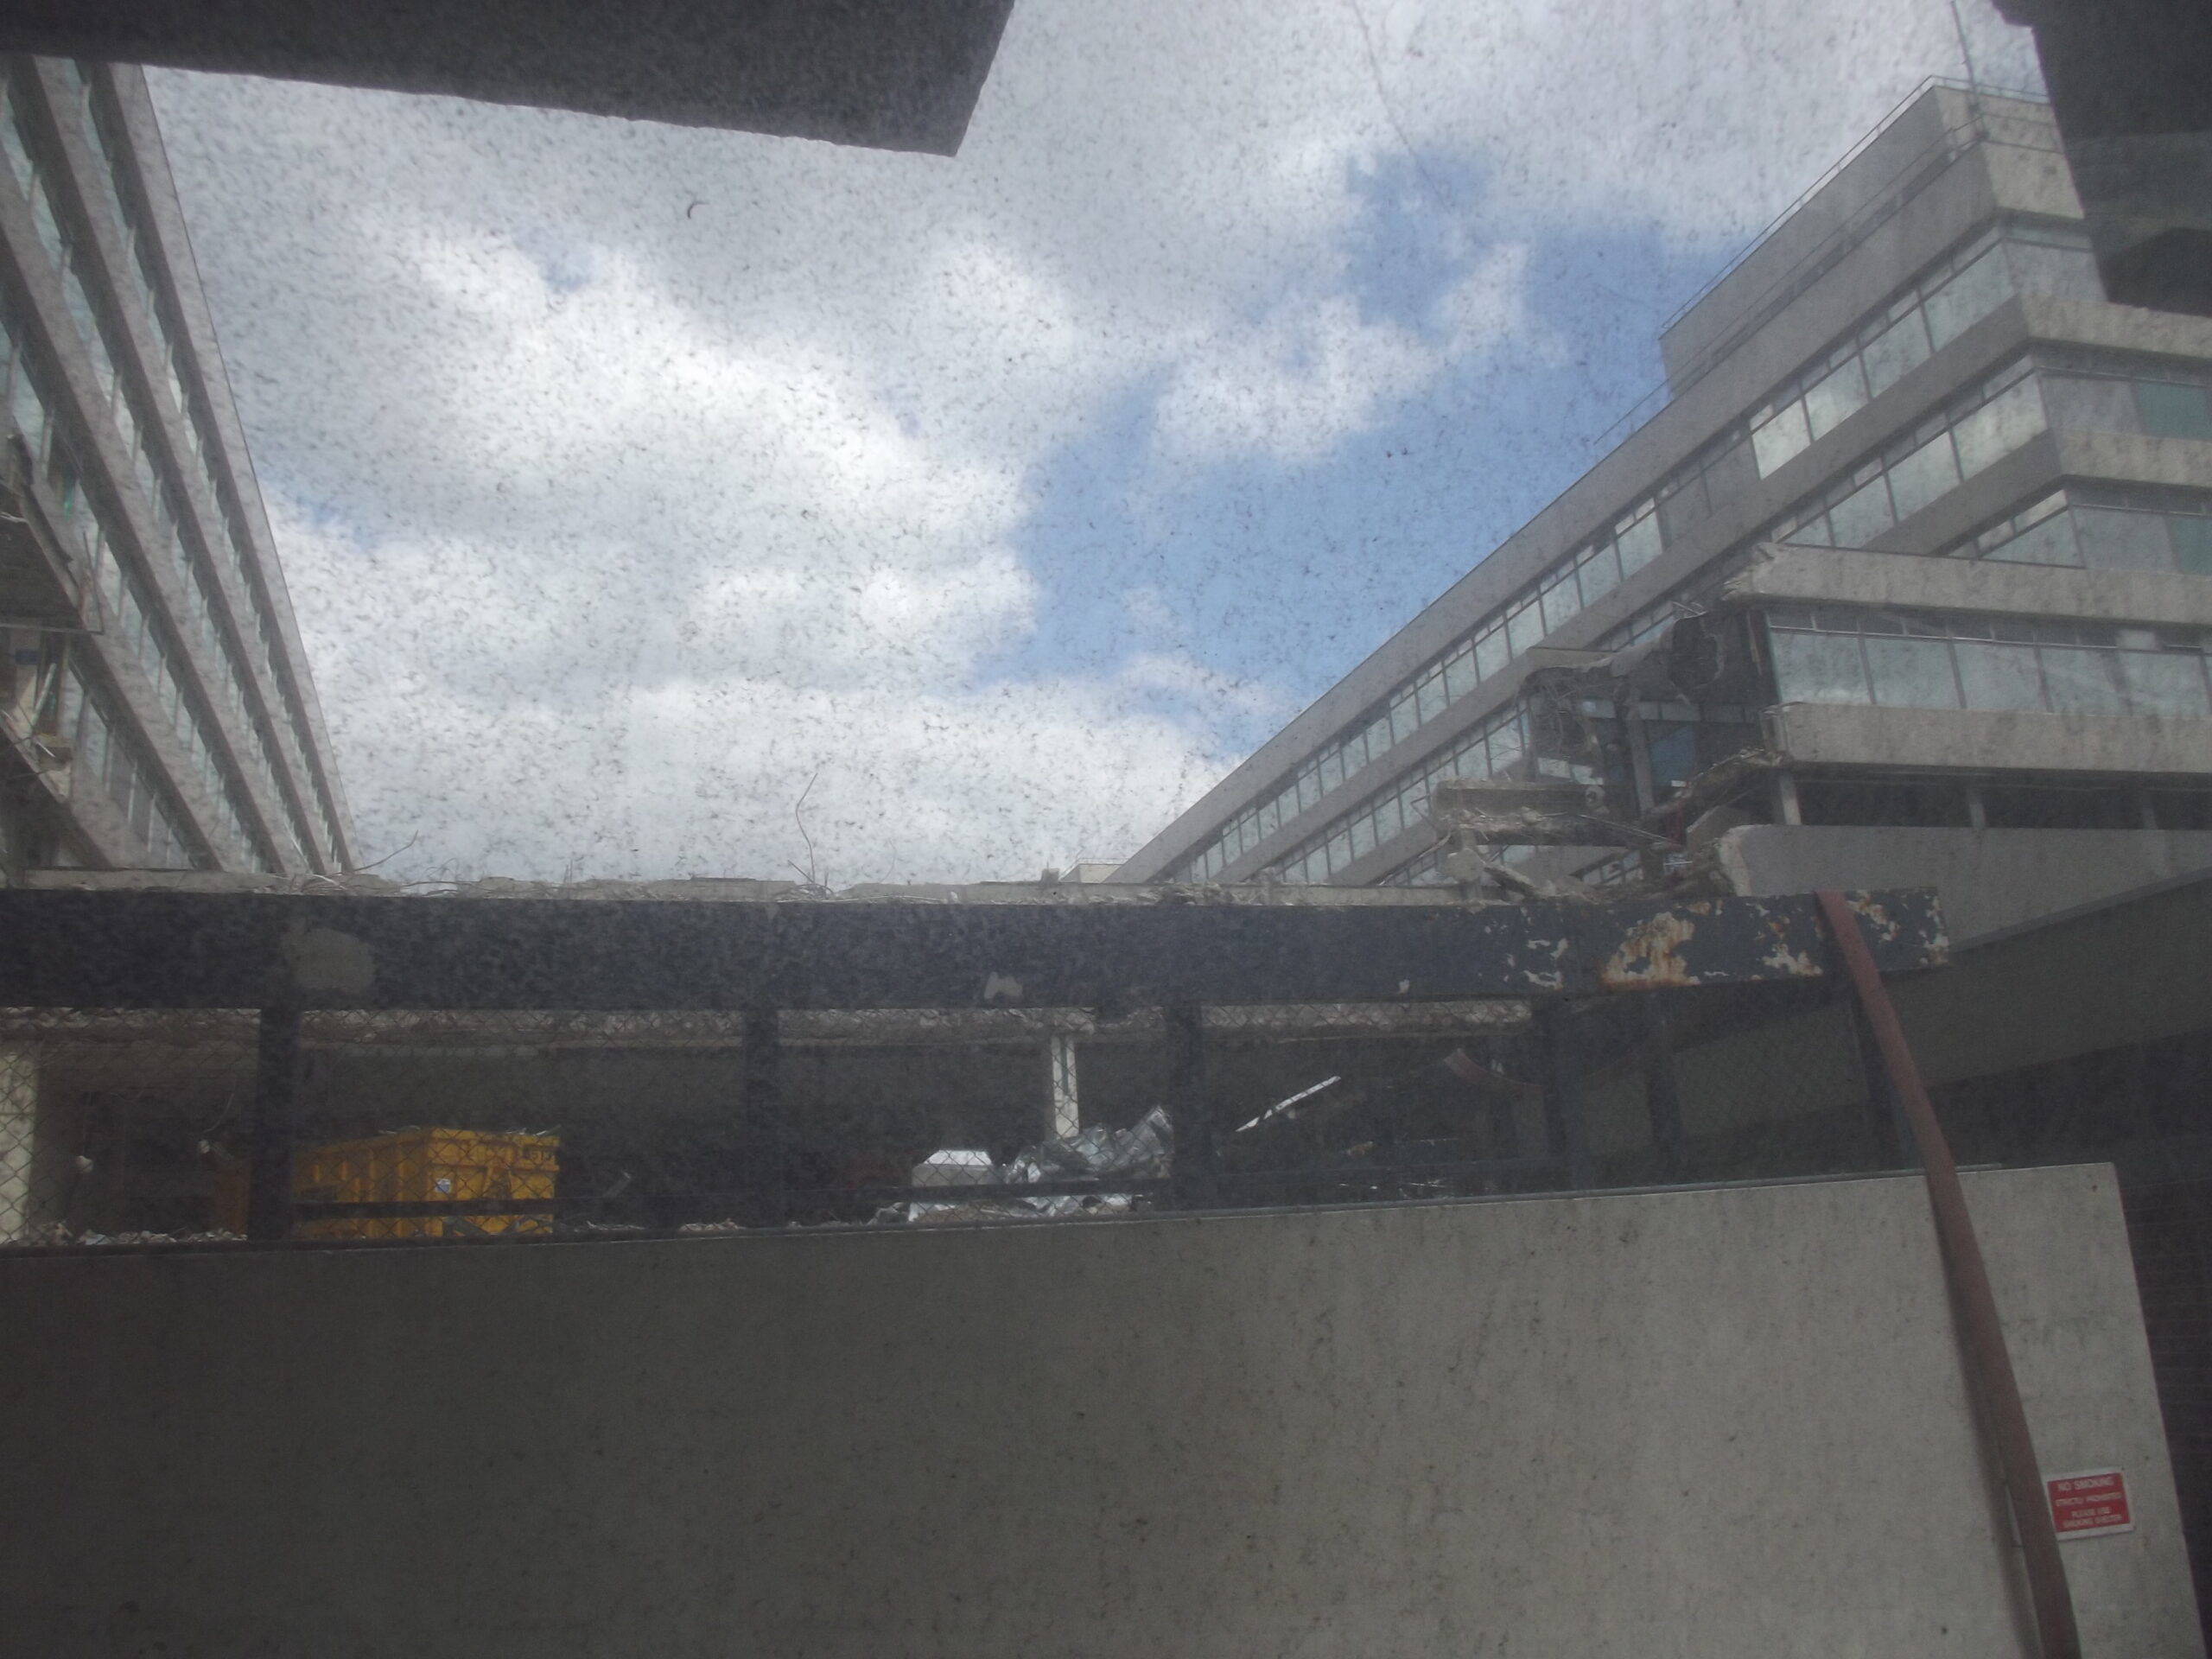
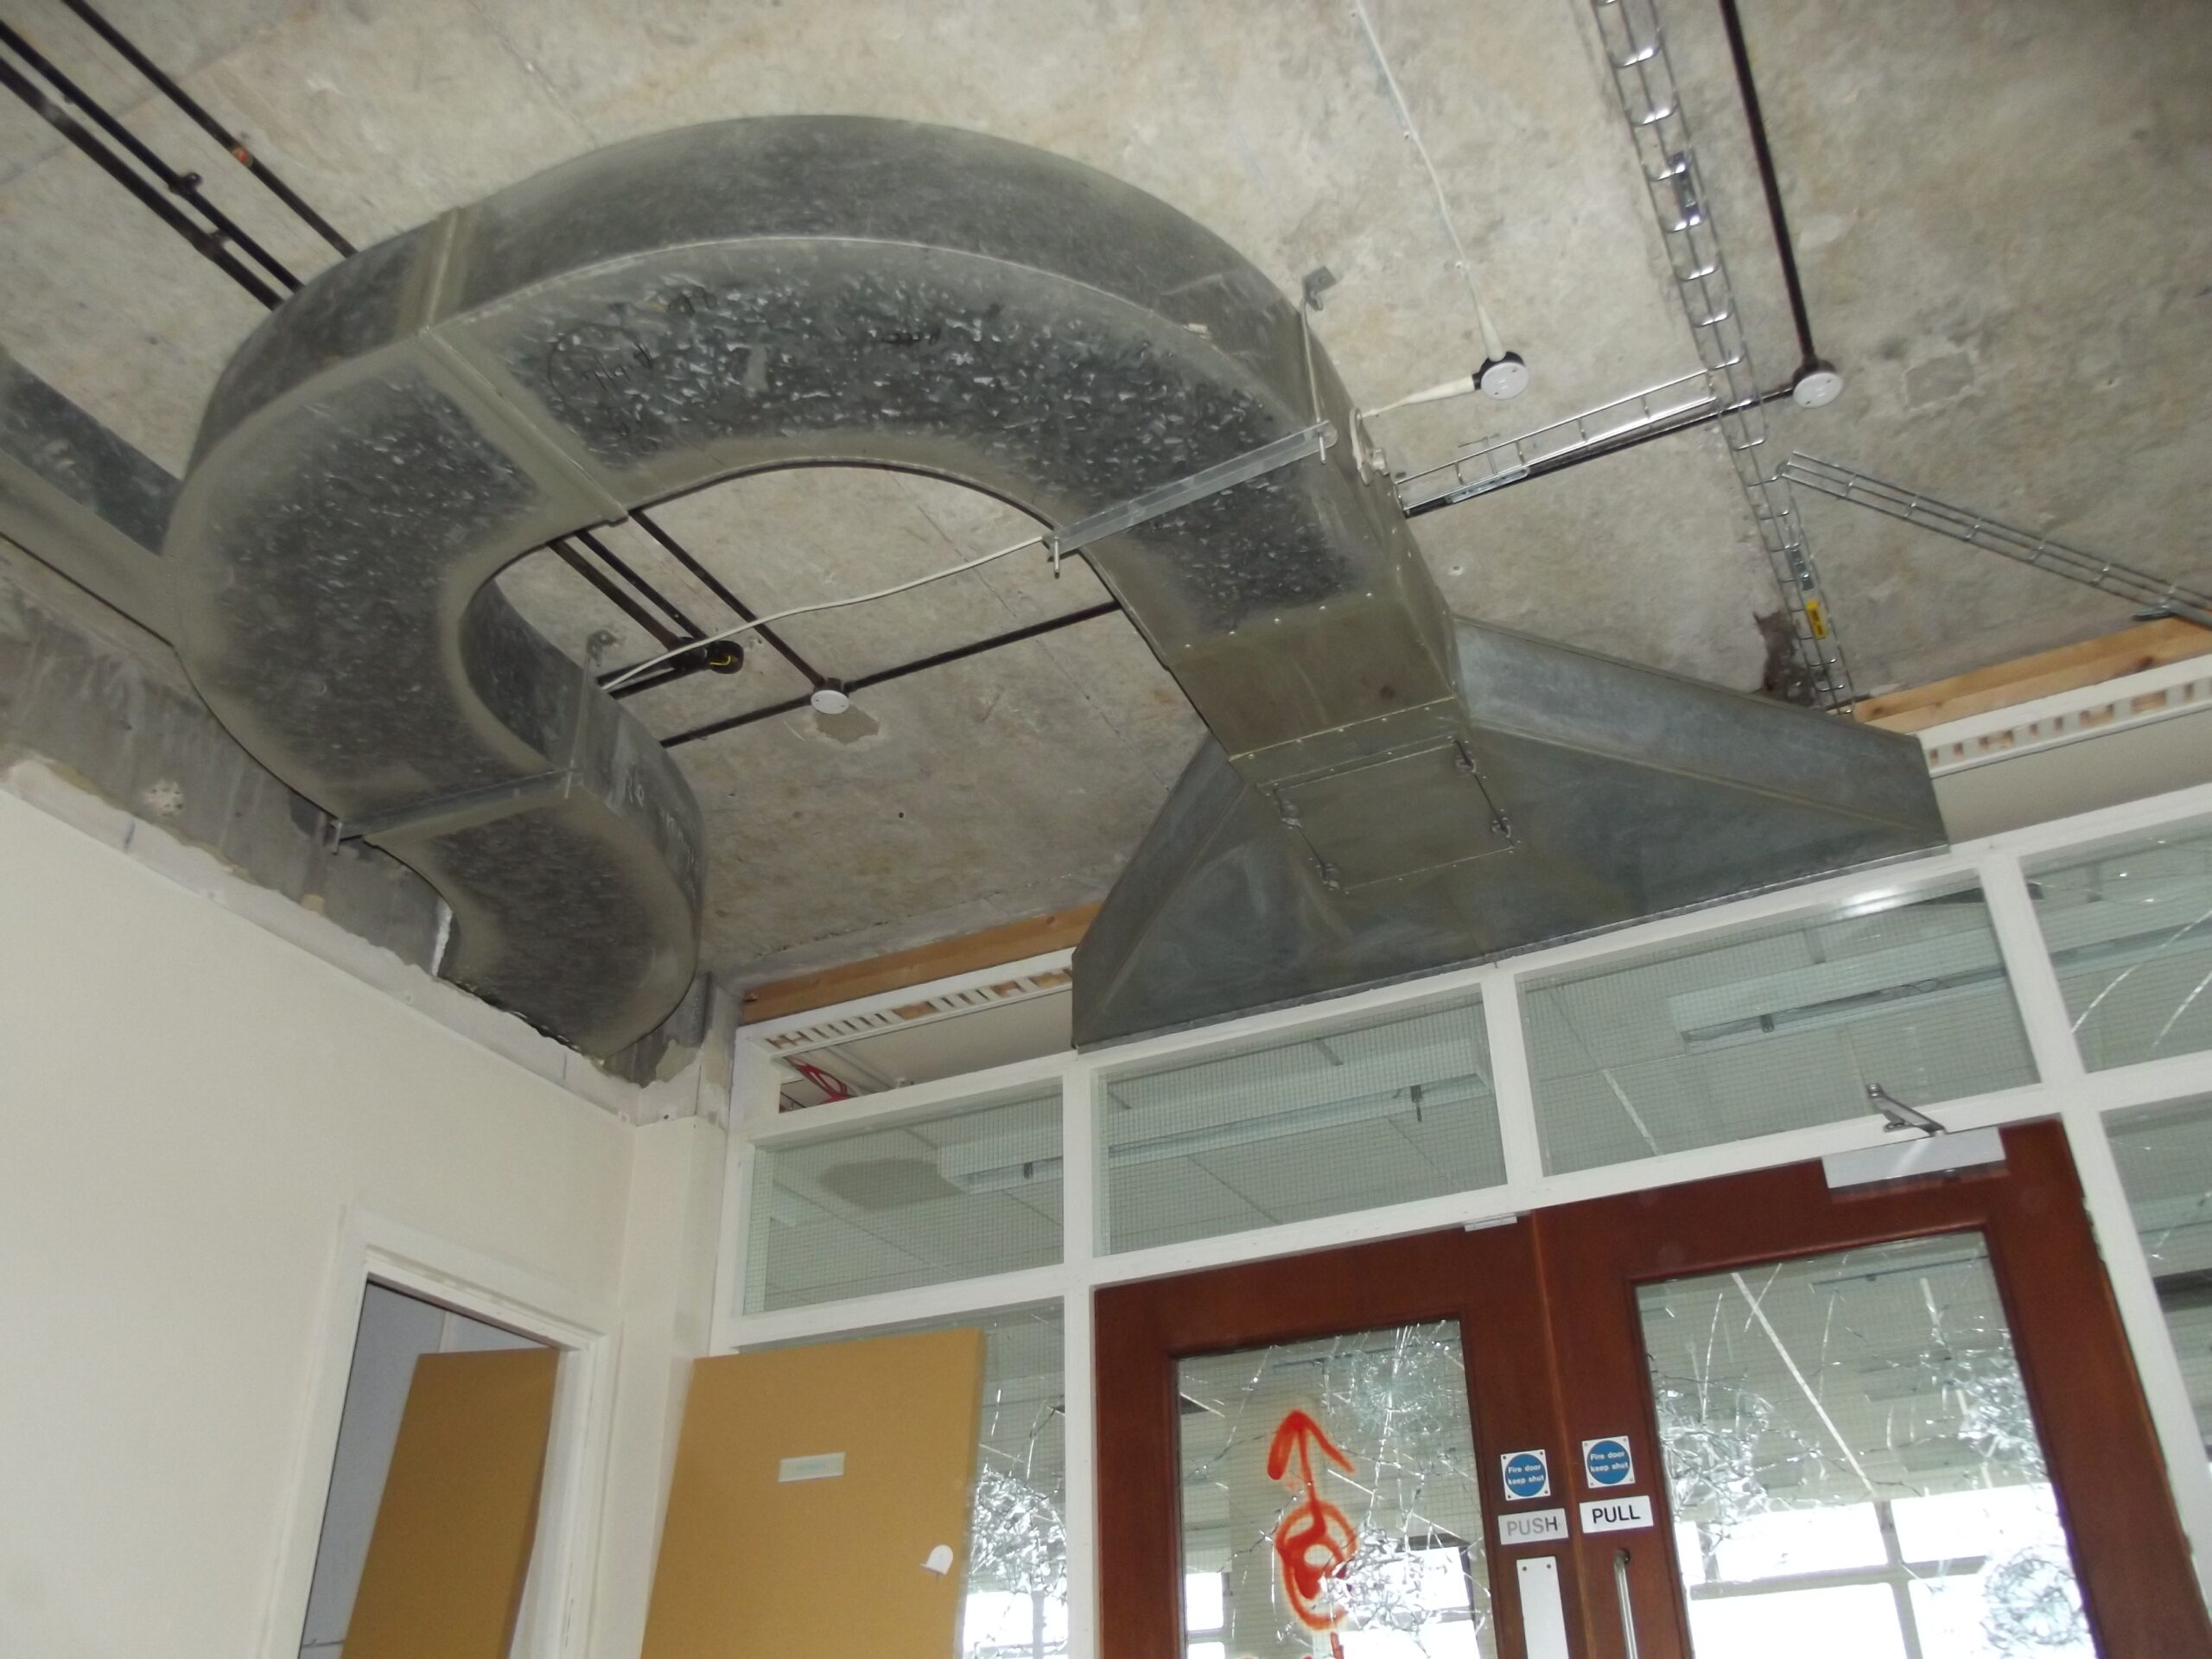
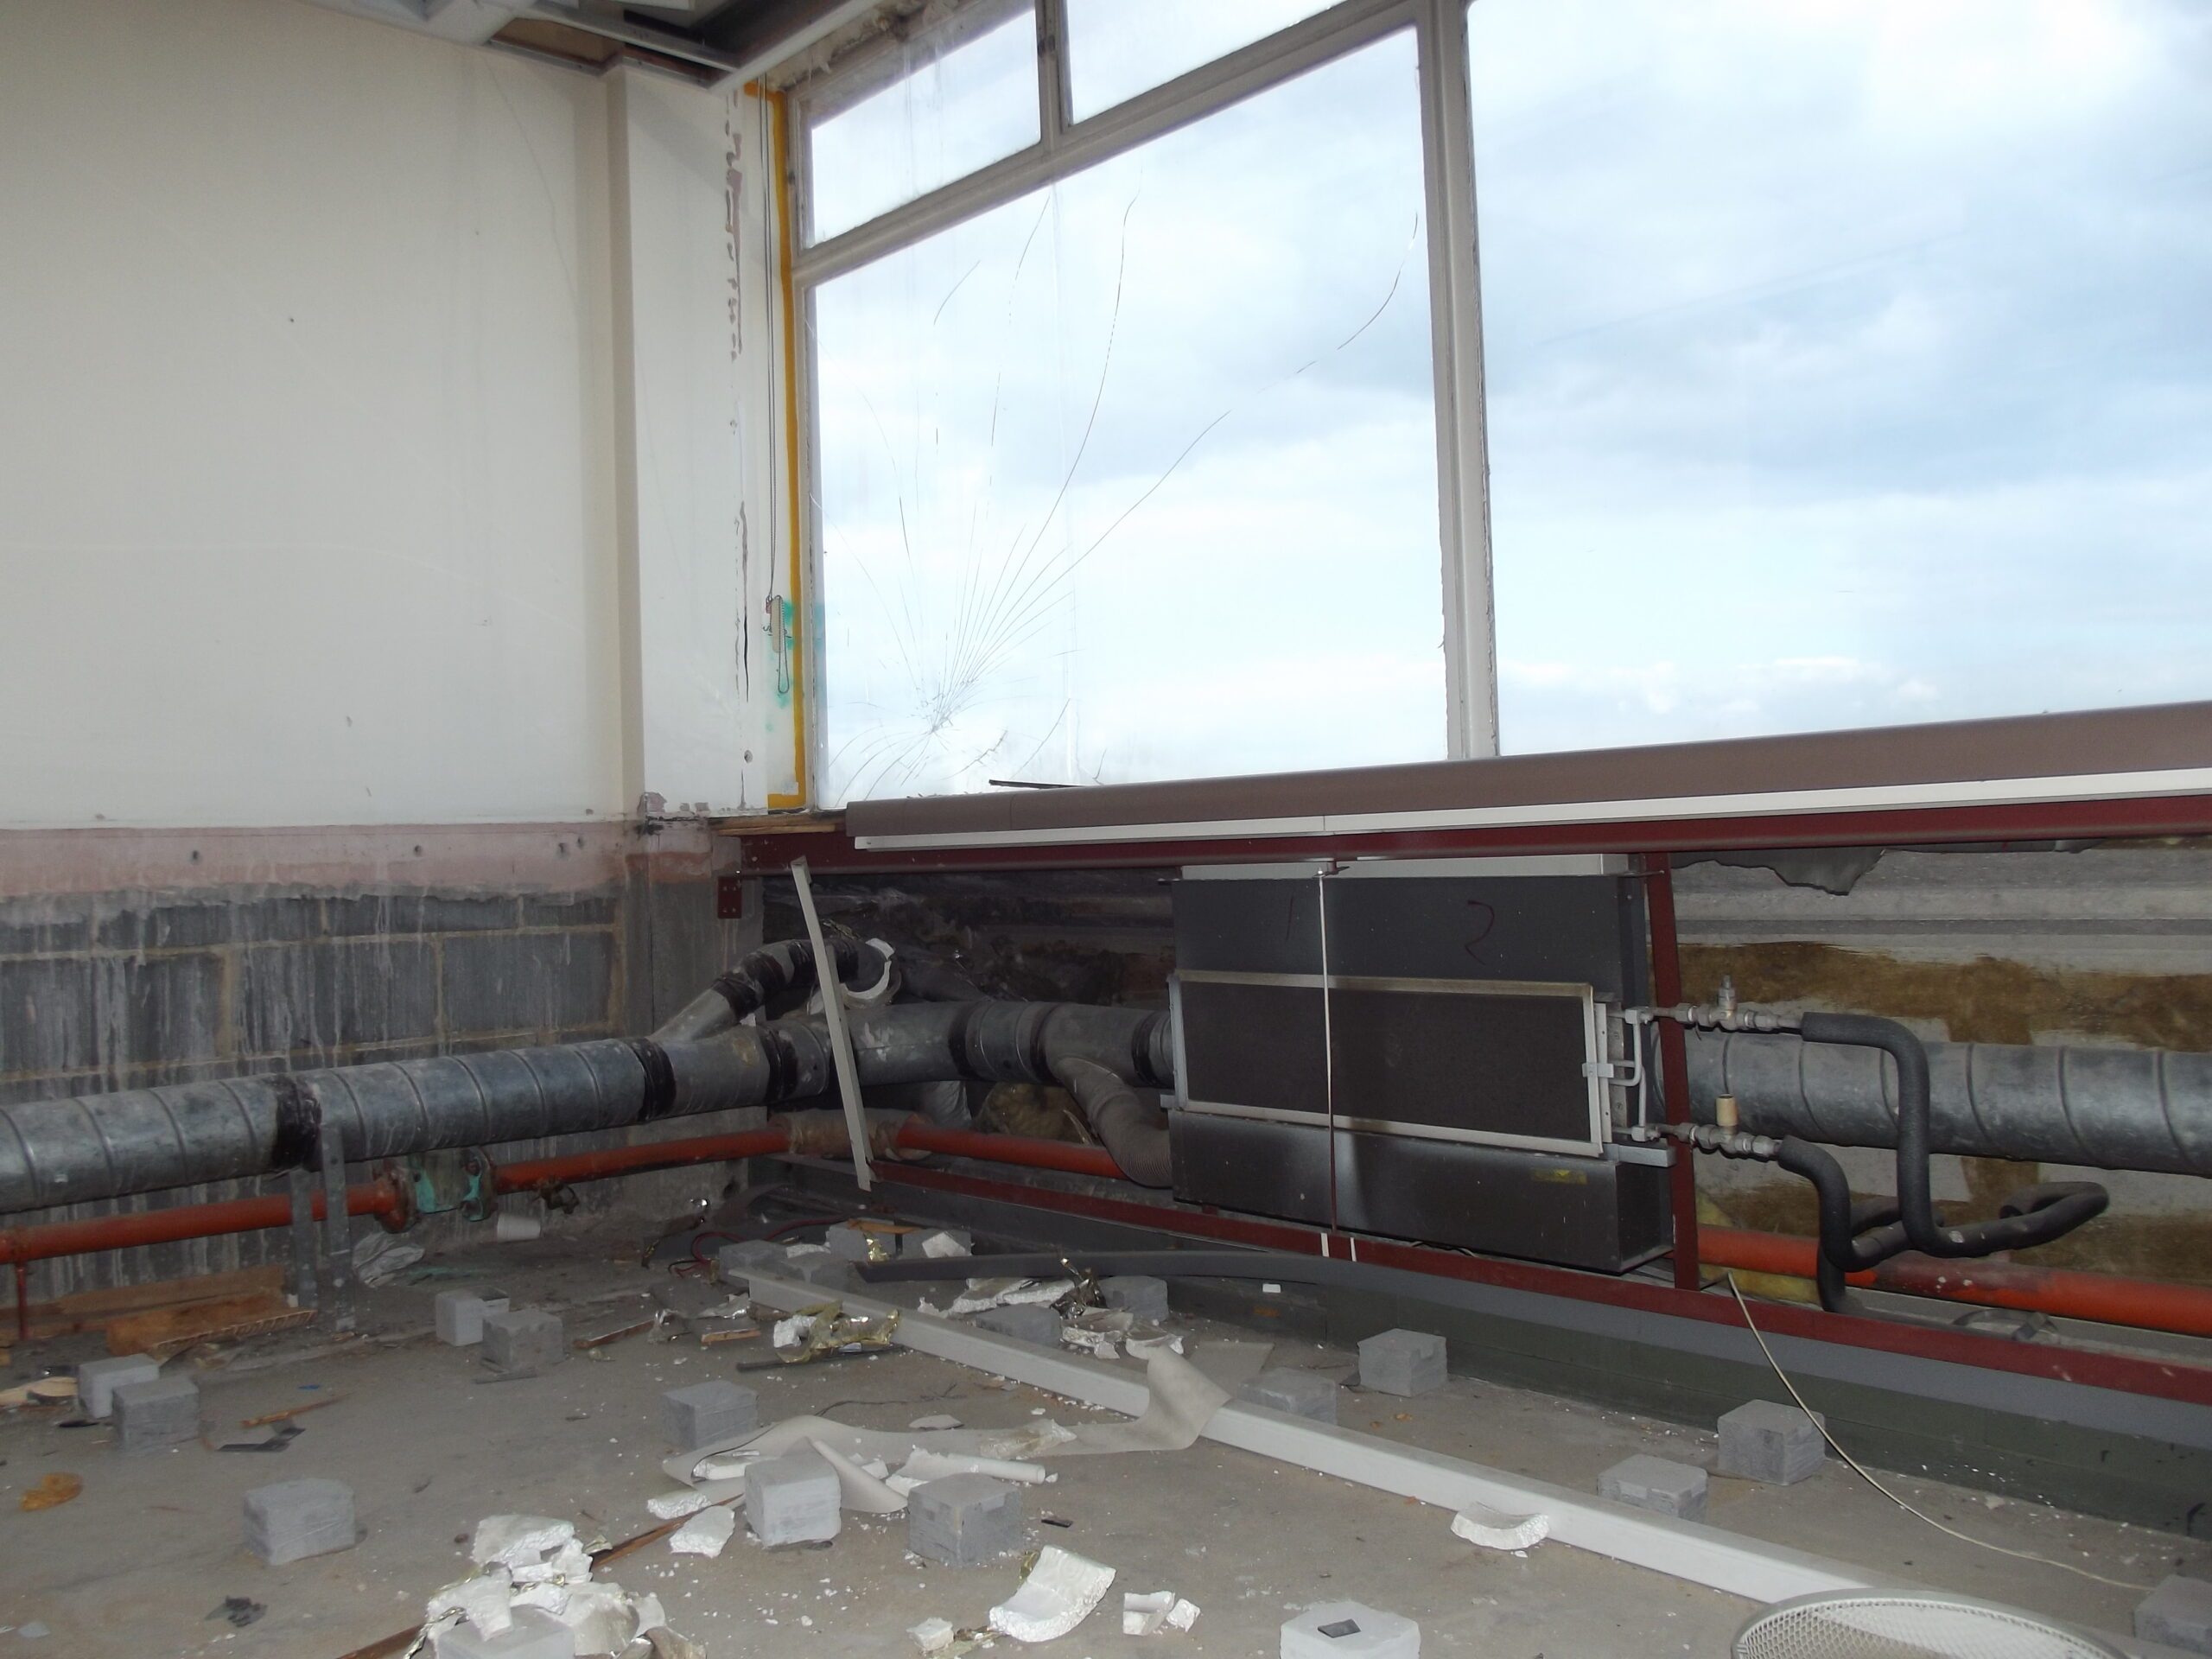
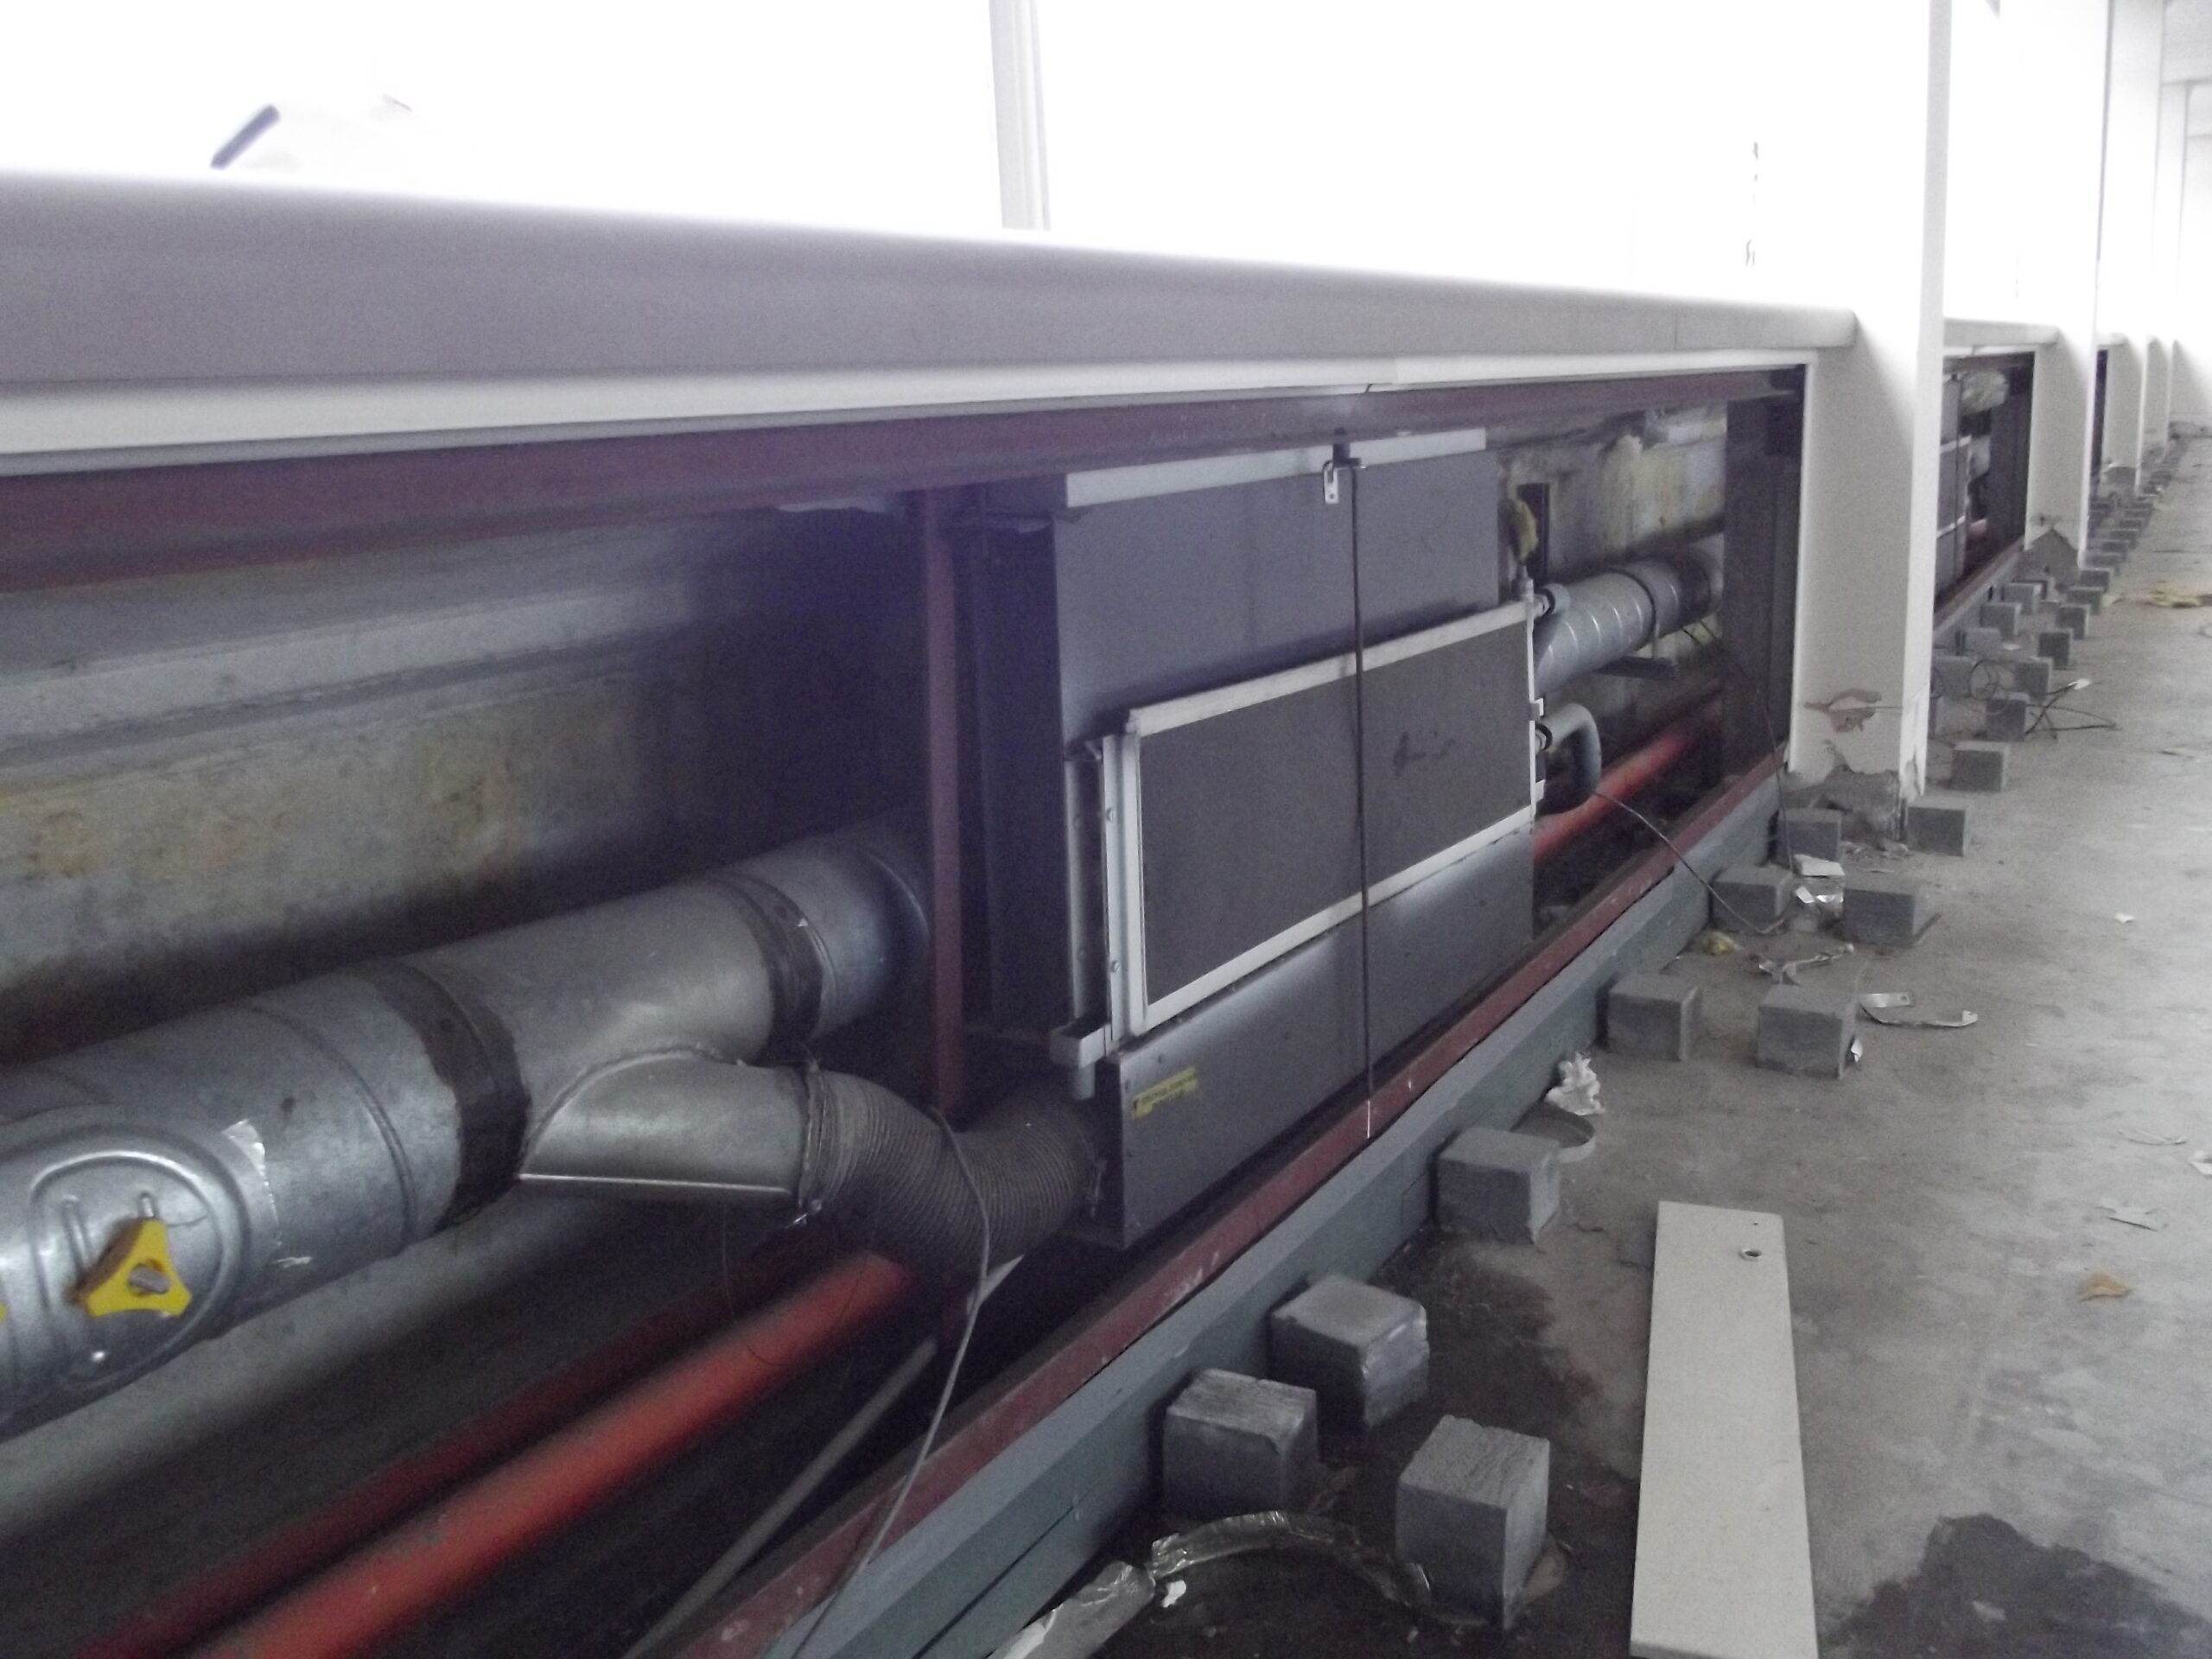
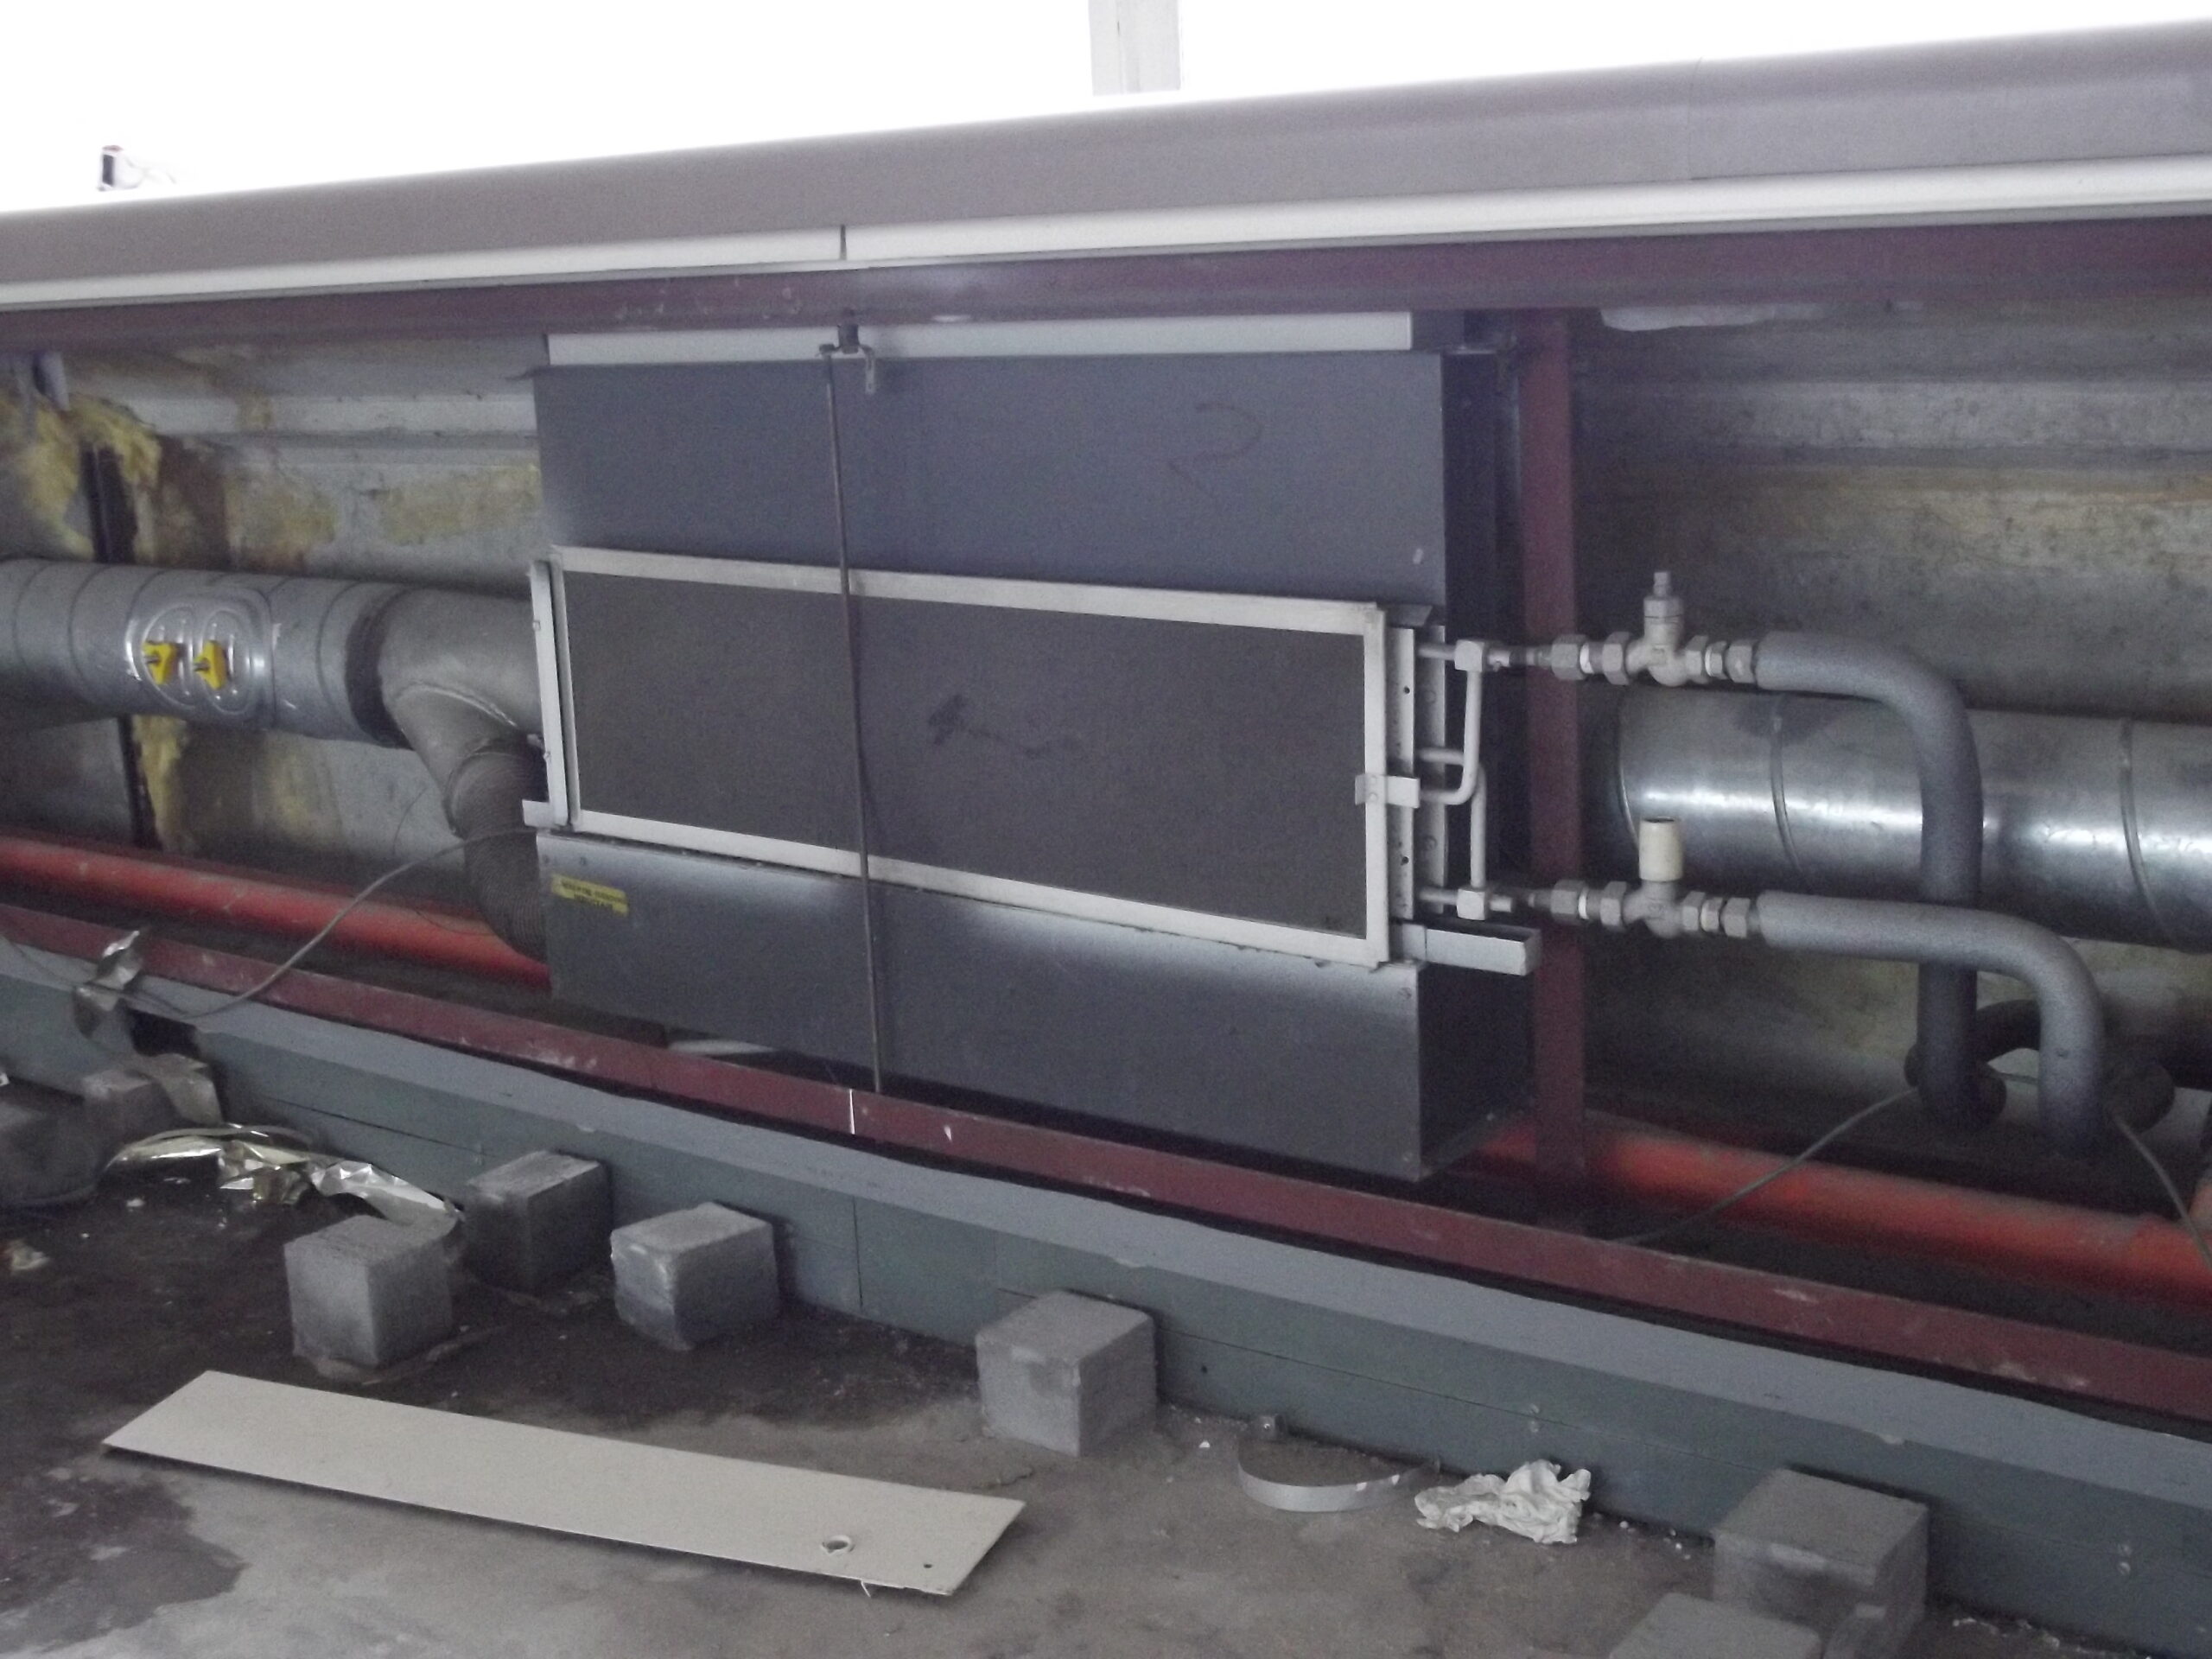
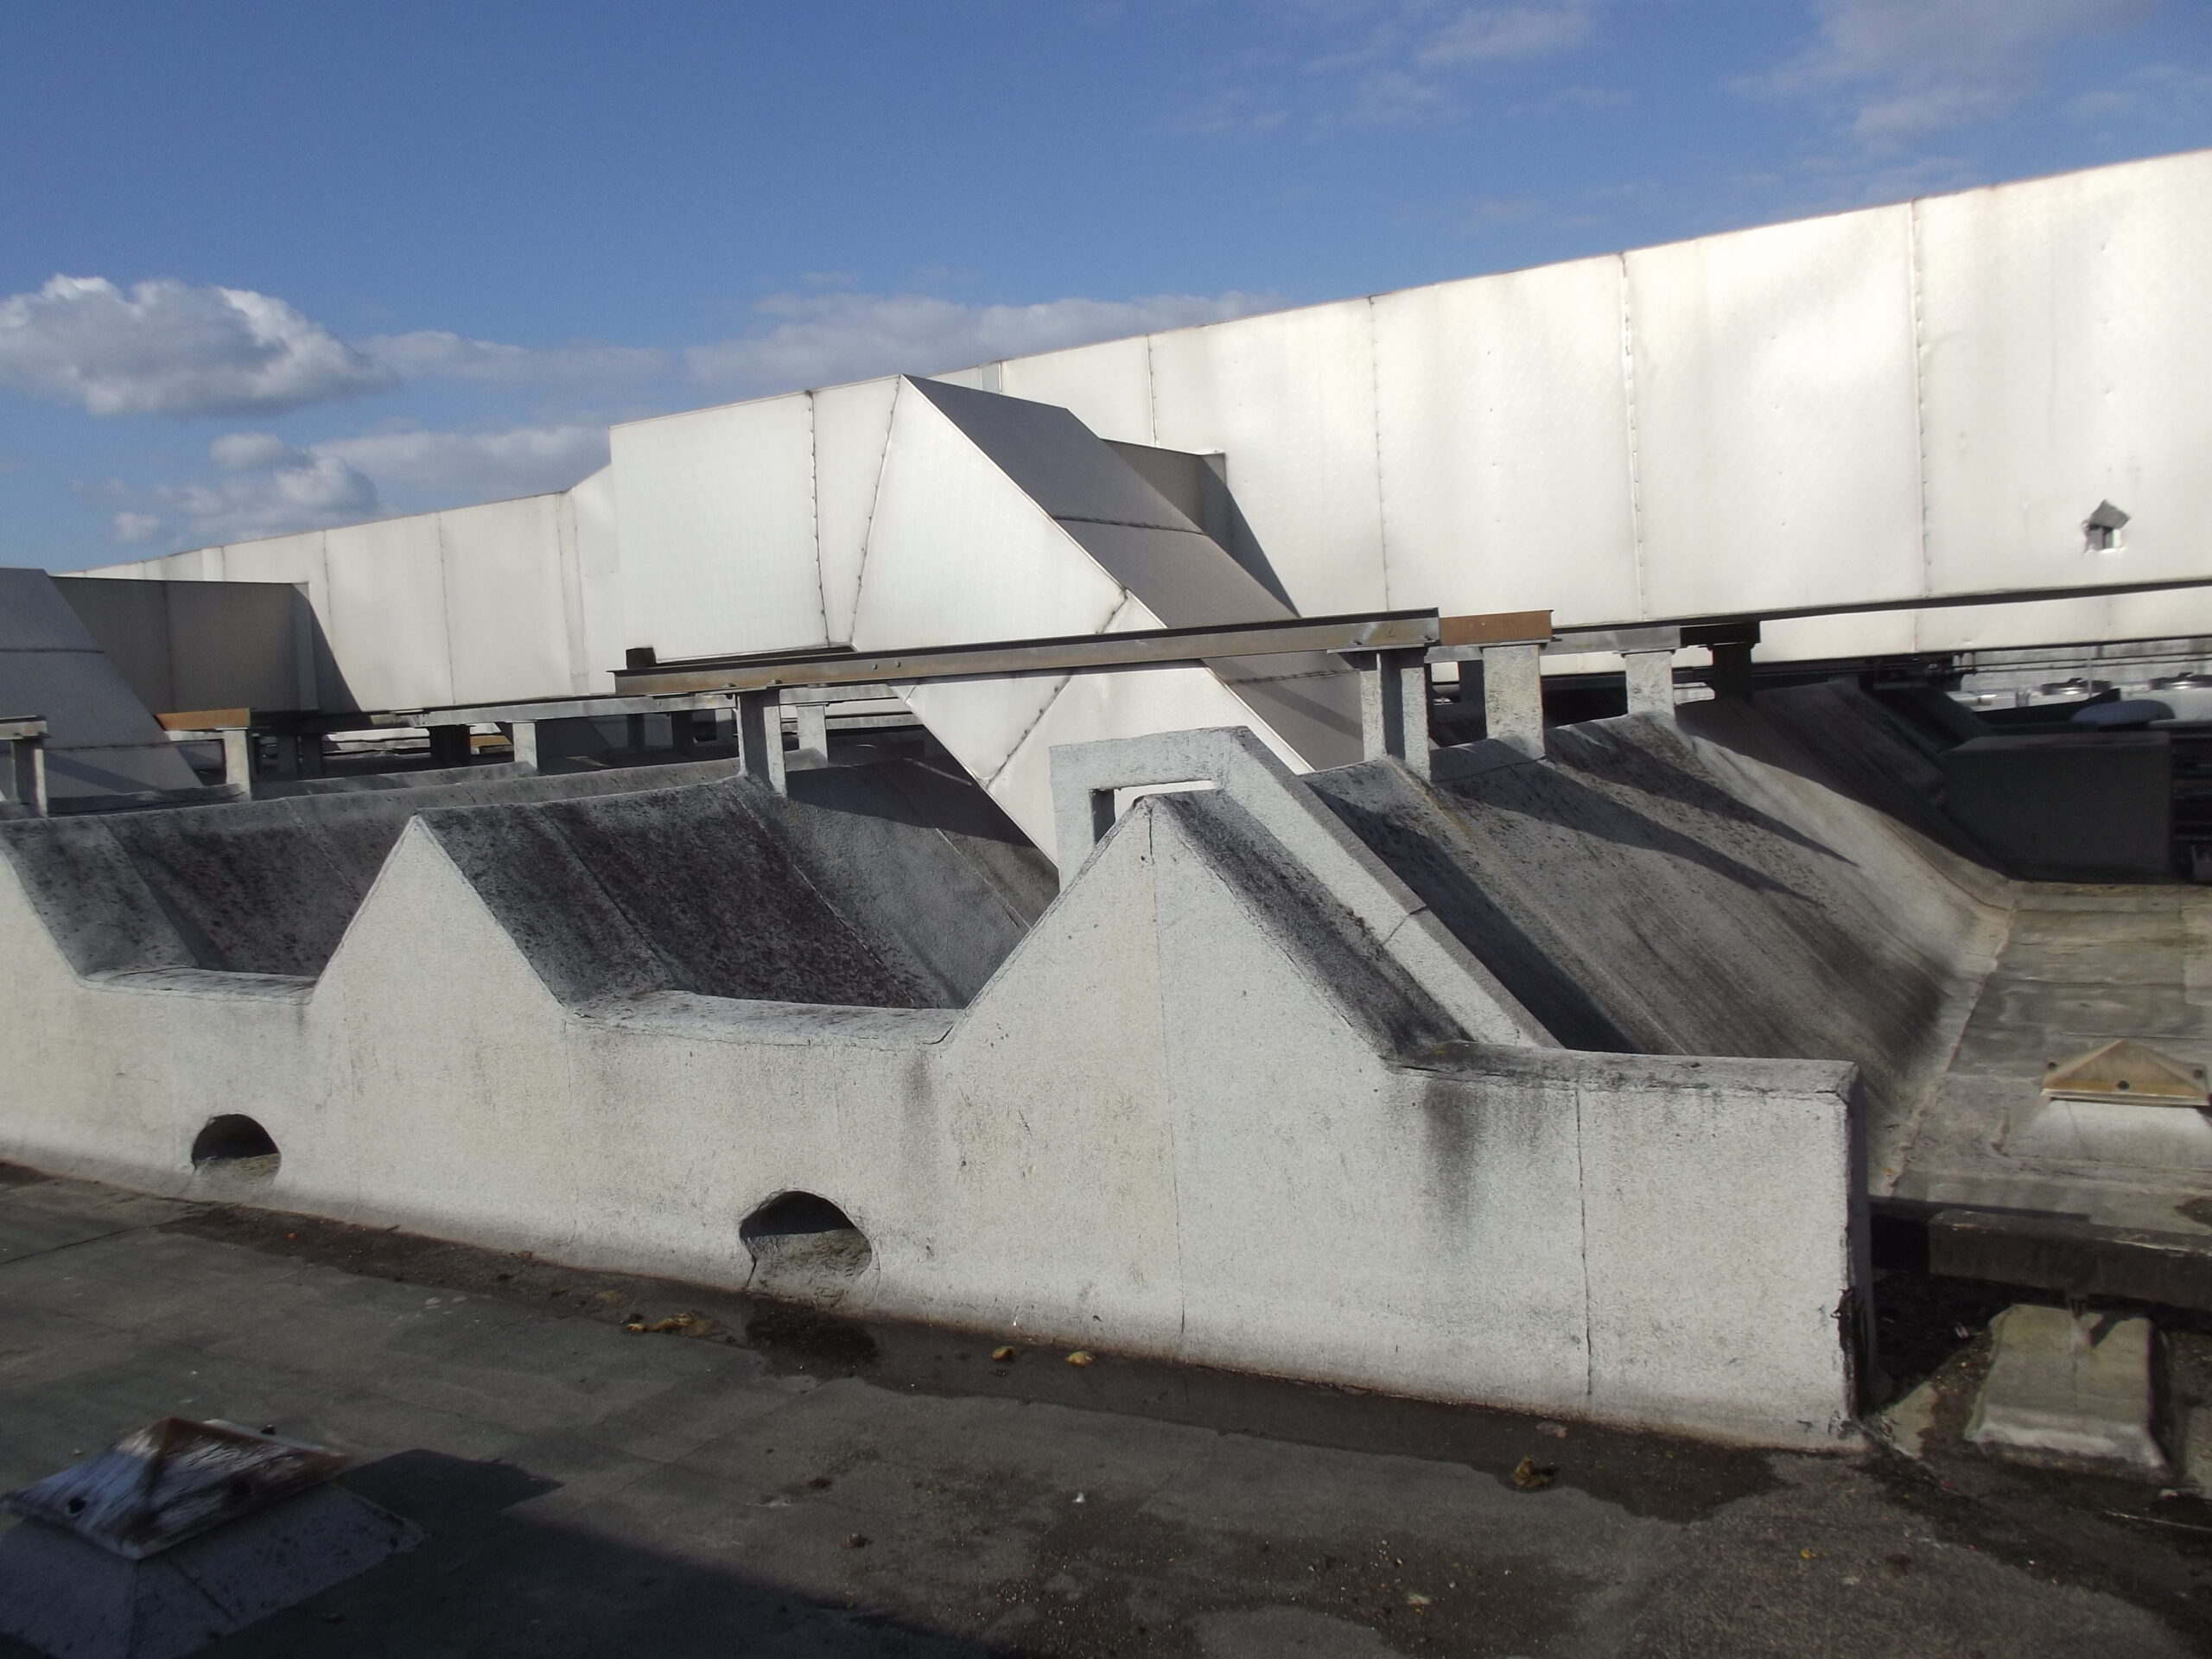
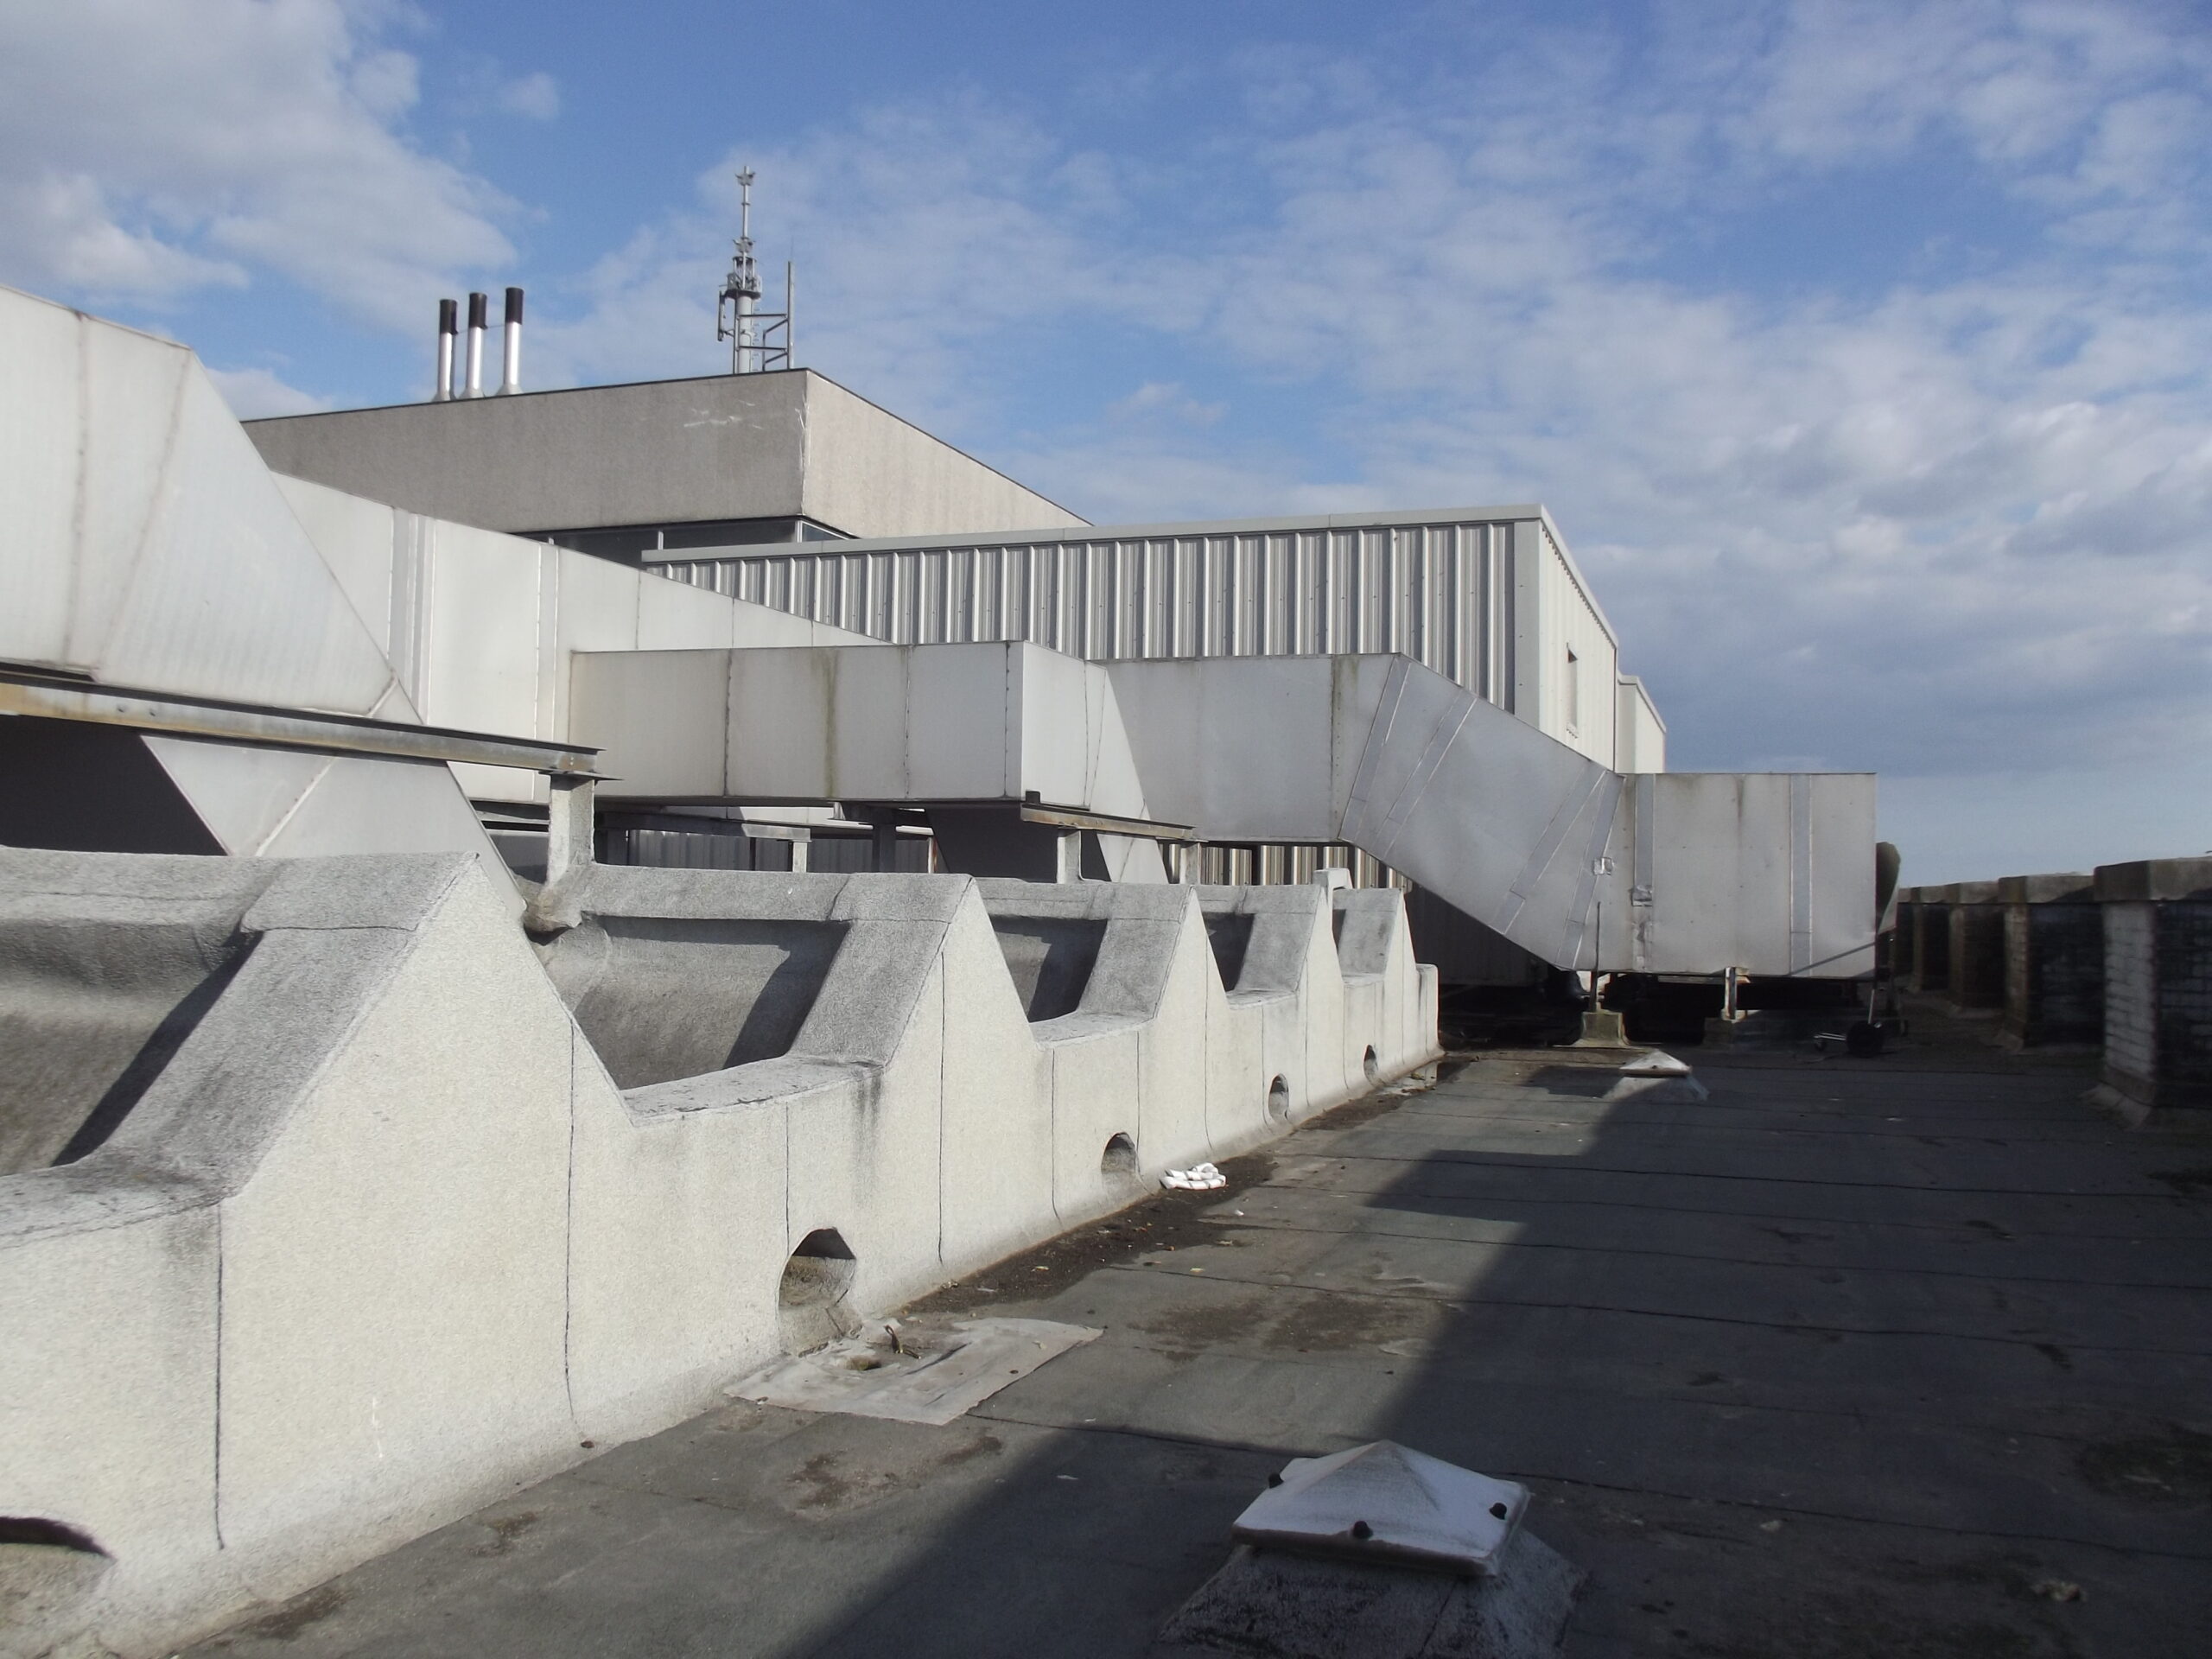
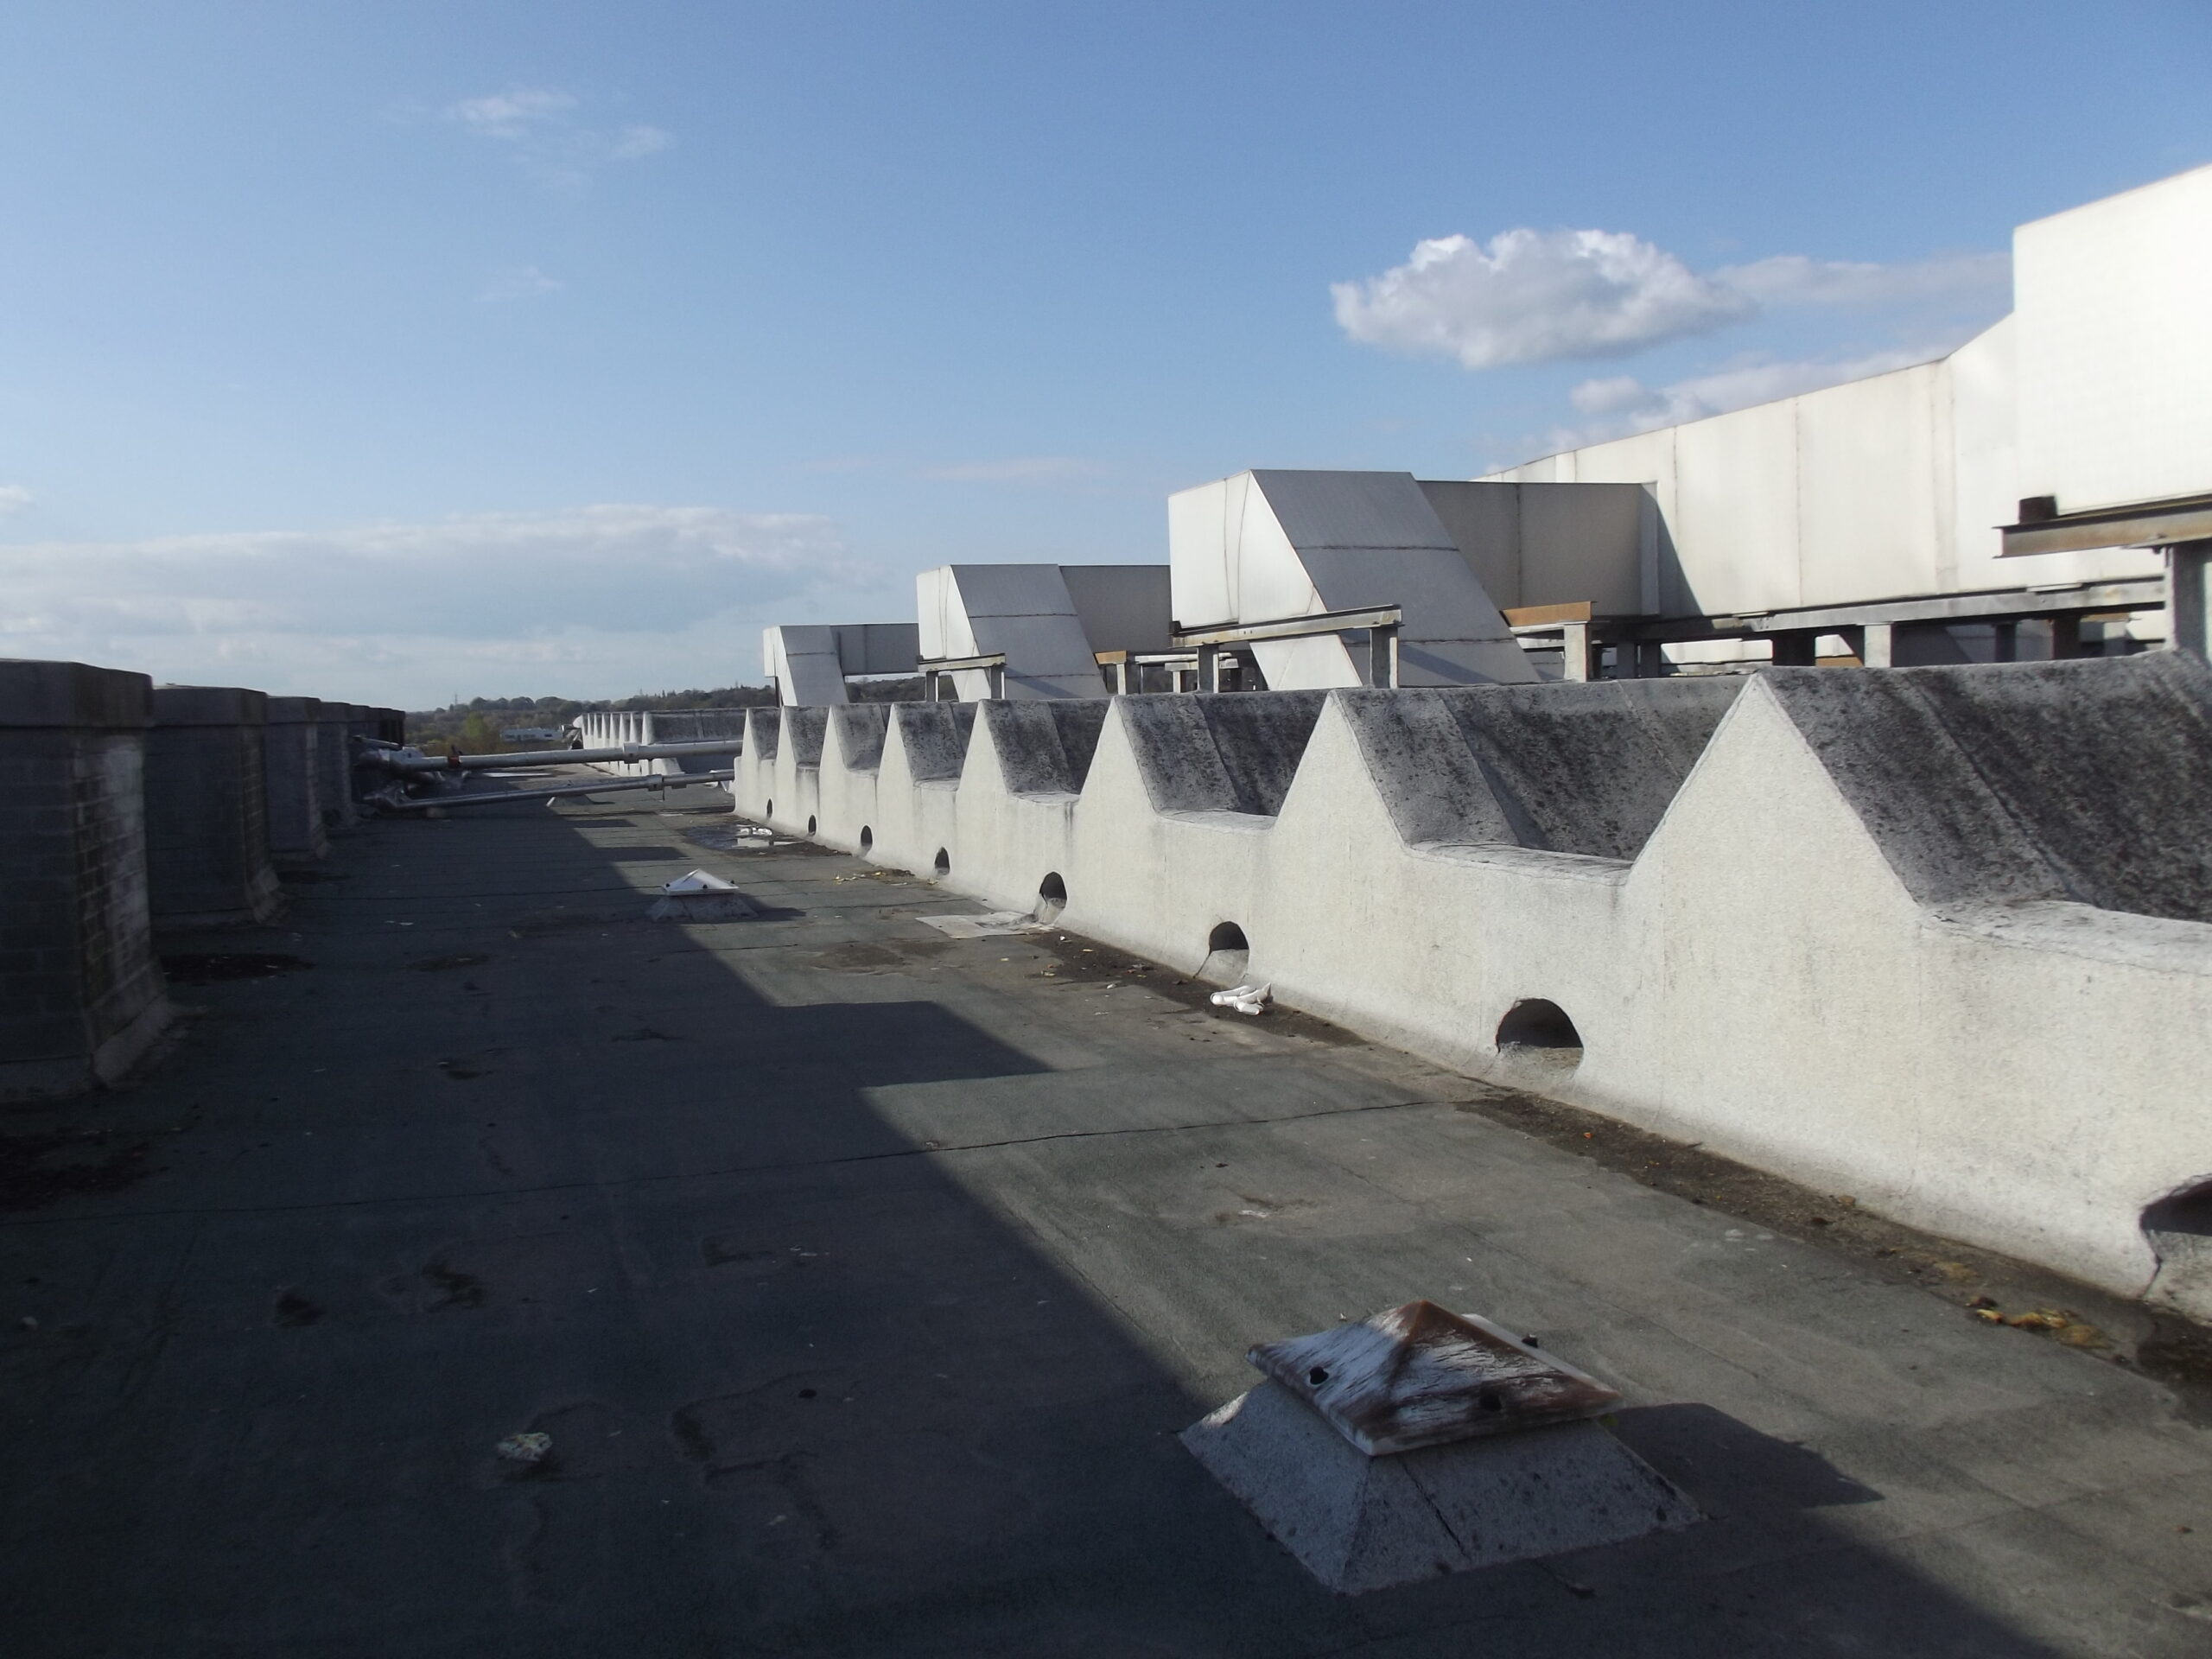
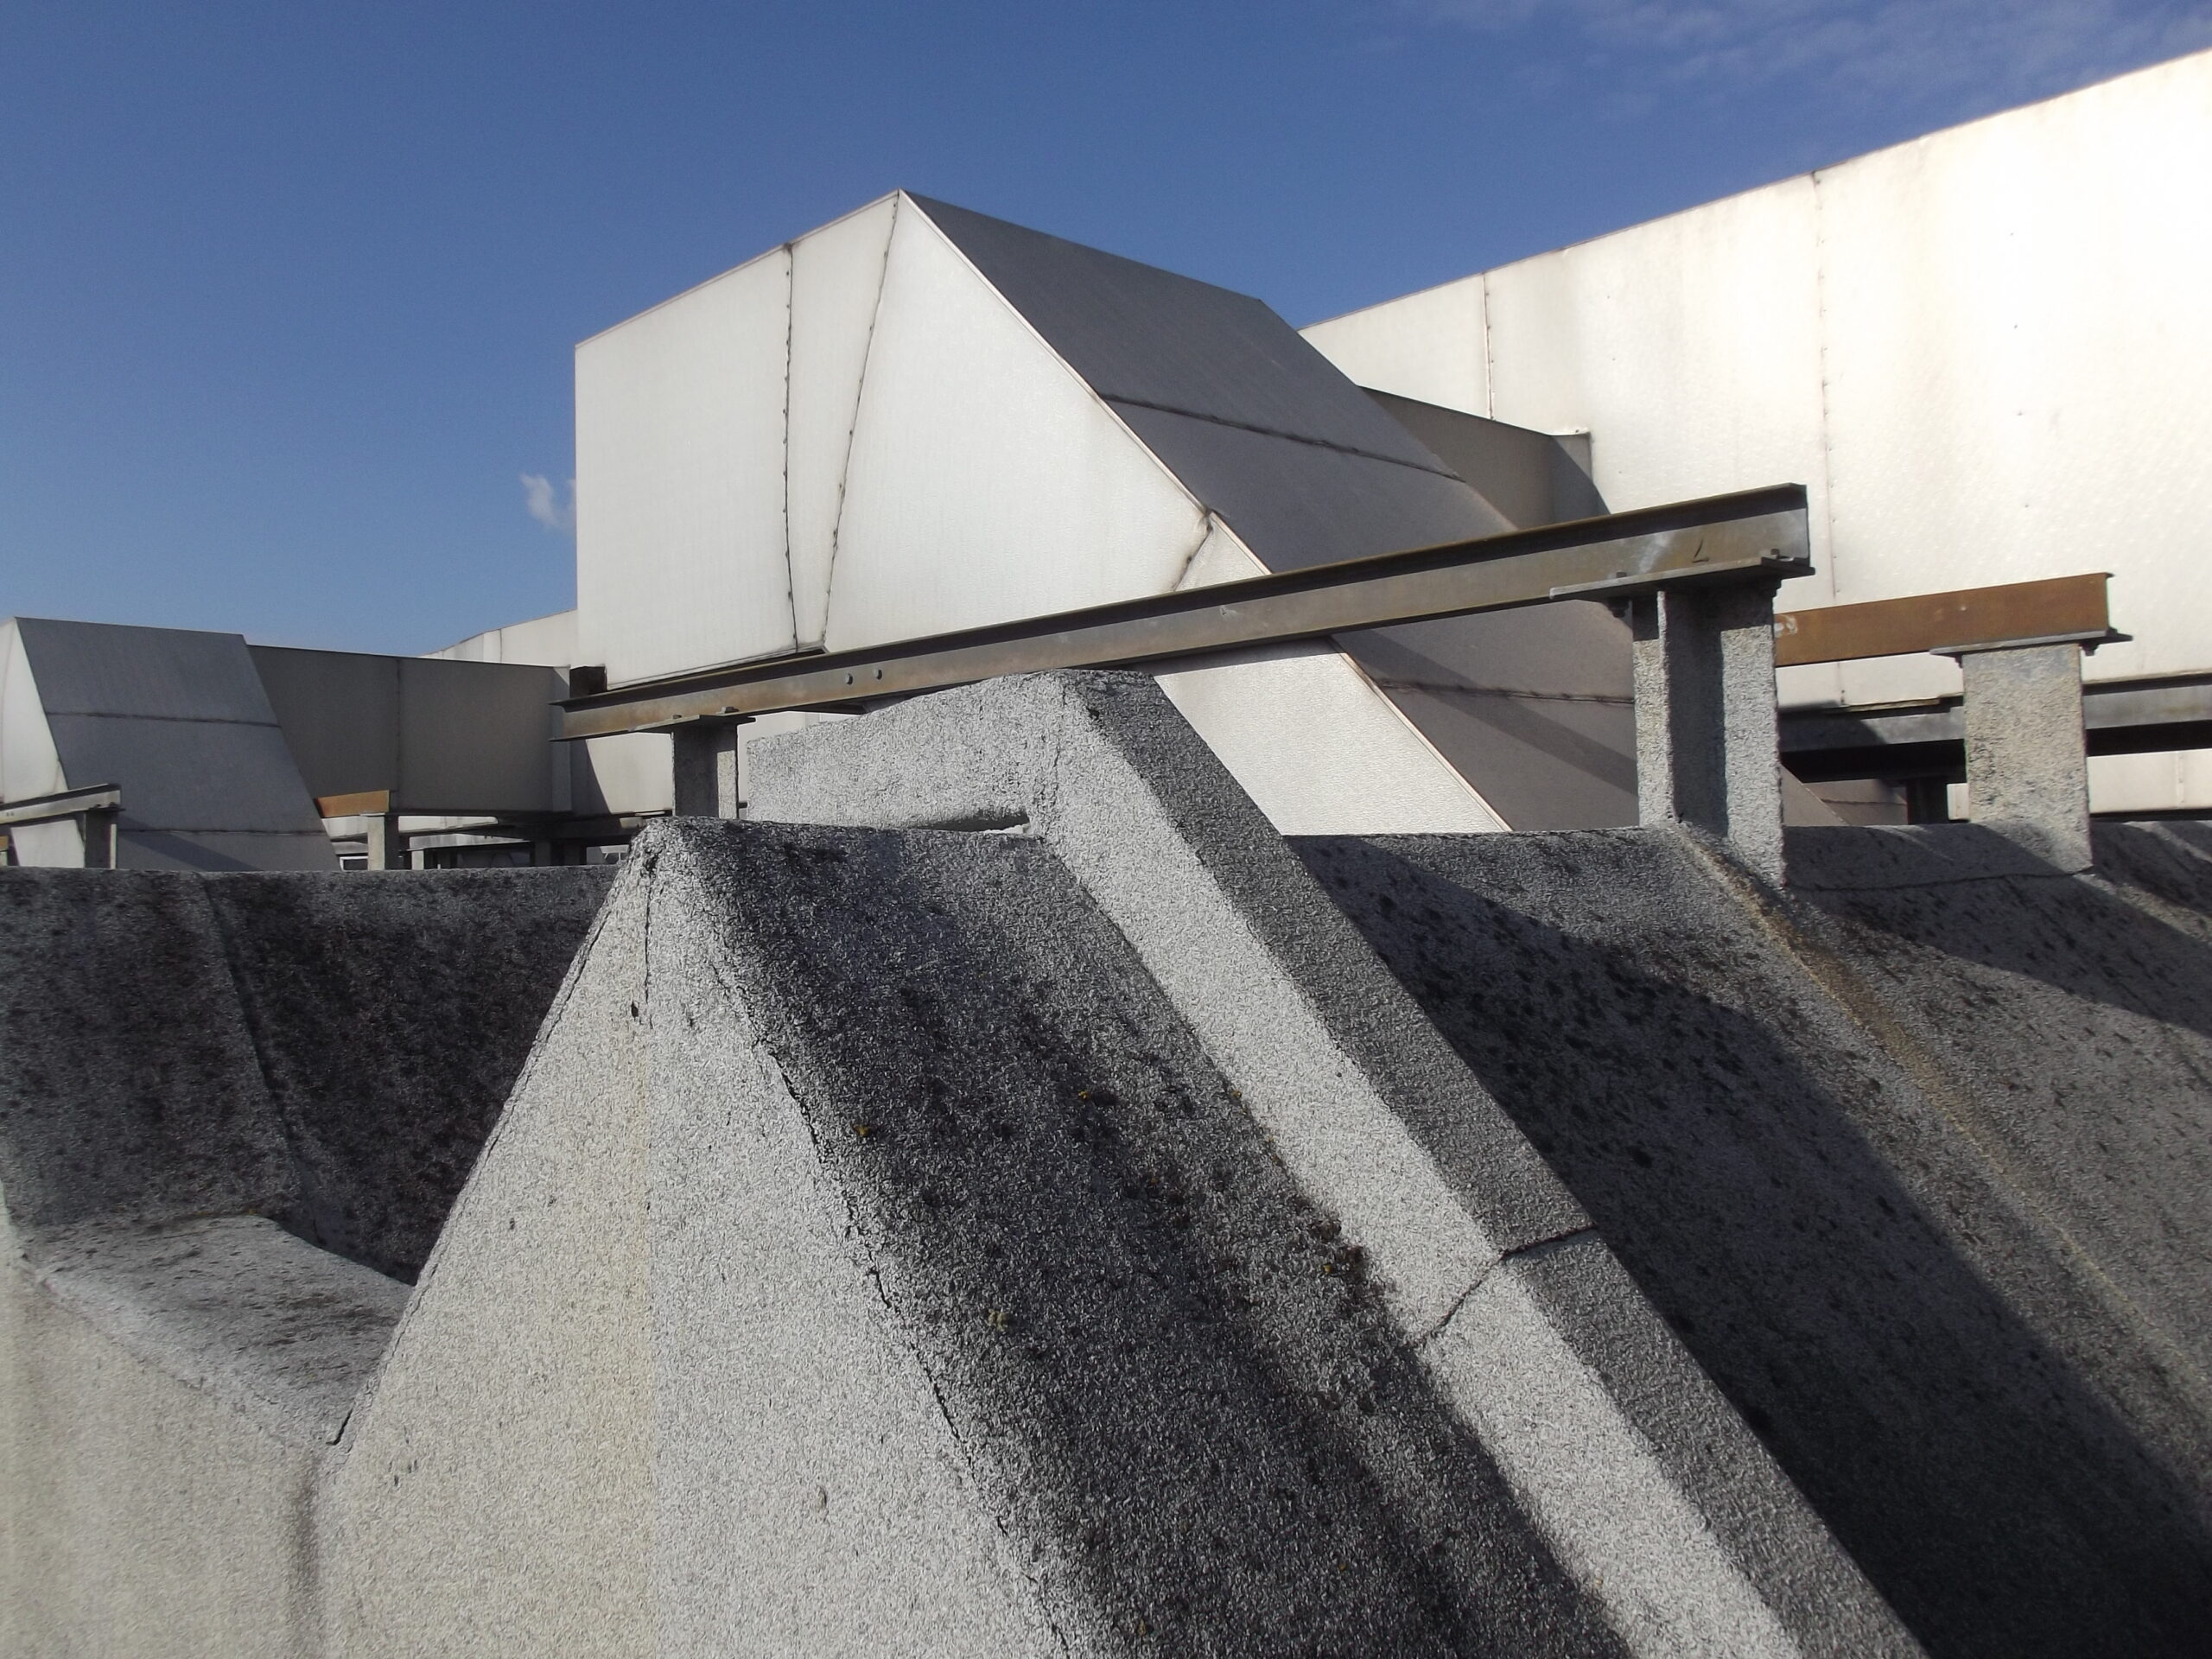
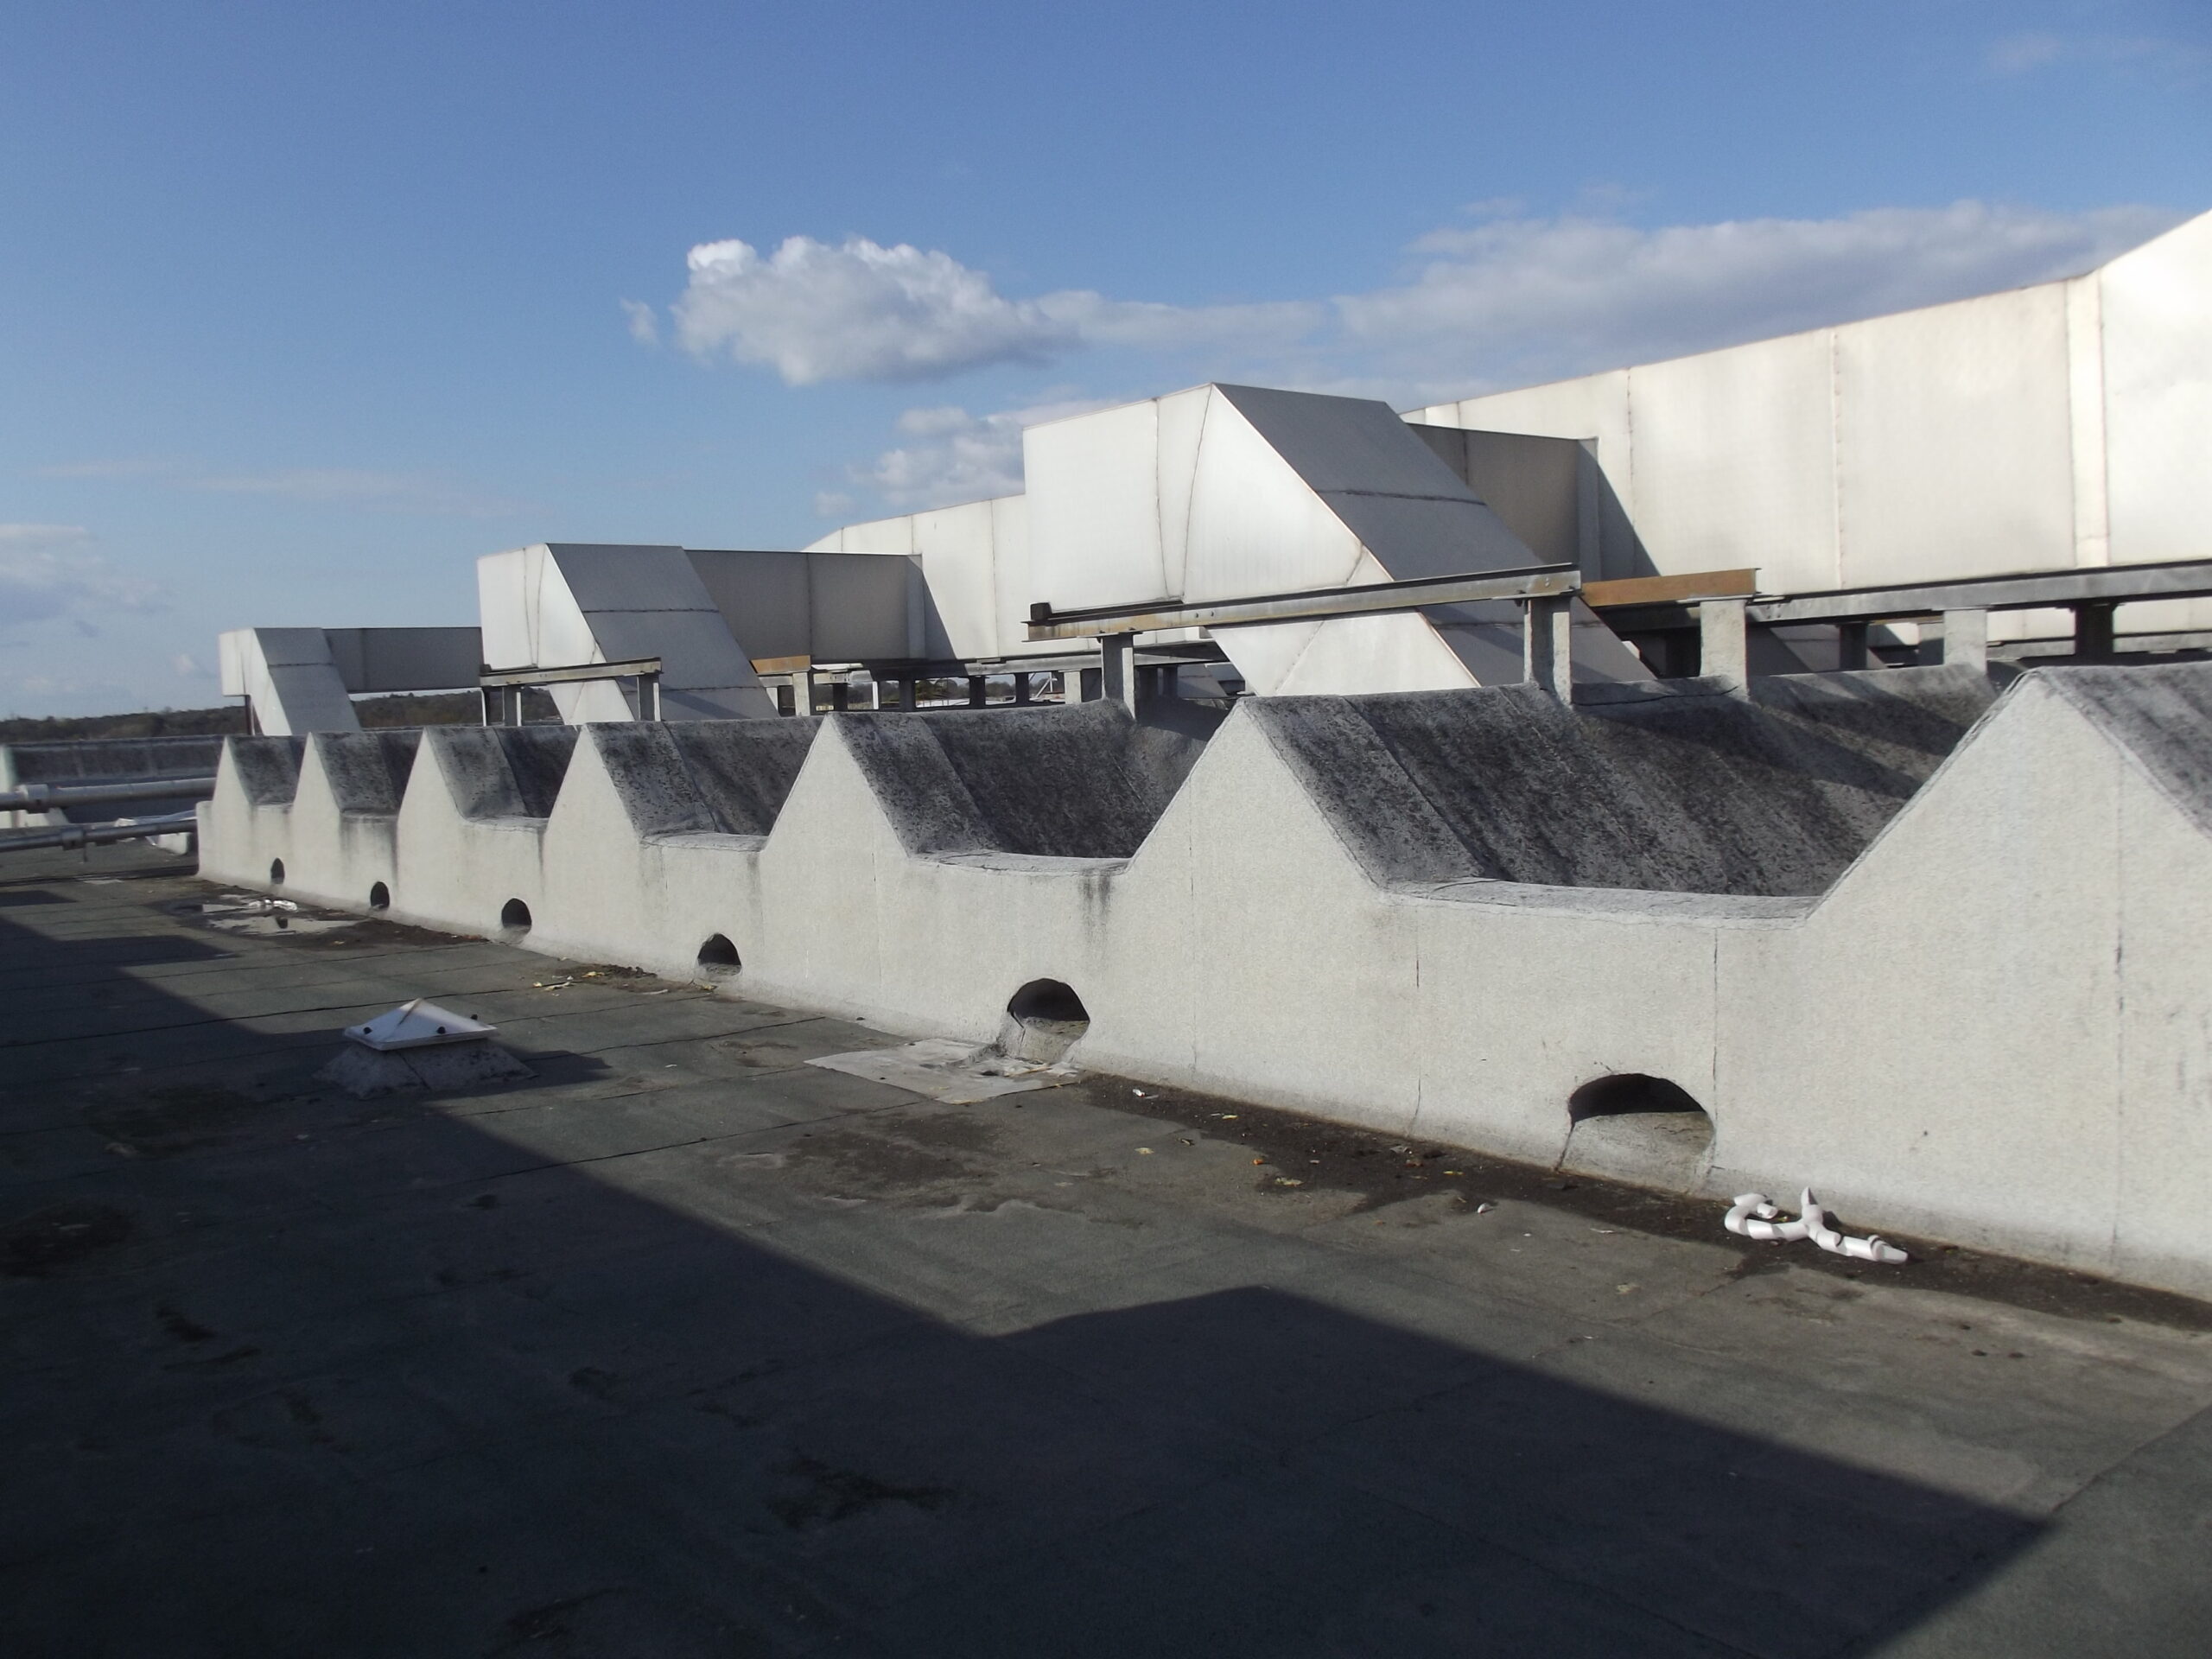
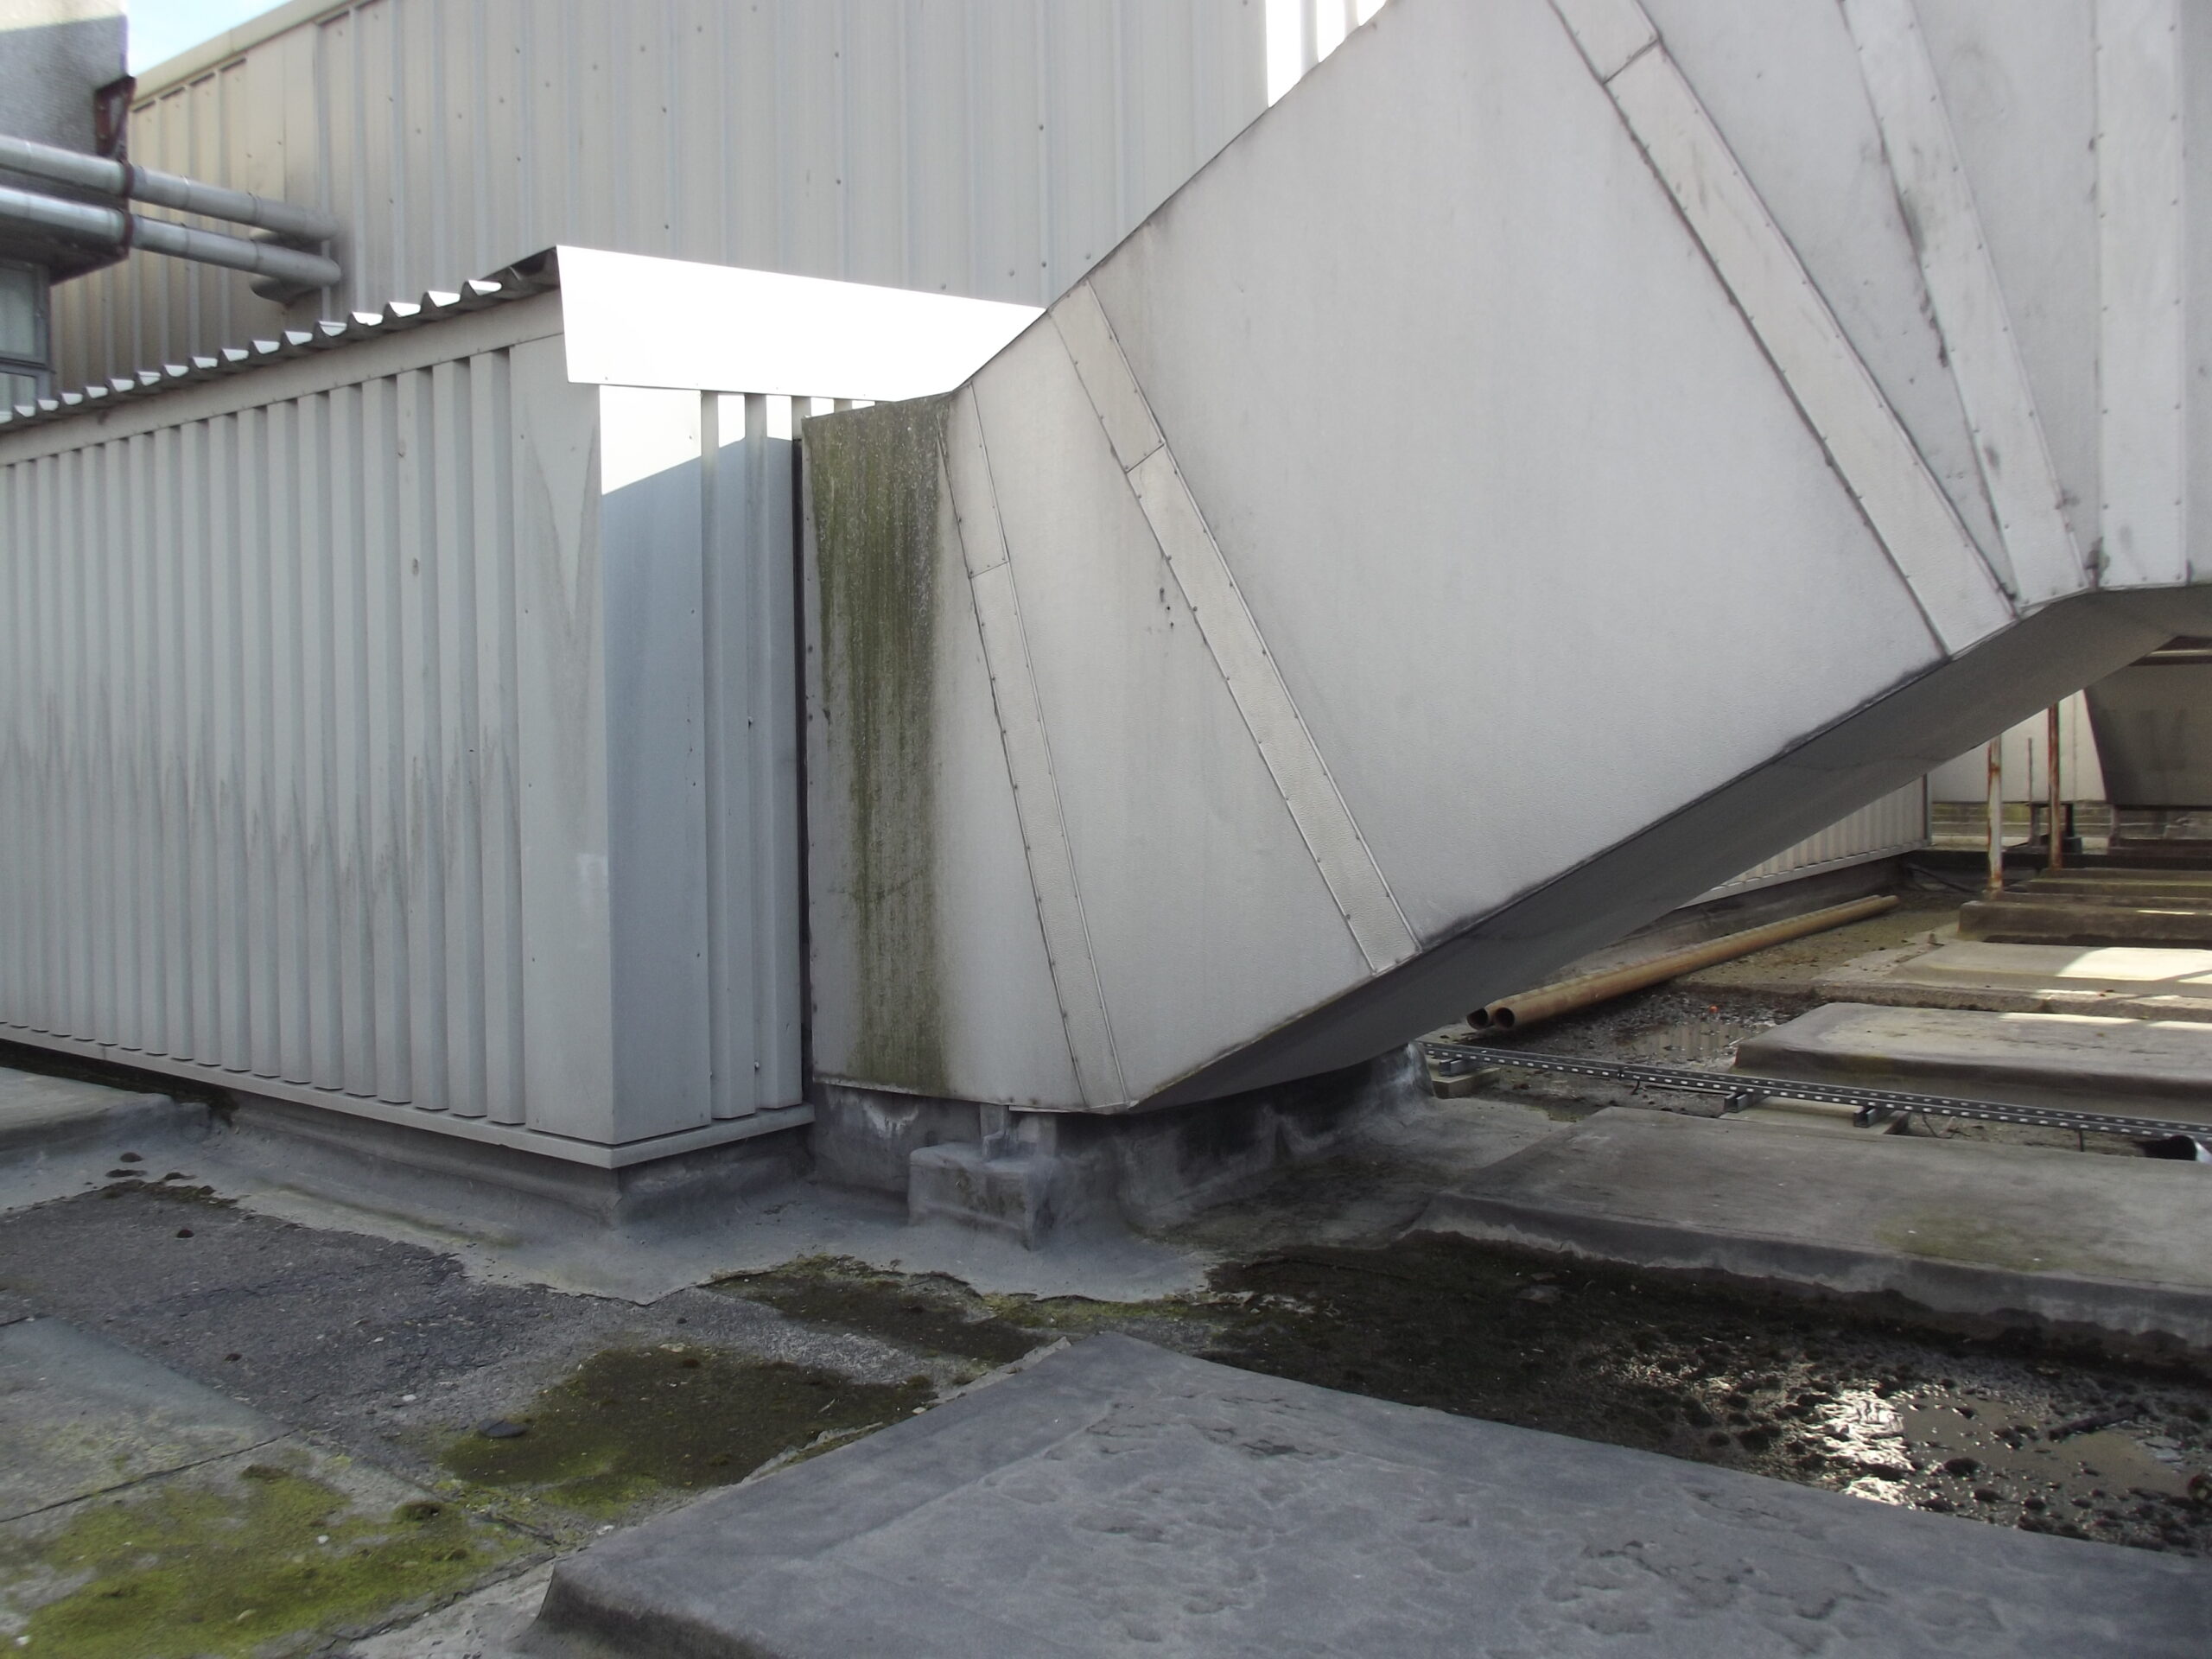
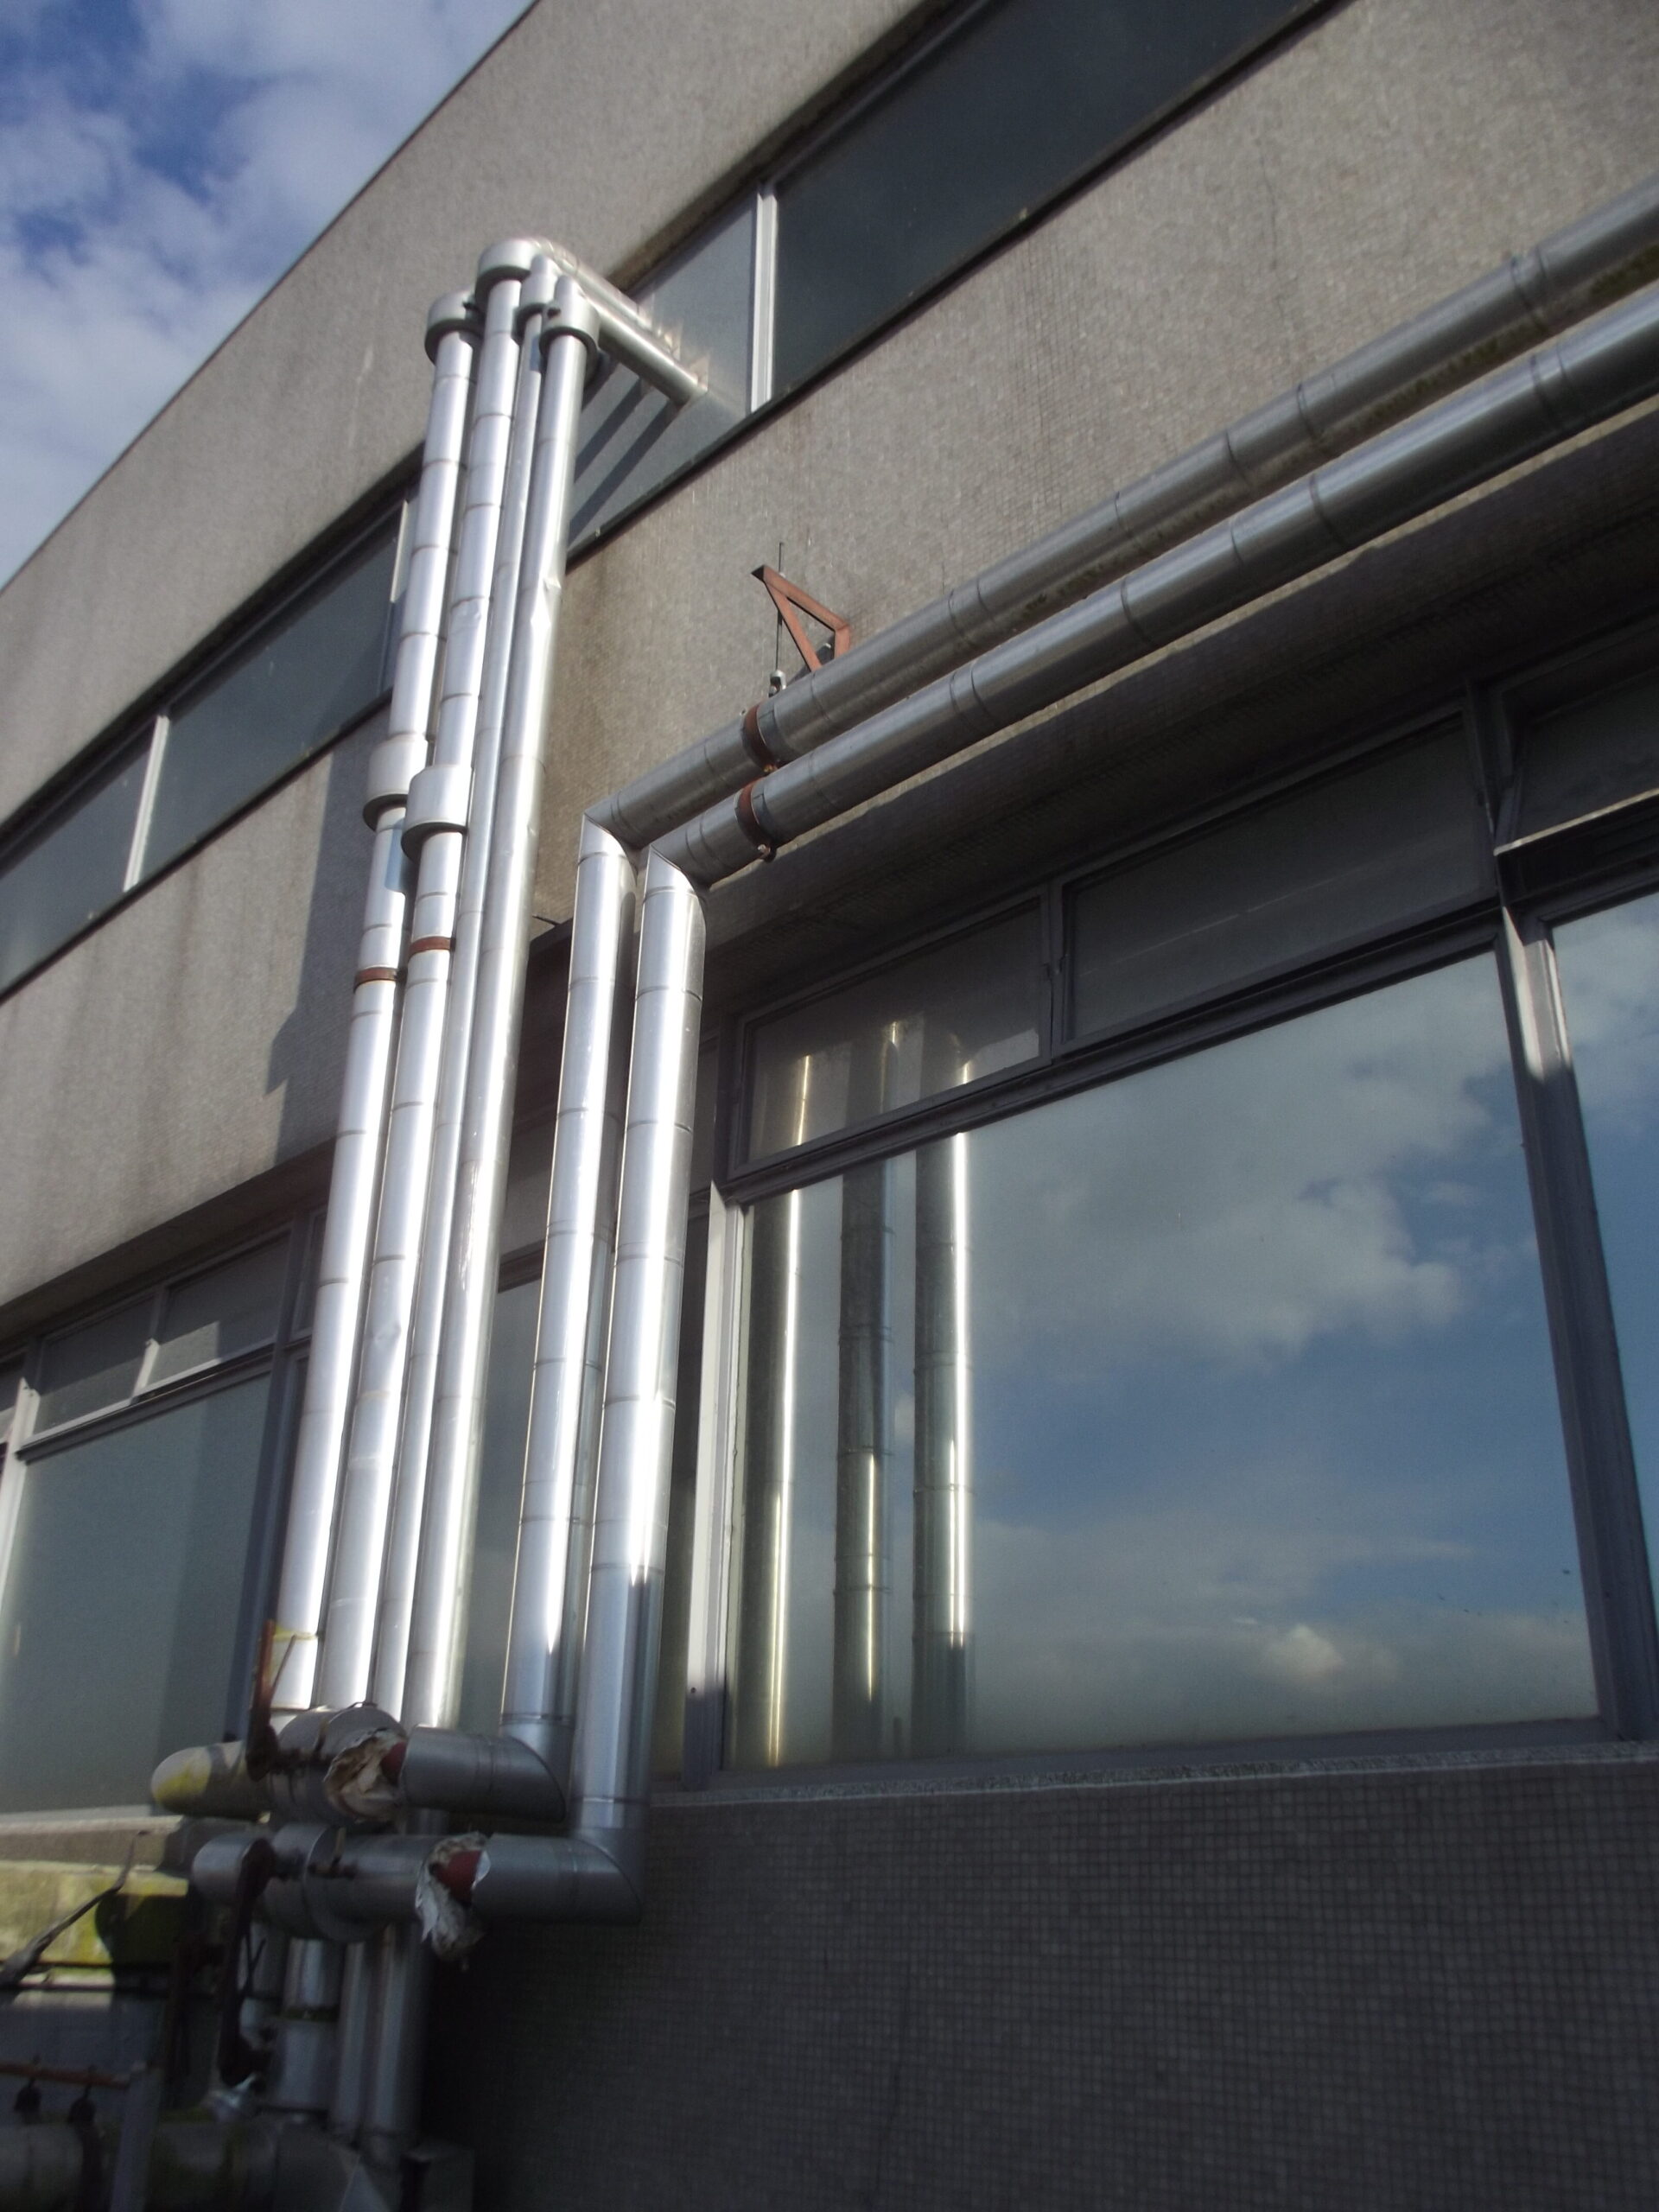
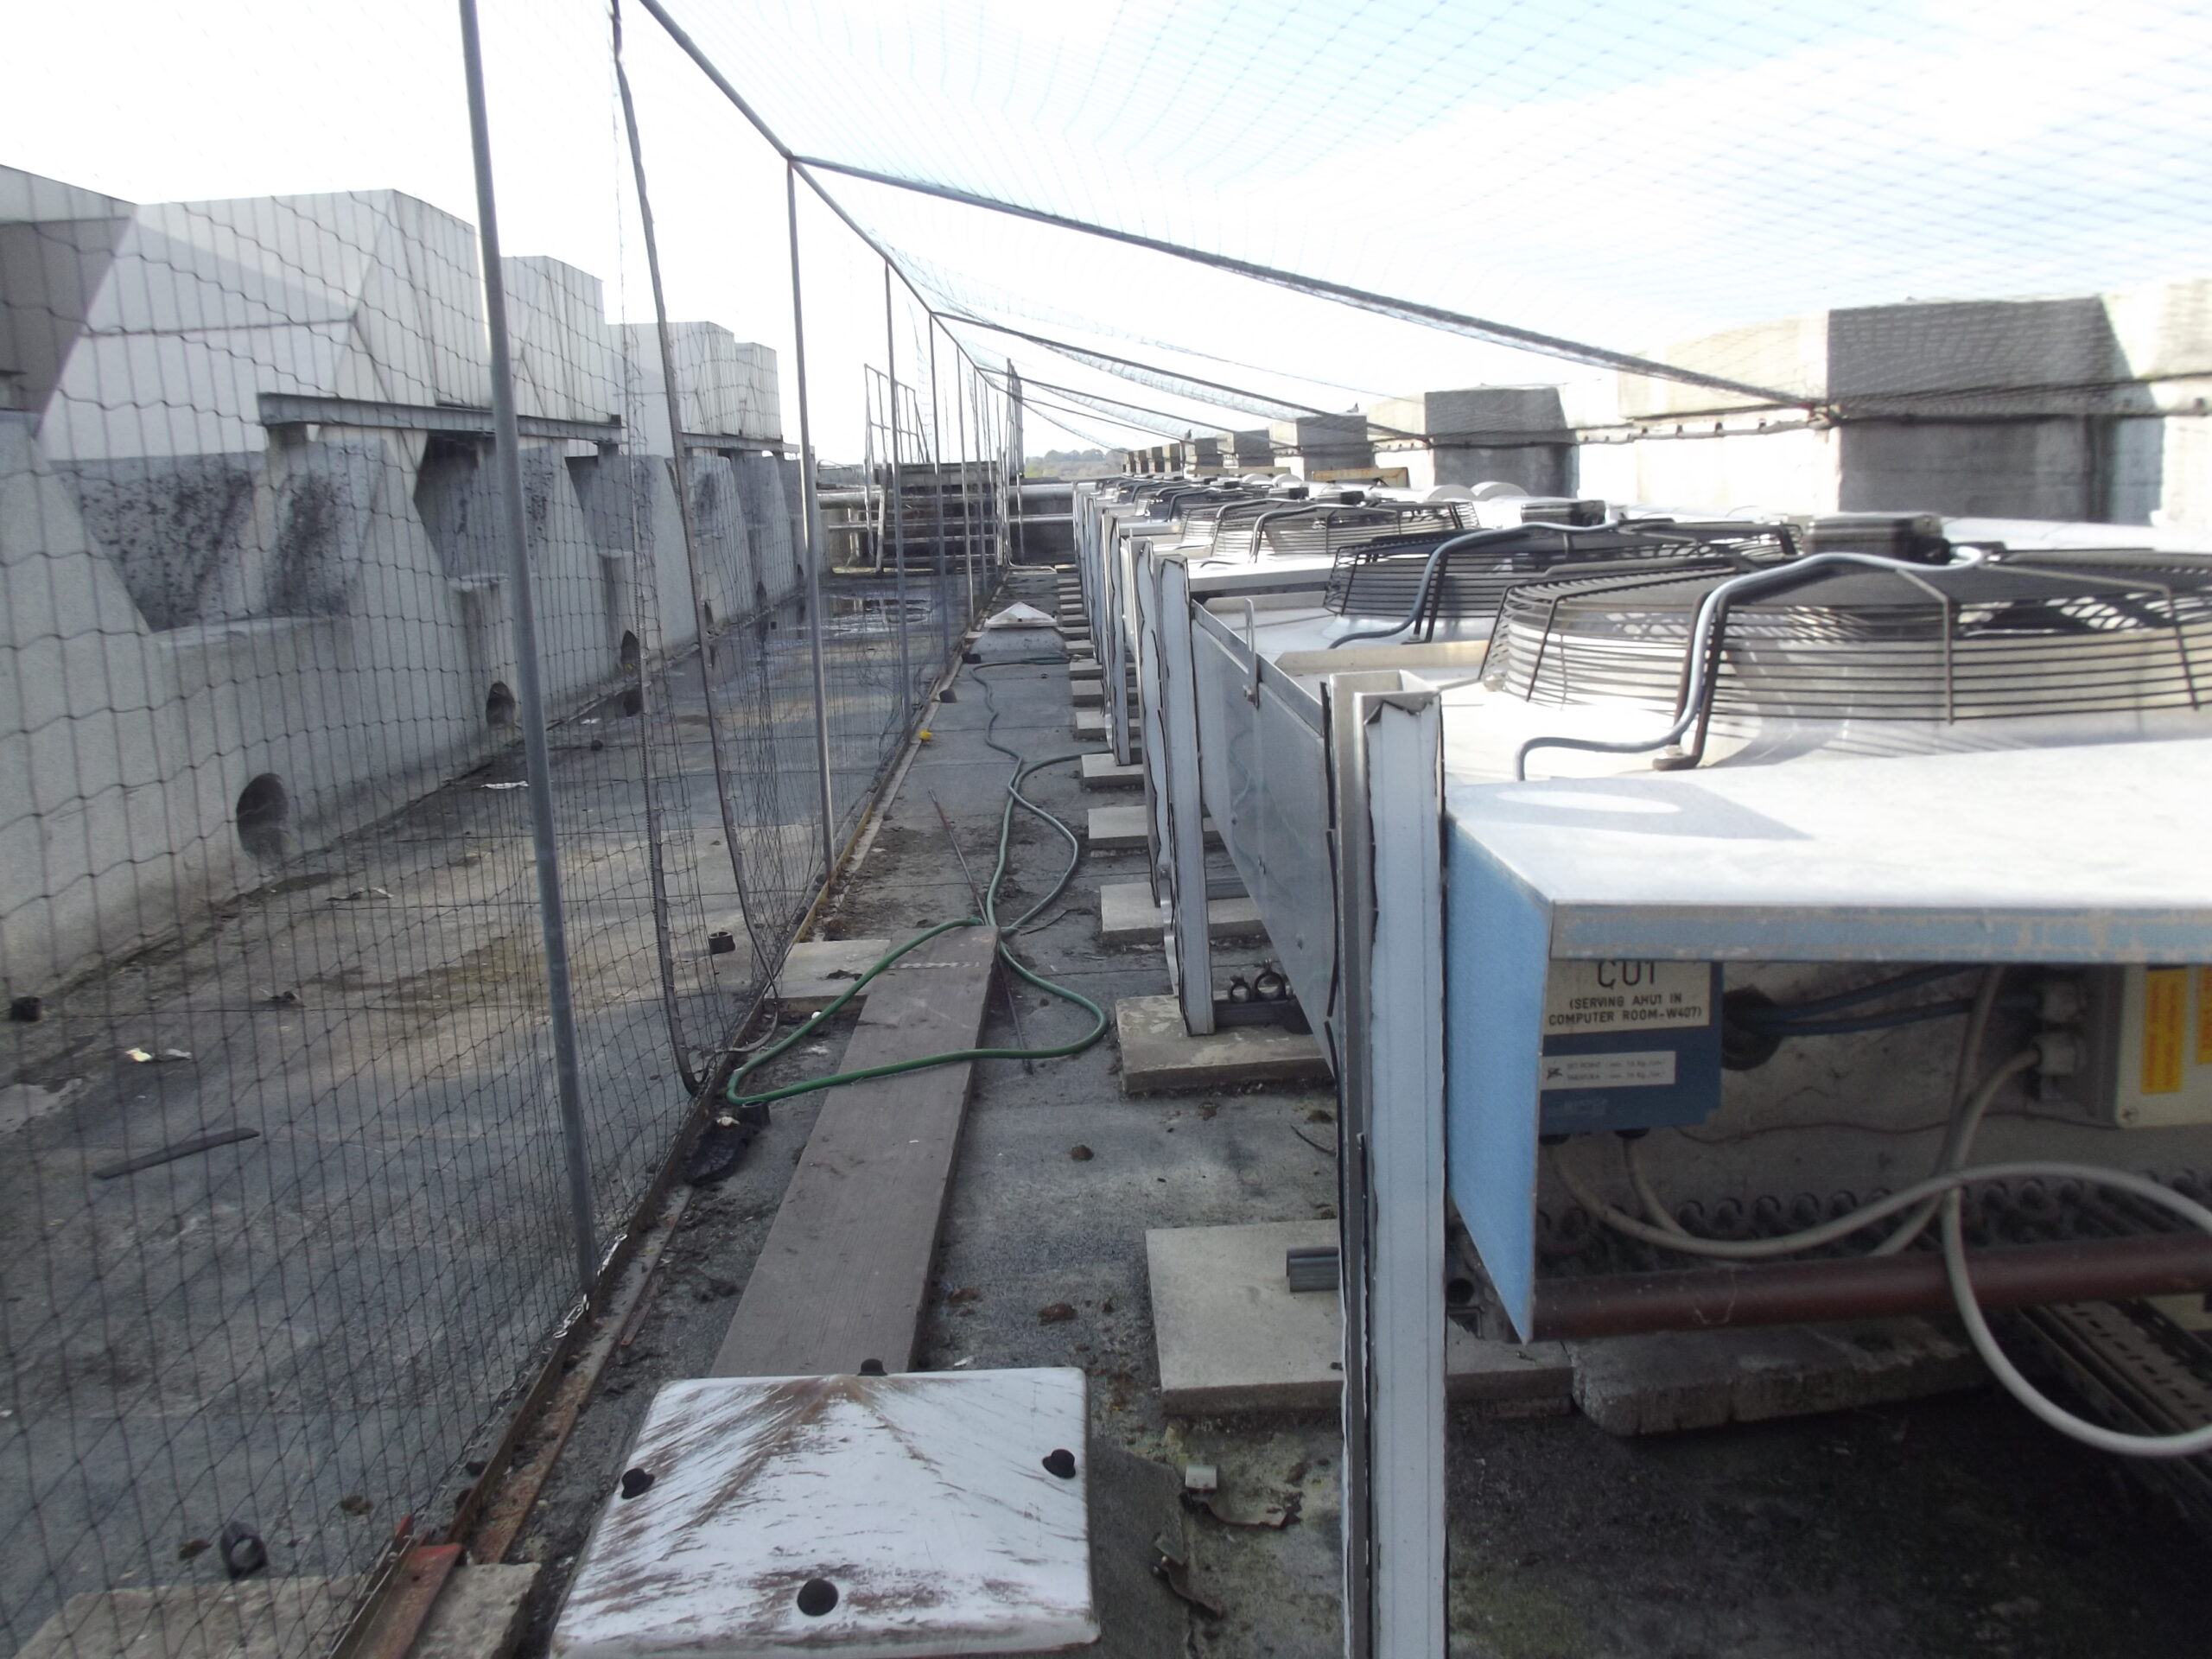
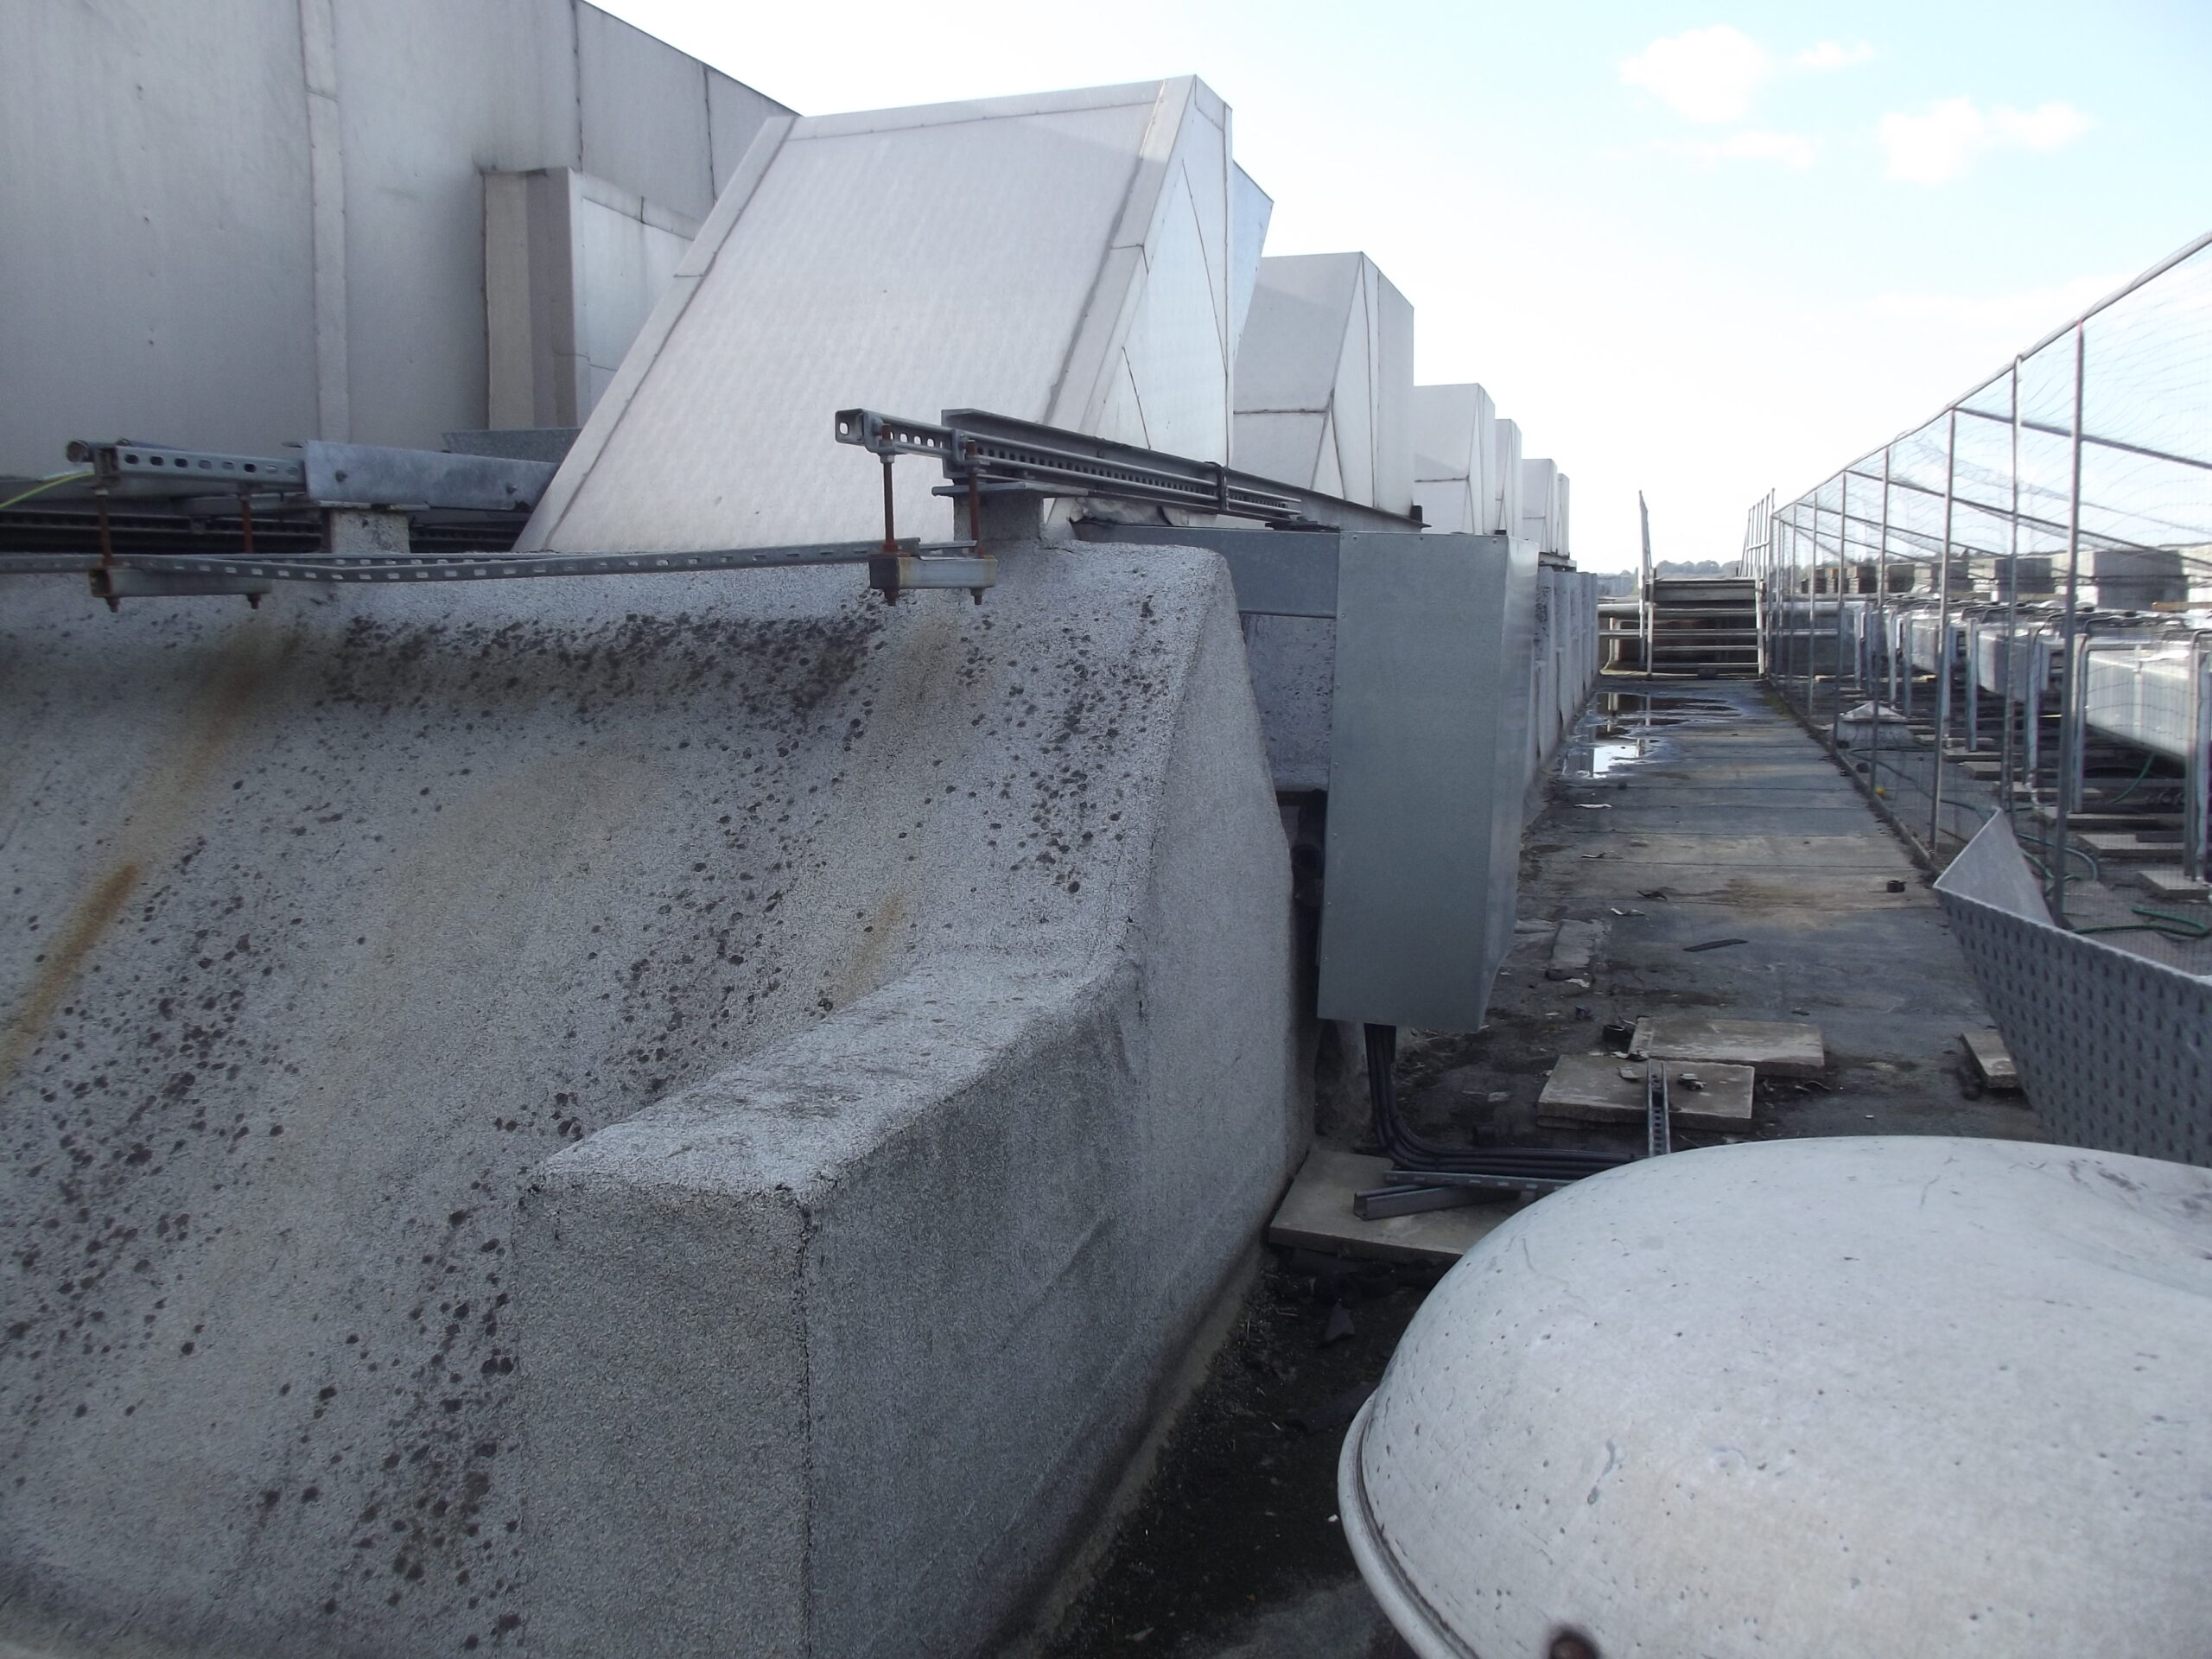
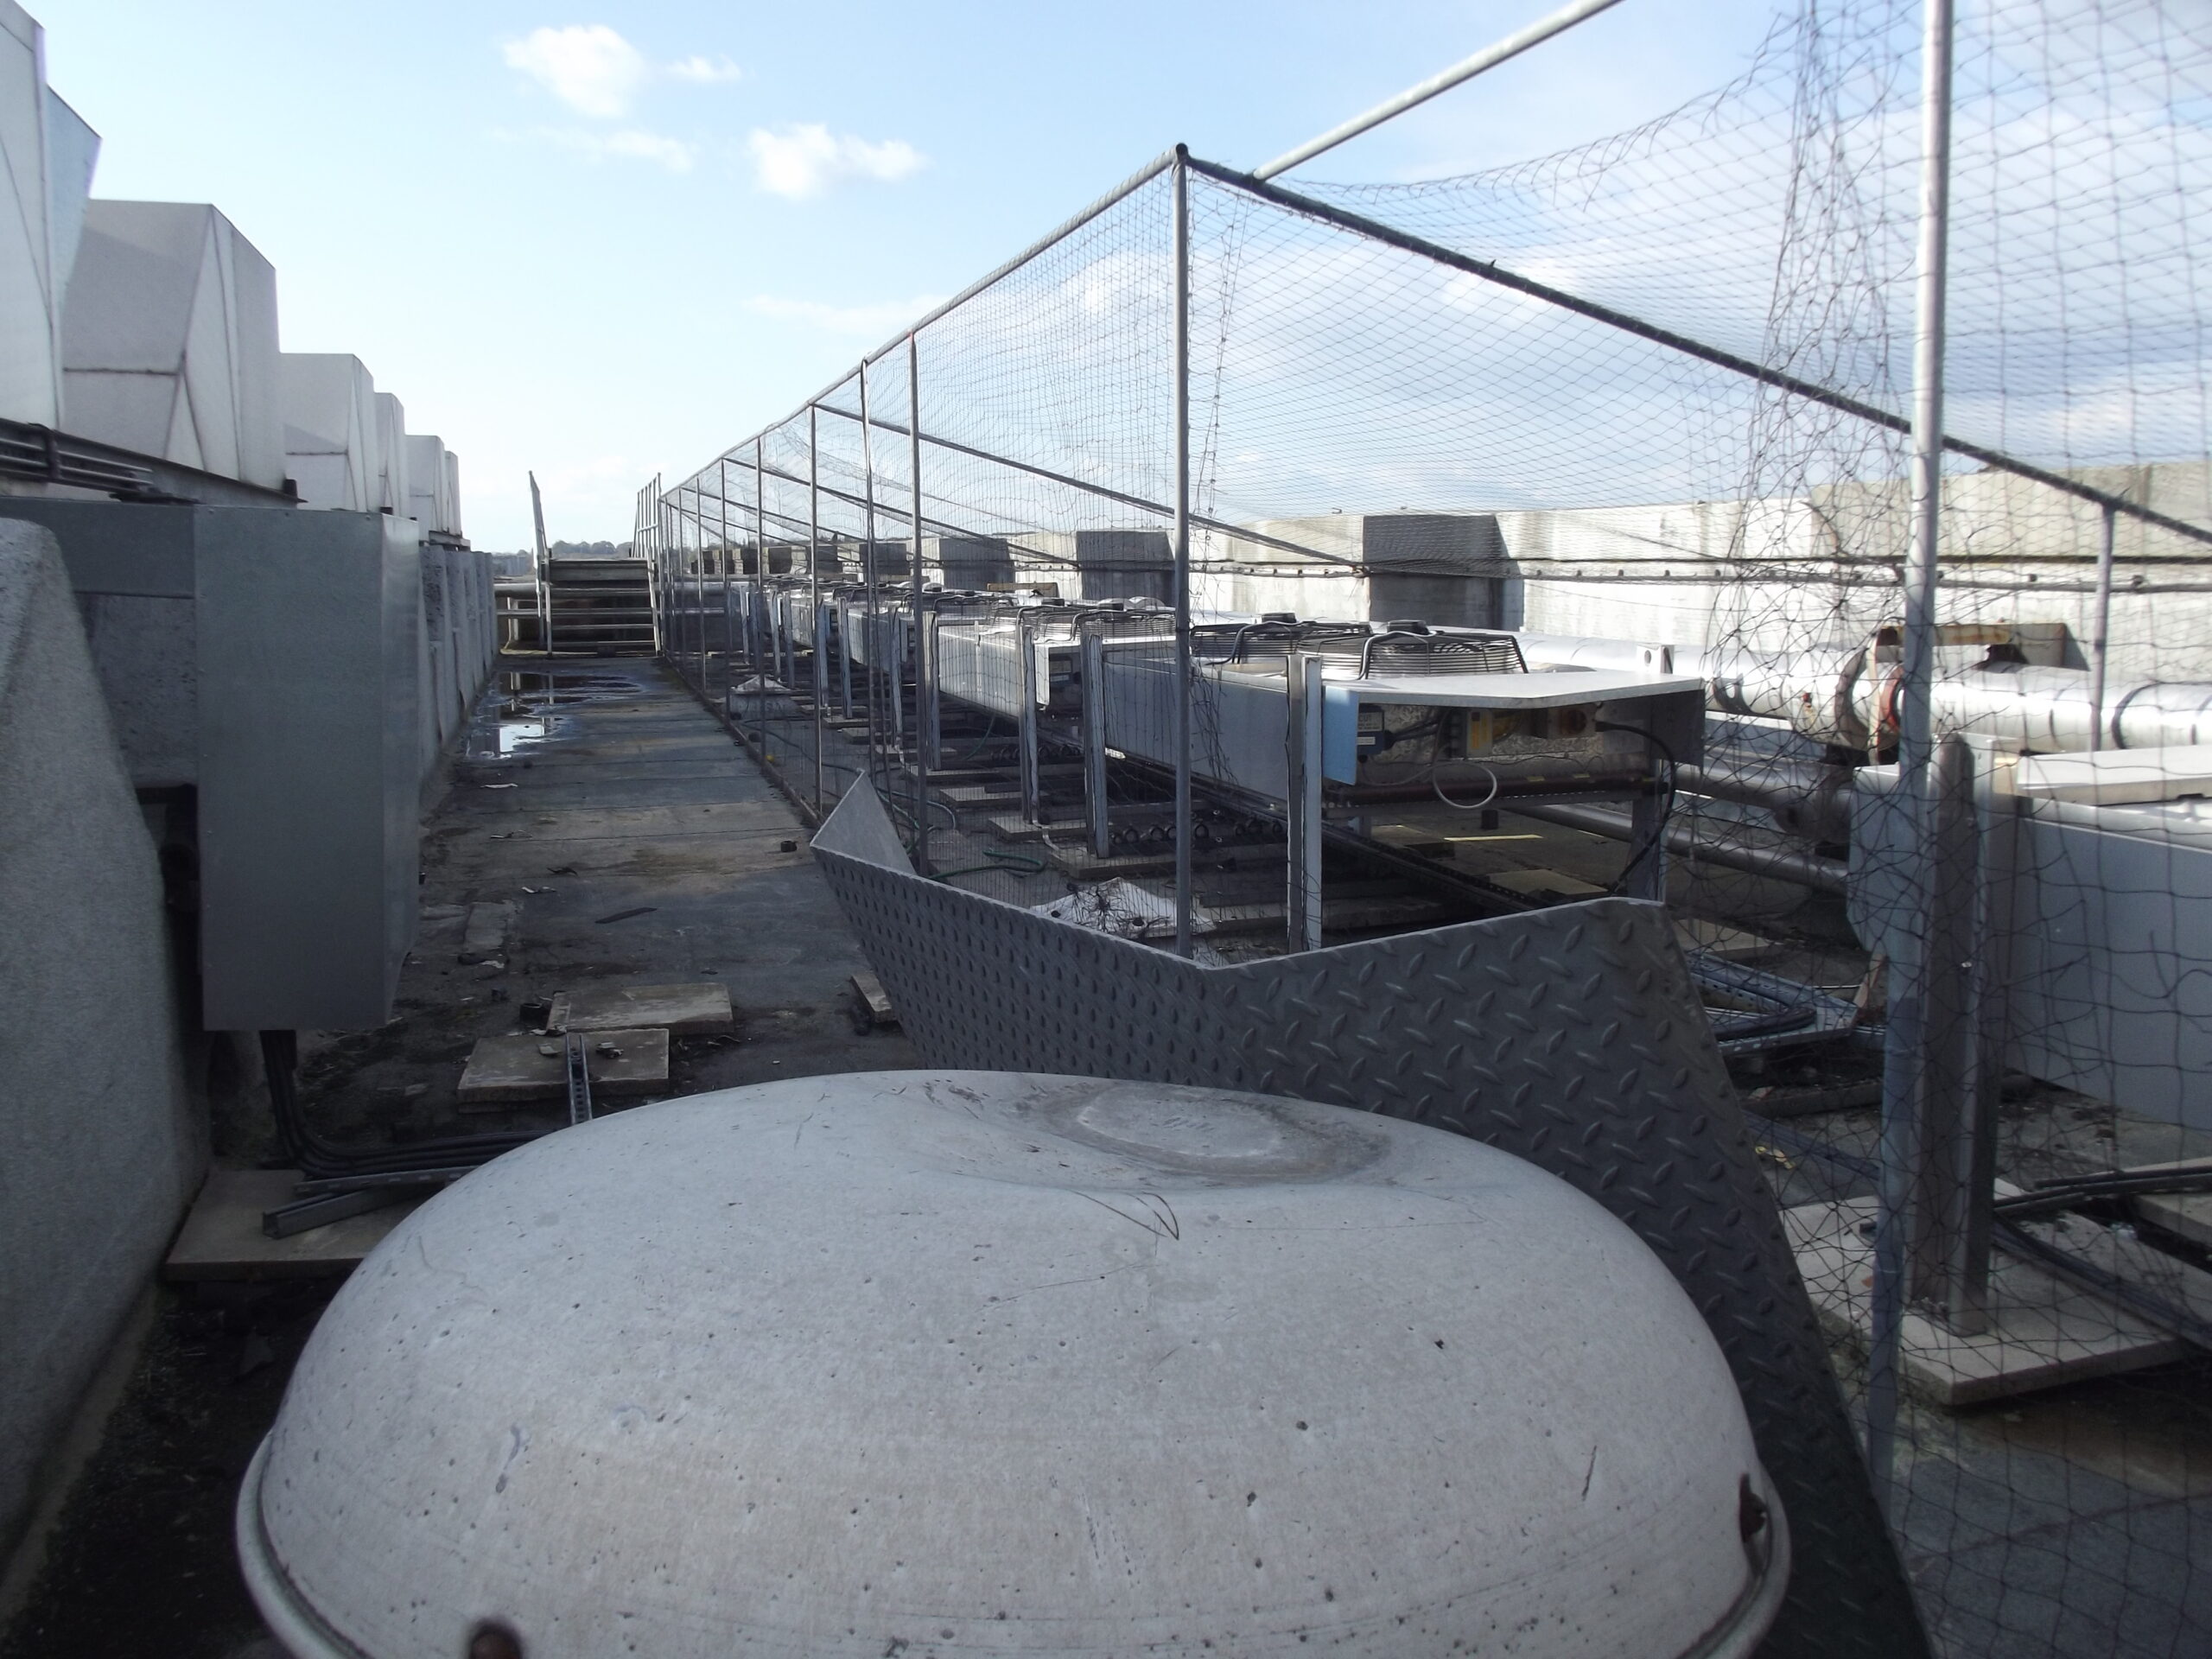
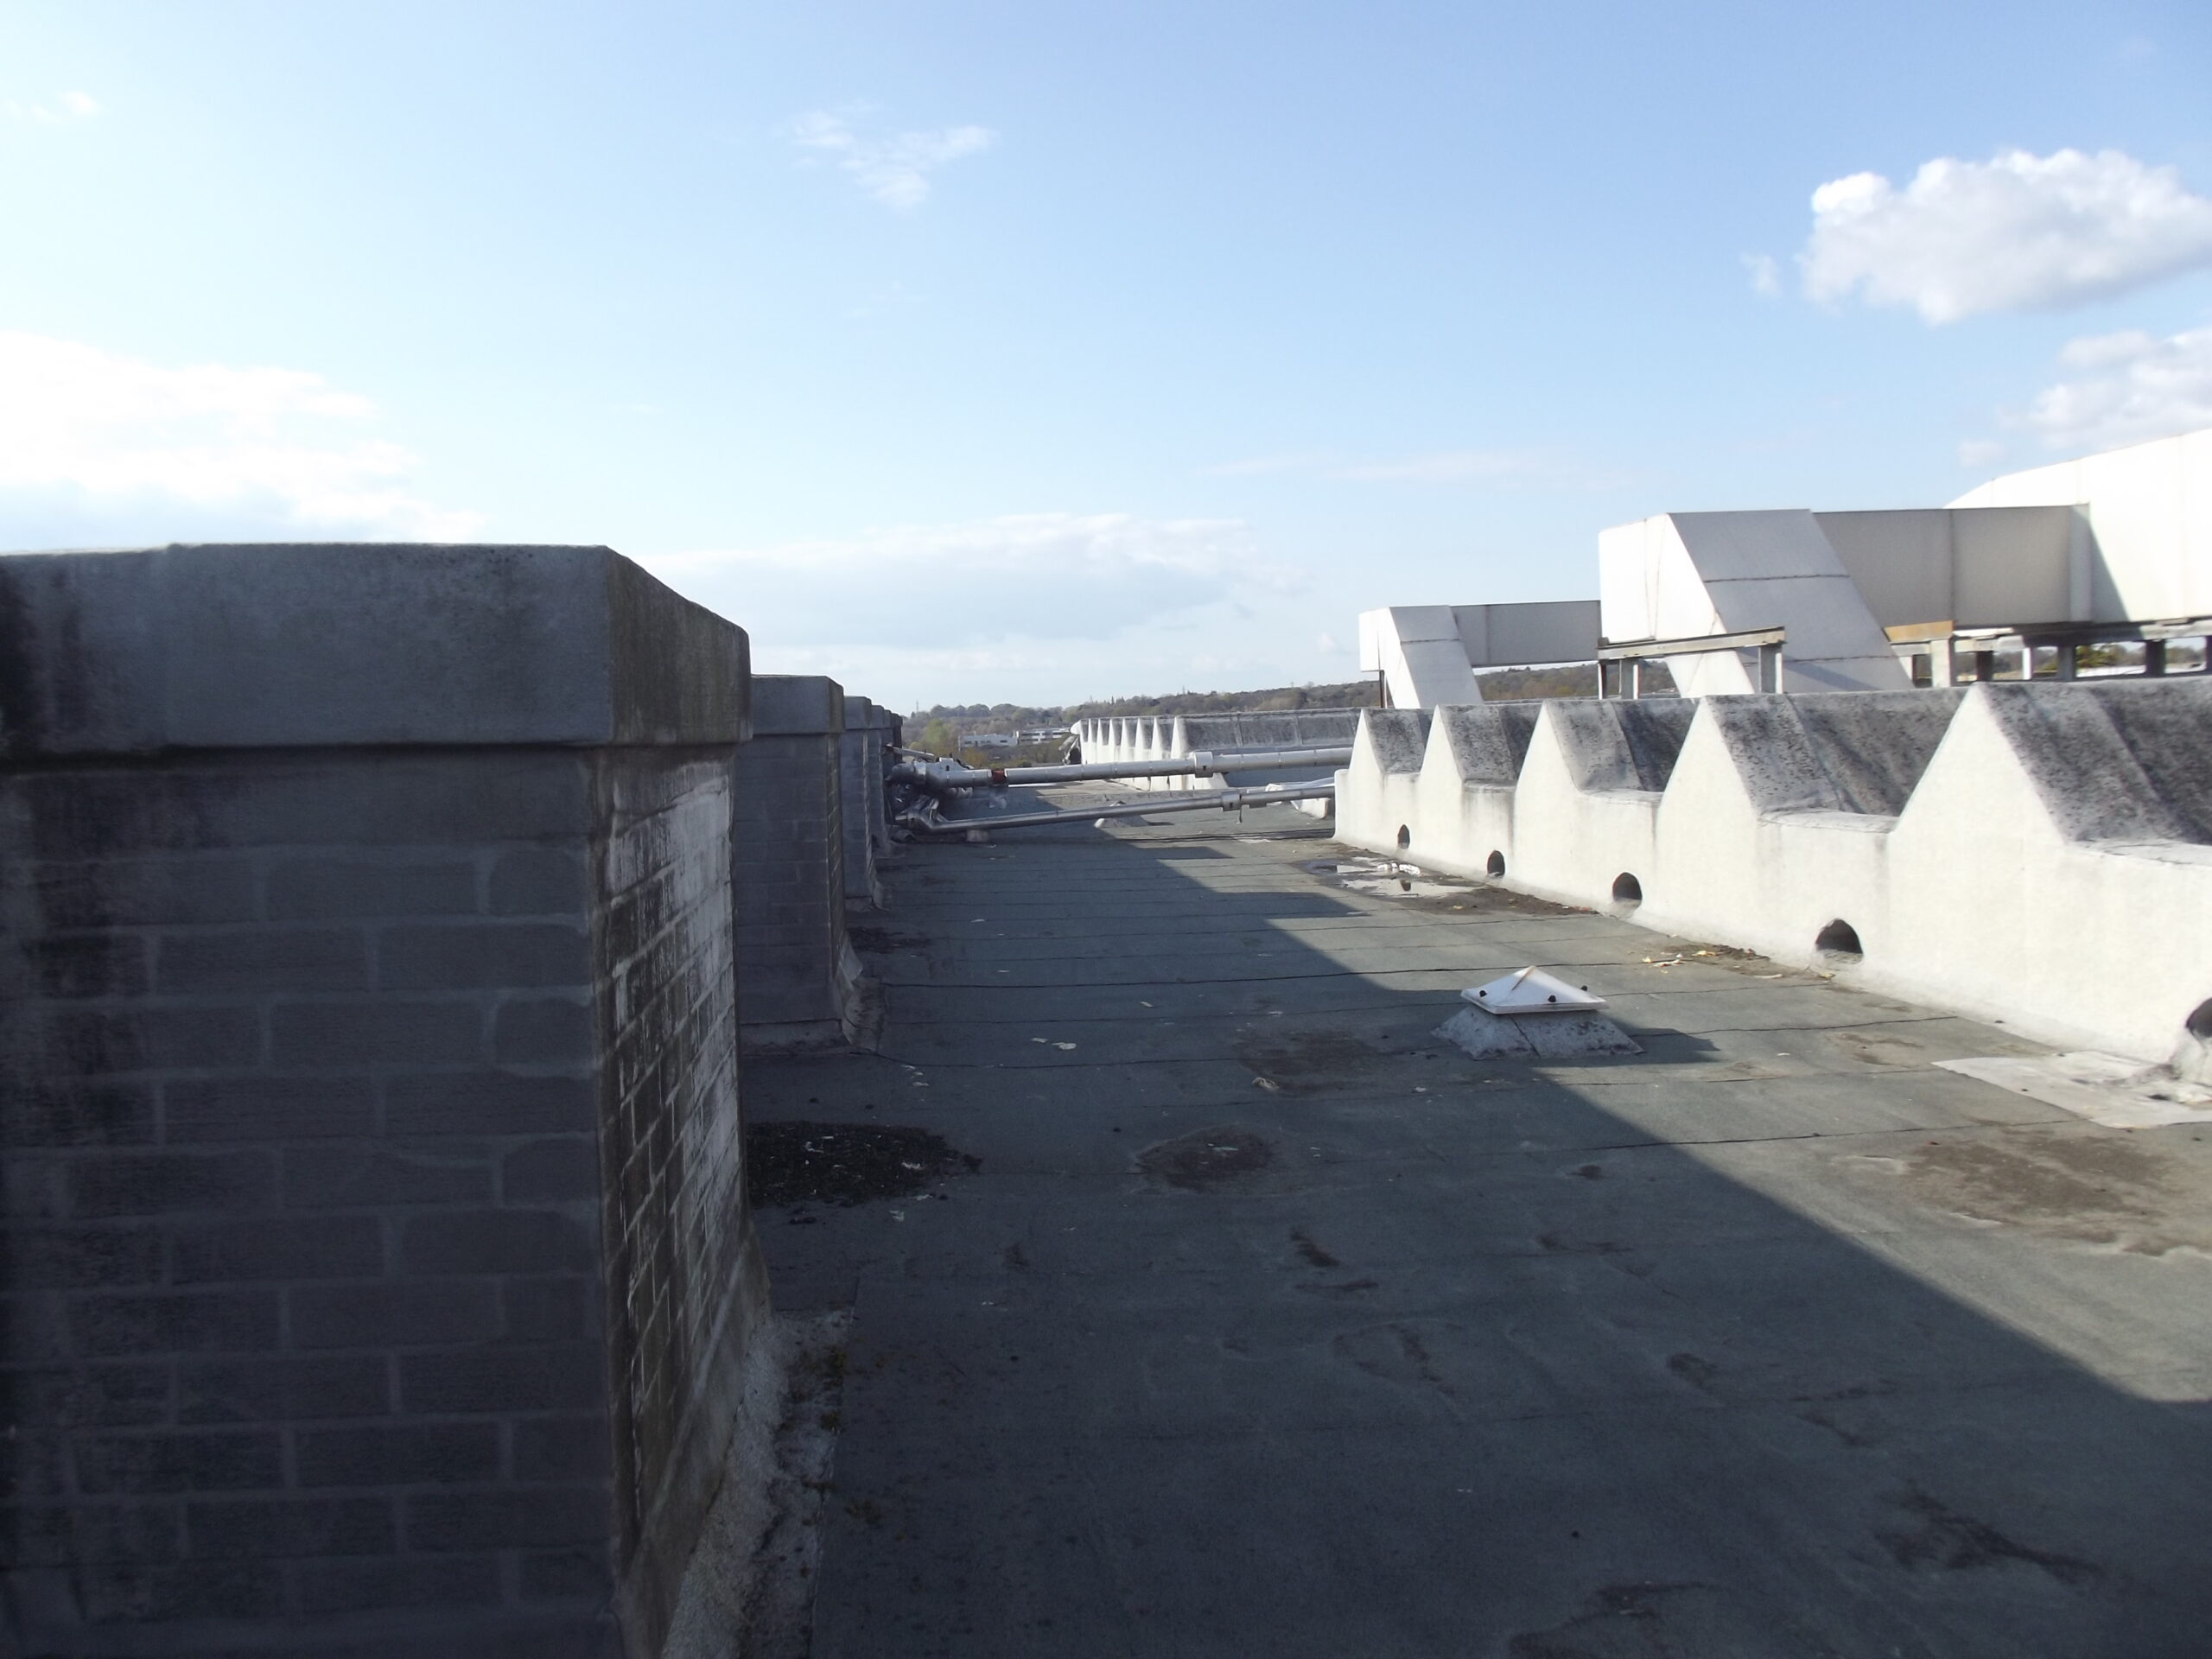
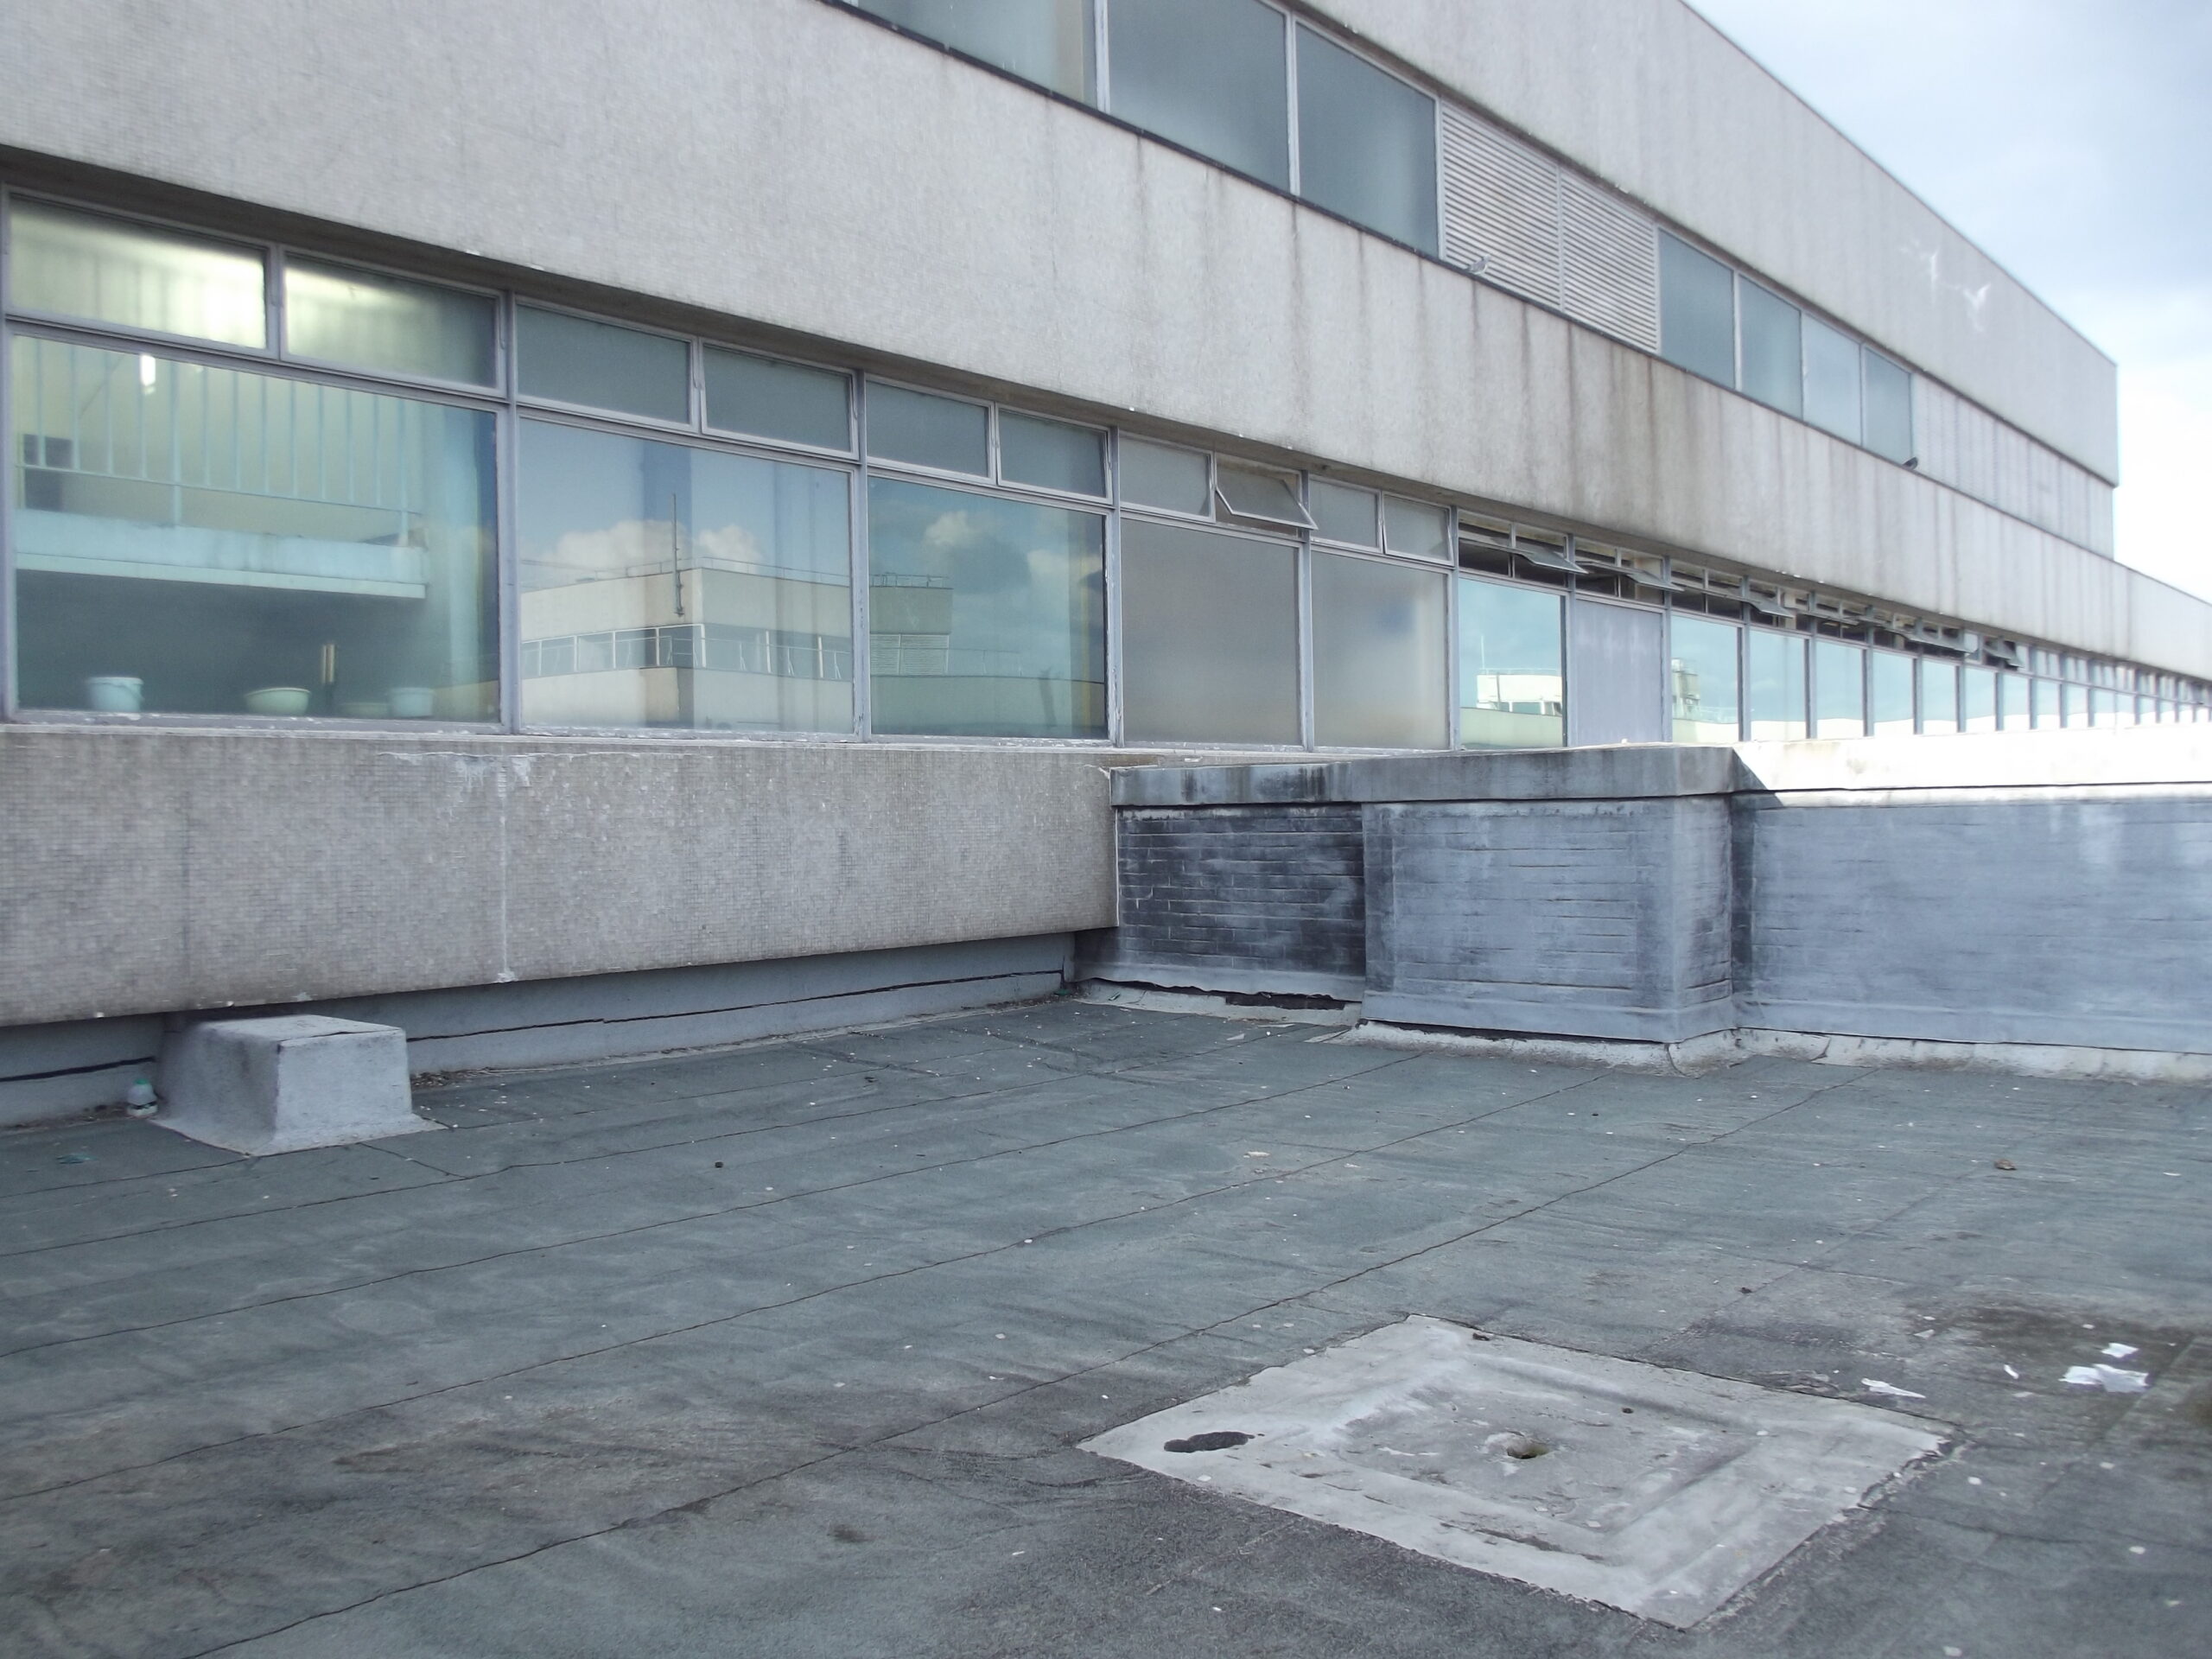
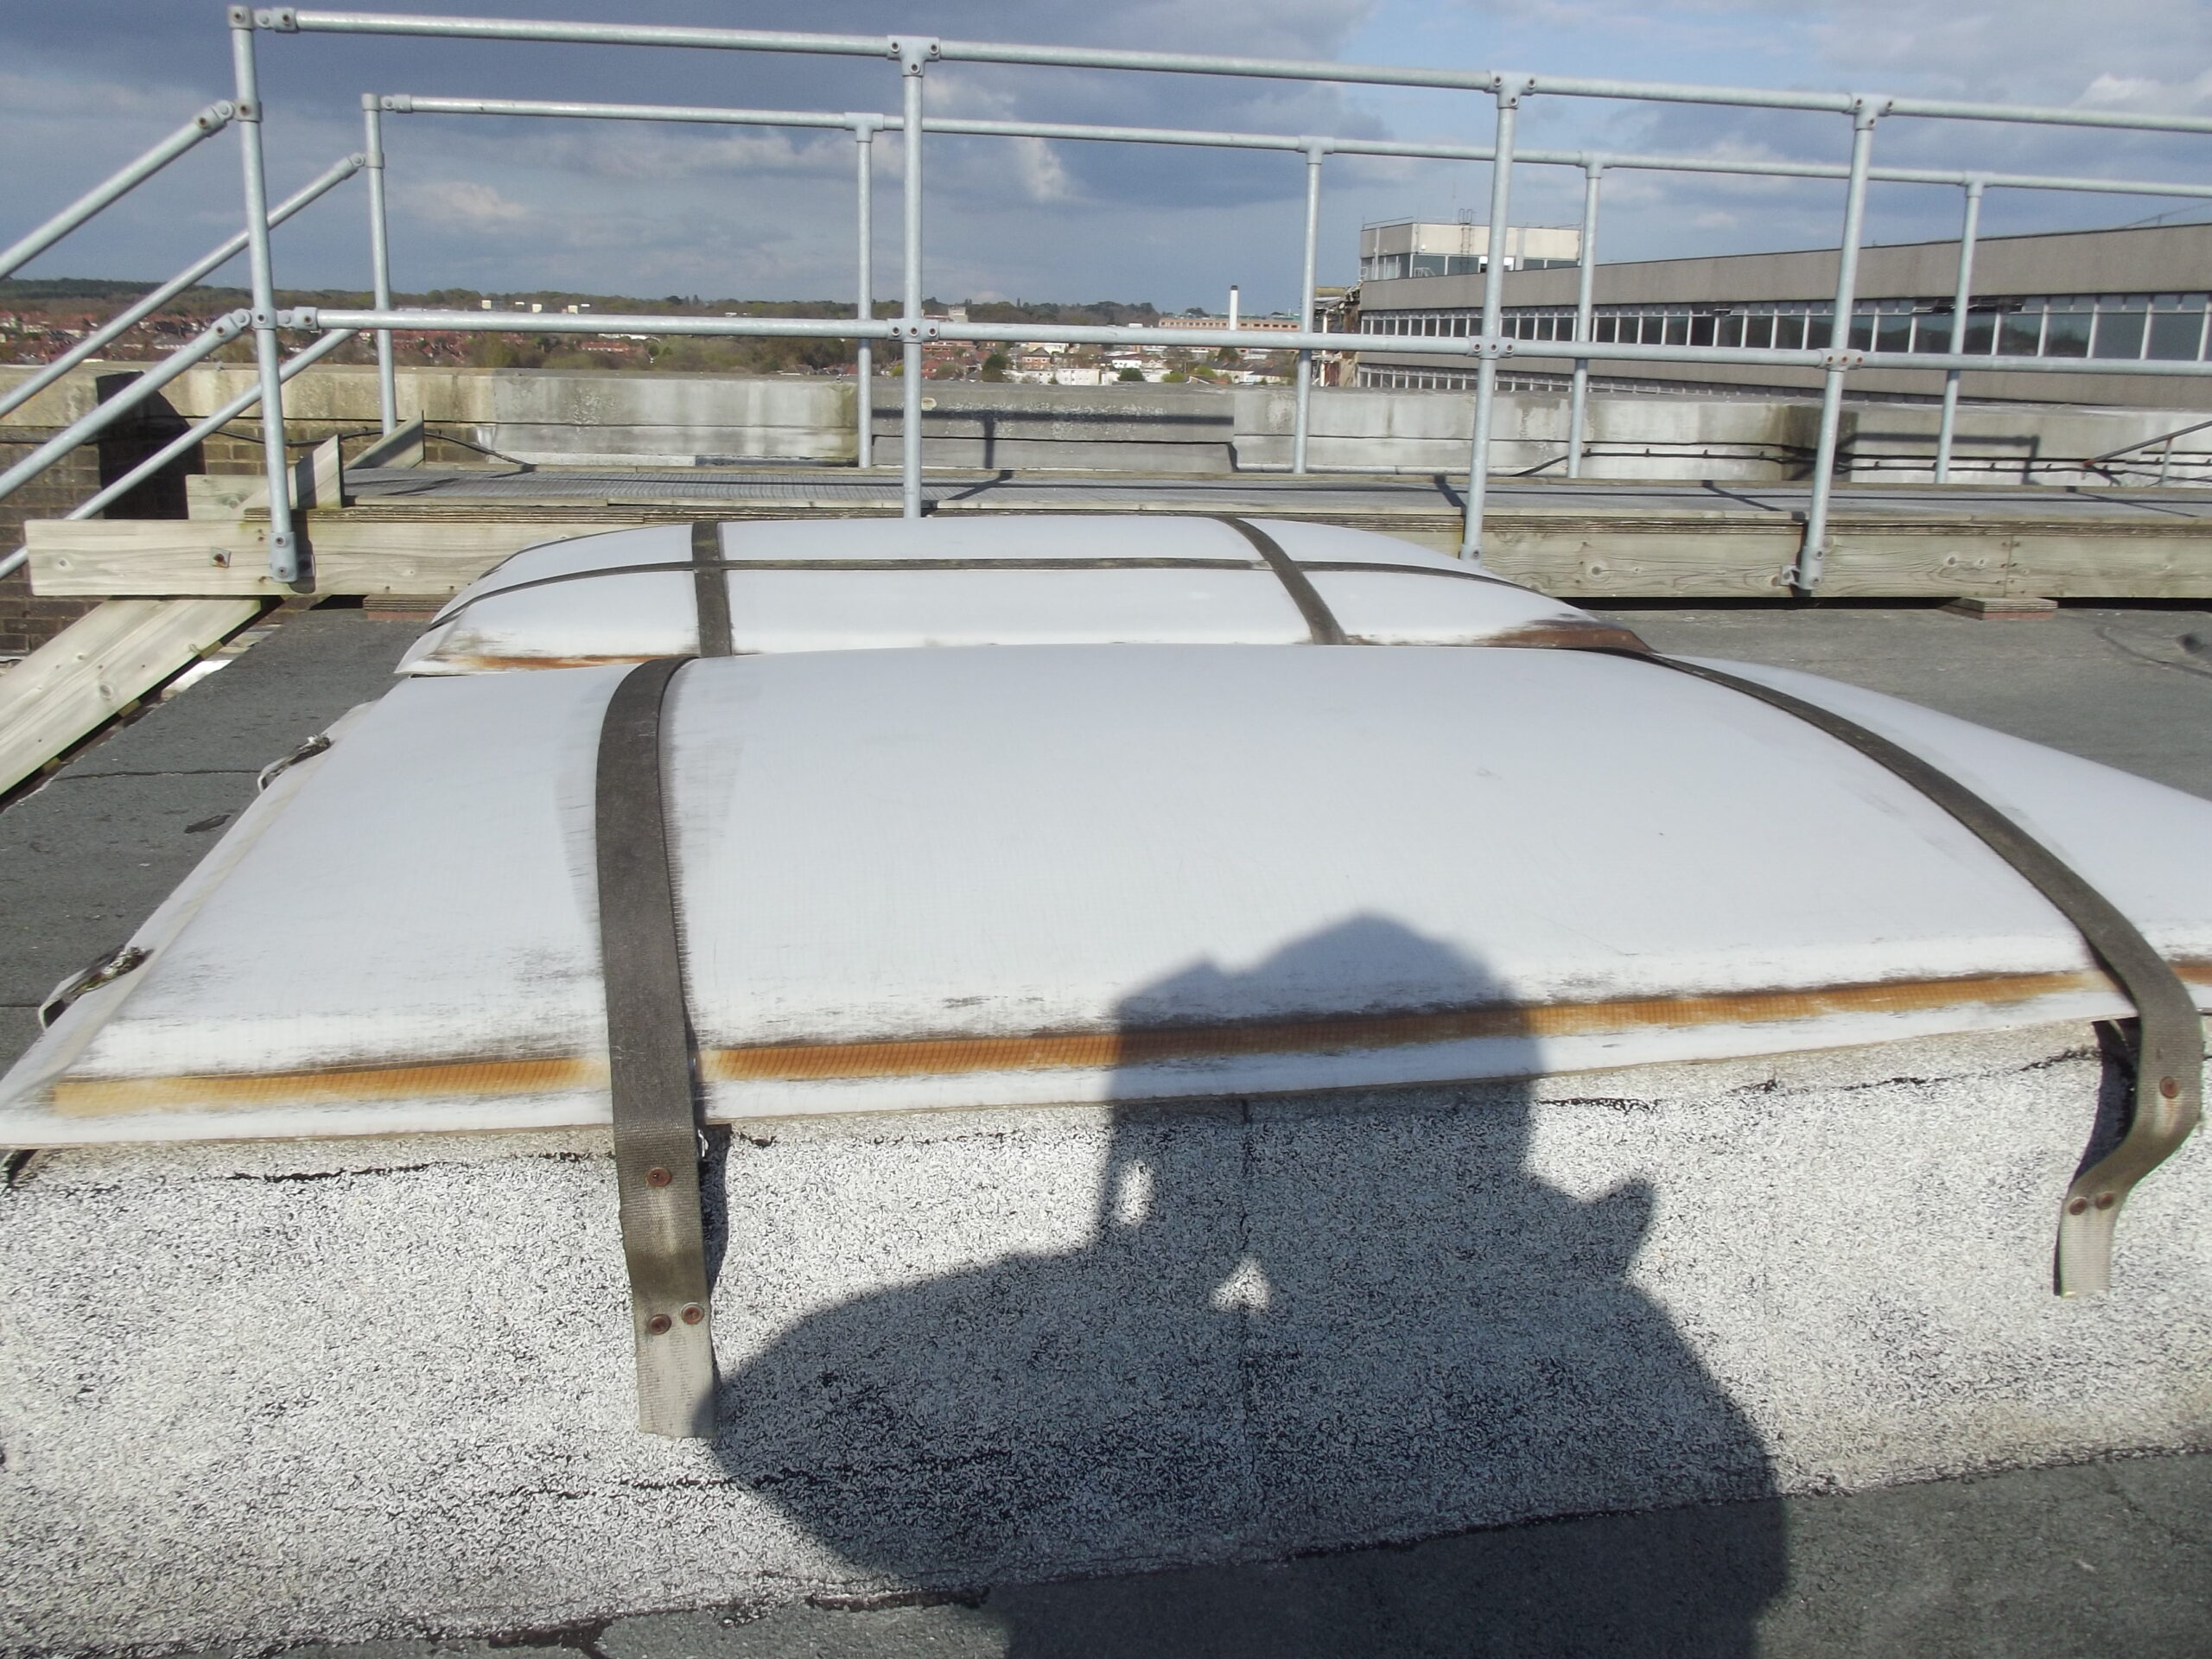
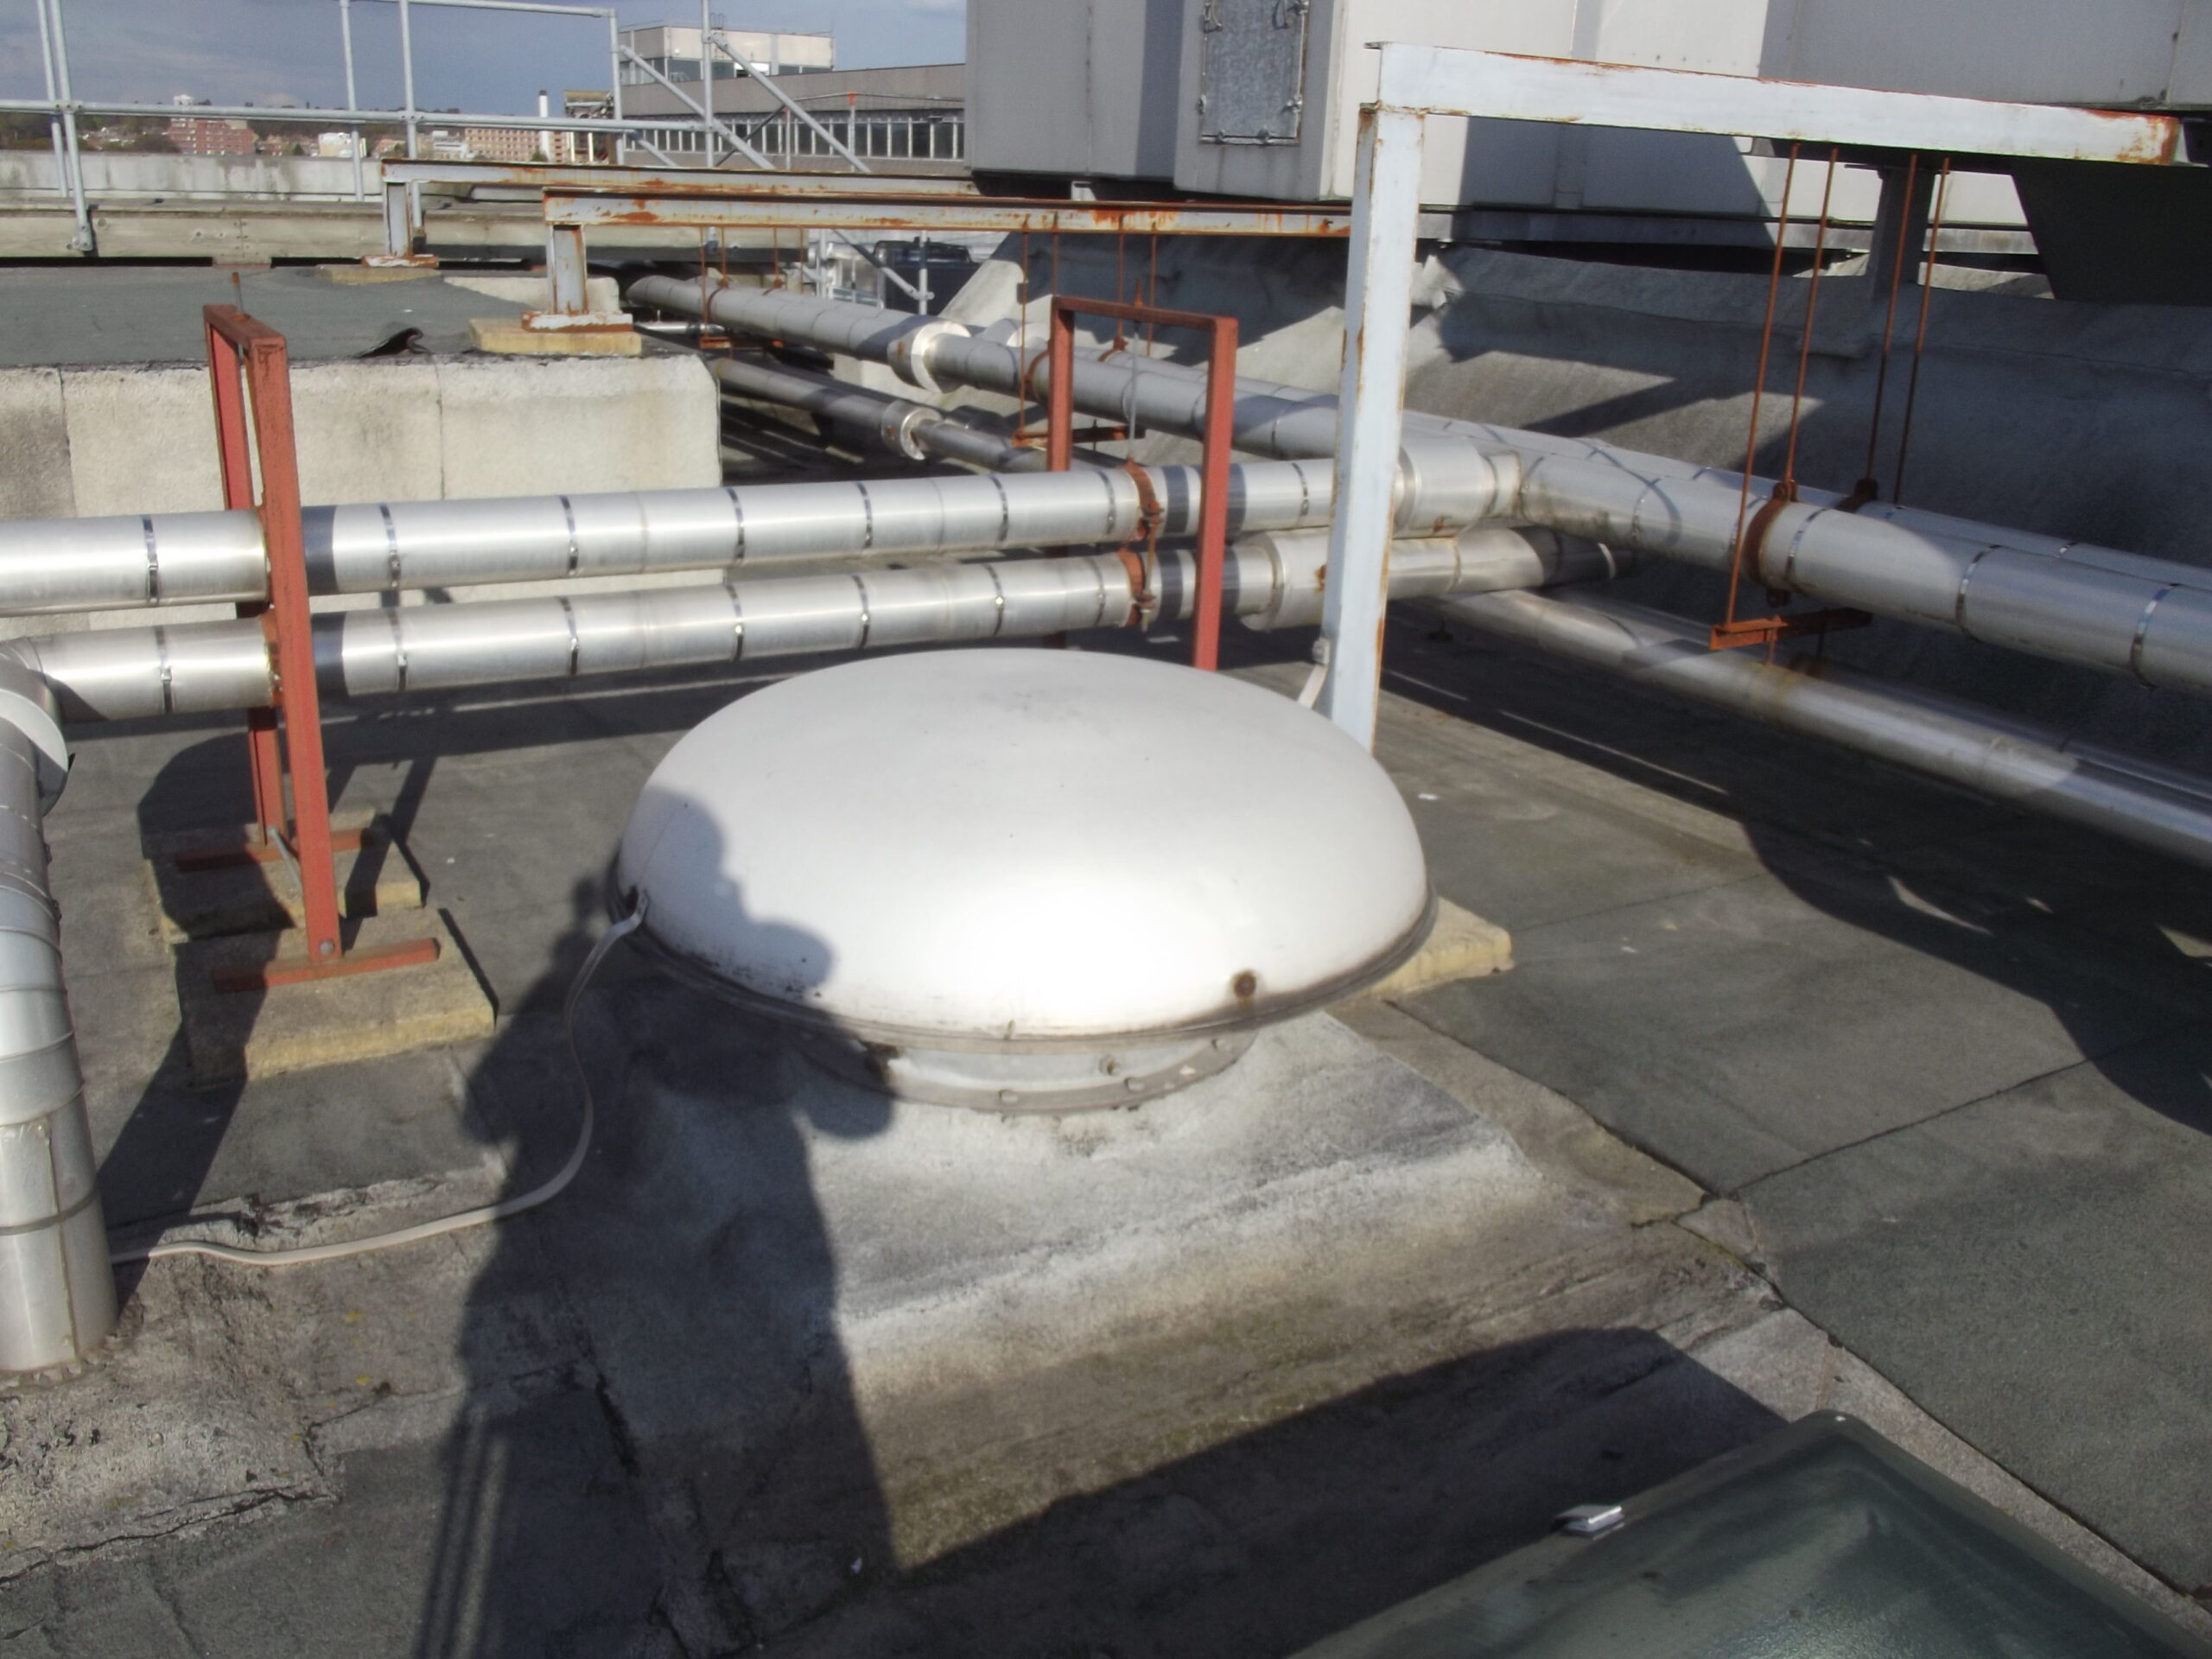
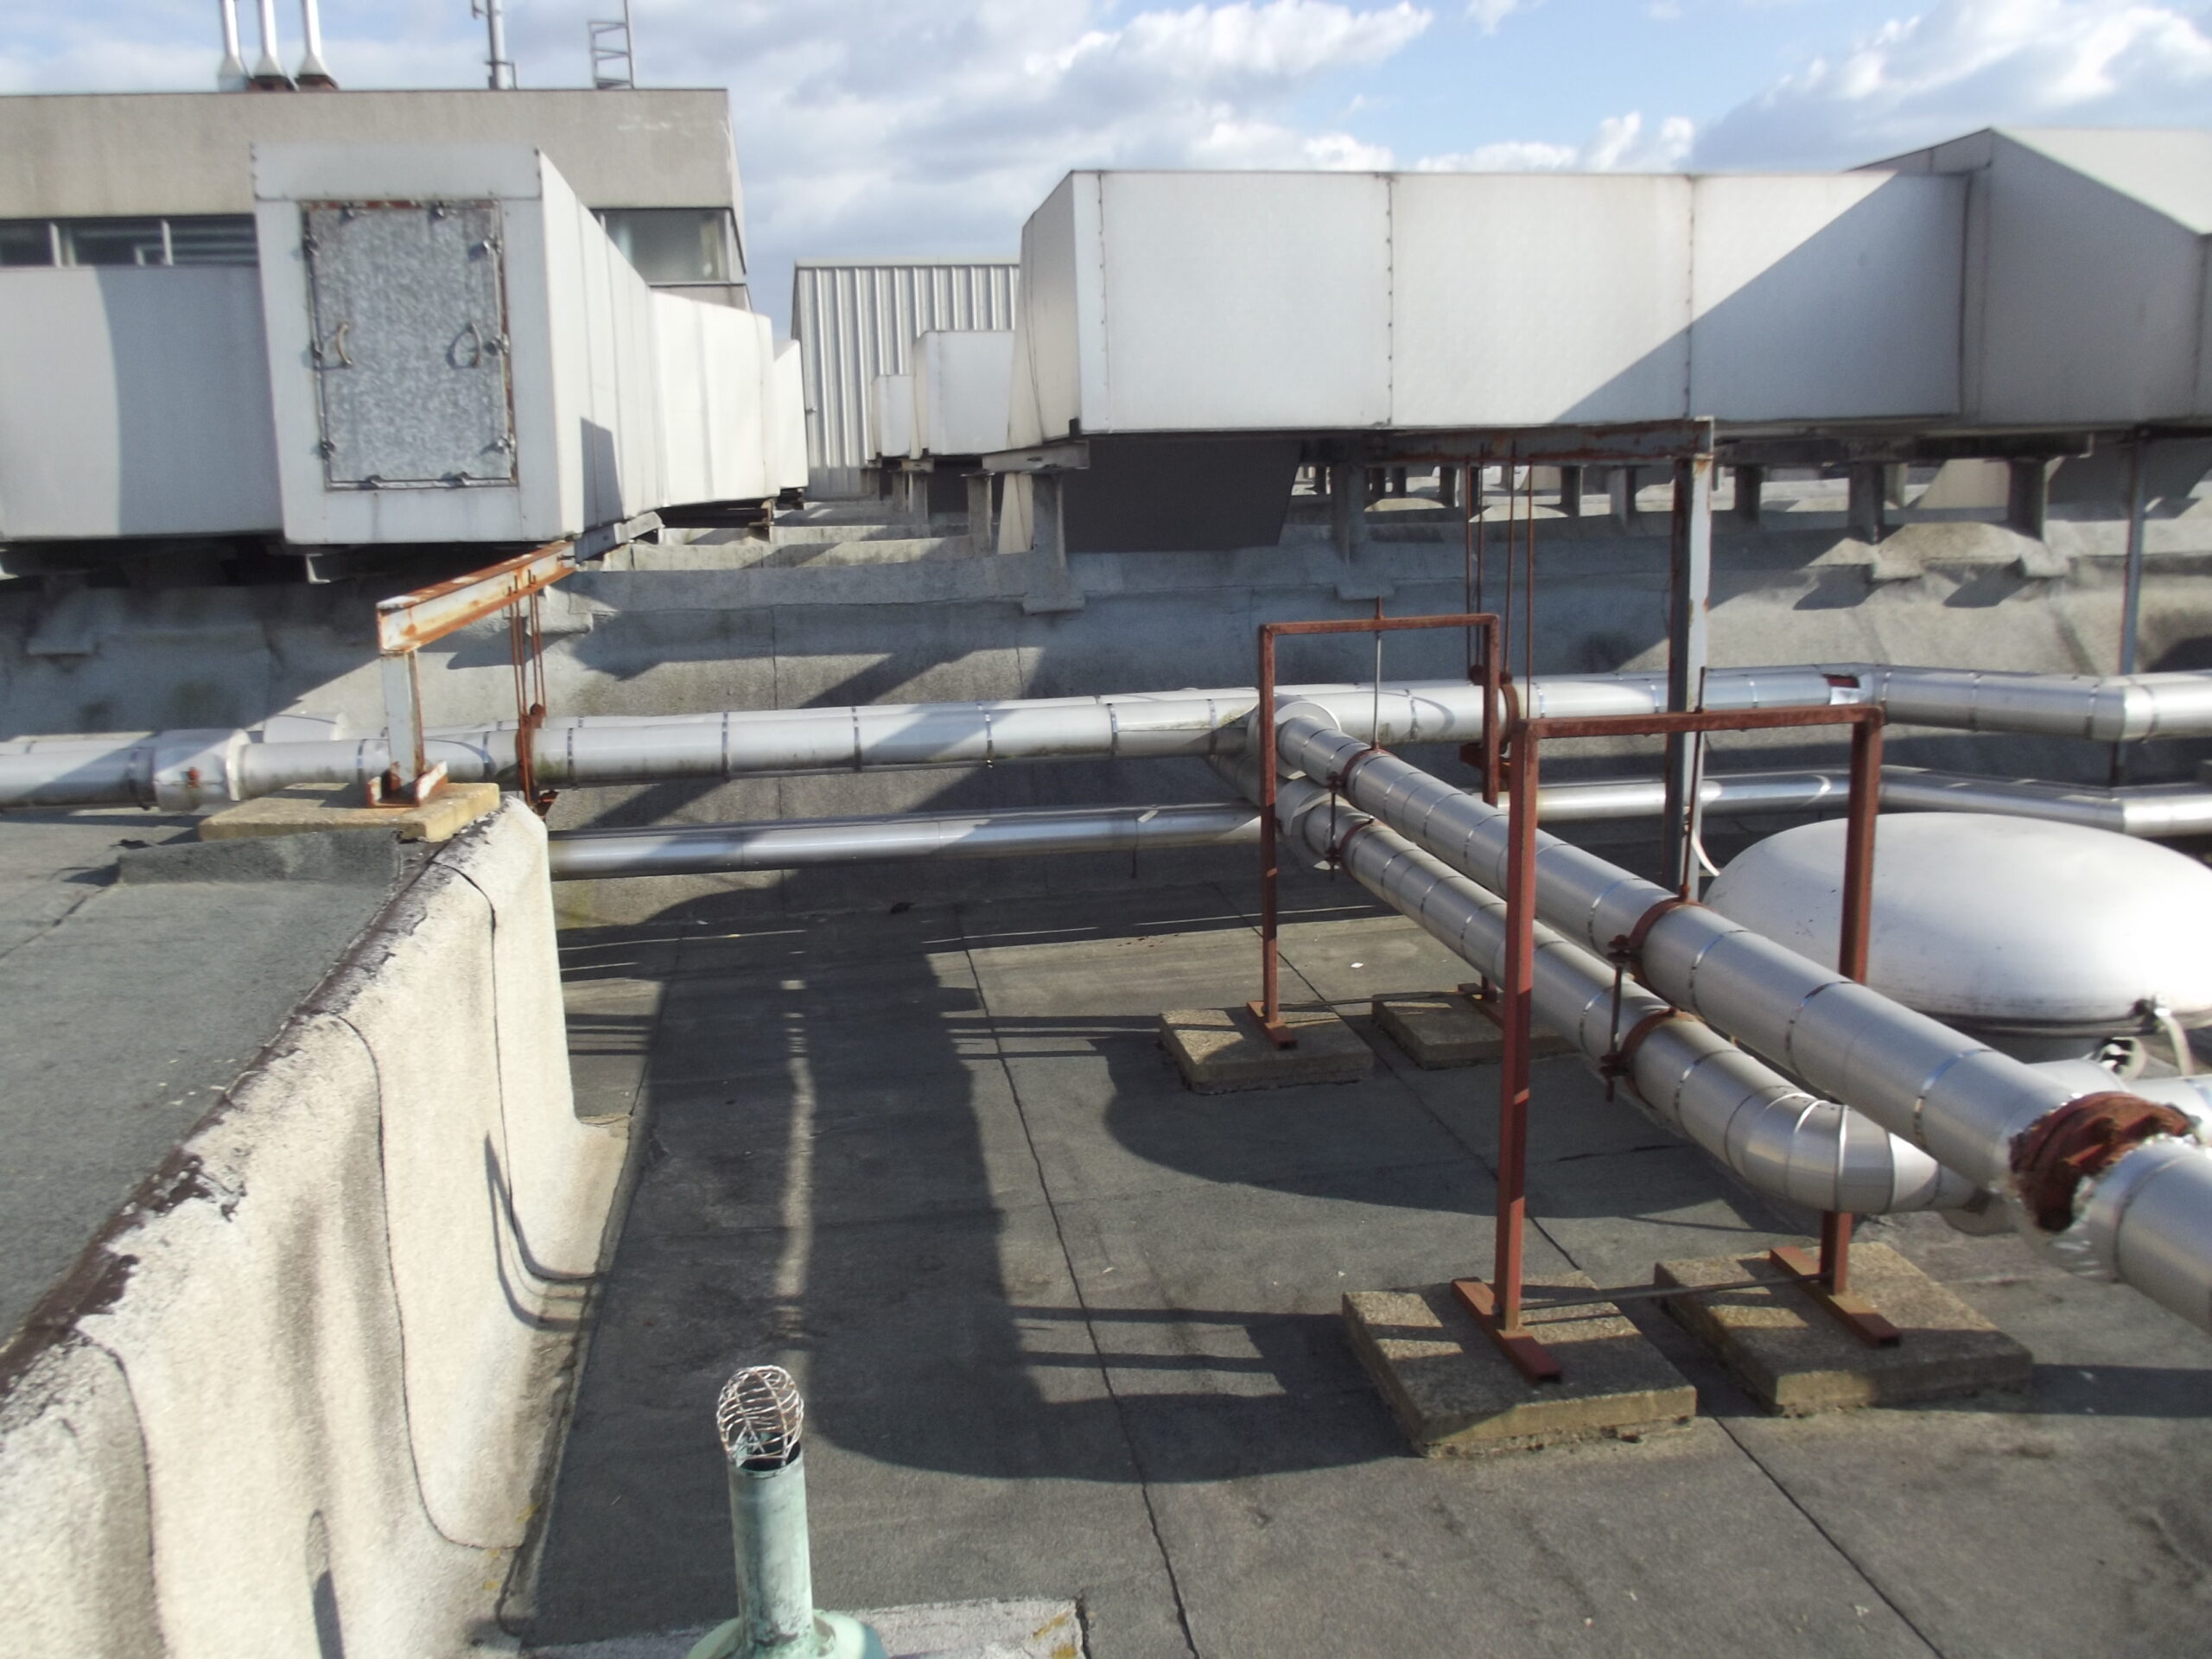
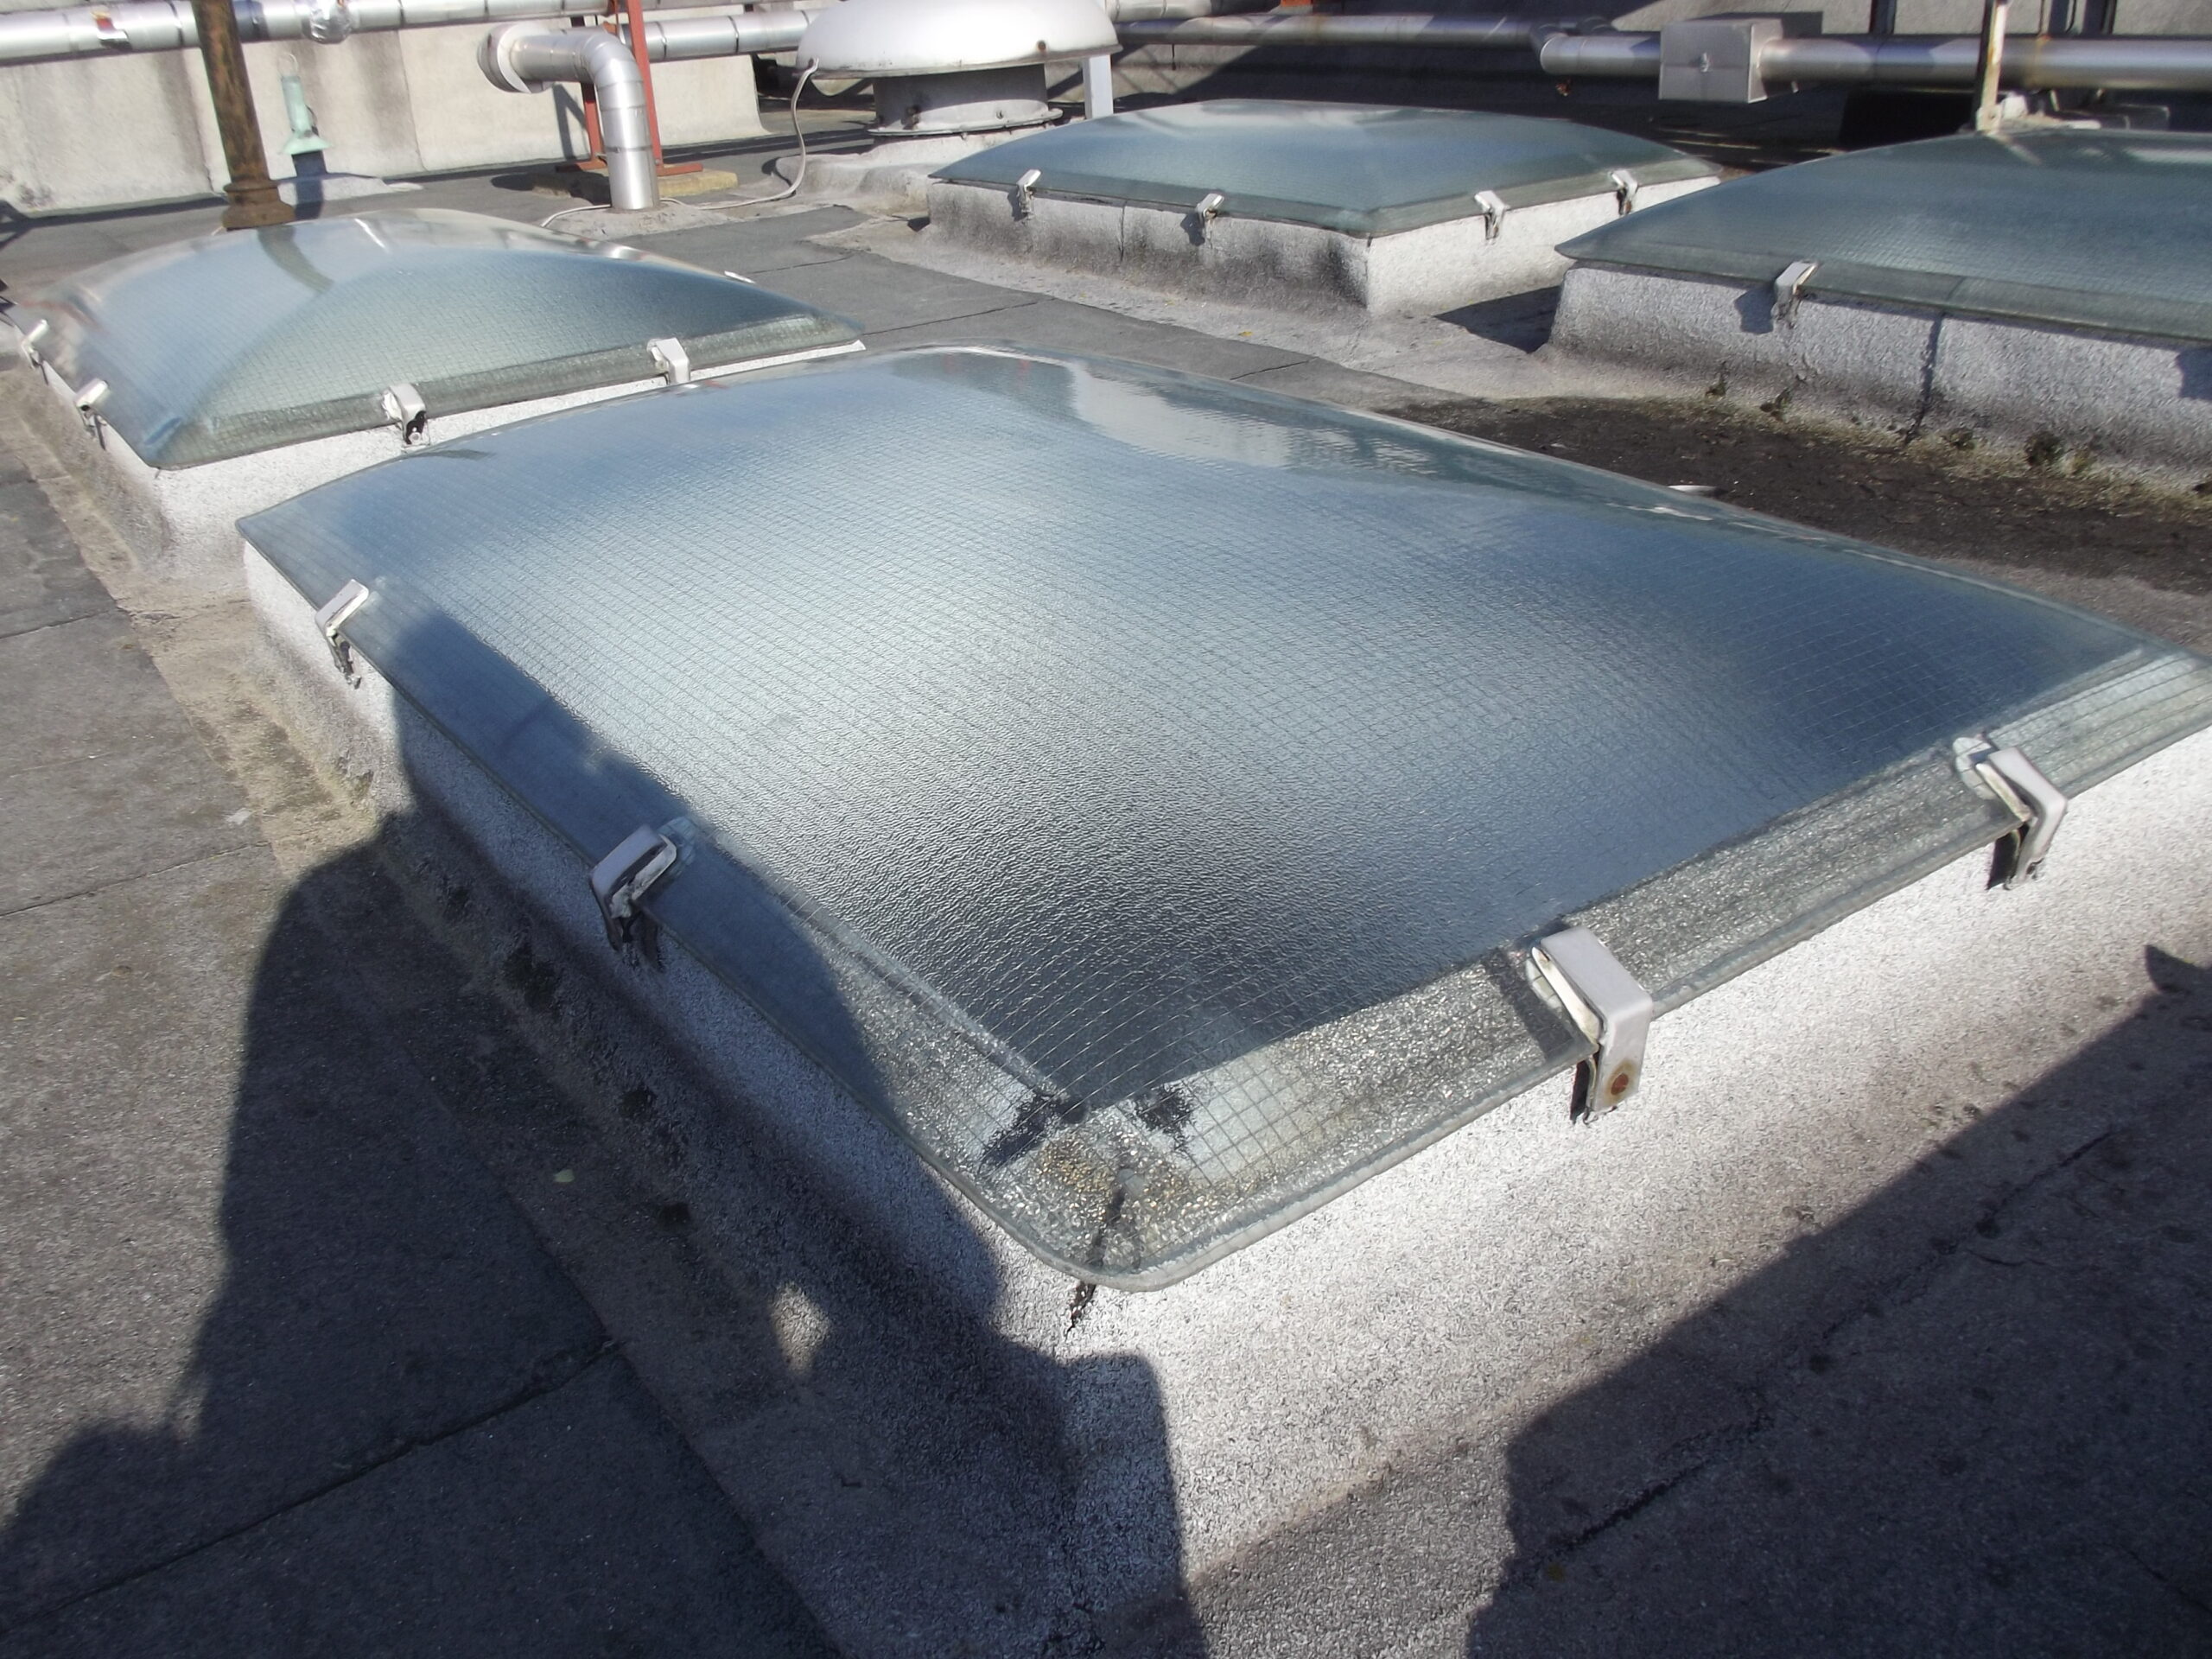
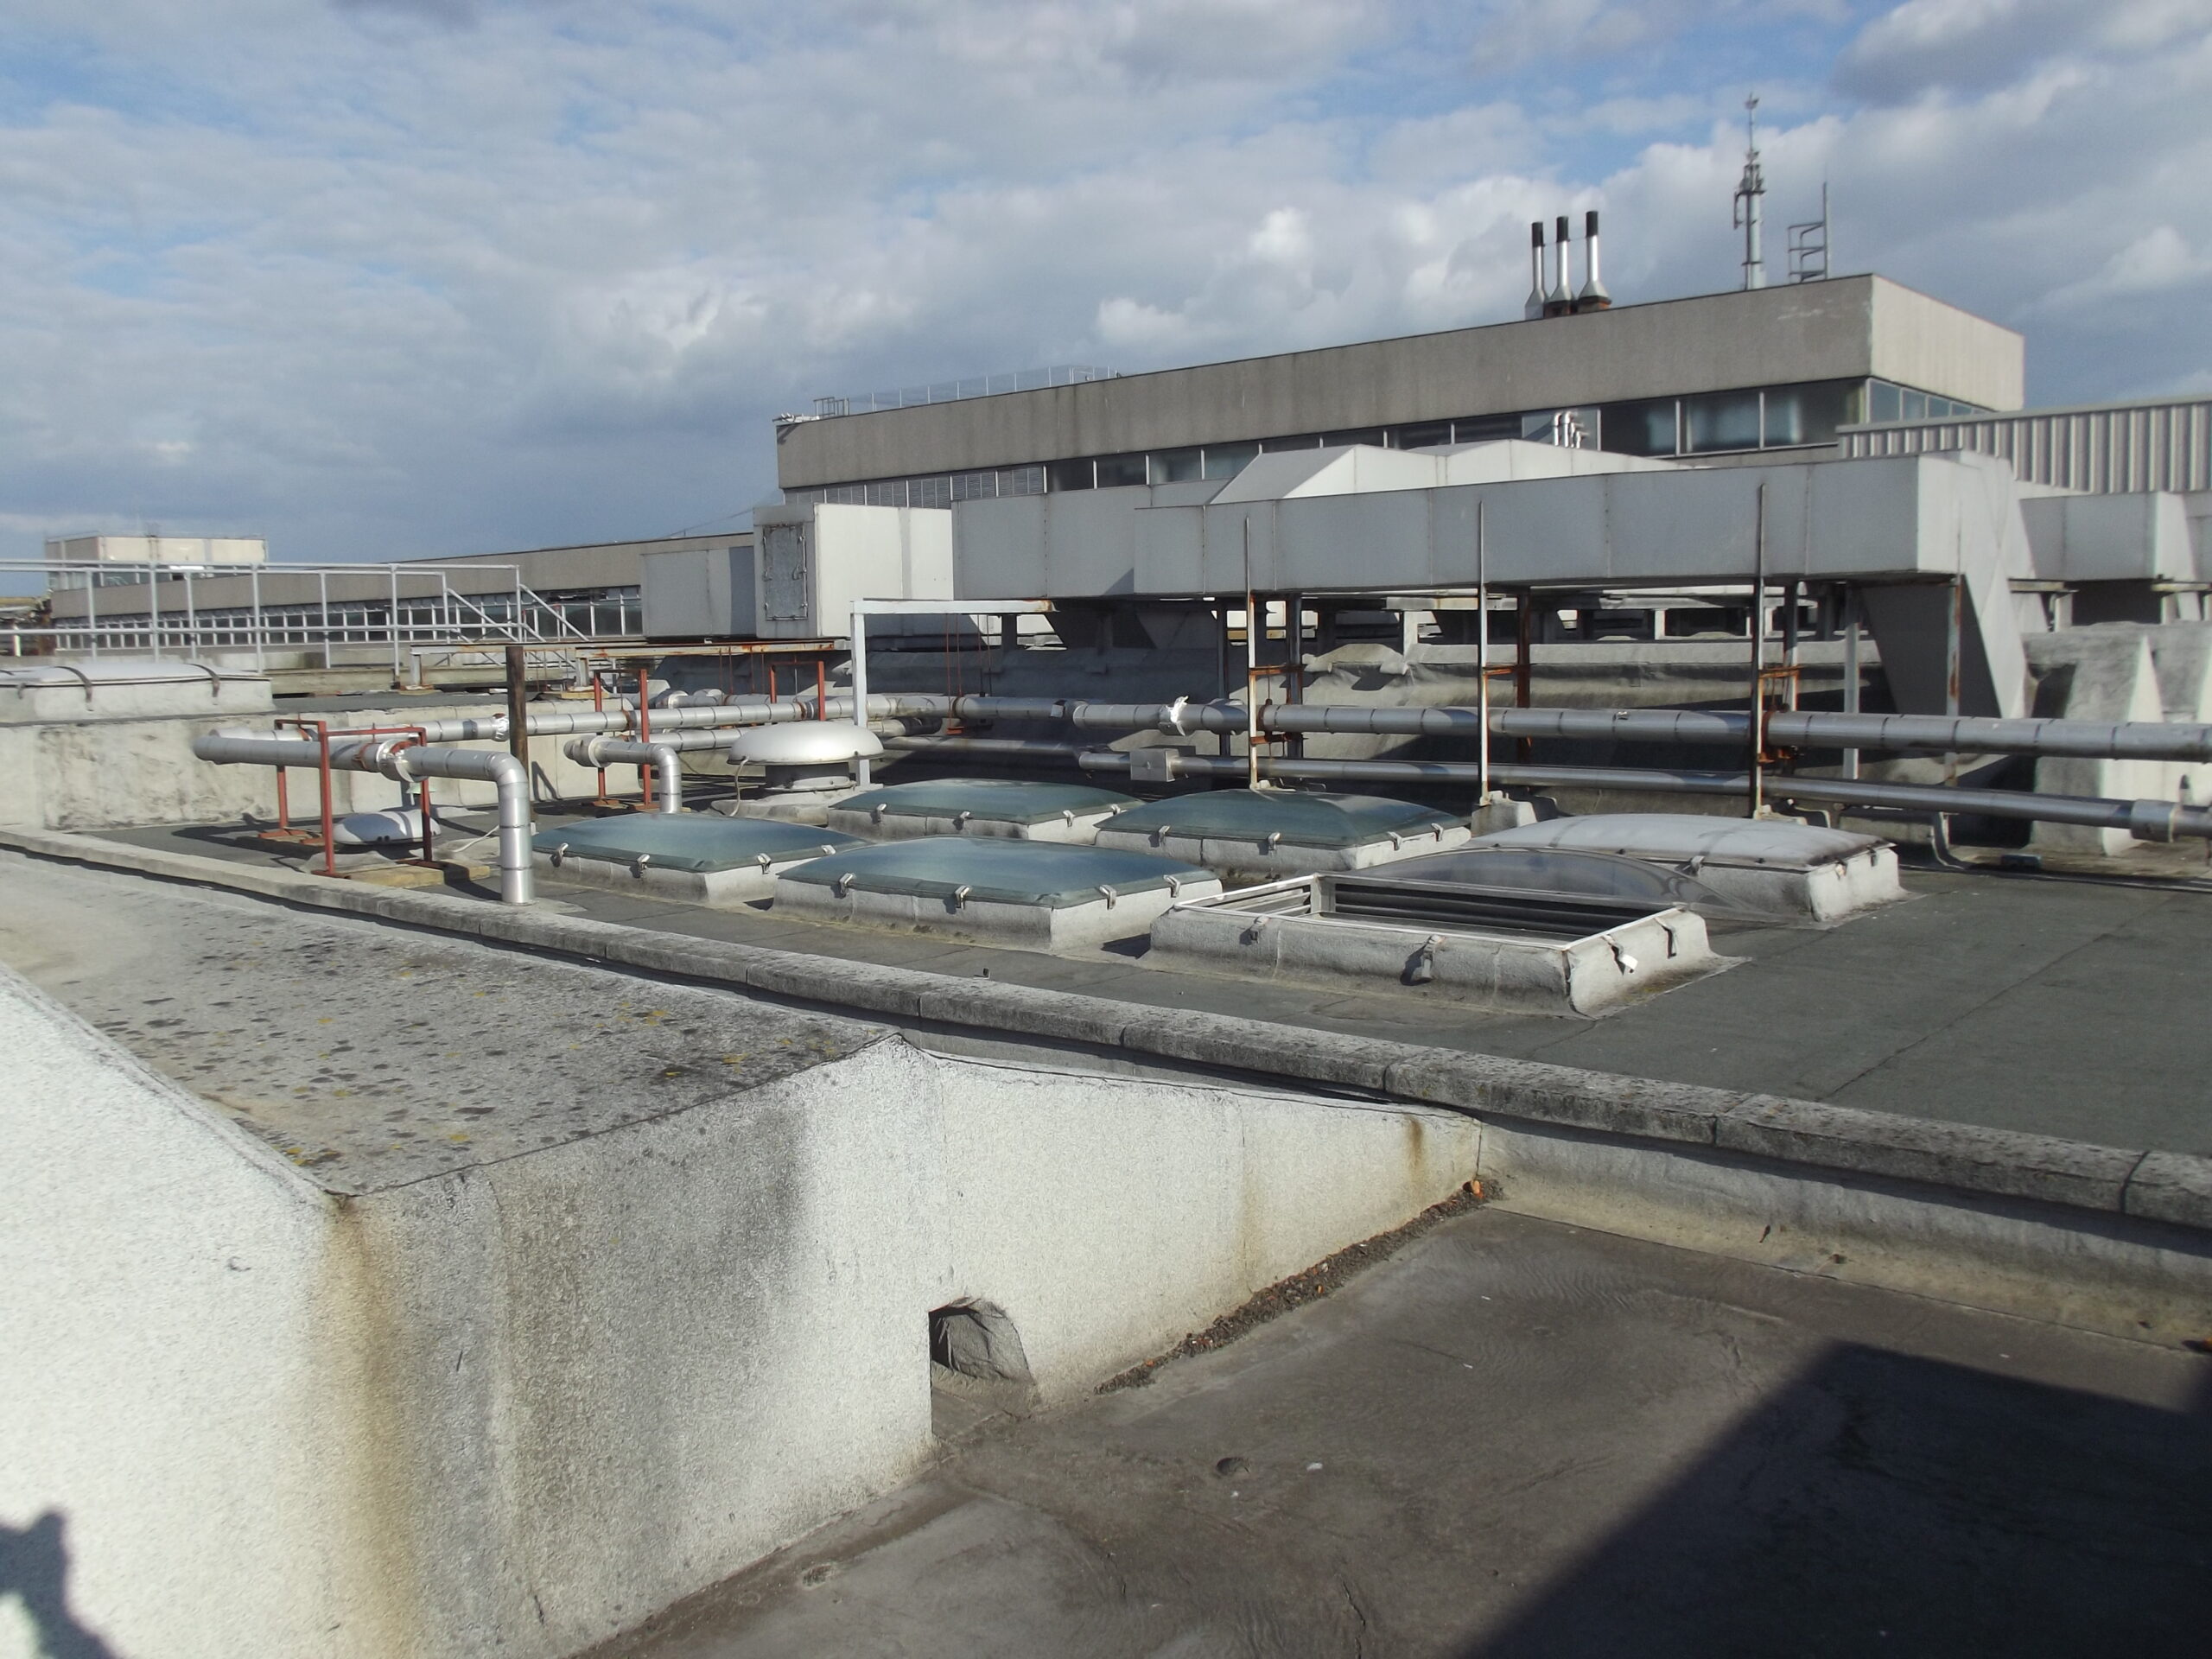
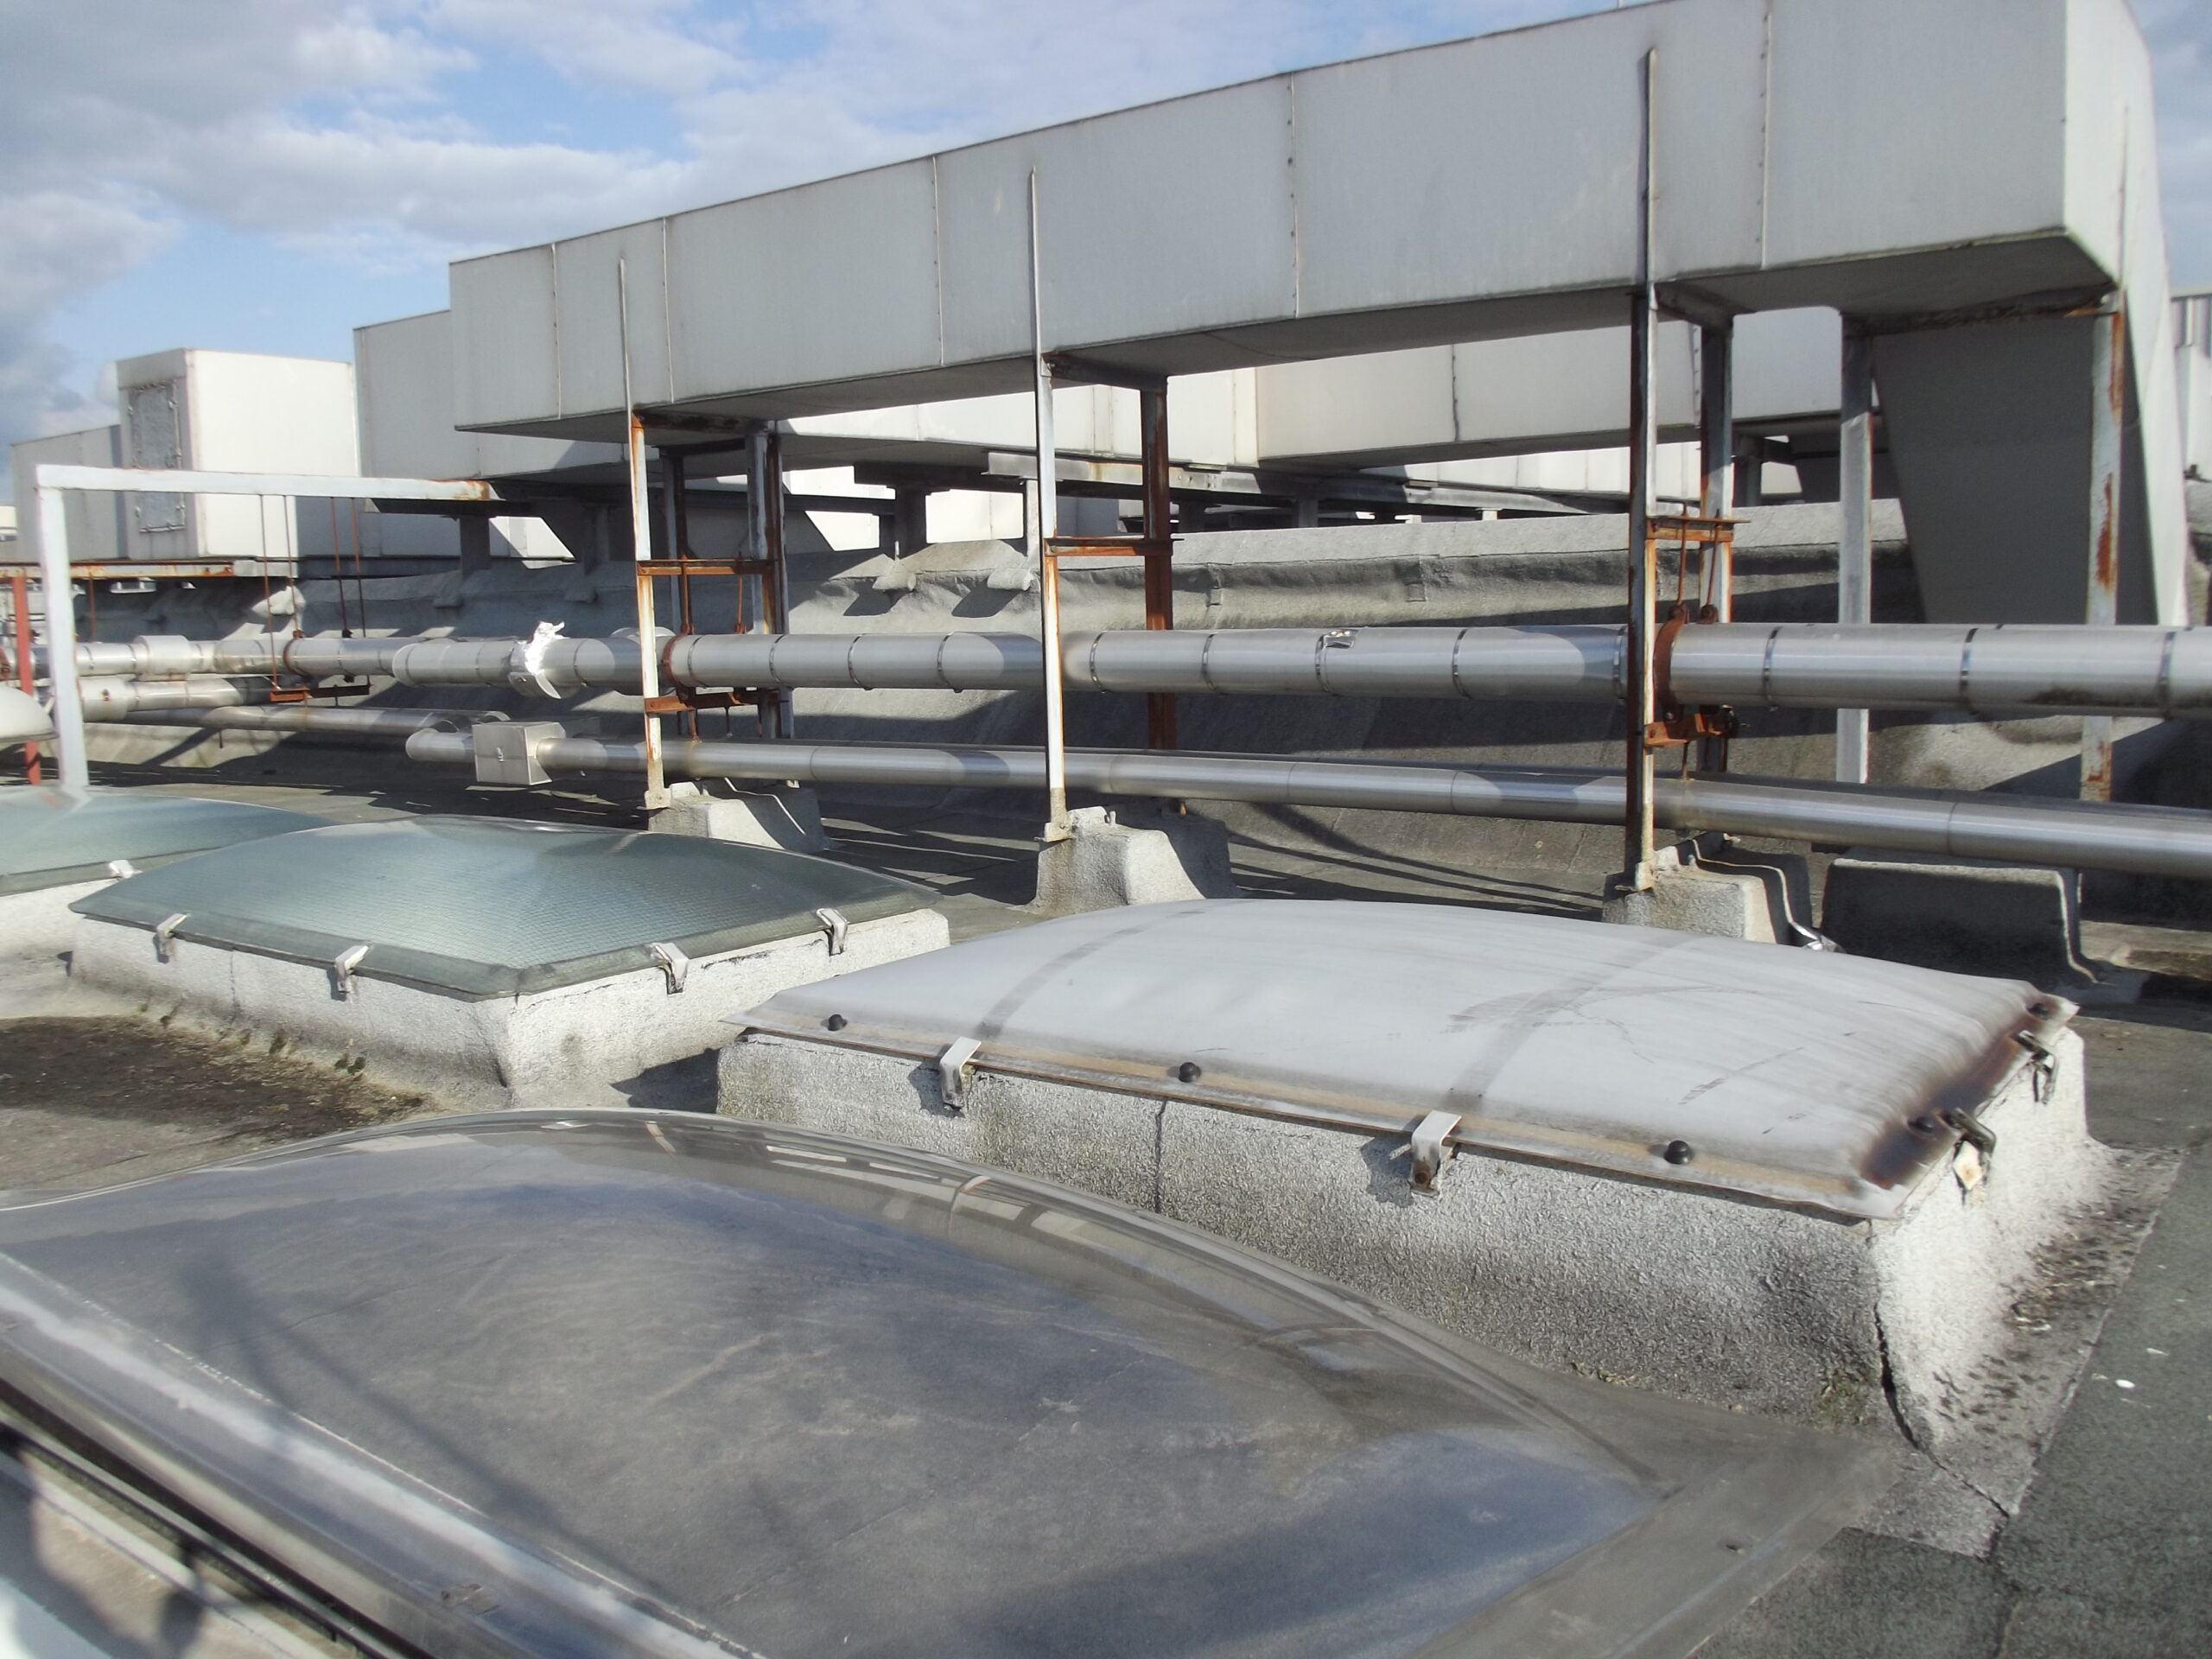
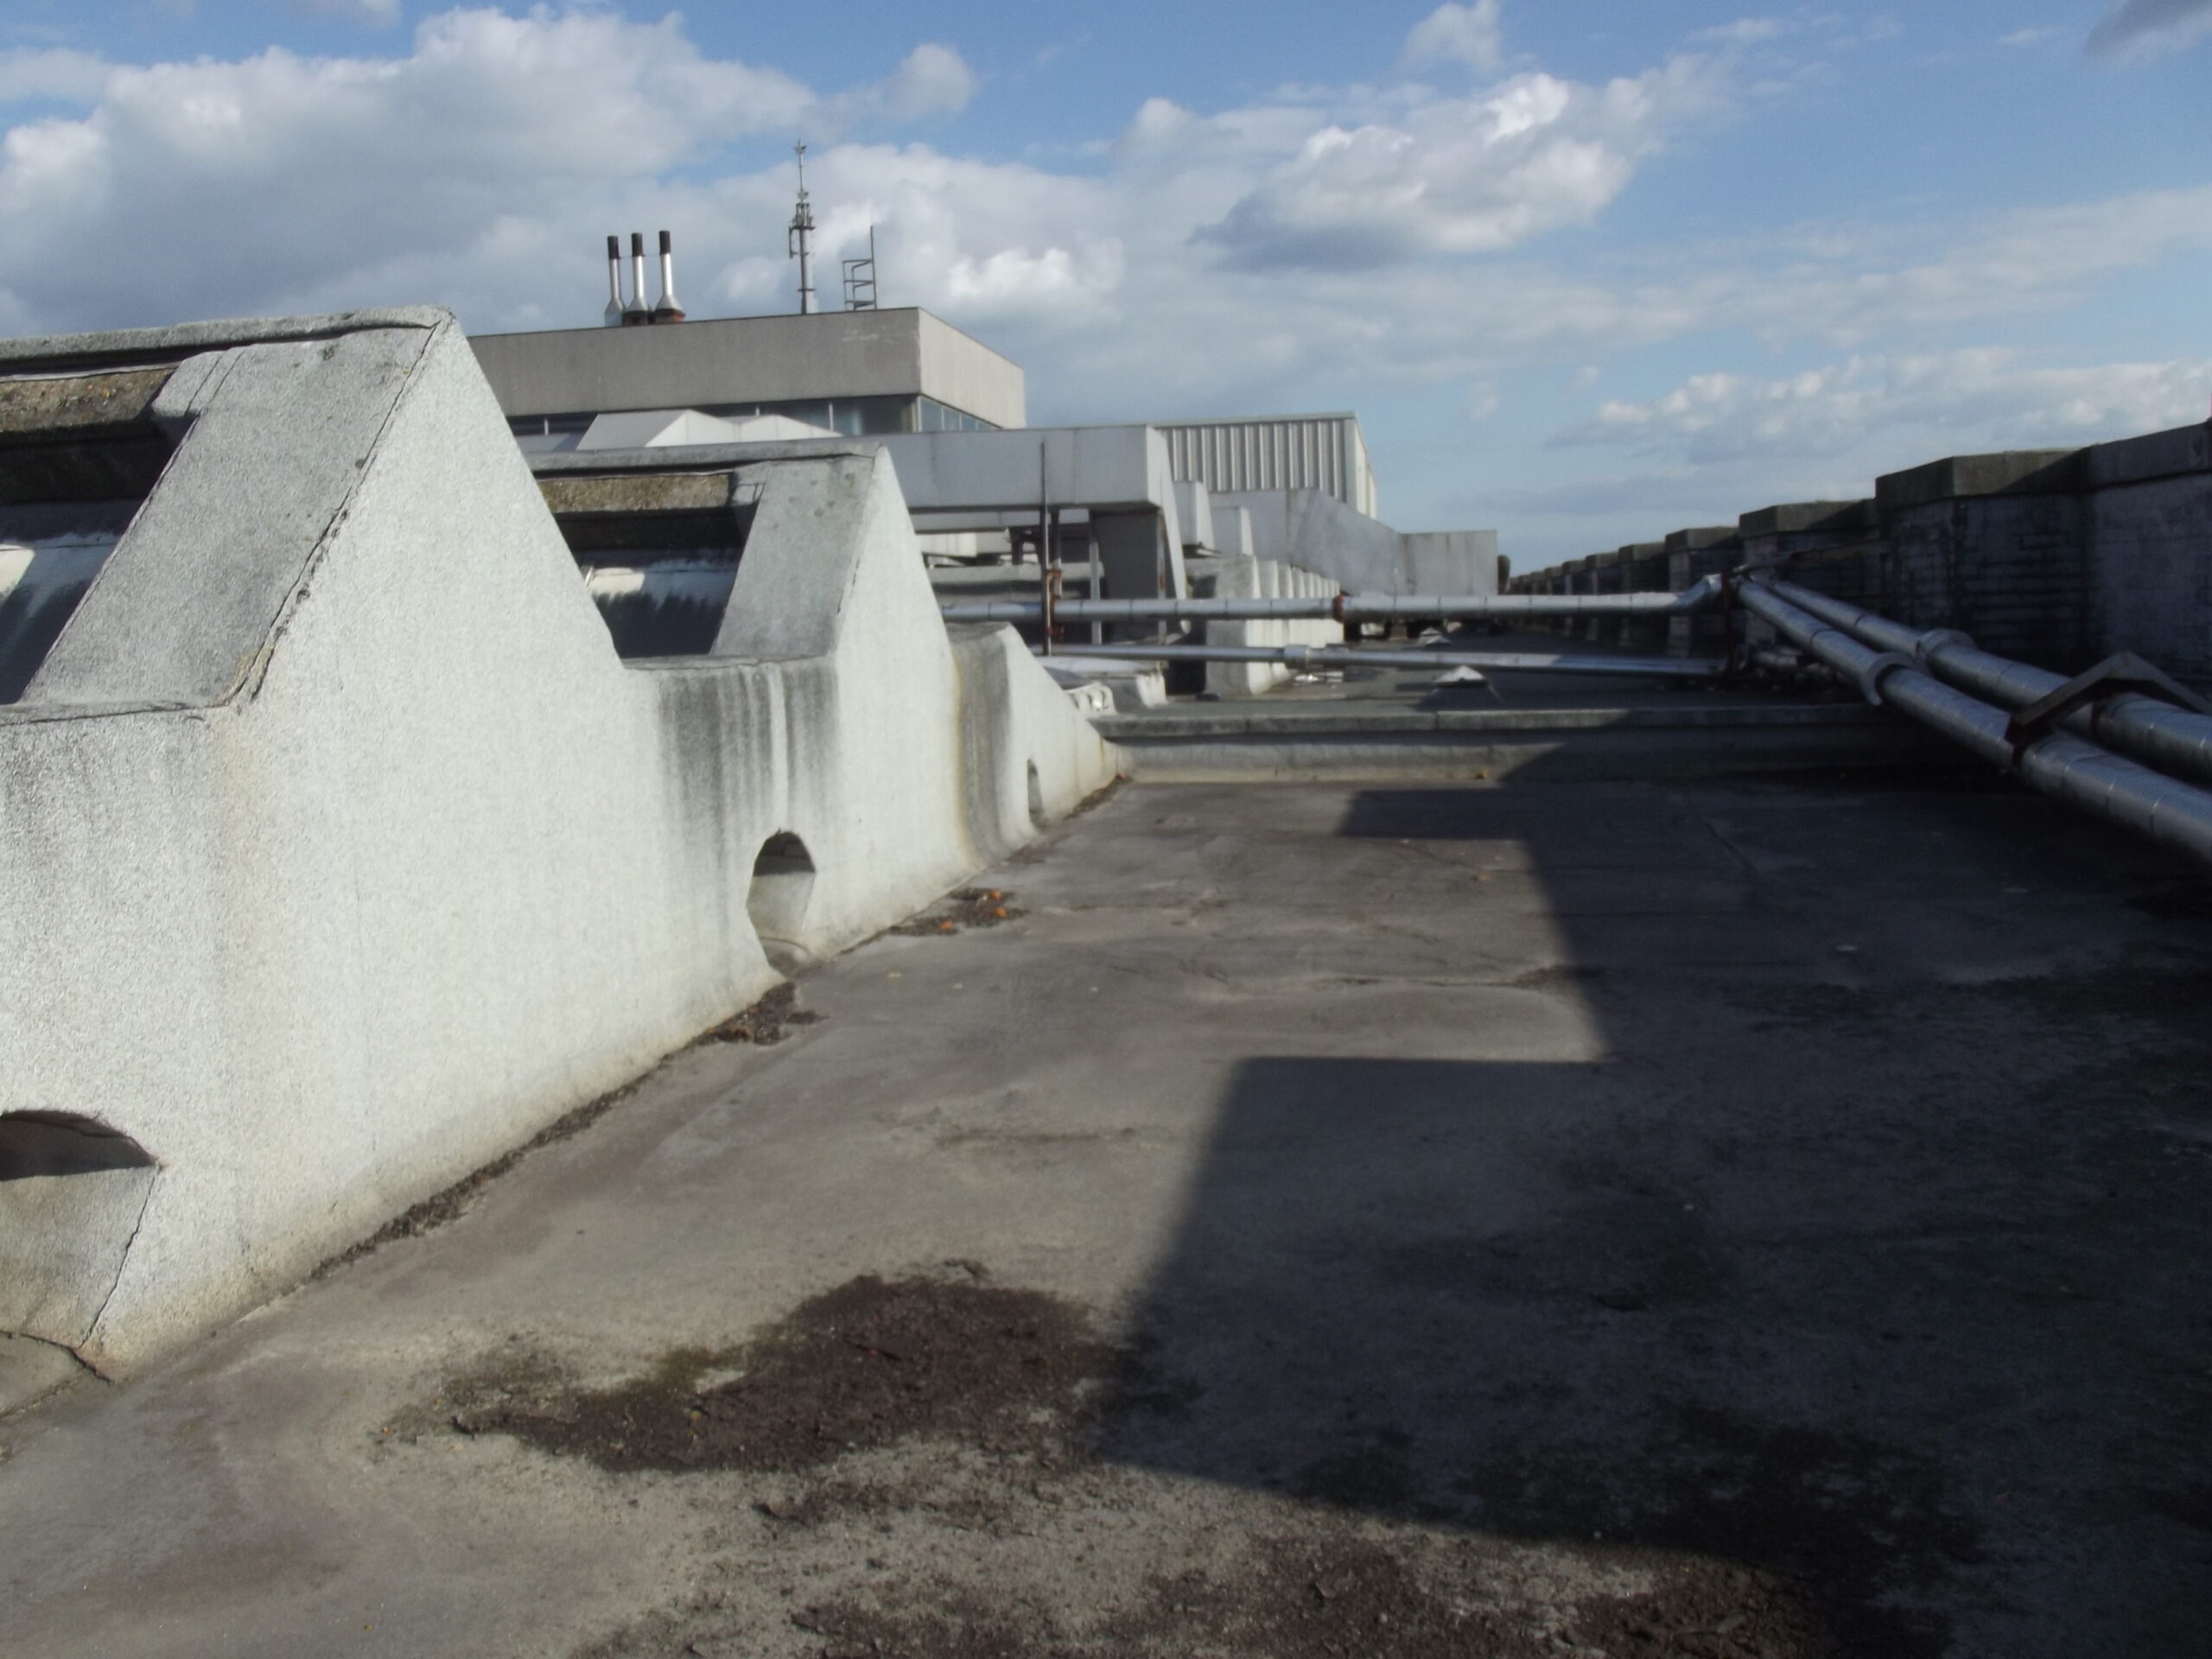
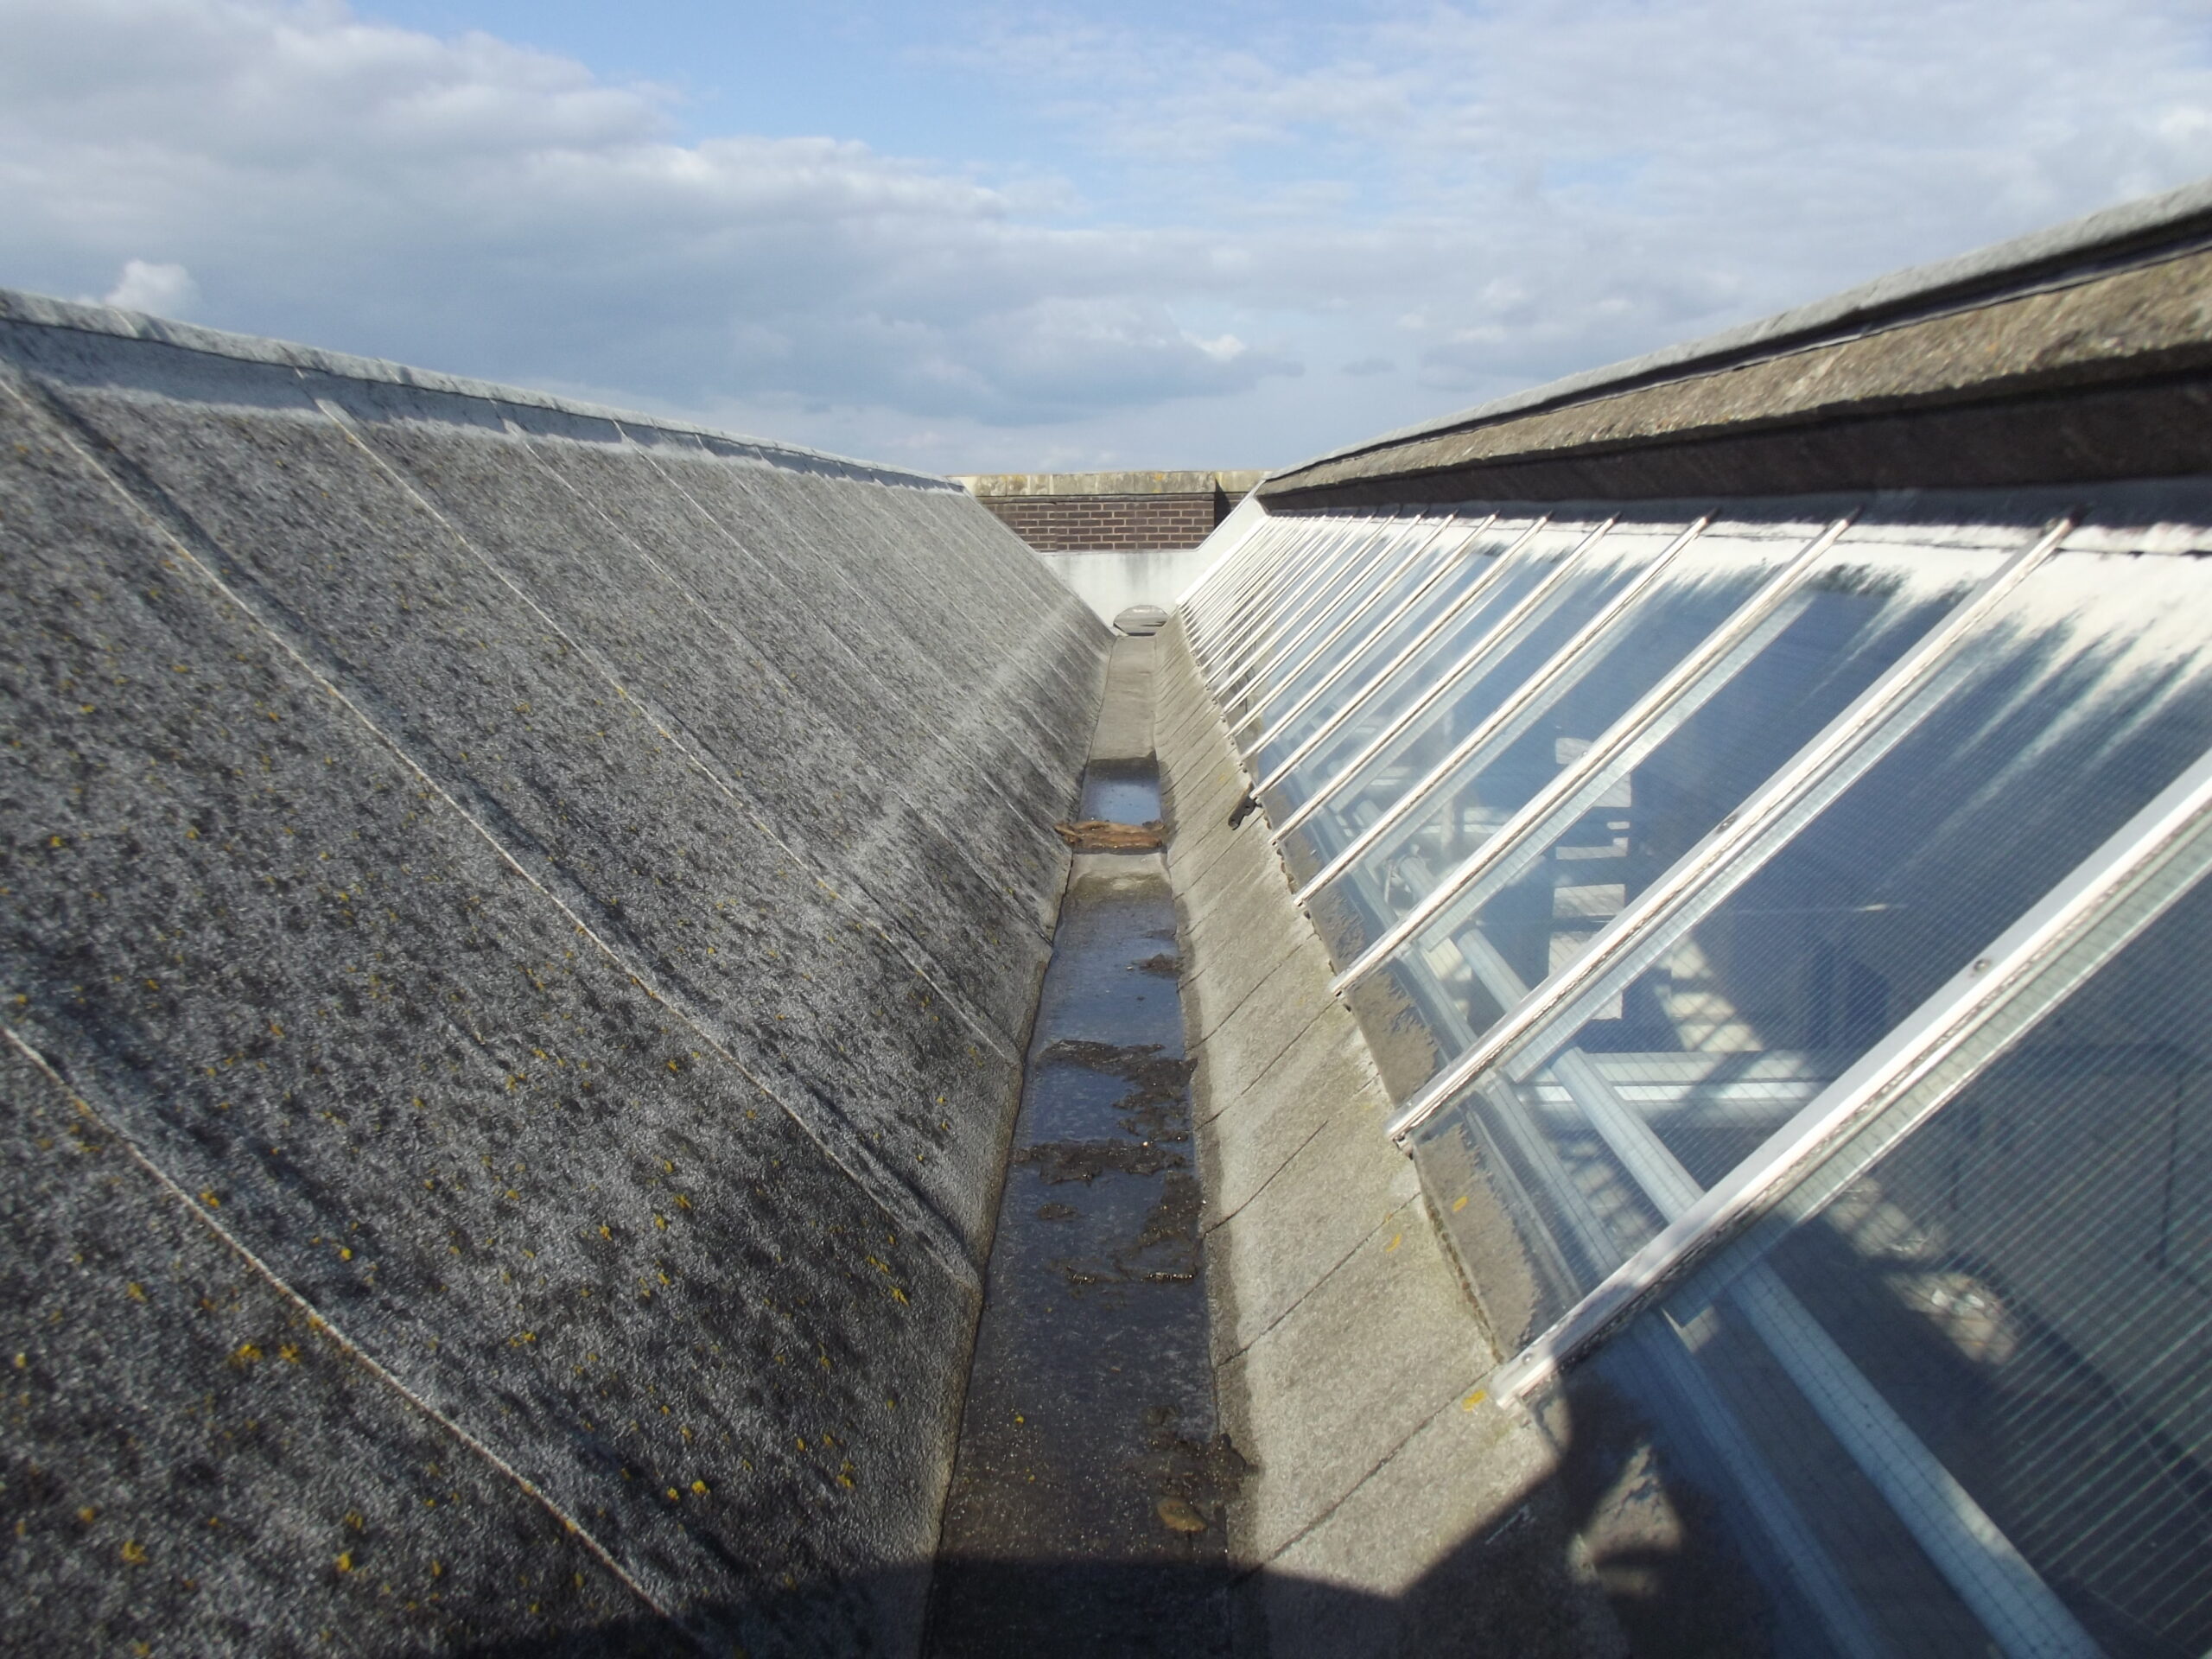
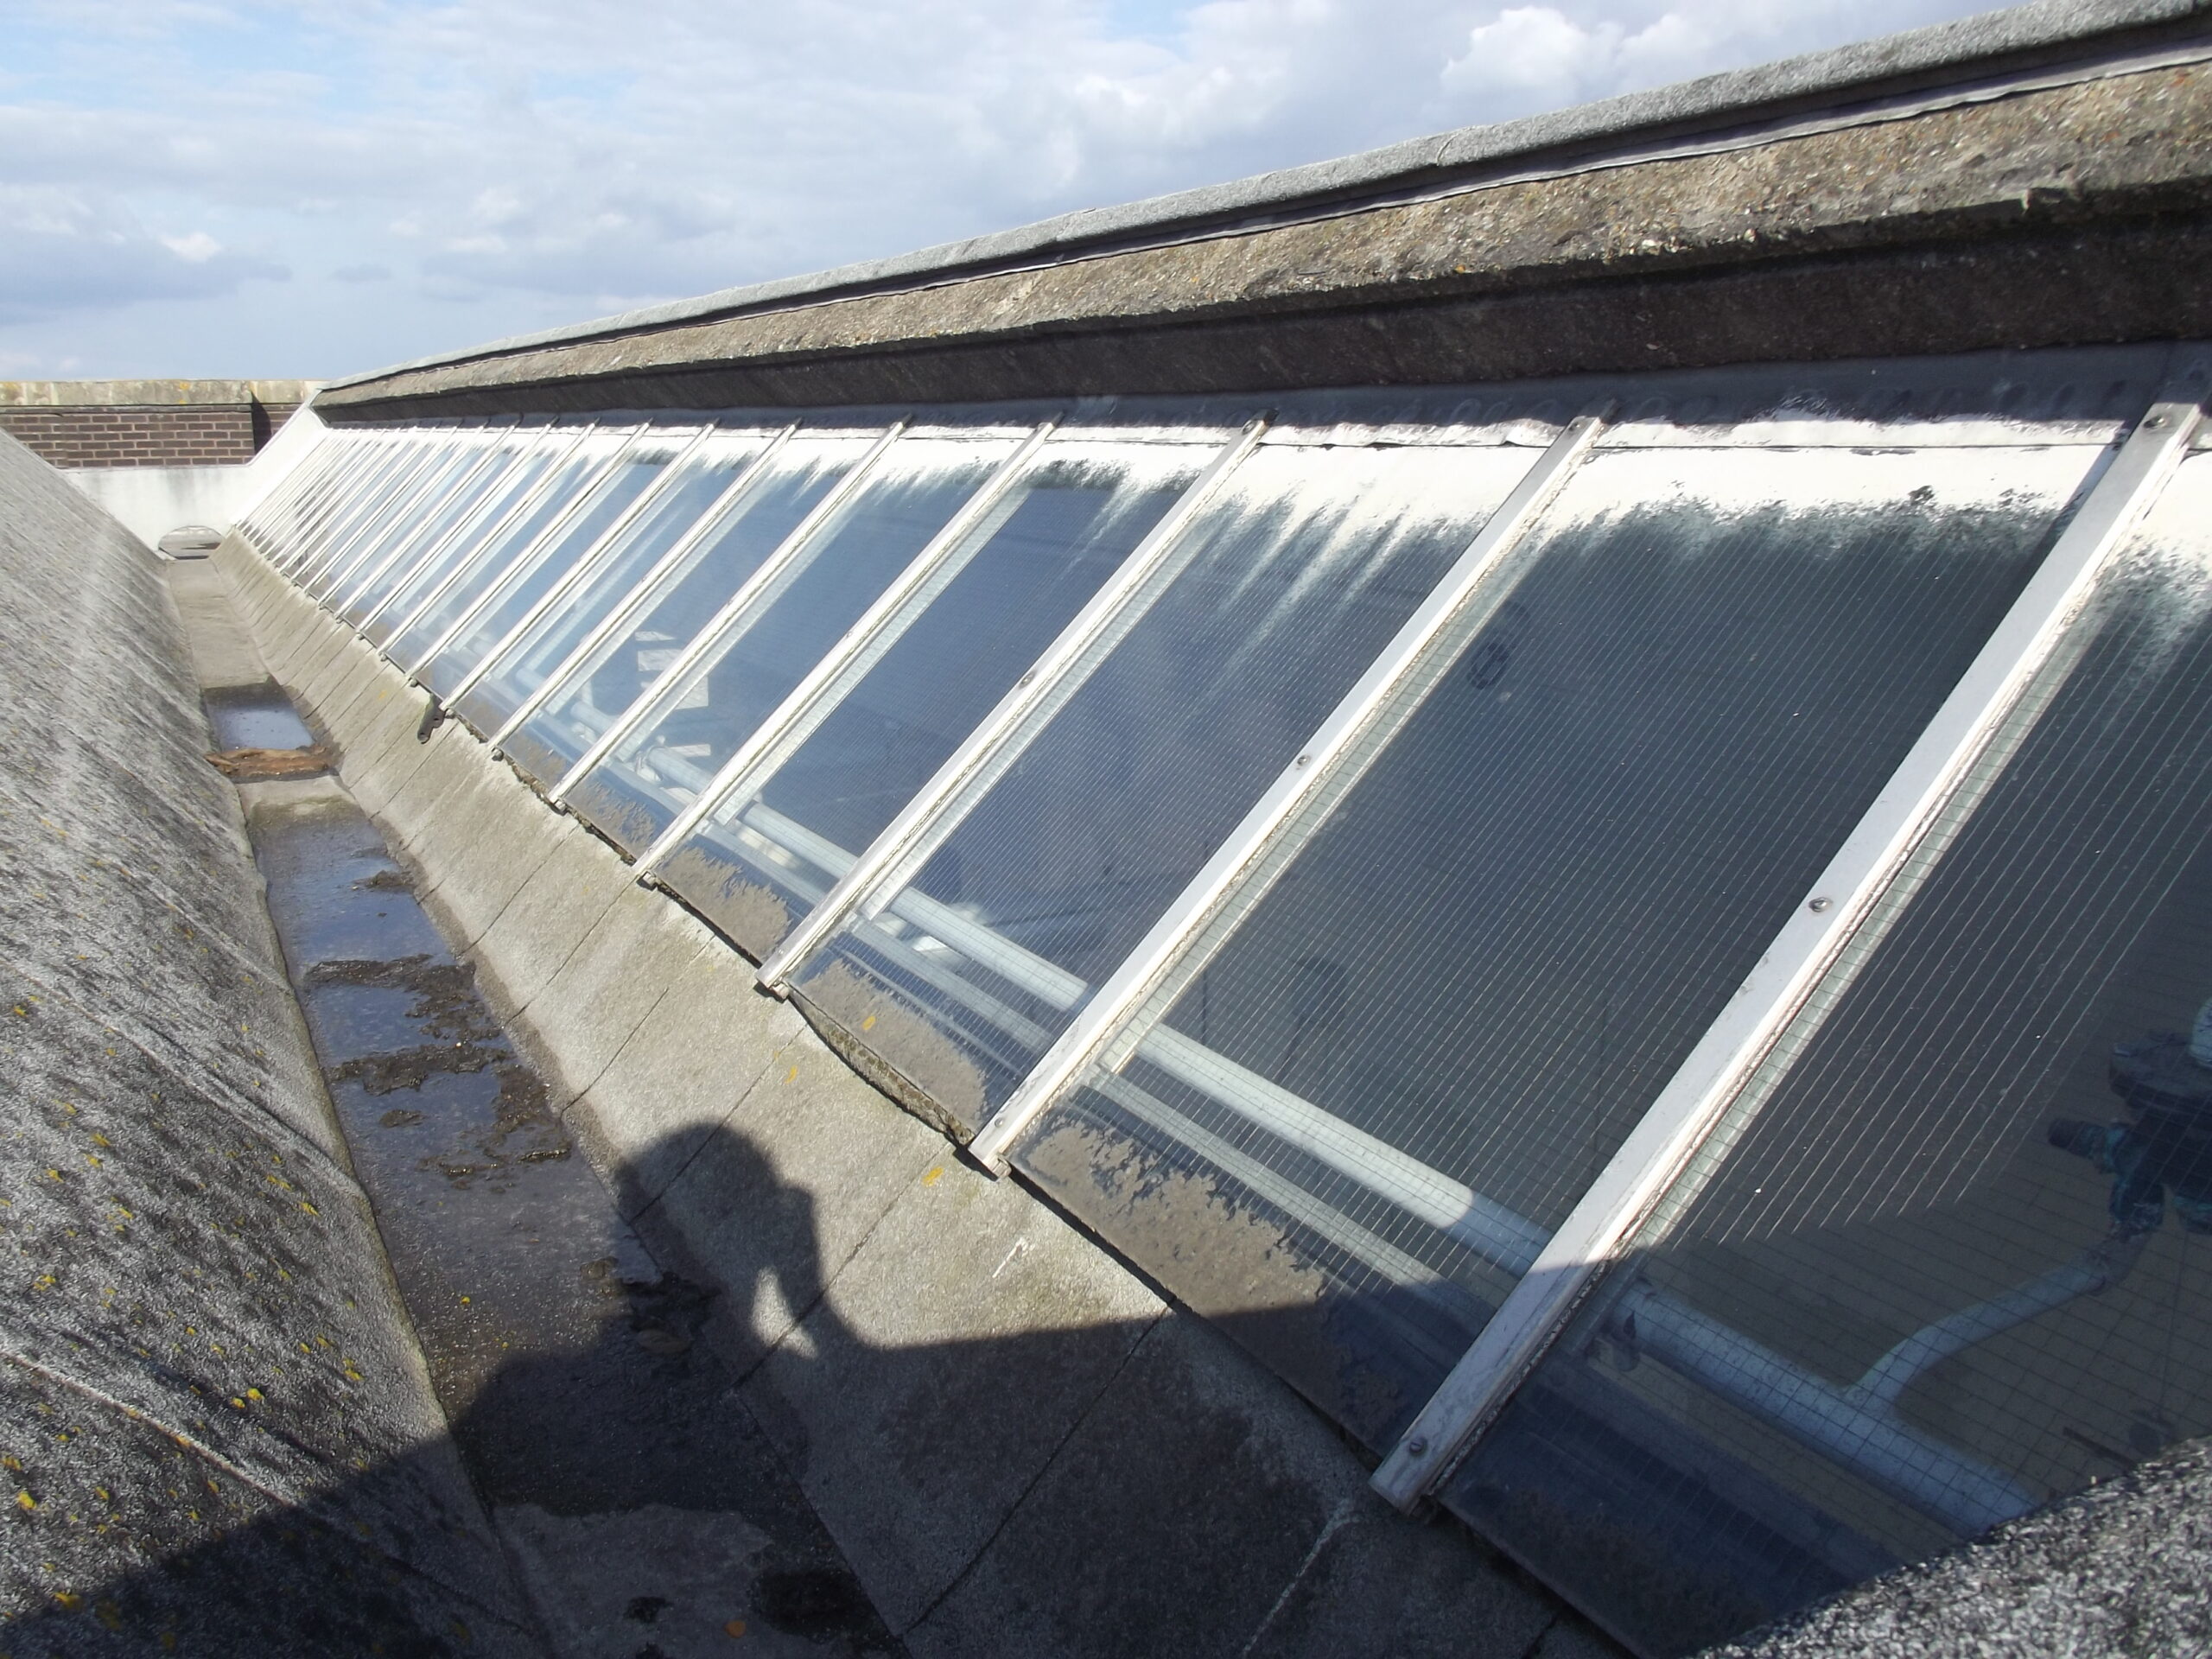
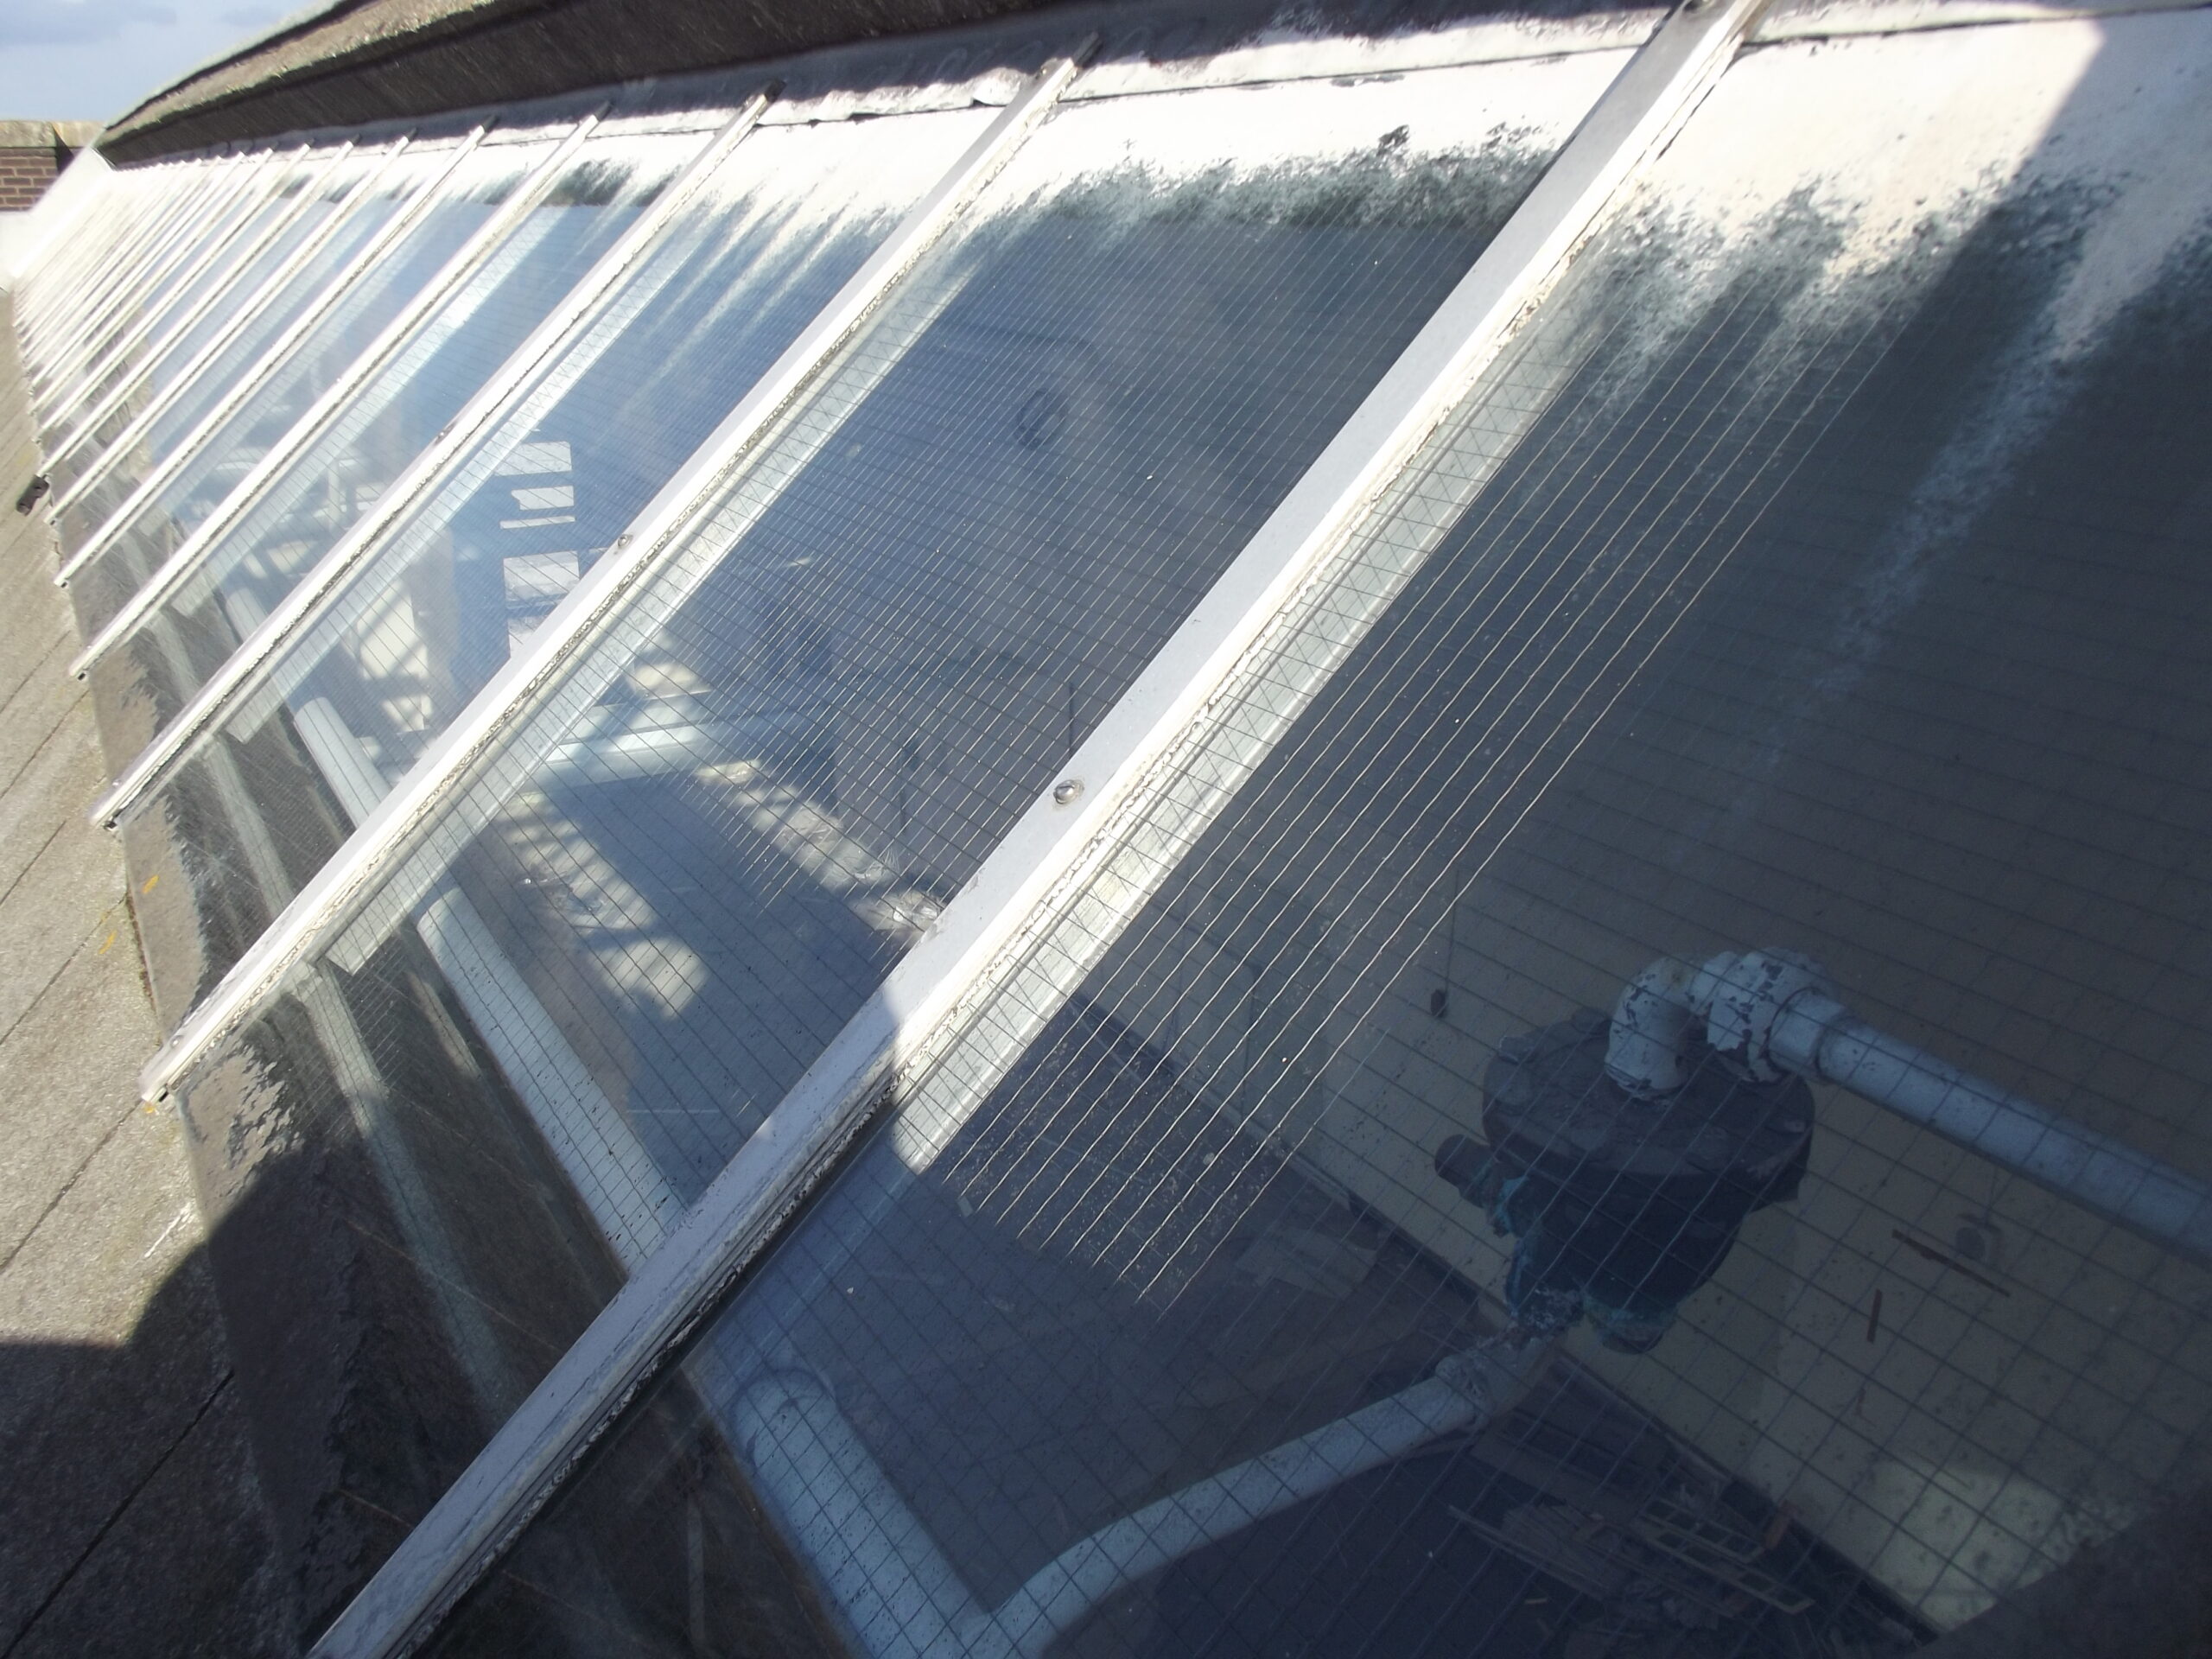
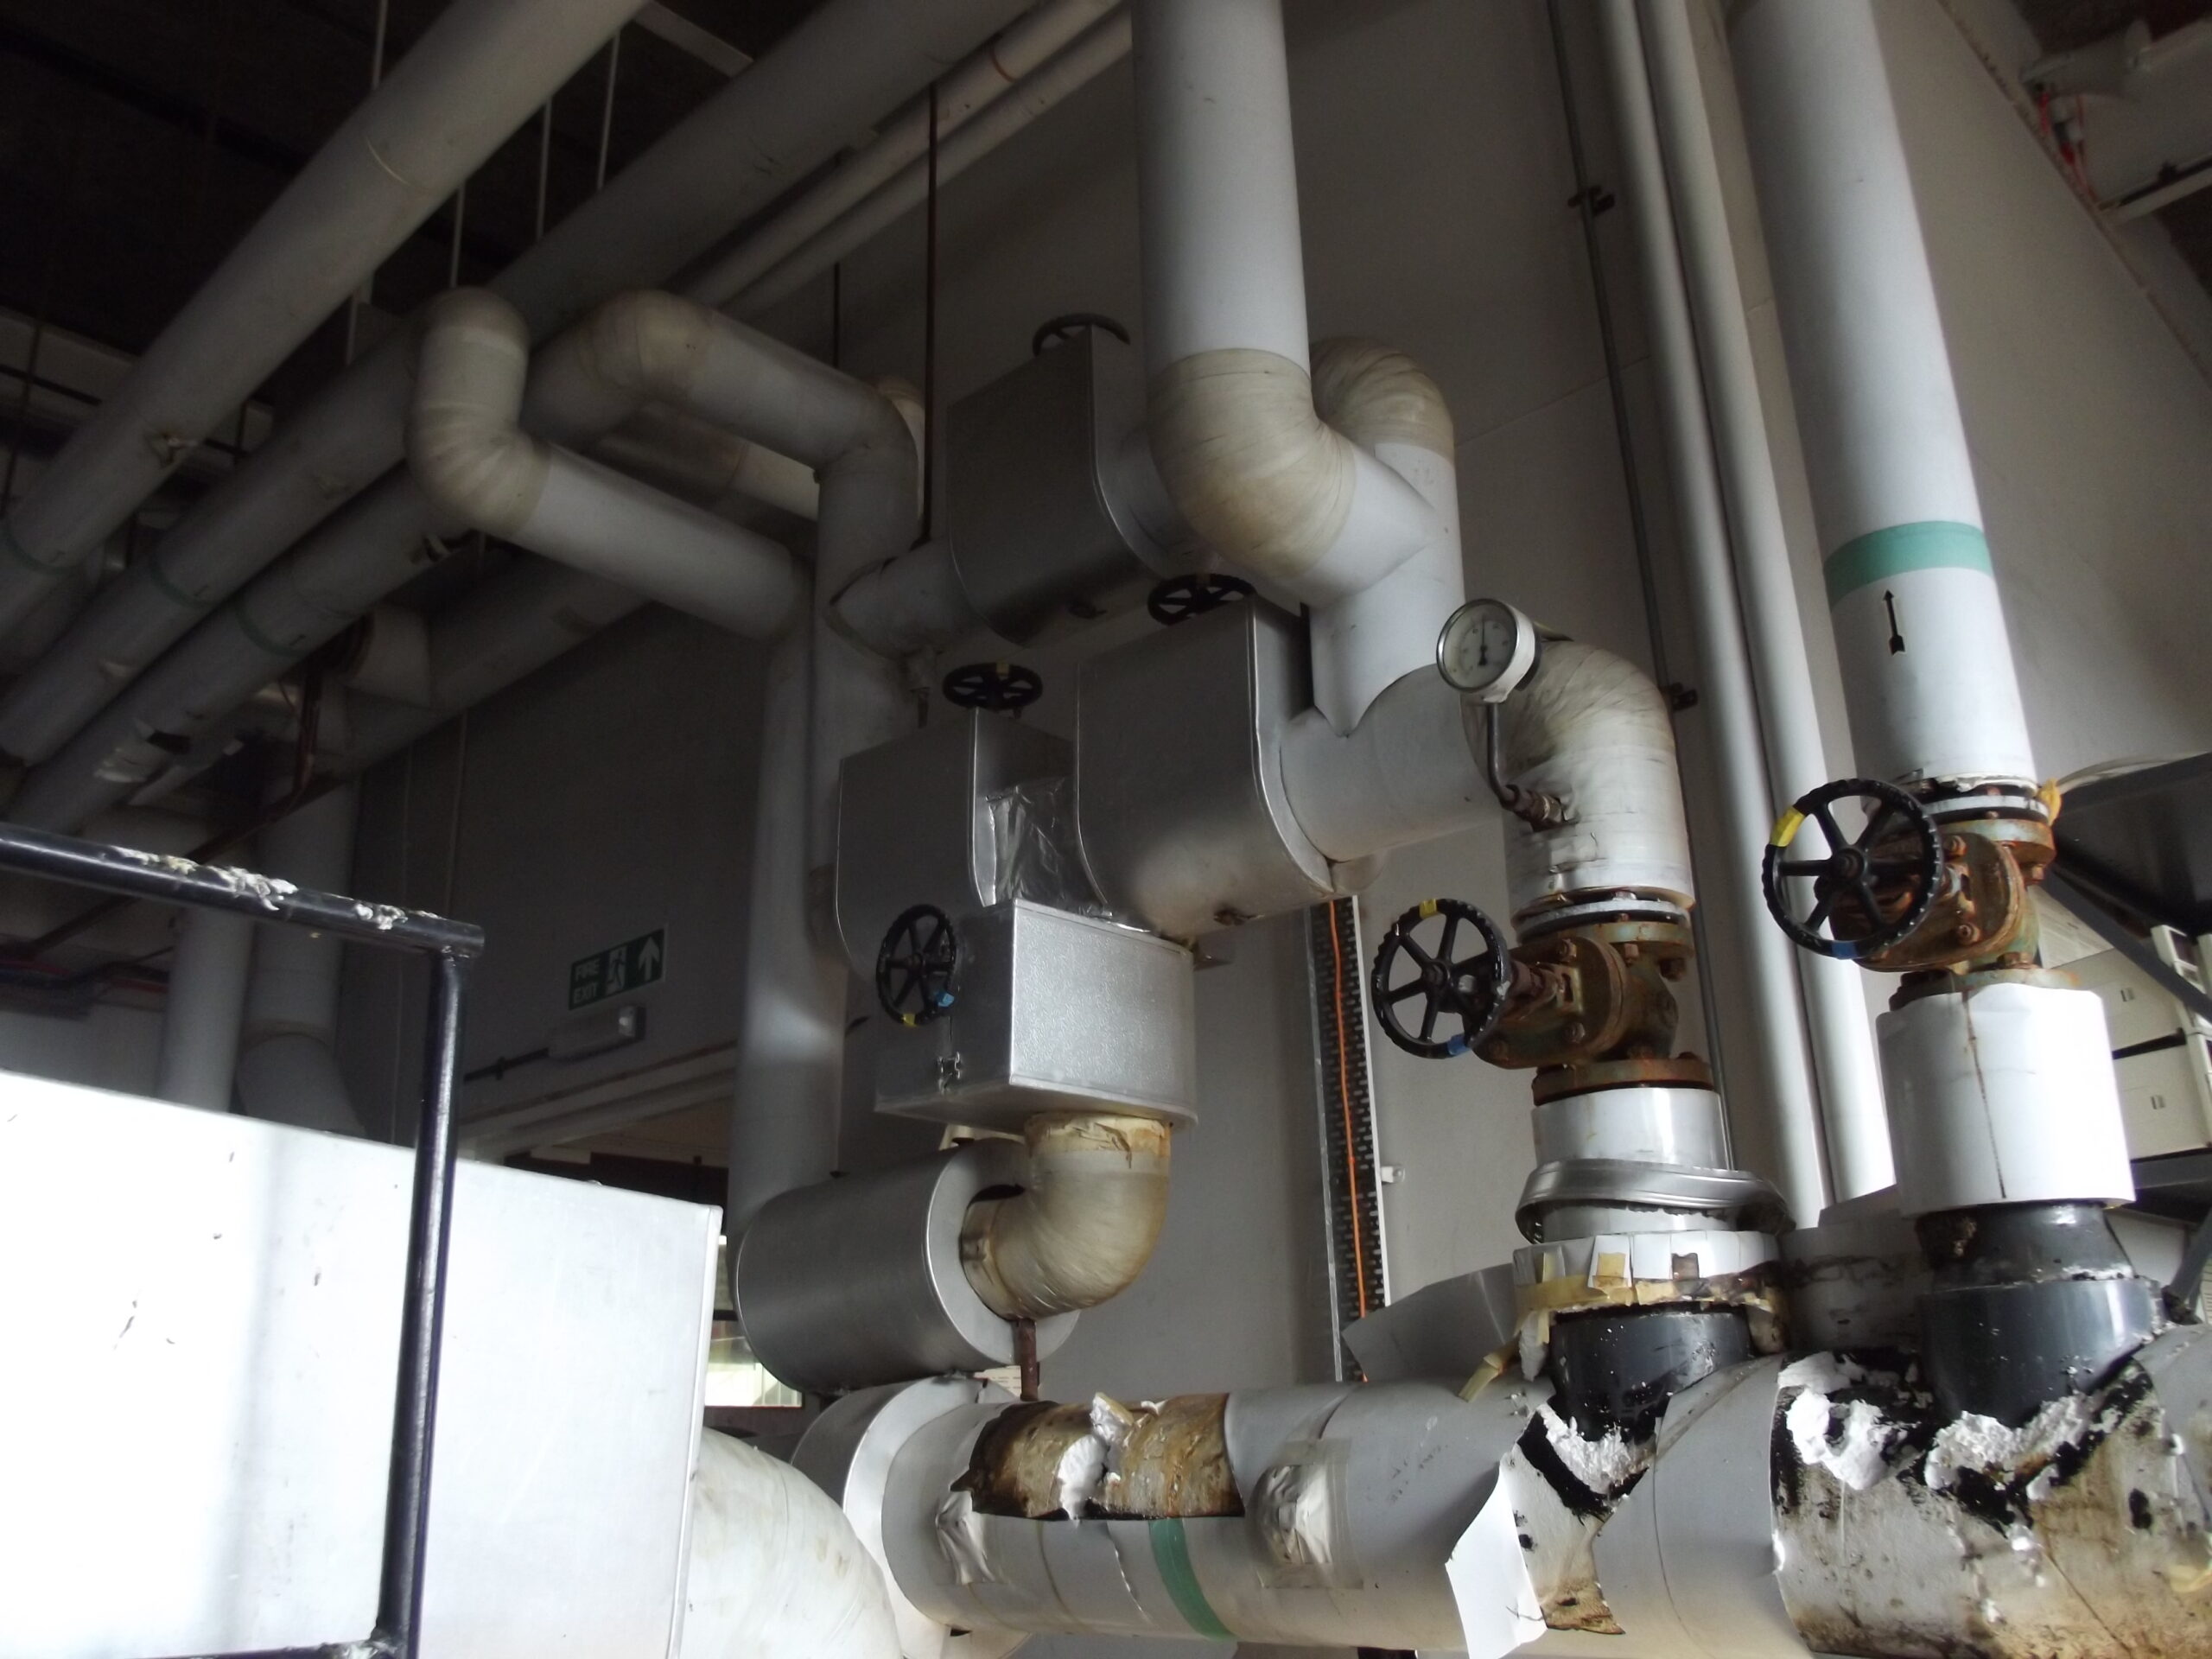
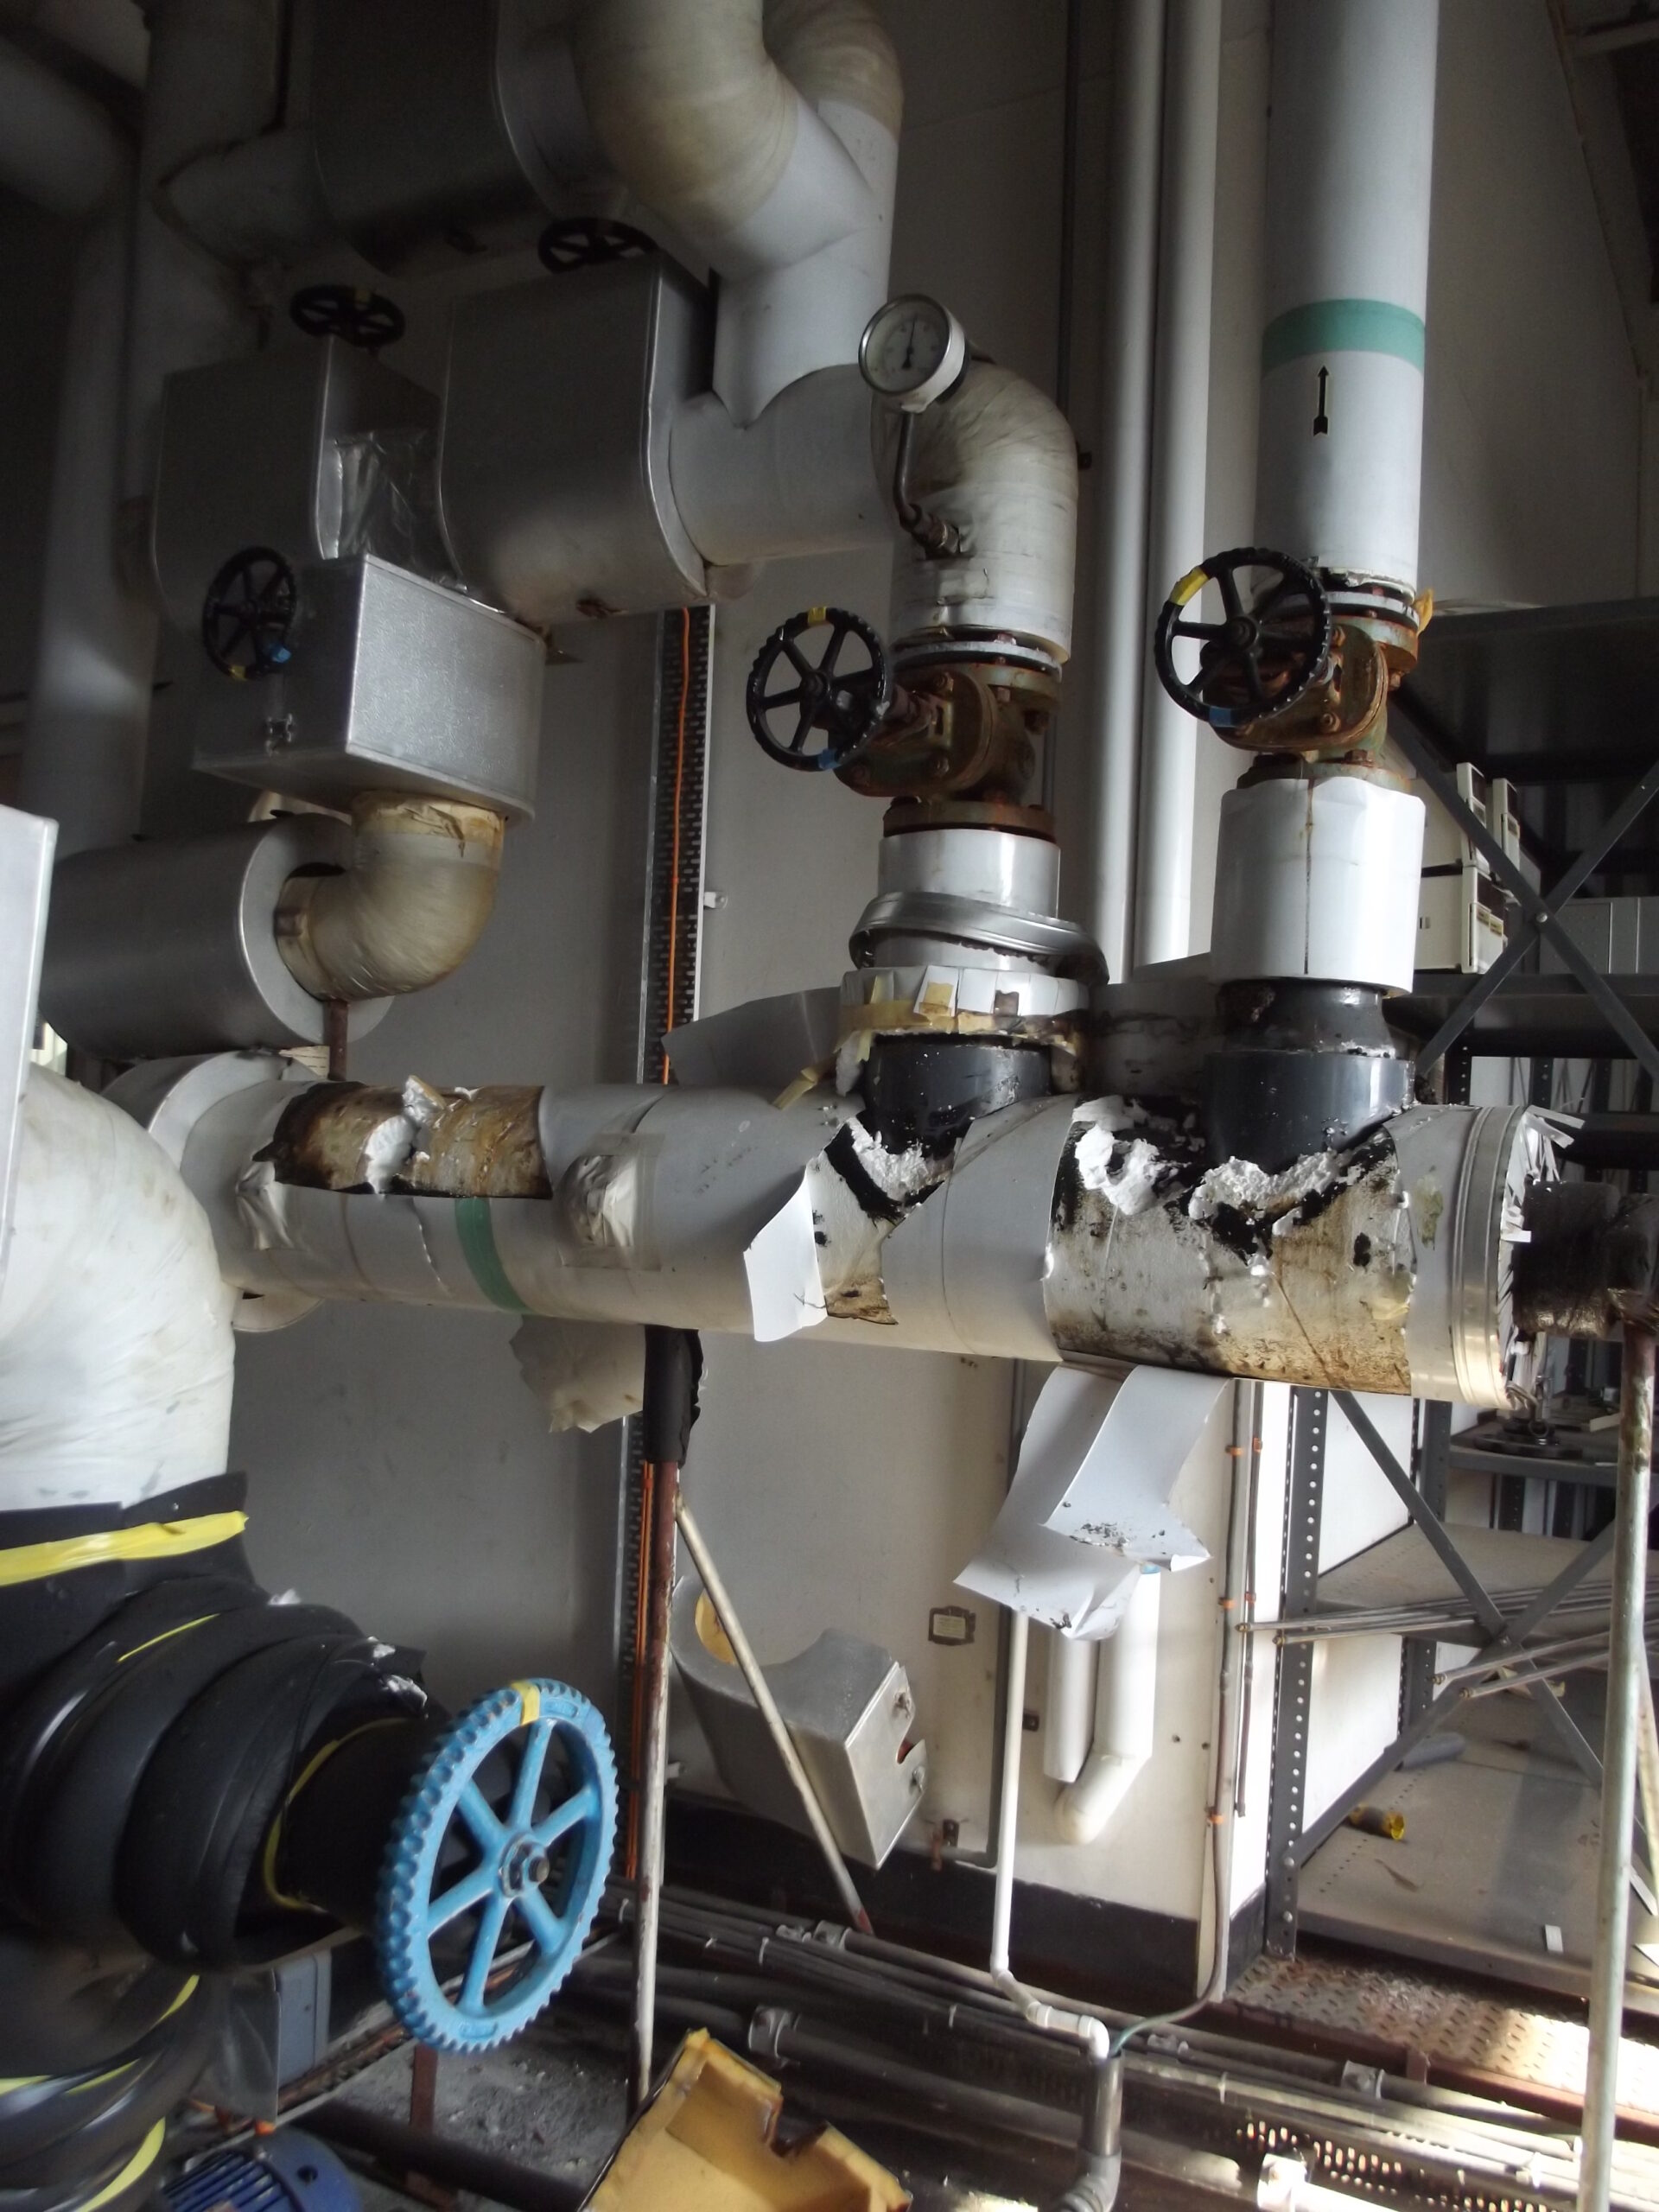
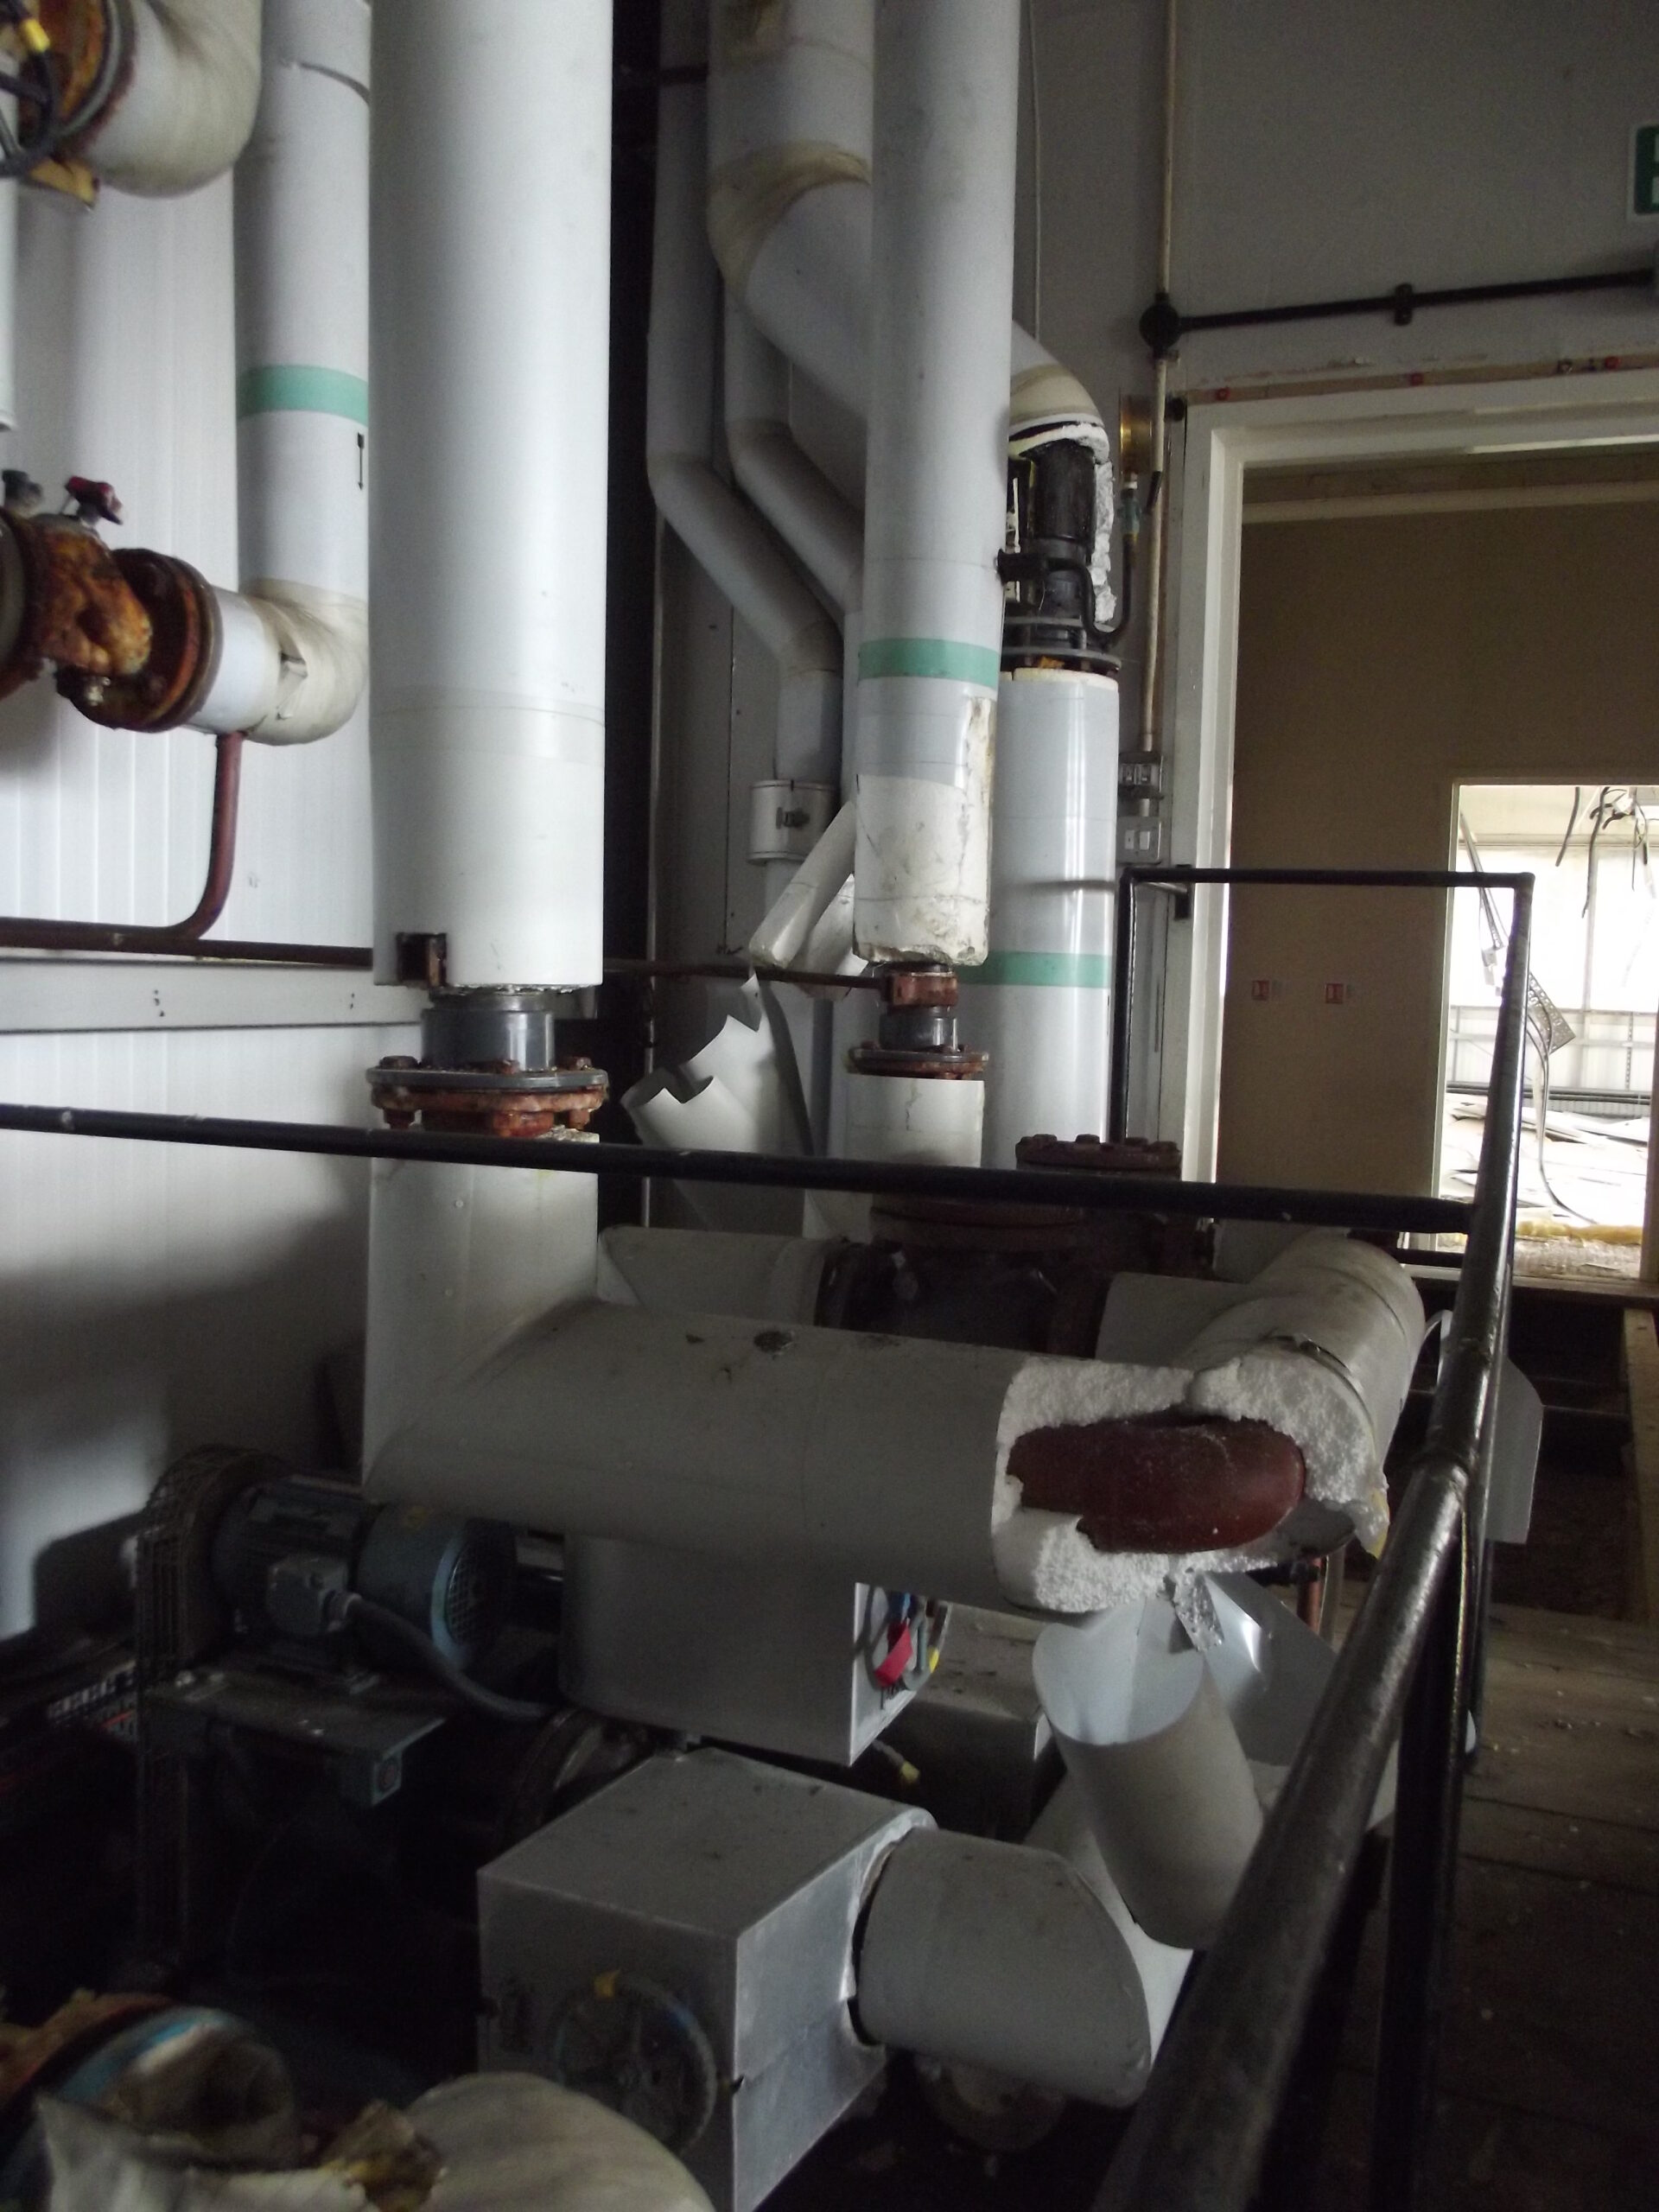
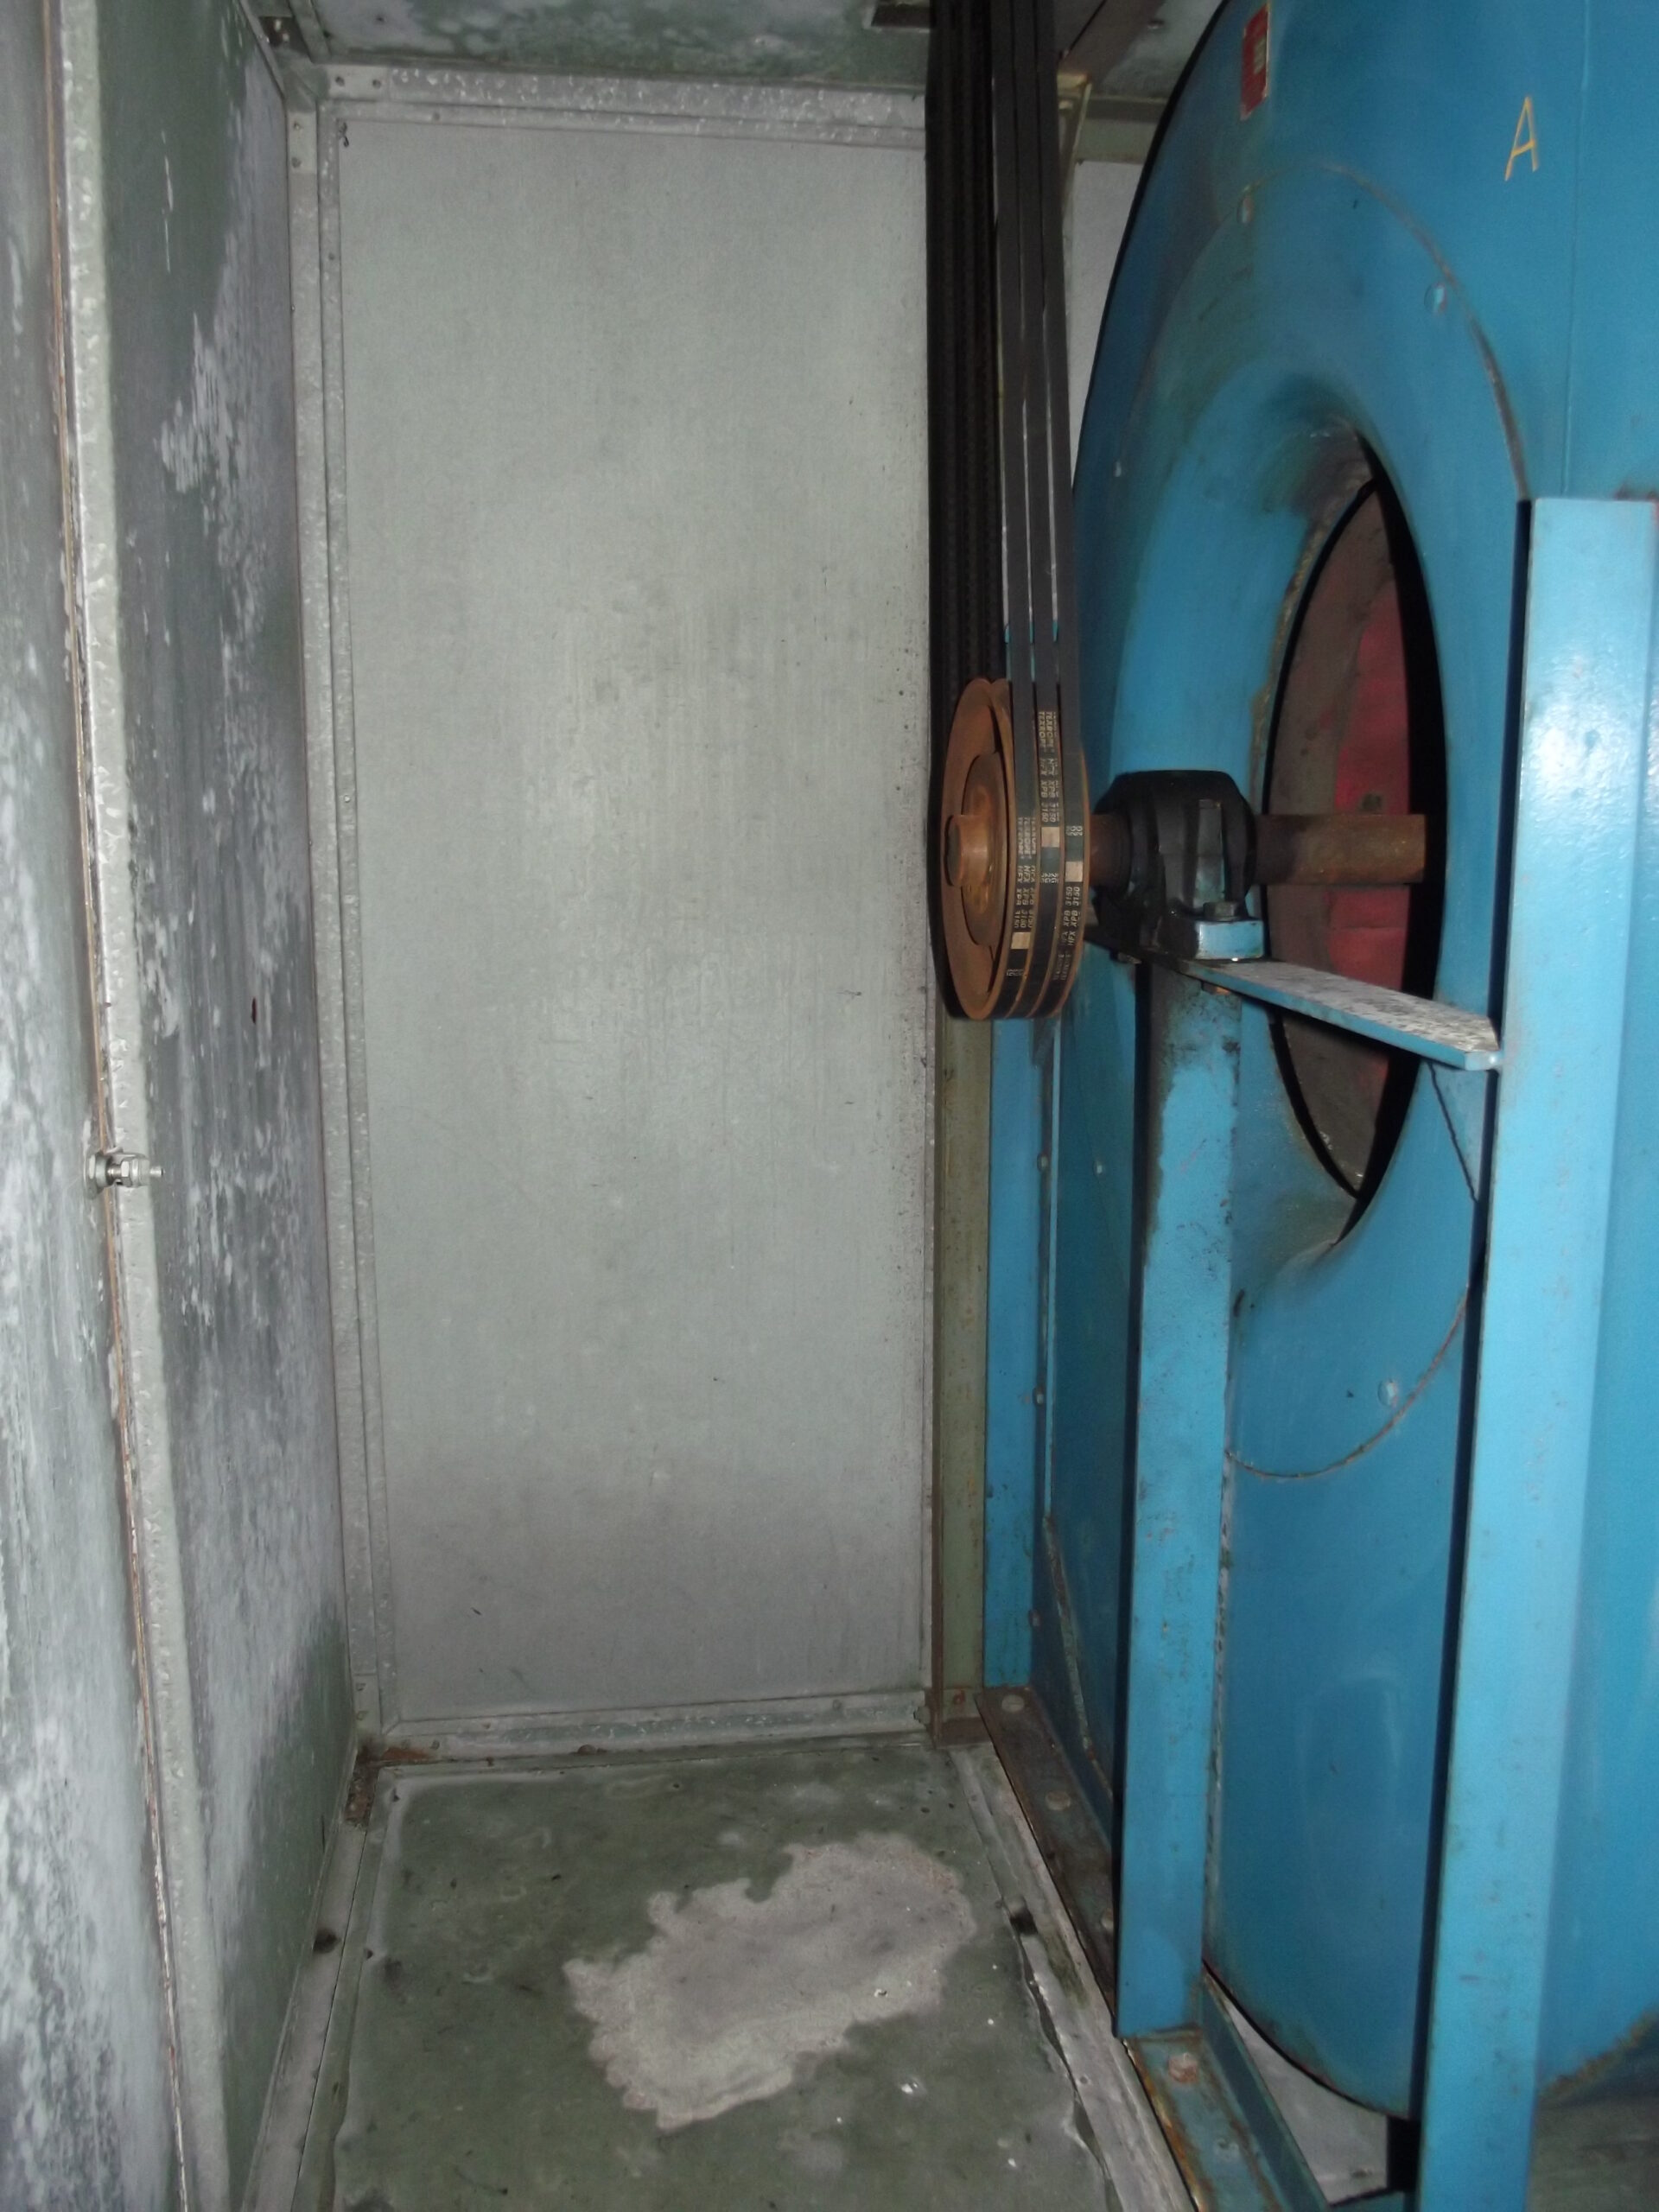
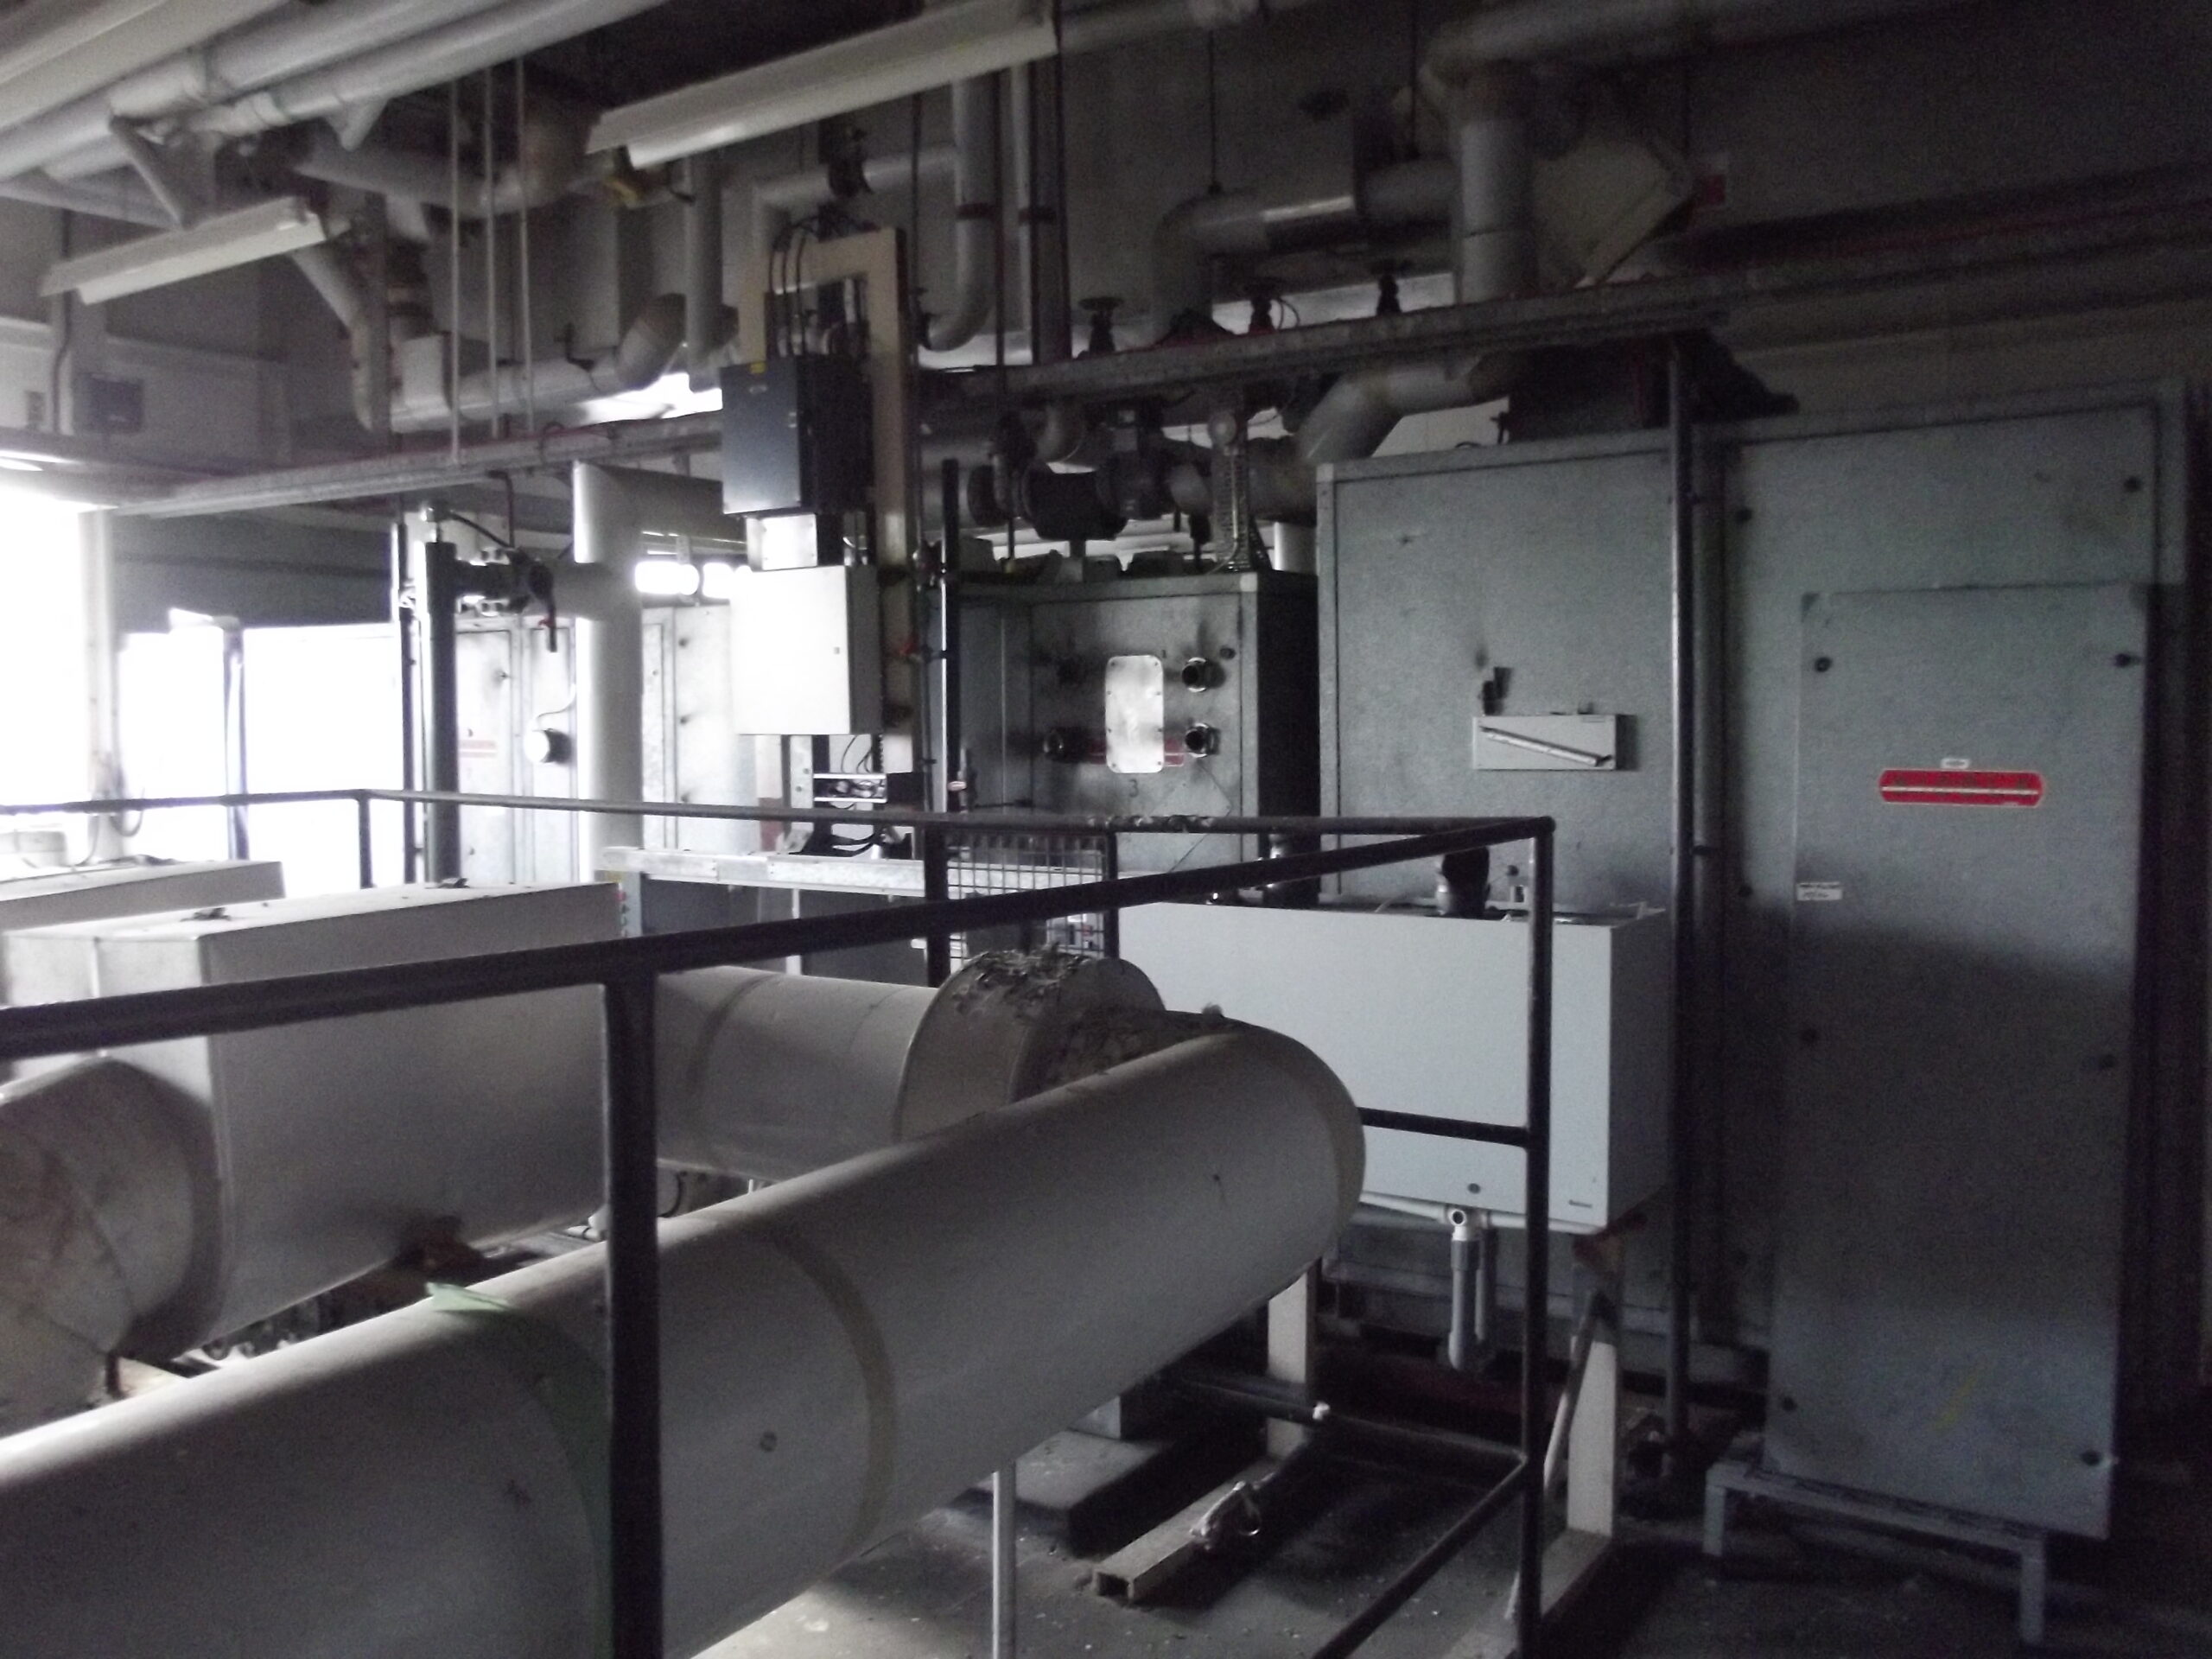
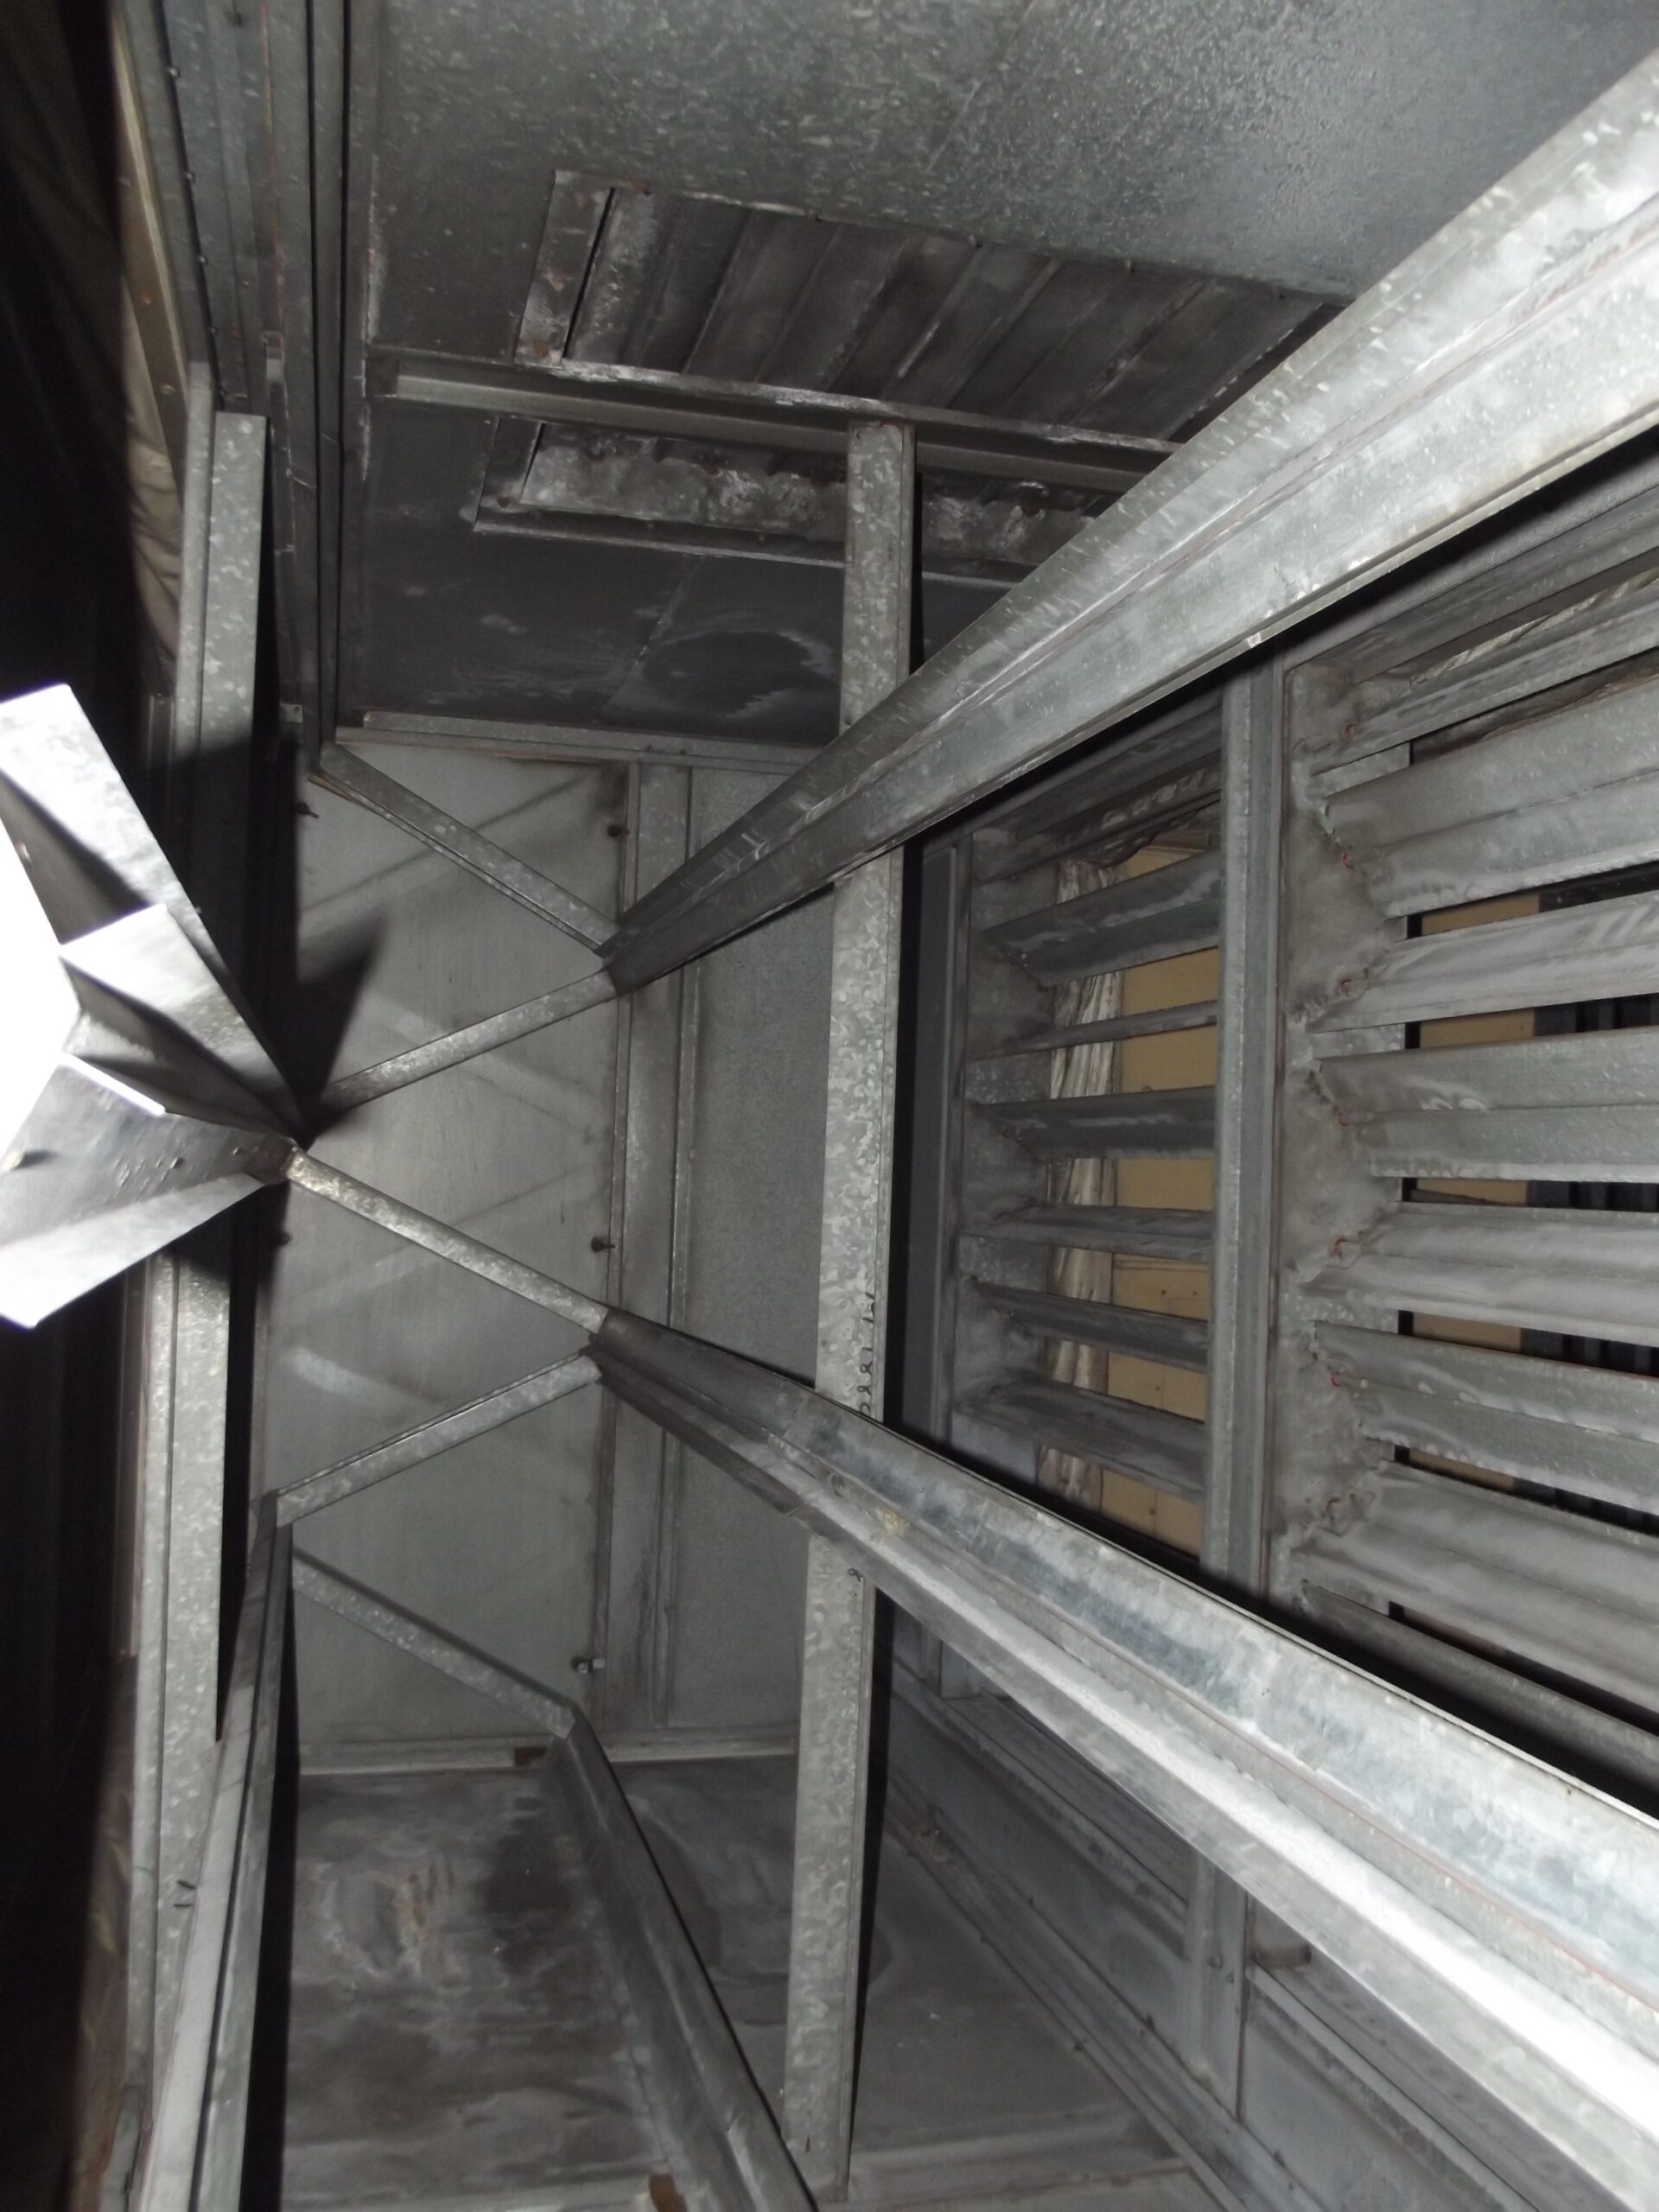
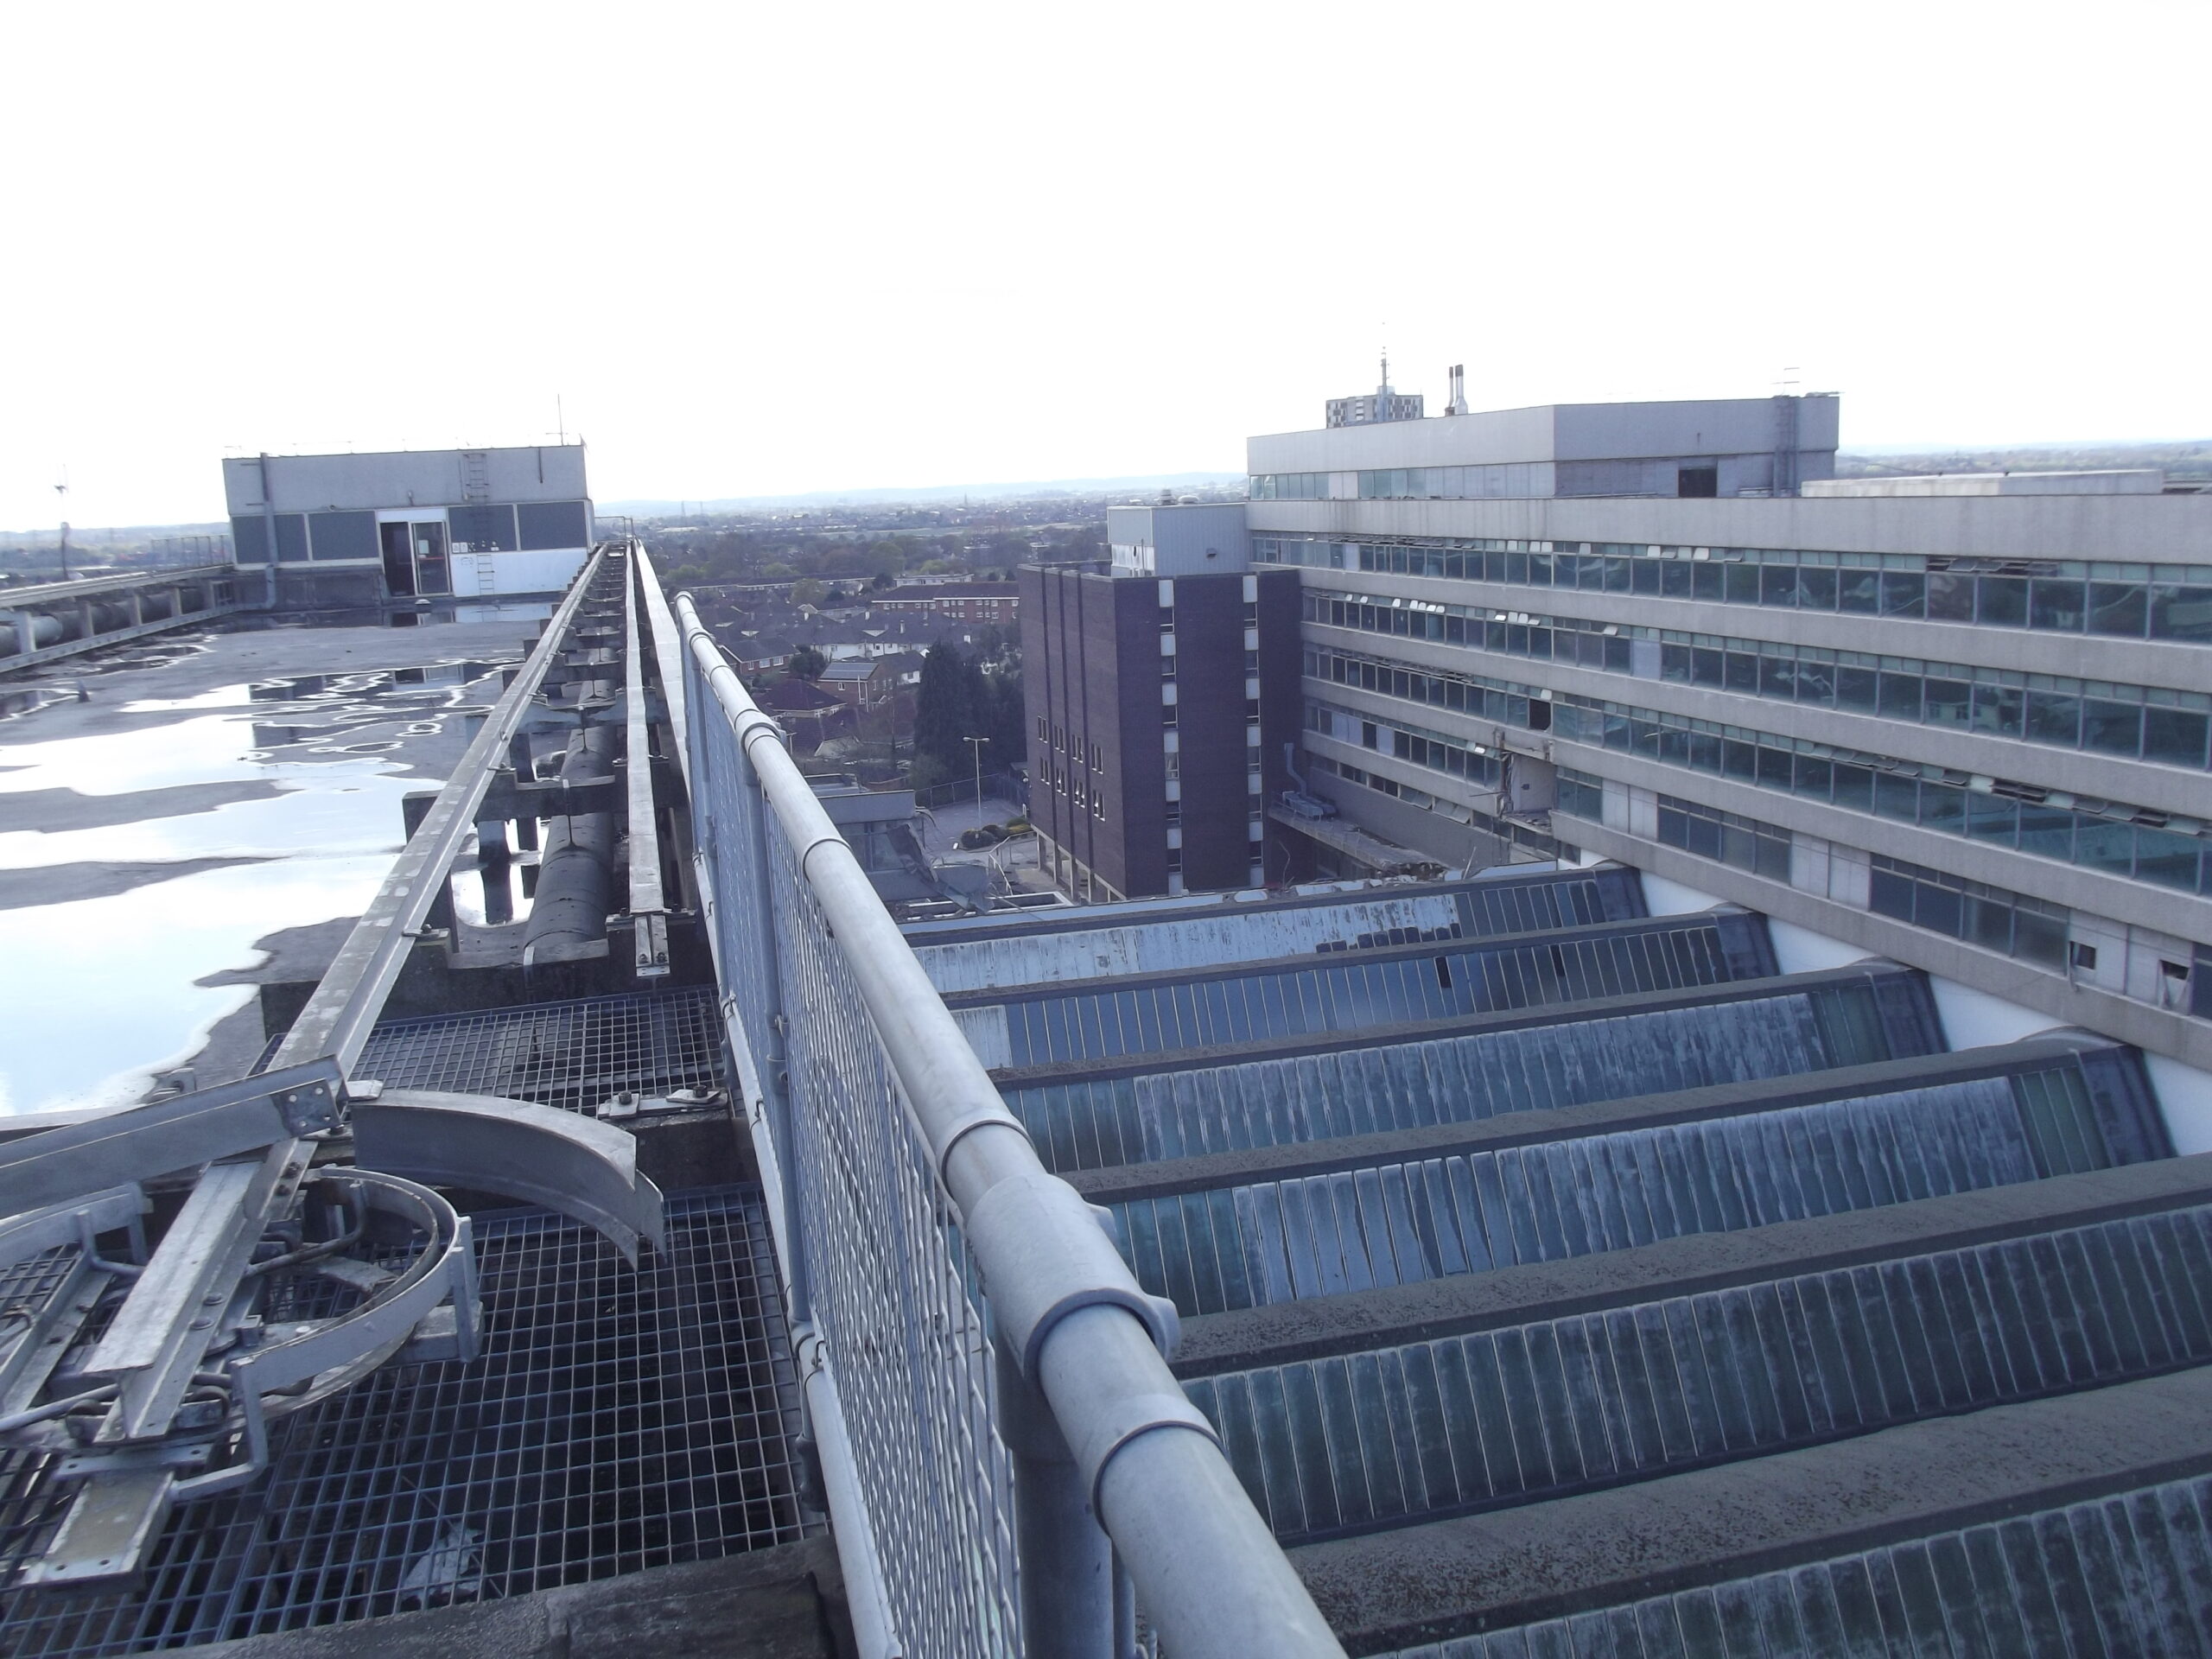
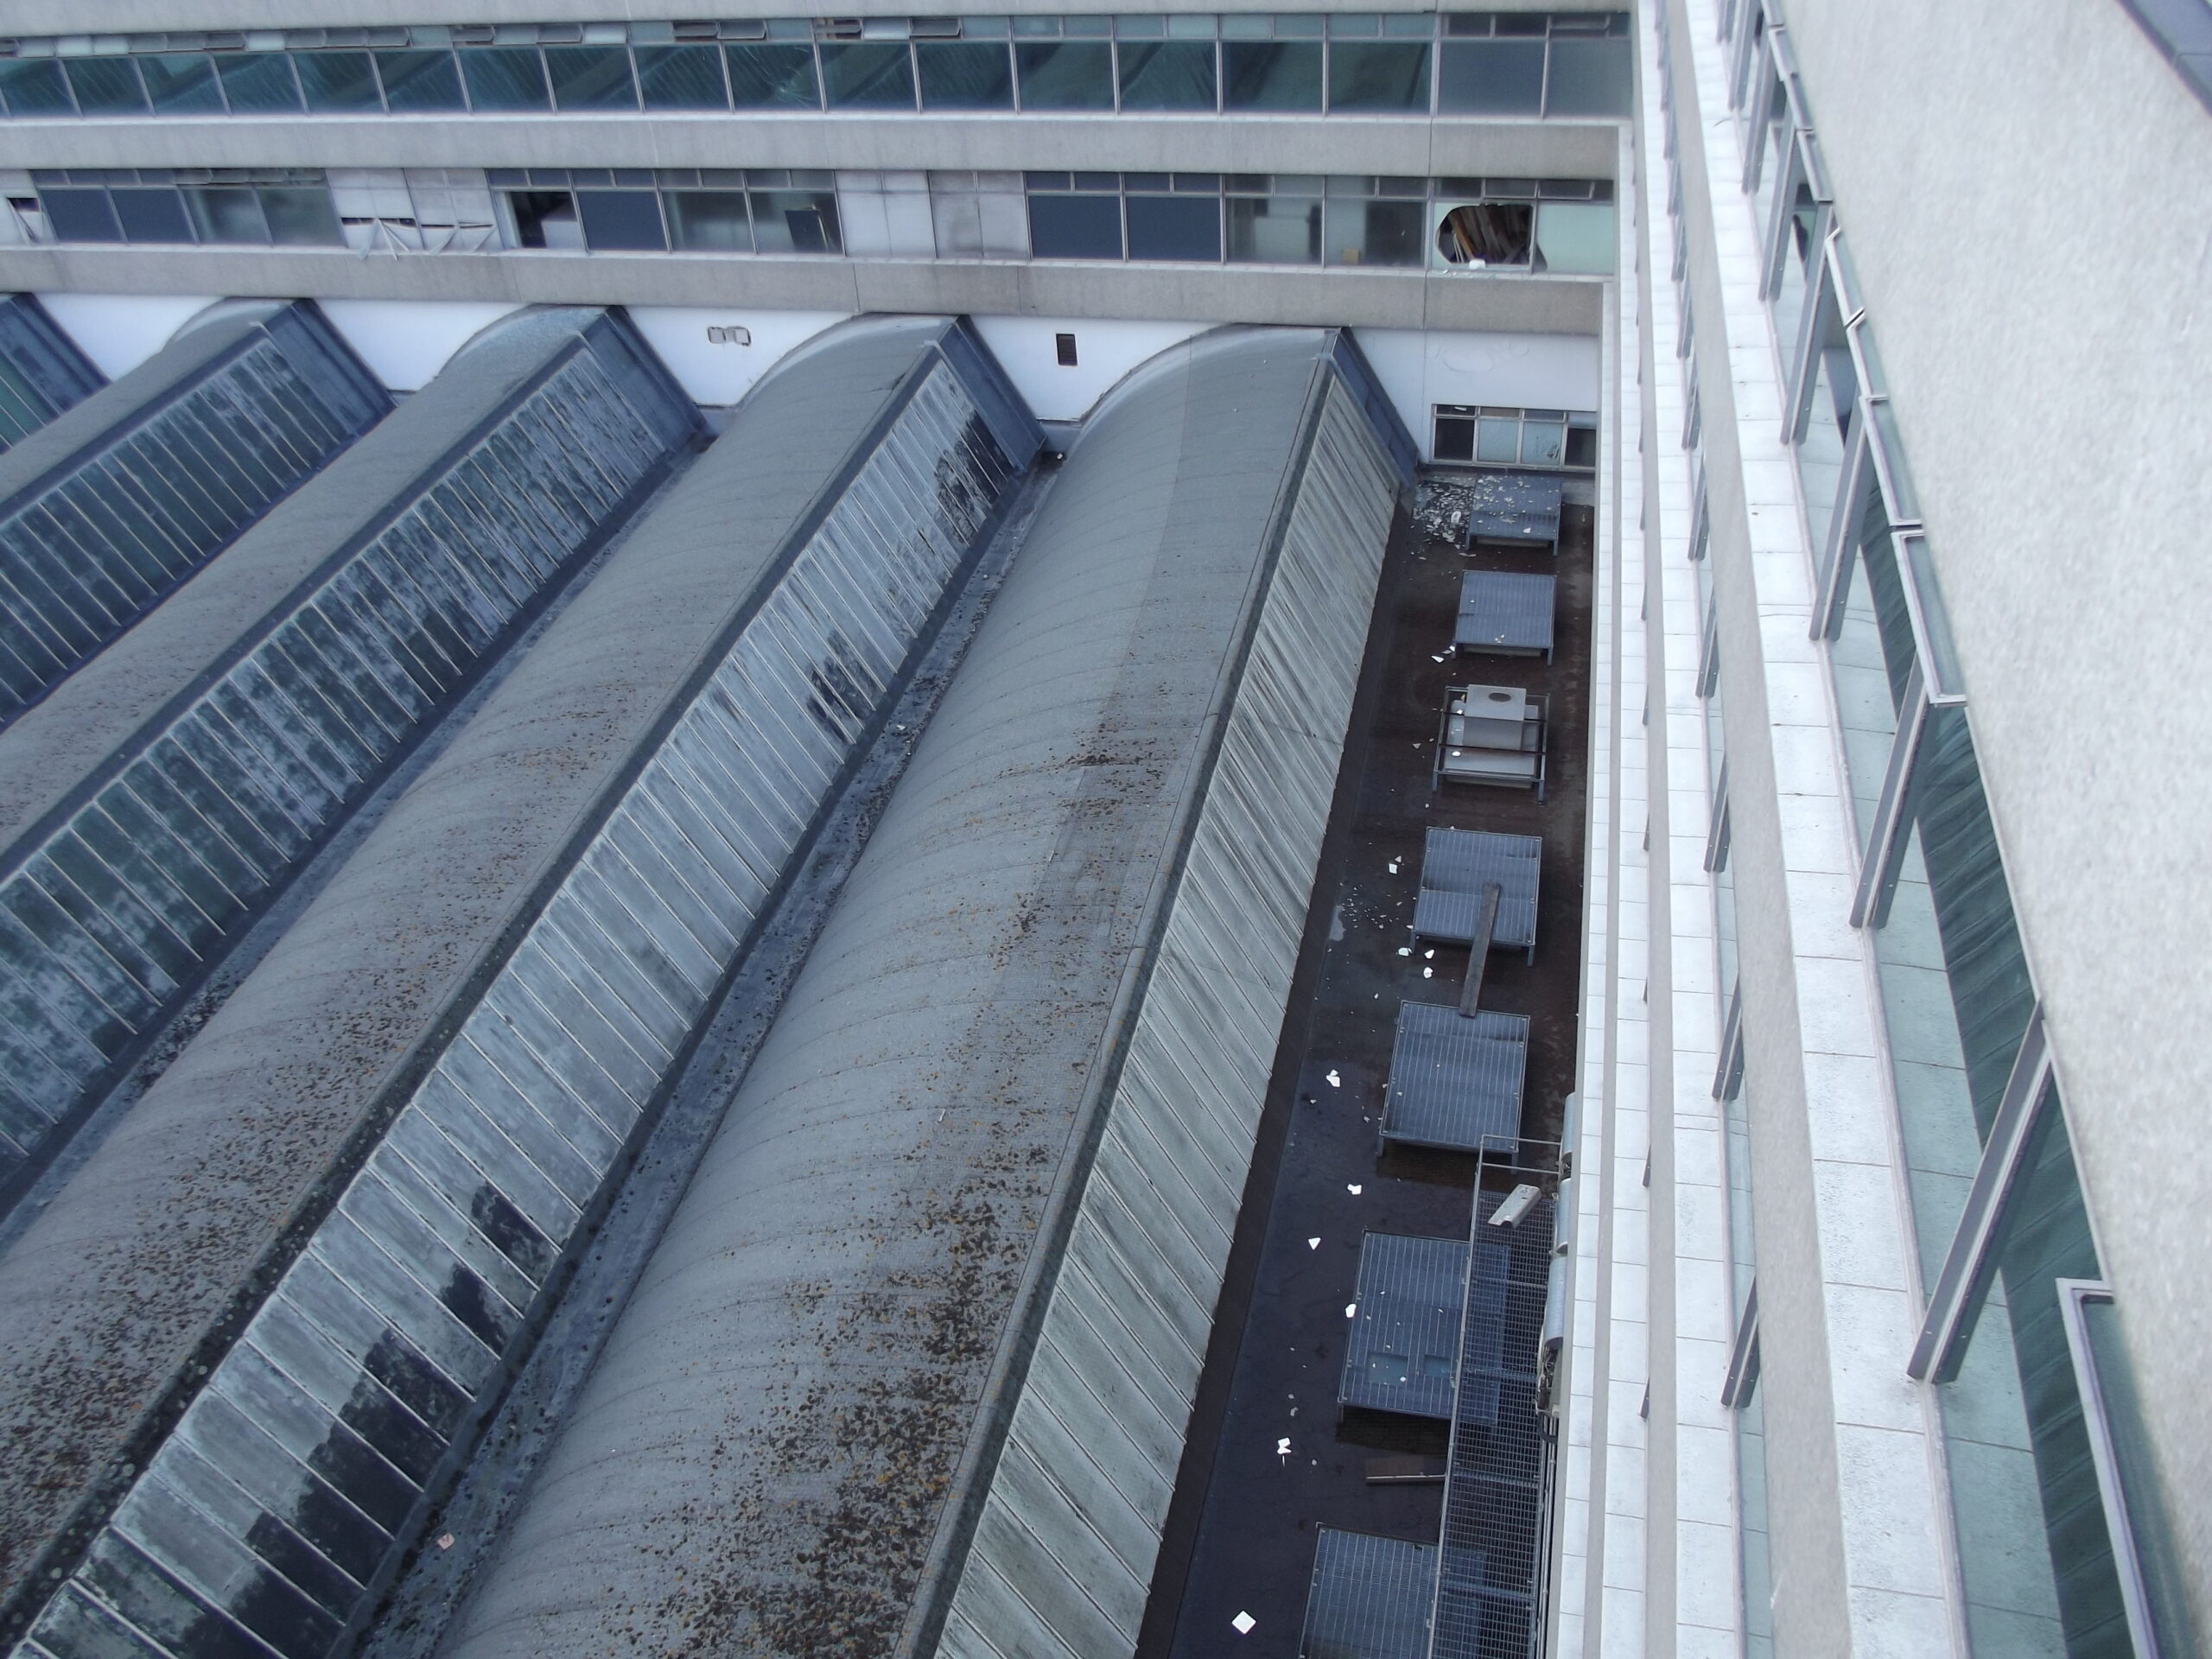
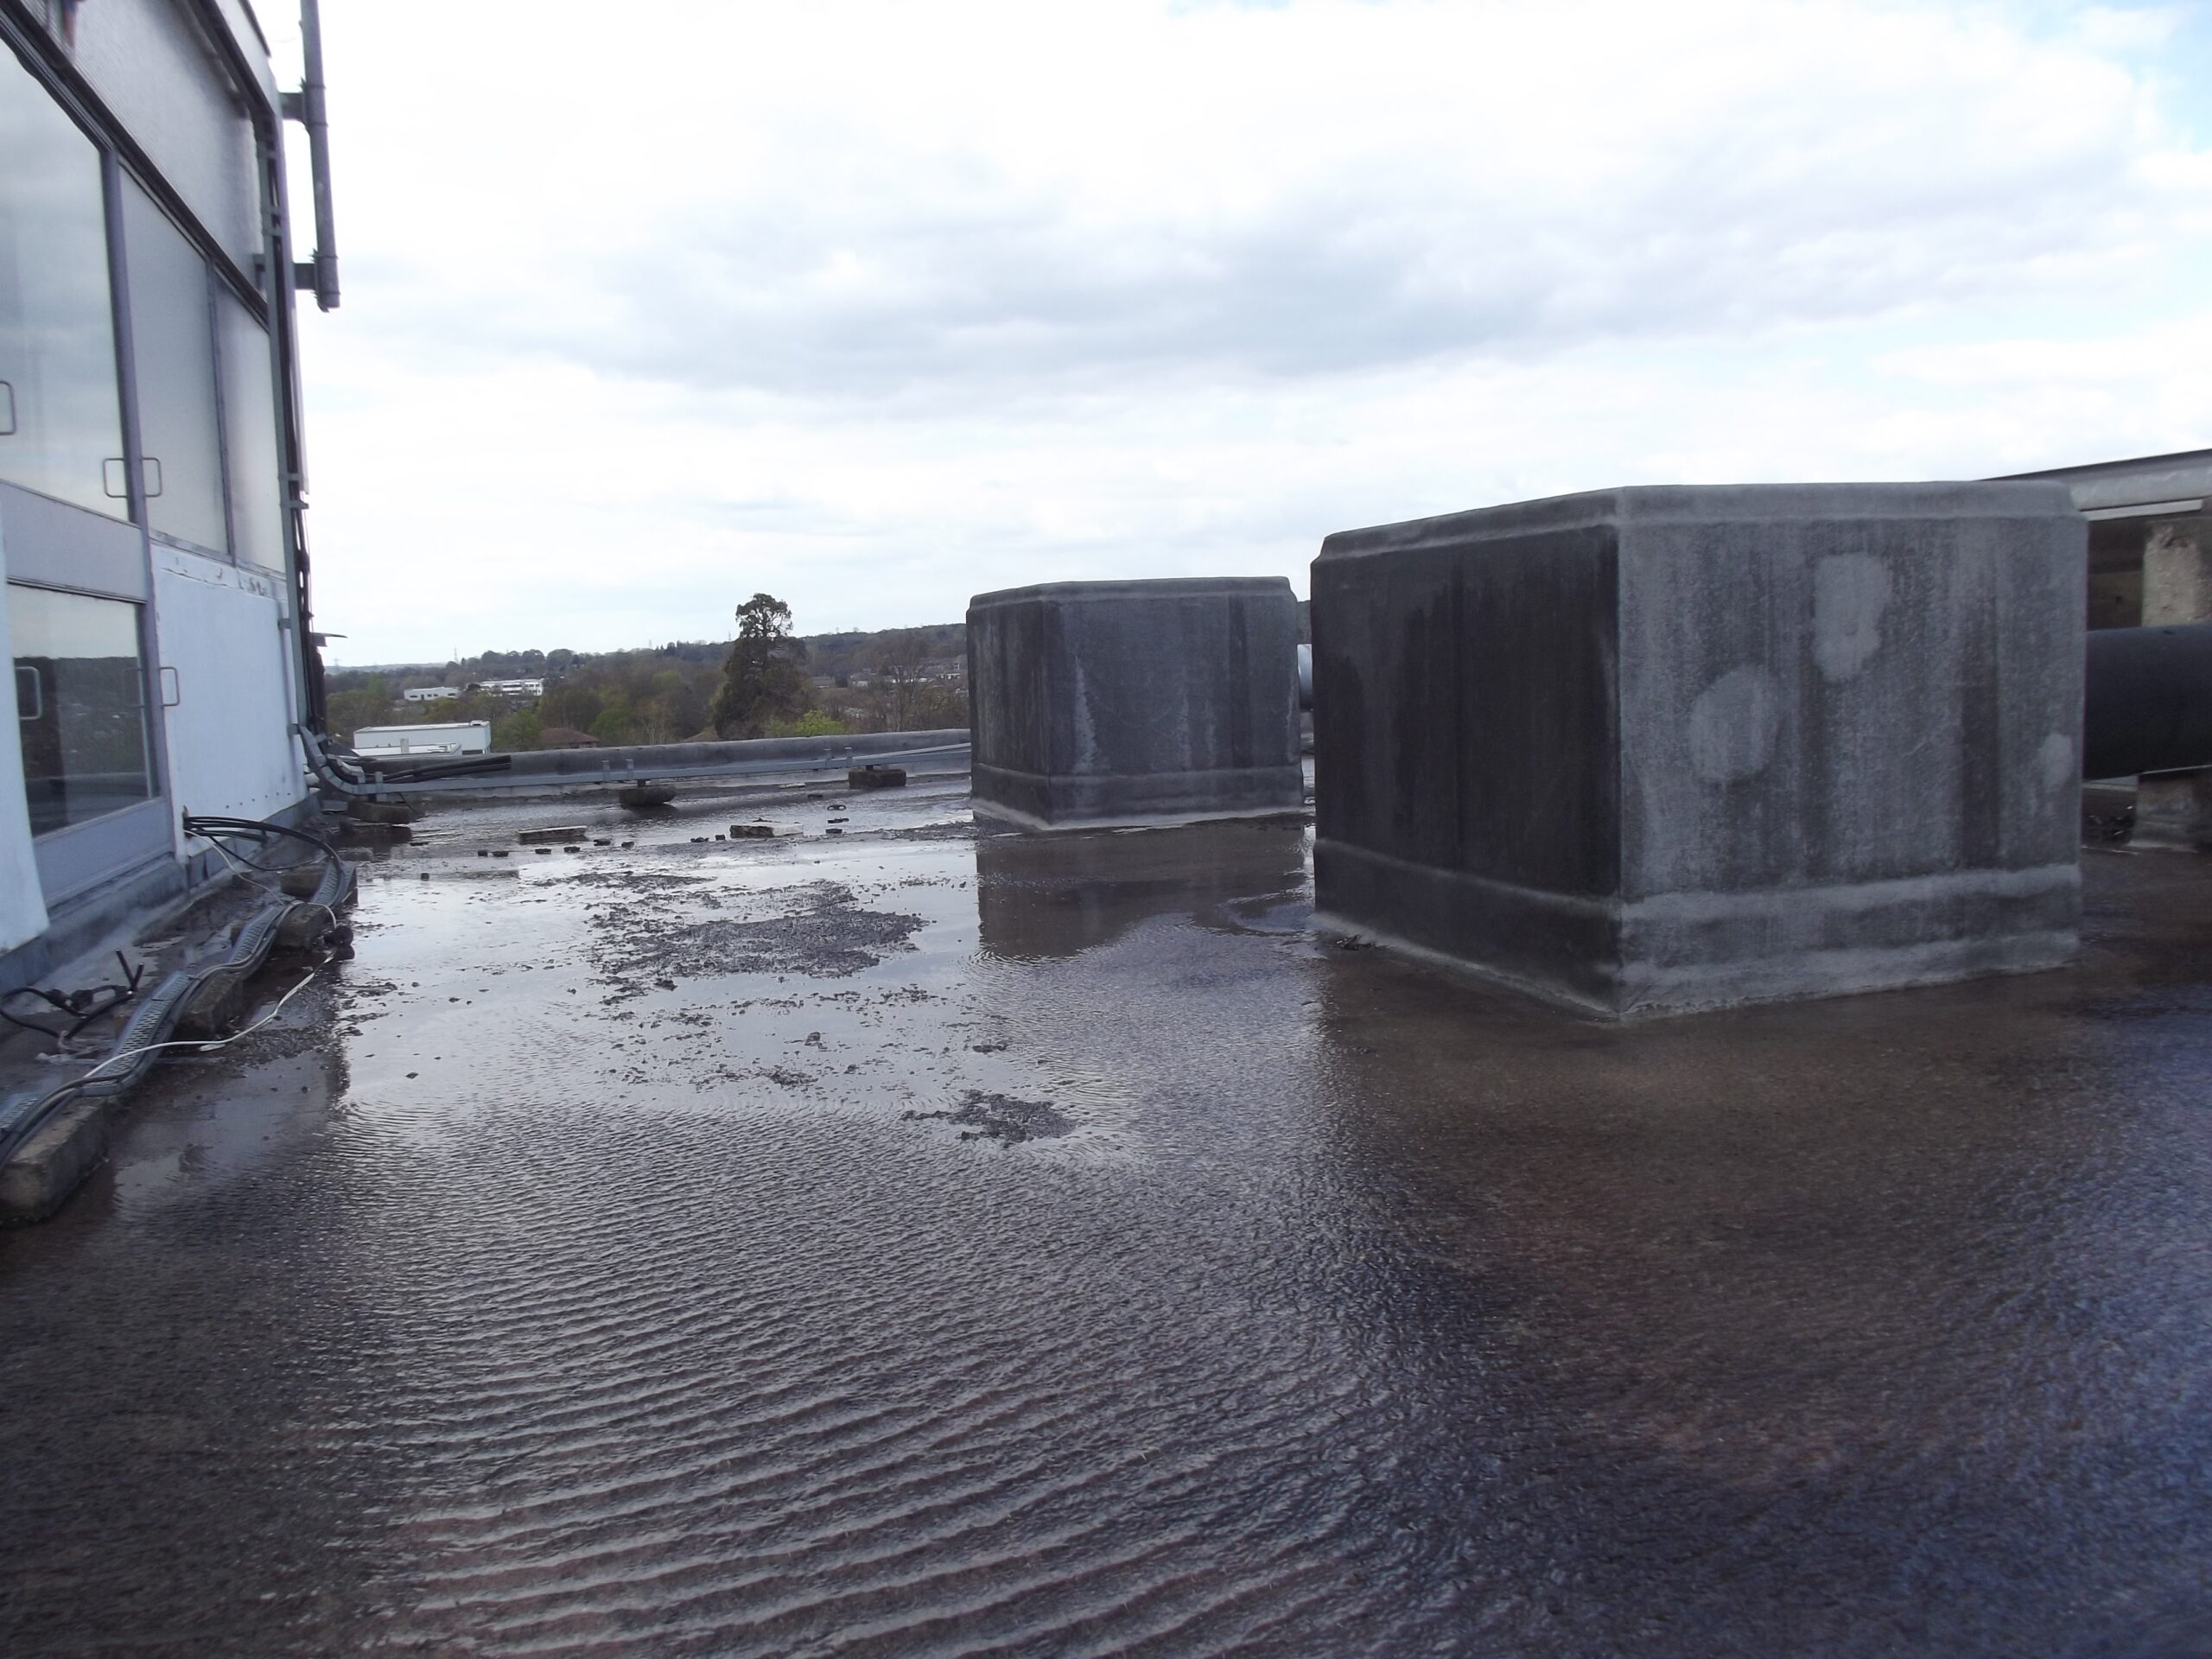
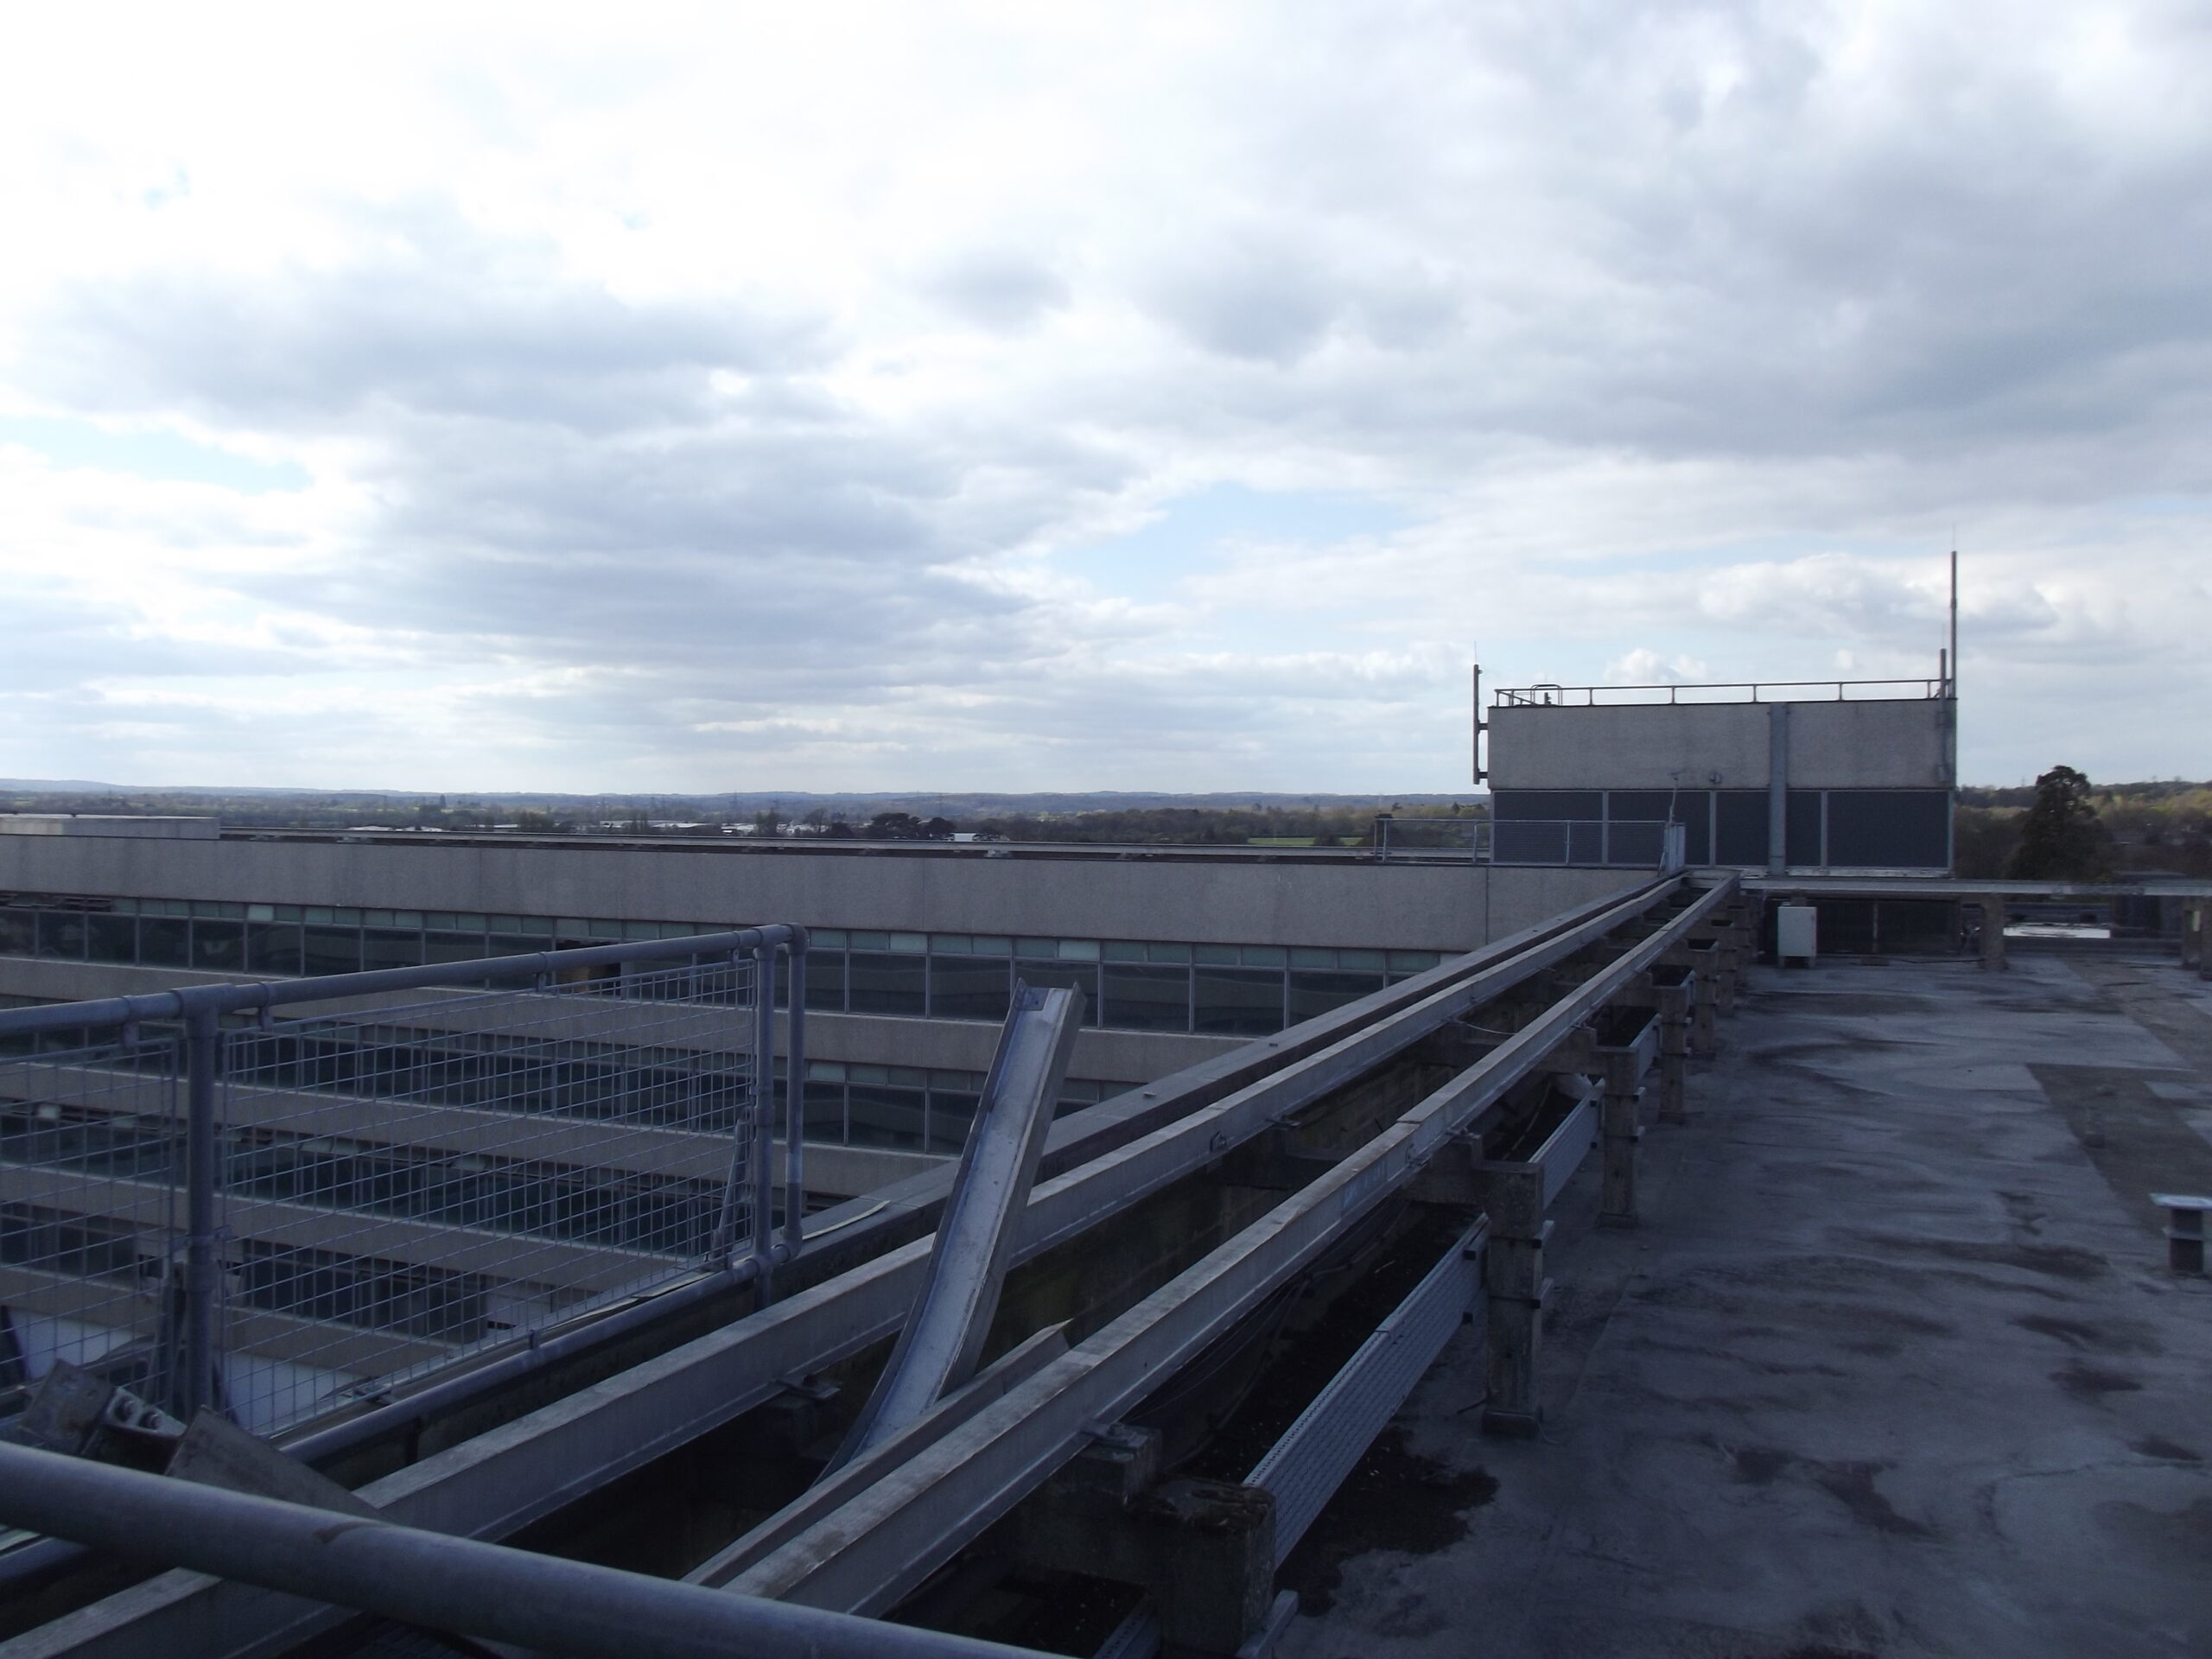
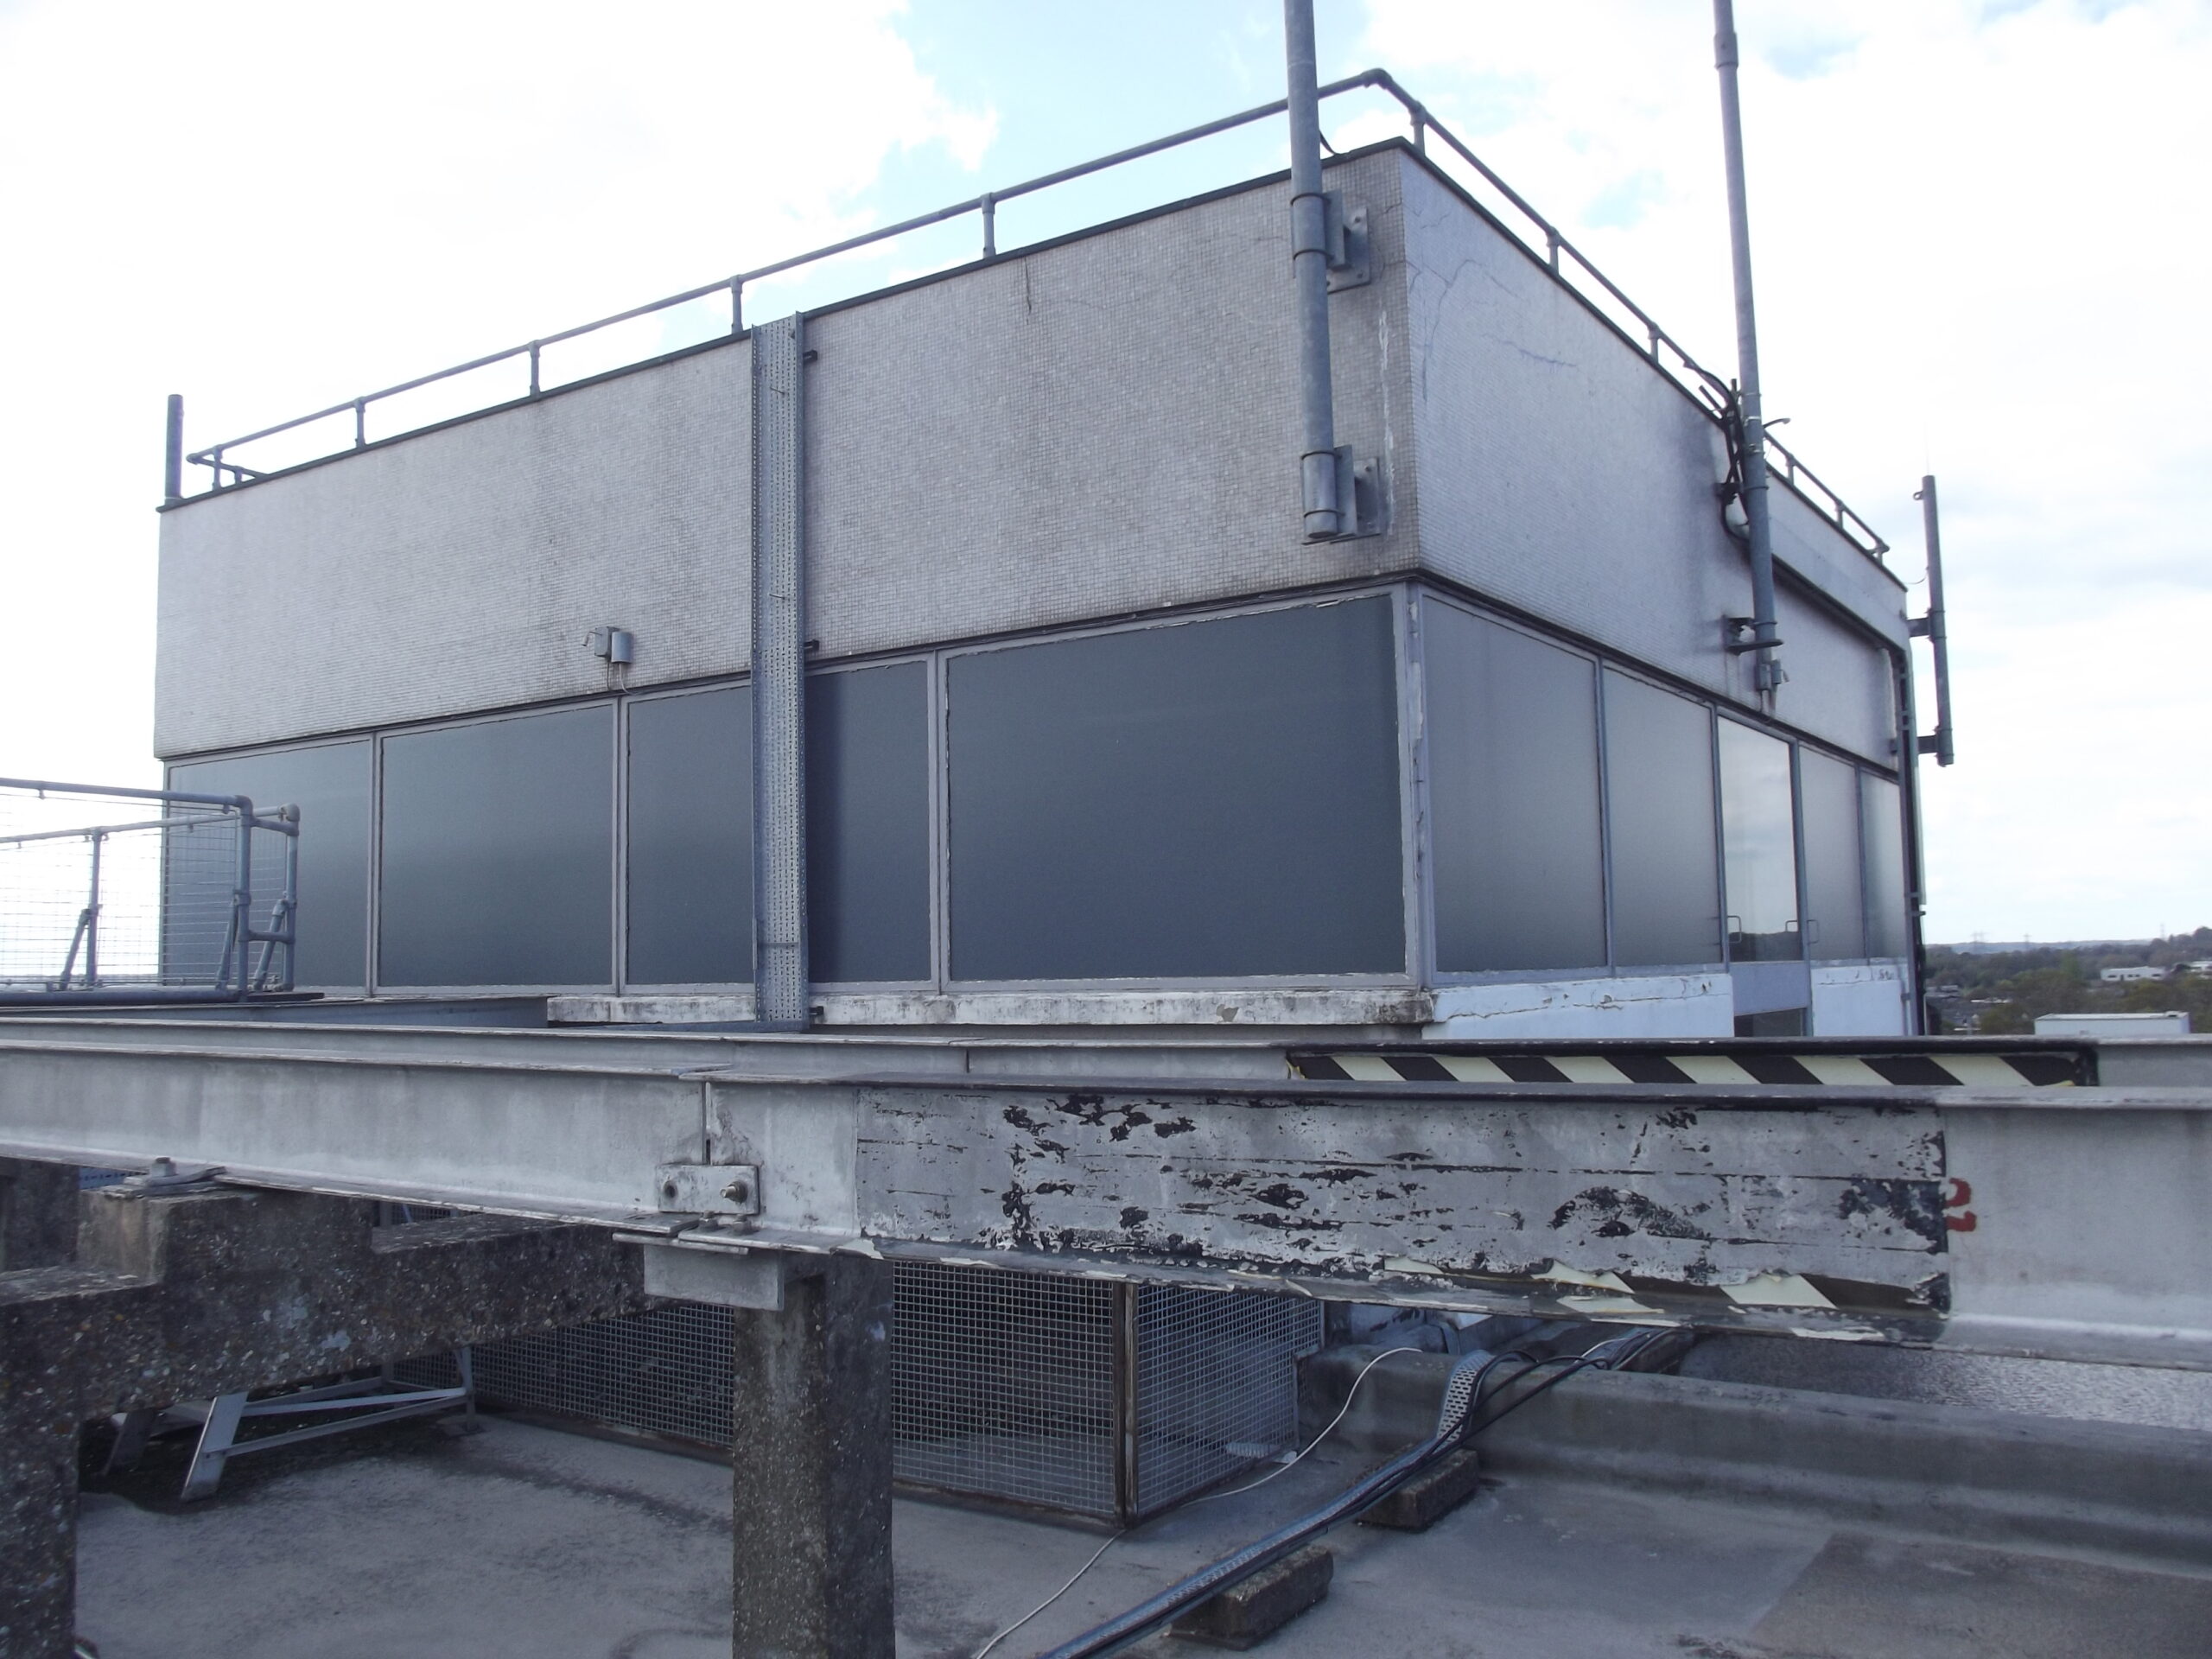
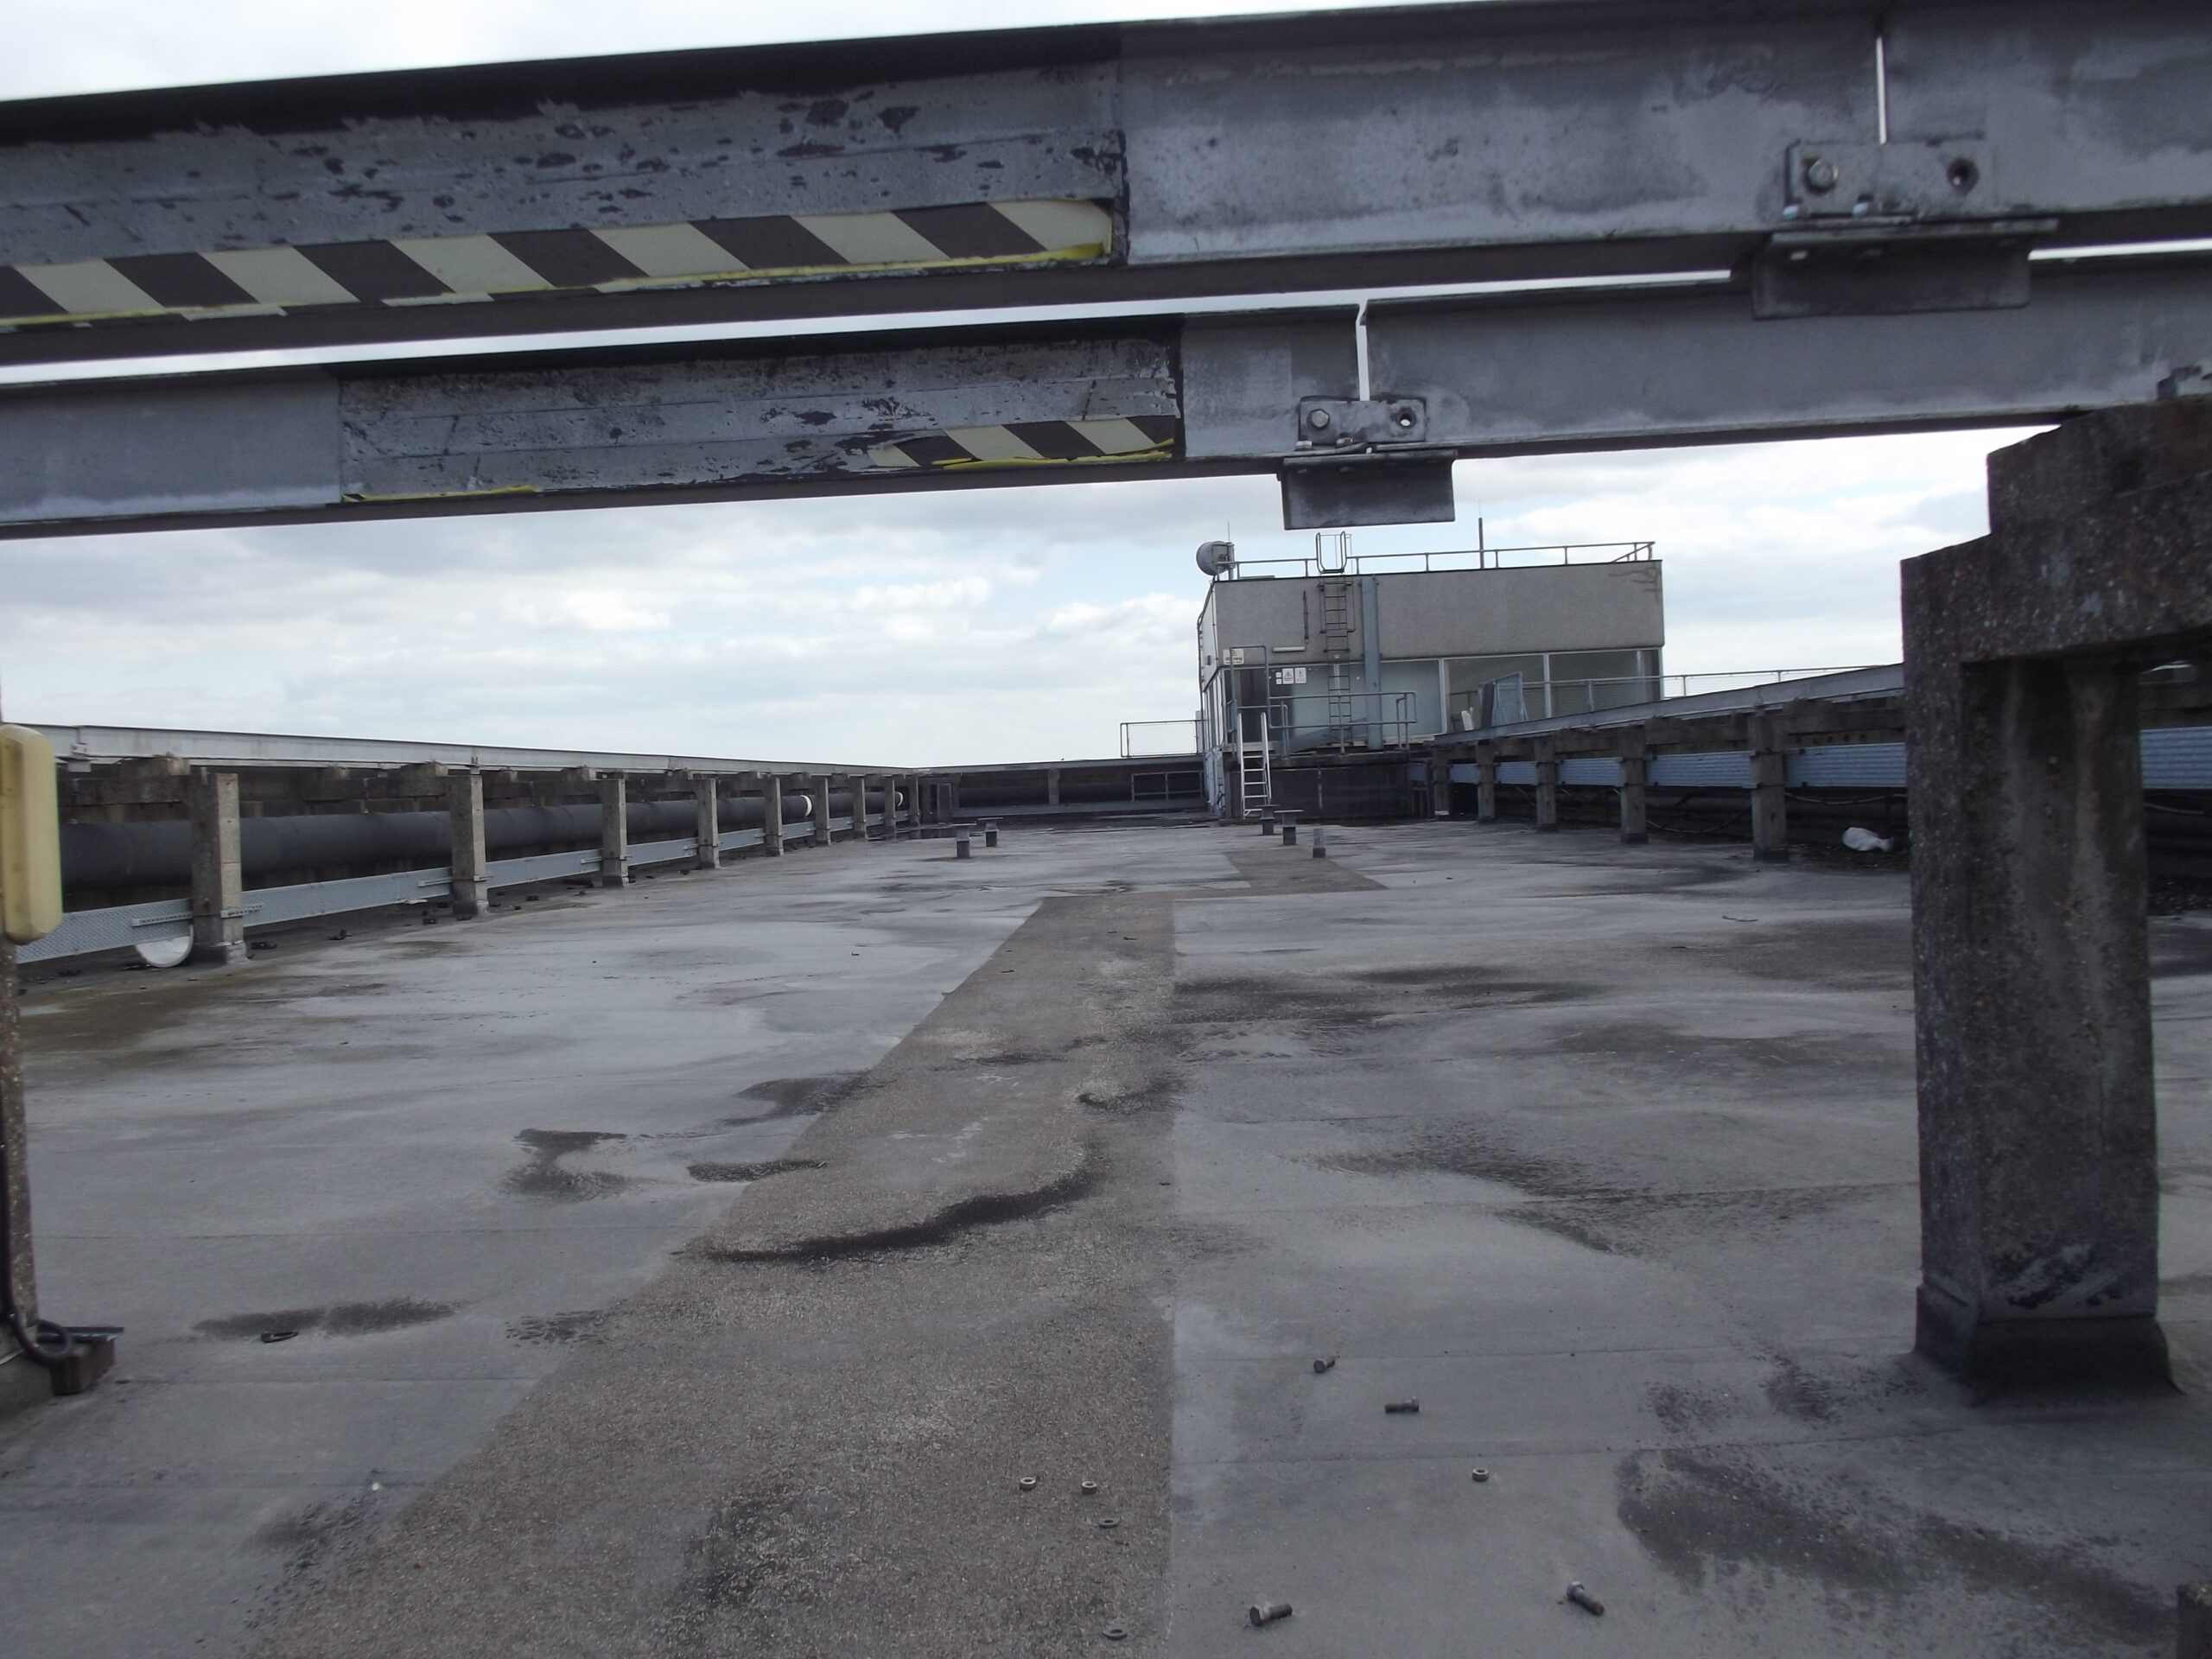
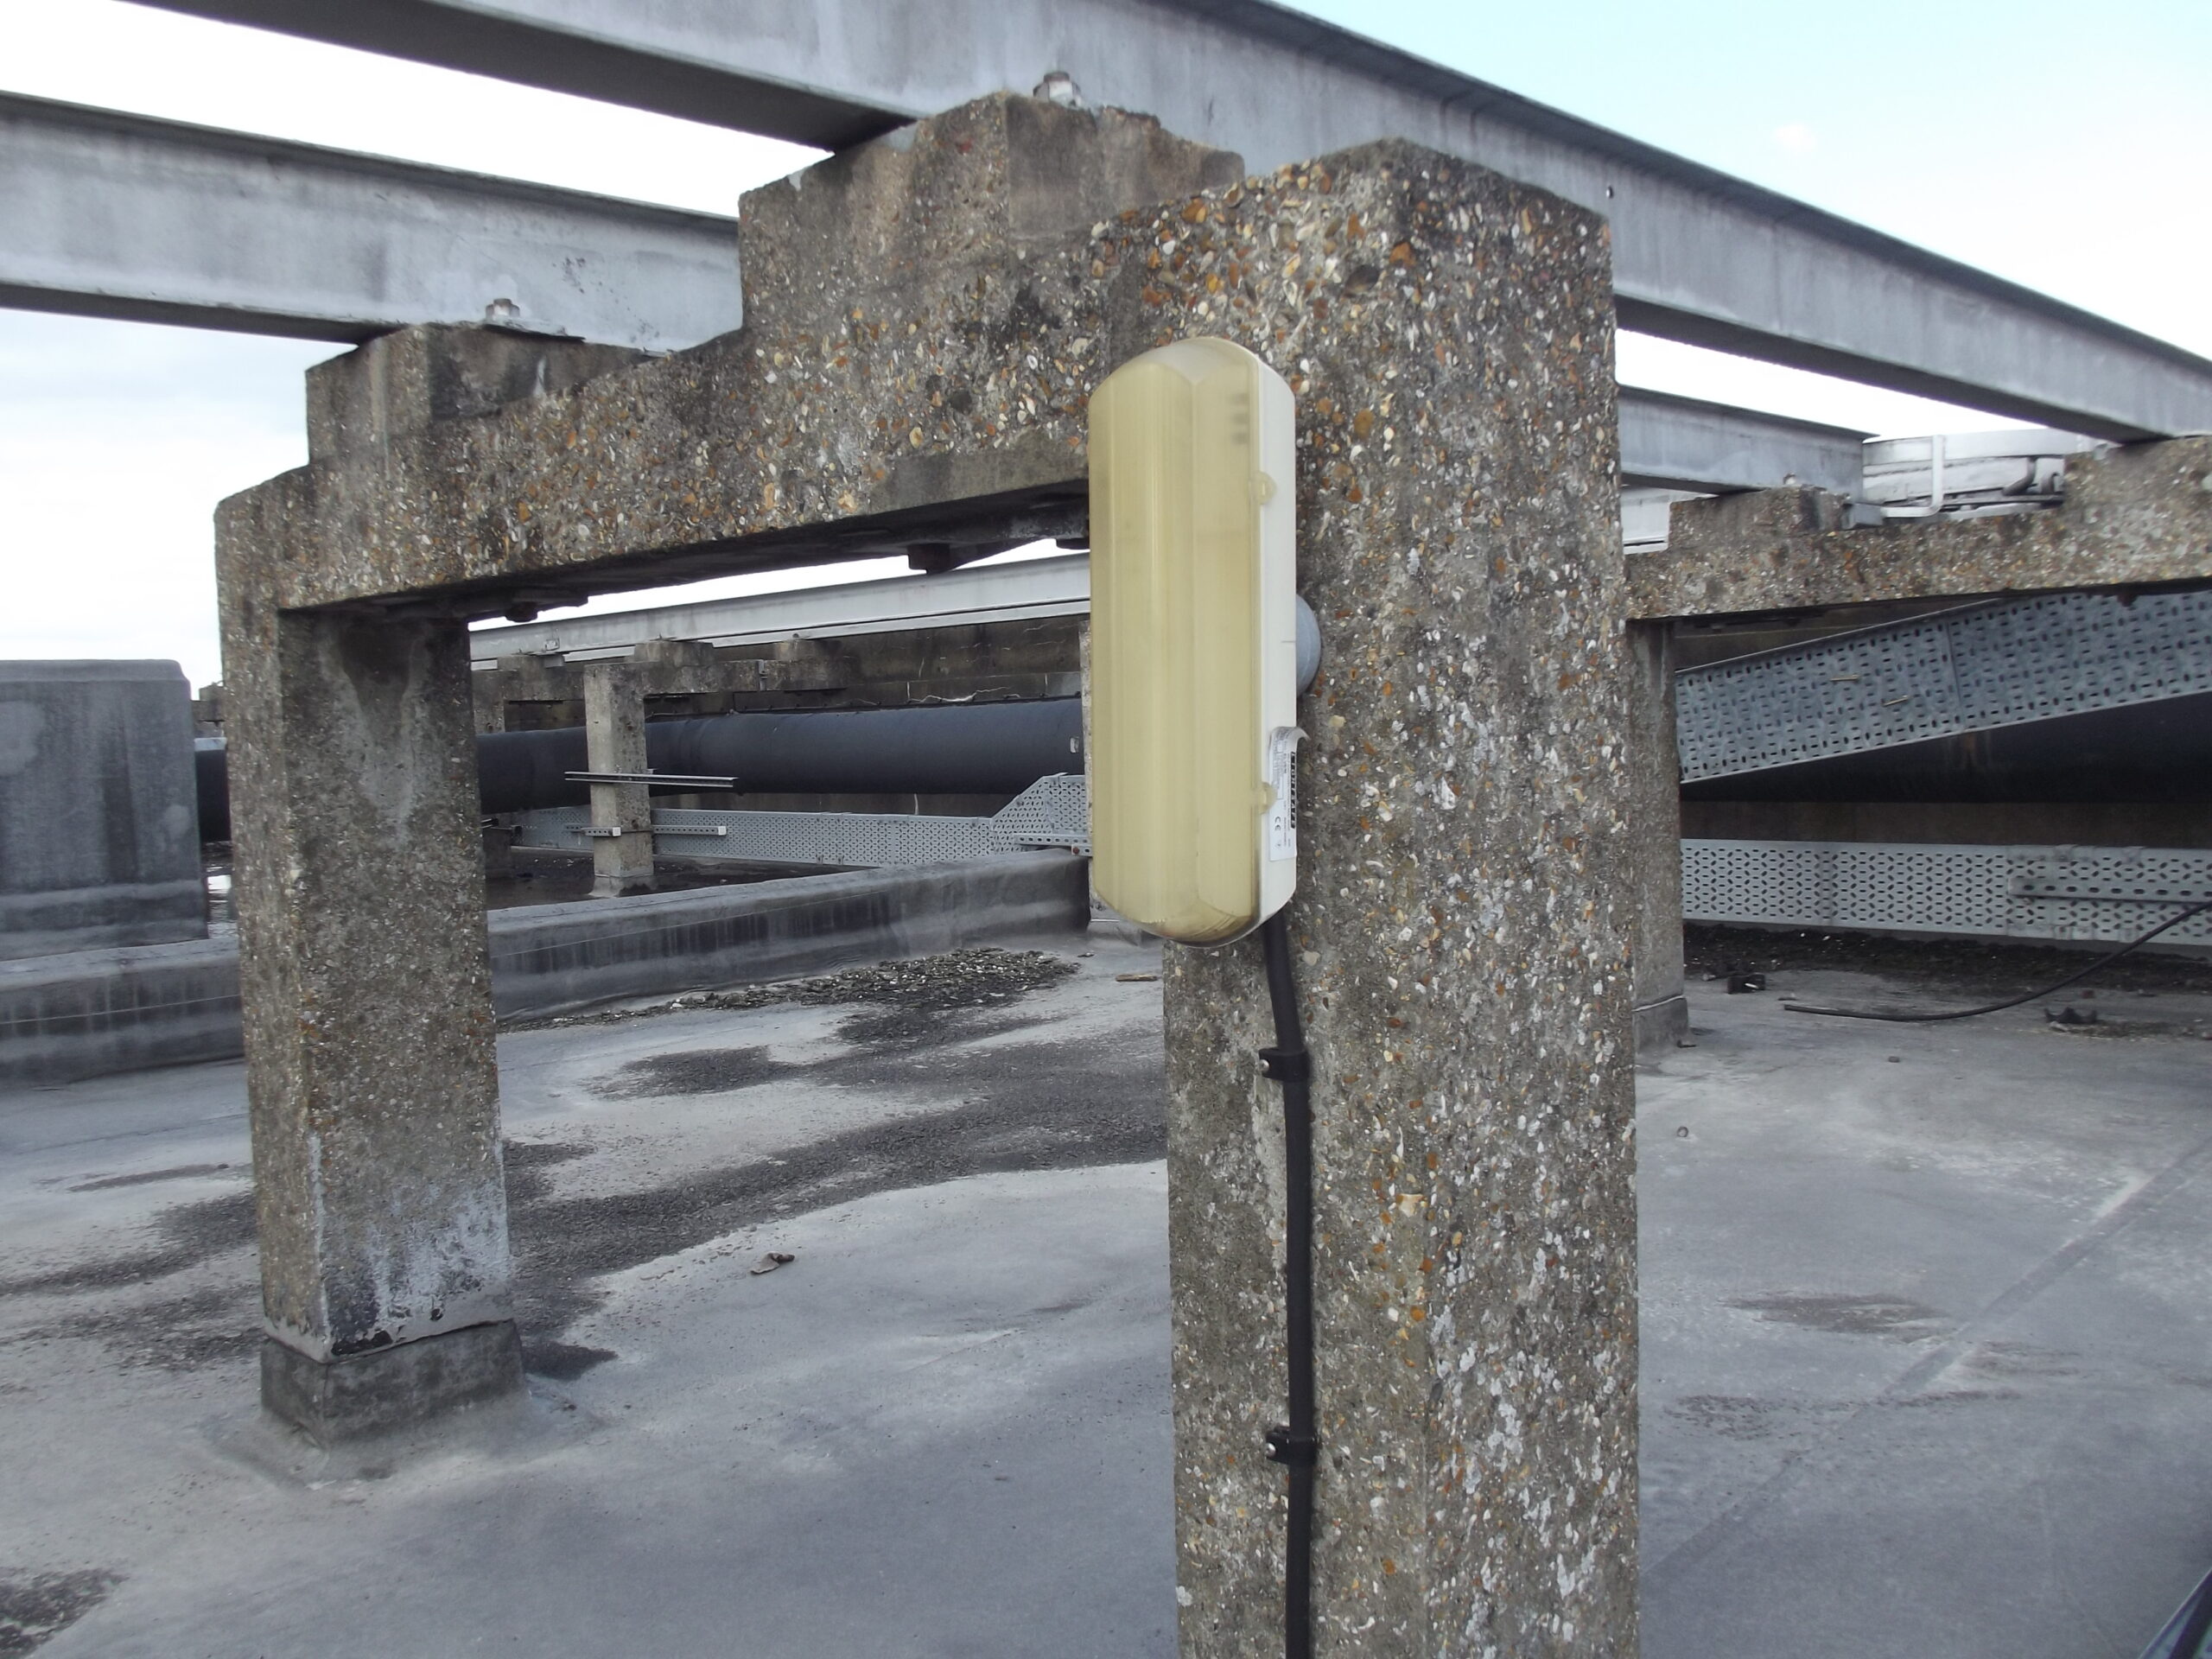
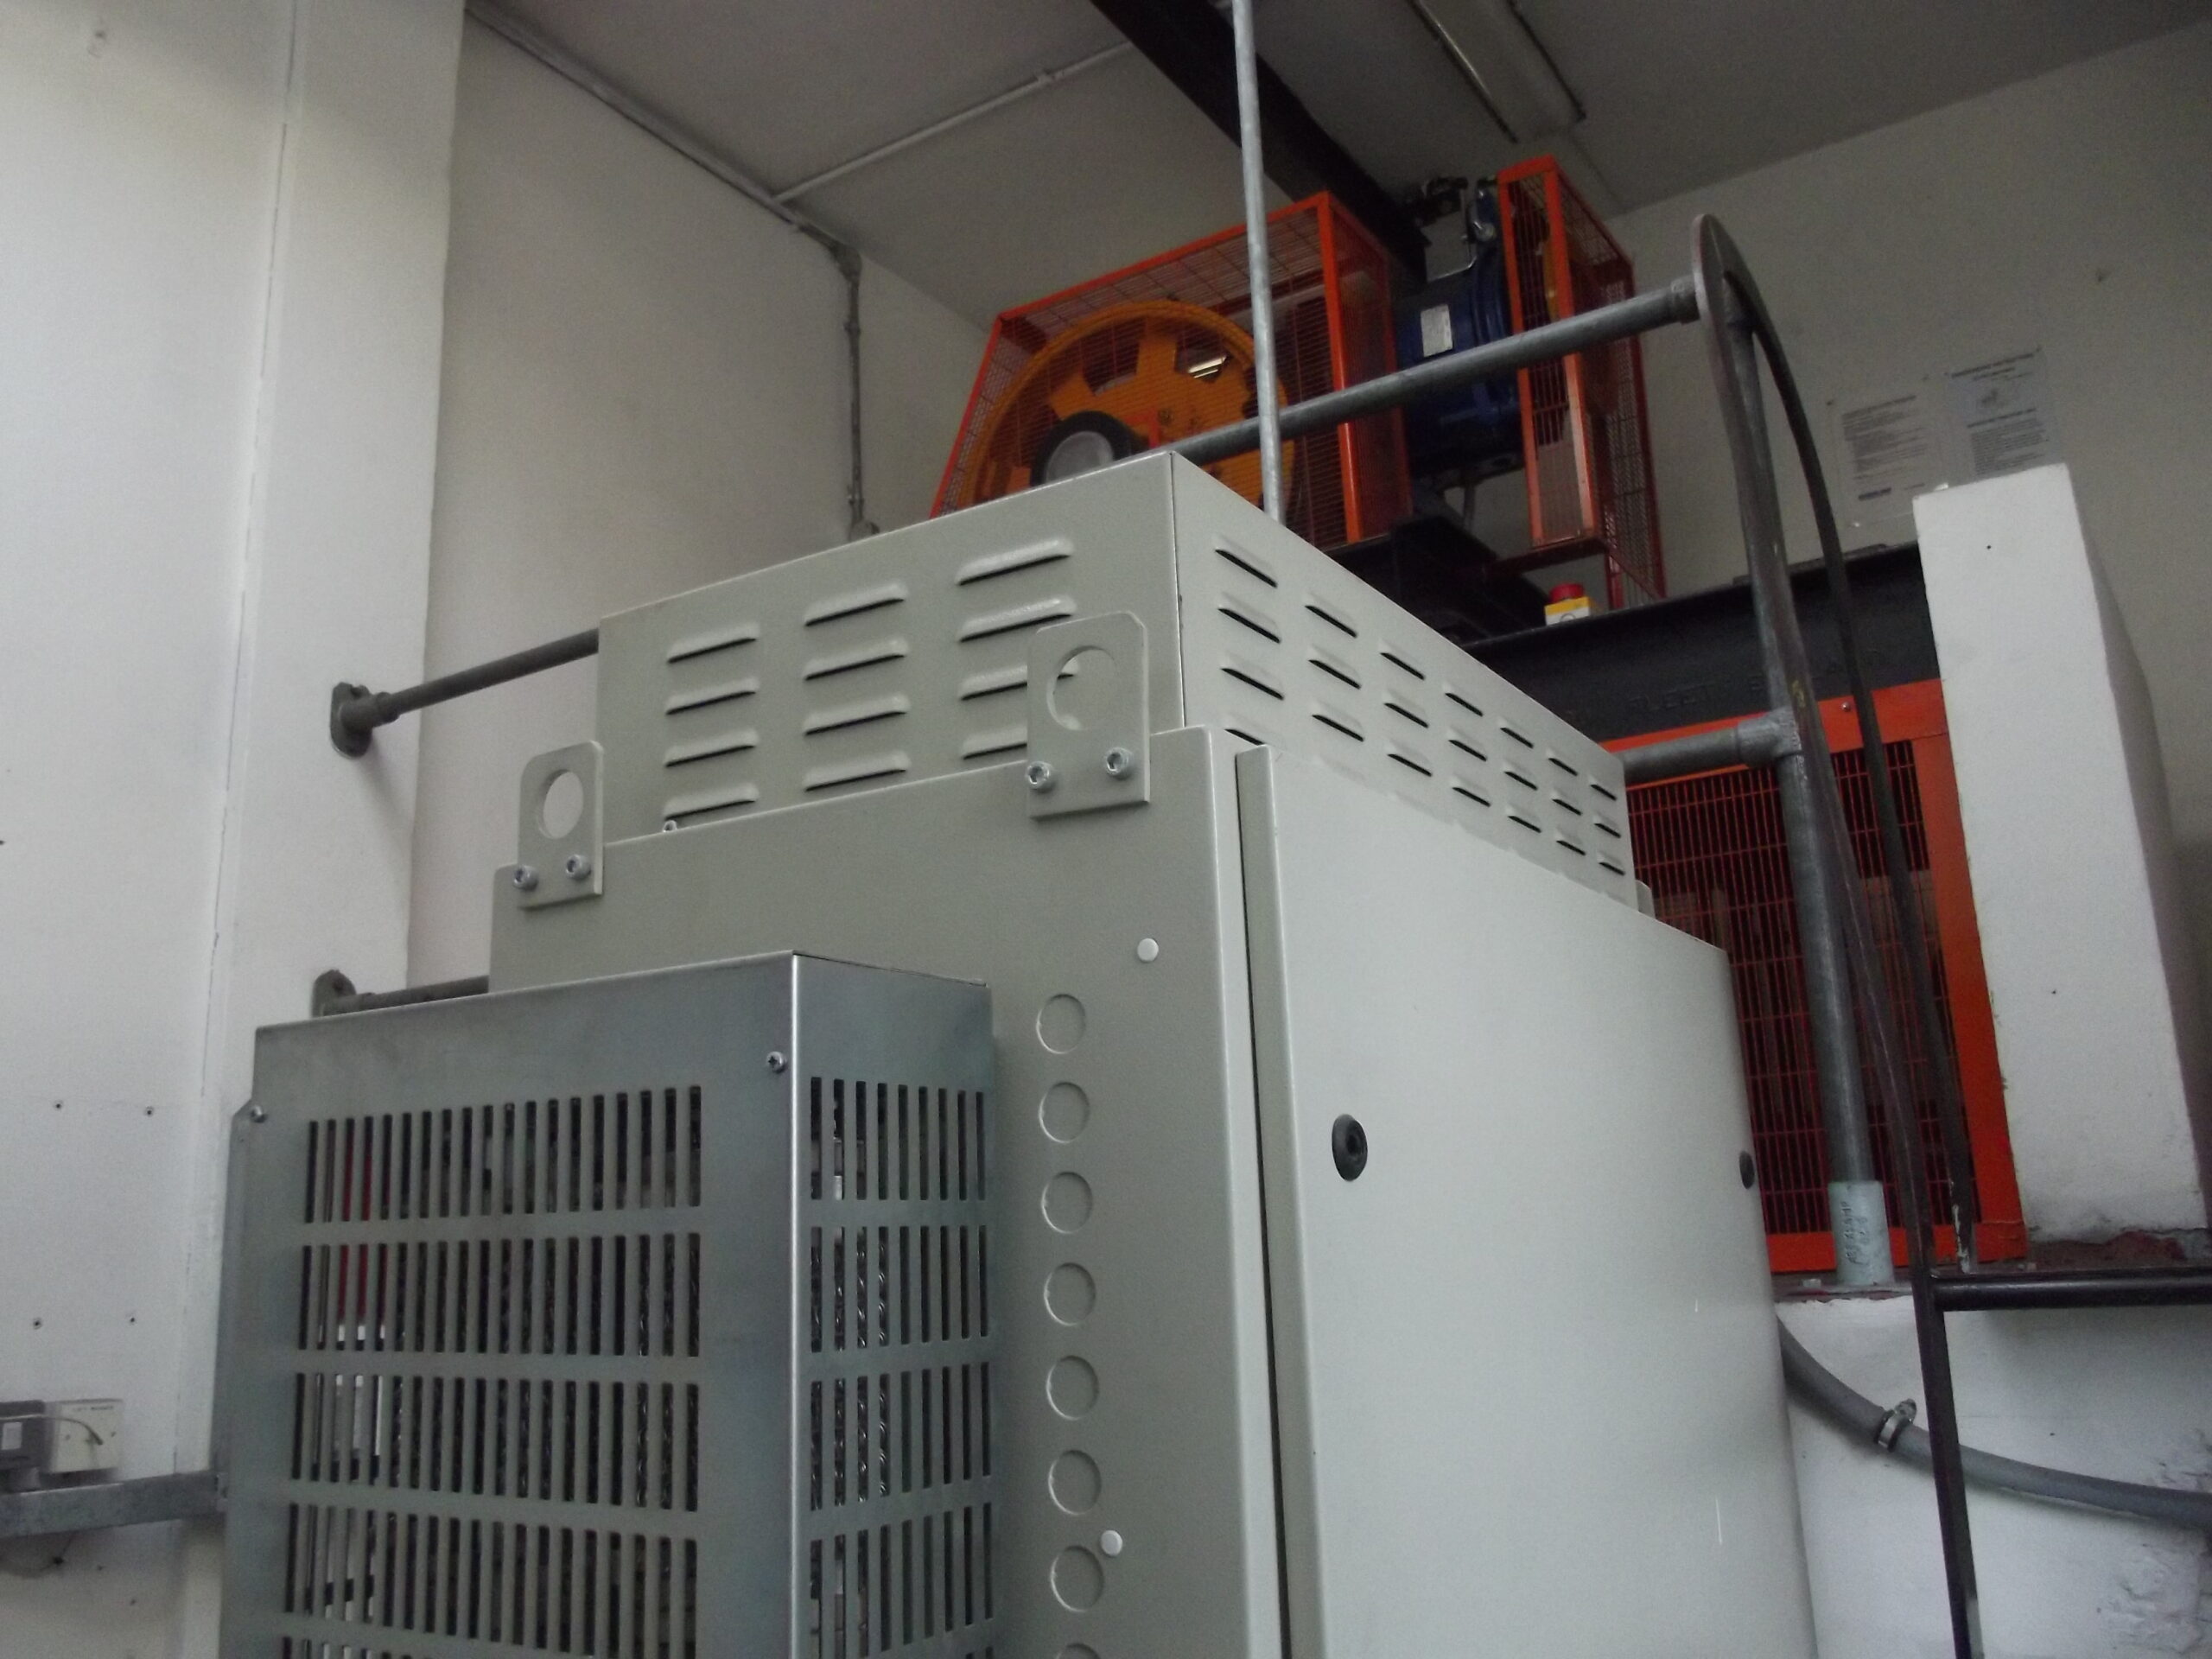
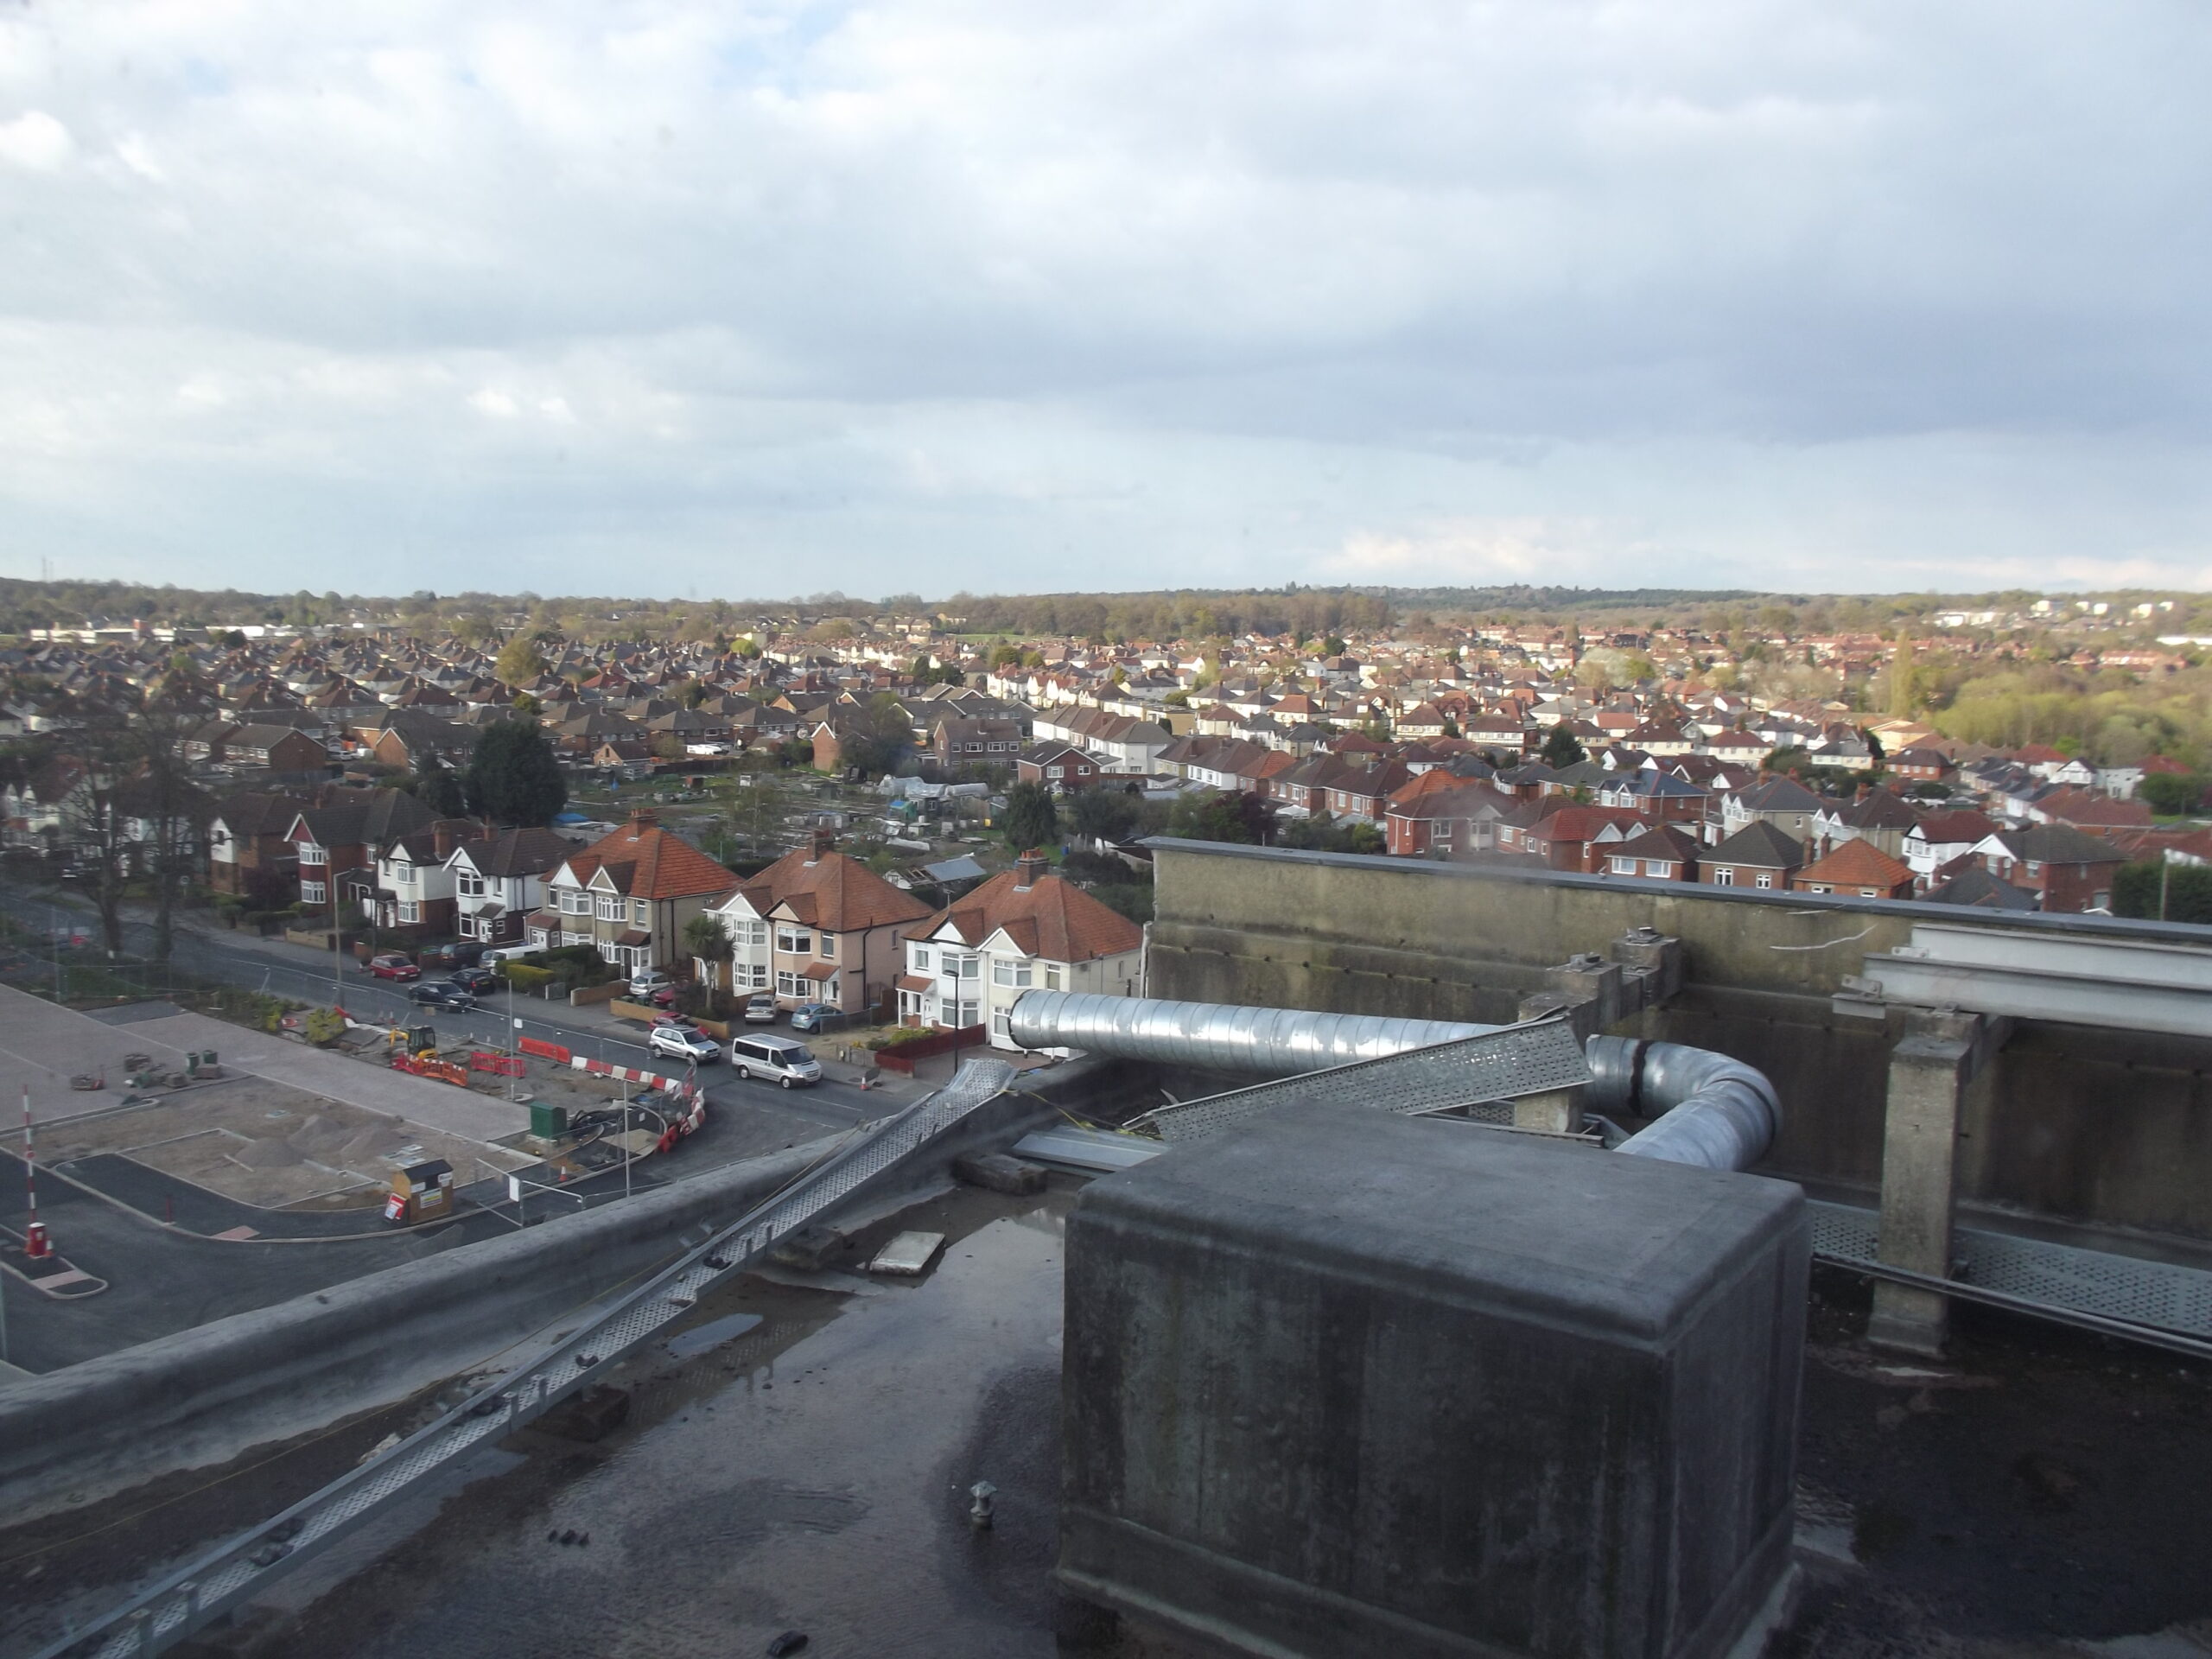
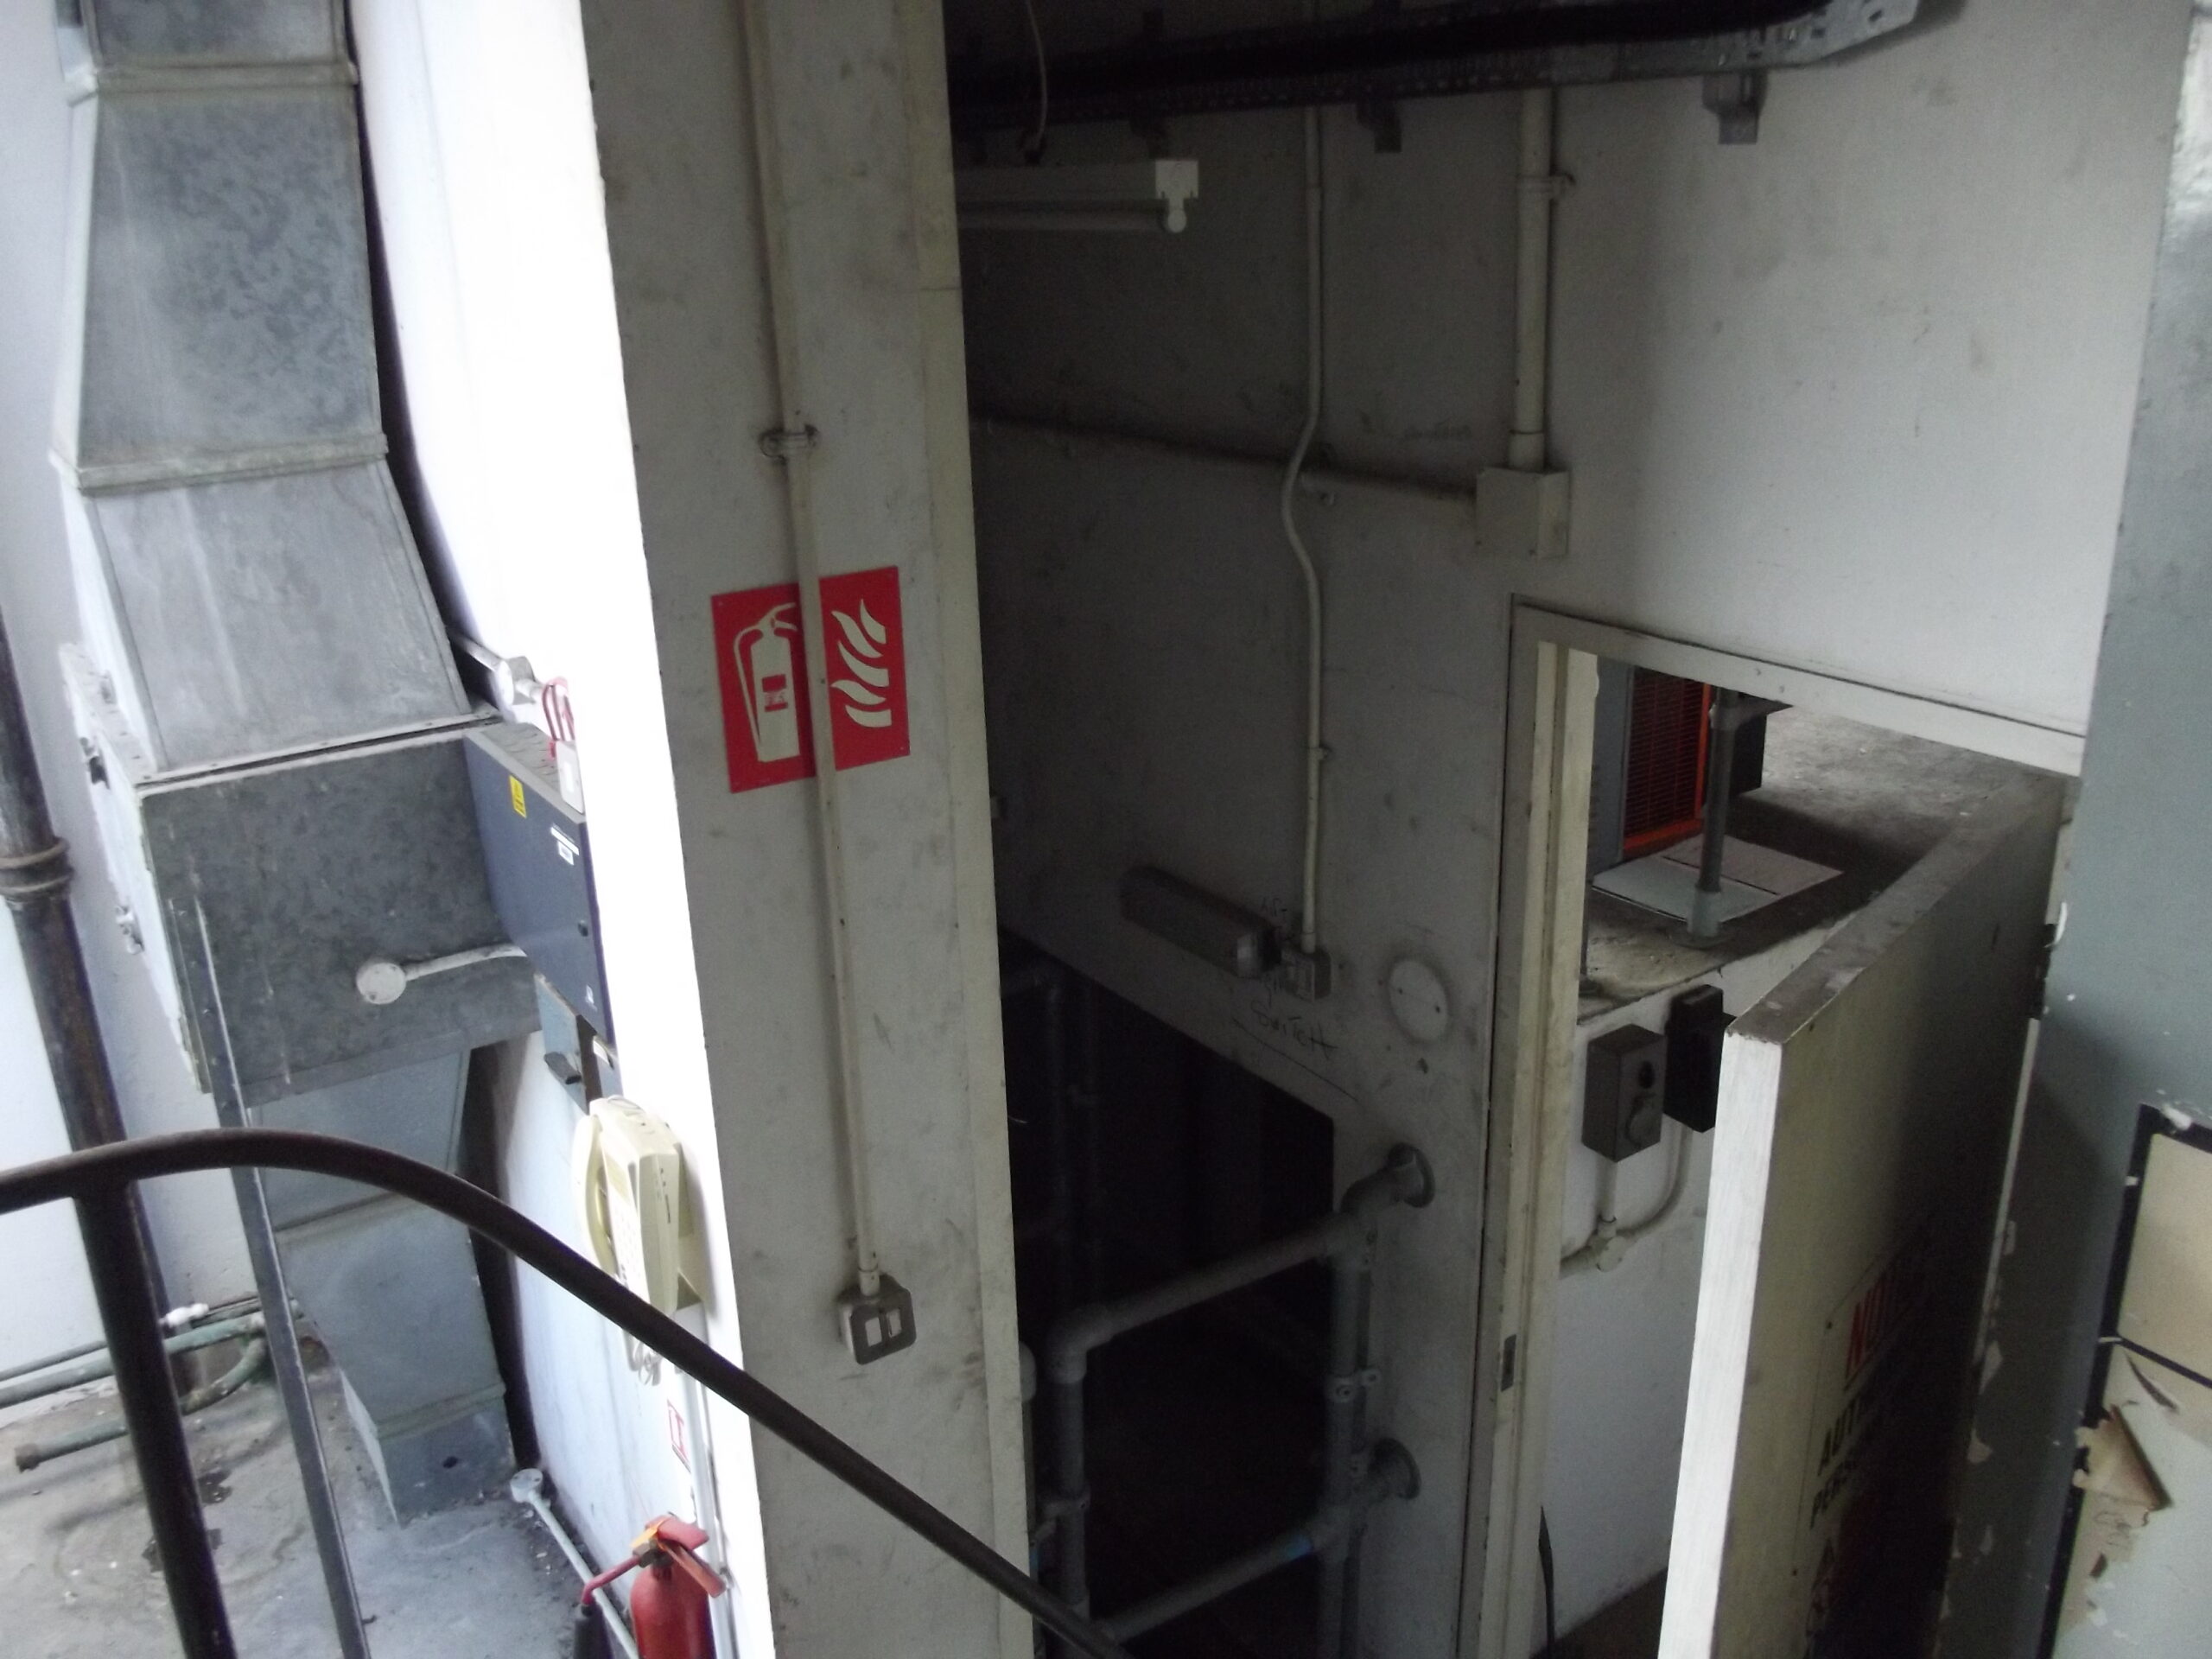
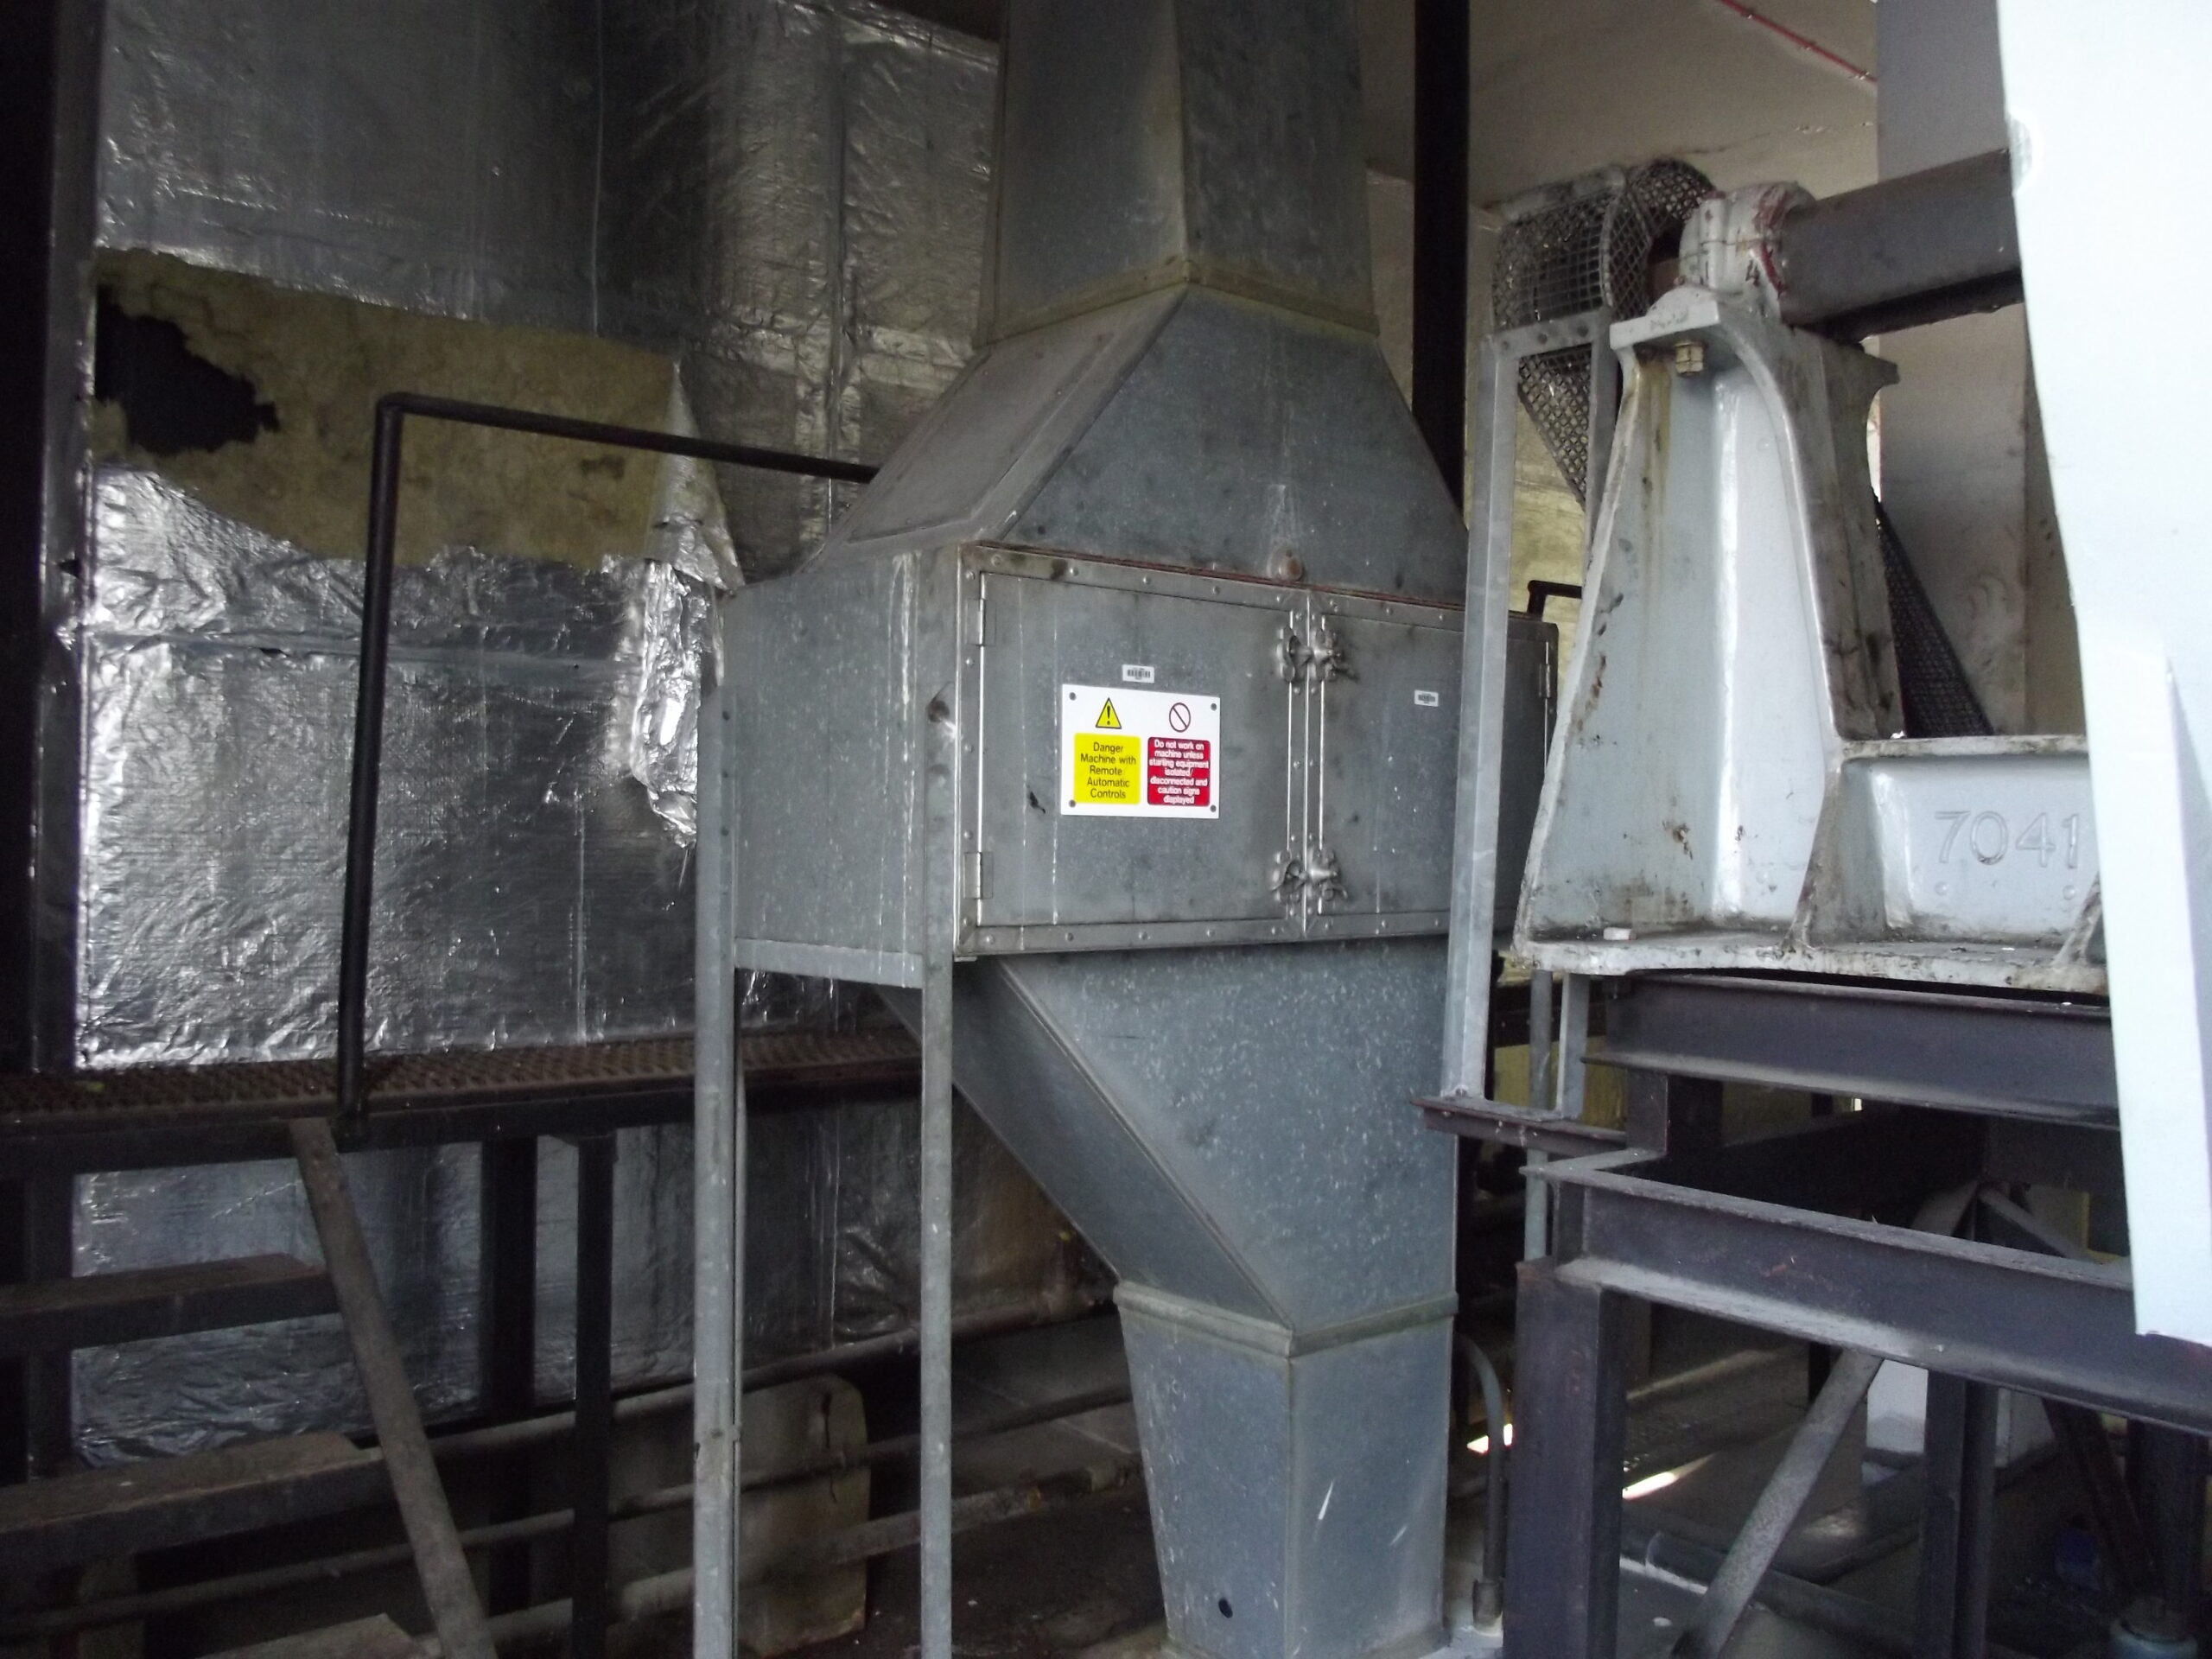
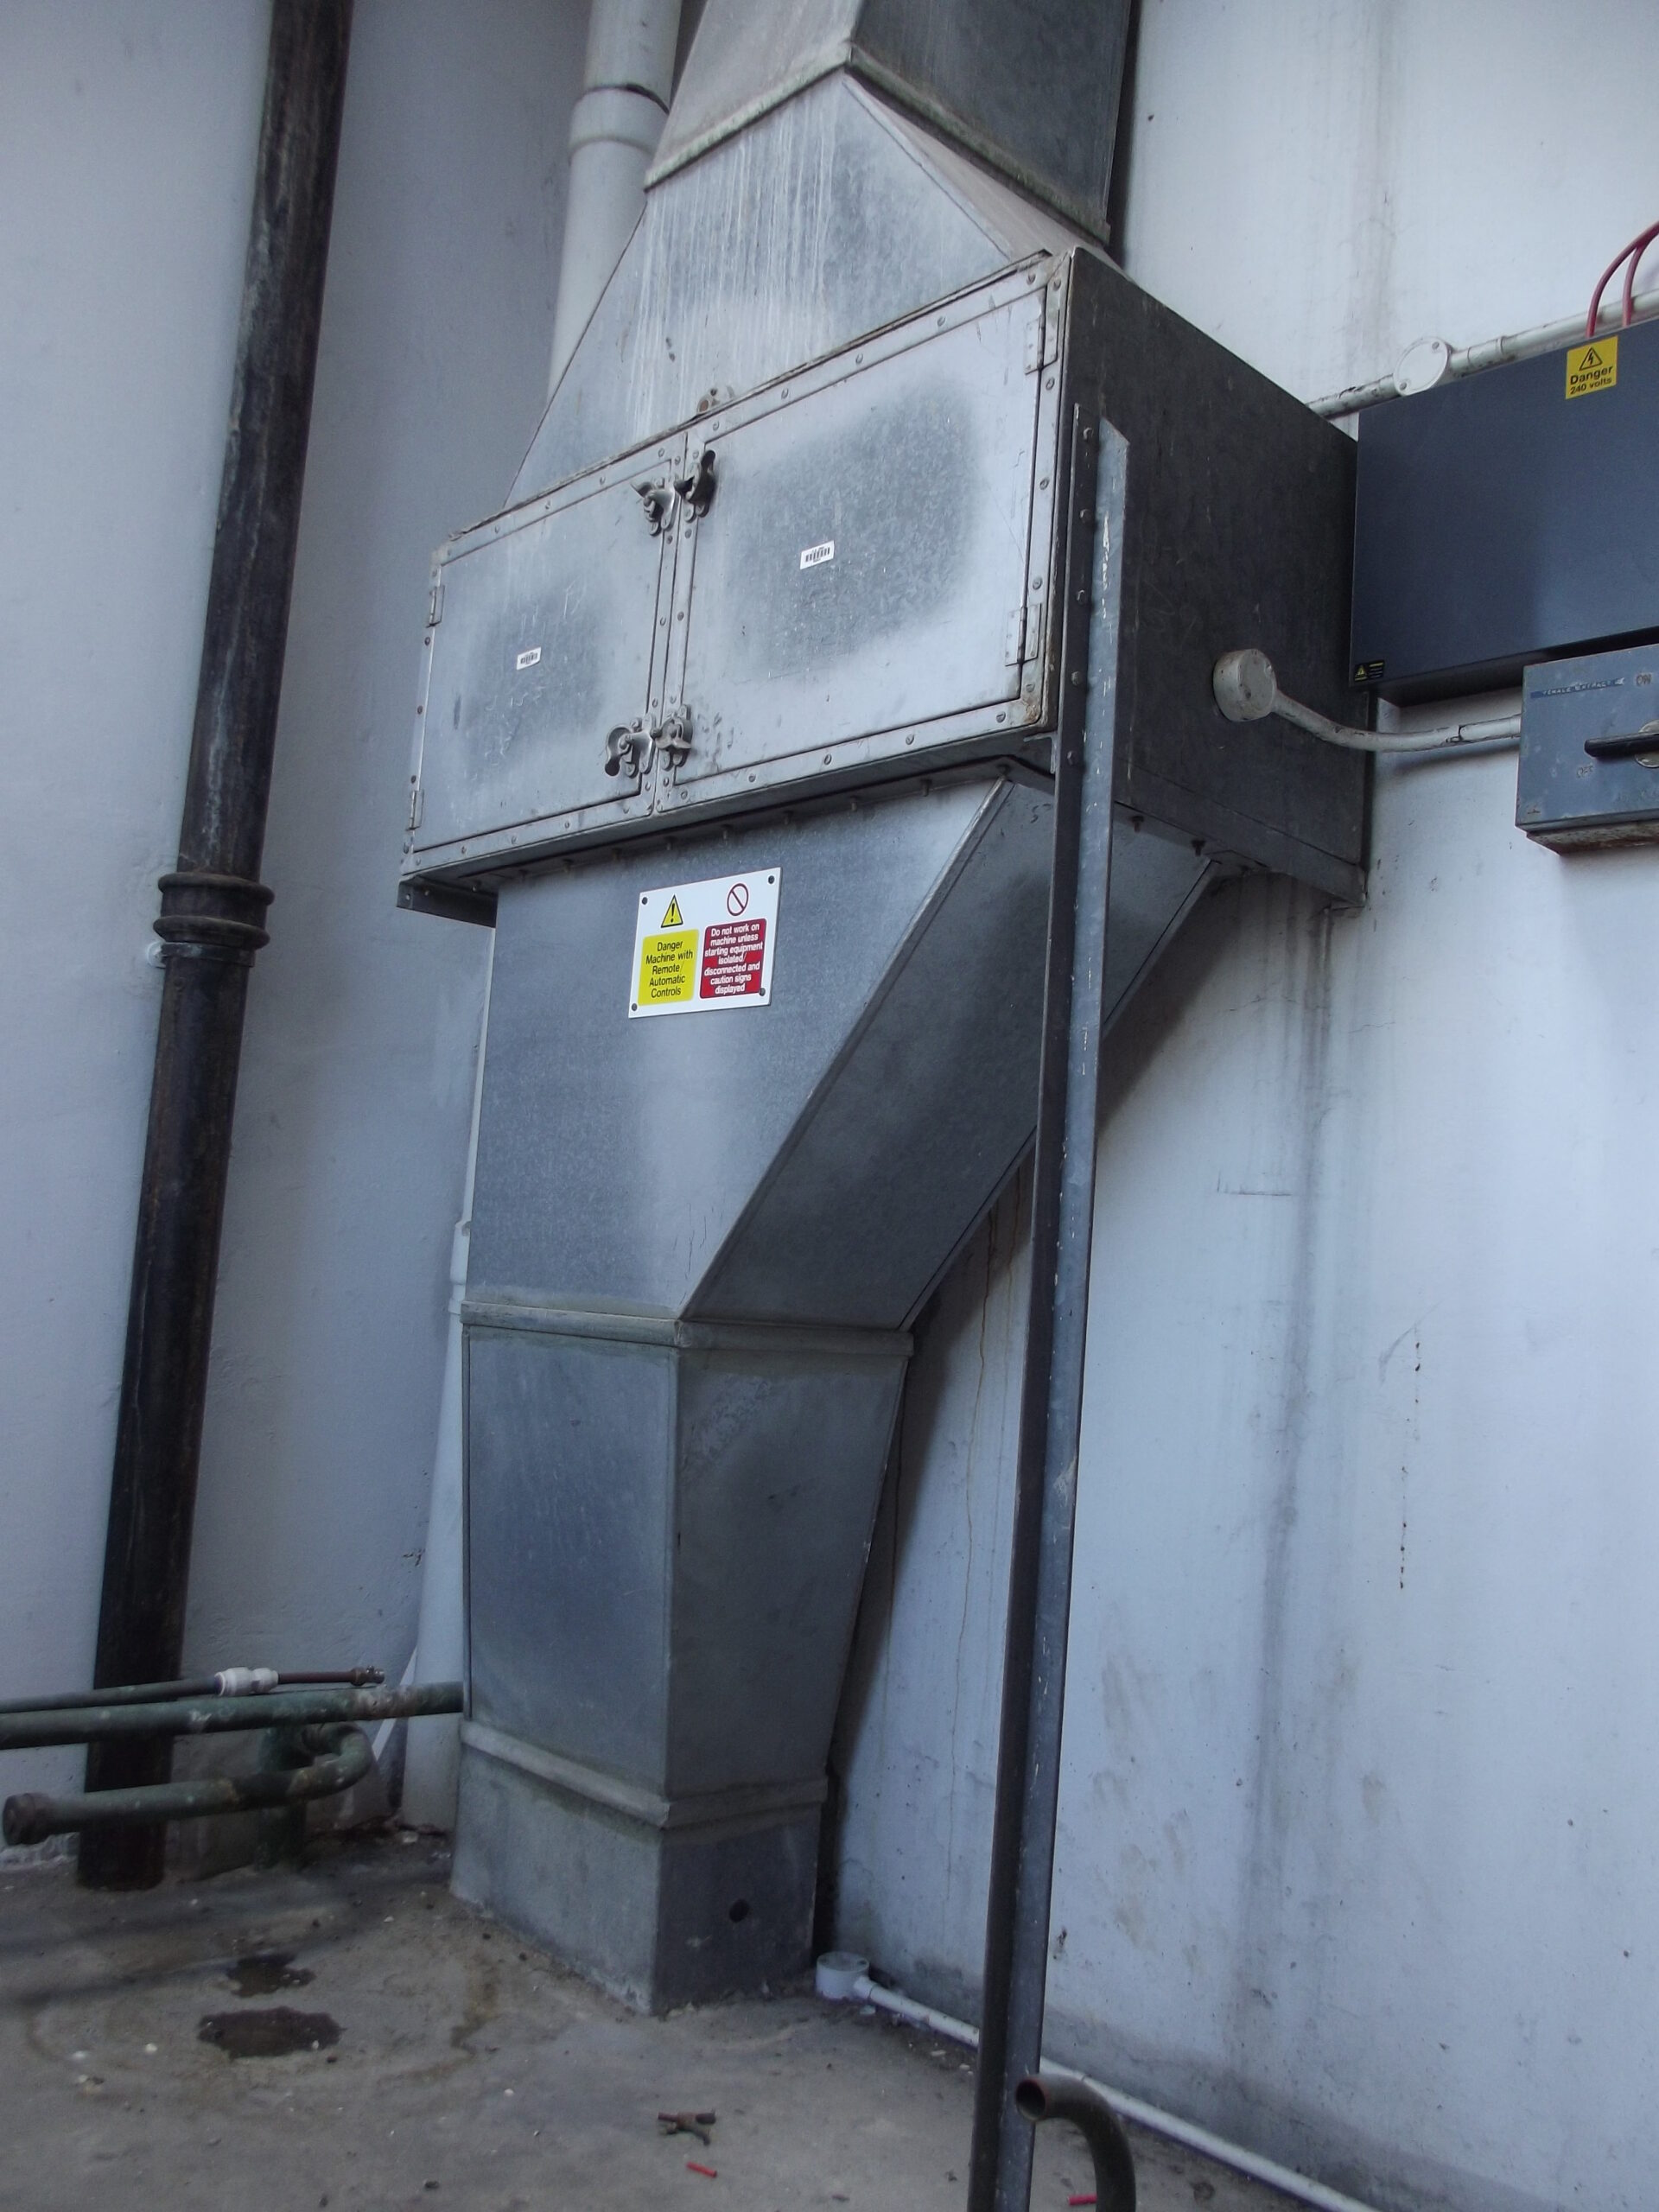
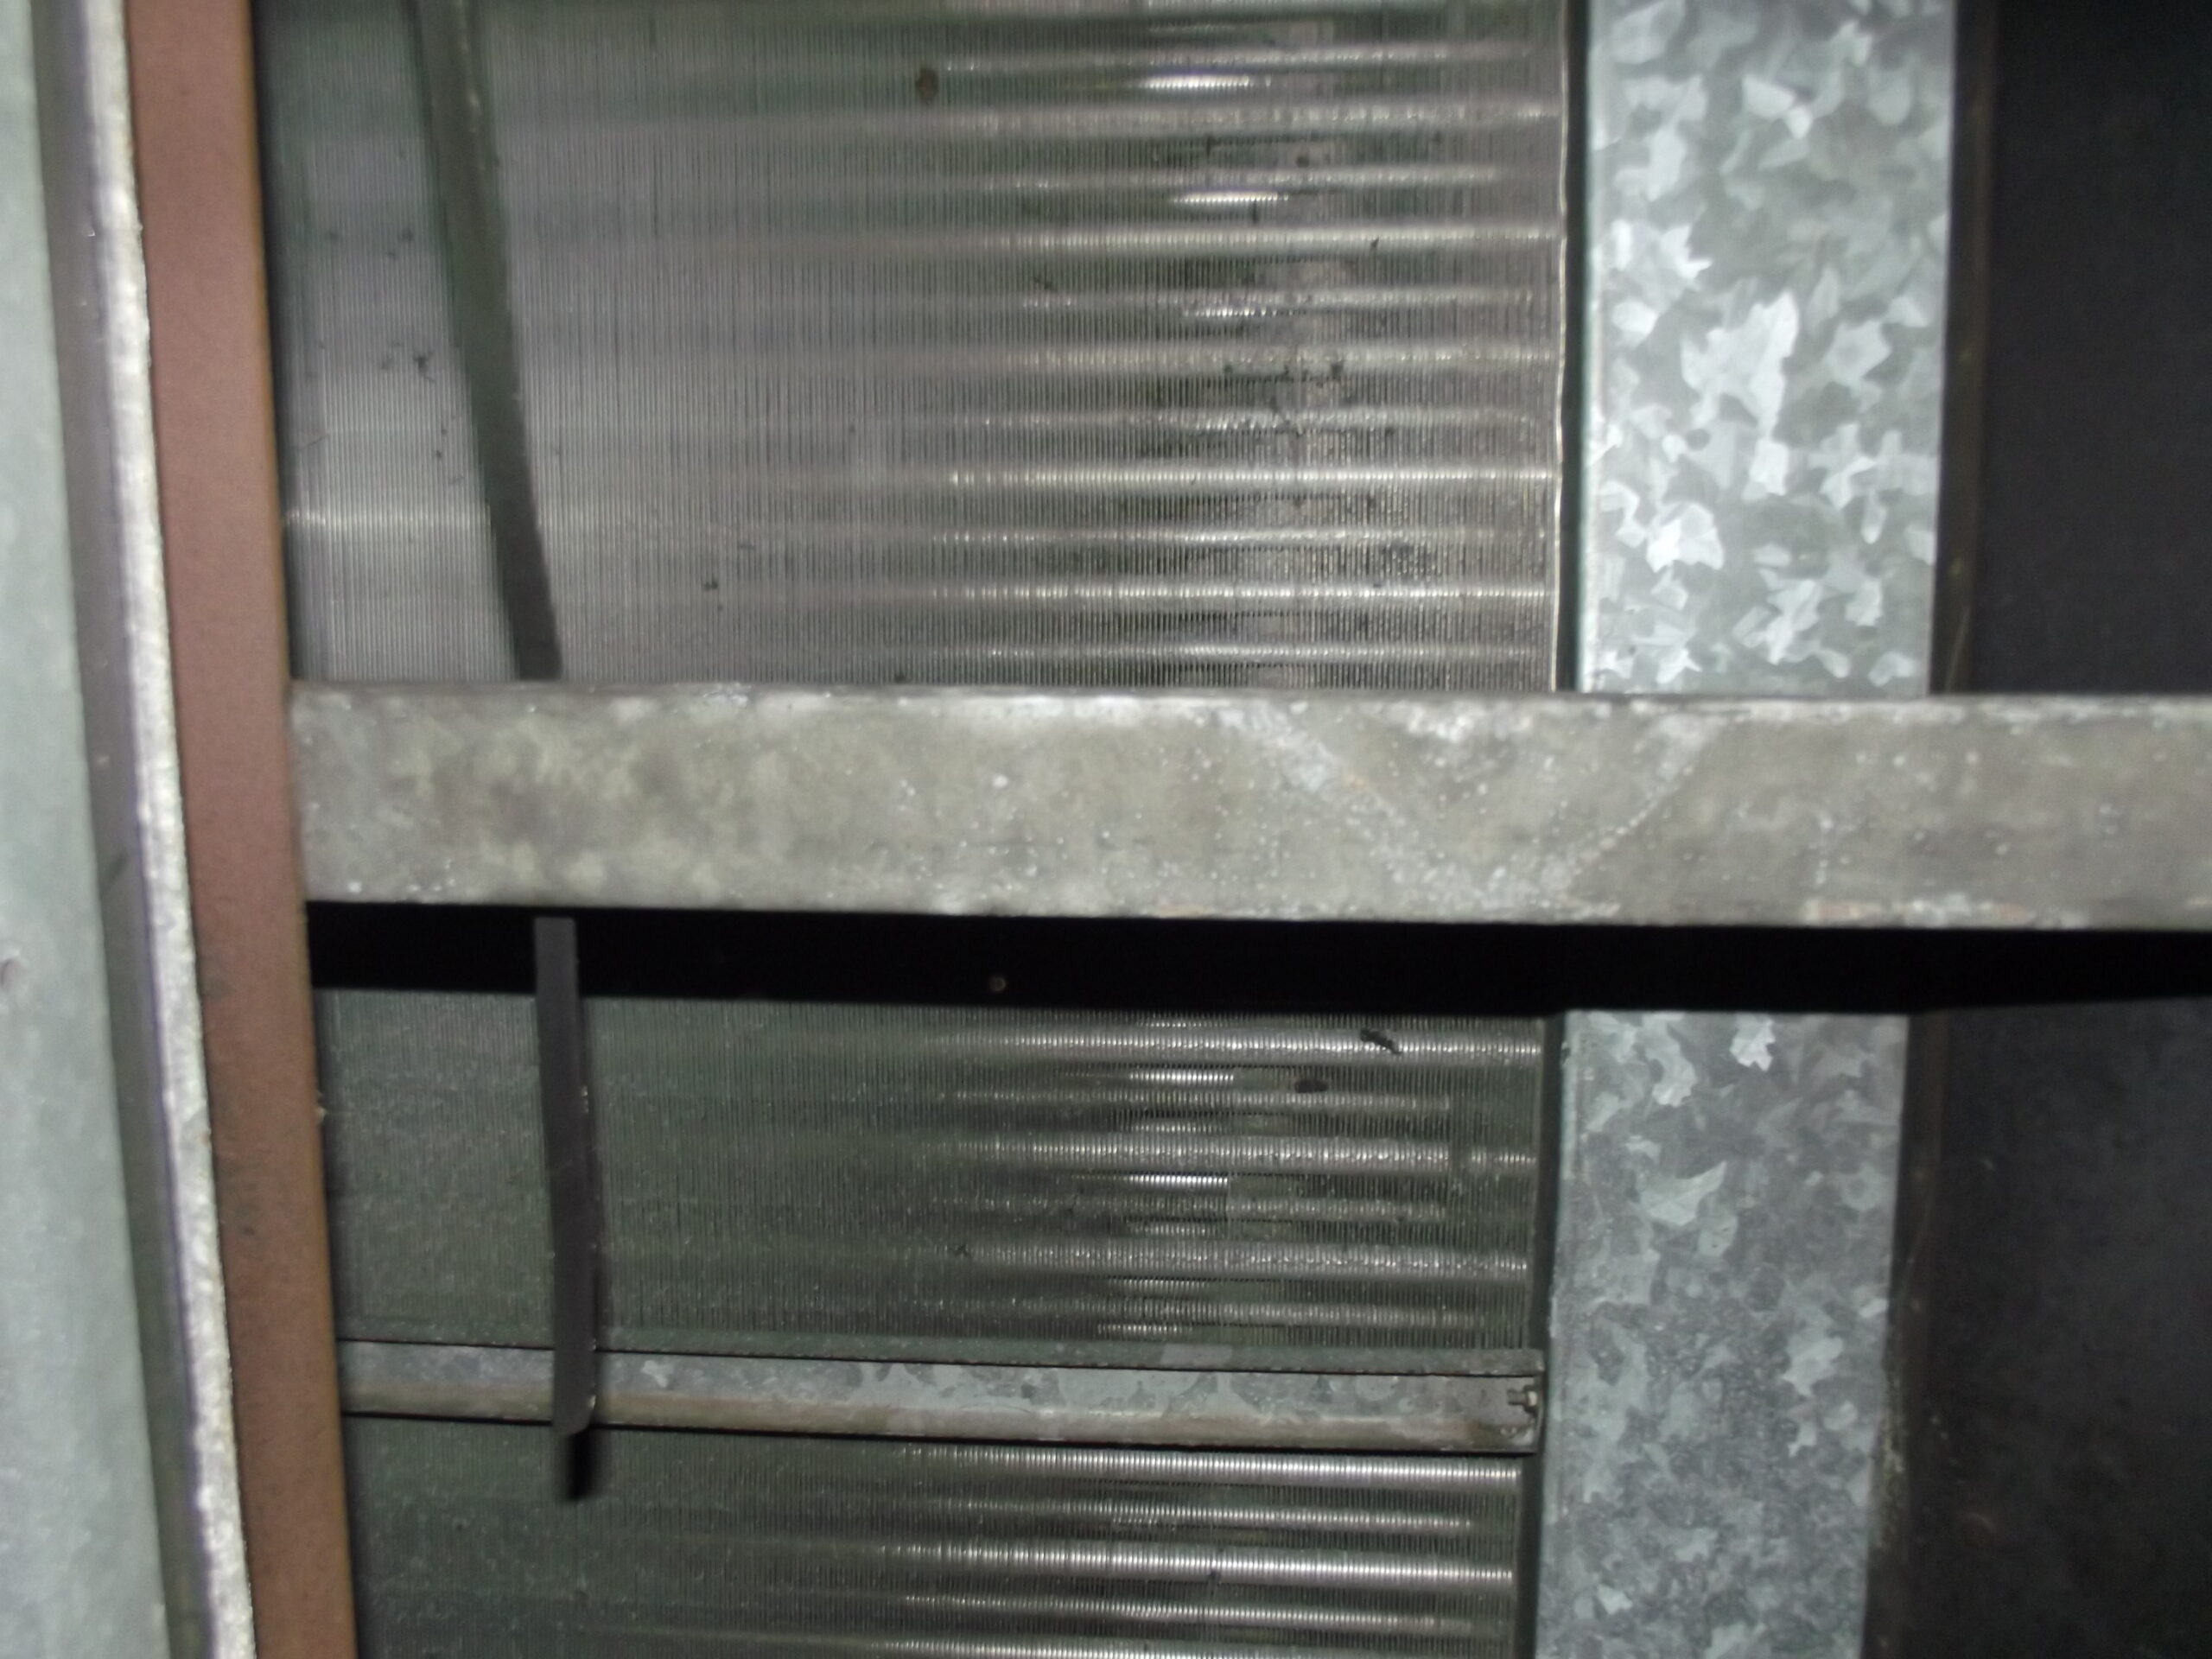
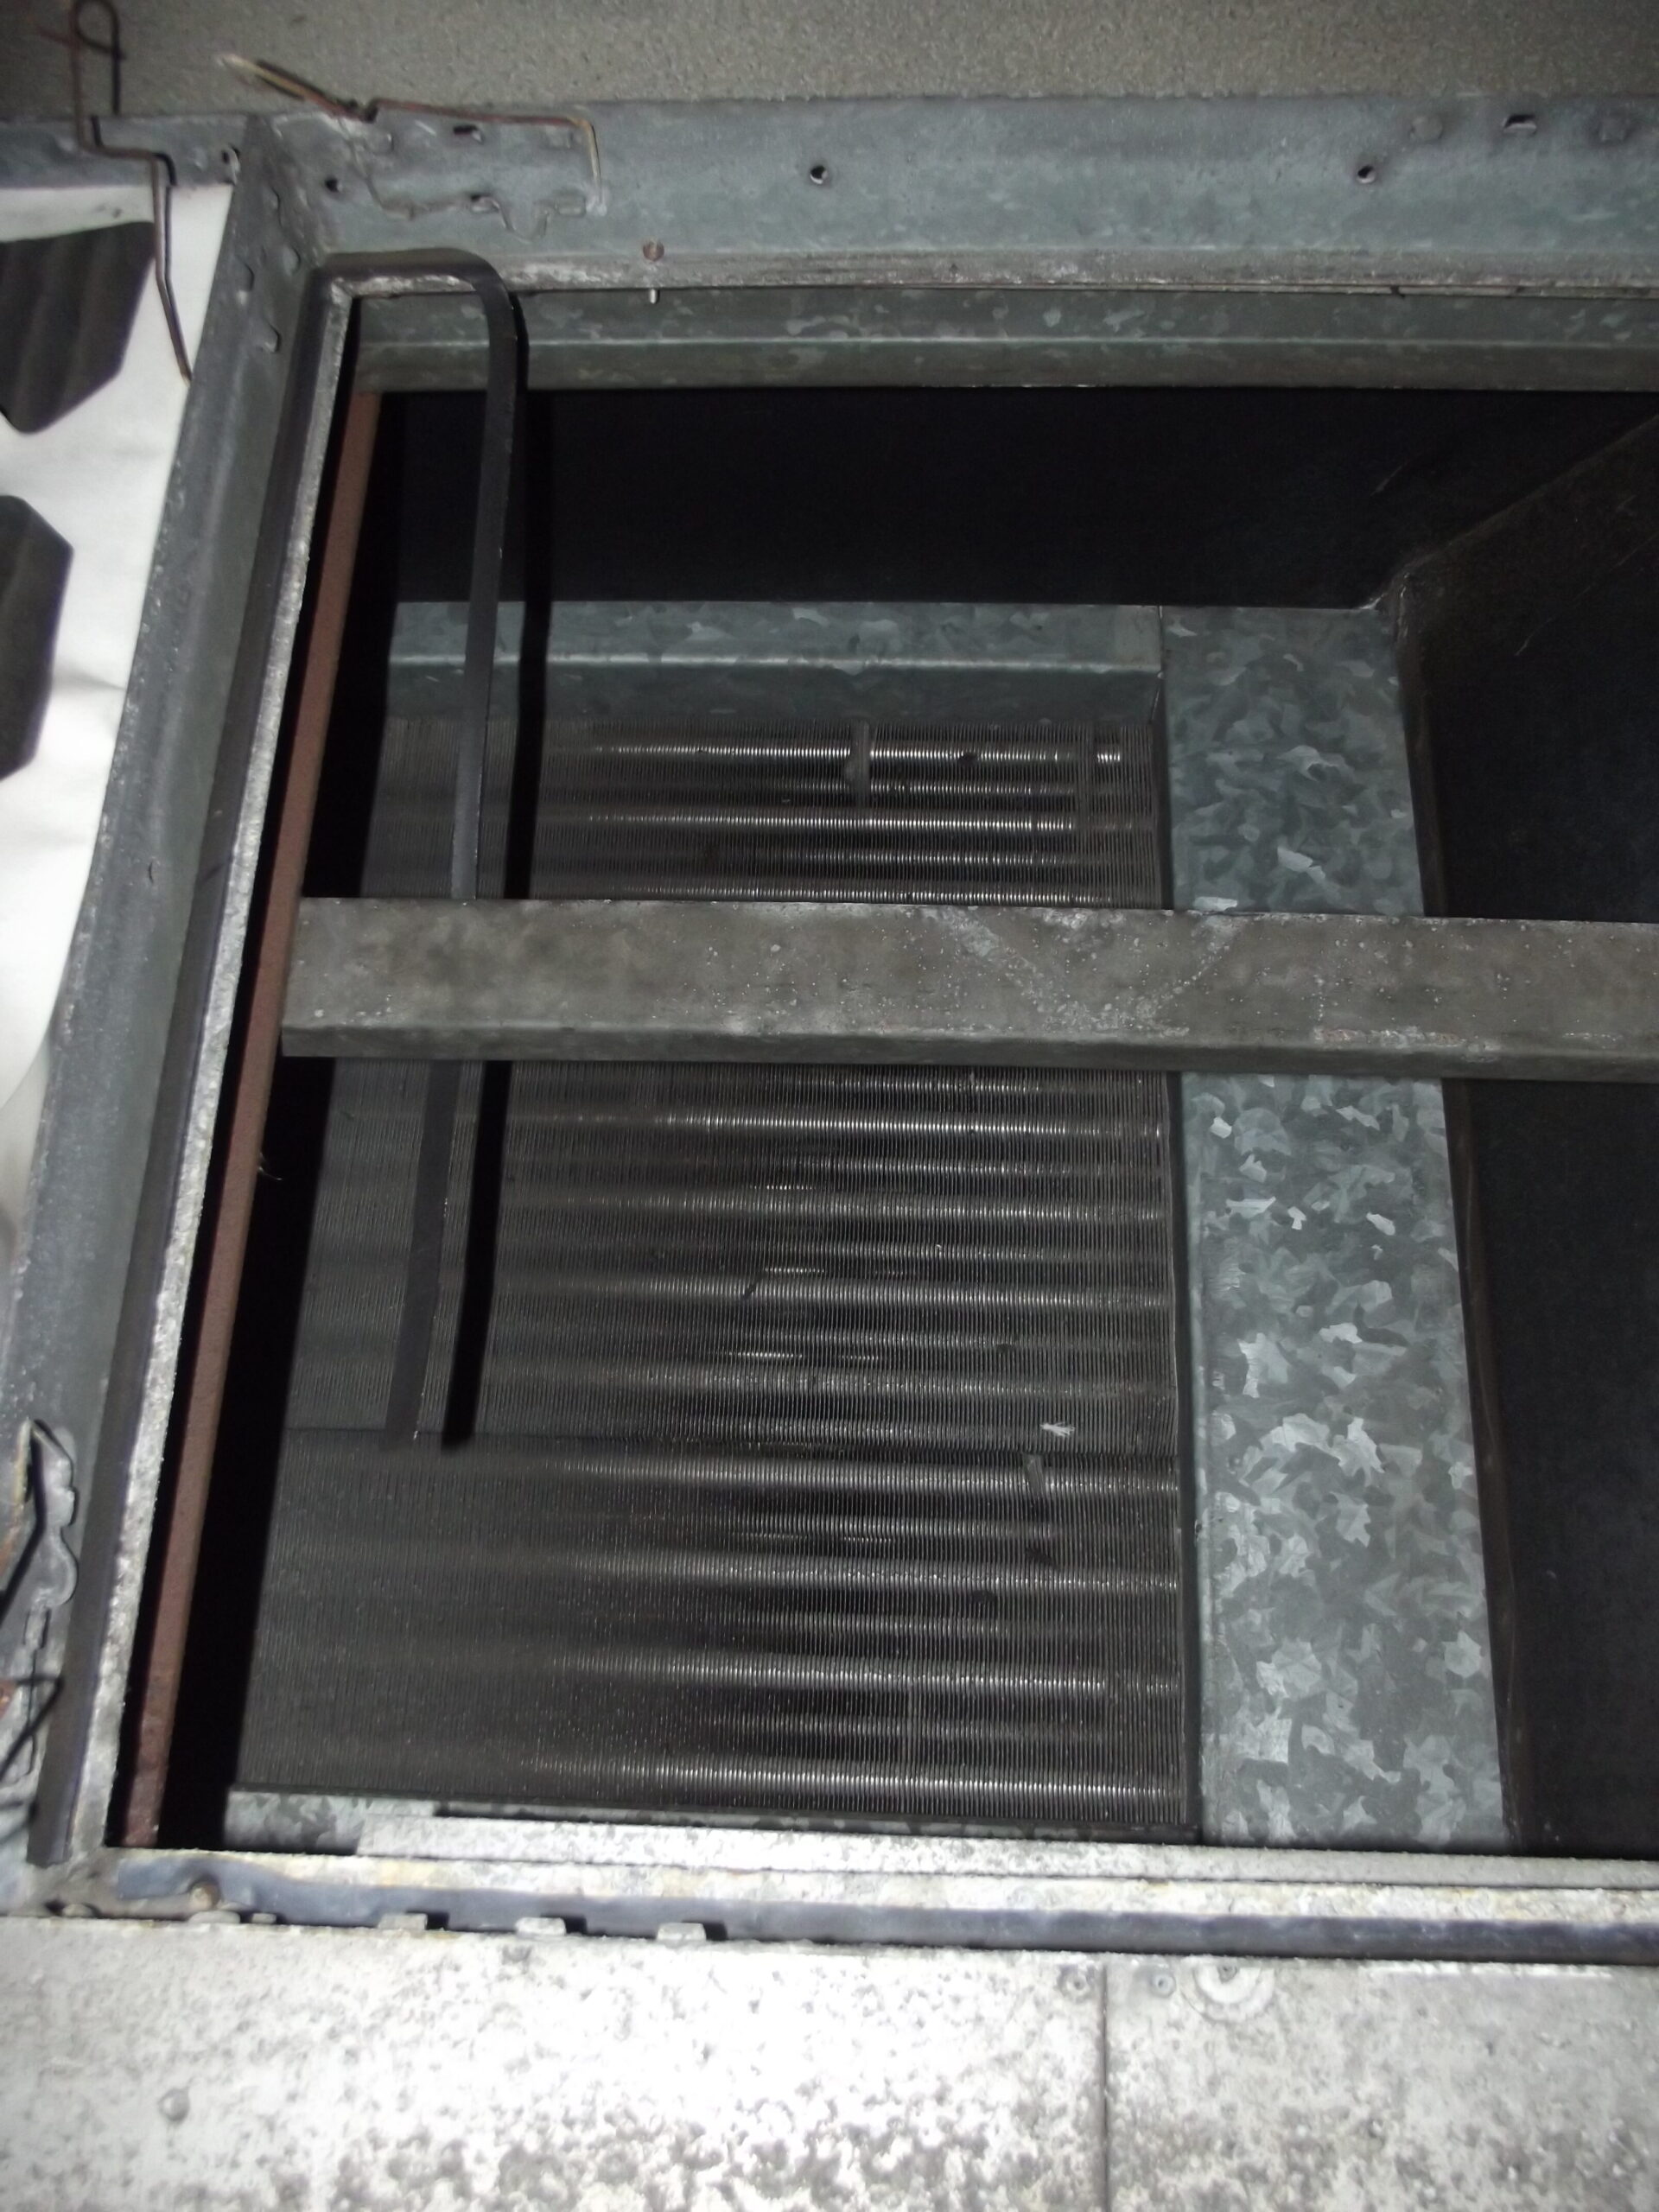
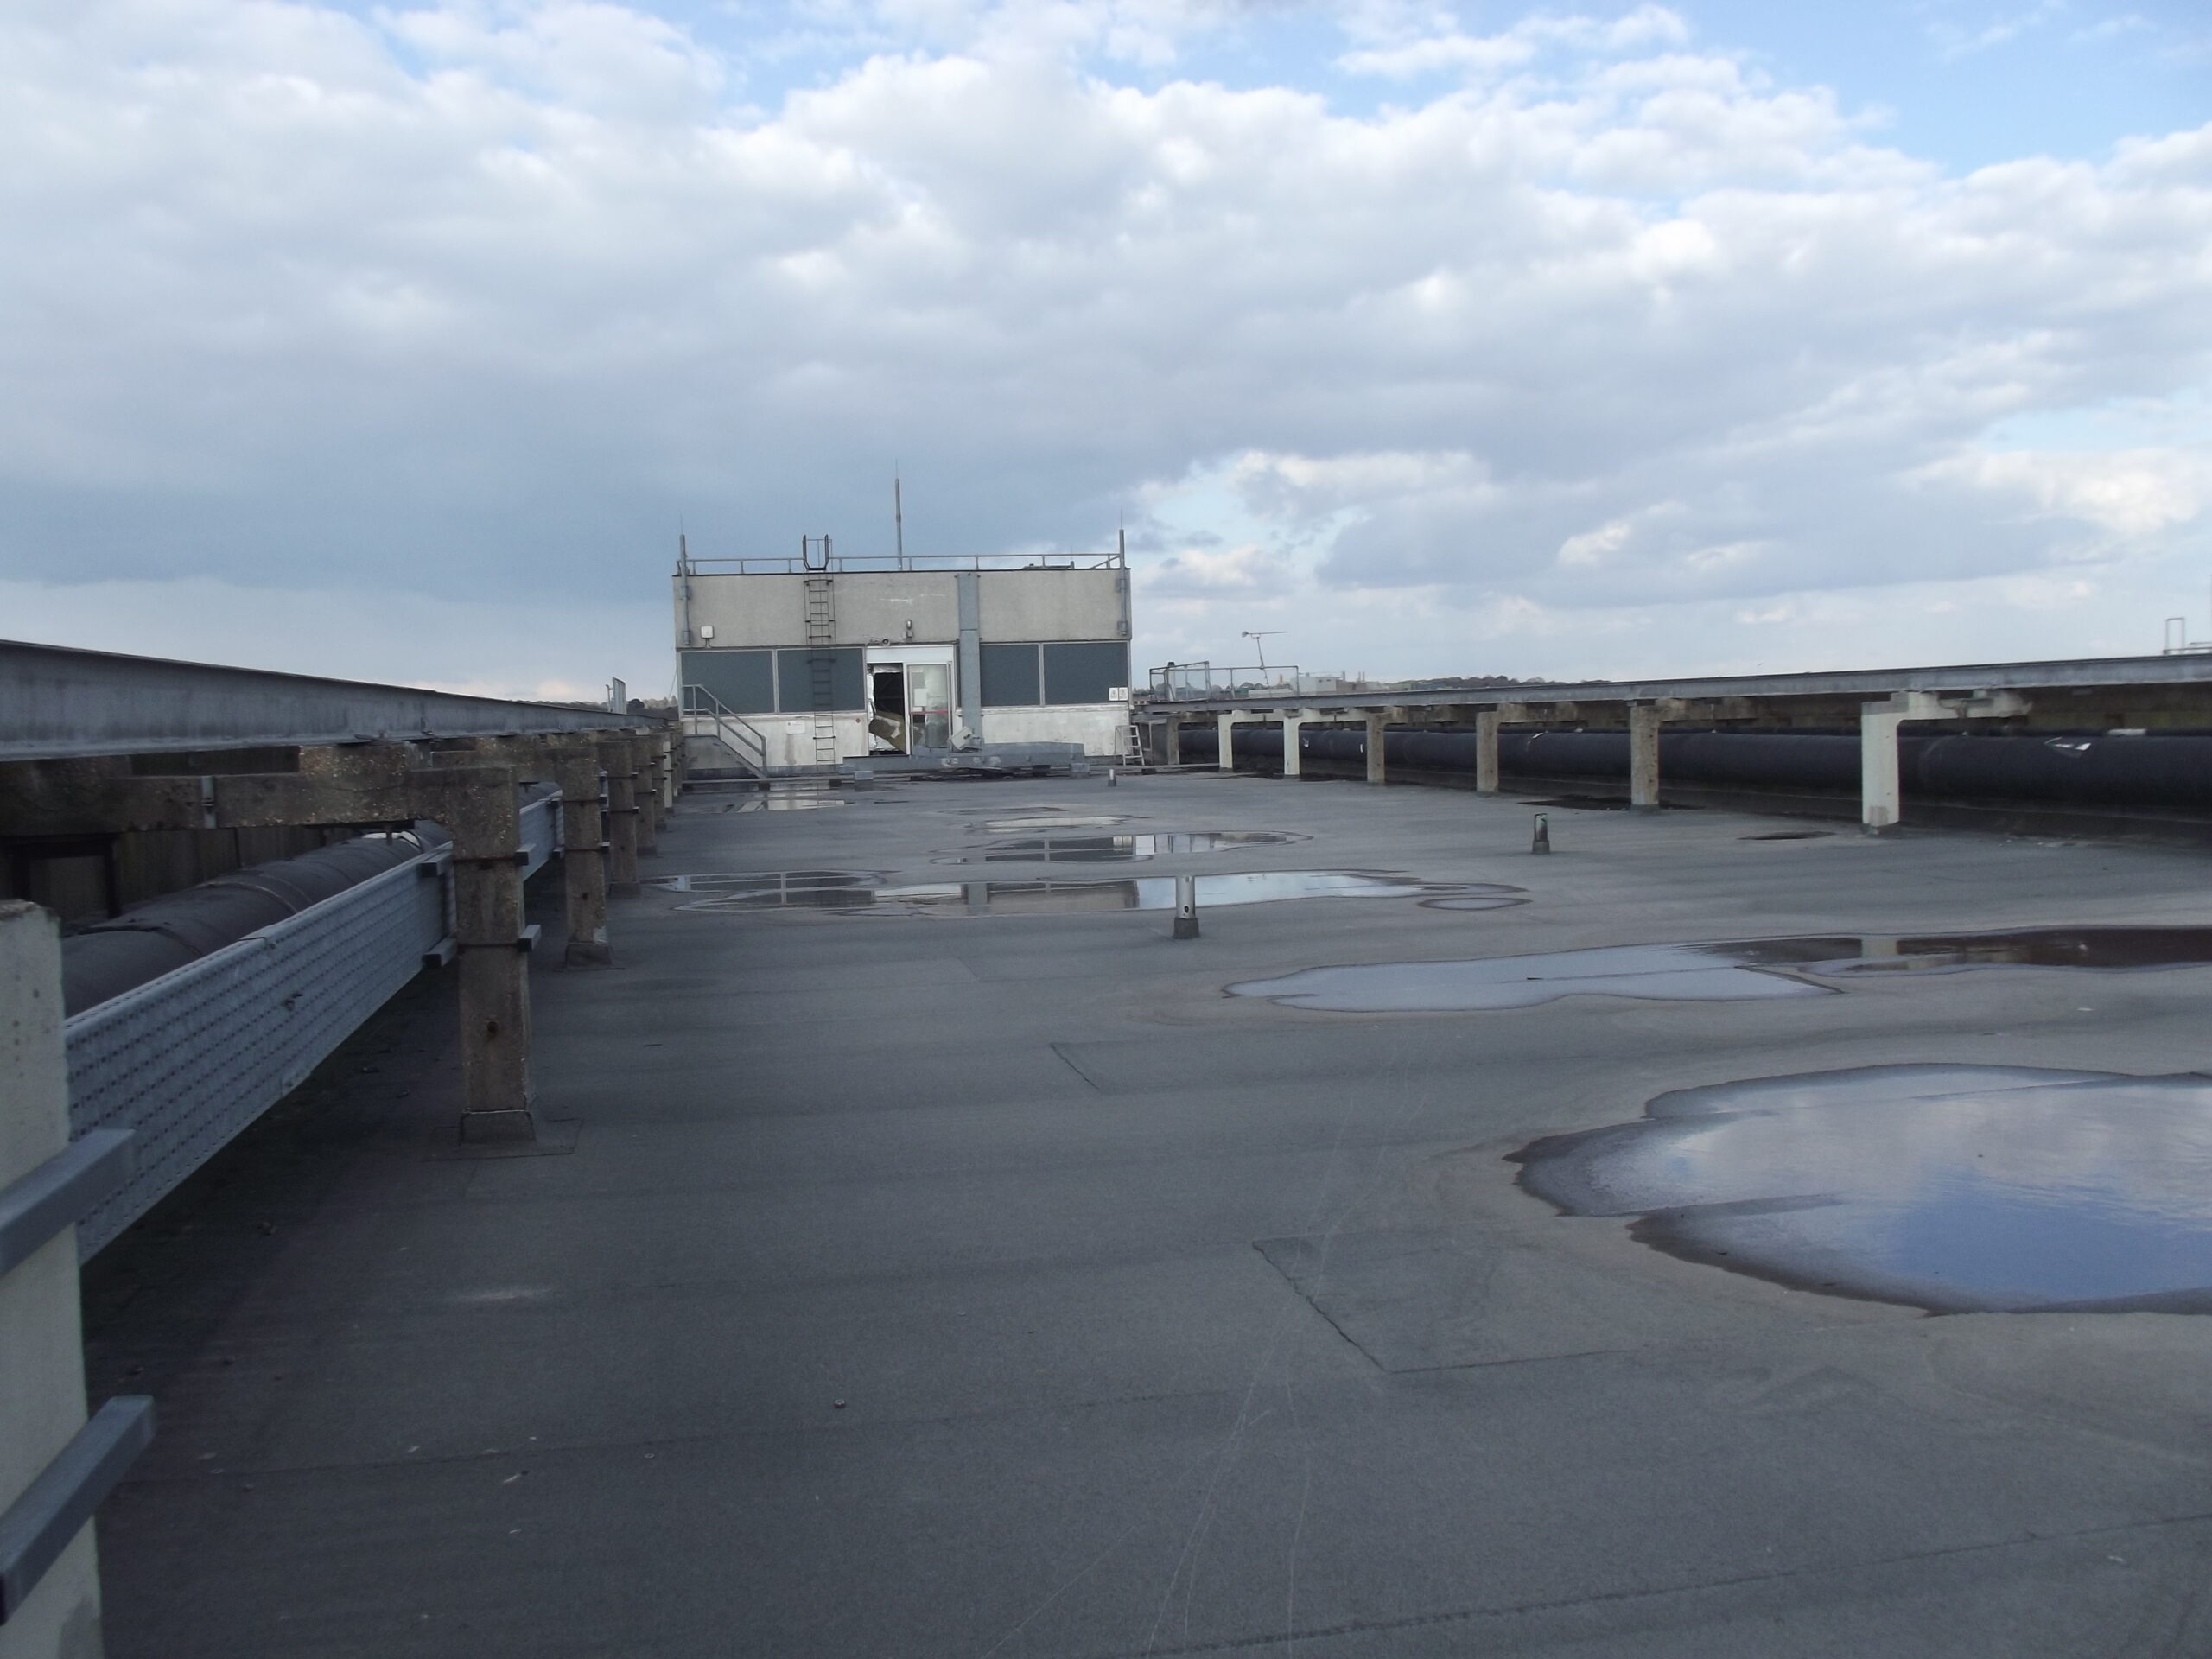
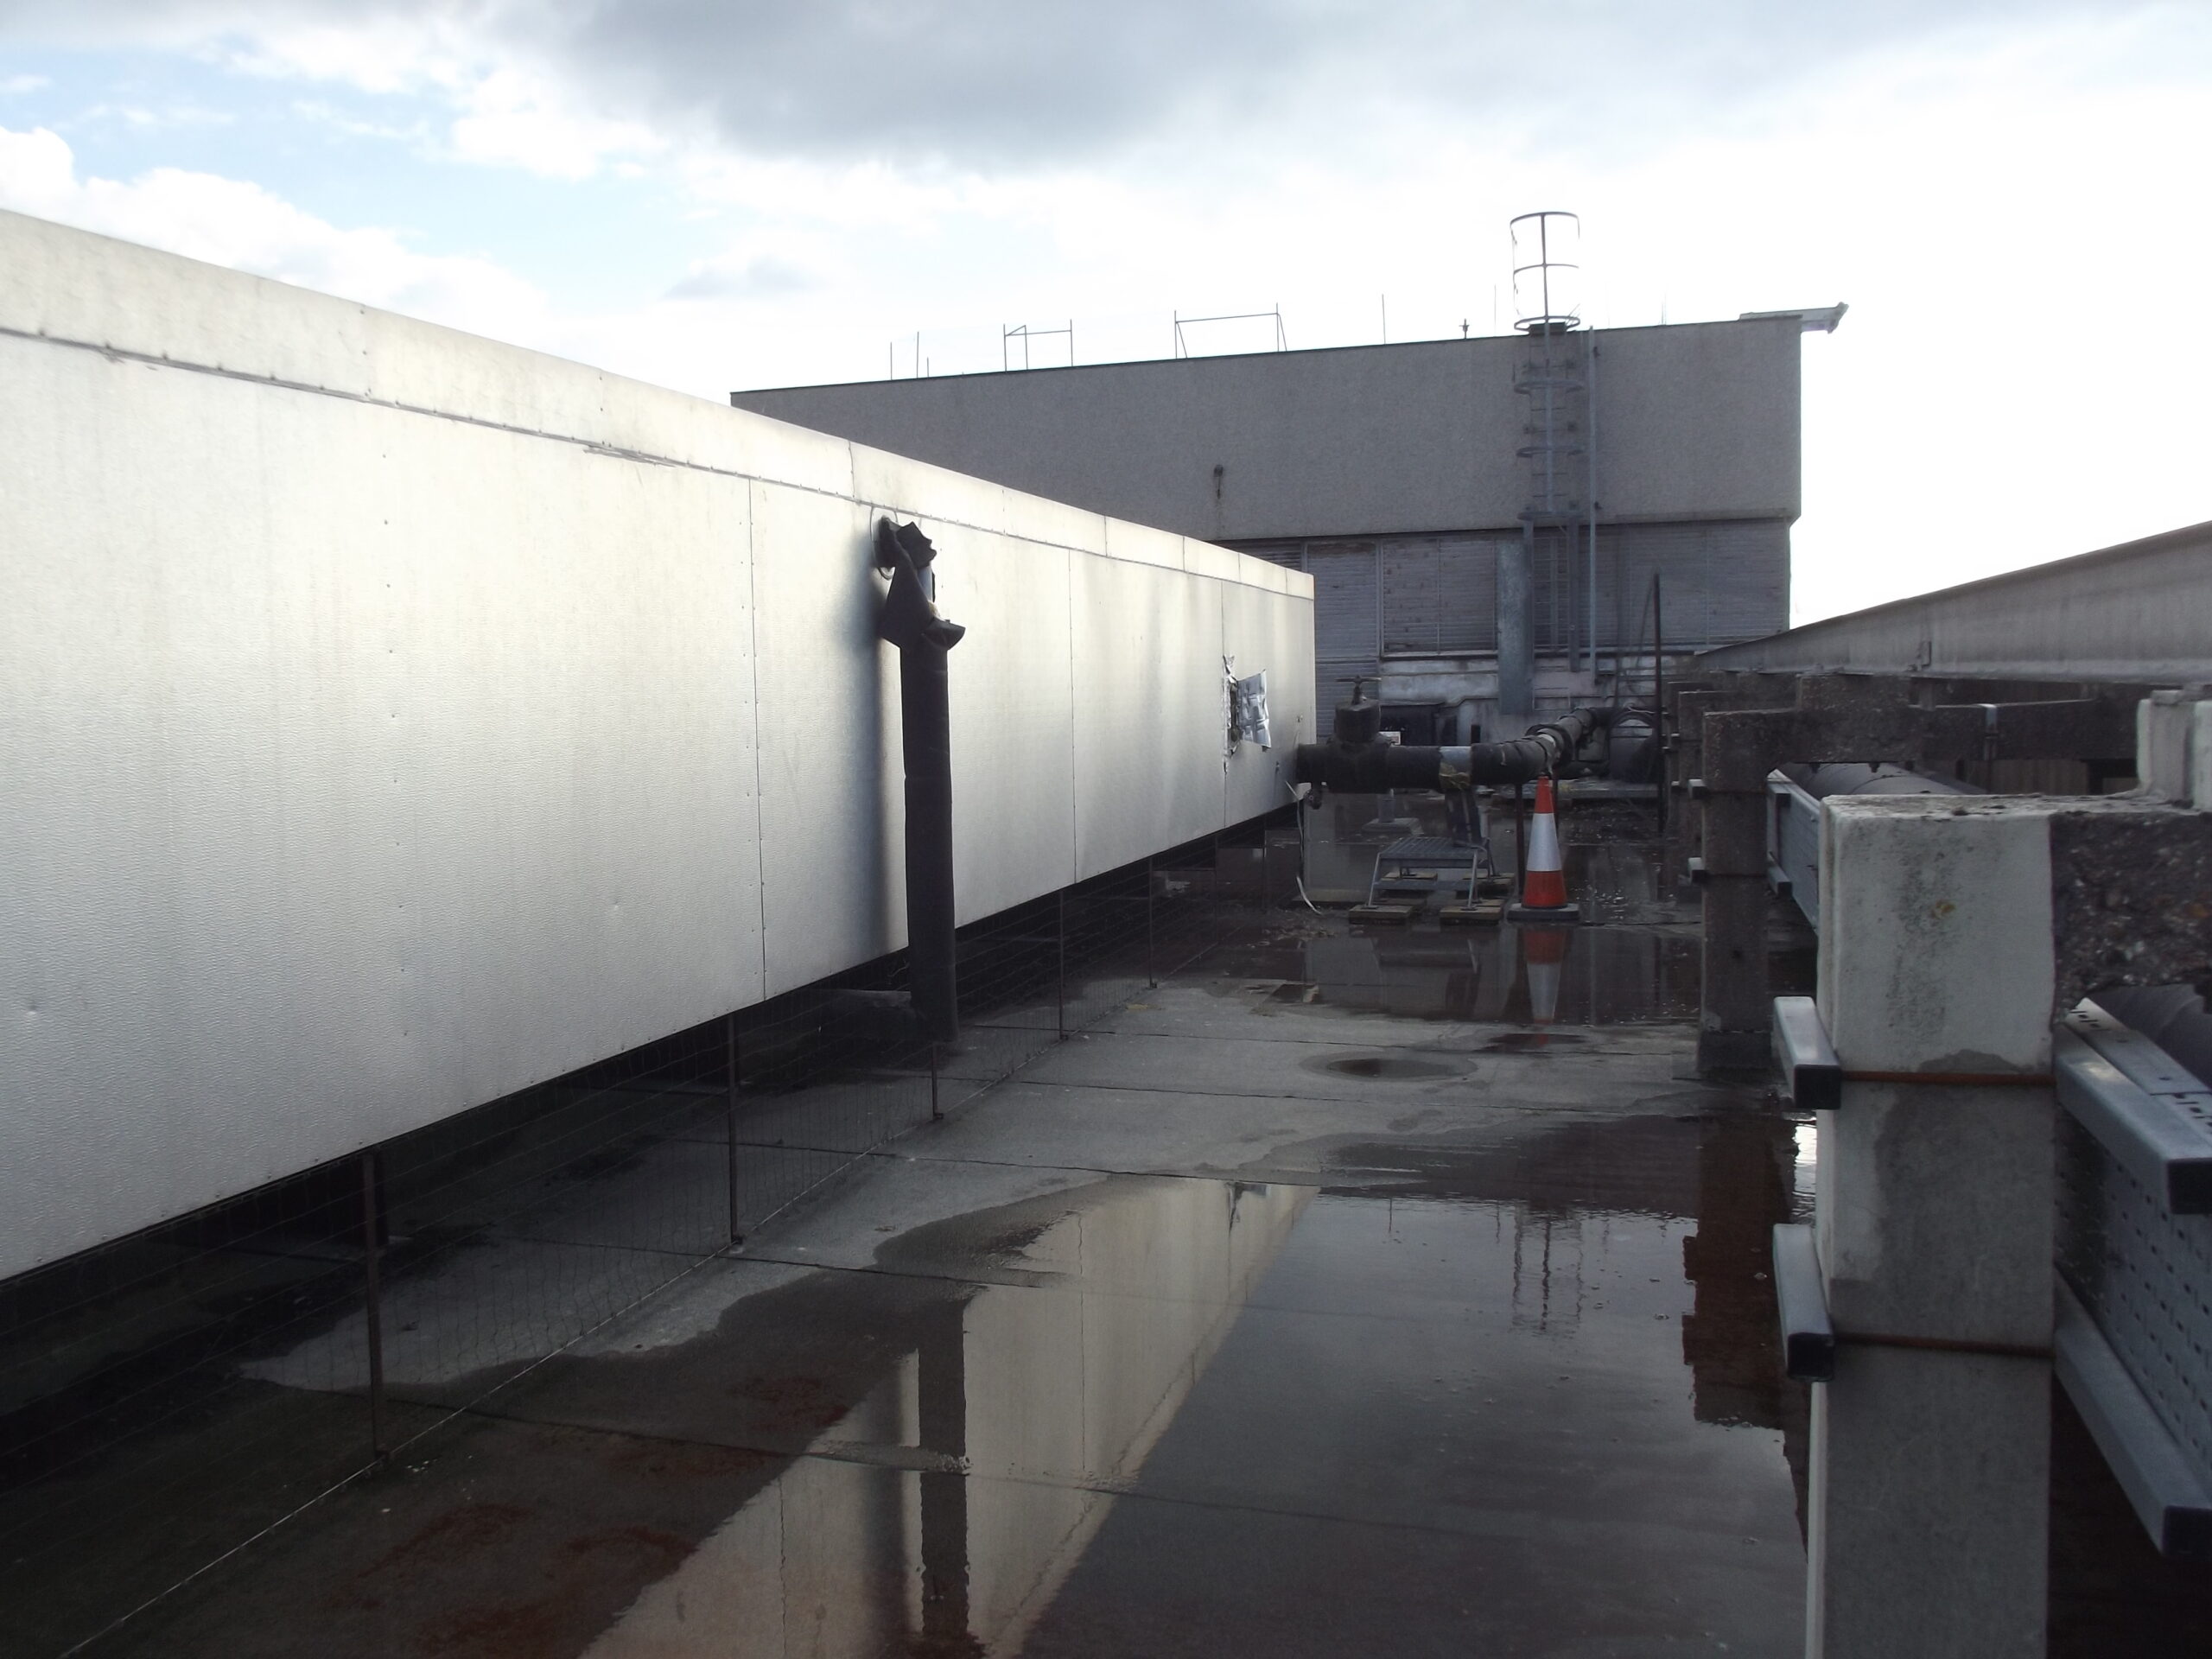
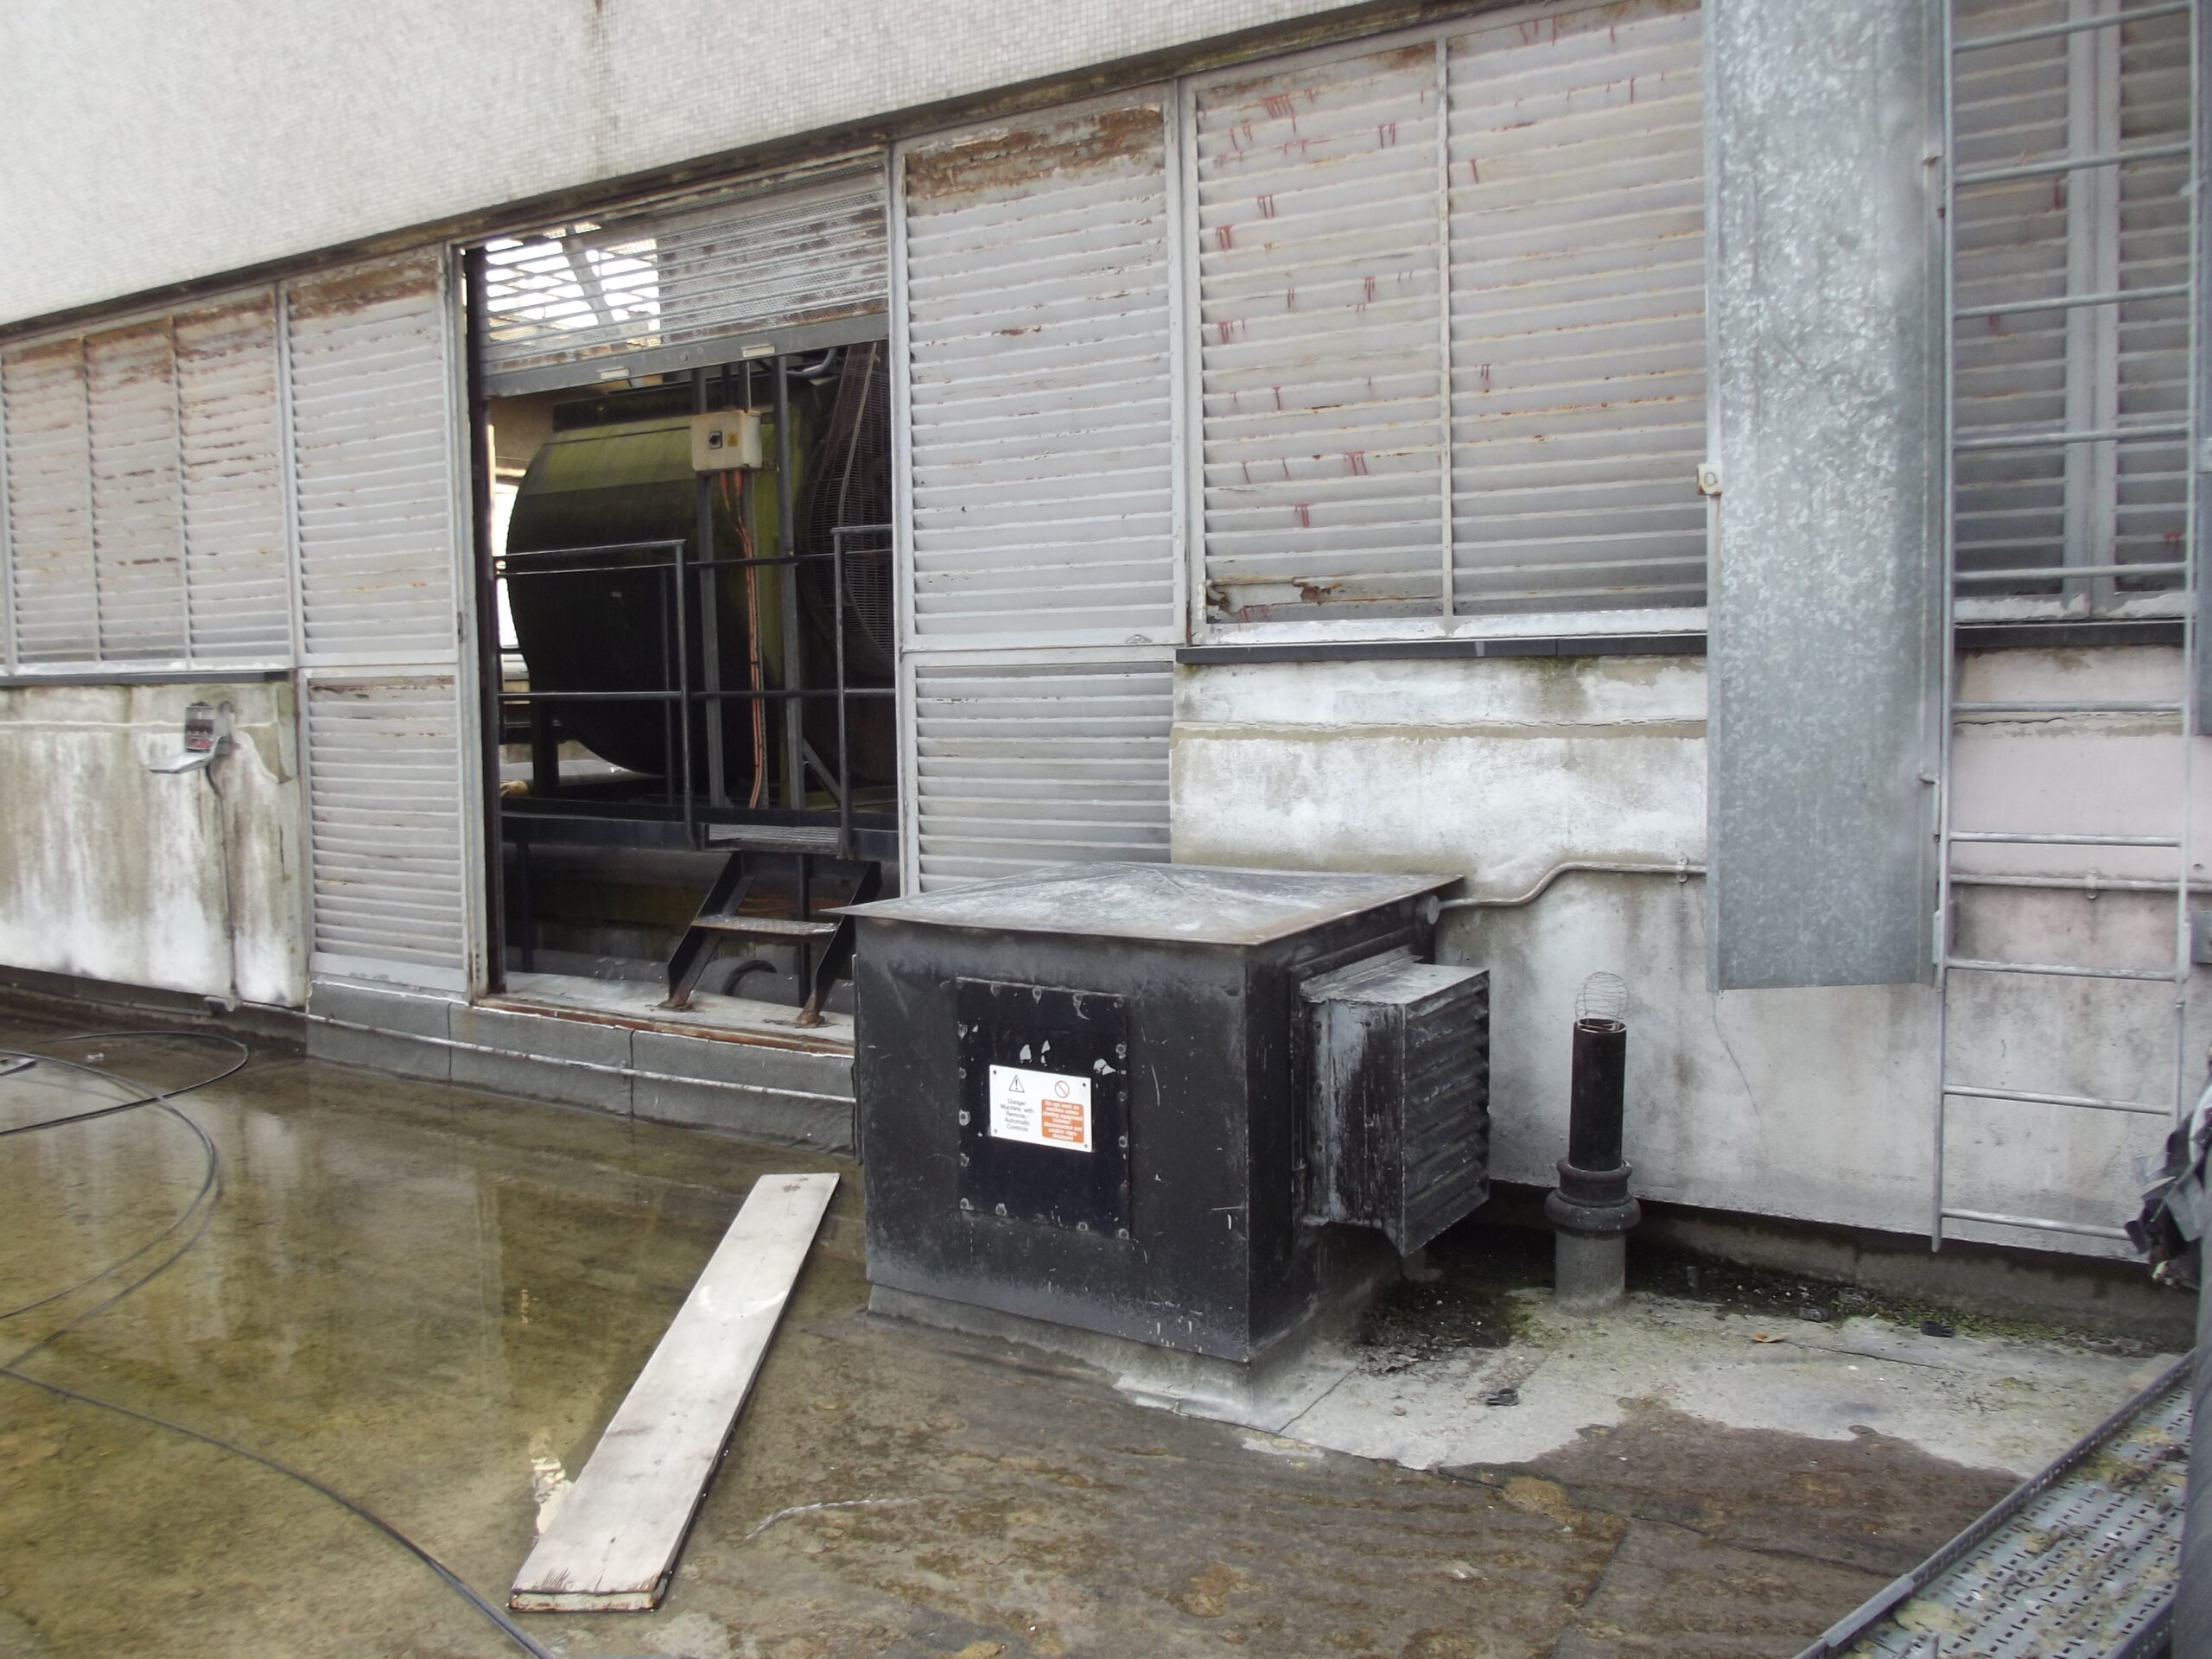
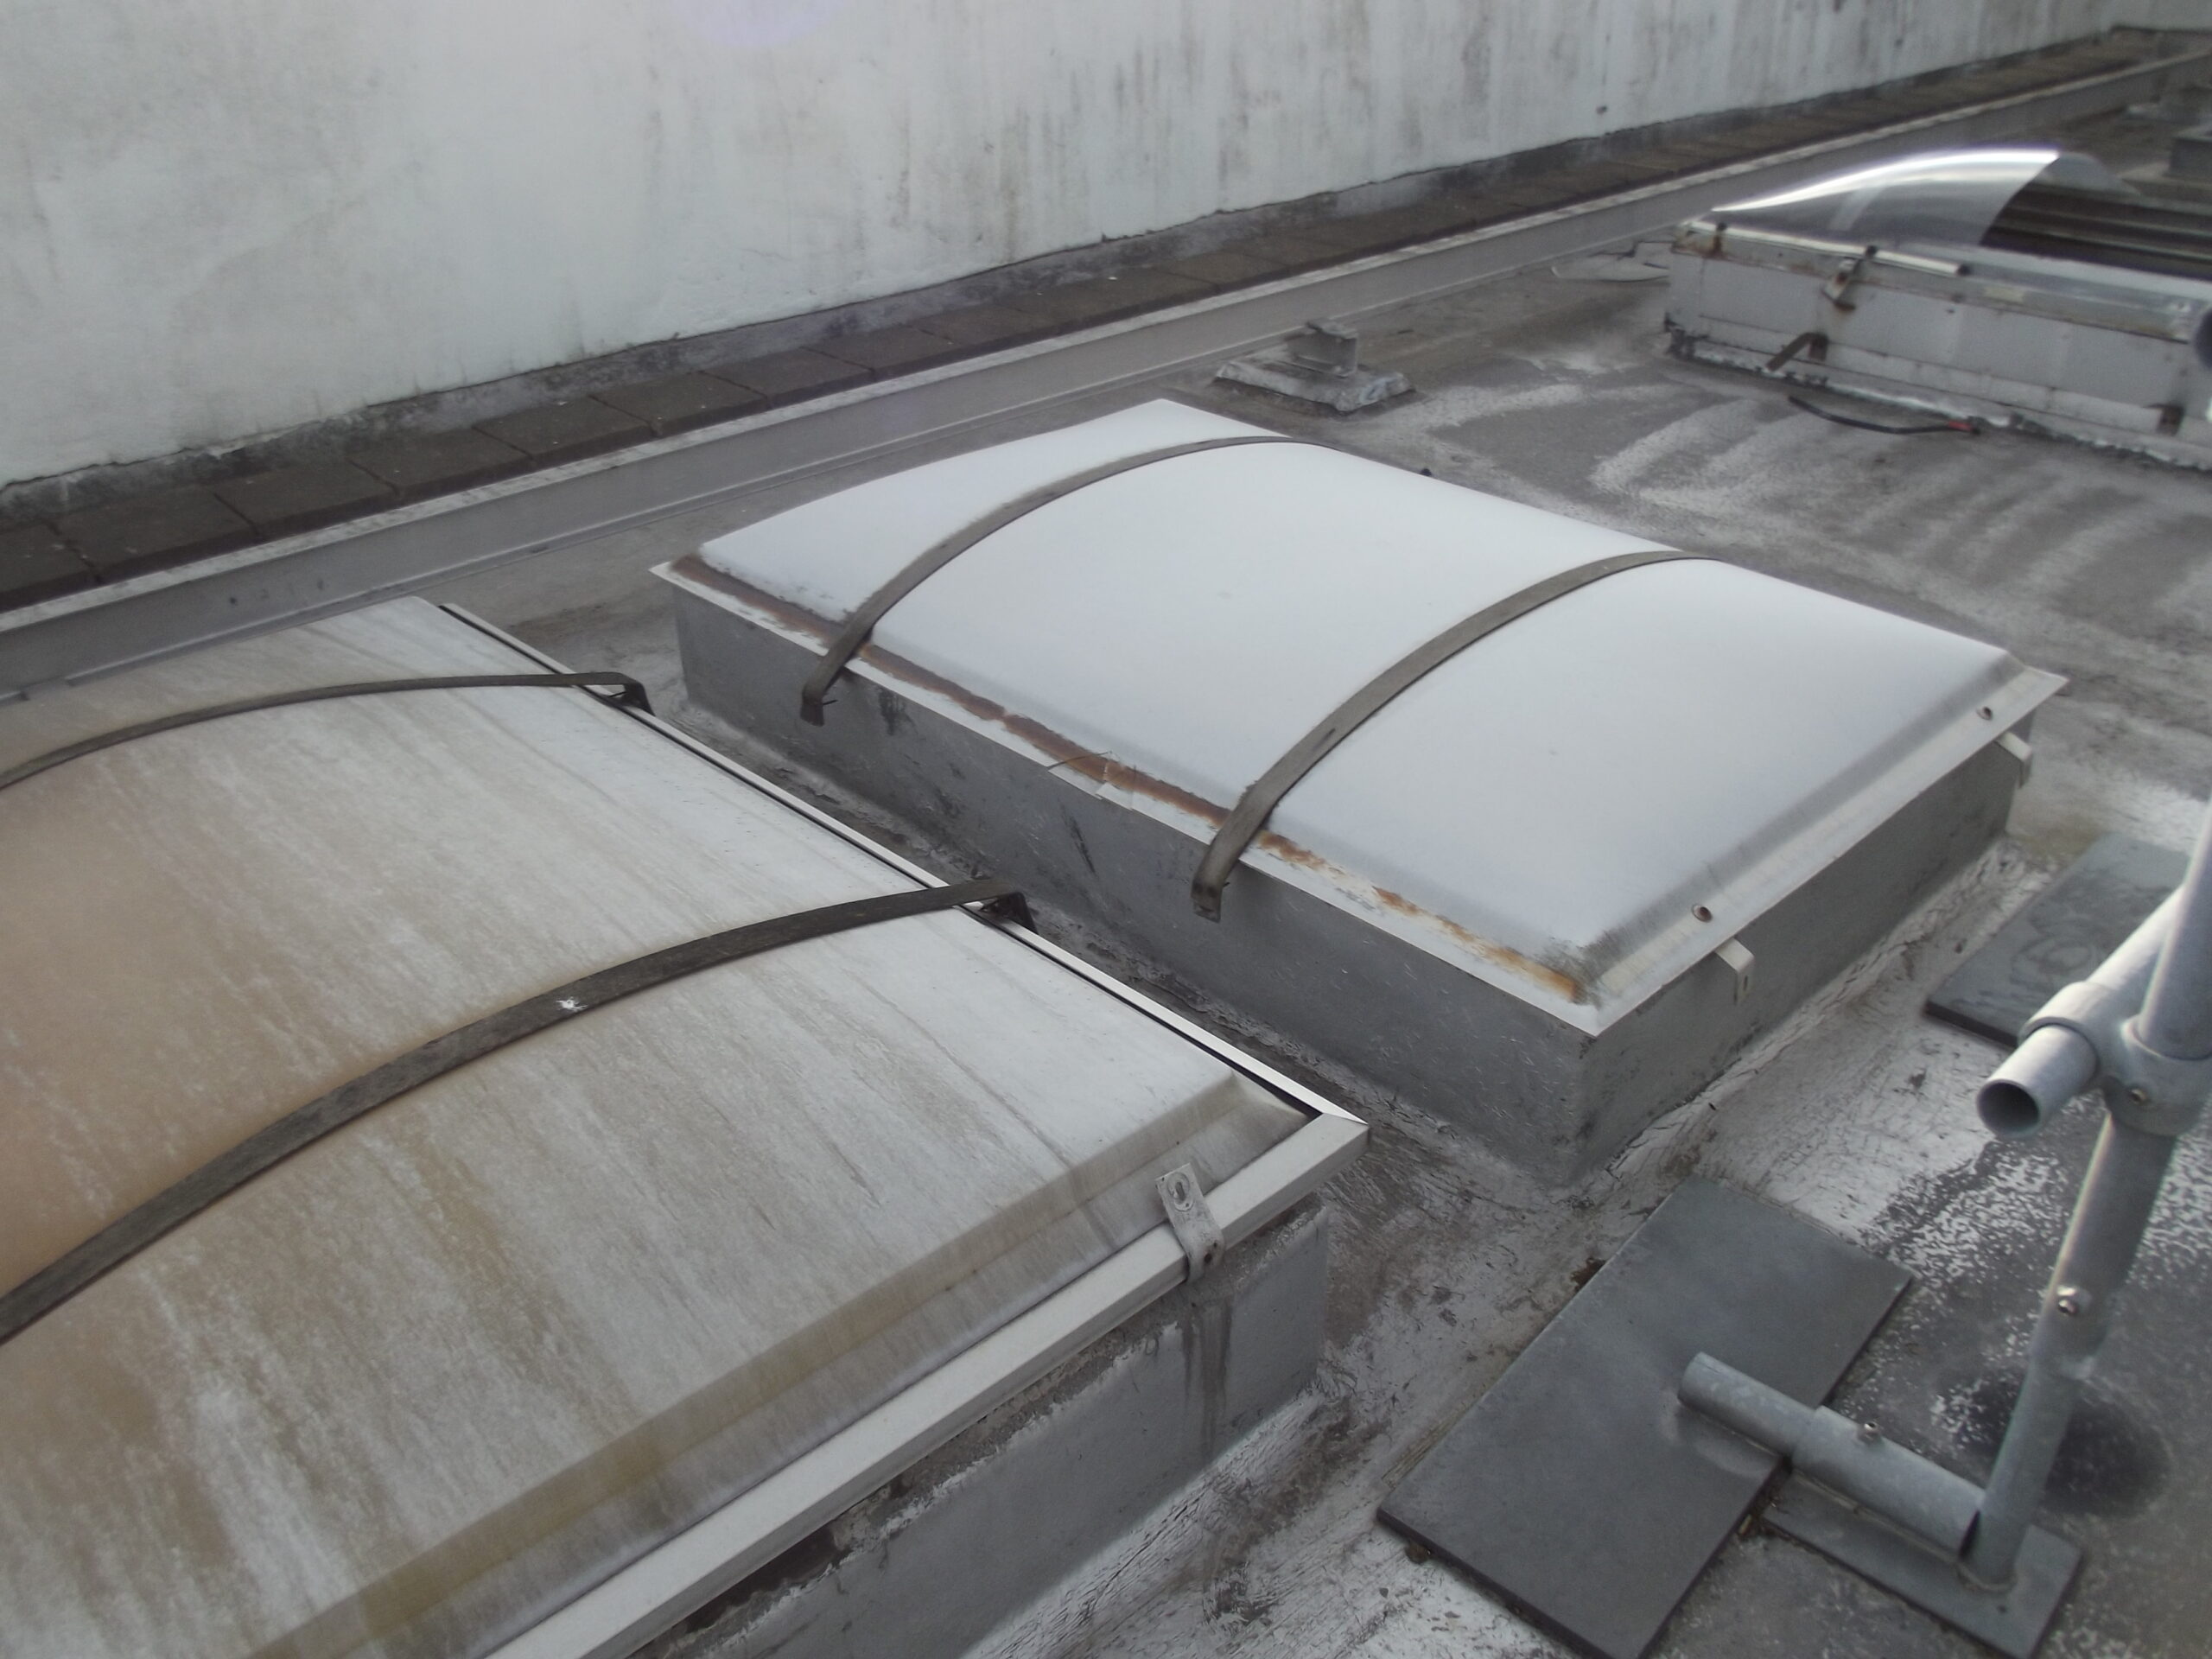
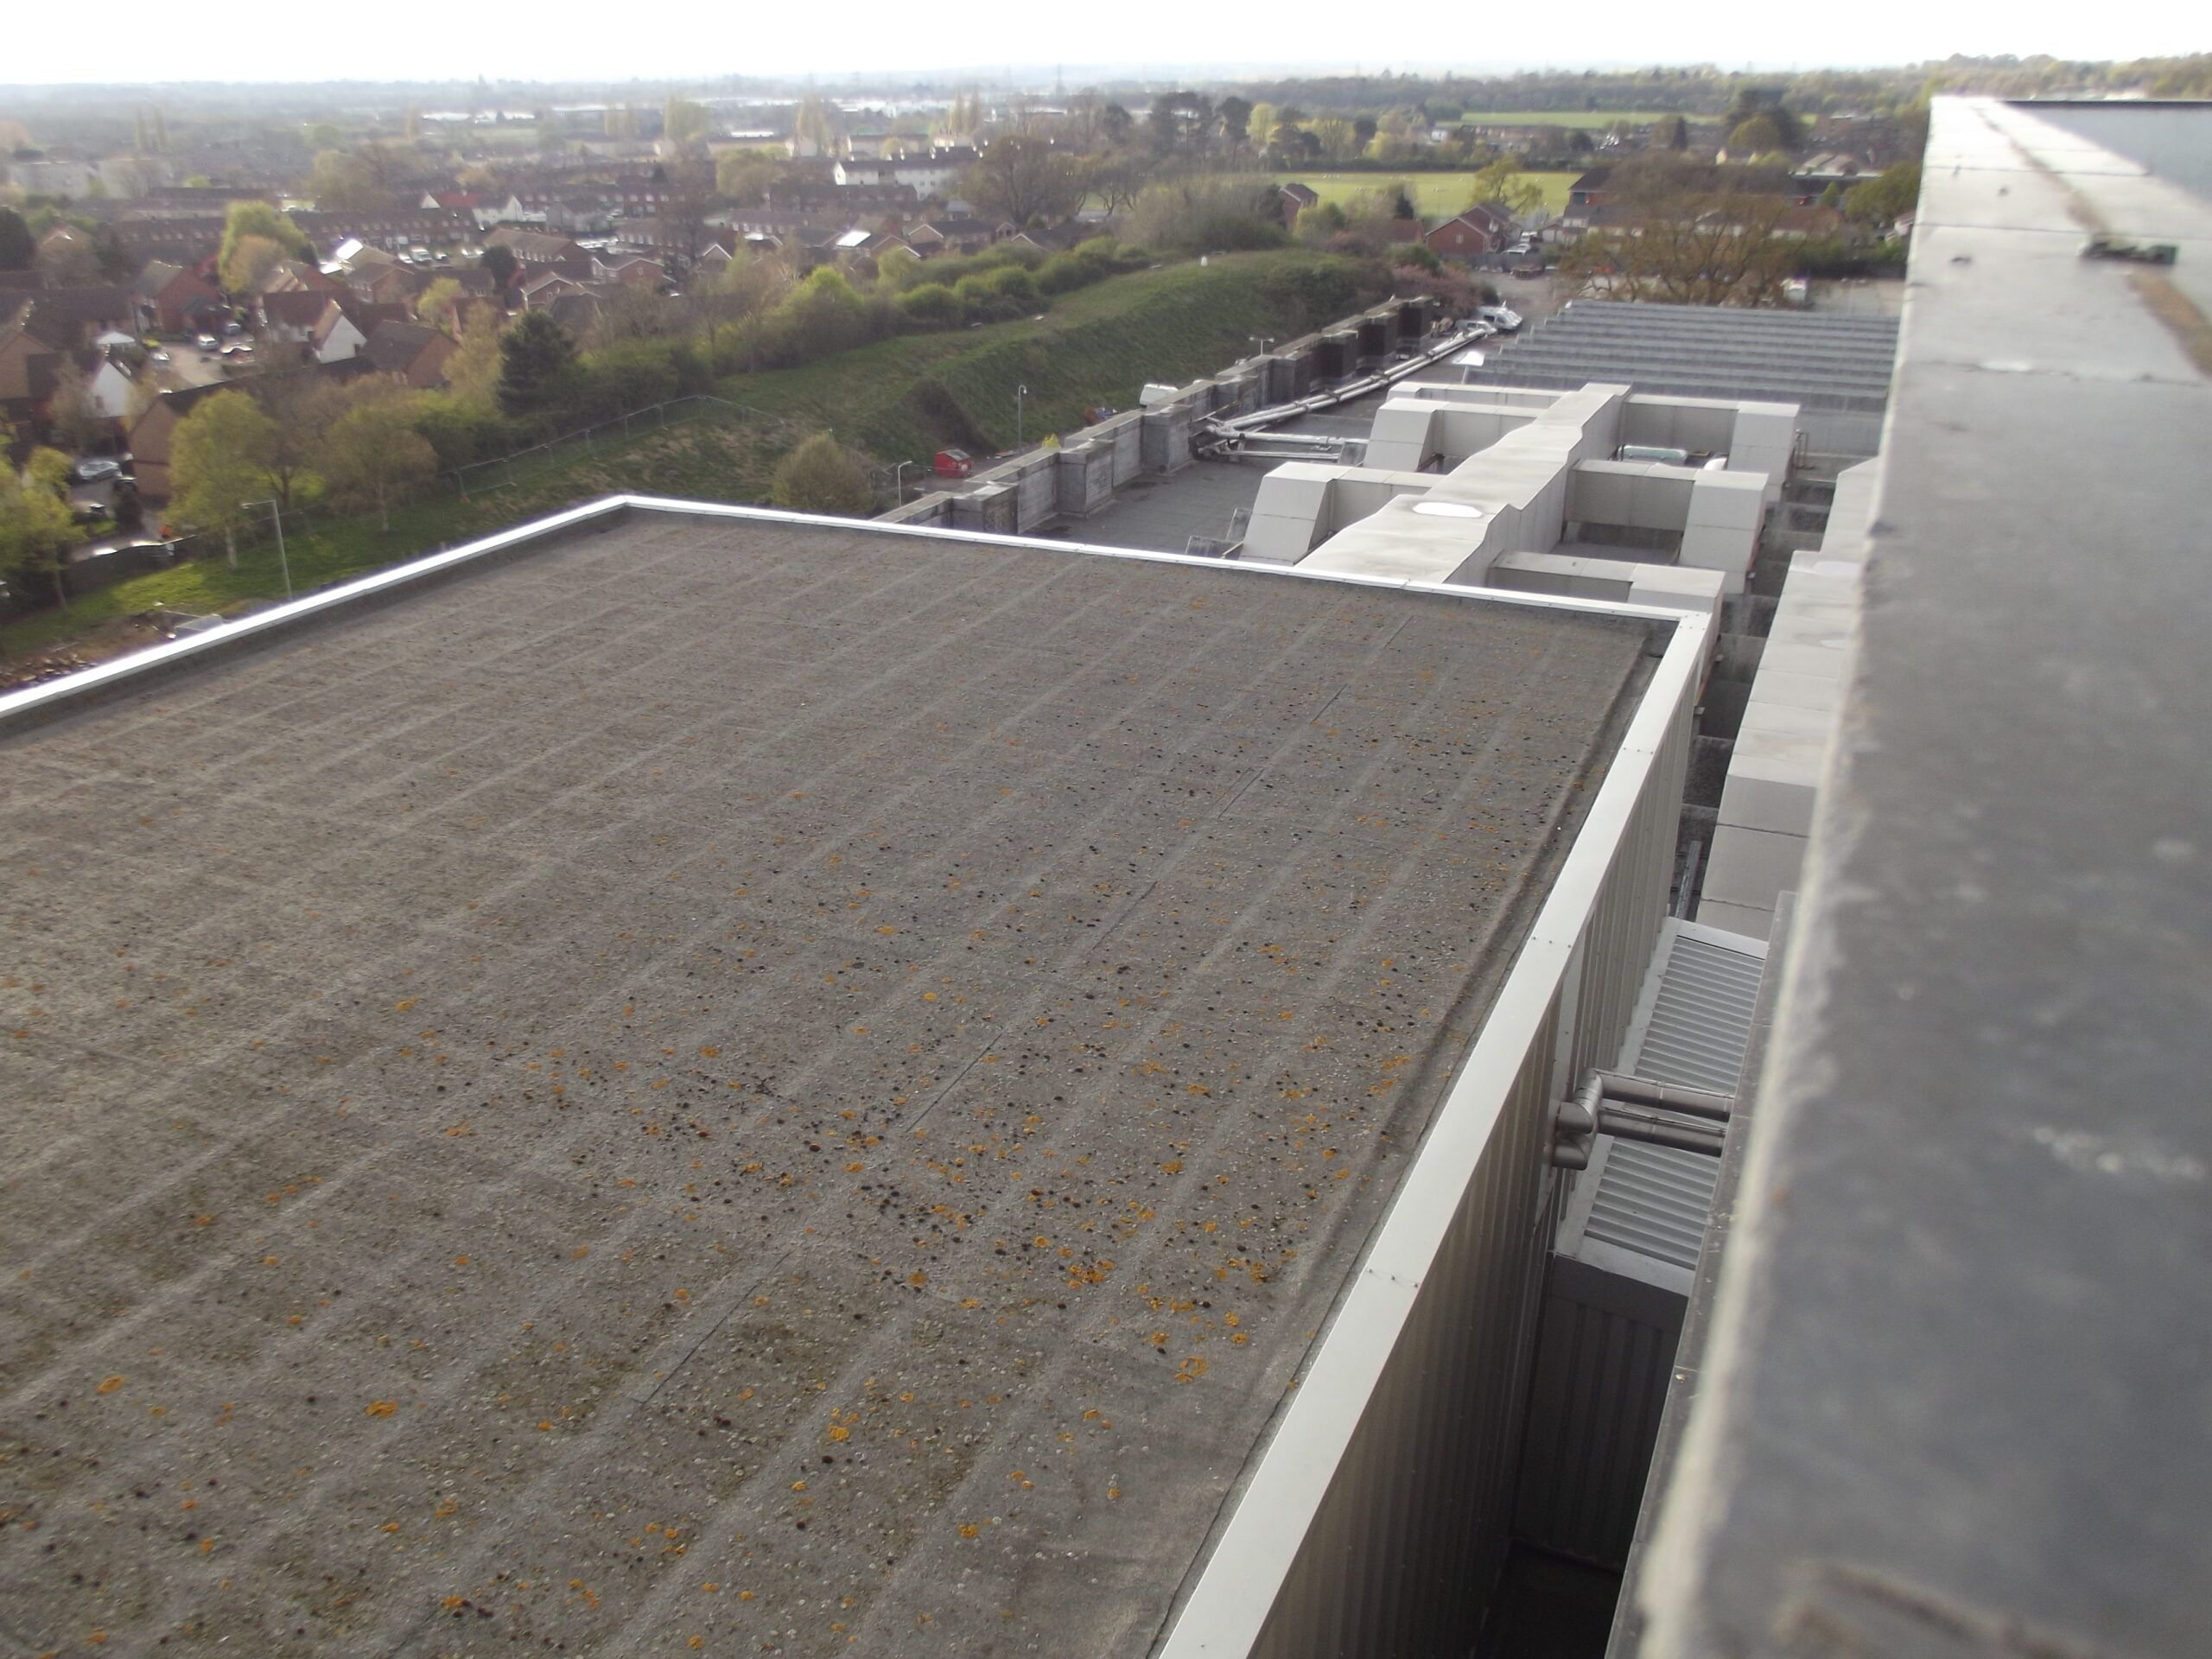
Roof of West Block above W407Metal ‘shed’ on top of West Block (above W404). This contained the air conditioning system for the W407 computer room.Metal ‘shed’ on top of West Block (above W404)Metal ‘shed’ on top of West Block (above W404)West Block Roof and the large air conditioning ducts feeding the W407 computer suite. Under the duct you can see where rooflights were covered over as part of the conversion to a computer suite, as W407 was built as a stores area with a glazed roof (like W415)Roof of West Block above W407West Block roof above W407 – computer room ductsWest Block Roof facing NWWest Block roof above W404 facing NE. West Block roof above W407View from West Block roof facing SEWest Block roof above W407Roof of West Block above W404/W407 – ductsThese pipes emerged from F Core Penthouse to 6th floor level and ran along the roof of West Block. I think they were used to provide chilled water to W212/W416 at the far end of West Block.West Block roof above W407 – On the left are the original ait conditioning ducts. These were were made obsolete by several individual units being installed in W407 itself. The fan condensers on the right were connected to these so in effect, the centralised chilled water system was not used for W407 any more. This work happened in around 2004.Roof of West Block above W404/W407Roof of West Block above W404/W407West Block roof above W407West Block roof by F coreWest Block roof above G Core stairwell/lift motor roomWest Block roof above G CoreWest Block roof above G CoreWest Block roof – G Core rooflightsWest Block roof above G CoreWest Block roof above G CoreWest Block roof above G Core – rooflights West Block roof , Glazed roof over W415 on the leftWest Block roof – glazed roof over former HMA (W415)West Block roof beyond G CoreWest Block roof, former W415 on the rightWest Block roof, W415 roof on the leftWest Block roof – glazed roof over former HMA (W415)West Block roof, W415 is left, facing F Core penthouseWest Block glazed roof above W415West Block glazed roof above W415West Block glazed roof above W415View from West Block roofW407 rooftop air conditioning plant room – entranceWest Block rooftop plant room above W404 – UPS roomW407 rooftop air conditioning plant room – CHW pipes W407 rooftop air conditioning plant room – CHW pipesW407 rooftop air conditioning plant room – CHW pipes W407 rooftop air conditioning plant room – CHW pipes W407 rooftop air conditioning plant room – AHU fanW407 rooftop air conditioning plant room – main AHUW407 rooftop air conditioning plant room – control panelW407 rooftop air conditioning plant room – AHU fanW407 rooftop air conditioning plant room – inside AHUW407 rooftop air conditioning plant room – control panelW407 rooftop air conditioning plant room – control panelW407 rooftop air conditioning plant room – control panel
William Roy Building 7th floor and roof
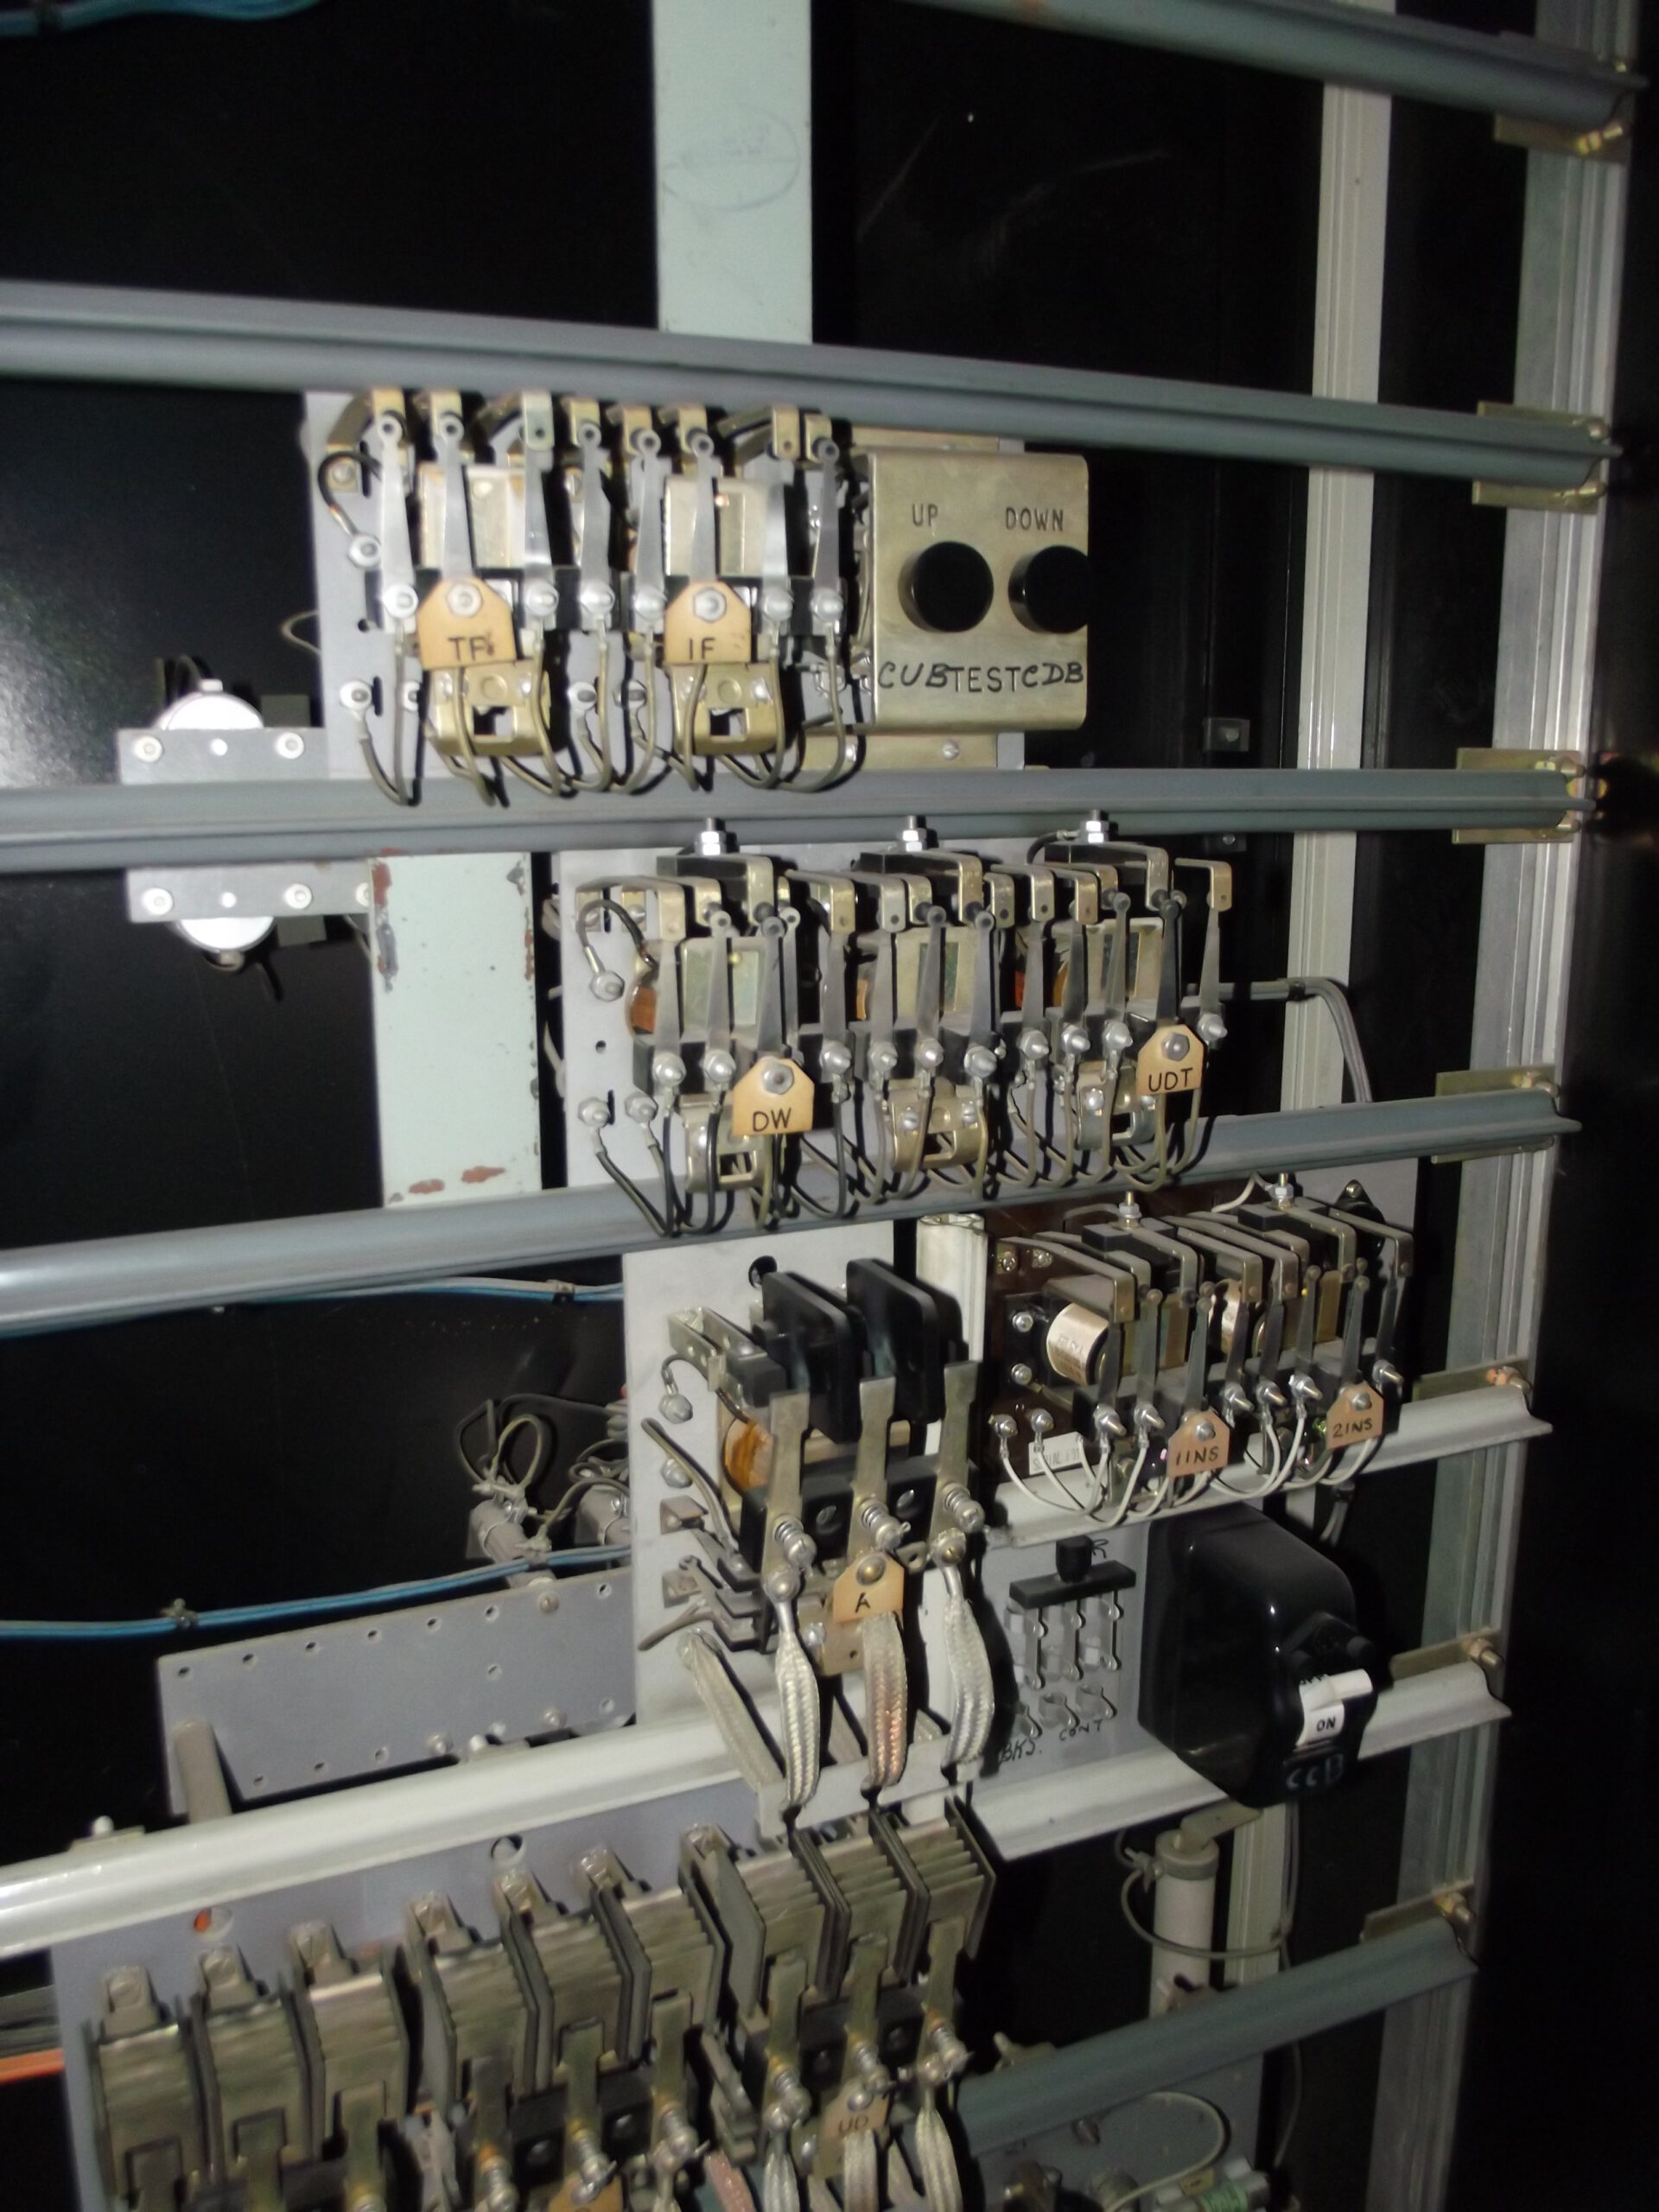
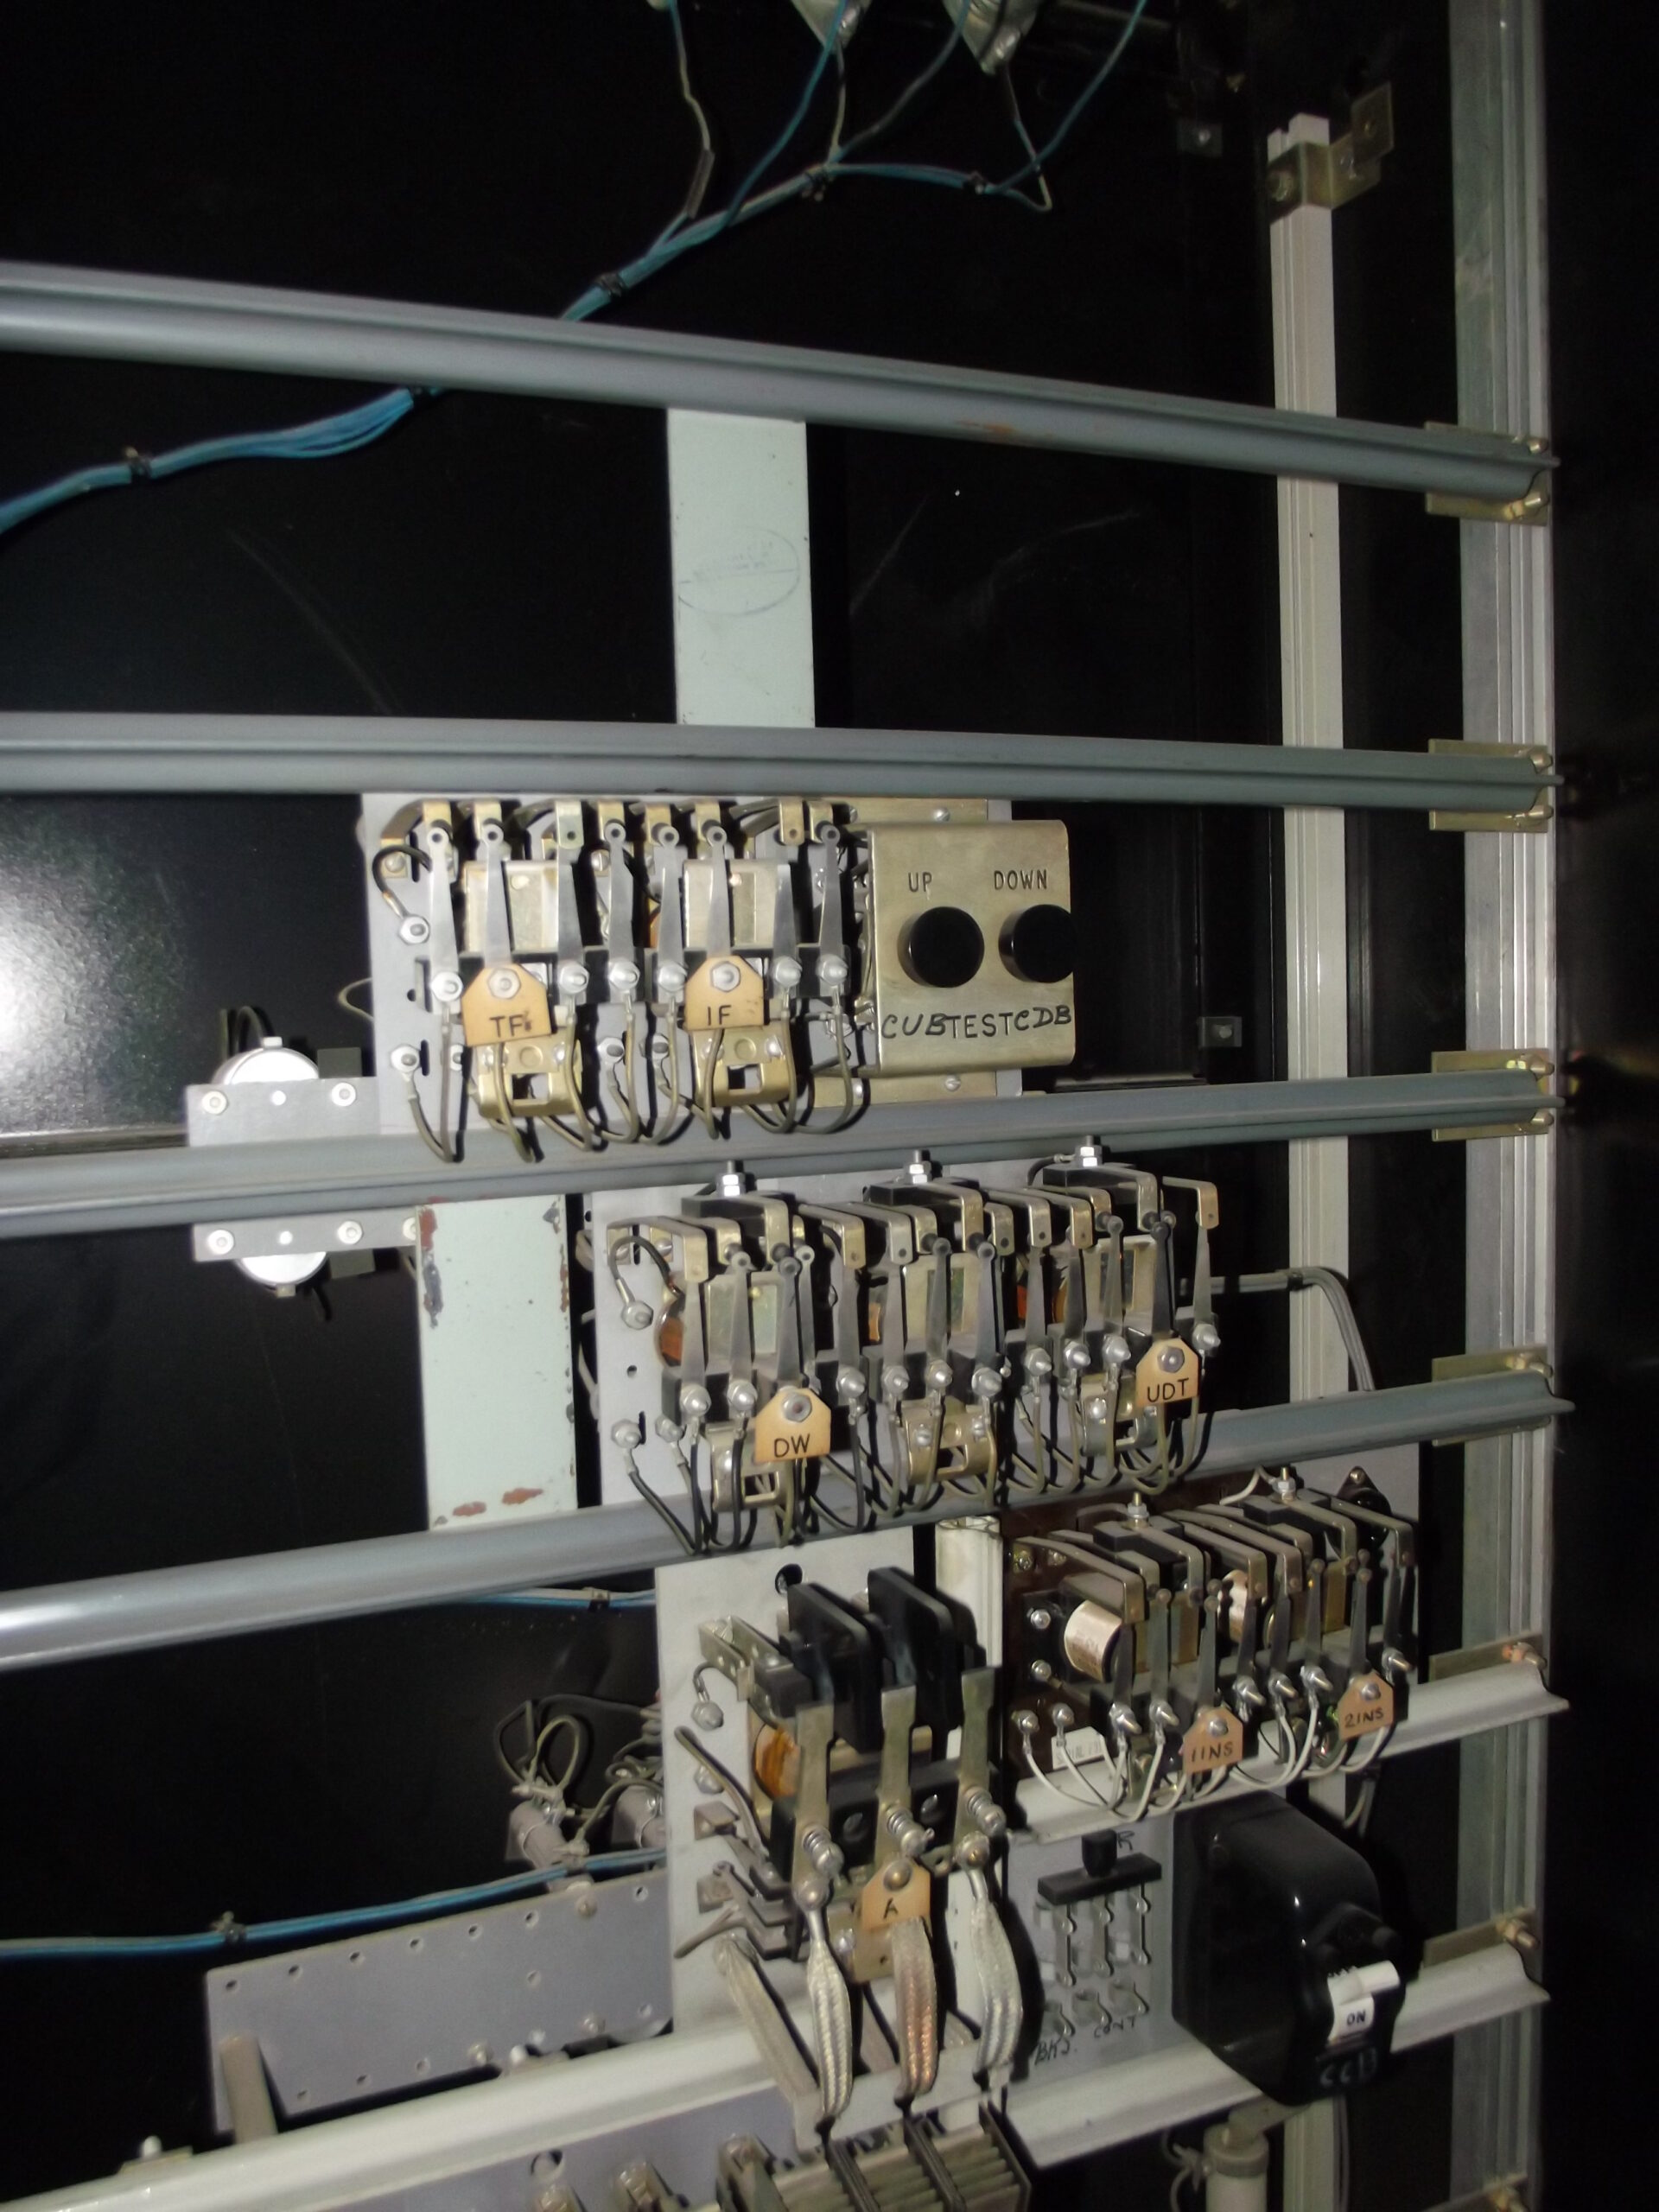
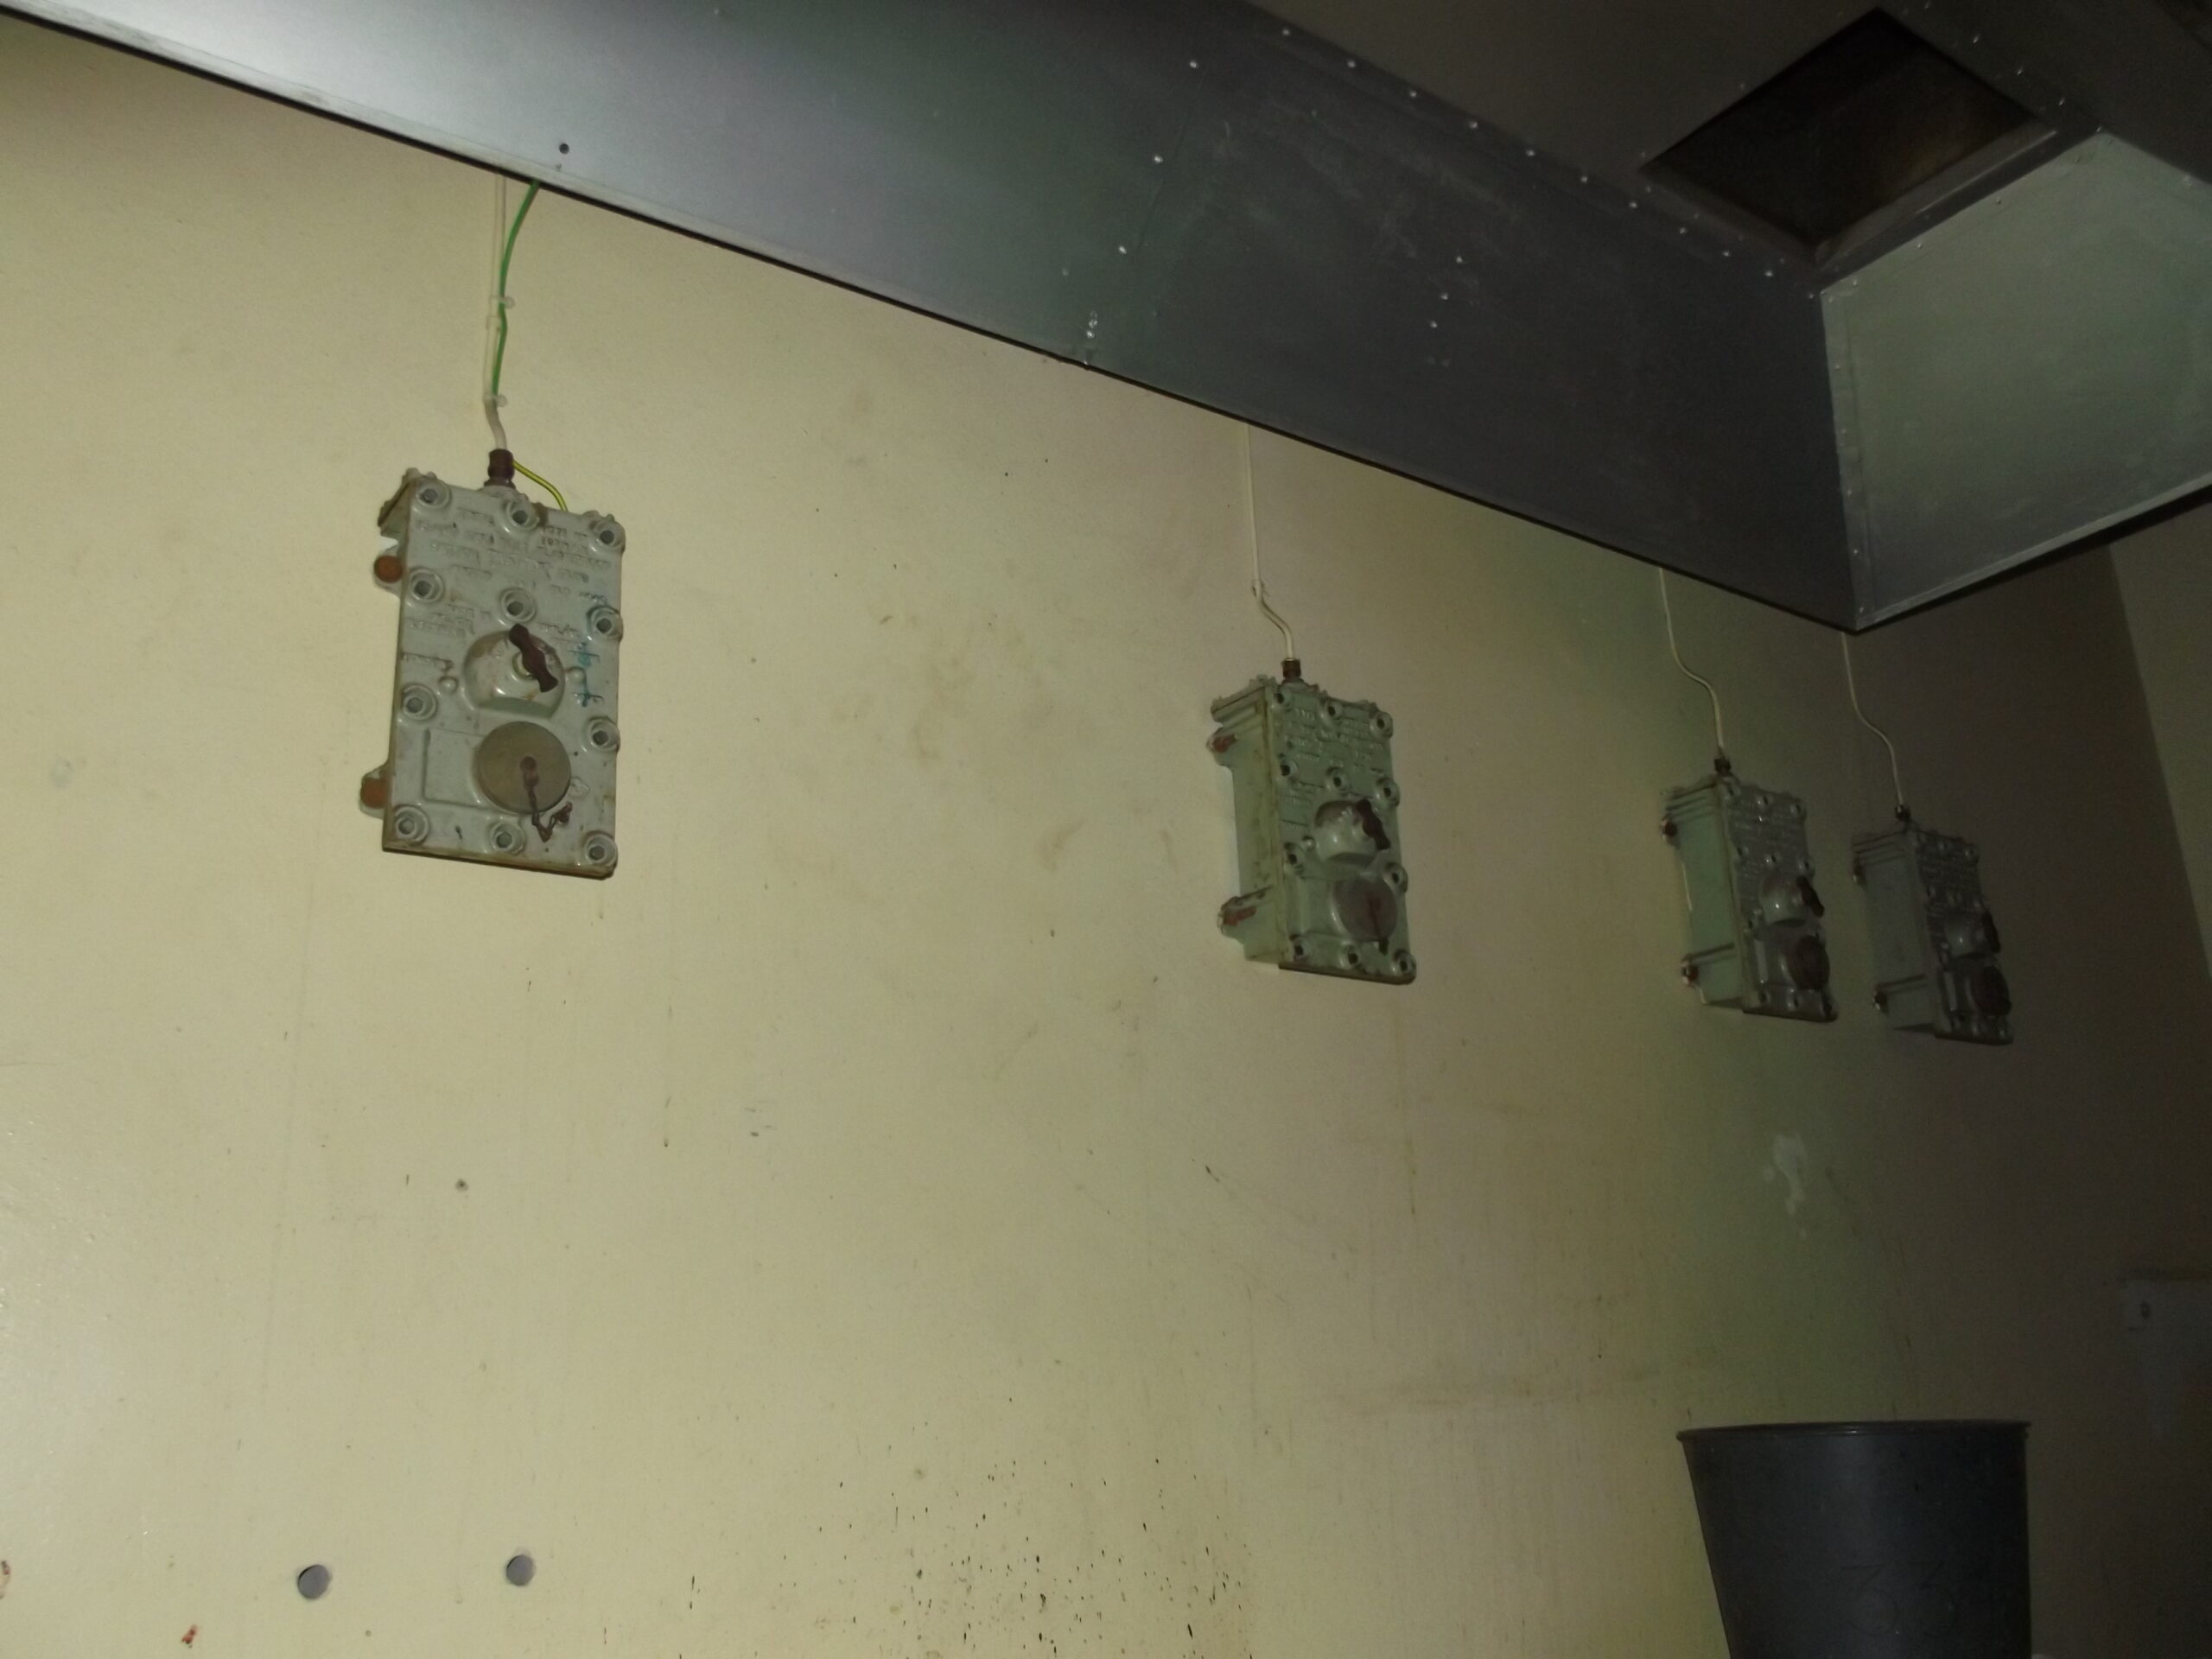
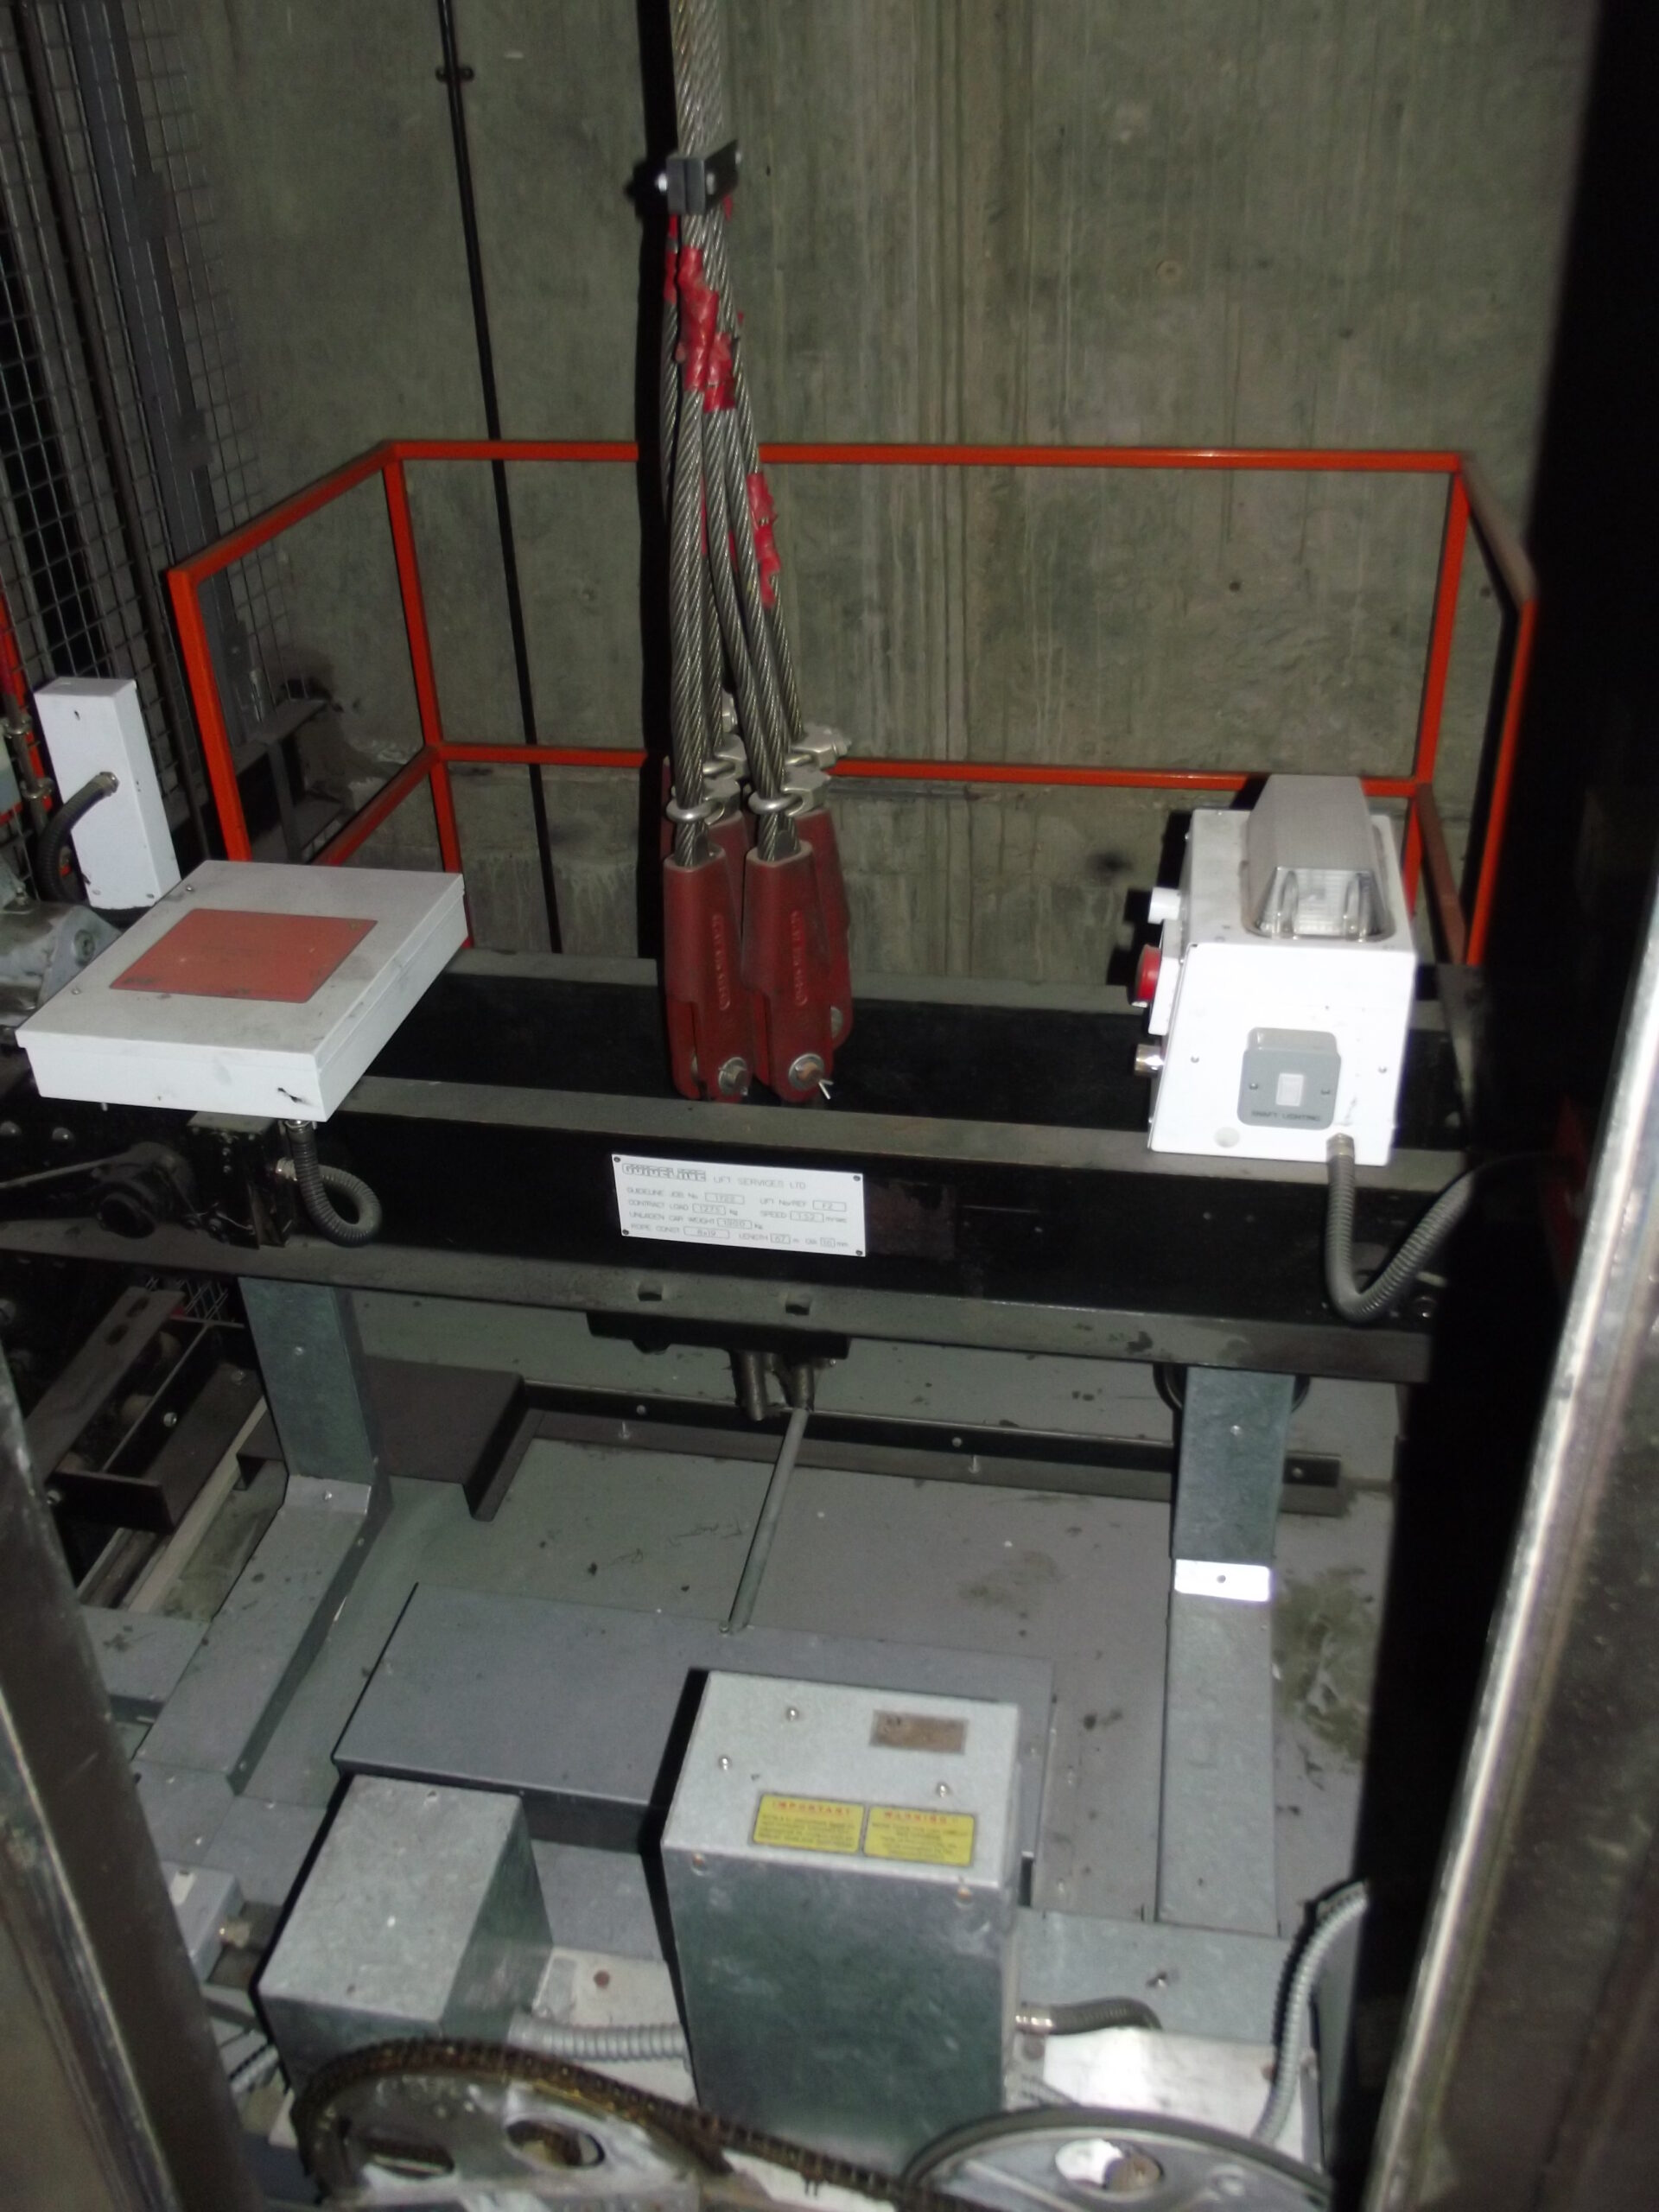
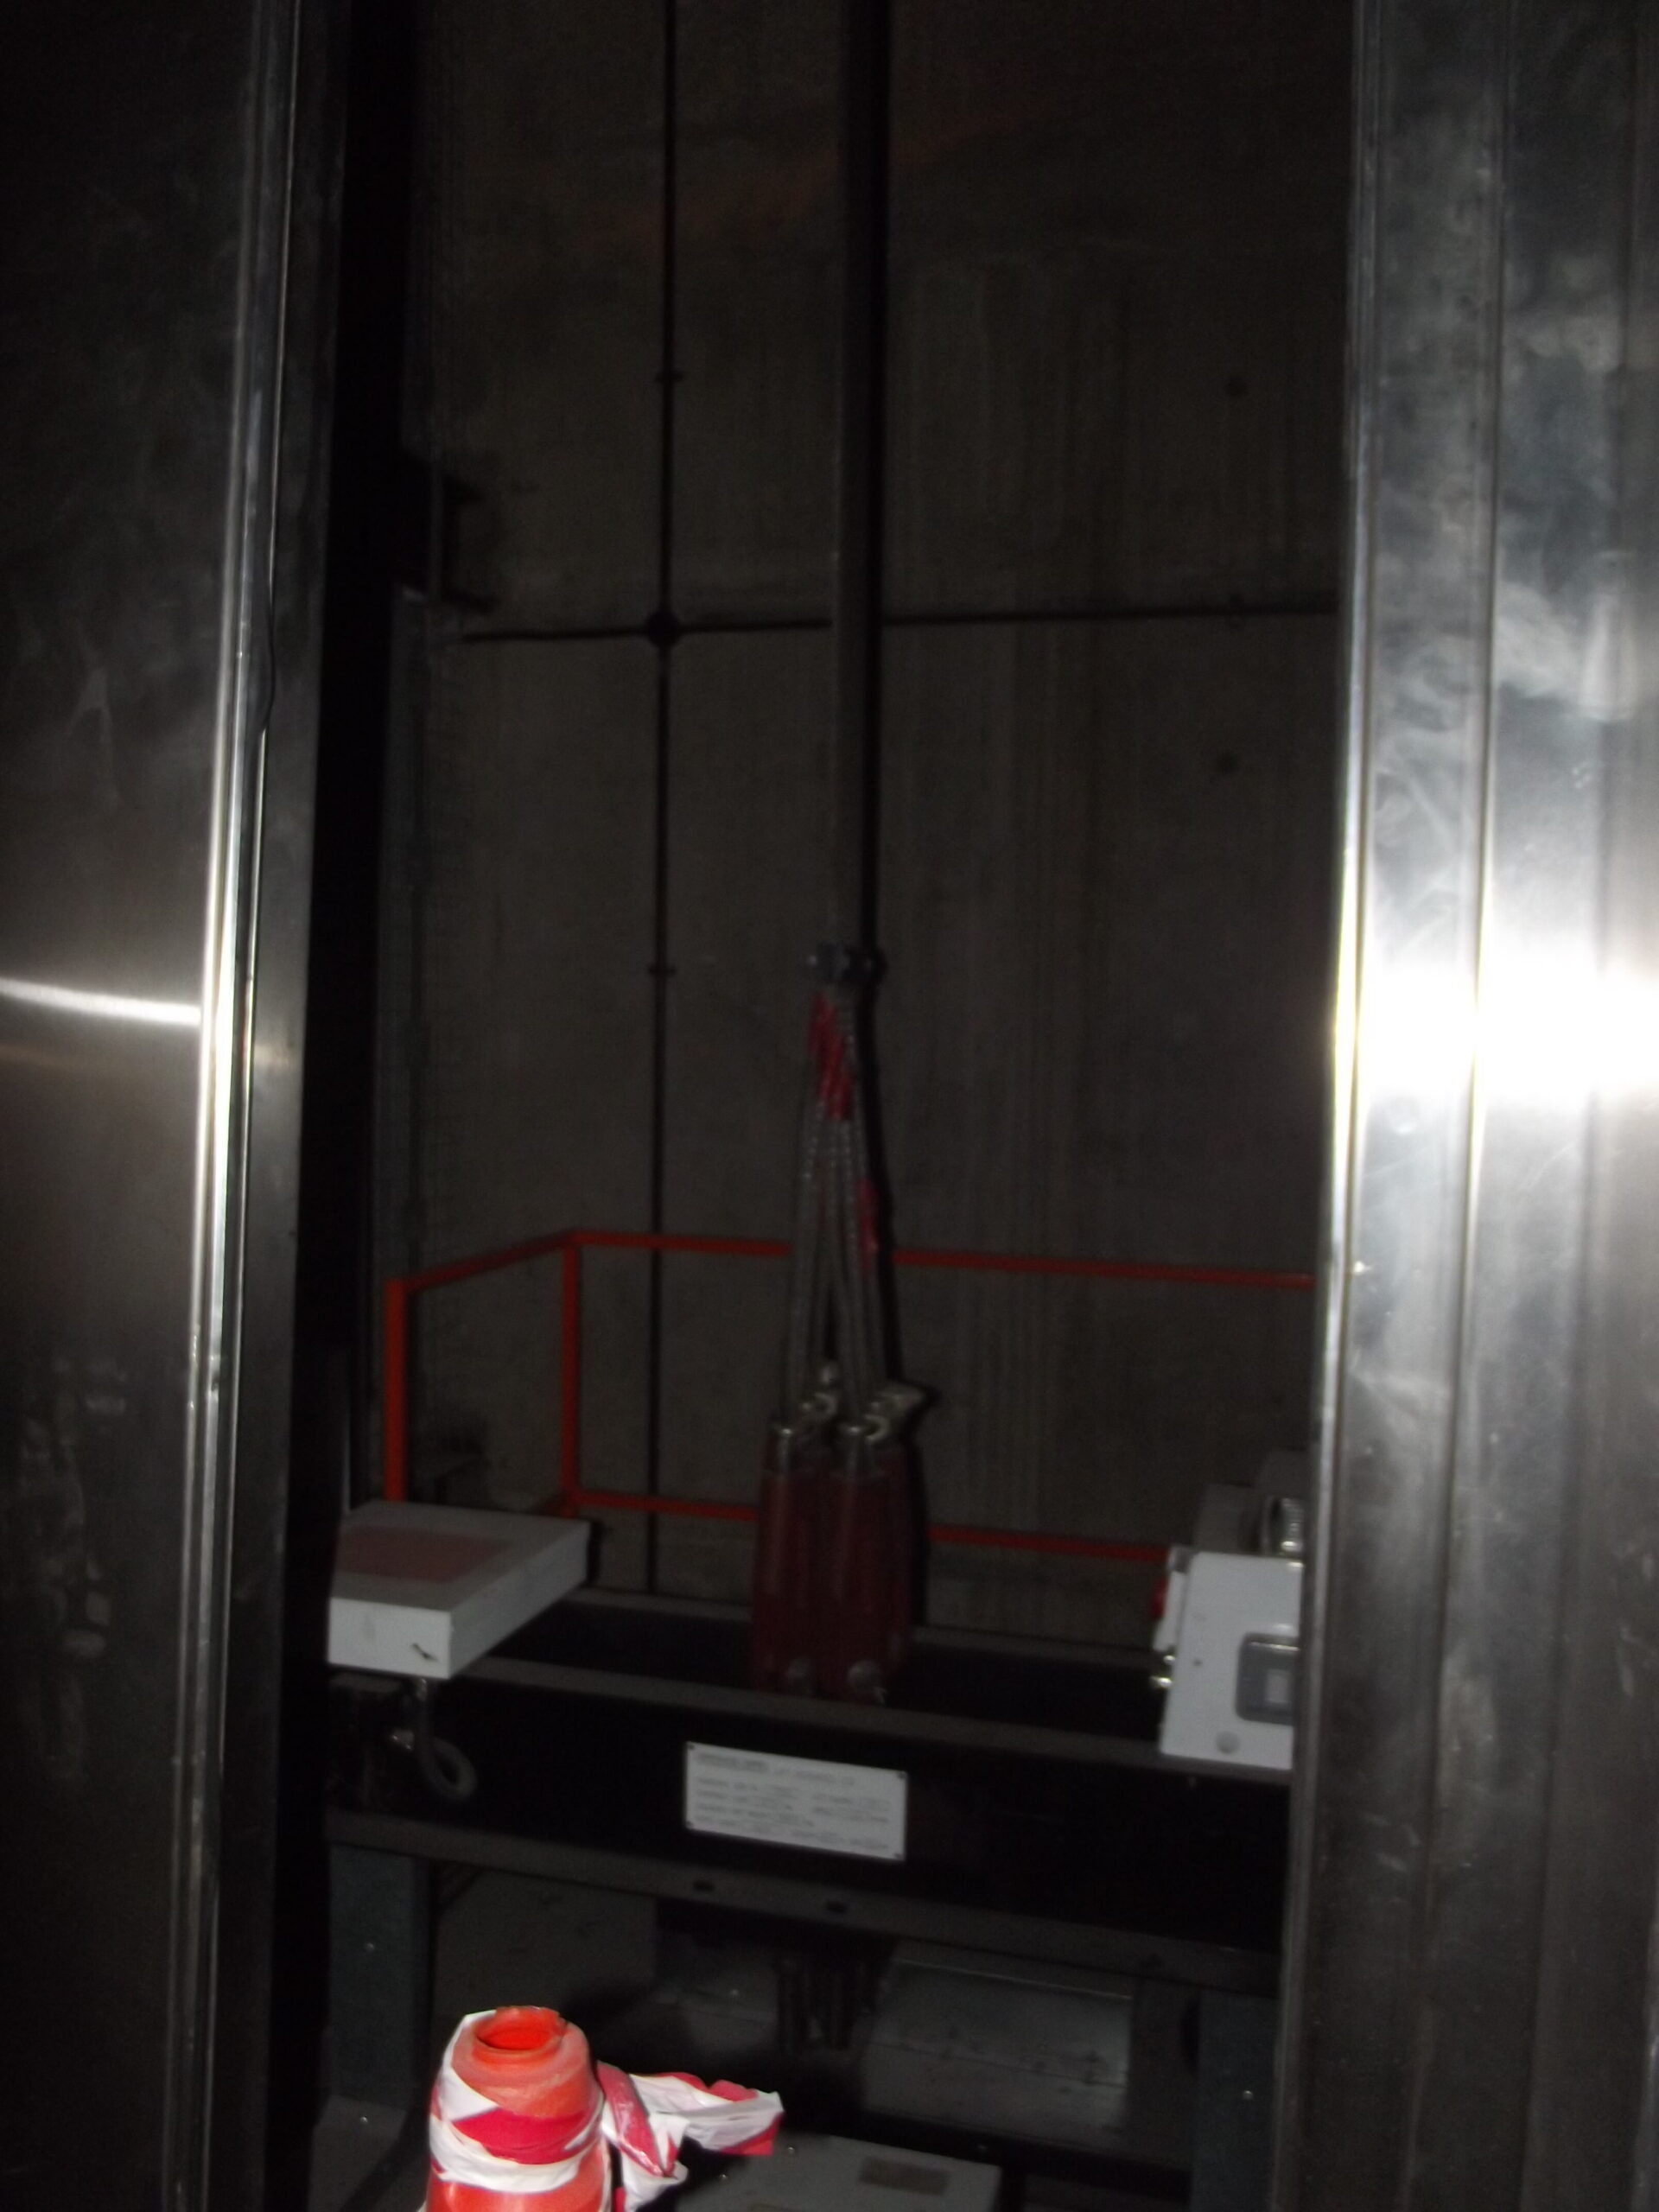
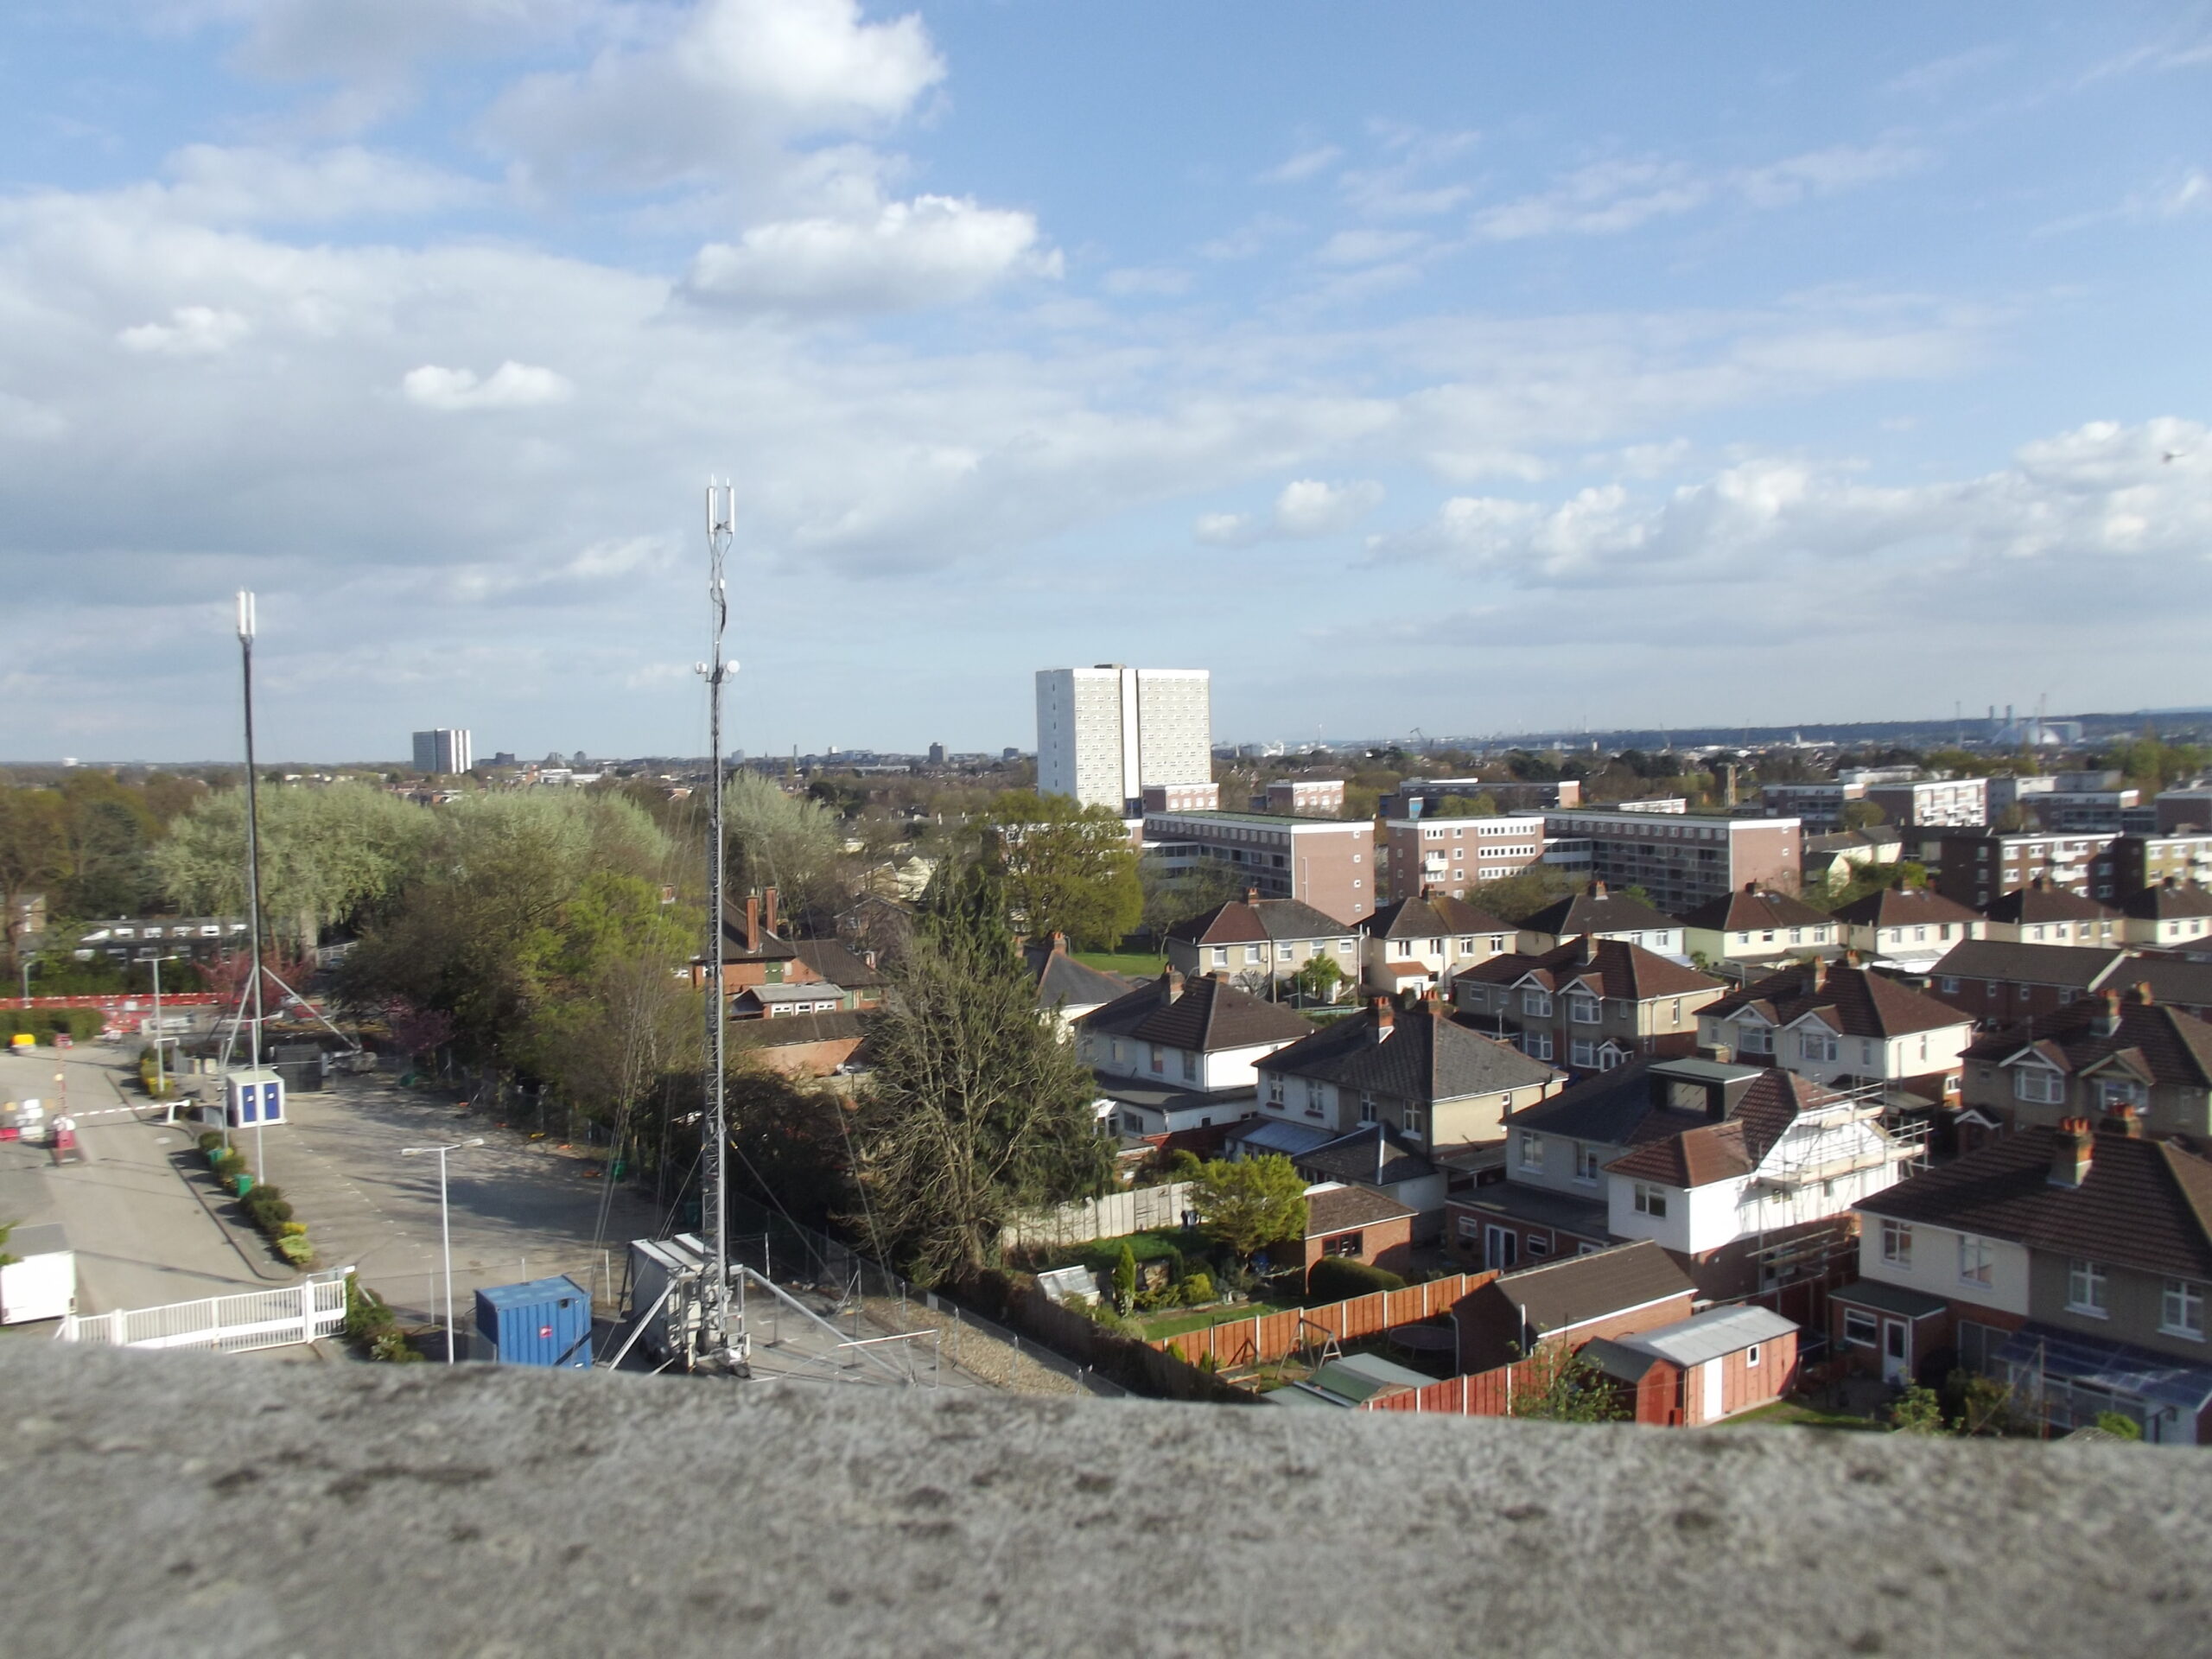
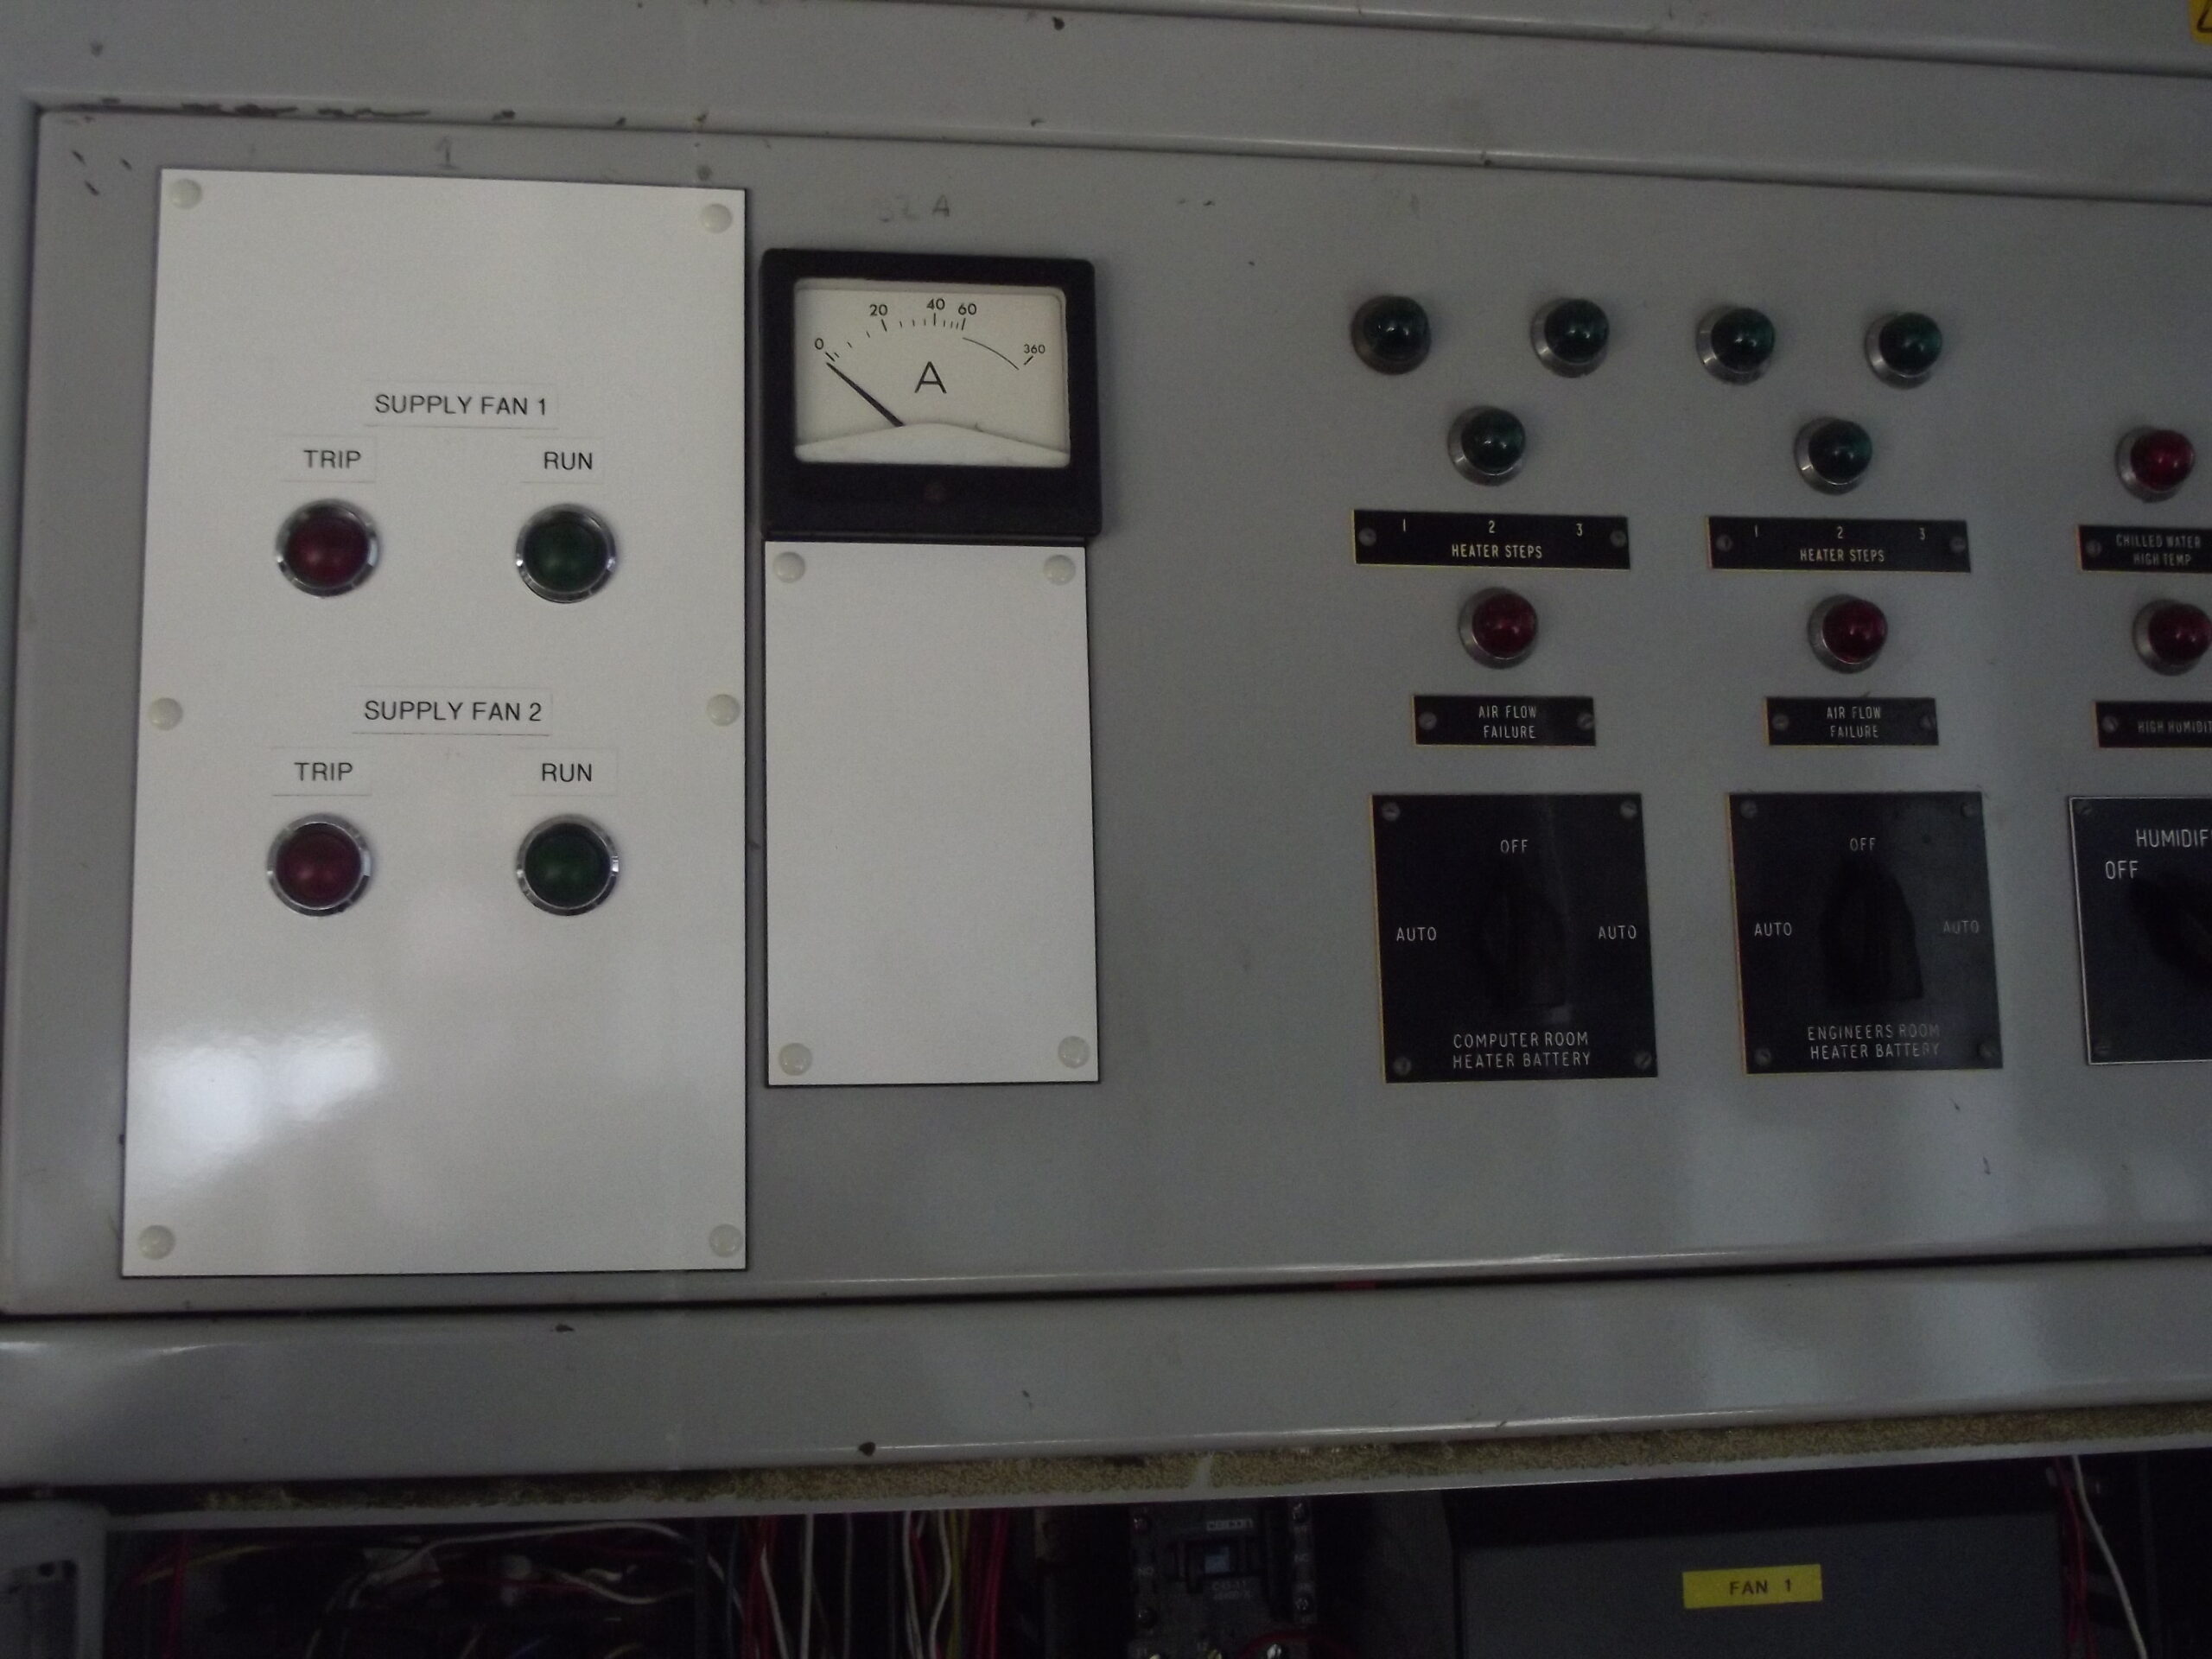
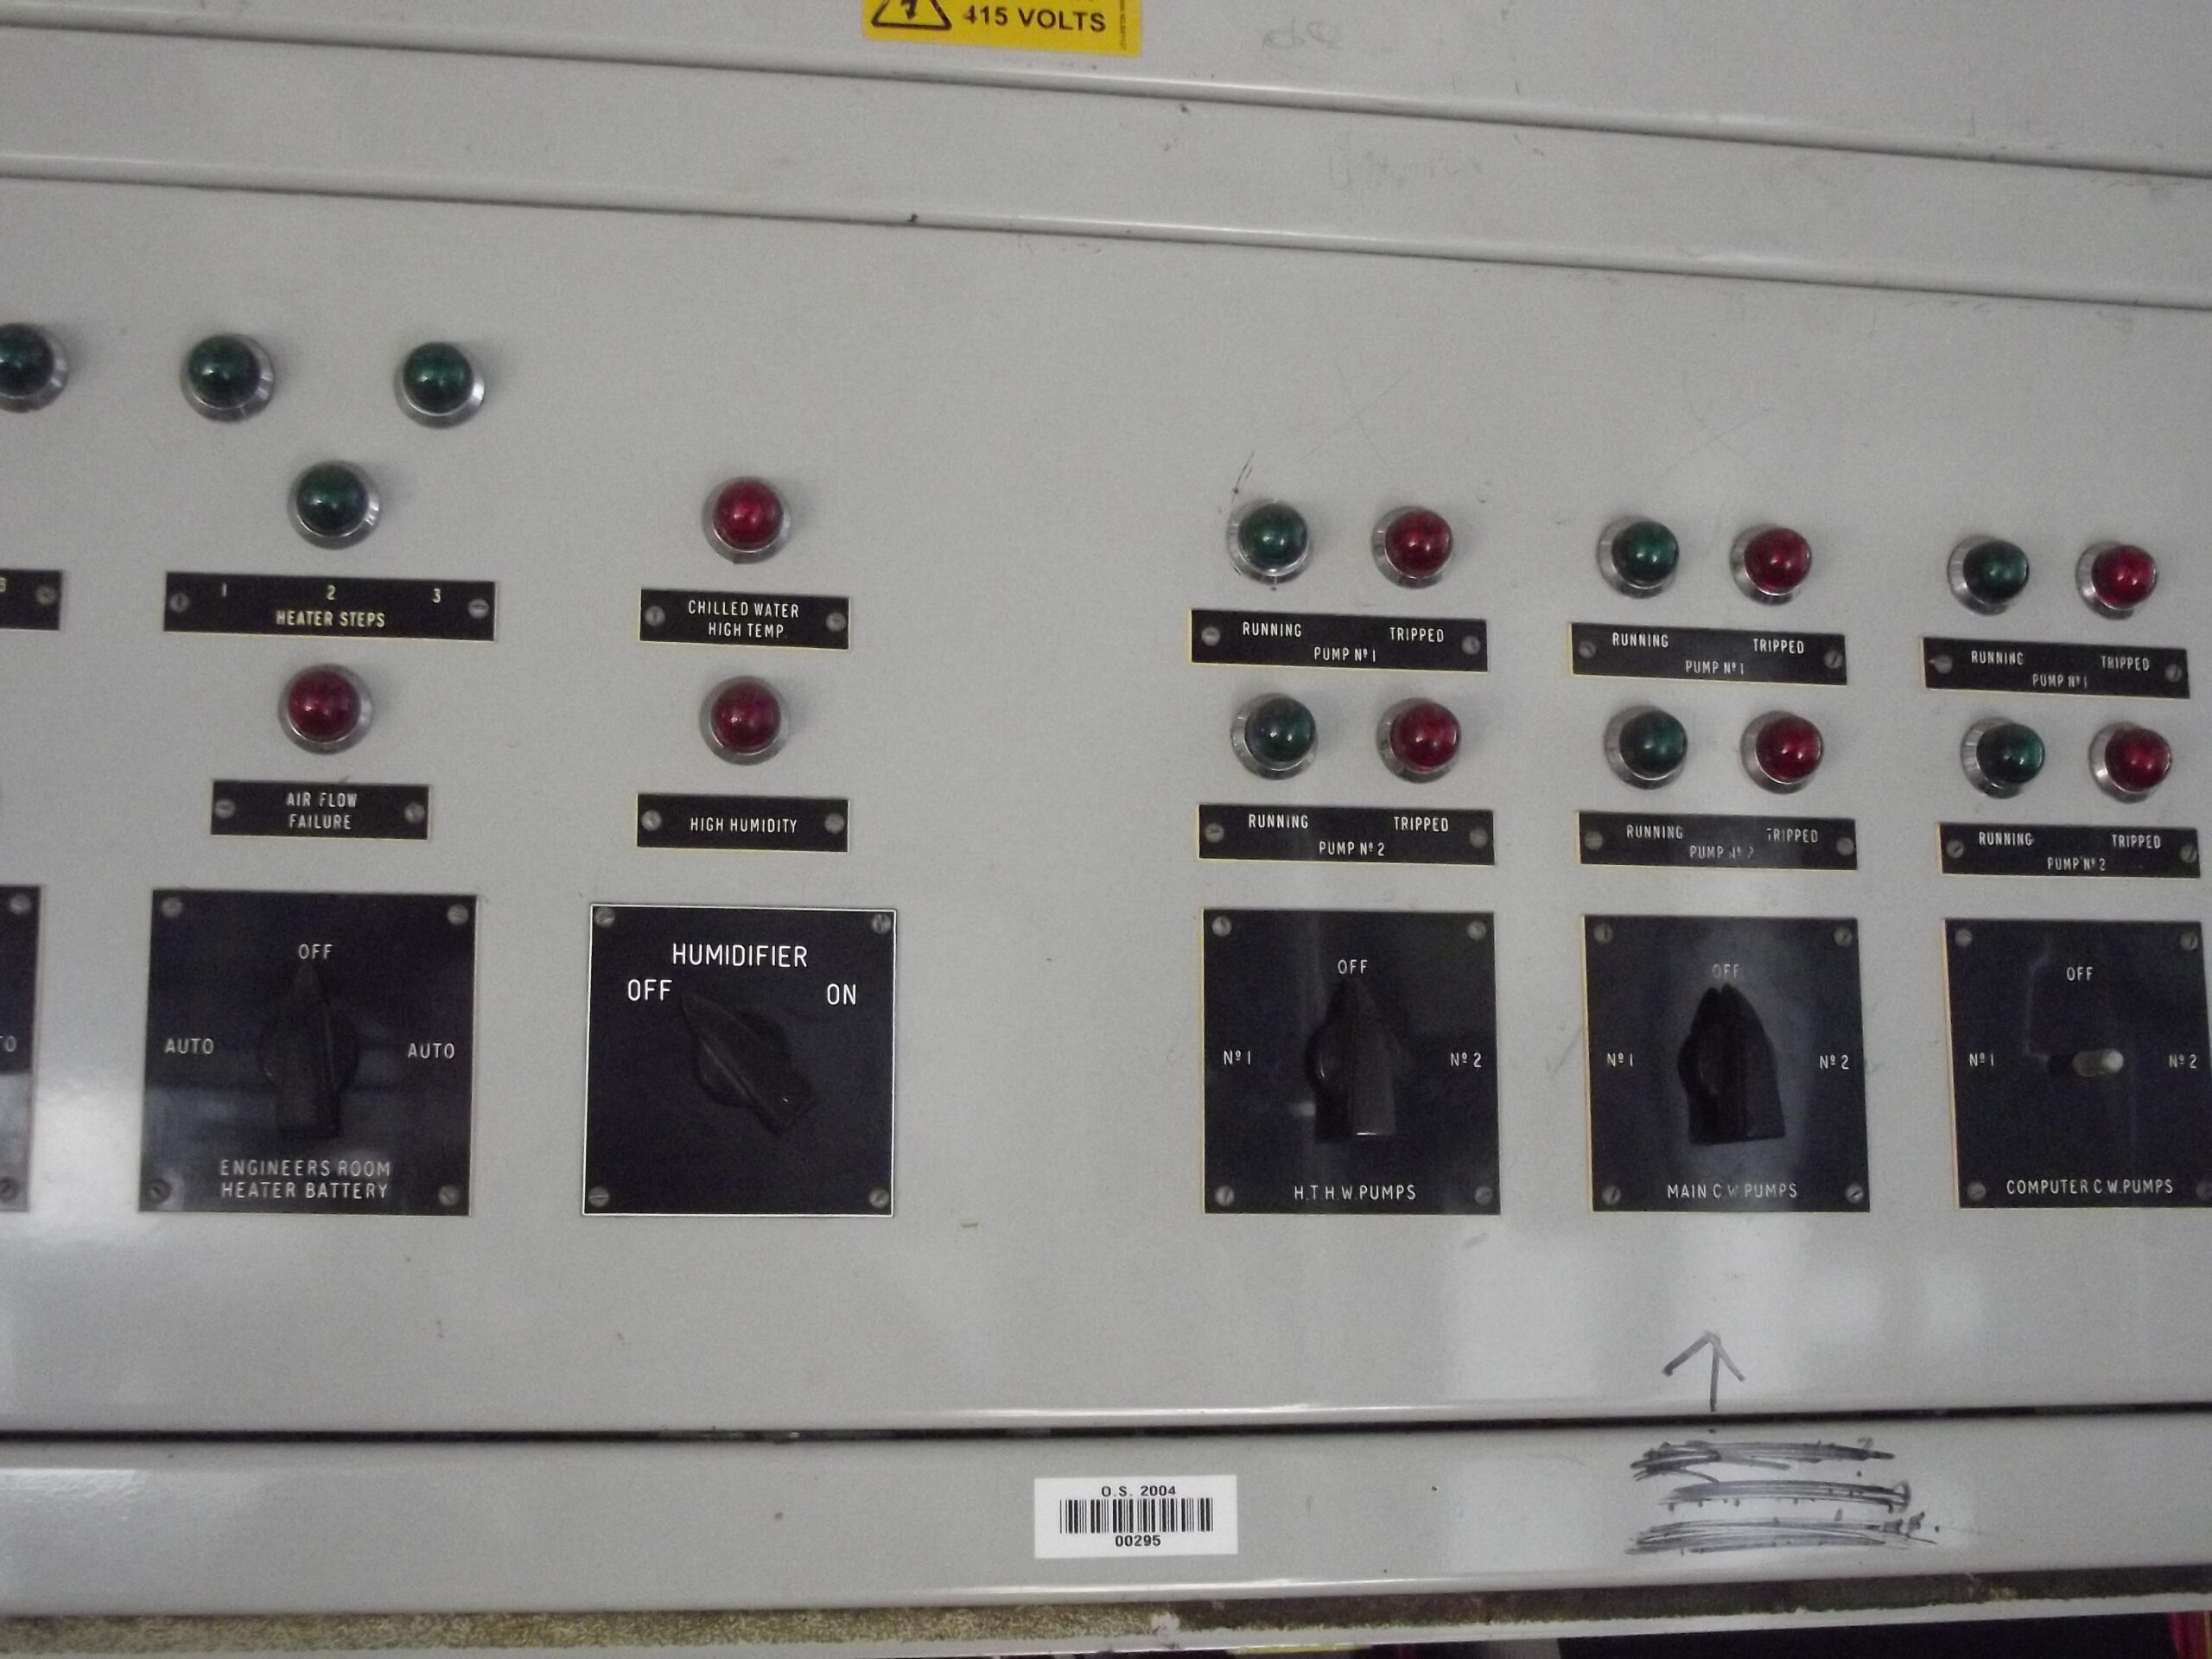
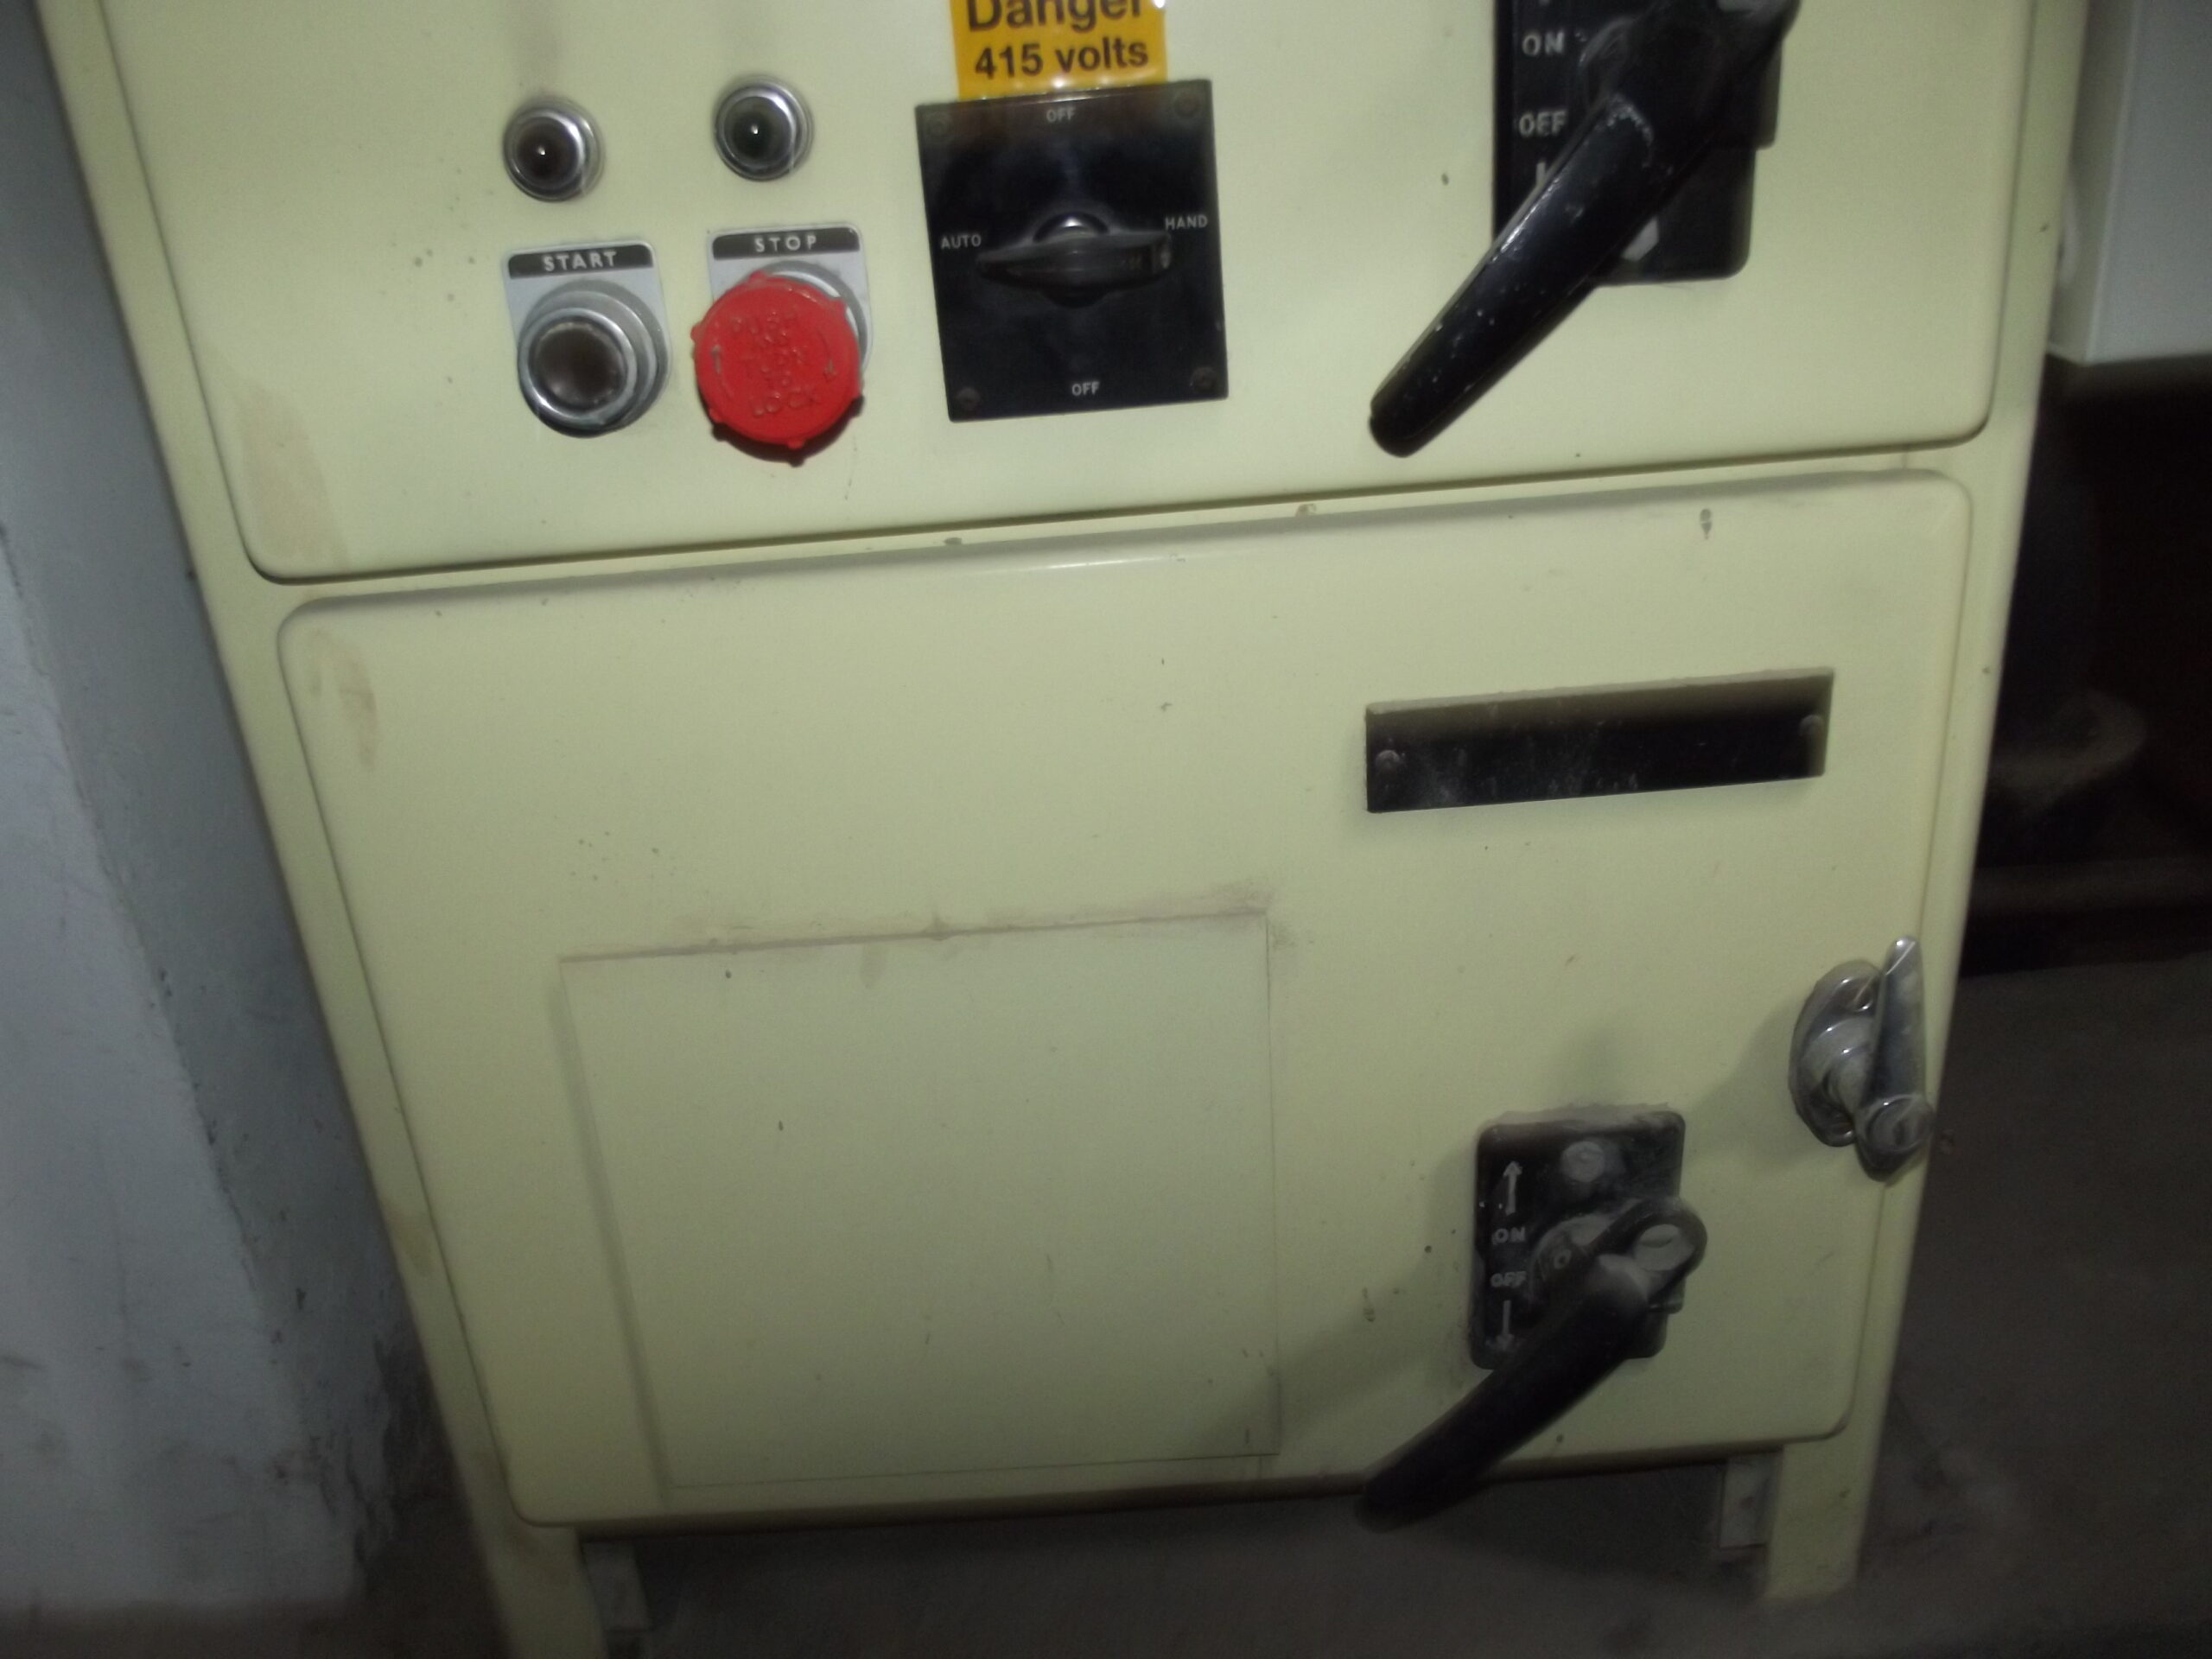
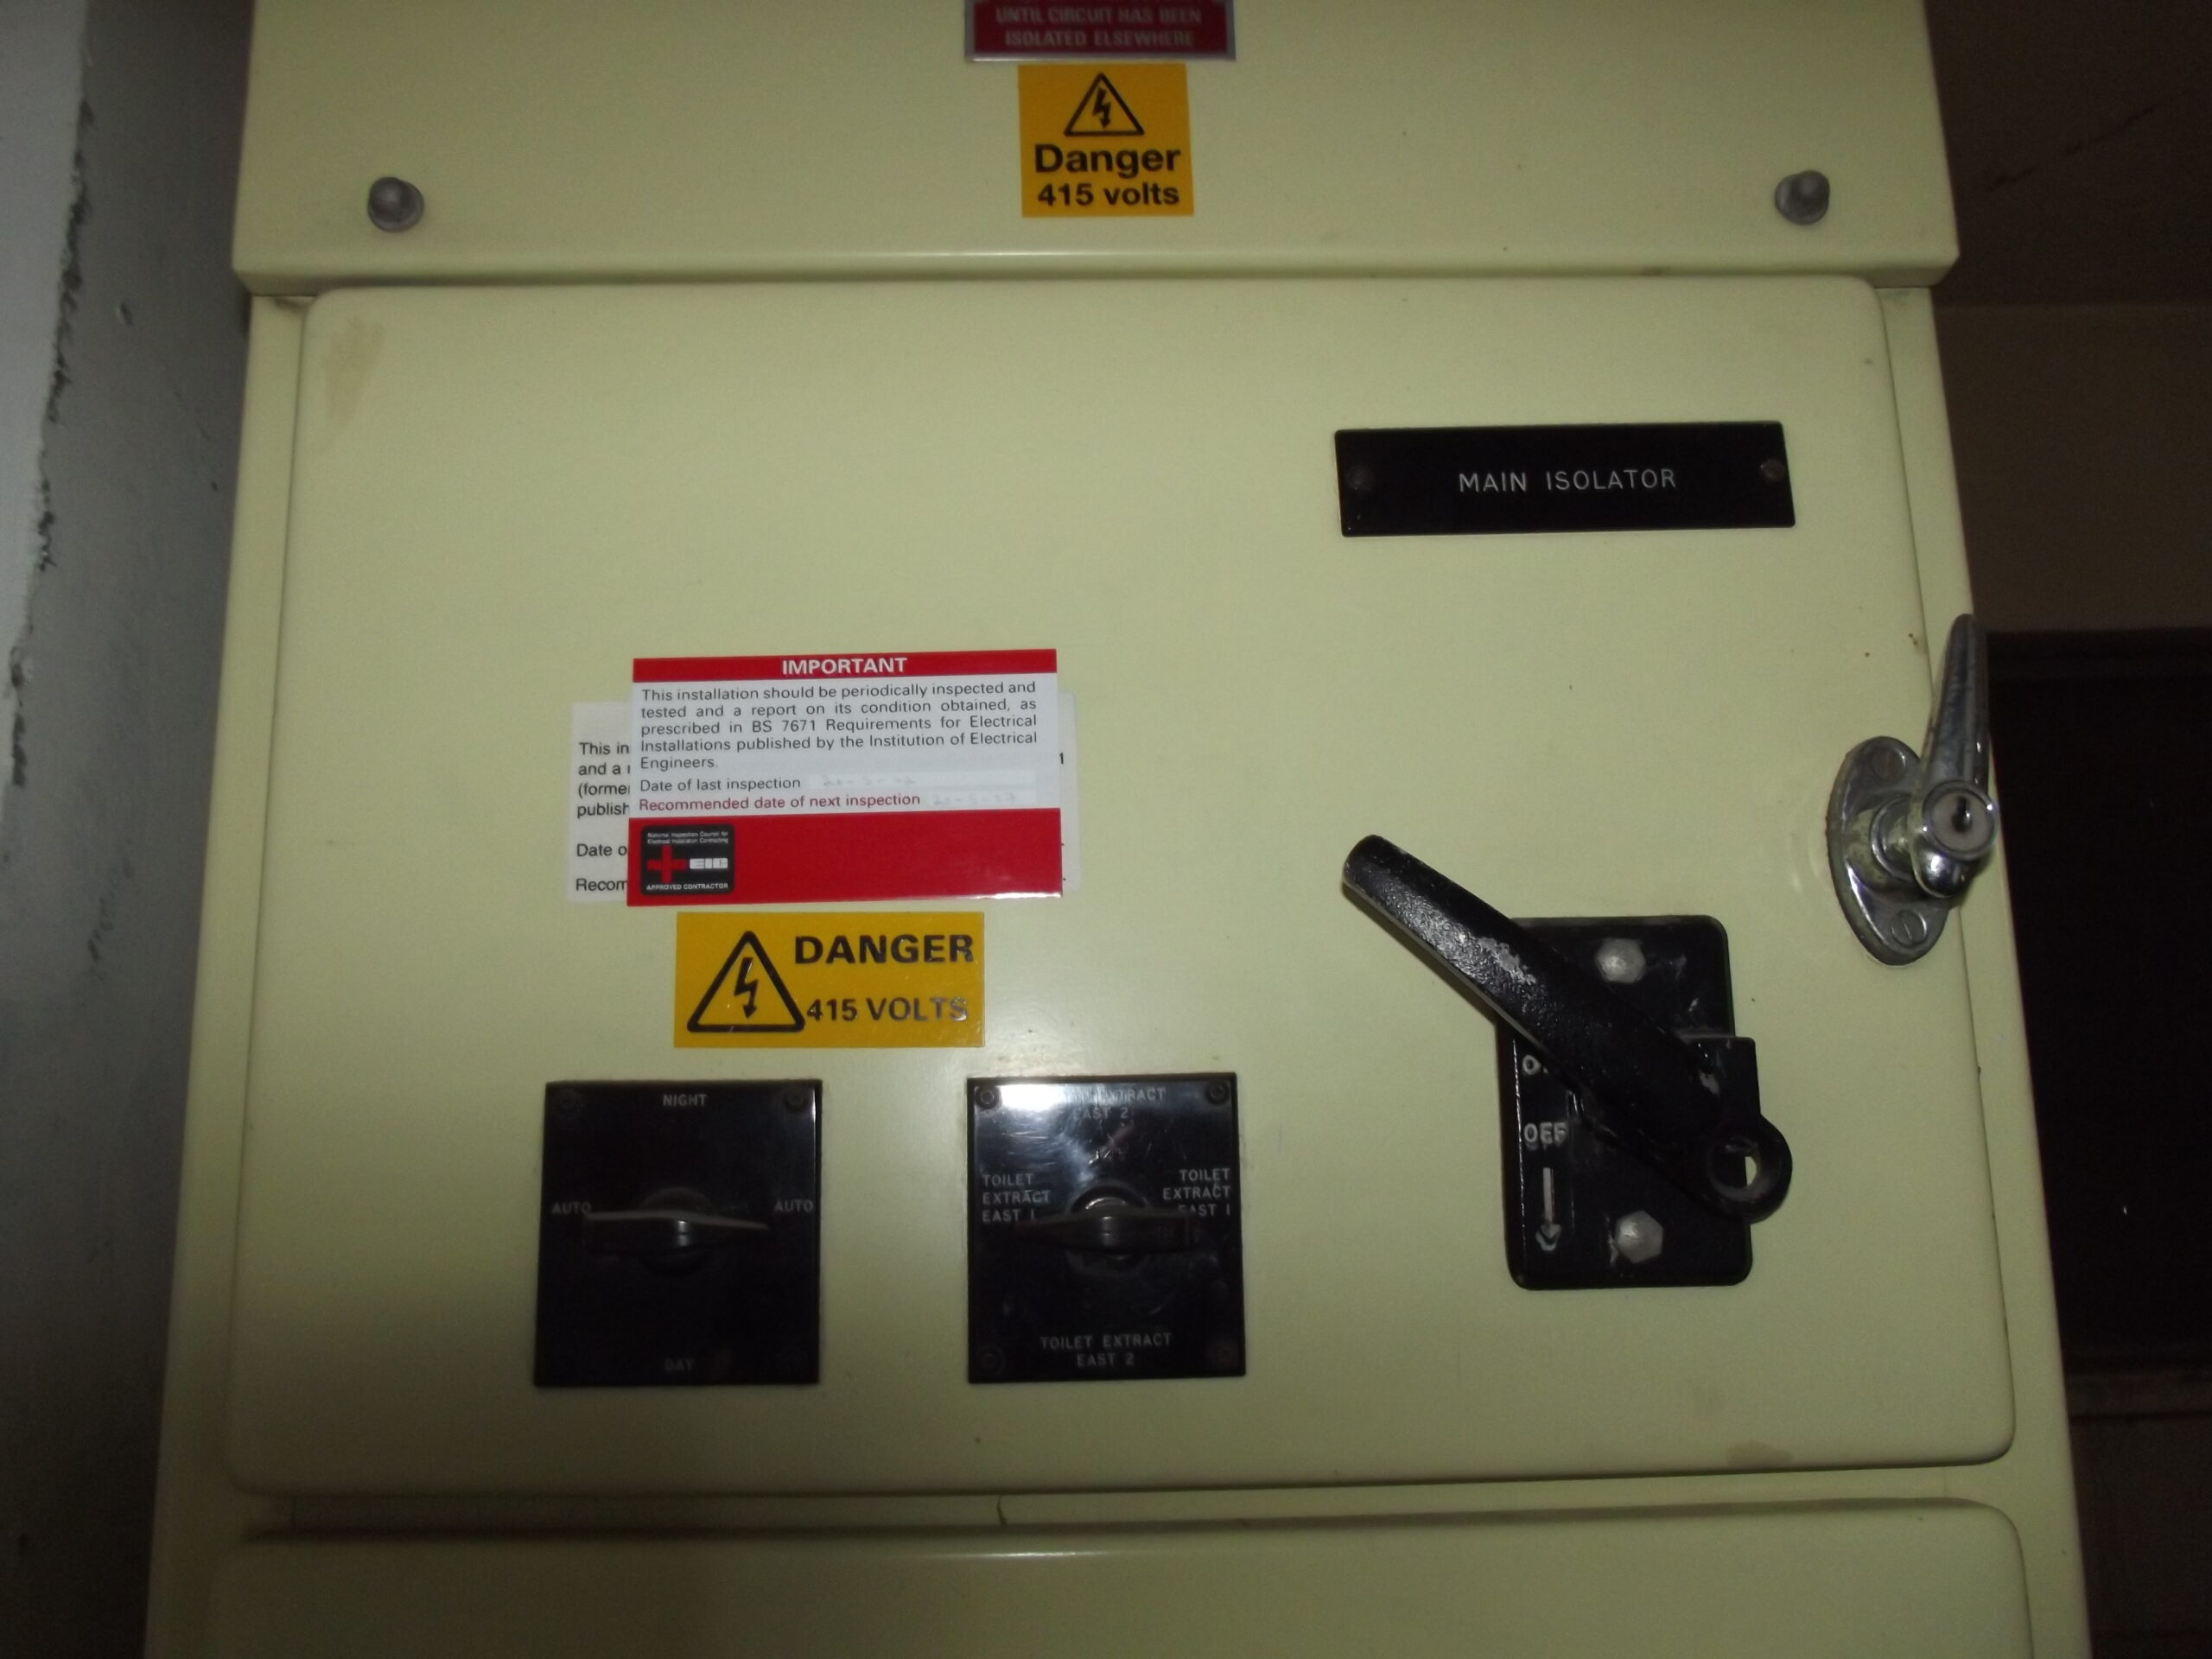
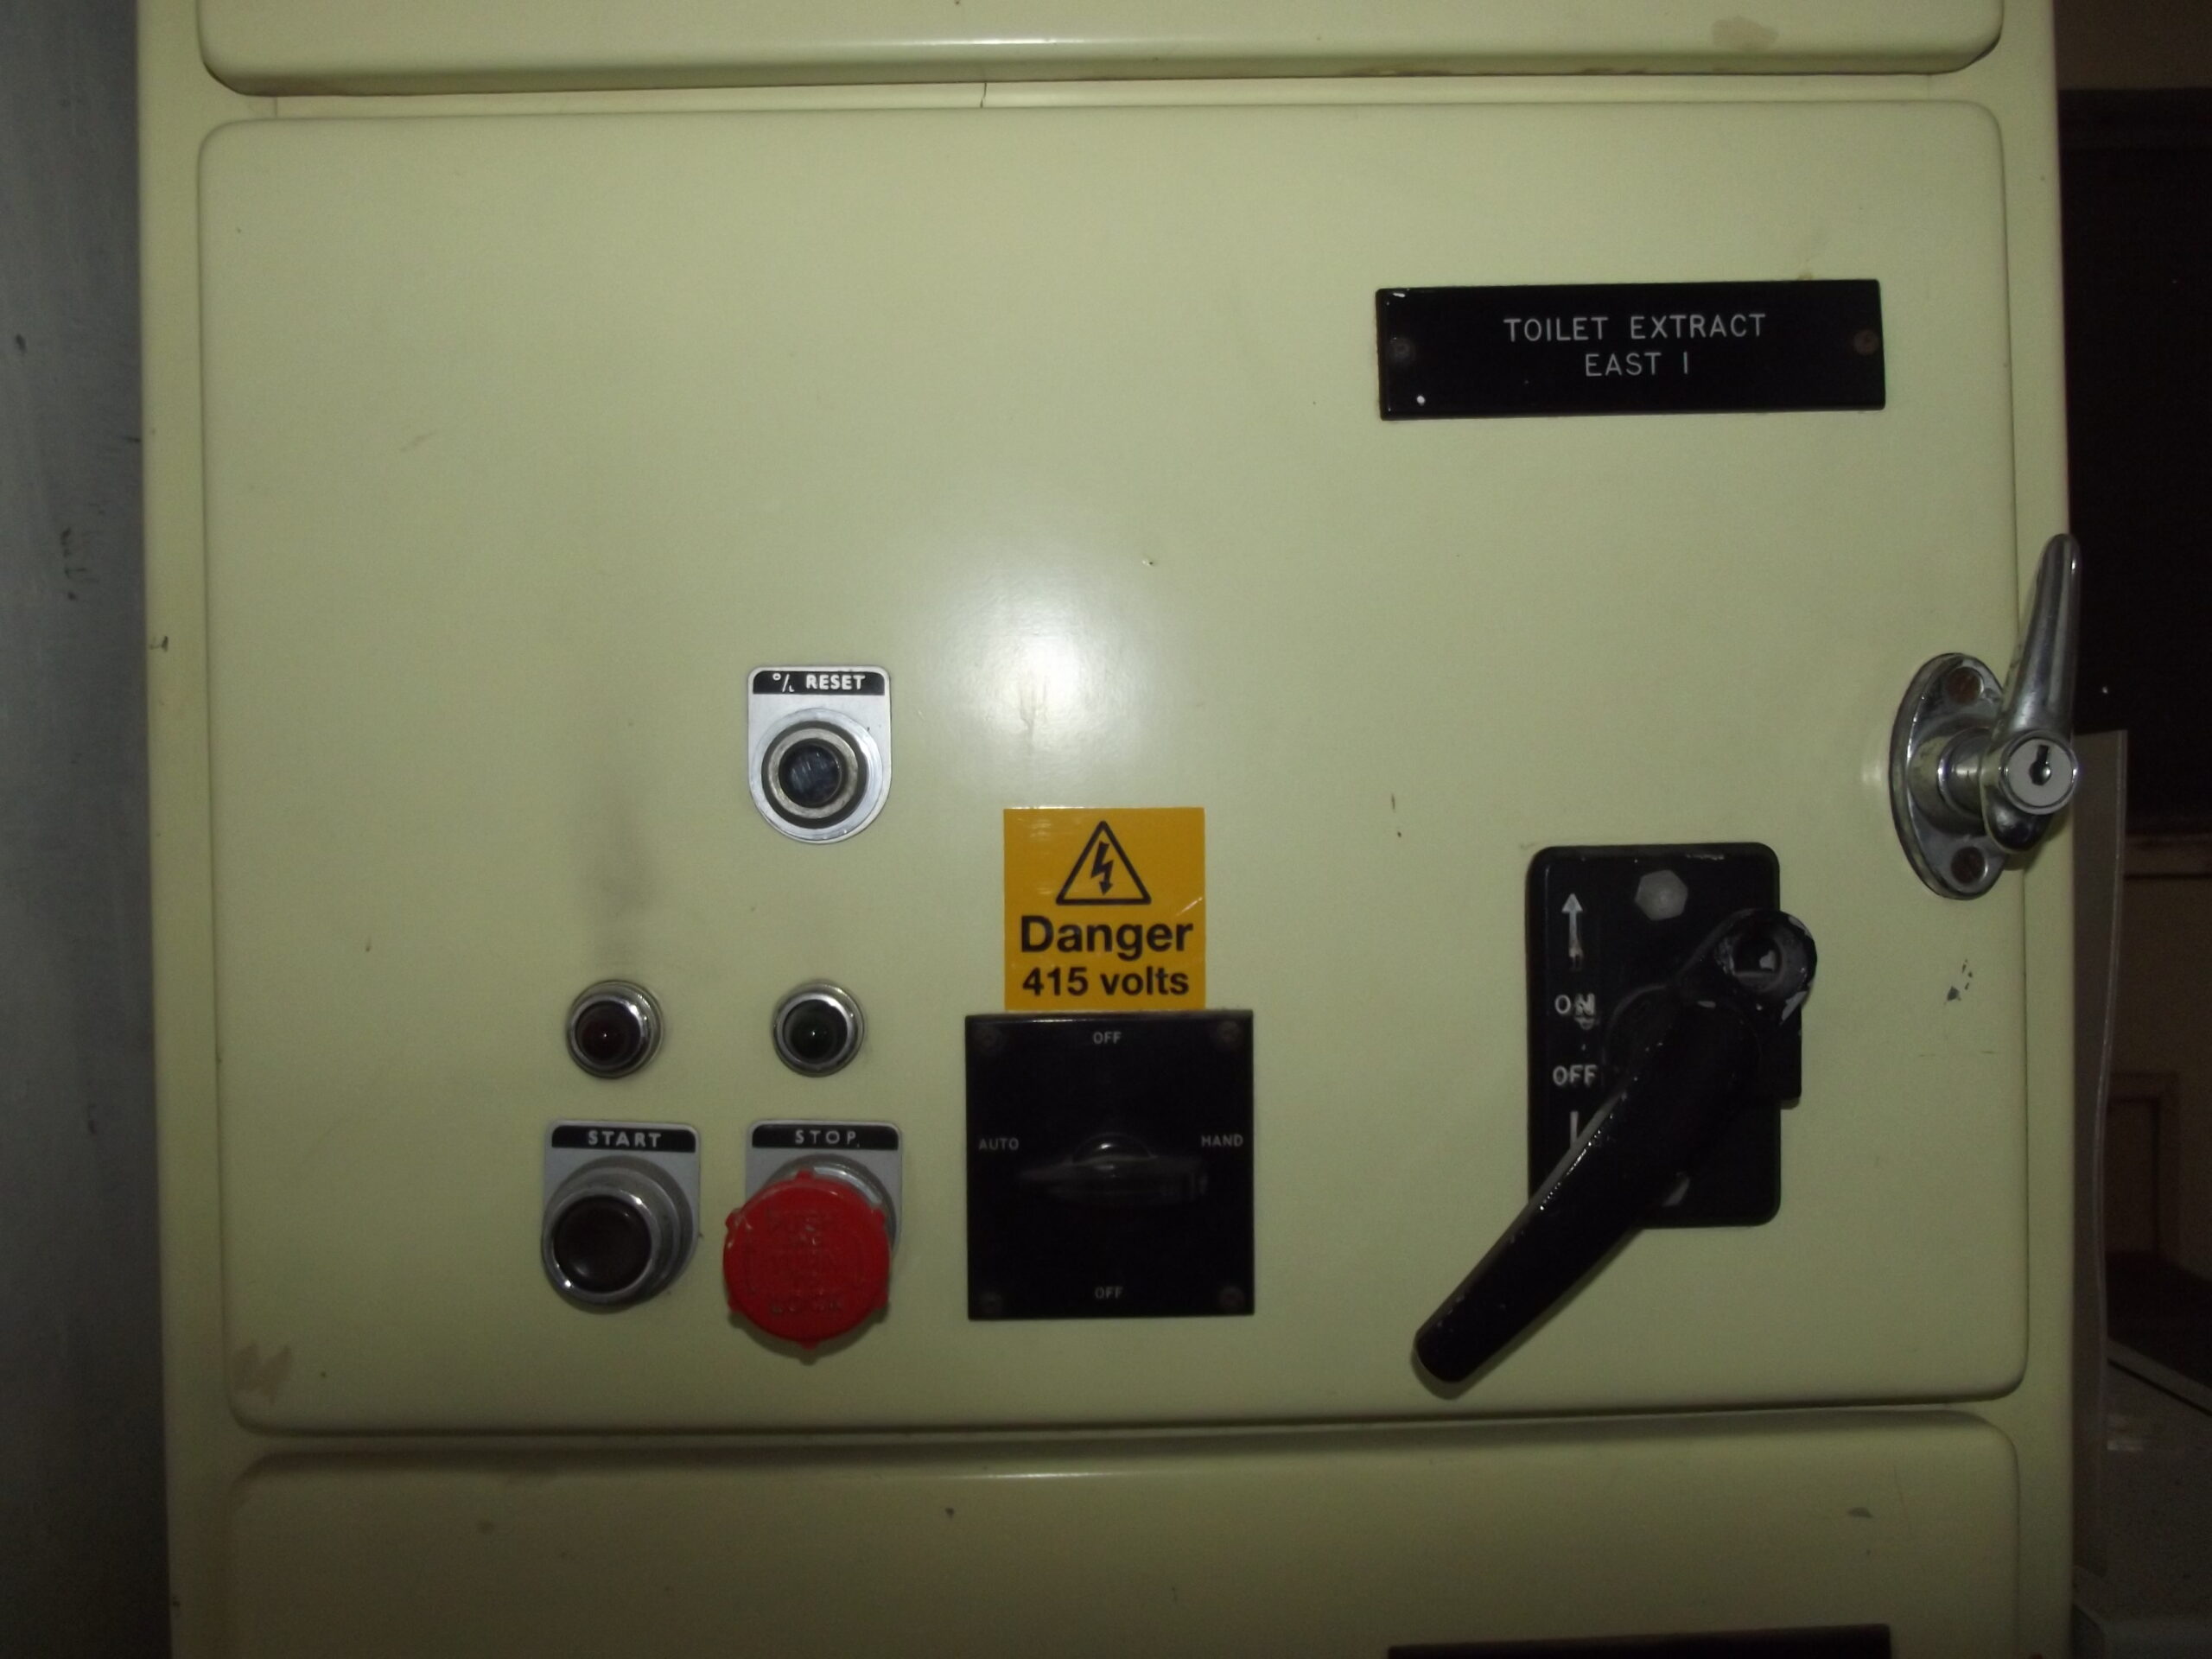
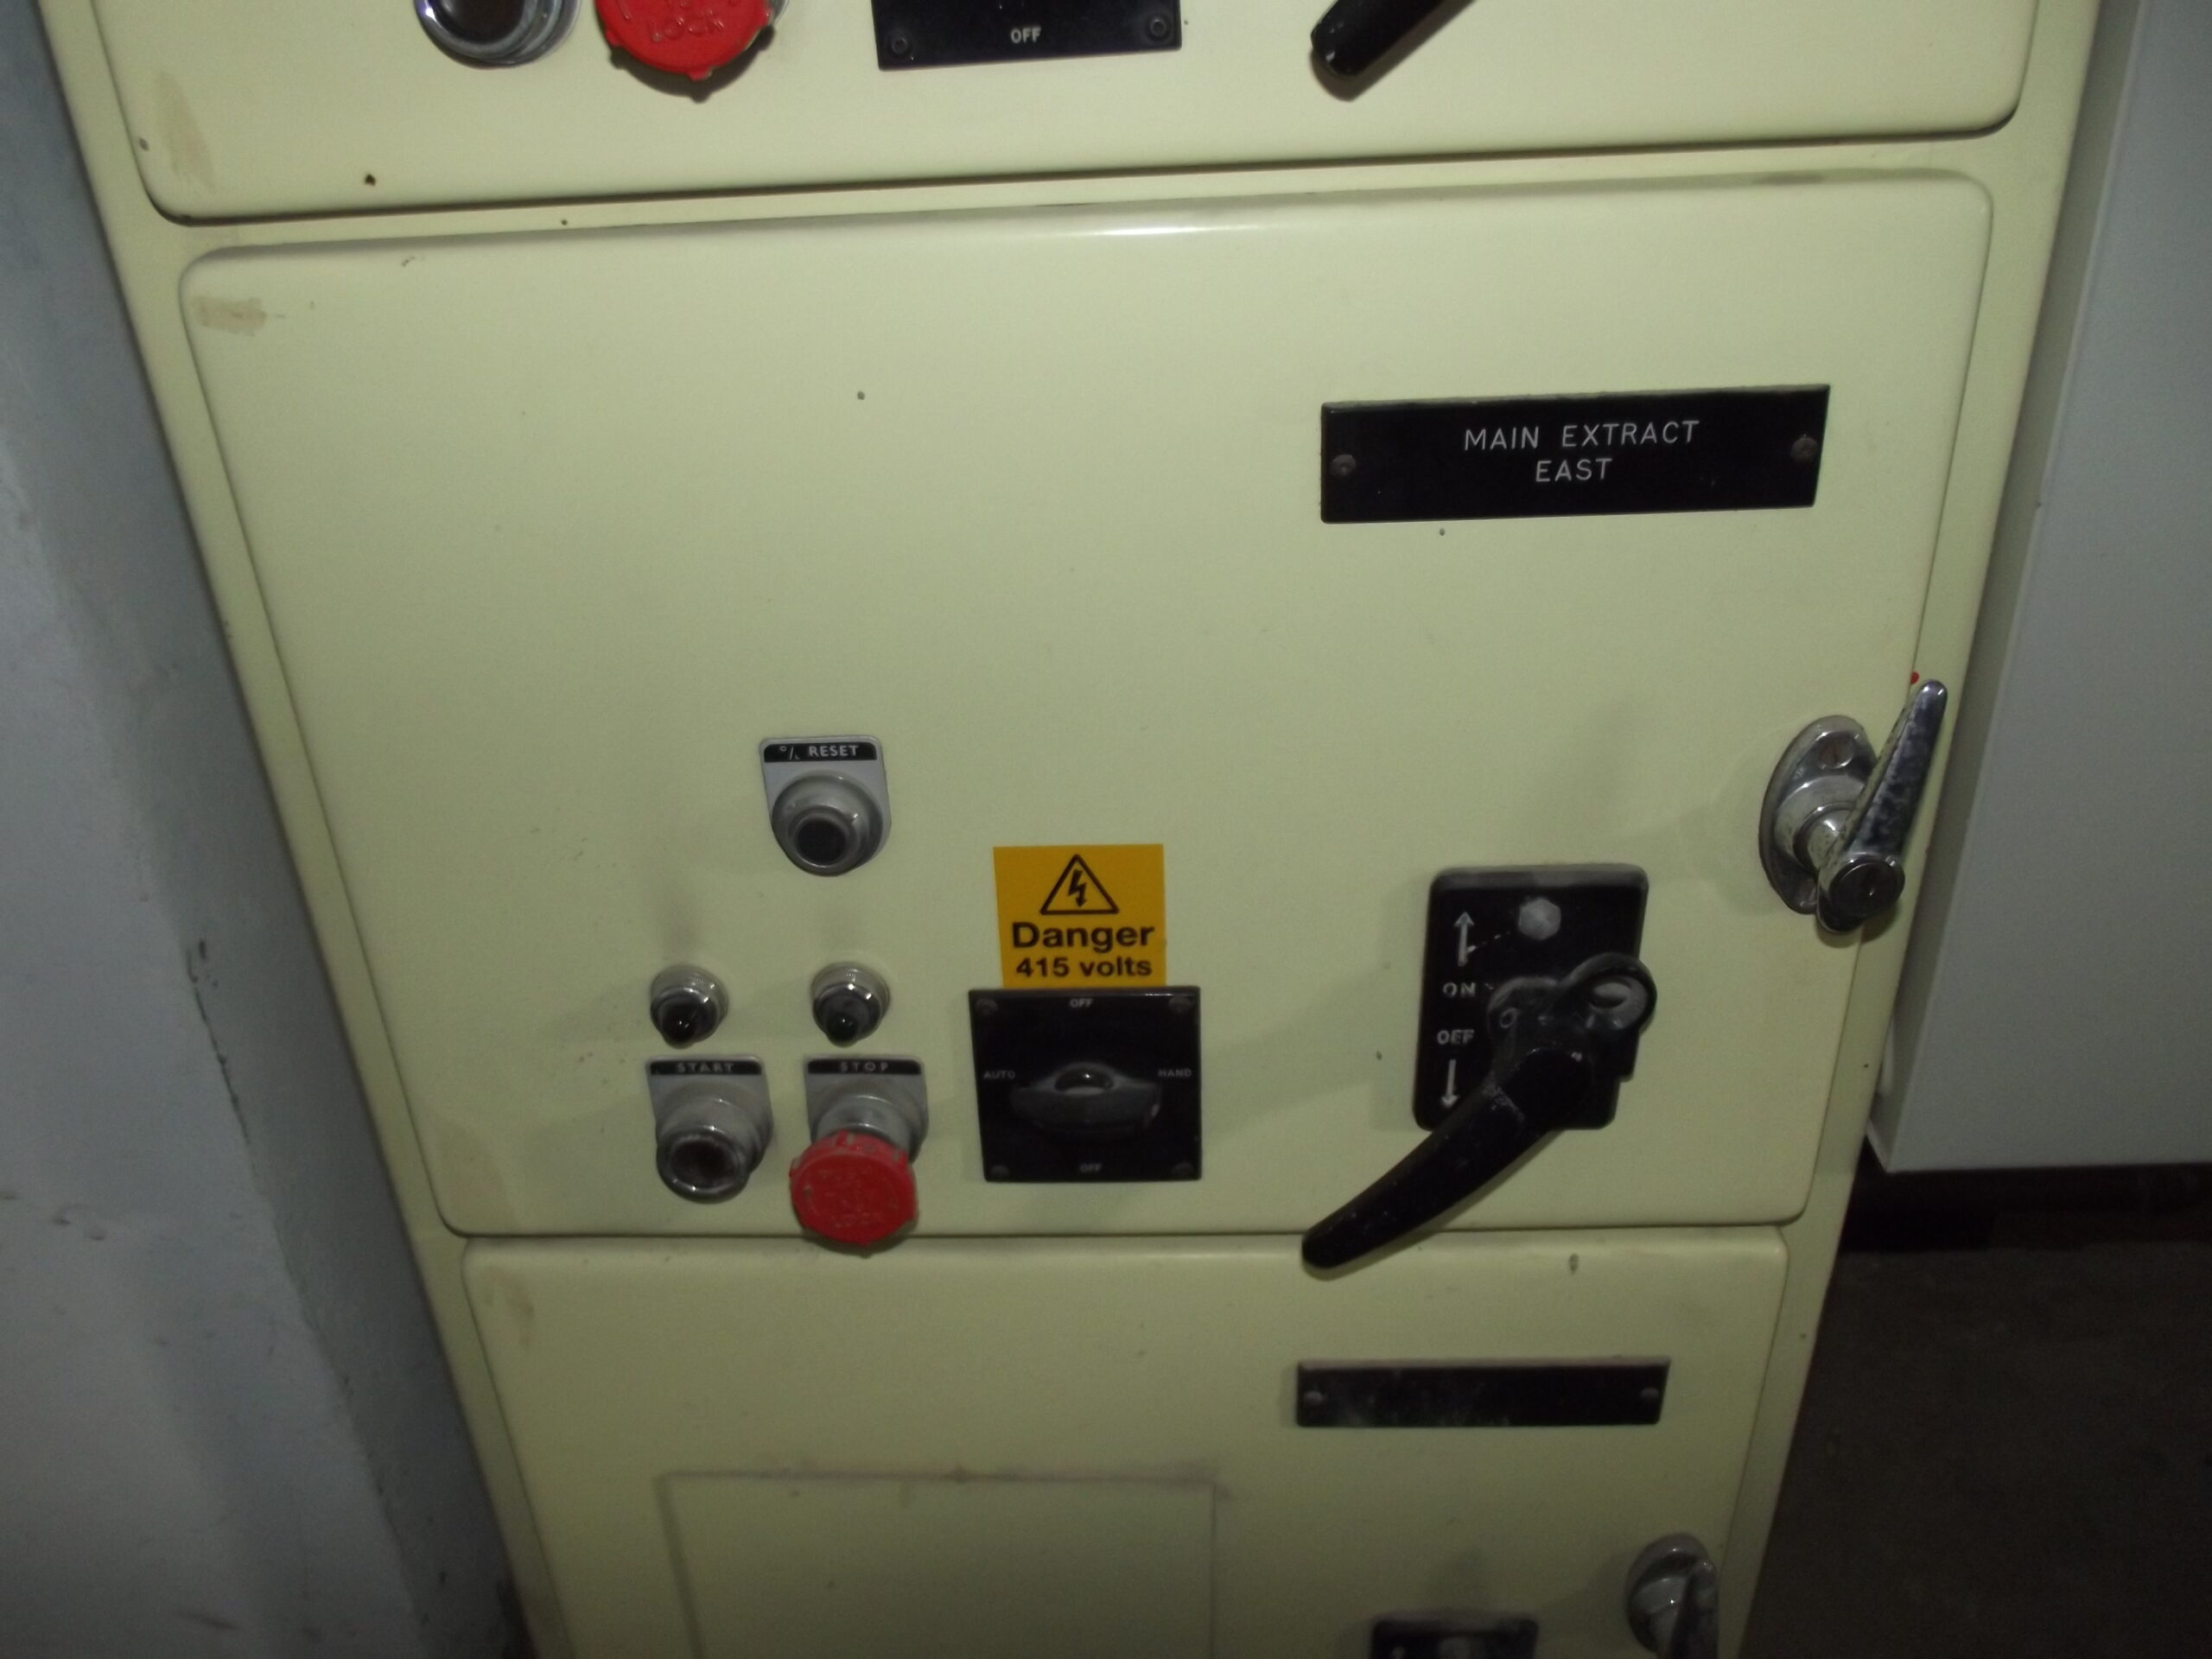
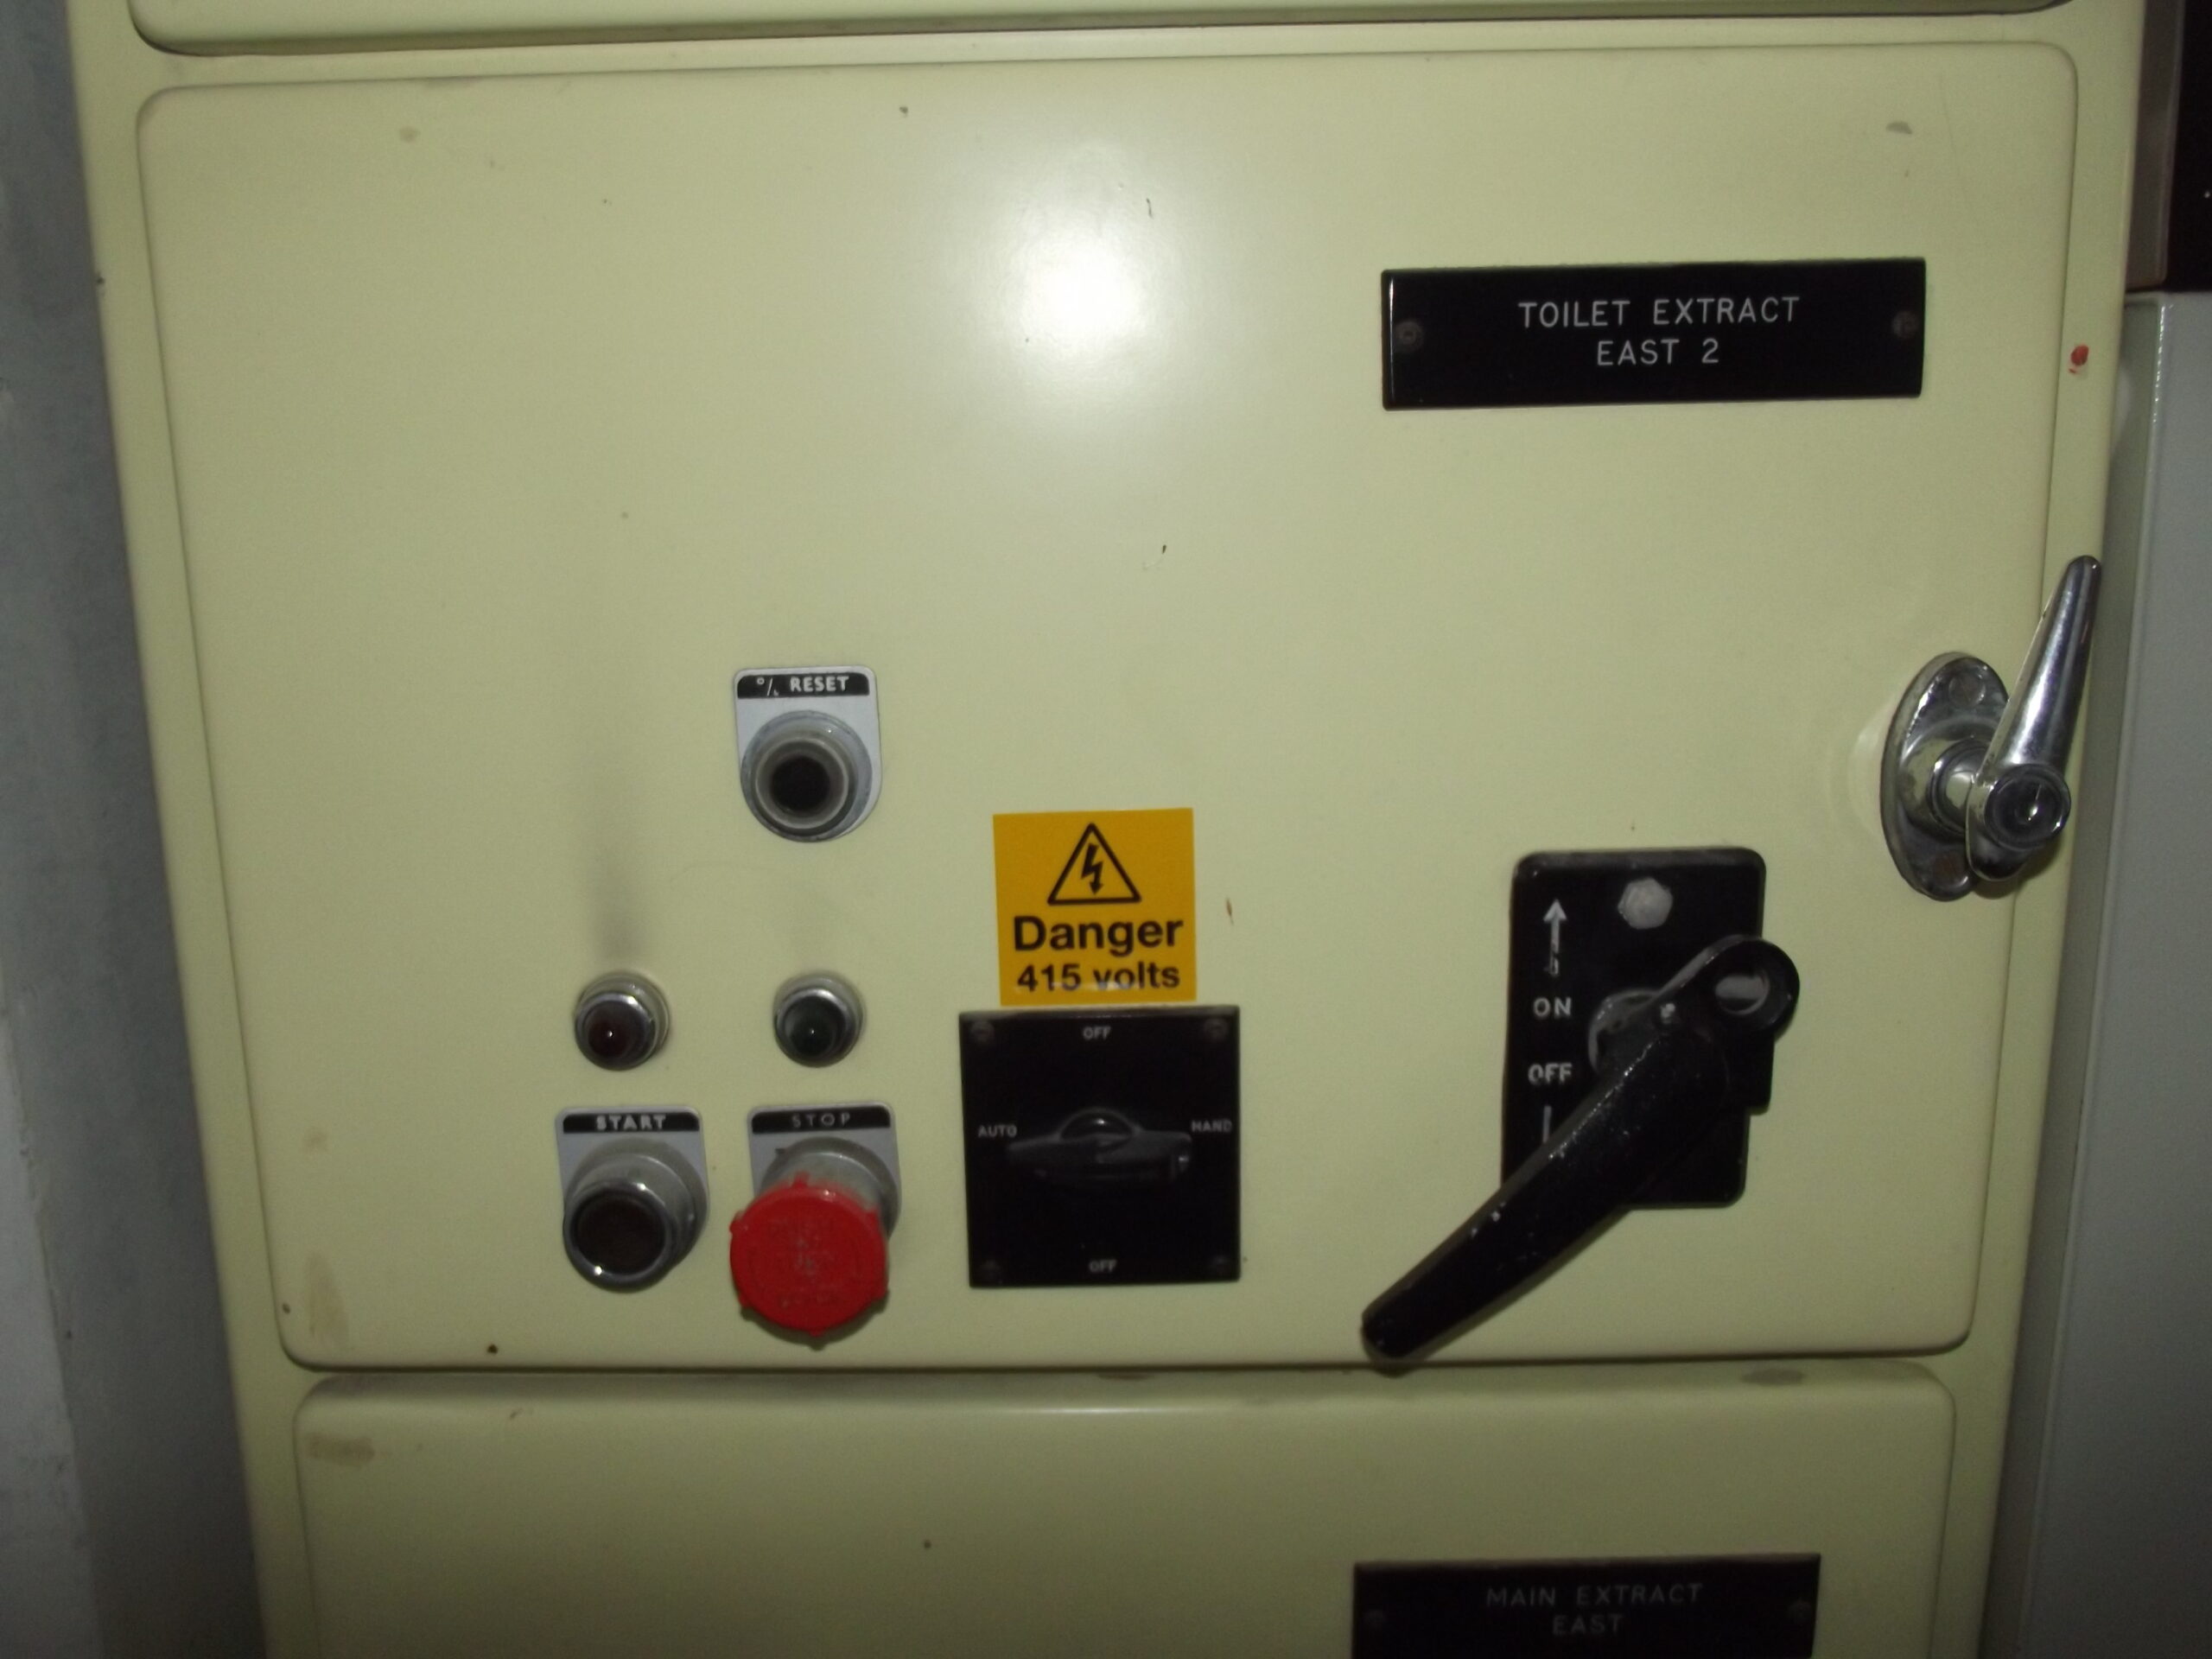
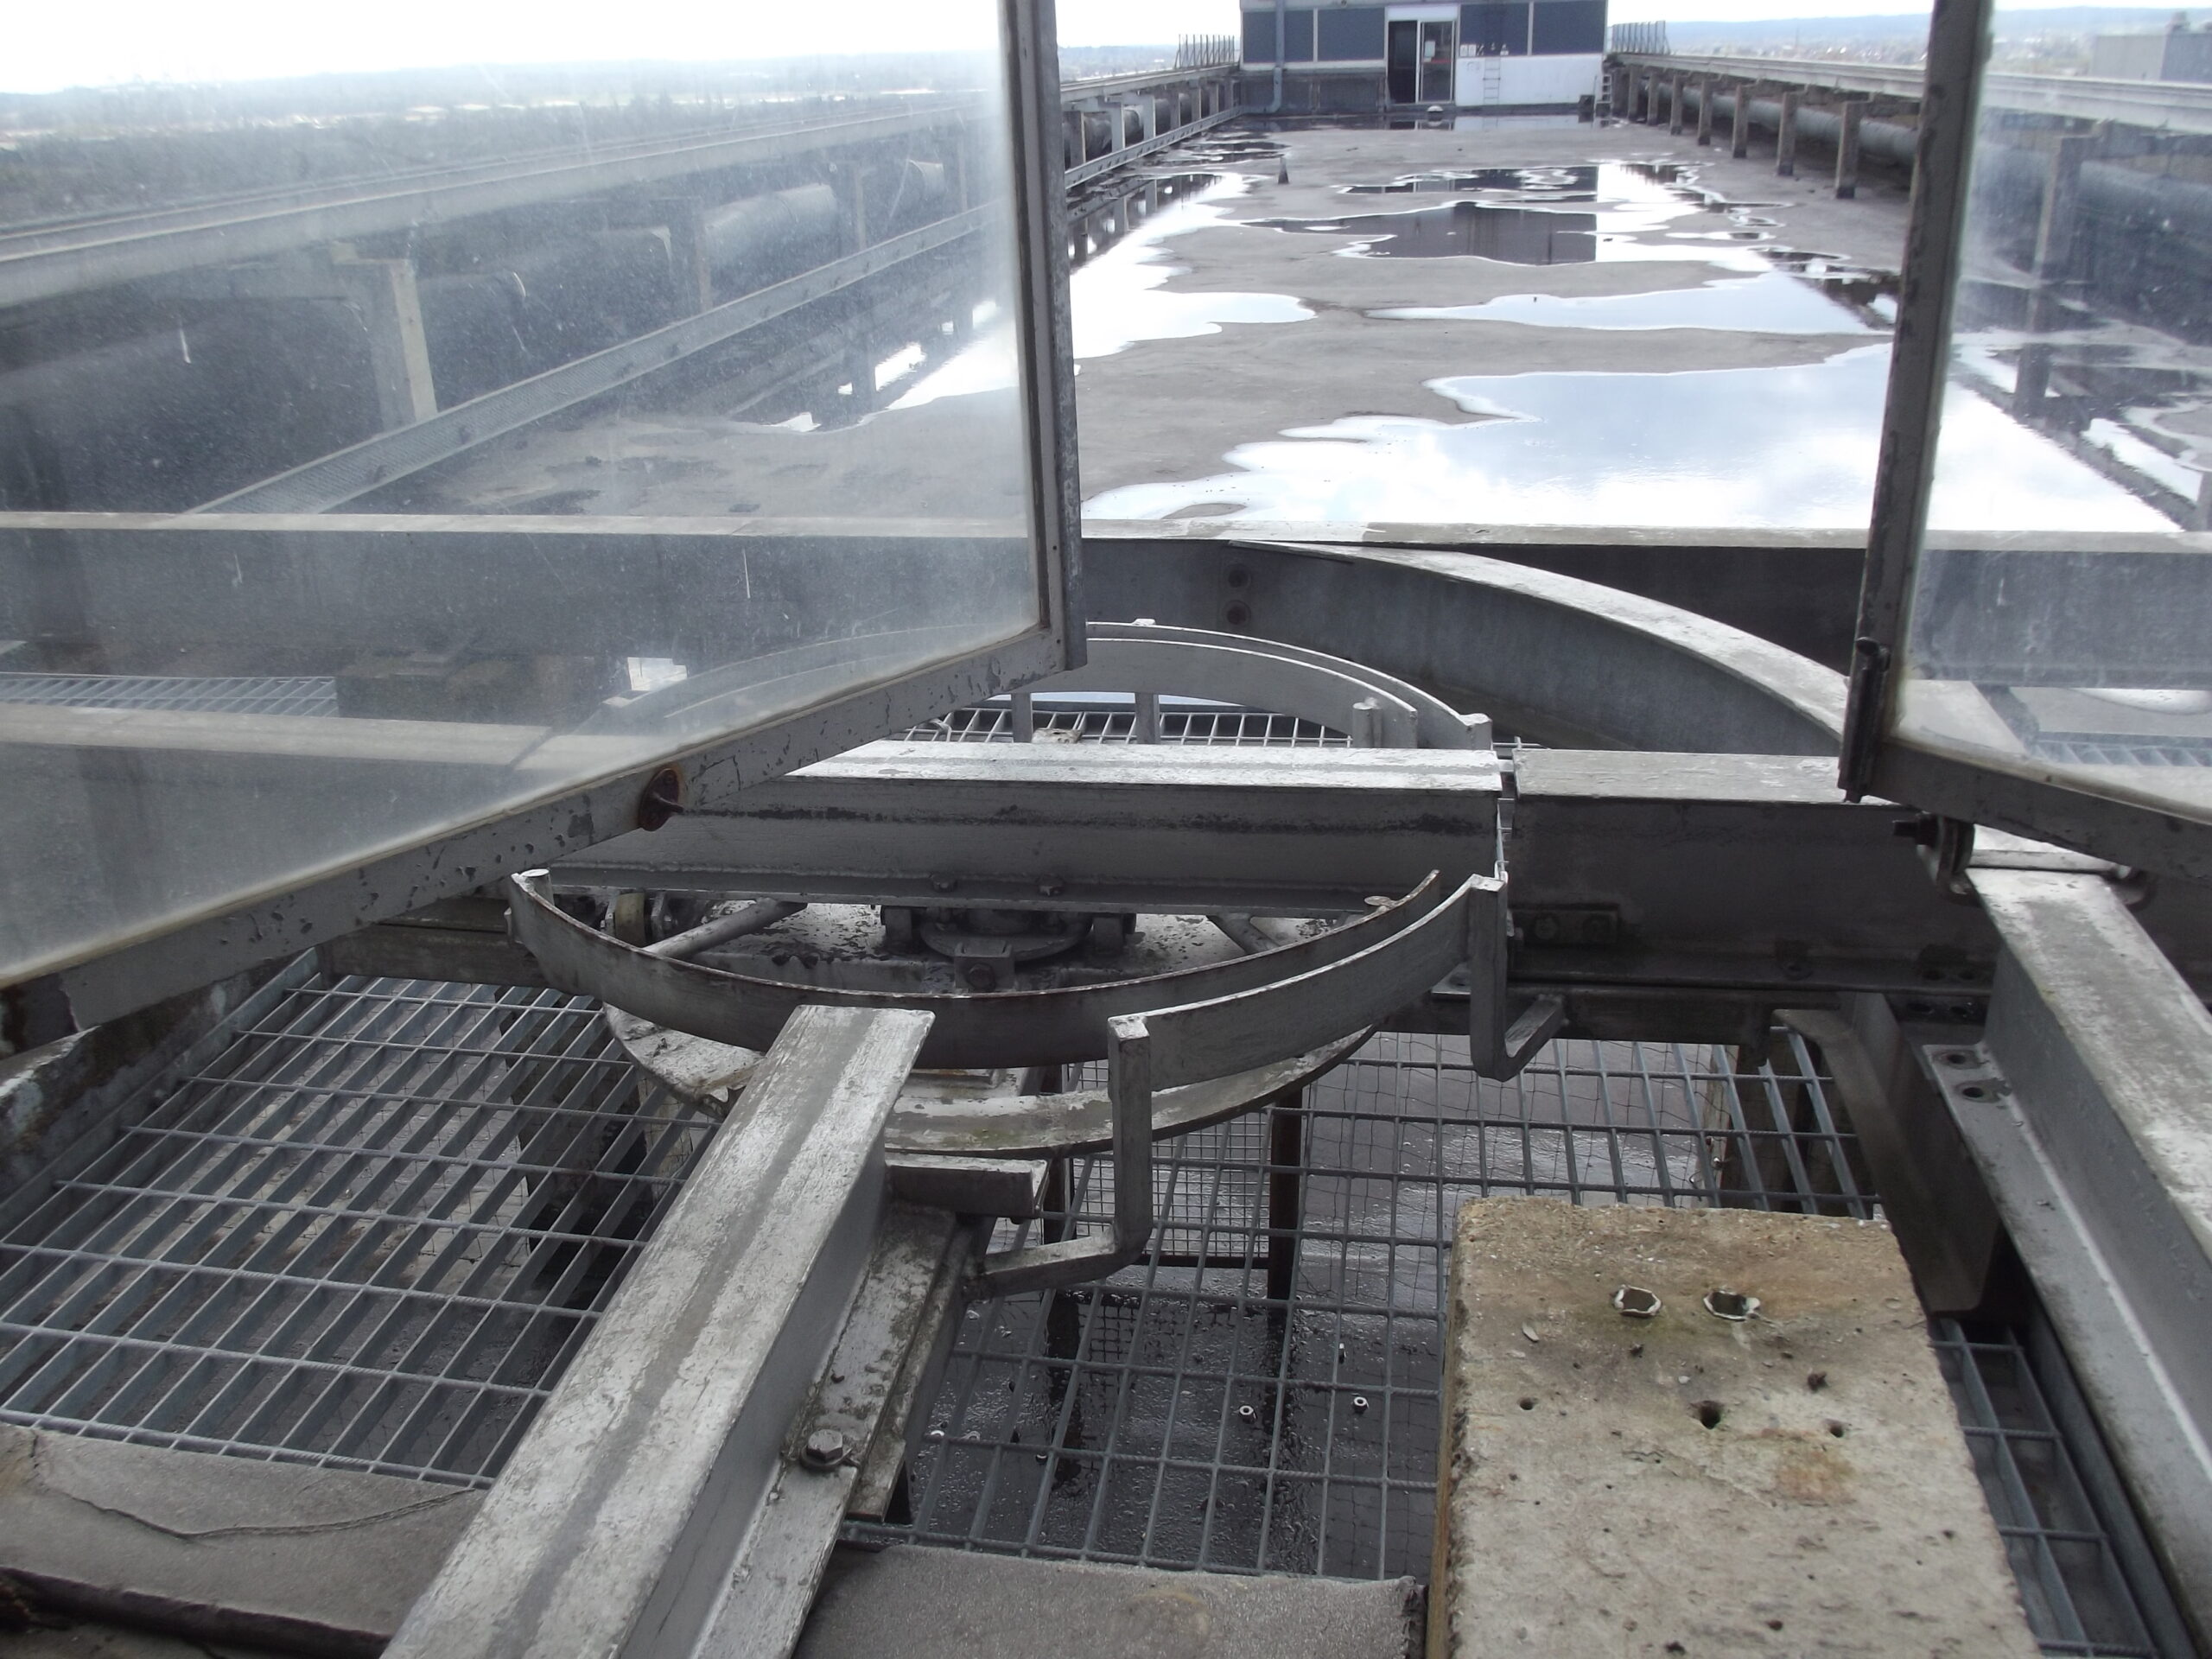
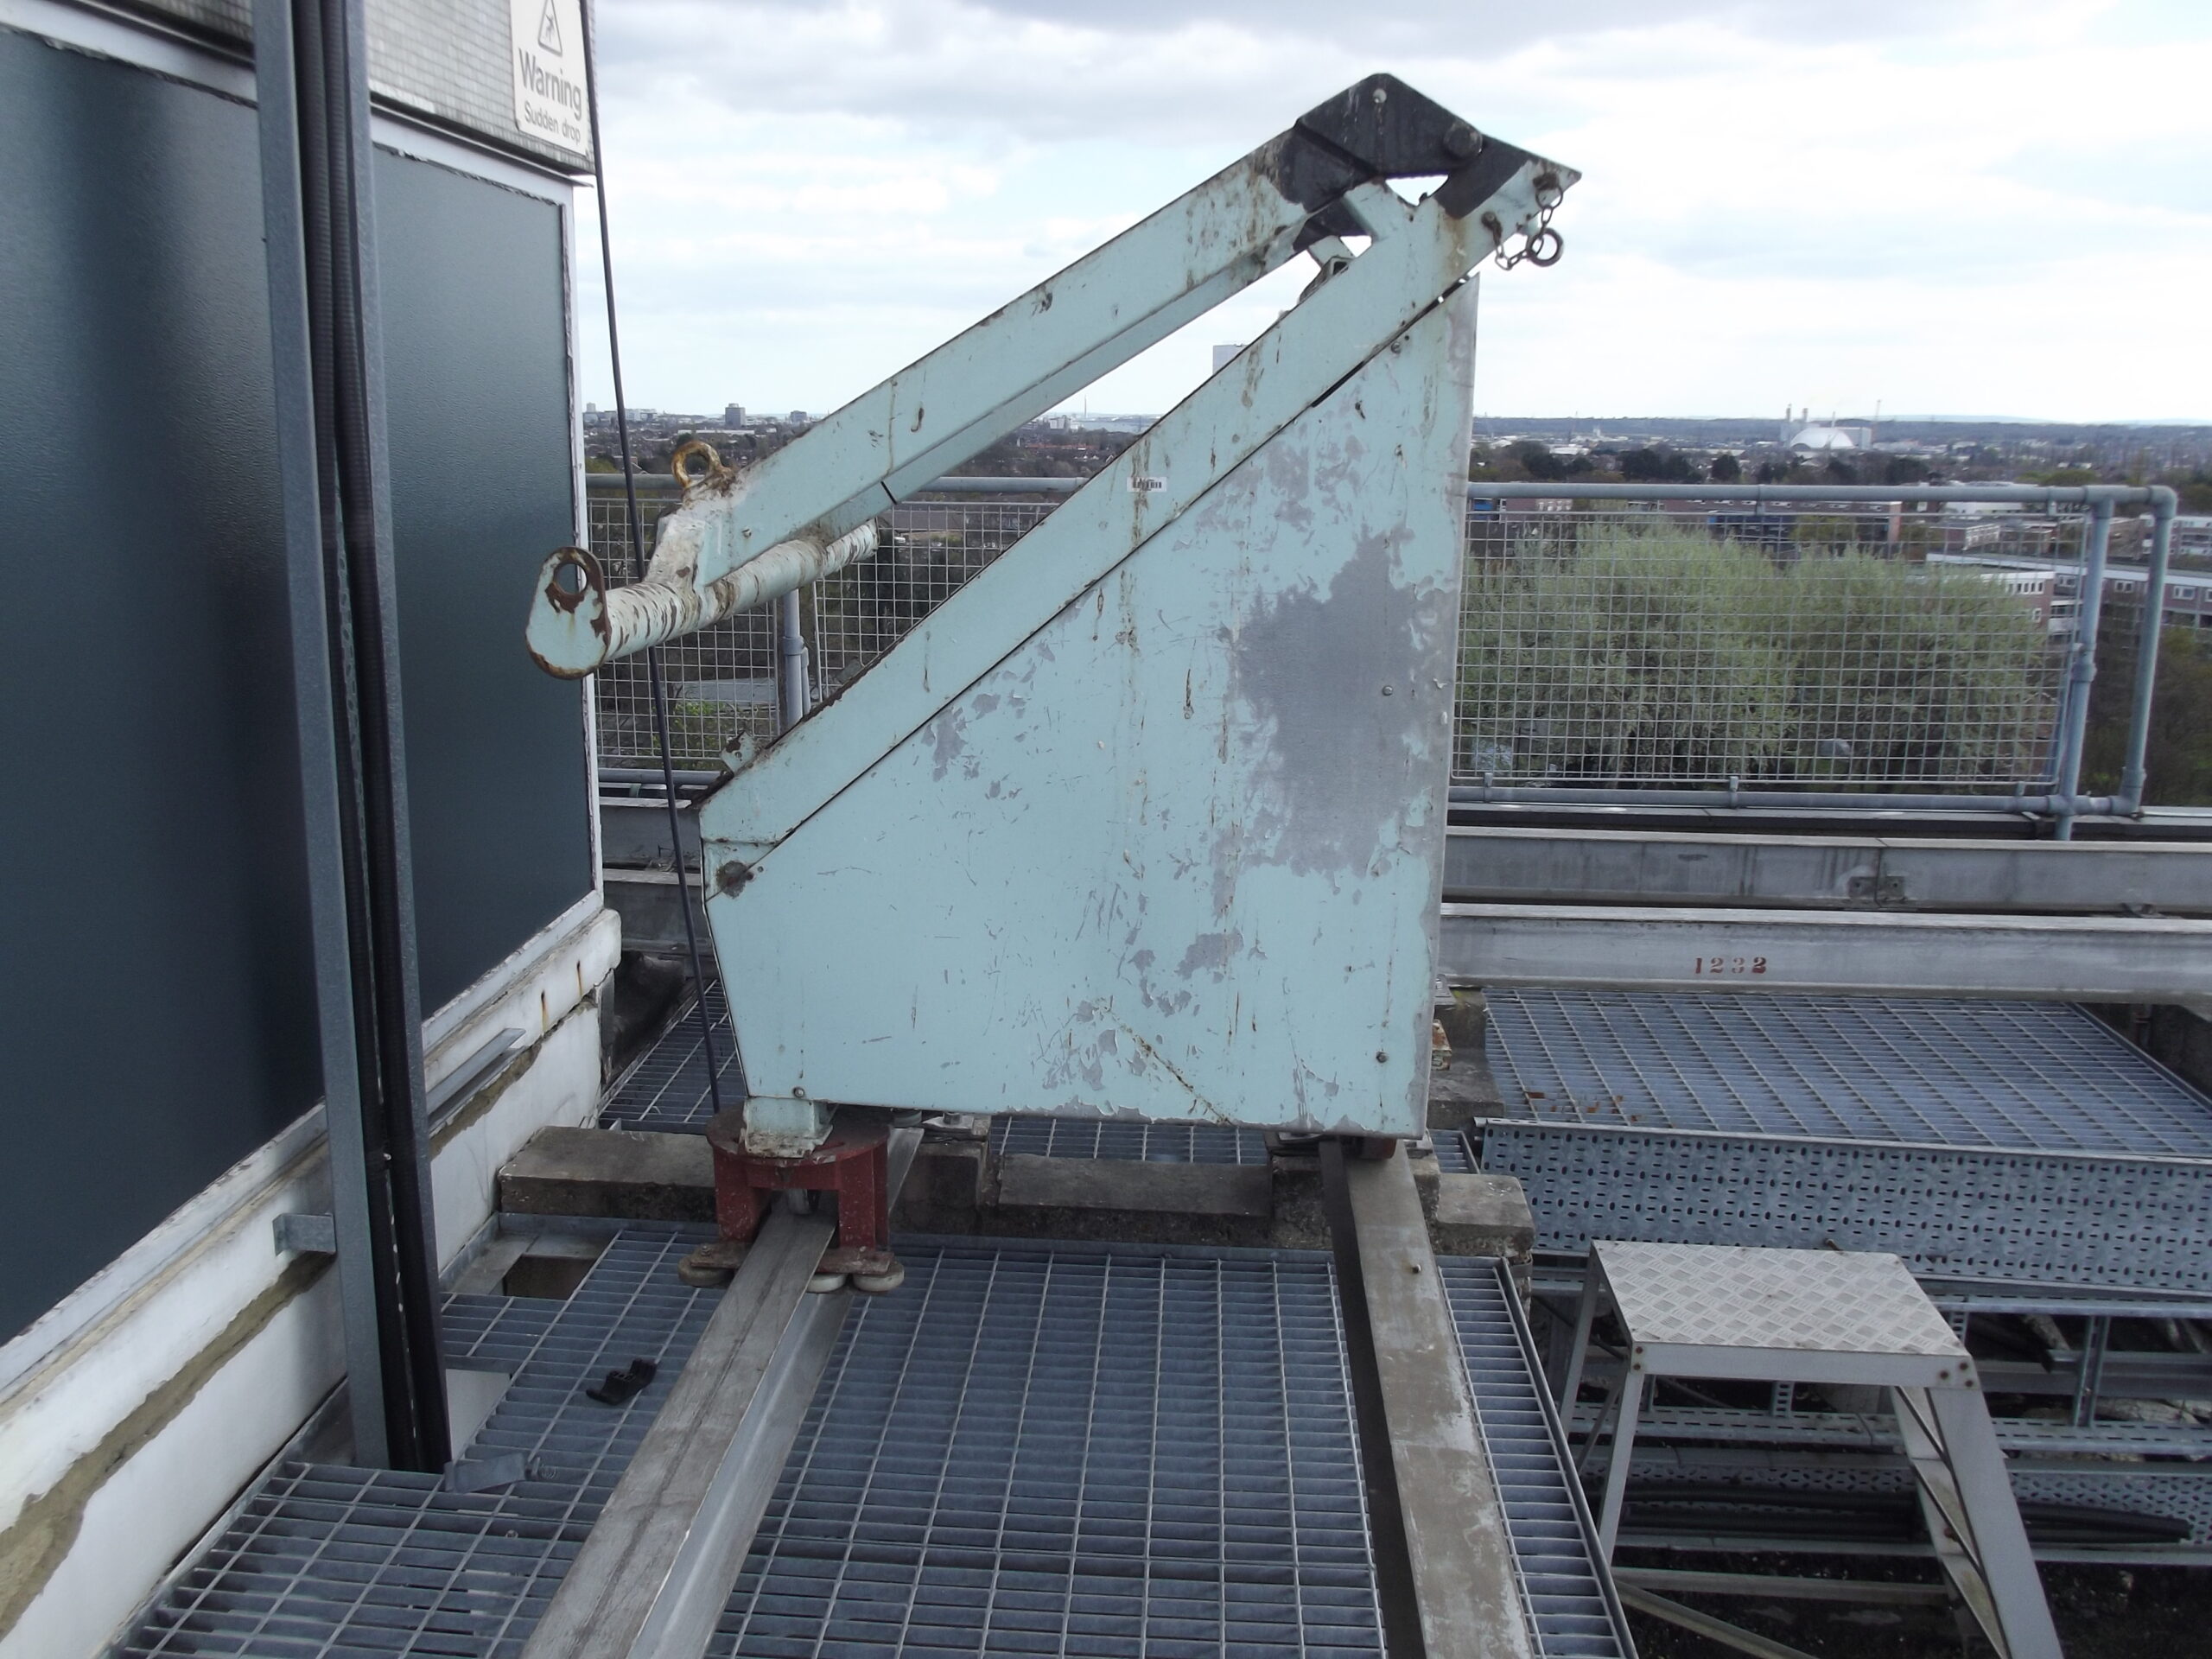
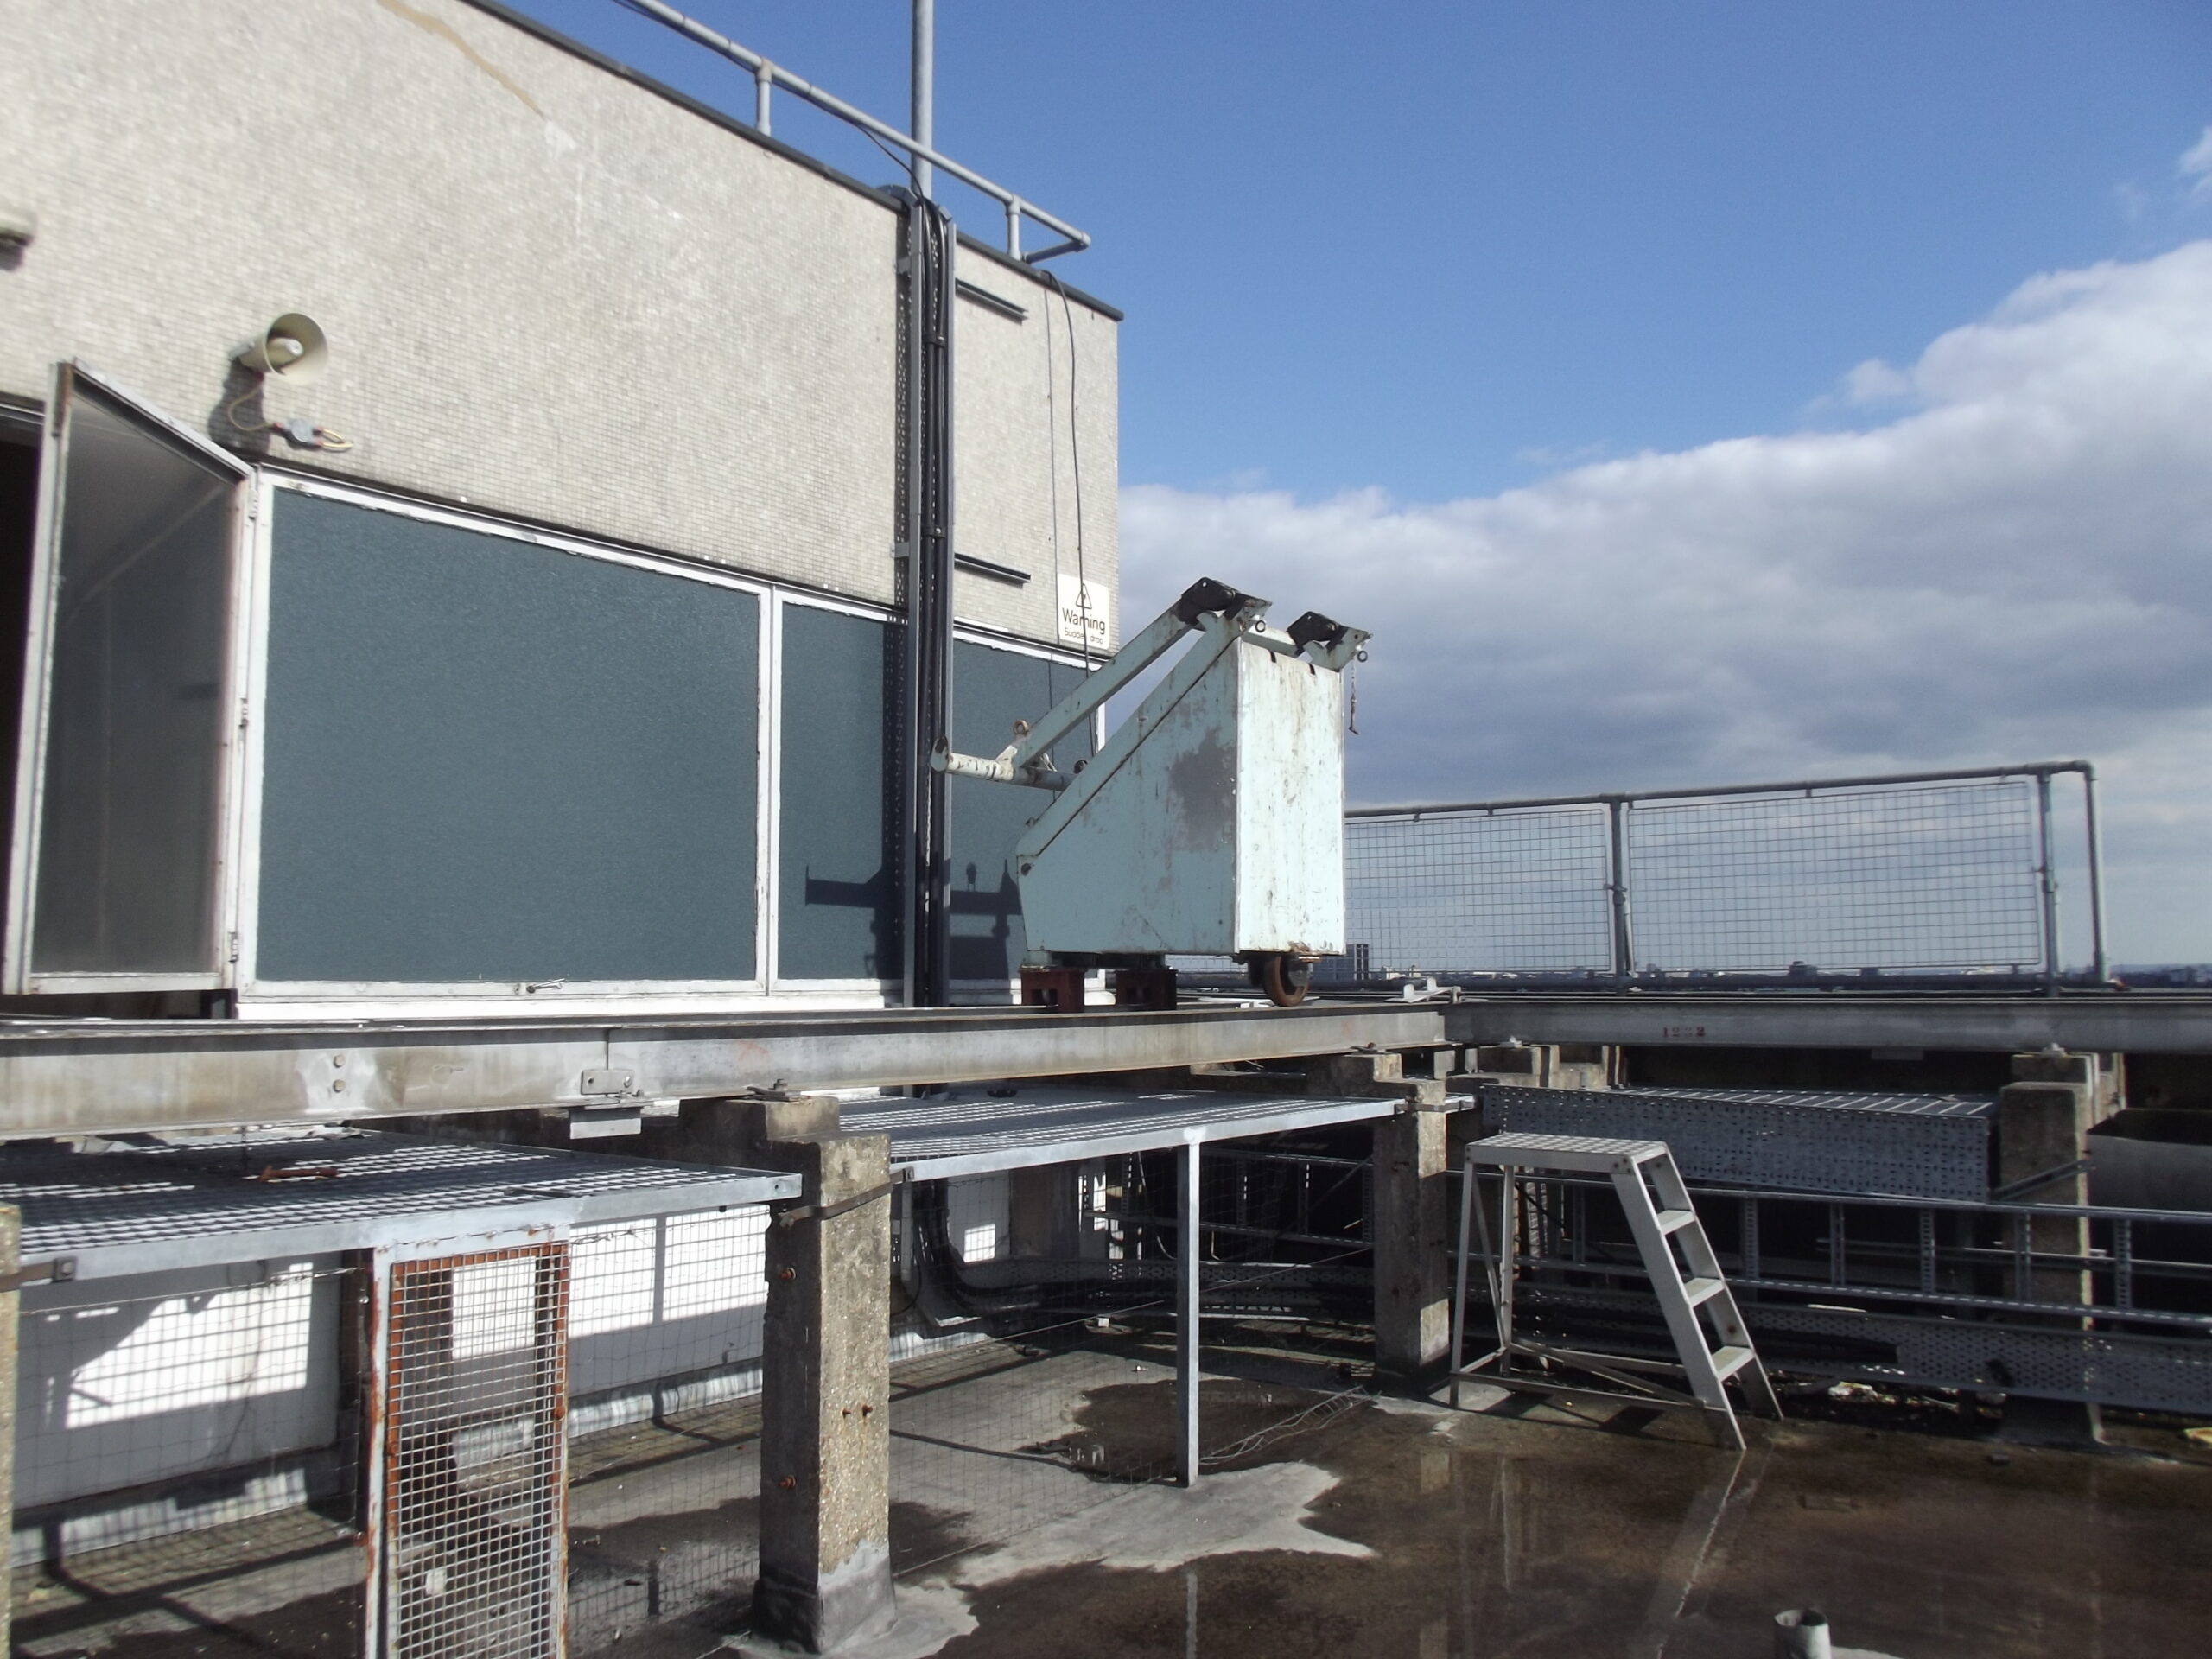
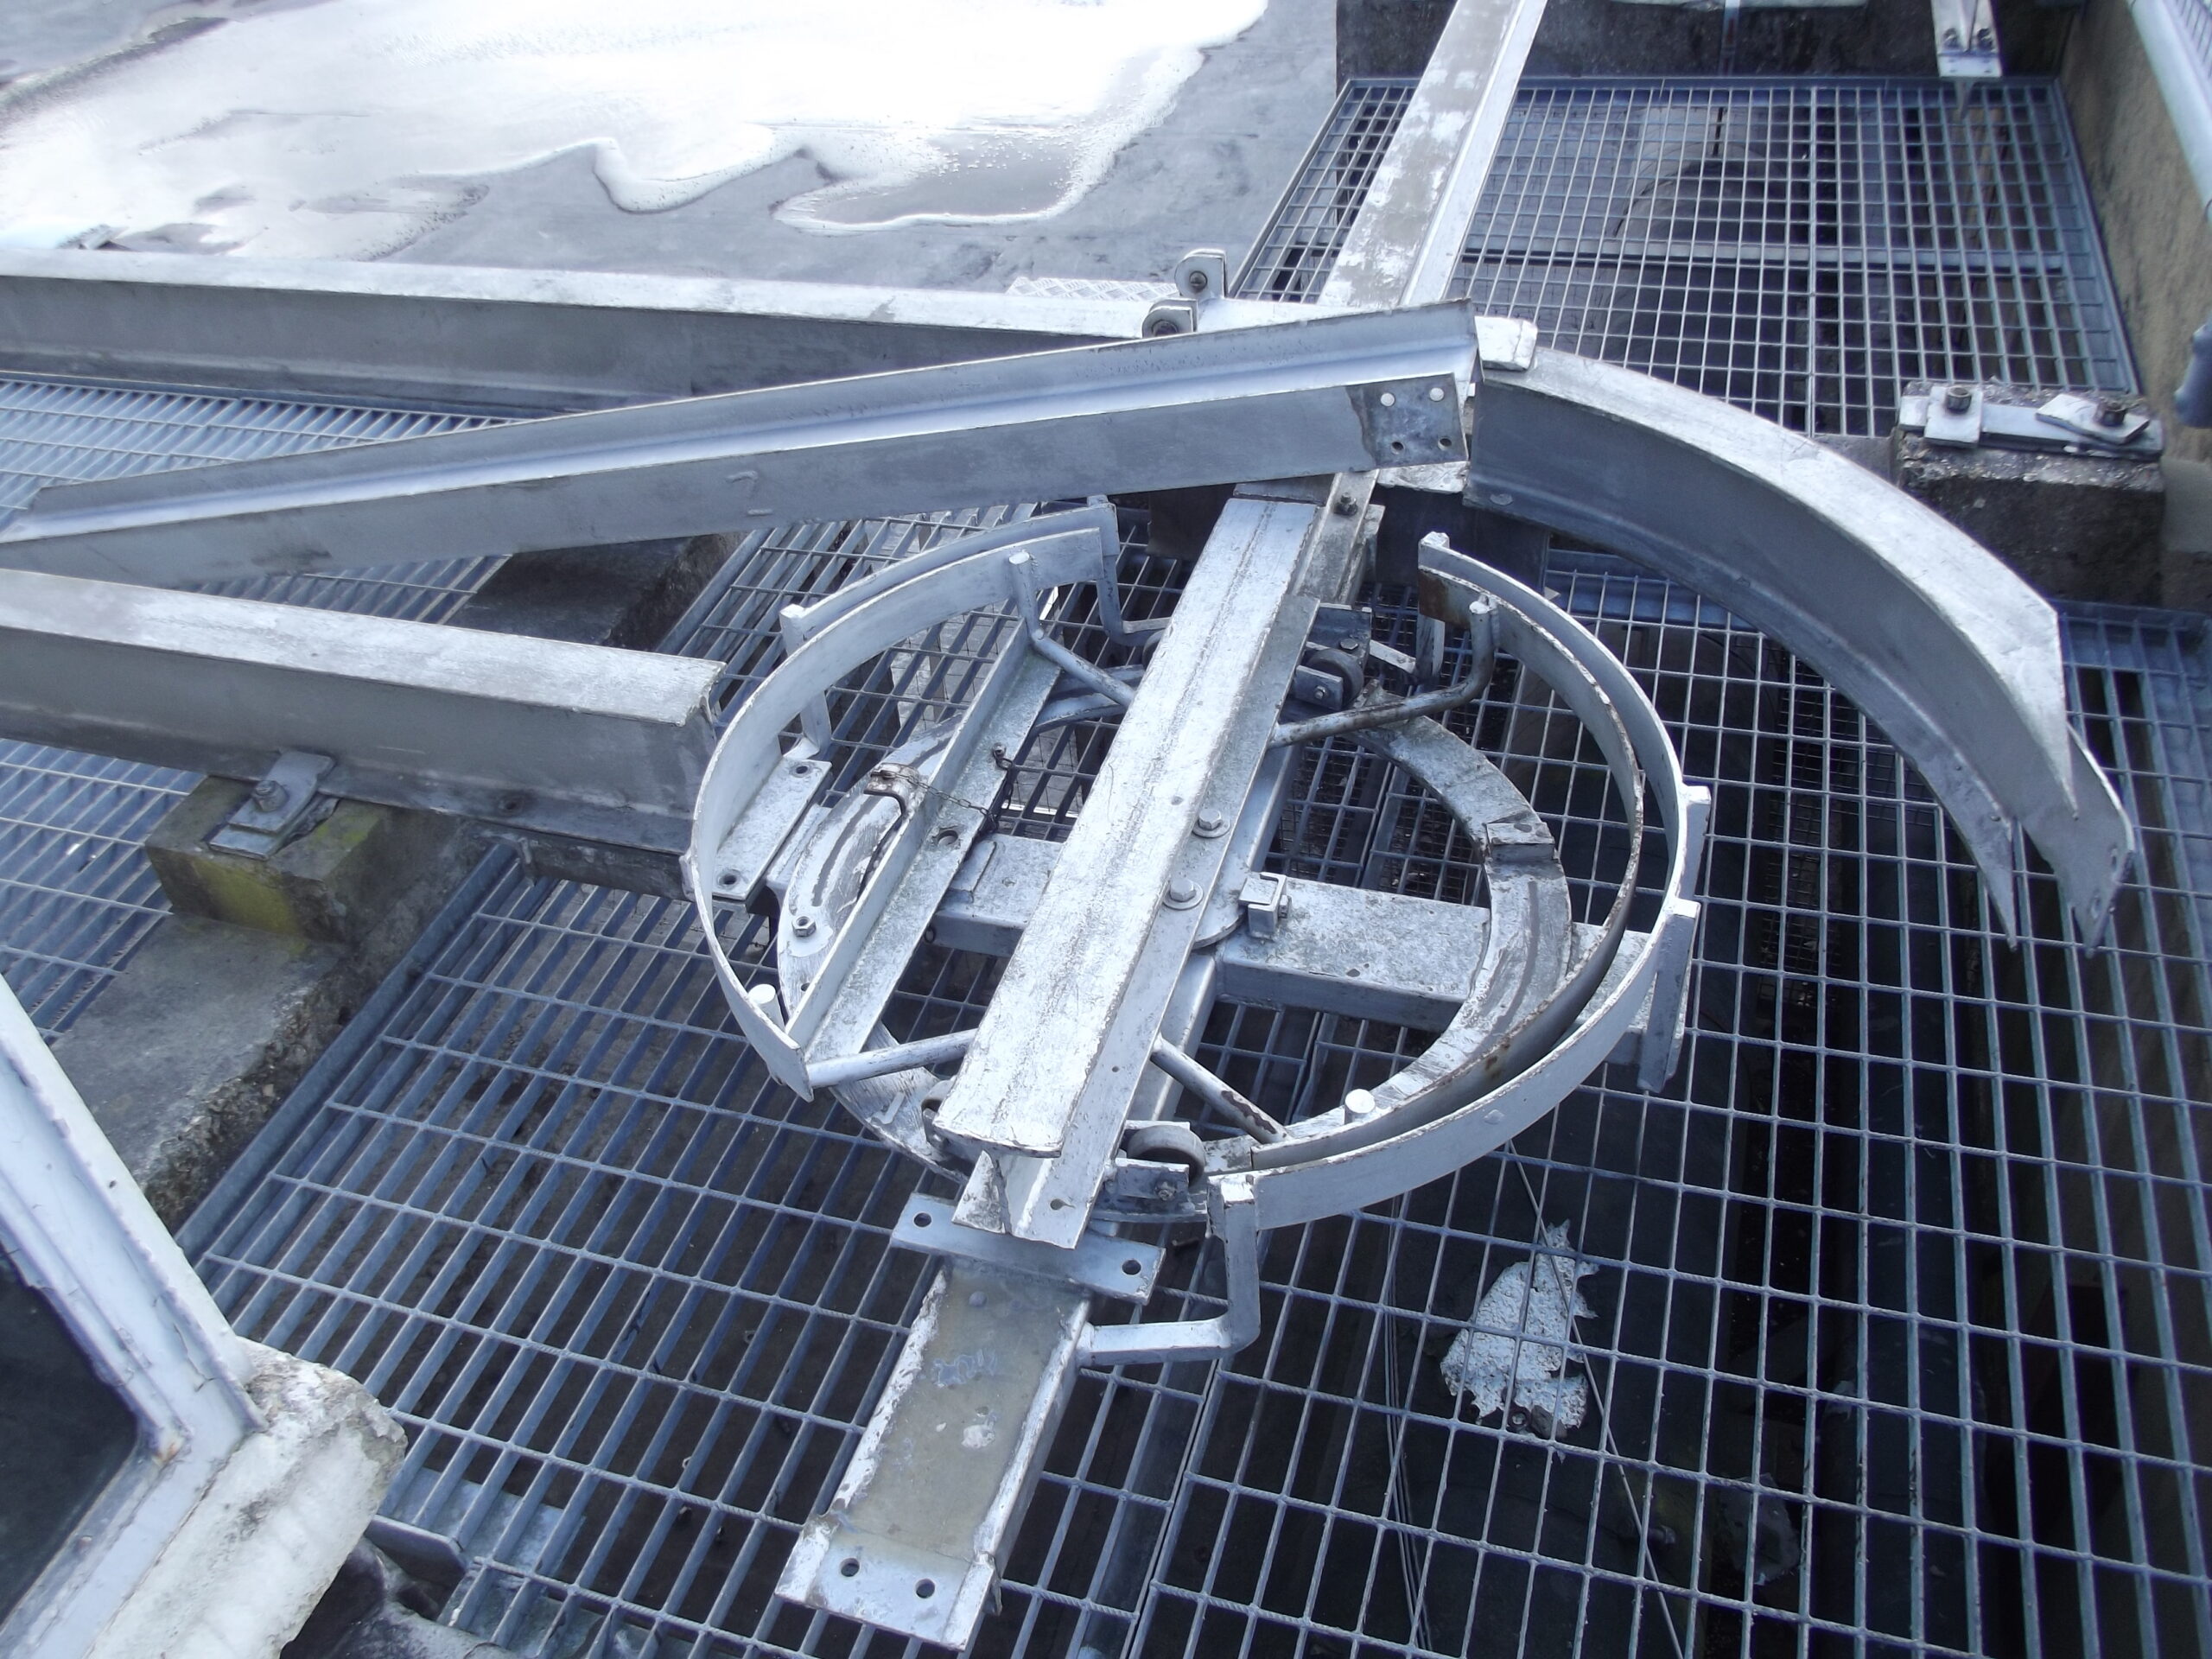
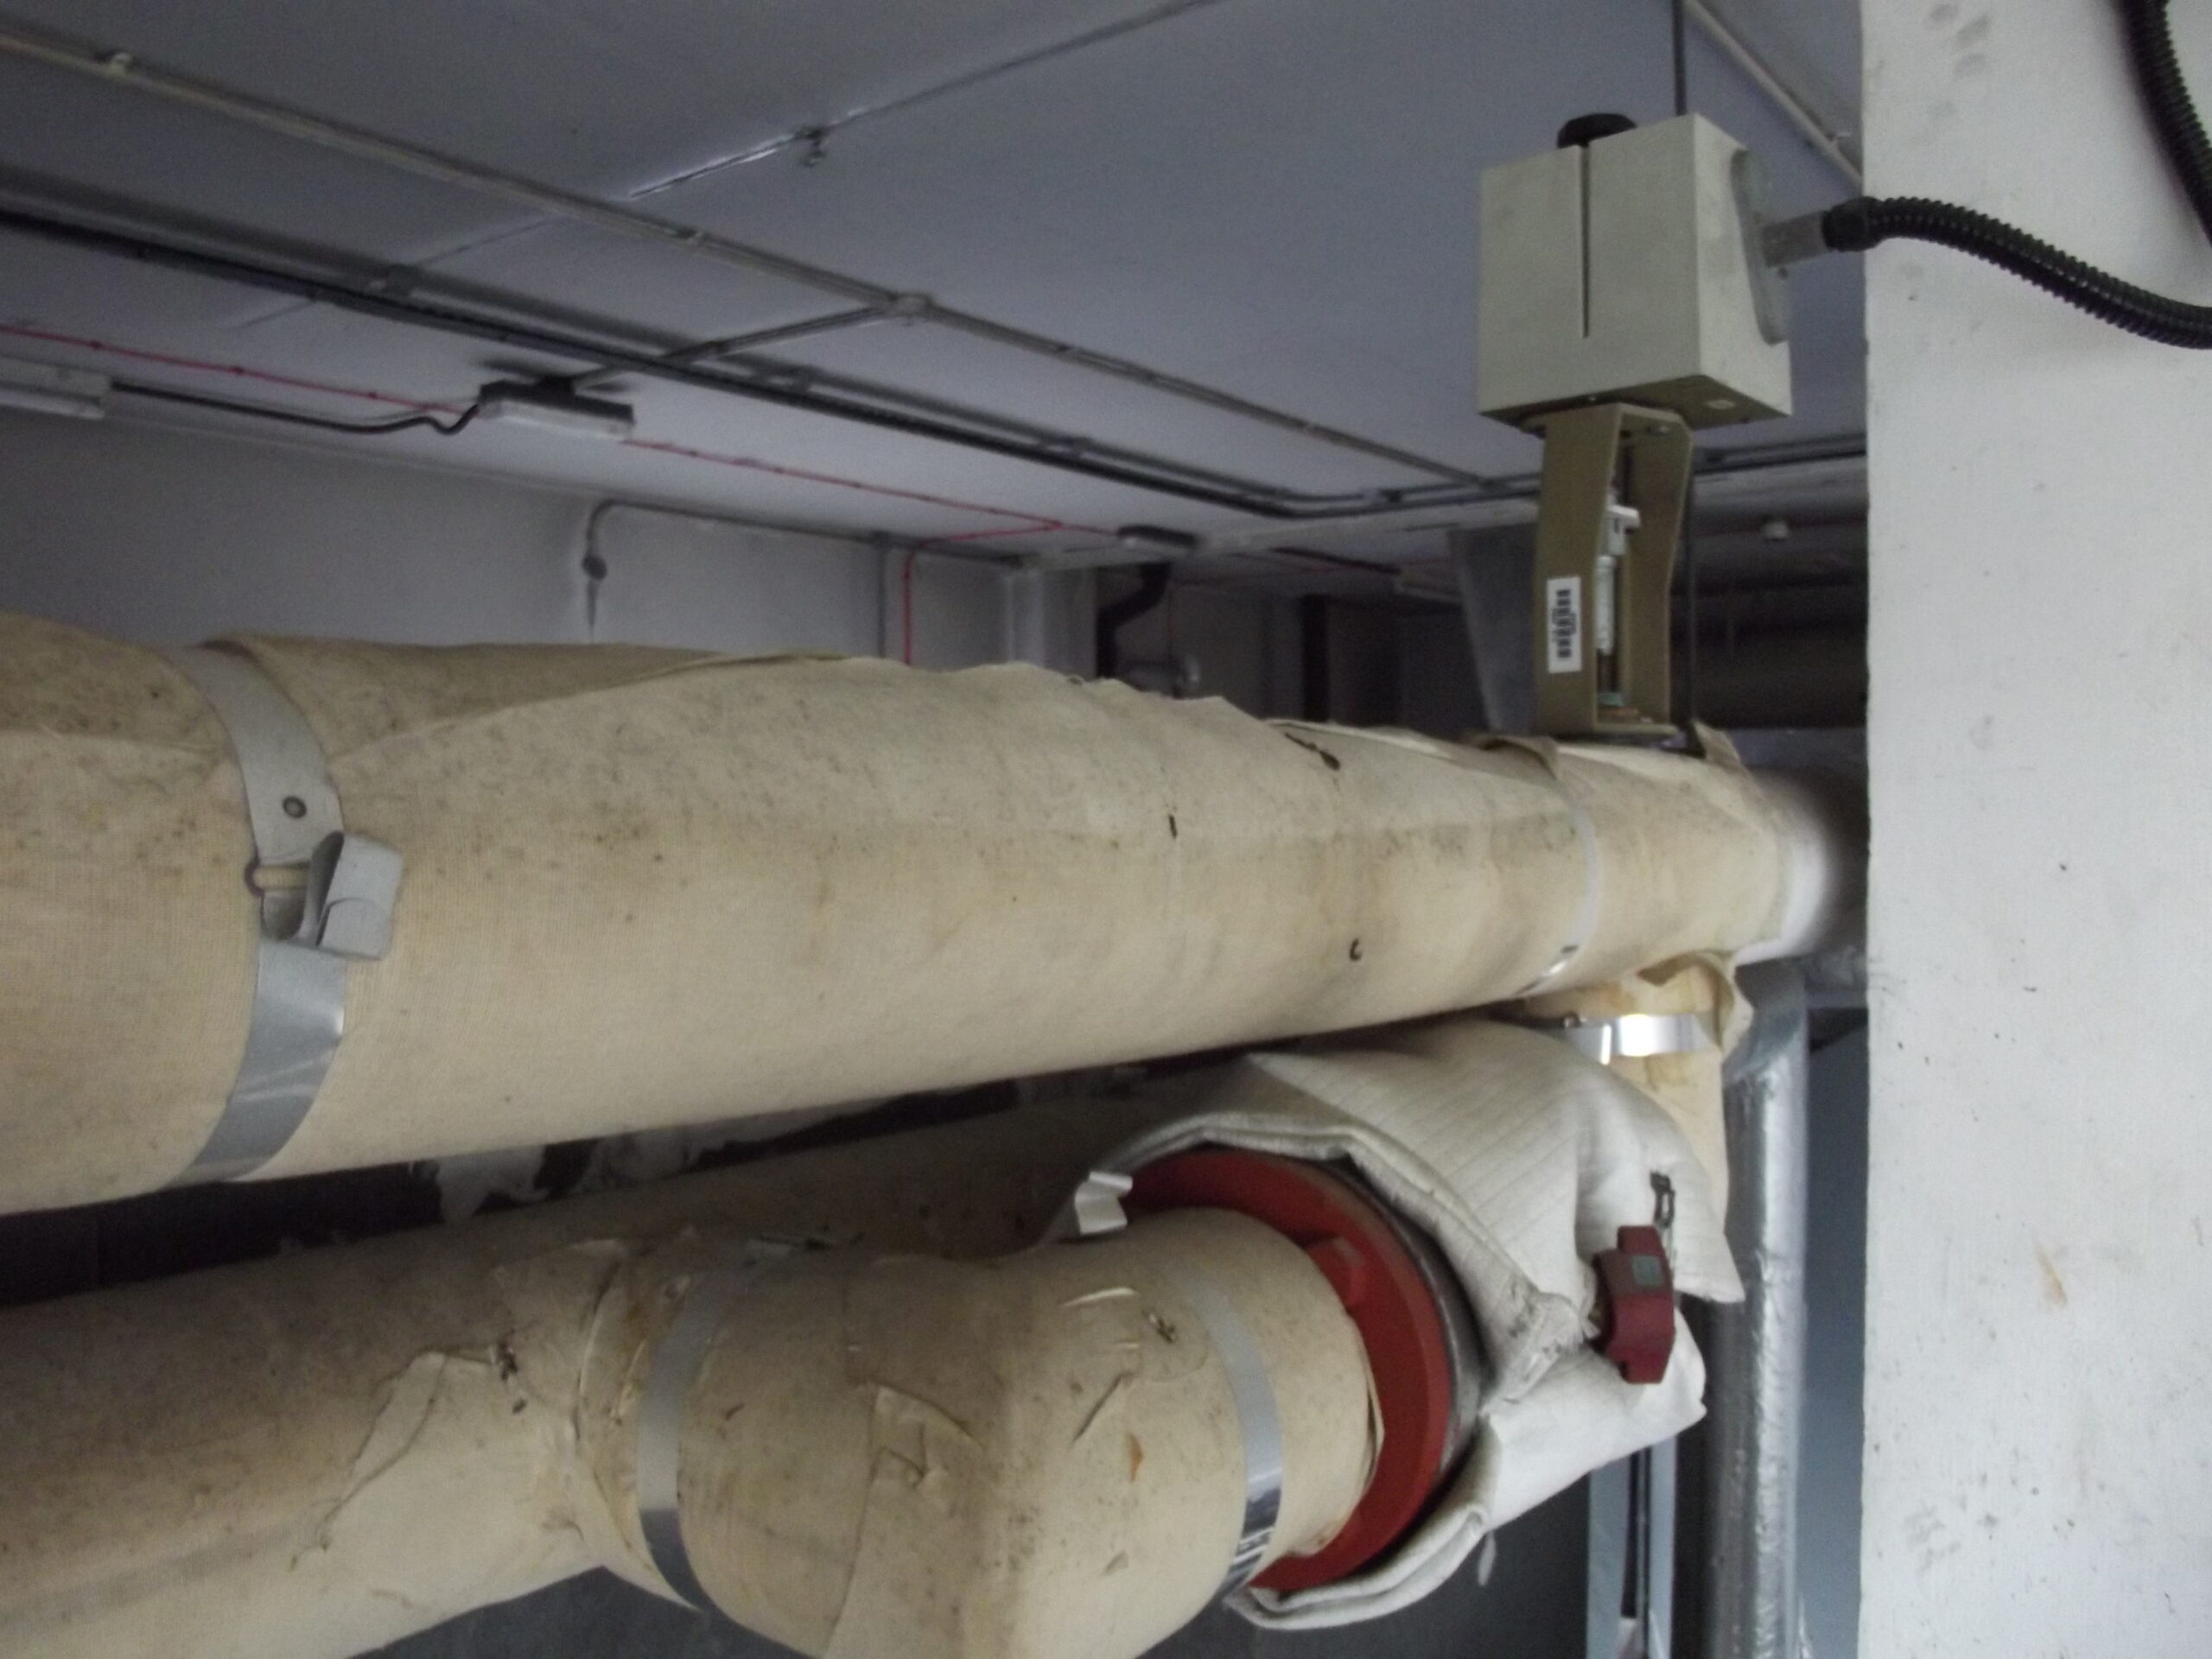
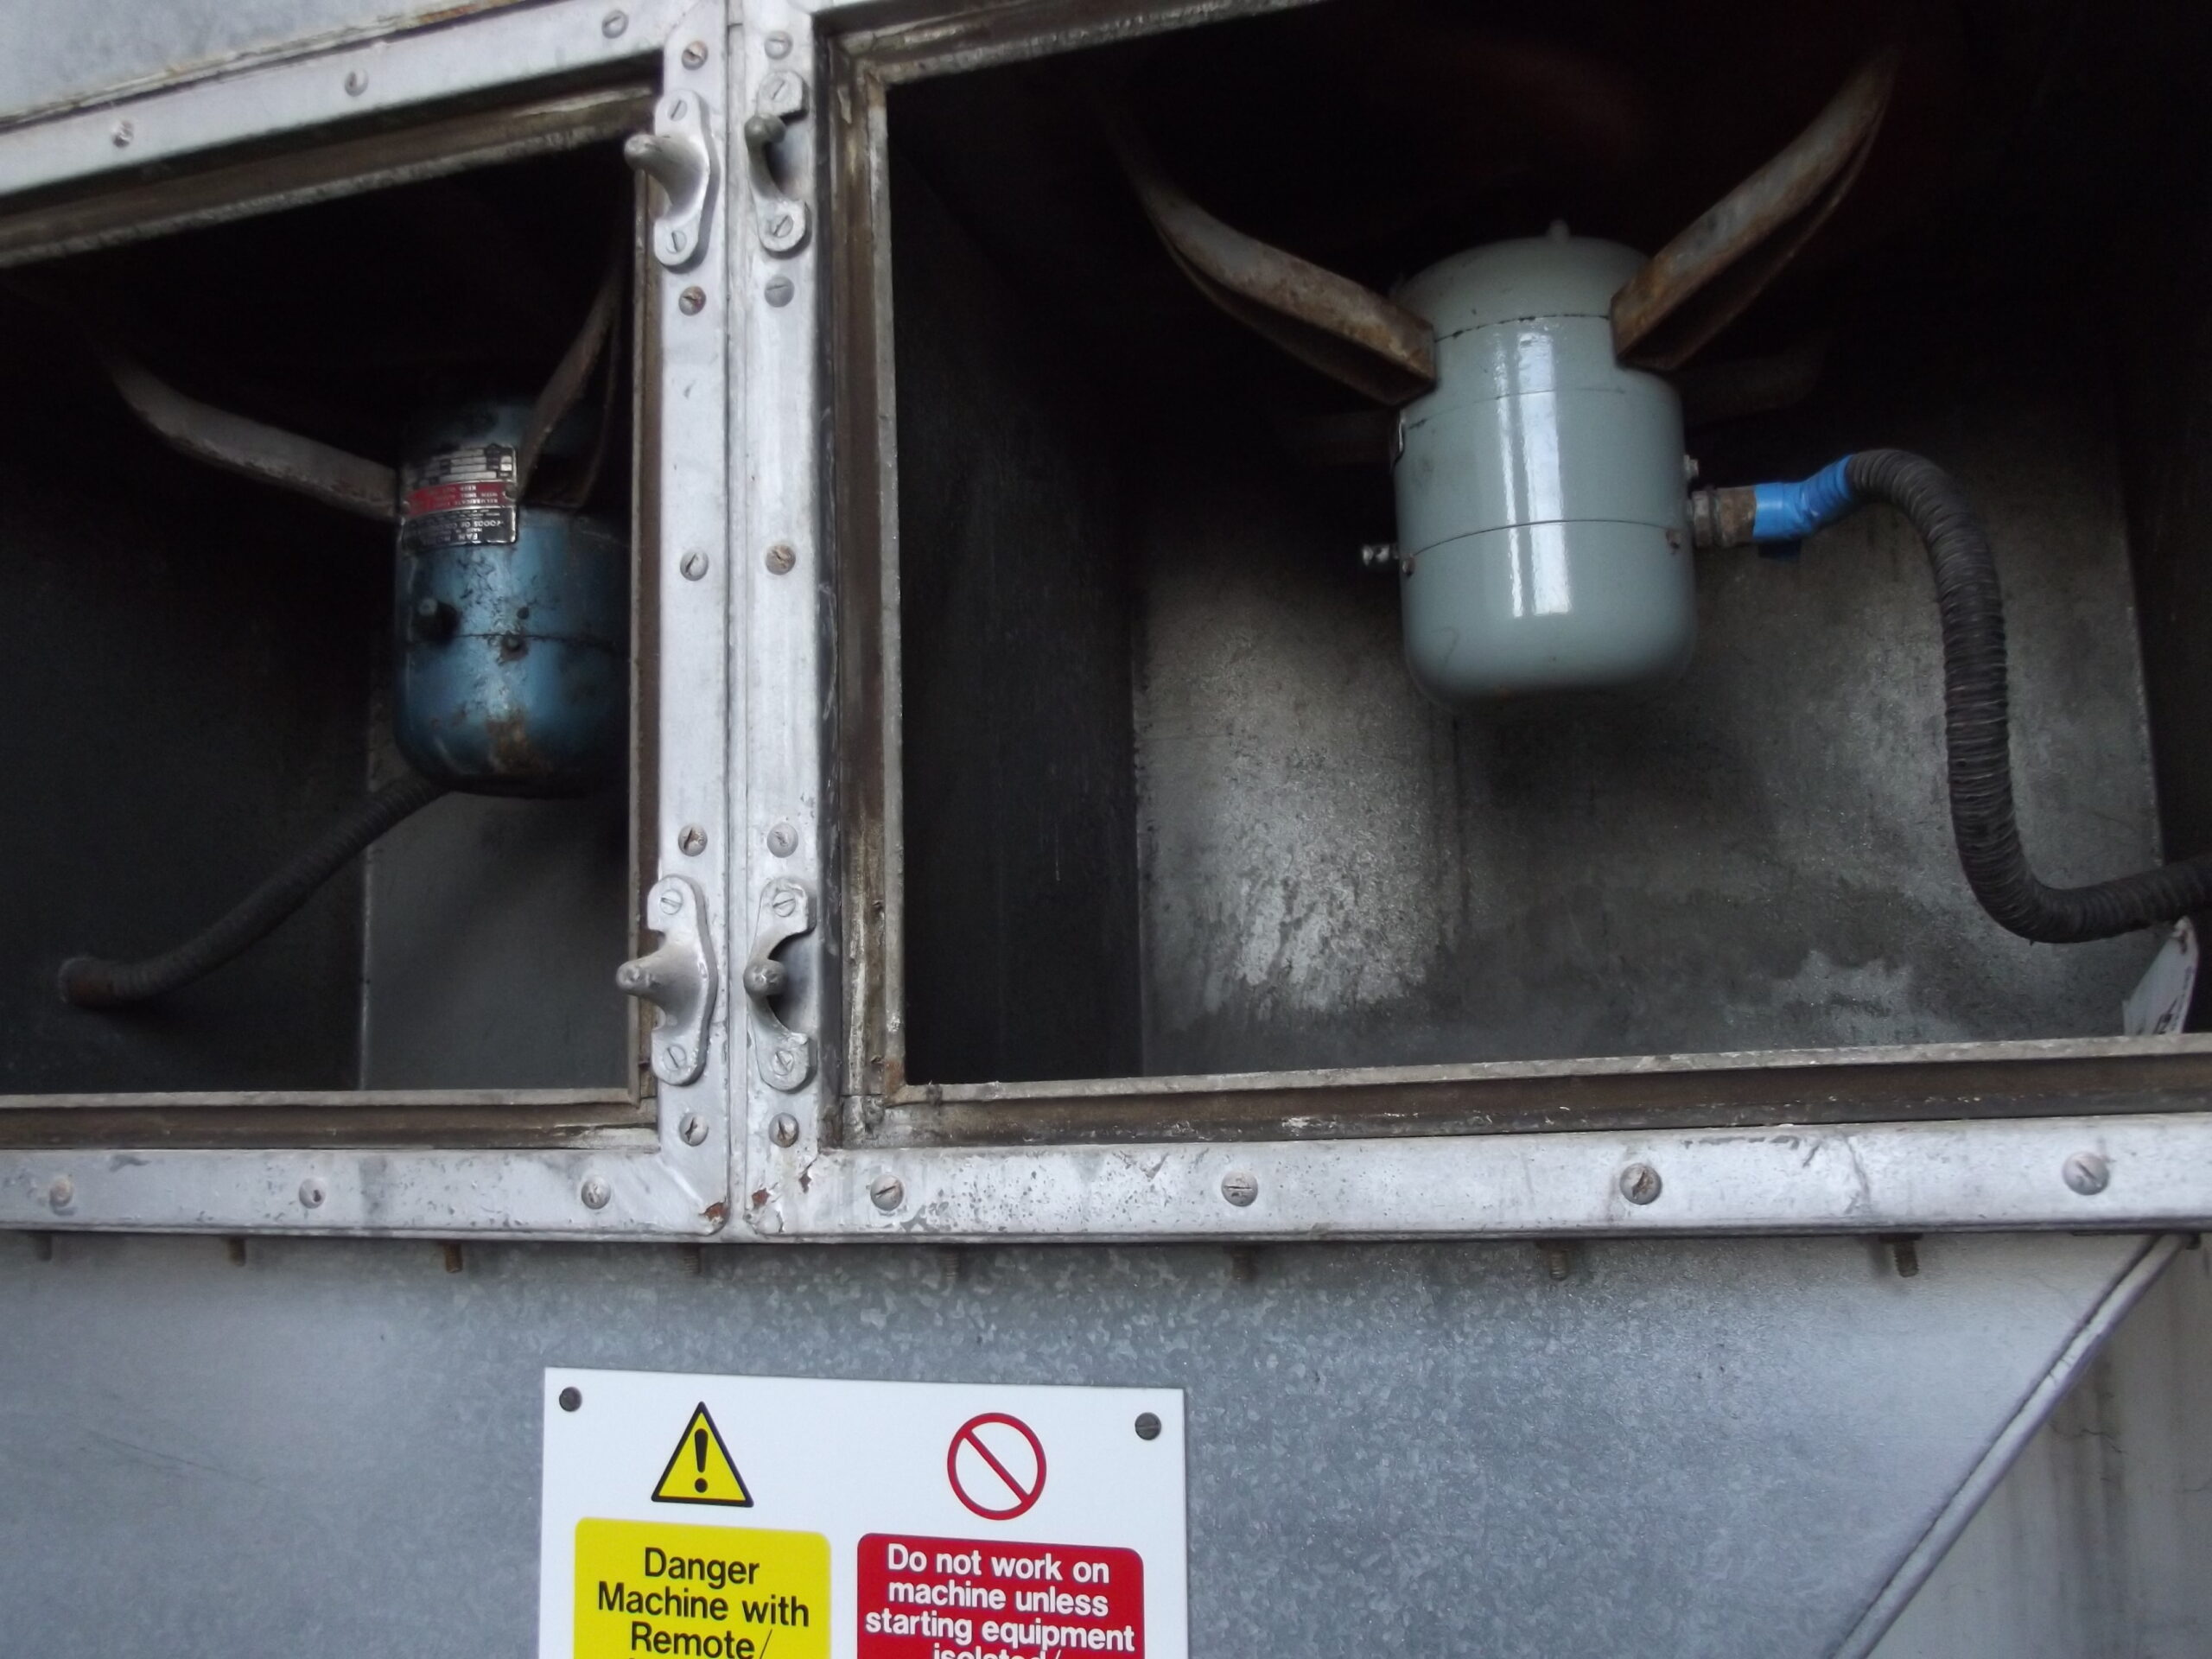
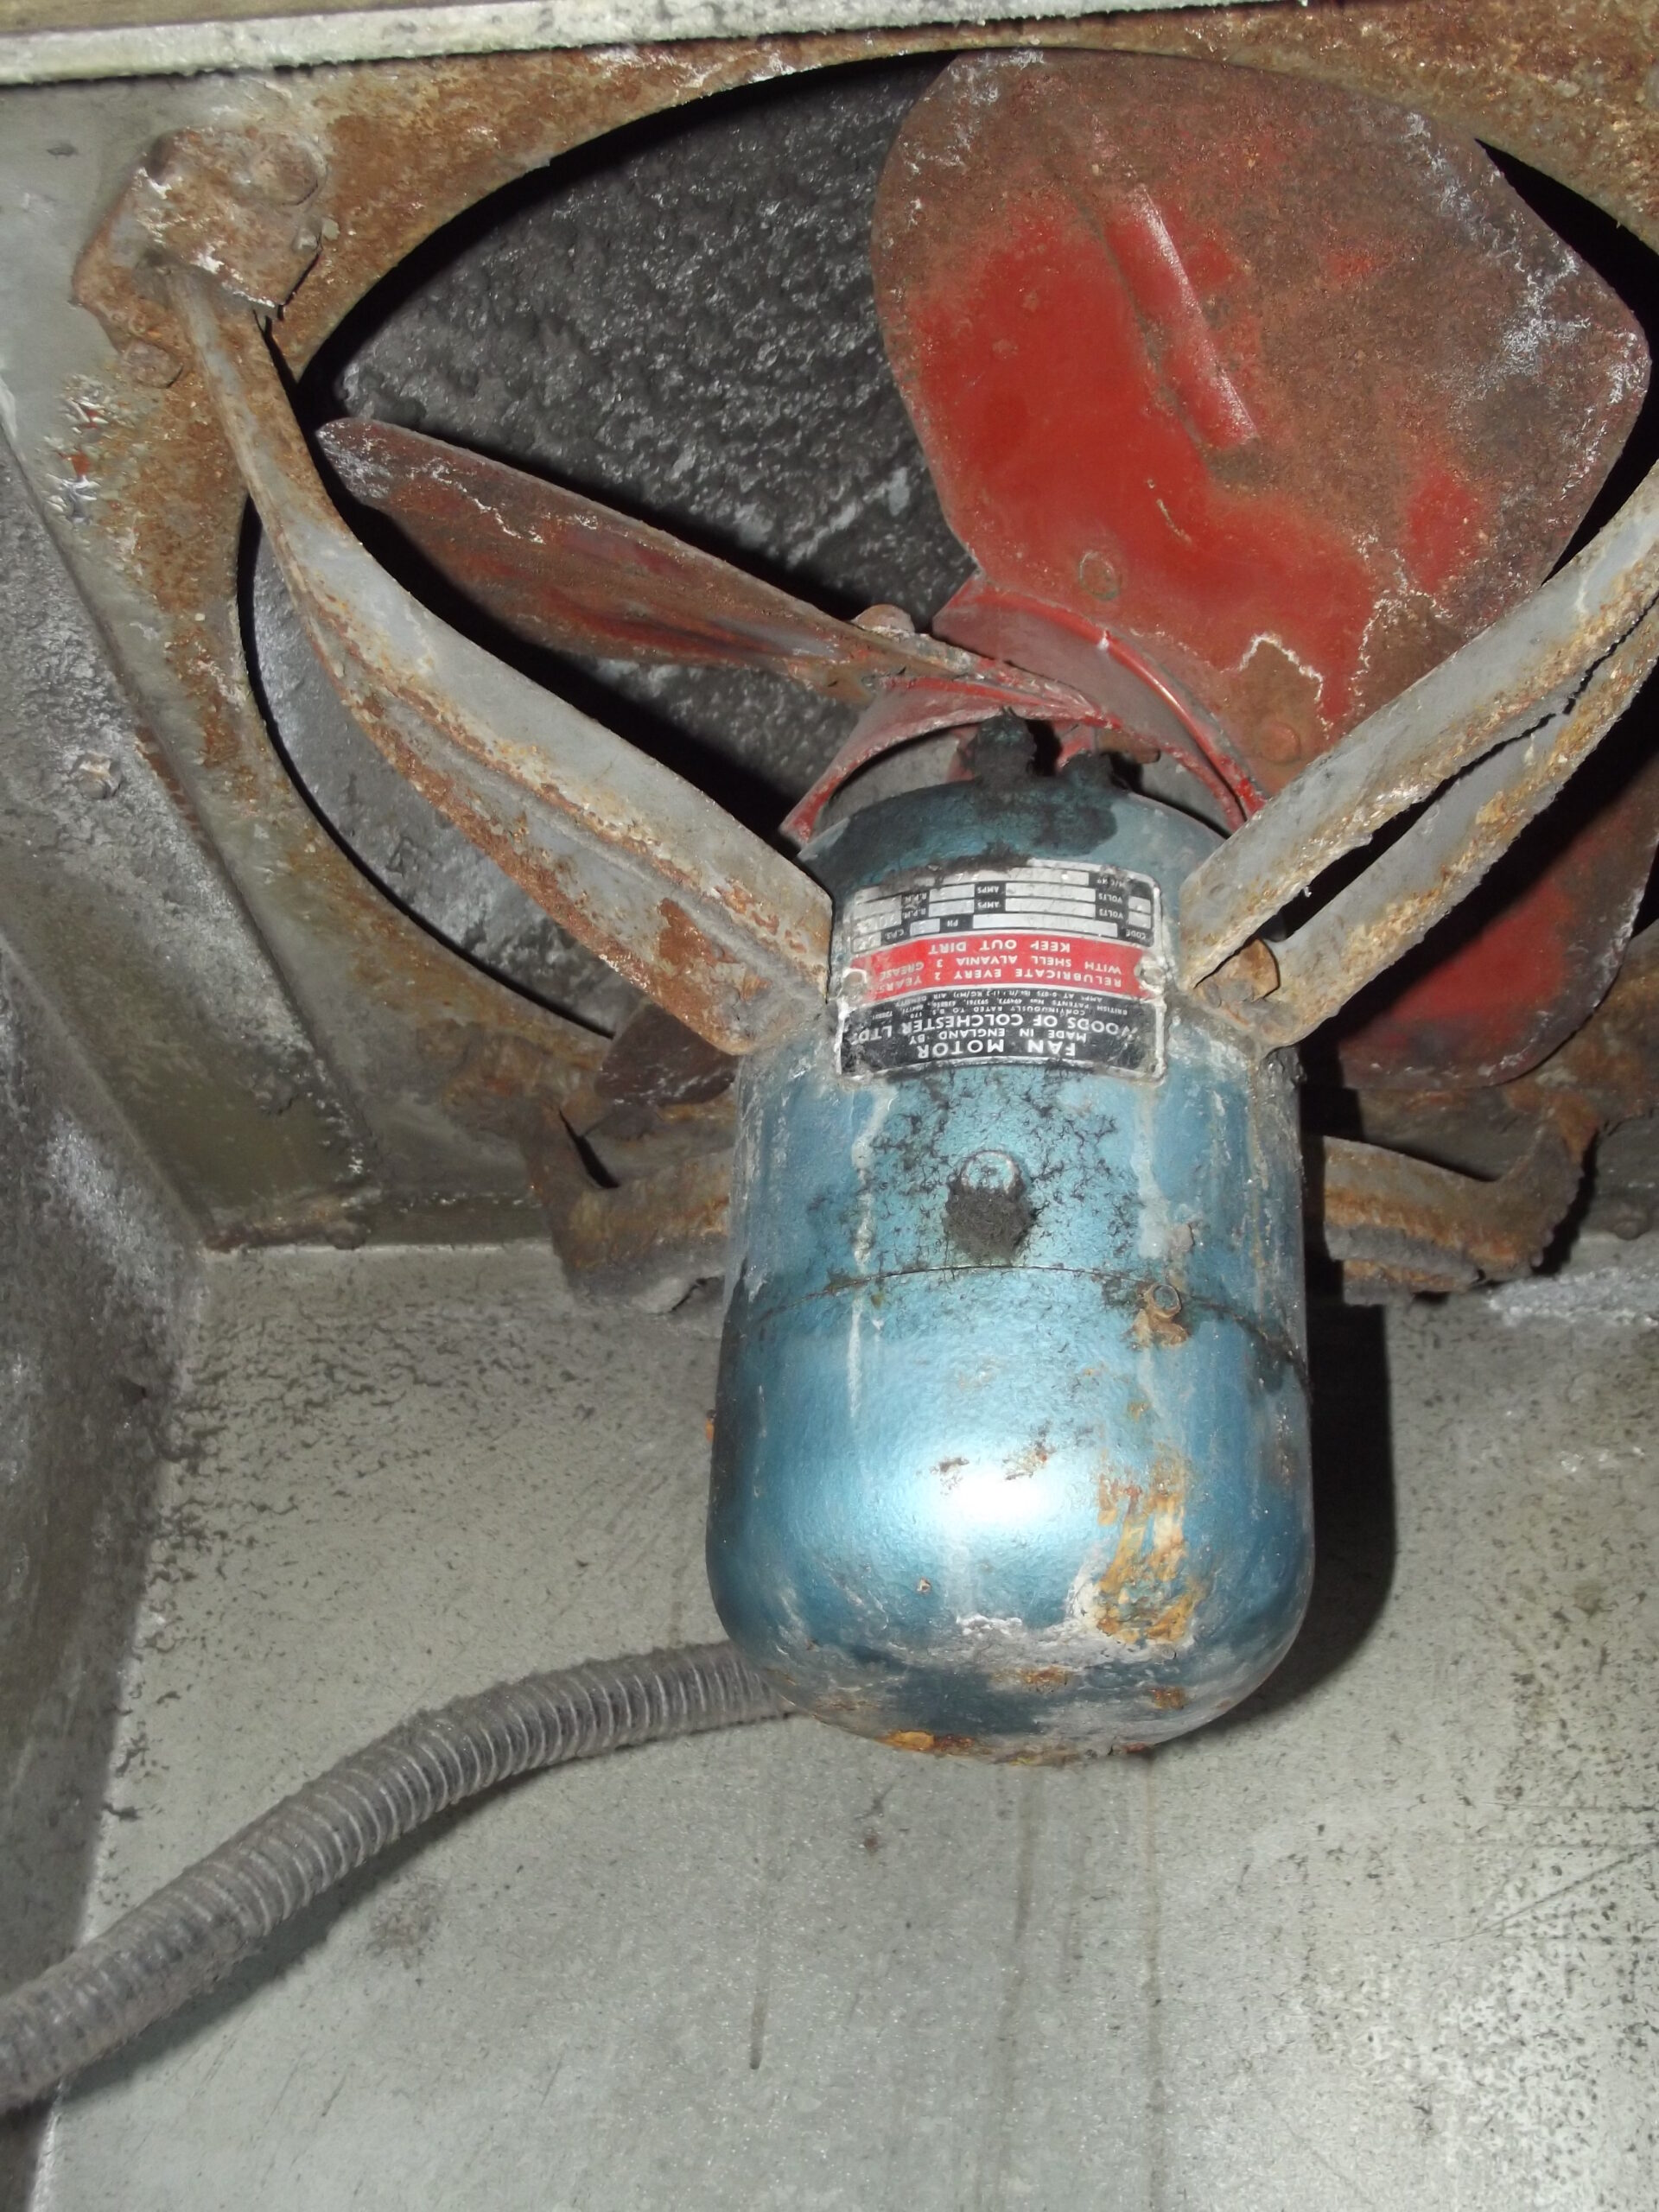
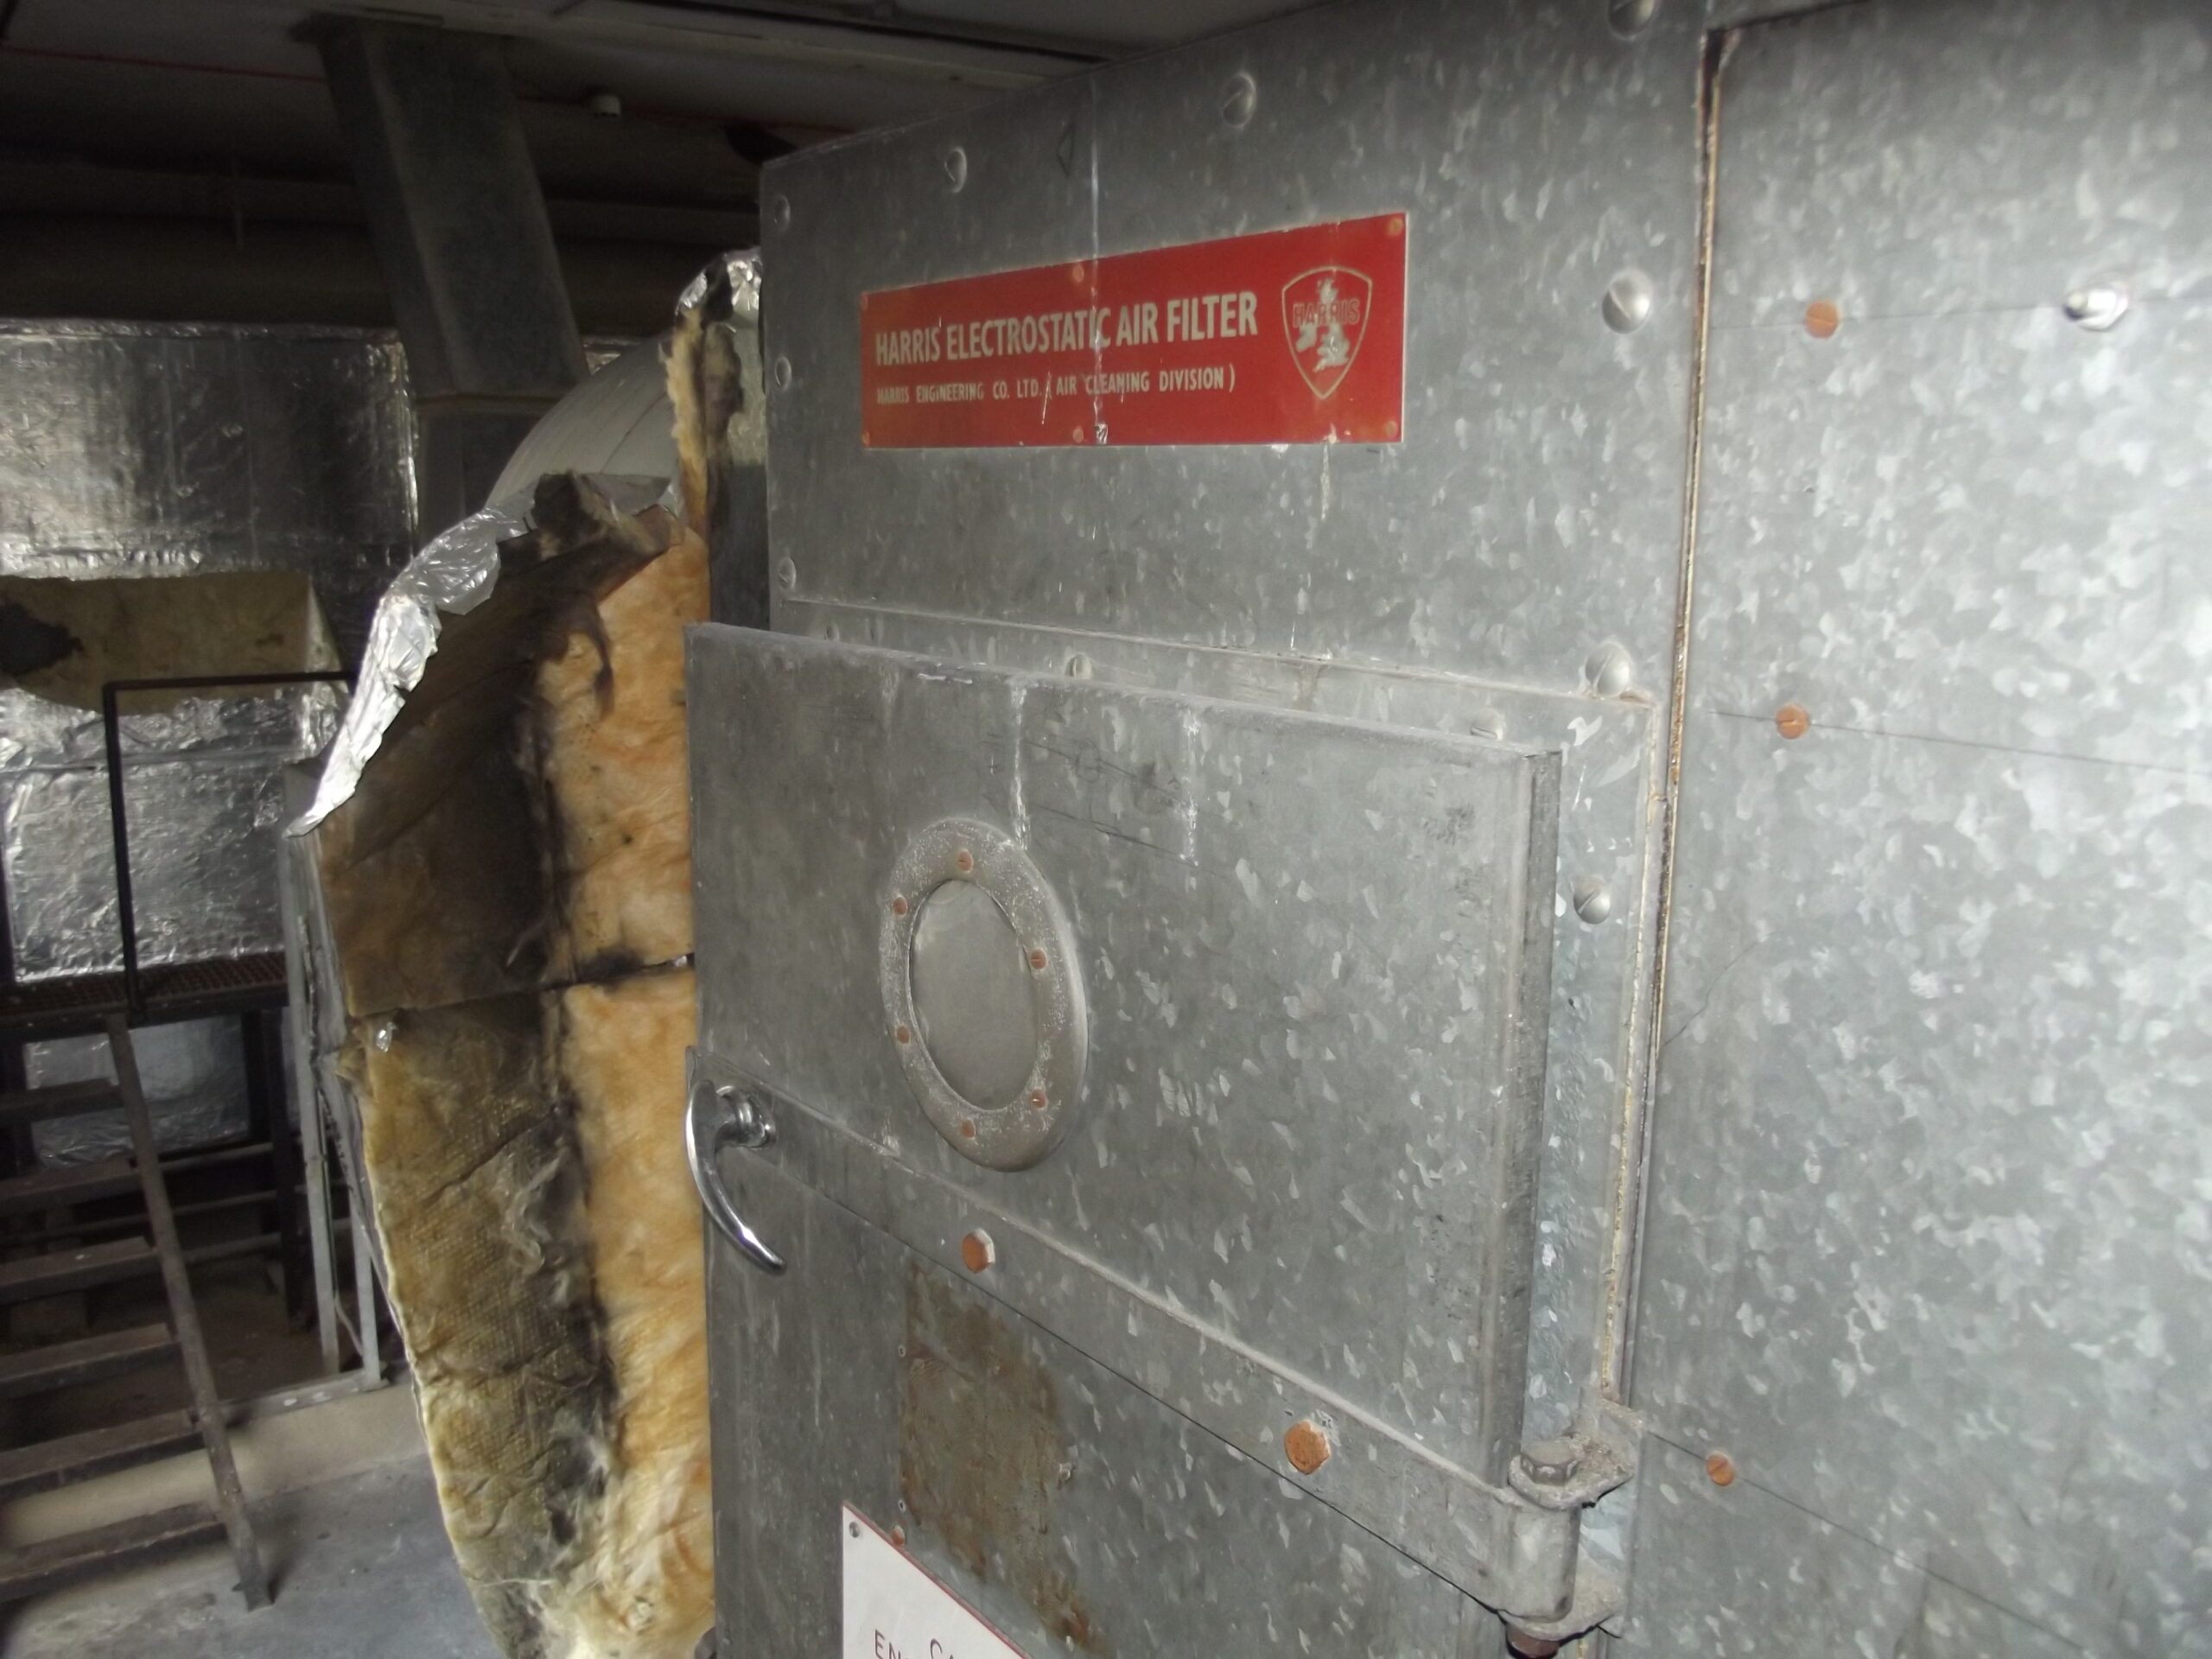
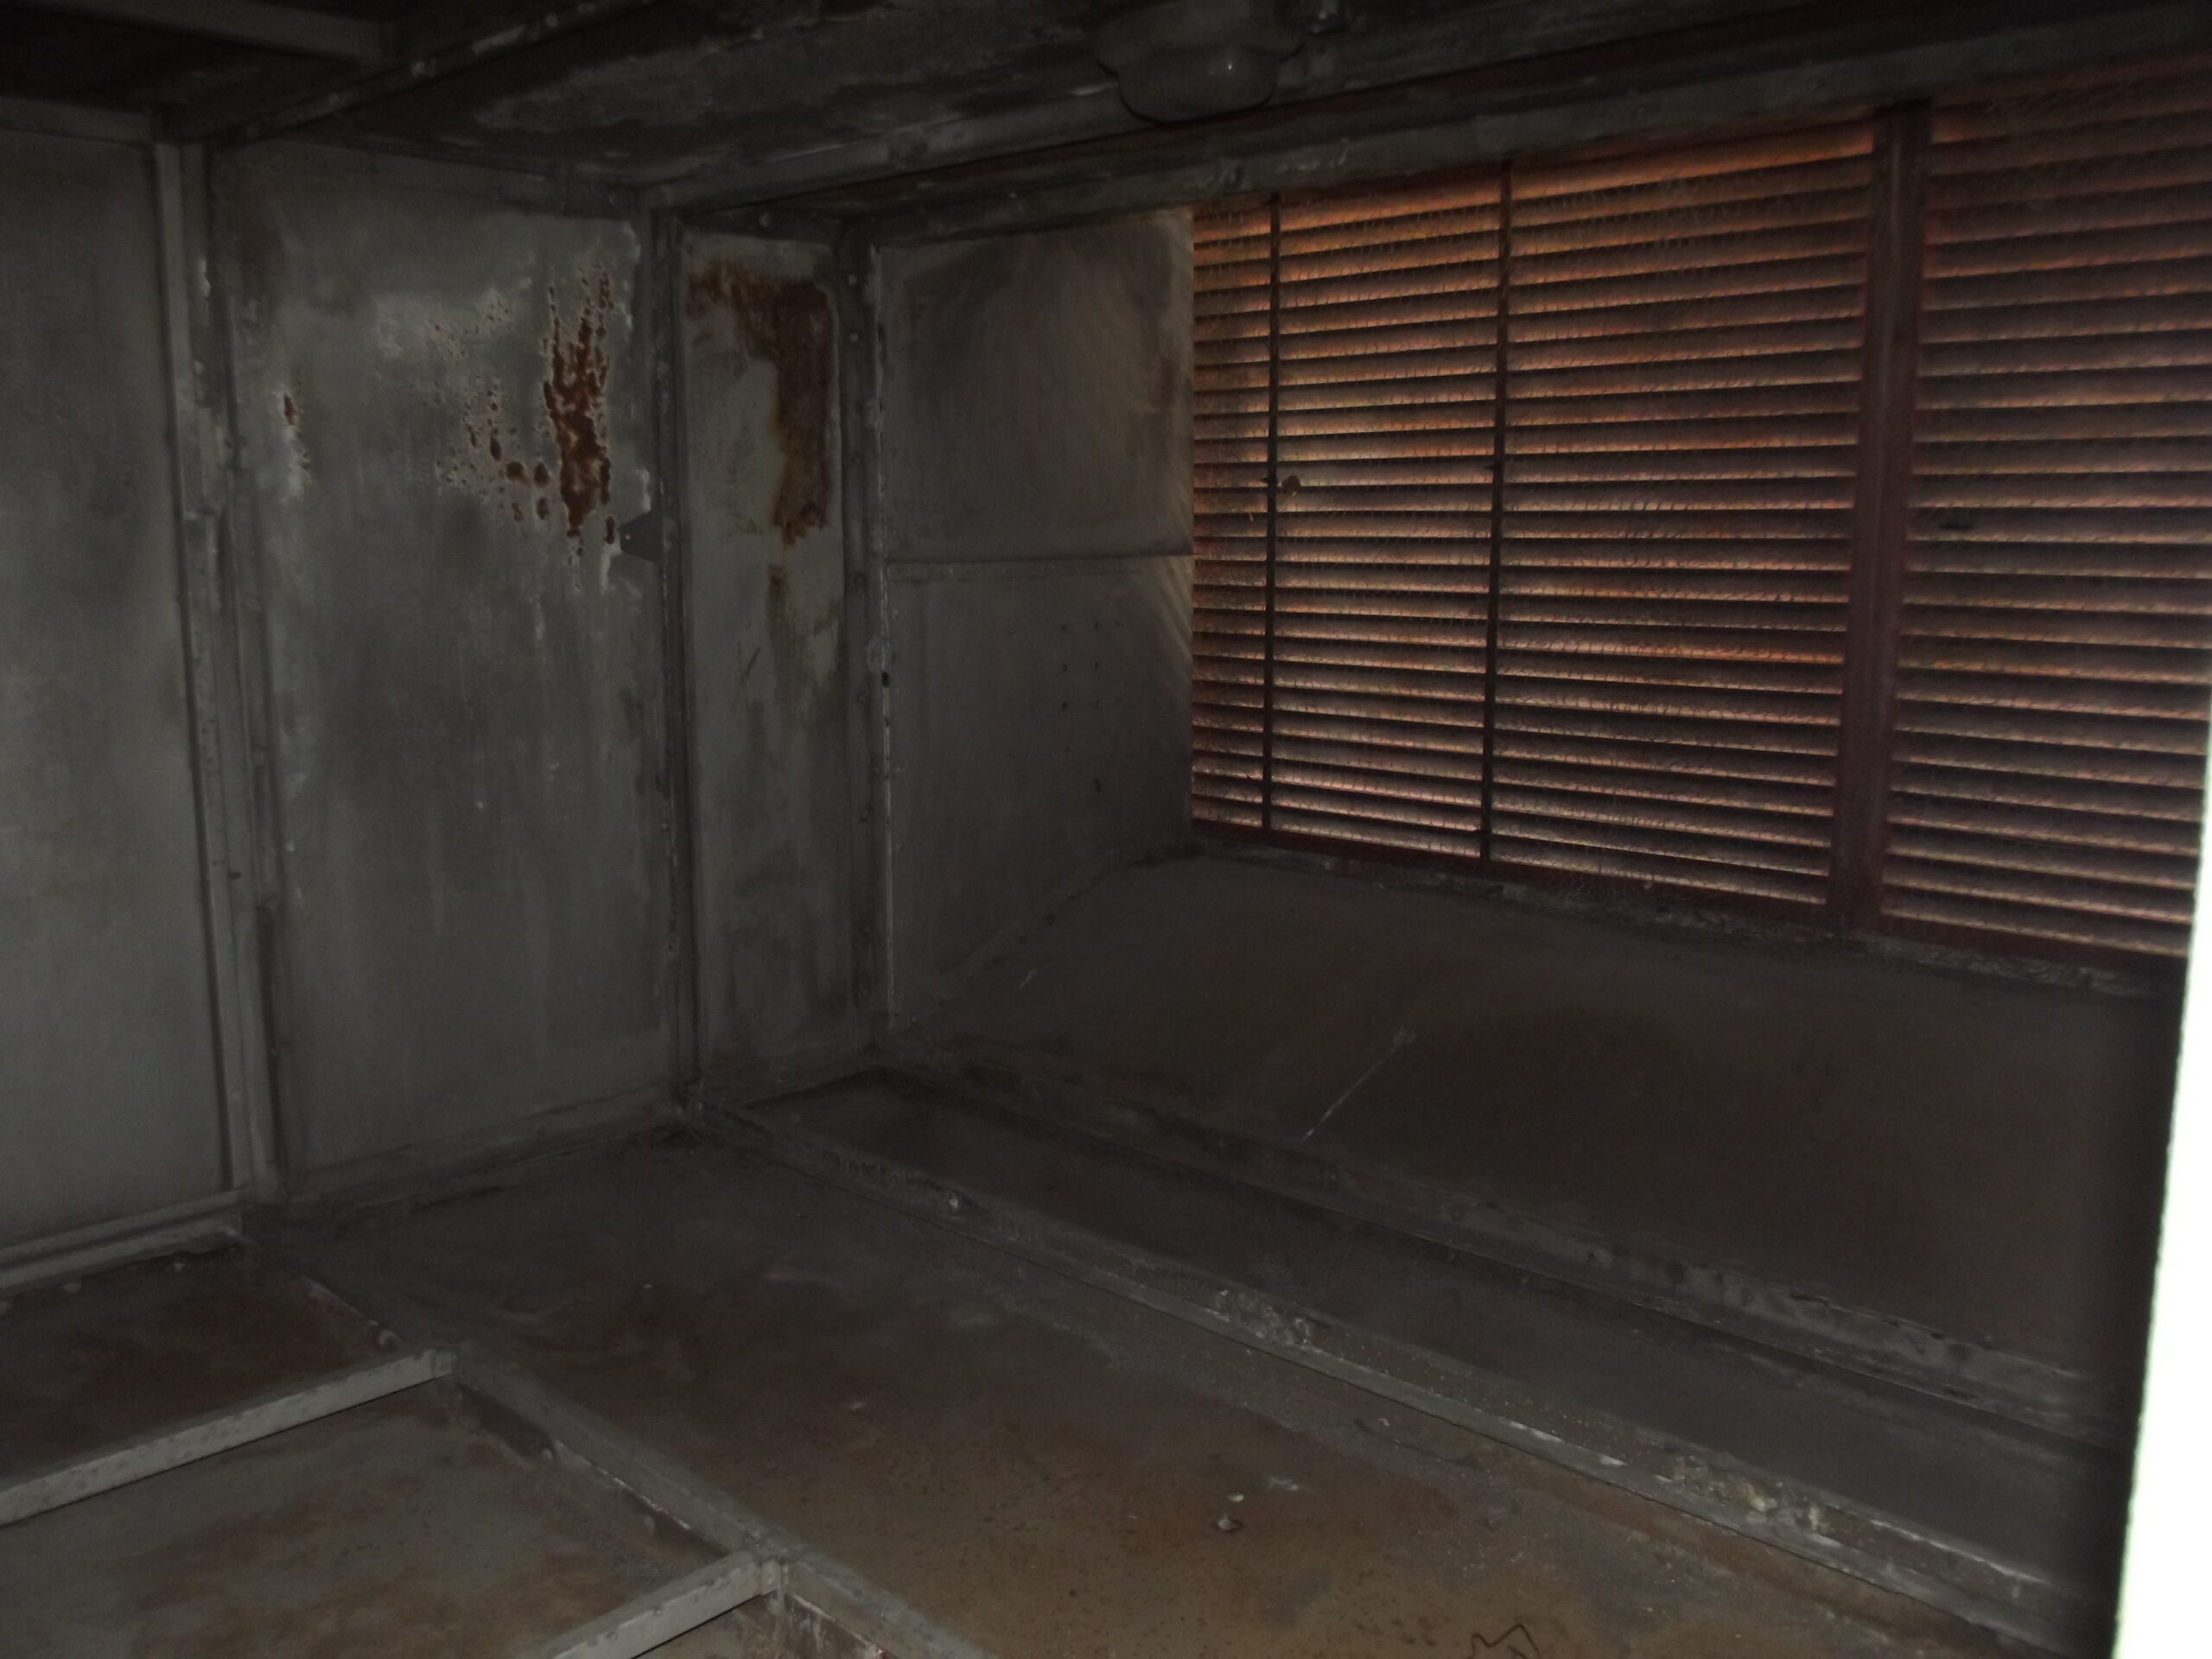
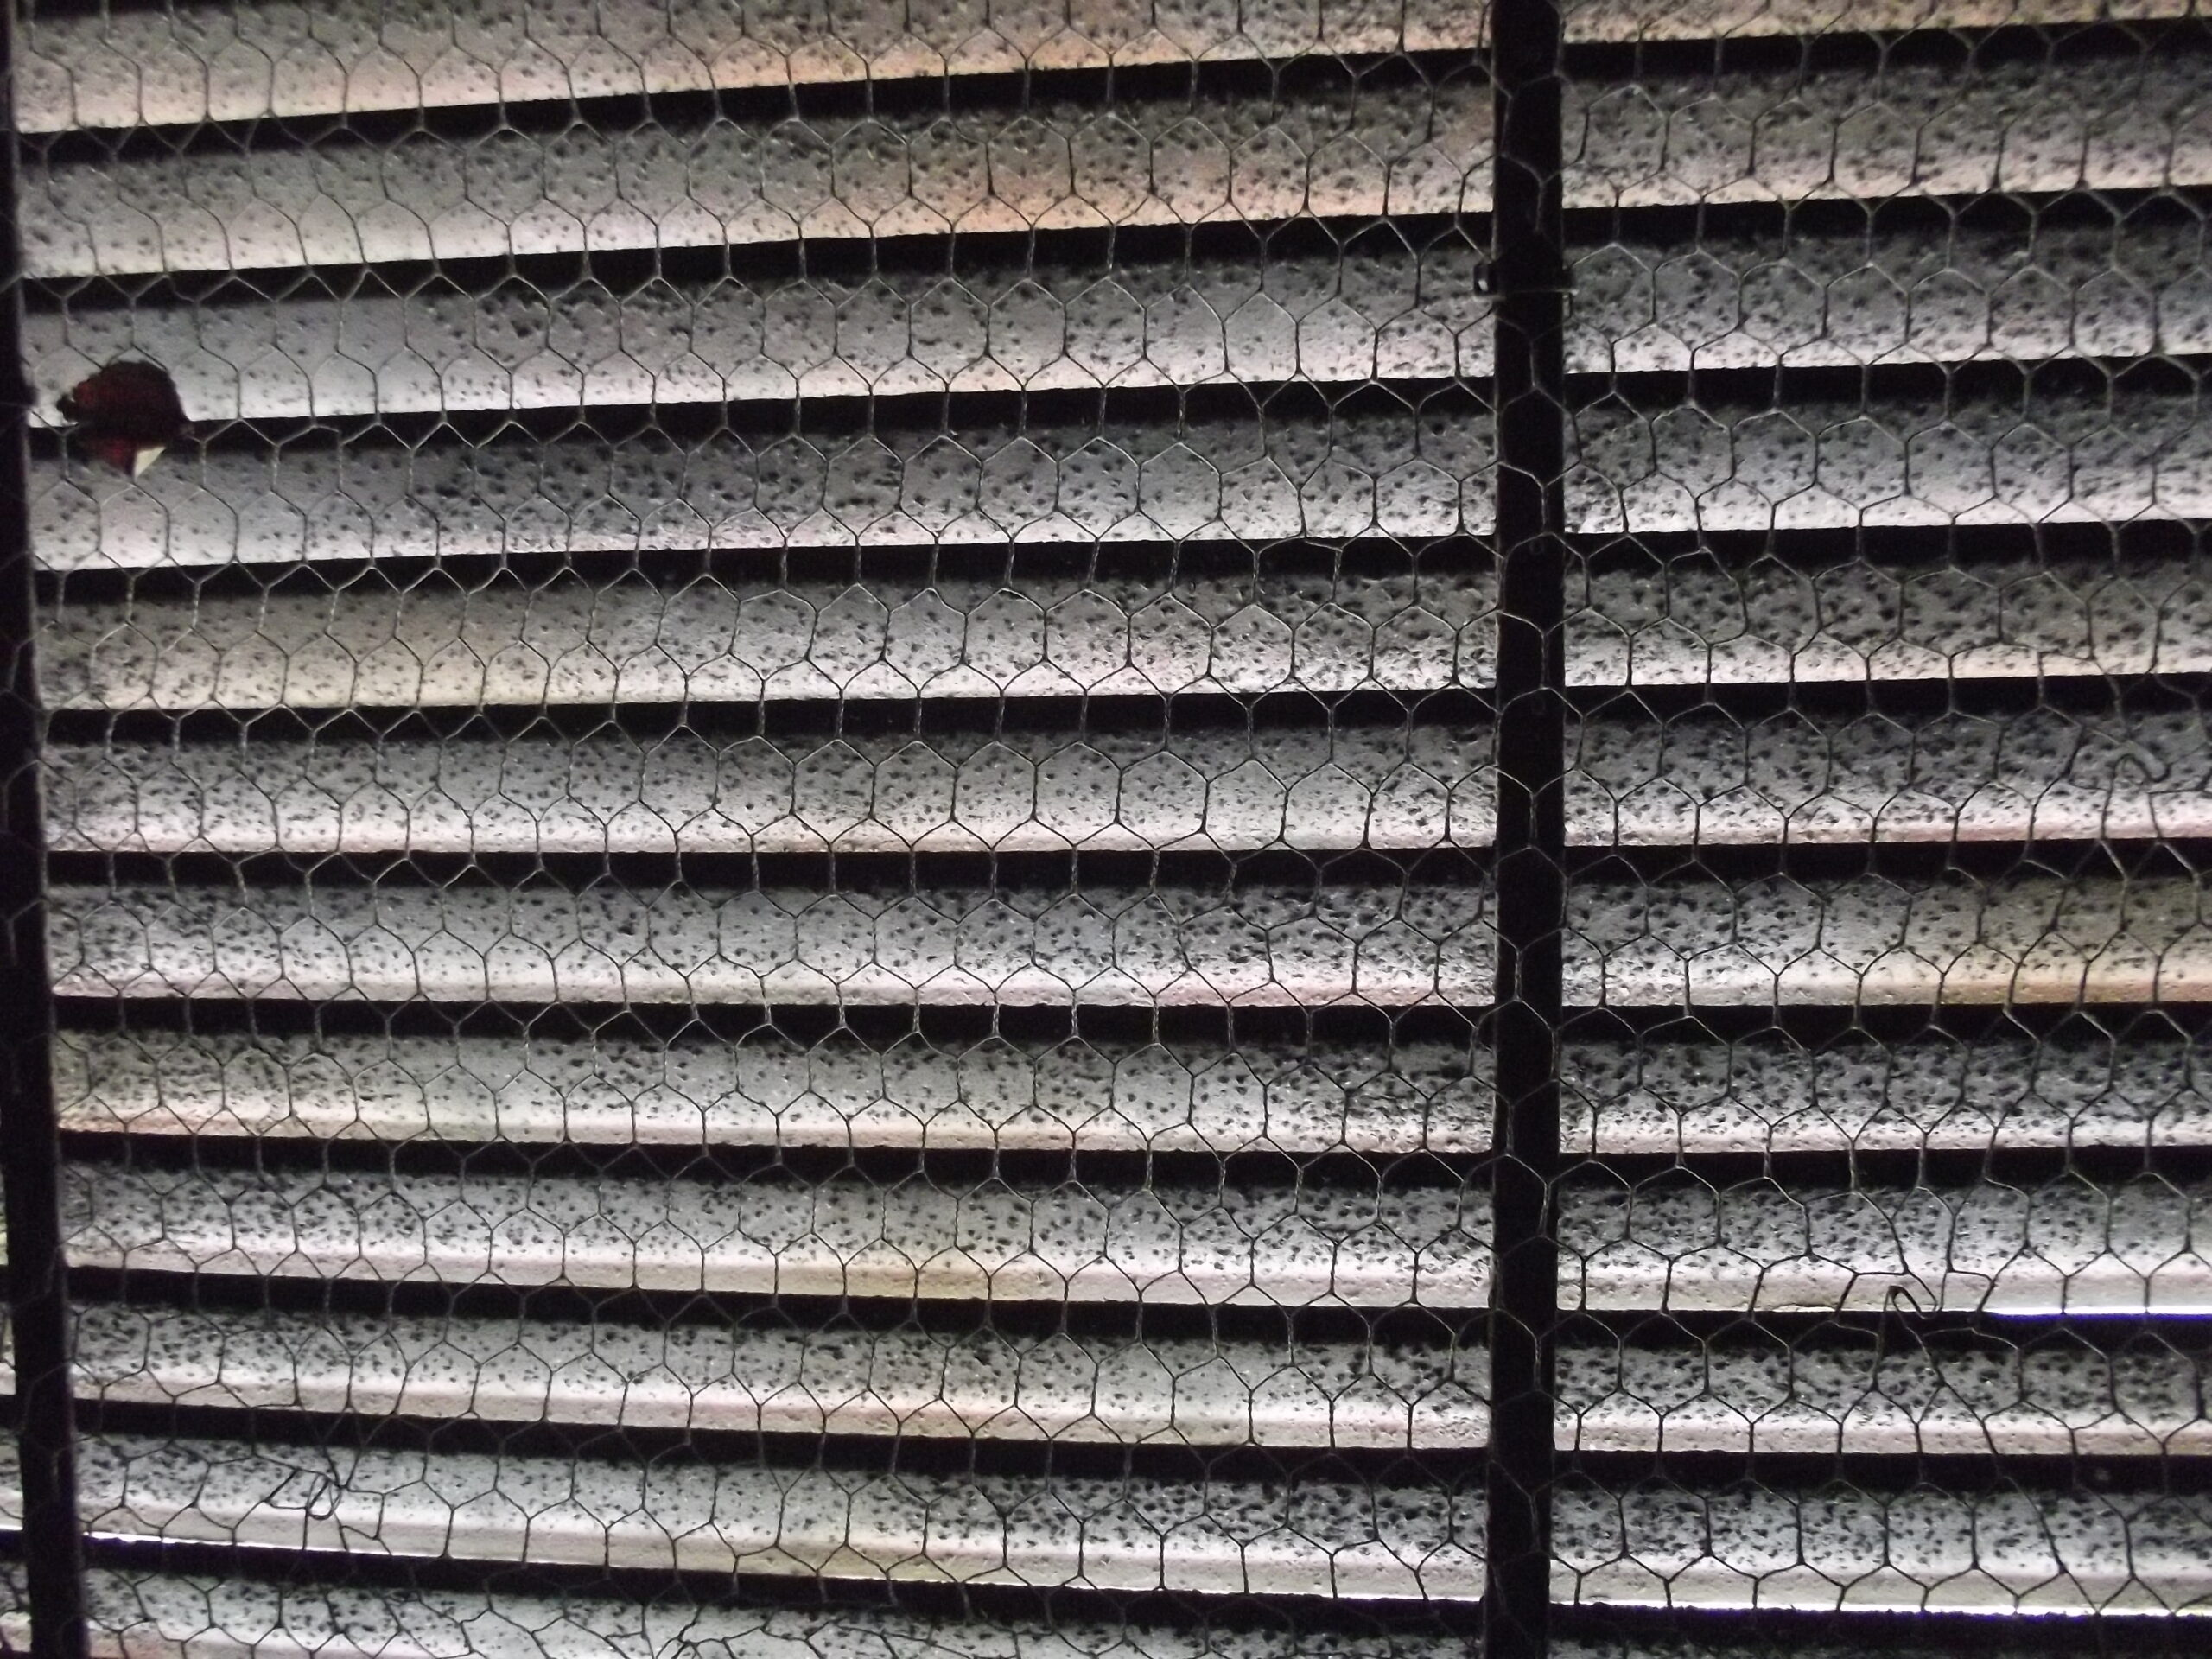
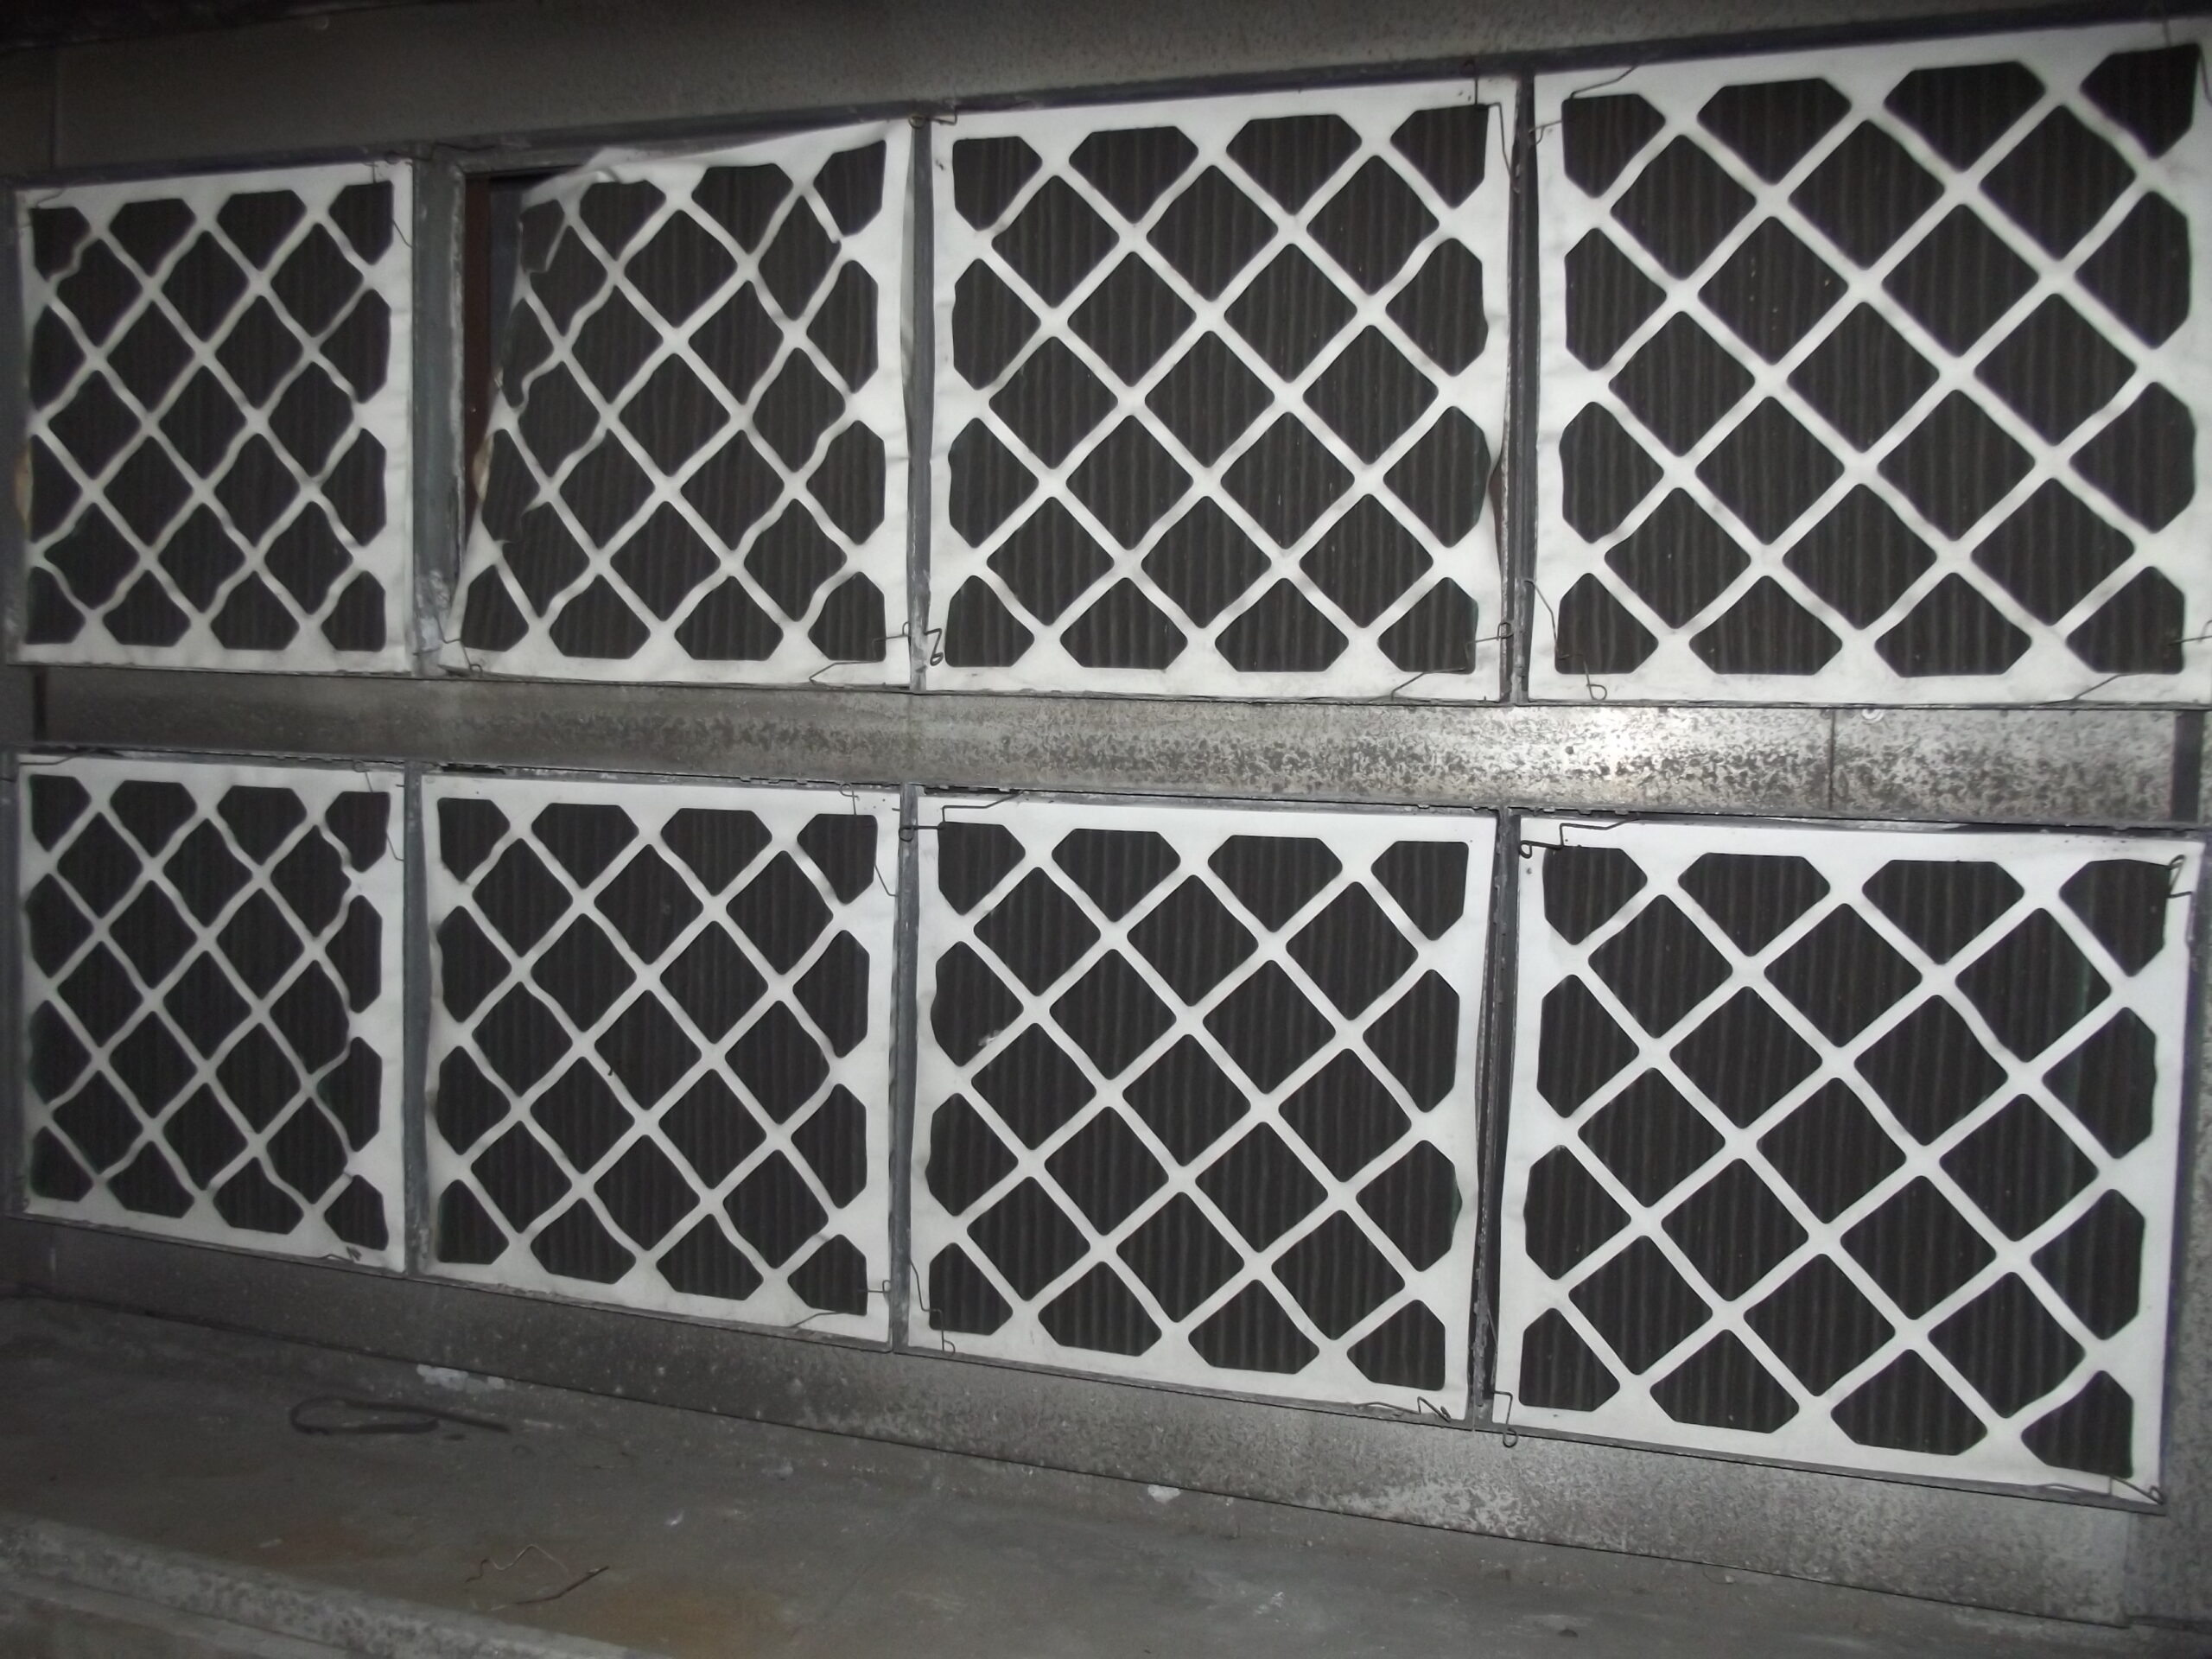
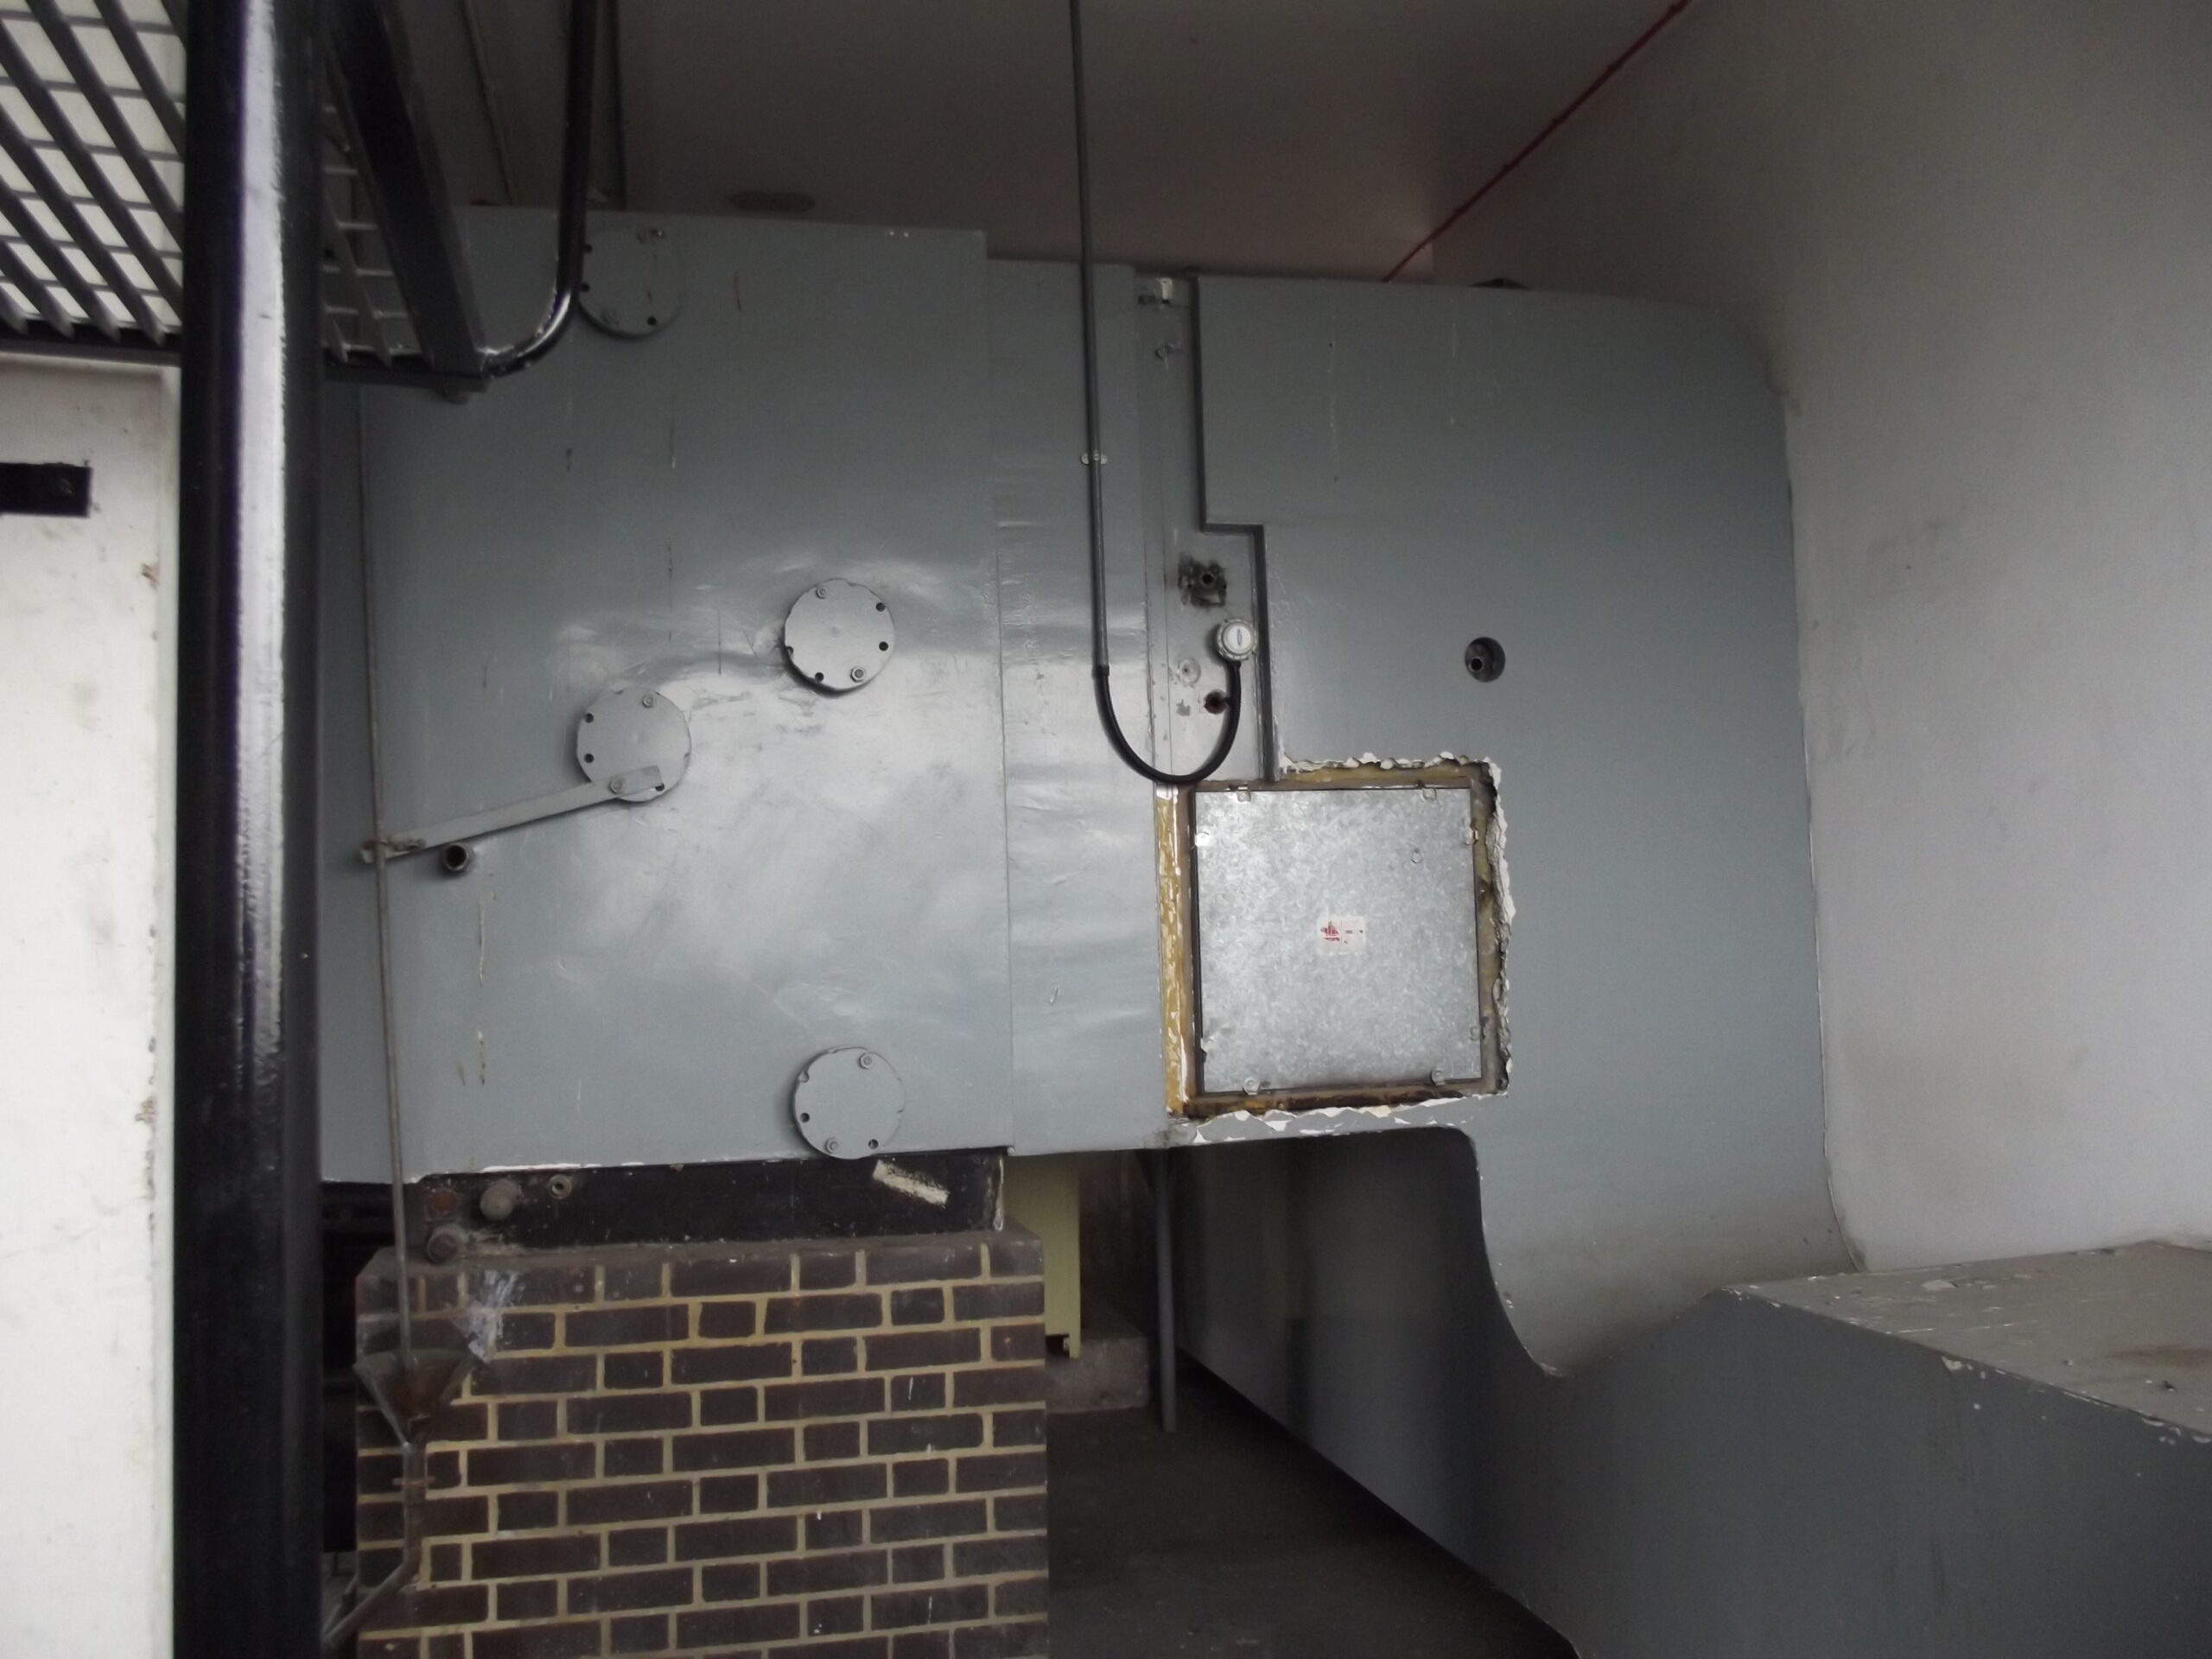
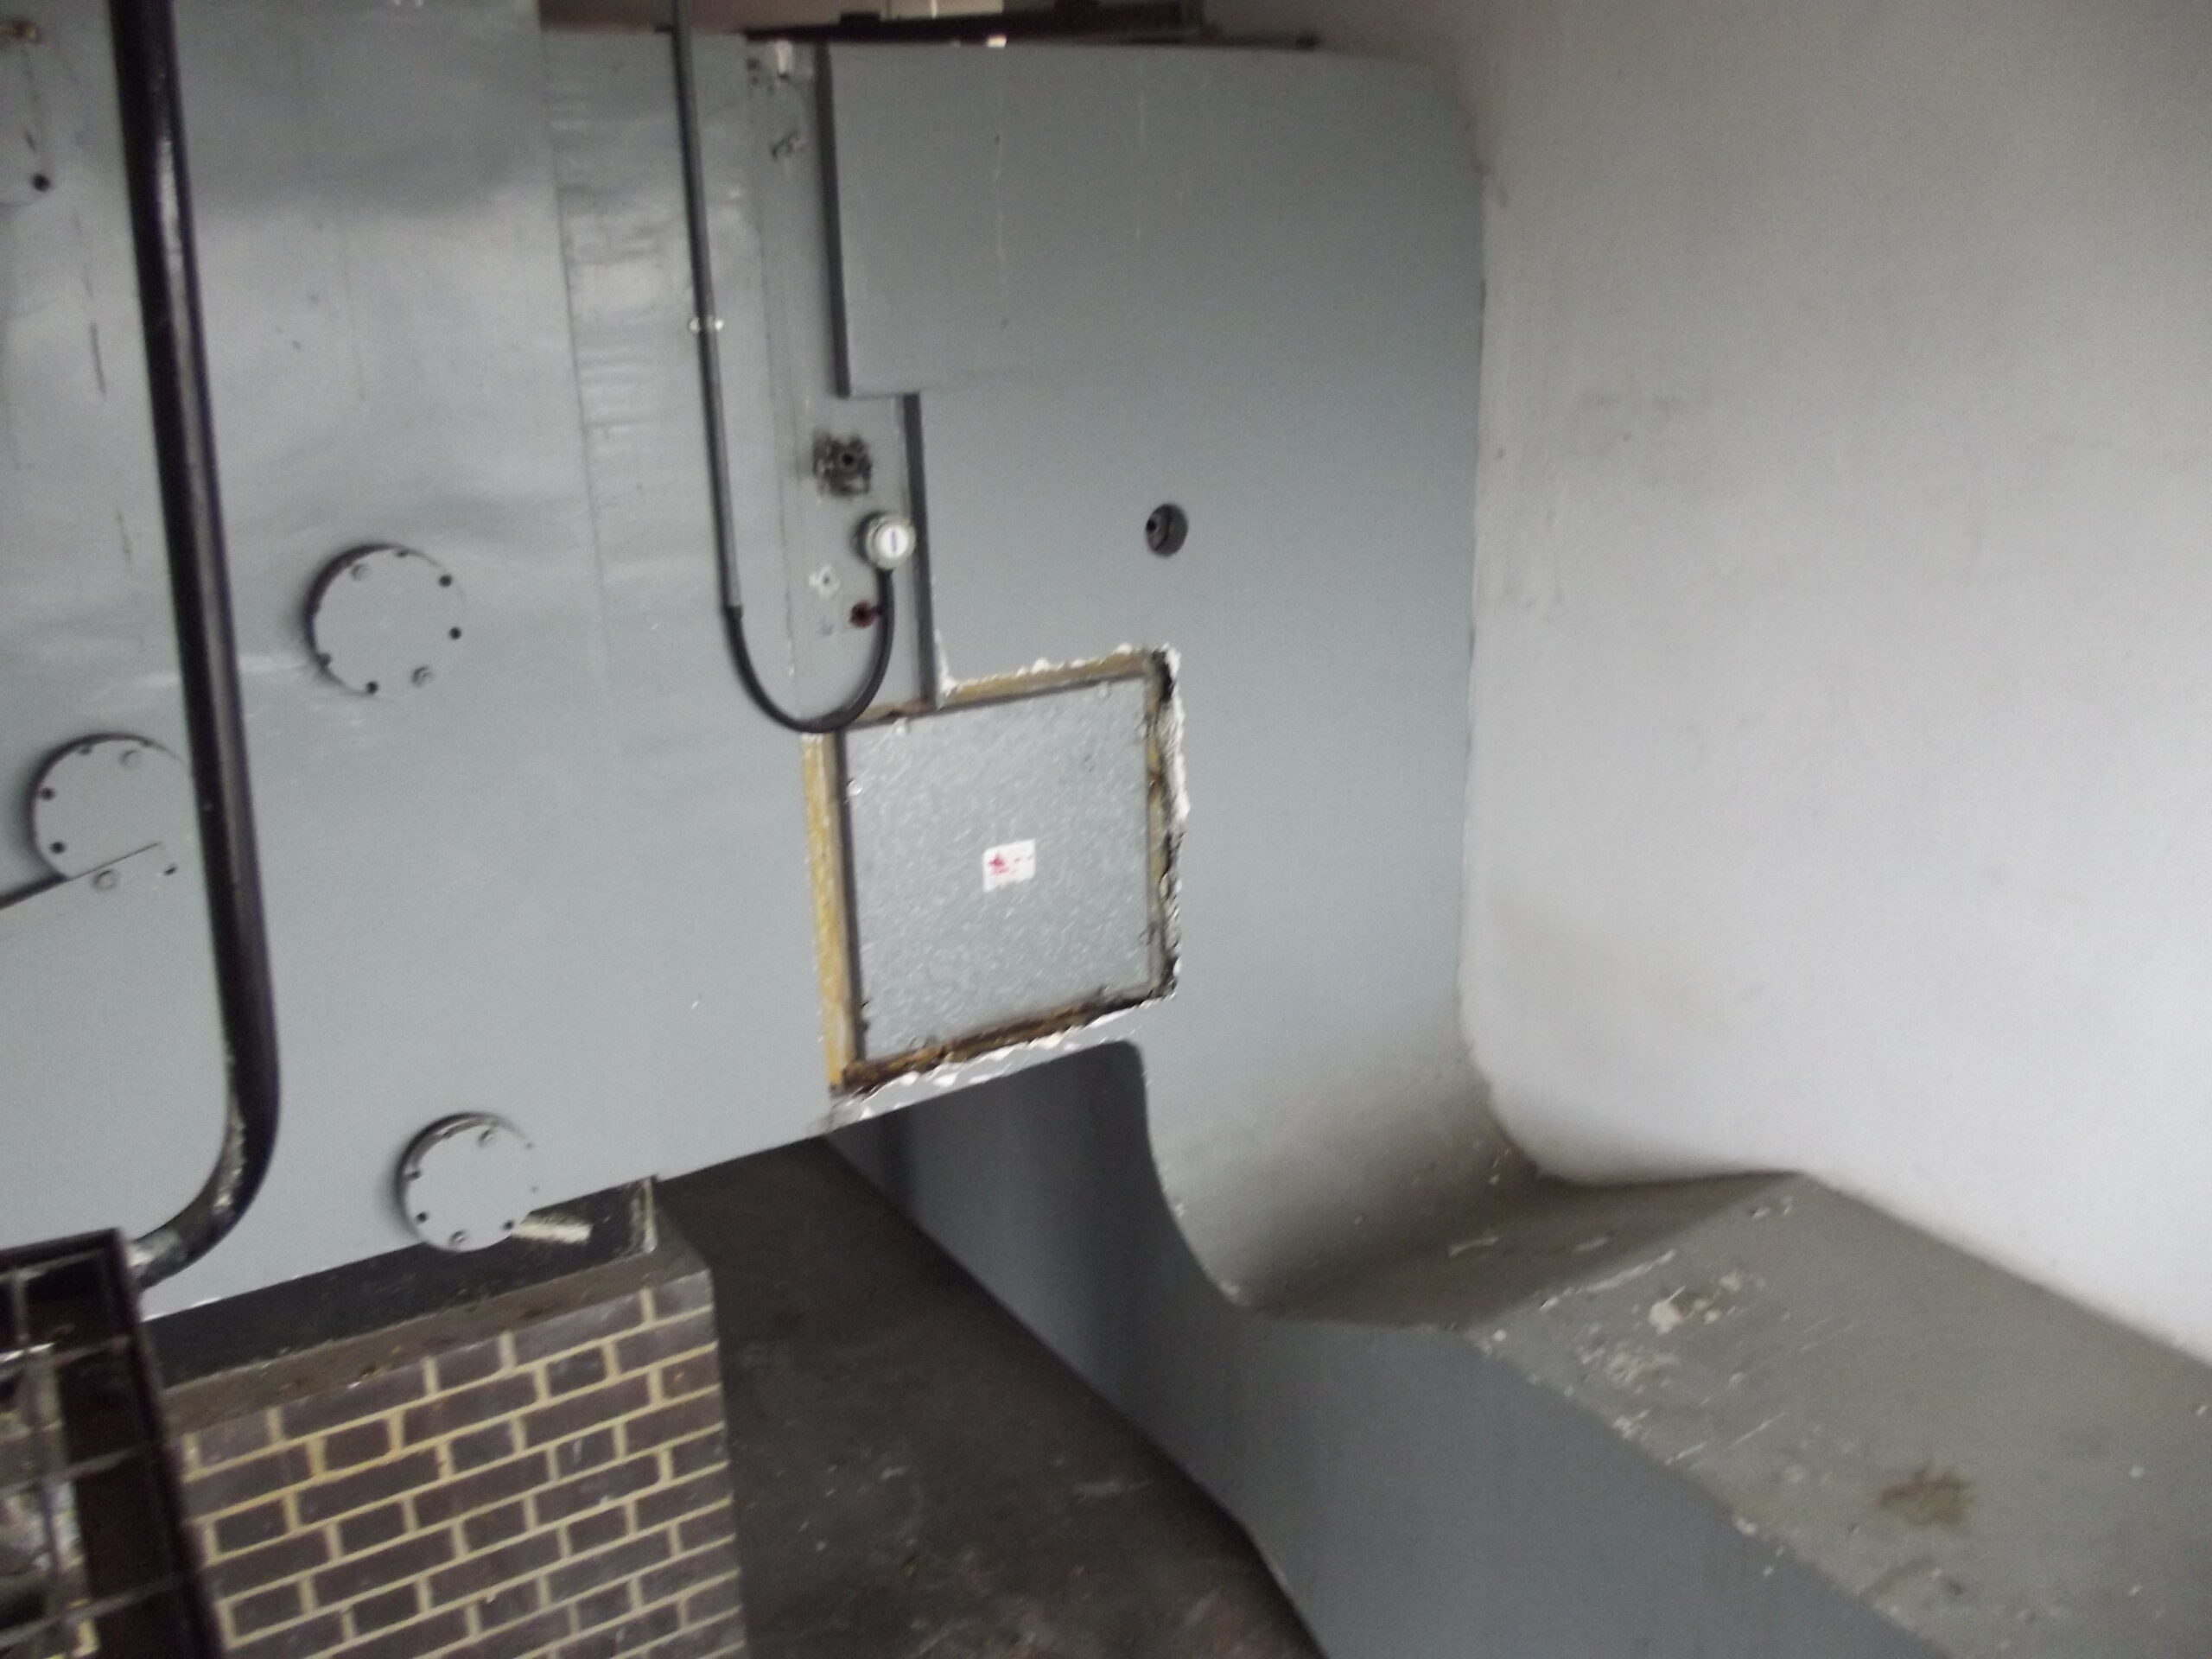
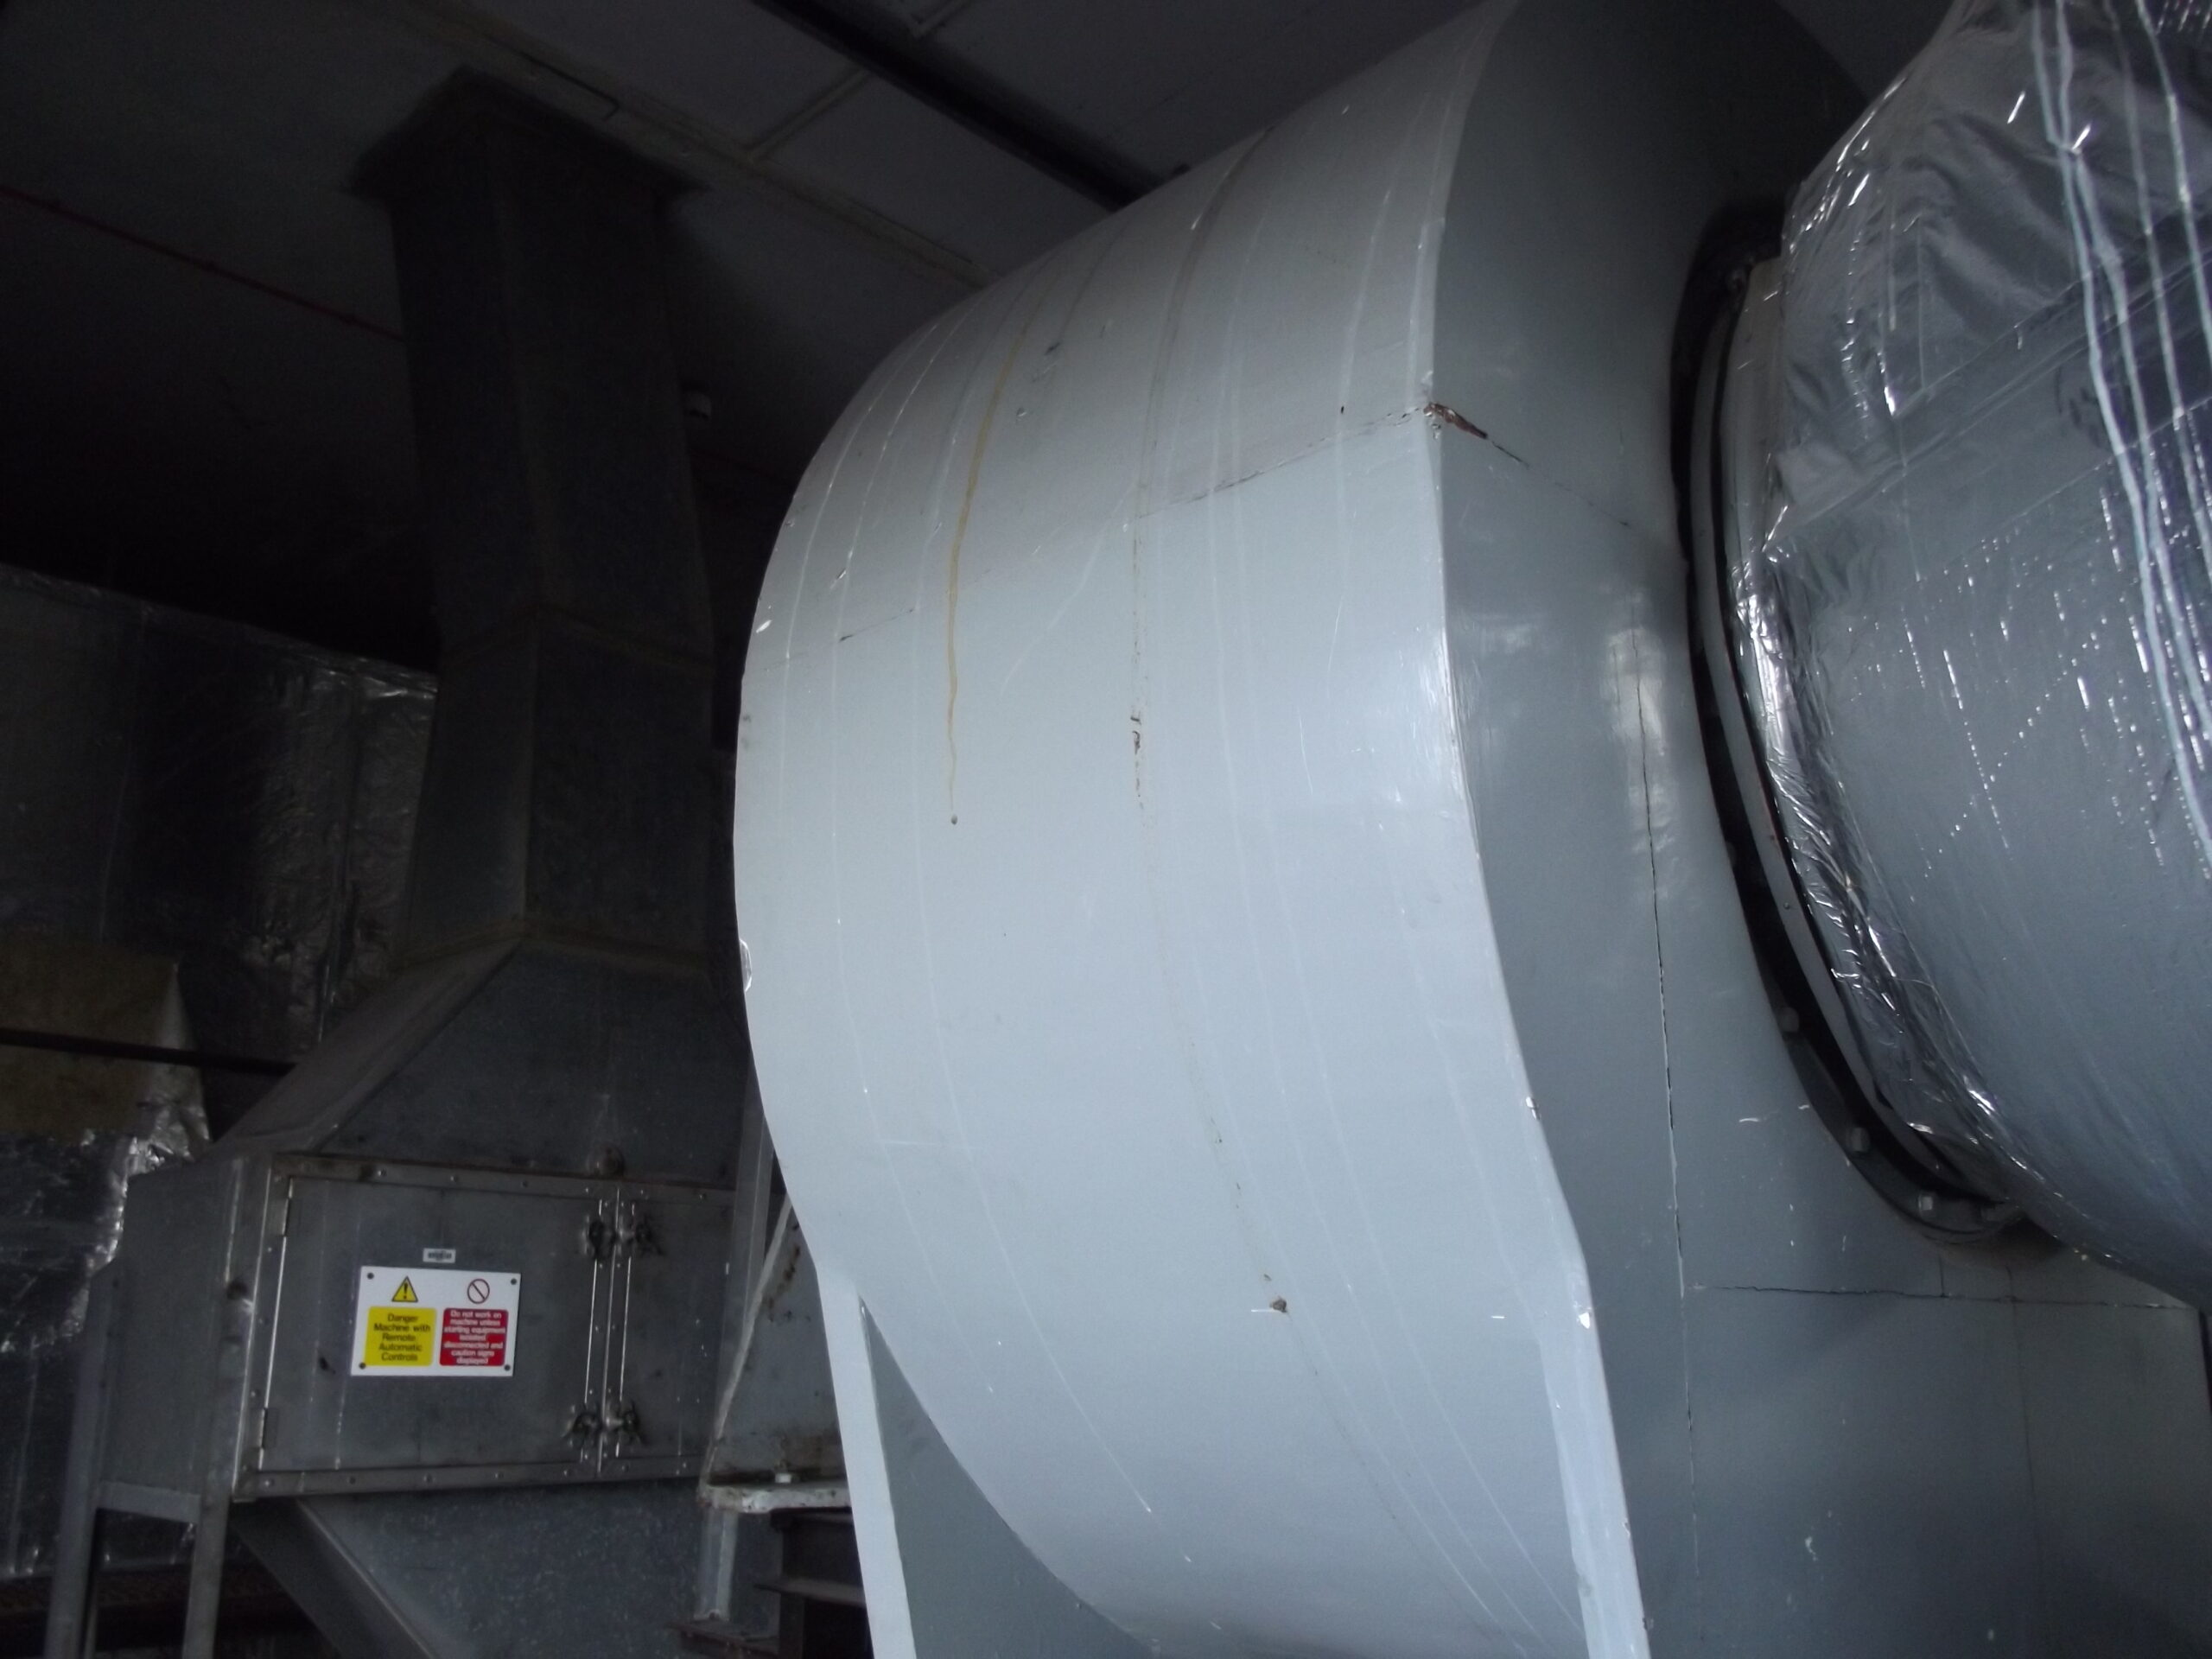
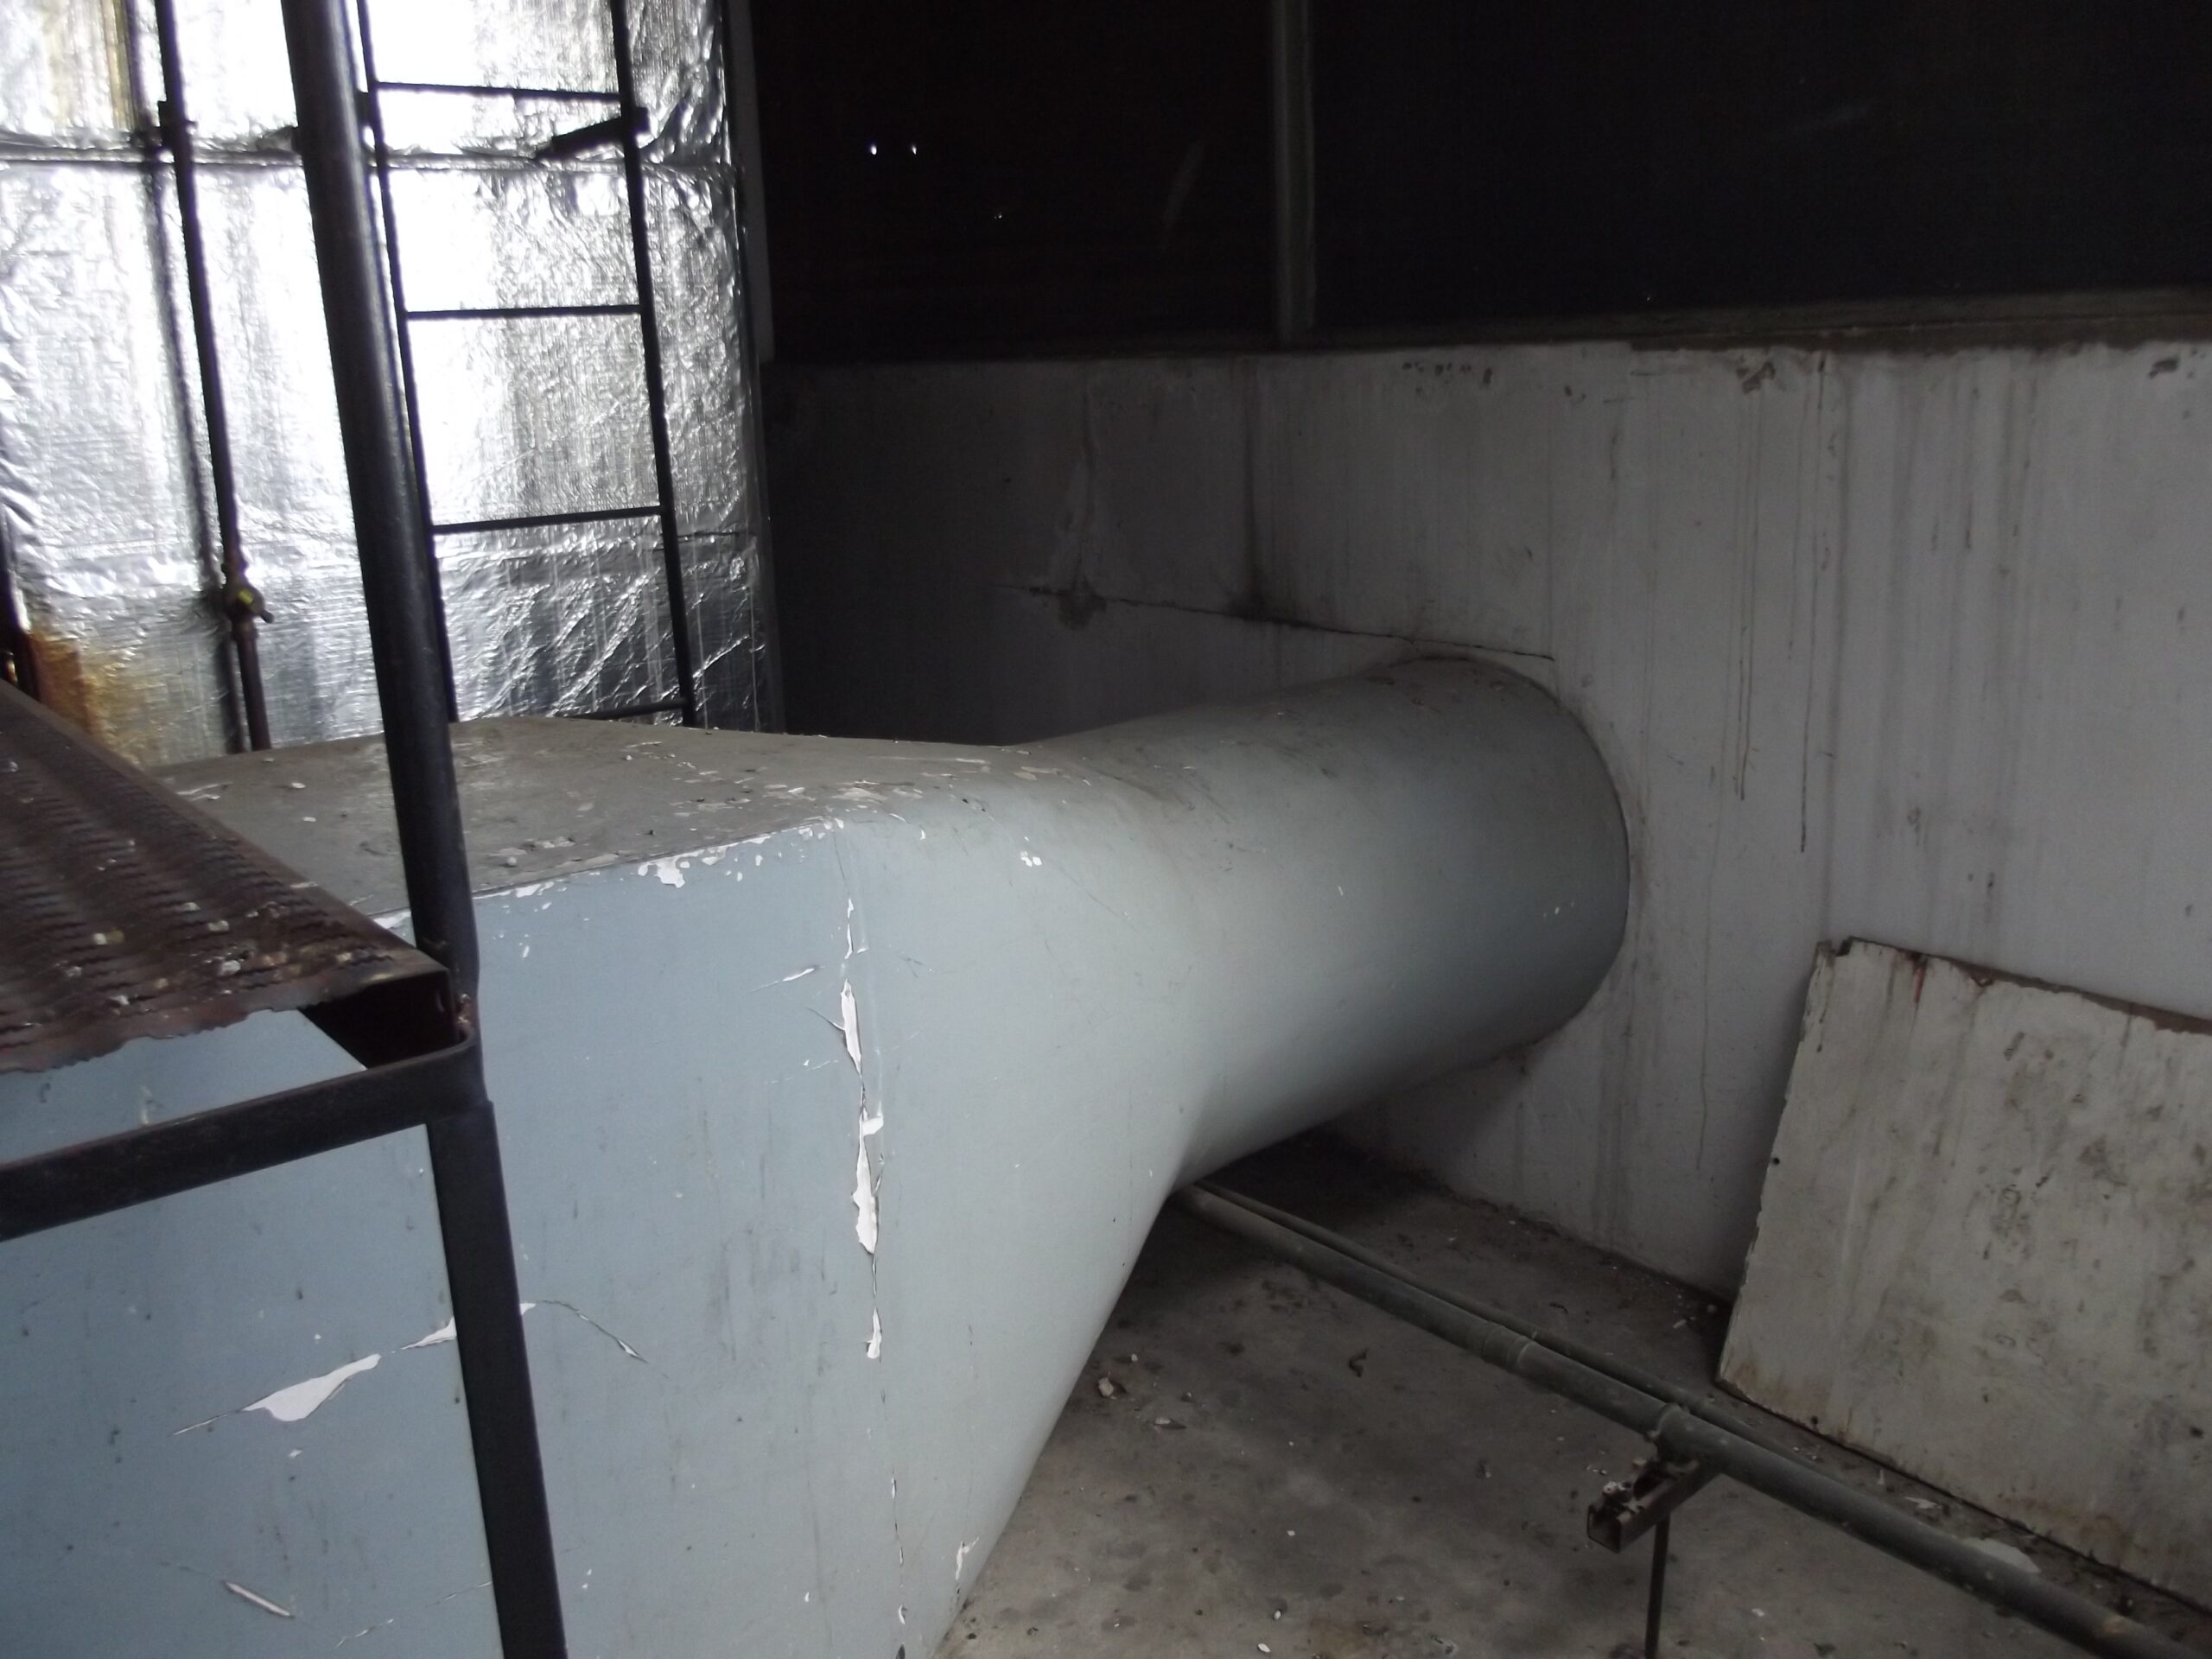
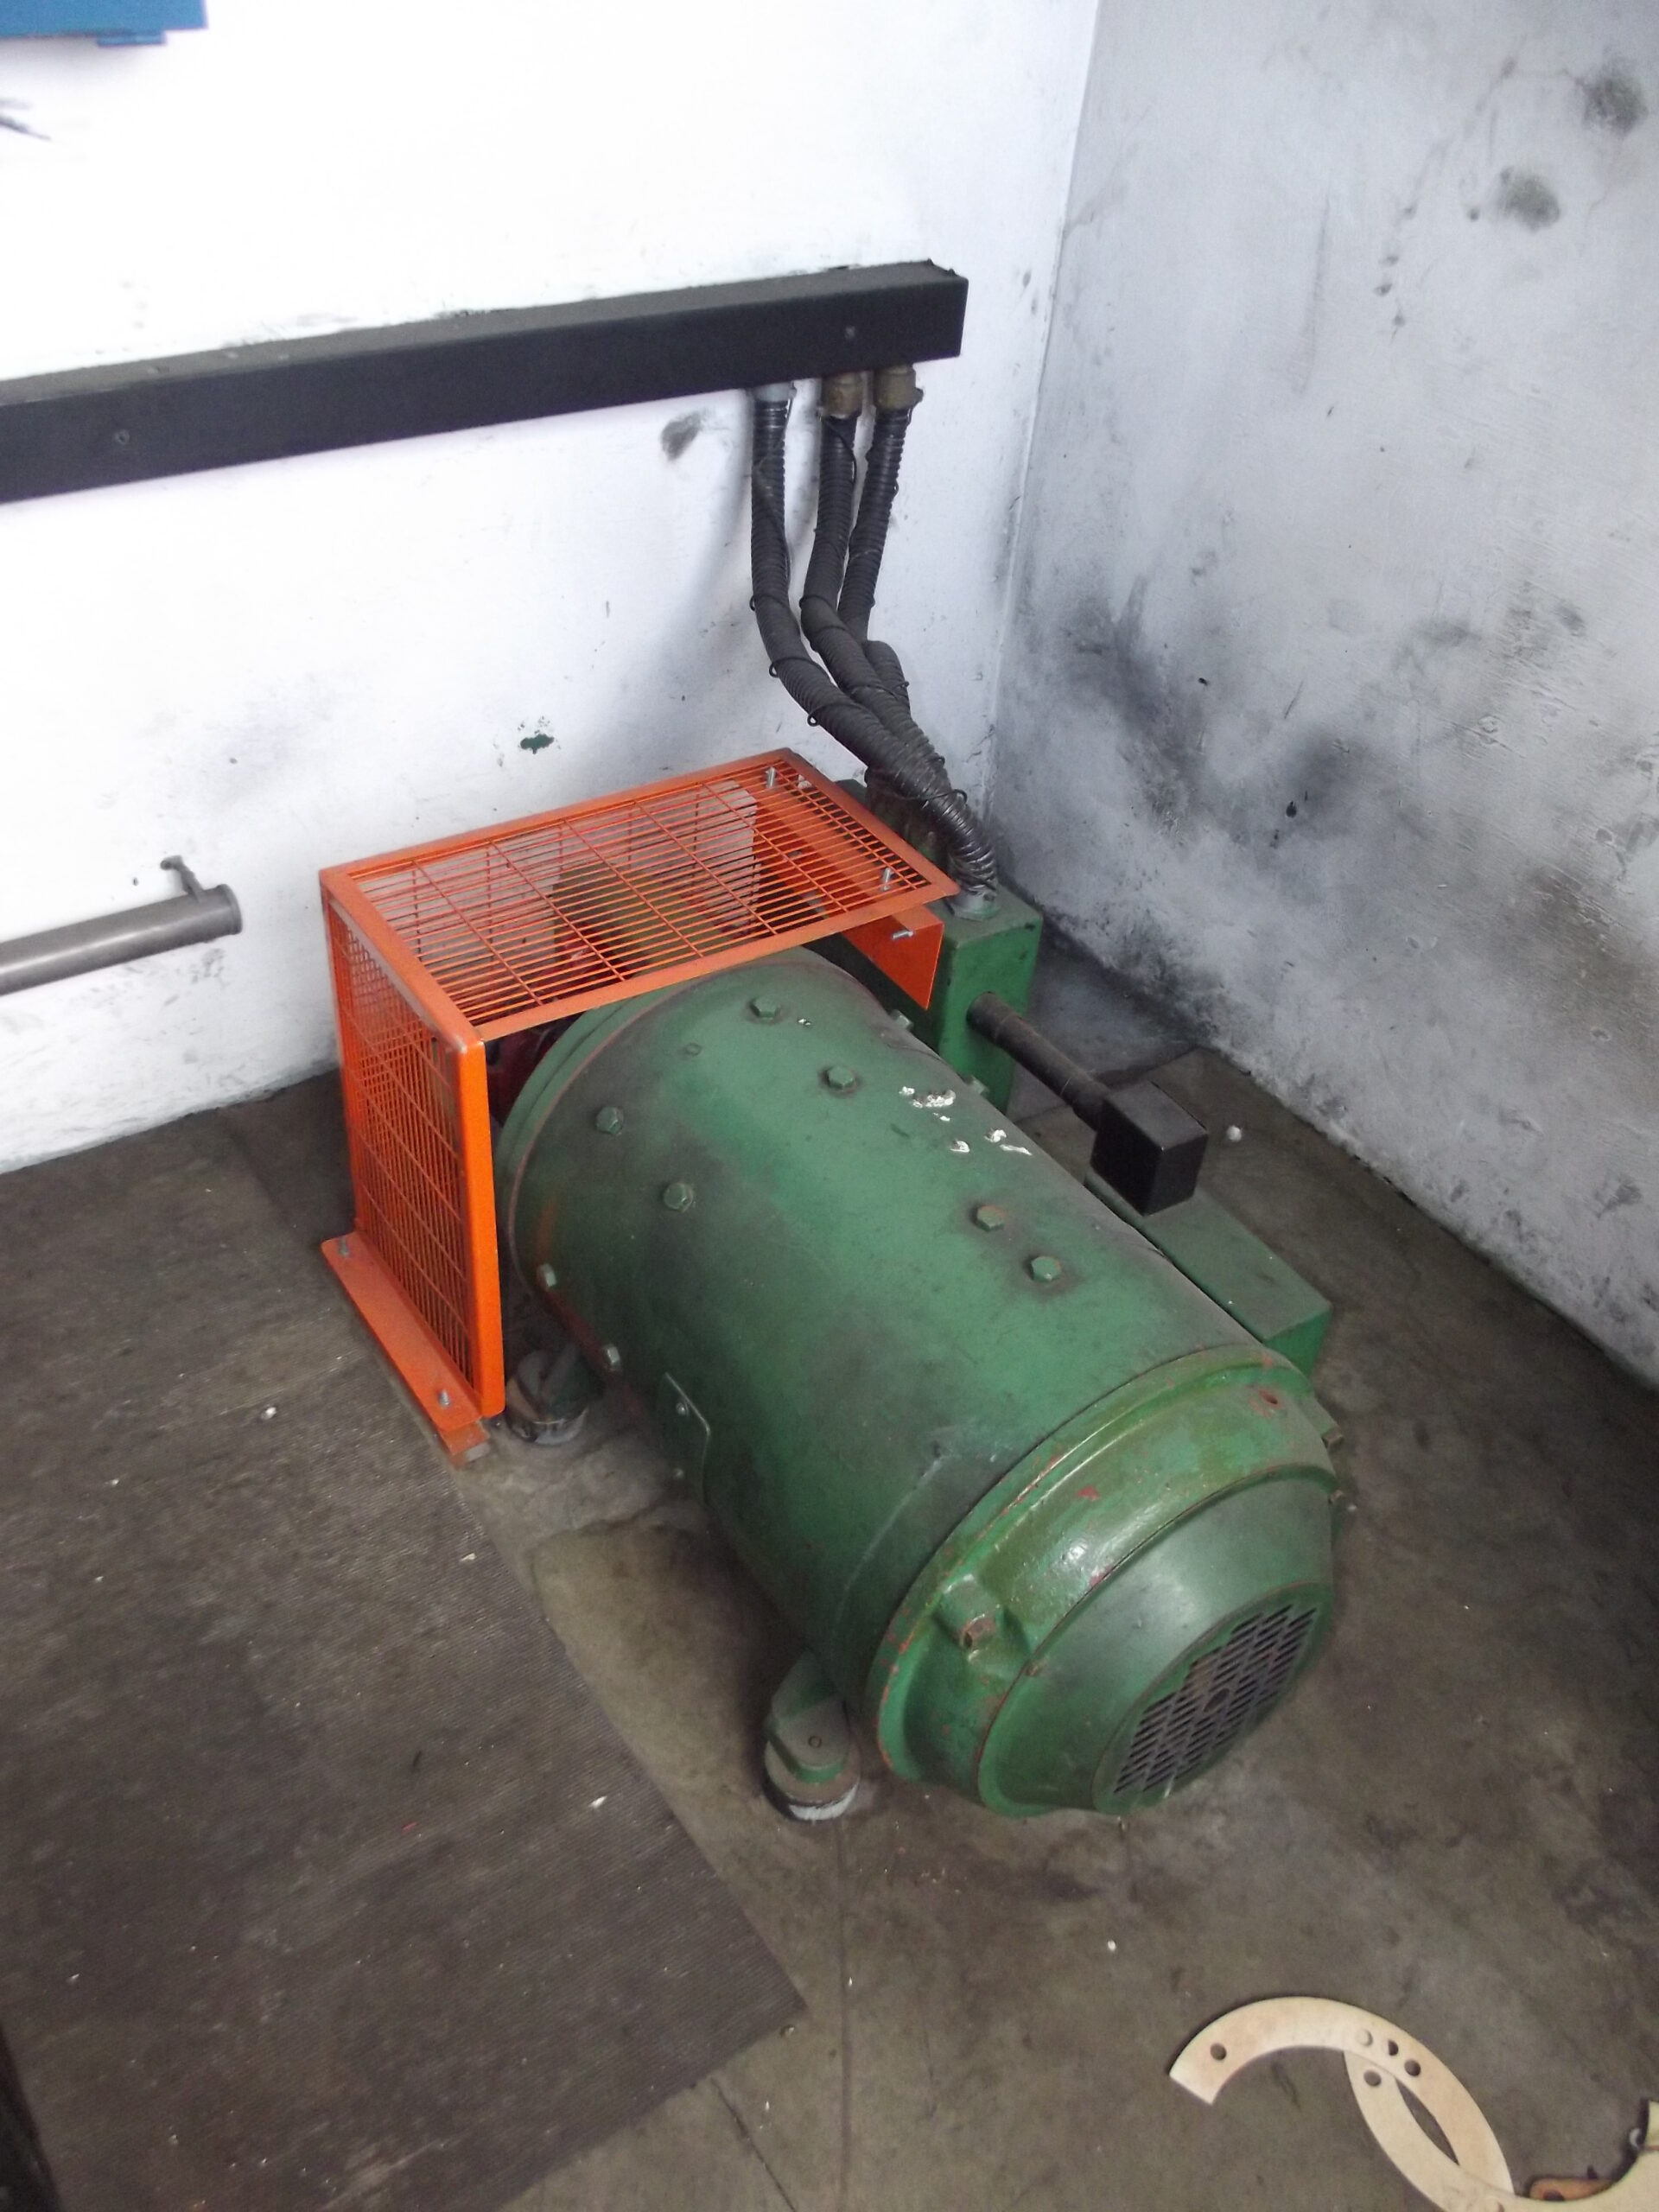
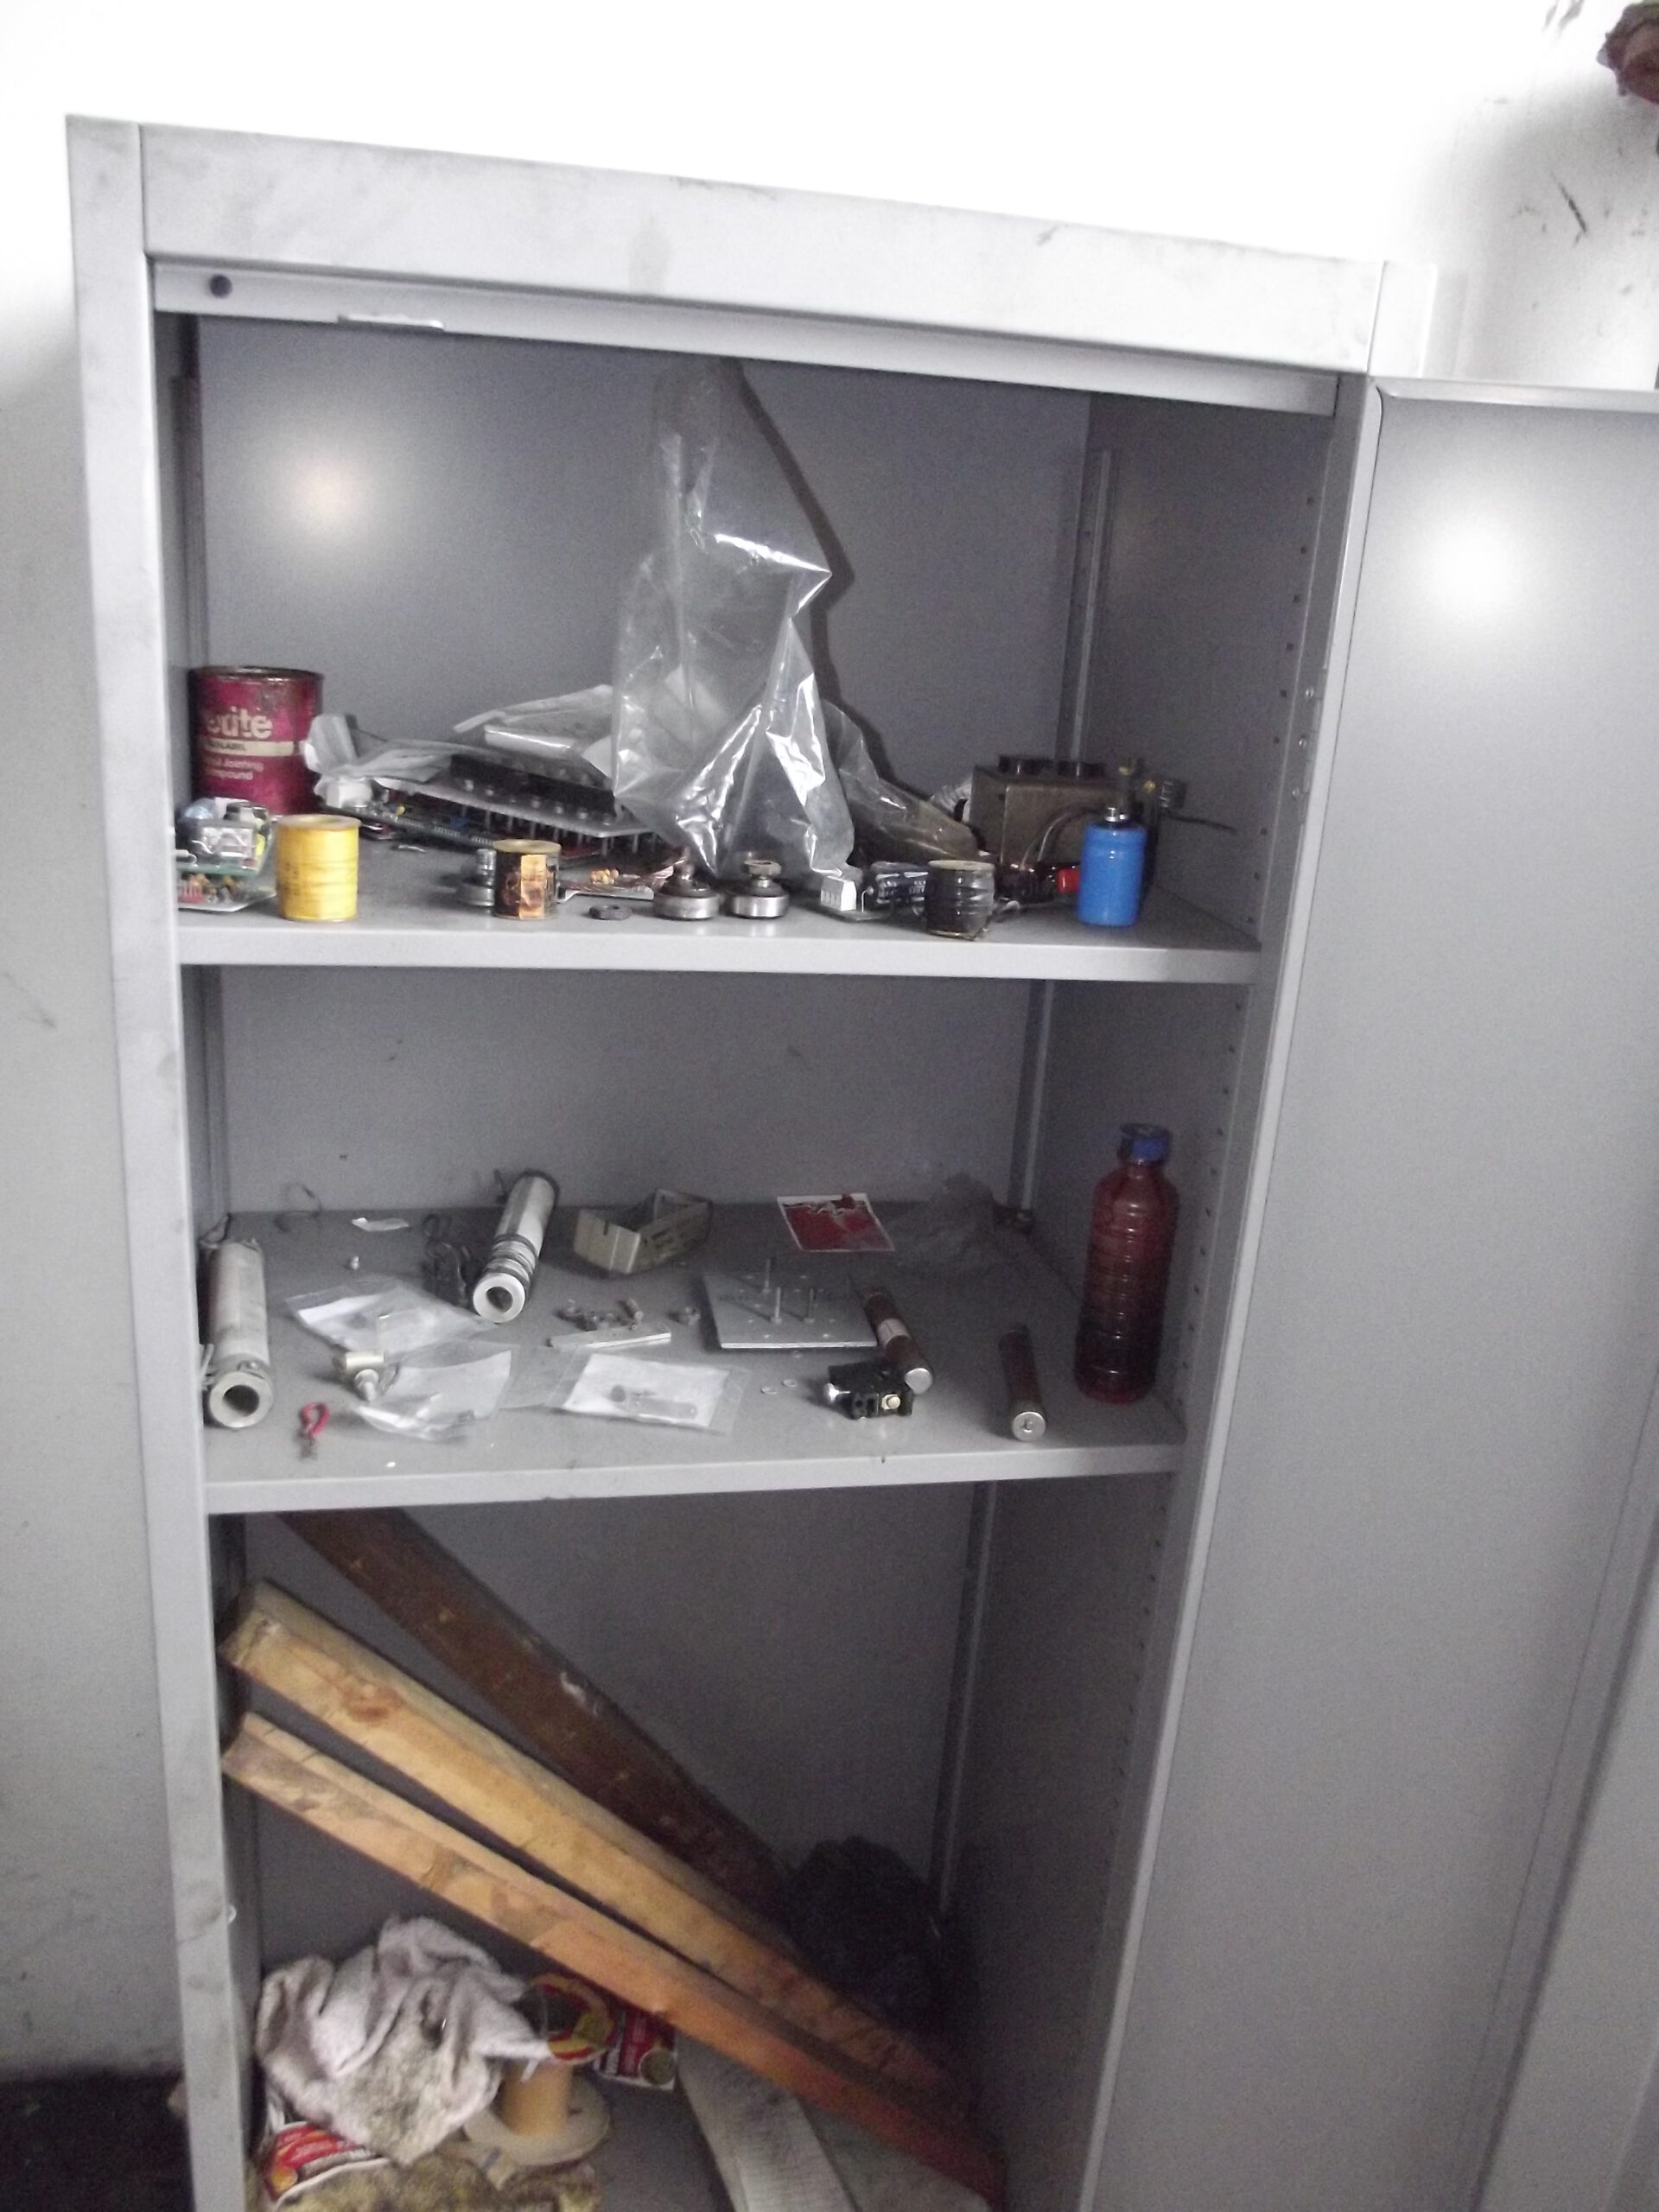
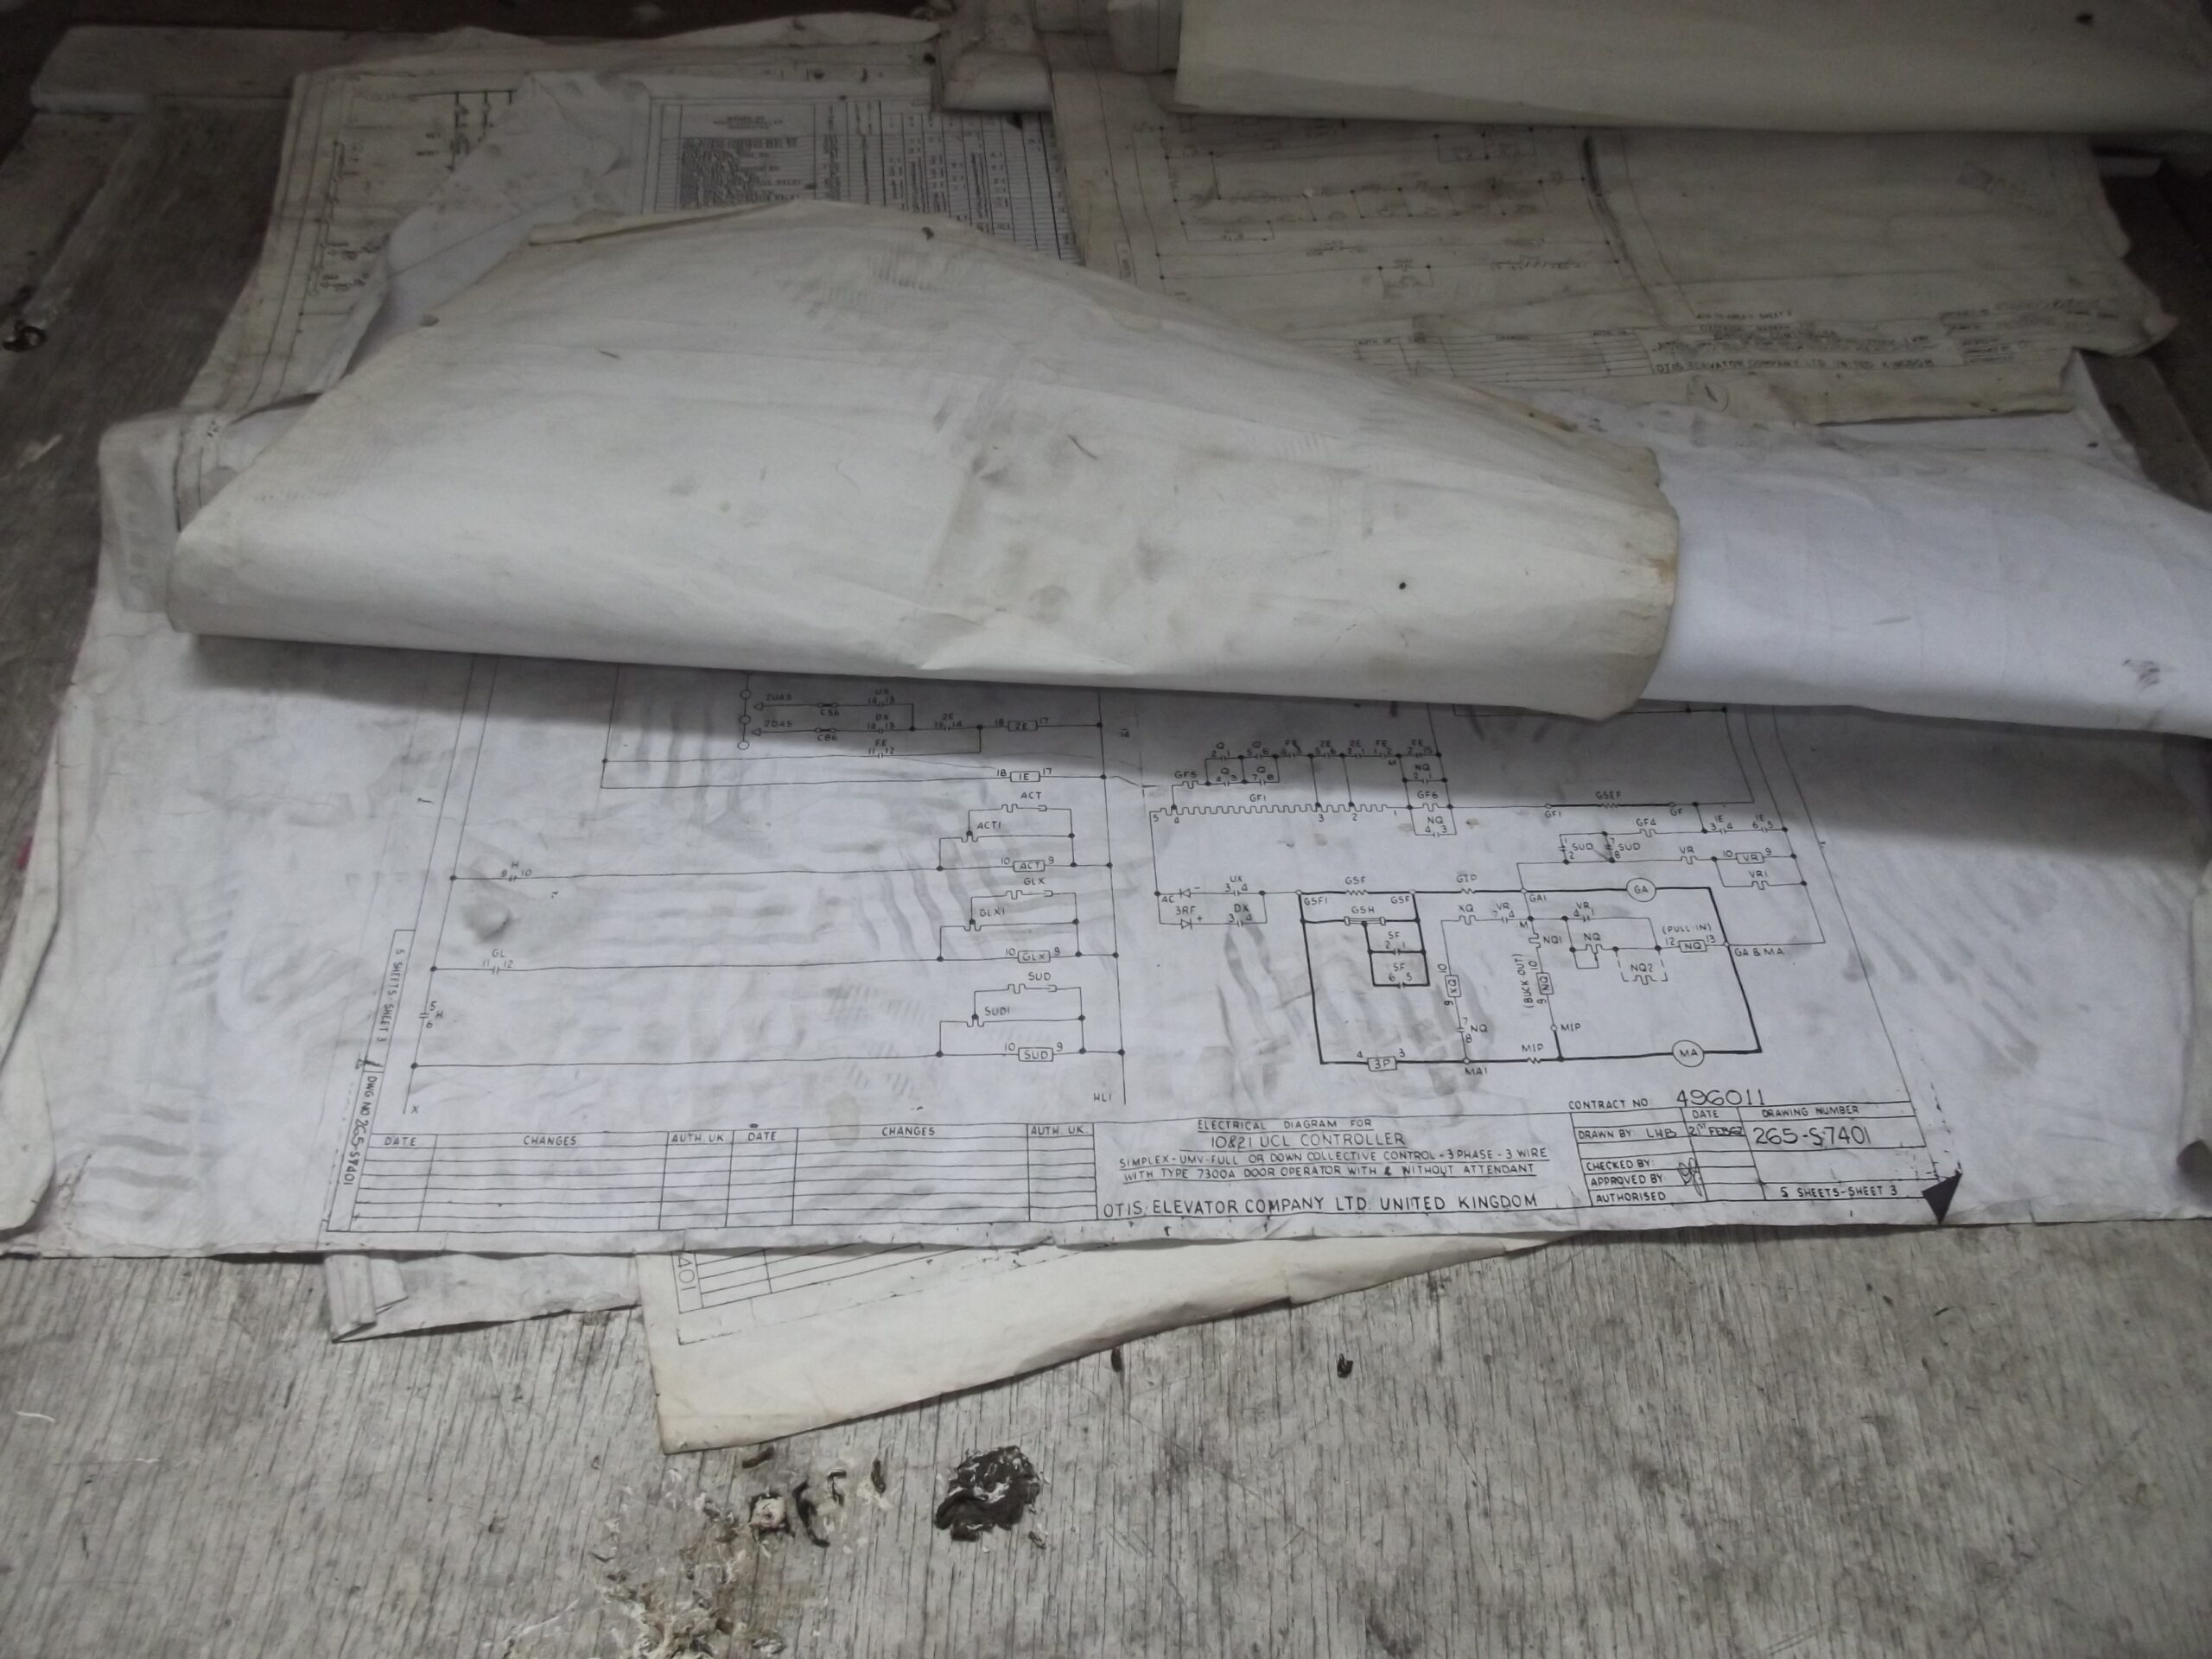
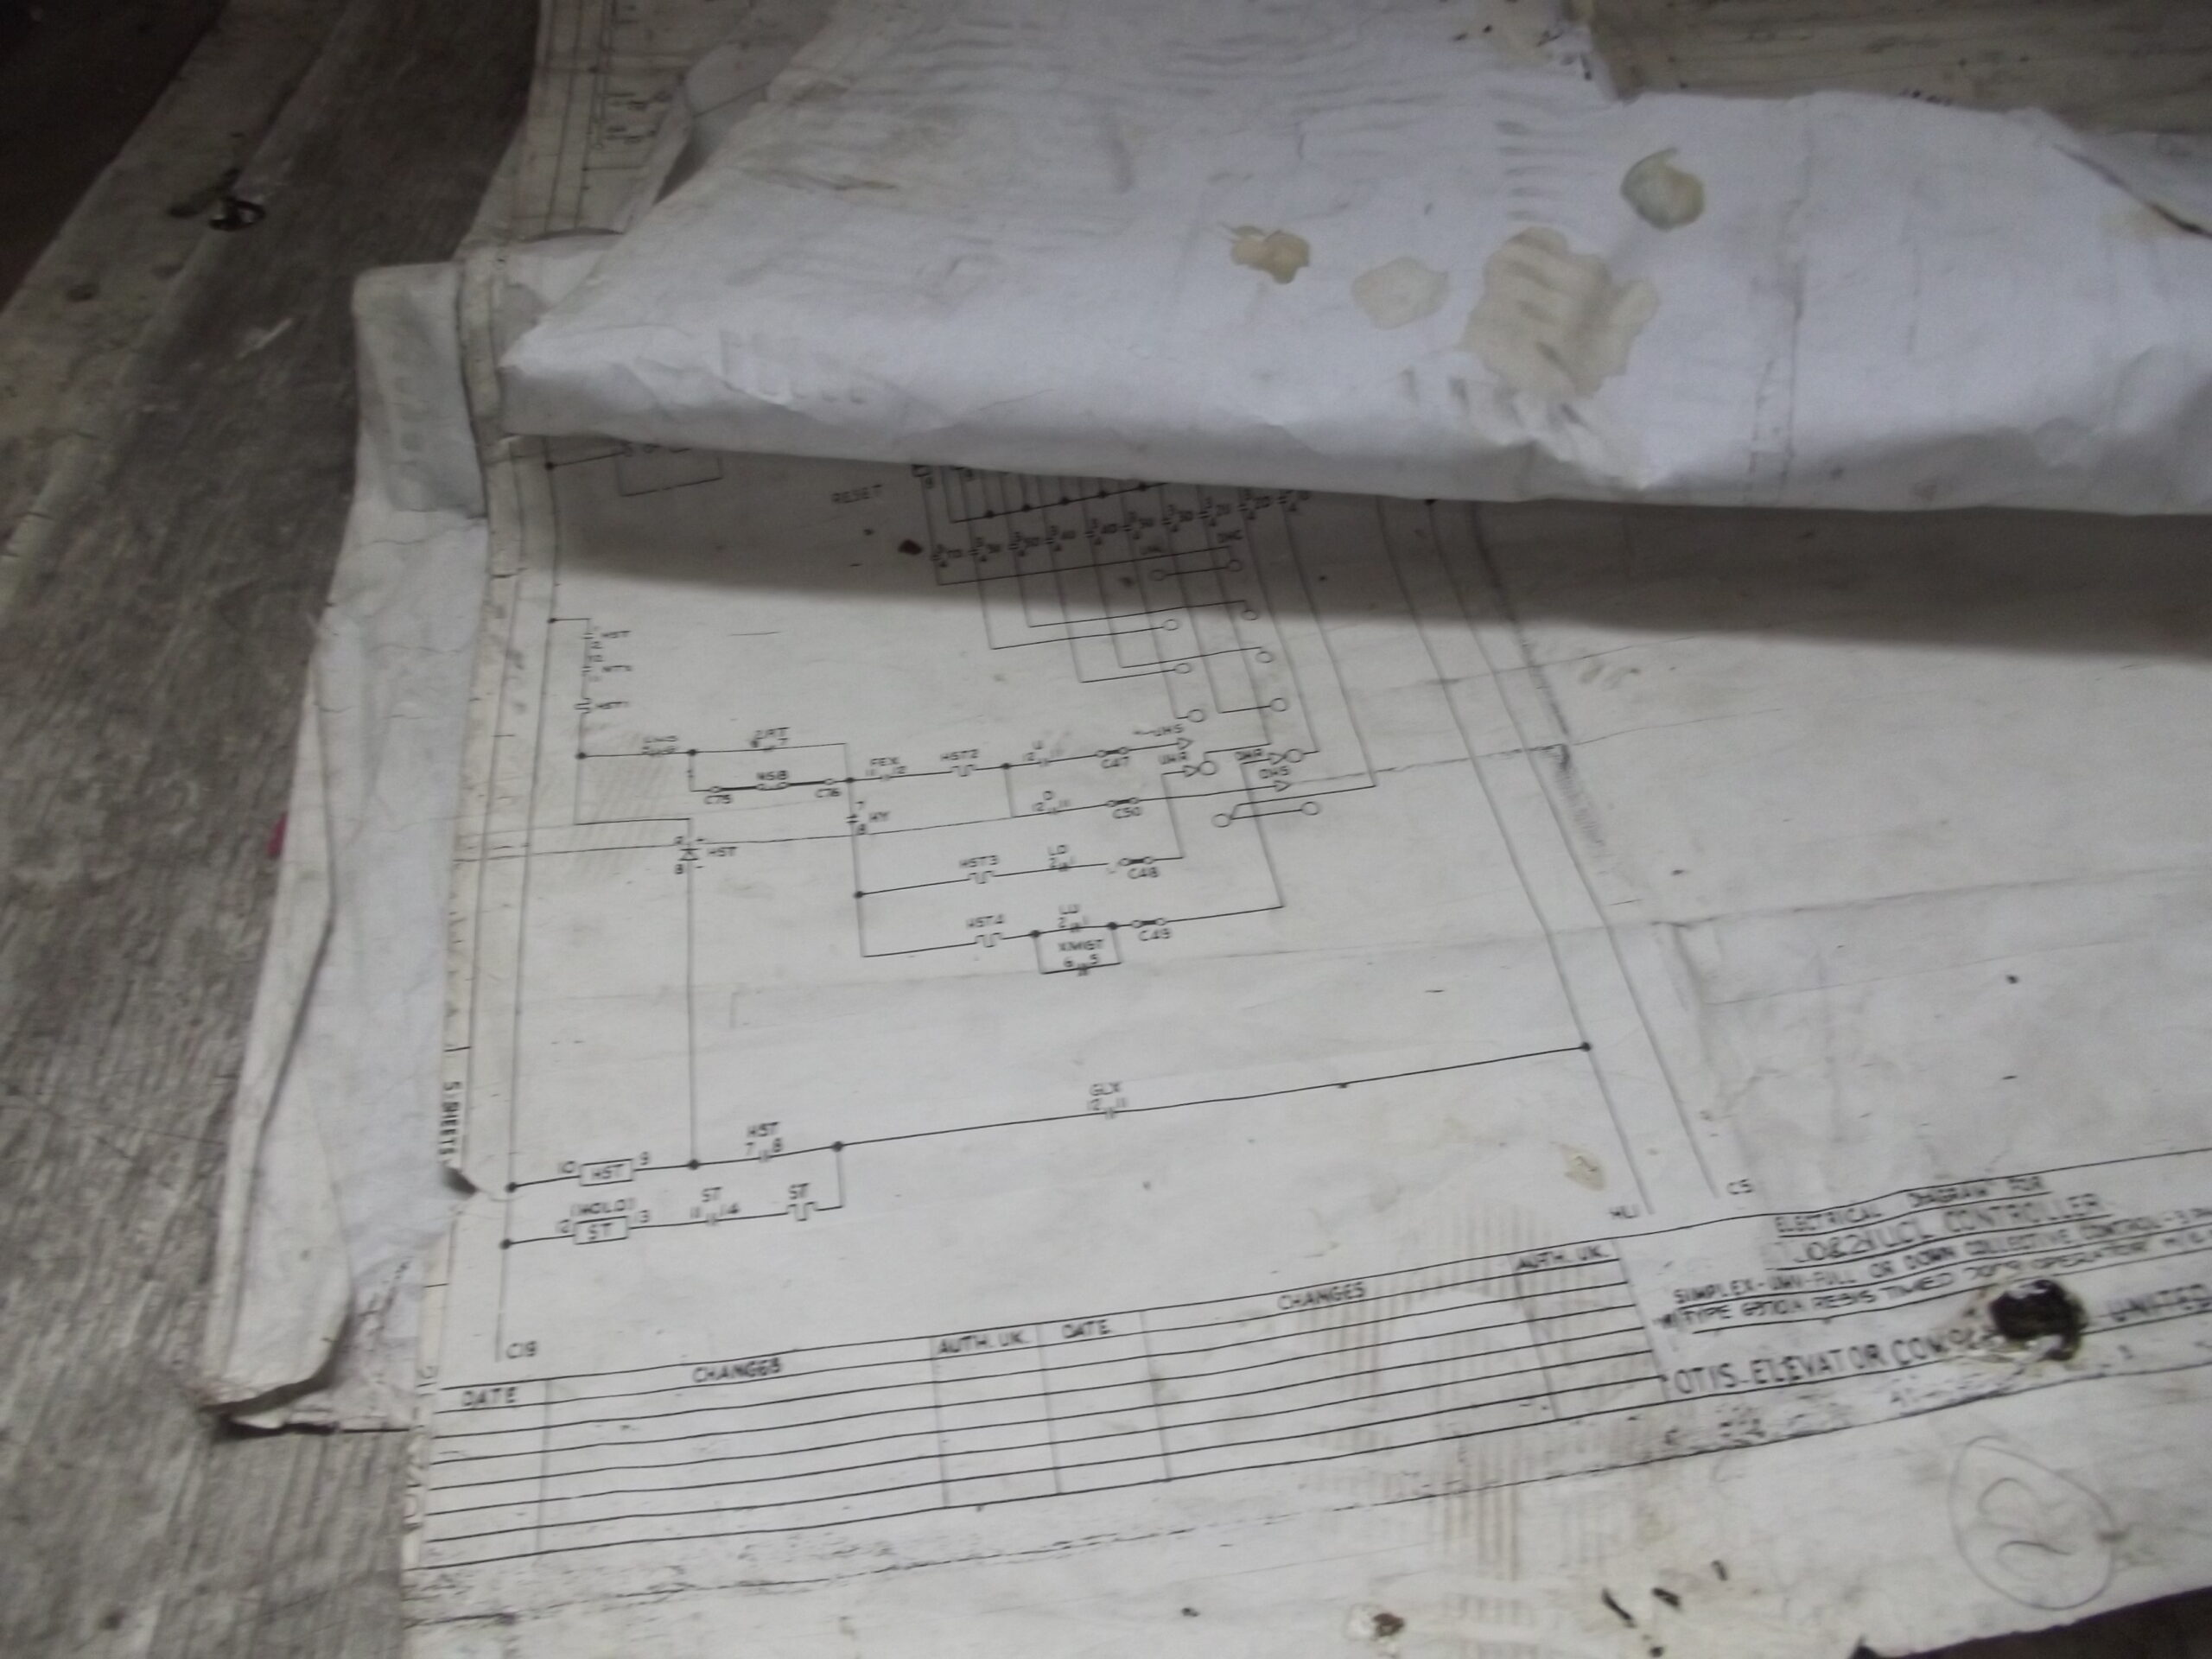
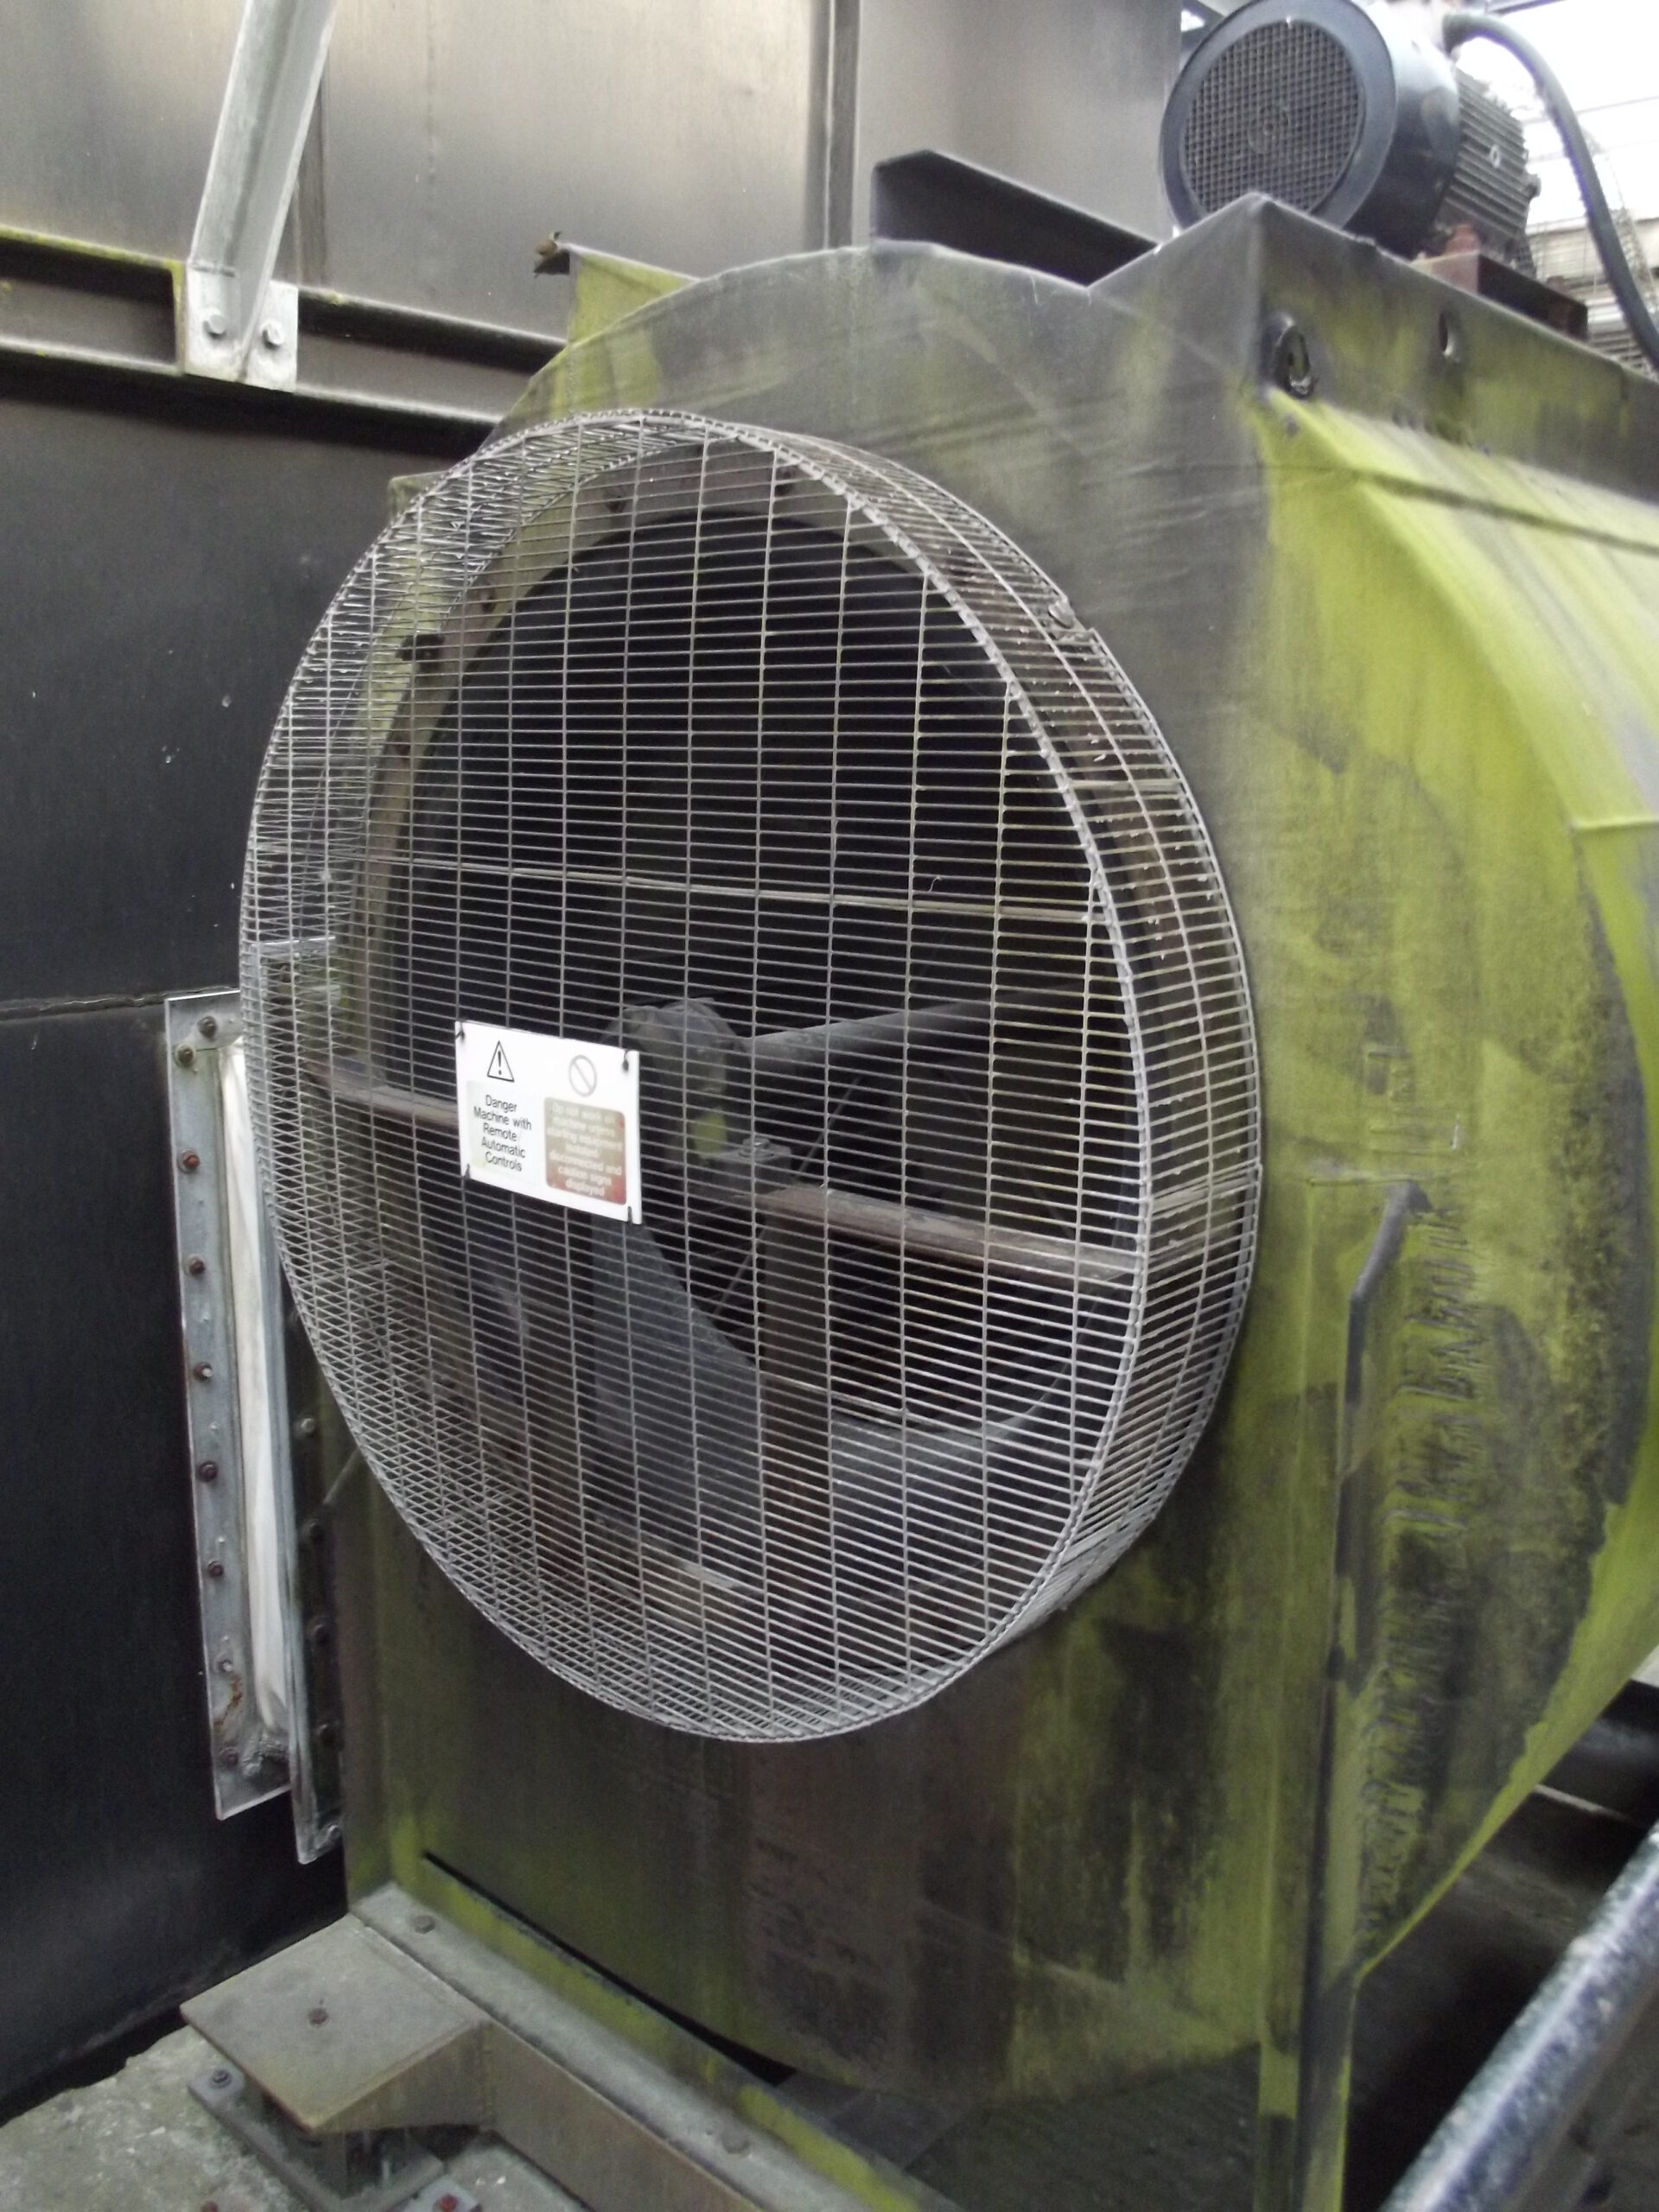
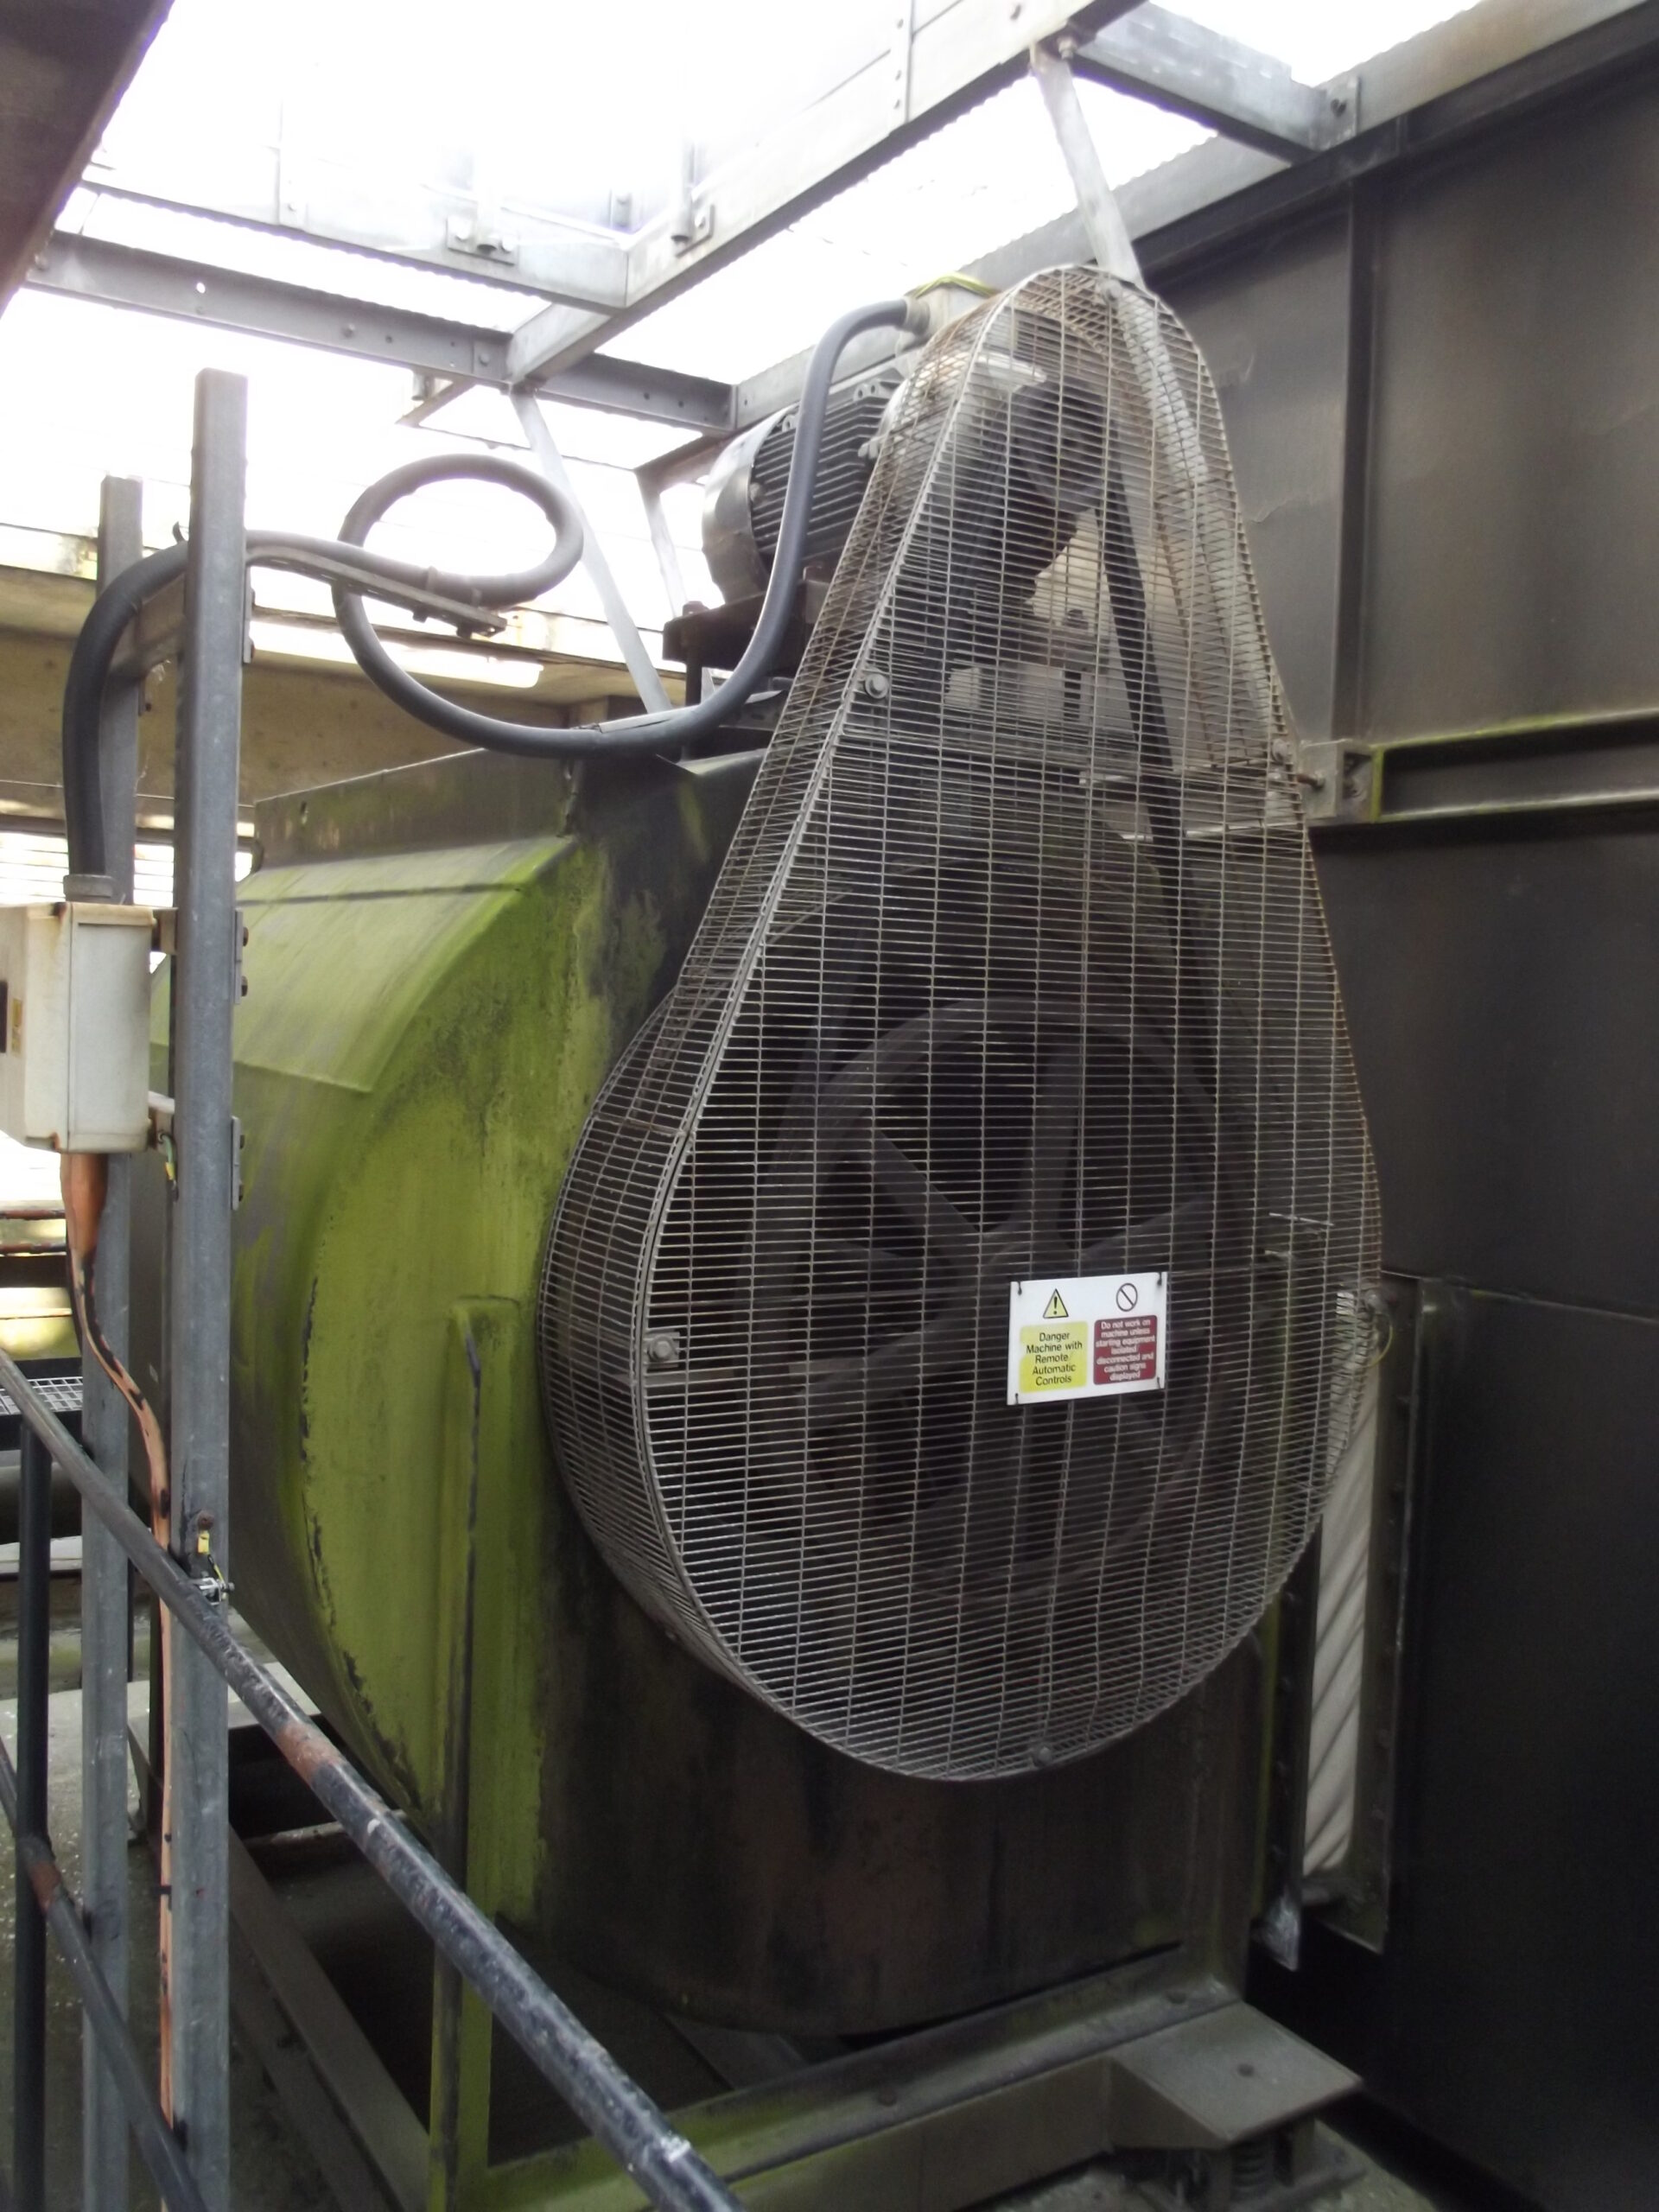
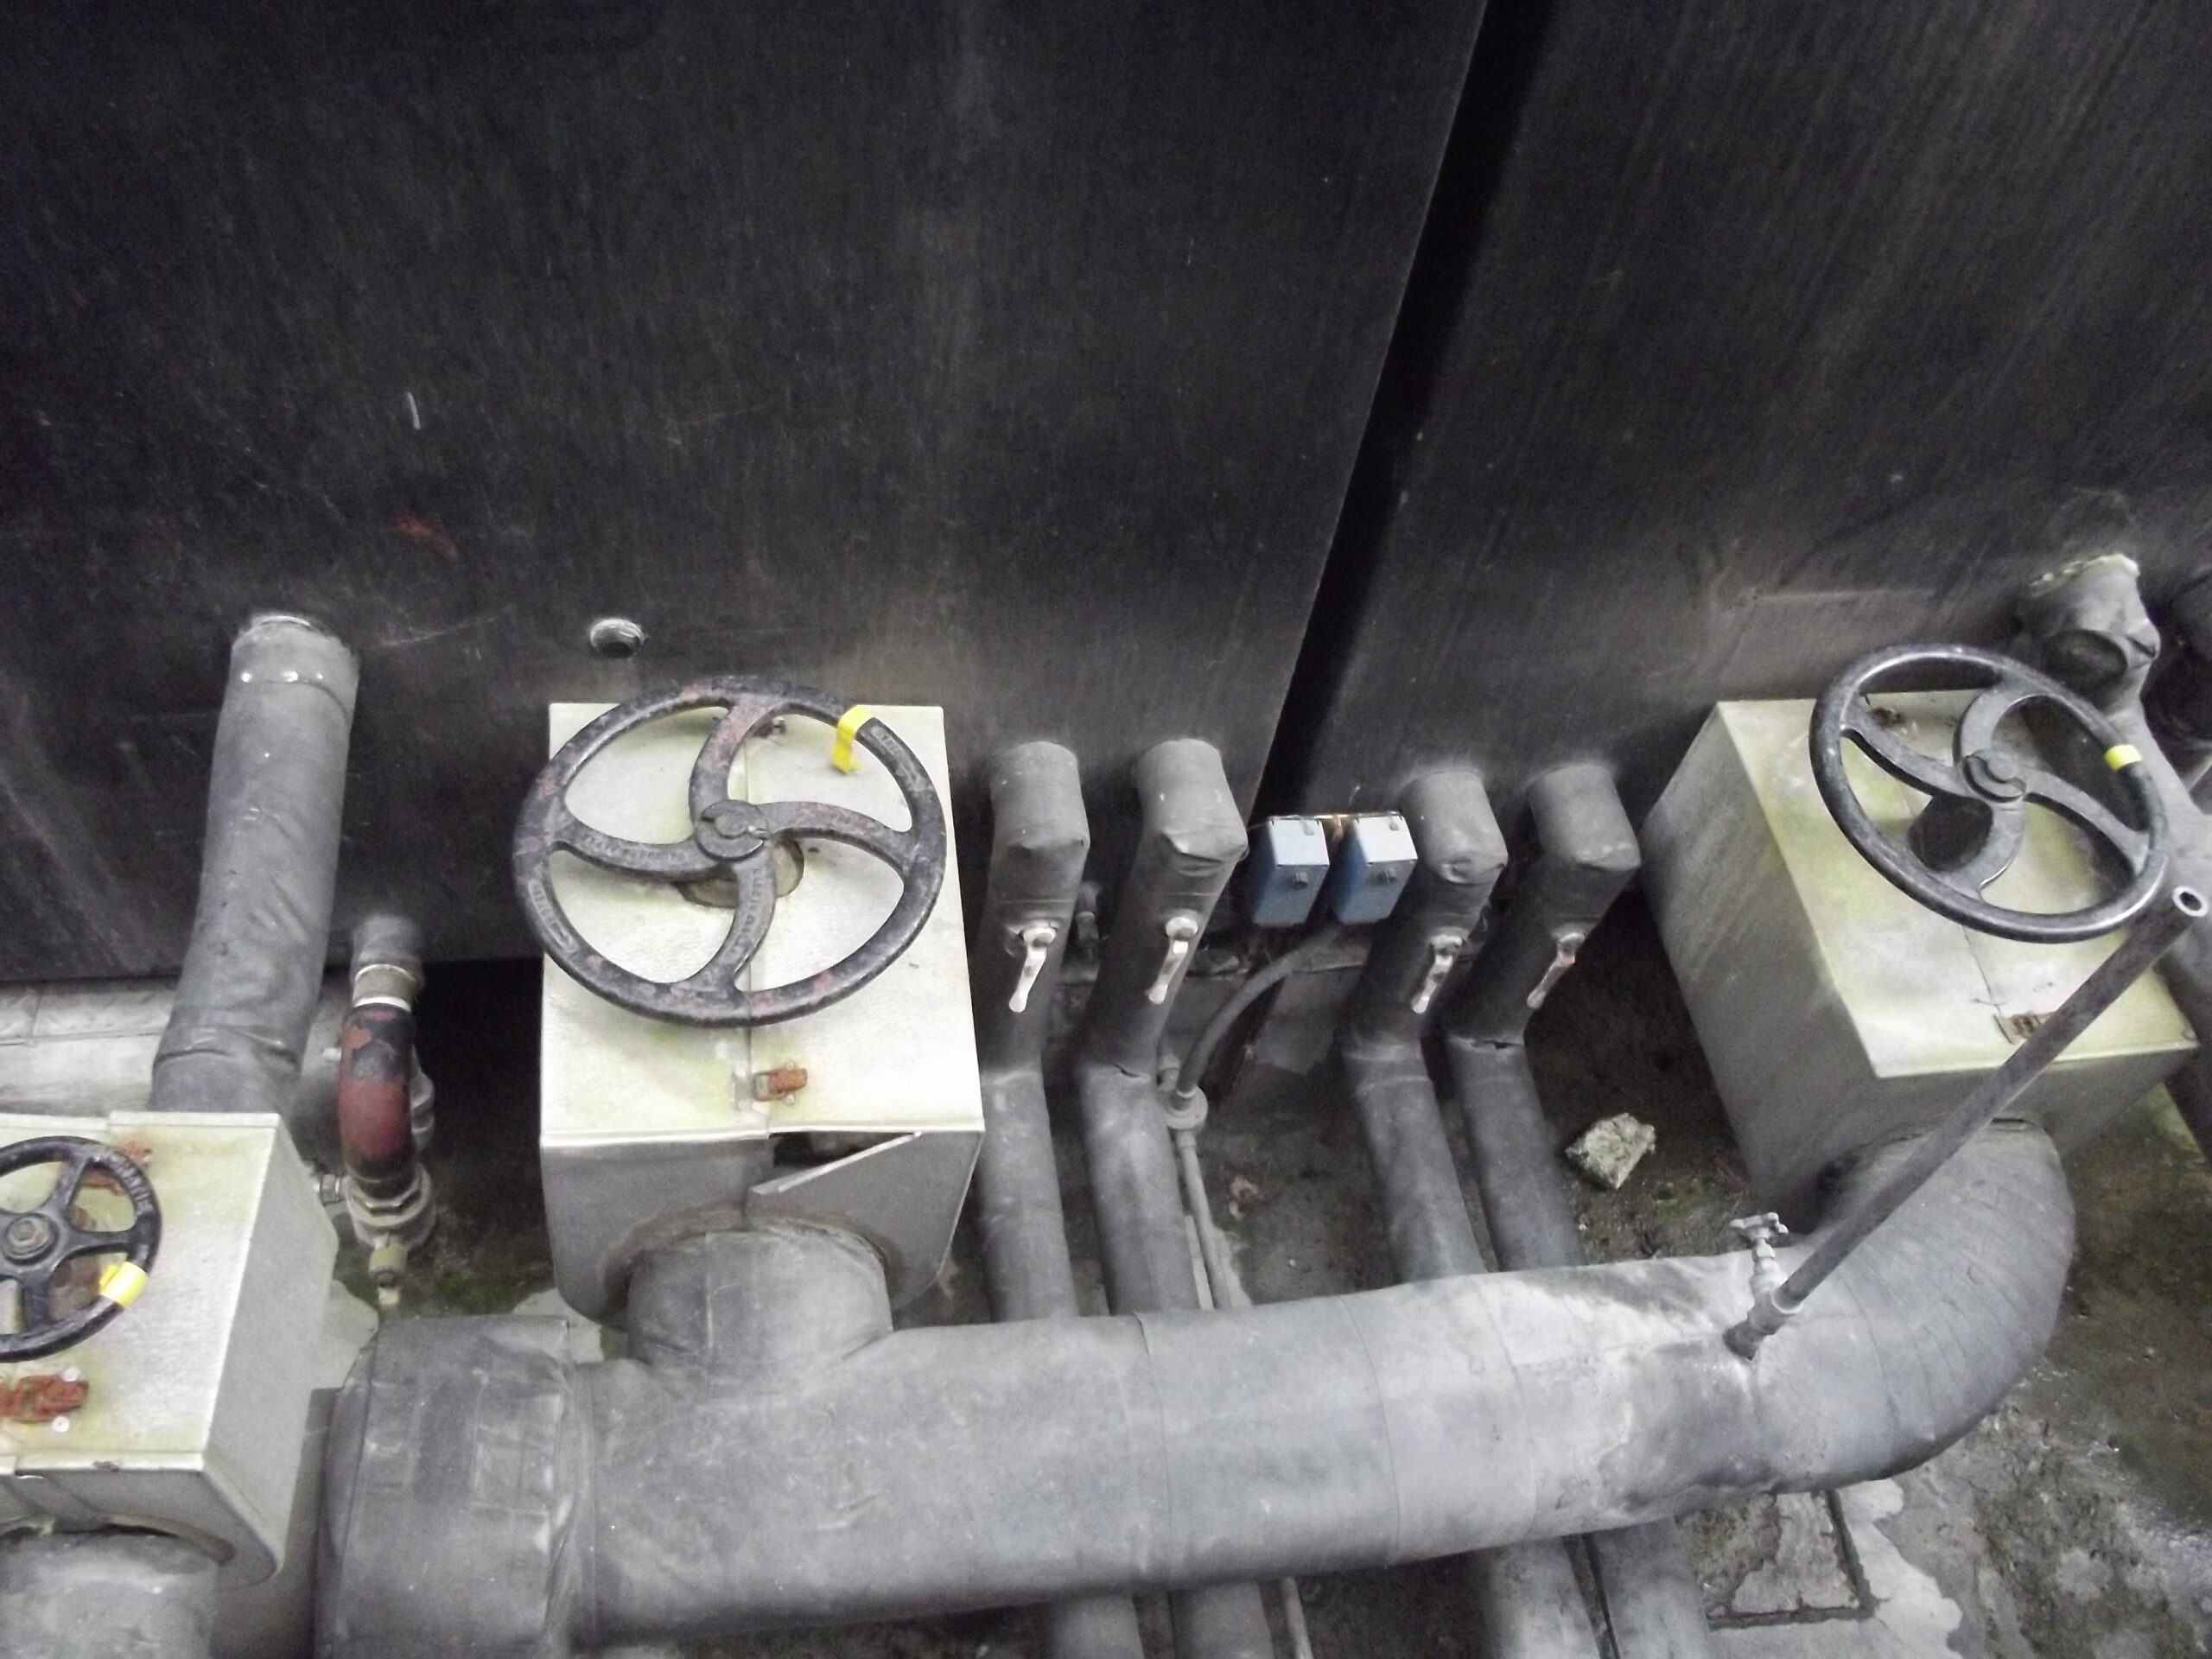
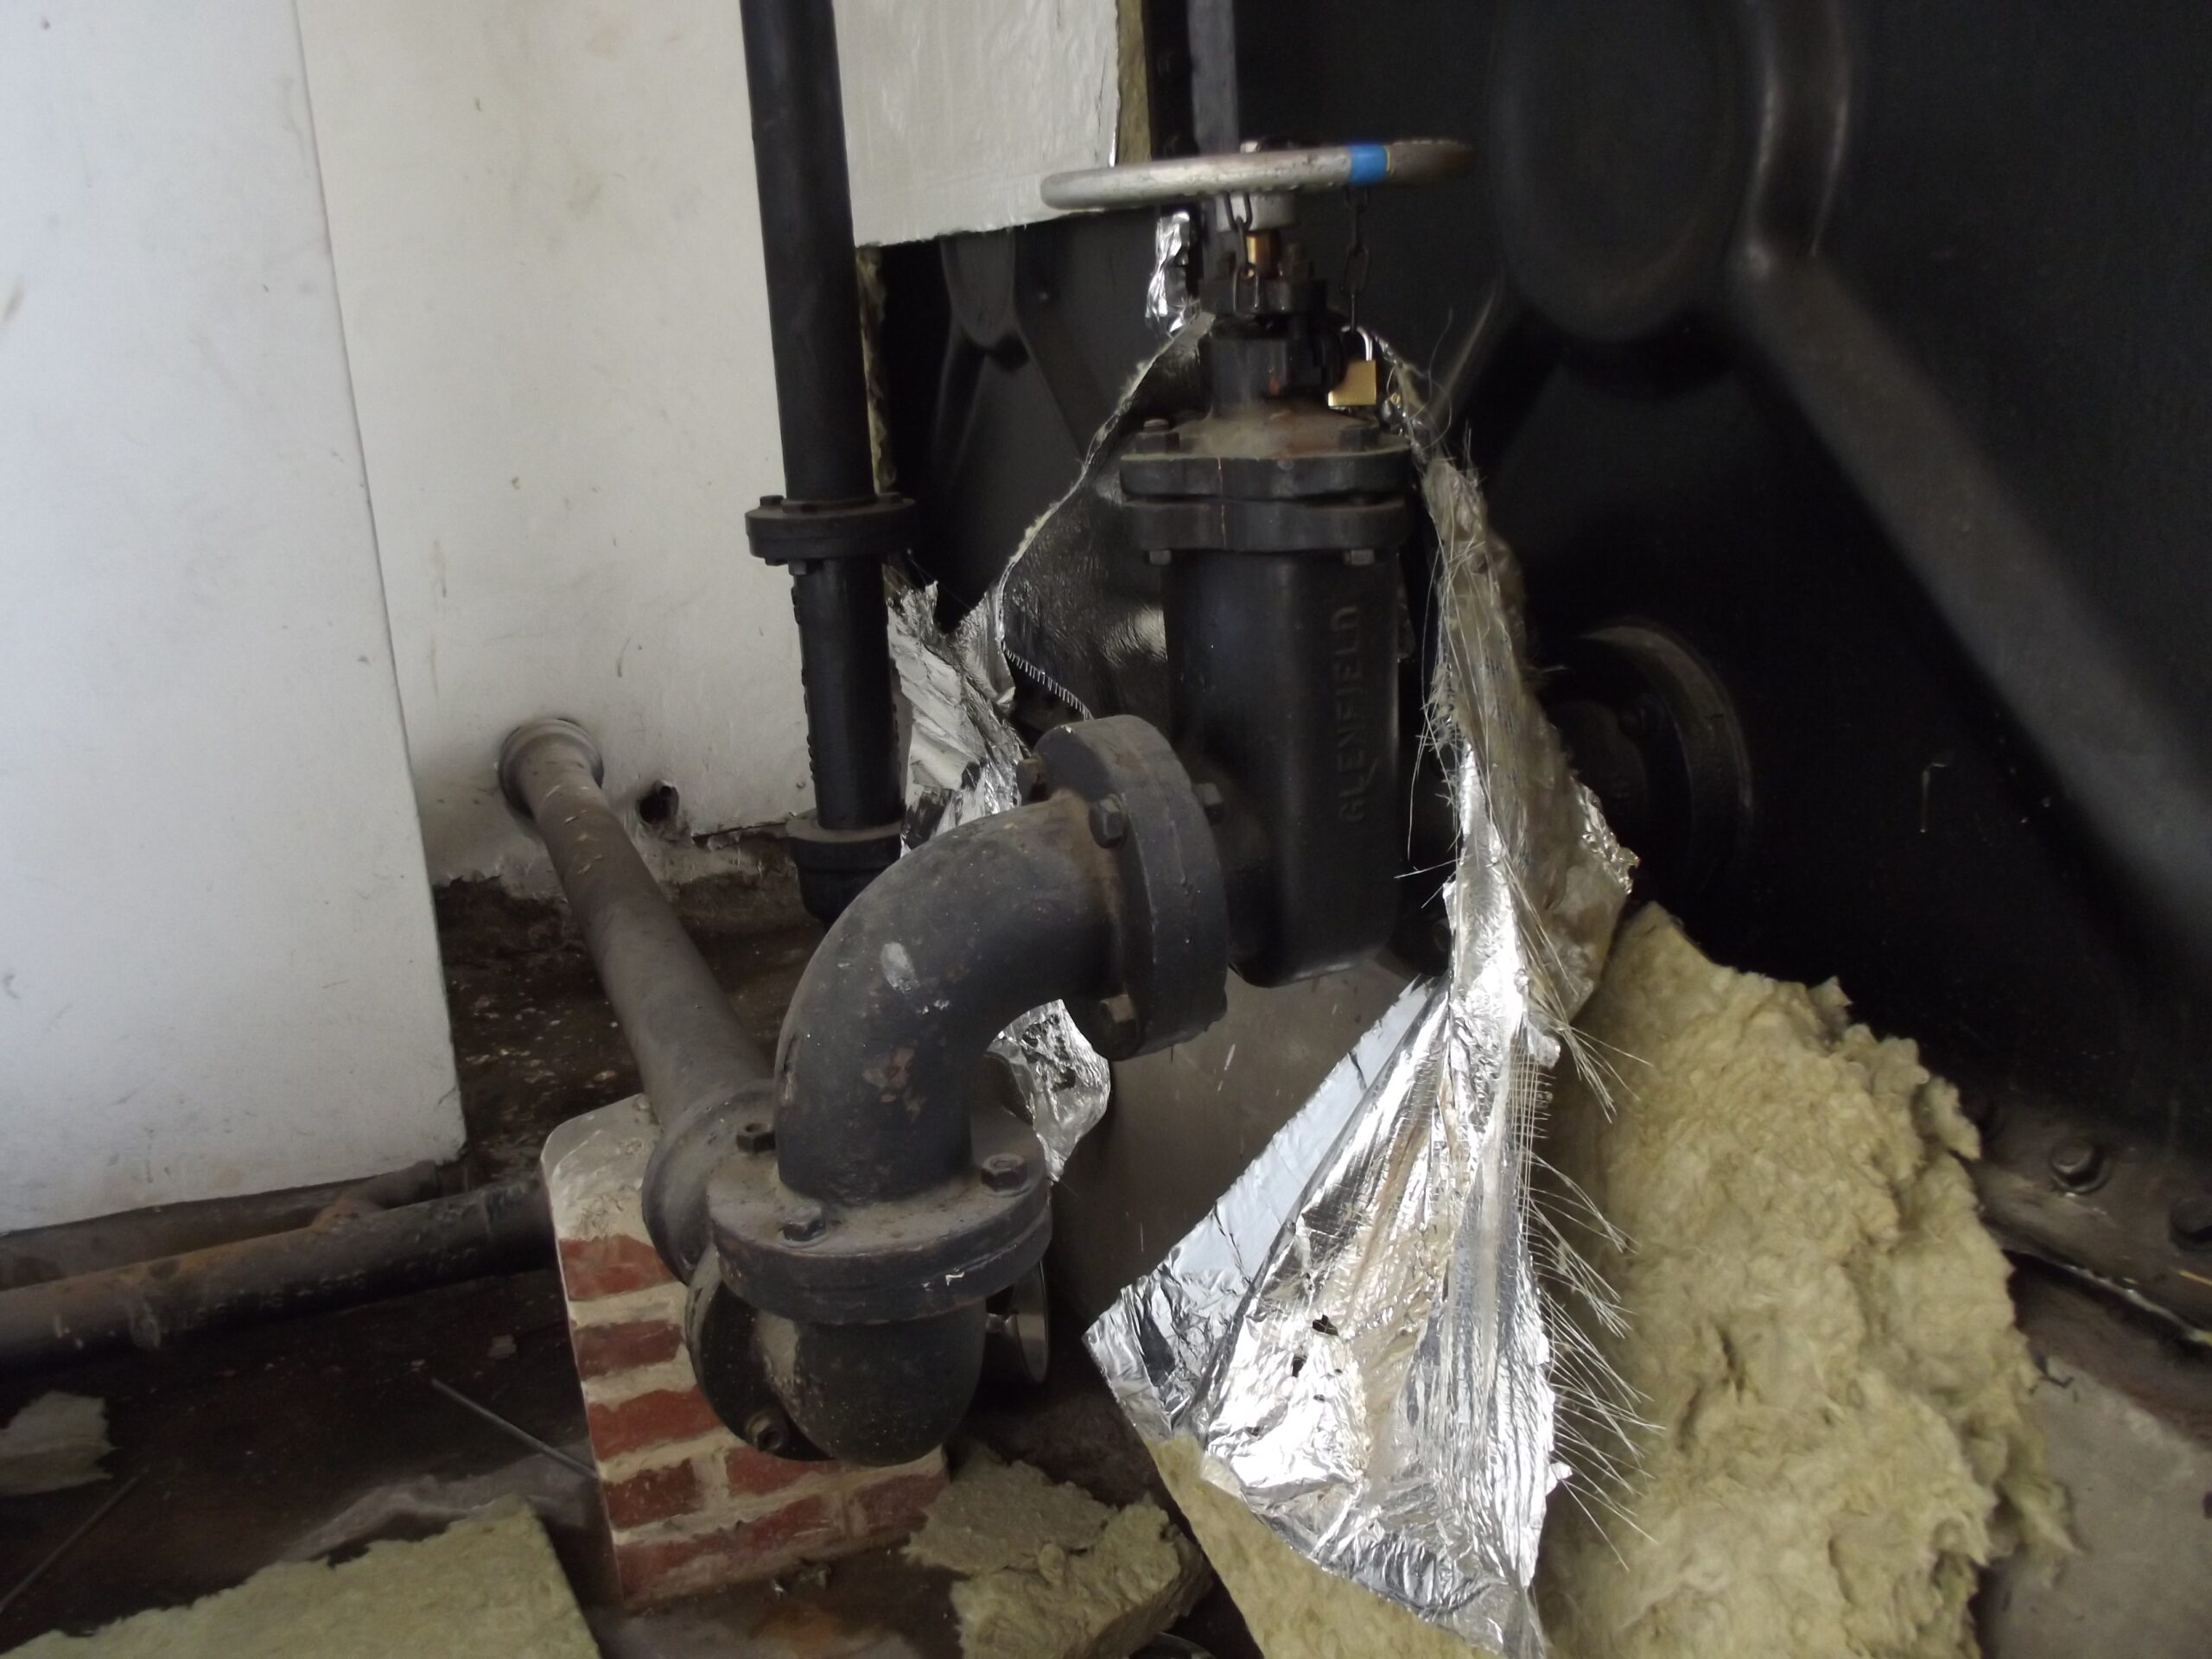
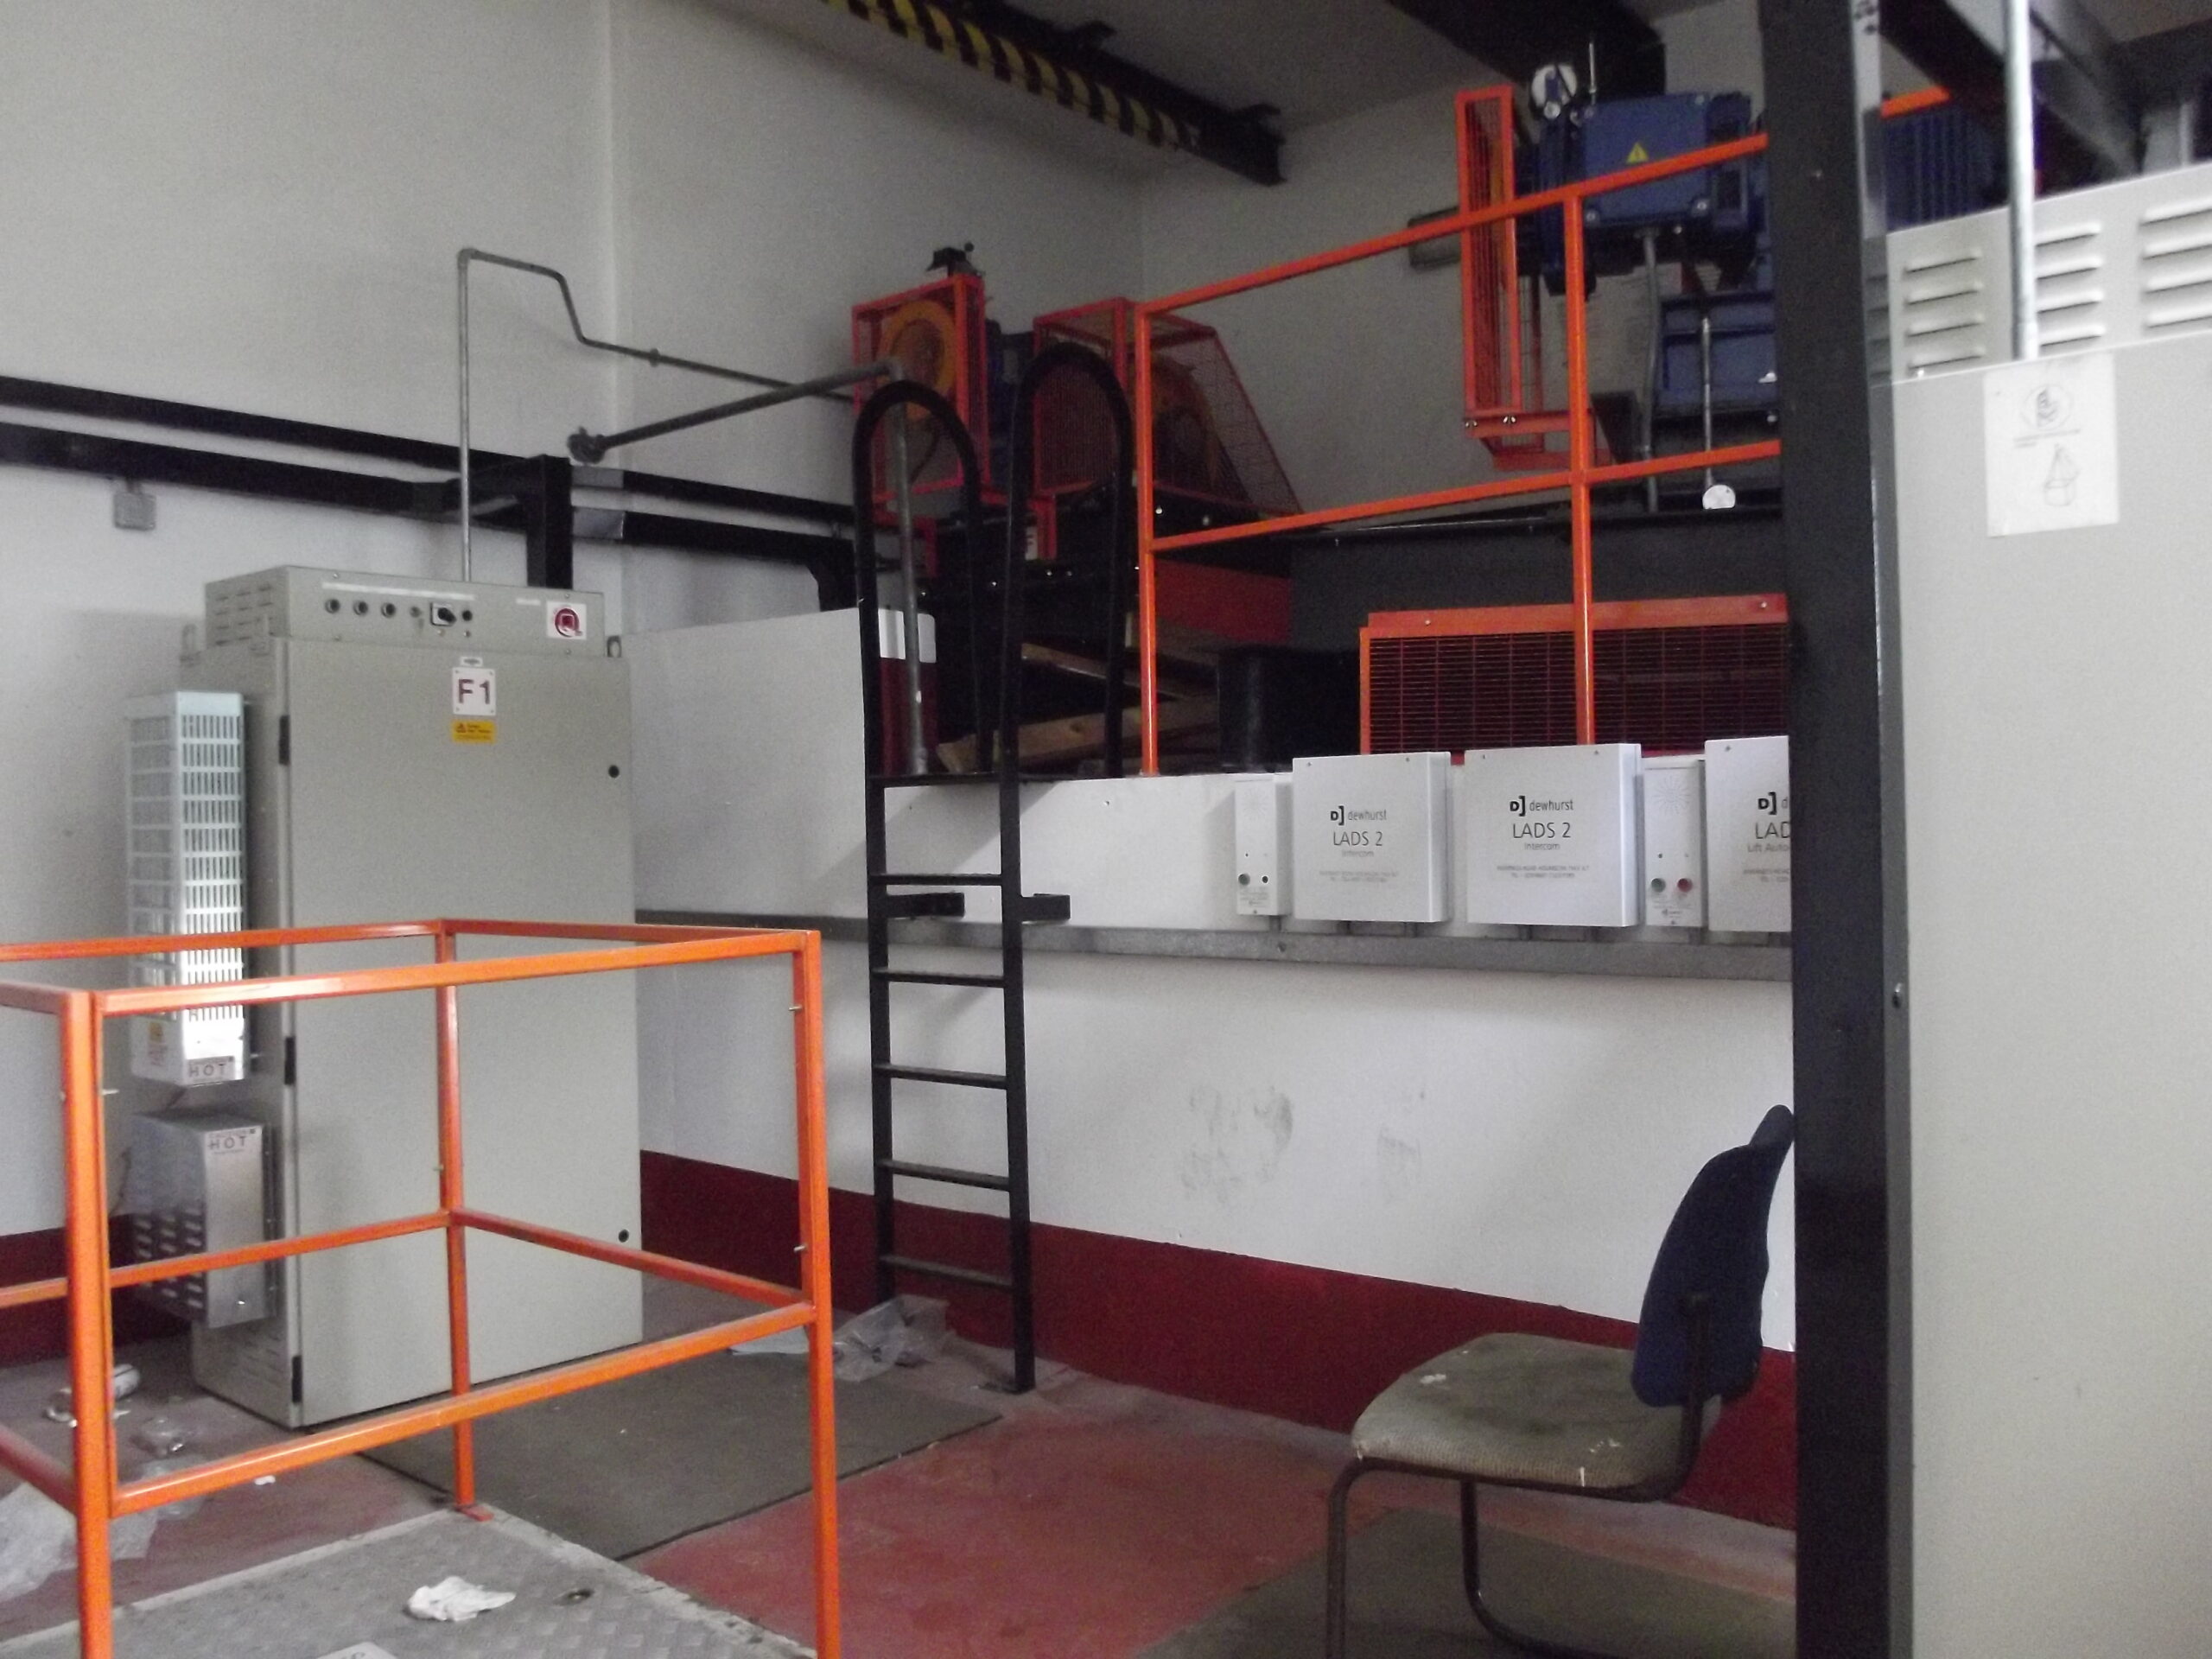
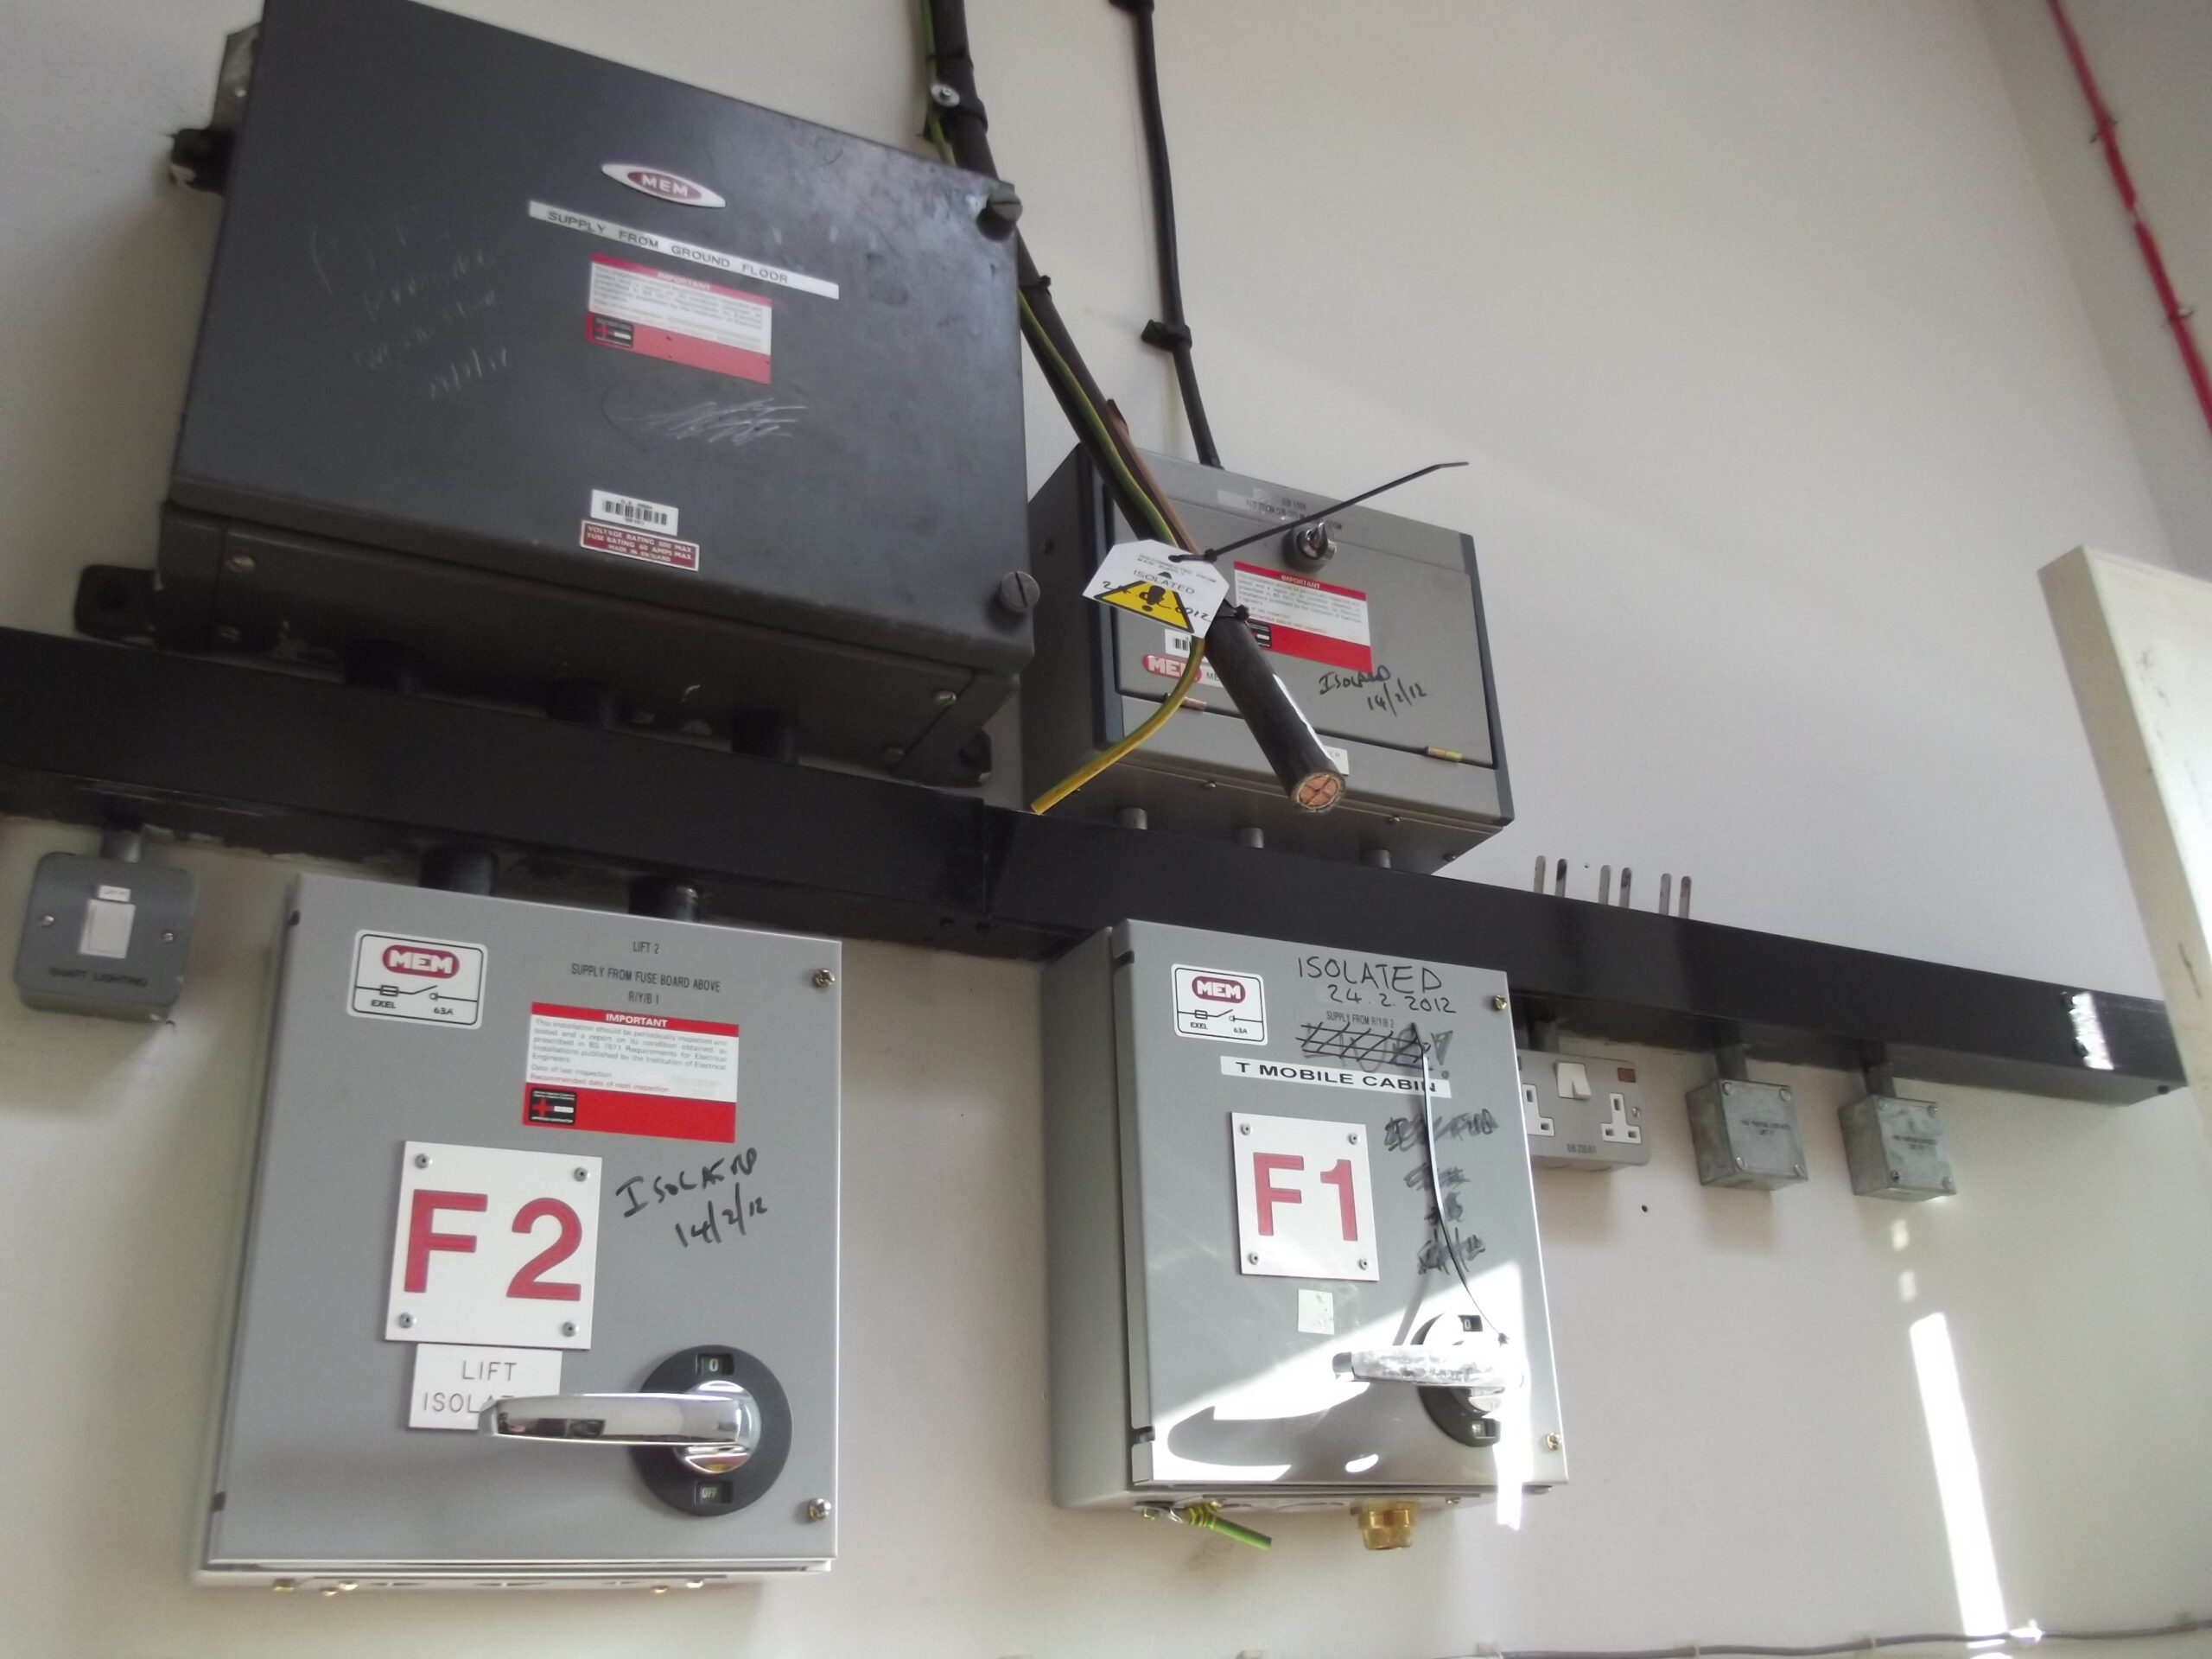
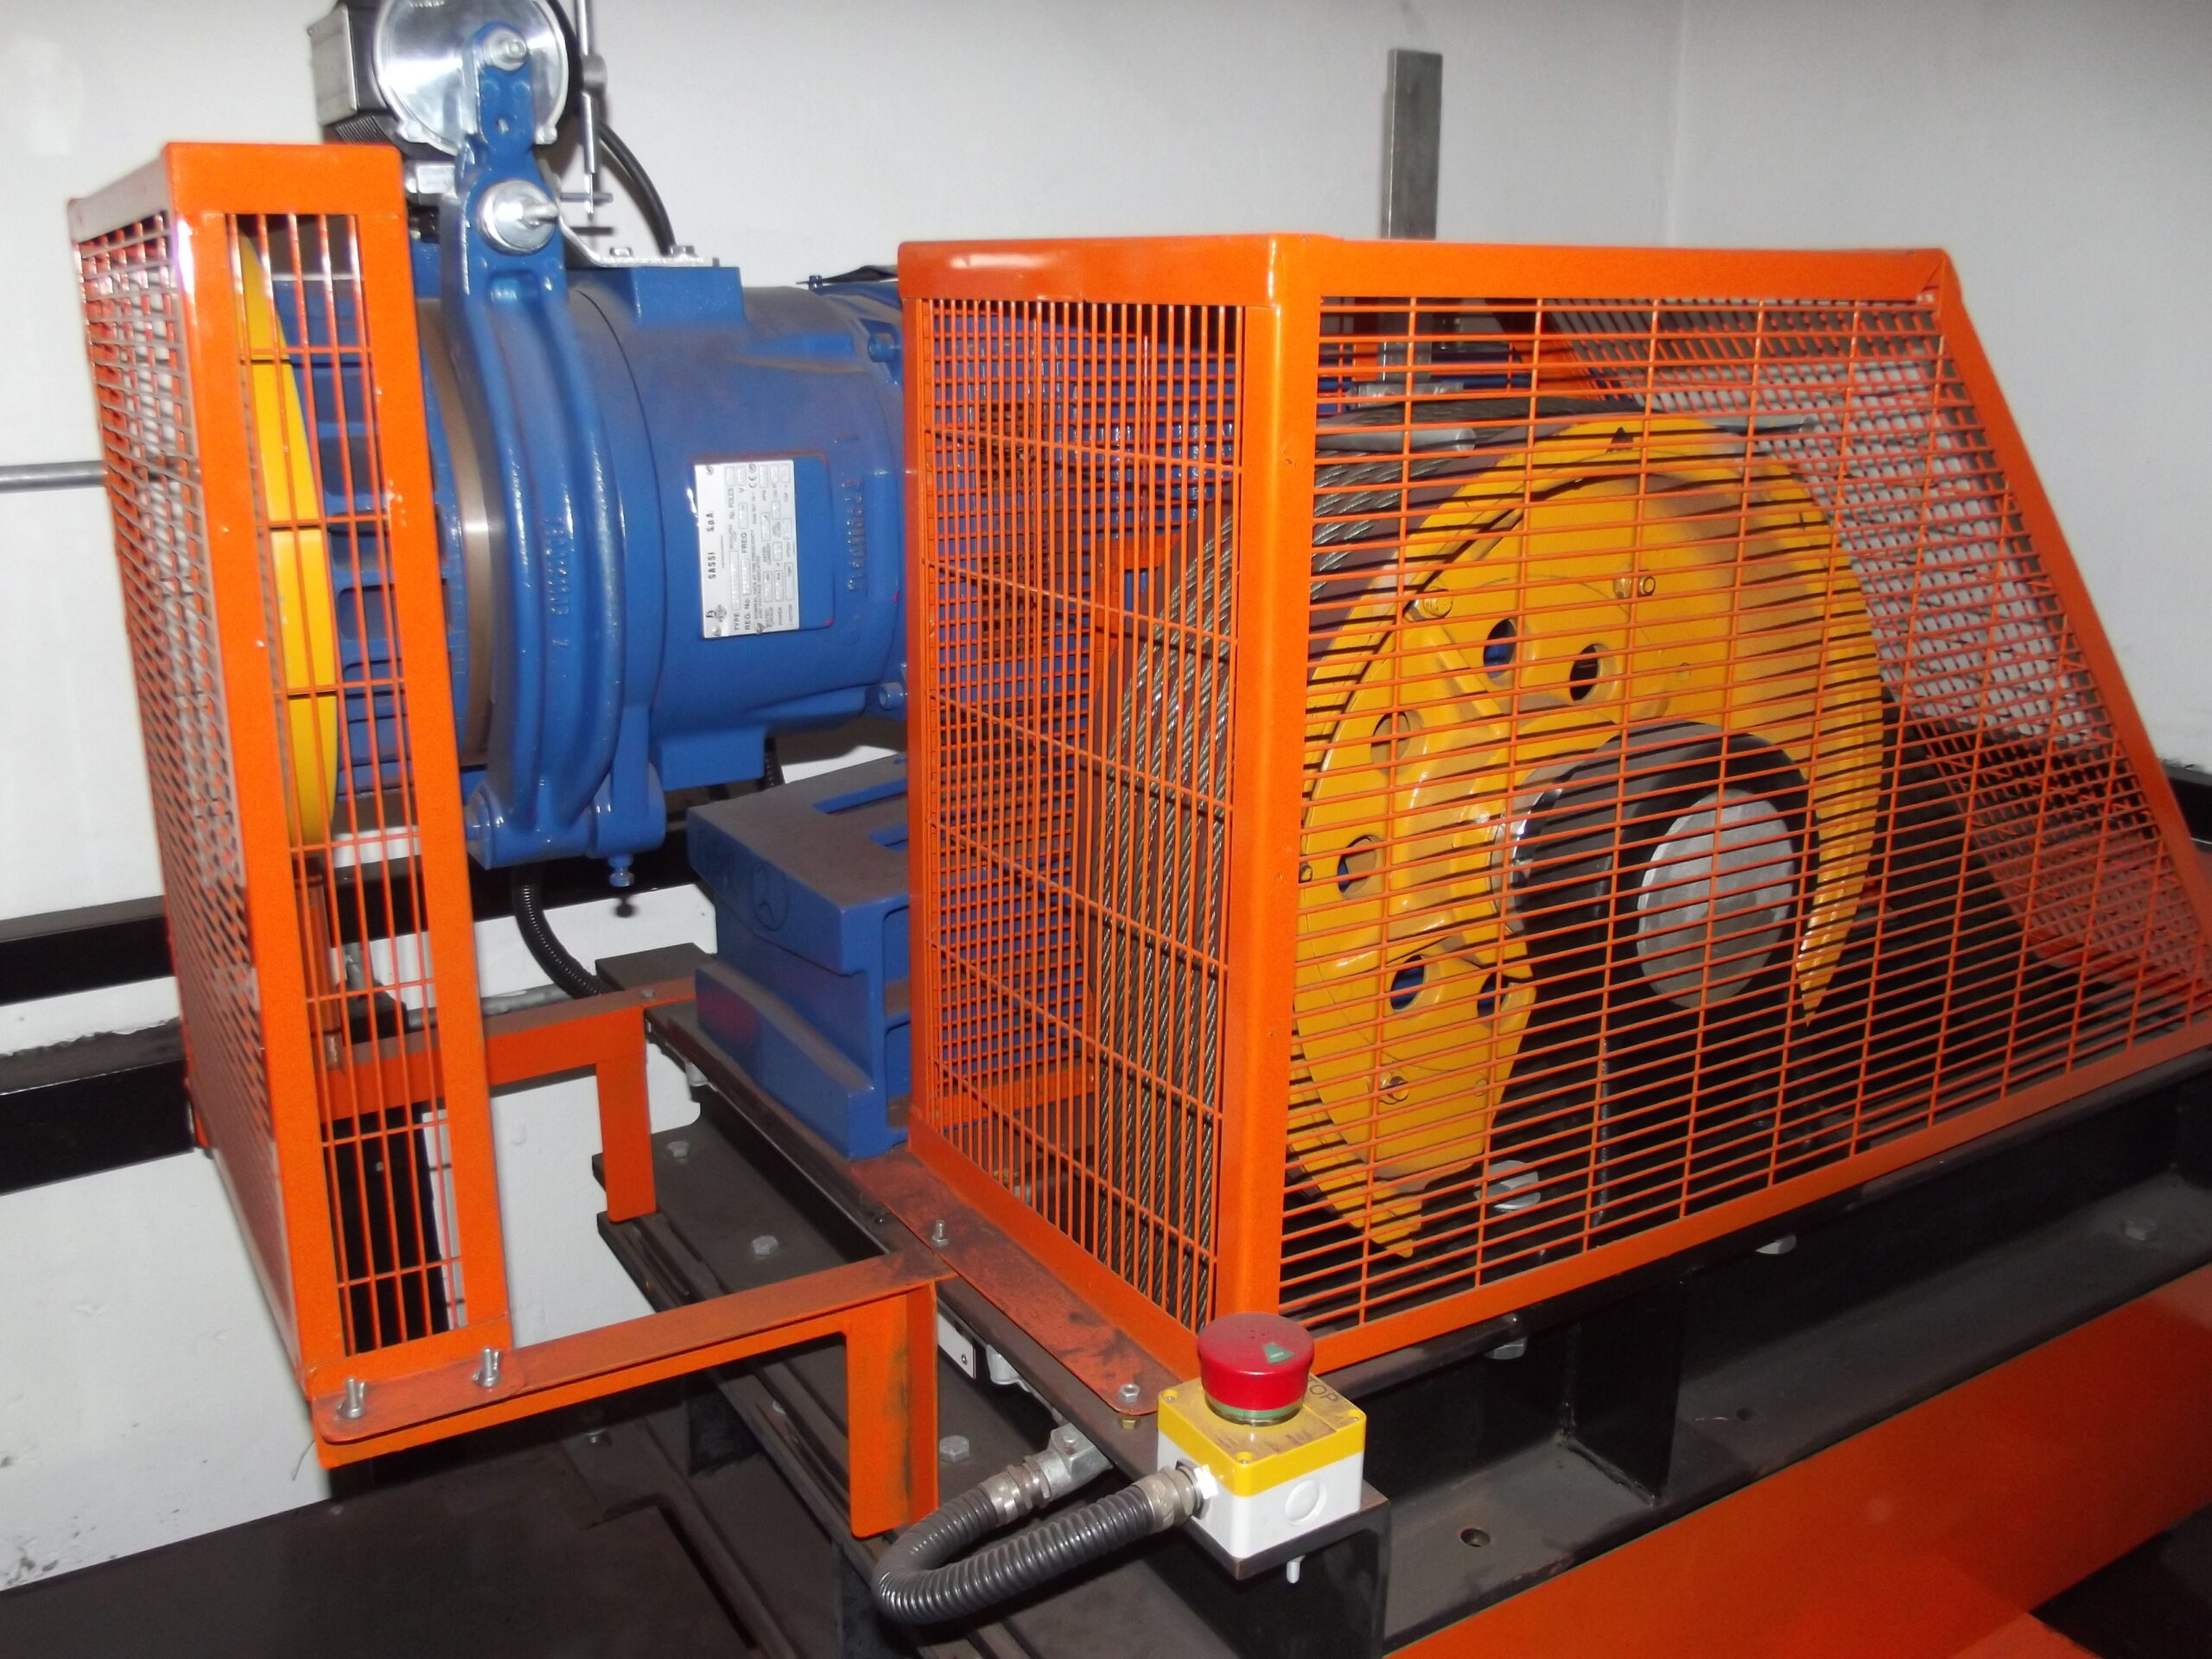
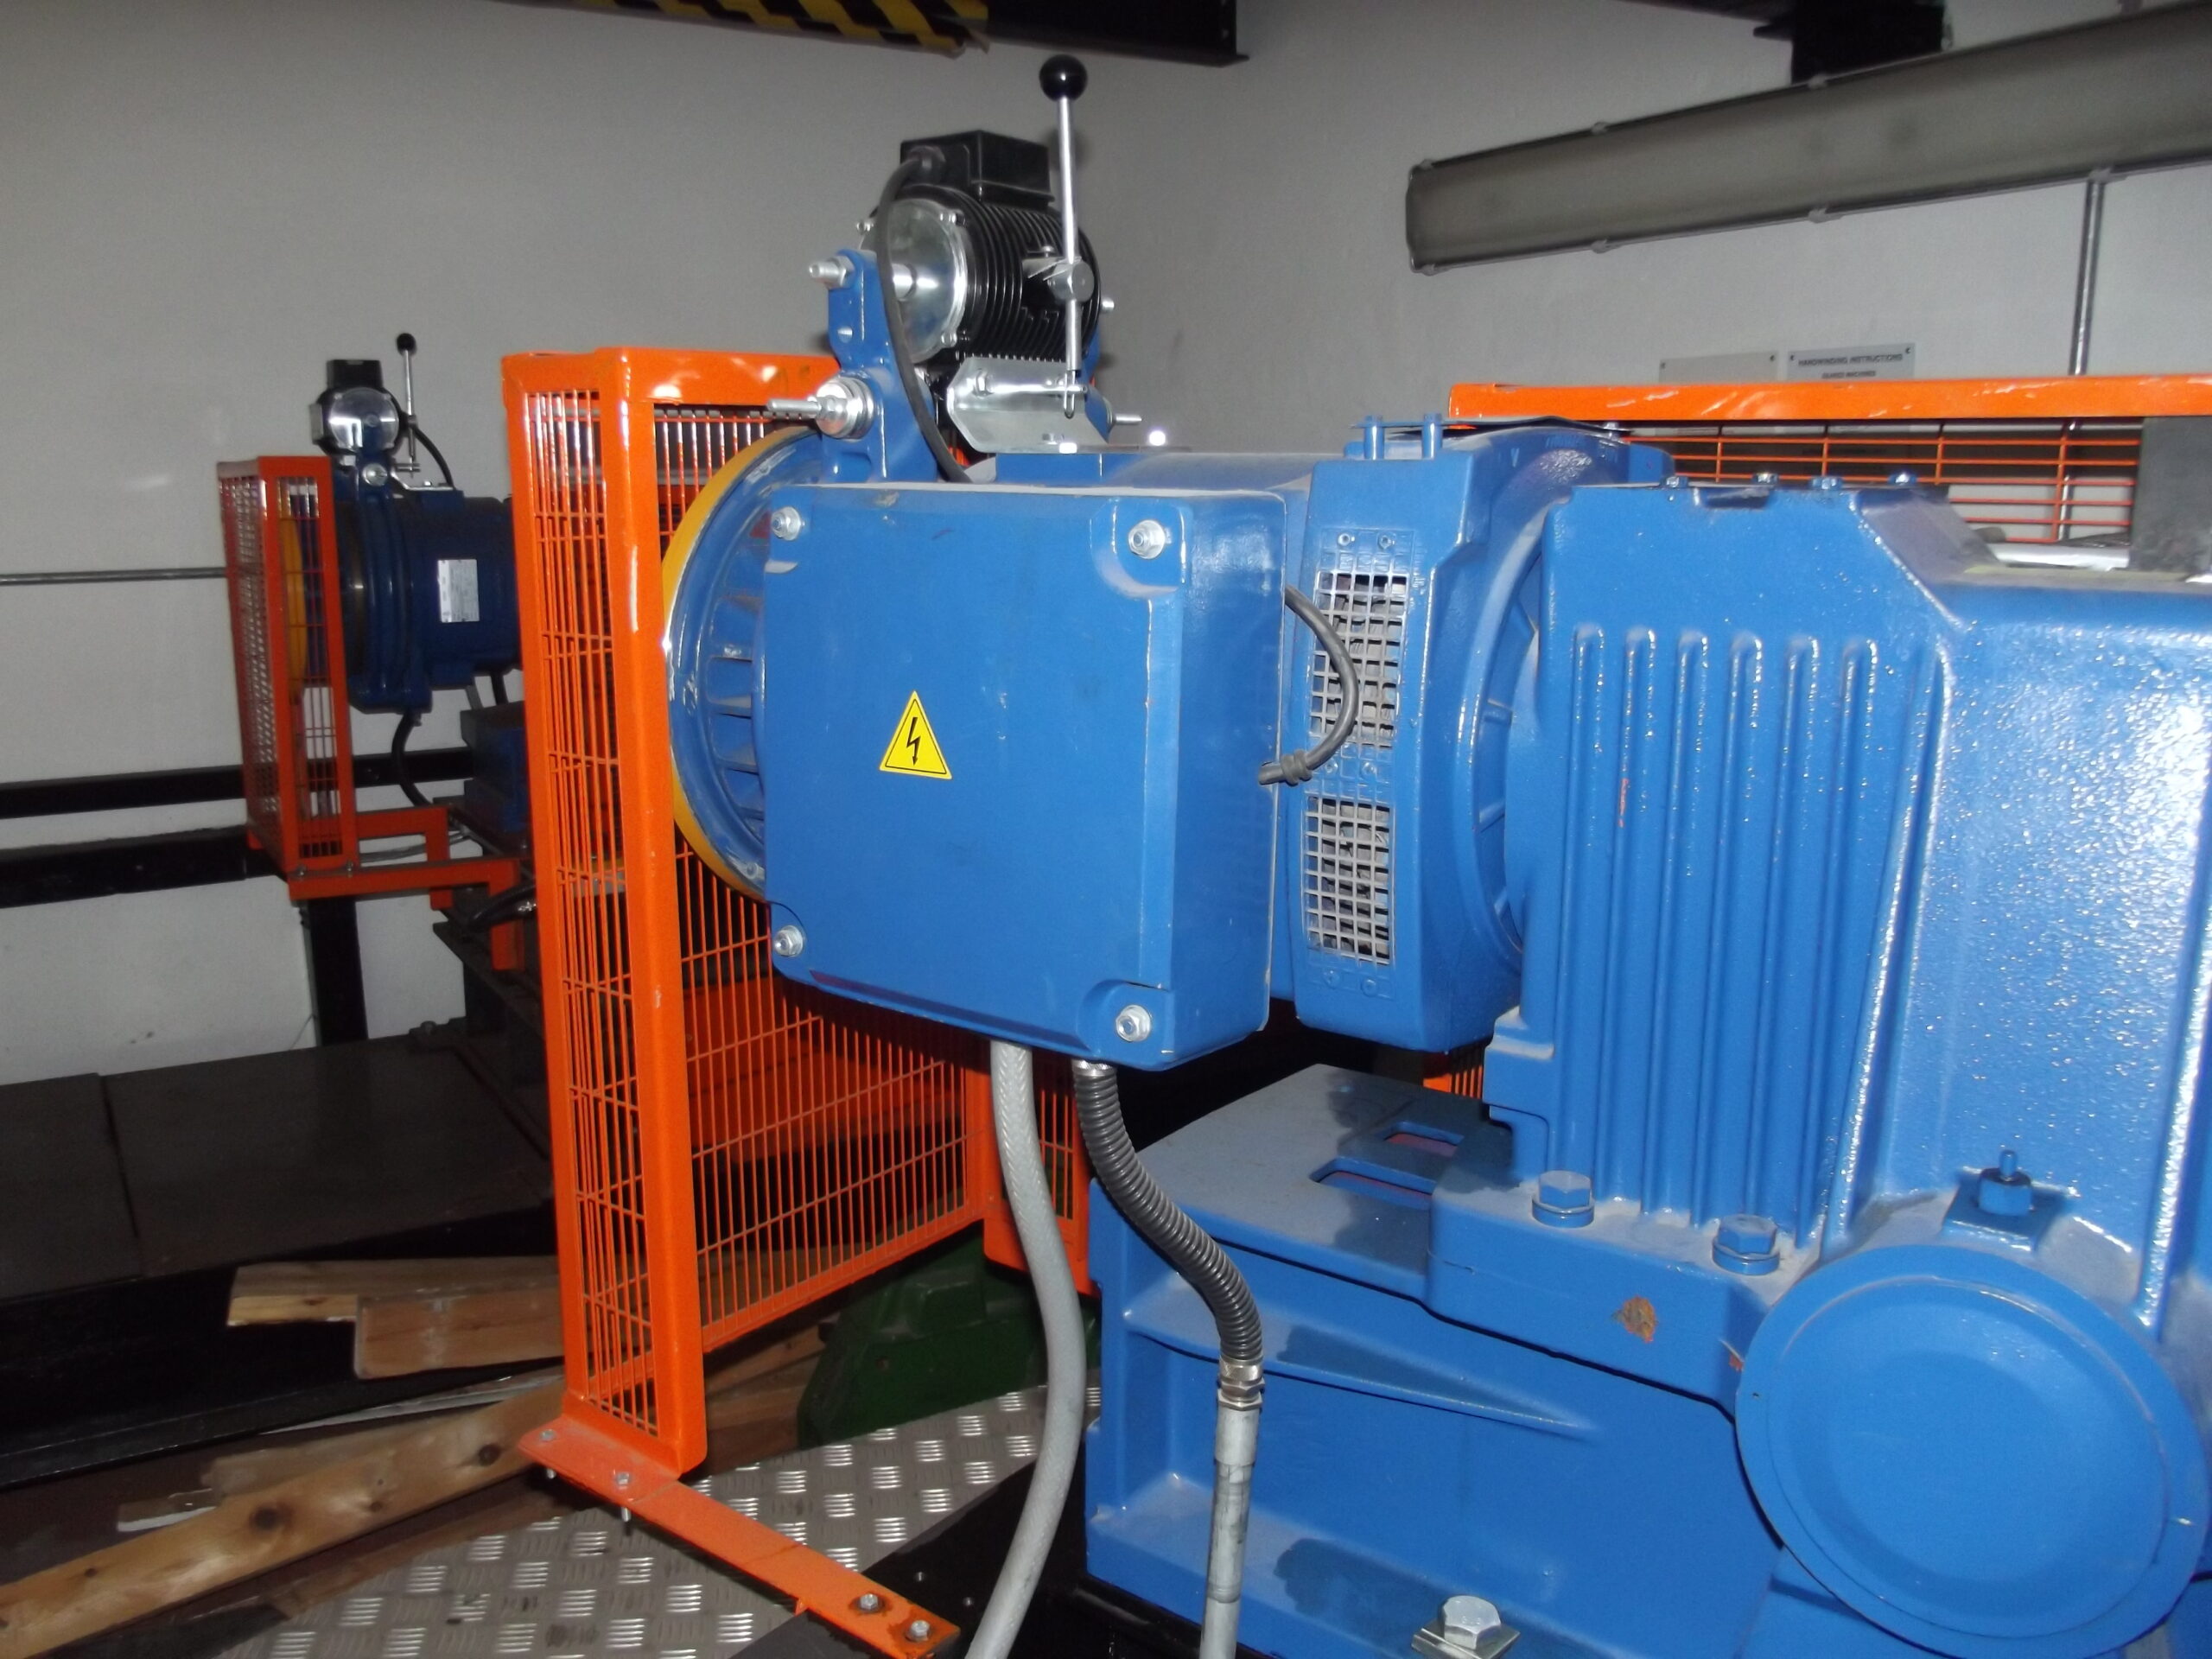
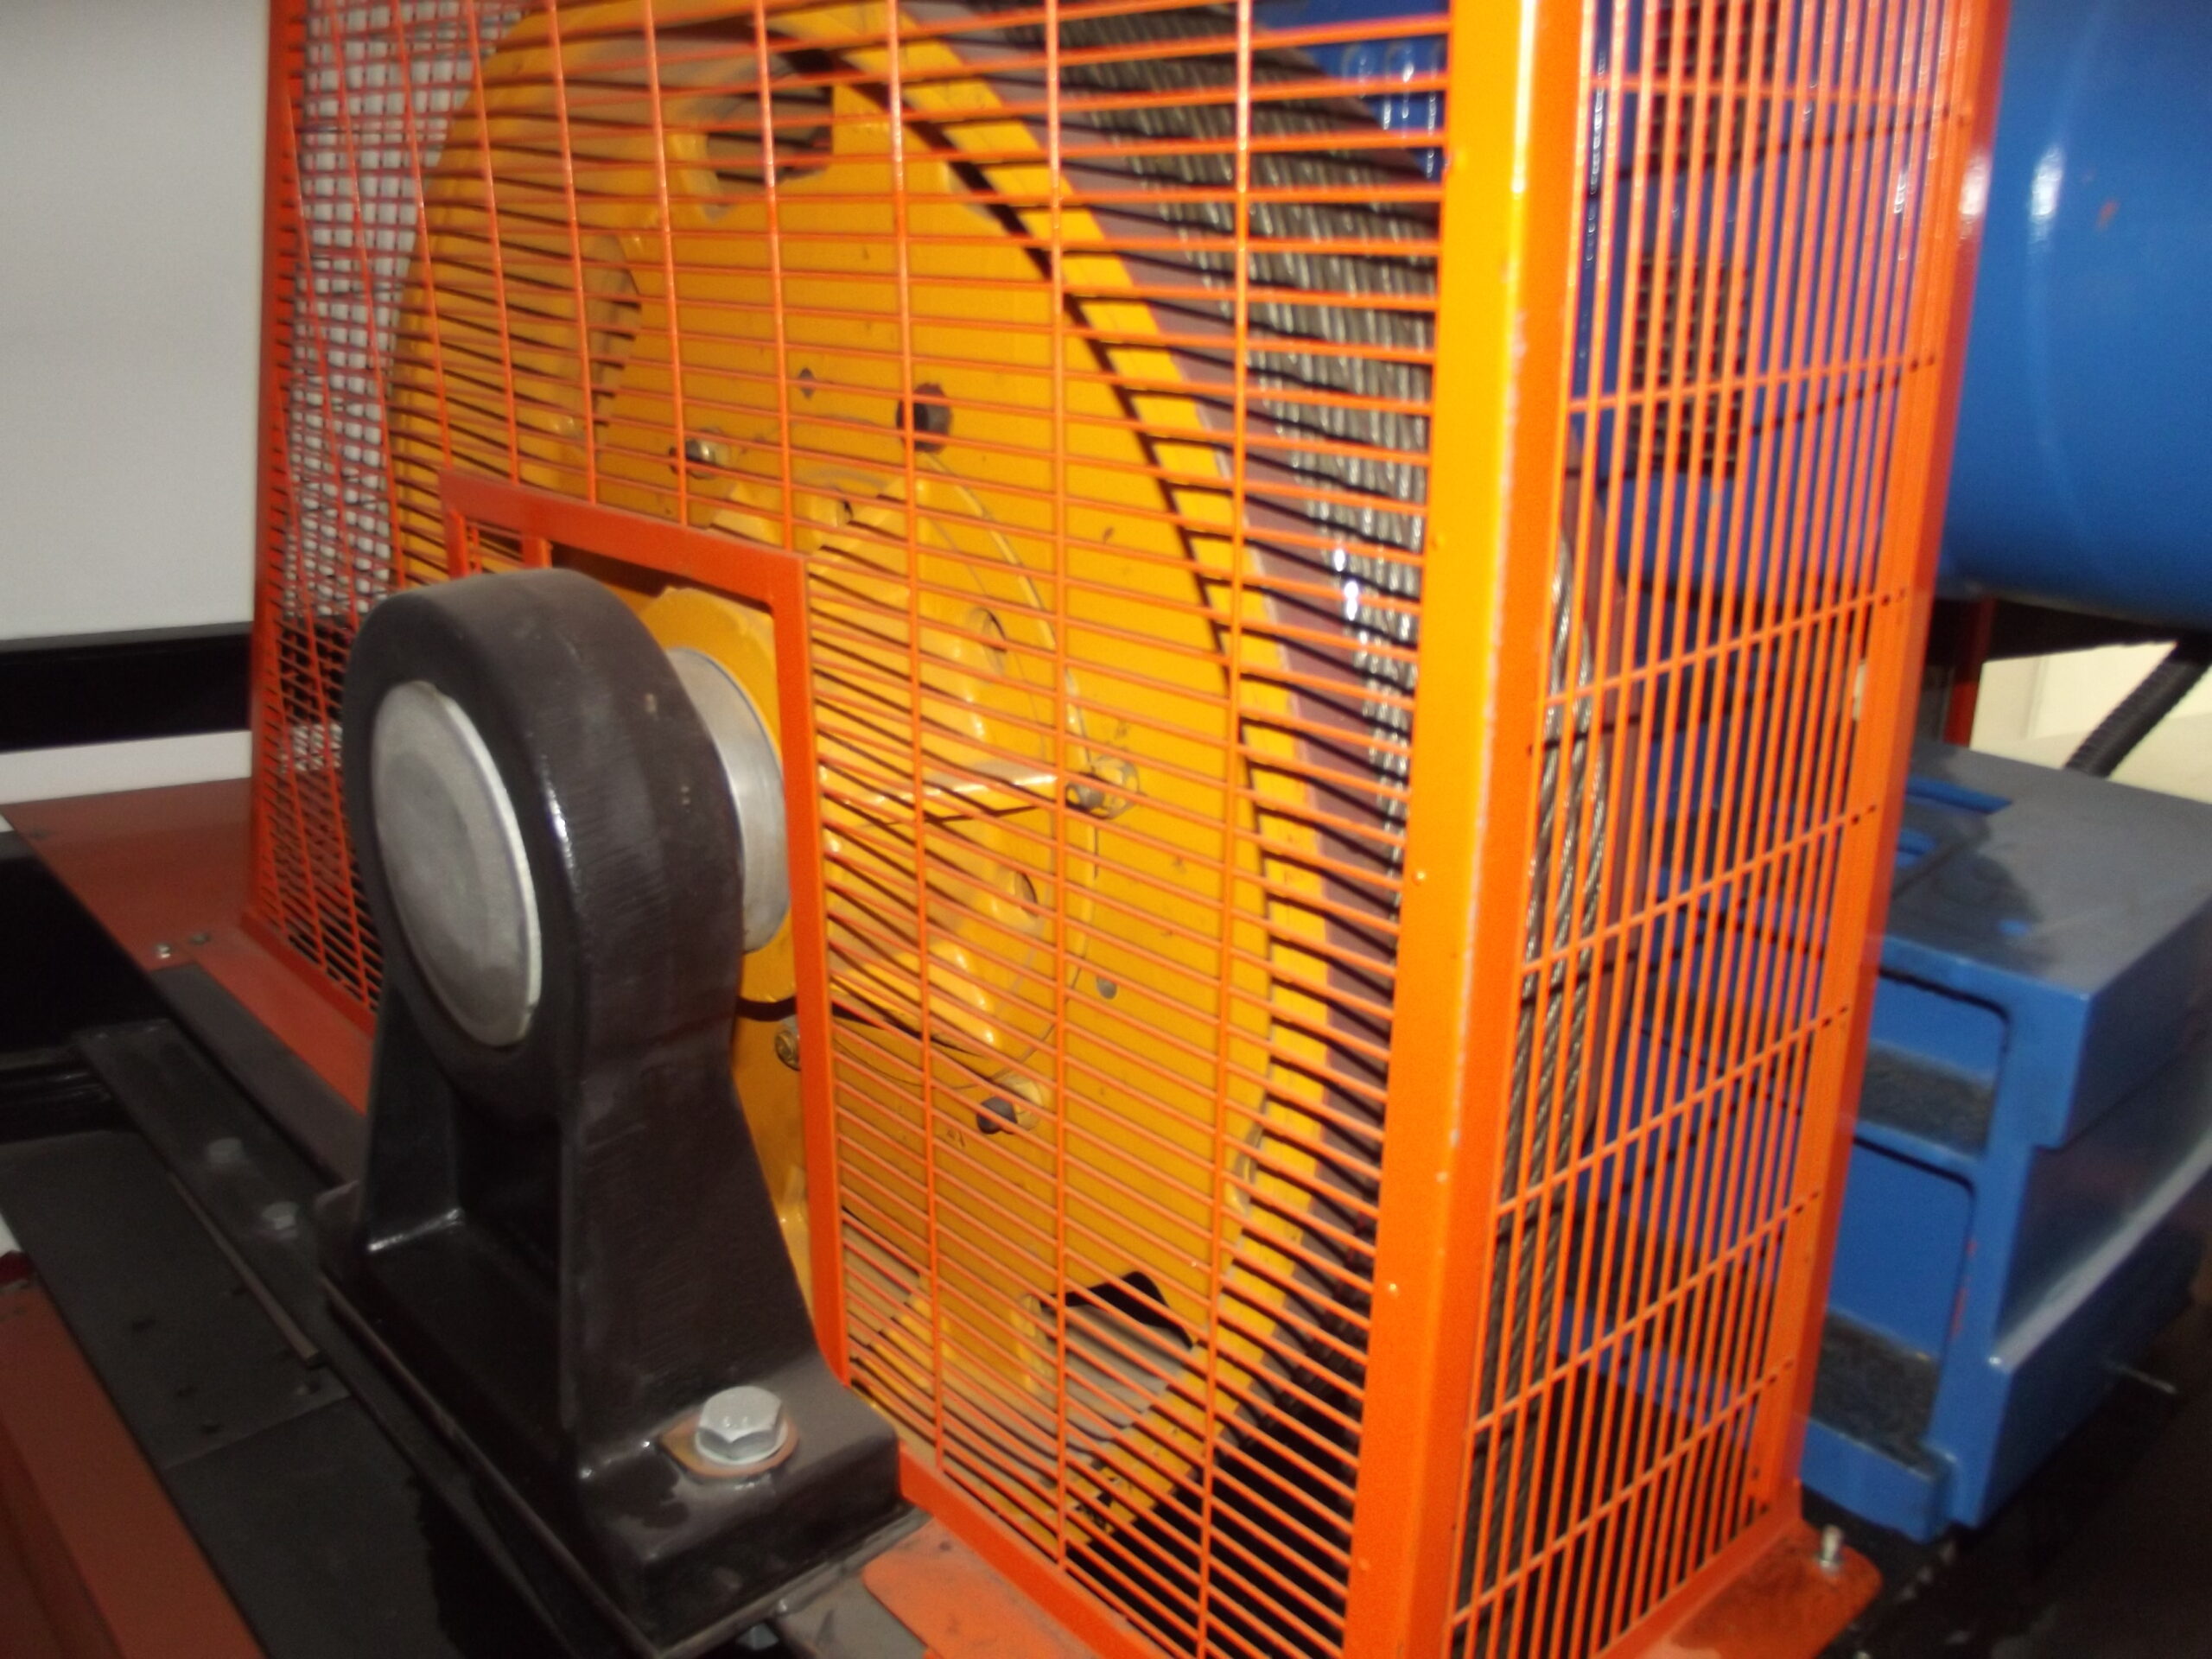
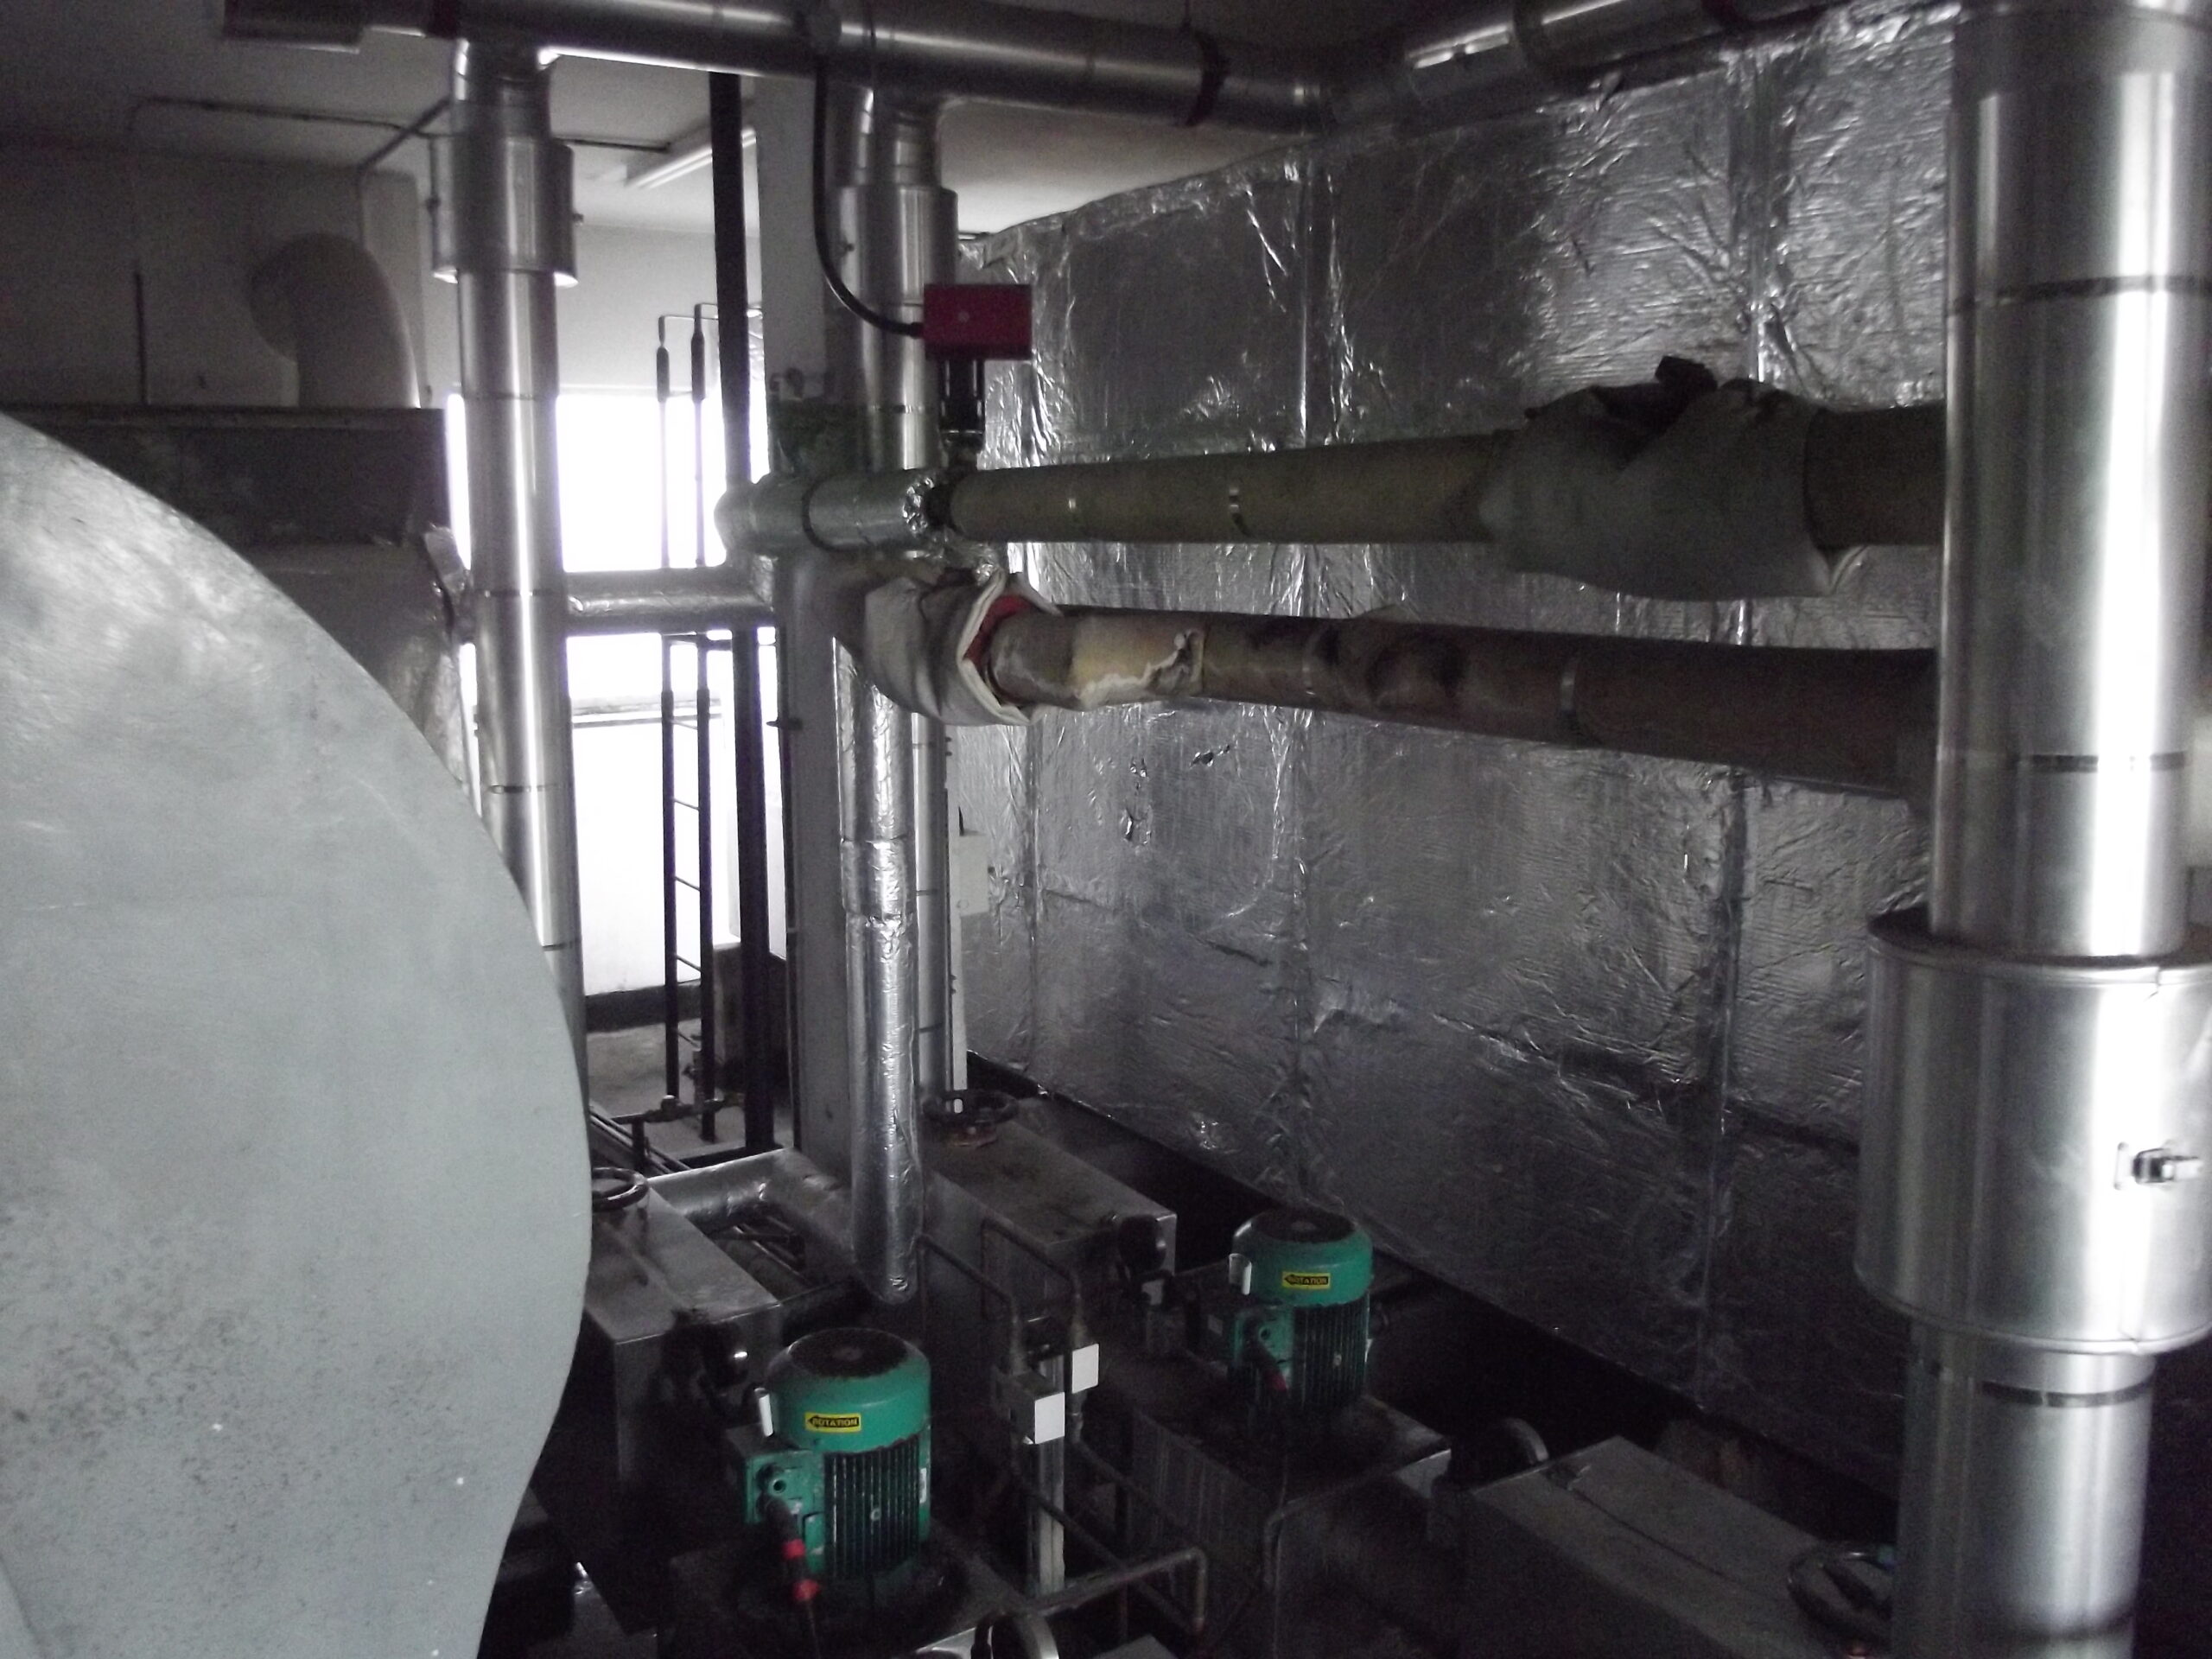
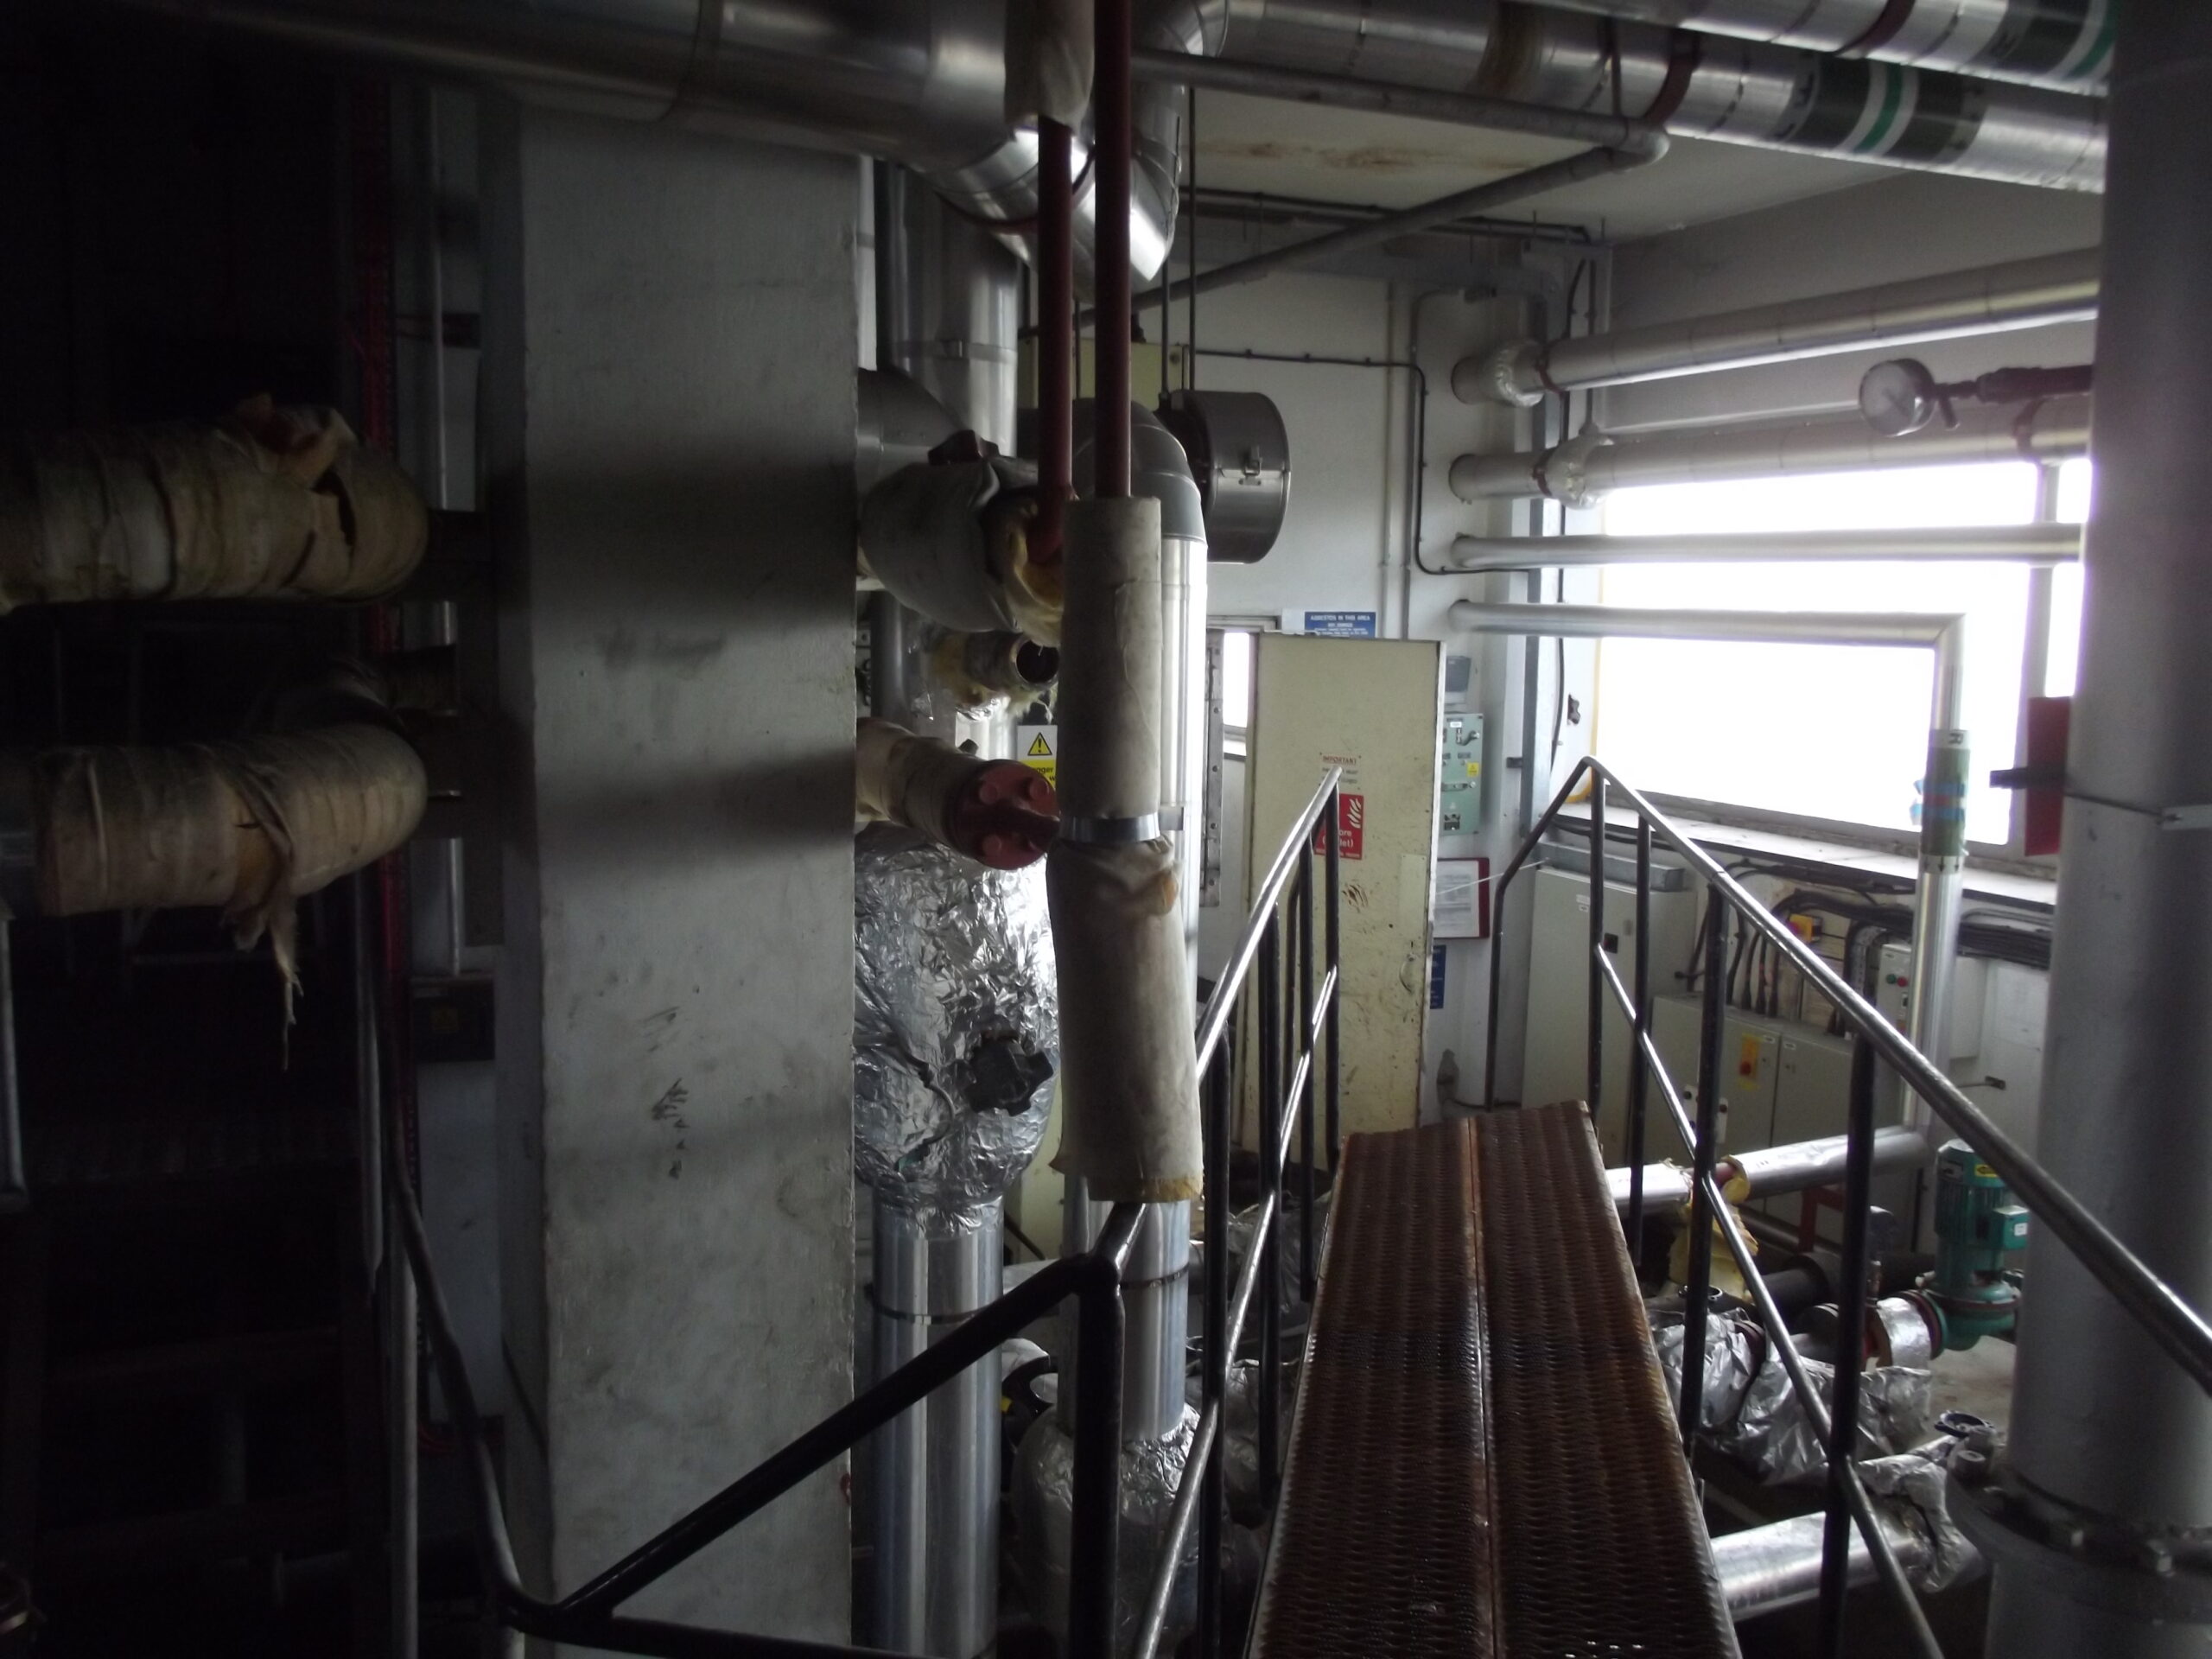
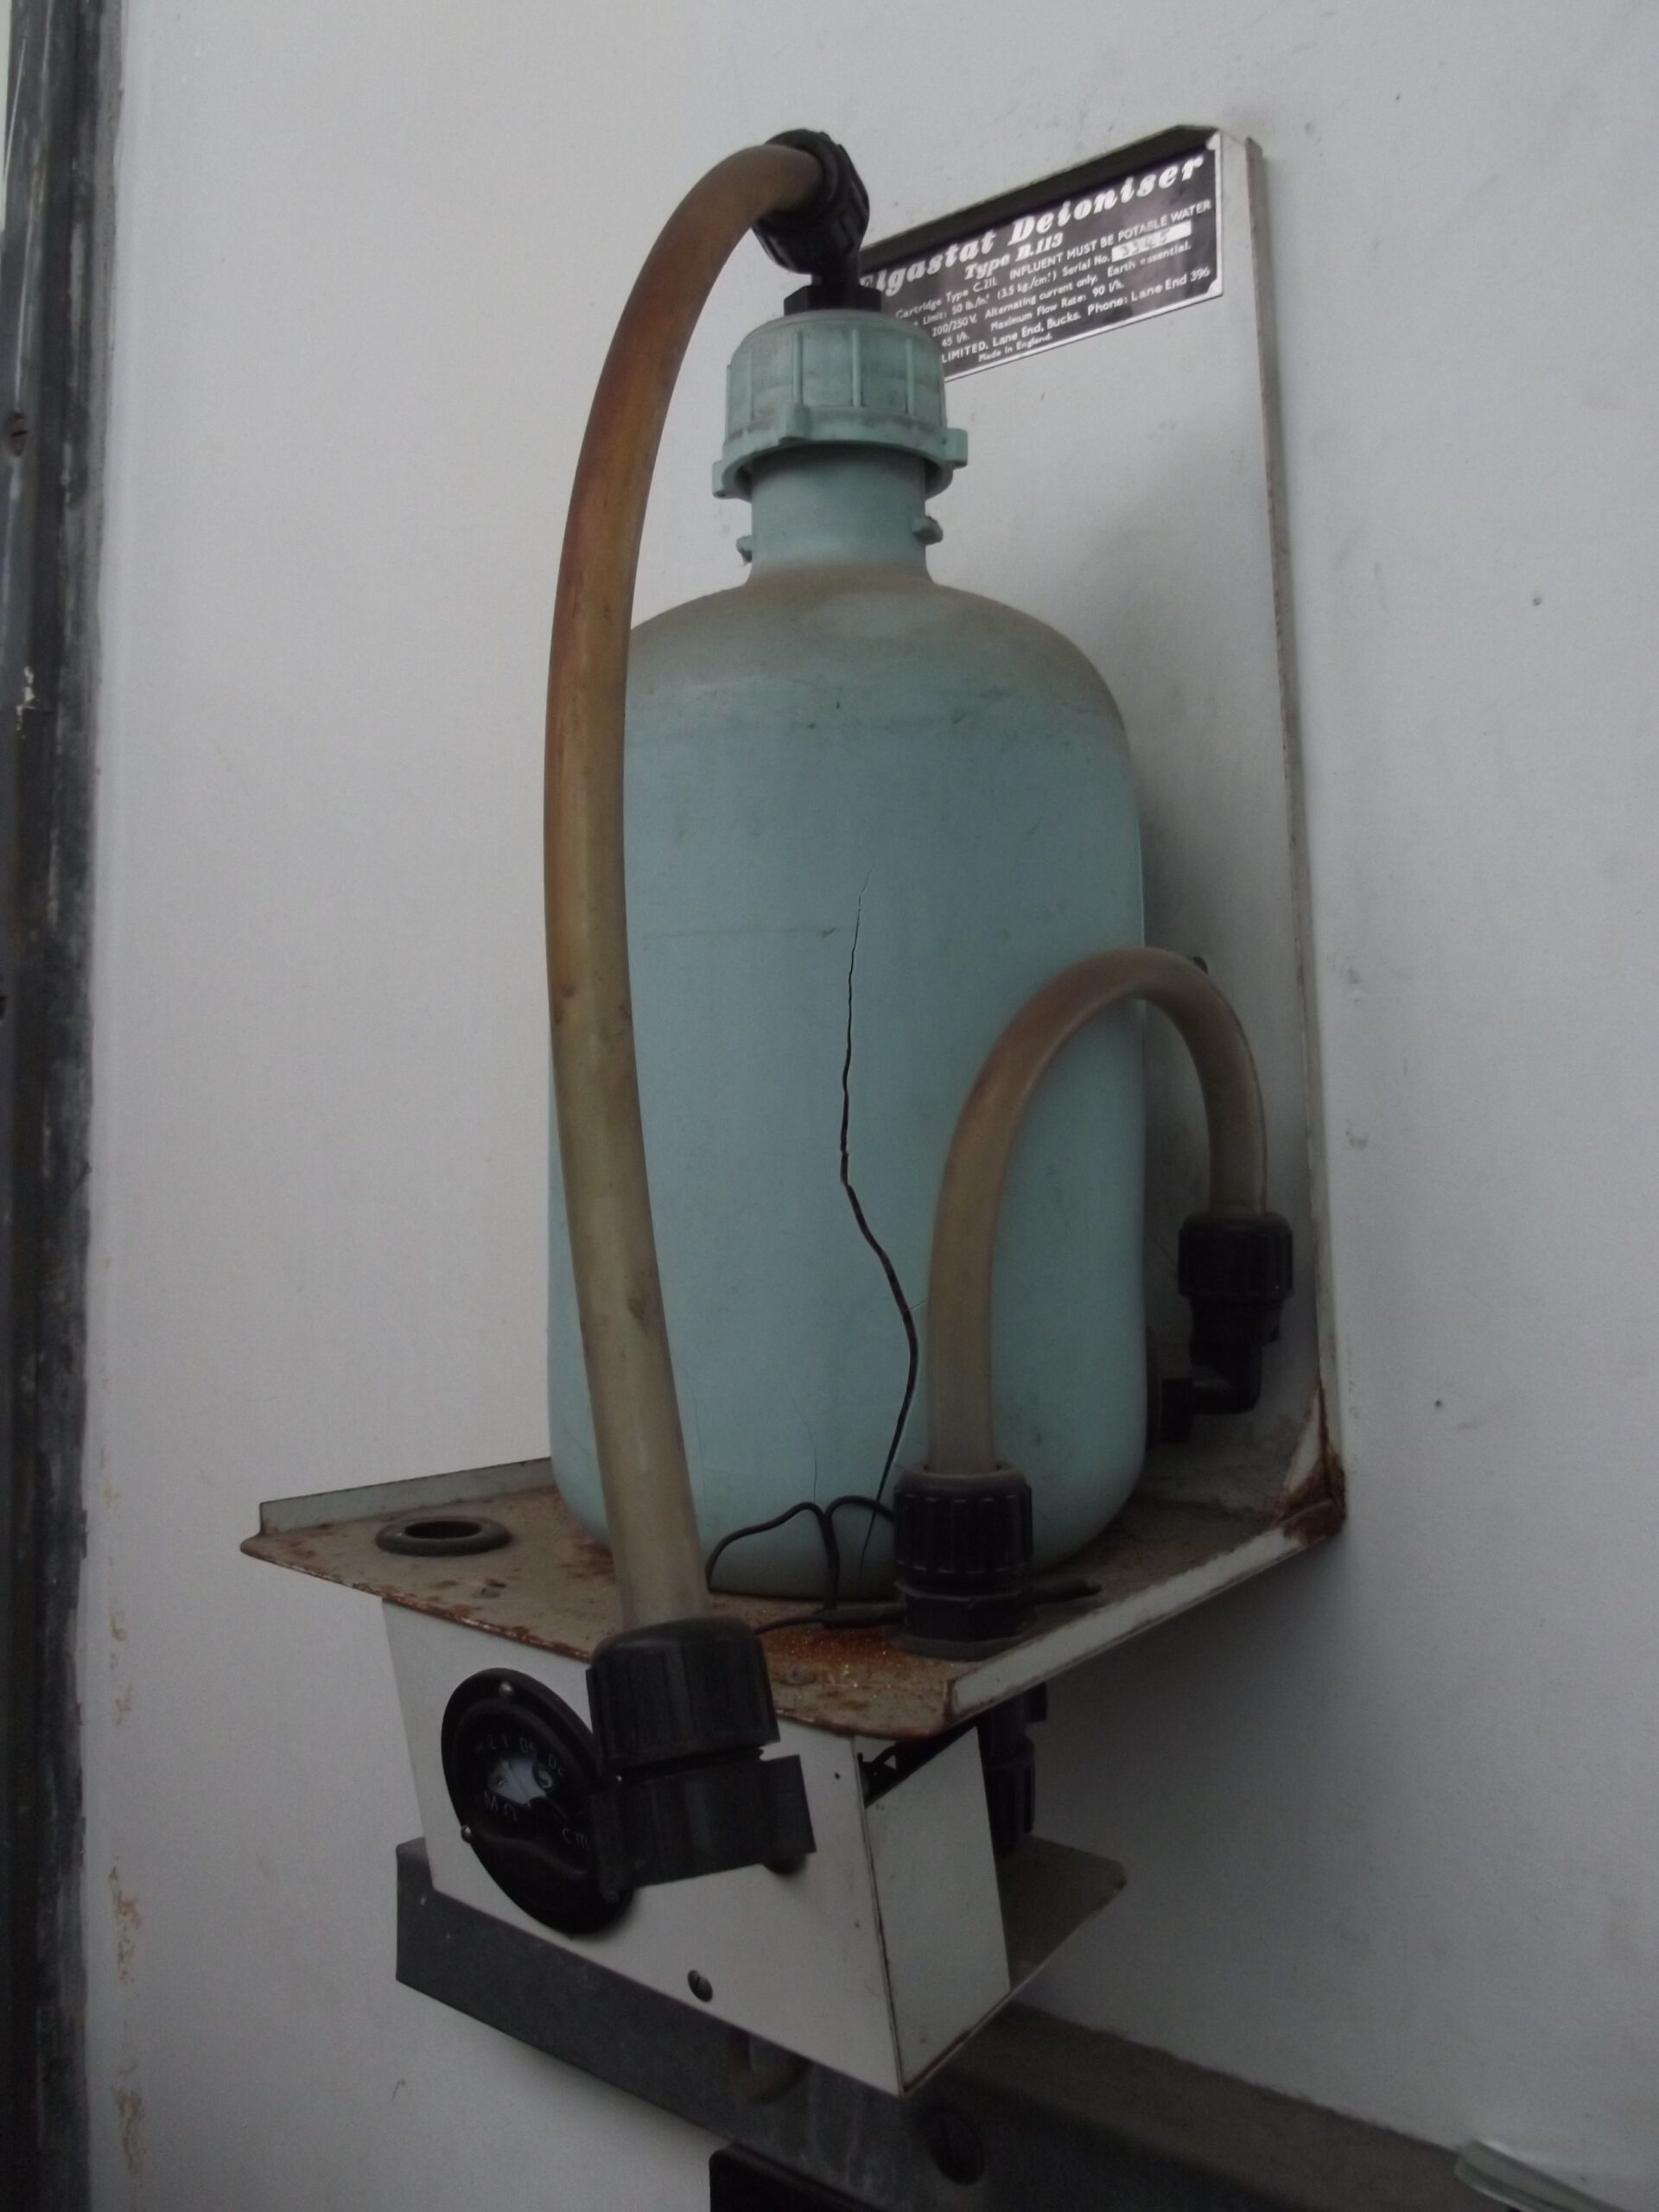
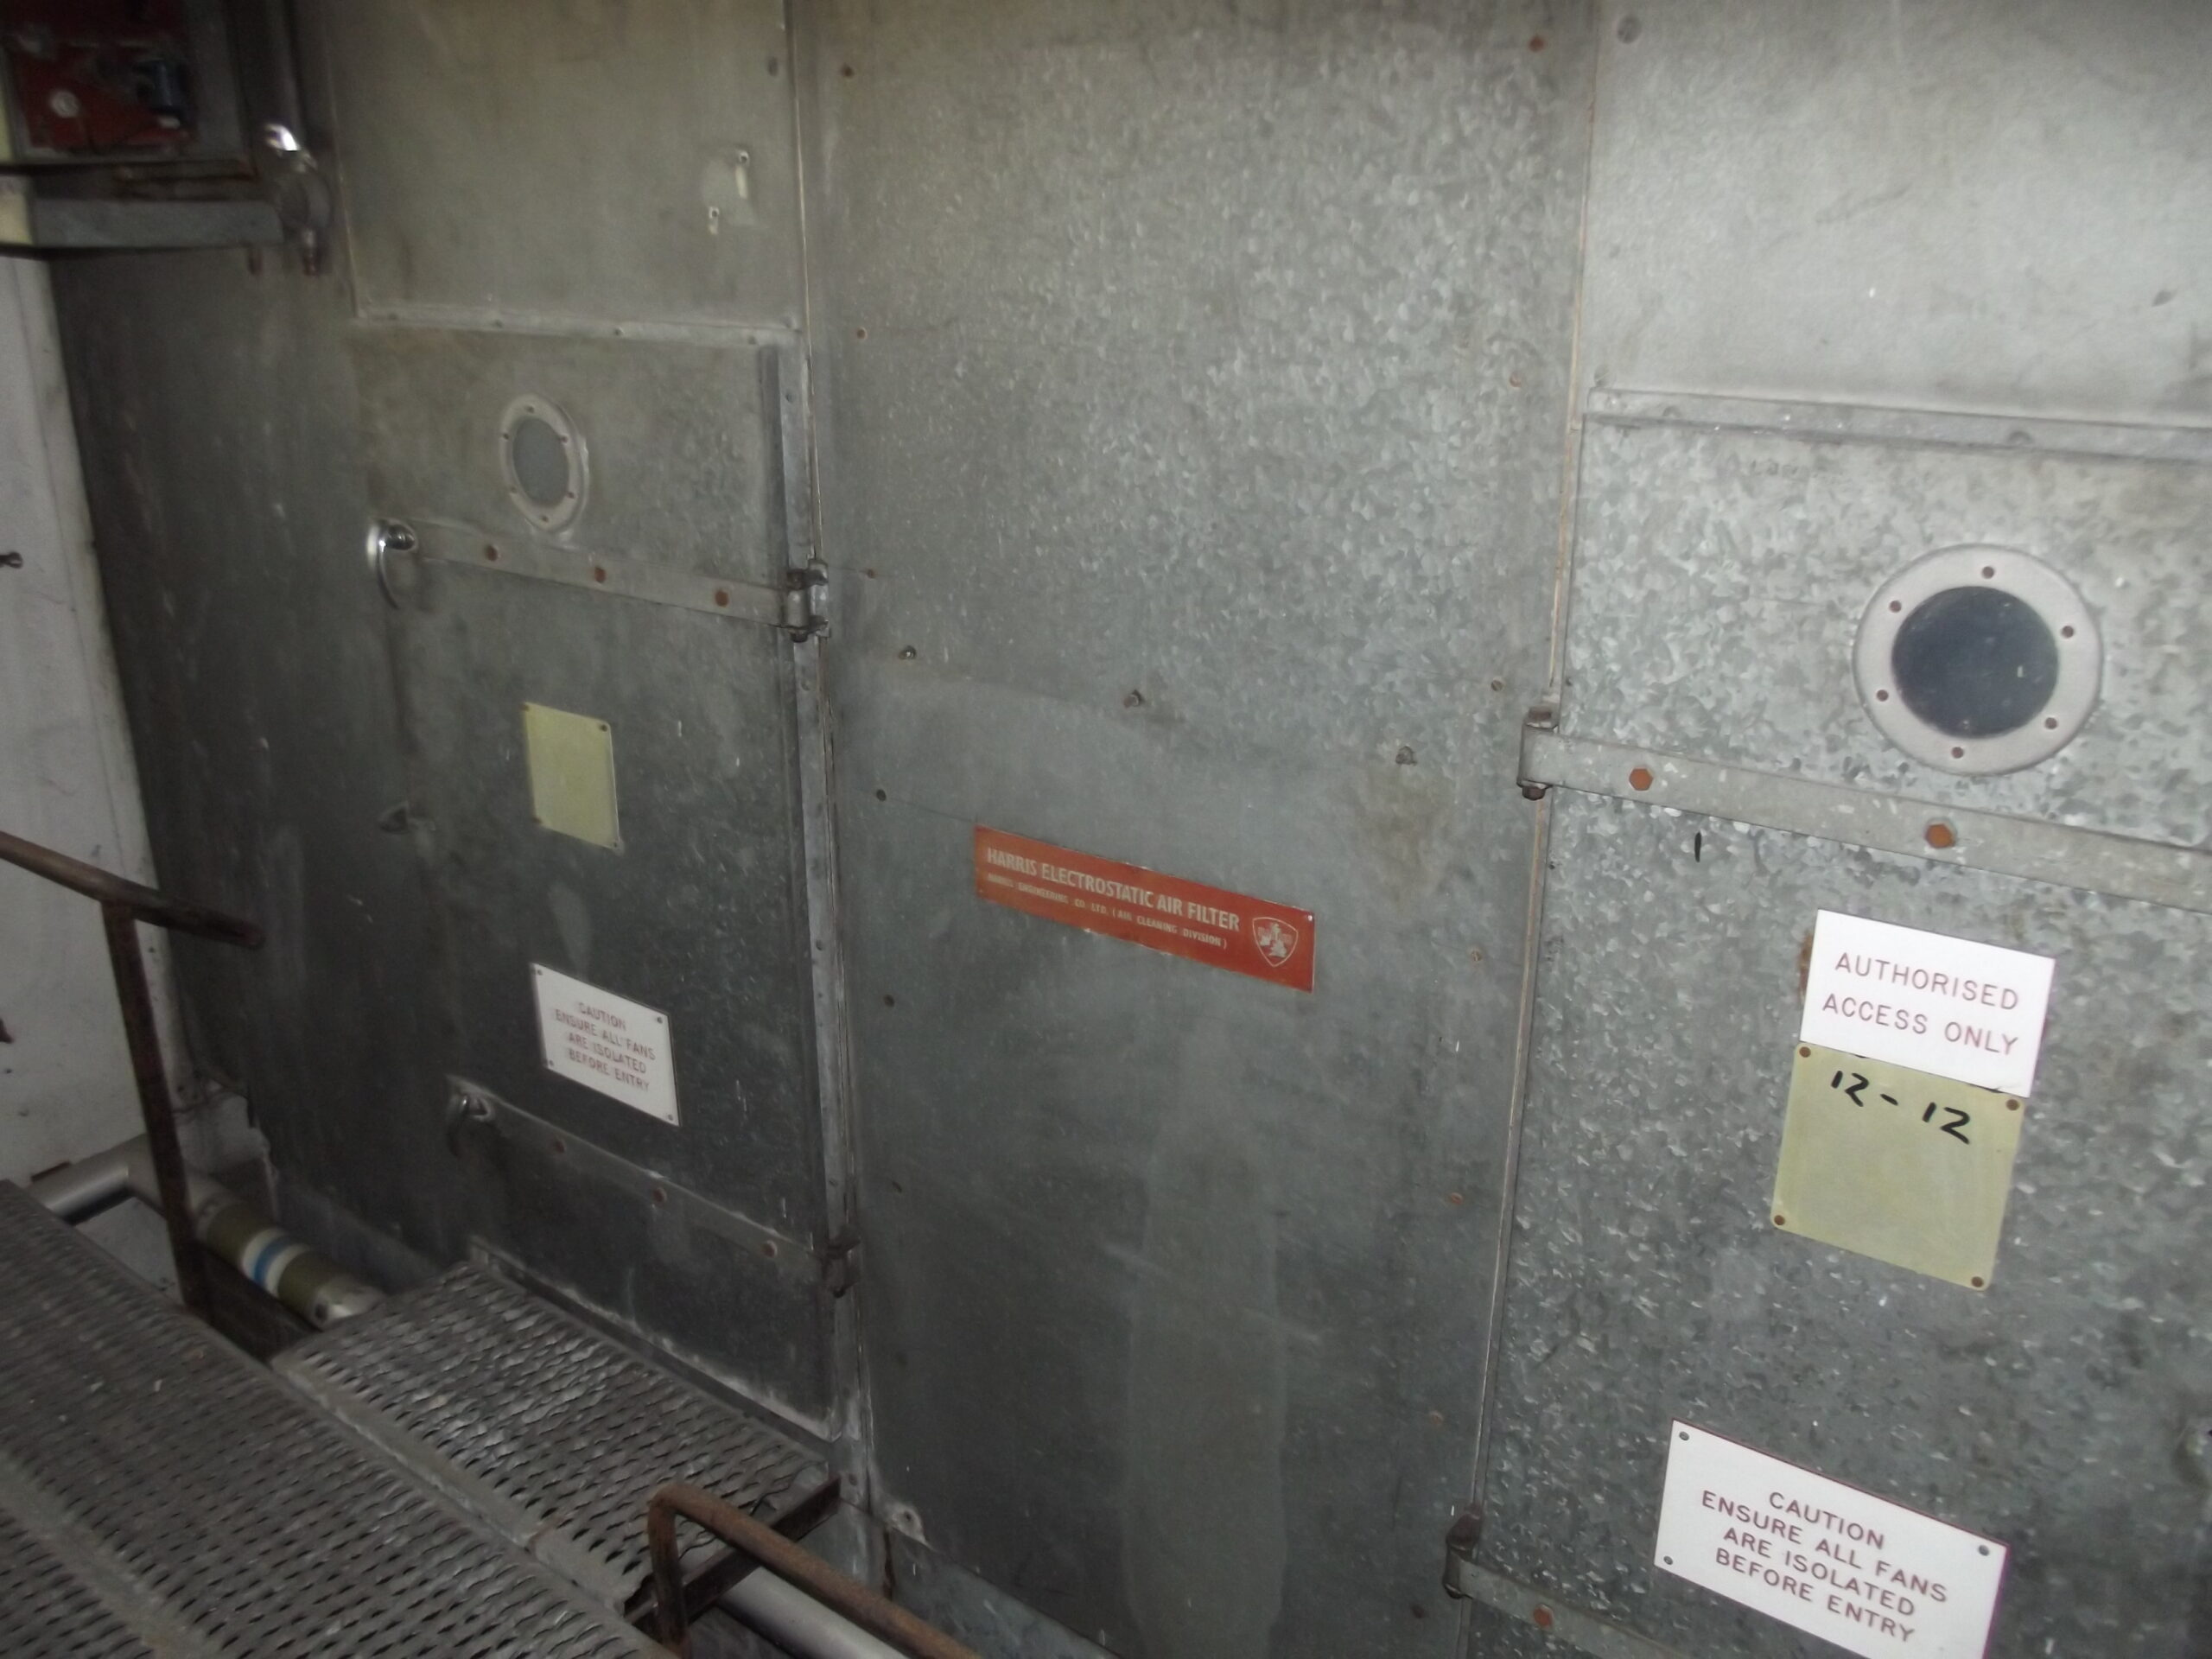
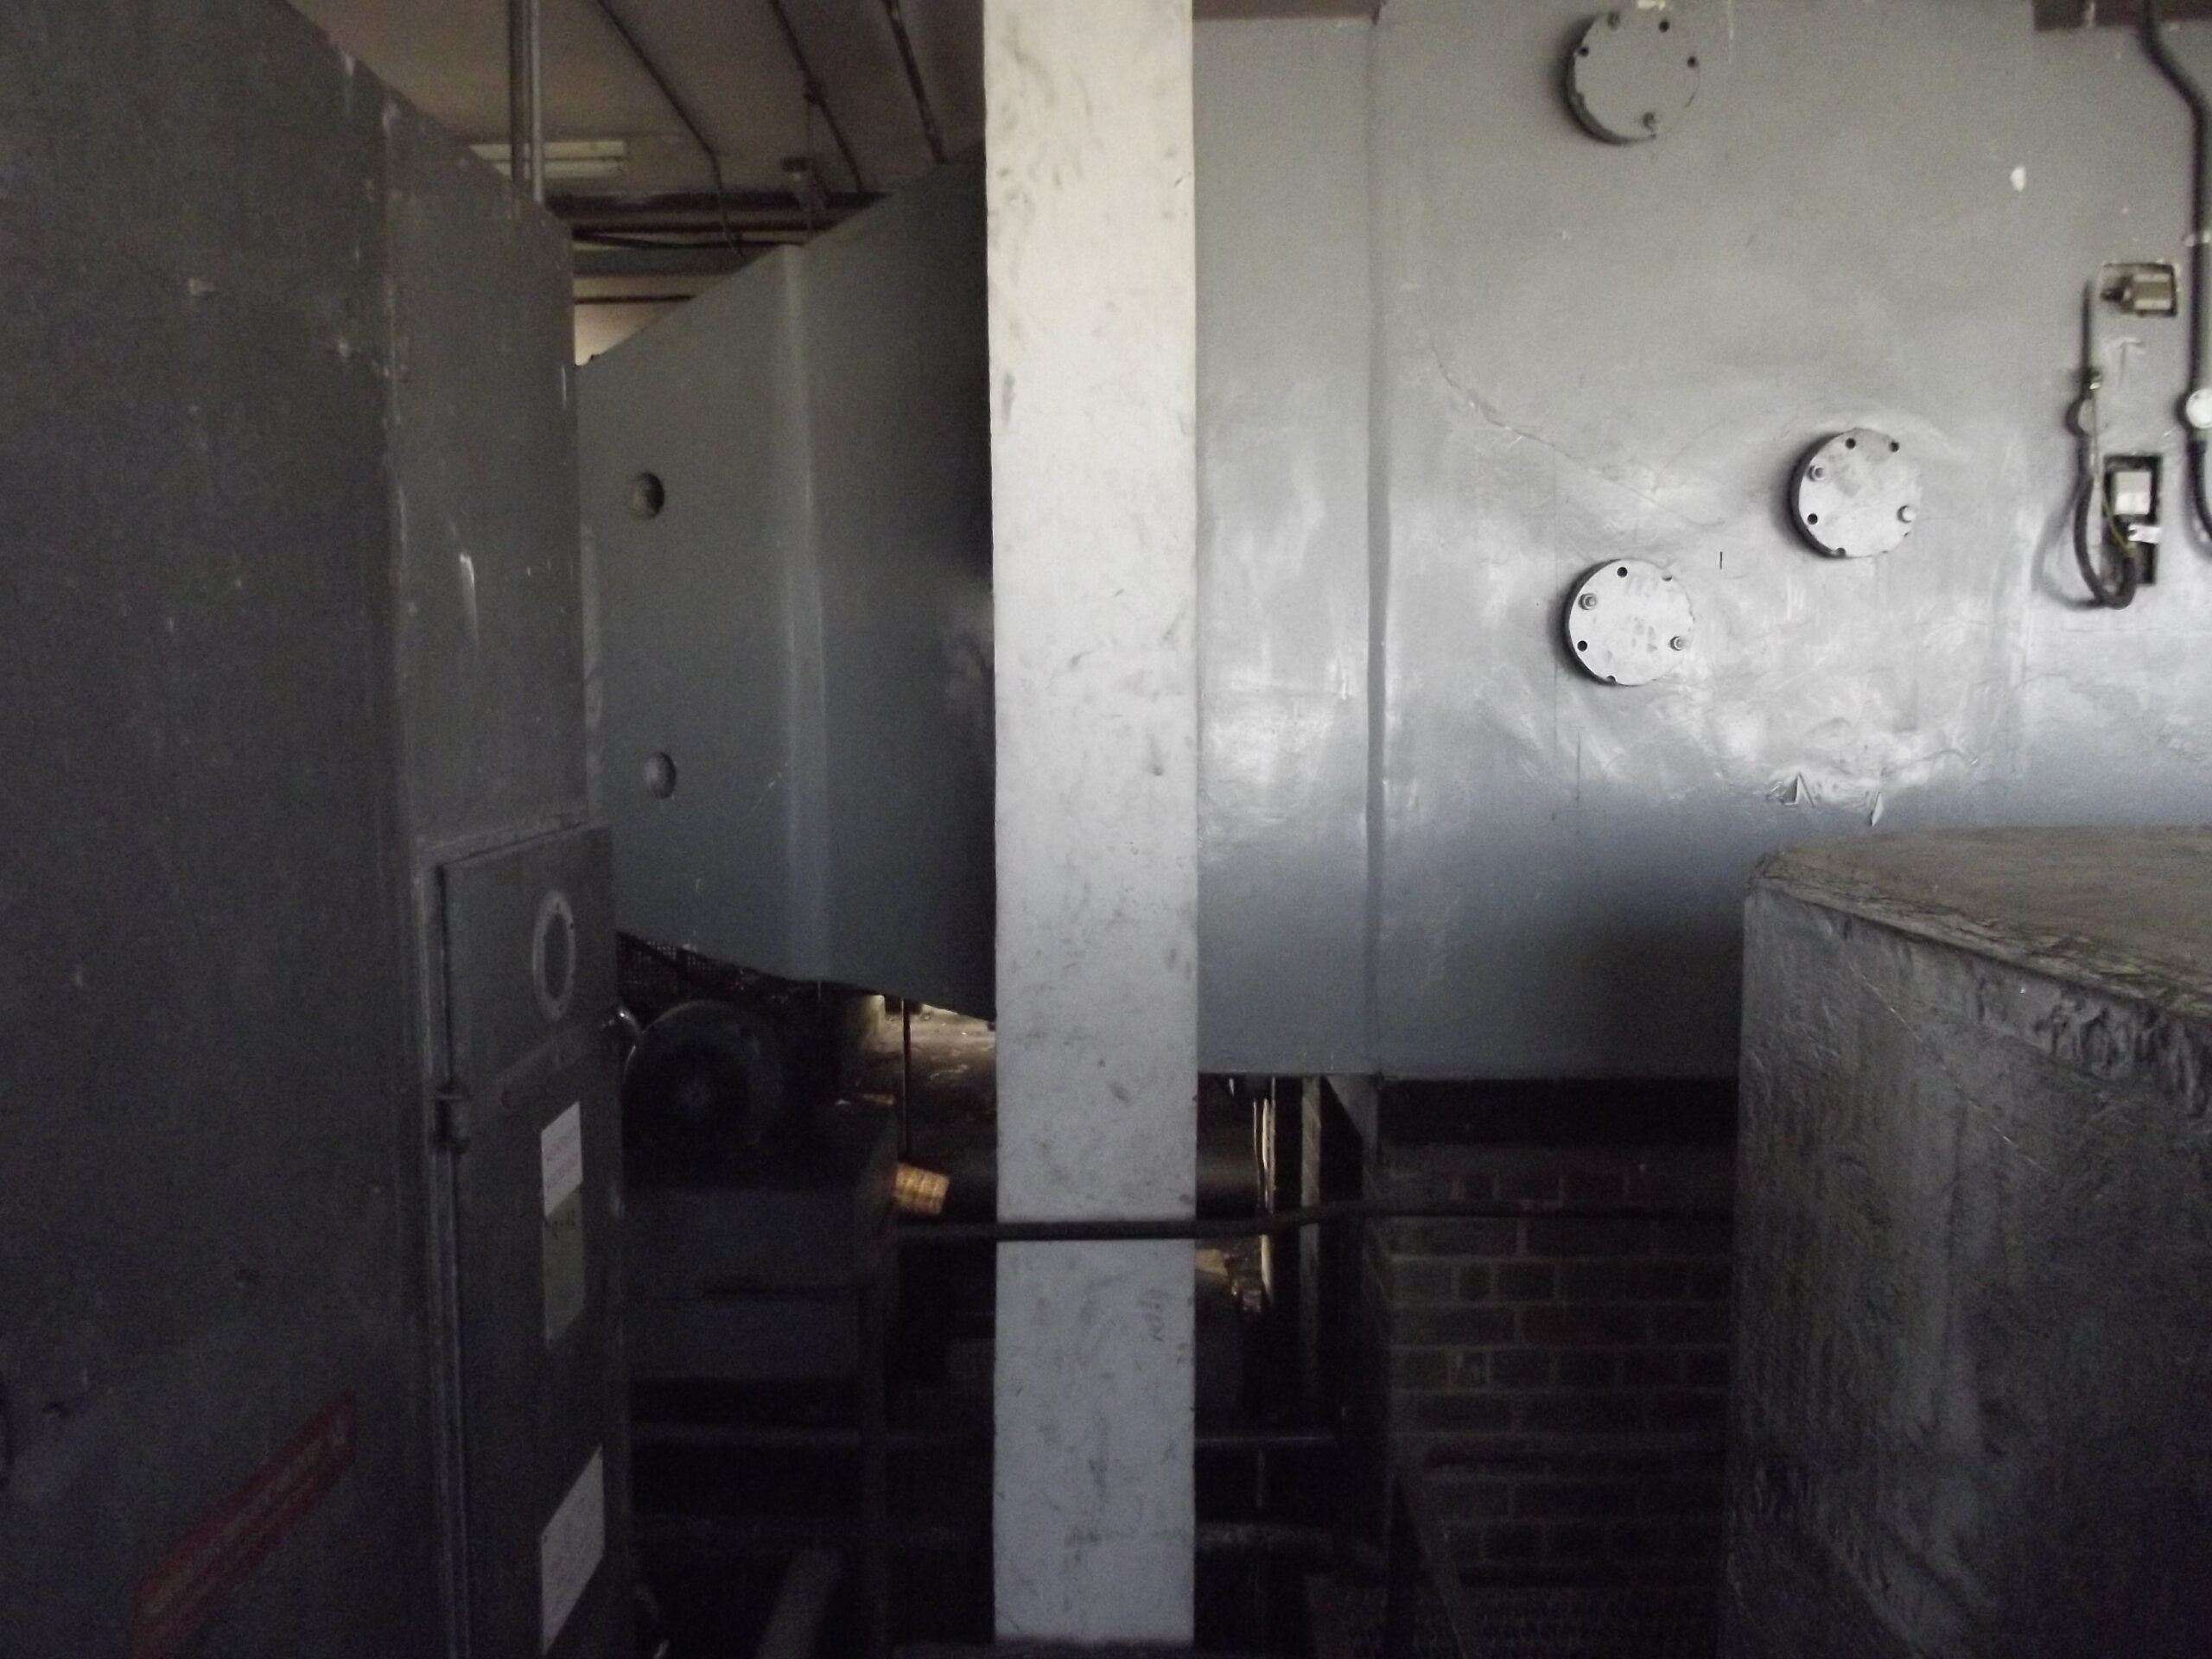
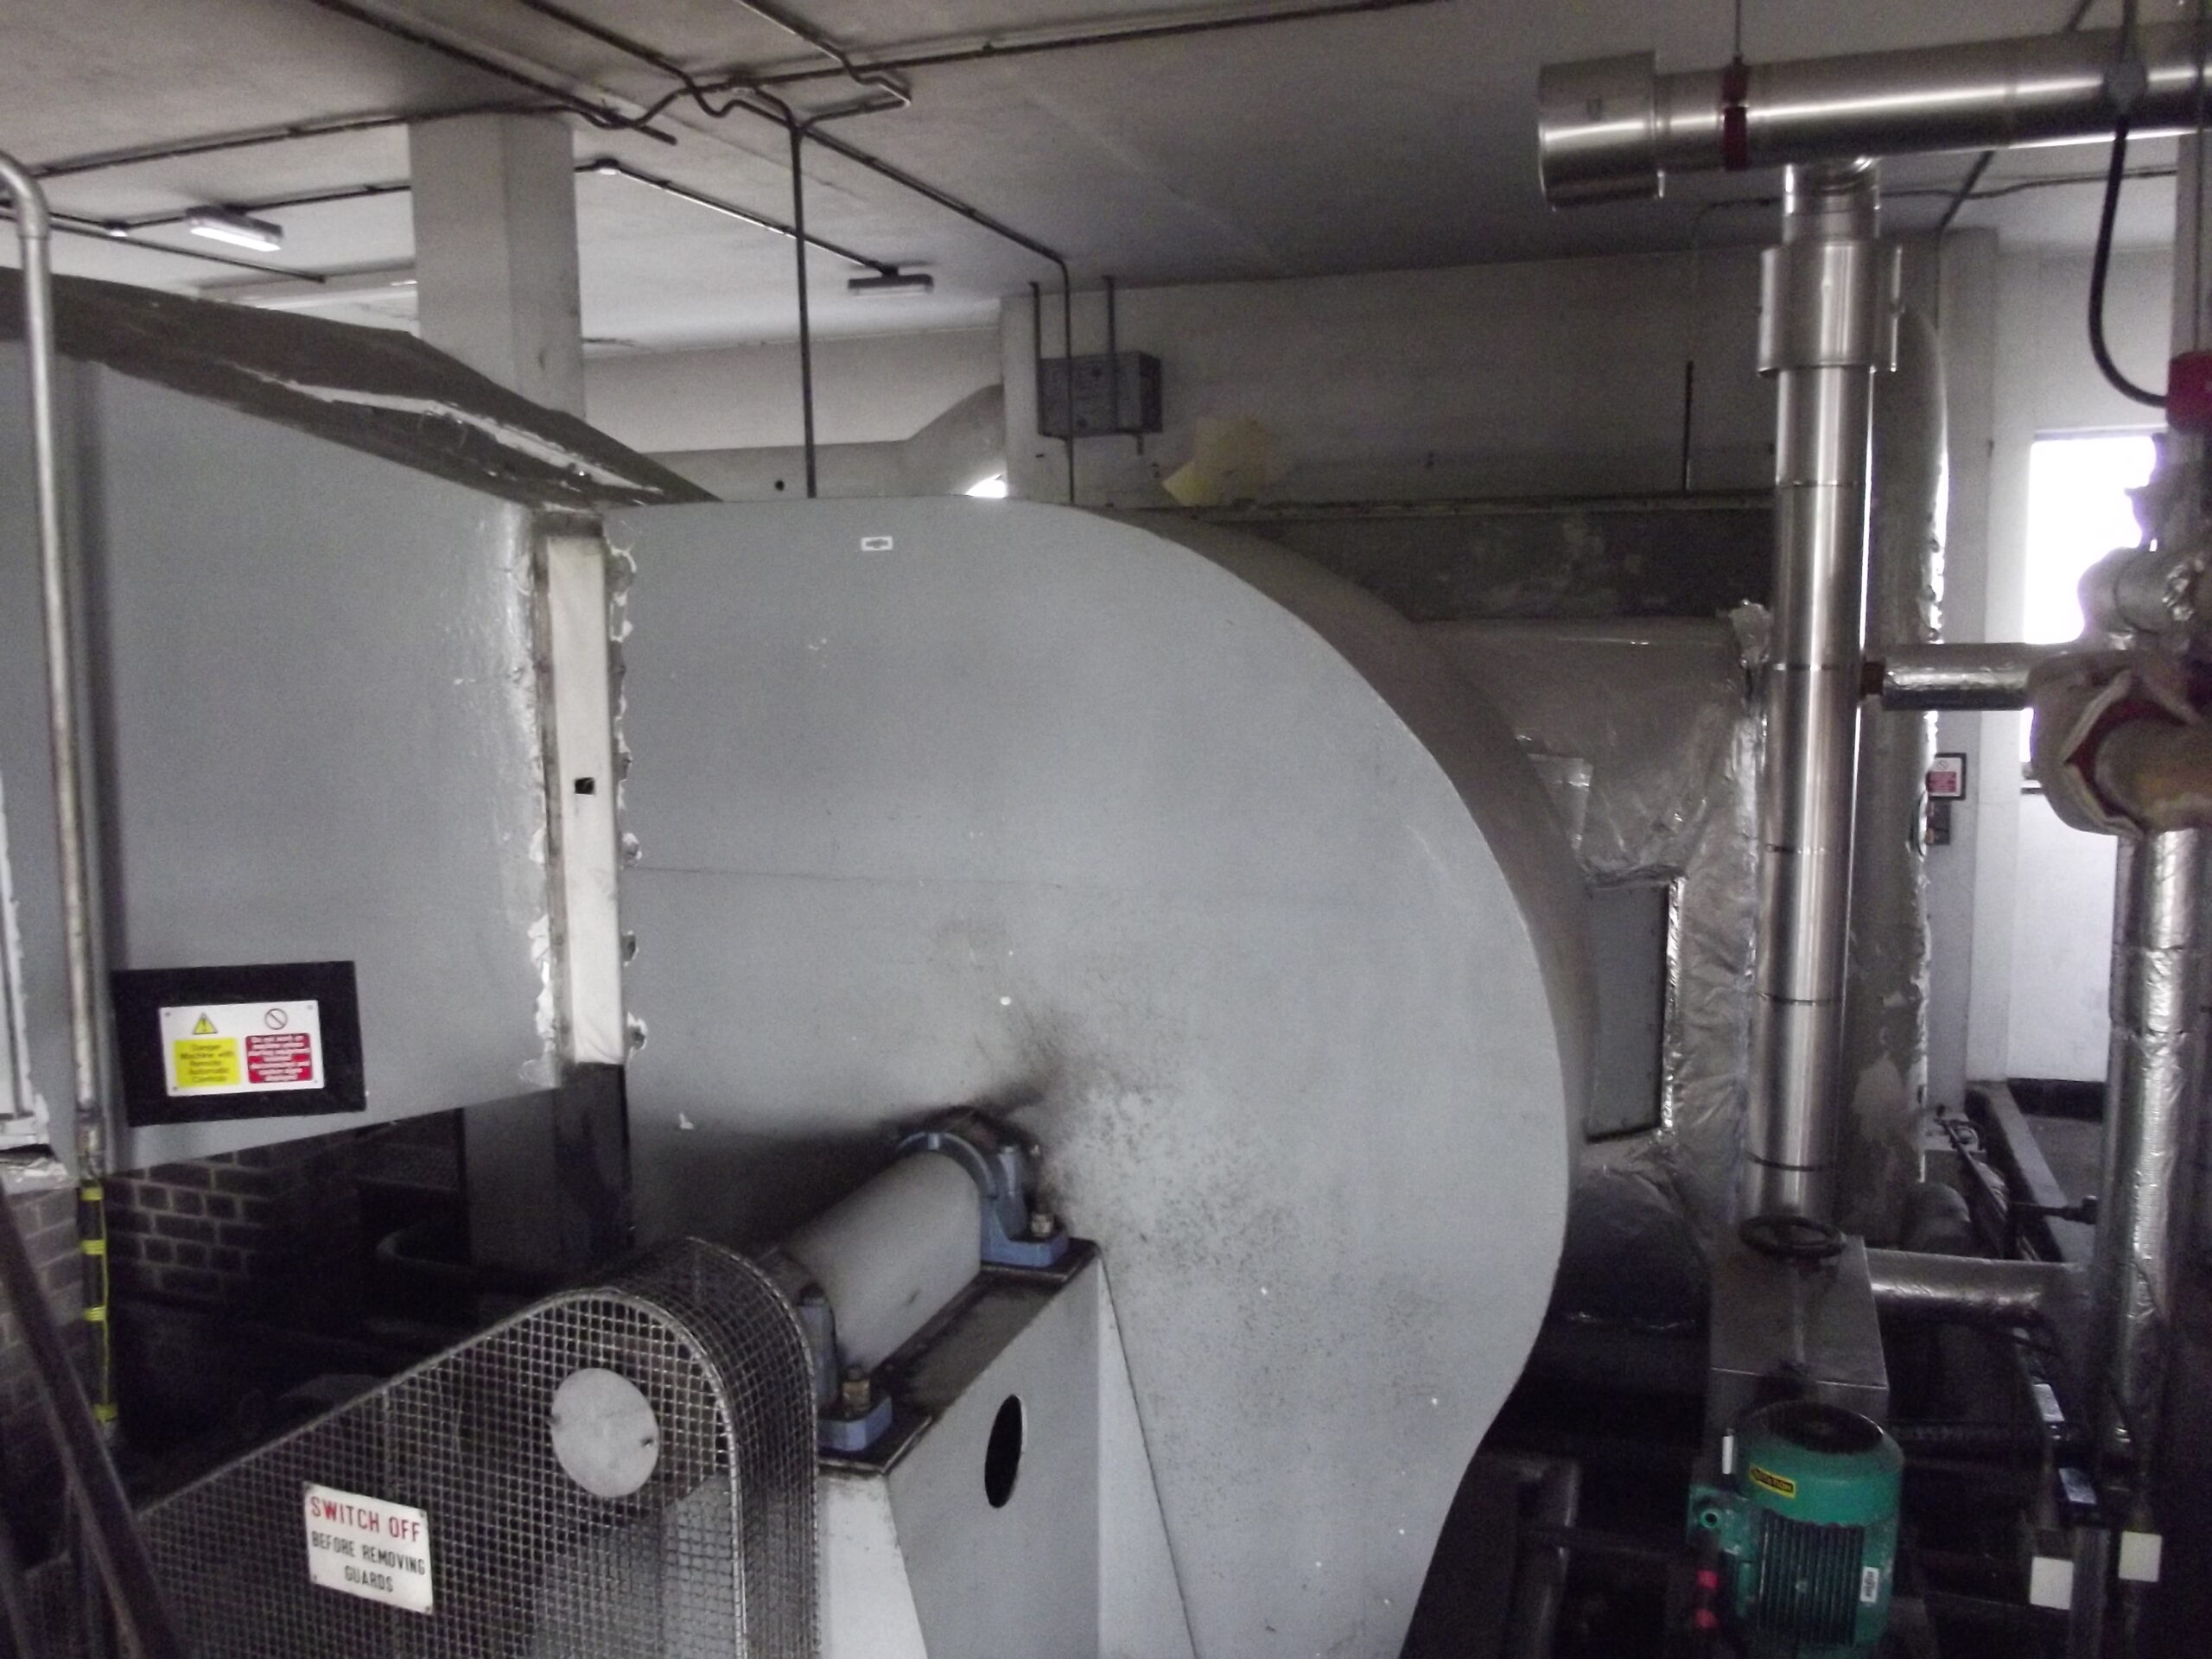
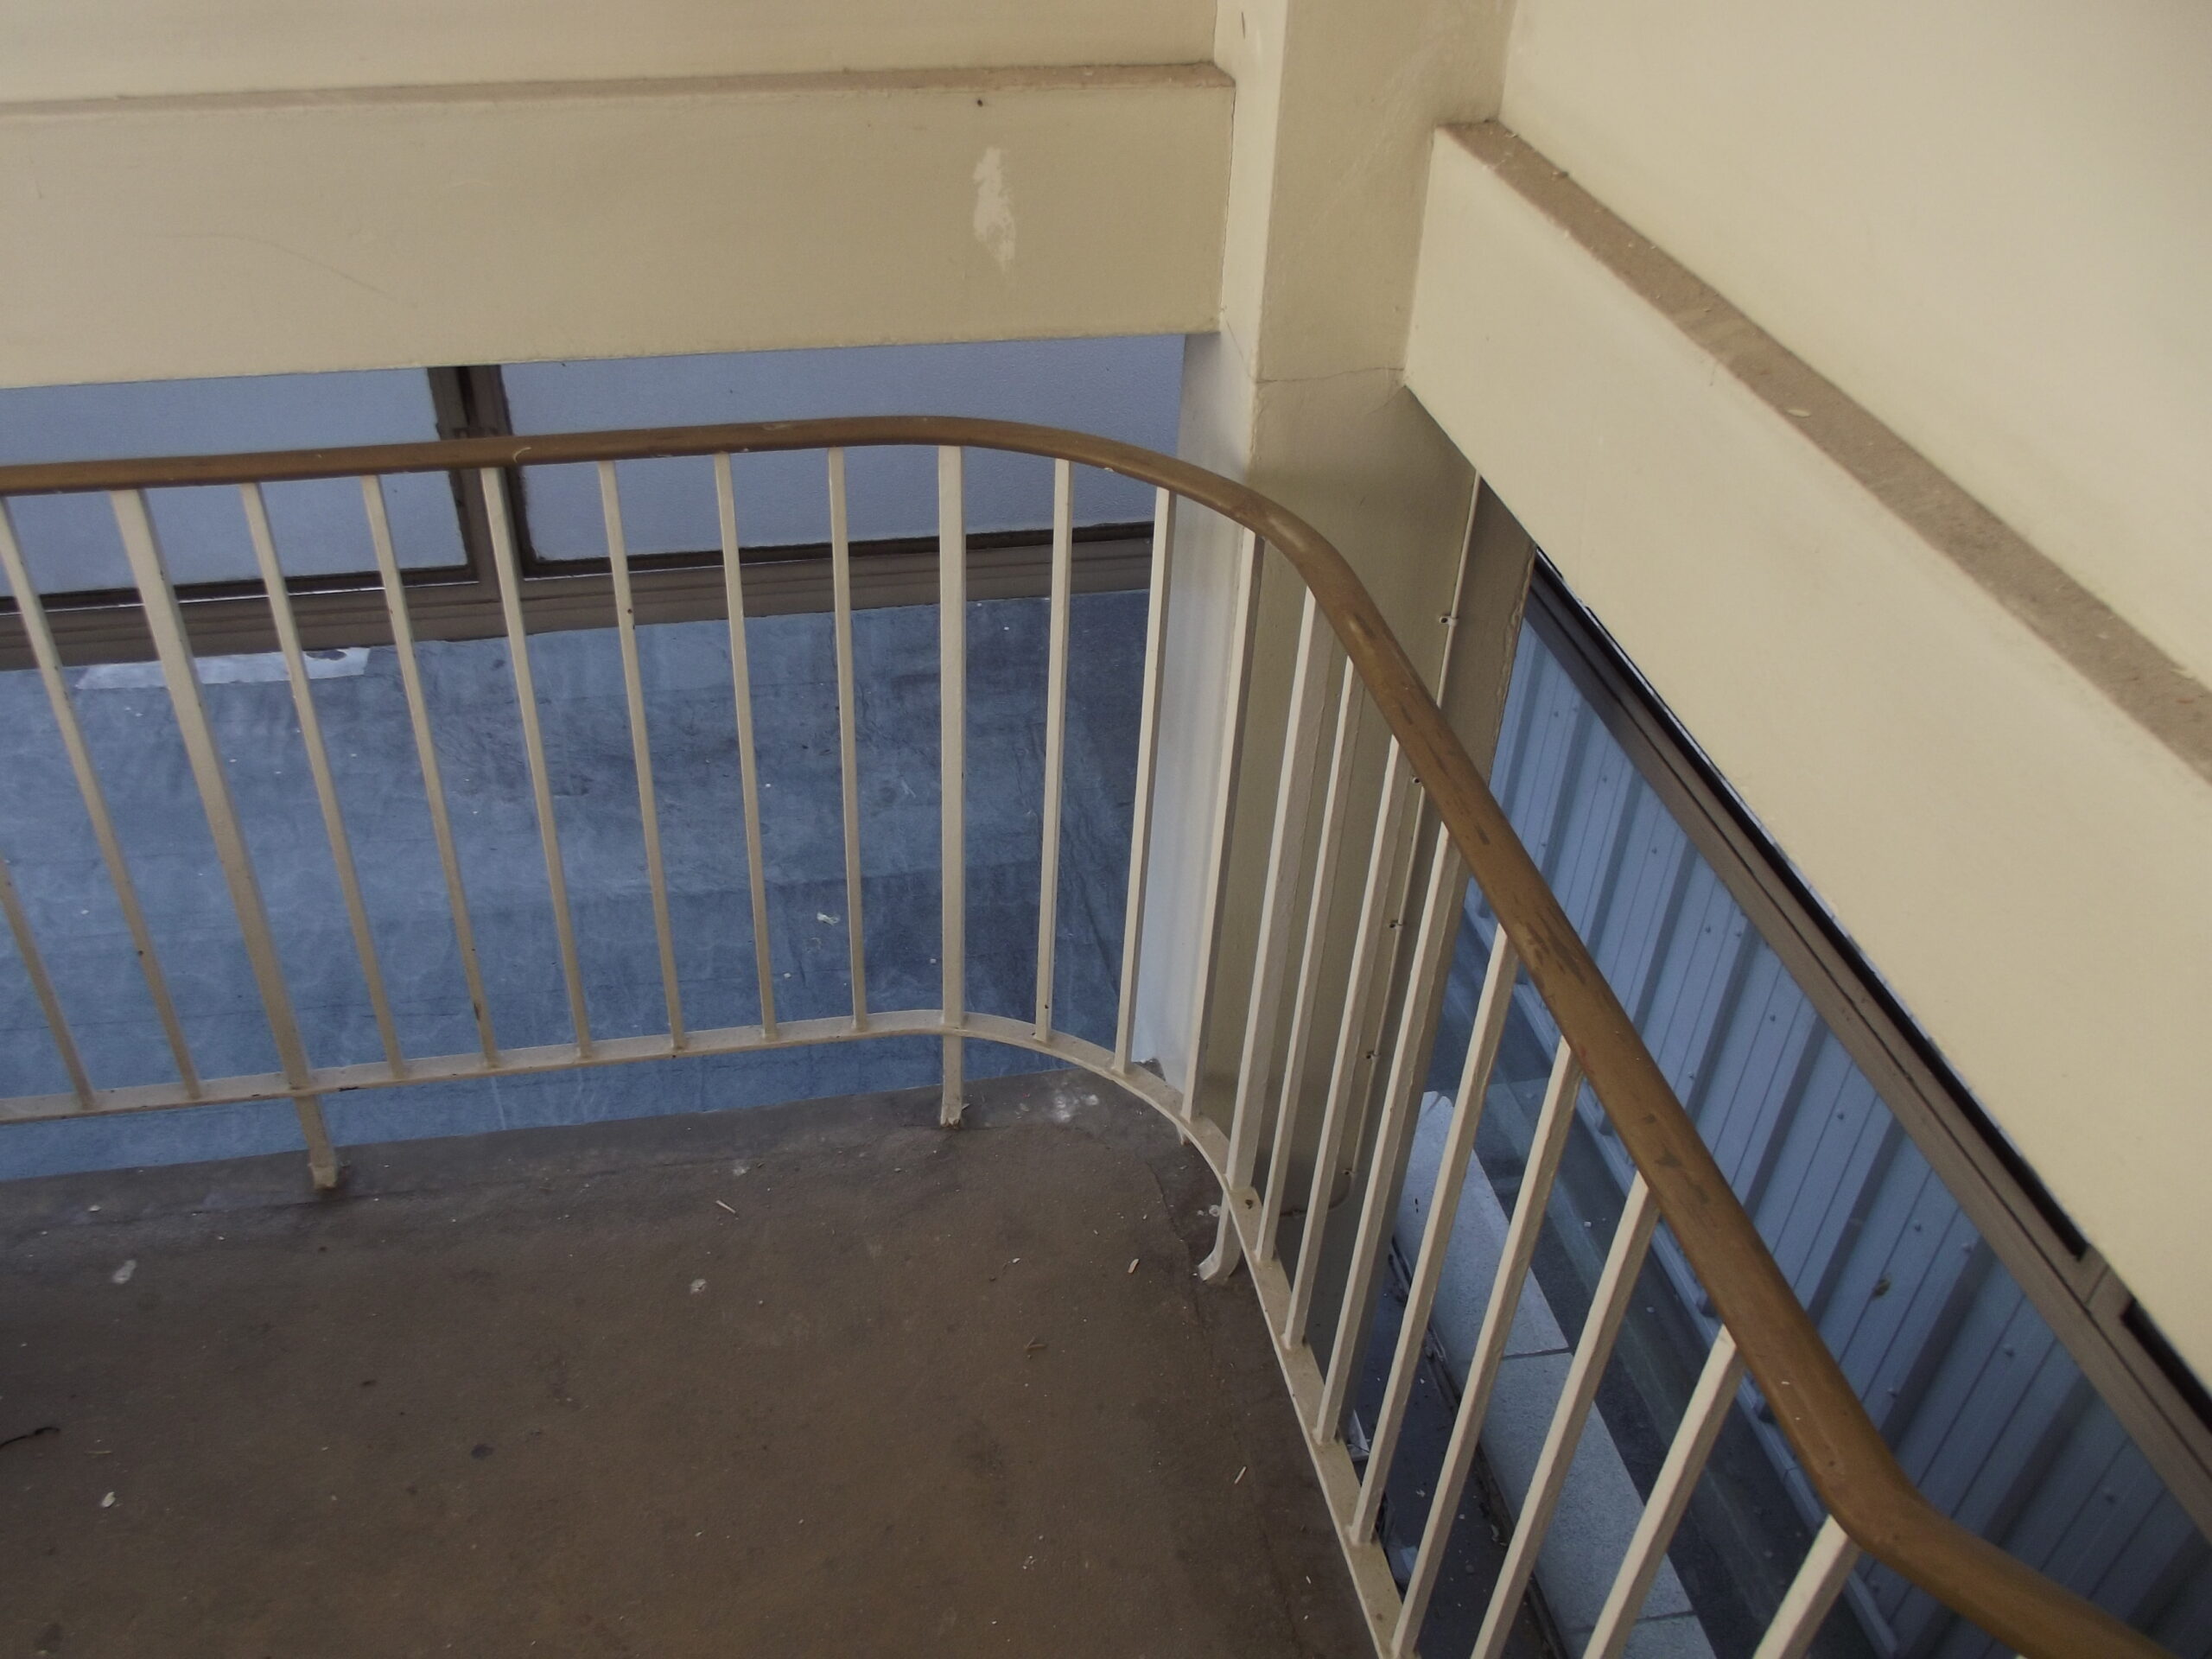
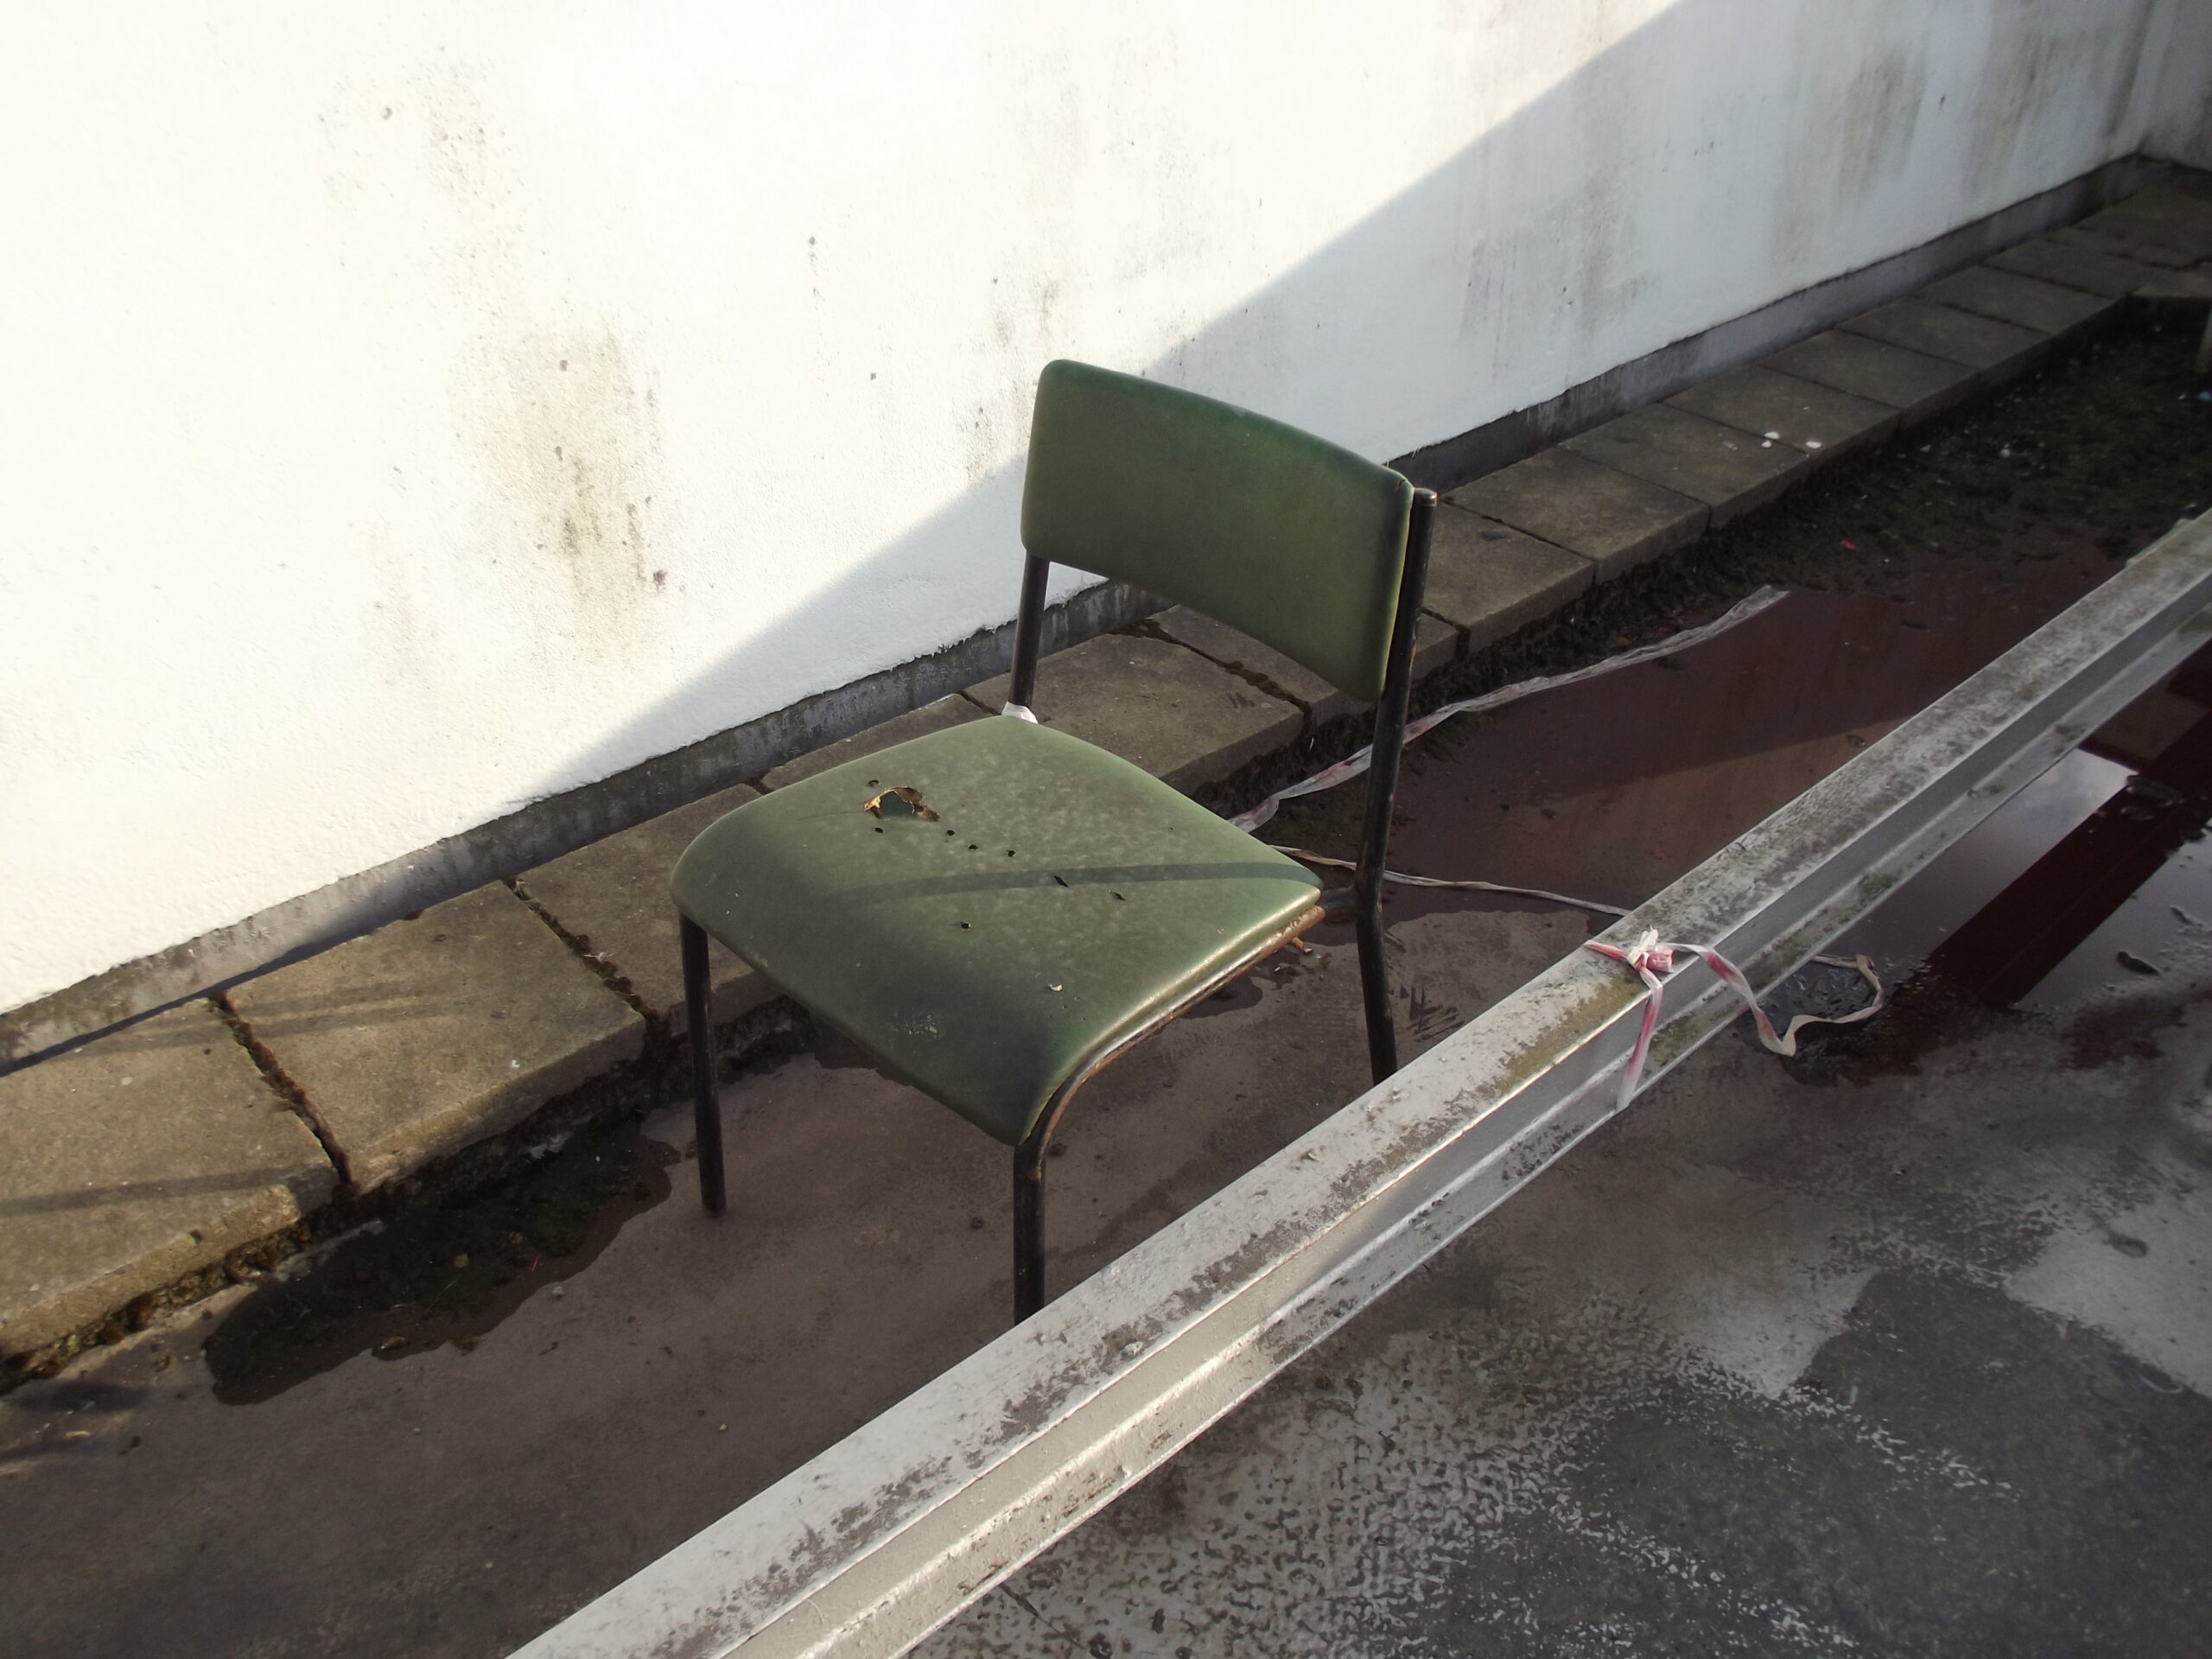
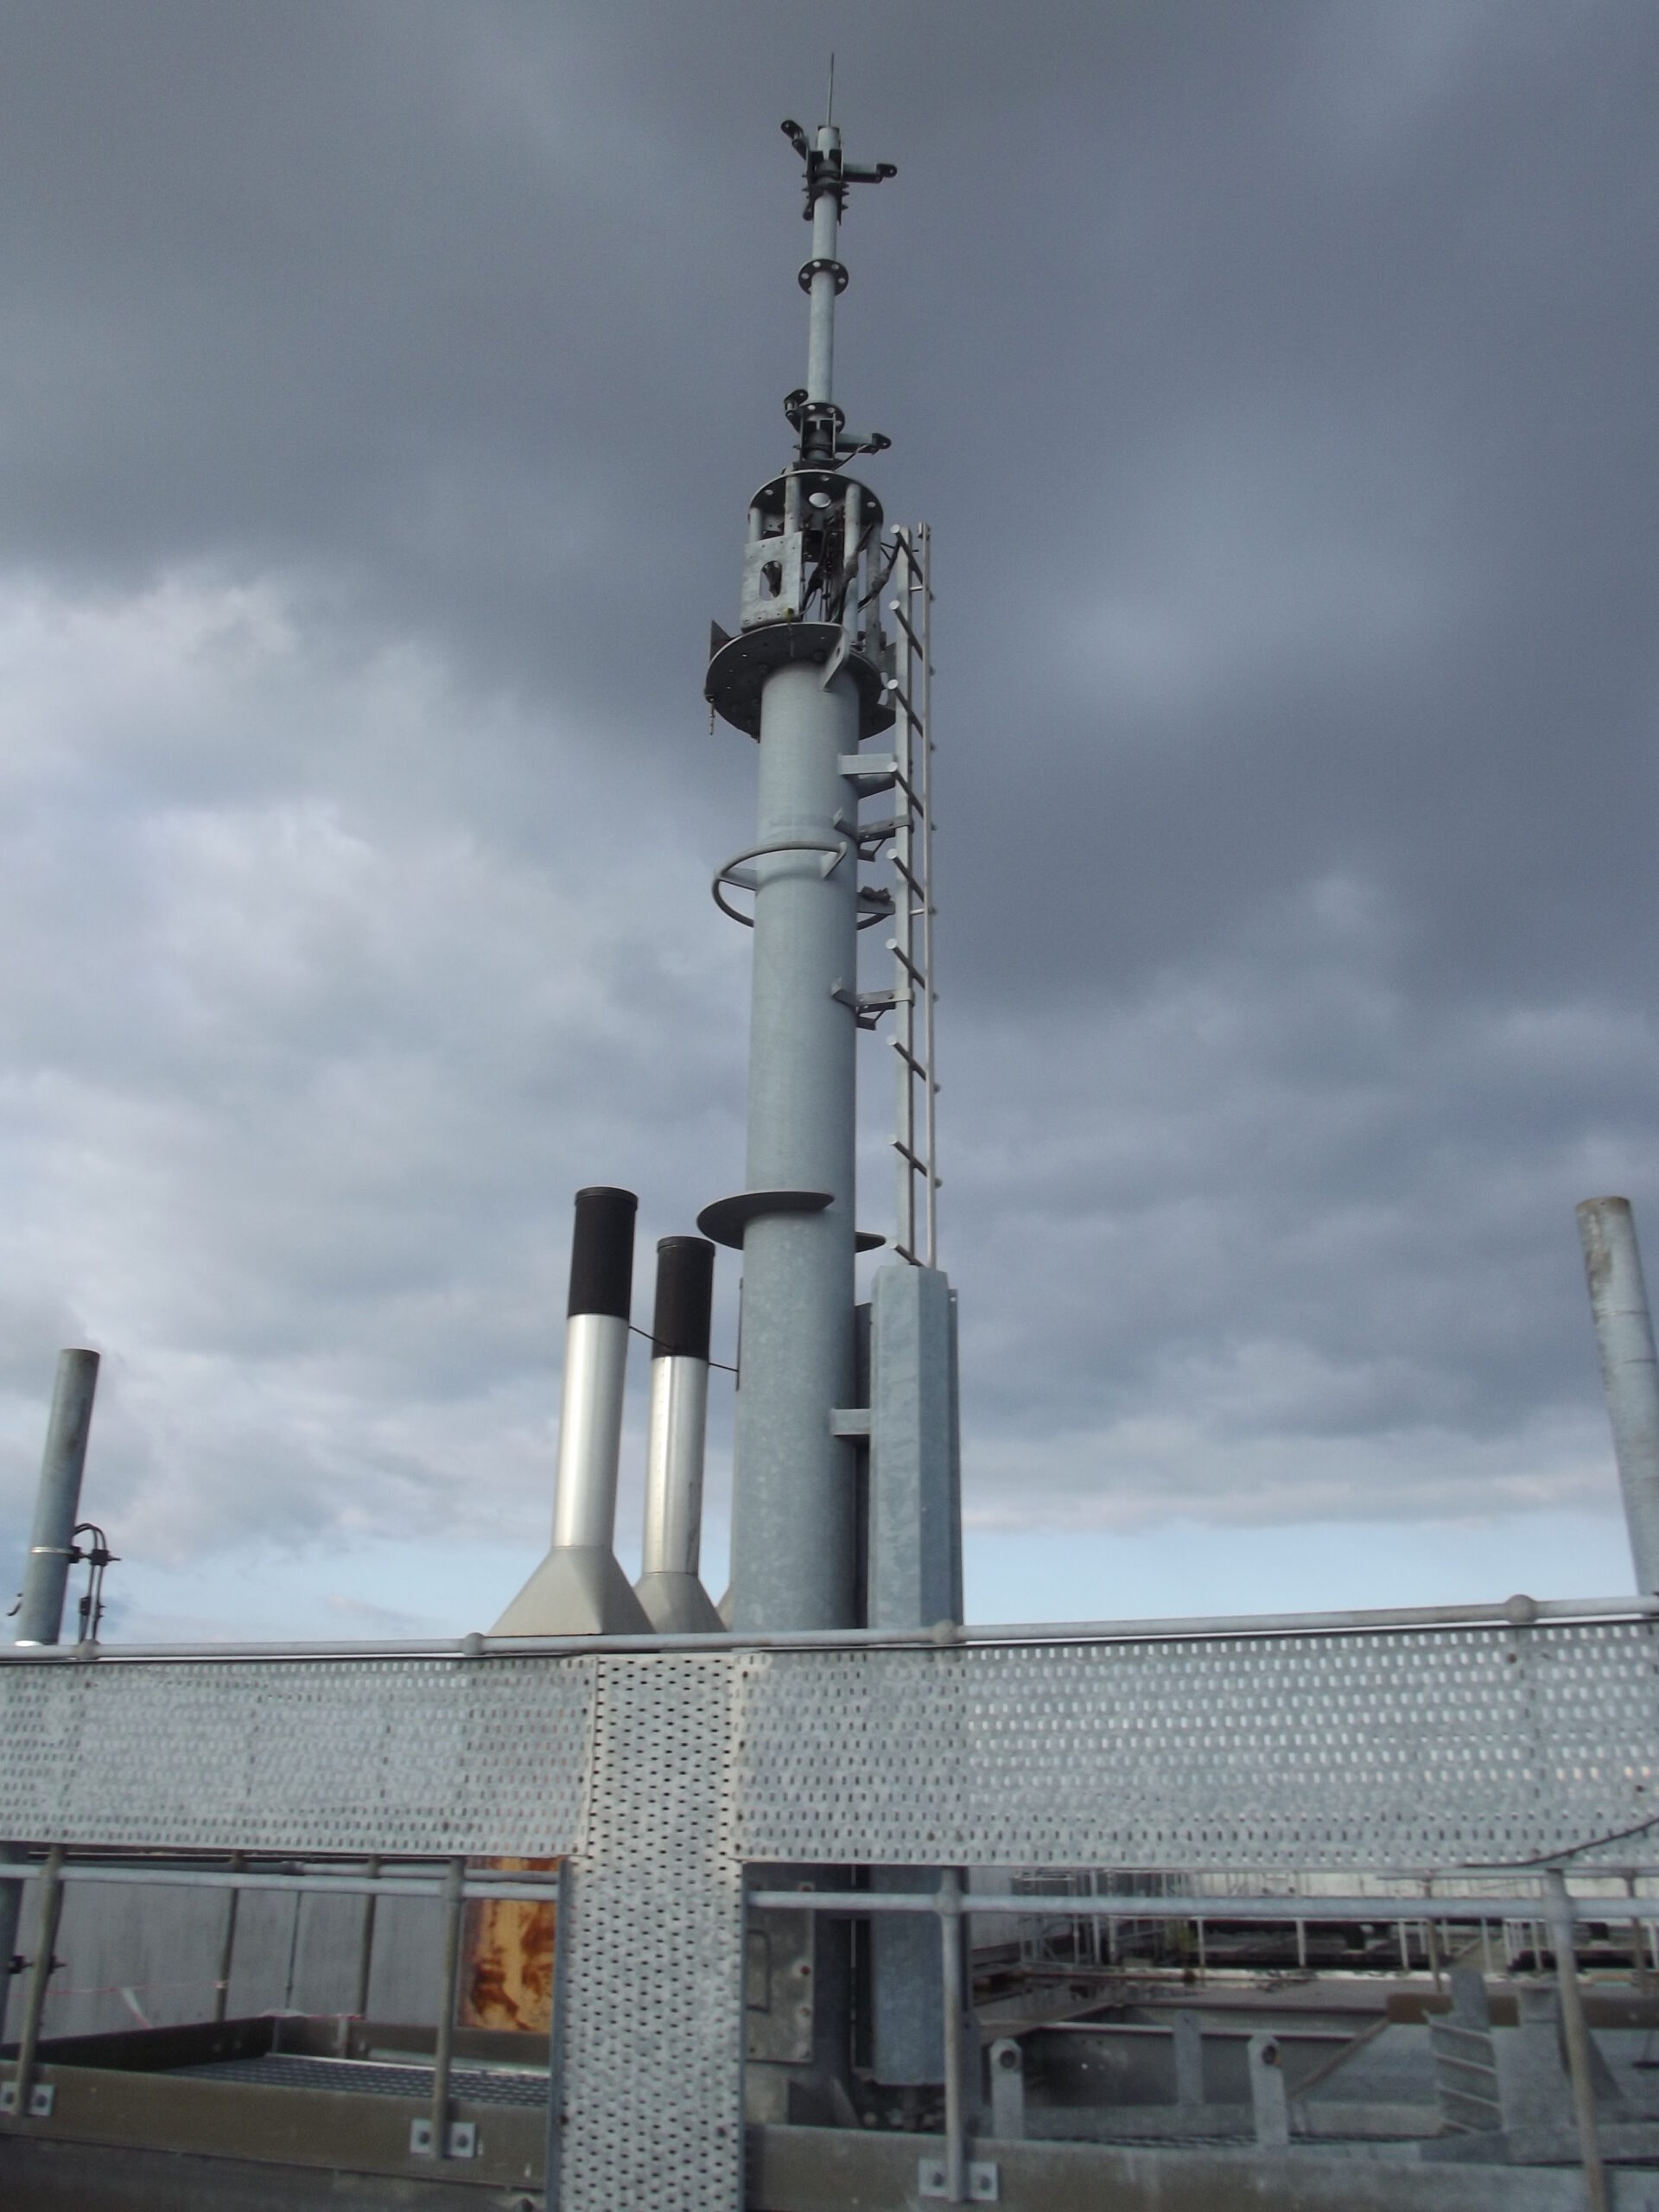
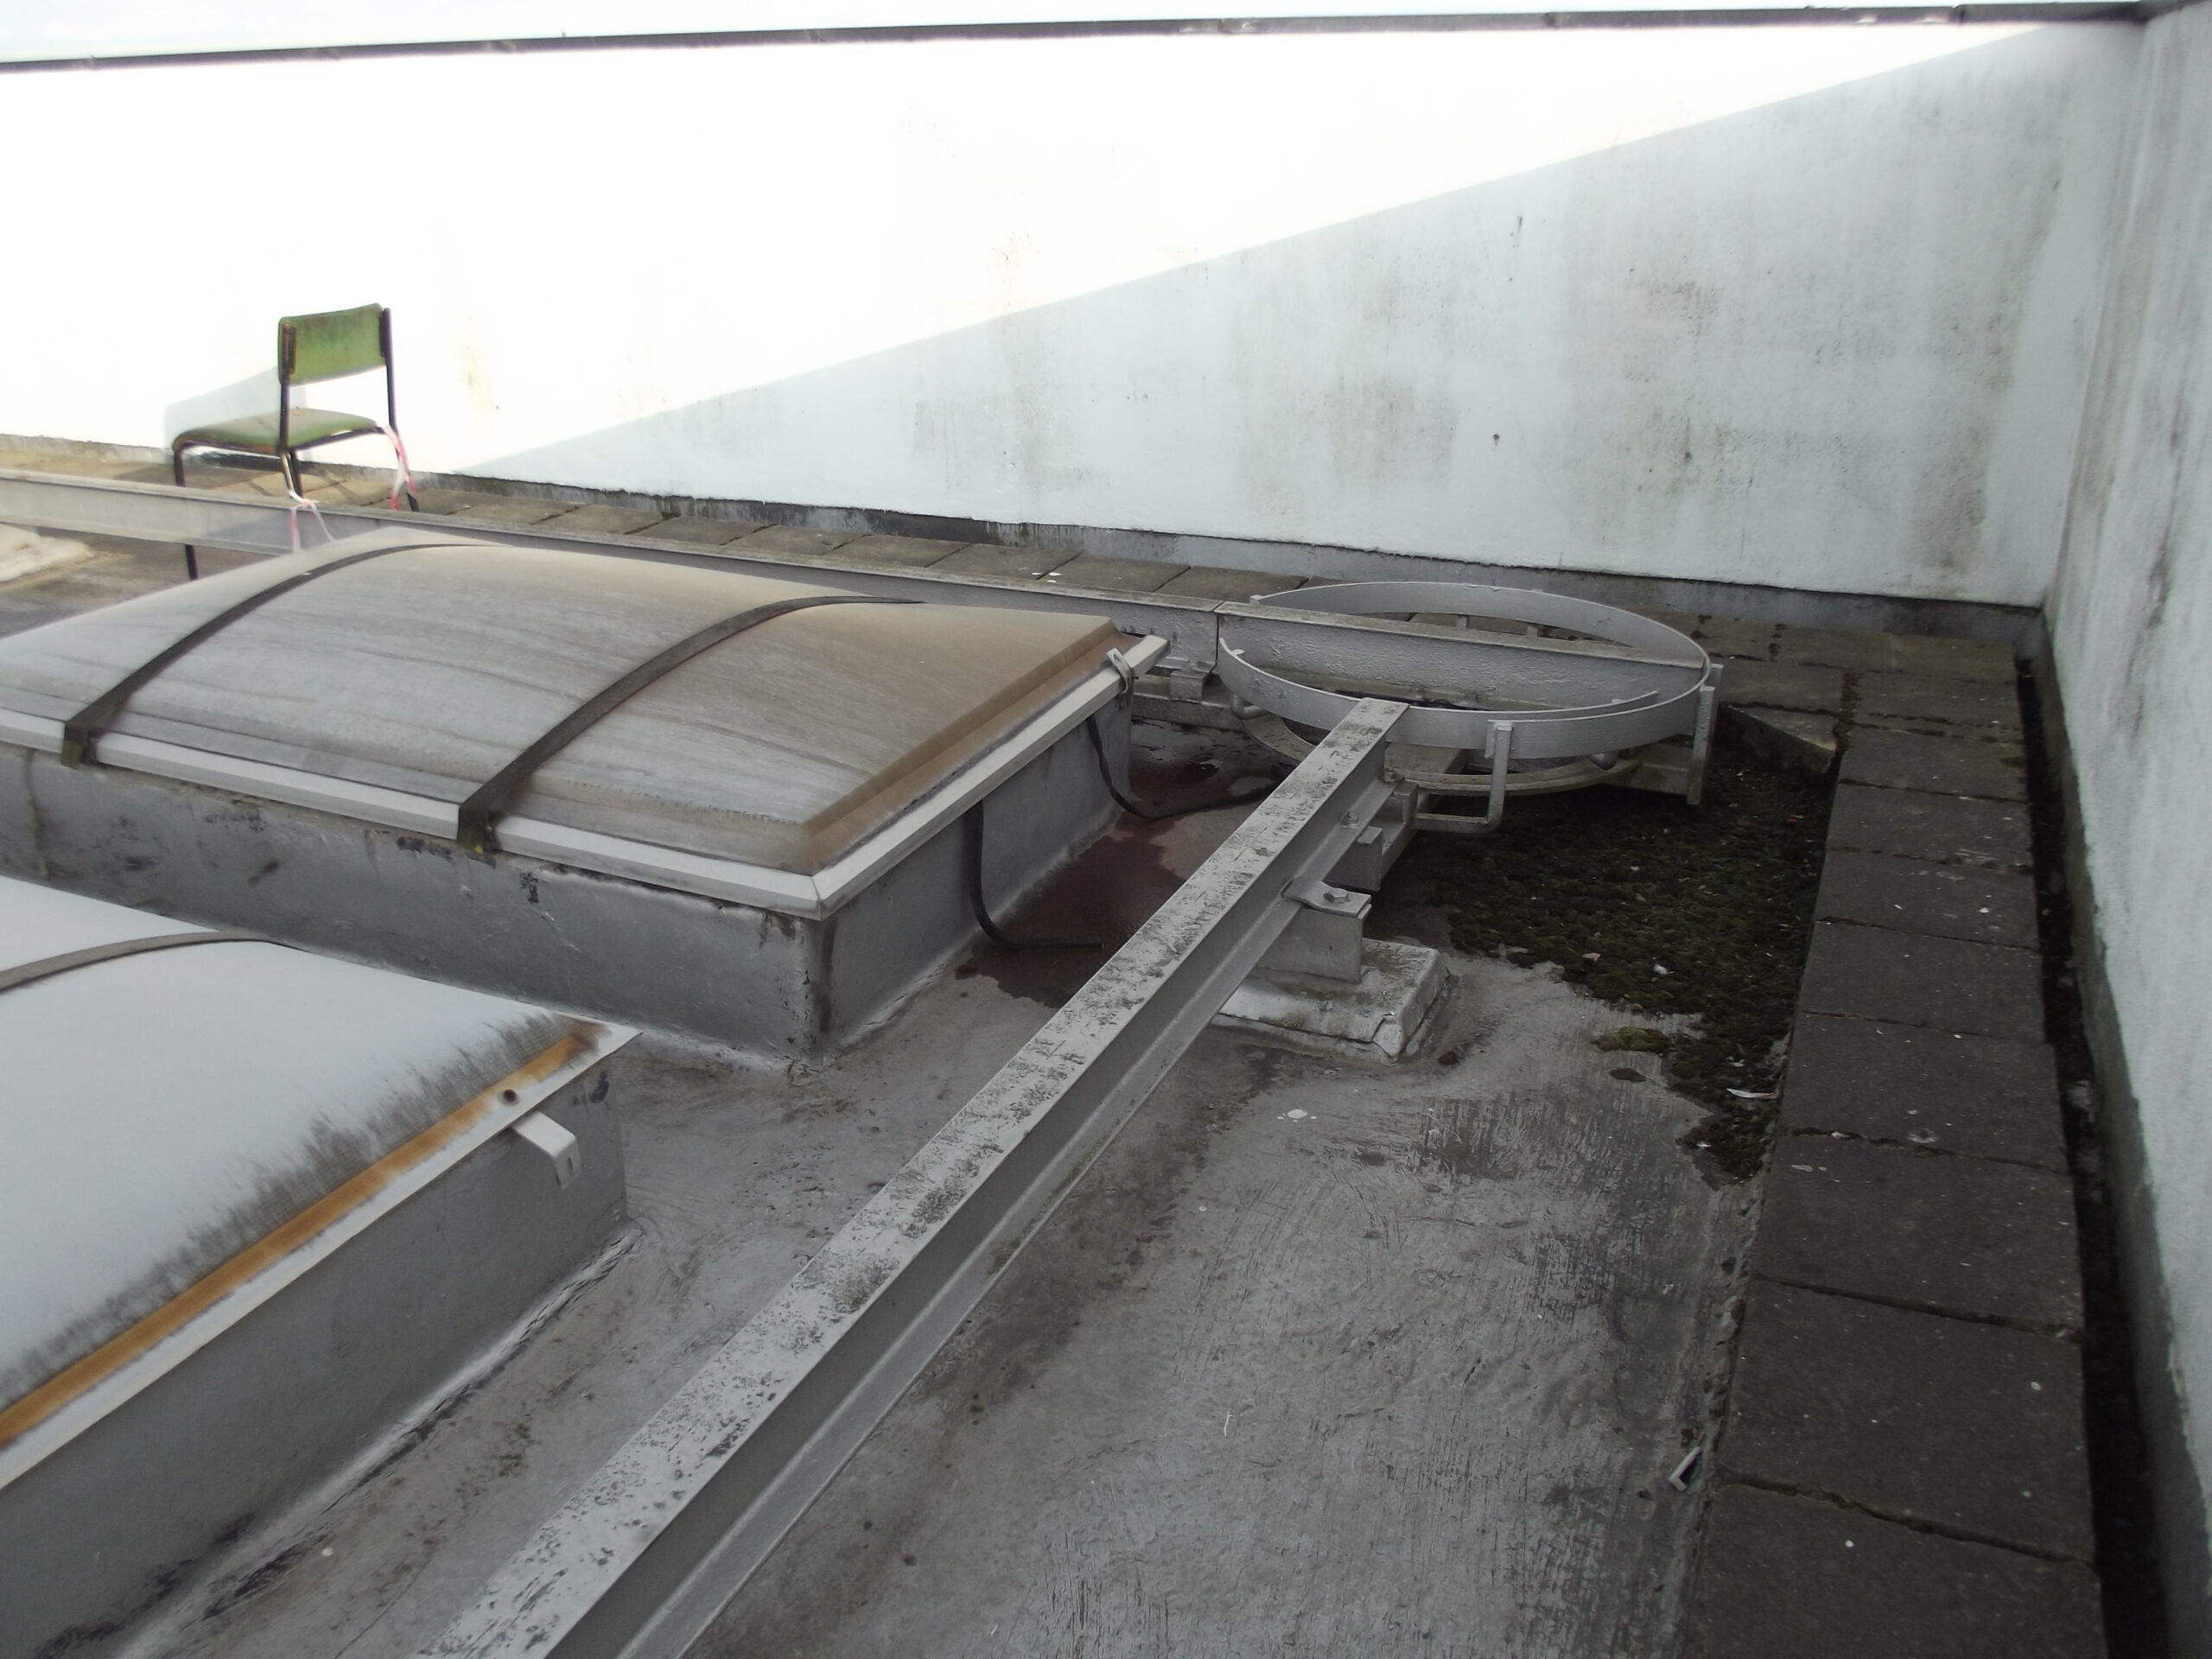
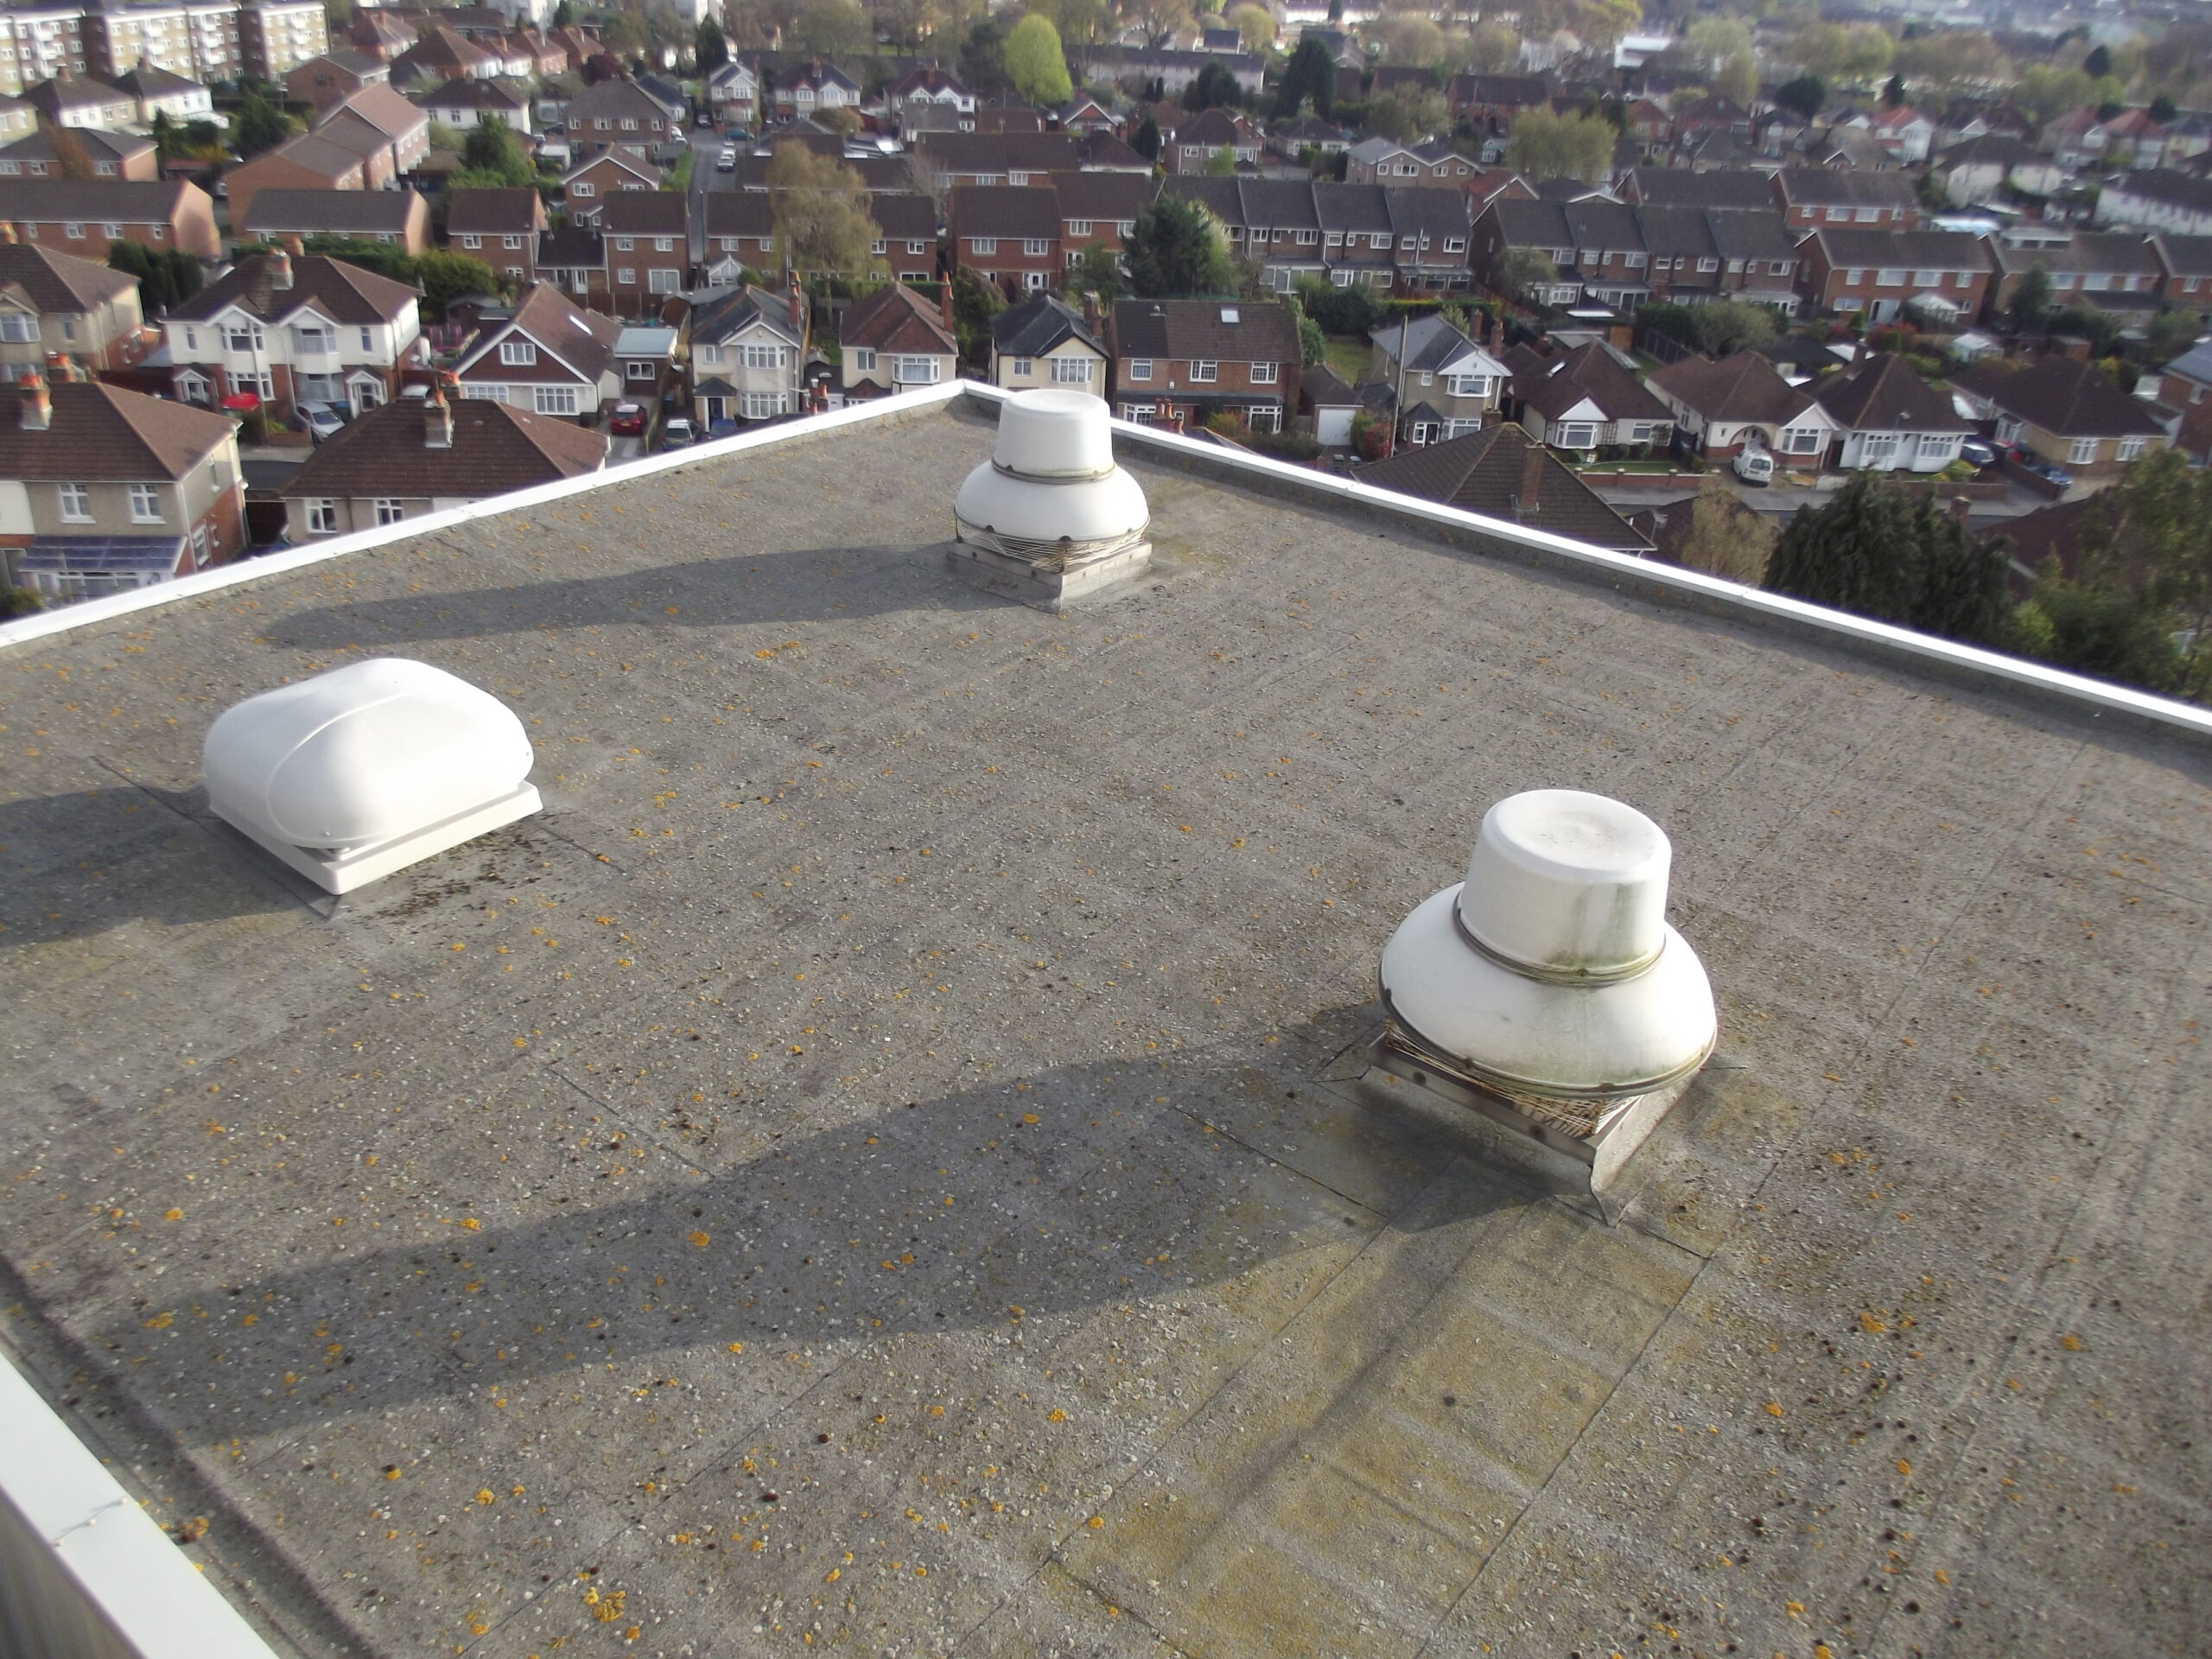
A Core Penthouse and cold water storage tankBelmos Pebbles panel, A Core PenthouseBelmos Pebbles panel, A Core PenthouseBelmos Peebles panel in A Core PenthouseBelmos Peebles panel in A Core PenthouseBelmos Peebles panel in A Core Penthouse – main isolatorBelmos Peebles panel in A Core PenthouseBelmos Peebles panel in A Core PenthouseBelmos Peebles panel in A Core PenthouseA Core Penthouse , toilet extract fansA Core Penthouse – Otis lift control cabinetA Core Penthouse, window-cleaning trolley bayWindow cleaning trolley/cradle outside A Core Penthouse Window cleaning trolley/cradle outside A Core Penthouse View across Business Centre roof from A Core PenthouseBusiness Centre roof seen from from A Core PenthouseA Core Penthouse access stairsA Core Penthouse, junction for the window-cleaning cradleRoof of B Core, penthouse on the leftB Core Penthouse seen from A Core PenthouseB Core PenthouseRoof of B Core facing towards A Core PenthouseRoof of B Core – window cleaning trolley railsB Core Penthouse – entrance and CWS tankB Core Penthouse lift motor room, controller and motorBelmos Peebles panel in B Core PenthouseBelmos Peebles panel in B Core PenthouseBelmos Peebles panel in B Core PenthouseBelmos Peebles panel in E Core PenthouseB Core Penthouse and CWS tanksB Core PenthouseB Core Penthouse and CWS tankB Core facing Romsey RoadE Core PenthouseHeating pipes in E Core Penthouse with an automatic valve Extractor fans. E Core Penthouse, probably for toiletsExtract fans in E Core PenthouseExtractor fans. E Core PenthouseToilet extract fan, E Core PenthouseHarris Electrostatic Air Filter in E Core PenthouseAir intake vent louvre, E Core Penthouse Air intake vent louvre, E Core Penthouse Air handling unit in E Core Penthouse – the pleated filters in what appears to be an air intake here filter out dust and other particles and were replaced every six months.Air handling unit in E Core Penthouse – heater batteryAir handling unit in E Core Penthouse – heater batteryAir handling unit in E Core PenthouseAir handling unit in E Core PenthouseBelmos Peebles panel in E Core PenthouseBelmos Peebles panel in E Core PenthouseAir handling unit in E Core PenthouseAir handling unit in E Core PenthouseE Core Penthouse – extract fans and centrifugal fanAir duct in E Core PenthouseAir duct in E Core PenthouseAir ducts in E Core PenthouseE Core Otis lift motor-generator setE lift motor room, spare parts cabinetOriginal Otis lift wiring diagrams in E Core penthouse Original Otis lift wiring diagrams in E Core penthouse Roof of B-K spur facing towards B Core PenthouseC604 seen from E core penthouse lift motor room hatchWater tank above B-K spur facing towards B Core PenthouseWater tank above B-K spurFacing south into the Cooling Tower compoundMain cooling tower fanMain fan and motor for one of the three cooling towersCooling towers- pipes and valvesWater pipe and valve in F Core Penthouse.F core stairs seen from 7th floorStairs to F core penthouseF Core lift motor roomF lift motor roomF lift motor room – vent louvreF lift motor roomF lift motor roomF lift motor roomF lift motor room – the only remnant of the original liftsF lift motor roomF lift motor and sheaveCold water storage tank in F Core penthouse.Cold water storage tank in F Core penthouse.Cold water storage tank, F Core PenthouseF Core Penthouse, huge cold water storage tank on the rightPressure gauge on a pipe in F Core PenthouseF core penthouse, large water pumpsWater pumps. F core penthouseF Core Penthouse, water tankF Core Penthouse, the door leads to the stair landingBelmos Peebles panel in F Core PenthouseBelmos Peebles panel in F Core PenthouseBelmos Peebles panel in F Core PenthouseBelmos Peebles panel in F Core PenthouseBelmos Peebles panel in F Core PenthouseBelmos Peebles panel in F Core PenthouseClose-up of Belmos Peebles panel in F Core Penthouse. Close-up of Belmos Peebles panel in F Core Penthouse. Close-up of Belmos Peebles panel in F Core PenthouseClose-up of Belmos Peebles panel in F Core Penthouse.Close-up of Belmos Peebles panel in F Core PenthouseClose-up of Belmos Peebles panel in F Core PenthouseBelmos Peebles panel in F Core PenthouseBelmos Peebles panel in F Core PenthouseElgastat Deioniser (for water) in F Core Penthouse ‘Harris Electrostatic Air Filter’ in F Core PenthouseF Core Penthouse air handling unit (AHU)F Core Penthouse, large air handling unit fanF core penthouse showing ceiling and rooflightF core penthouse, room behind the lift shaftsF core stairs at 7th floor levelF Core’s stairwellF Core Penthouse roofSkylights on F Core Penthouse roofUbiquitous chair on the roof of F Core Penthouse!F Core rooftop comms mastF Core penthouse roofRooftop plant room for W407 computer roomWest Block roof seen from F Core Penthouse roofDemolition of third floor corridor seen from F Core Penthouse roofDemolition of third floor corridor seen from F Core Penthouse roofDemolition of third floor corridor seen from F Core Penthouse roofDemolition of third floor corridor seen from F Core Penthouse roof
External
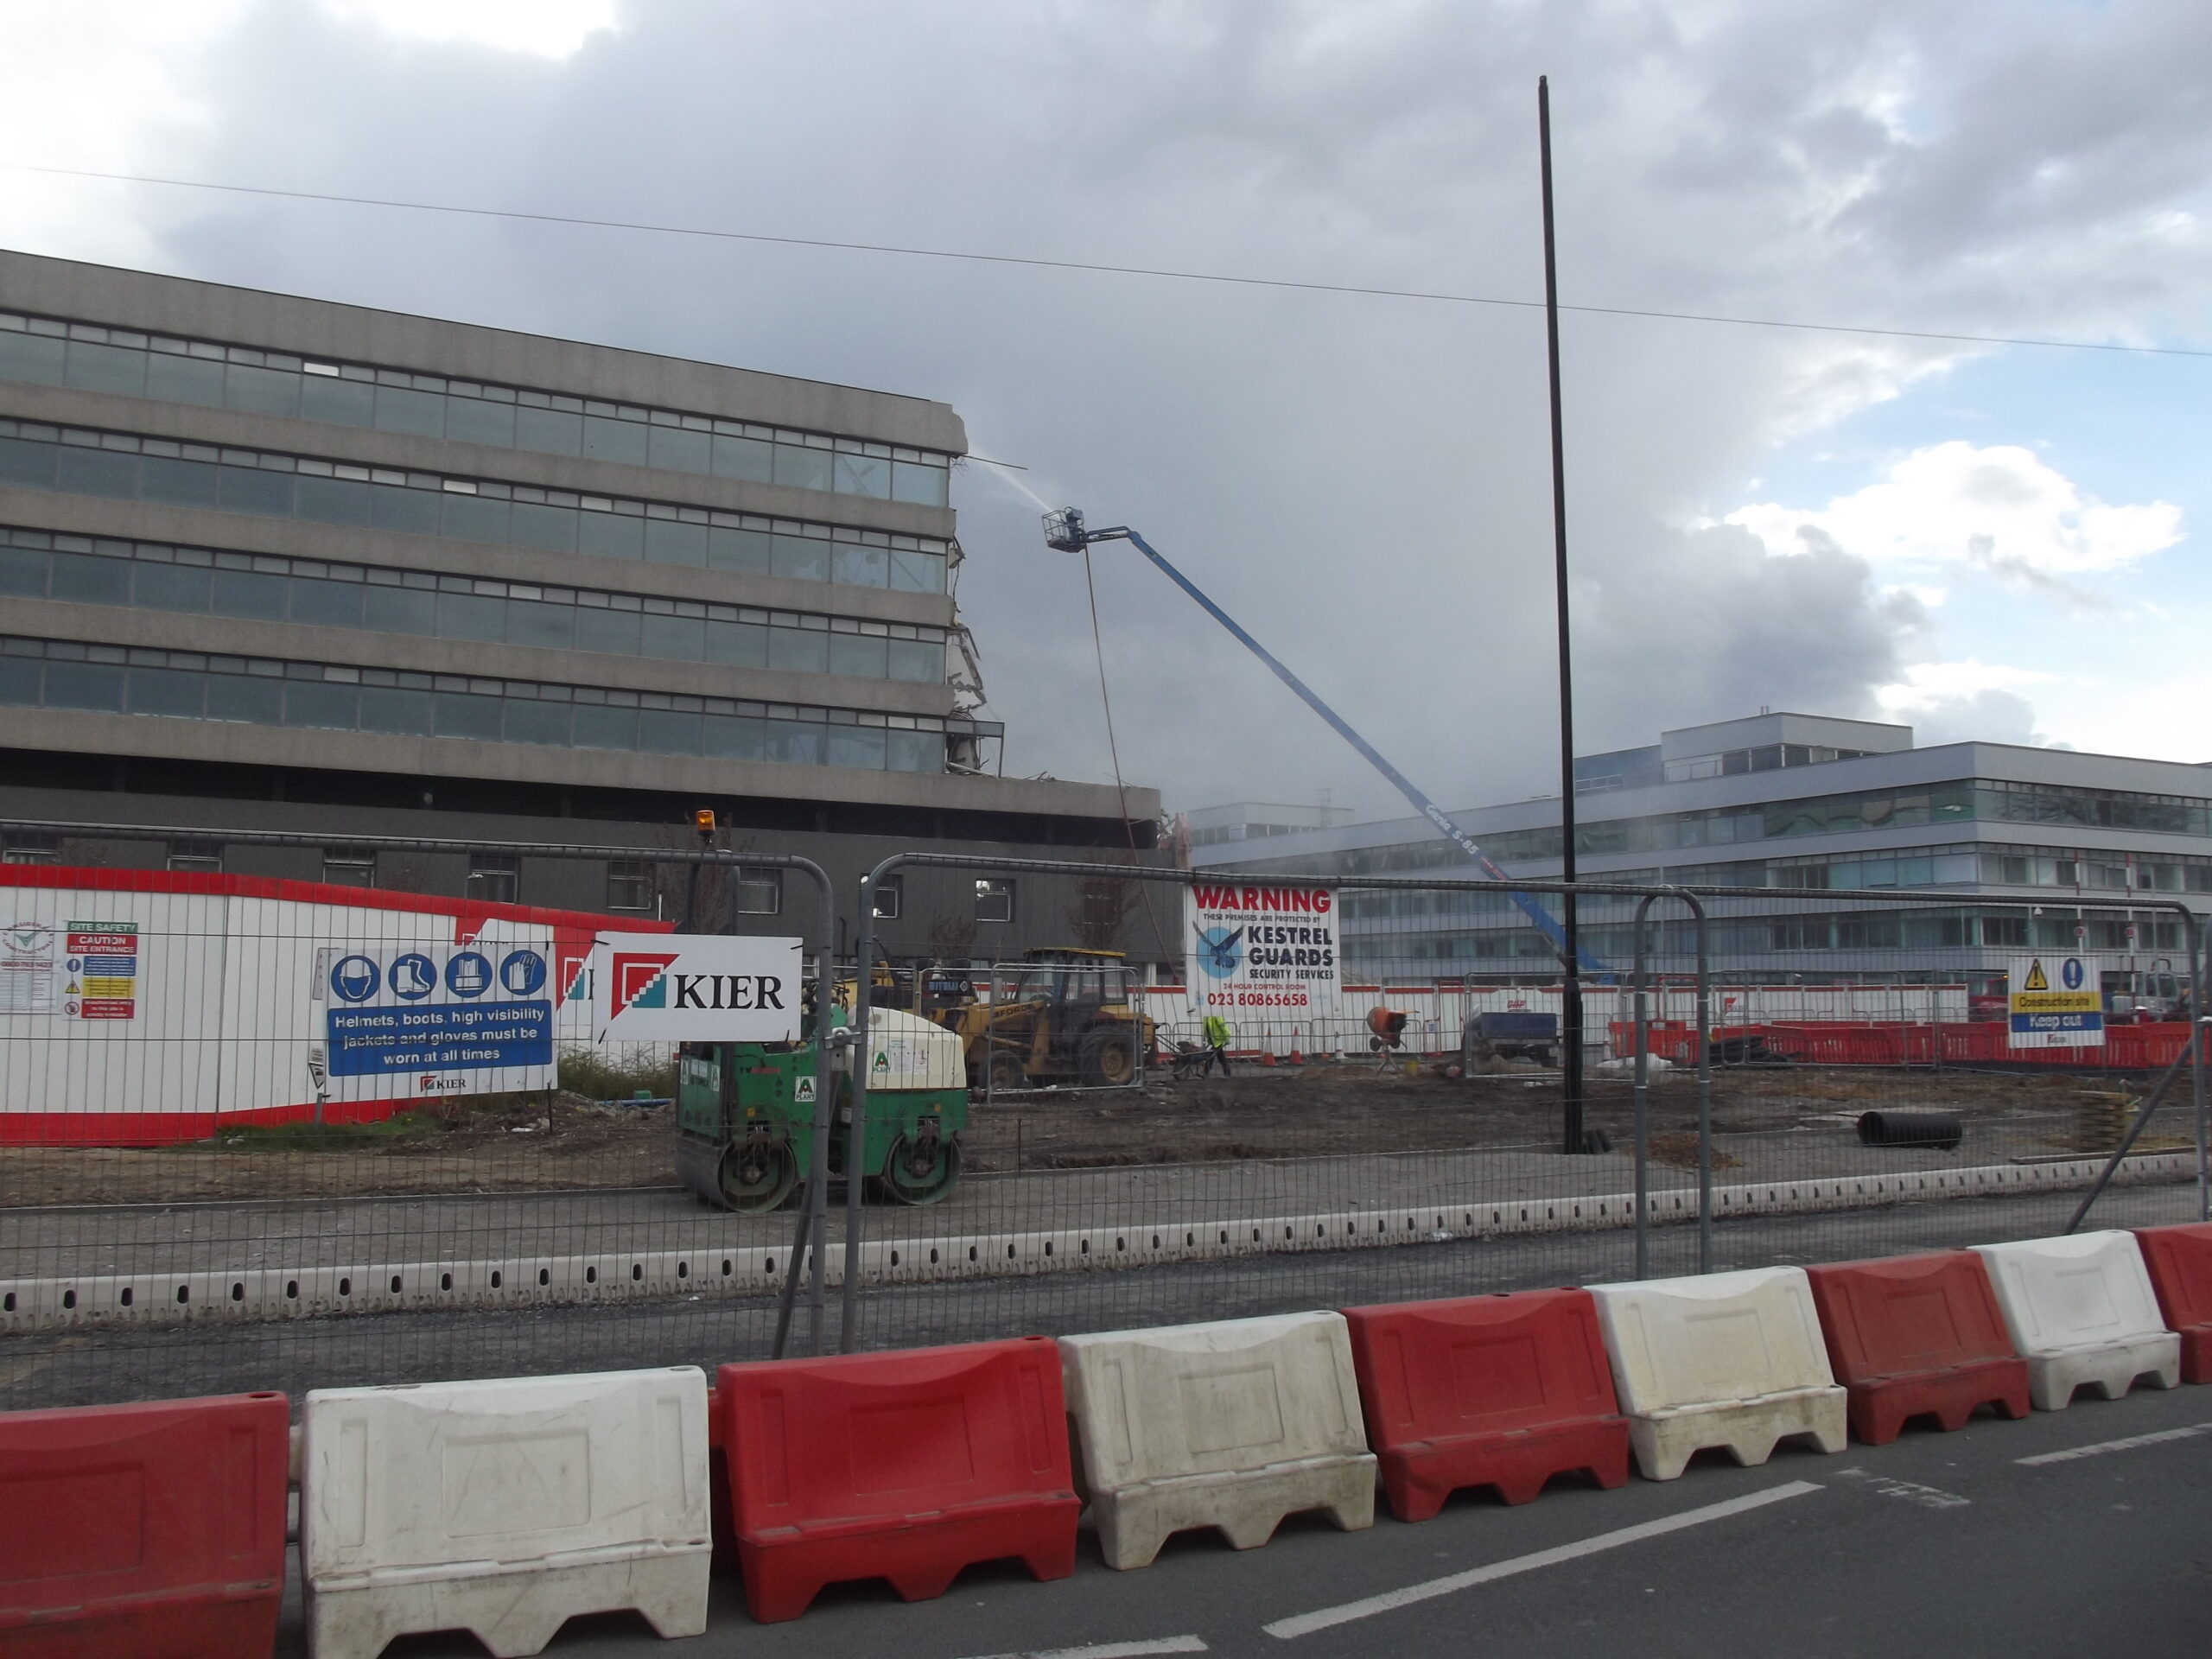
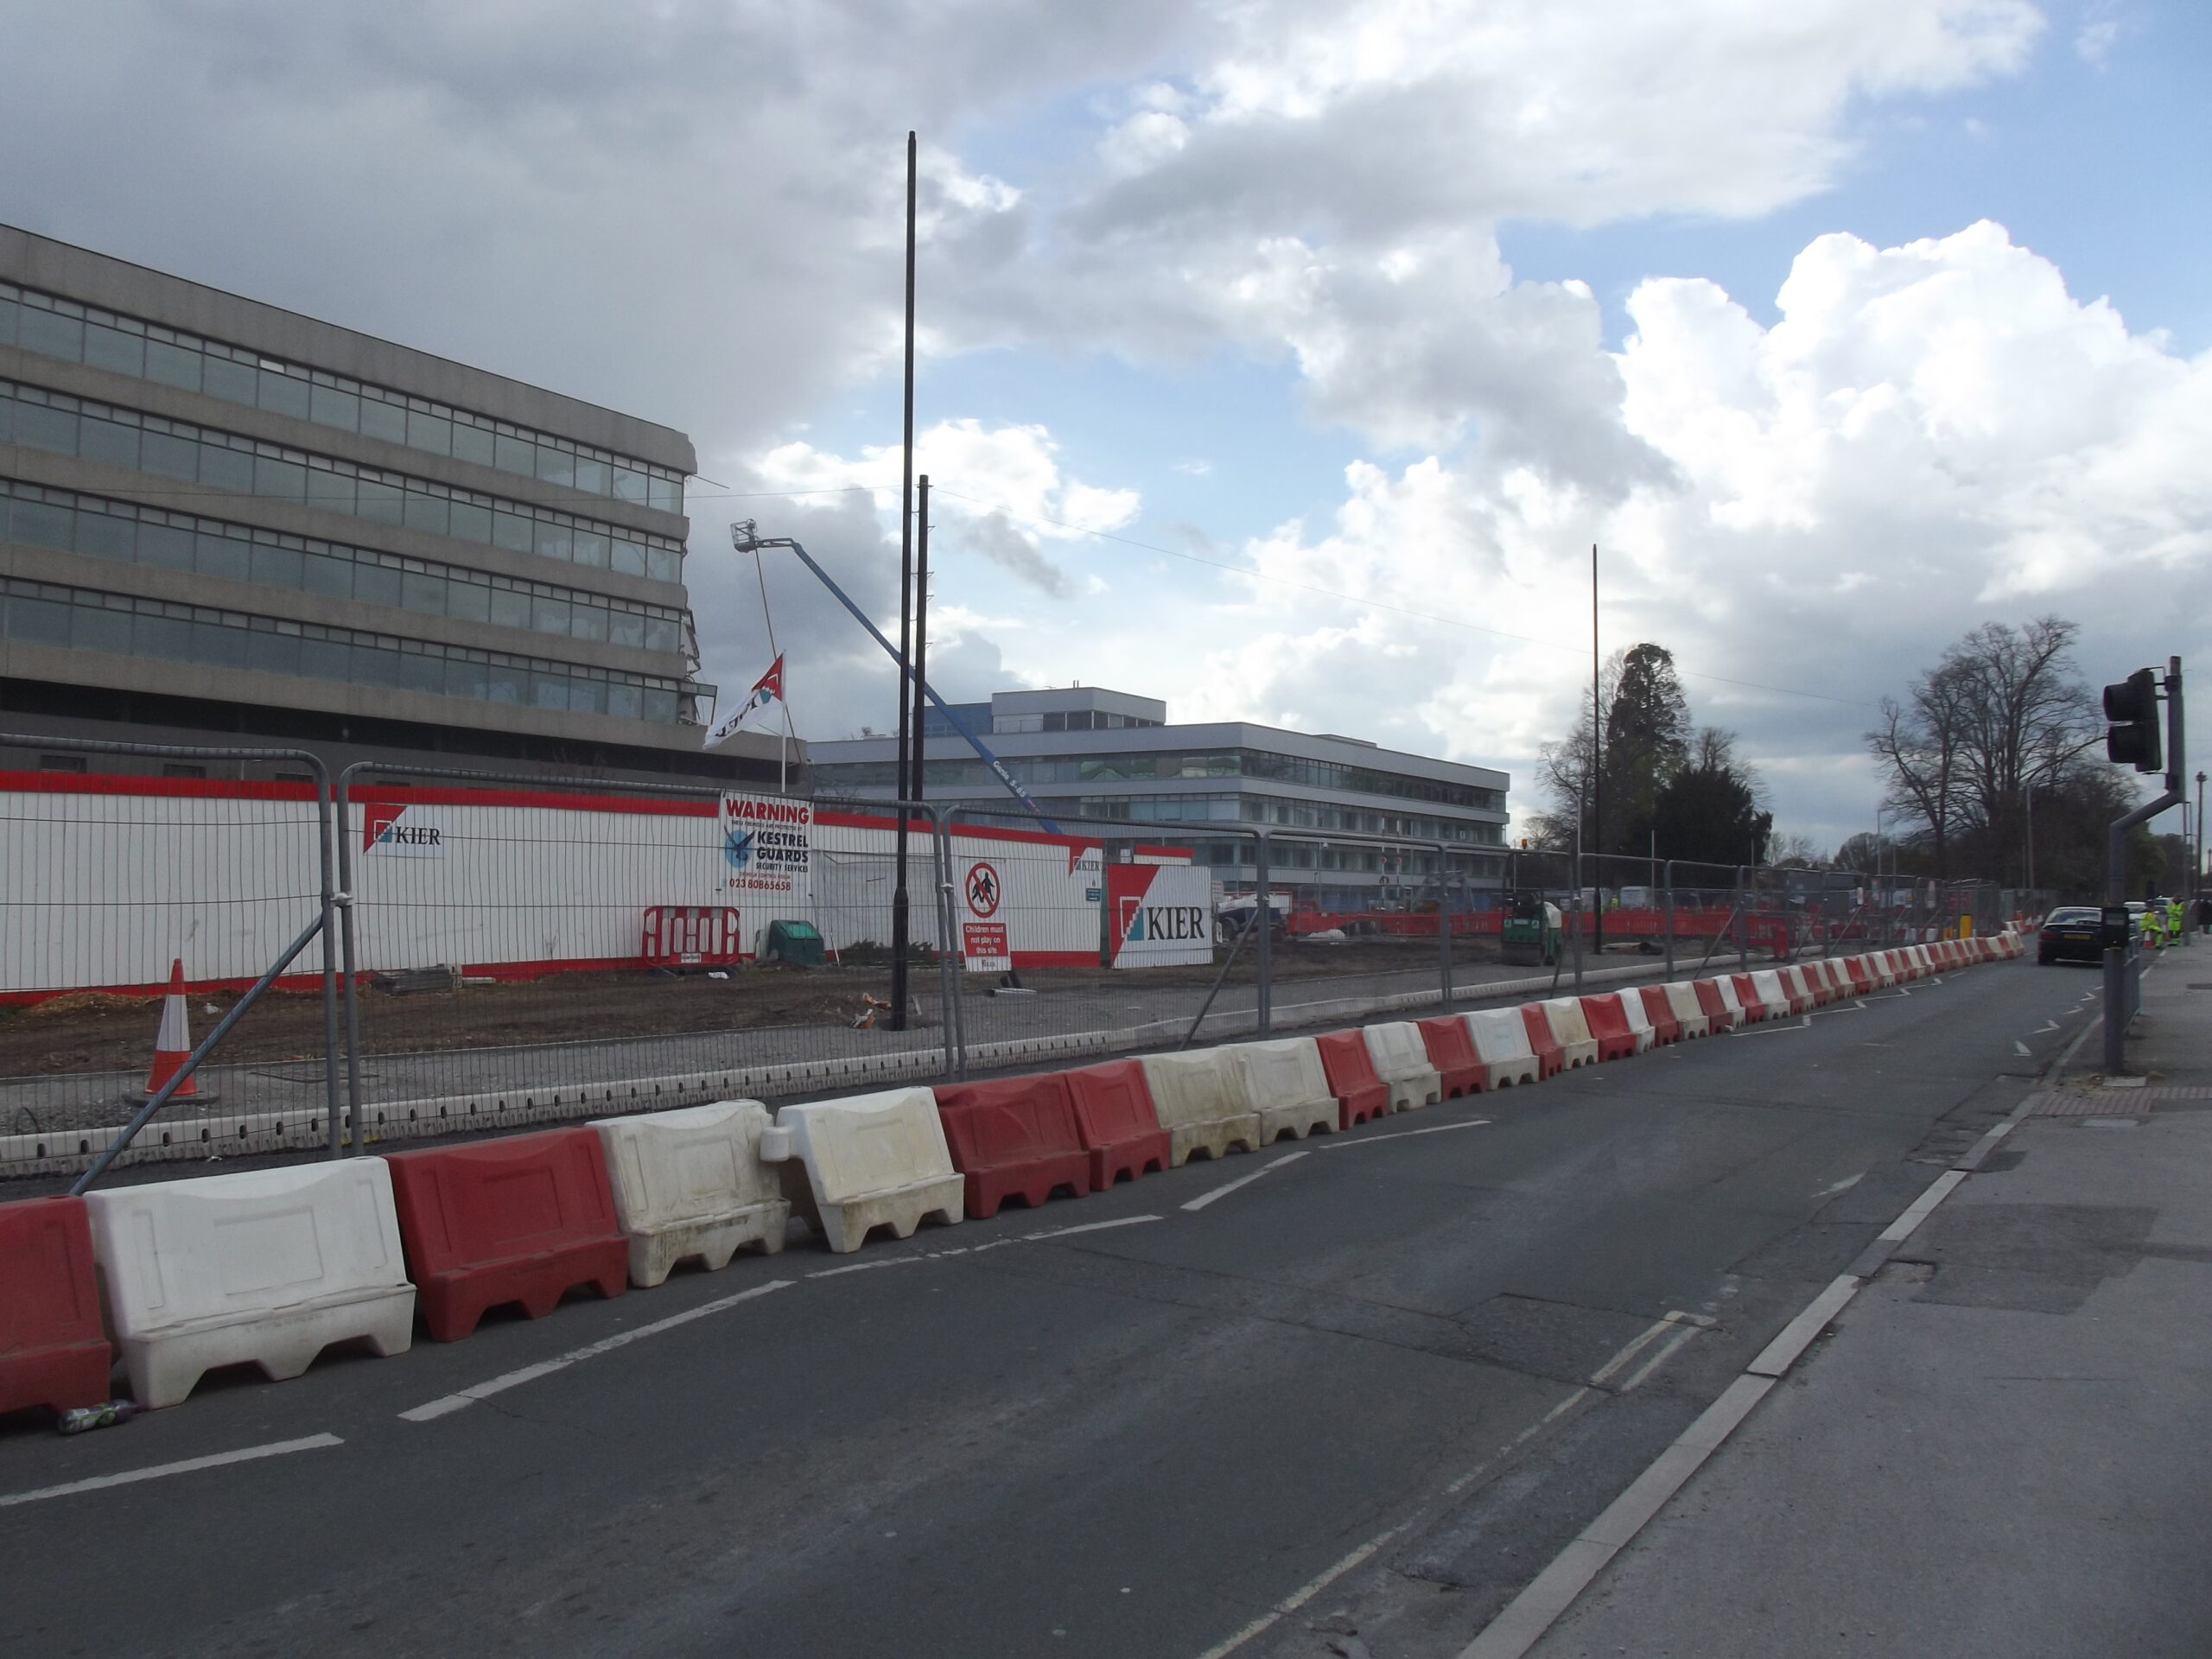
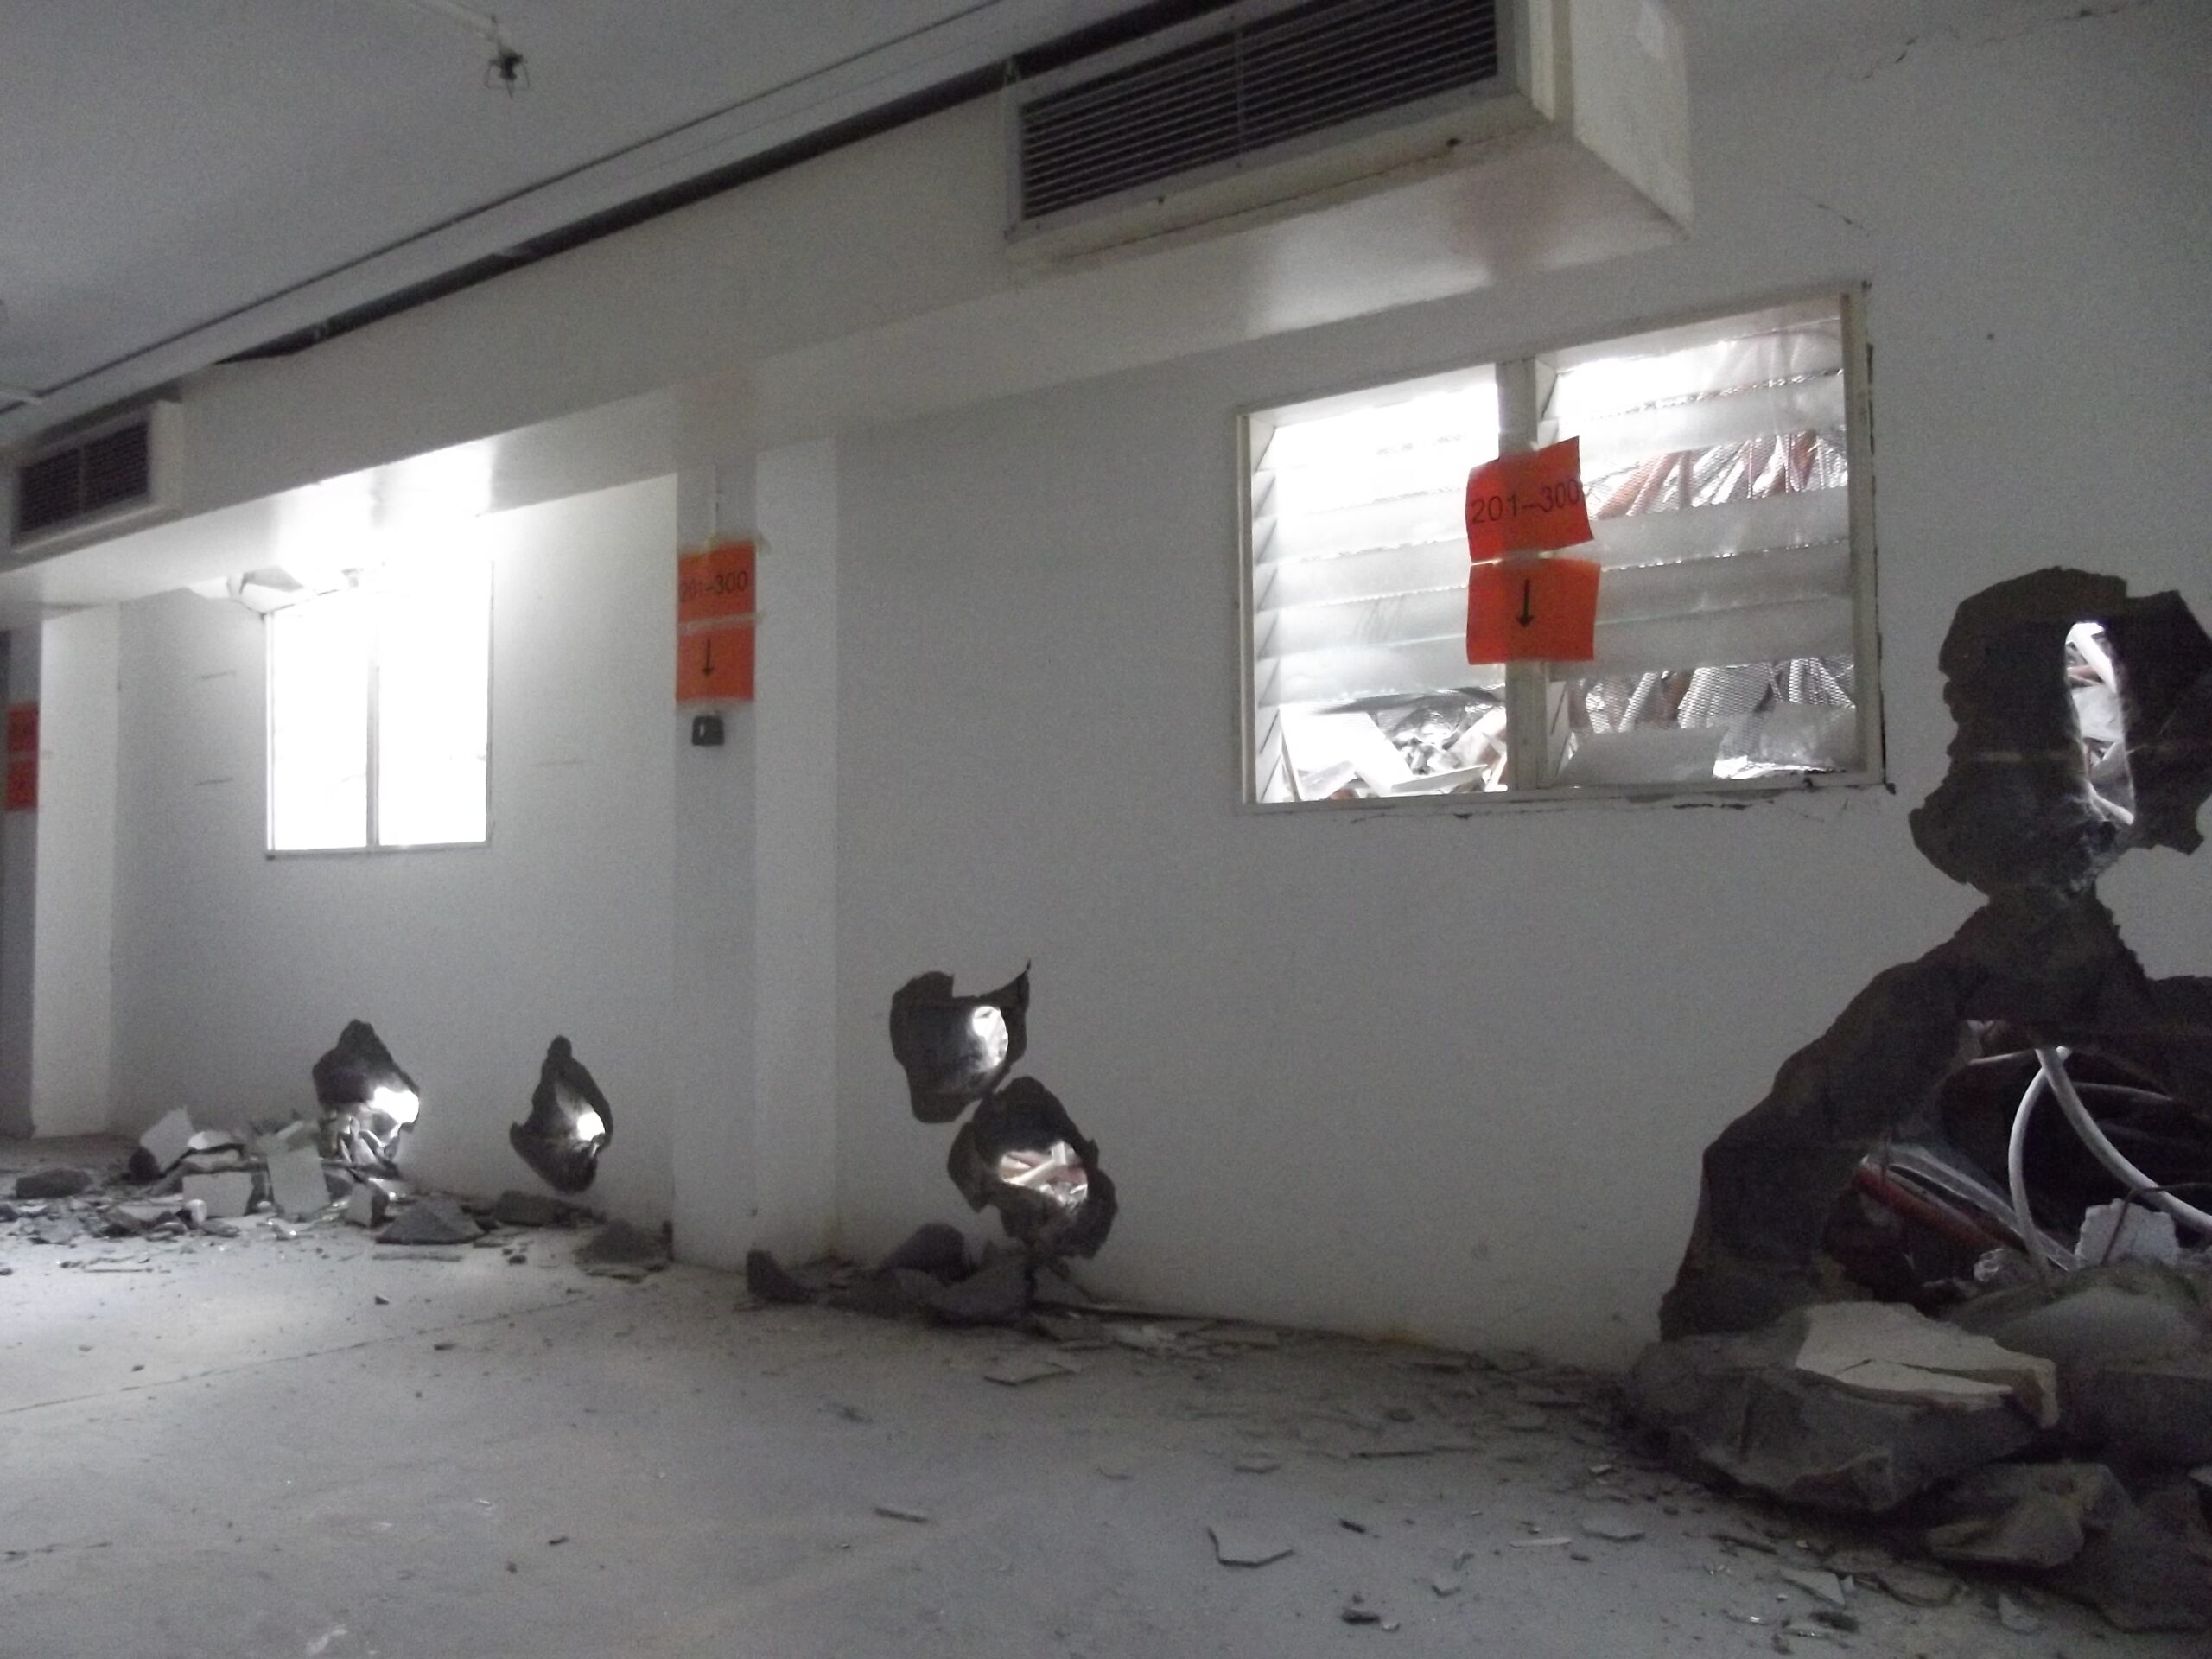
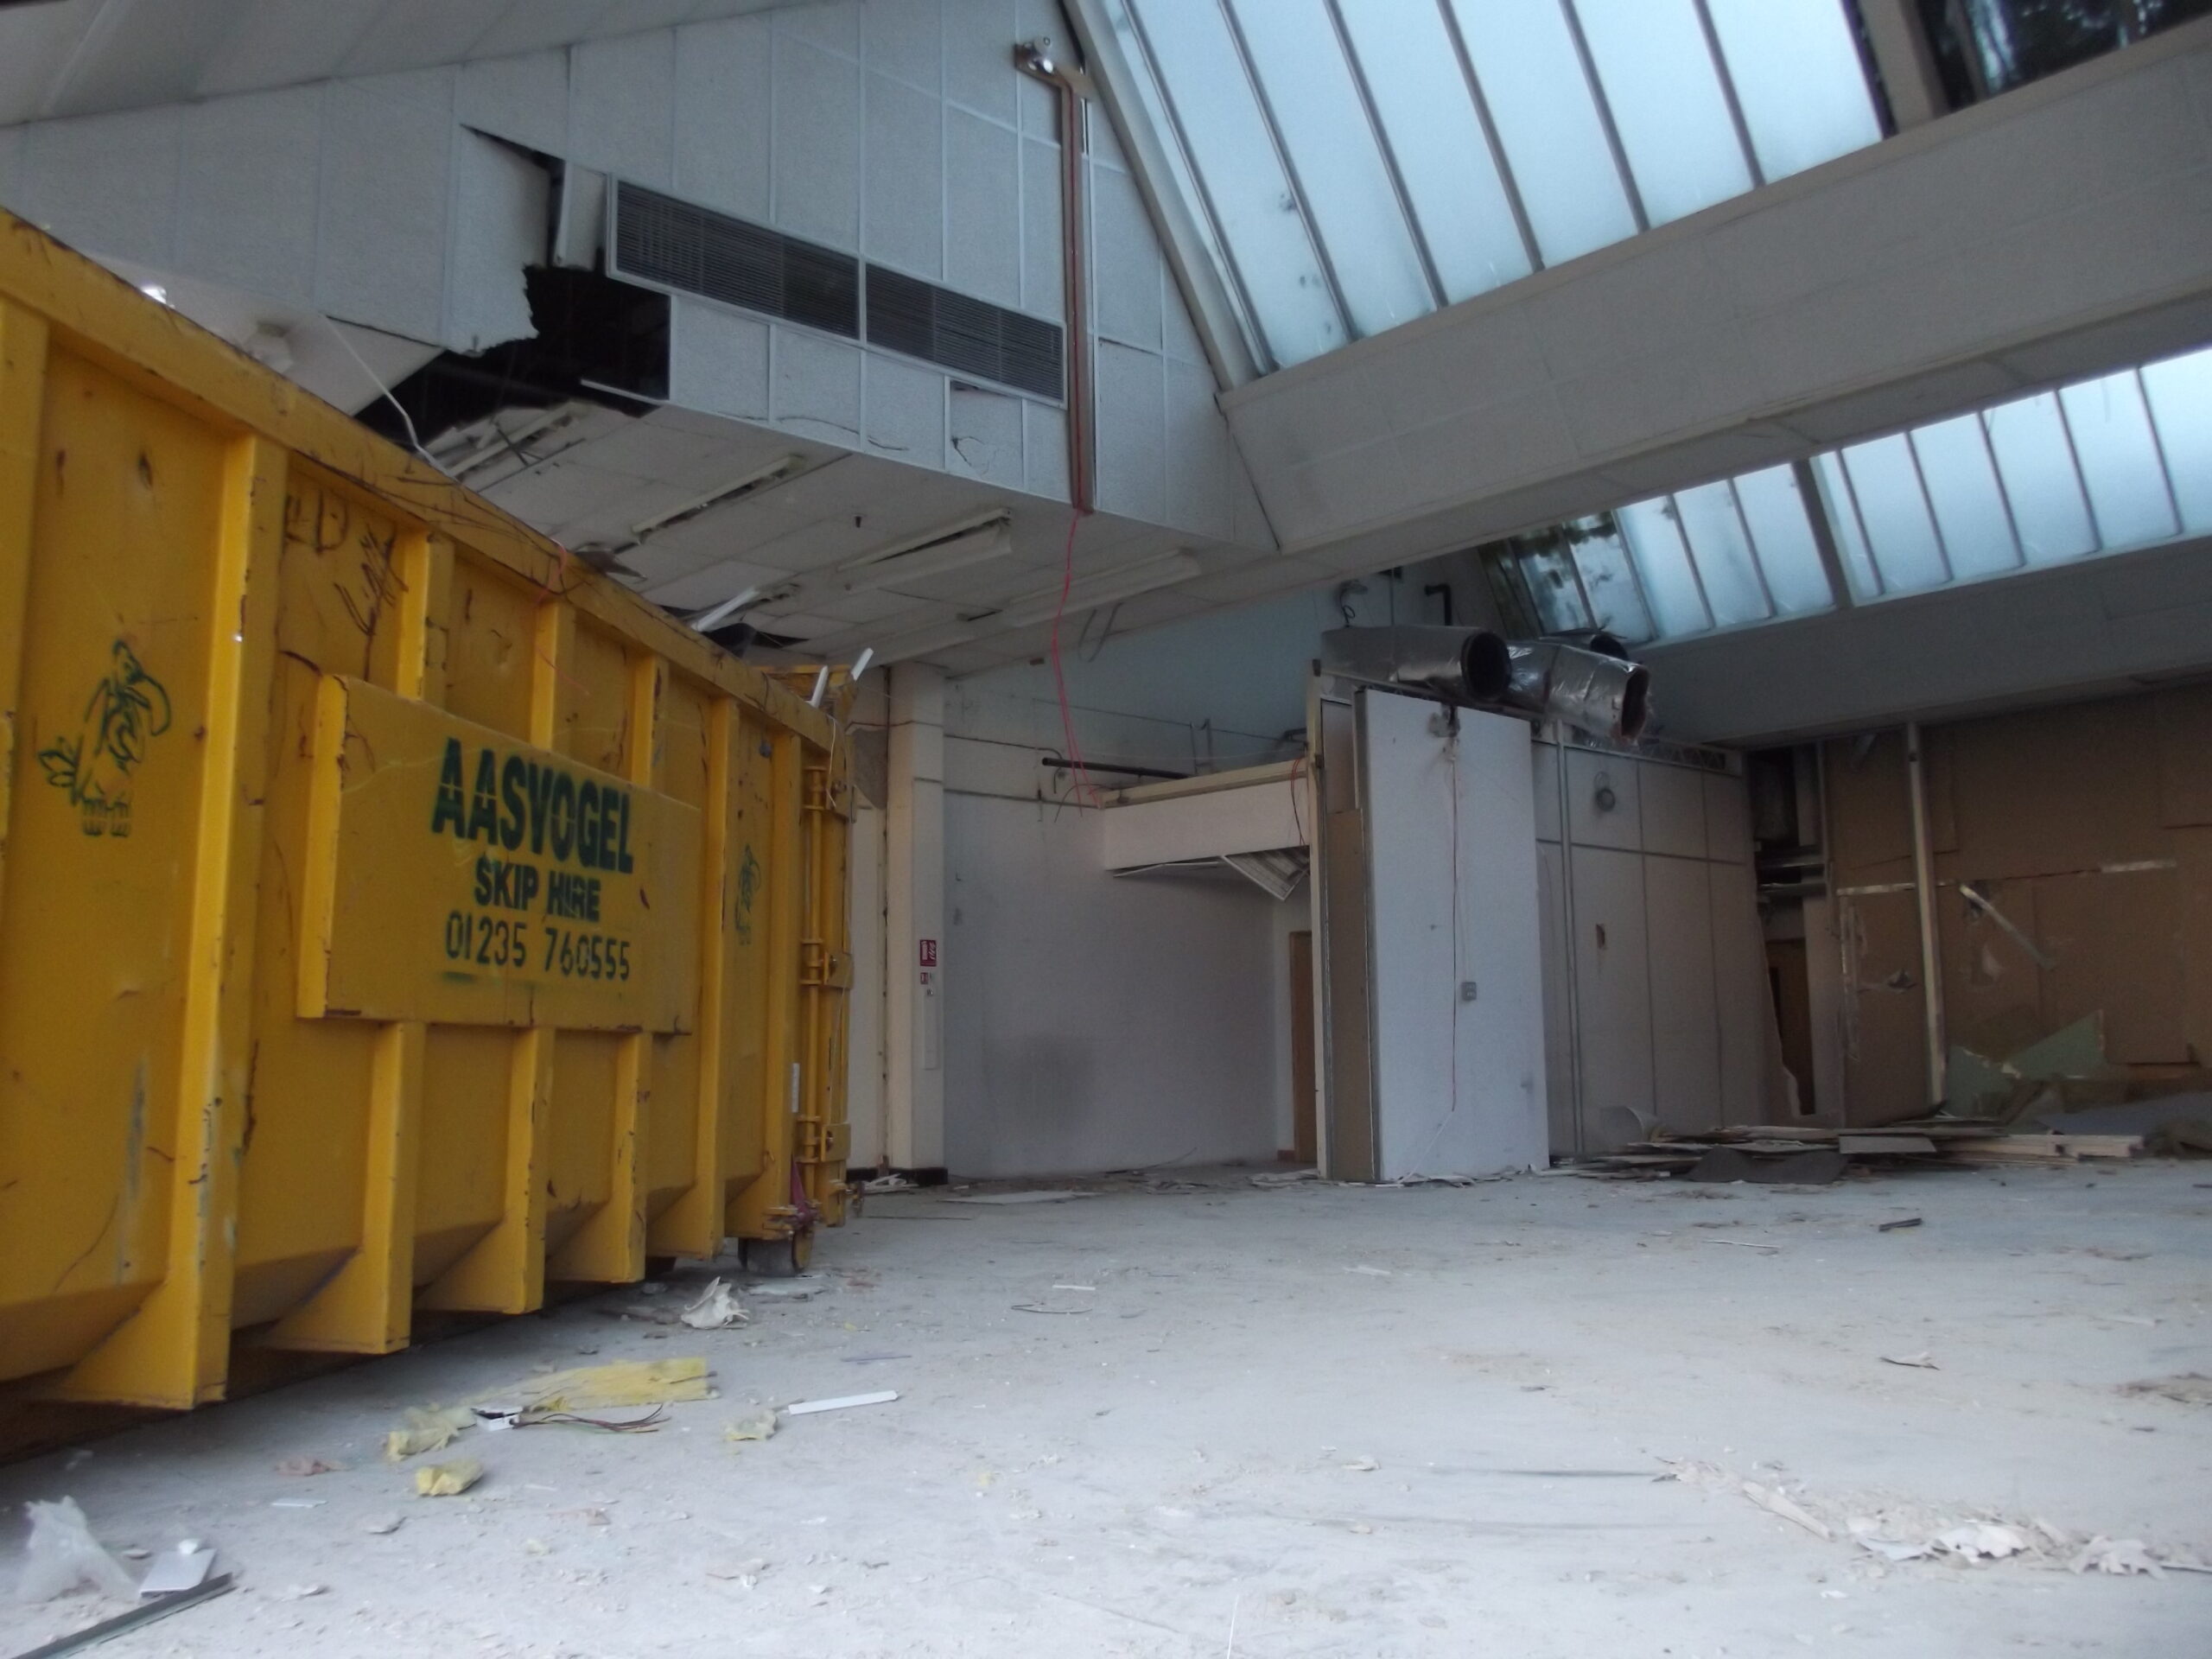
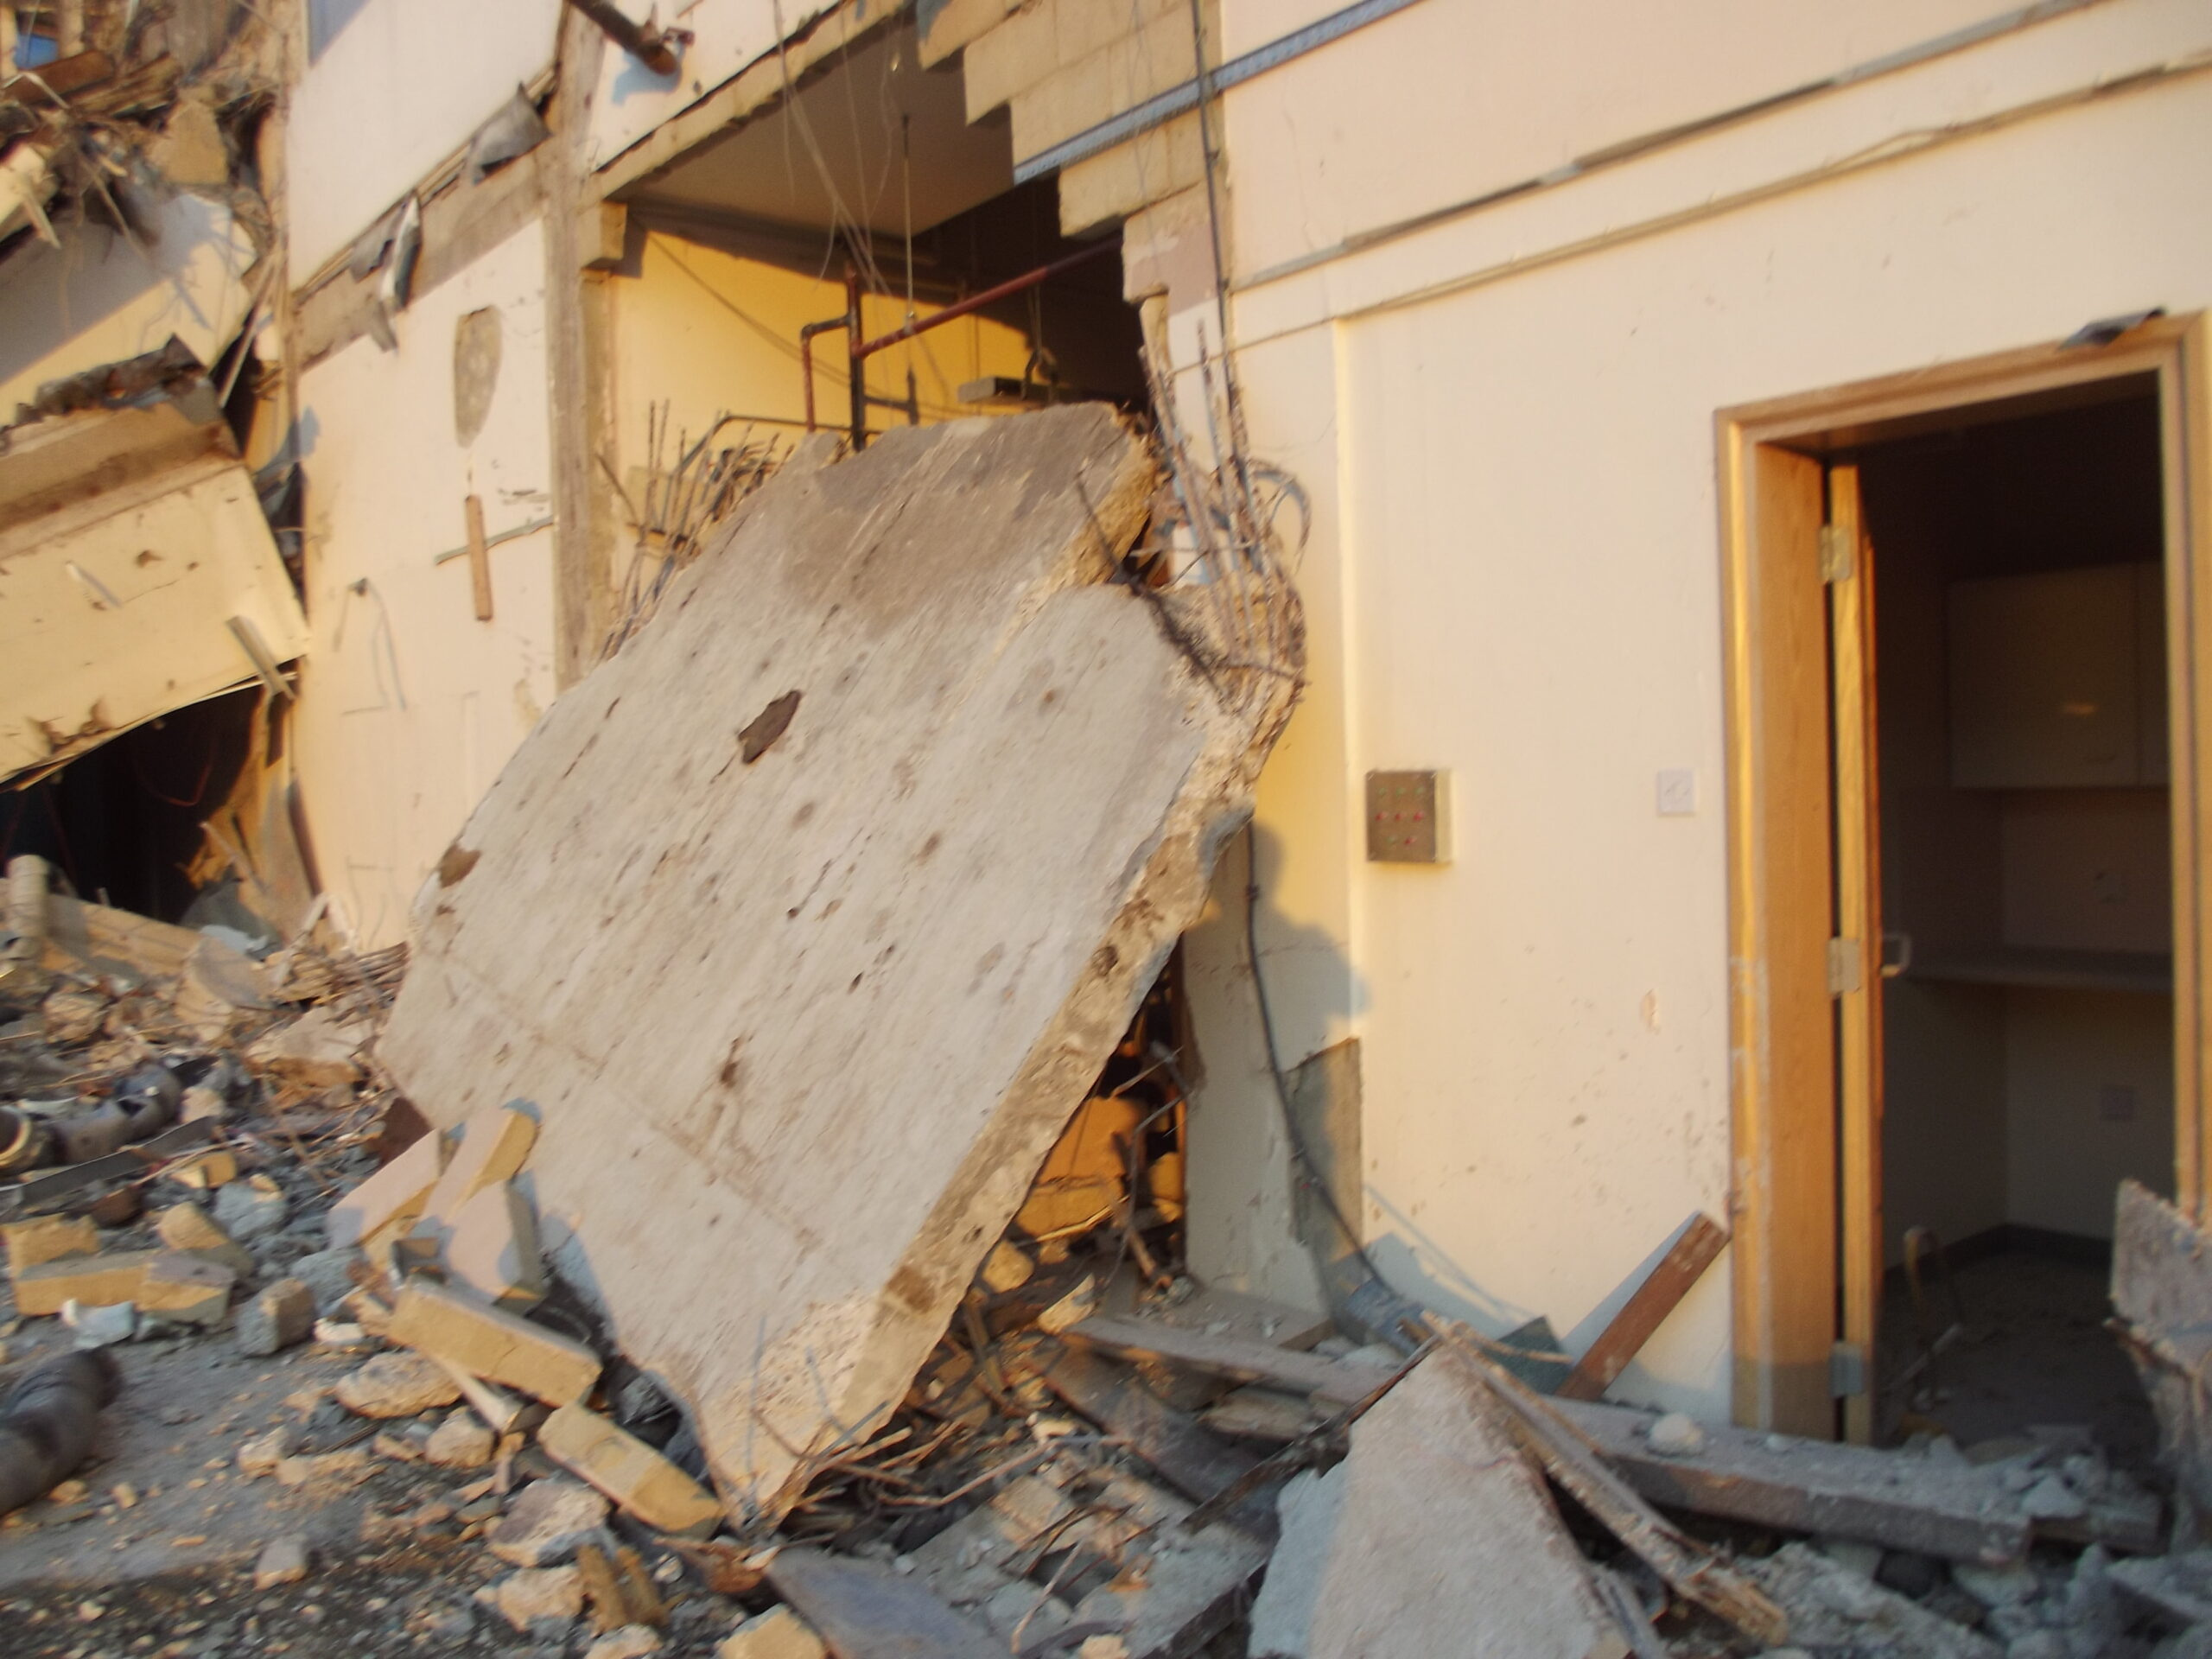
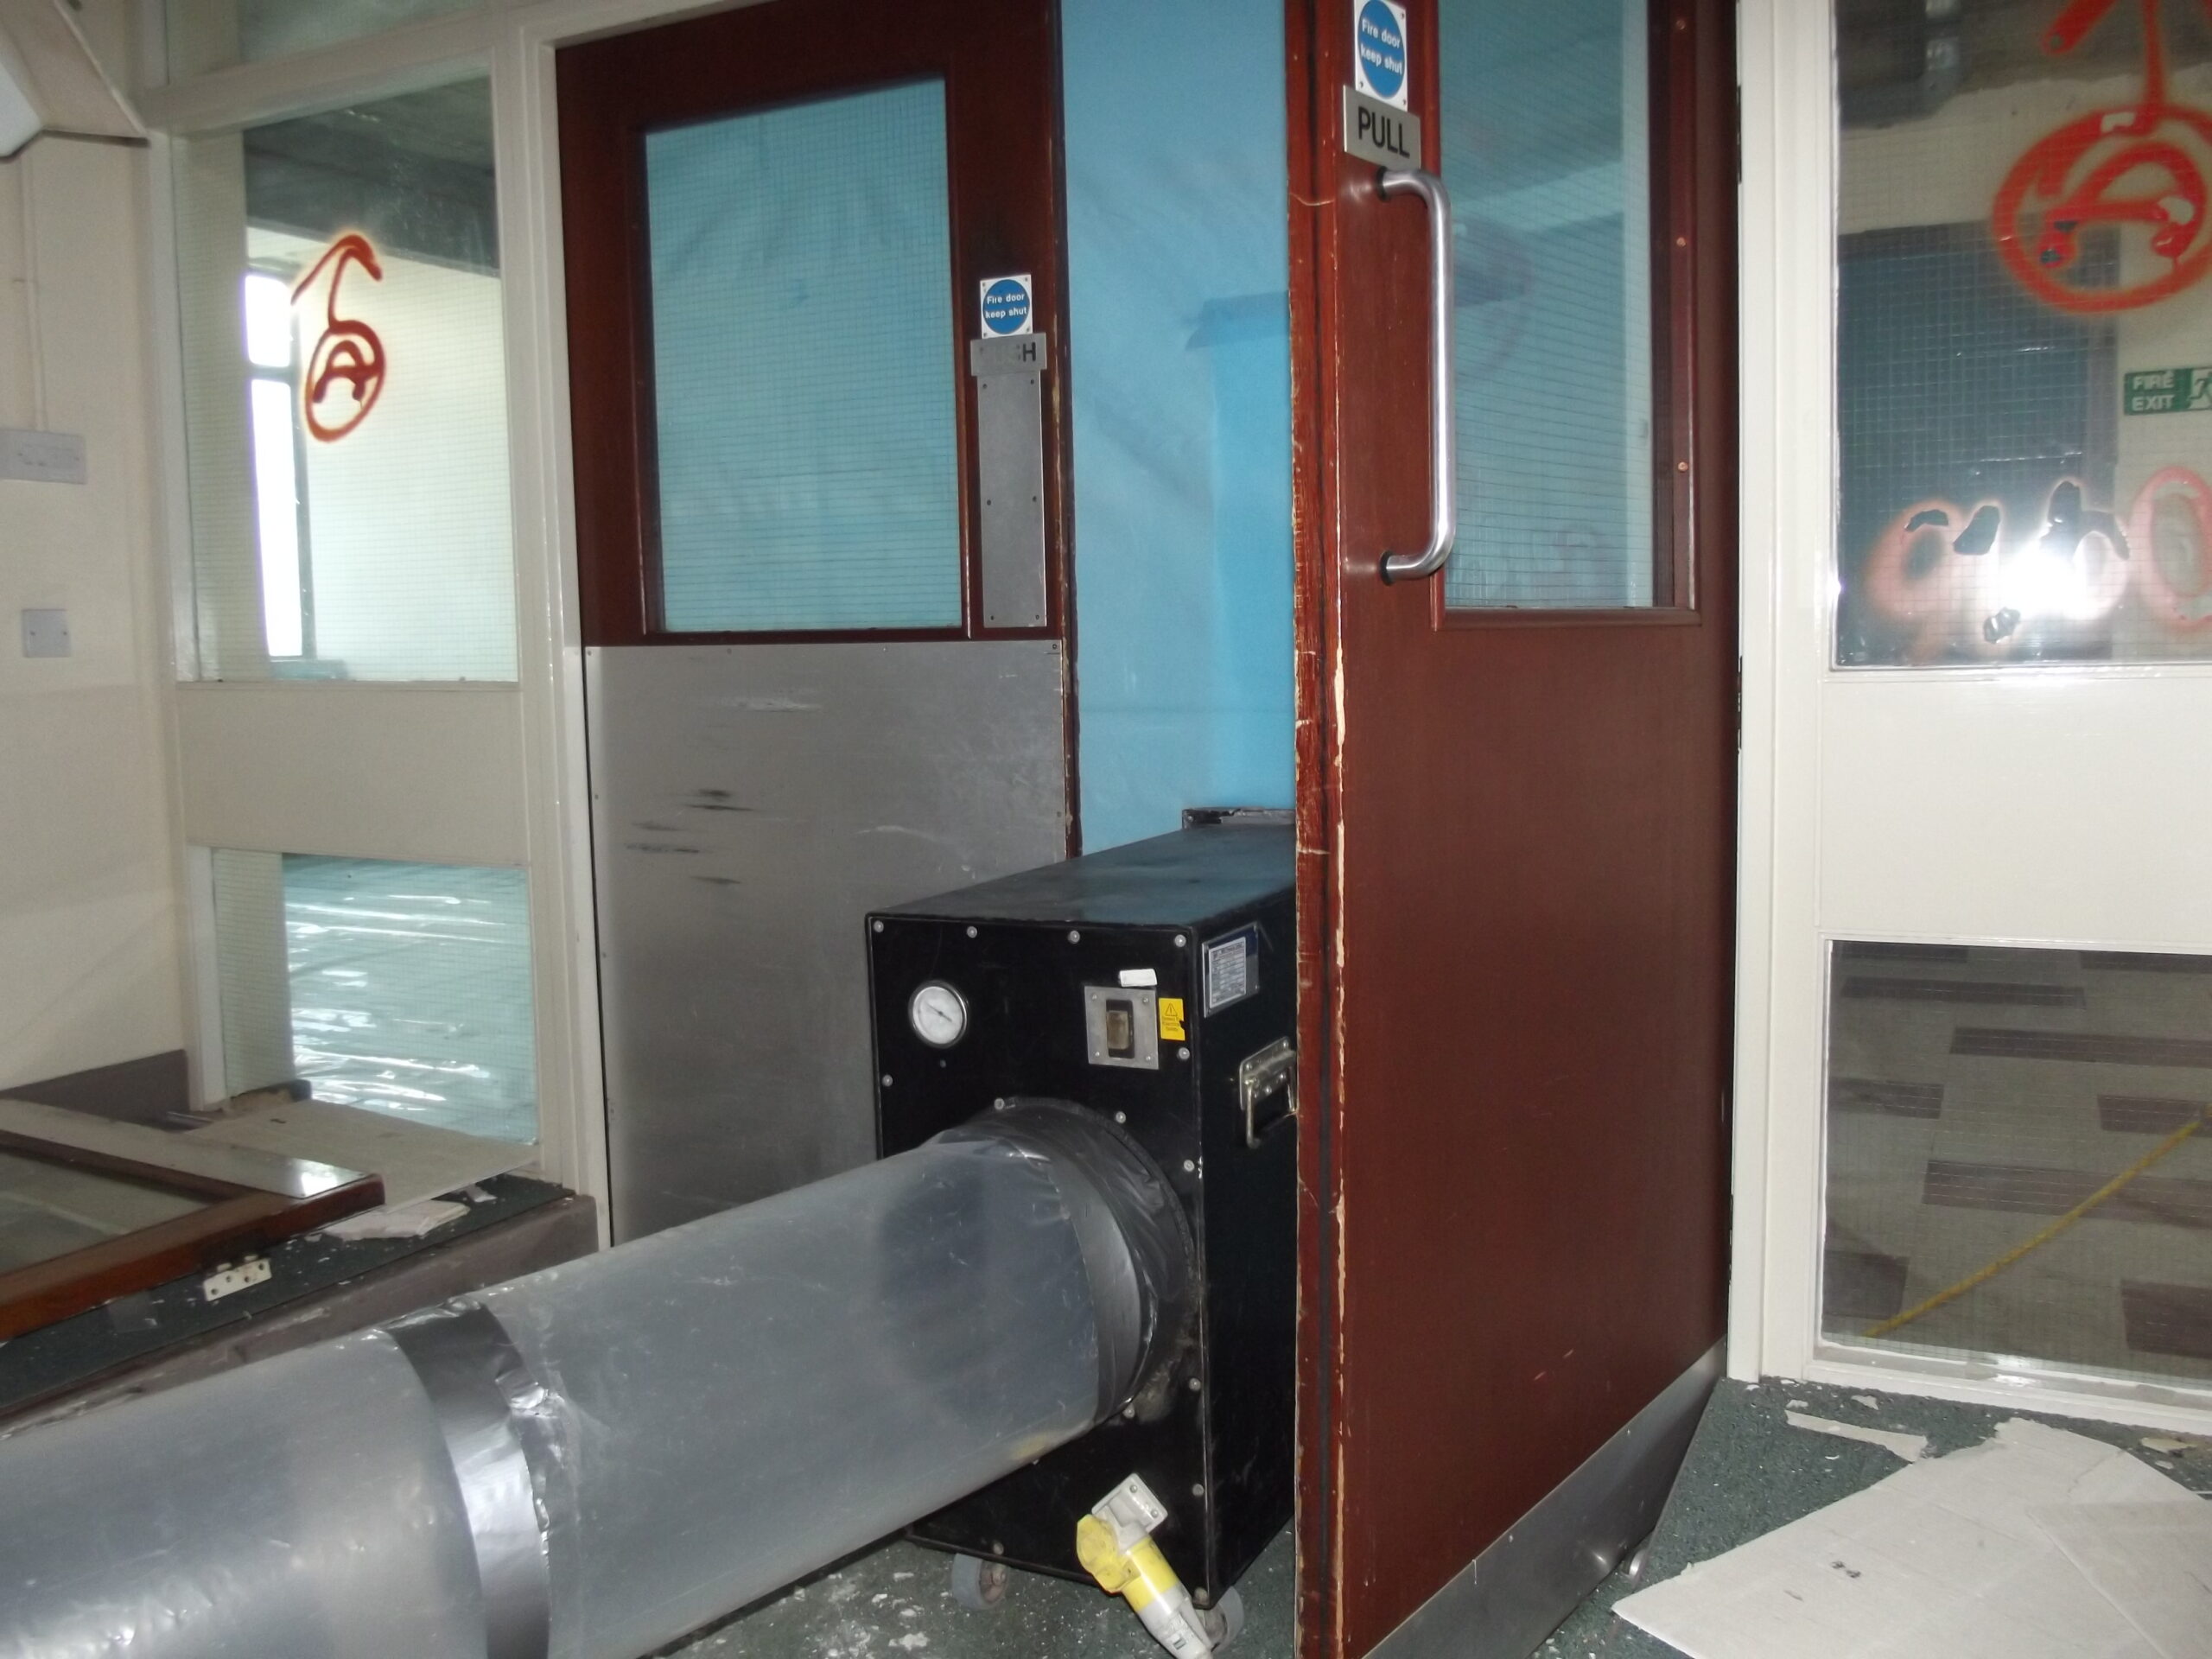
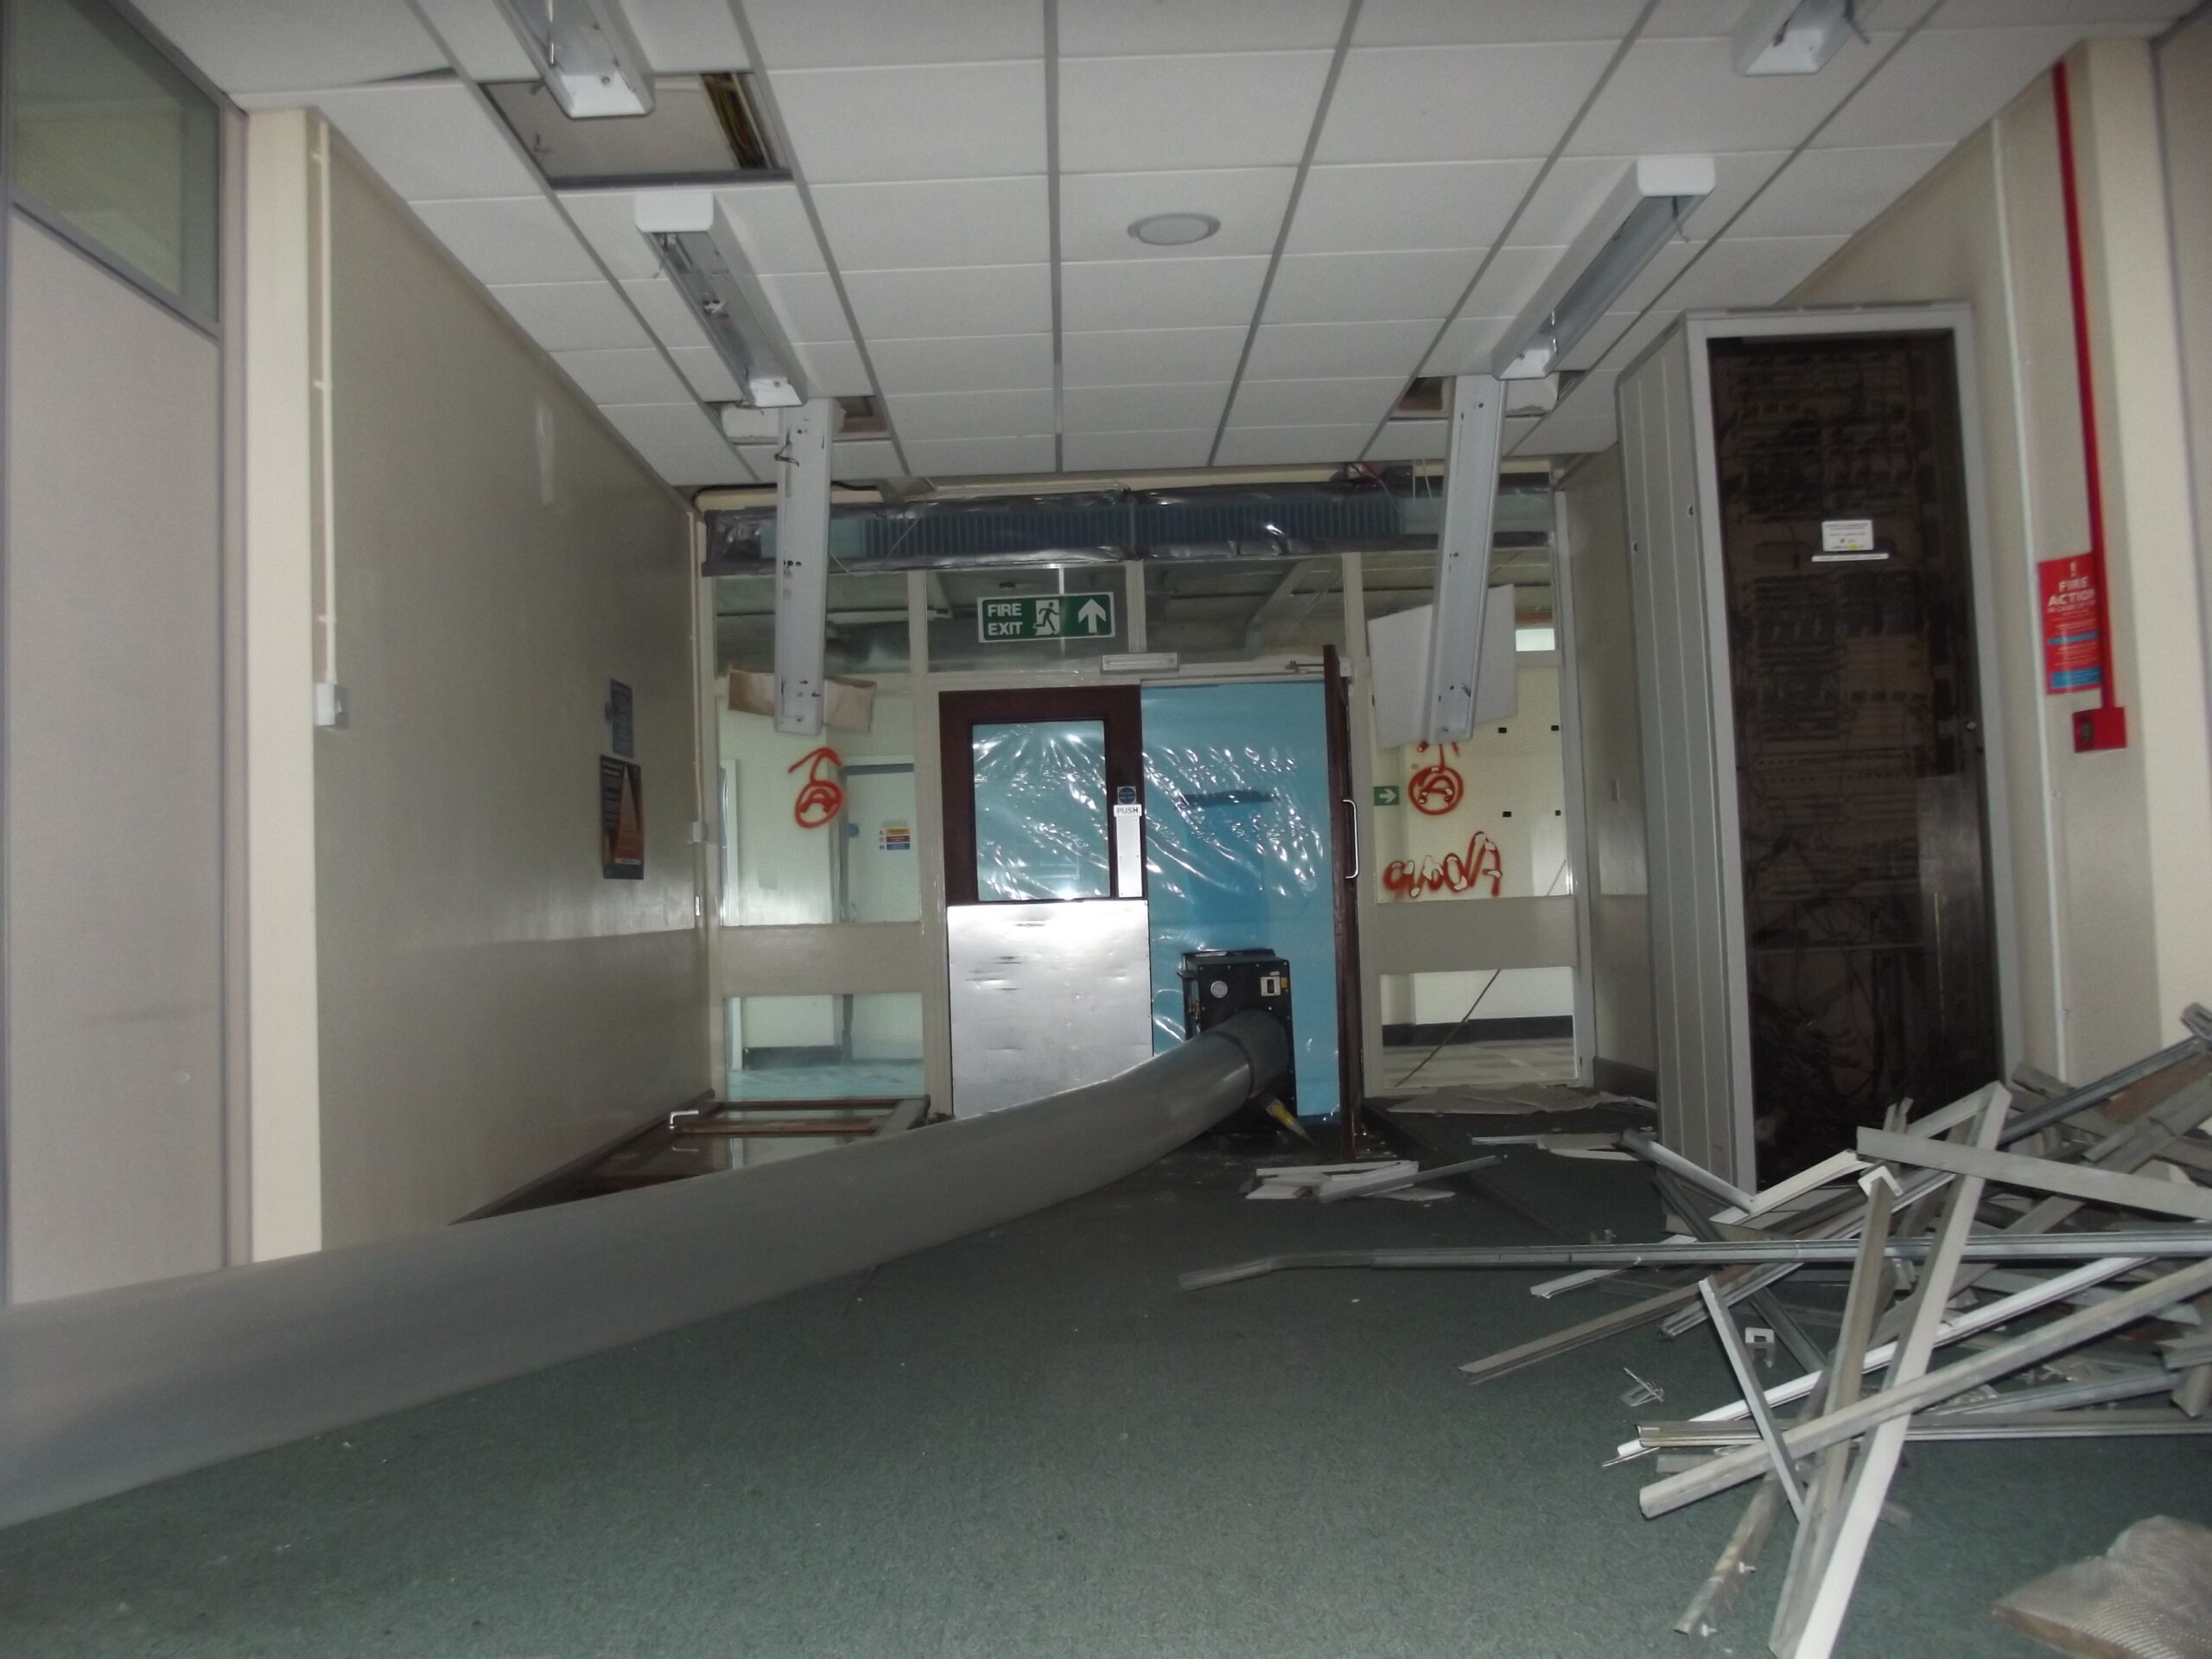
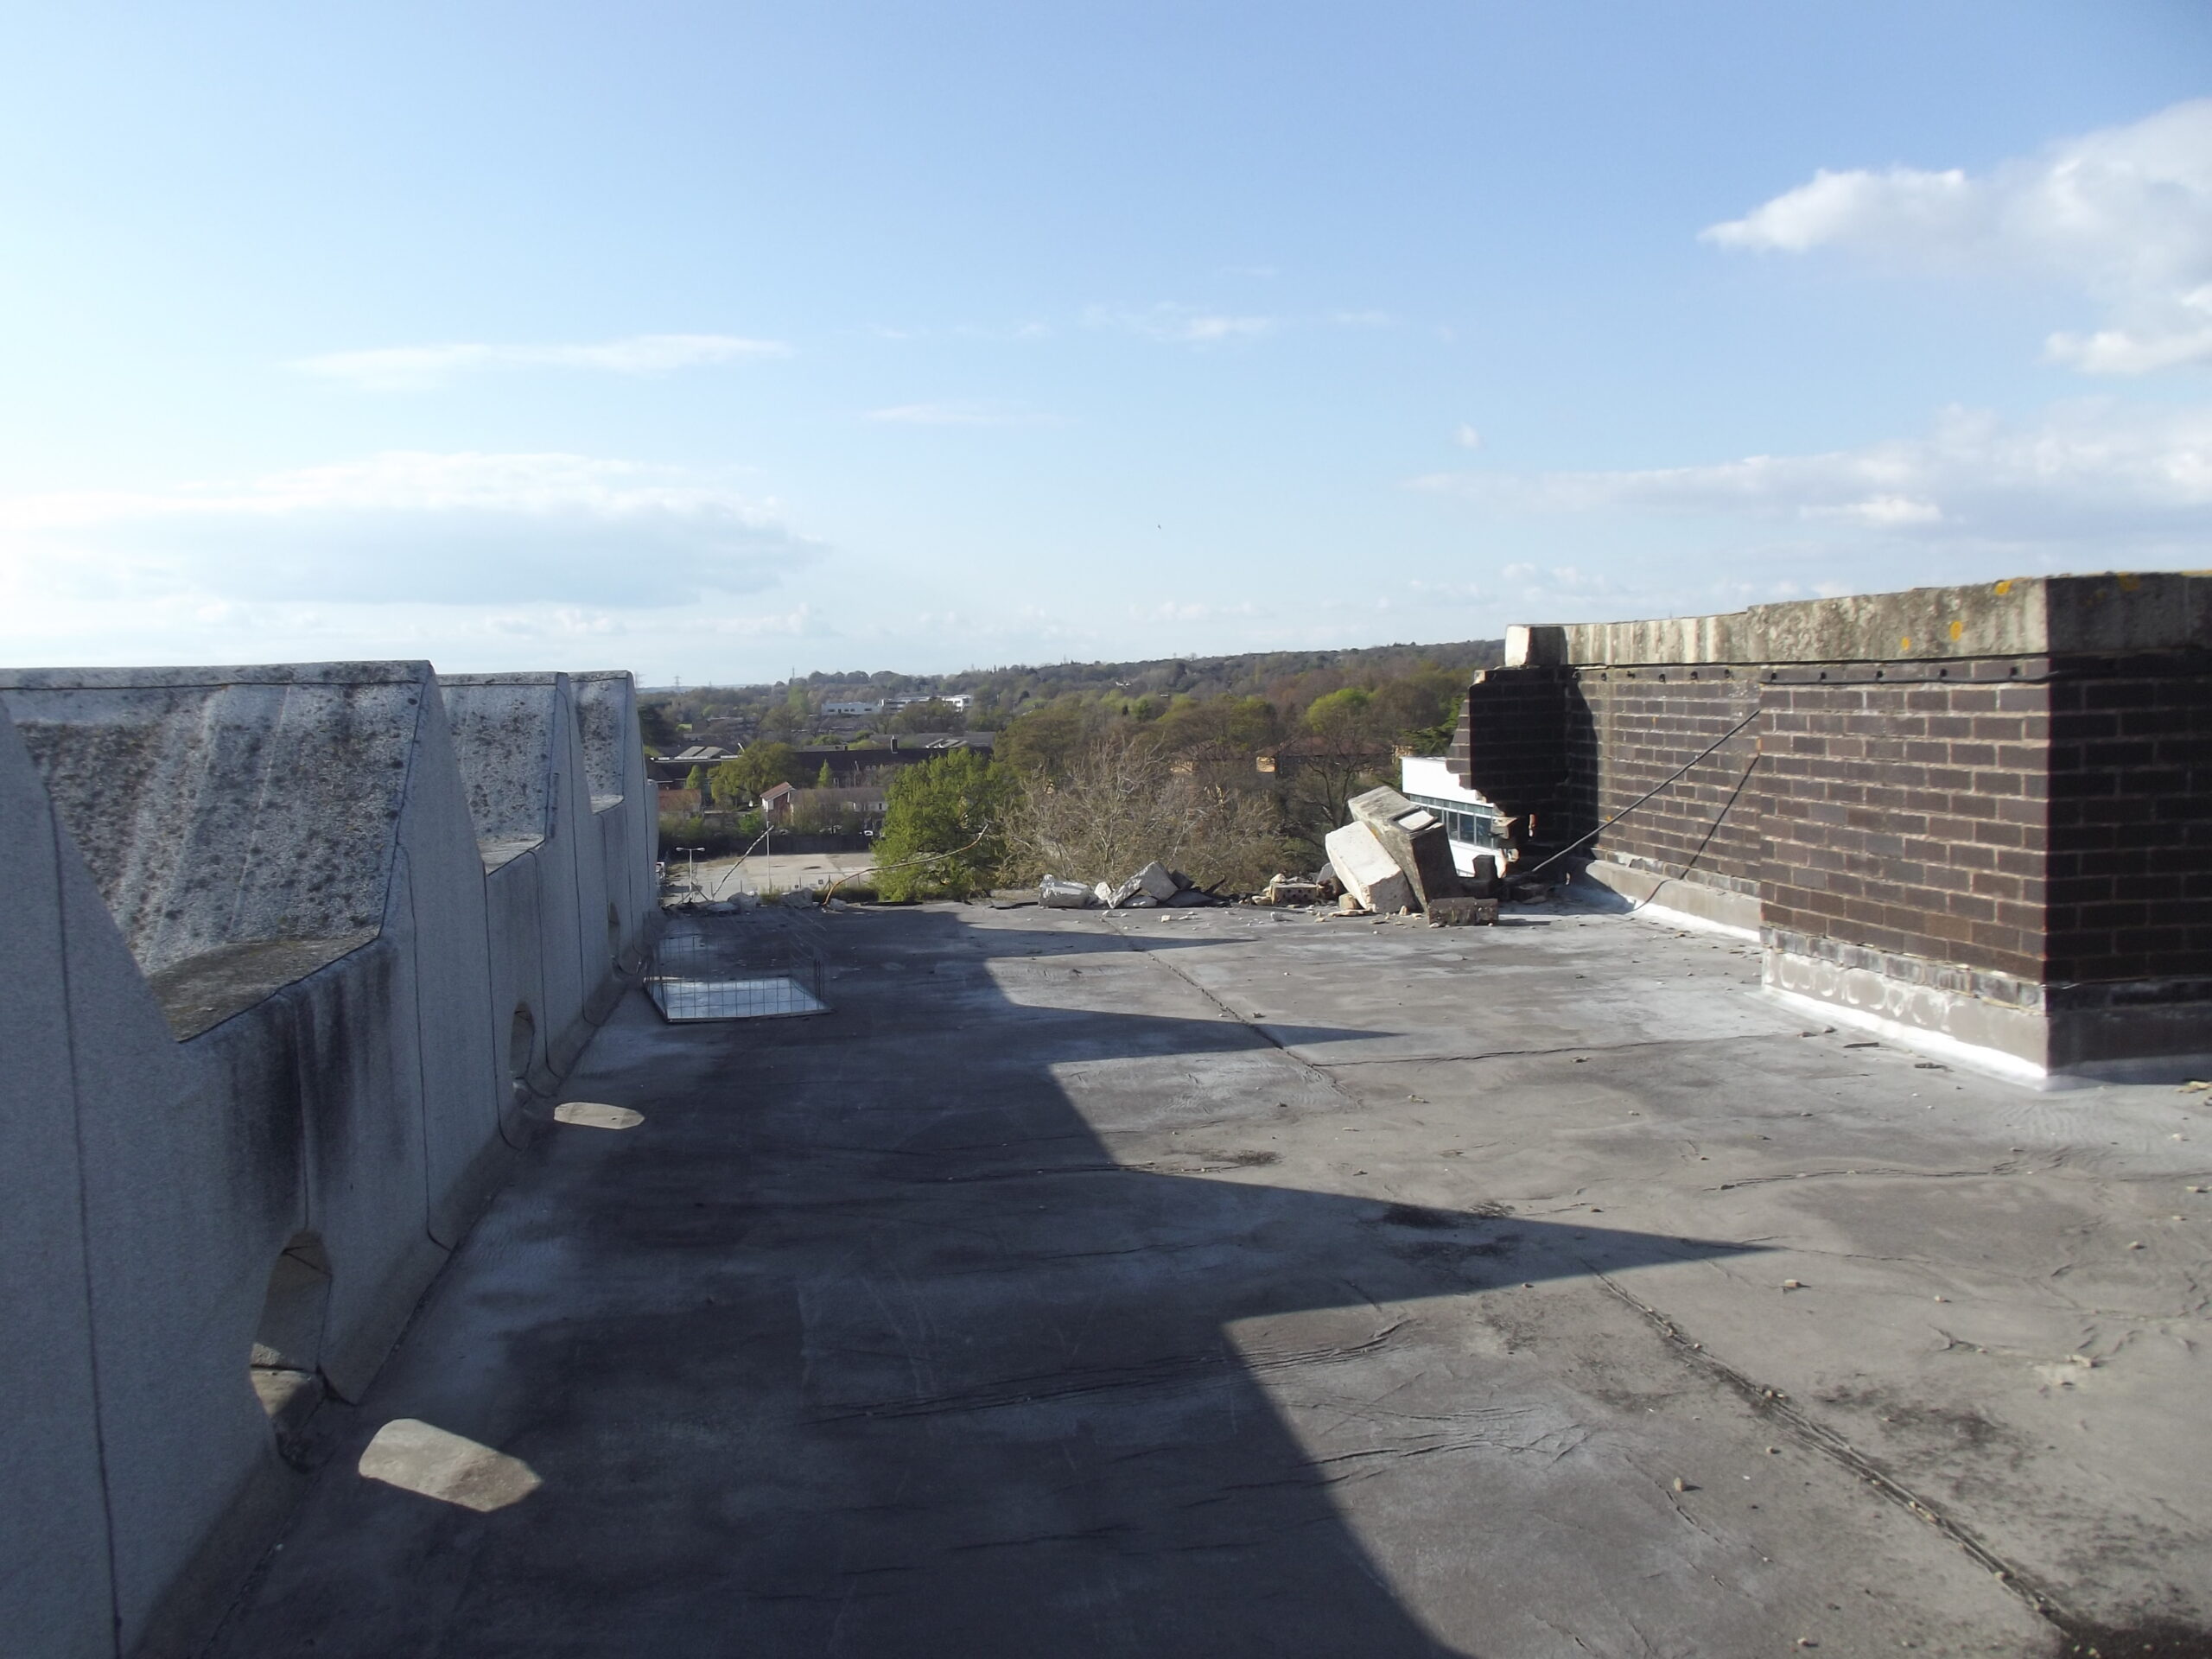
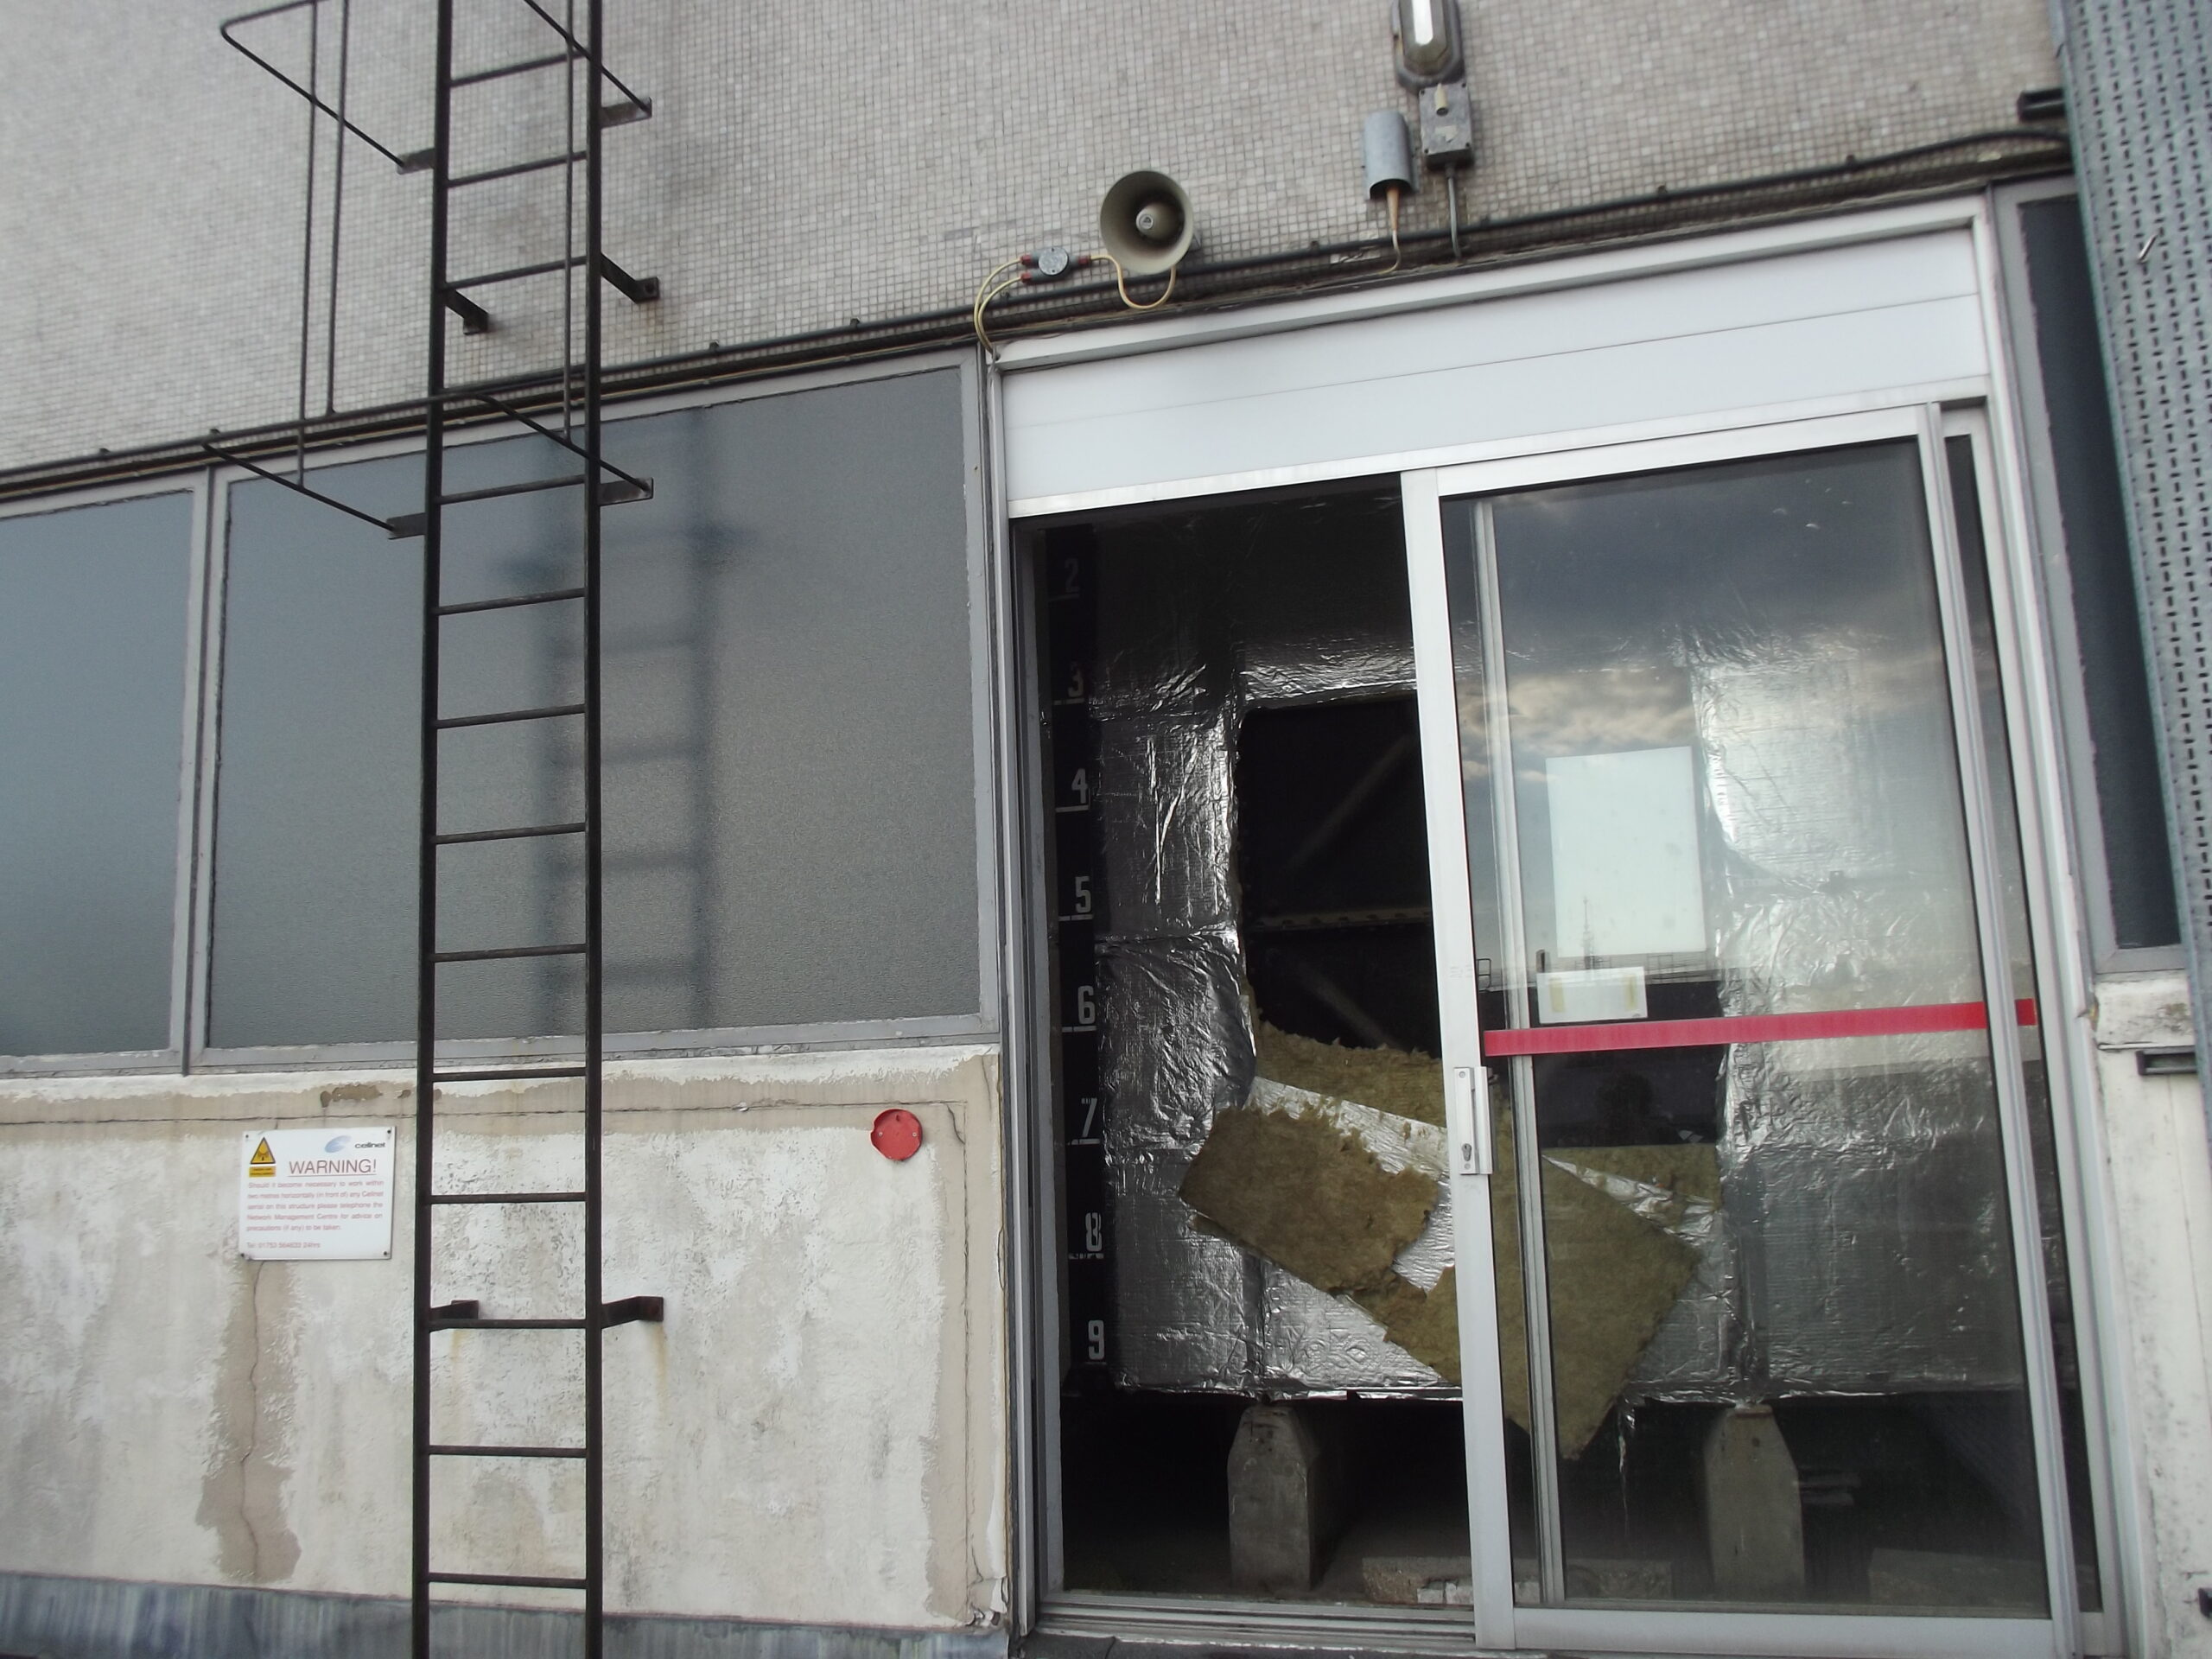
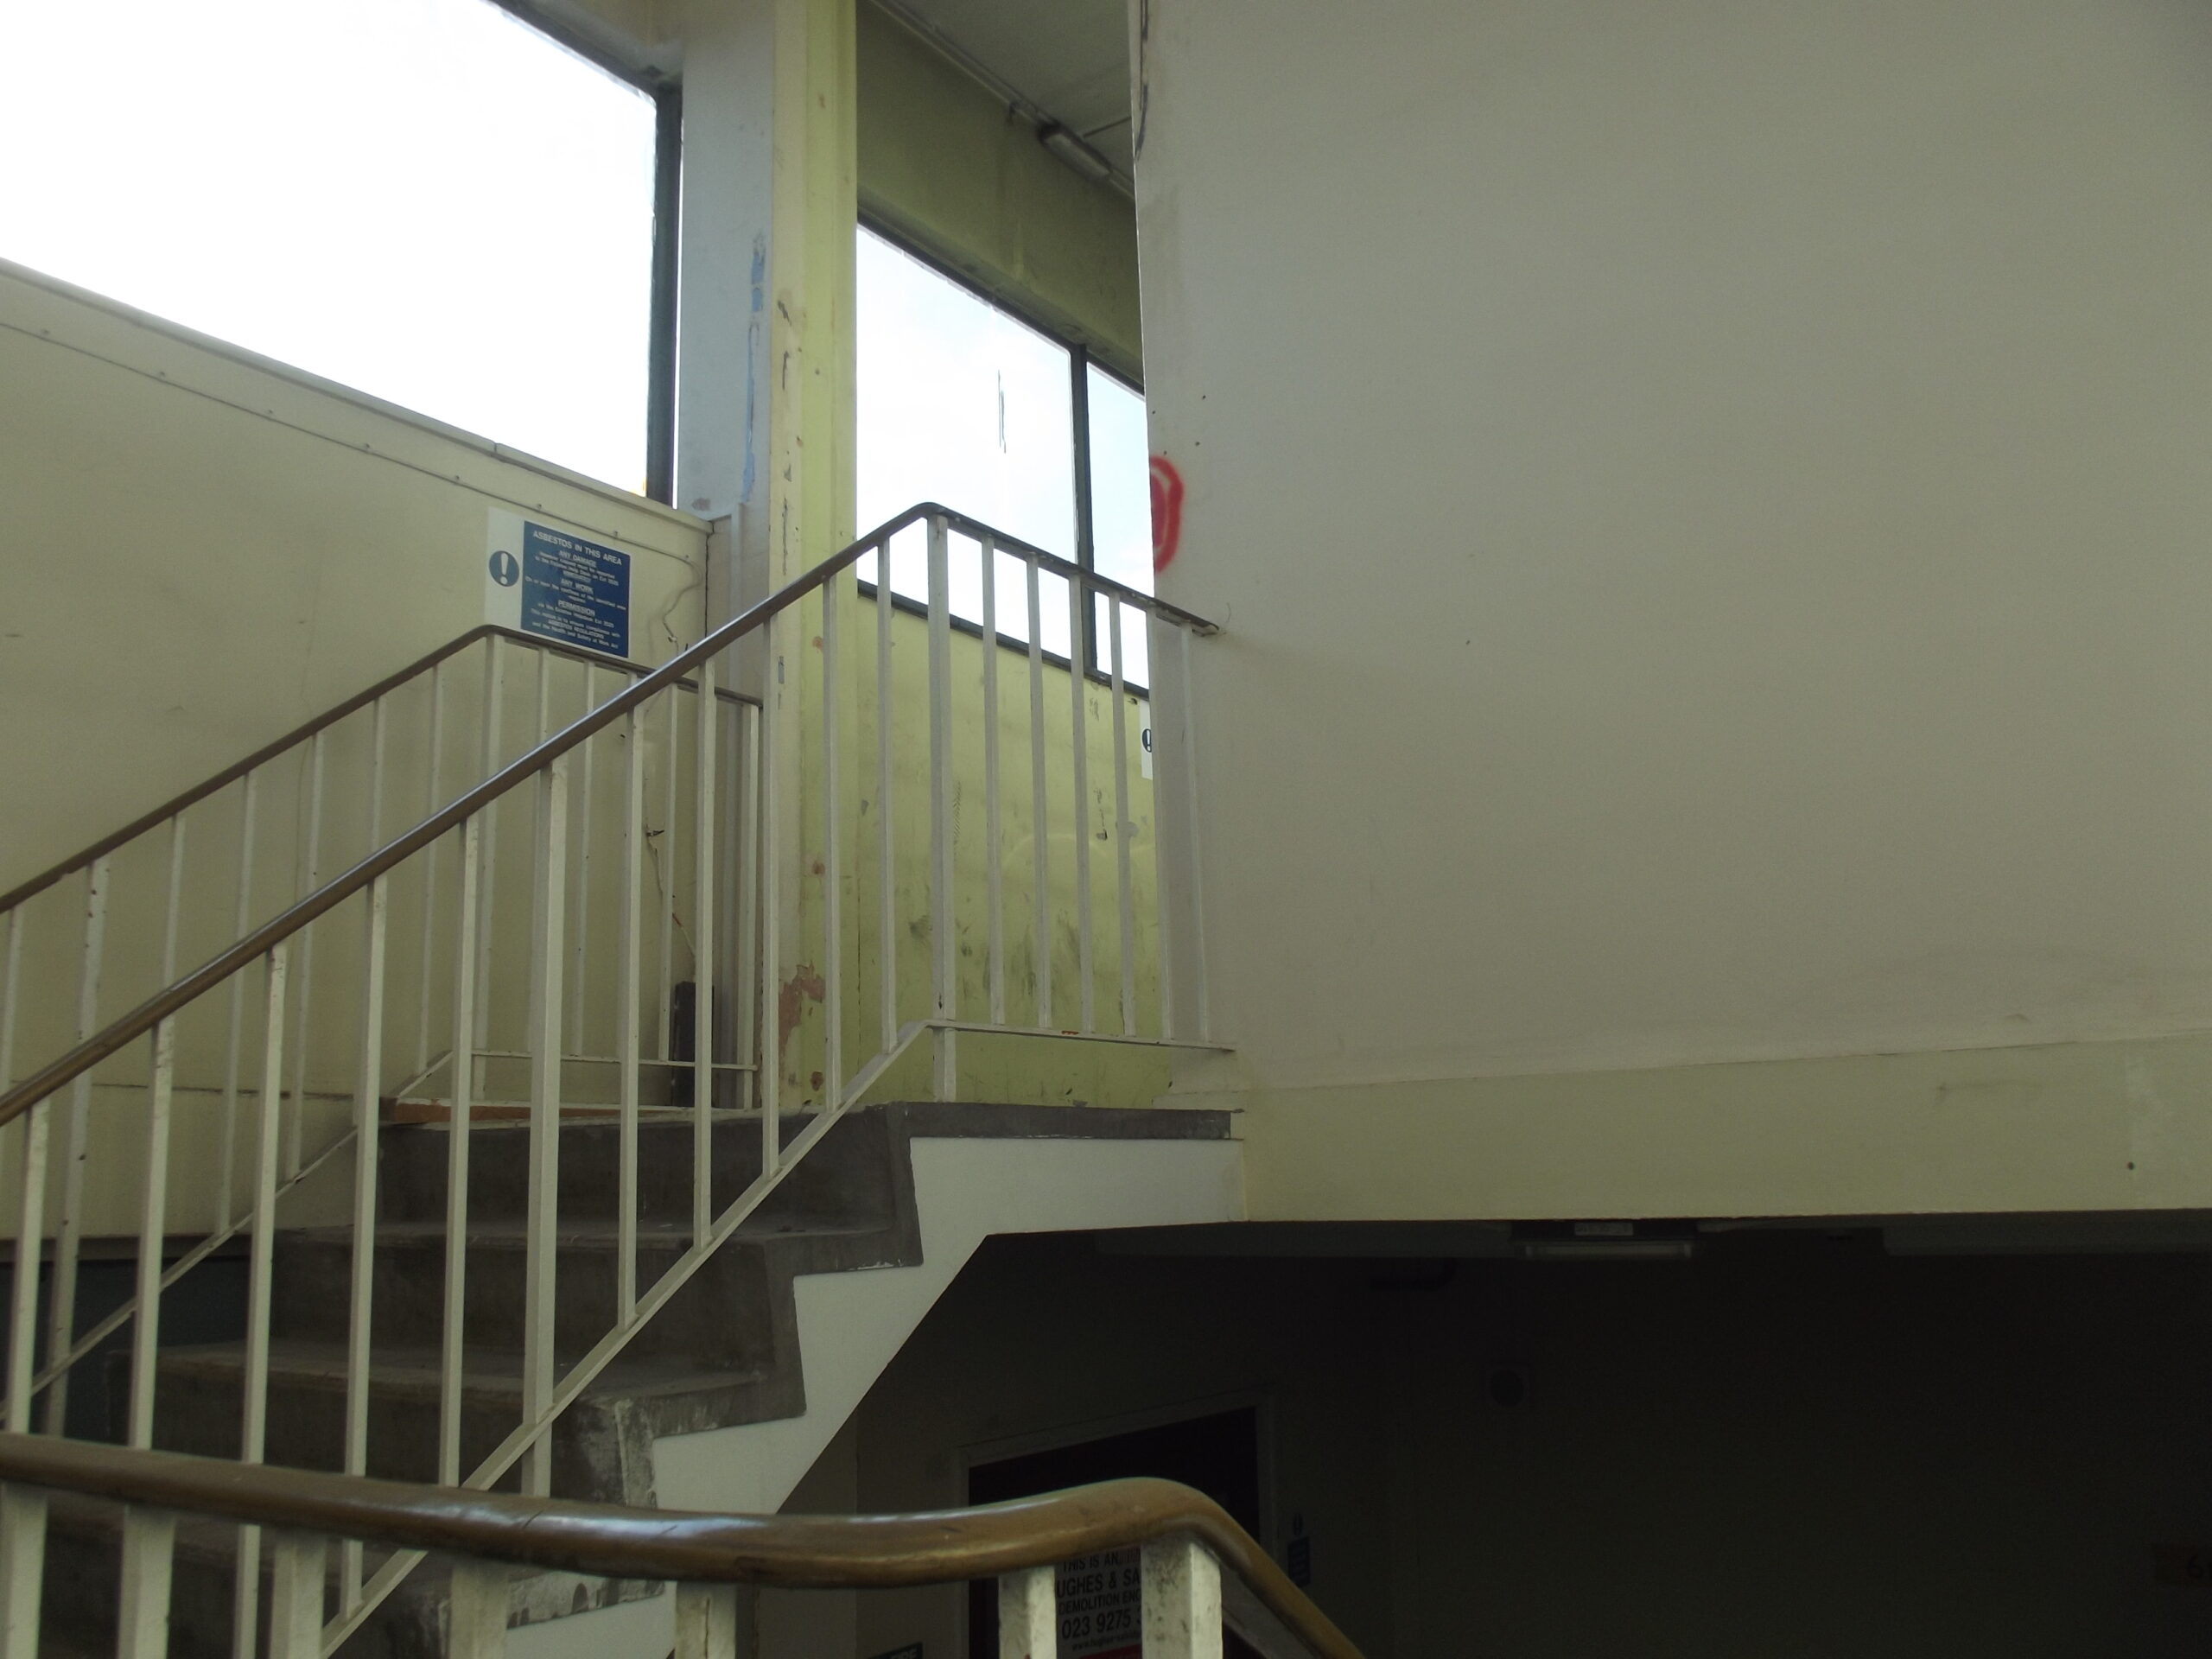
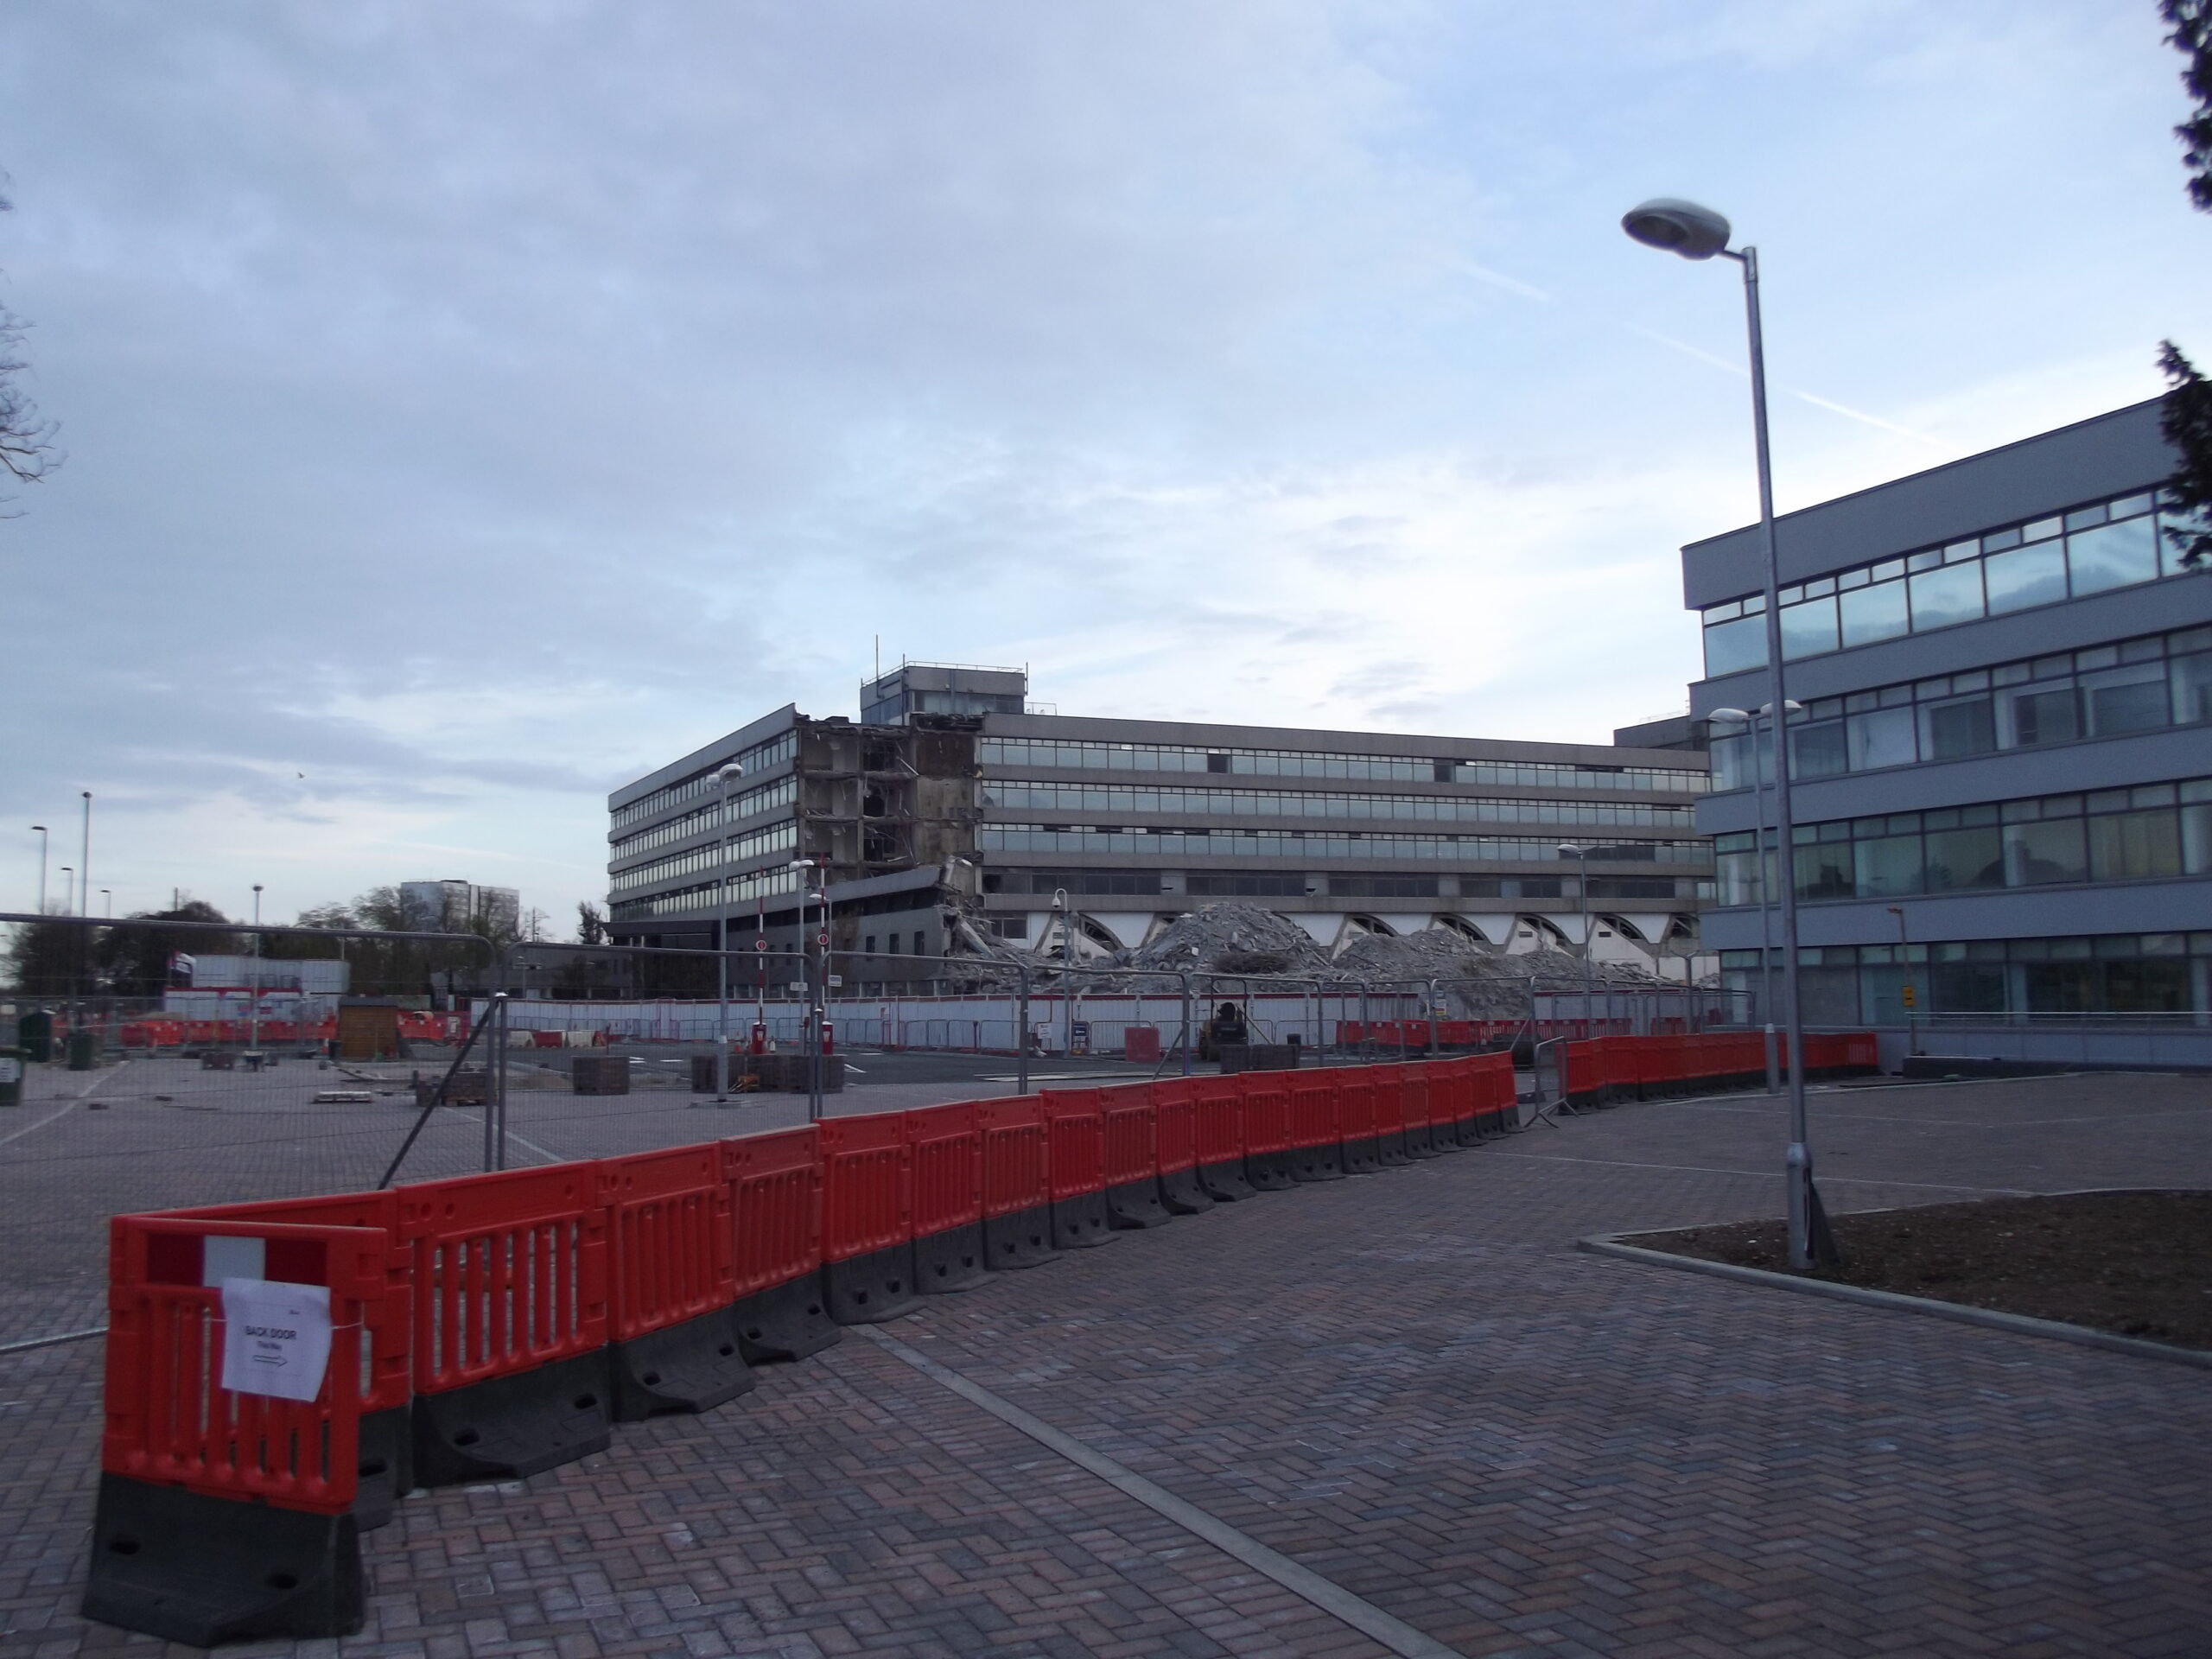
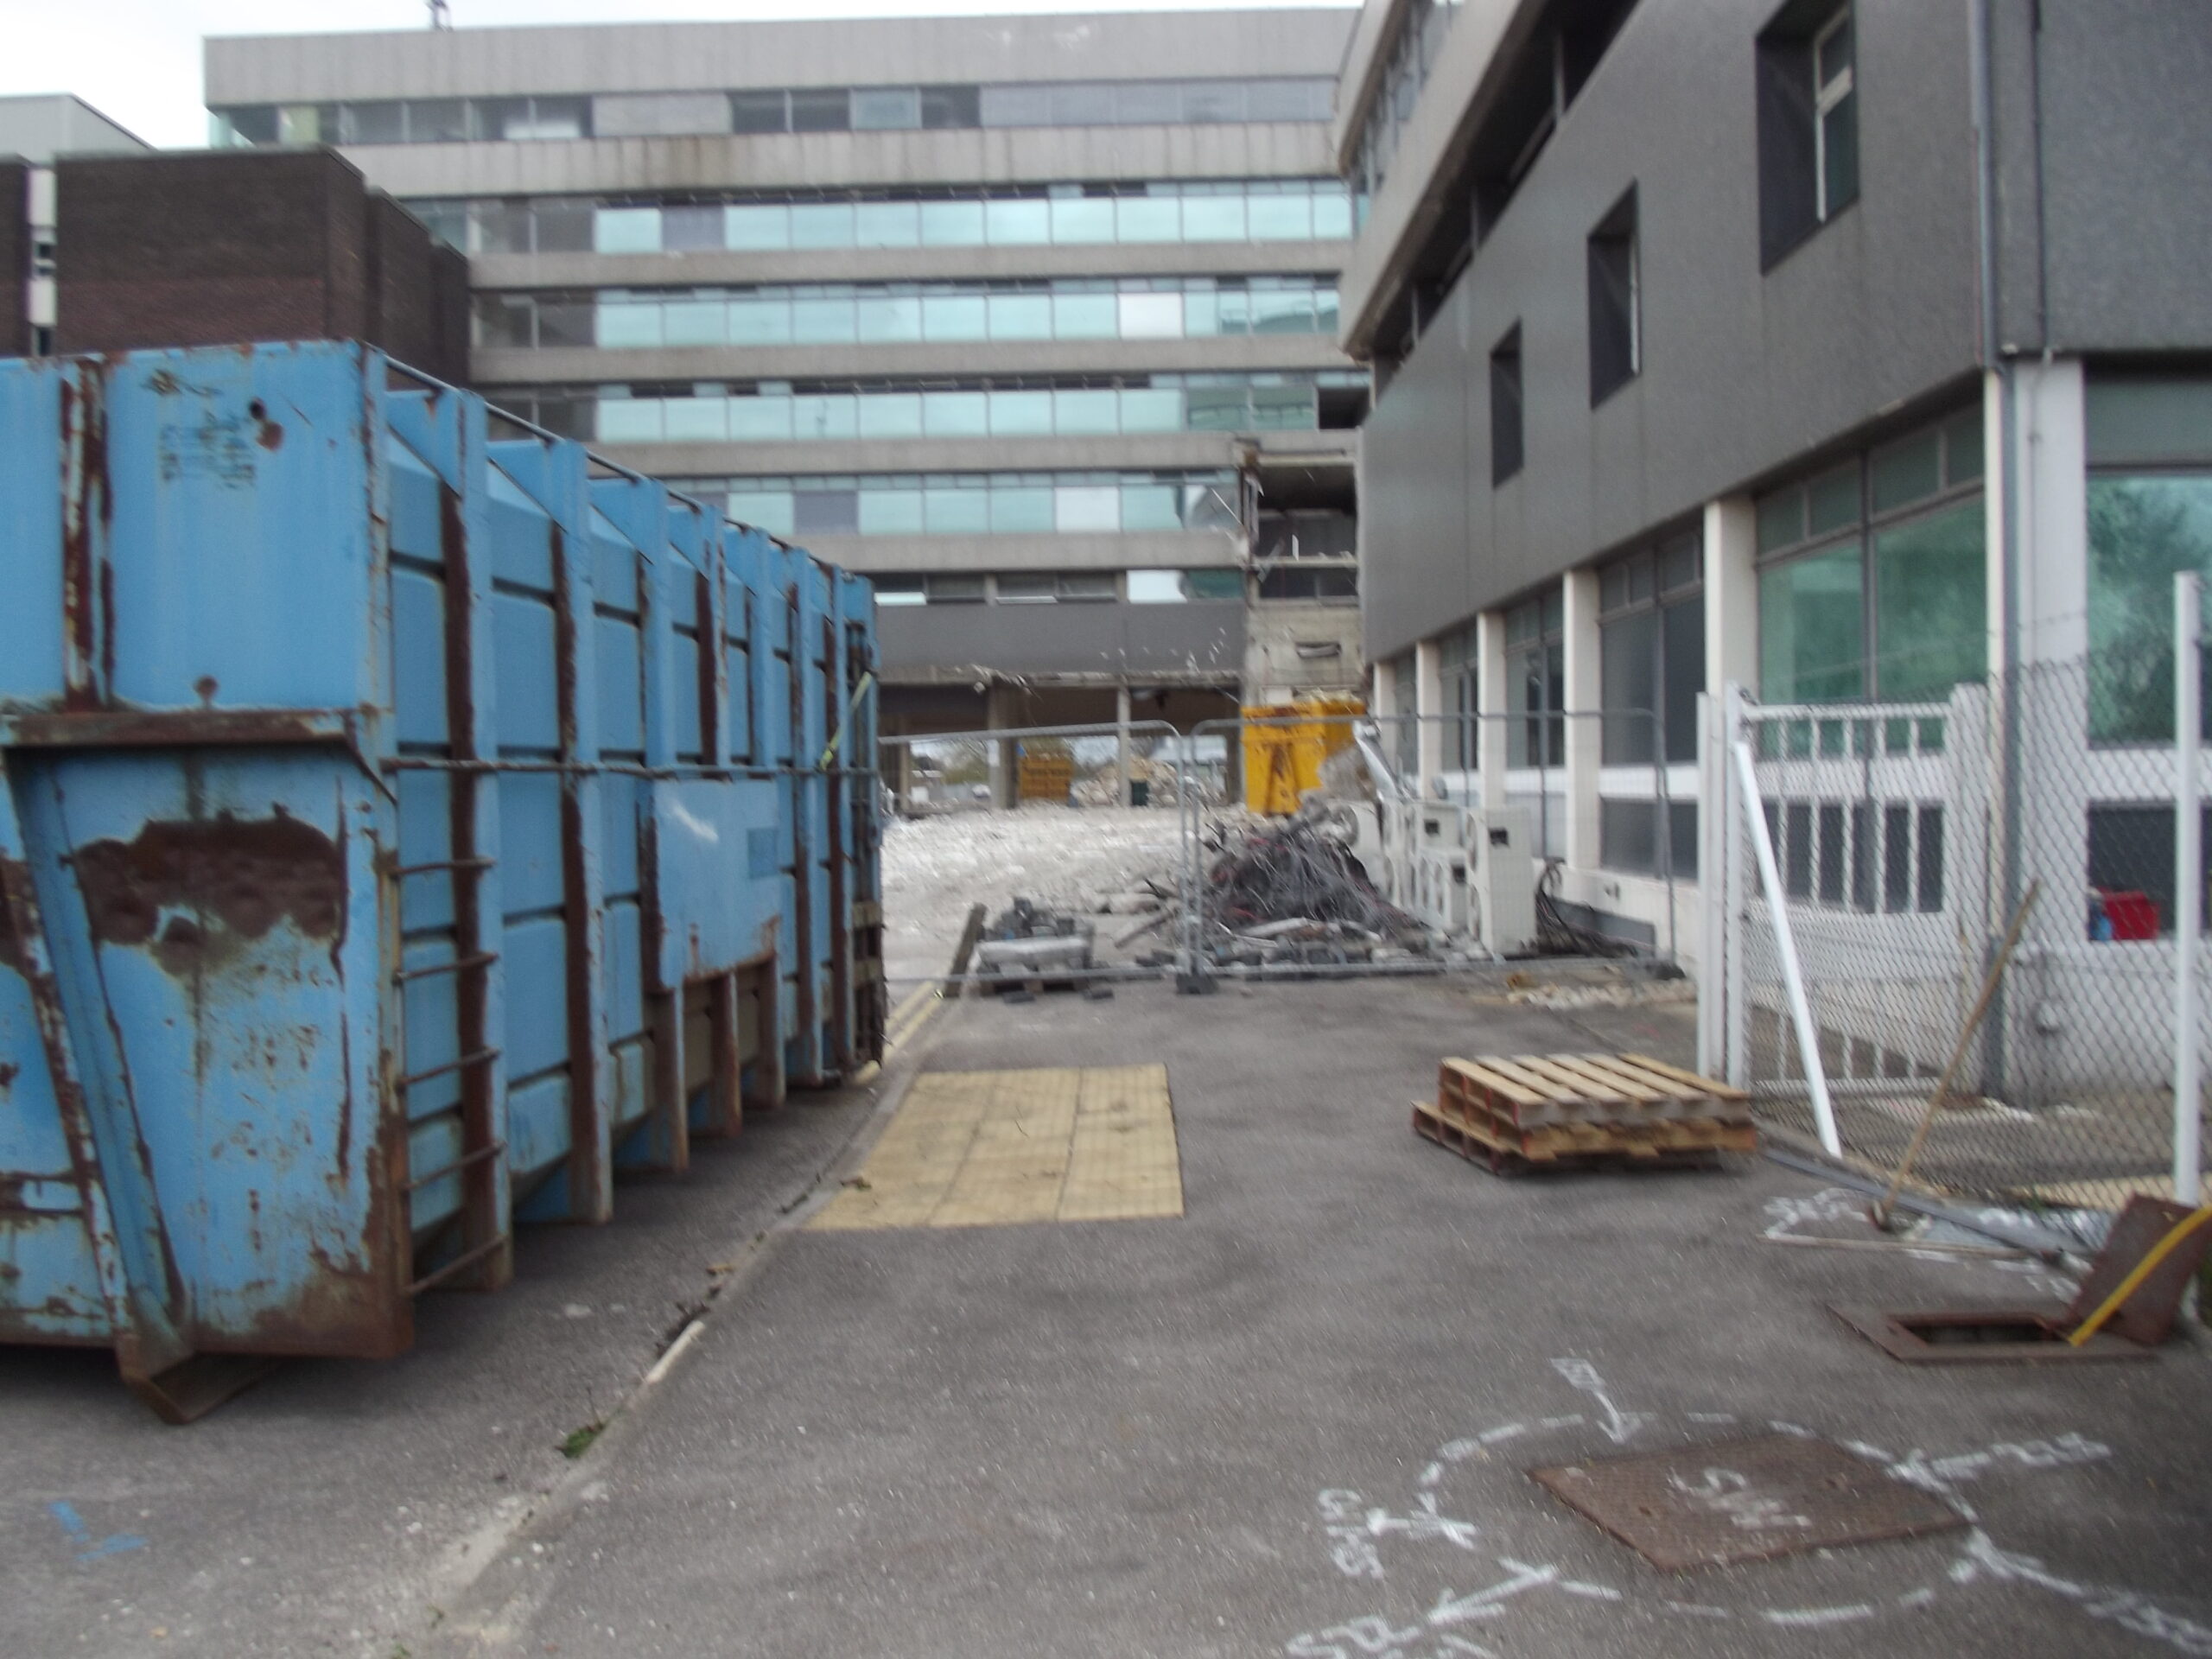
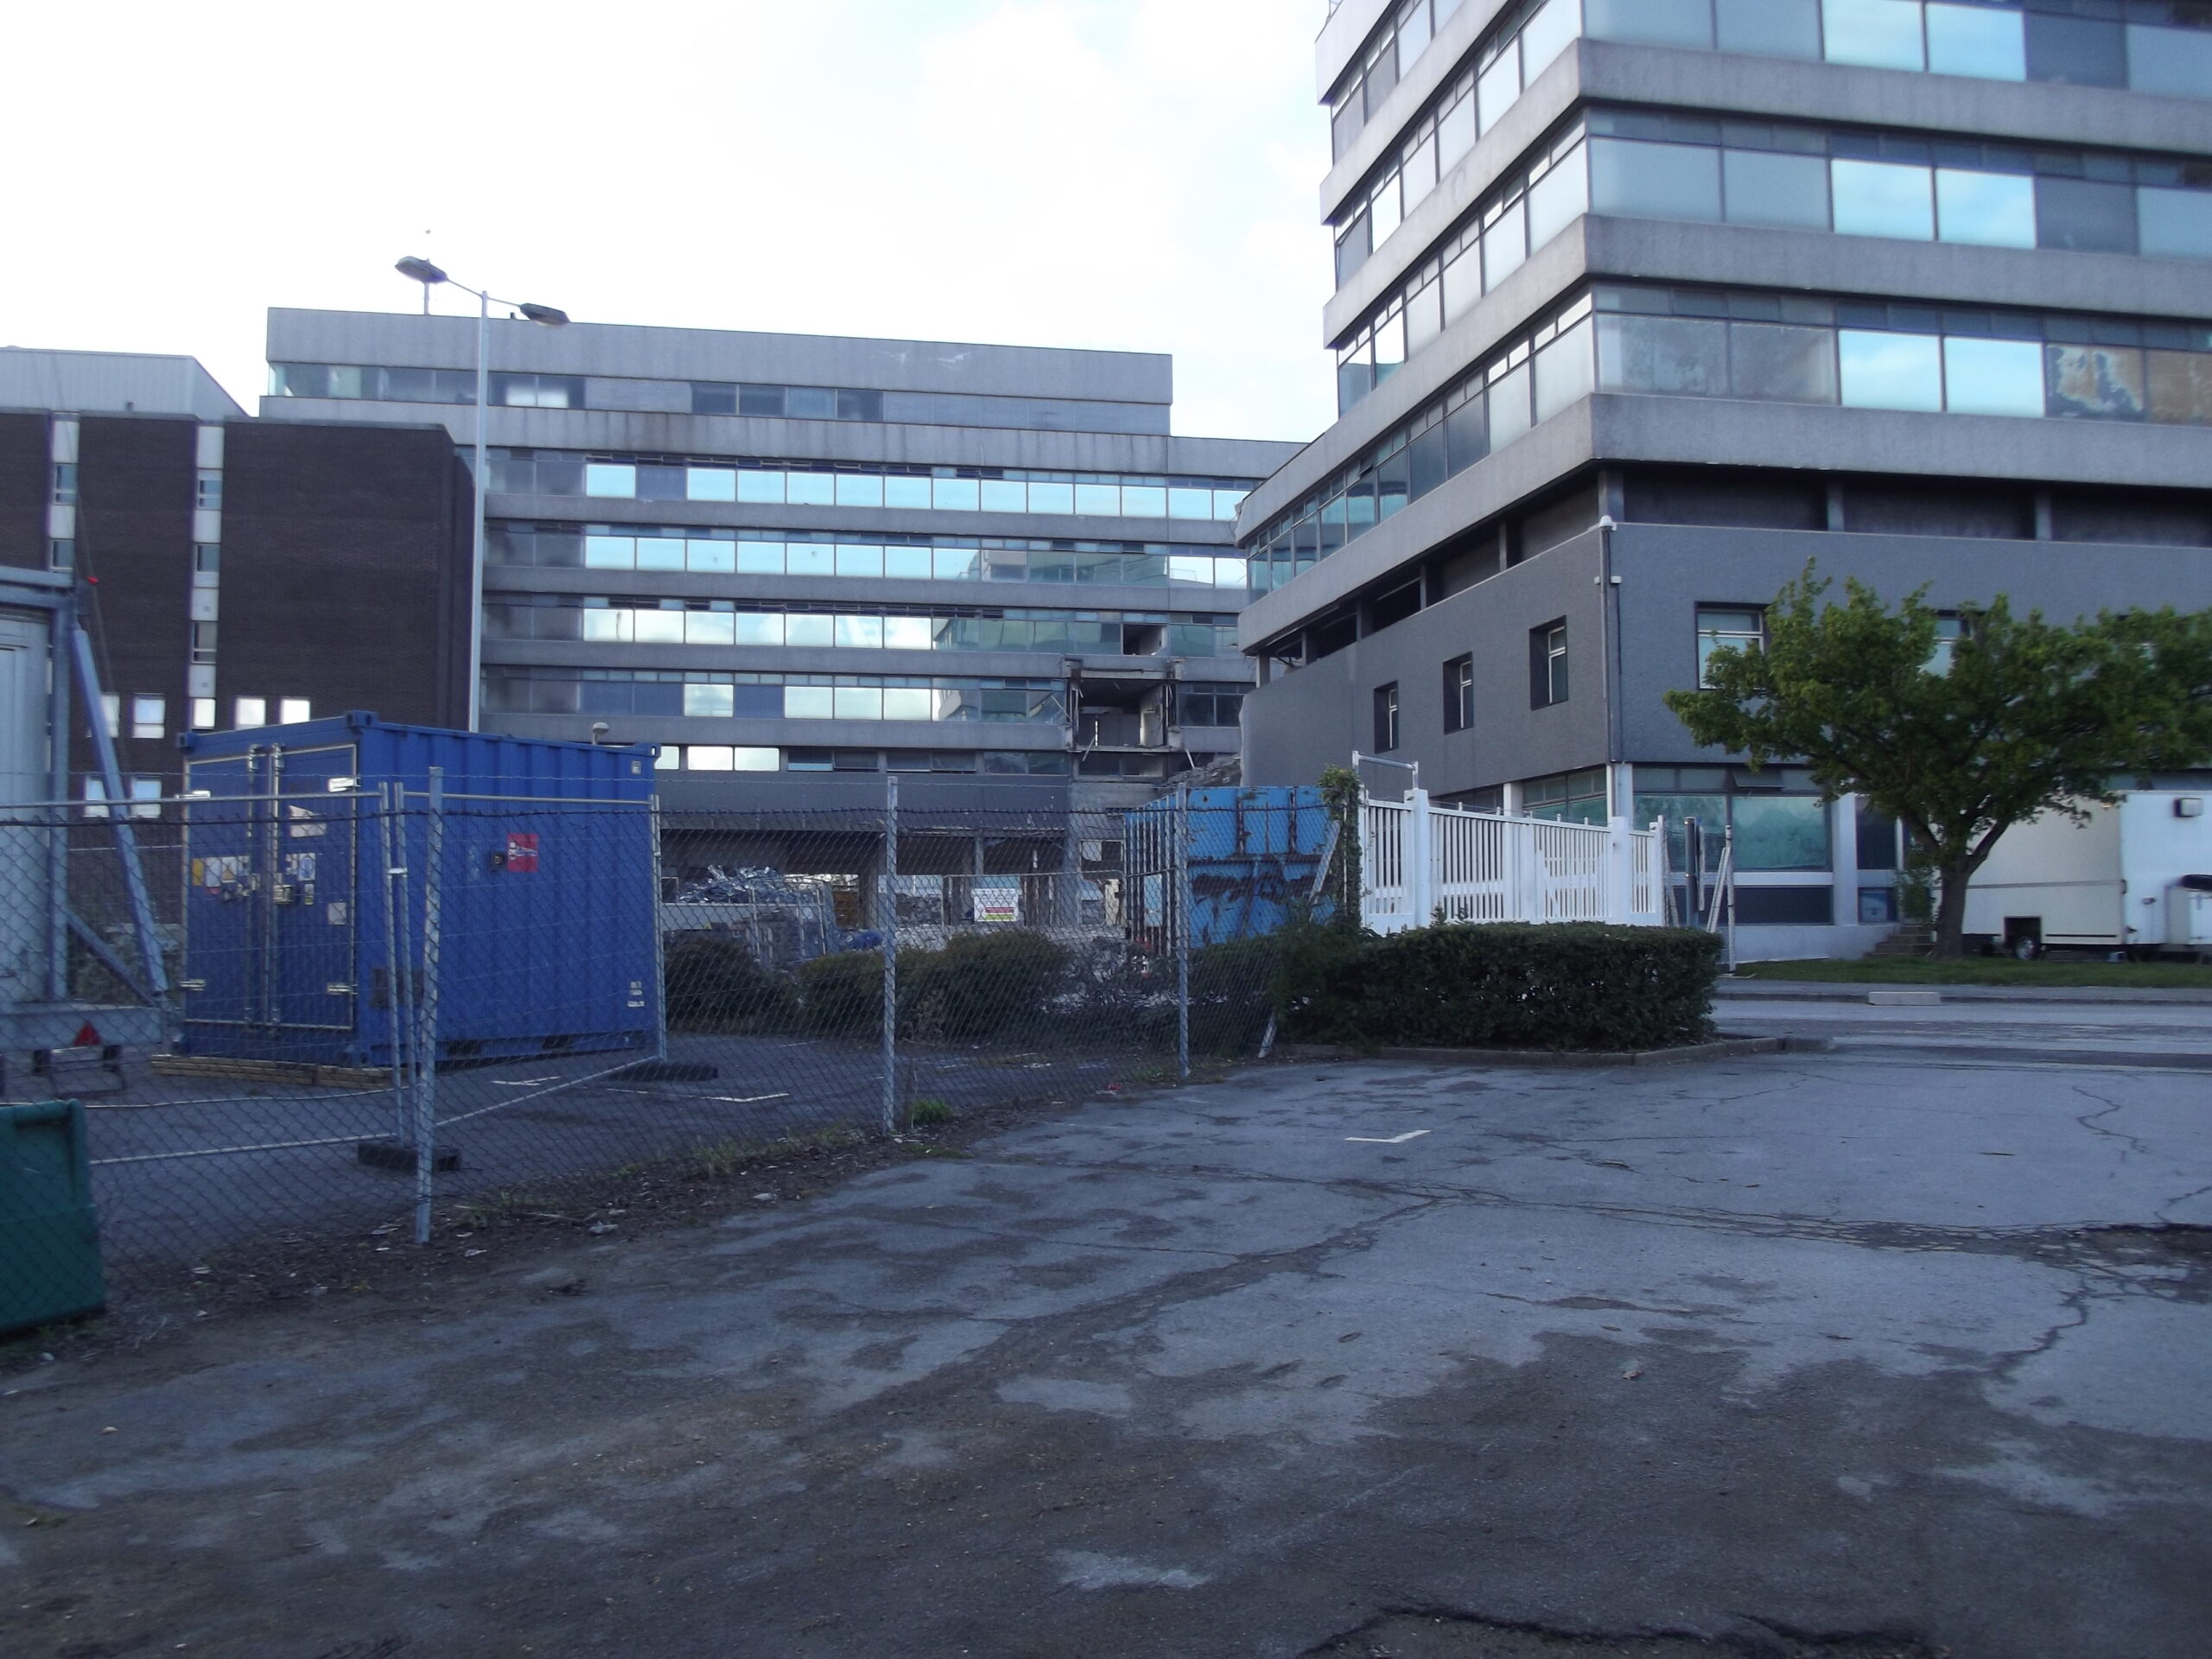
Demolition of West Block is underwayUpper Loading BayGate to site, facing towards upper loading bay.Romsey Road demolition, 15 Apr 2012Path towards F Door, Substation on the rightThird floor corridor demolition seen from by the SubstationRear of West Block and site of former Services Block
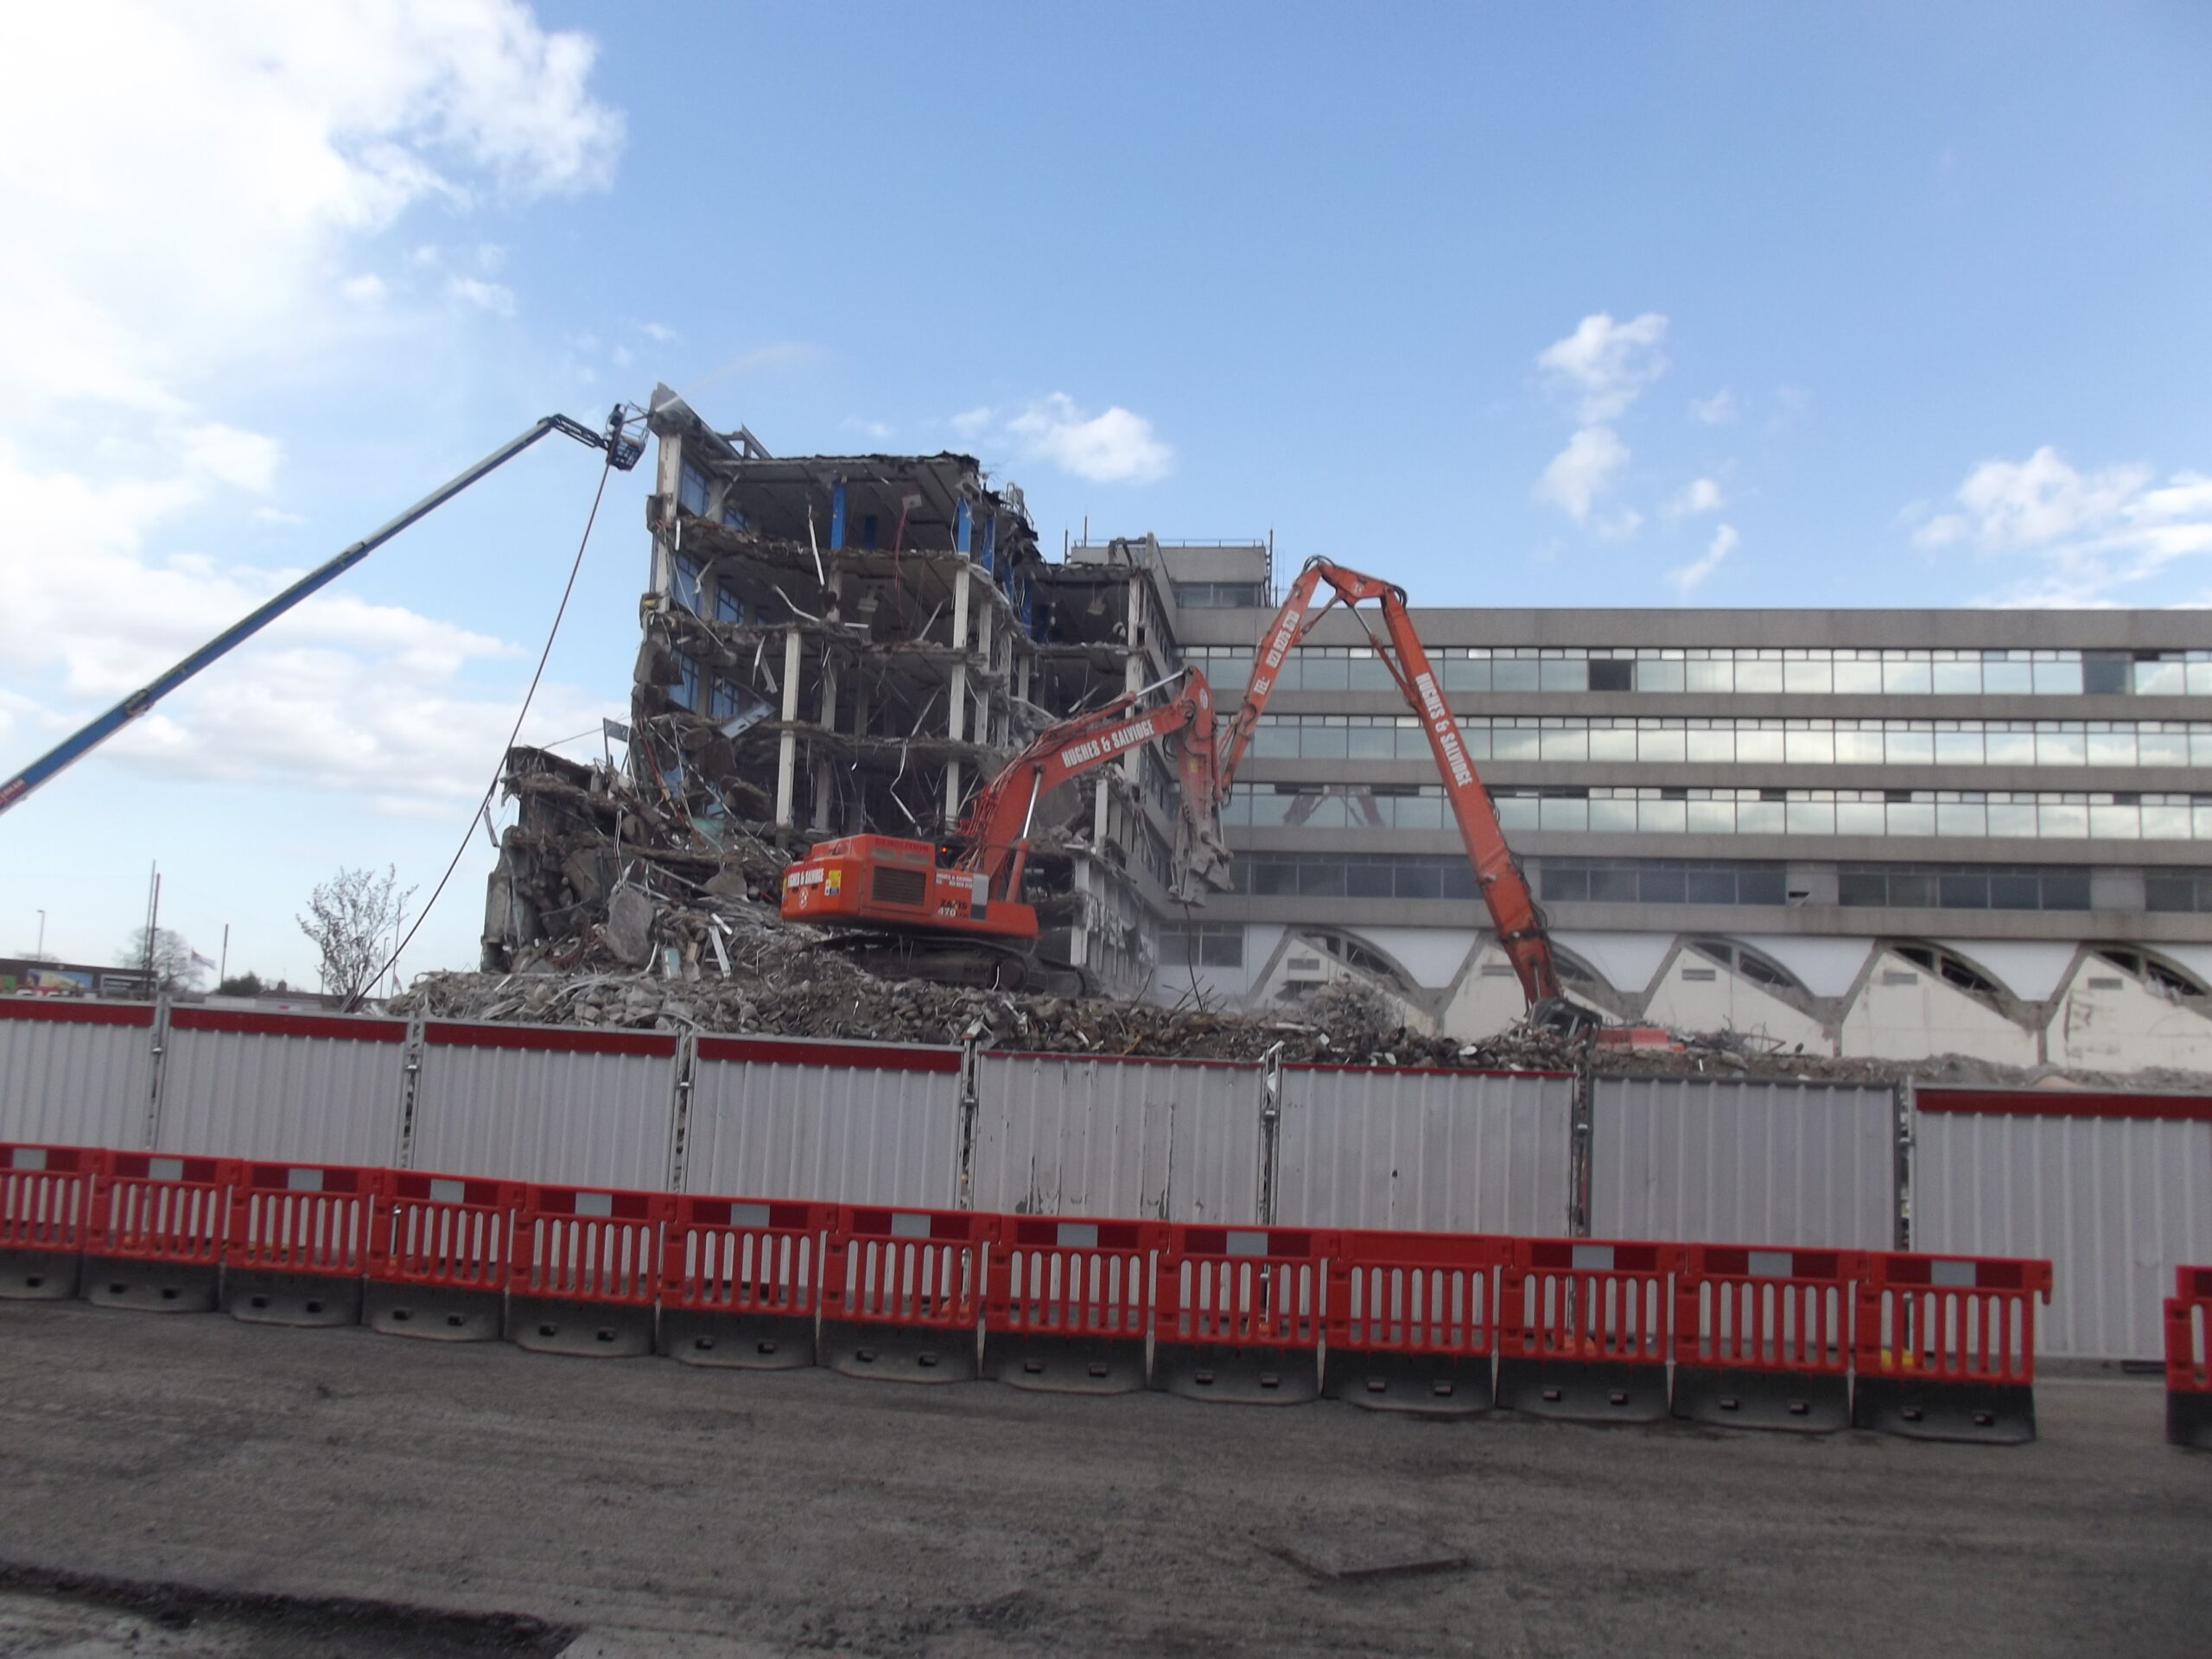
16/17th April 2012
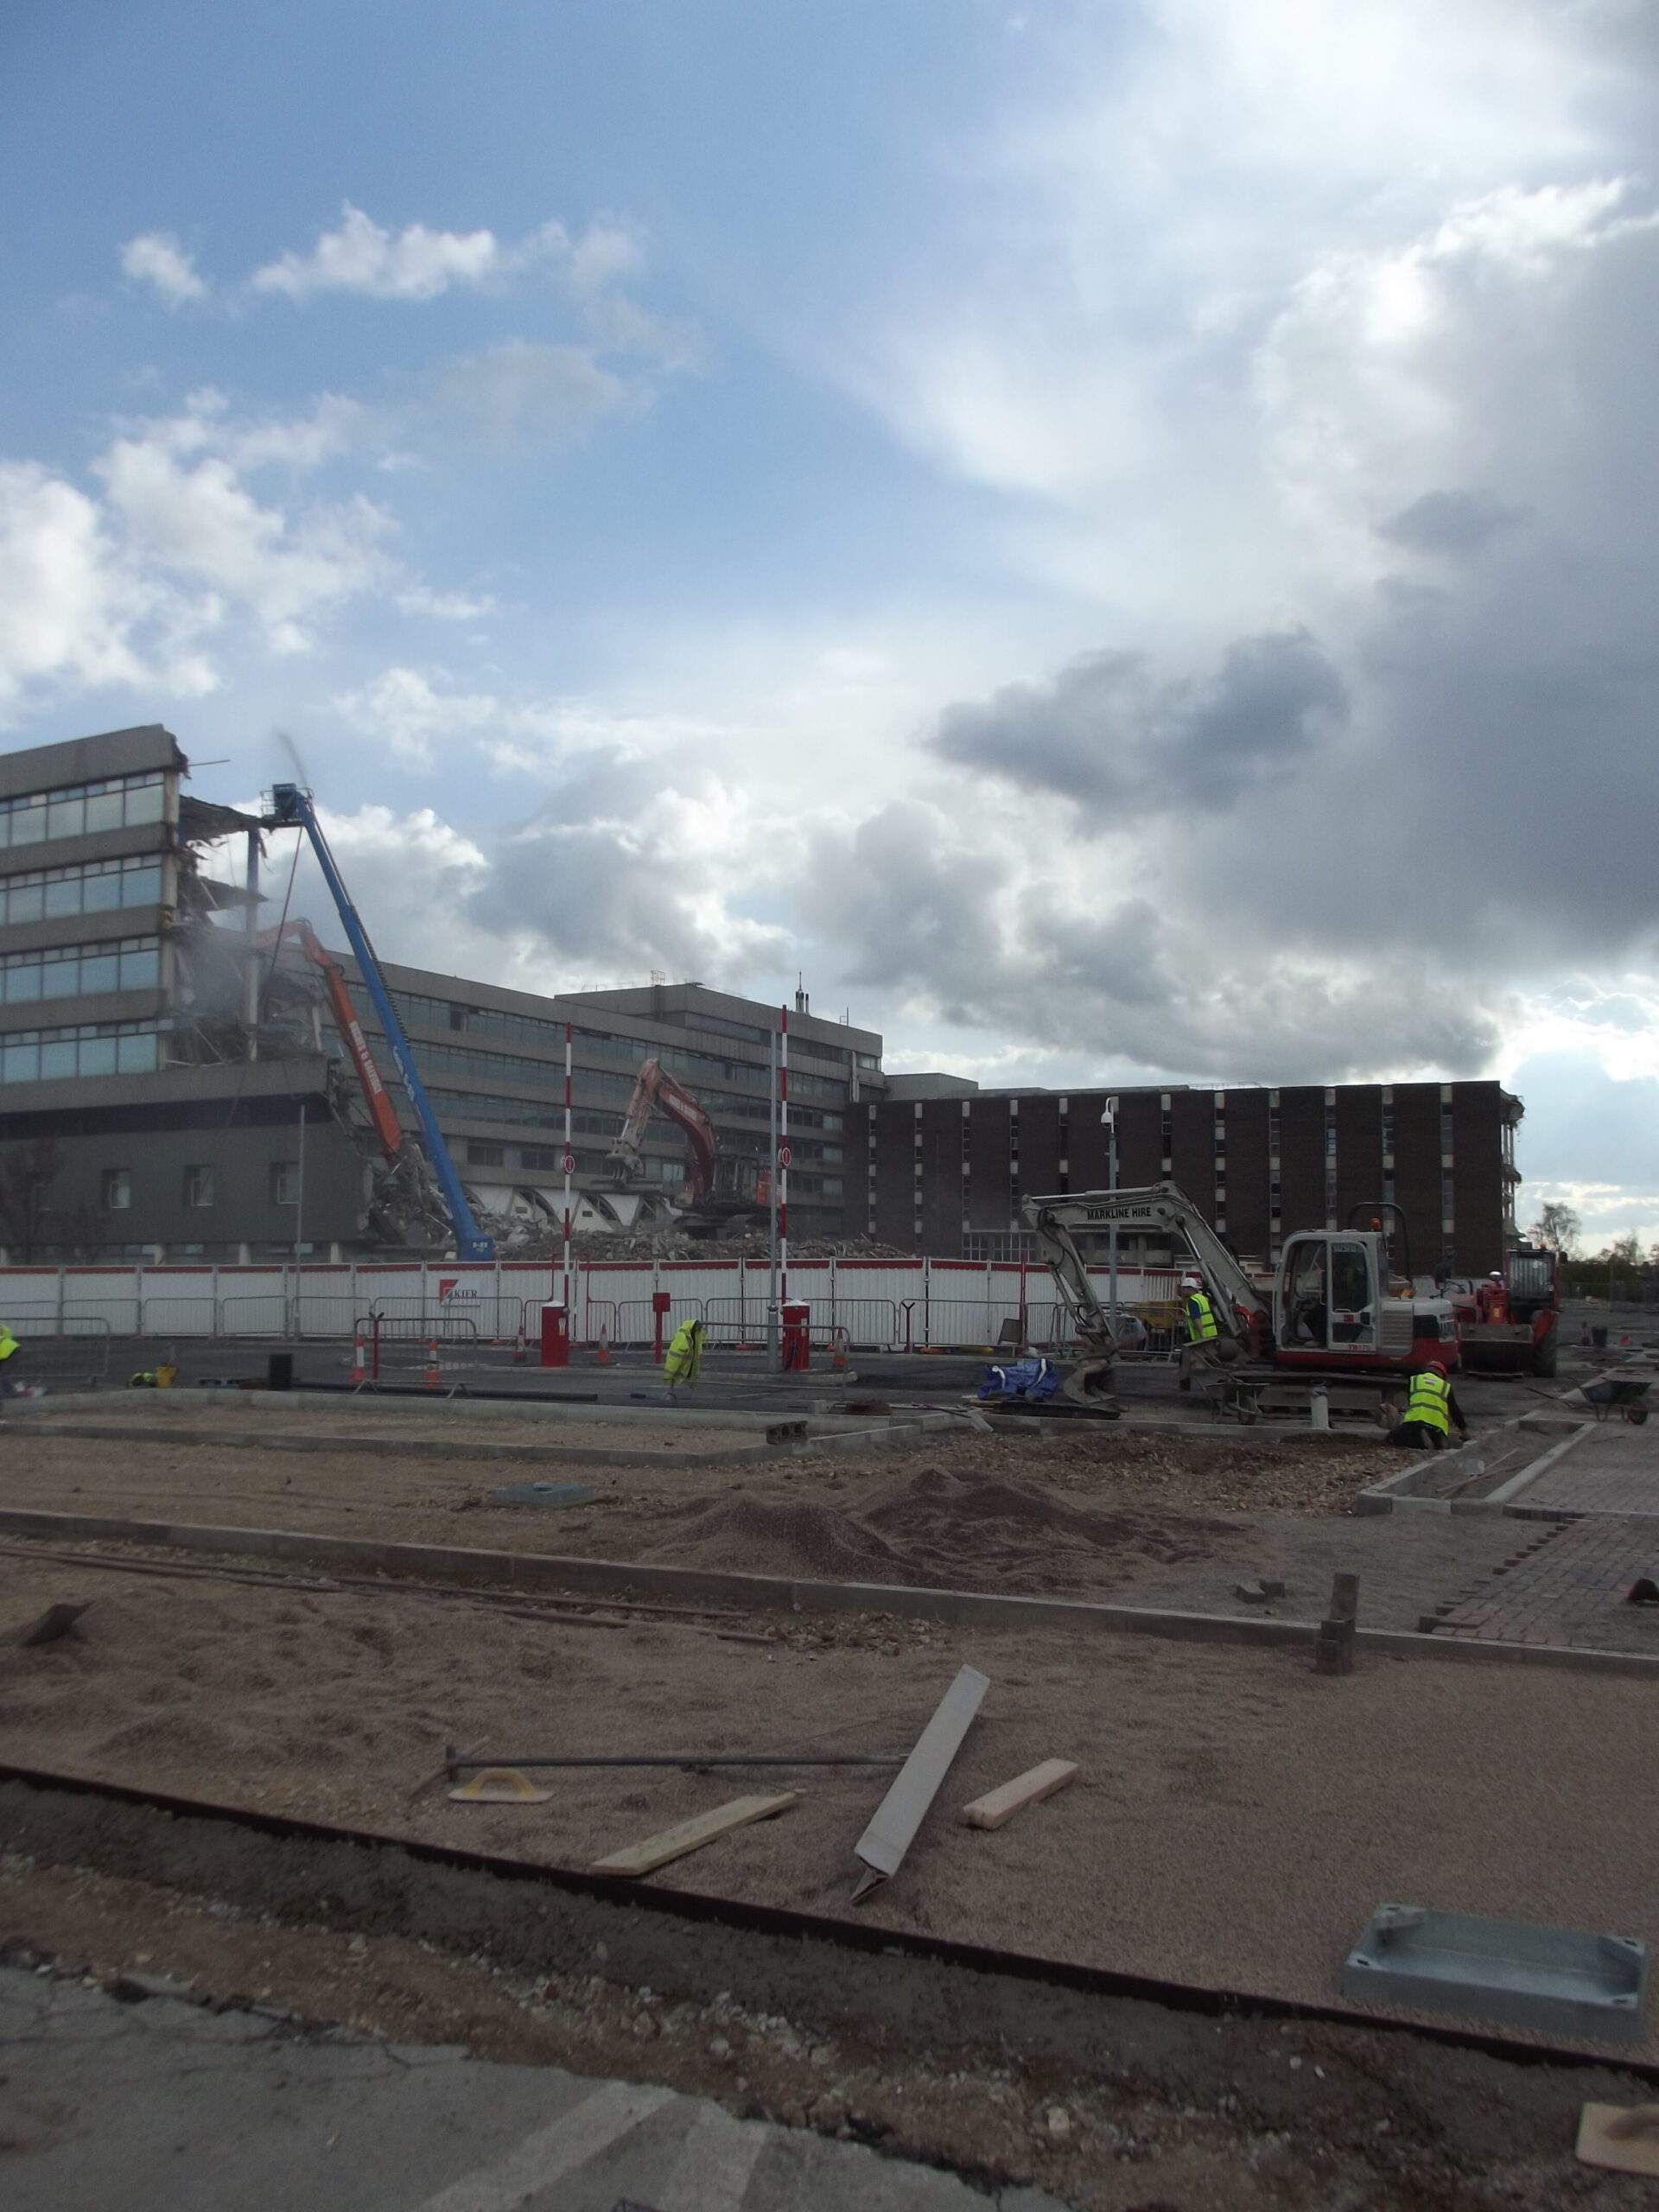
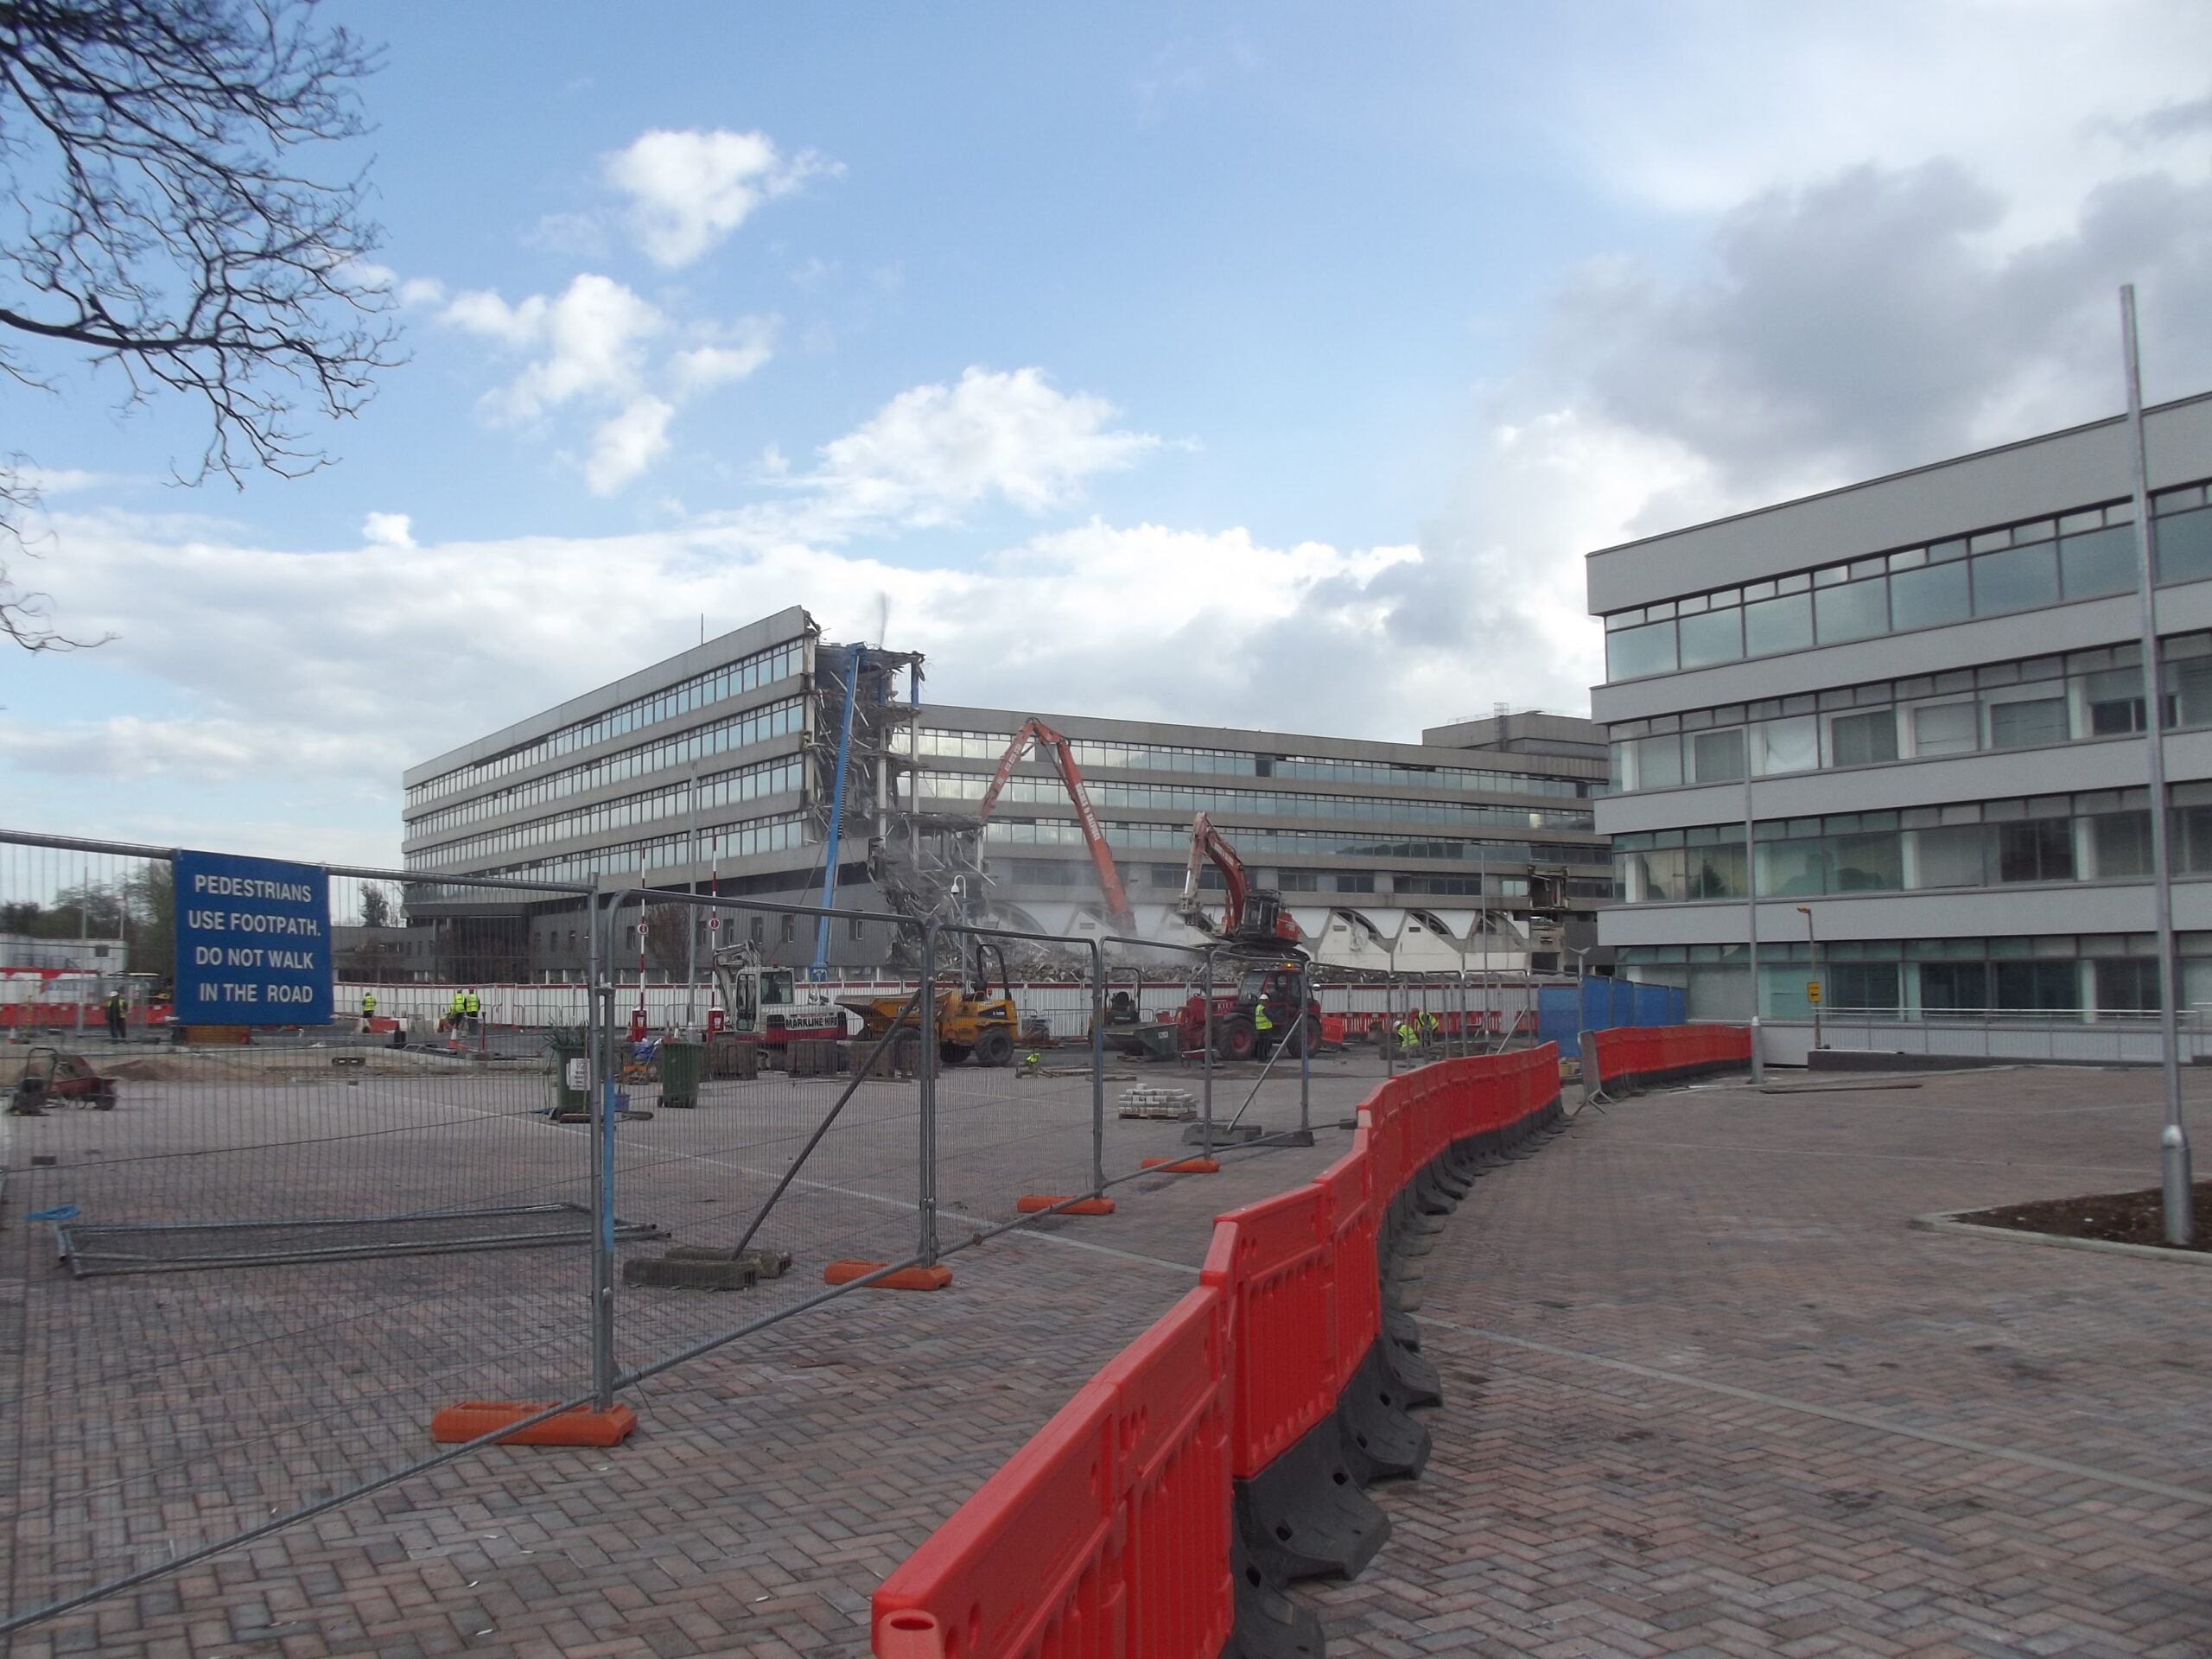
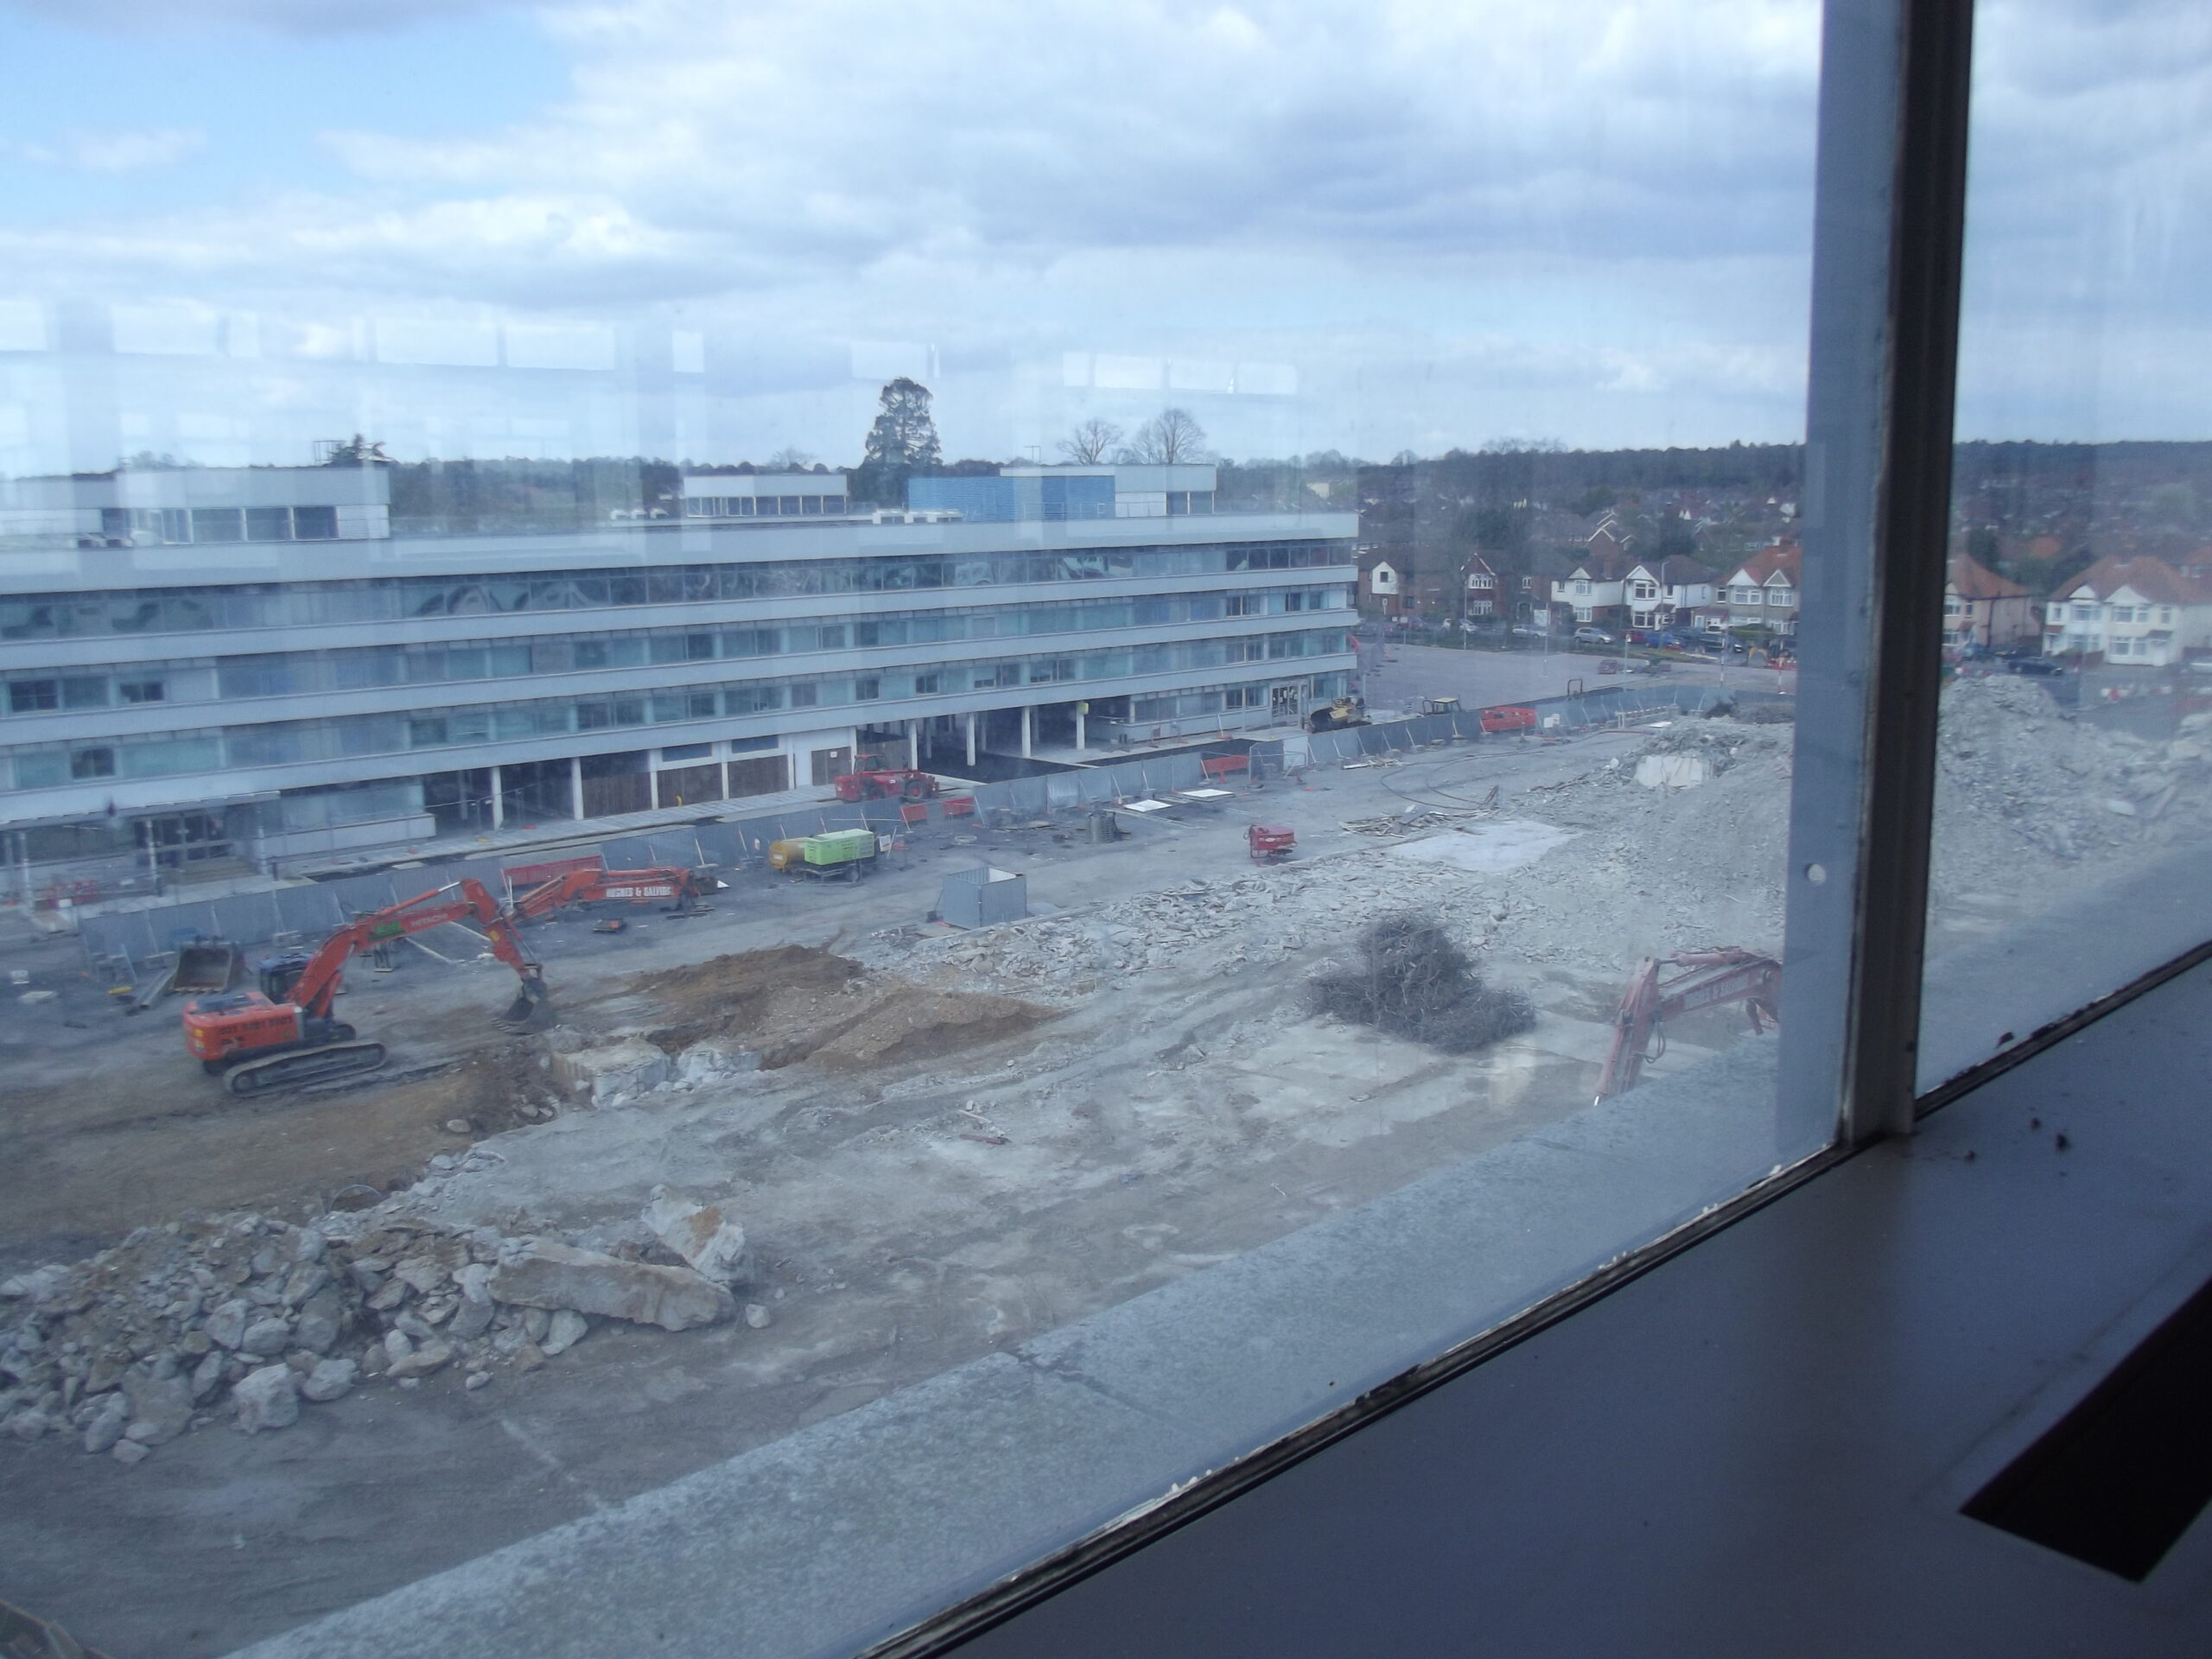
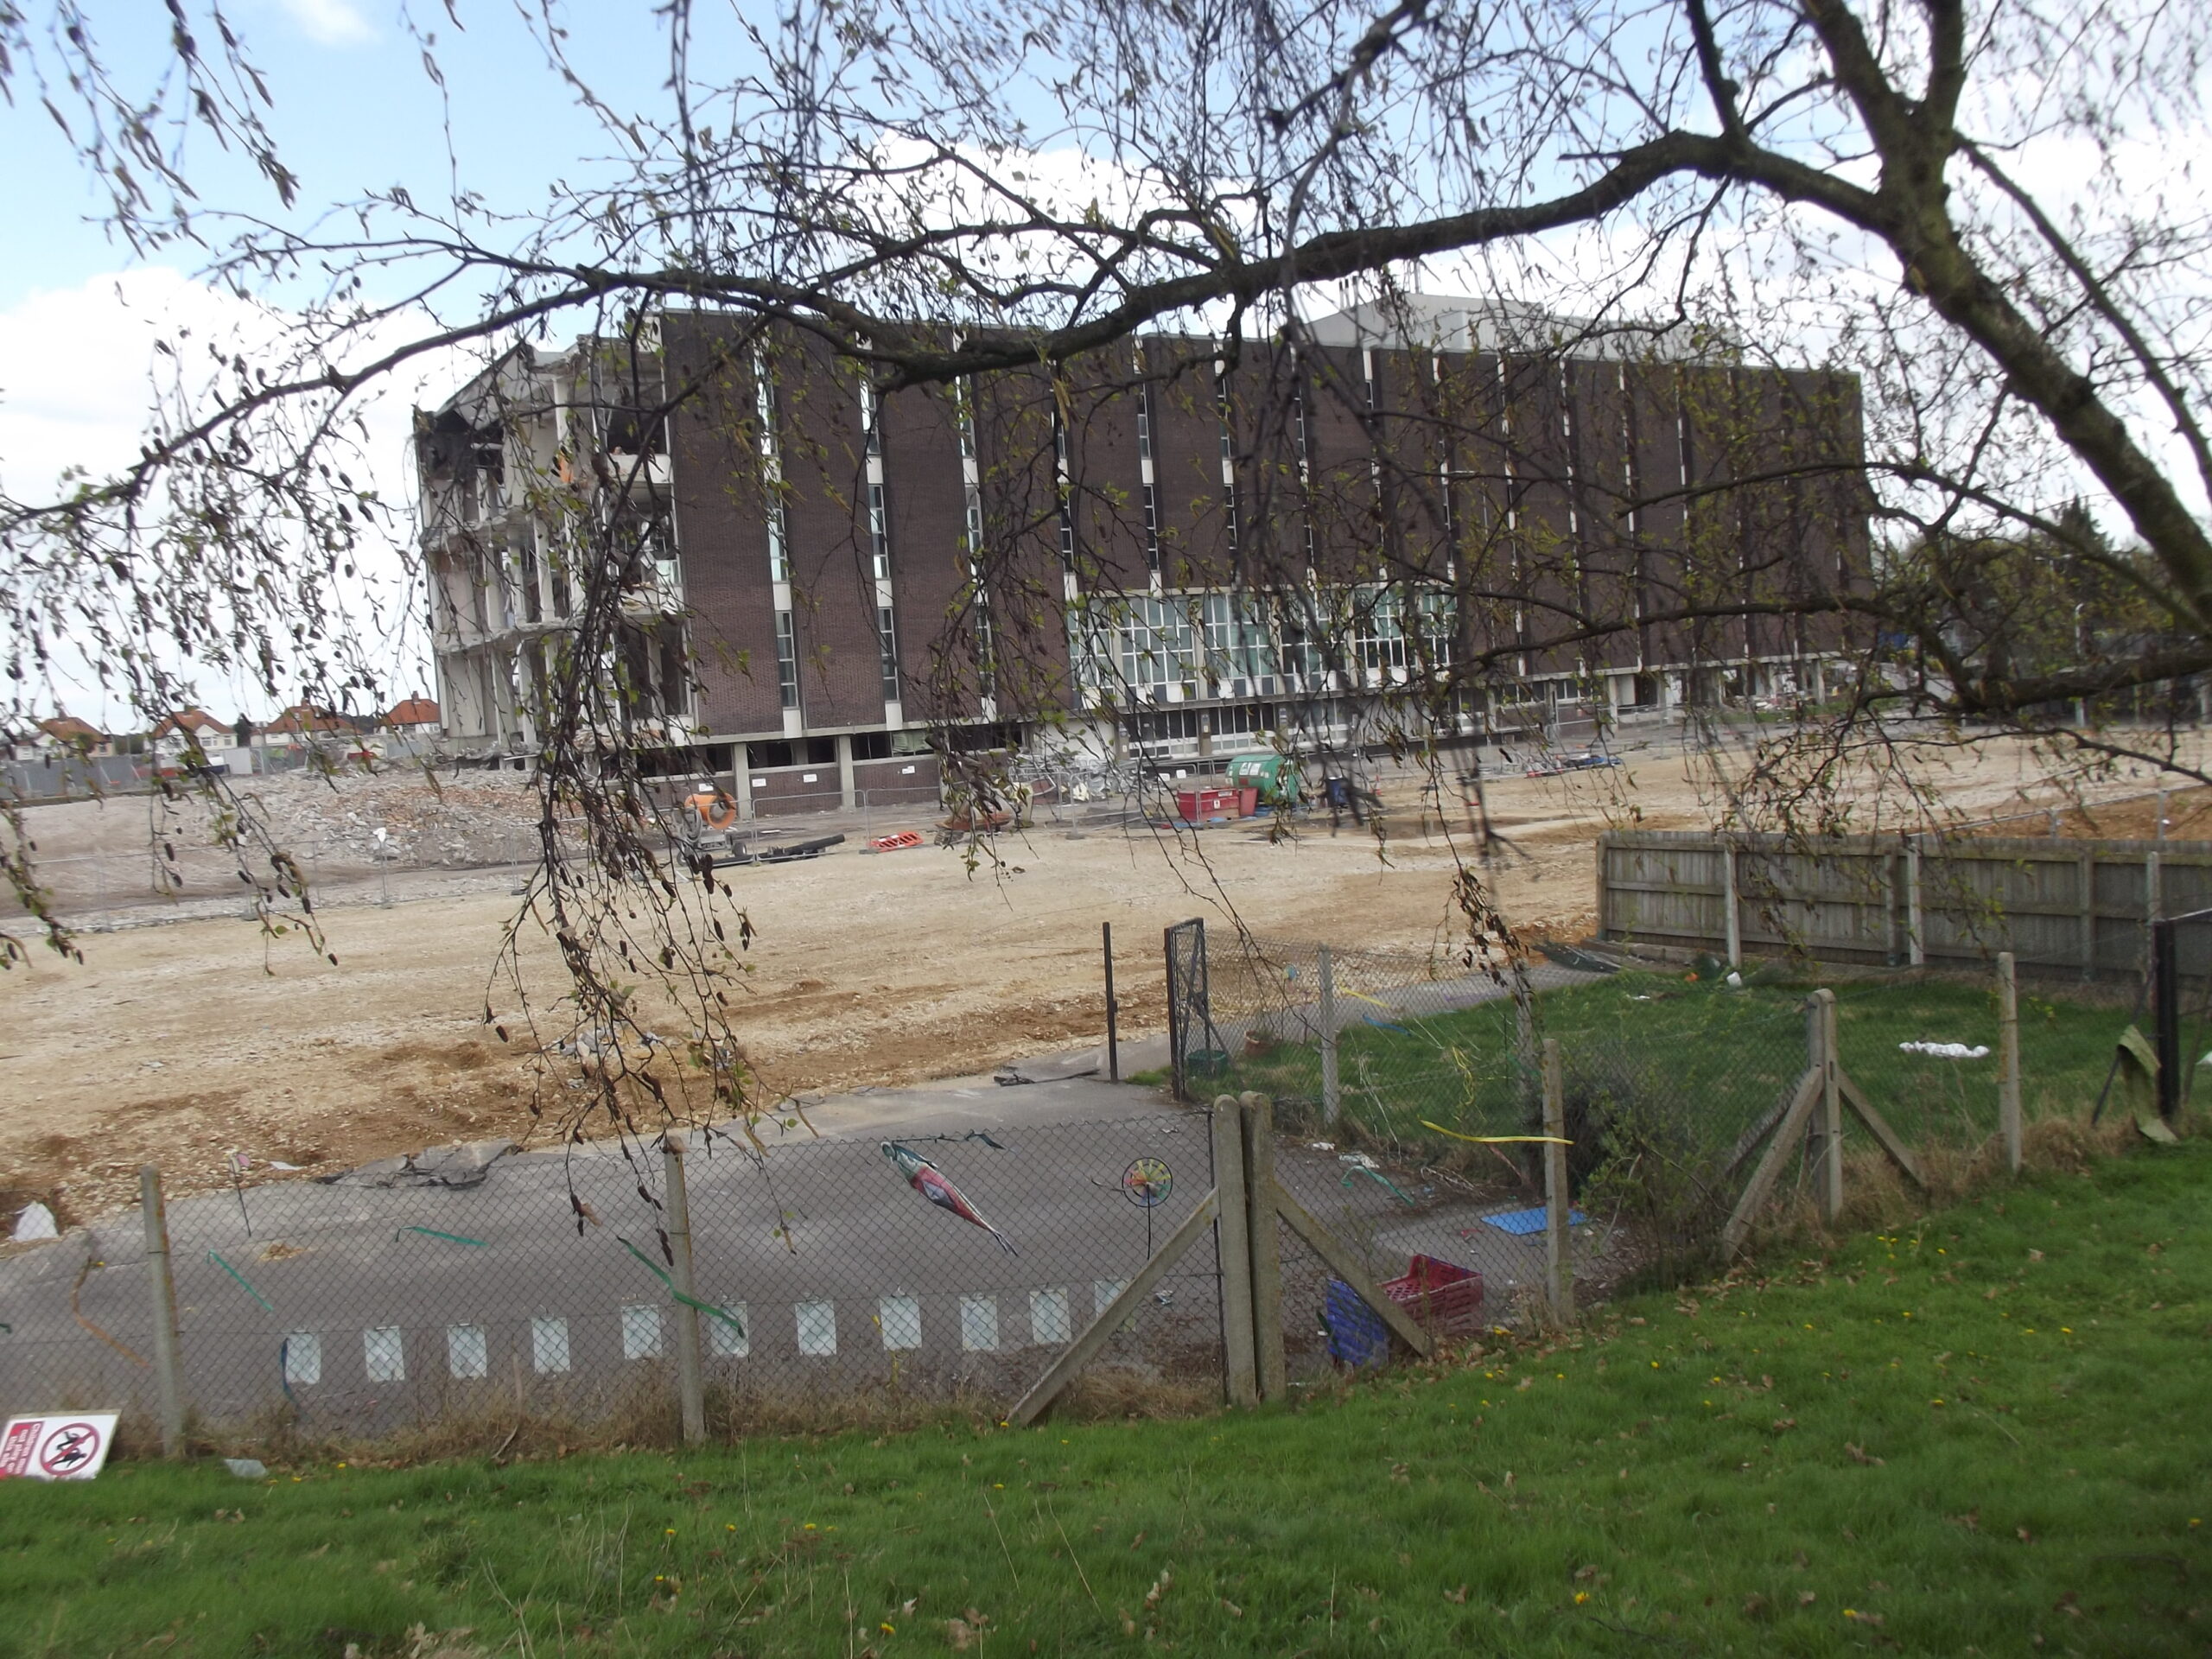
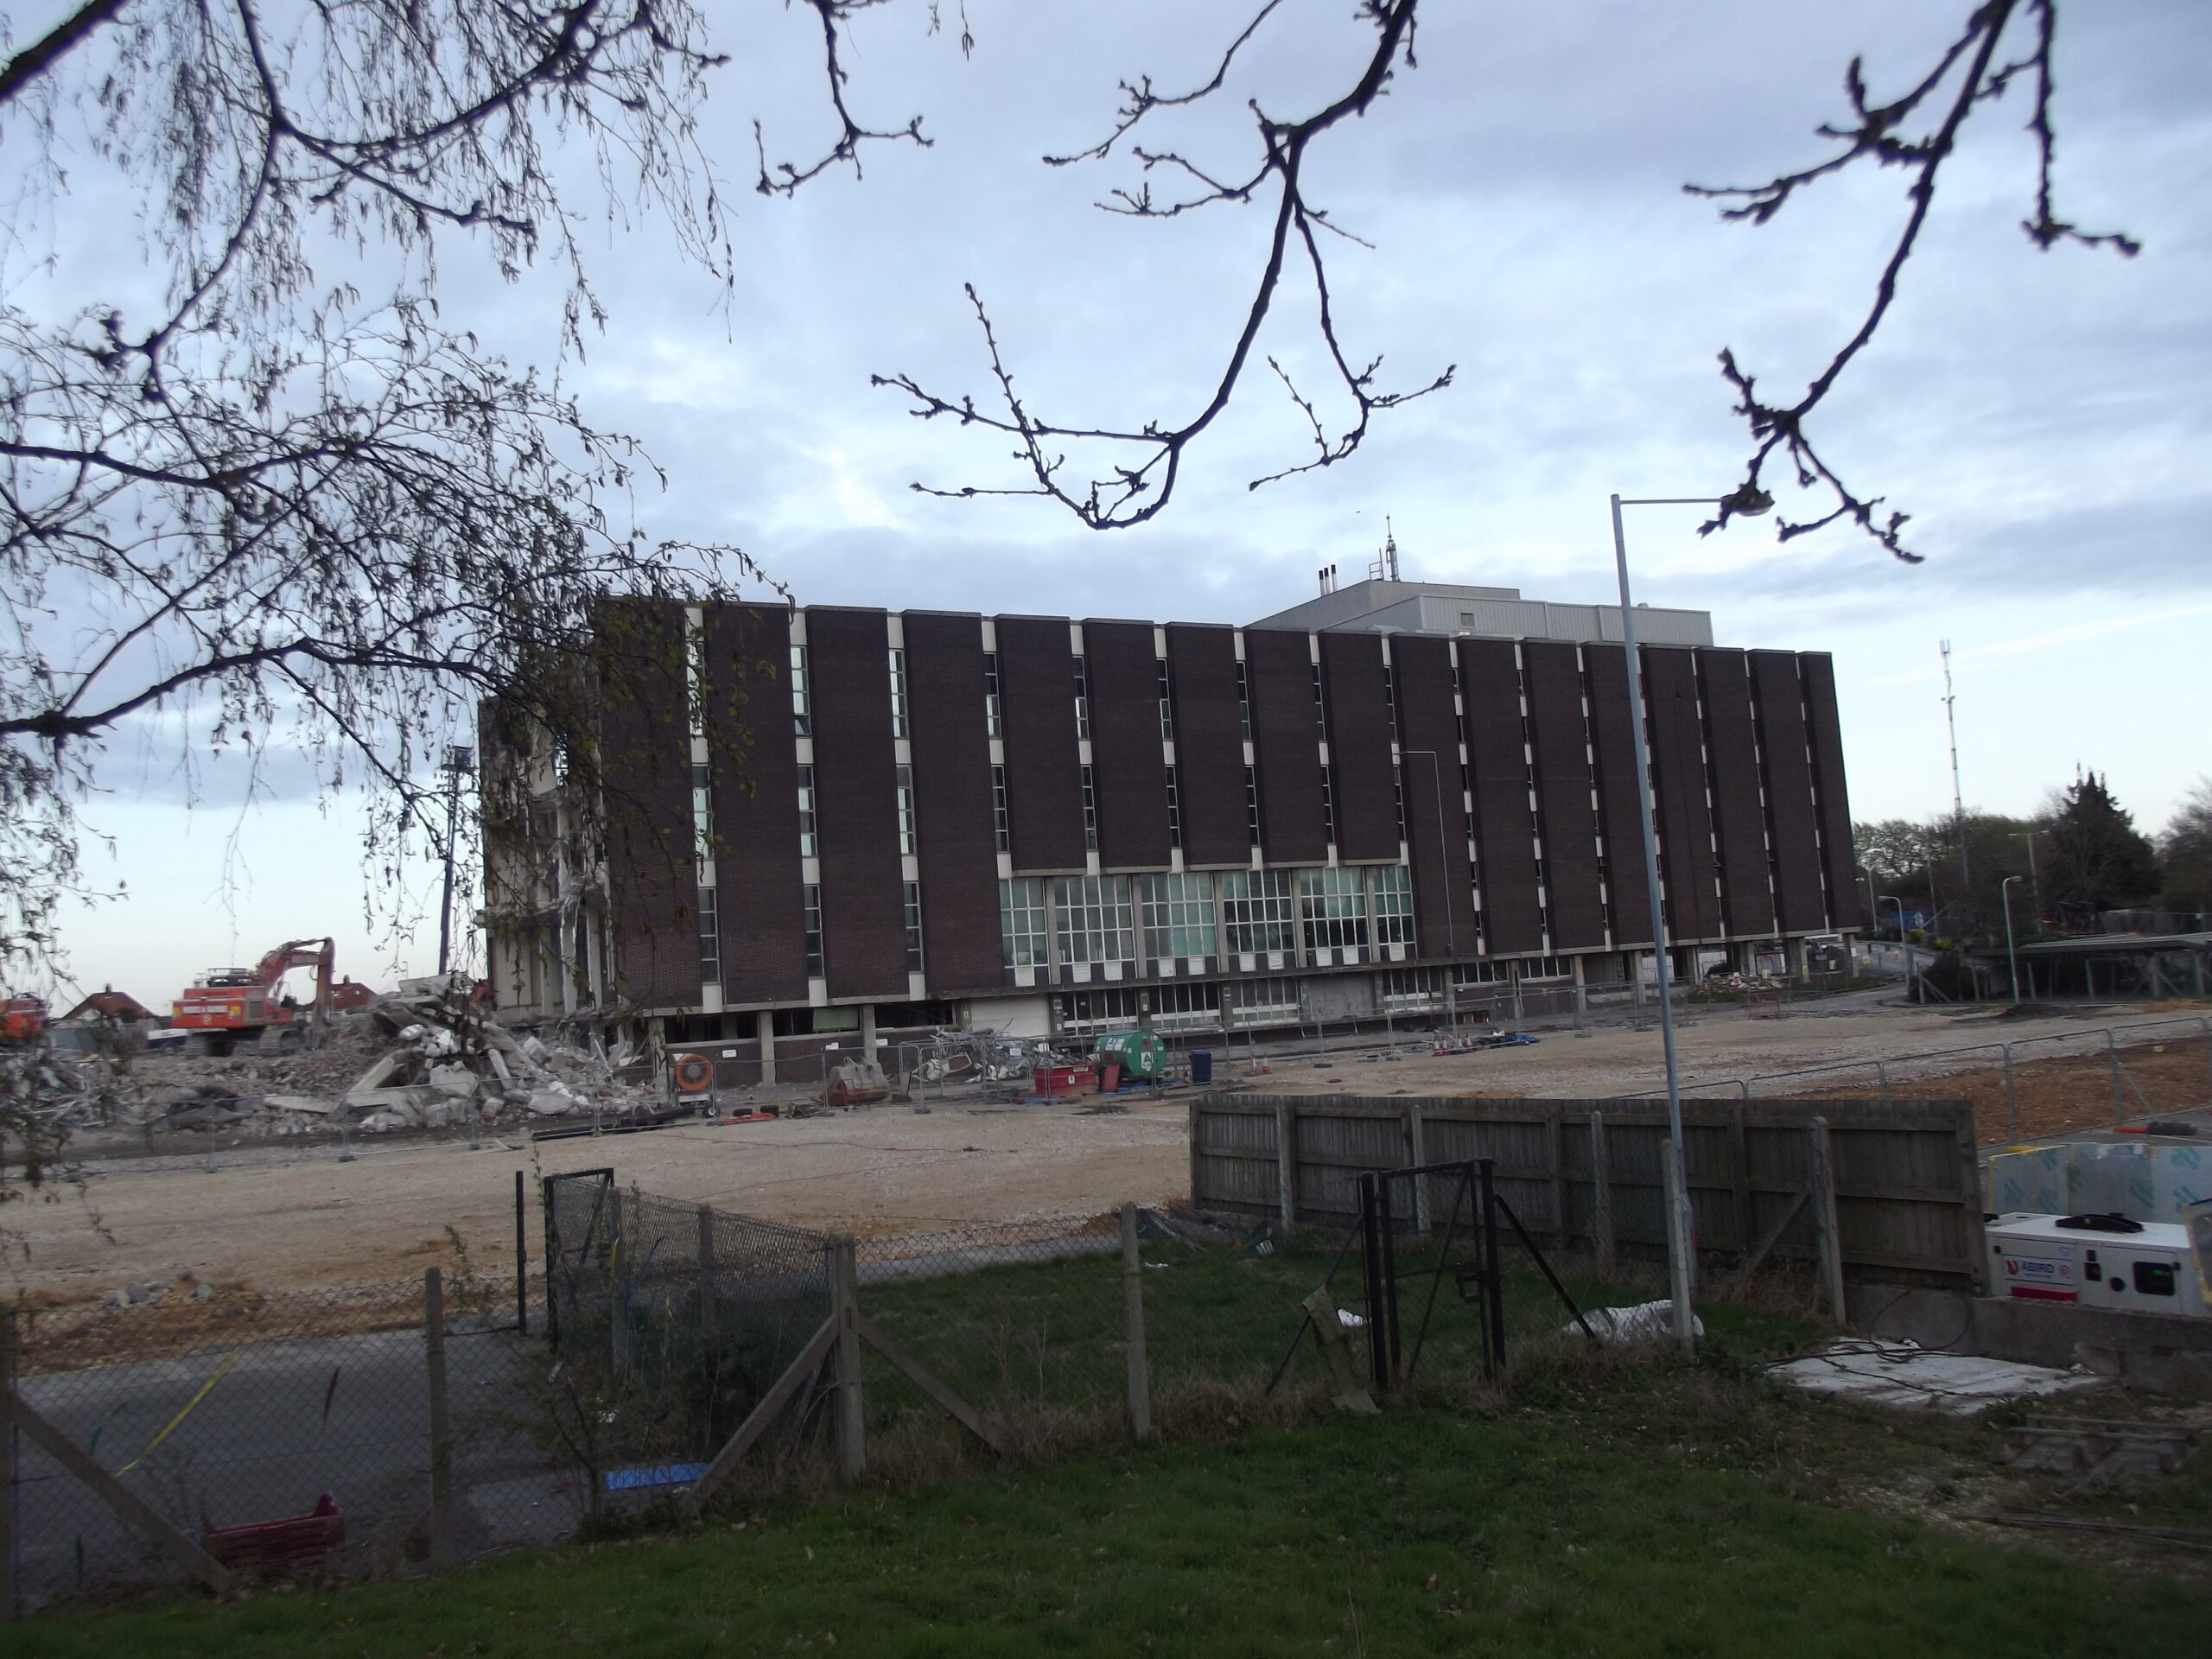
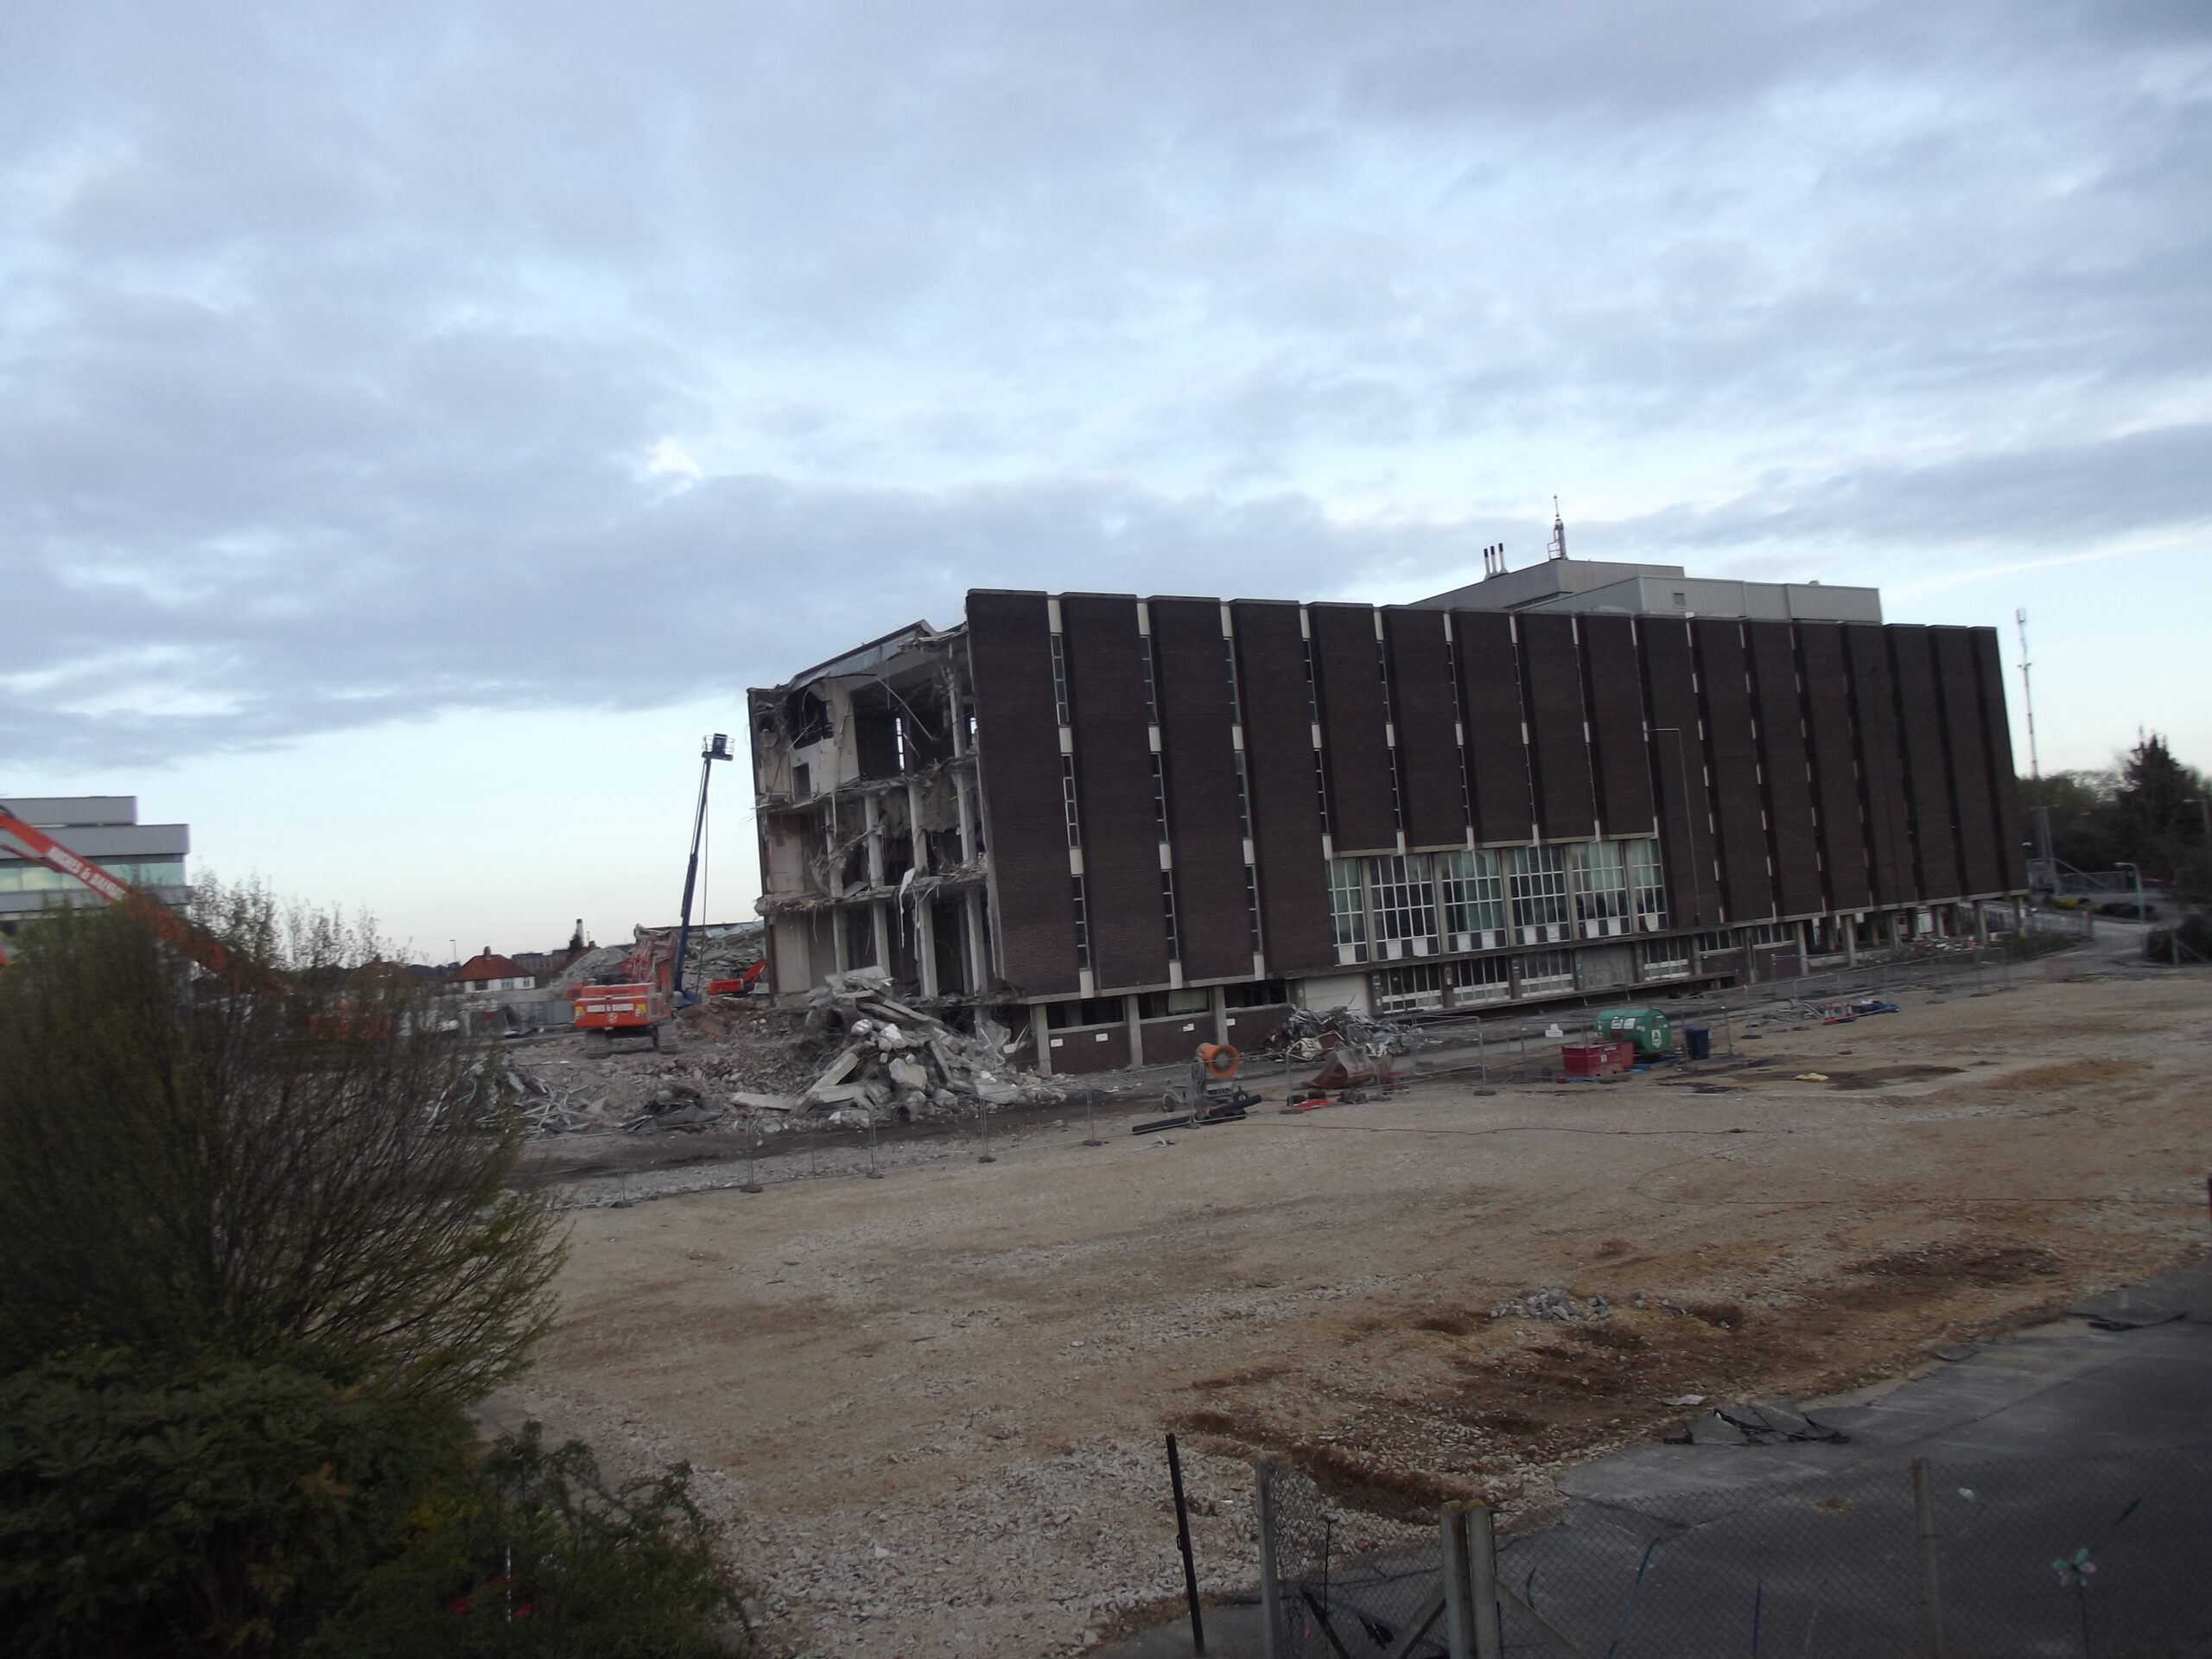
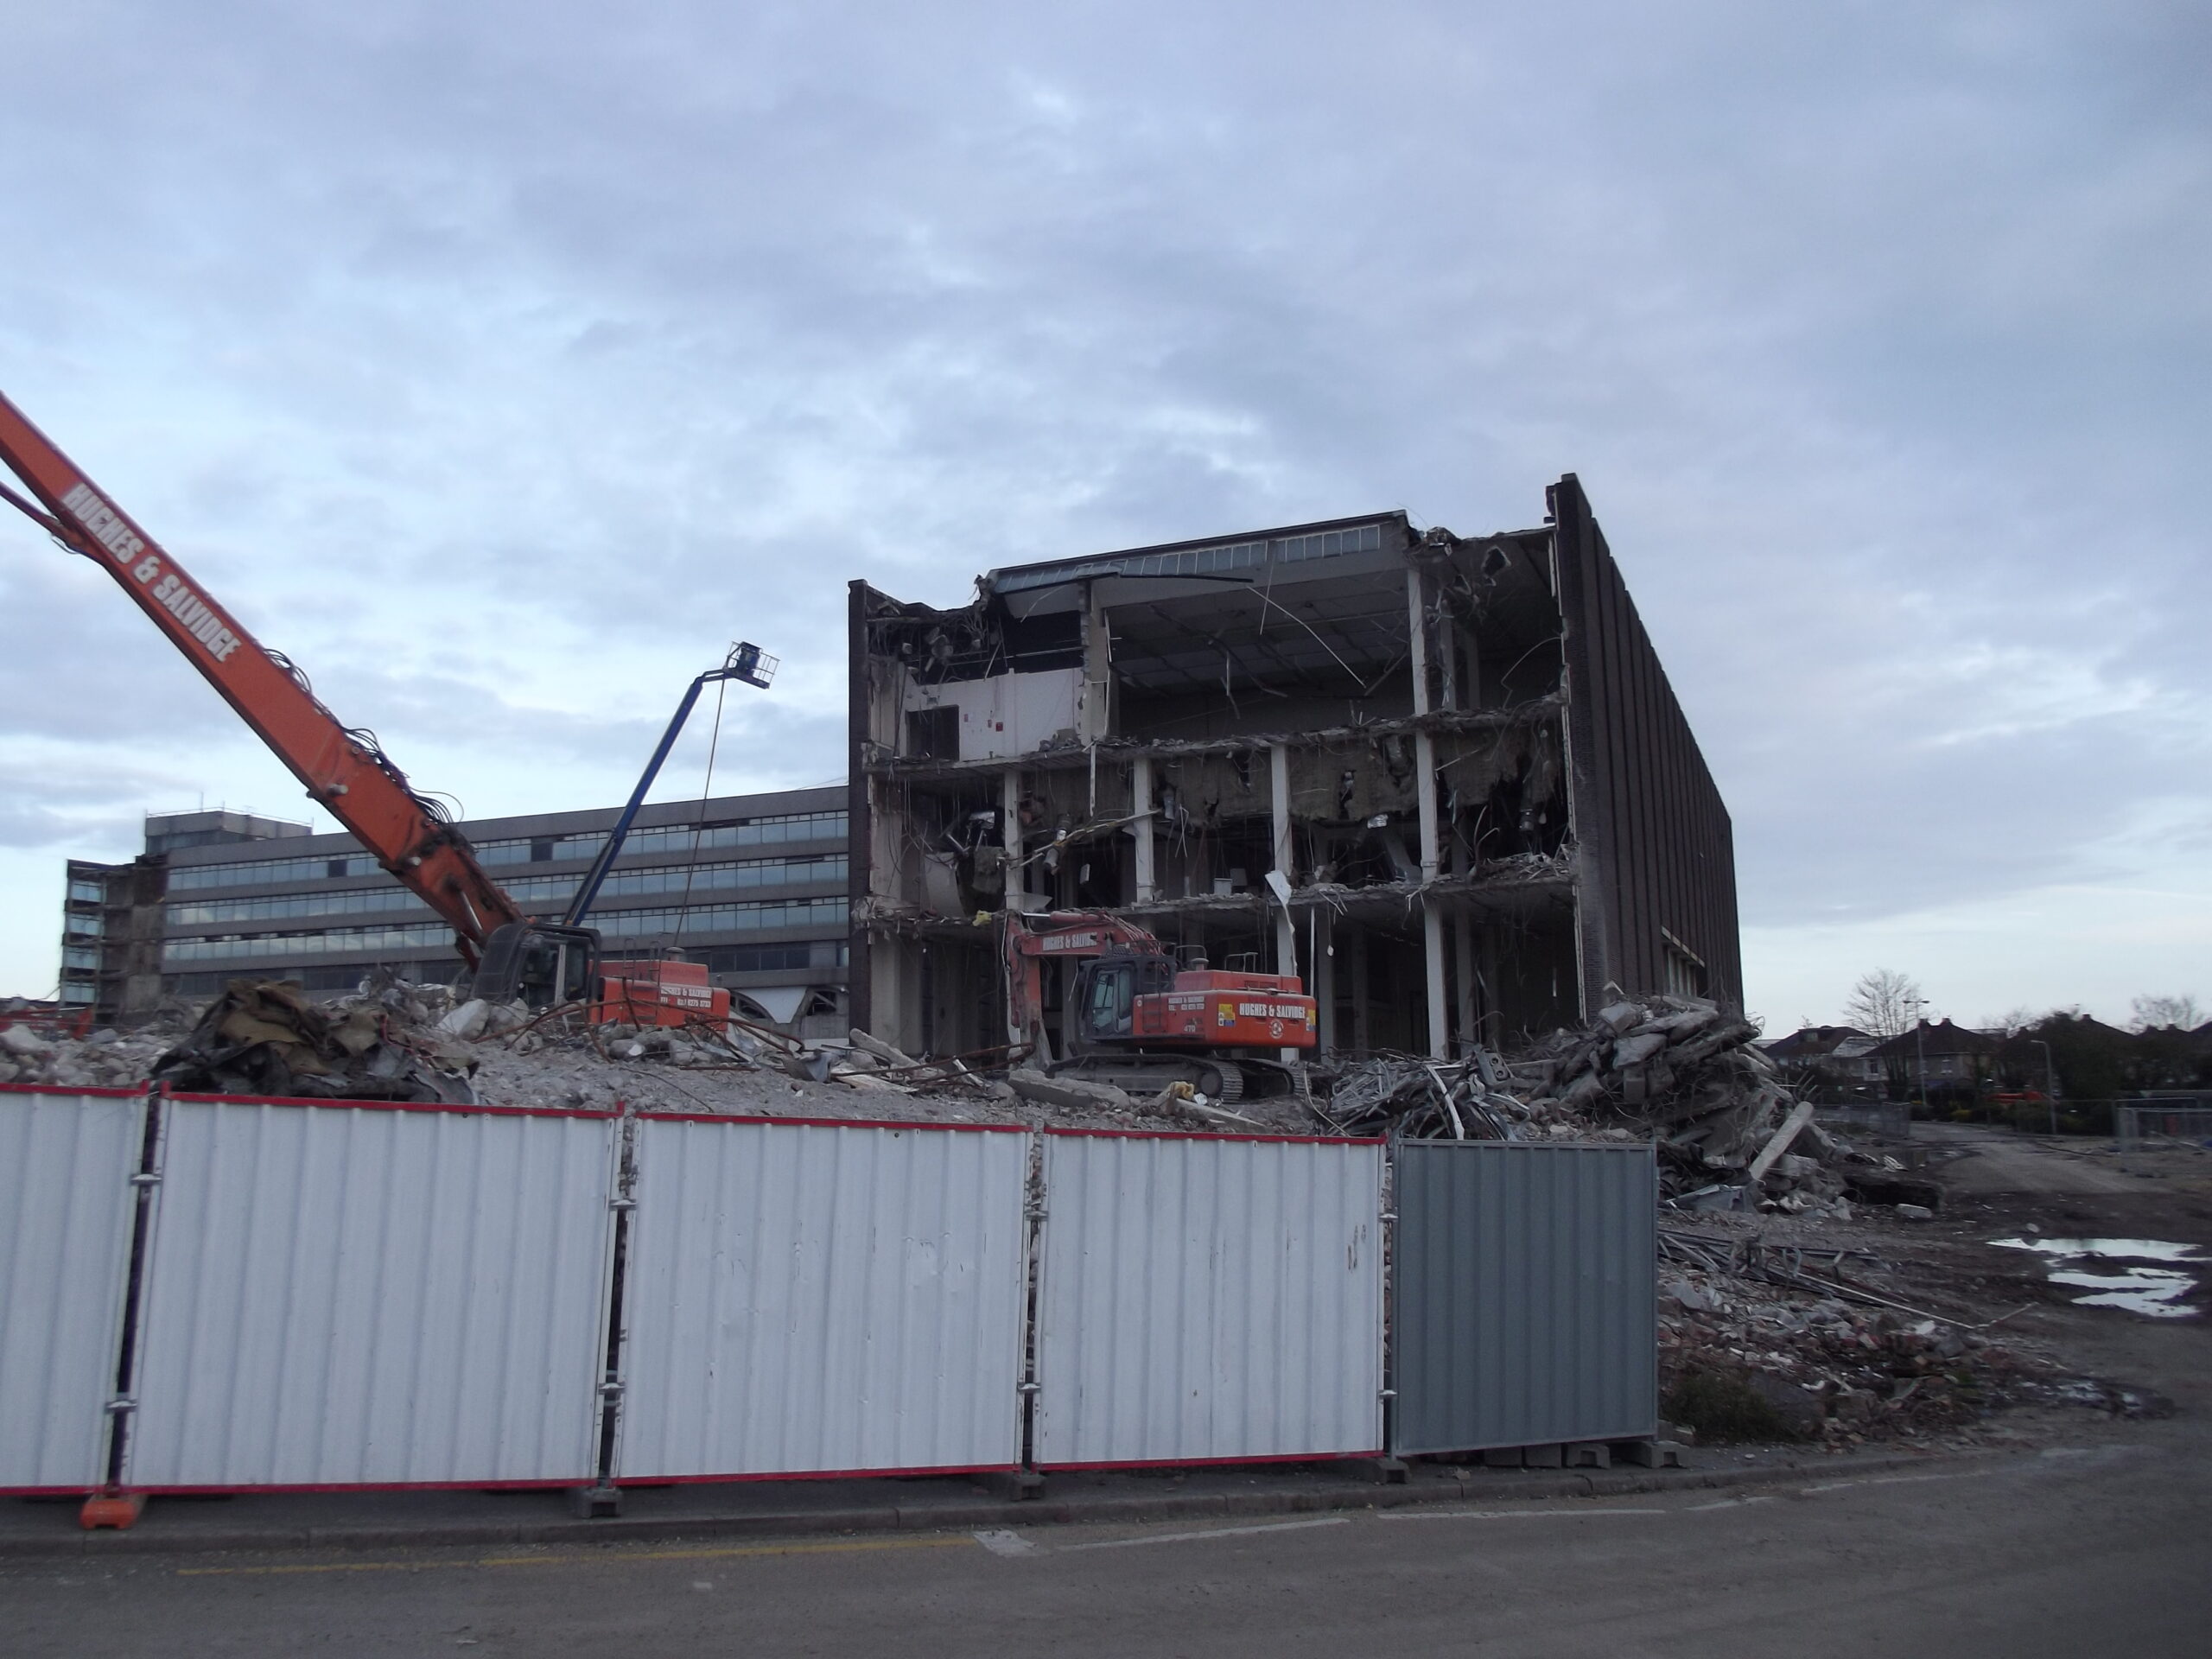
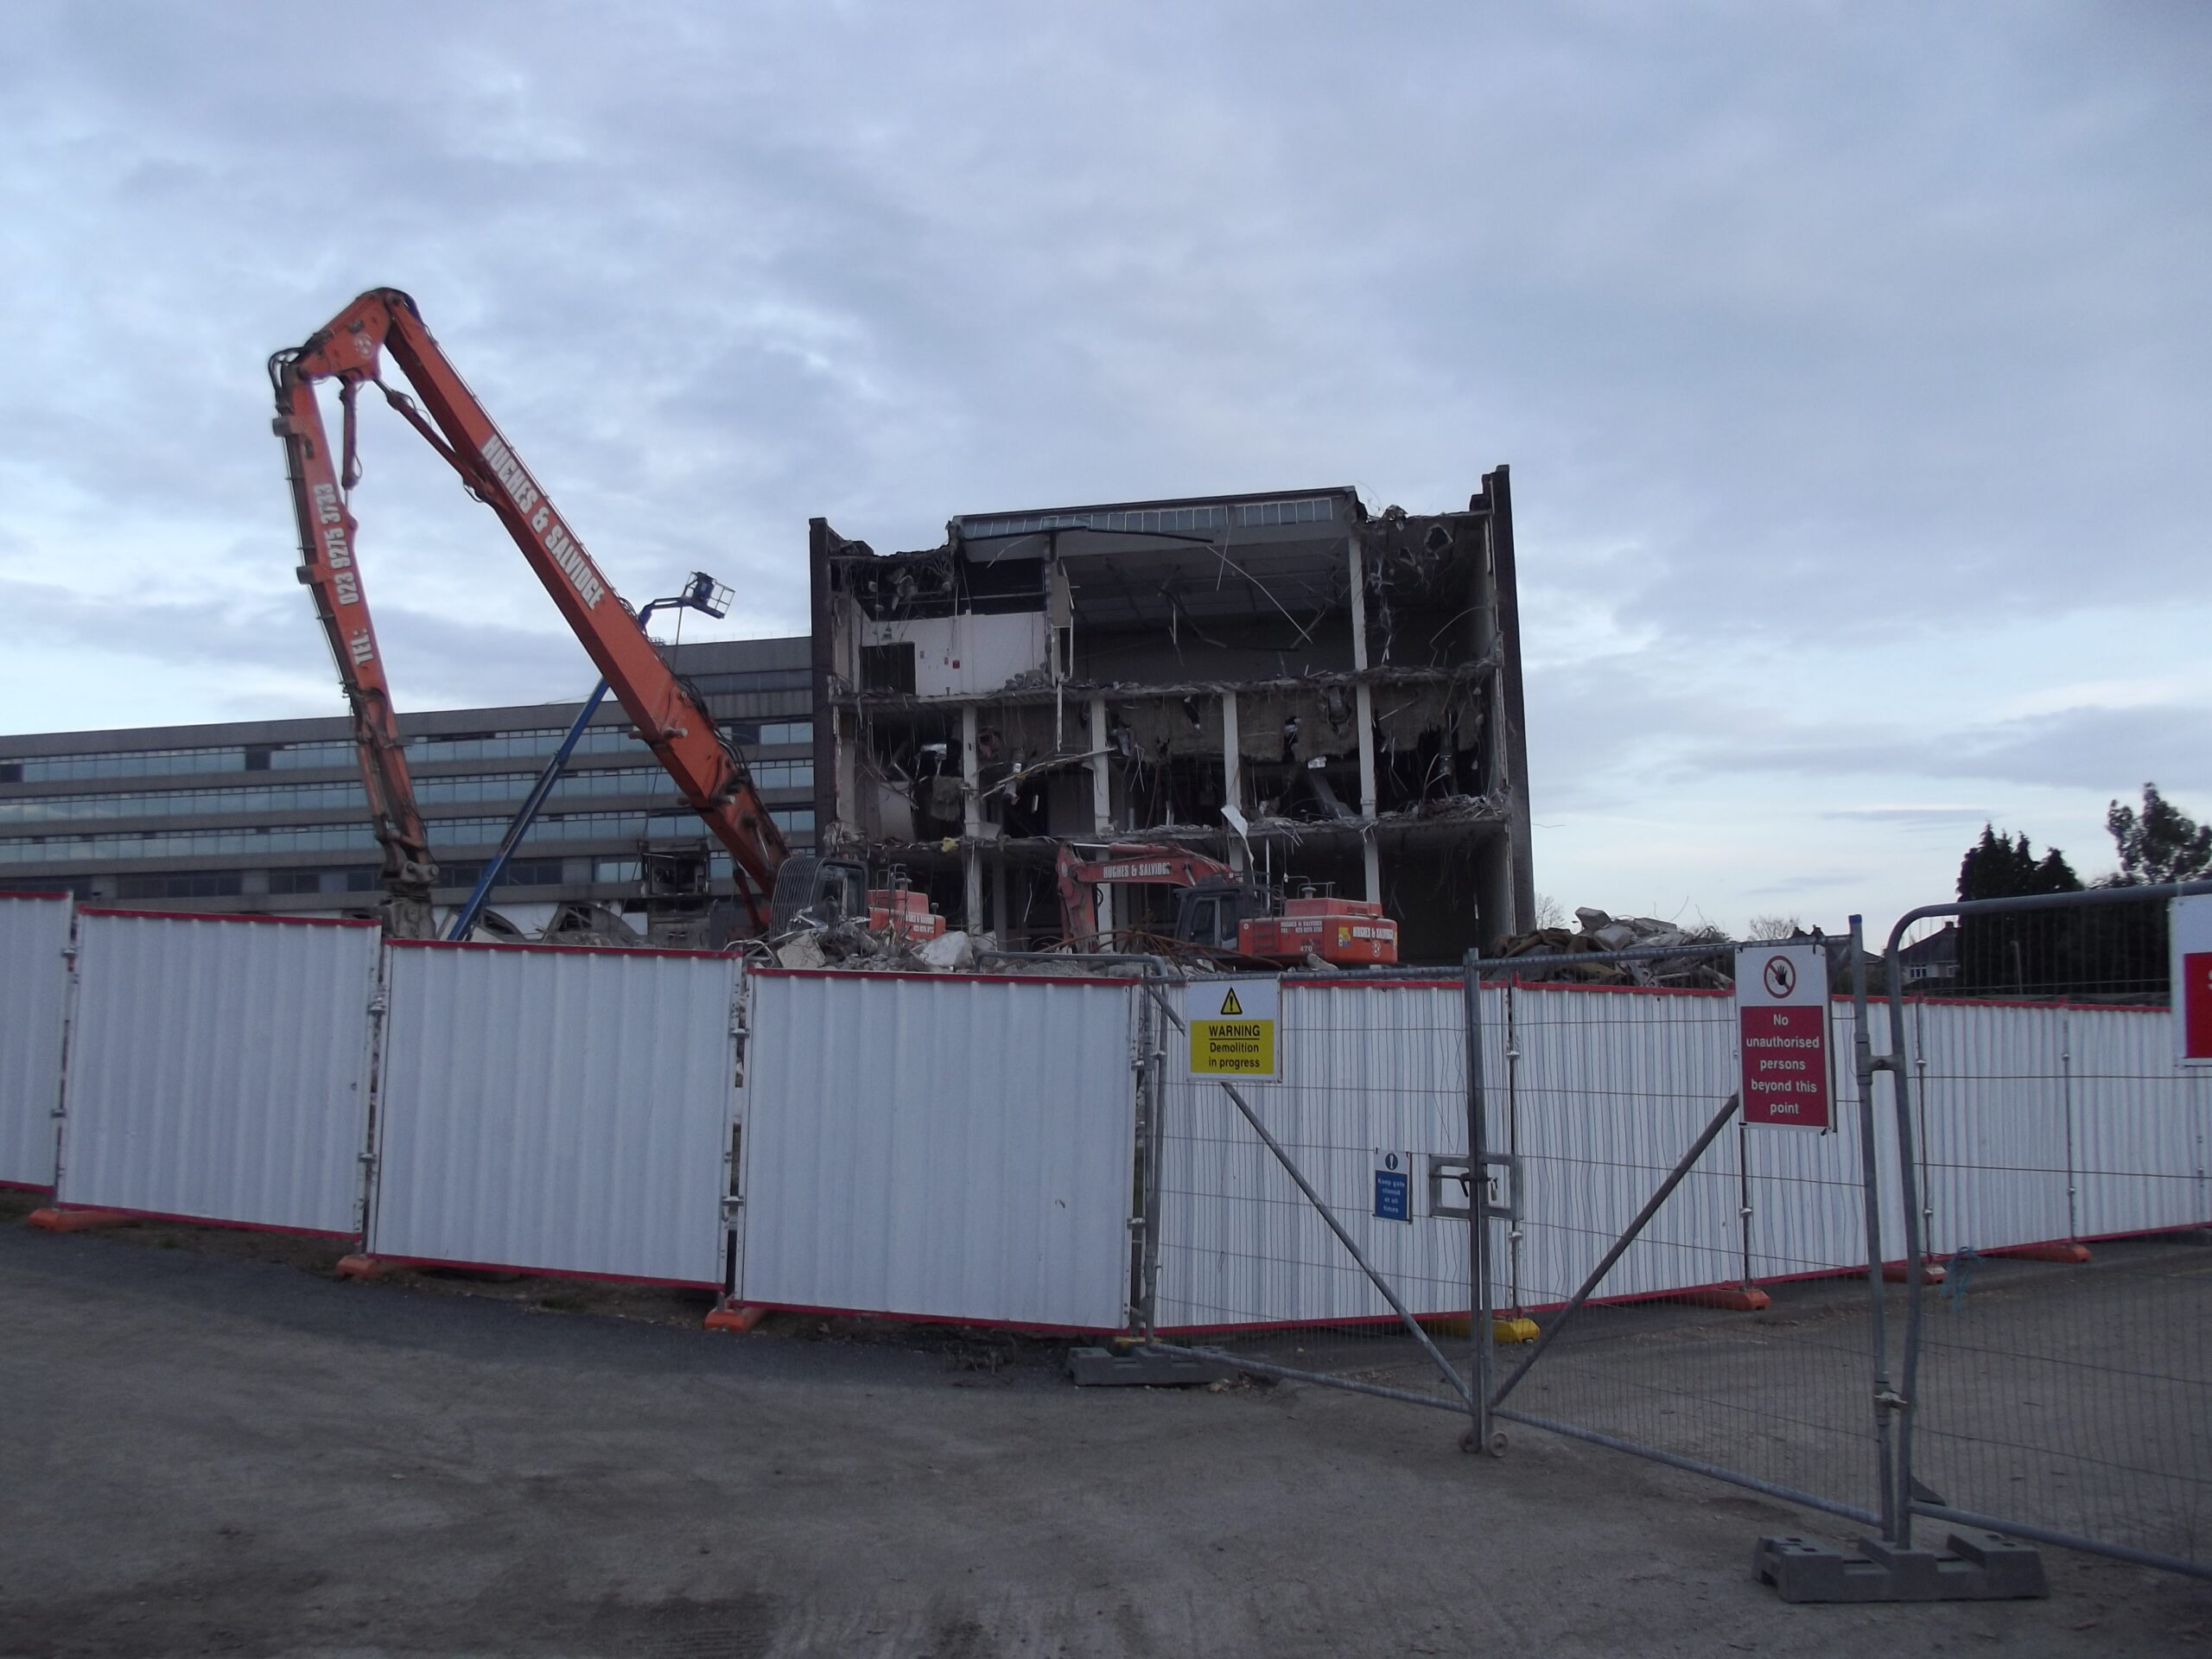
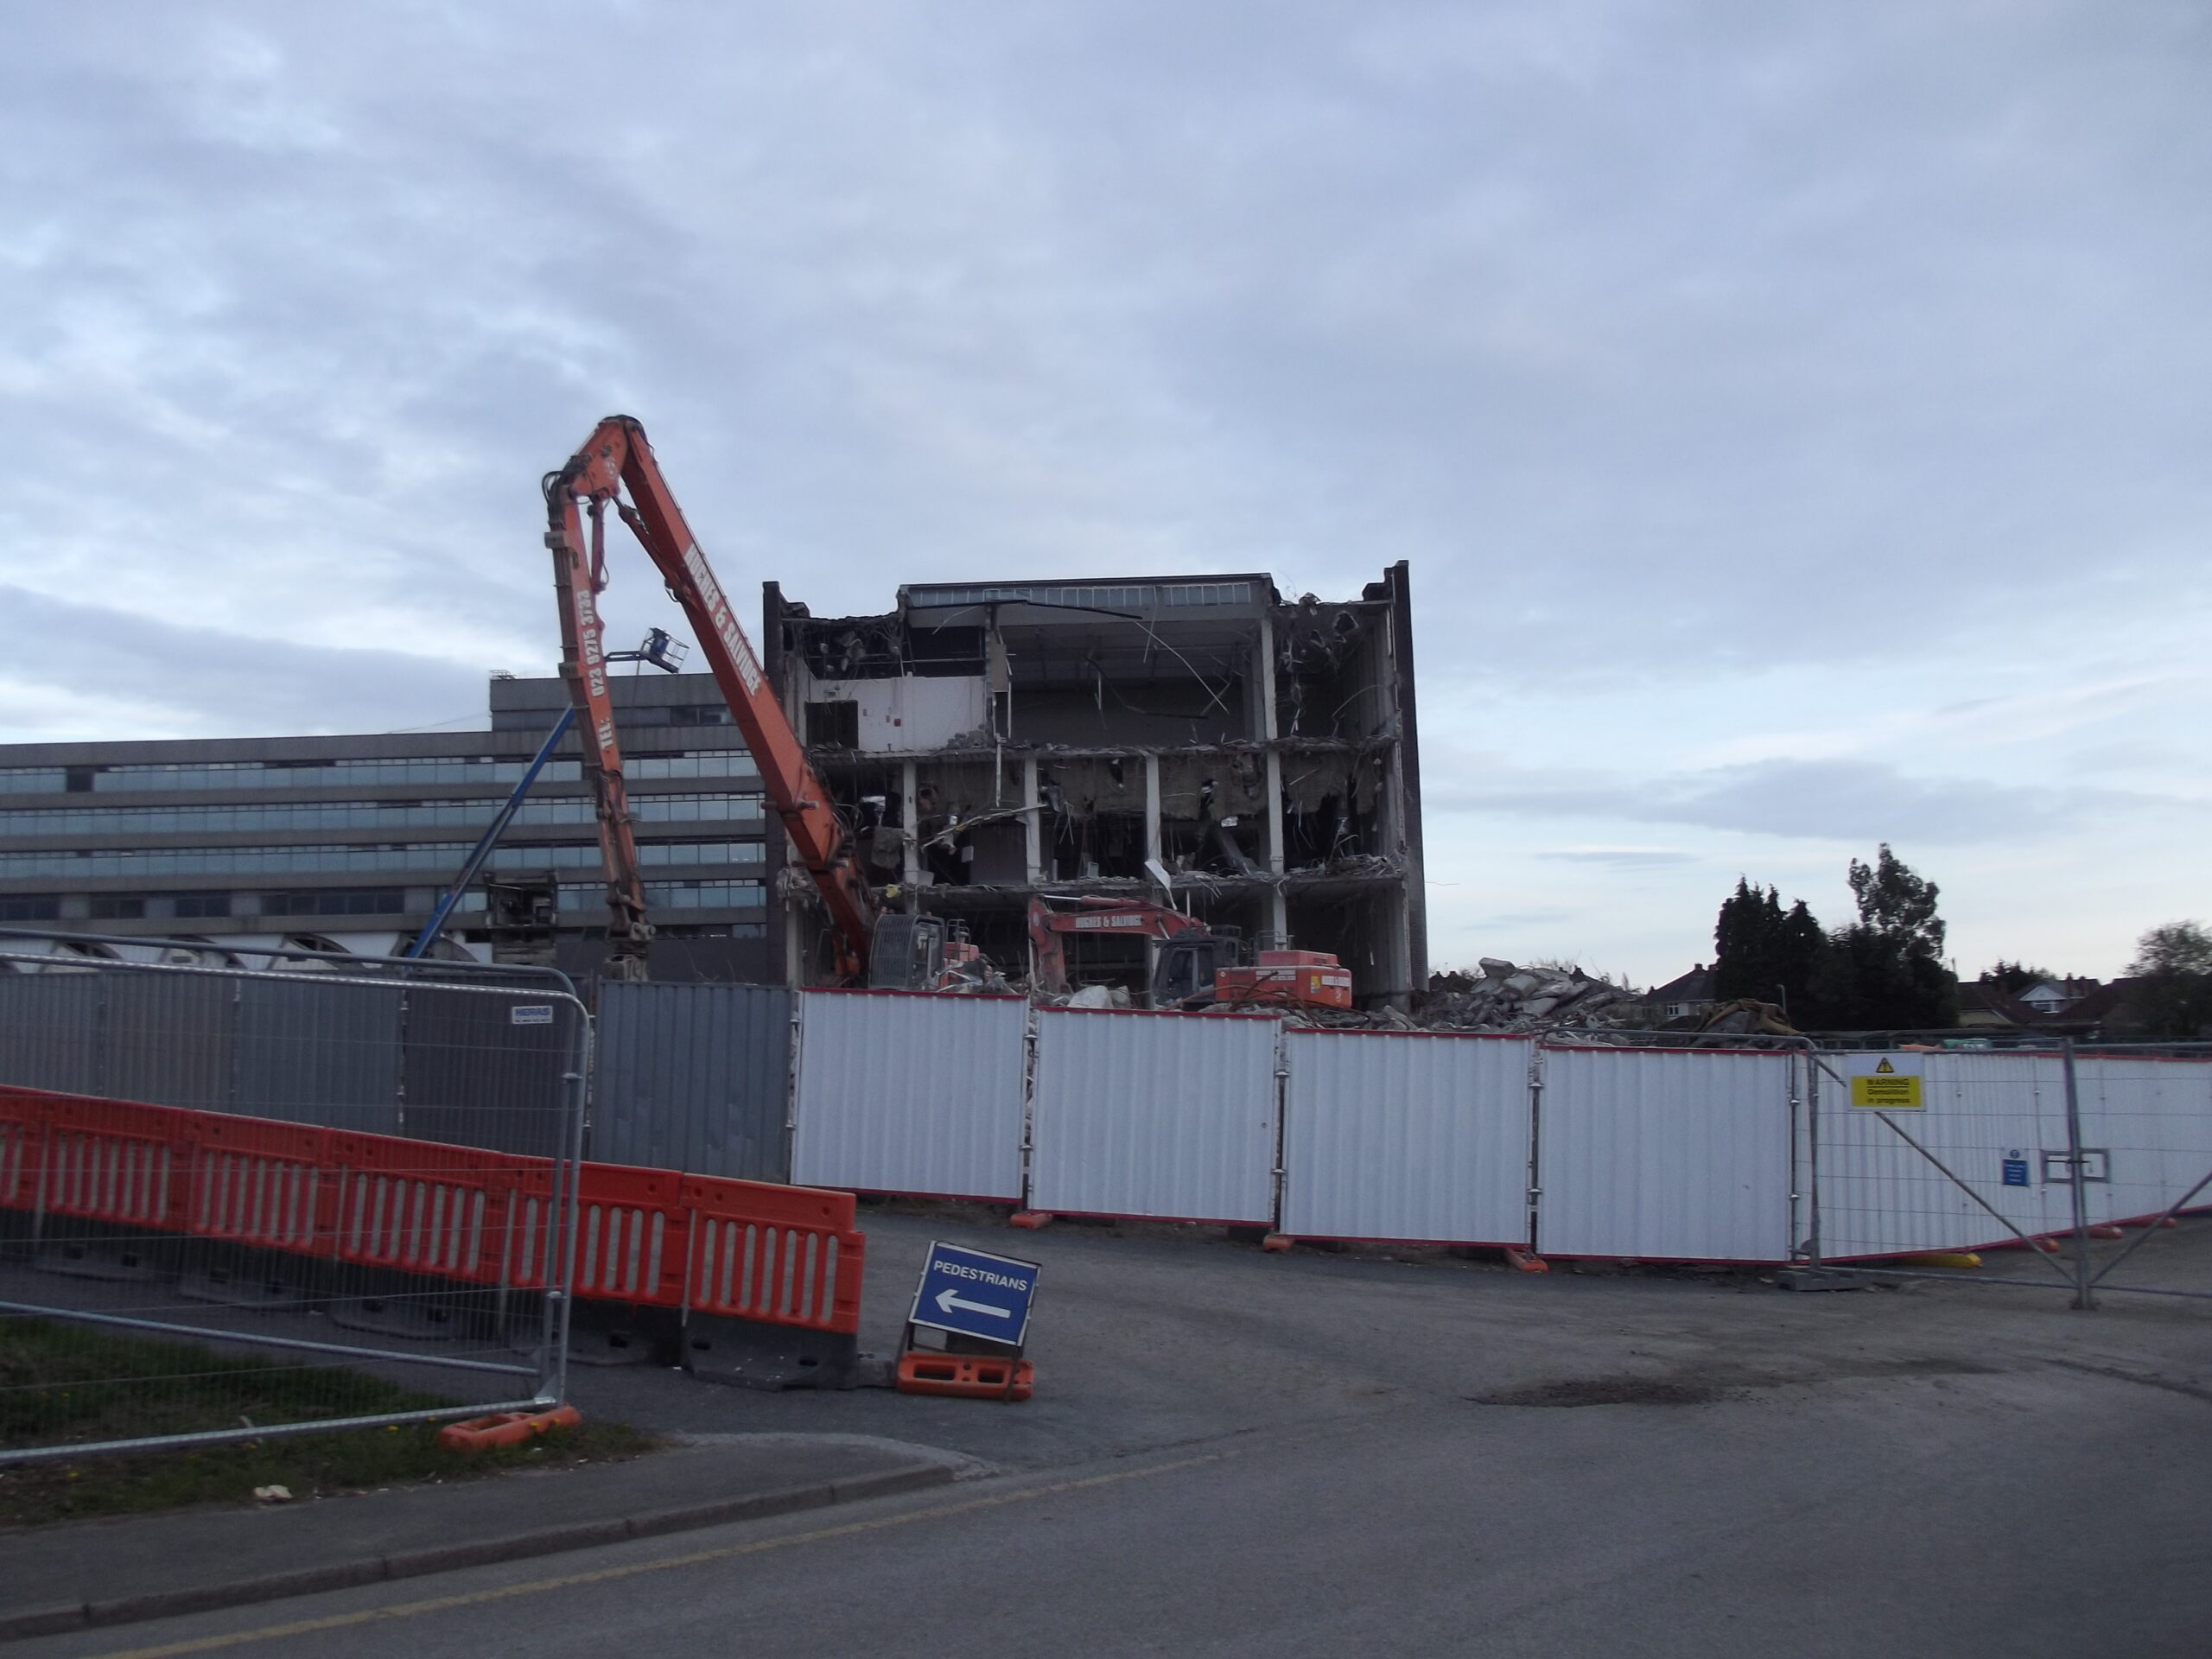
WRB demolition, 16 Apr 2012West Block demolition, 16 Apr 2012 seen from The MoundWest Block demolition, 16 Apr 2012 seen from The MoundWest Block demolition, 16 Apr 2012West Block demolition, 16 Apr 2012West Block demolition, 16 Apr 2012West Block demolition, 16 Apr 2012Layout of the former upper loading bay area – 16 Apr 2012South corner of WRB seen from Blue Car Park – 17 Apr 2012
More photos will be added shortly!
Last updated on Saturday 16 April 2022 by GaryReggae